• Tired of adverts on RWI? - Subscribe by clicking HERE and PMing Trailboss for instructions and they will magically go away!

How to fix crooked markers - DIY

KJ2020

Time Traveler
Supporter
12/3/18
35,674
71,350
113
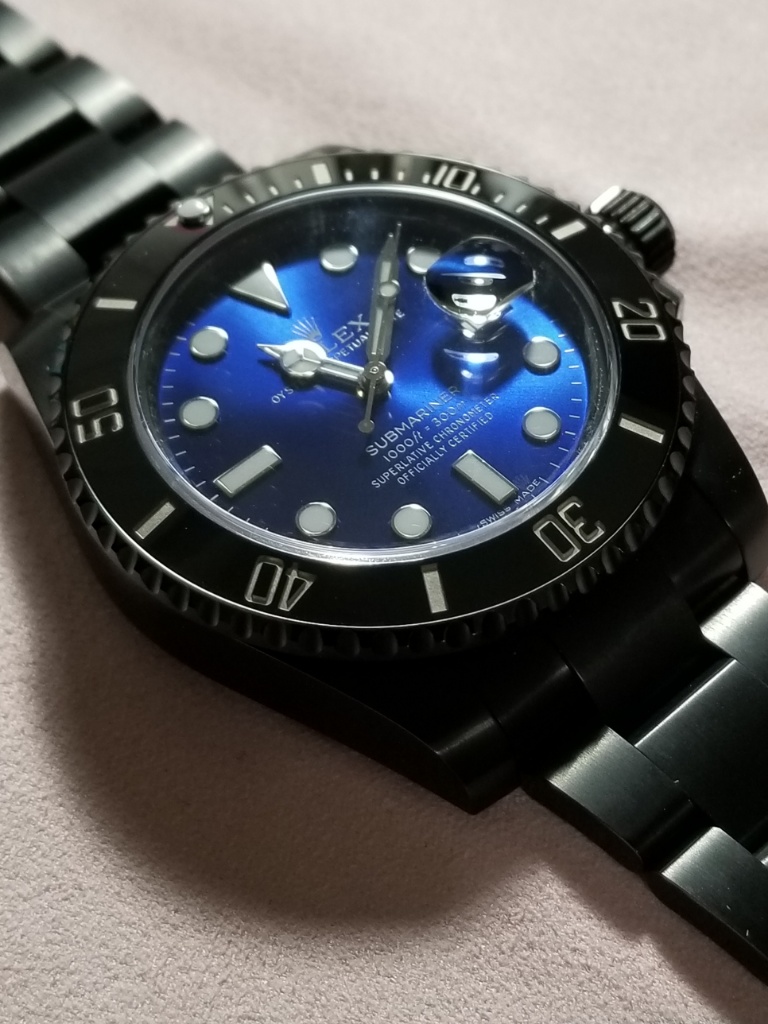
We've all gotten a rep with crooked markers. you swear you won't let it happen again and then it does, arghh.

So, what to do? Time for a little marker surgery.

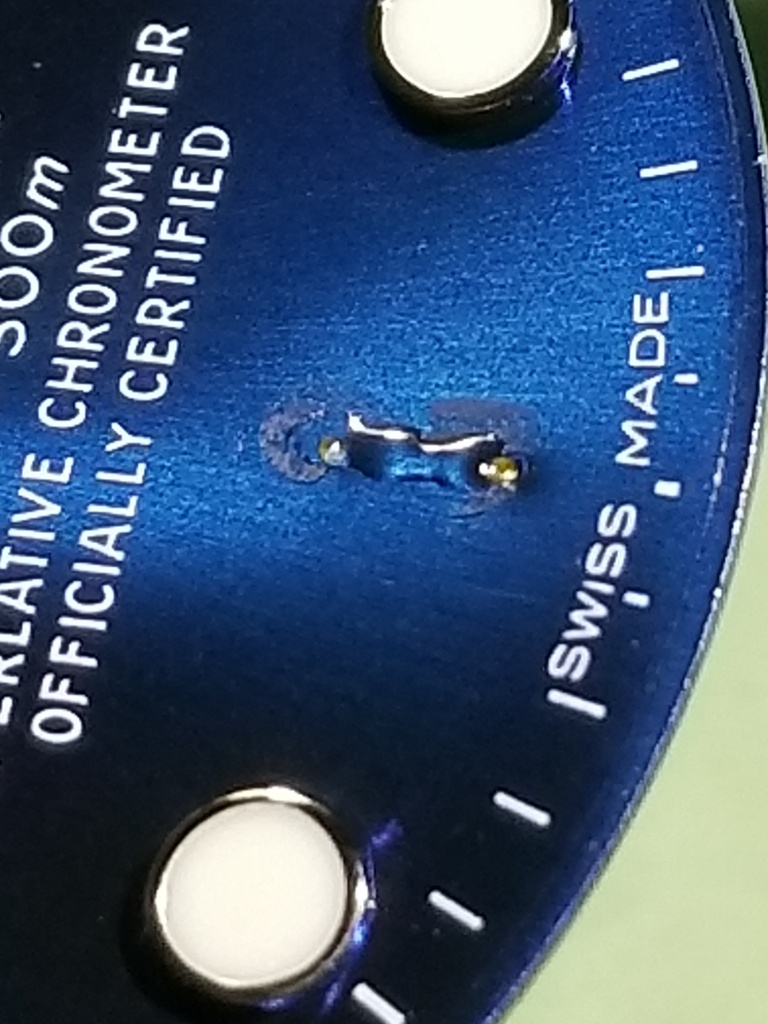
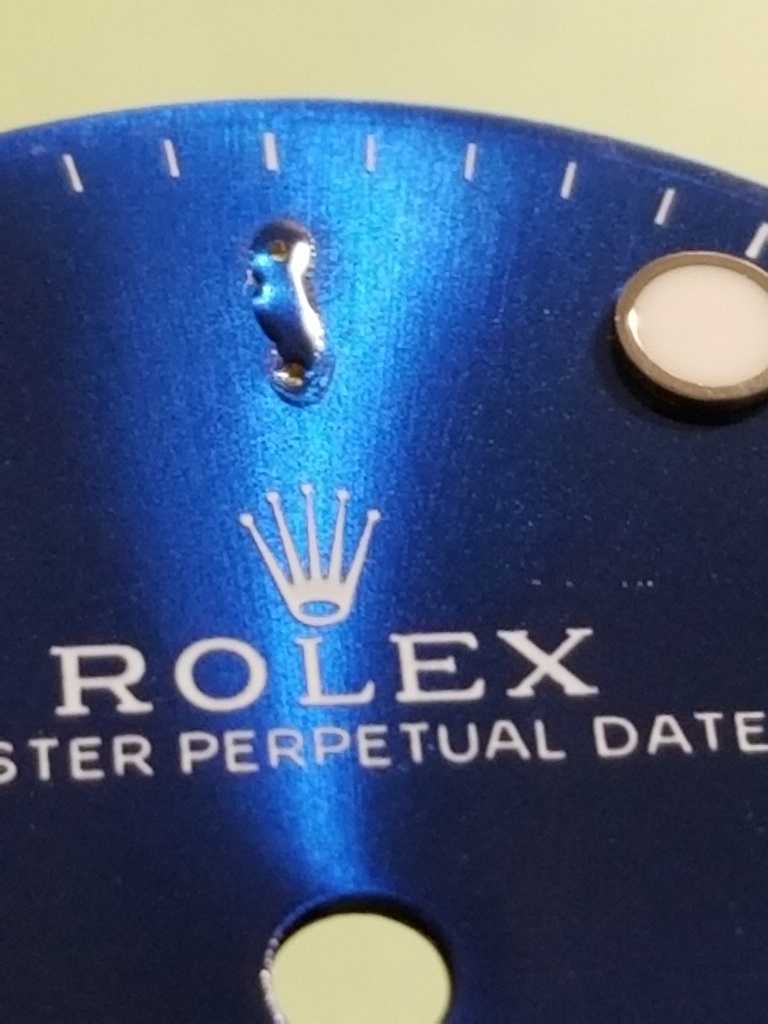
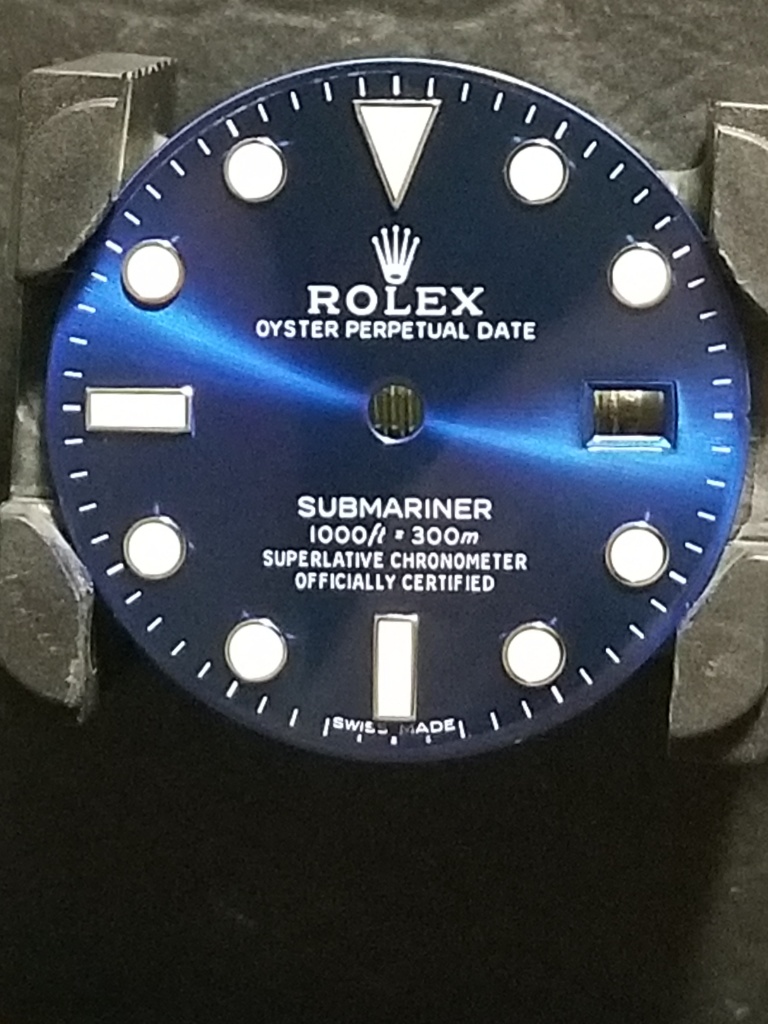
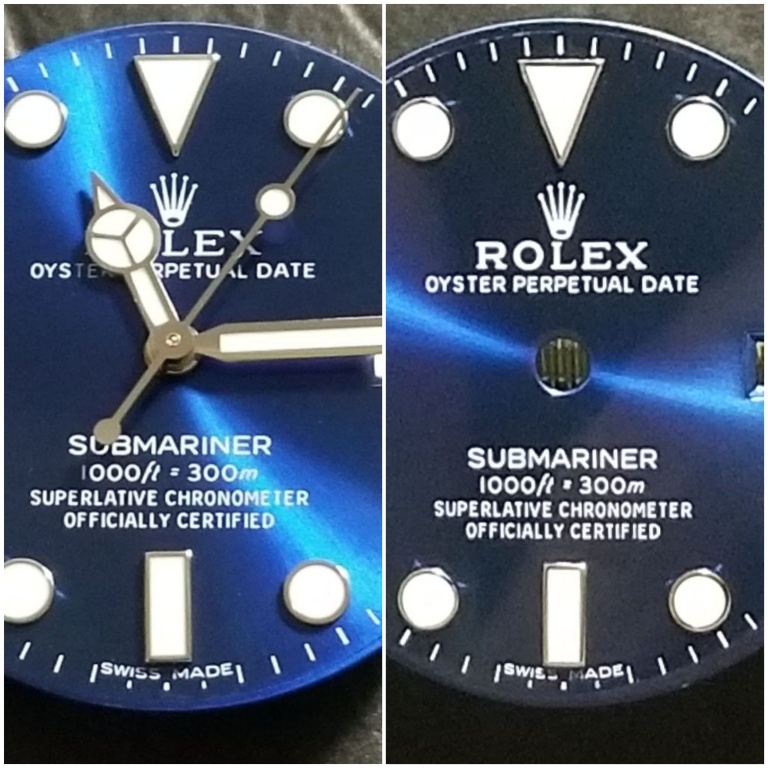
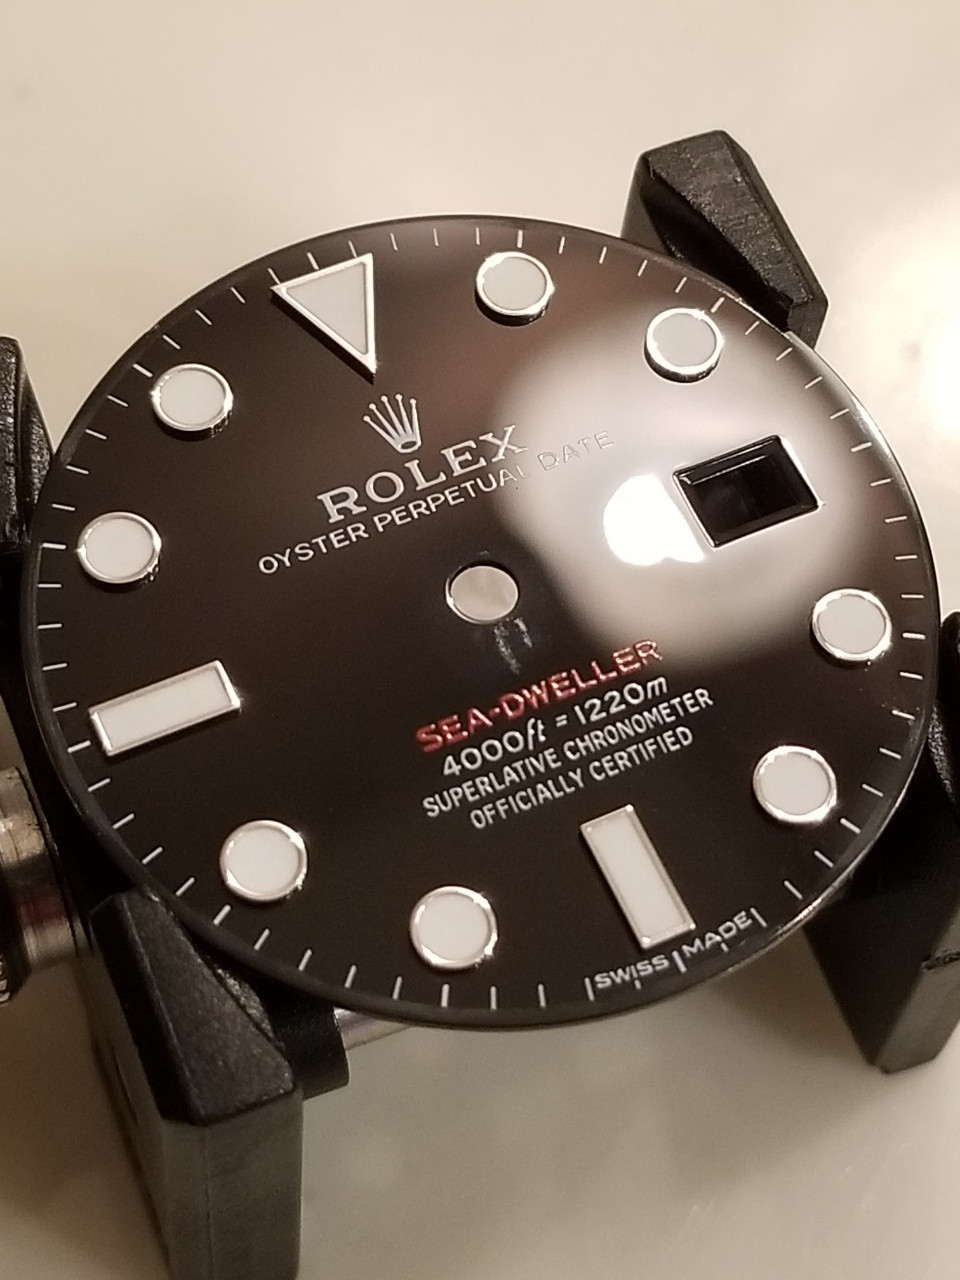
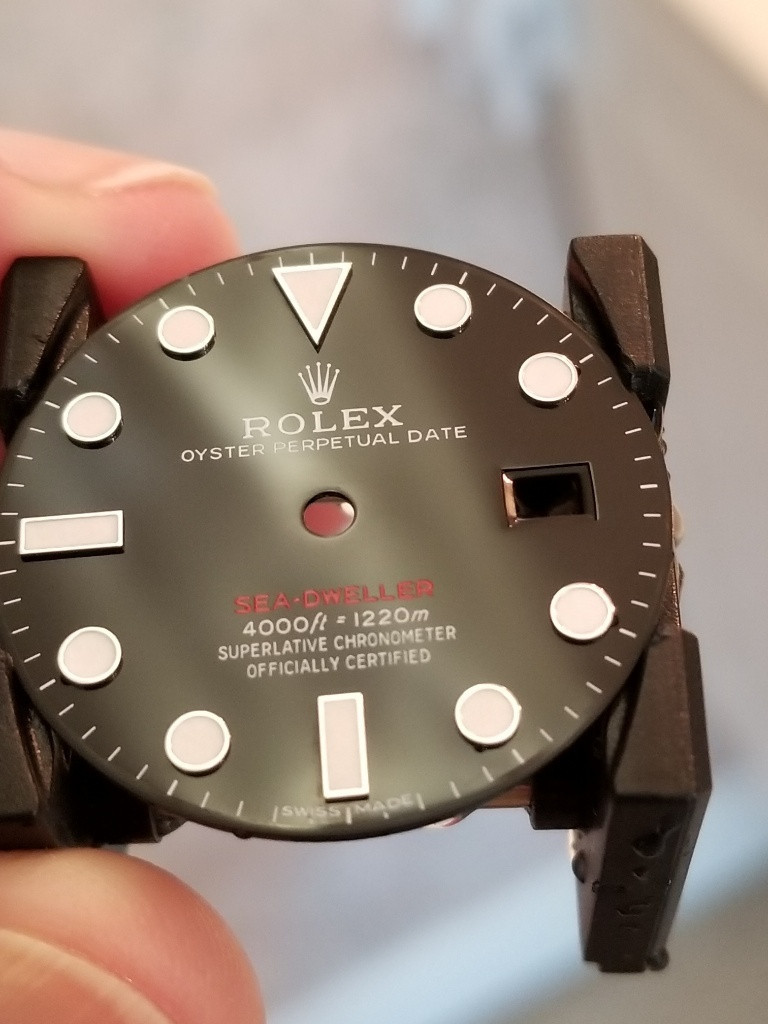
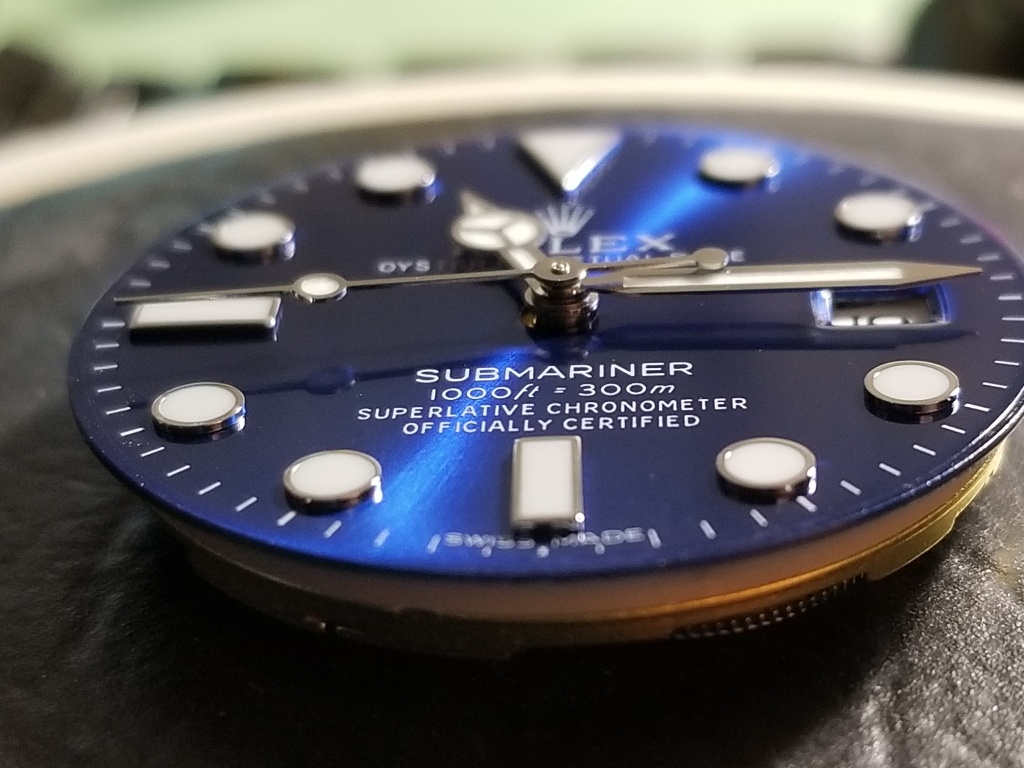
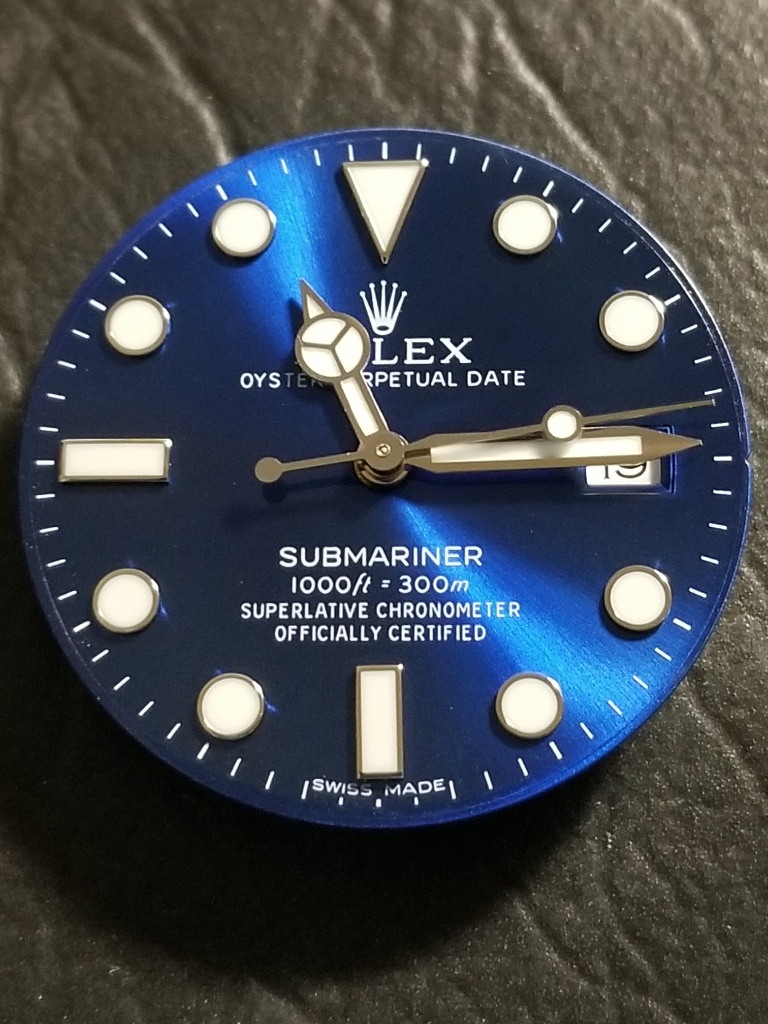
Here's the patient. The 6 marker is crooked anti-clockwise. The 12 marker is also - I would have let that one go but while I'm at it I decided to fix that one too. I like to look down the dial from a flat angle at rectangular markers. You can do this on a regular pic by holding your phone almost flat.
ZiIrs8.jpg


ZiI89R.jpg


ZiI6hL.jpg


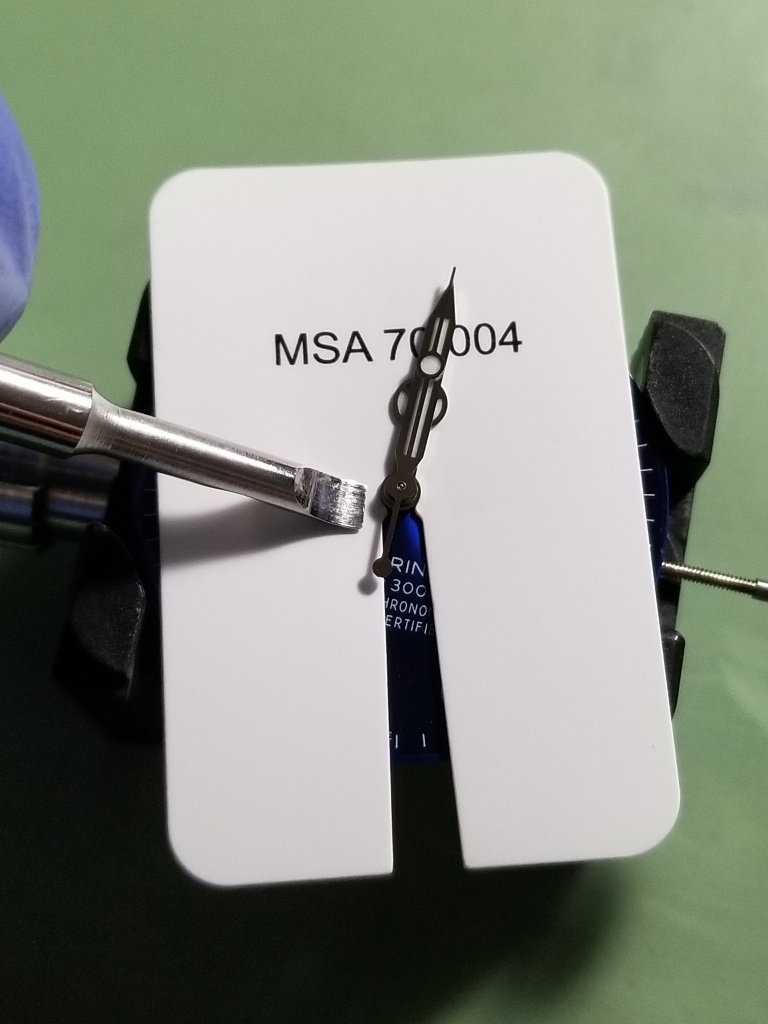
Hands and dial have to come off
ZiIQqv.jpg


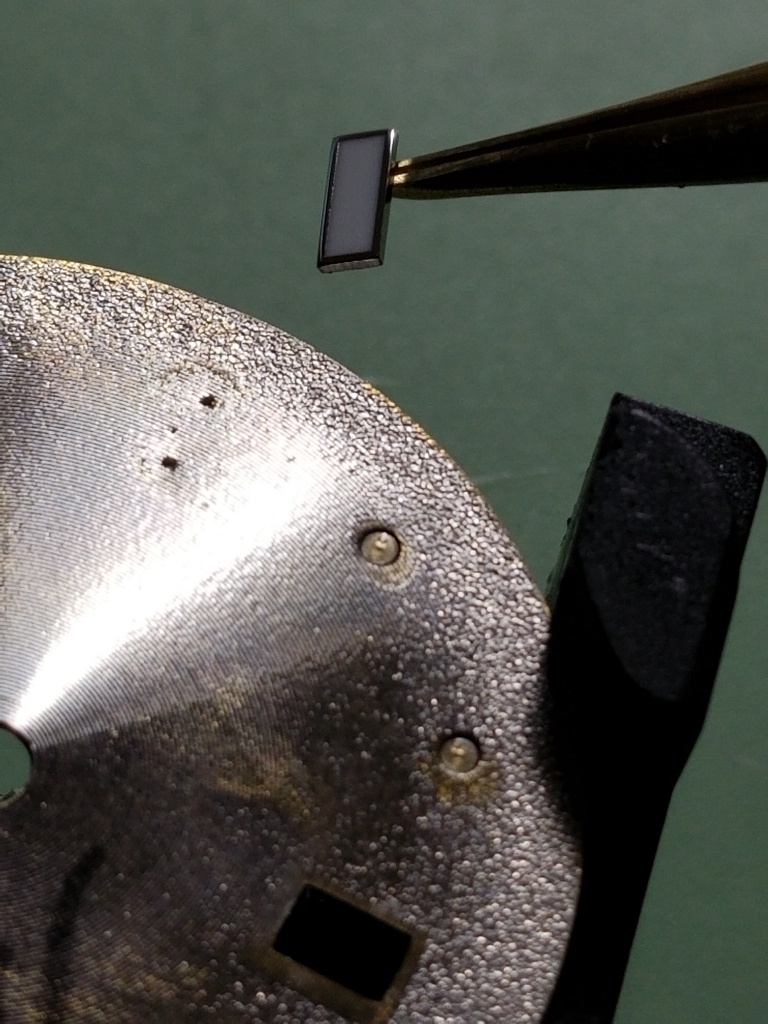
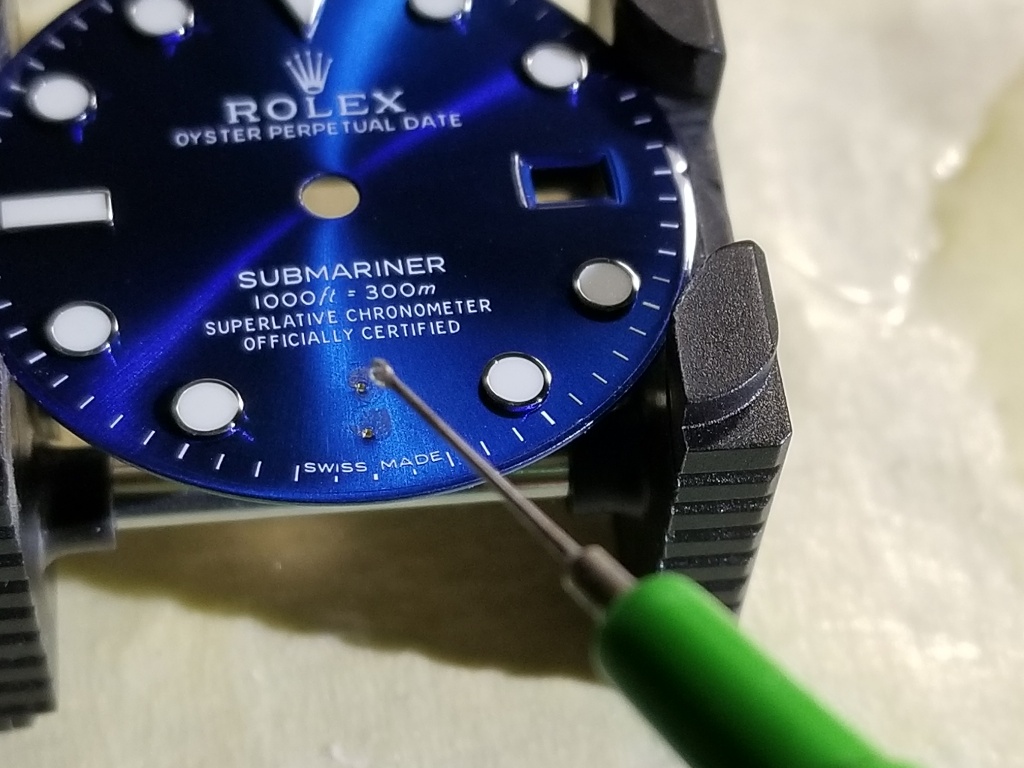
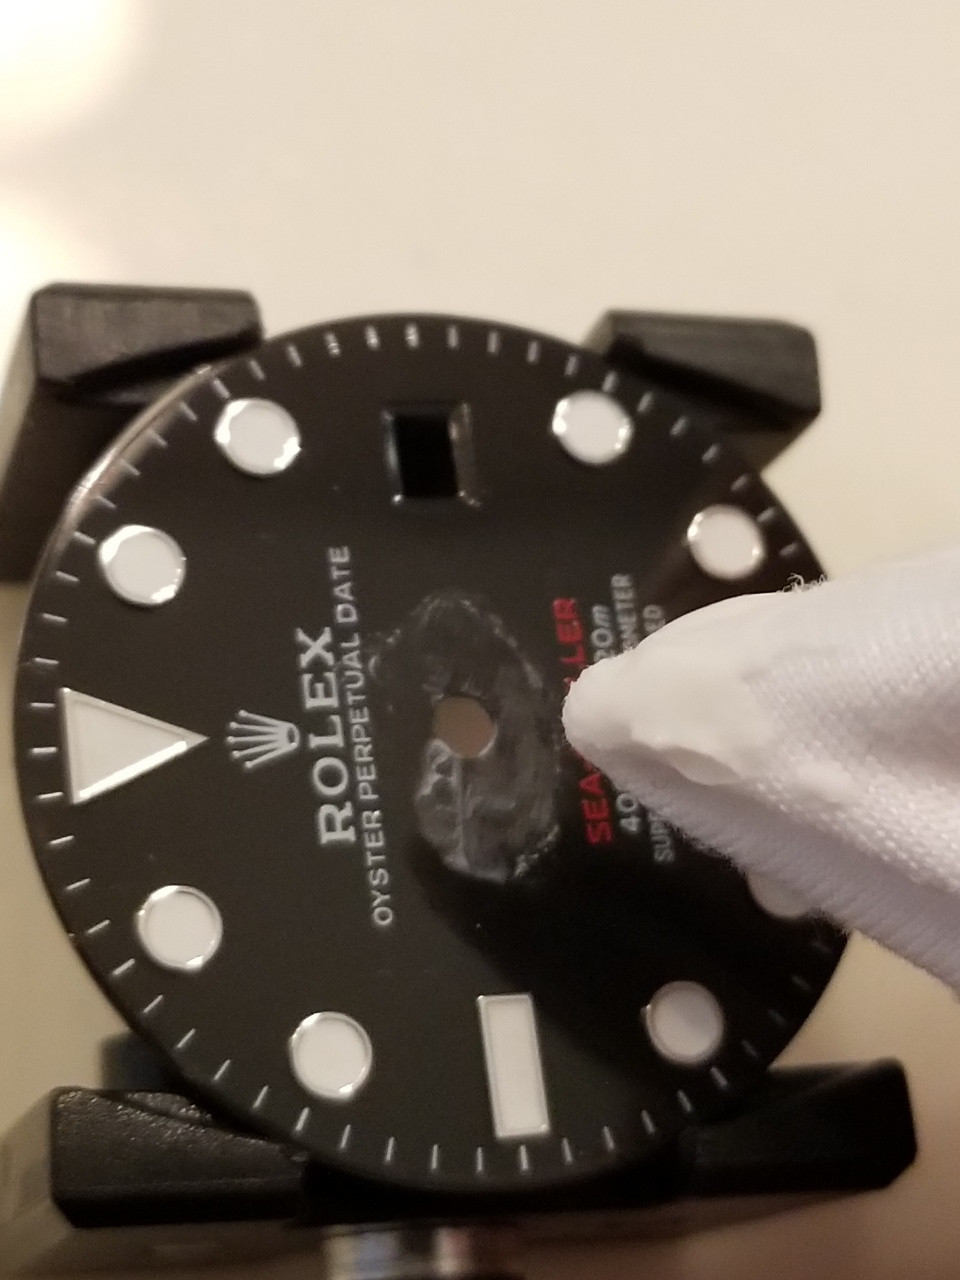
Scrape the glue off the back of the dial where the marker pins are then push the pins out with a needle

ZiIWKs.jpg


ZiIBZK.jpg


ZiIlX1.jpg


Then you need to assess why the marker was crooked and decide which pin to remove. Sometimes the pins are offset on the marker.
ZiIqqo.jpg


Sometimes the holes in the dial aren't aligned
ZiIffn.jpg


Next you need to remove the pin that gives you the best chance of straightening the marker by pivoting it about the remaining pin.

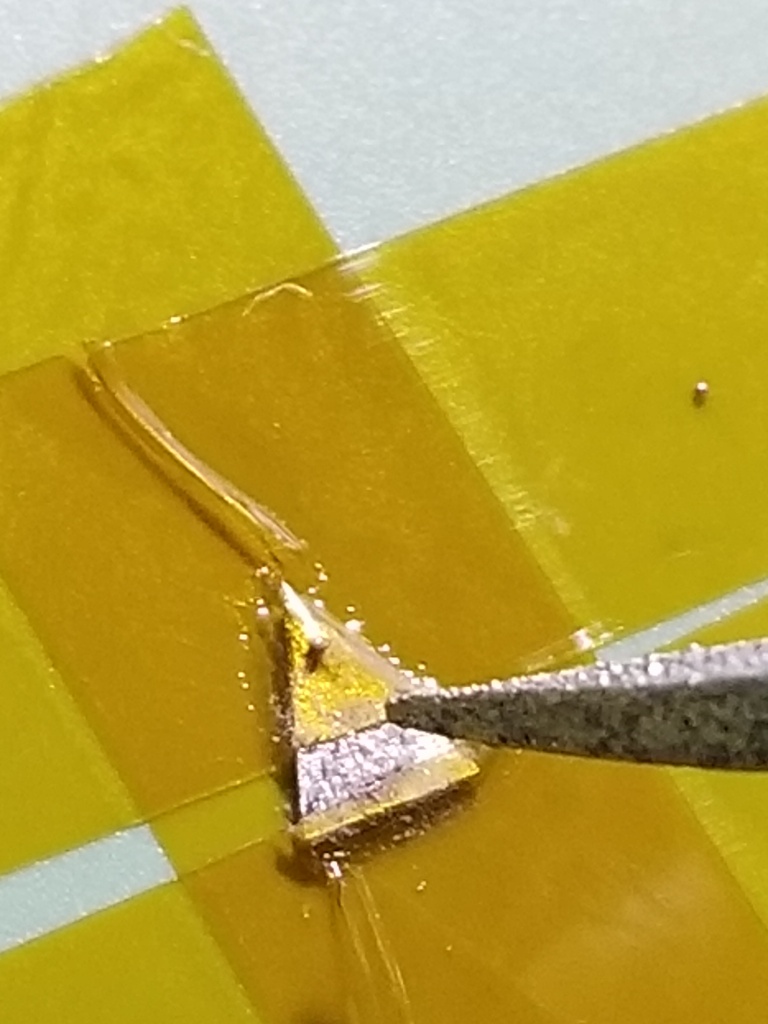
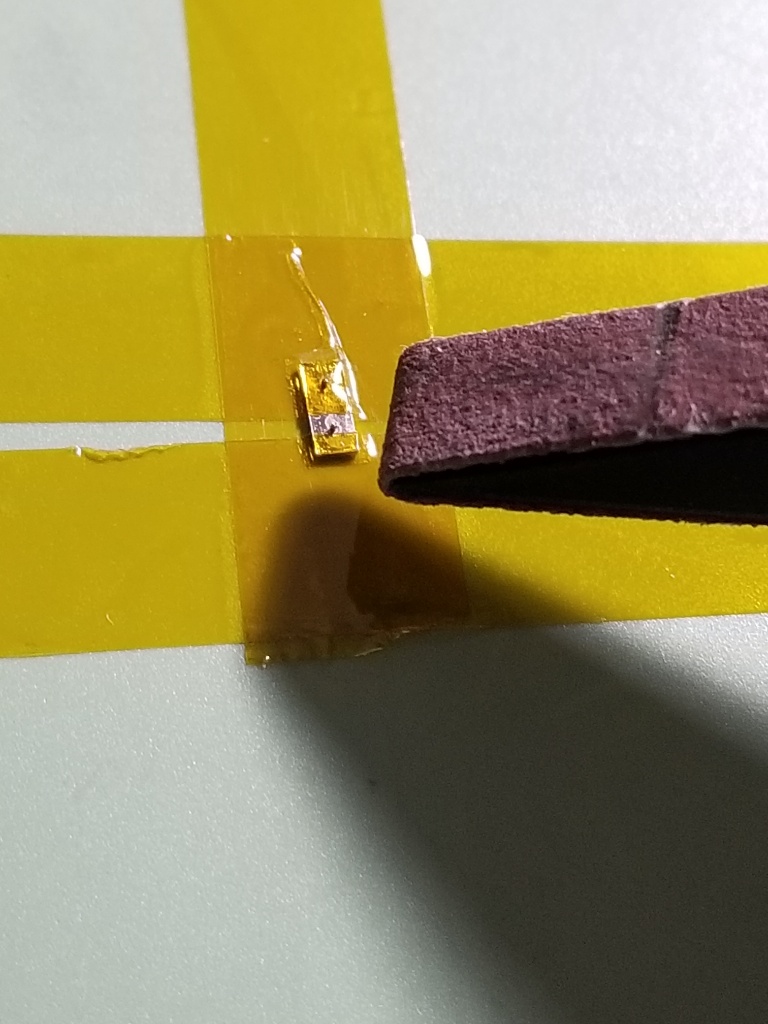
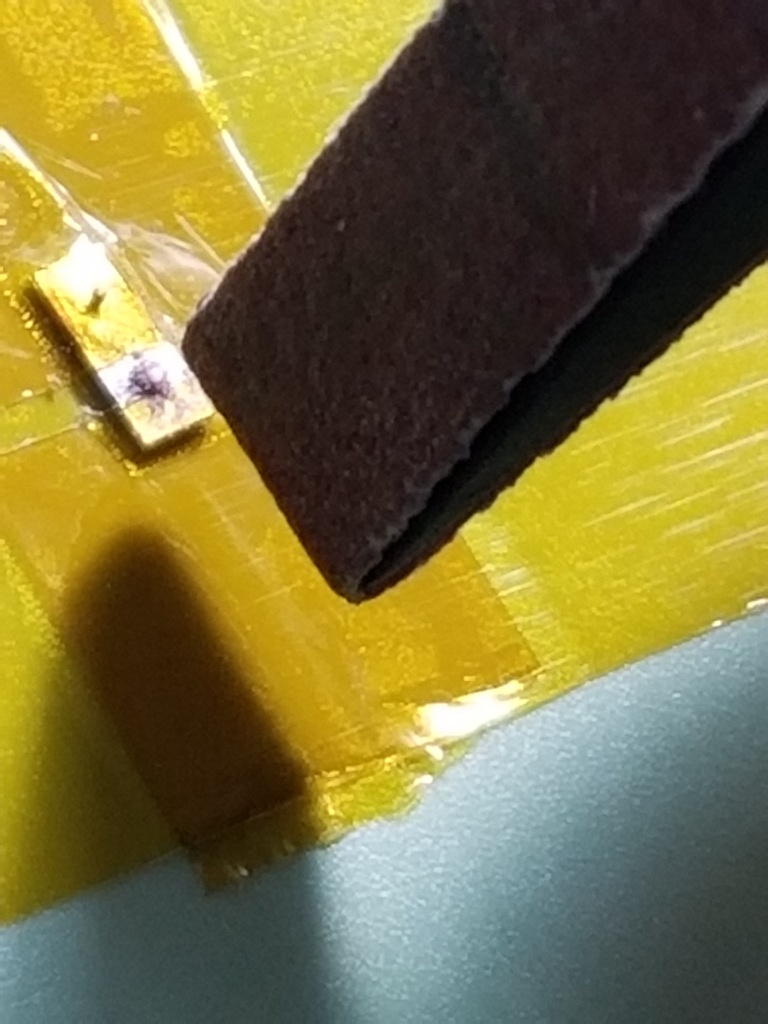
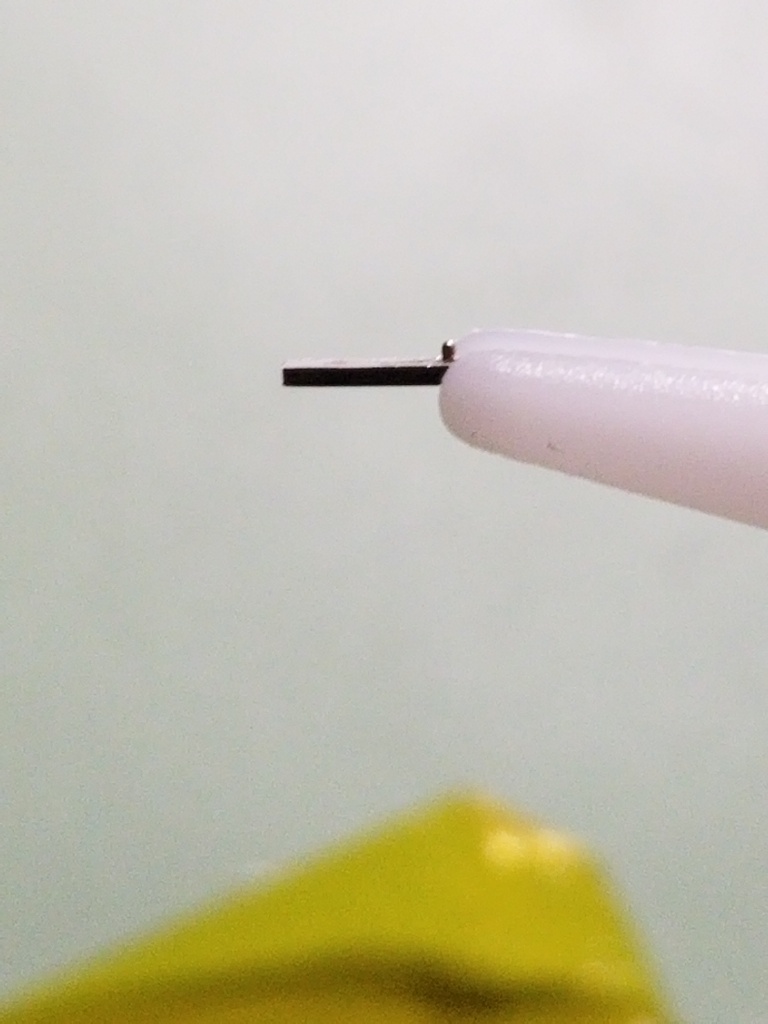
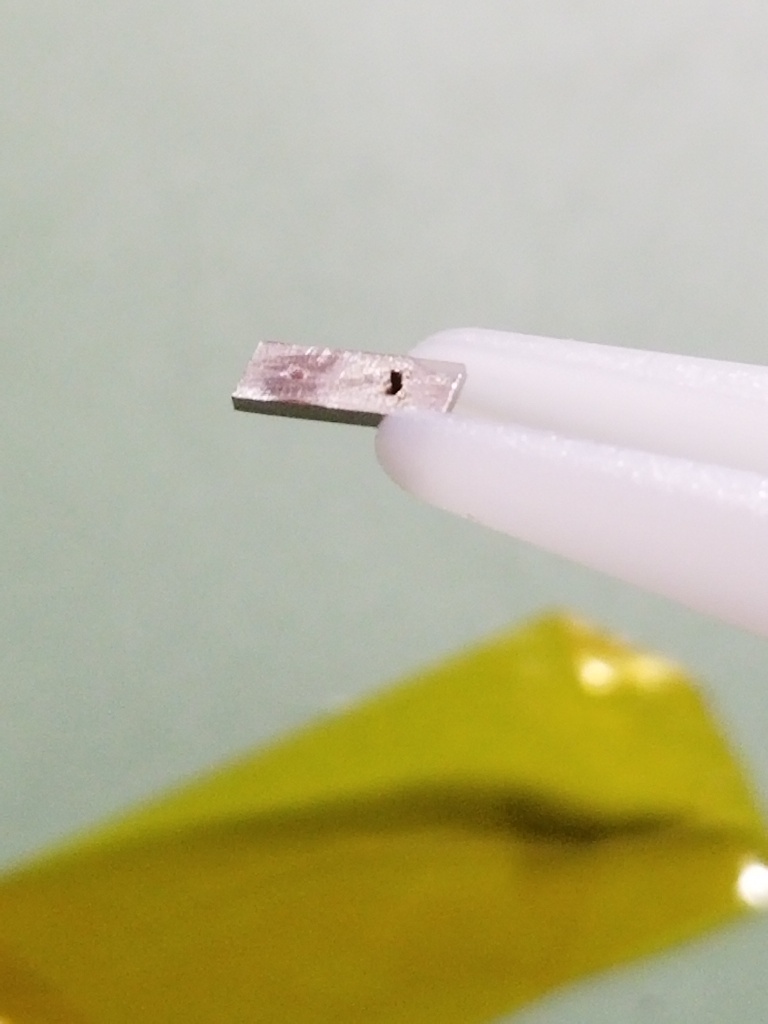
Tape the marker down and sand or file one pin off. You can clip some of the pin off with nail clippers.

ZiIisD.jpg


ZiIa9Y.jpg


ZiI2b2.jpg


ZiI1BS.jpg


ZiIObP.jpg


ZiIxjD.jpg


ZiI0uY.jpg


Next, clean up the markers with rodico and mix up some glue. I use BSI 30 min epoxy. I love the stuff, it gets thicker and doesn't run if you let it sit for 5 mins or so. You only need a tiny ribbon of glue. I make sure some goes in the hole where there is still a pin.
ZiIyUW.jpg


ZiI9RQ.jpg


ZiIoDk.jpg


ZiIL5E.jpg


Now for the money shot. Place the marker on top of the glue ribbon. You can use plastic tweezers or rodico. The 12 marker is very hard to hold with tweezers. Use a toothpick to restrain the marker while lifting the rodico away. Often you won't be lucky enough to get the pin in the hole right away but it should be close. Gently nudge the marker toward its proper place and when the pin is over or in the hole you can use a piece of dial protector or a hand tool to press the marker home. Then pivot the marker left or right so it's straight.
ZiIITJ.jpg


AFTER the markers are set and the epoxy is cured, add a small drop of glue on the dial underside. Let it ooze down the holes and harden a little, but DON'T leave it that way long as the glue can ooze past the marker on the dial side where the pin was removed.

ZiIPU4.jpg


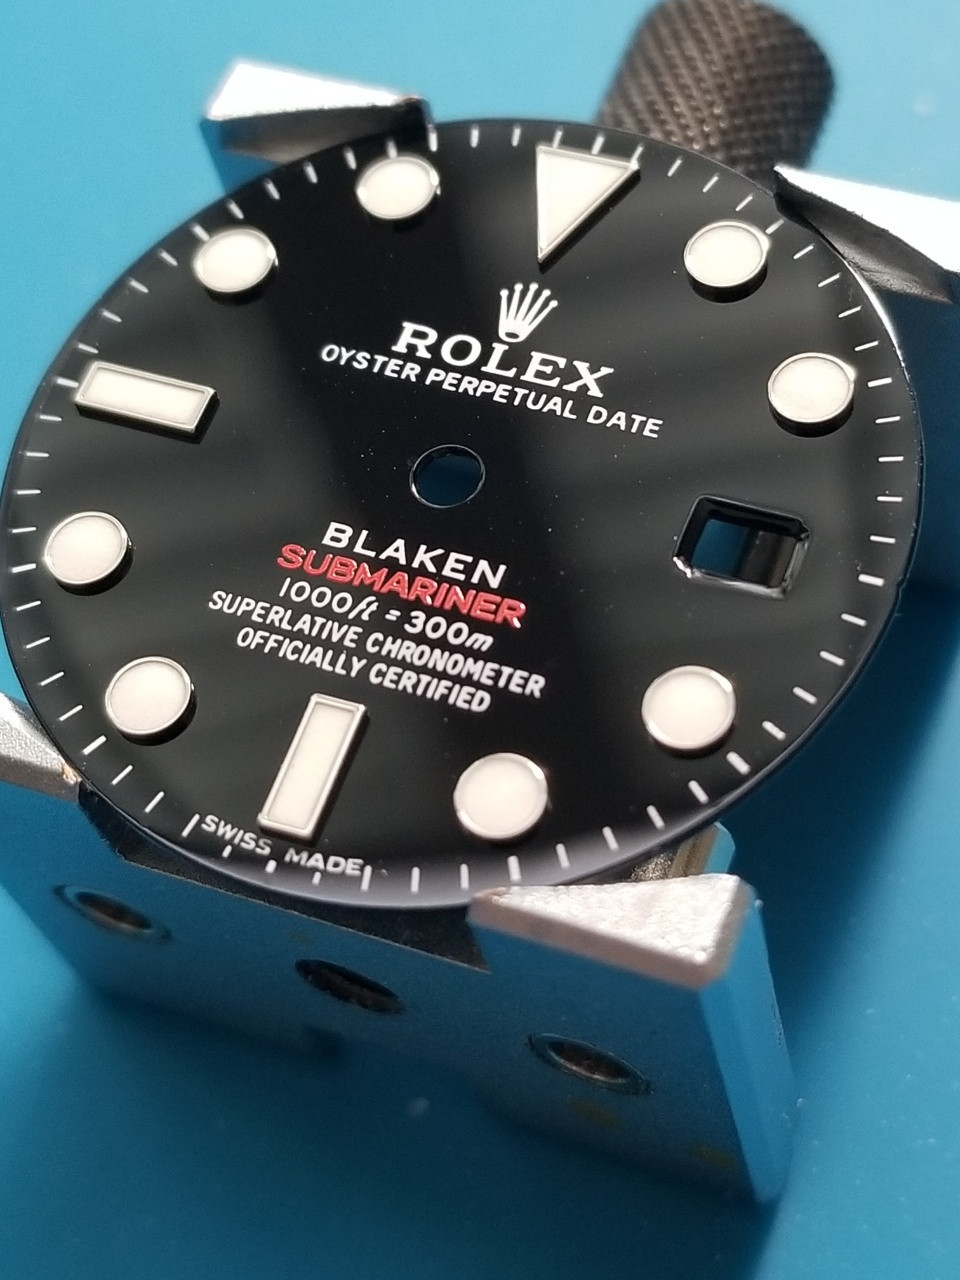
And voila, straight markers, yay!

ZiIeBn.jpg


ZiI5R3.jpg


Thanks for looking. Practice on a junk dial, it's not so hard to do.

ZiIpxj.jpg
 
Last edited:

shinynewbling25

aprilia
29/1/15
1,861
3,321
113
Where your daughter is
Thanks for this. For me the hard part is putting the hands back on. it's that darn second hand. I've only removed hands from 3 watches. Went smooth on one and the watch I actually cared about I cannot get that second hand on and bent it. It's a miyota 82xx series. If the hand pops back on the movement freezes. I don't get it. Anyway, excellent tutorial. Since you put glue on the front of the dial is this a one time only deal? Do you think it would work on the back side of the dial only?
 

KJ2020

Time Traveler
Supporter
12/3/18
35,674
71,350
113
Thanks for this. For me the hard part is putting the hands back on. it's that darn second hand. I've only removed hands from 3 watches. Went smooth on one and the watch I actually cared about I cannot get that second hand on and bent it. It's a miyota 82xx series. If the hand pops back on the movement freezes. I don't get it. Anyway, excellent tutorial. Since you put glue on the front of the dial is this a one time only deal? Do you think it would work on the back side of the dial only?

I wouldn't recommend underside glue only on this type of repair. You would have to put the right quantity of glue down the hole without a pin and wait for it to ooze to the front. Then turn the dial over and position the marker. Meanwhile the marker is hanging on by one pin, probably pulling away on the unpinned end. I guess you could tape the marker into a proper position, using other markers as tape anchors. But there's risk to the lume plots. Gluing on top is the best way.
 
  • Like
Reactions: kennygconspiracy

SS72

I'm Pretty Popular
Supporter
Certified
27/9/12
2,968
10,180
113
Australia
Thanks for putting the tutorial together while you did the repairs. Great work. Must be very satisfying.

I have a Noob Sea-Dweller like this and haven't bothered to fix it. Maybe I never will, but at least now I know what to refer to if I do.
 
  • Like
Reactions: KJ2020

scottiedog

I'm Pretty Popular
15/7/16
1,404
394
83
Awesome tutorial. Thankyou.

I didn’t know it was glue on the rear holding the pins, I thought they were brazed or something similar. Are Gen dials the same?
 
Last edited:
  • Like
Reactions: KJ2020

kennygconspiracy

I'm Pretty Popular
21/4/19
1,806
2,168
113
Classic big bro KJ bringing in QUALITY CONTENT. Thank you for this!

Sent from my ONEPLUS A6003 using Tapatalk
 
  • Like
Reactions: KJ2020

p0pperini

patr0n h0arder
Staff member
Gold Patron
Global Moderator
Certified
29/1/19
9,537
34,688
113
UK
KJ2020 Only just read this top quality tutorial after you linked to it on a “ugh my marker is squiffy” post. Really excellent as usual, thanks!
 
  • Like
Reactions: KJ2020

KJ2020

Time Traveler
Supporter
12/3/18
35,674
71,350
113
It doesn't take much to throw off the whole look. If something just doesn't look right there's a reason.

Ha8SDk.jpeg


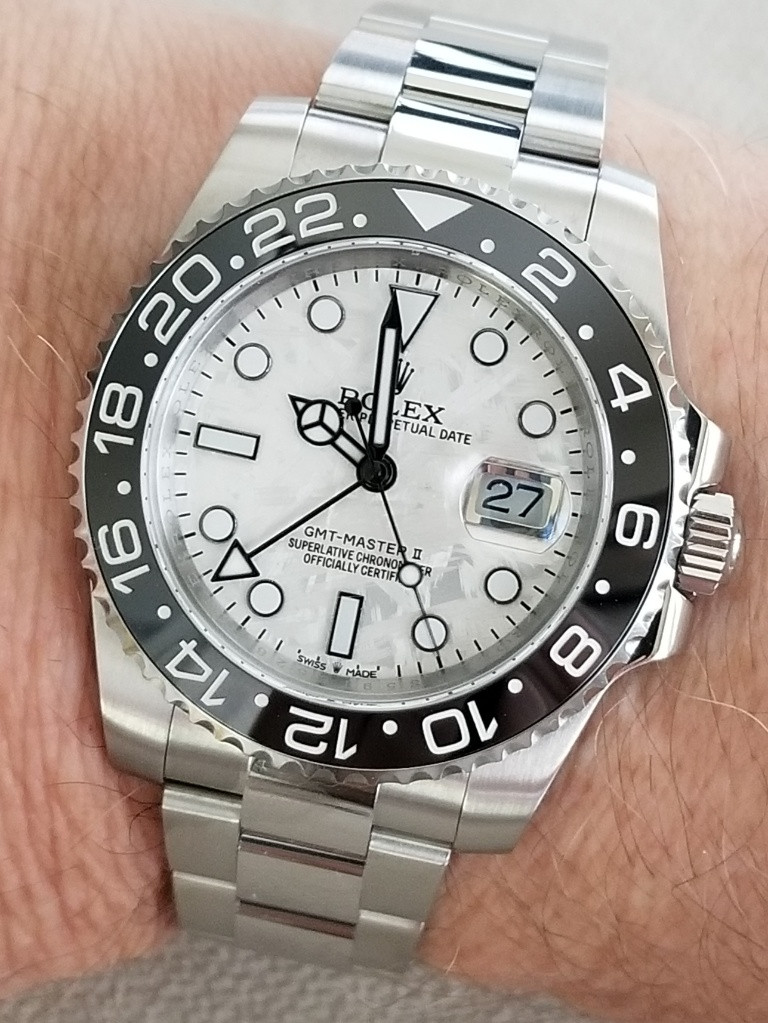
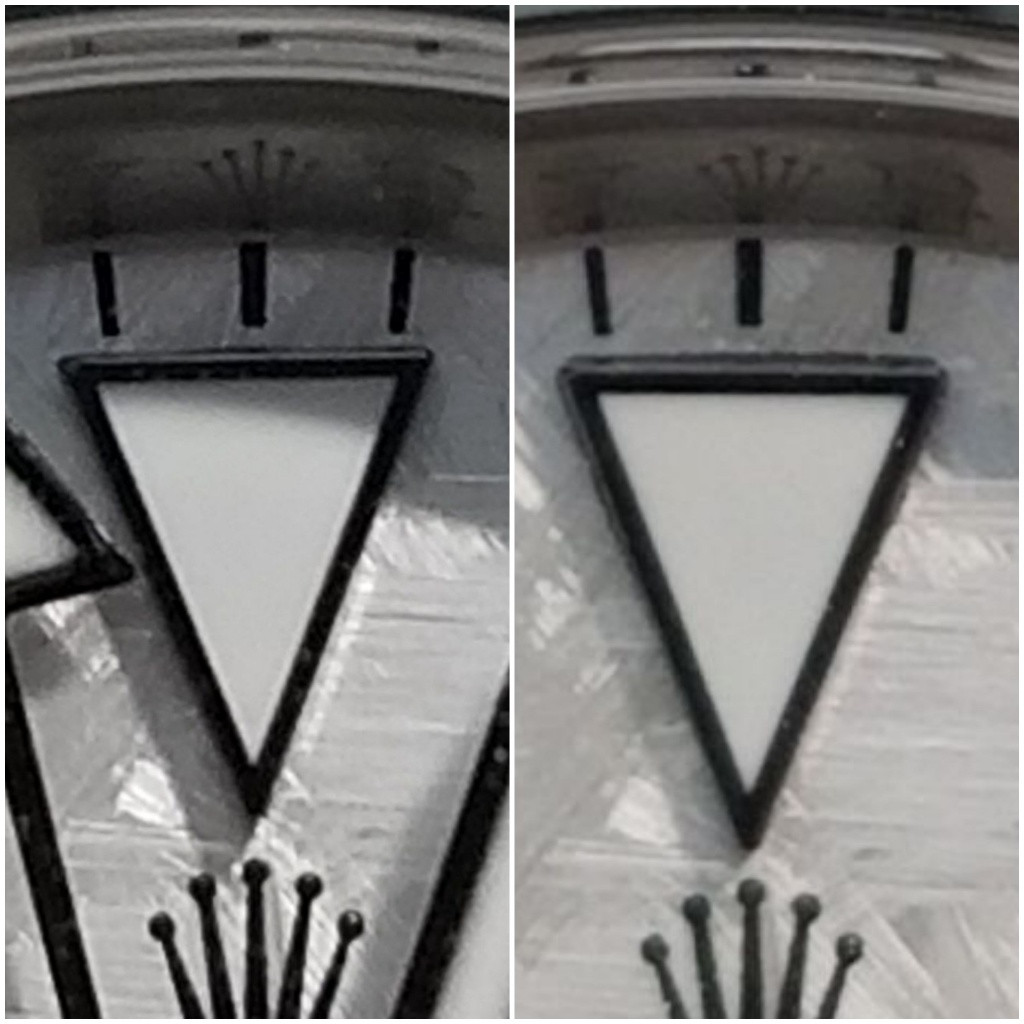
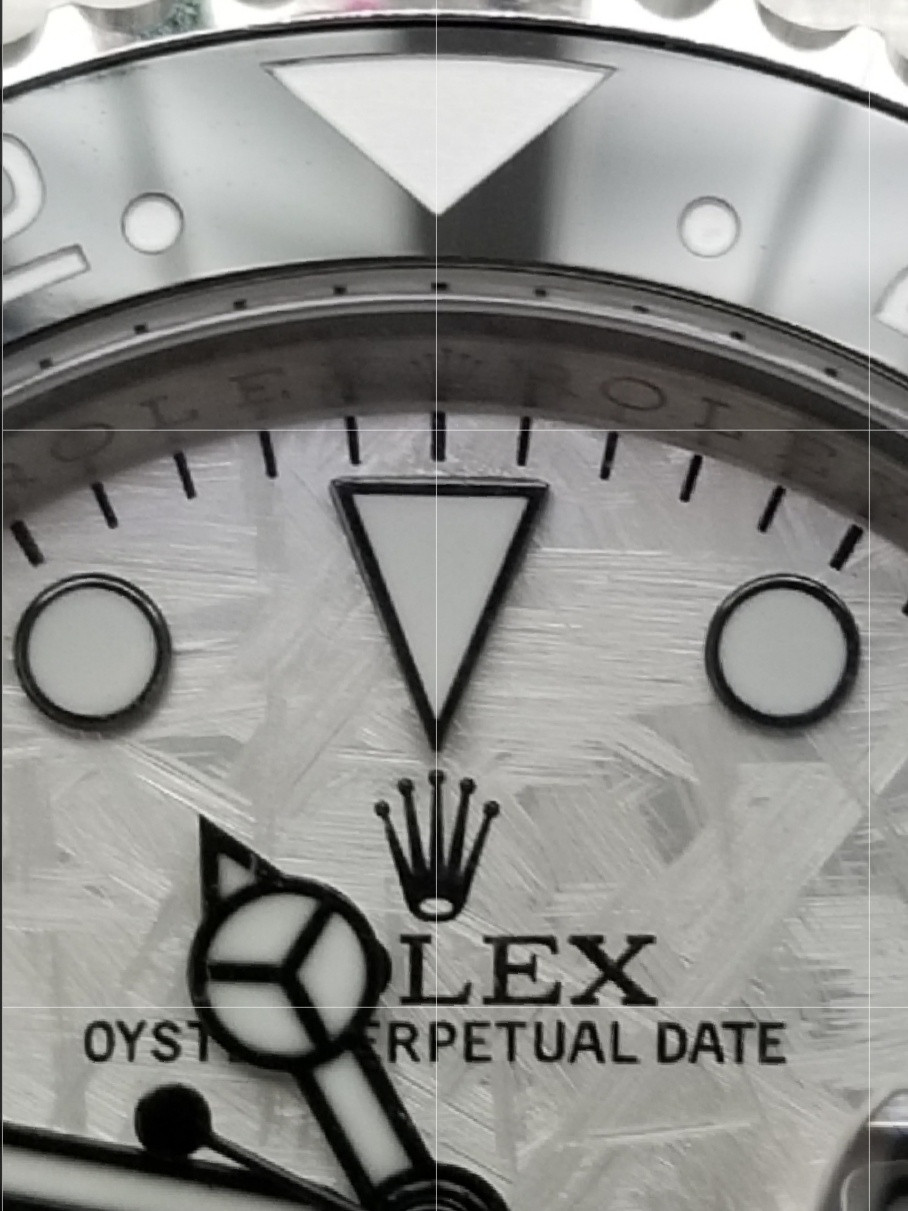
I got lucky and was able to fix this without taking the dial off, only because I had glued the markers on initially and there were no pins on the triangle. I put a blunted toothpick behind a lens cloth for cushioning and carefully applied force on one side of the triangle. There was significant resistance (good news for my gluing technique) but the marker popped off cleanly with no damage to dial, marker, or hands. Wow. Bad news is if I'd caught that the marker had sild a little before it cured, I could have saved myself the correction hassle. The insert had to be adjusted also but we do what we gotta do.

Ha8FsD.jpeg


HaroZp.jpeg
 
Last edited:

wisedennis

Looking for : NWBIG PAM, Noob Pam, DSN, pm me
Certified
11/11/22
1,394
2,821
113
CONUS USA
We've all gotten a rep with crooked markers. you swear you won't let it happen again and then it does, arghh.

So, what to do? Time for a little marker surgery.

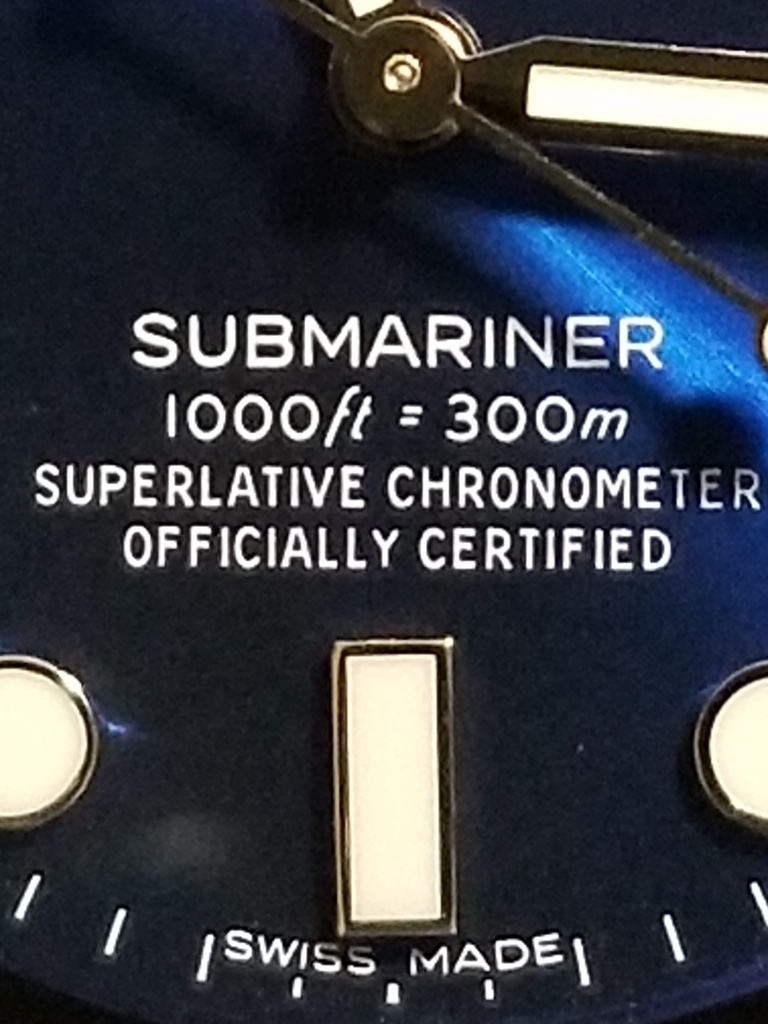
Here's the patient. The 6 marker is crooked anti-clockwise. The 12 marker is also - I would have let that one go but while I'm at it I decided to fix that one too. I like to look down the dial from a flat angle at rectangular markers. You can do this on a regular pic by holding your phone almost flat.
ZiIrs8.jpg


ZiI89R.jpg


ZiI6hL.jpg


Hands and dial have to come off
ZiIQqv.jpg


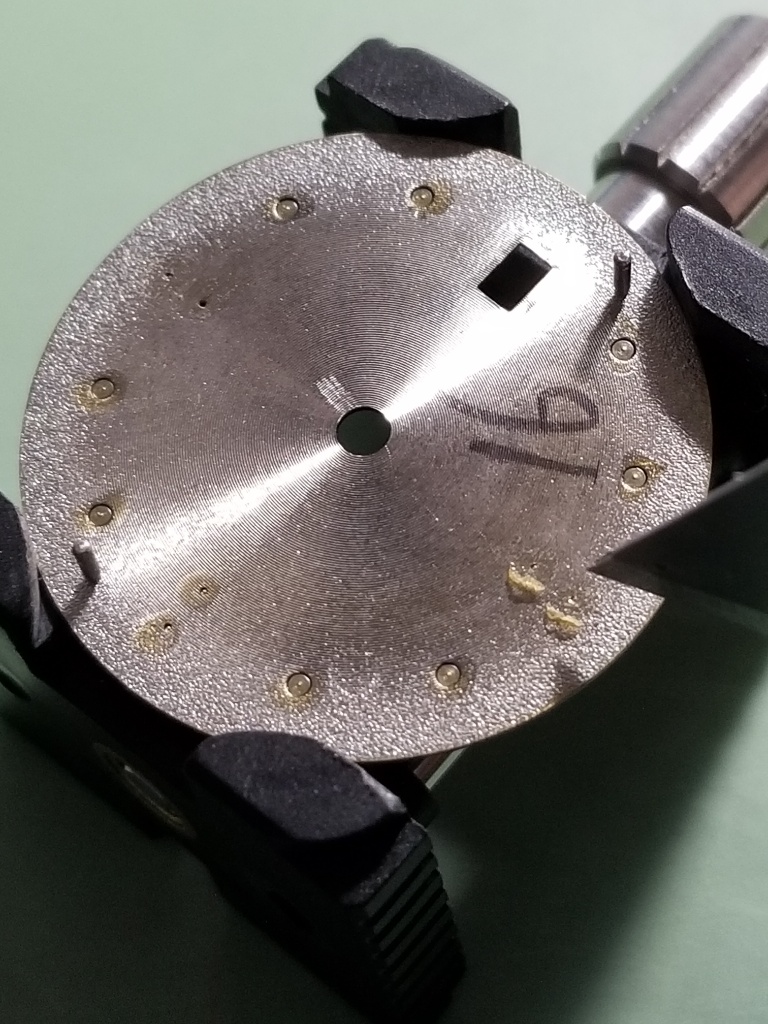
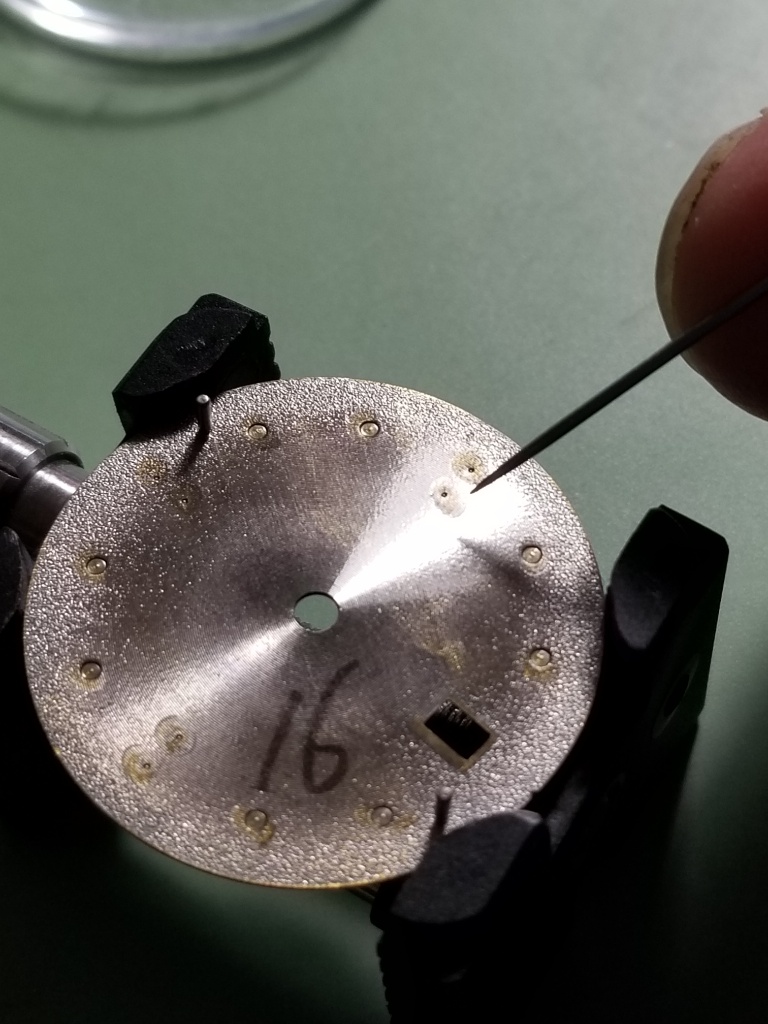
Scrape the glue off the back of the dial where the marker pins are then push the pins out with a needle
ZiIWKs.jpg


ZiIBZK.jpg


ZiIlX1.jpg


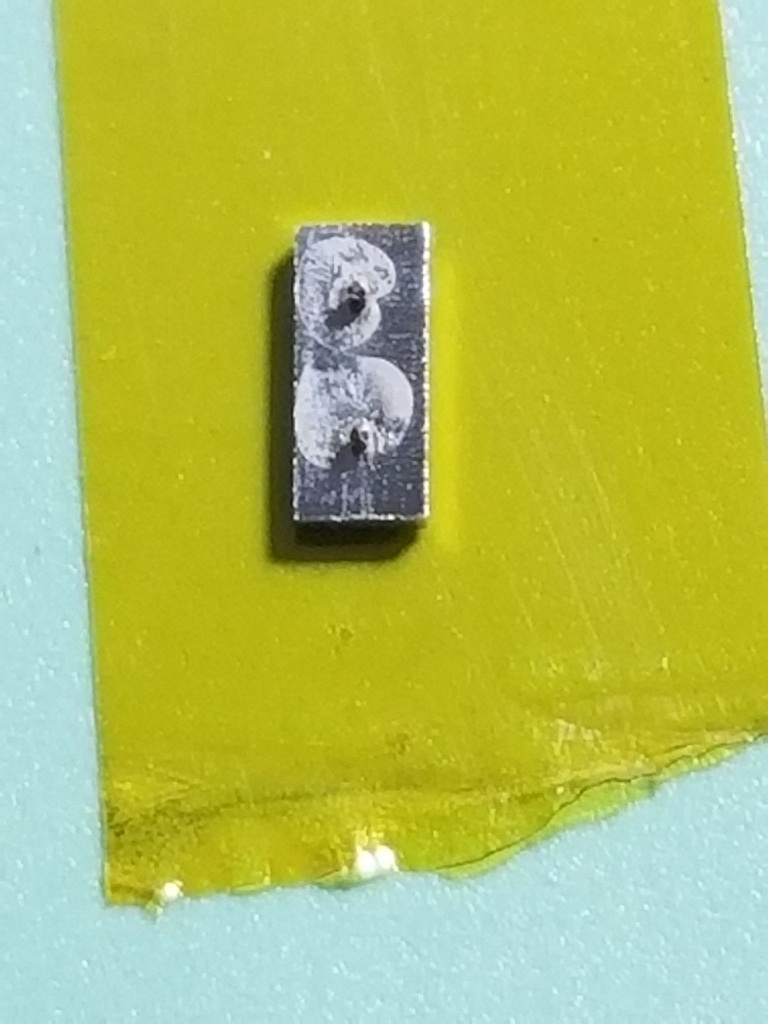
Then you need to assess why the marker was crooked and decide which pin to remove. Sometimes the pins are offset on the marker.
ZiIqqo.jpg


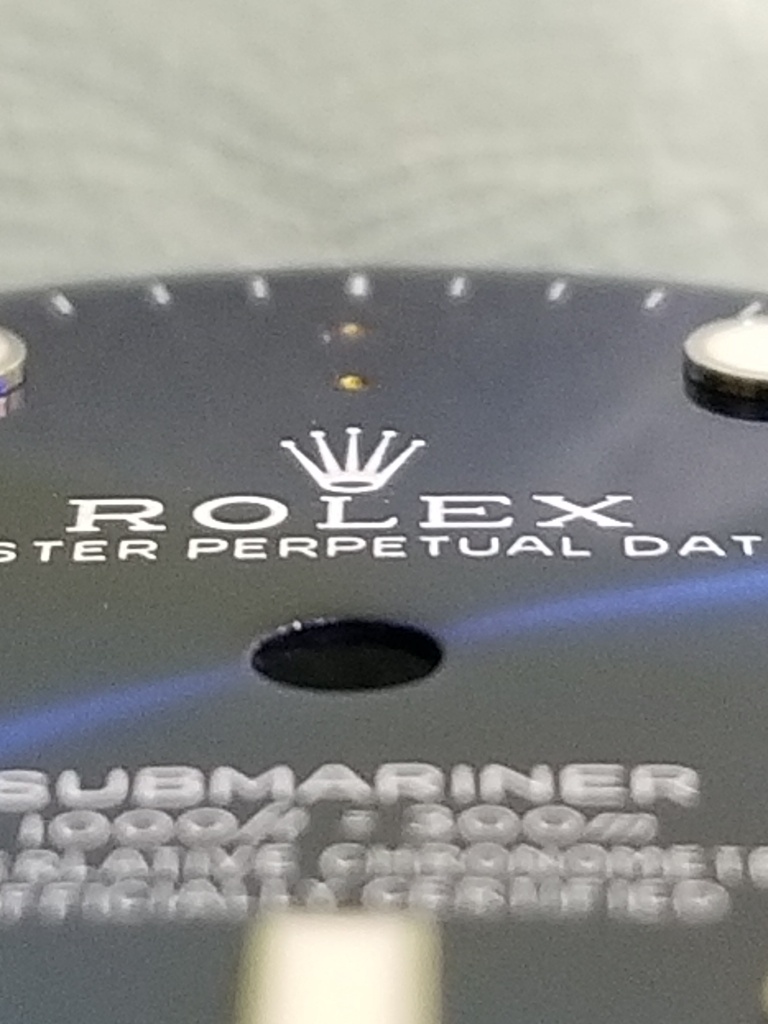
Sometimes the holes in the dial aren't aligned
ZiIffn.jpg


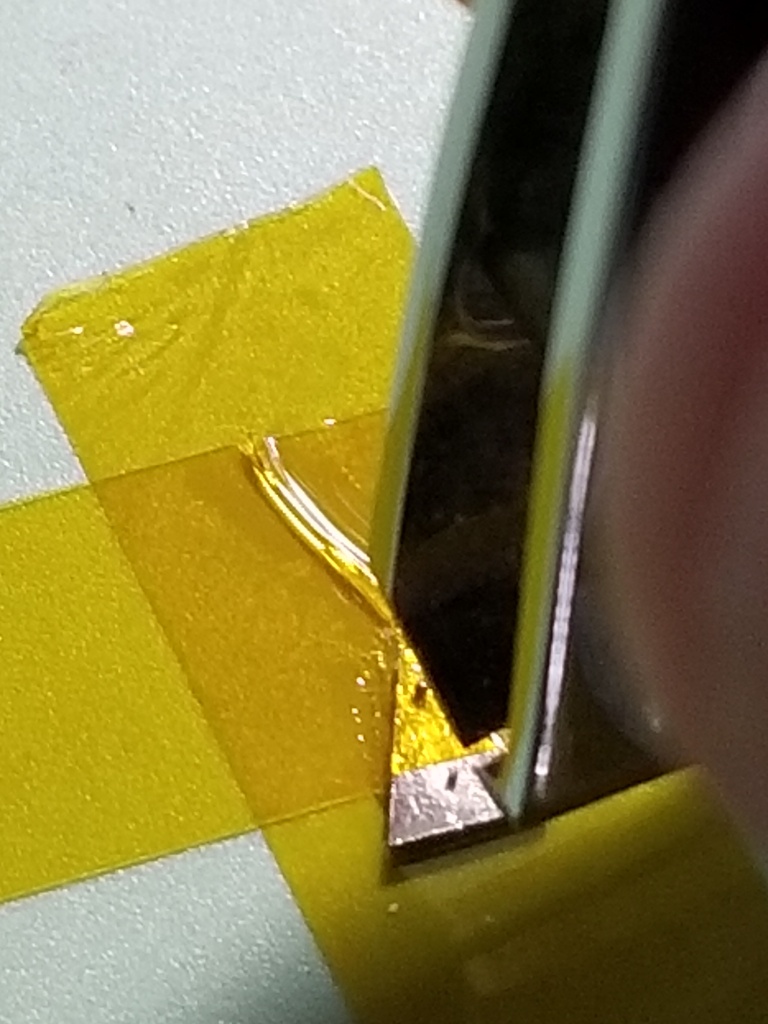
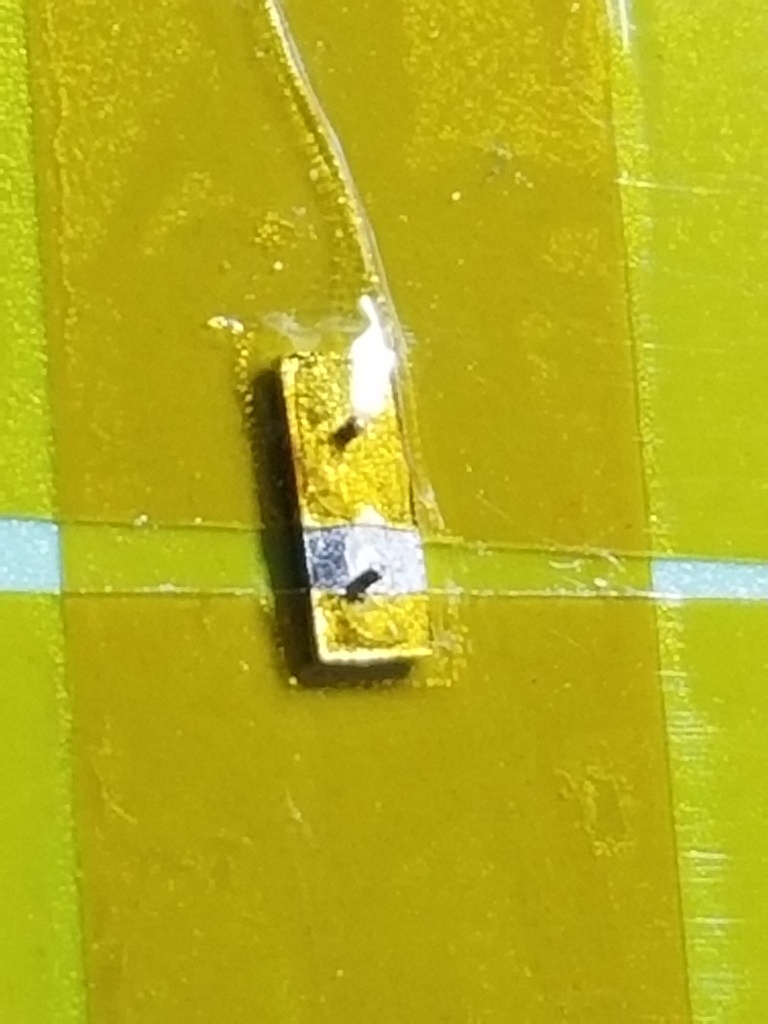
Next you need to remove the pin that gives you the best chance of straightening the marker by pivoting it about the remaining pin.

Tape the marker down and sand or file one pin off. You can clip some of the pin off with nail clippers.
ZiIisD.jpg


ZiIa9Y.jpg


ZiI2b2.jpg


ZiI1BS.jpg


ZiIObP.jpg


ZiIxjD.jpg


ZiI0uY.jpg


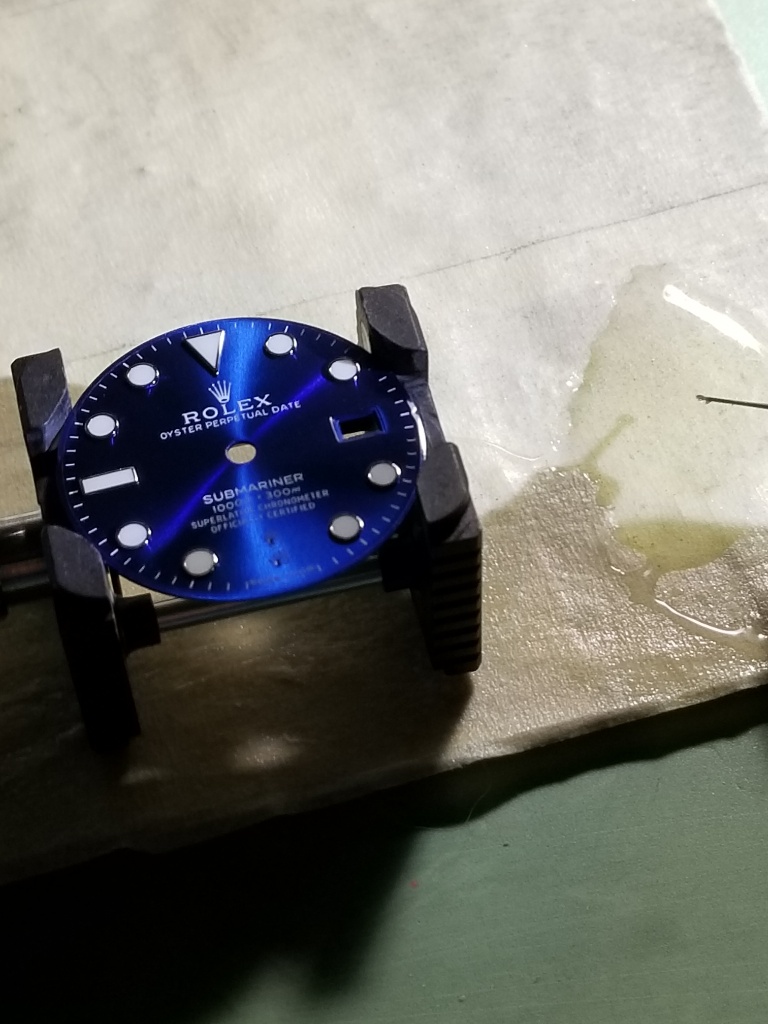
Next, clean up the markers with rodico and mix up some glue. I use BSI 30 min epoxy. I love the stuff, it gets thicker and doesn't run if you let it sit for 5 mins or so. You only need a tiny ribbon of glue. I make sure some goes in the hole where there is still a pin.
ZiIyUW.jpg


ZiI9RQ.jpg


ZiIoDk.jpg


ZiIL5E.jpg


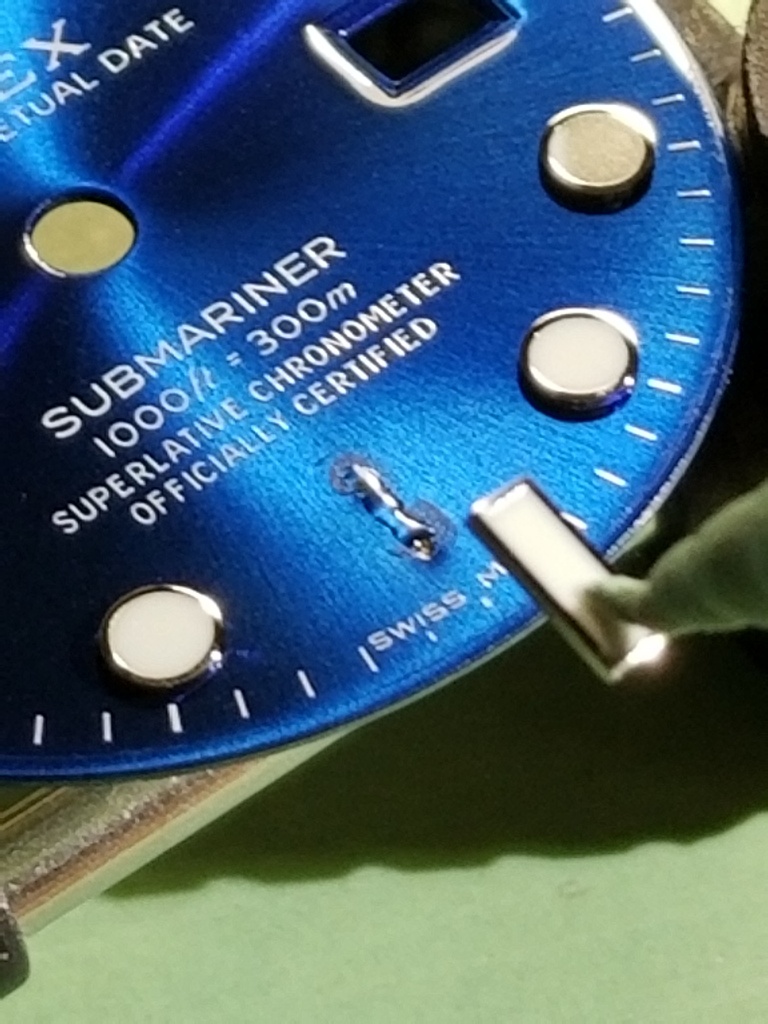
Now for the money shot. Place the marker on top of the glue ribbon. You can use plastic tweezers or rodico. The 12 marker is very hard to hold with tweezers. Use a toothpick to restrain the marker while lifting the rodico away. Often you won't be lucky enough to get the pin in the hole right away but it should be close. Gently nudge the marker toward its proper place and when the pin is over or in the hole you can use a piece of dial protector or a hand tool to press the marker home. Then pivot the marker left or right so it's straight.
ZiIITJ.jpg


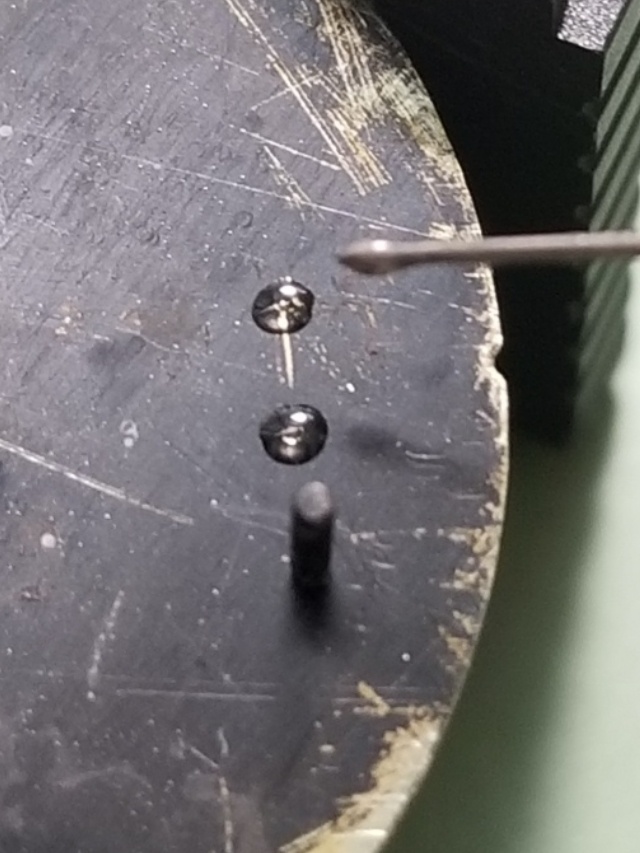
AFTER the markers are set and the epoxy is cured, add a small drop of glue on the dial underside. Let it ooze down the holes and harden a little, but DON'T leave it that way long as the glue can ooze past the marker on the dial side where the pin was removed.
ZiIPU4.jpg


And voila, straight markers, yay!

ZiIeBn.jpg


ZiI5R3.jpg


Thanks for looking. Practice on a junk dial, it's not so hard to do.
ZiIpxj.jpg

was looking for this surgery post for a while

eventually found it and saved for future reference

thanks @KJ2020 brother
 
  • Like
Reactions: KJ2020

daytonadude

I'm Pretty Popular
Patron
Certified
11/2/23
2,035
2,425
113
CONUS
Any tips on removing a tiny tiny bit of epoxy that got on a dial?
 

KJ2020

Time Traveler
Supporter
12/3/18
35,674
71,350
113
Any tips on removing a tiny tiny bit of epoxy that got on a dial?
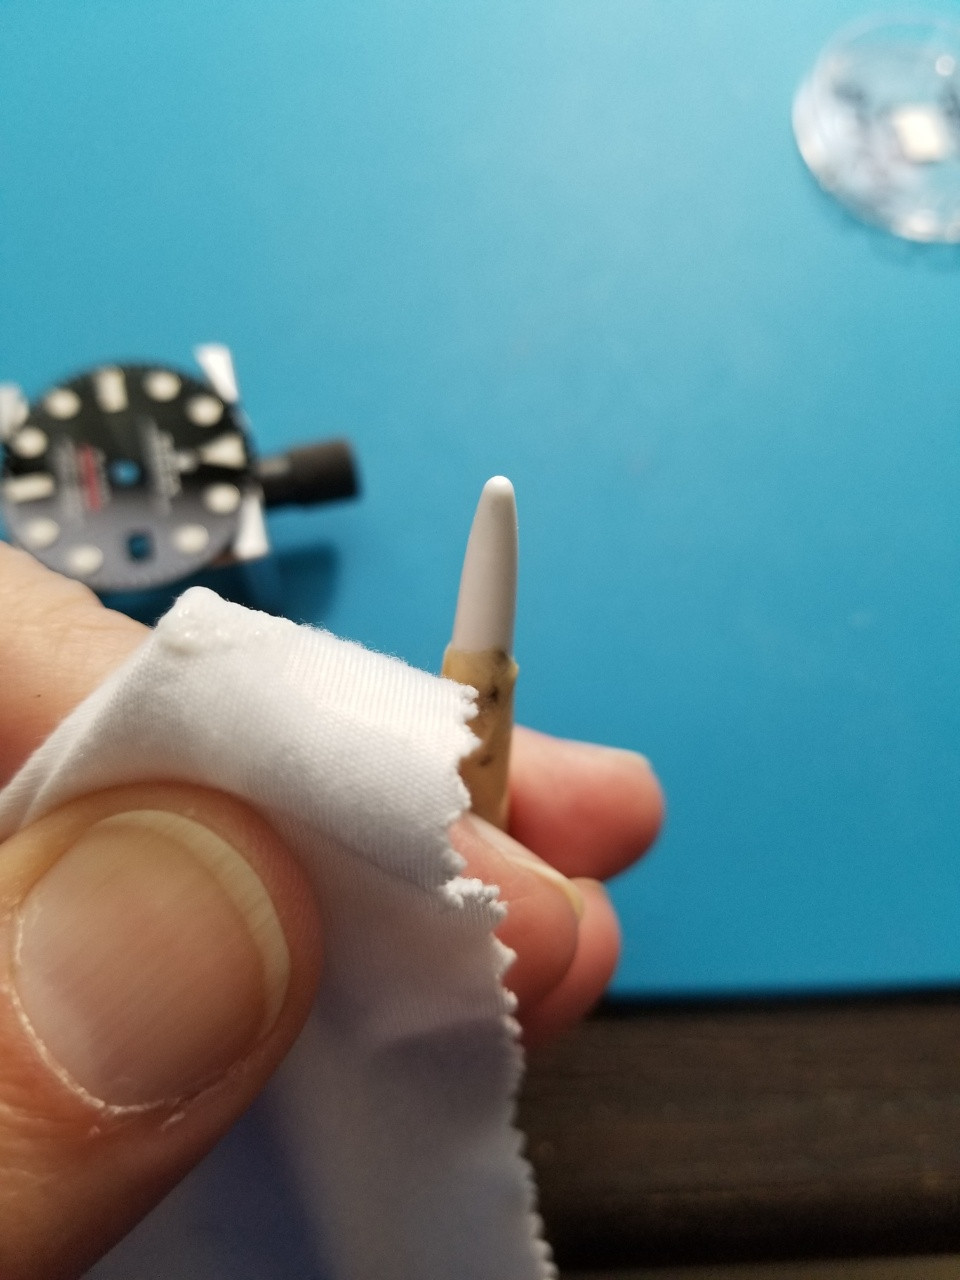
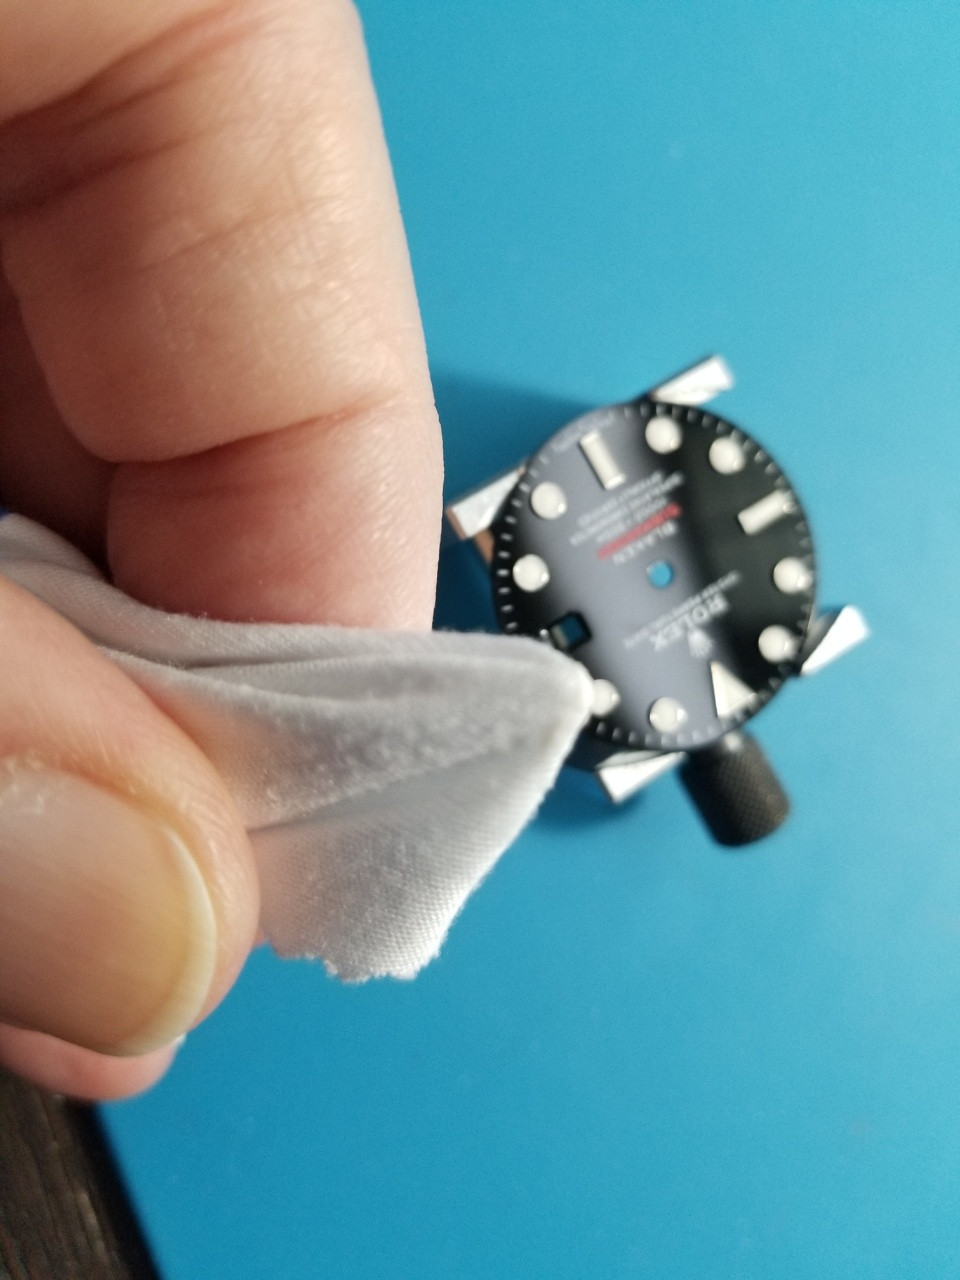
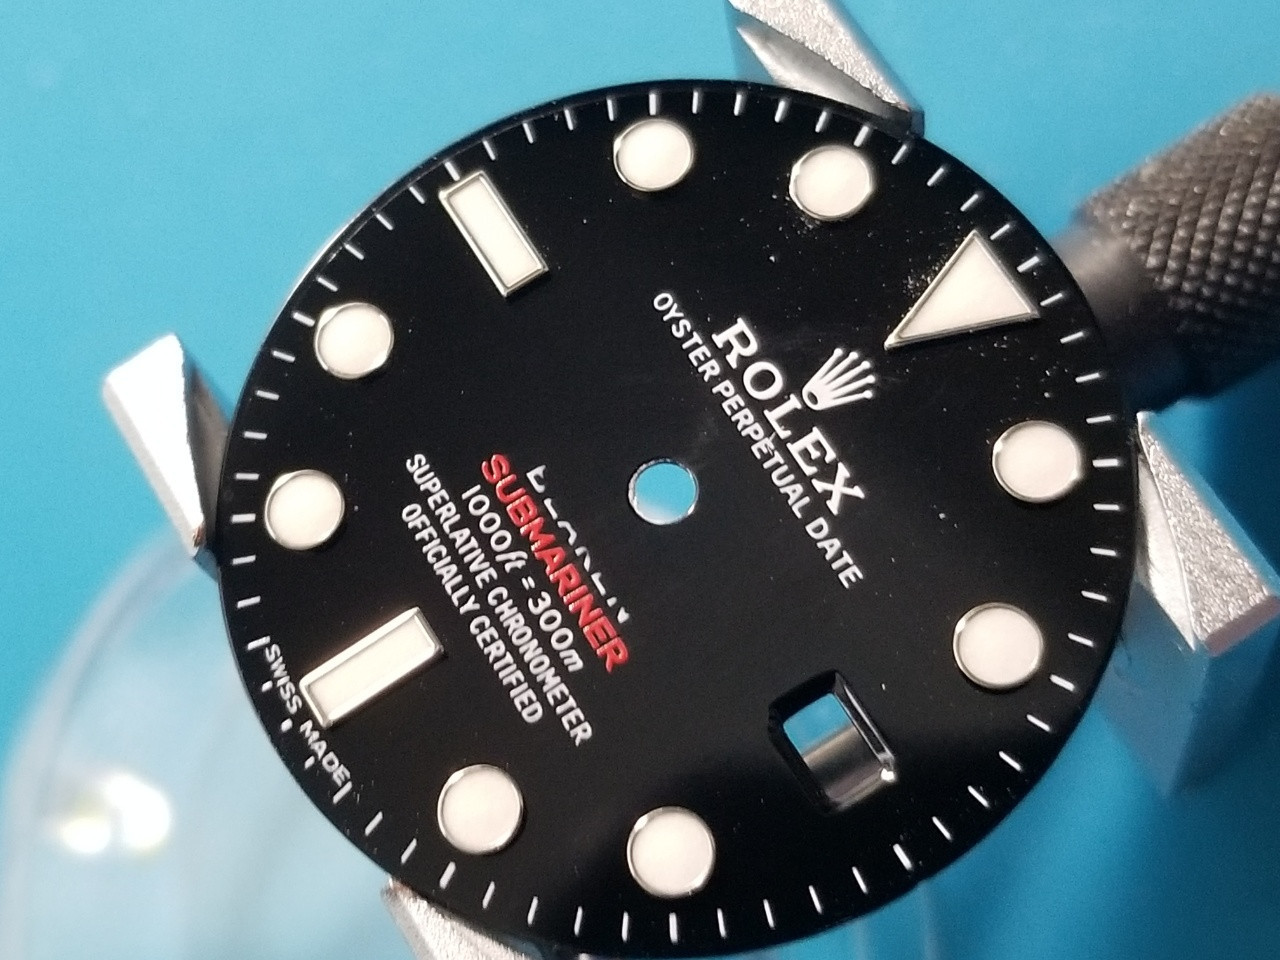
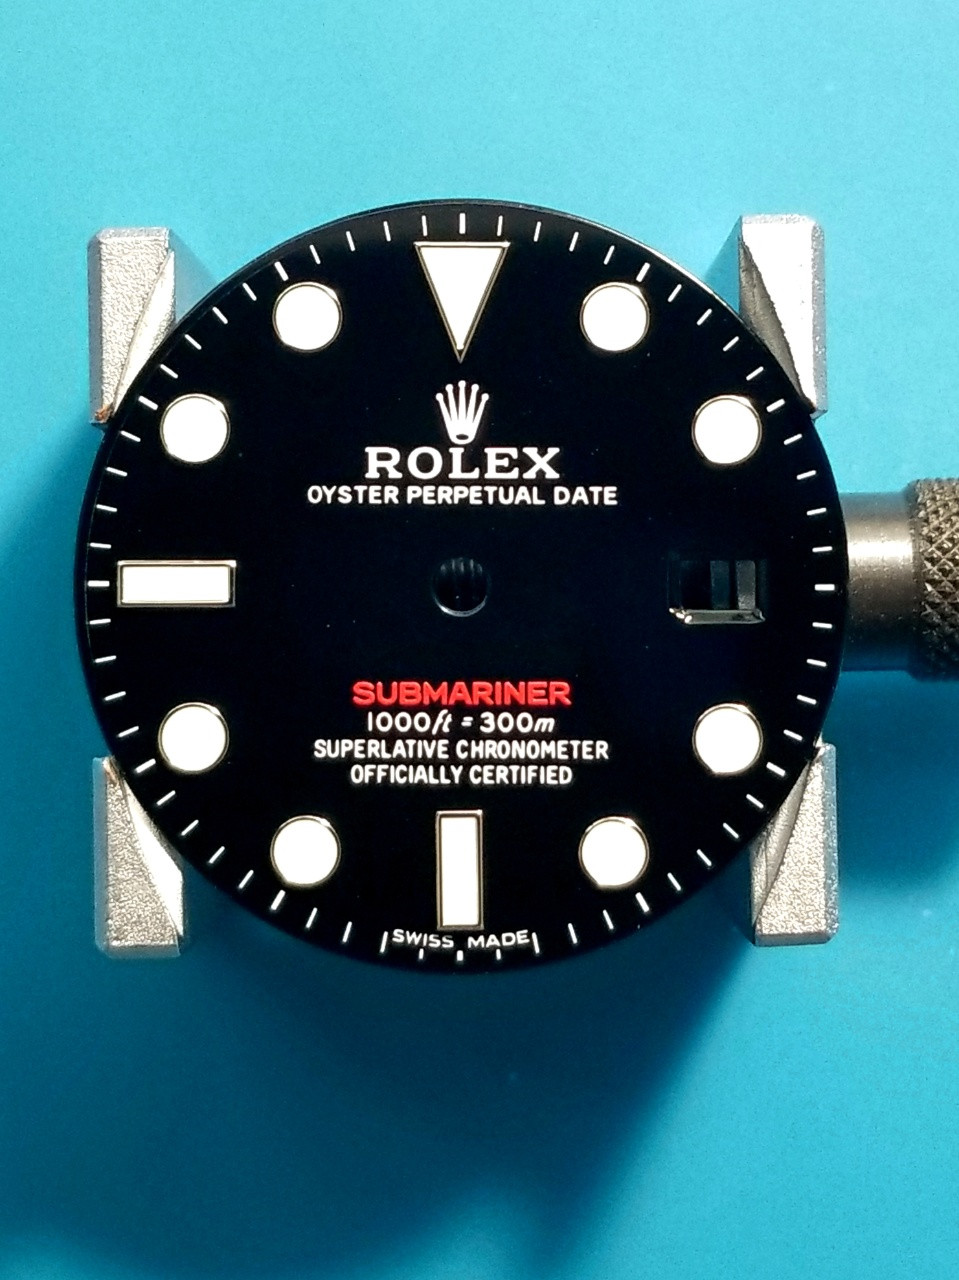
I've had that happen. If it's still wet it will come off cleanly with a soft cloth slightly dampened with ISO alcohol. BUT, you can't get alcohol on any printing. This includes minute tics.

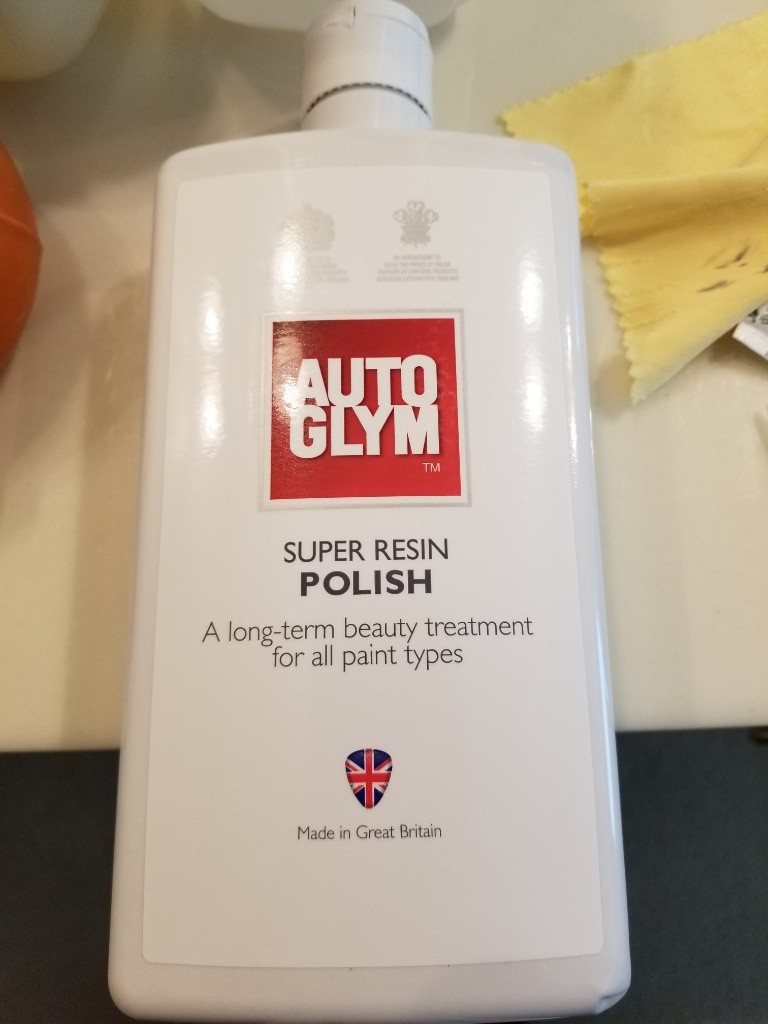
If it's dry some auto wax should take it off. This is a risky attempt, so practicing on a junk dial is advised. I use a British product called Auto Glym. You can use it over printing if you don't apply too much pressure. It's great for removing small scratches too.

H4SUDs.jpeg


hO9IQb.jpeg


hO9qWi.jpeg


hO9mxX.jpeg


A lot of constant pressure can actually remove printing. I took off some unwanted text this way.

hO9en1.jpeg


hO9aII.jpeg


hO9WZ4.jpeg


hO95uj.jpeg


hO9Lhv.jpeg
 

daytonadude

I'm Pretty Popular
Patron
Certified
11/2/23
2,035
2,425
113
CONUS
Thank you for your response. Do you think it would be ok on an AP 15202 dial?