• Tired of adverts on RWI? - Subscribe by clicking HERE and PMing Trailboss for instructions and they will magically go away!

How to fix crooked markers - DIY

KJ2020

Time Traveler
Supporter
12/3/18
35,388
69,792
113
Thank you for your response. Do you think it would be ok on an AP 15202 dial?
I've never tried it on anything but a smooth glossy dial. It is a polish, so it will make satin or matte finishes shinier. You said a "tiny" bit. If it's all on a plateau of the dial, this could work. If the glue also spans a valley it's probably not the best approach.

If attempting it, I would rub the glue blob with a tiny backing tool through a wax laden lens cloth. A good candidate for a tool is a post shaped spring bar tool whose diameter is reduced by sanding it down. I made one of these for pressing stem release buttons. The cloth needs to be thick enough so the tool doesn't poke through but thin enough not to rub against surrounding surfaces.

I have removed cured epoxy from a hand (long story how it got there) by gently brushing the blob with a tiny brush slightly damp with Acetone. After the blob softened I was able to pop it loose with a sewing needle point. No damage to the hand from either the Acetone or the needle point.

This kind of approach takes great patience, steady hands and some luck. Acetone is not normally damaging to hands - it's used to remove lume prior to re-luming. But if used on a dial it would have to be used so minimally (on top of the glue blob only) that chances for a removal without detection are pretty low. If I had a junk AP dial I'd love to put a glue blob on a plateau and see what I could do with it but I don't. I think the same technique of rubbing the glue blob with a tiny backing tool through a slightly damp Acetone laden lens cloth could work. Once the blob is sufficiently softened, it can be scraped away with a bevel tip toothpick or pegwood, optimistically without scratching the dial.
 
Last edited:

shaka69

Getting To Know The Place
6/8/24
16
12
3
We've all gotten a rep with crooked markers. you swear you won't let it happen again and then it does, arghh.

So, what to do? Time for a little marker surgery.

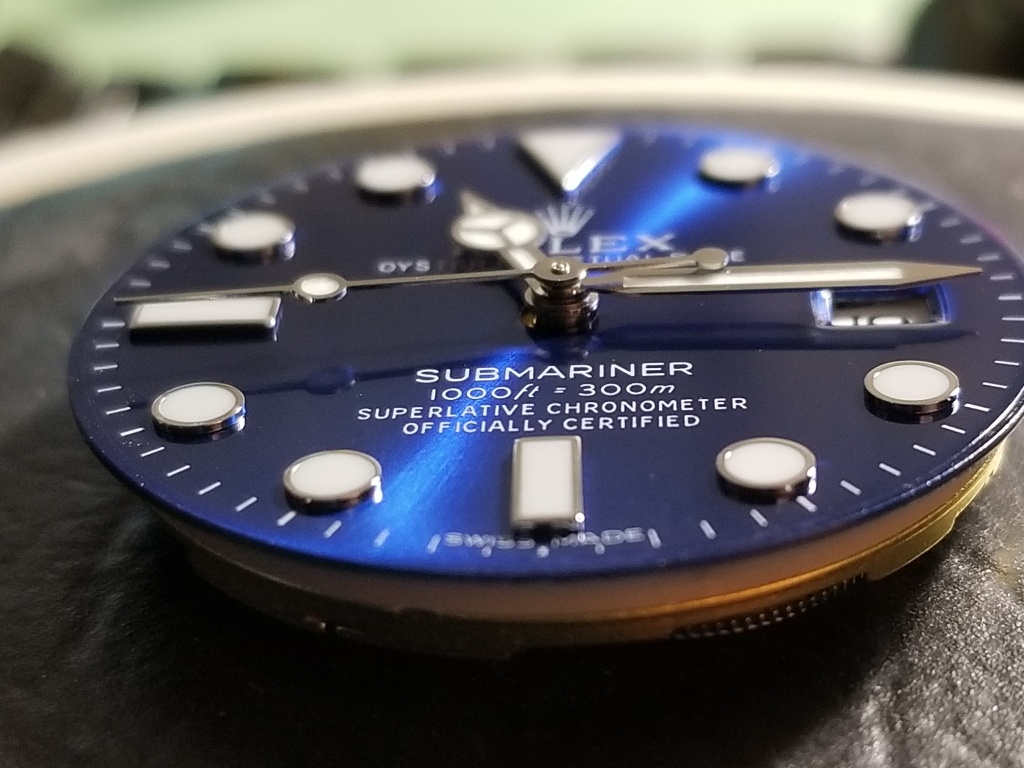
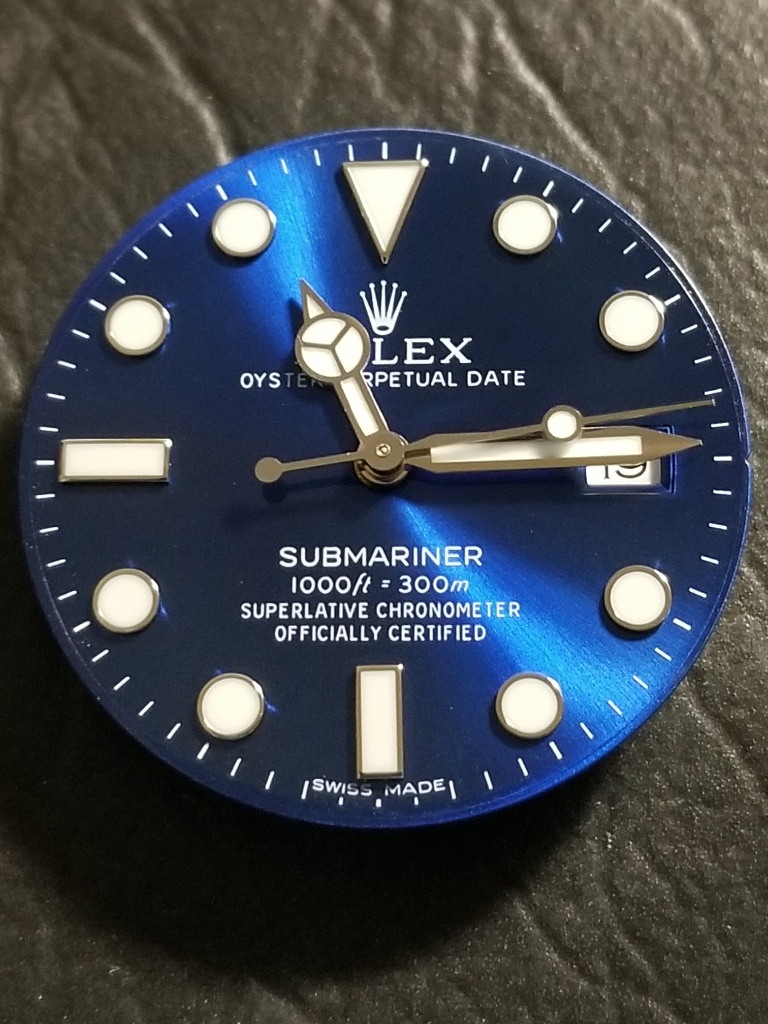
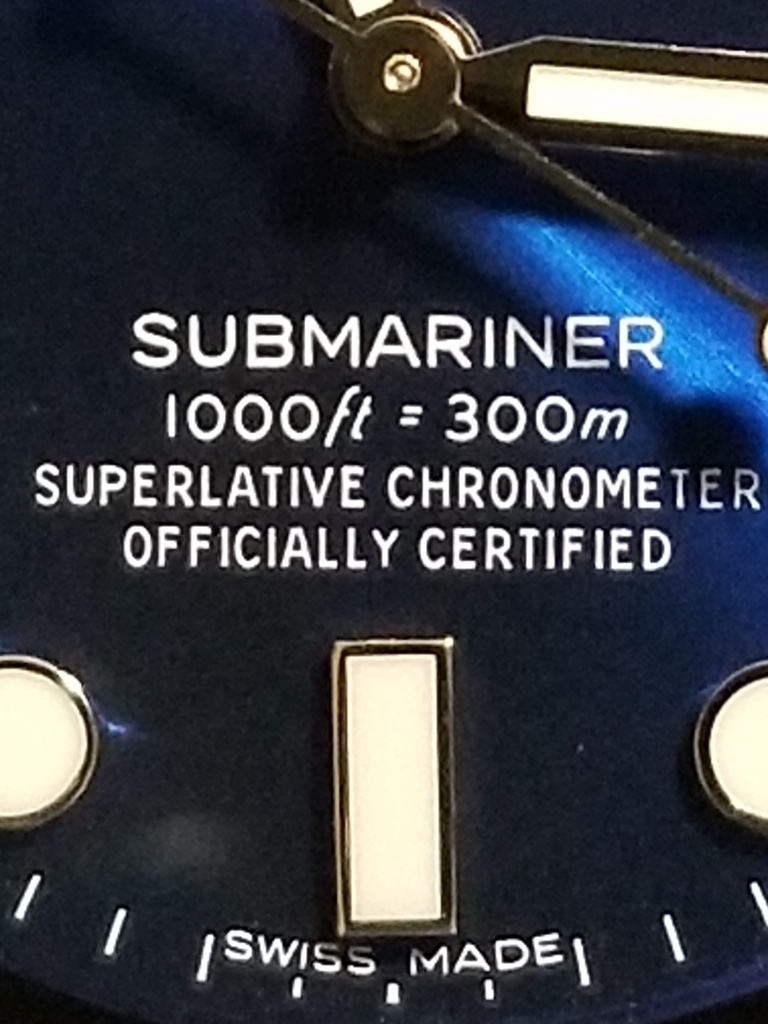
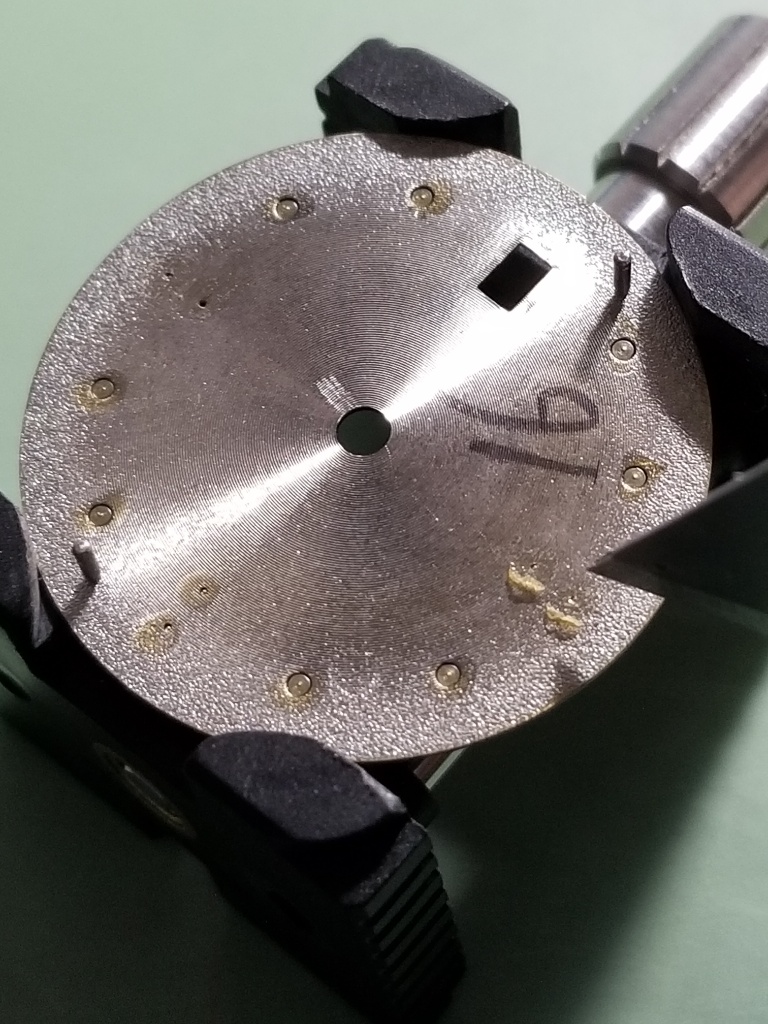
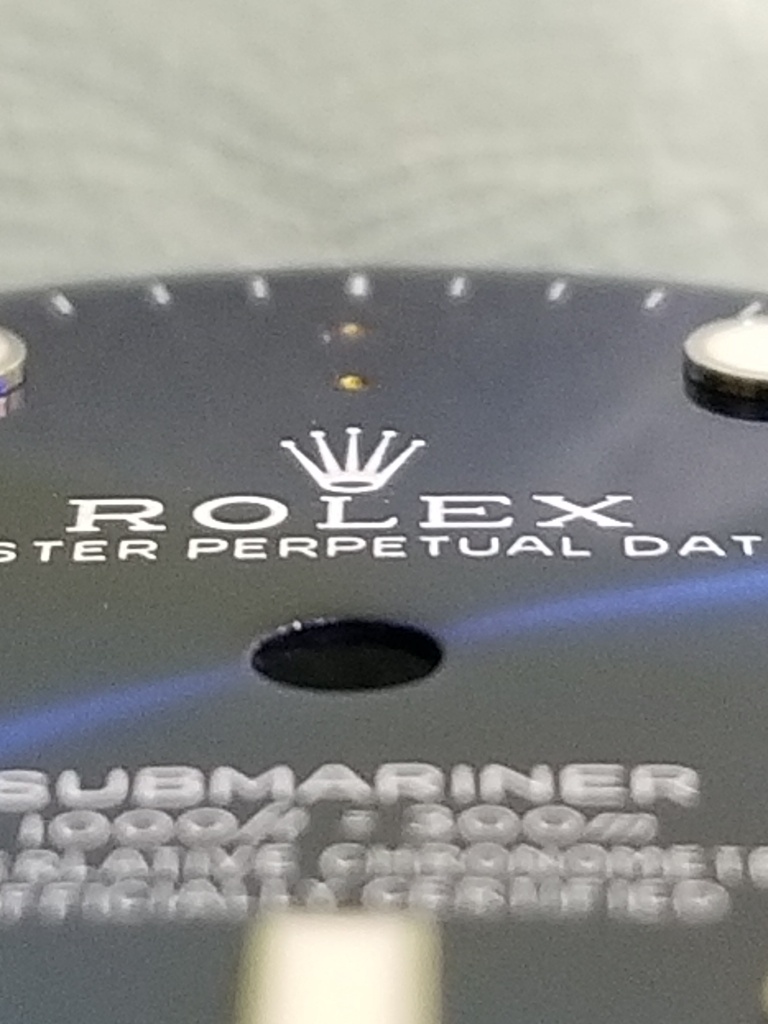
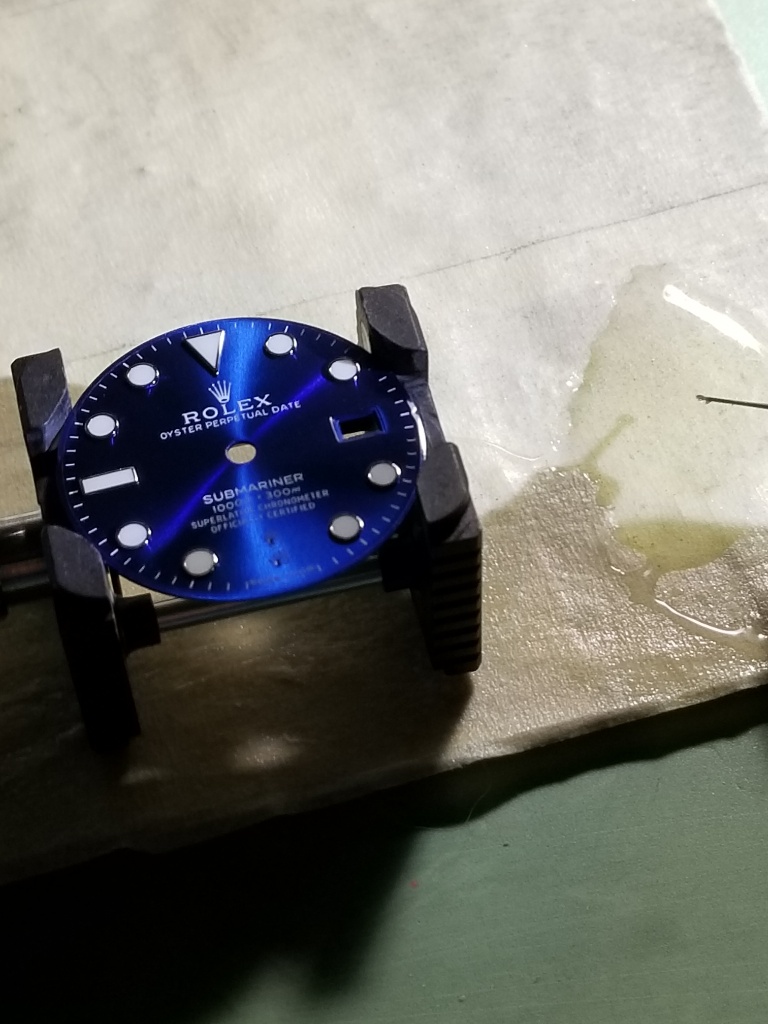
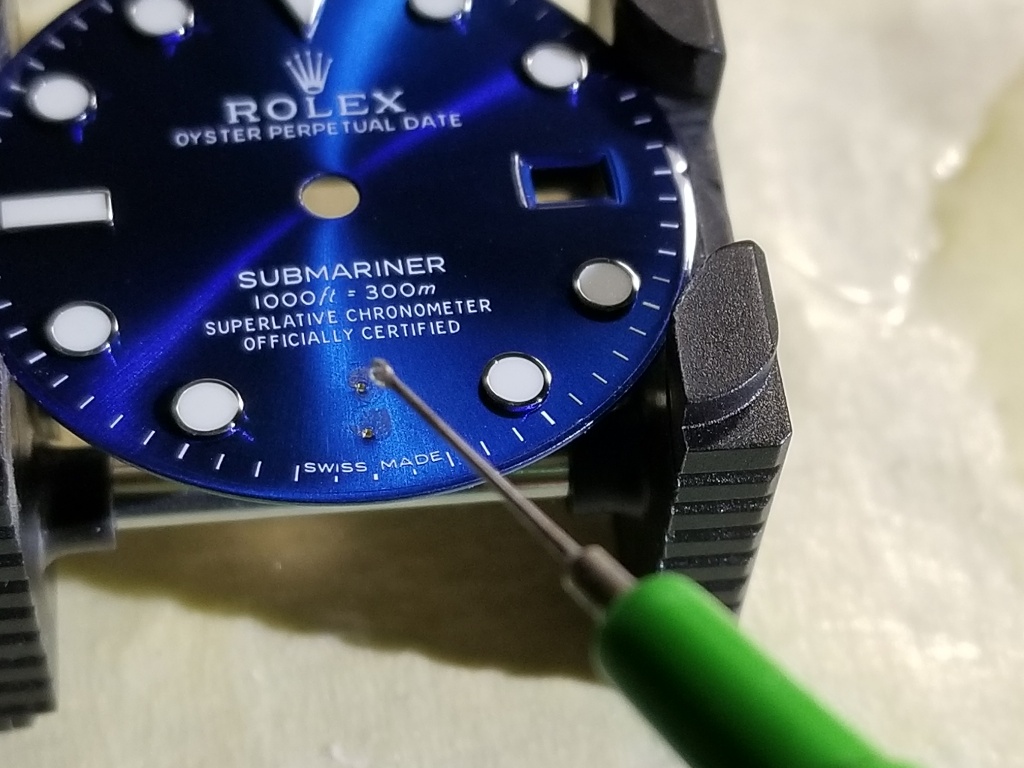
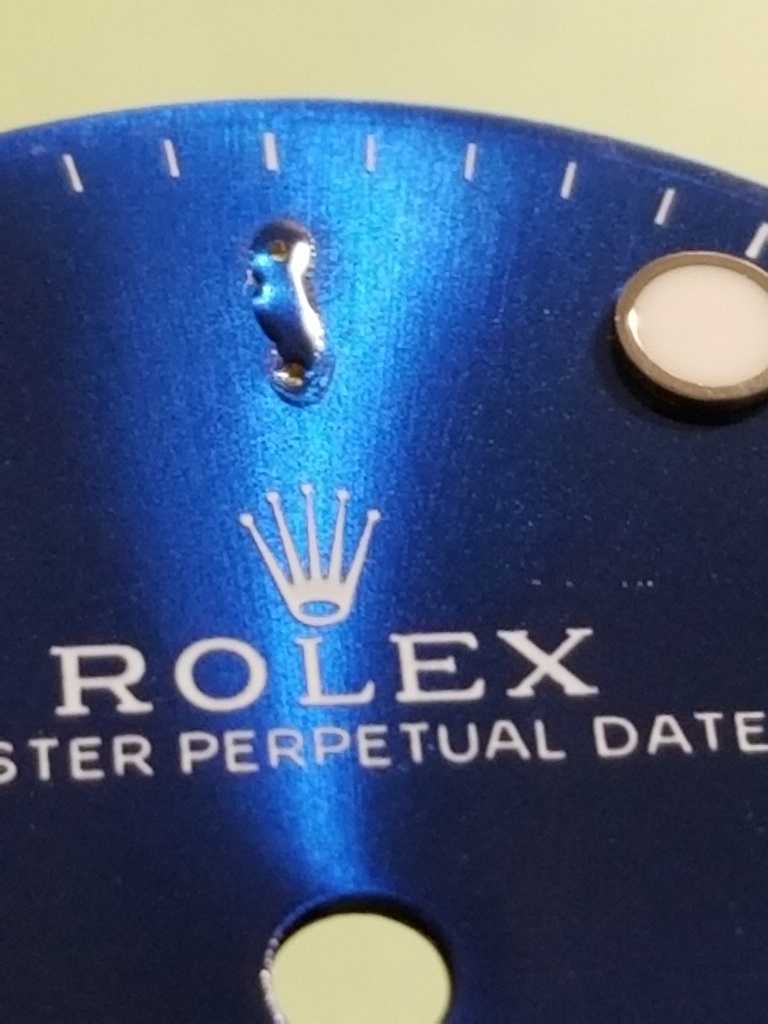
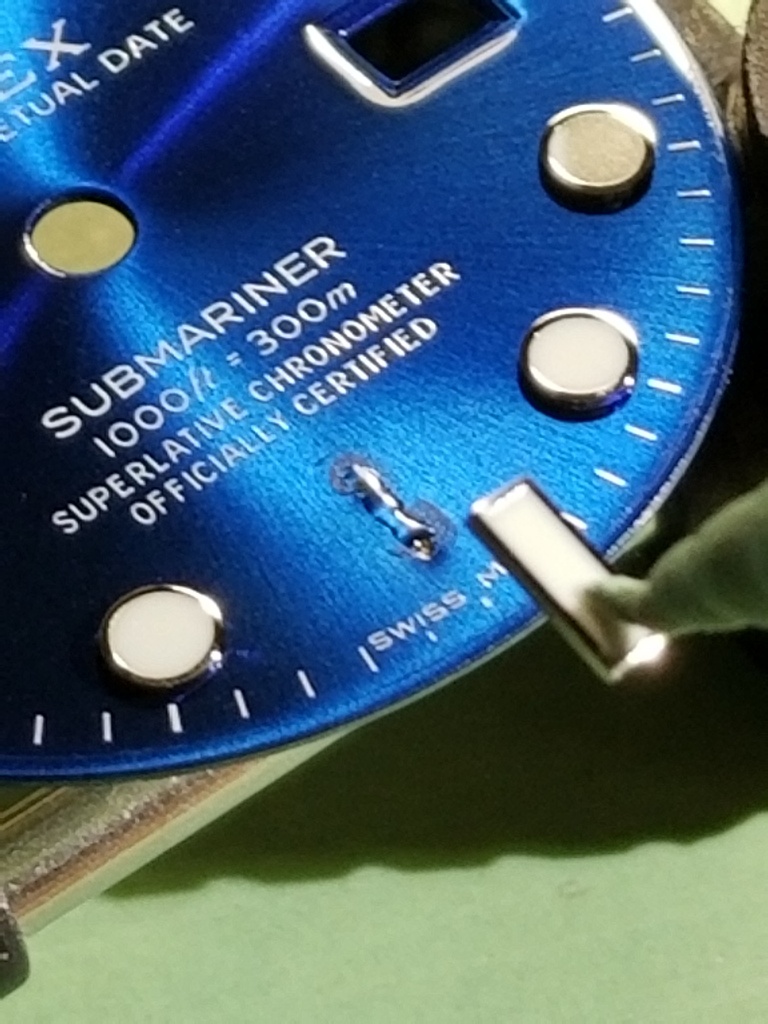
Here's the patient. The 6 marker is crooked anti-clockwise. The 12 marker is also - I would have let that one go but while I'm at it I decided to fix that one too. I like to look down the dial from a flat angle at rectangular markers. You can do this on a regular pic by holding your phone almost flat.

ZiIrs8.jpg


ZiI89R.jpg


ZiI6hL.jpg


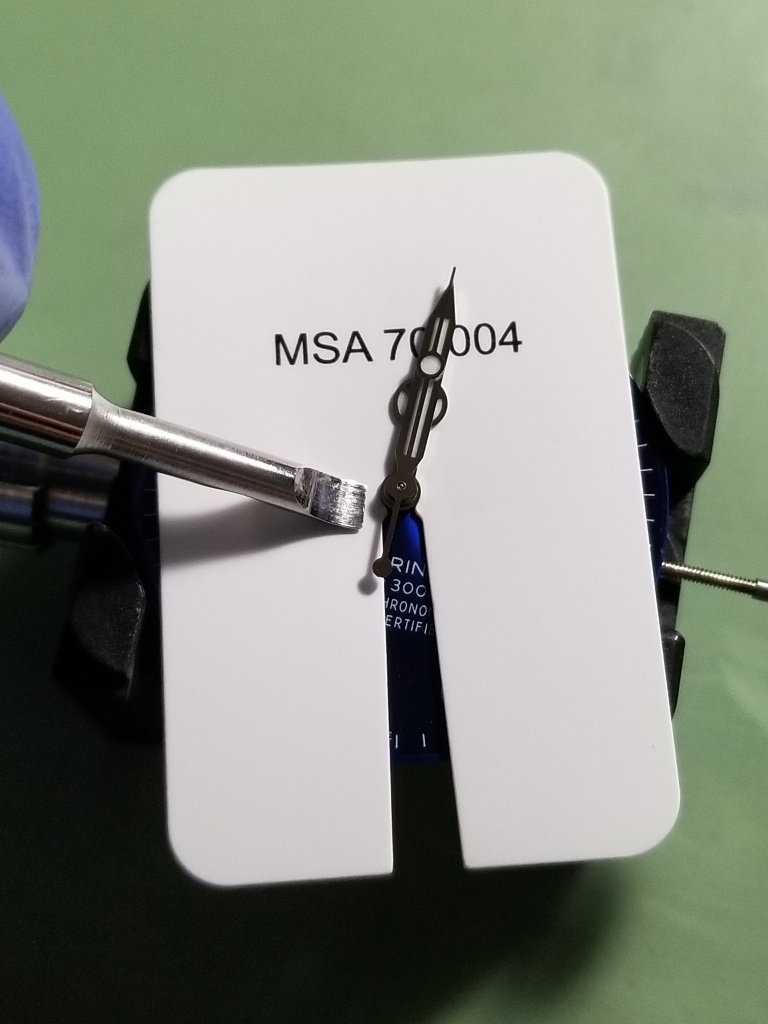
Hands and dial have to come off
ZiIQqv.jpg


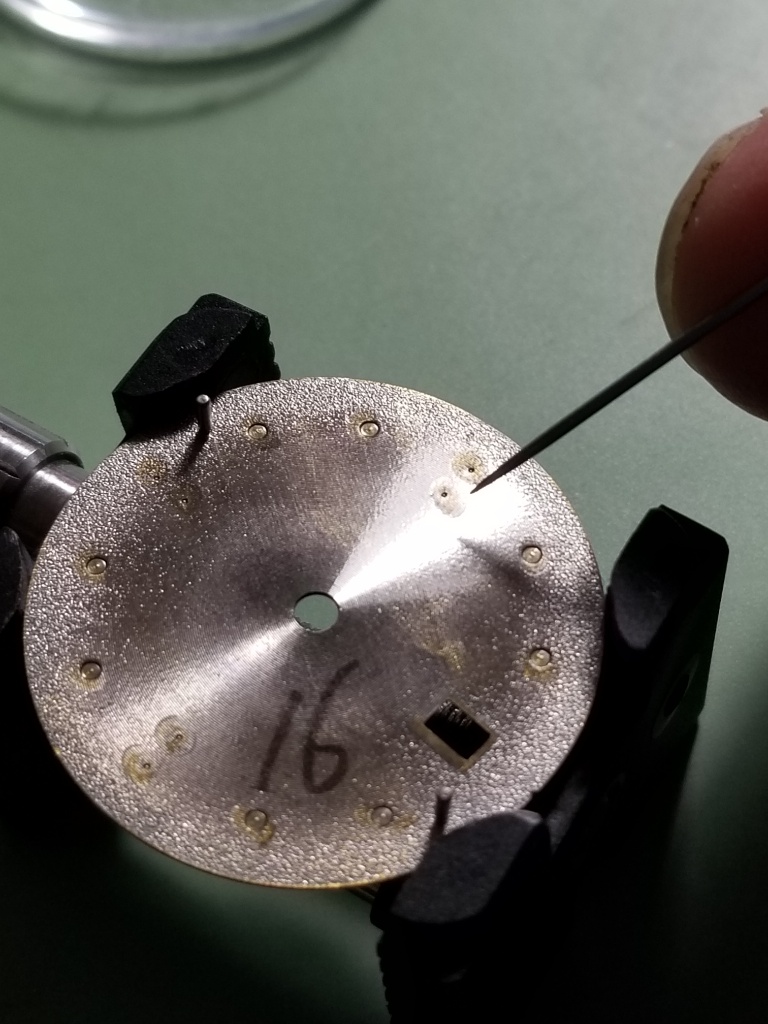
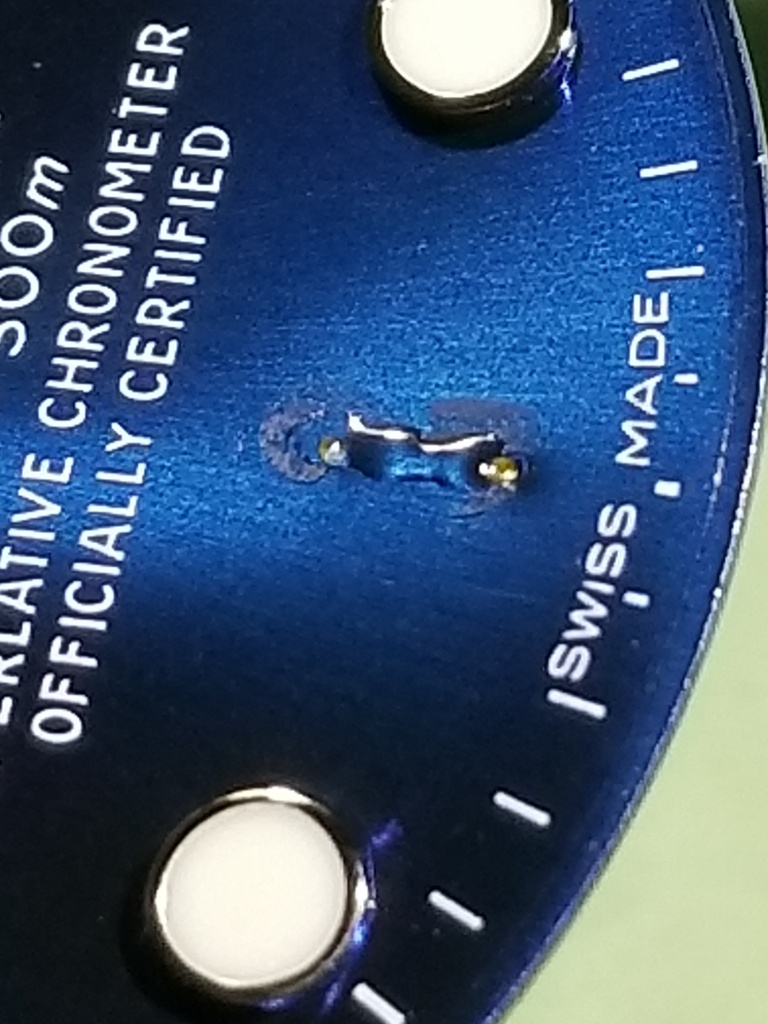
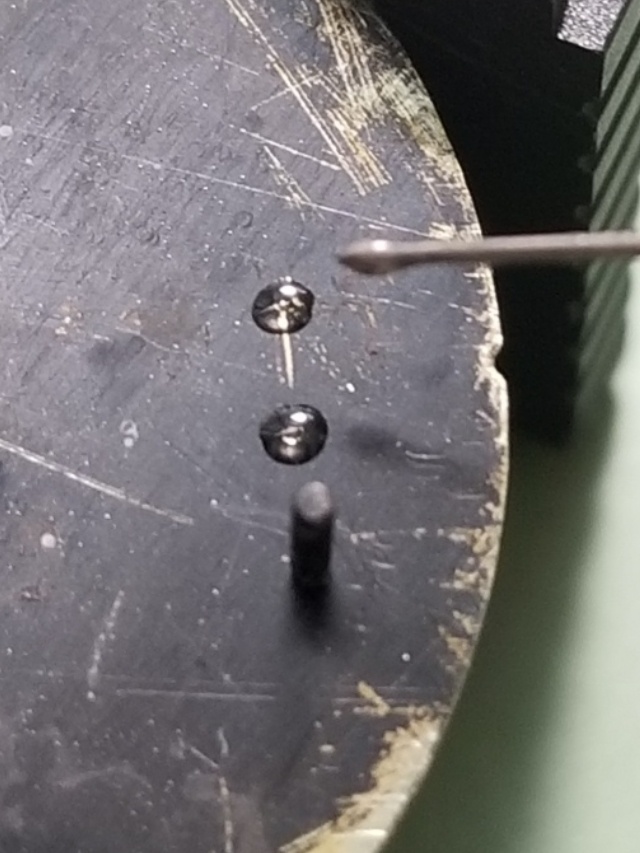
Scrape the glue off the back of the dial where the marker pins are then push the pins out with a needle

ZiIWKs.jpg


ZiIBZK.jpg


ZiIlX1.jpg


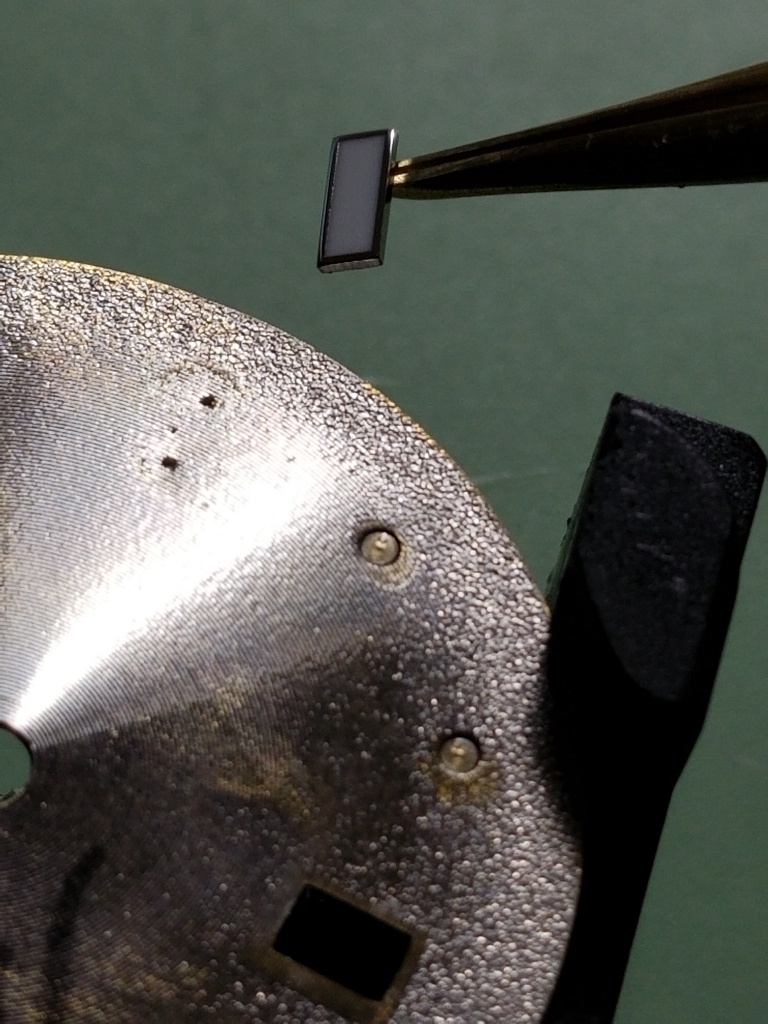
Then you need to assess why the marker was crooked and decide which pin to remove. Sometimes the pins are offset on the marker.
ZiIqqo.jpg


Sometimes the holes in the dial aren't aligned
ZiIffn.jpg


Next you need to remove the pin that gives you the best chance of straightening the marker by pivoting it about the remaining pin.

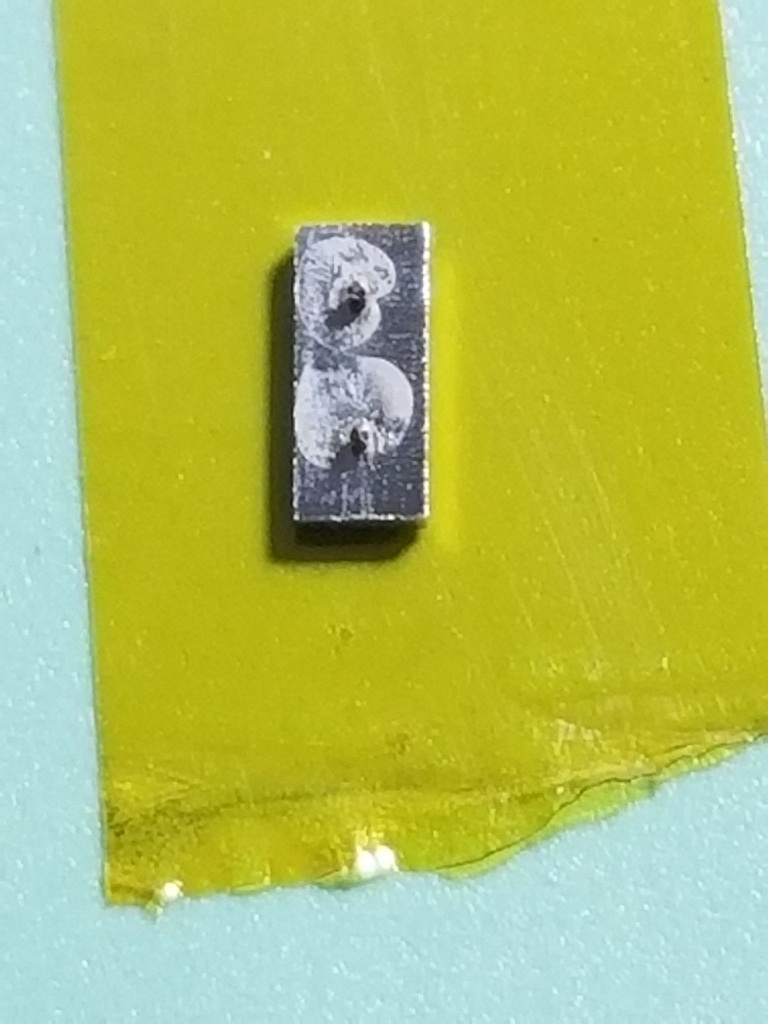
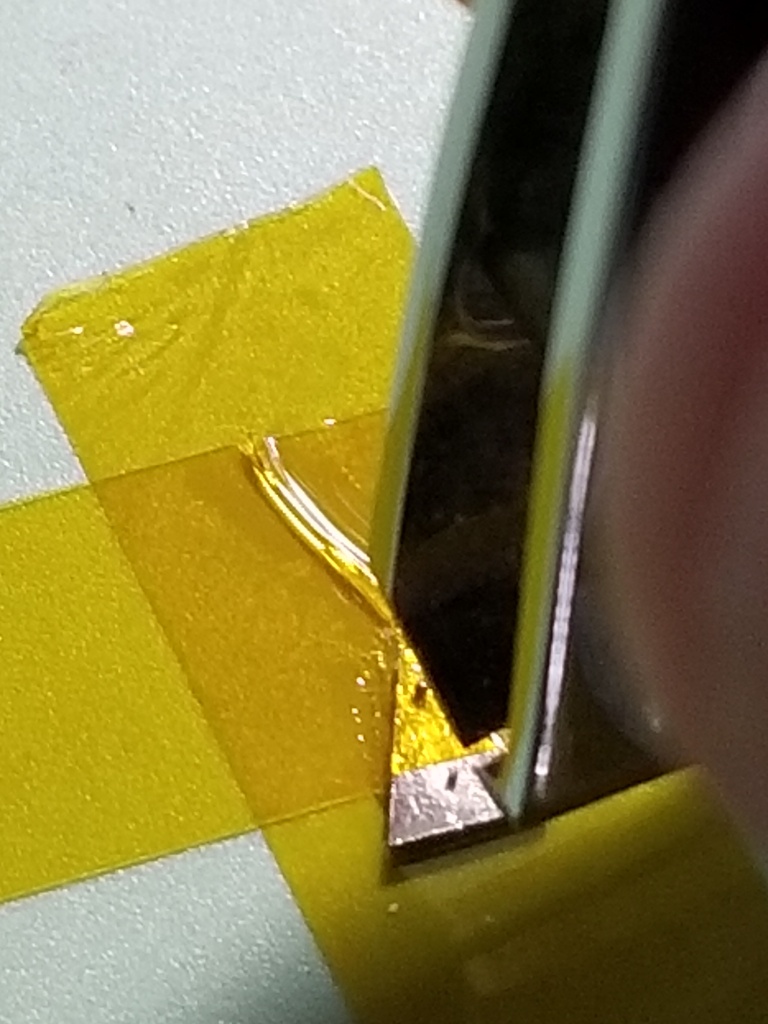
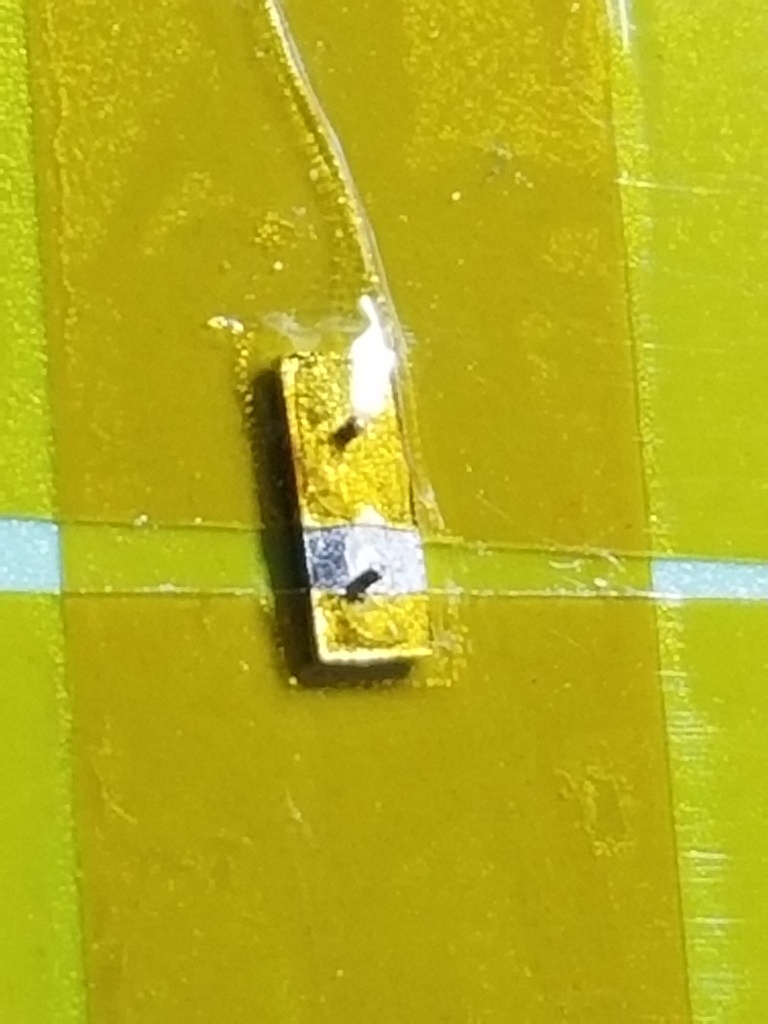
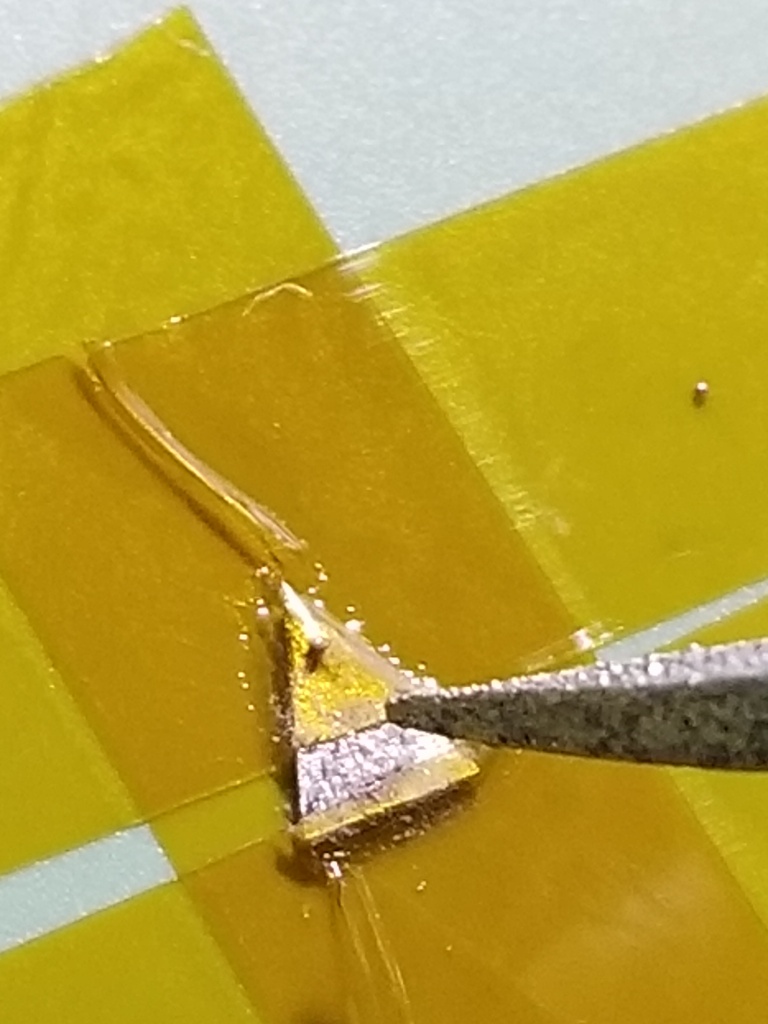
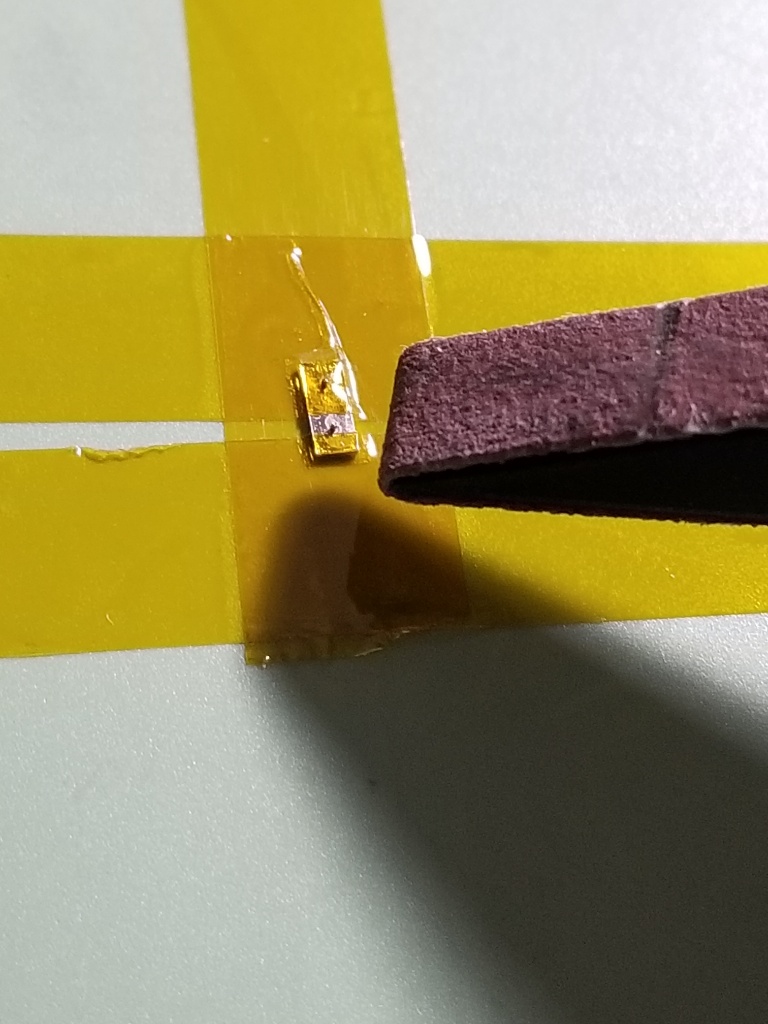
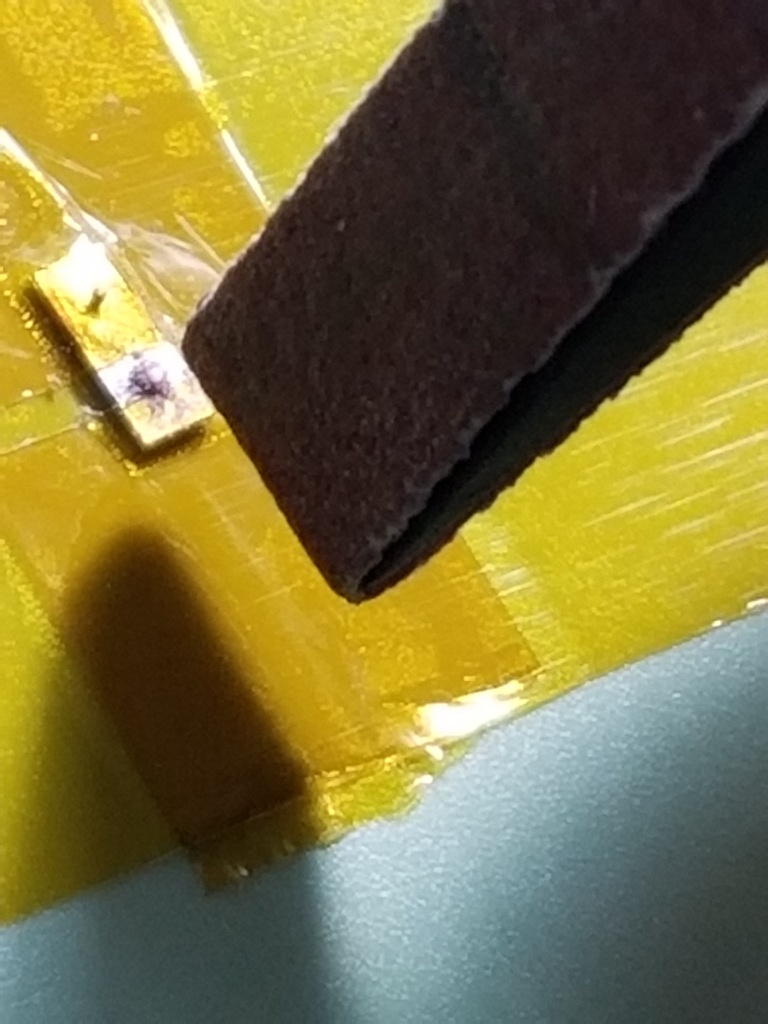
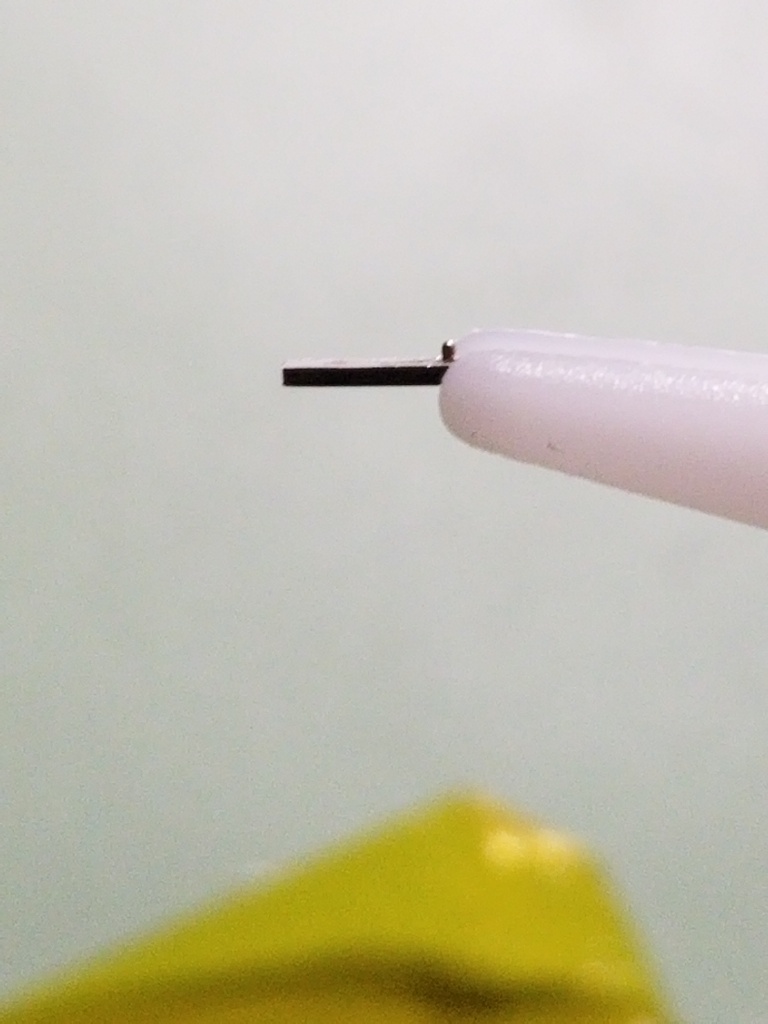
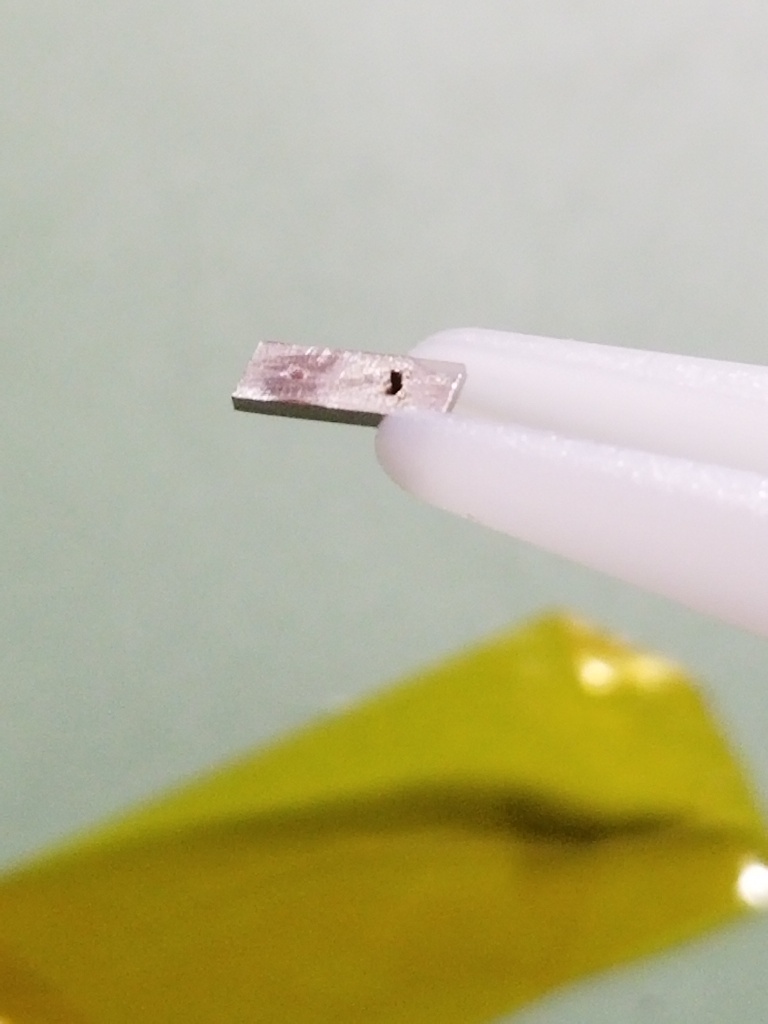
Tape the marker down and sand or file one pin off. You can clip some of the pin off with nail clippers.

ZiIisD.jpg


ZiIa9Y.jpg


ZiI2b2.jpg


ZiI1BS.jpg


ZiIObP.jpg


ZiIxjD.jpg


ZiI0uY.jpg


Next, clean up the markers with rodico and mix up some glue. I use BSI 30 min epoxy. I love the stuff, it gets thicker and doesn't run if you let it sit for 5 mins or so. You only need a tiny ribbon of glue. I make sure some goes in the hole where there is still a pin.
ZiIyUW.jpg


ZiI9RQ.jpg


ZiIoDk.jpg


ZiIL5E.jpg


Now for the money shot. Place the marker on top of the glue ribbon. You can use plastic tweezers or rodico. The 12 marker is very hard to hold with tweezers. Use a toothpick to restrain the marker while lifting the rodico away. Often you won't be lucky enough to get the pin in the hole right away but it should be close. Gently nudge the marker toward its proper place and when the pin is over or in the hole you can use a piece of dial protector or a hand tool to press the marker home. Then pivot the marker left or right so it's straight.
ZiIITJ.jpg


AFTER the markers are set and the epoxy is cured, add a small drop of glue on the dial underside. Let it ooze down the holes and harden a little, but DON'T leave it that way long as the glue can ooze past the marker on the dial side where the pin was removed.

ZiIPU4.jpg


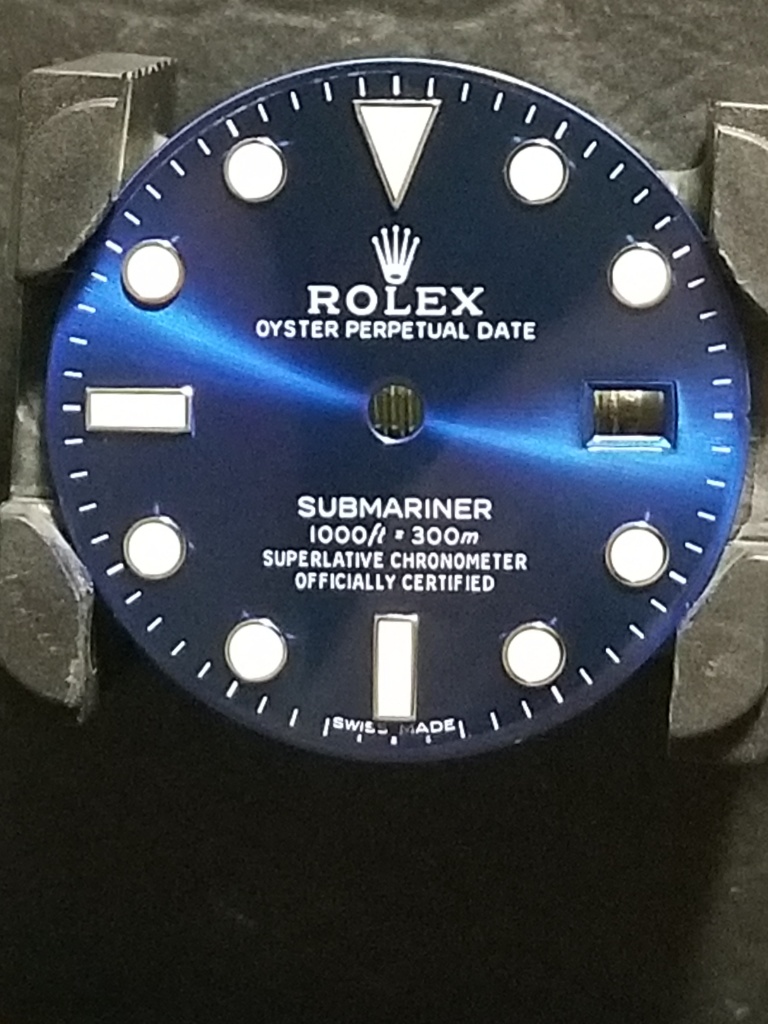
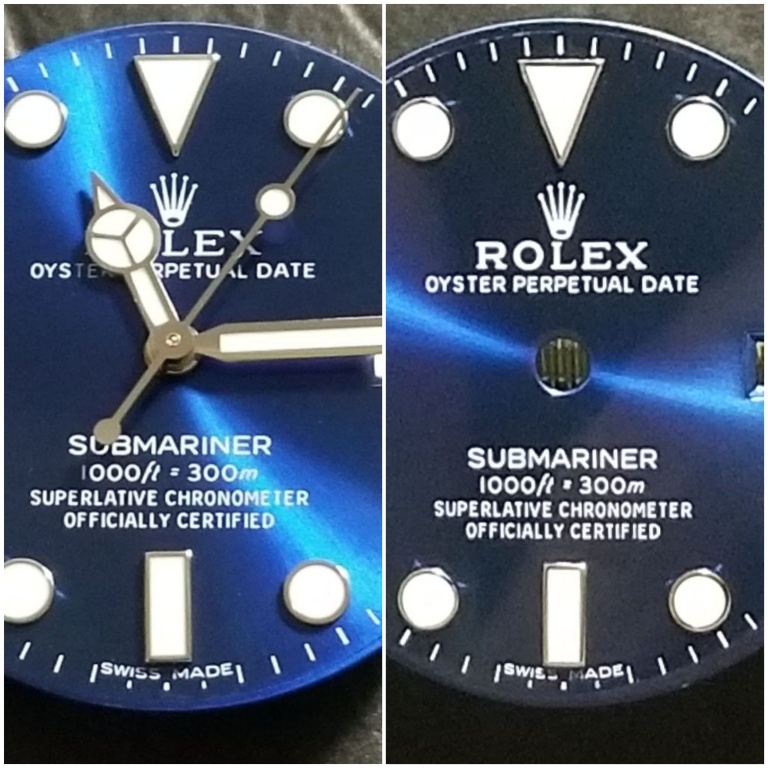
And voila, straight markers, yay!

ZiIeBn.jpg


ZiI5R3.jpg


Thanks for looking. Practice on a junk dial, it's not so hard to do.

ZiIpxj.jpg
That is a great tutorial, thank you !
 
  • Like
Reactions: KJ2020