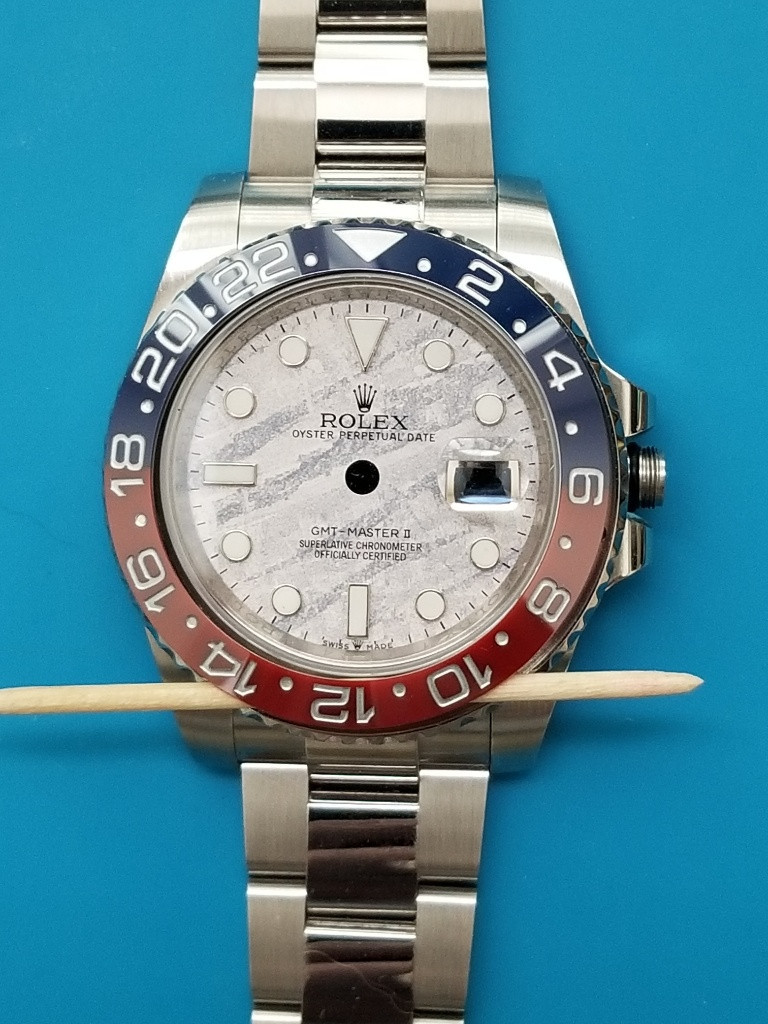
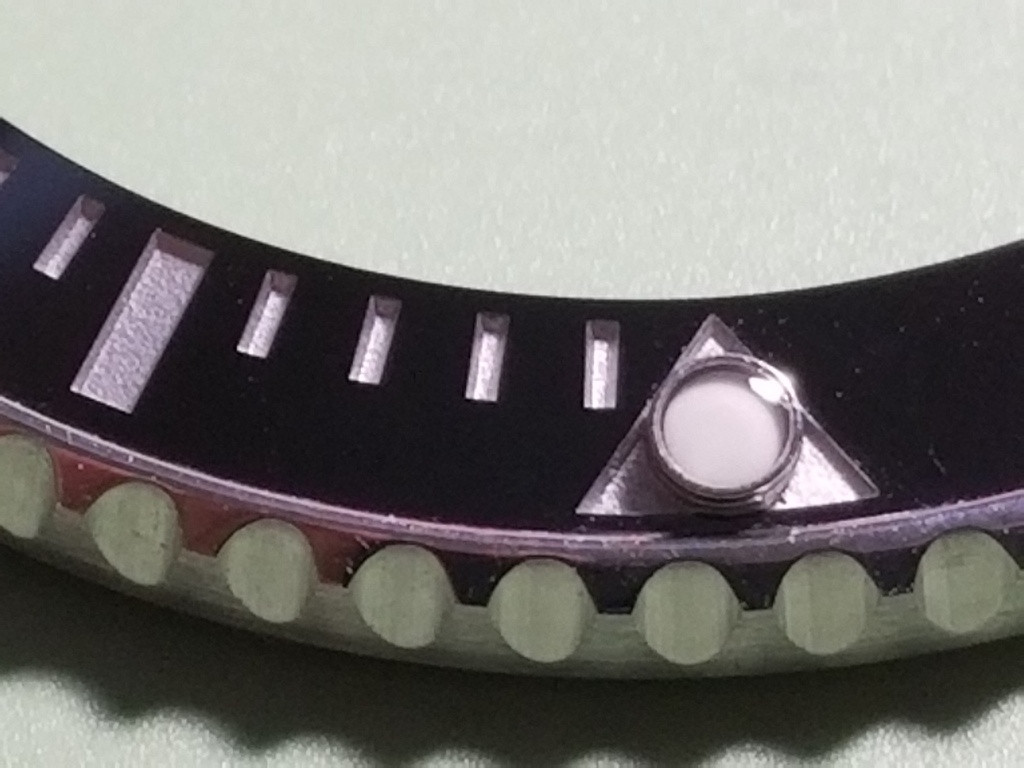
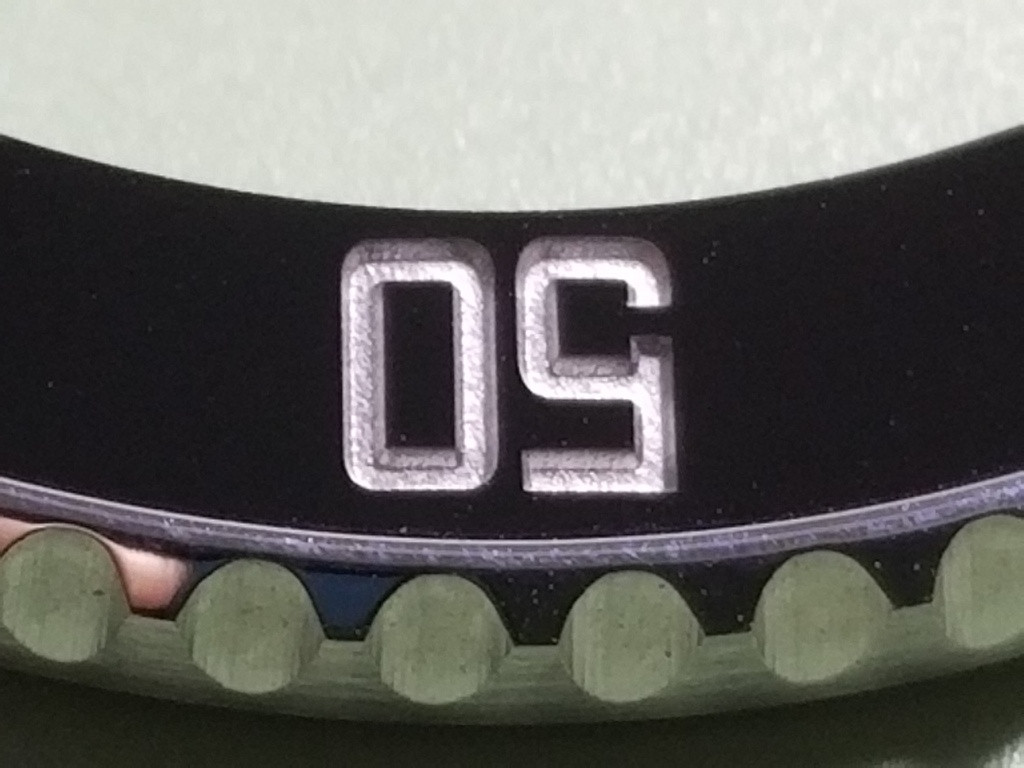
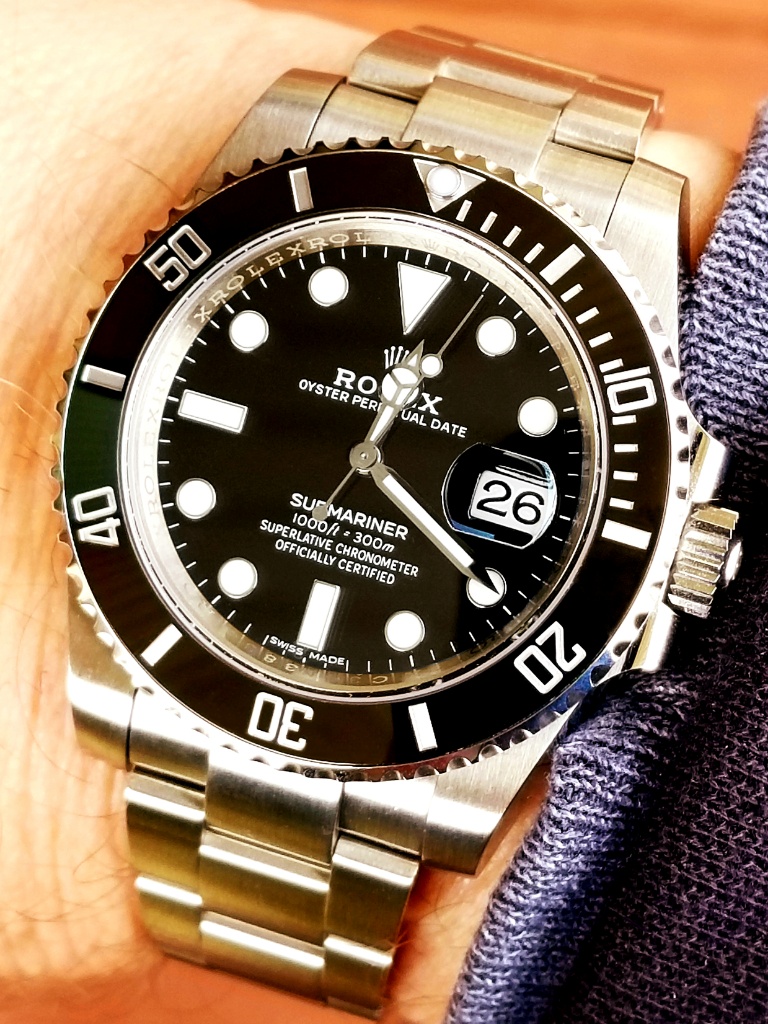
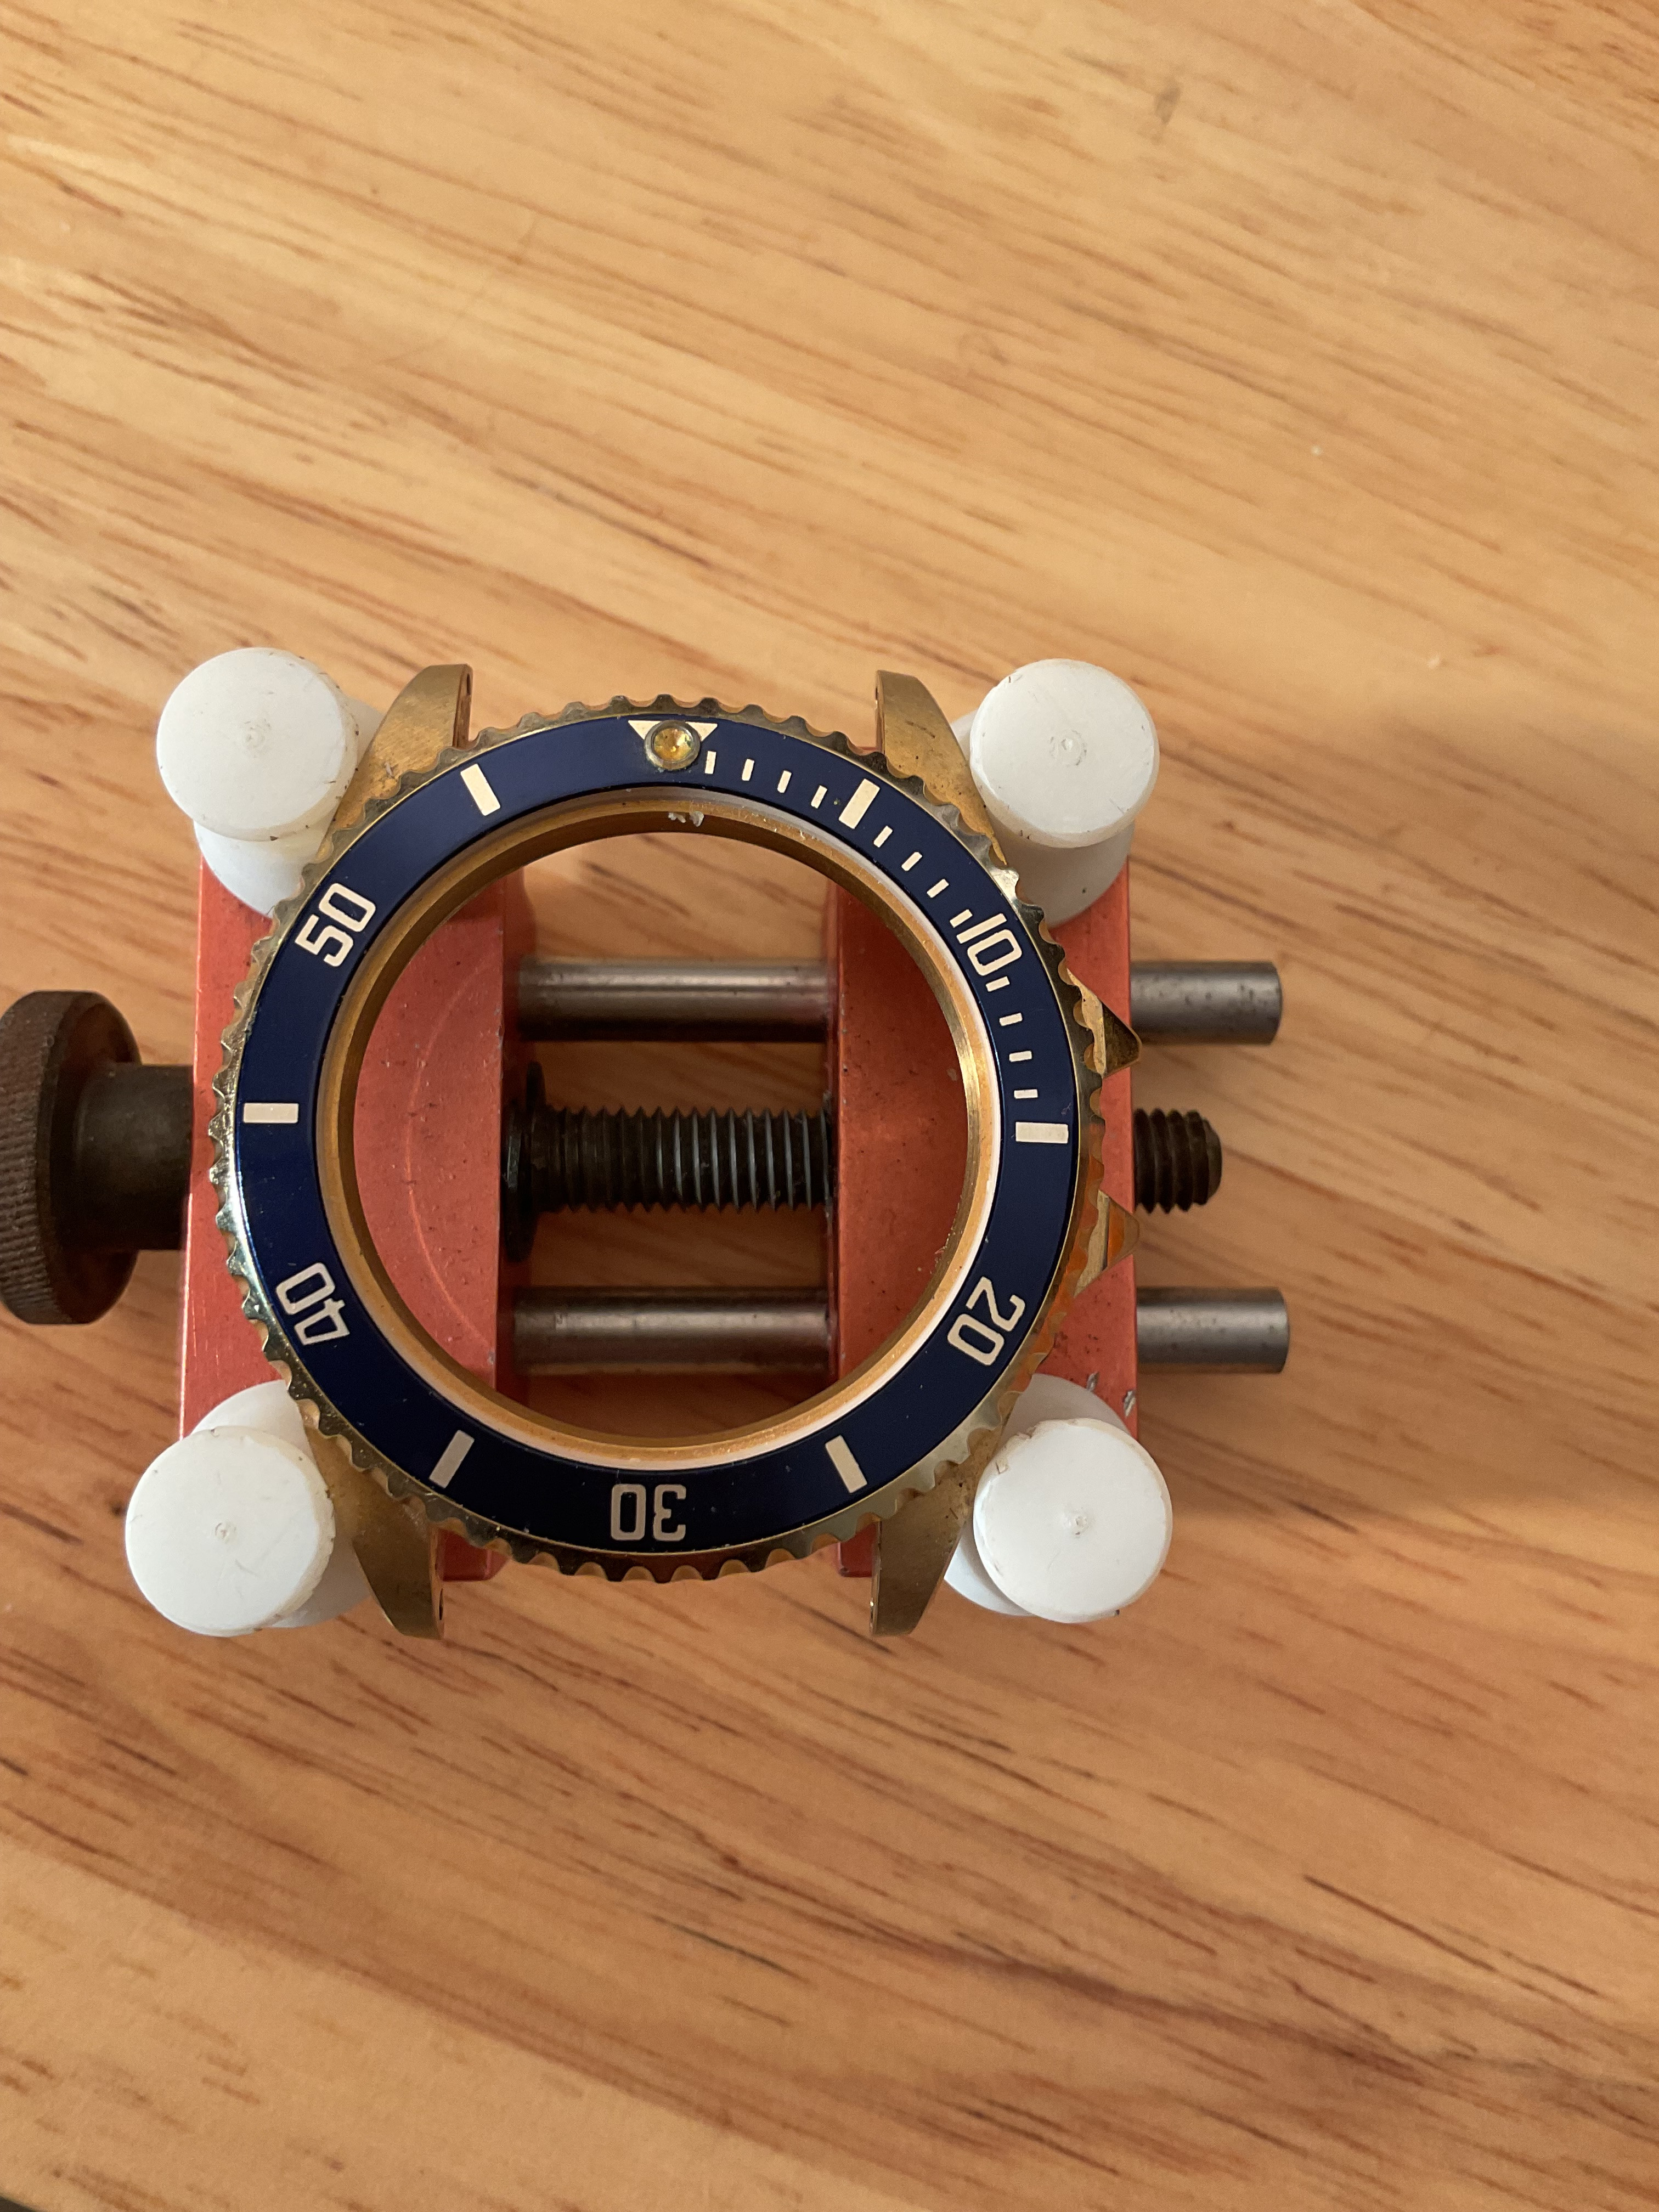
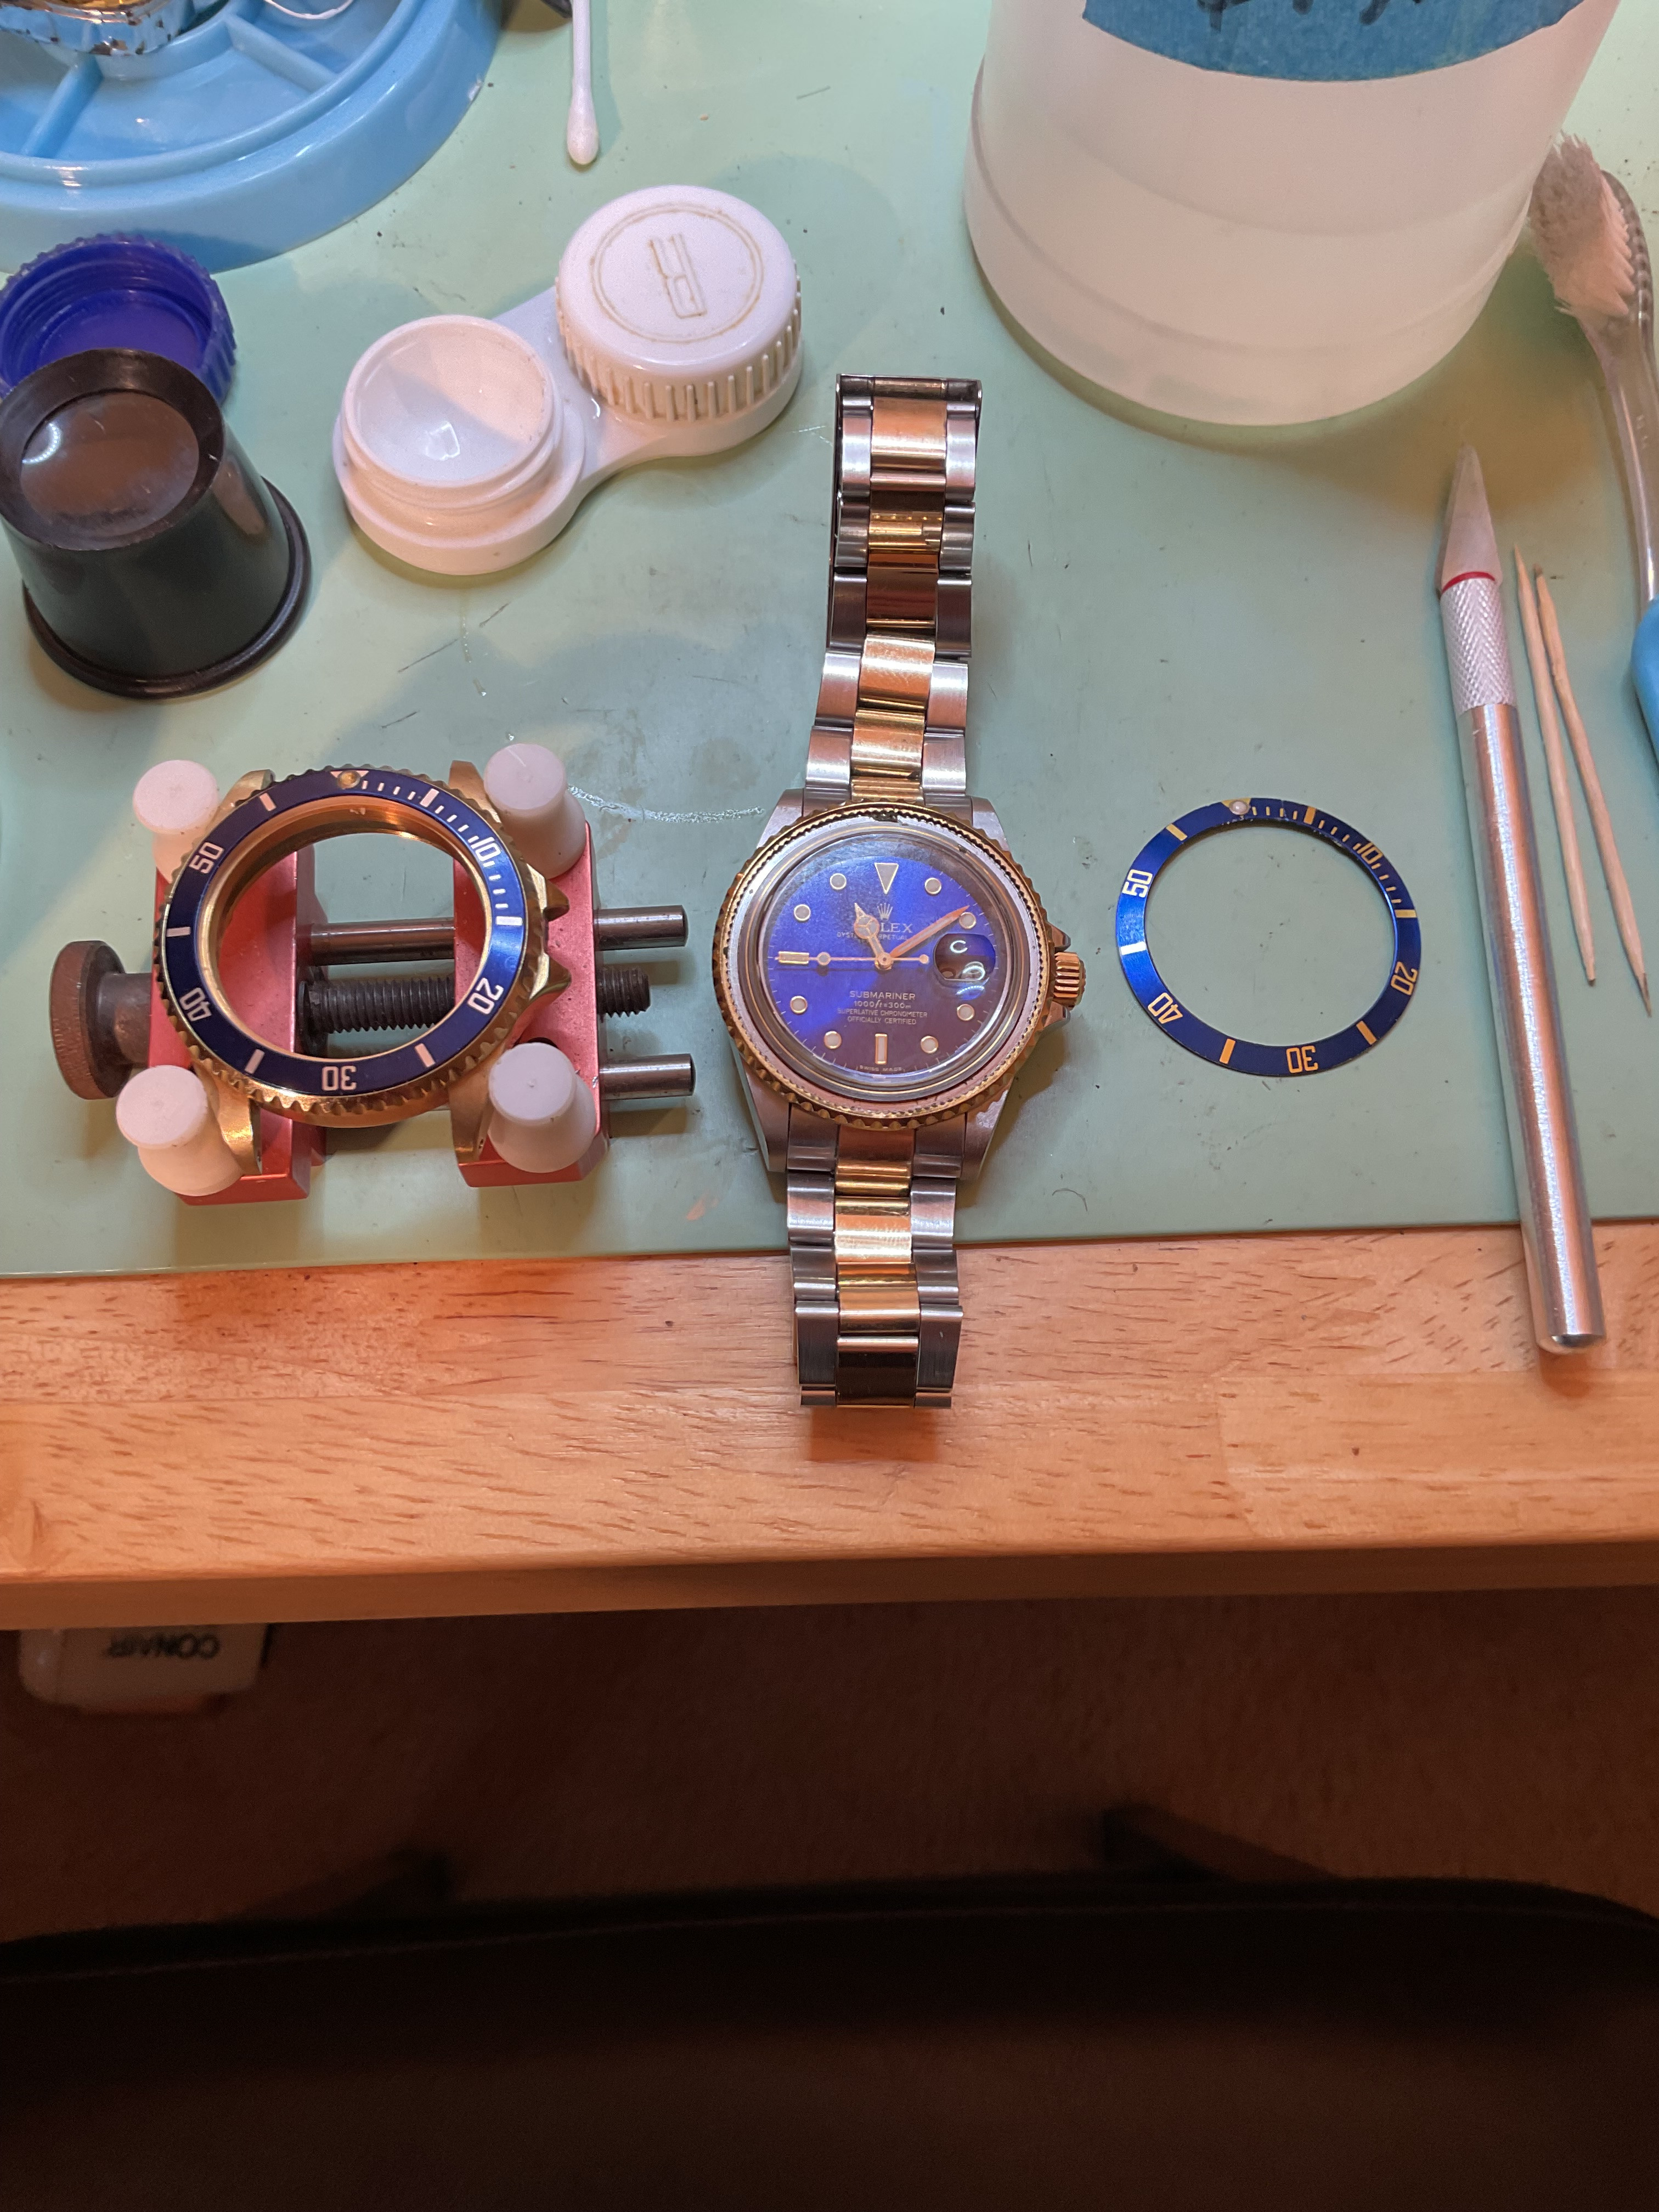
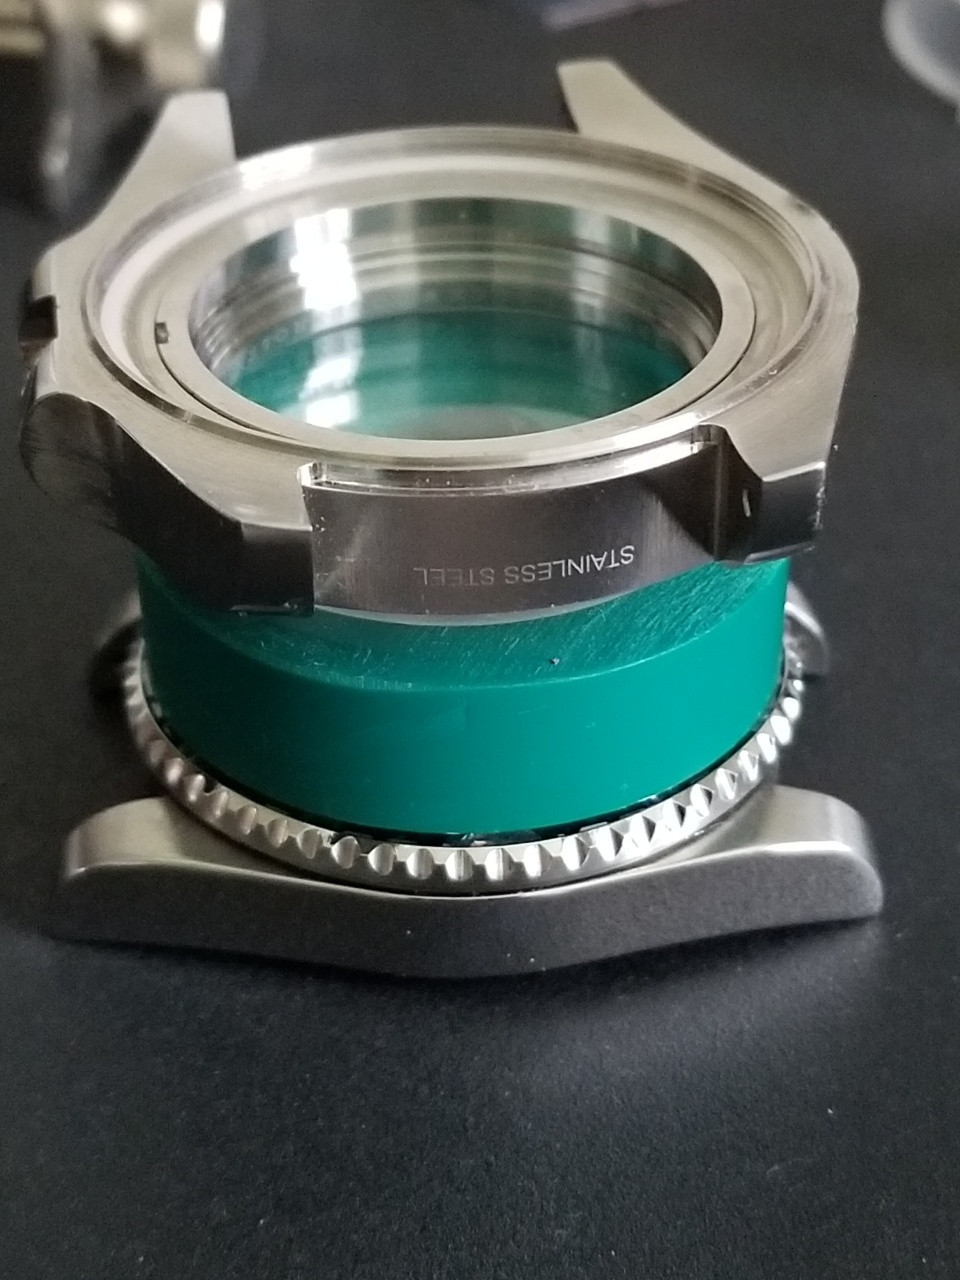
Ugh! It’s 3 AM here! After about 16 years the bezel insert on my BK Sub fell off. Thank God it happened at home! I got it and the bezel all cleaned up and I’m really hoping it’s a simple Hypo Cement job I can do without removing the bezel because I’ve never removed a bezel on a better watch before. I’m fairly confident I can execute my plan because I did it on a GMT before but that was years ago.
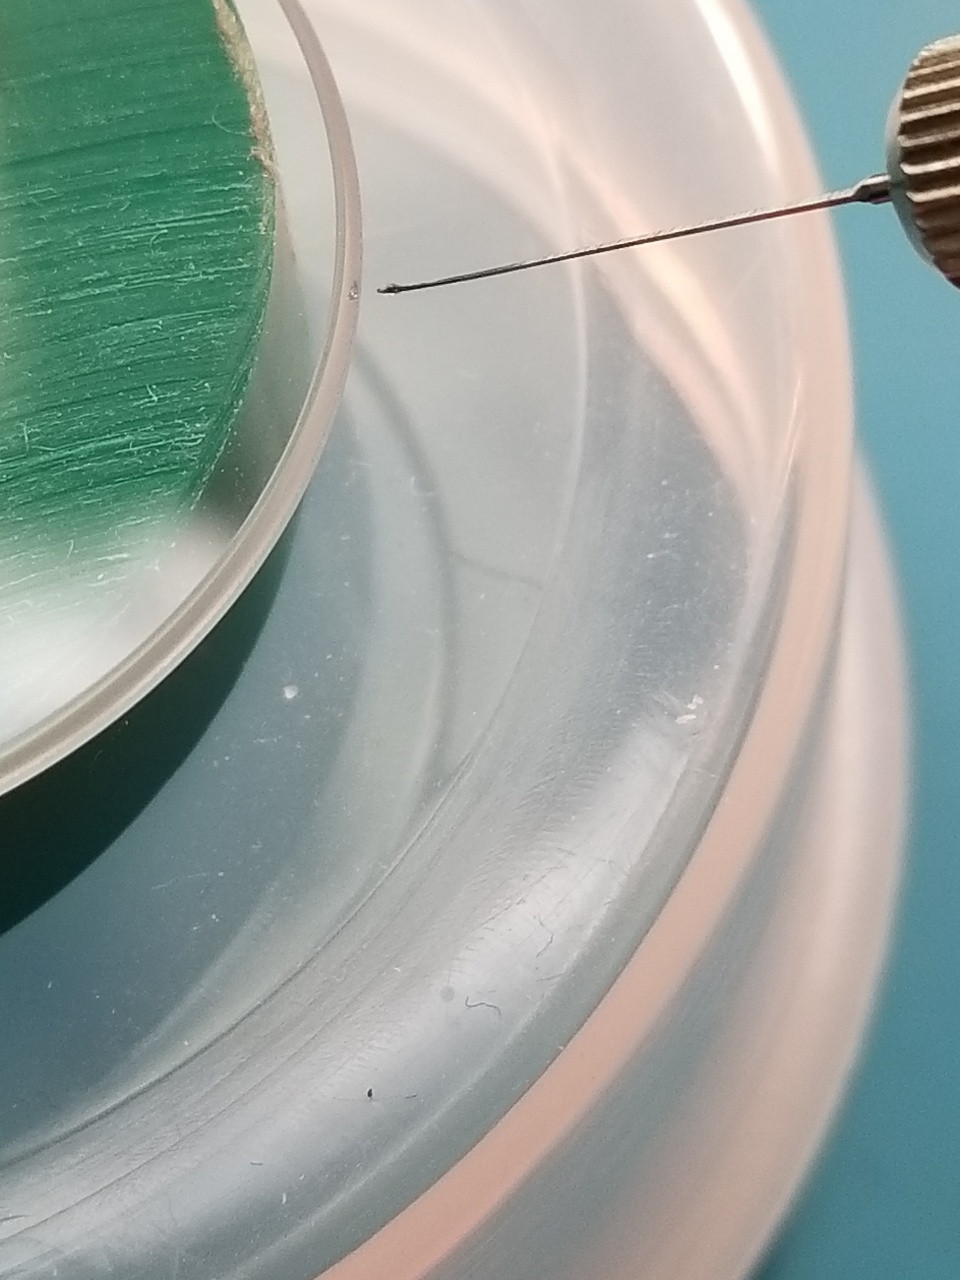
For those much better than me at tinkering: Is it advisable to attempt a re glue with the bezel on in this situation? Any tips? I’ve viewed videos and some marvelous threads here that I plan to review again
I am not considering tape or adhesive rings now because I read they can interfere with the height while cement does not. Is this really true?
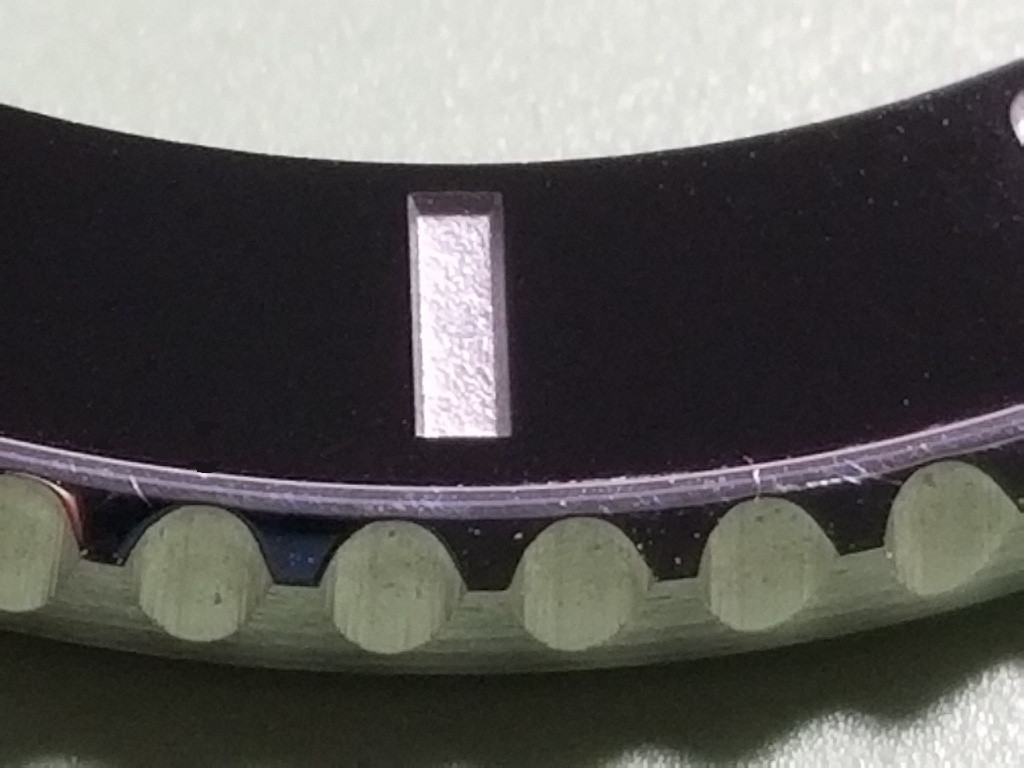
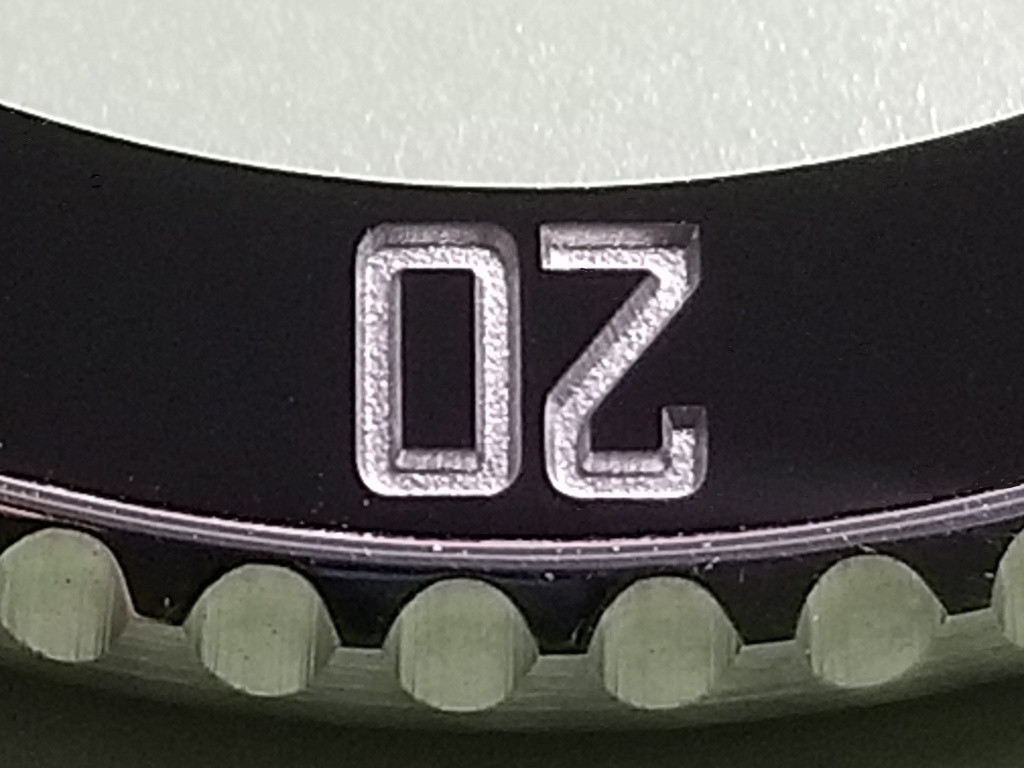
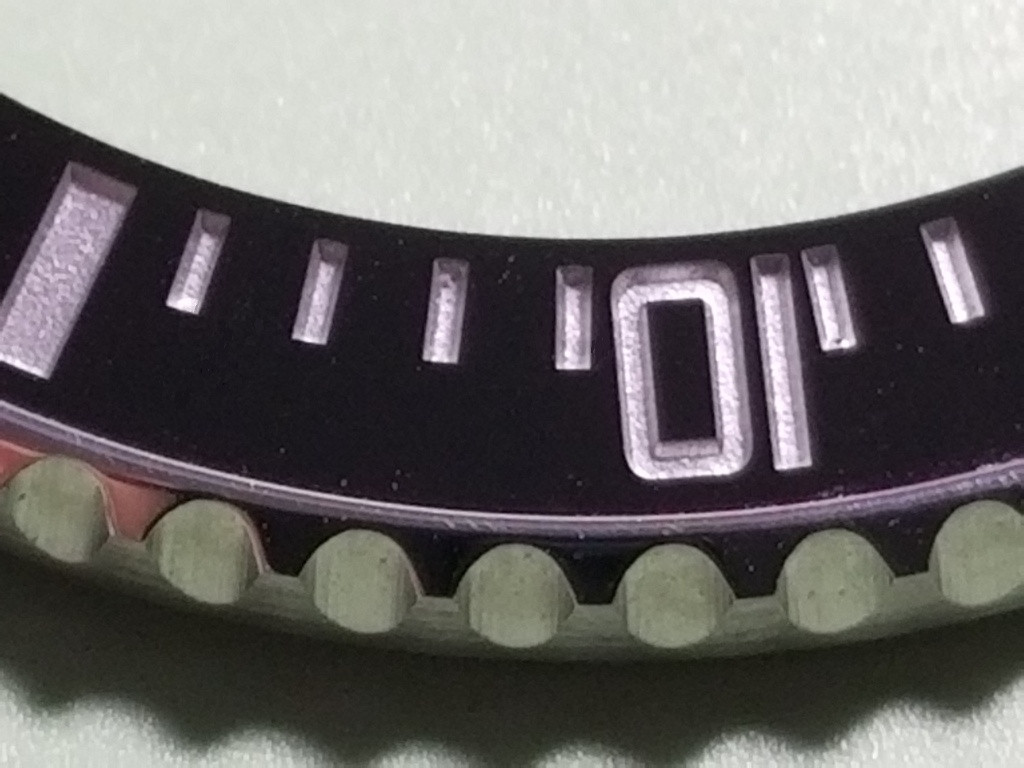
One really fortunate thing is I have a junk watch to practice on. It has the back and crystal removed by a much younger me long ago and that bezel lifted out with my finger and seems only pressure fitted. Another fortunate thing is new inserts are easily available but I’m not going gen today. Have you seen what they go for now?? Astronomical!!
I can provide photos when I’m near my bench in the morning again if handier to visualize everything
For others caught in the same situation, I hope my journey I’m about to embark on with this will help you. If you own several divers,you gotta expect this kind of thing, and become accustomed to attempting a fix.
Thanks! Good night for now…
For those much better than me at tinkering: Is it advisable to attempt a re glue with the bezel on in this situation? Any tips? I’ve viewed videos and some marvelous threads here that I plan to review again
I am not considering tape or adhesive rings now because I read they can interfere with the height while cement does not. Is this really true?
One really fortunate thing is I have a junk watch to practice on. It has the back and crystal removed by a much younger me long ago and that bezel lifted out with my finger and seems only pressure fitted. Another fortunate thing is new inserts are easily available but I’m not going gen today. Have you seen what they go for now?? Astronomical!!
I can provide photos when I’m near my bench in the morning again if handier to visualize everything
For others caught in the same situation, I hope my journey I’m about to embark on with this will help you. If you own several divers,you gotta expect this kind of thing, and become accustomed to attempting a fix.
Thanks! Good night for now…