• Tired of adverts on RWI? - Subscribe by clicking HERE and PMing Trailboss for instructions and they will magically go away!

Project "RWI Raffle Win"... a 1675 Build

p0pperini

patr0n h0arder
Gold Patron
Certified
29/1/19
9,452
34,163
113
UK
Thanks itgoes - some interesting ideas there. I think your comment, “can’t say yet if it’s the techniques or the different inserts that drives the different results” is of real note though - and is what makes the process so interesting but frustratingly inconsistent! I’m very consistent with my technique, but get very different results - which would strongly support the “different inserts drives different results” theory. And it seems more difficult as the cost of inserts rises! :)

Oh - and thanks for the note about the UV steriliser... another gadget to try! Yay! :D
 
Last edited:

itgoes211

Active Member
10/4/19
373
188
43
Ya, it seems the primary variable is the insert. Interestingly, I’ve found some of the cheap thin inserts (e.g, no paint on back) take longer to age (whether with bleach for UV). But the results are not as consistent with these.
 

p0pperini

patr0n h0arder
Gold Patron
Certified
29/1/19
9,452
34,163
113
UK
Today... PROGRESS!*

I sprang into action this morning, having resolved to get the dial decal onto the dial TODAY! YAY!

My plan lasted about 10 seconds into contact with the enemy... the dial. It has no feet. And I want to secure the movement to it properly. So I remembered at this point that before I can play with its face, I need to sort out its appendages. Okay then. PLAN B for today... attaching dial feet.

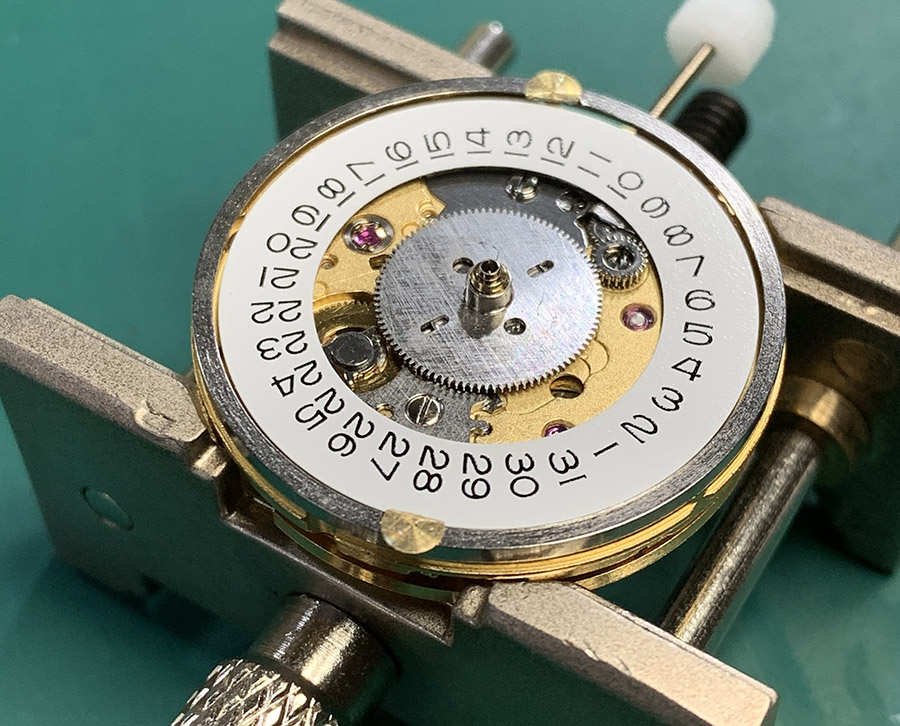
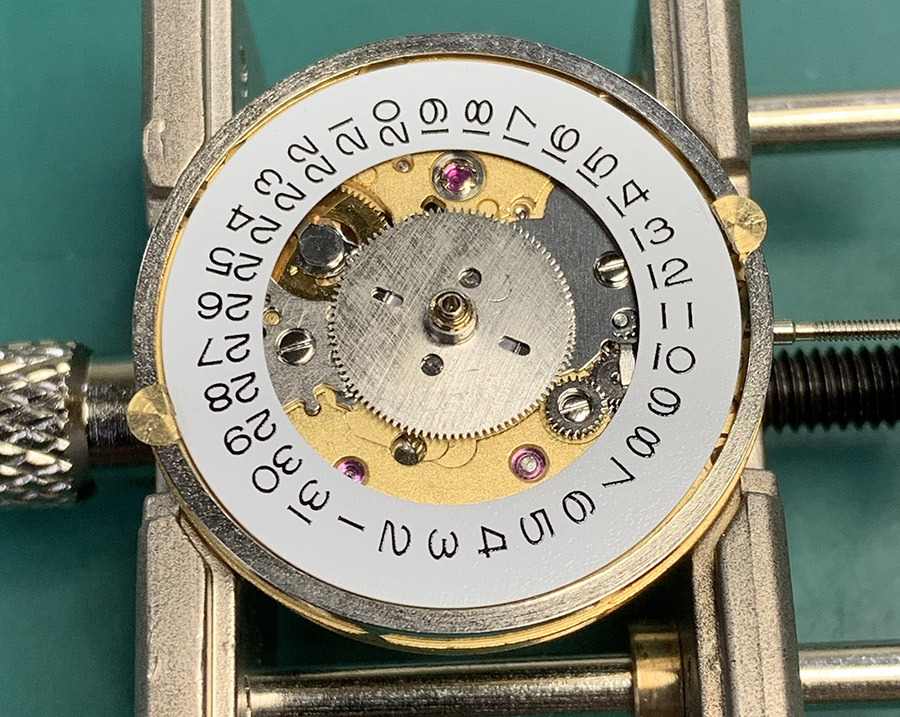
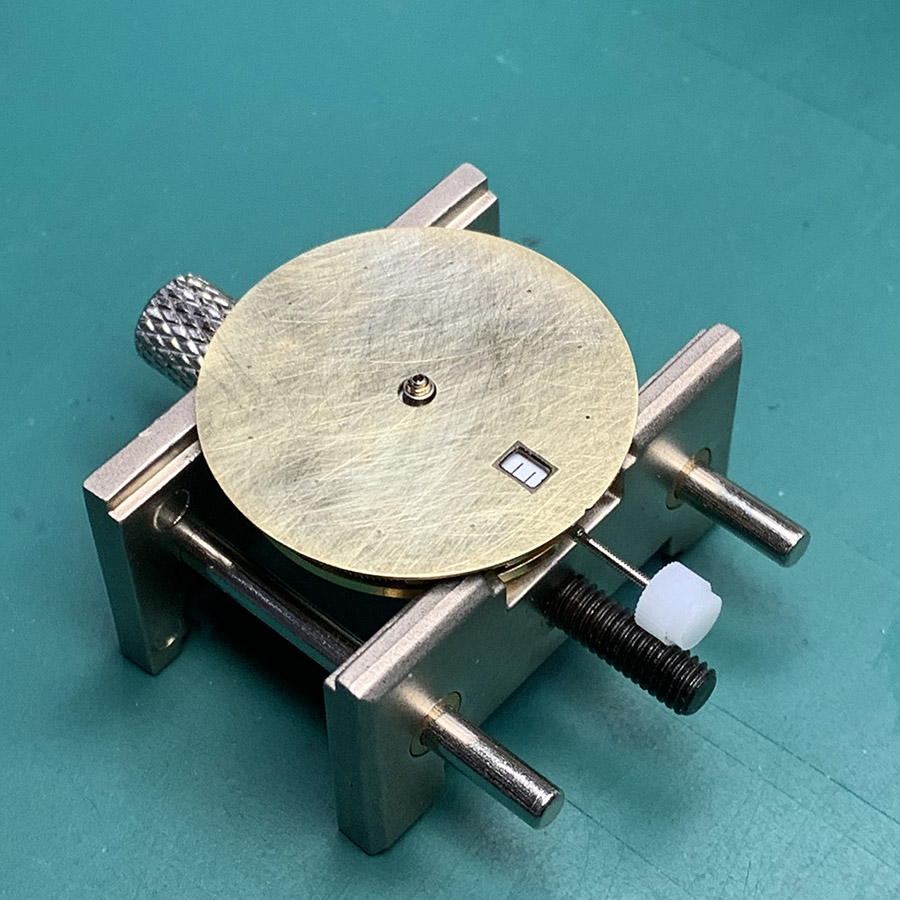
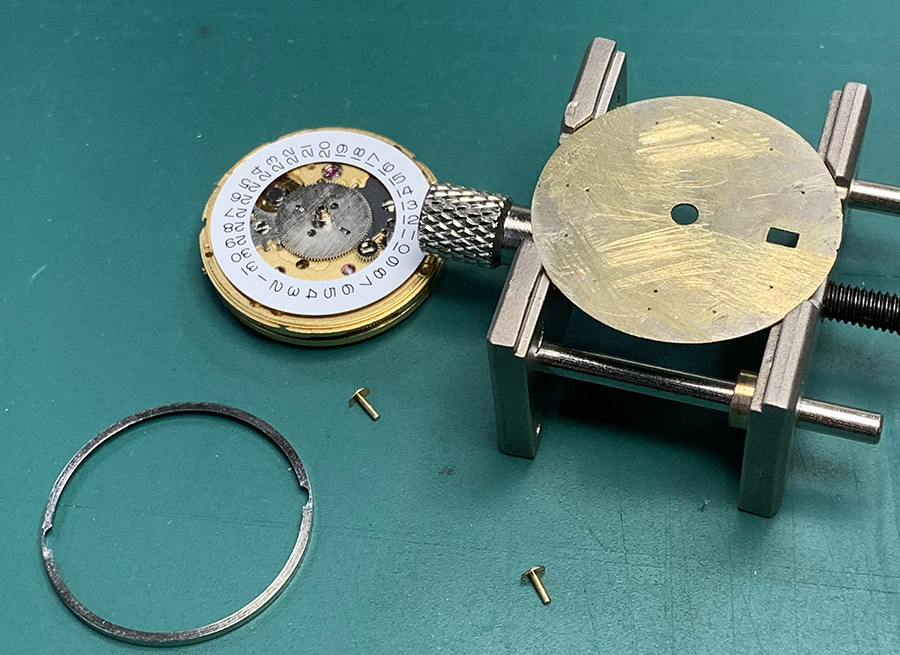
I got the movement prepped with the replacement dial feet clamped in place over the spacer ring. I trimmed the dial feet a little, to clear the date wheel when they were inserted, then realised I didn't need to really as they're sitting on the spacer. Sigh...

qik43.jpg


qidyn.jpg


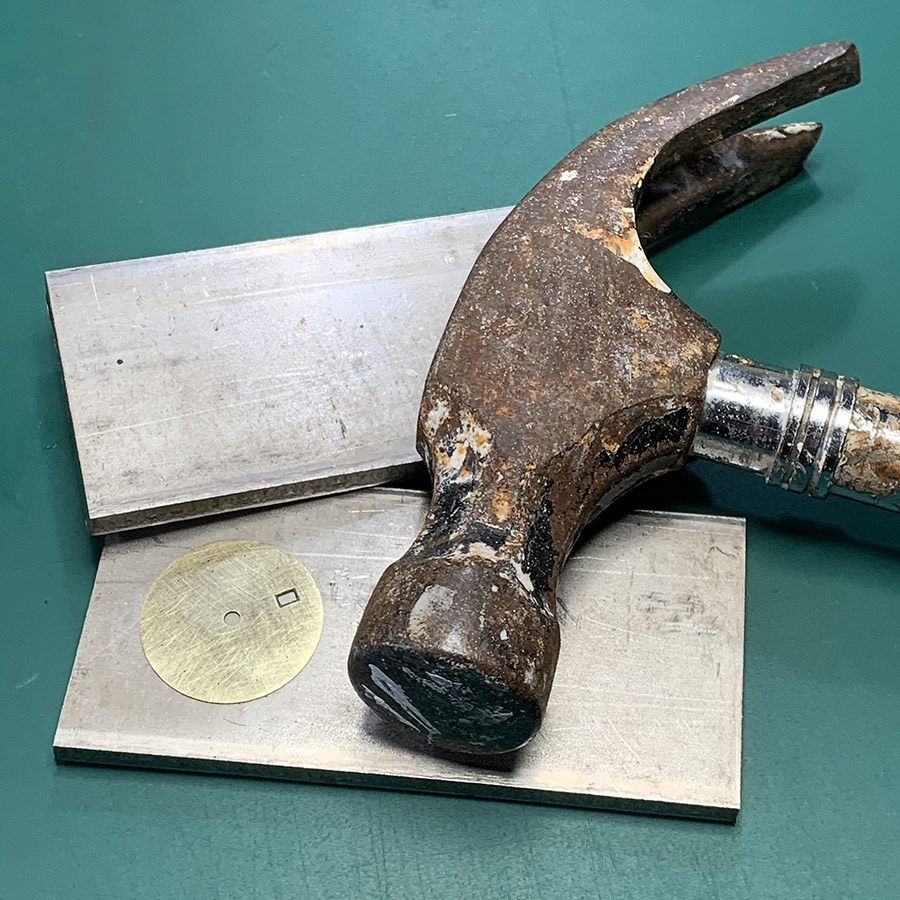
I filed the back of the dial a little to make an allowance for the extra height of the feet. Then I re-sanded the front of the dial and noticed it had some flat spots - upon closer inspection edge-on, the dial was visibly wonky. This resulted in two things: 1. Irritation, because as usual this wasn't being straightforward, and 2. a certain amount of satisfaction, as it gave me an excuse to HIT SOMETHING WITH A HAMMER in order to MEND IT. Note to self - double check the movement isn't underneath the dial before hitting. I placed the dial between two pieces of flat stainless bar and commenced hitting.

qiX3E.jpg


Look at the patina on that hammer. Beautiful.

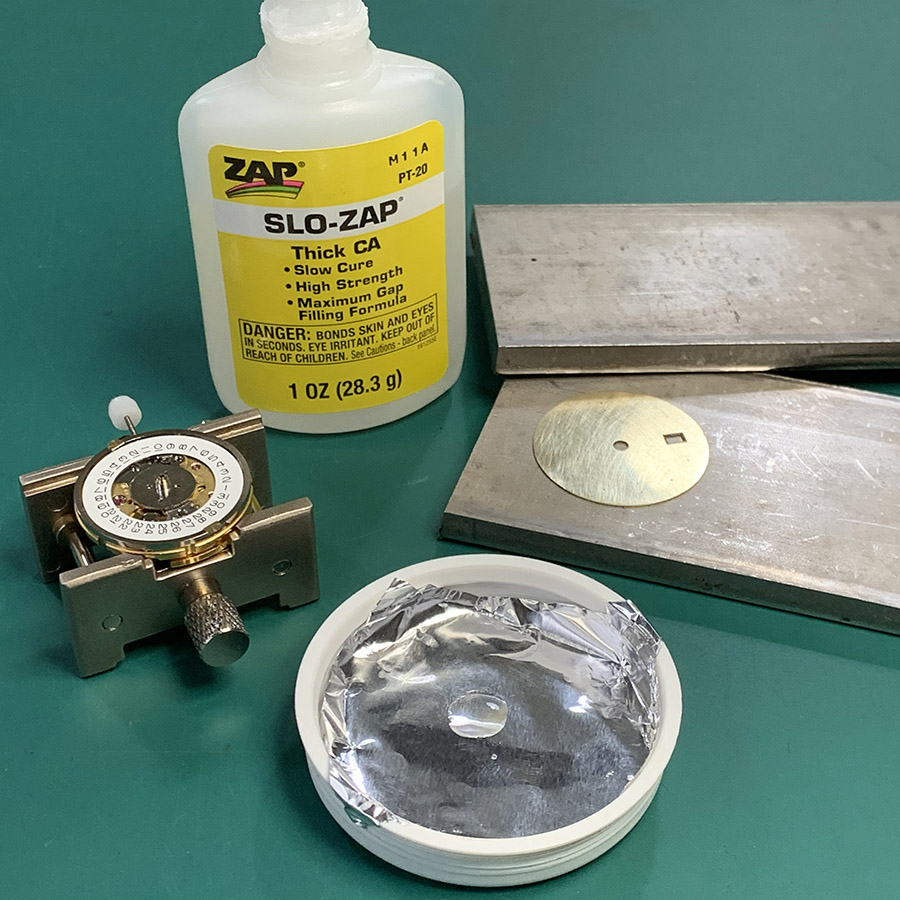
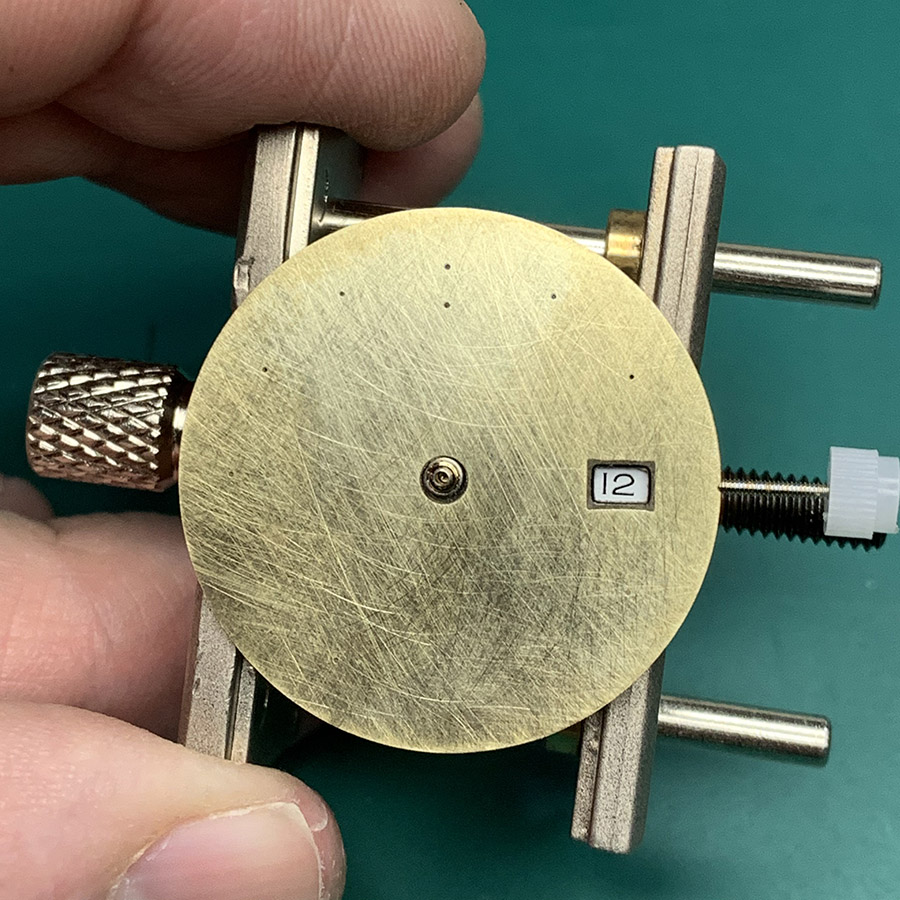
Okay, the dial is flat(ish). What next? Ah yes - the perfect combination of things; dial blank, dial feet, delicate watch movement, super glue and me.

qiMmY.jpg


I put a drop of super glue on silver foil (stops it drying out) and used a toothpick to very carefully transfer a little onto the feet. Note the name of the glue - "SLO-ZAP". Well, it isn't. As far as I can tell it's exactly like regular super glue. So it's fortunate that I managed to drop the dial on in pretty much the right position first time...

qiwcs.jpg


qiPE2.jpg


Having proved itself unworthy of the title "SLOW" the Zap product then went full house on me by proving itself unworthy of the title "glue" as well. When I loosened off the movement dial foot clamps and lifted the dial off, this happened almost immediately...

qiCrt.jpg


Another sigh. Right, where's that epoxy? Oh, I chucked it away because it leaked into the drawer and made a hideous smell. Okay. Fire up Amazon, order epoxy, pack up and play video games. Tune in again for more (dial) riveting action - SOON!**


*Readers' definition of "progress" may differ from that of the author.
** Readers' definition of "soon" may differ from that of the author.
 

Perpetual

I'm Pretty Popular
23/1/16
2,372
3,627
113
Today... PROGRESS!*

I sprang into action this morning, having resolved to get the dial decal onto the dial TODAY! YAY!

My plan lasted about 10 seconds into contact with the enemy... the dial. It has no feet. And I want to secure the movement to it properly. So I remembered at this point that before I can play with its face, I need to sort out its appendages. Okay then. PLAN B for today... attaching dial feet.

I got the movement prepped with the replacement dial feet clamped in place over the spacer ring. I trimmed the dial feet a little, to clear the date wheel when they were inserted, then realised I didn't need to really as they're sitting on the spacer. Sigh...

qik43.jpg


qidyn.jpg


I filed the back of the dial a little to make an allowance for the extra height of the feet. Then I re-sanded the front of the dial and noticed it had some flat spots - upon closer inspection edge-on, the dial was visibly wonky. This resulted in two things: 1. Irritation, because as usual this wasn't being straightforward, and 2. a certain amount of satisfaction, as it gave me an excuse to HIT SOMETHING WITH A HAMMER in order to MEND IT. Note to self - double check the movement isn't underneath the dial before hitting. I placed the dial between two pieces of flat stainless bar and commenced hitting.

qiX3E.jpg


Look at the patina on that hammer. Beautiful.

Okay, the dial is flat(ish). What next? Ah yes - the perfect combination of things; dial blank, dial feet, delicate watch movement, super glue and me.

qiMmY.jpg


I put a drop of super glue on silver foil (stops it drying out) and used a toothpick to very carefully transfer a little onto the feet. Note the name of the glue - "SLO-ZAP". Well, it isn't. As far as I can tell it's exactly like regular super glue. So it's fortunate that I managed to drop the dial on in pretty much the right position first time...

qiwcs.jpg


qiPE2.jpg


Having proved itself unworthy of the title "SLOW" the Zap product then went full house on me by proving itself unworthy of the title "glue" as well. When I loosened off the movement dial foot clamps and lifted the dial off, this happened almost immediately...

qiCrt.jpg


Another sigh. Right, where's that epoxy? Oh, I chucked it away because it leaked into the drawer and made a hideous smell. Okay. Fire up Amazon, order epoxy, pack up and play video games. Tune in again for more (dial) riveting action - SOON!**


*Readers' definition of "progress" may differ from that of the author.
** Readers' definition of "soon" may differ from that of the author.

If I may give a tip, when gluing down the dial onto the feet, make sure the center hole is lined up with even spacing around the canon pinions stack to insure good dial seating inside the mid case.

otherwise I enjoyed the uodate! Nice 2836 is that from HR by chance? Did you receive it with the GMT module already installed? And last question, where did you source that Lovely dial spacer?! I've tryed hunting one down like that for soo long with my other eta based submariner build I did.....
 
  • Like
Reactions: KJ2020

Perpetual

I'm Pretty Popular
23/1/16
2,372
3,627
113


I've had trouble in the past, don't make that mistake I did bro
 

p0pperini

patr0n h0arder
Gold Patron
Certified
29/1/19
9,452
34,163
113
UK
I've had trouble in the past, don't make that mistake I did bro
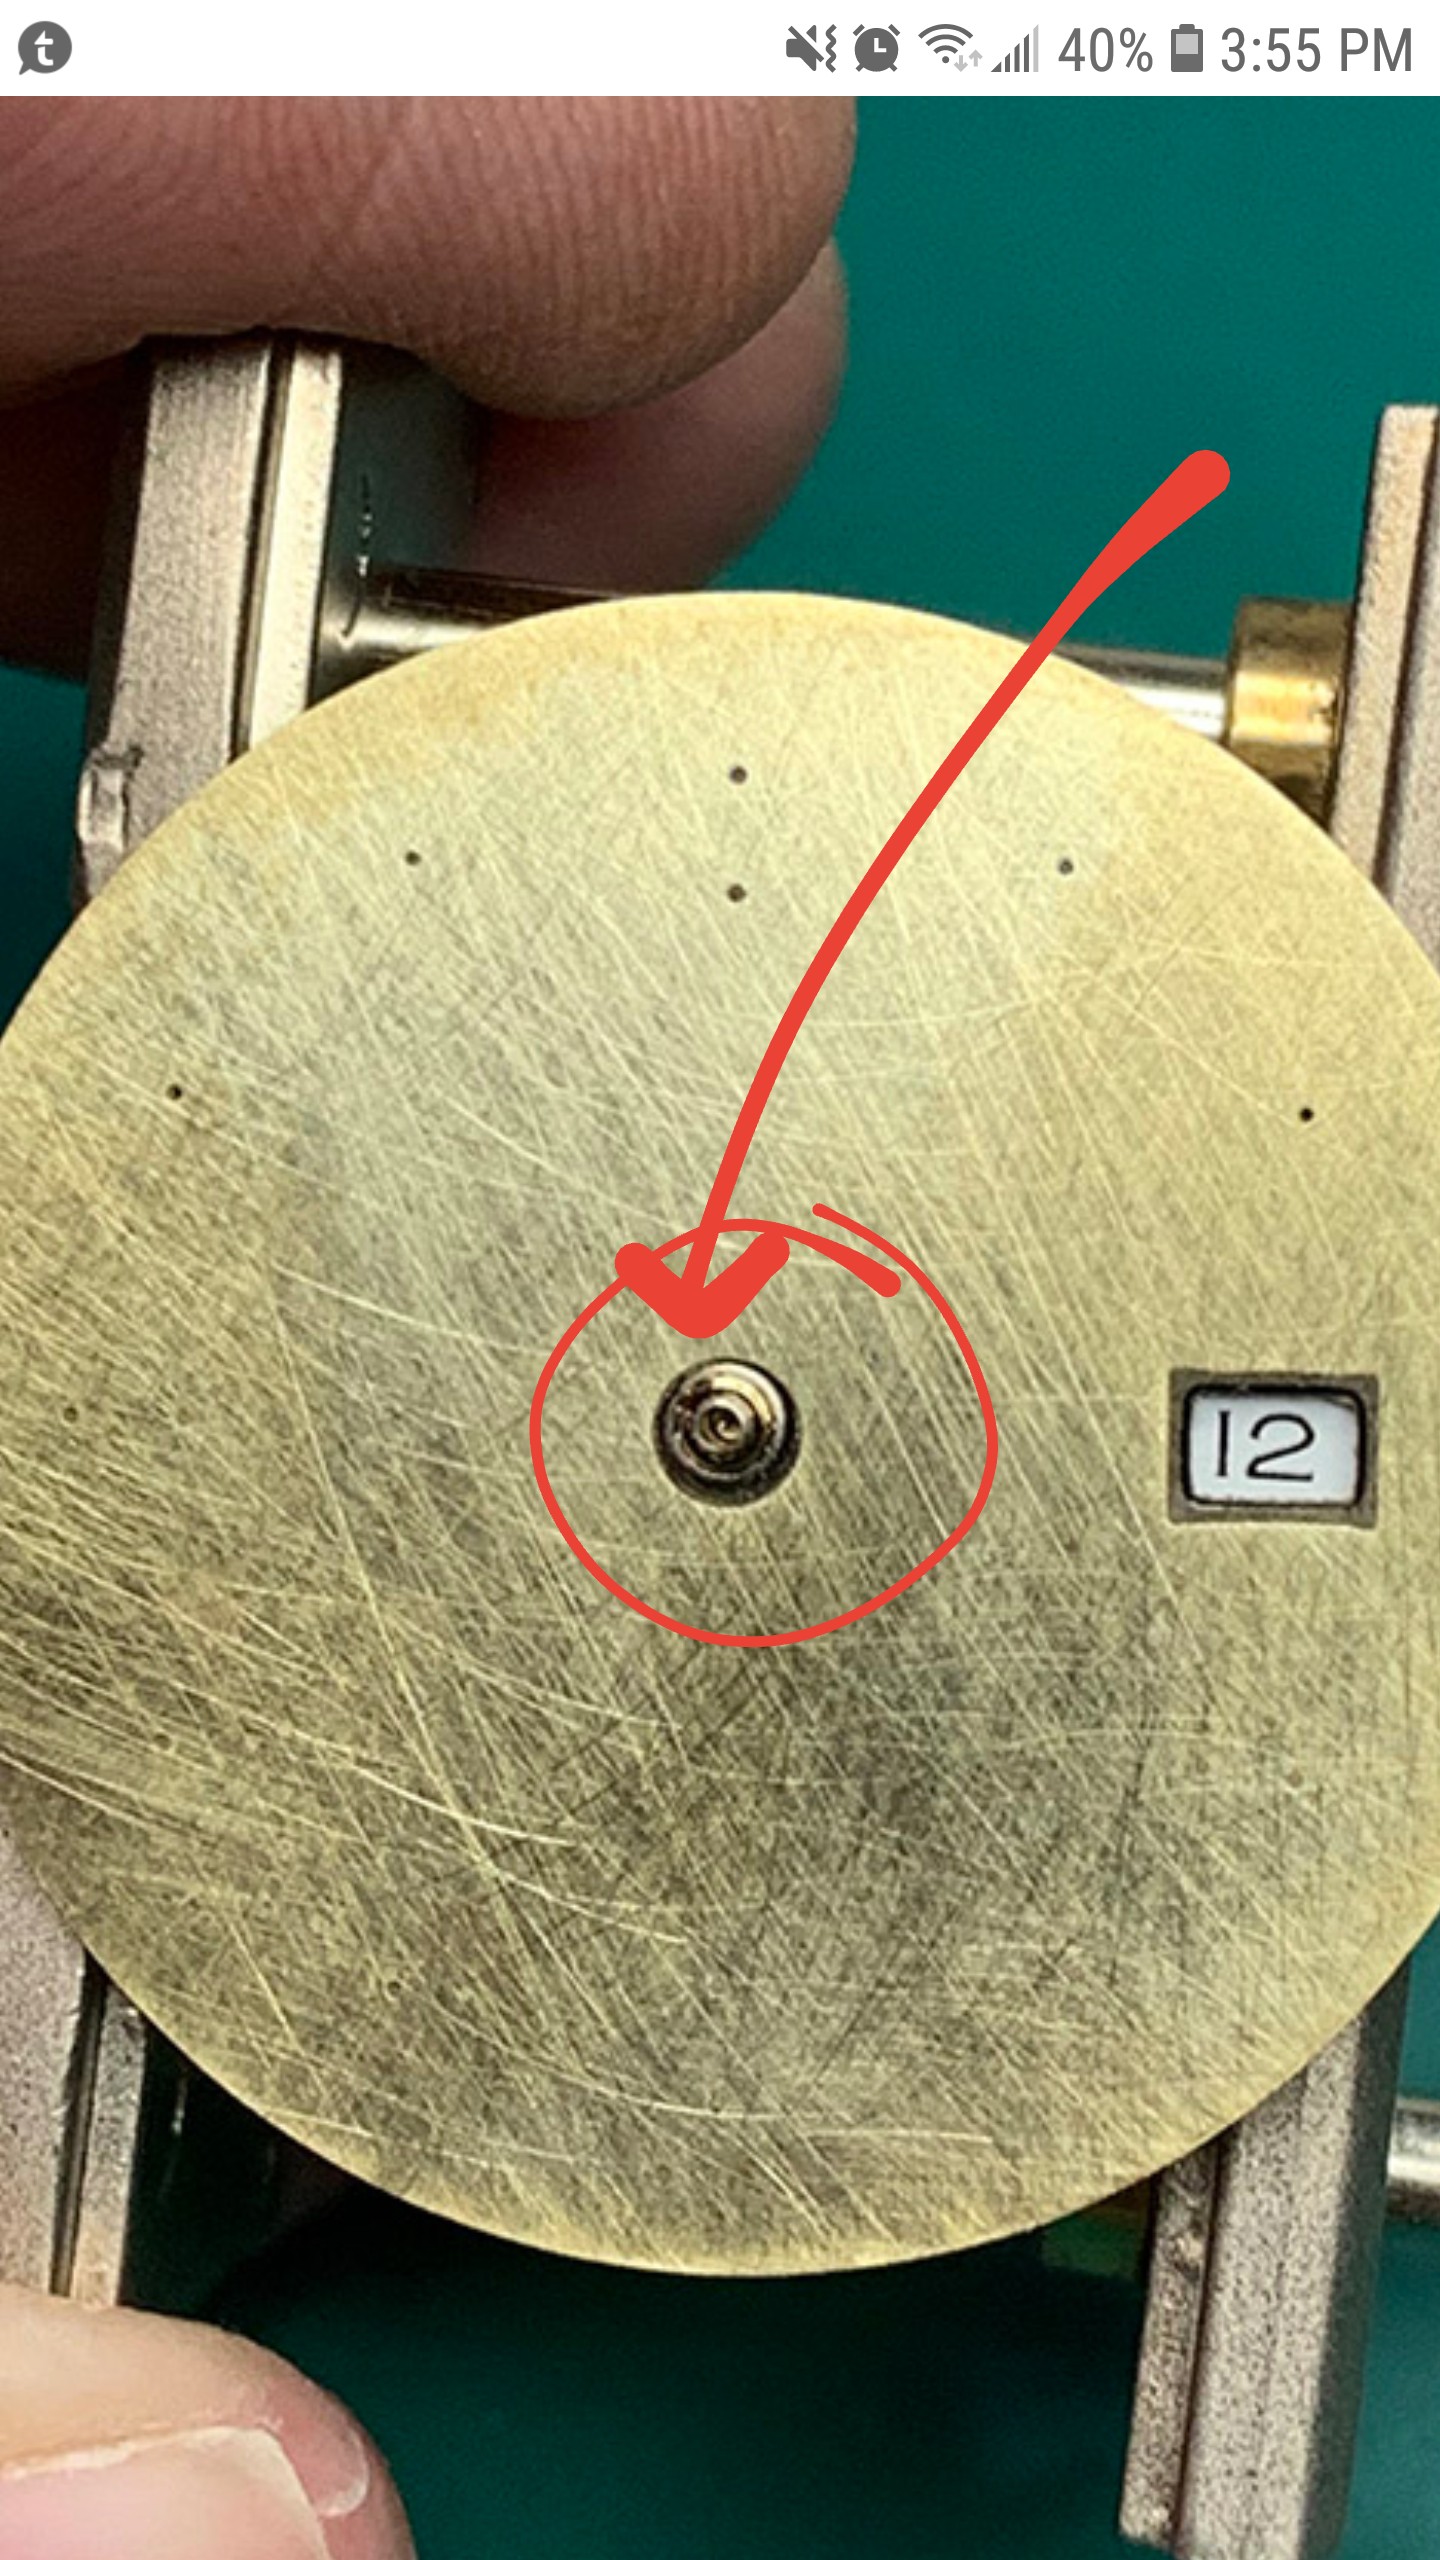
Thanks lawlessflyer, I know and I spotted it - so I wasn’t too upset when the dial promptly fell off the feet! :) And it’s the other reason I want to use epoxy - the super glue fixed the dial in place instantly - so I got that result by default. The date looked pretty good though lol.

But in my defence, I’ve taken the dials off lots of reps and noticed pretty much every time that the centre hole isn’t perfectly aligned with the canon pinions, so if the glue had held, I was planning to see if I might get away with it when test-fitting the dial/movement in the case. I mean, it’s only watchmaking - how precise do you need to be? ;)

The HZ6460 was an eBay purchase and came with the dial spacer ring.
 

Perpetual

I'm Pretty Popular
23/1/16
2,372
3,627
113
Thanks lawlessflyer, I know and I spotted it - so I wasn’t too upset when the dial promptly fell off the feet! :) And it’s the other reason I want to use epoxy - the super glue fixed the dial in place instantly - so I got that result by default. The date looked pretty good though lol.

But in my defence, I’ve taken the dials off lots of reps and noticed pretty much every time that the centre hole isn’t perfectly aligned with the canon pinions, so if the glue had held, I was planning to see if I might get away with it when test-fitting the dial/movement in the case. I mean, it’s only watchmaking - how precise do you need to be? ;)

The HZ6460 was an eBay purchase and came with the dial spacer ring.

Oh I see now, that dial spacer is a tin same as the stock ones come with eta base movements only this one meets proper height (which is good).

I thought that was a one solid piece like TC used to make. Still nice though, I believe helenarou has this same movement (HR) i believe ppl quote him as.

All the best to you with your build Popperini good luck!
 
  • Like
Reactions: p0pperini

Redheart

Active Member
17/5/19
466
541
93
I use brand name epoxy rated at 5 mins for glueing dial feet. I think superglue should never be used near a watch because of all the nasty fumes/residue it will leave behind.
maybe its because its winter but my 5min drying epoxy is actually taking 10mins to seize, and its quite a long time to hold with your latexed fingers on the dials!
i wish i had instant epoxy for that job, 2mins is plenty to center the DWO and the center dial hole me thinks.

nice progress nonetheless buddy!!
 
  • Like
Reactions: p0pperini

p0pperini

patr0n h0arder
Gold Patron
Certified
29/1/19
9,452
34,163
113
UK
Cheers Redheart, Gorilla epoxy arrived today and I’ll get back to the dial tomorrow. I think the main problem with superglue occurs if you trap the fumes in the case - for instance, by using it to fit a crystal and then closing up the case. It off-gases for some time after use and can fog up the watch.
 

Countess Koscowicz

Active Member
1/1/20
321
162
43
UK
Cheers Redheart, Gorilla epoxy arrived today and I’ll get back to the dial tomorrow. I think the main problem with superglue occurs if you trap the fumes in the case - for instance, by using it to fit a crystal and then closing up the case. It off-gases for some time after use and can fog up the watch.

Never considered that with super glue def good to know!
 

chubbychaser911

Active Member
31/10/19
405
112
43
Here’s the thing I’m thinking about dial feet height. What if we put the dial spacer on first with a few spots of epoxy. Then we remove some sections where the dial feet go? No way then that the dial foot base height is thicker than the dial spacer. We just need to make sure the posts on the dial feet sink all the way in. That can be handled by filing on the dial feet. And we would have to do that anyways.
 

p0pperini

patr0n h0arder
Gold Patron
Certified
29/1/19
9,452
34,163
113
UK
Another update from the "I really shouldn't be let loose on this" school of watch modding...

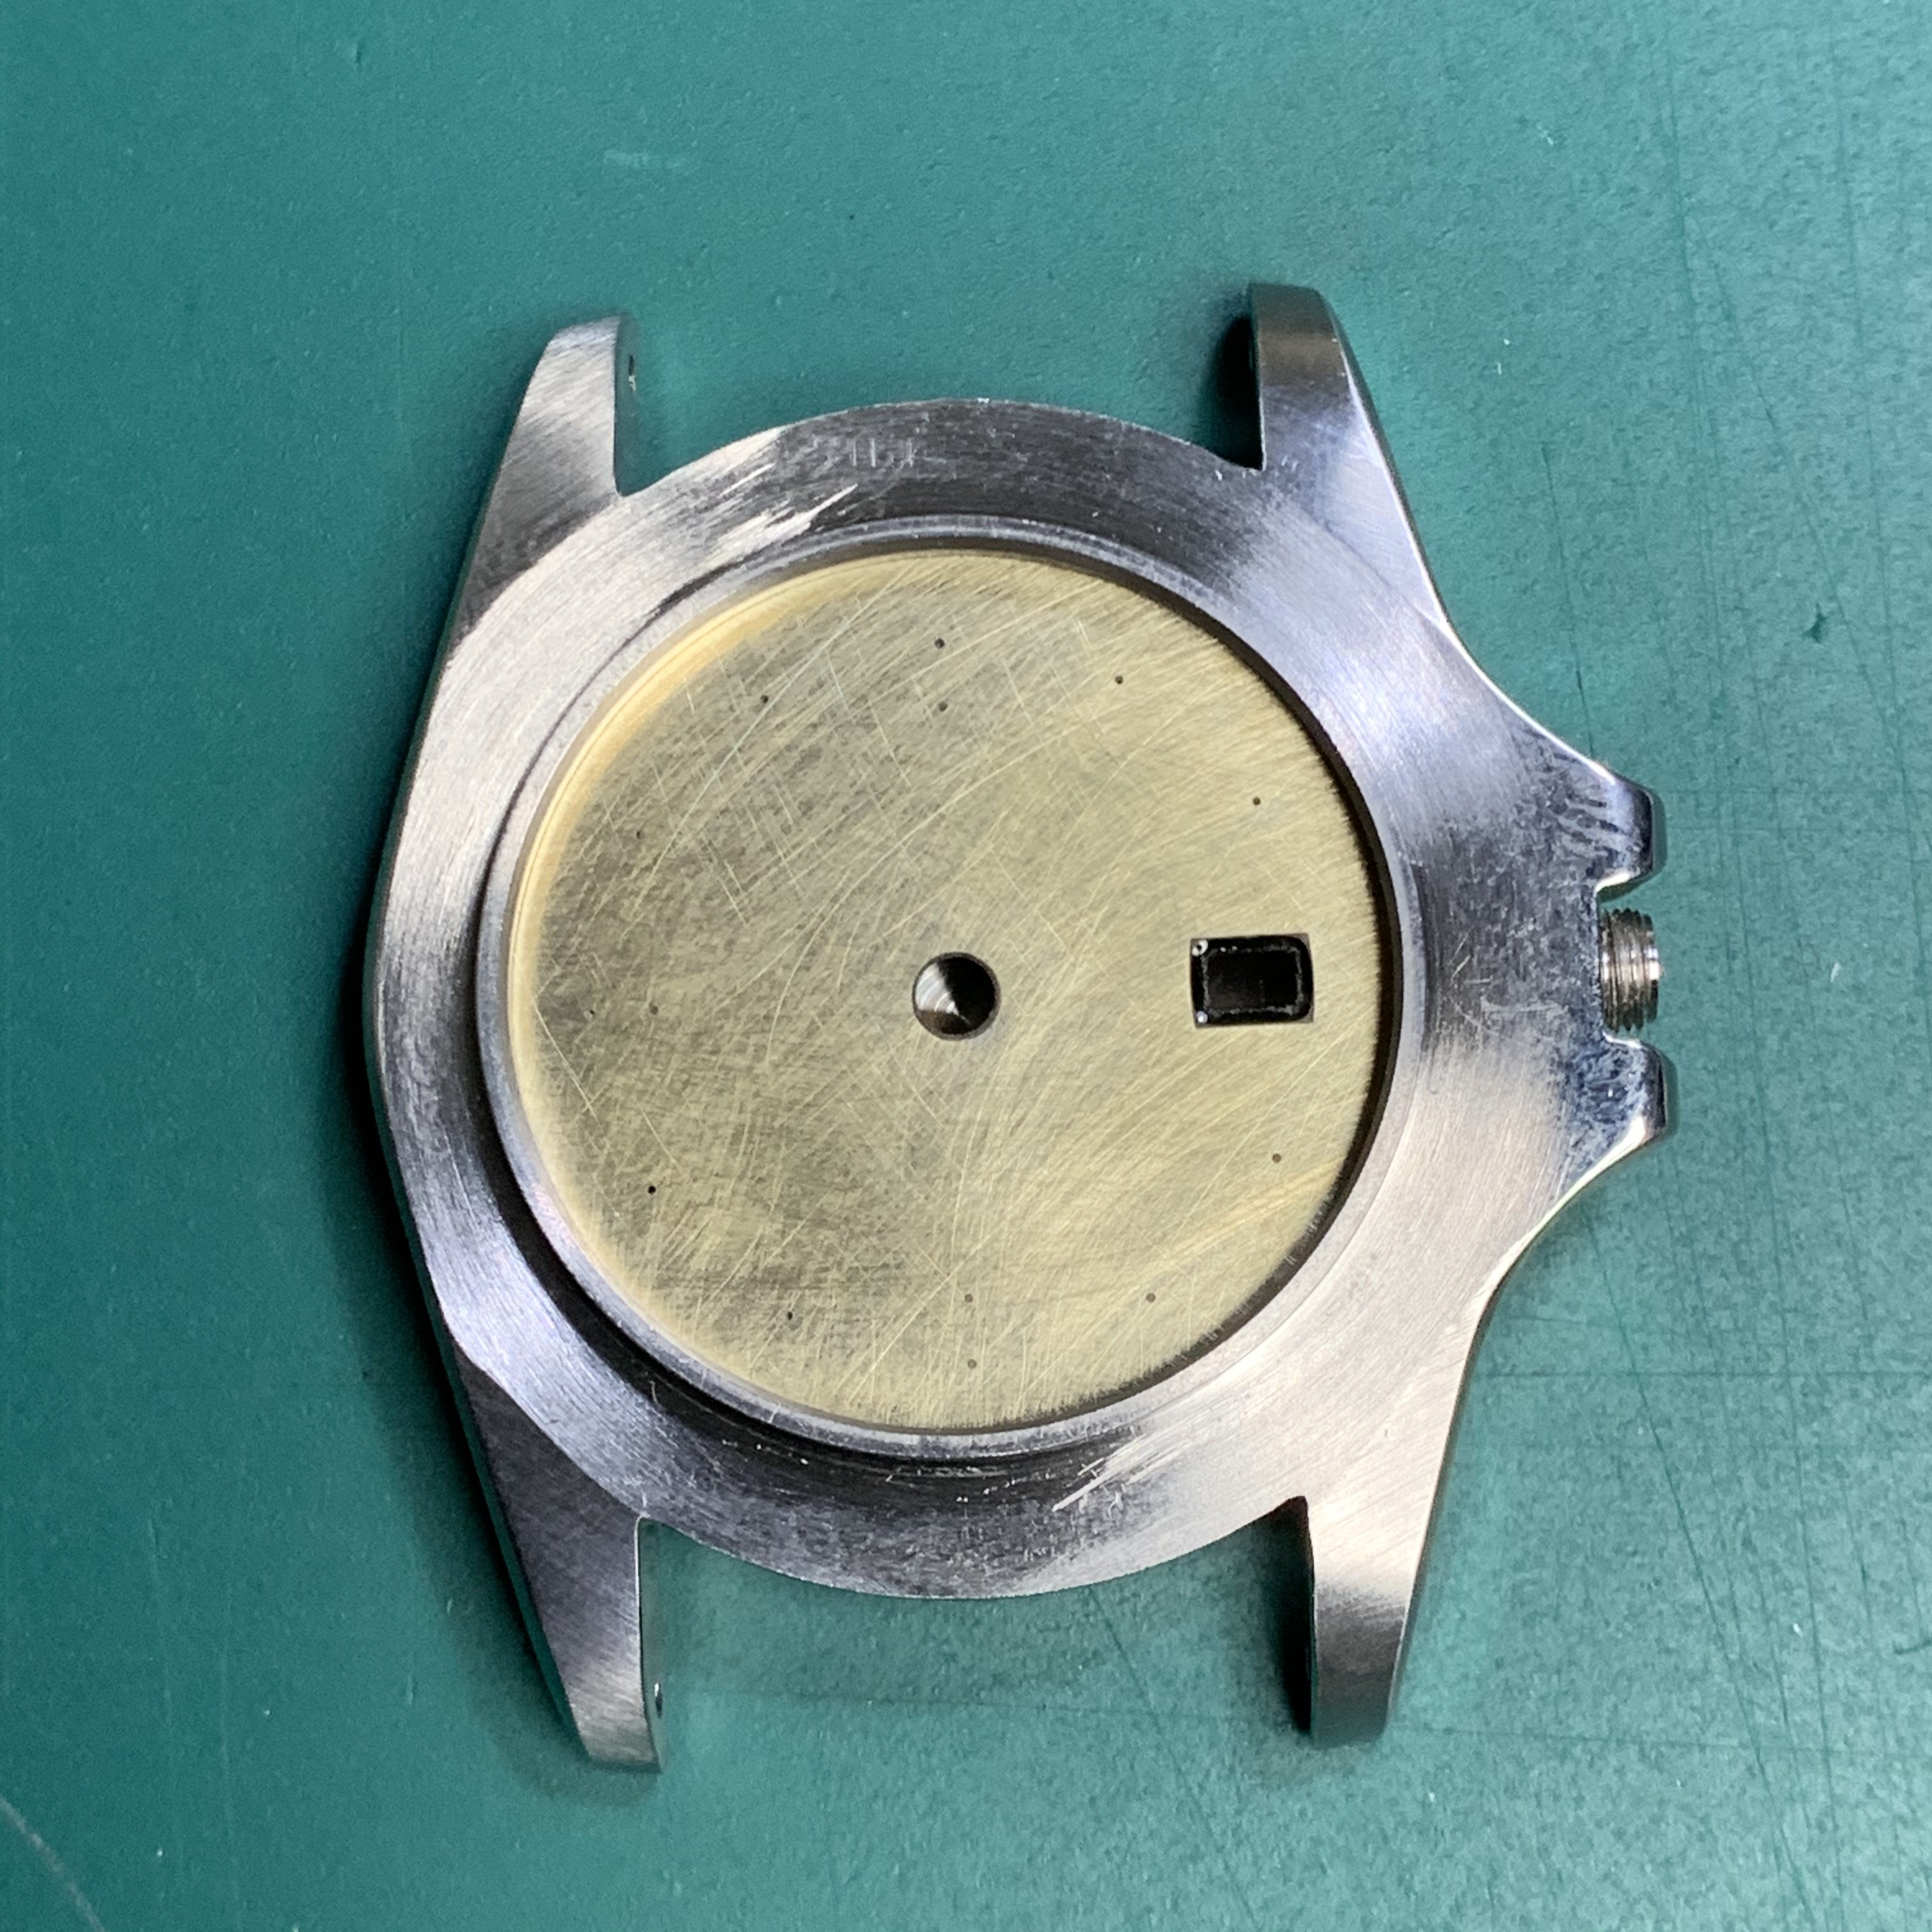
So, when I previously showed this photo of the dial in place in the case, I was misleading both myself and you, the viewer - because the dial in this pic is not sitting snugly under the rehaut lip... It's sitting against the next step down.

IH2WI.jpg


As trip had already pointed out to me - the donor dial would need a mm or so shaved off in order to fit. I completely forgot/ignored this, and I didn't immediately realise that what I was looking at with the dial "in position" wasn't rehaut but the space for the movement ring to sit in. Another "D'oh" moment. It was handy that I noticed this before getting the dial feet and dial decal stuck on... it would have made the following process way more prone to even more "D'oh" moments.

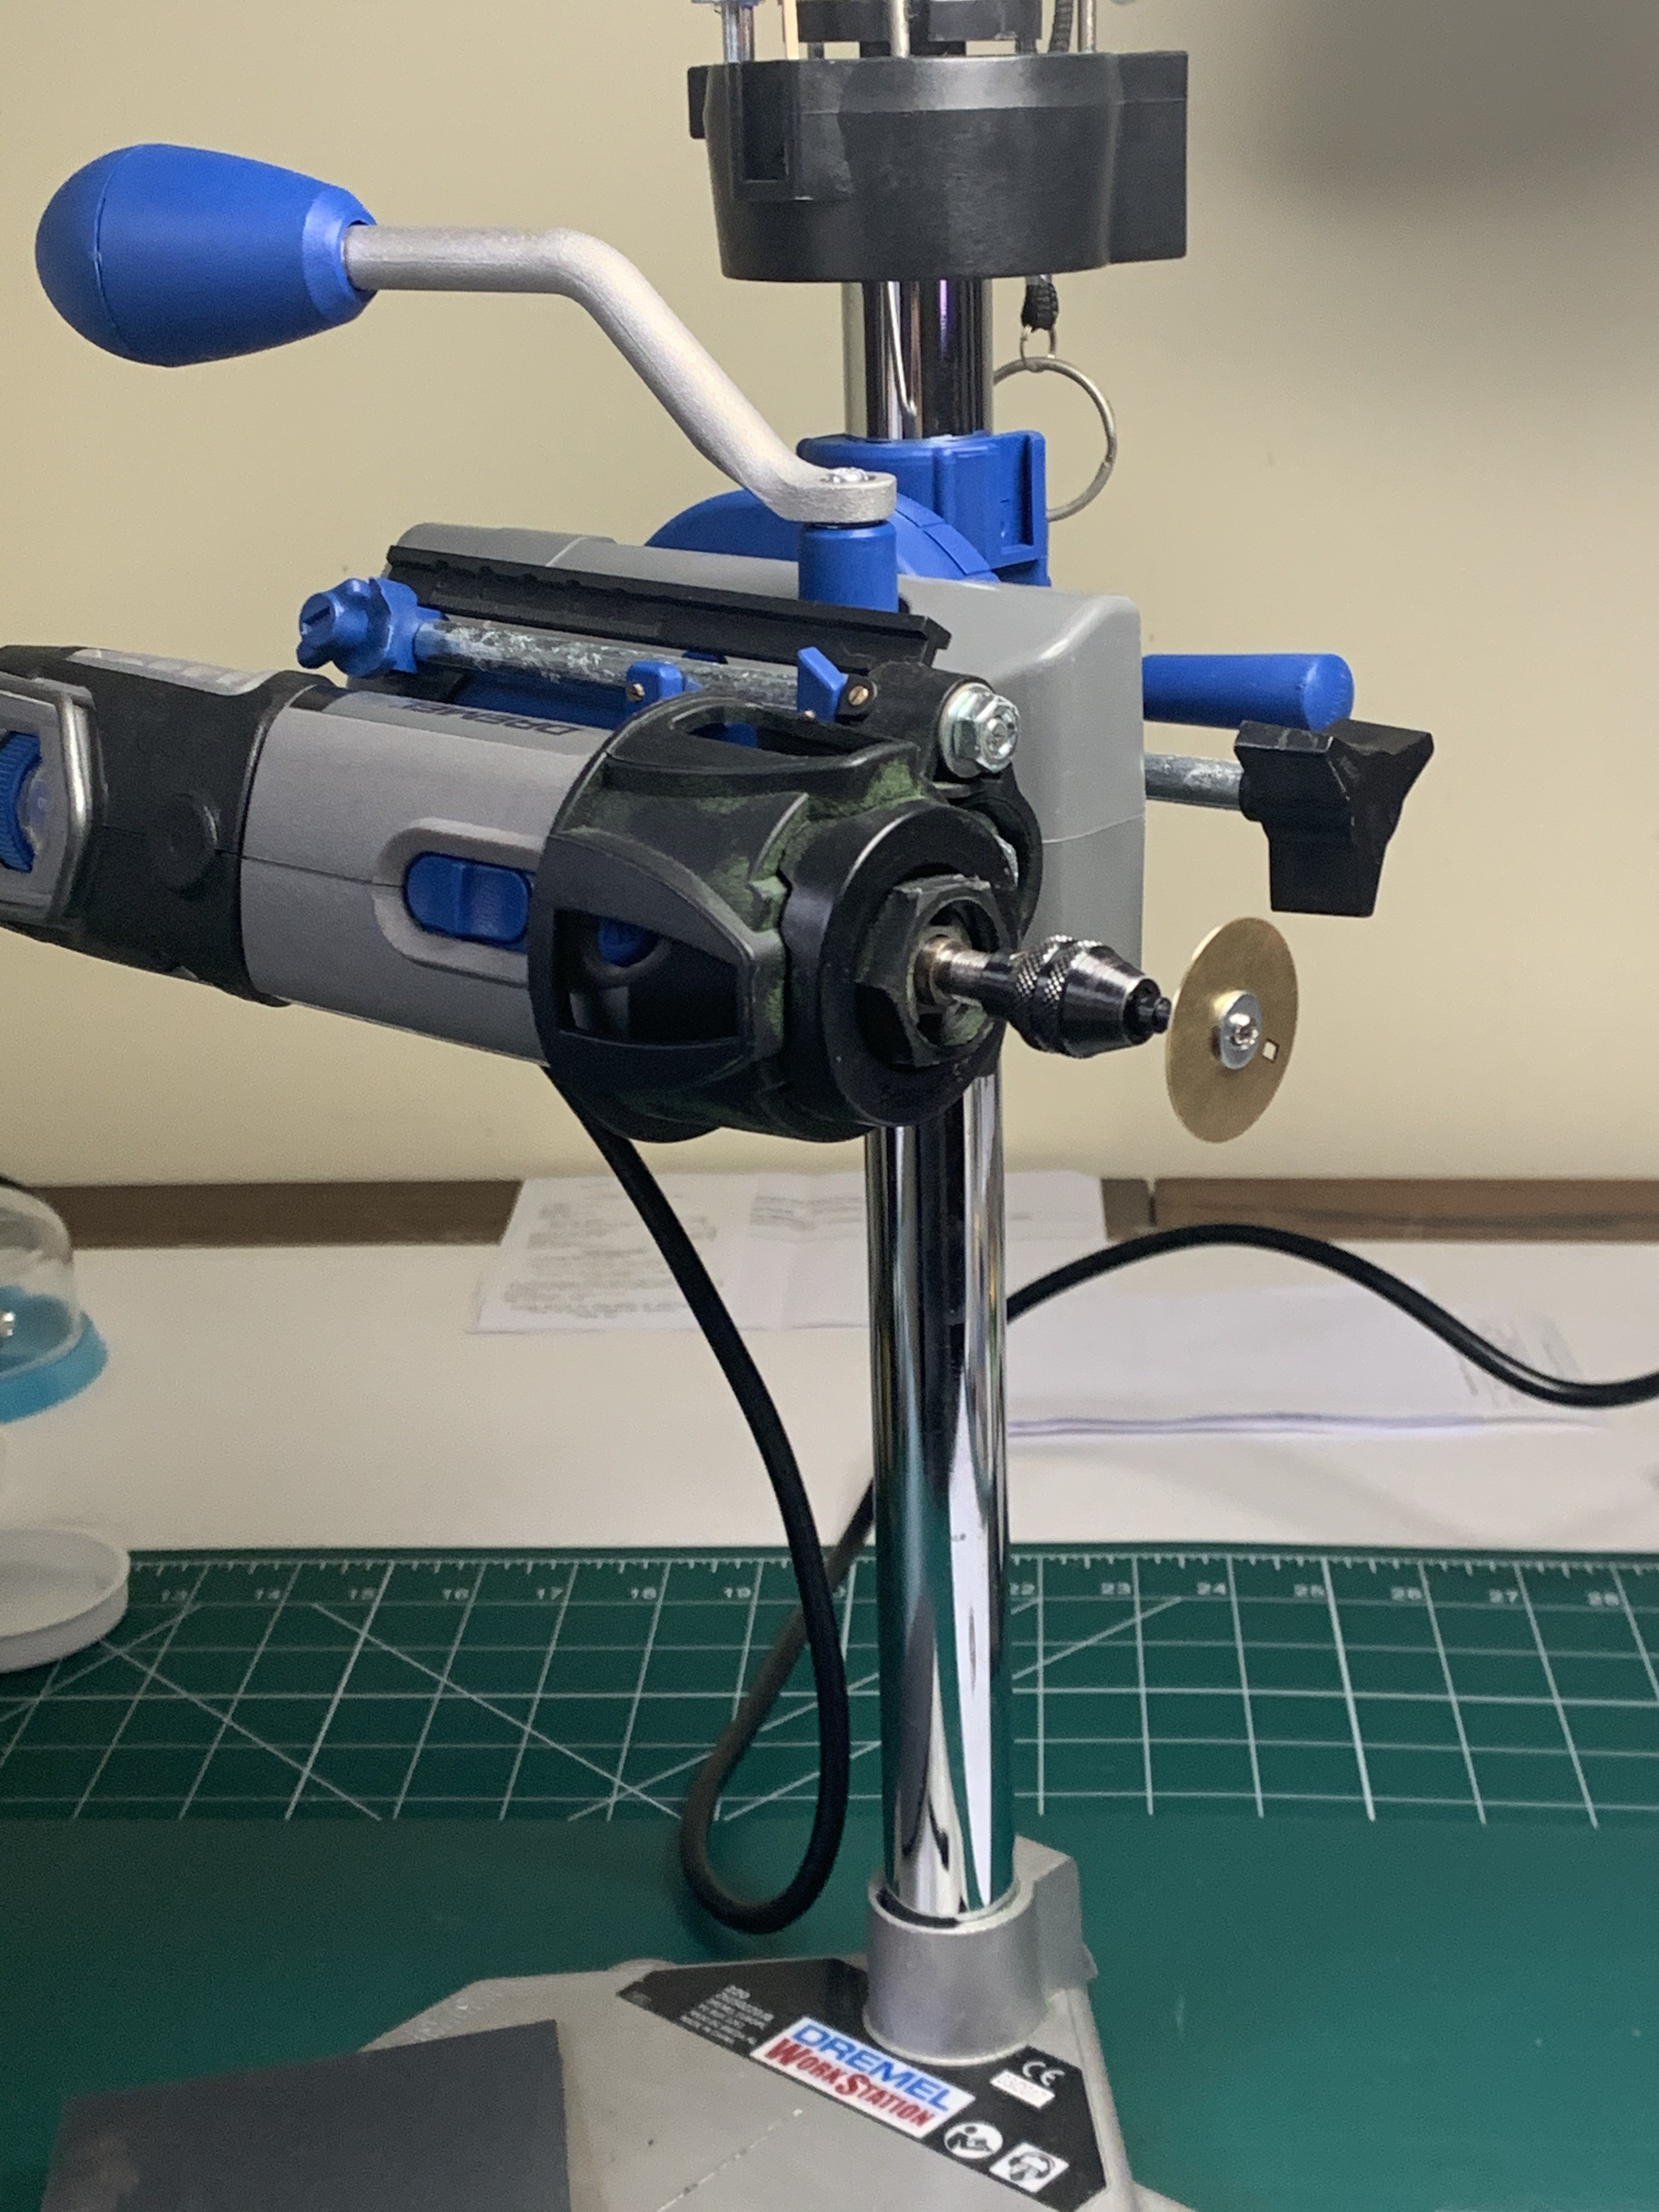
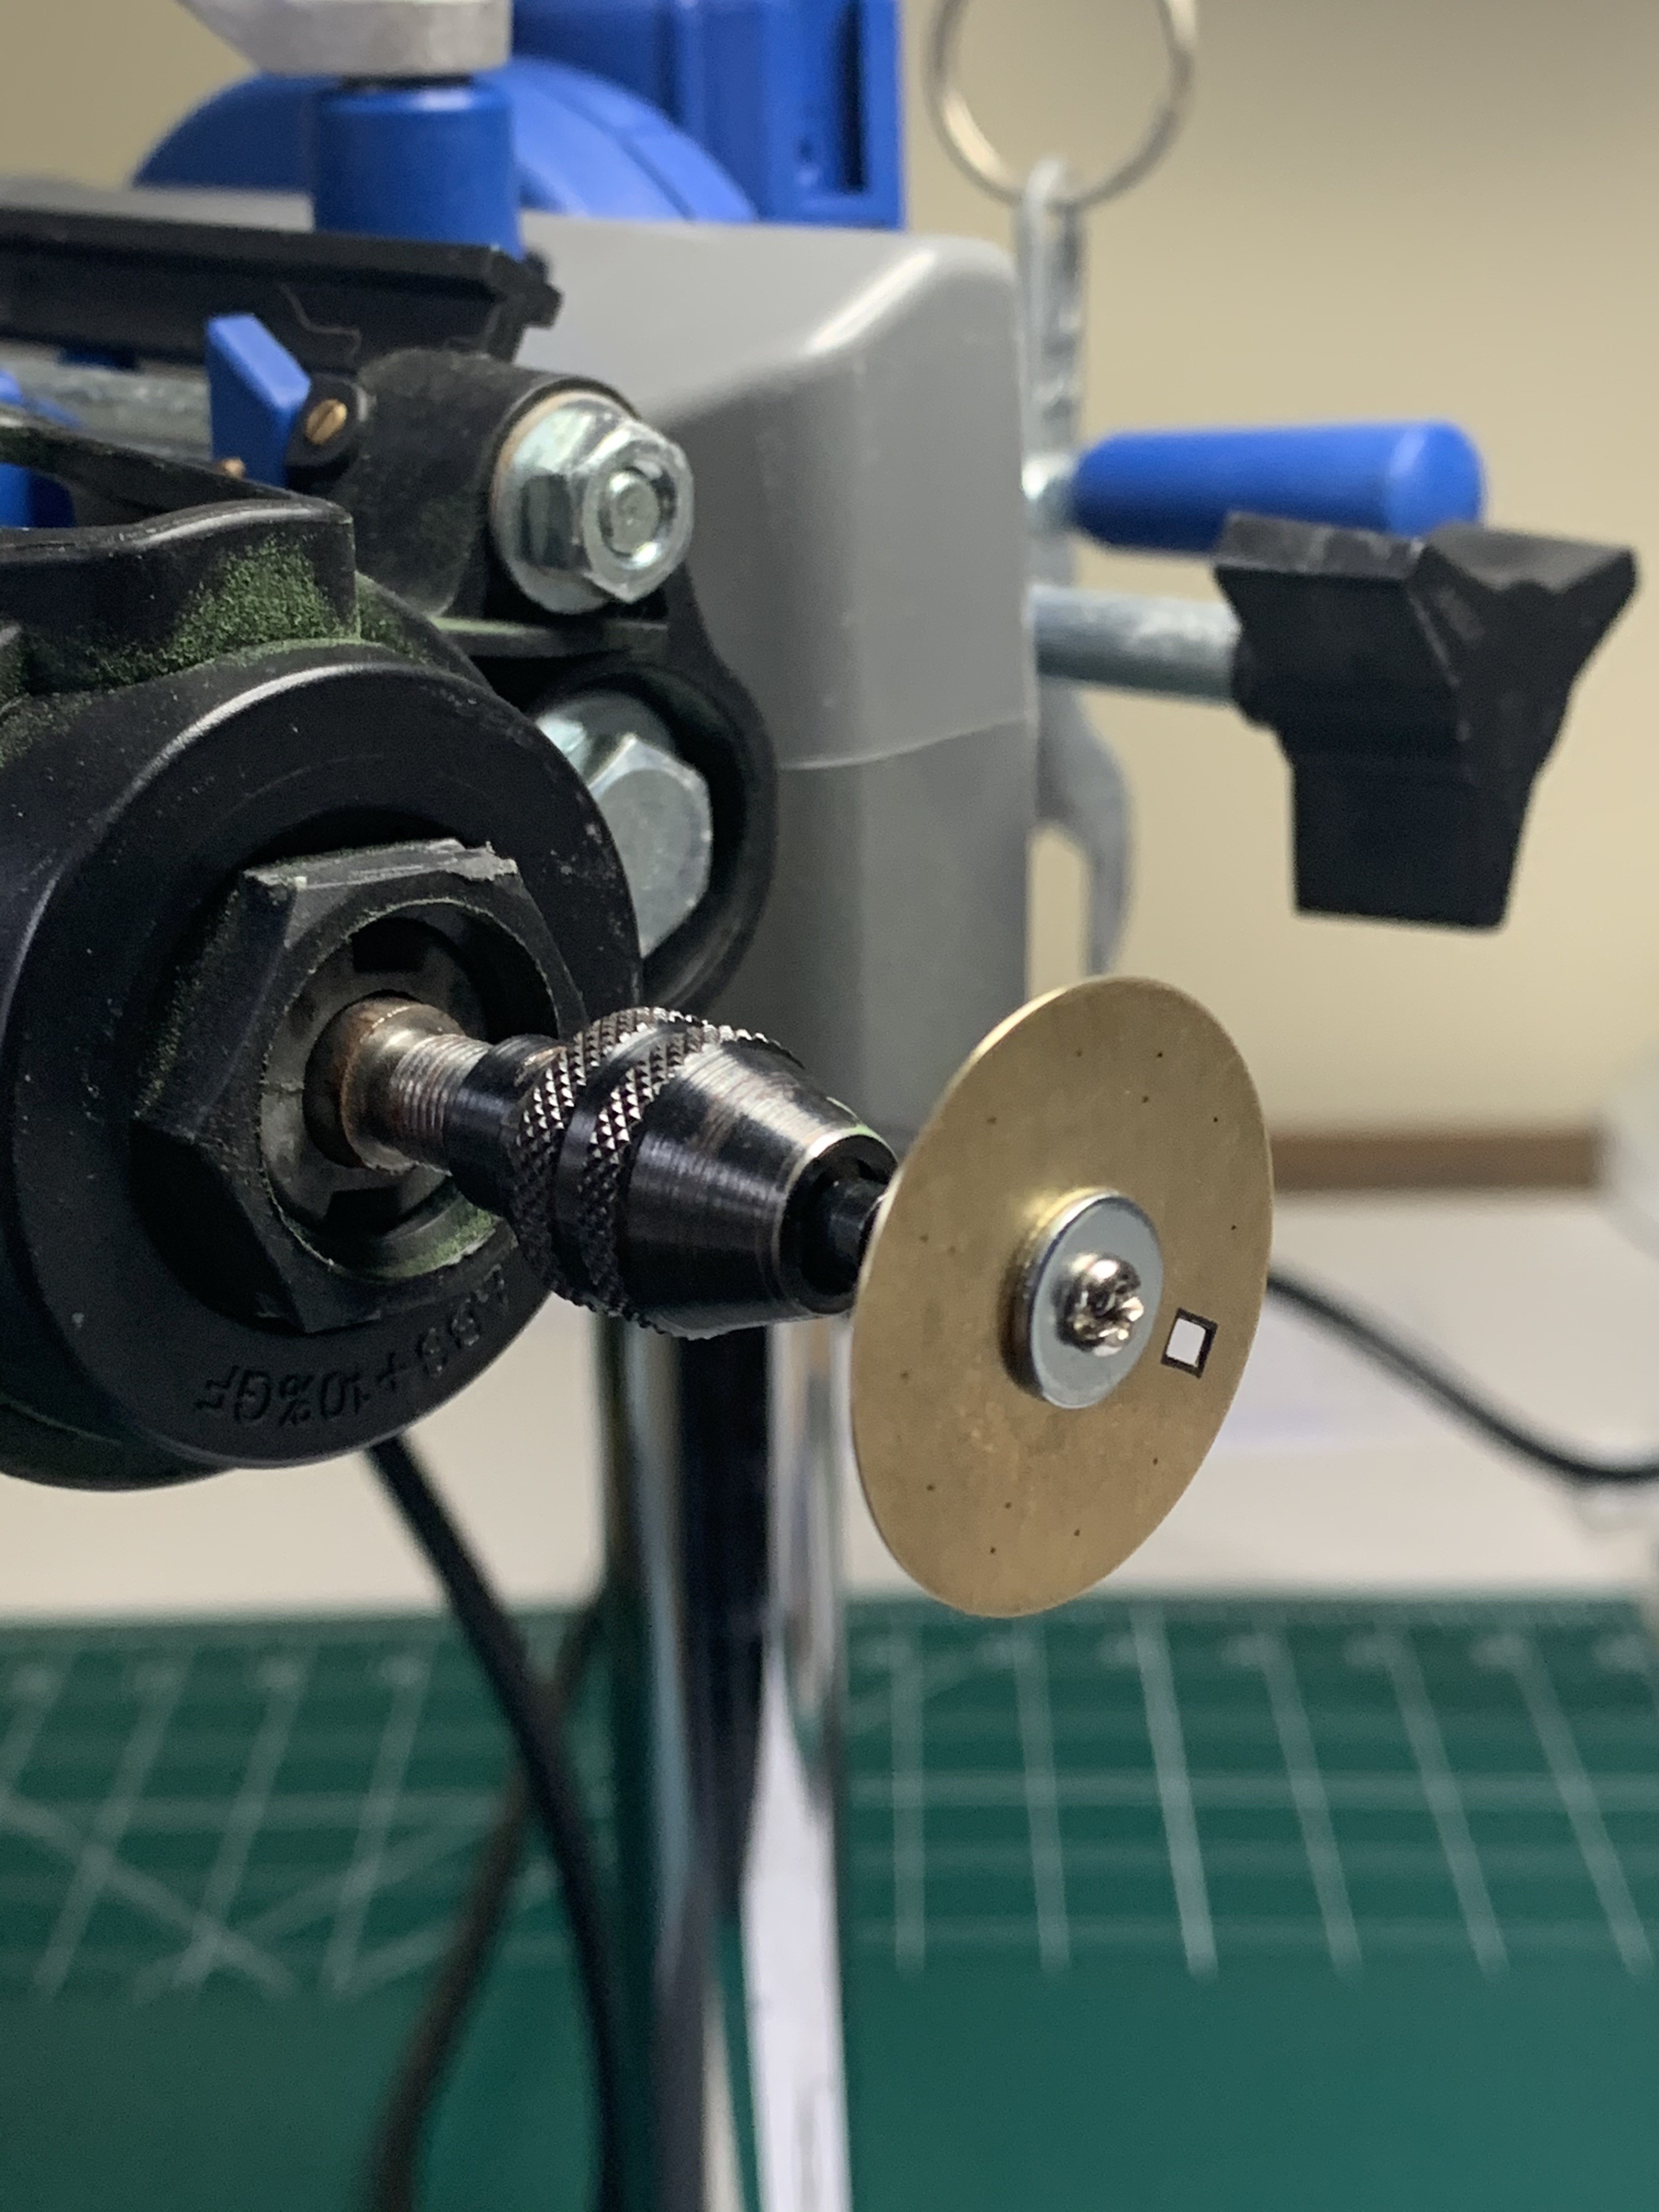
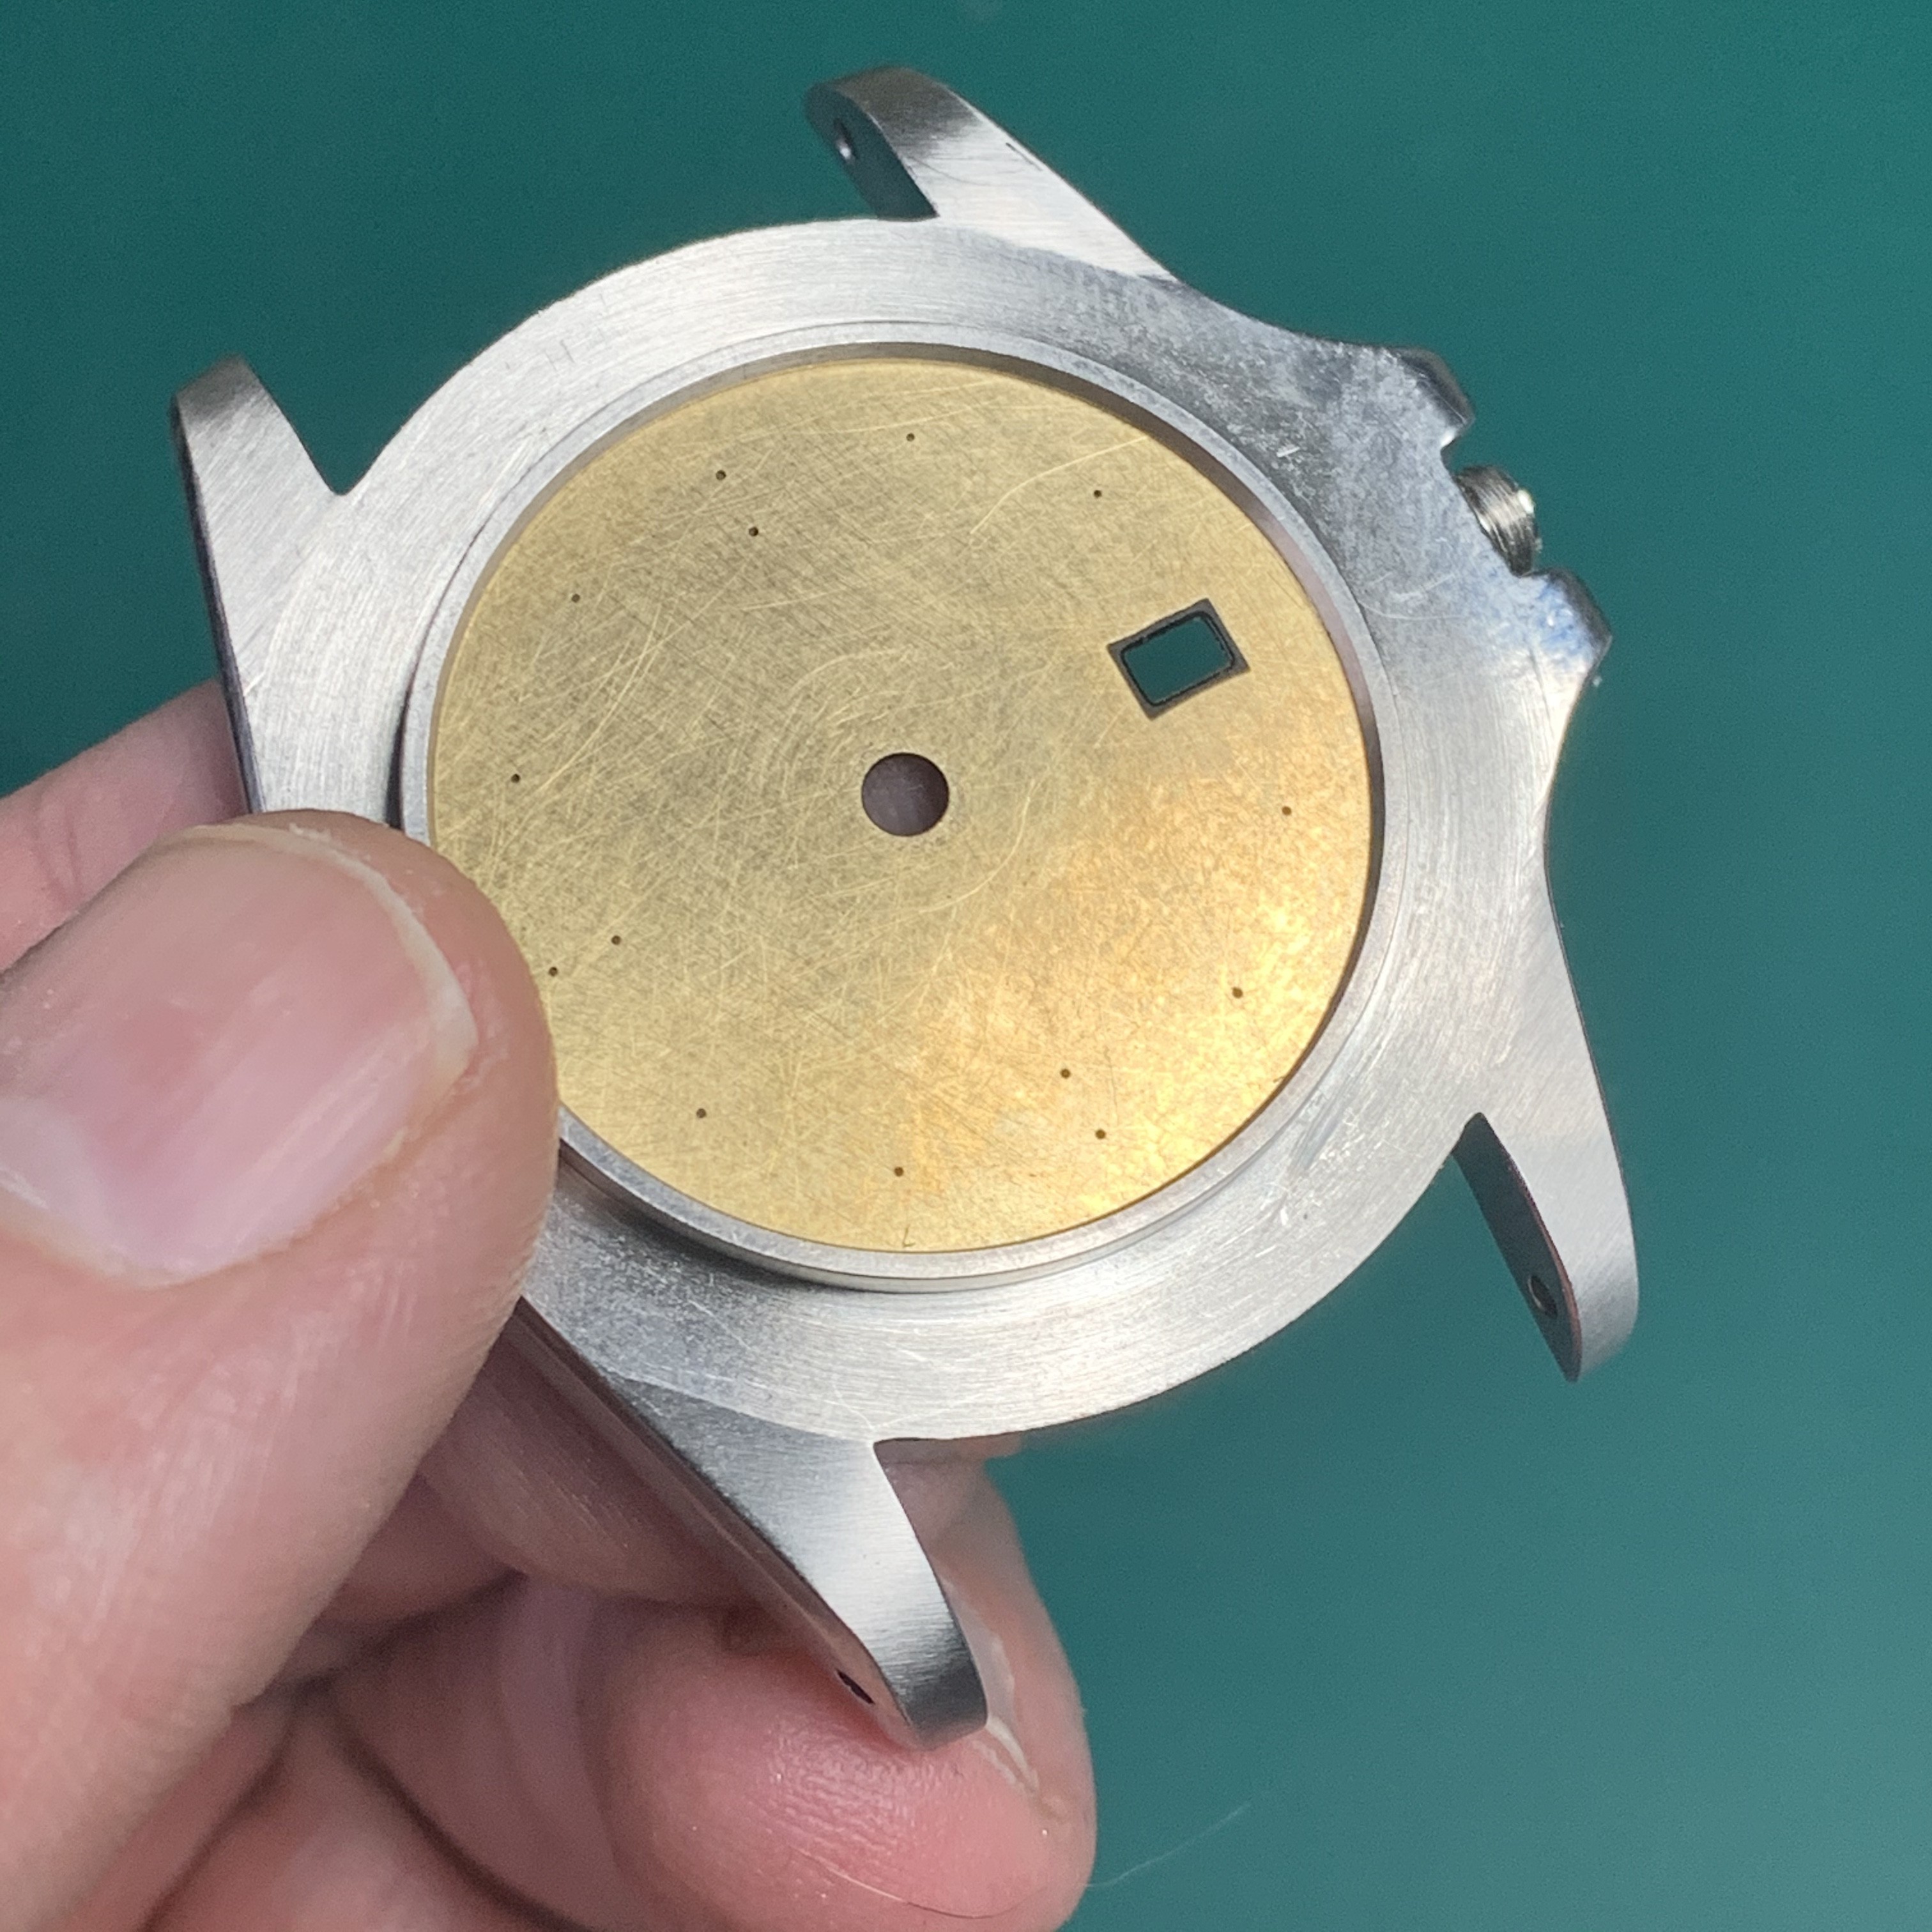
I set up my Dremel as a makeshift lathe, and used 600... then when that was boringly slow, 500... then when my patience ran out, 350 grit sandpaper, to shave the dial down to the right size (approximately 27.3mm) to sit nicely under the rehaut lip.

IHHdj.jpg


IH3I1.jpg


Aaaand... done. Phew.

IHKx4.jpg


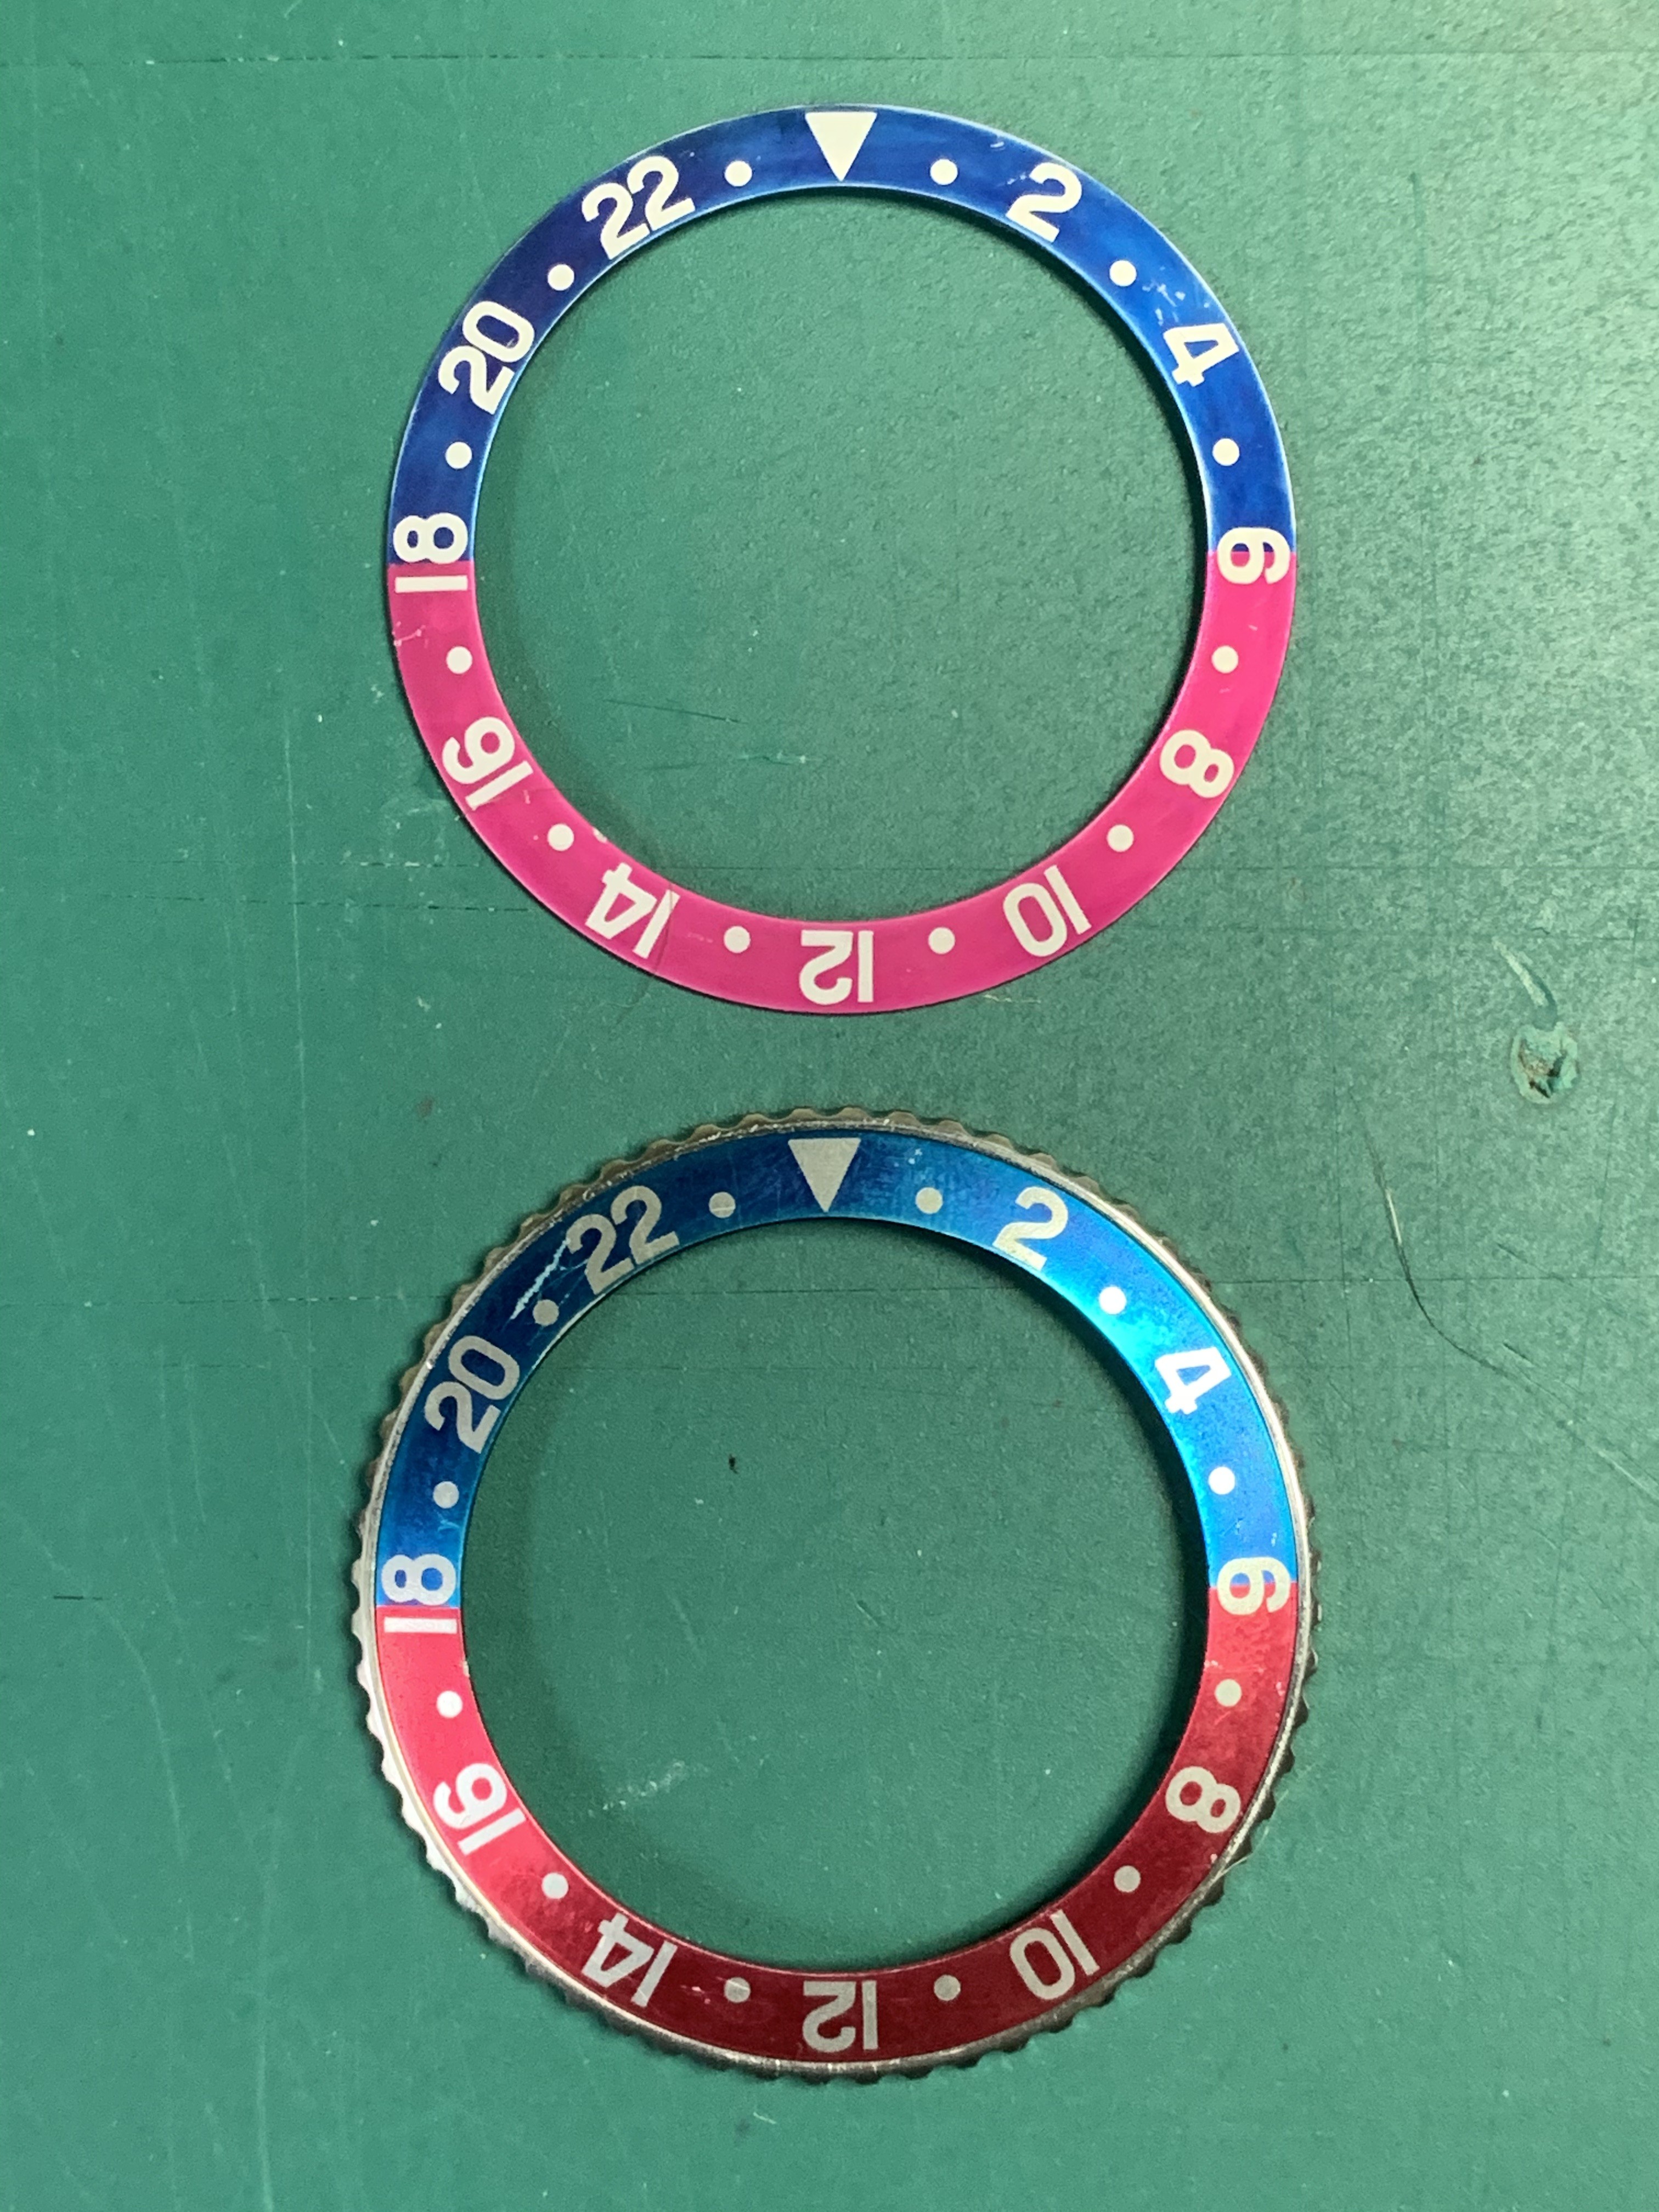
Next... the inserts. I've been at the bleach again, and I've got the two milk inserts at two different levels of "aged". The fuchsia insert has been faded down so that it's now very matt and the numerals have turned white. The Pepsi insert still has a metallic sheen but has developed a more uneven patina.

IHQJP.jpg


But... I don't know. I'm not very happy with them. I've had much better fading results with other inserts. Also, having previously been a fan of the "if it's old, it'll have scratches and scuffs" approach, after I added scratches and scuffs I regretted doing that too.

Anyway, I'll probably continue to work on both of them (until they're ruined. Then buy more.).
 
Last edited:

Redheart

Active Member
17/5/19
466
541
93
I really like your Pepsi!
and look at that nice rehaut! The dial will be nicely close to the Plexi! No deep rehaut like on those Cartels.

One should be aware that the hands stack should be compact enough no to rub on the Plexi hehe.
 

p0pperini

patr0n h0arder
Gold Patron
Certified
29/1/19
9,452
34,163
113
UK
I really like your Pepsi!
and look at that nice rehaut! The dial will be nicely close to the Plexi! No deep rehaut like on those Cartels.

One should be aware that the hands stack should be compact enough no to rub on the Plexi hehe.

Glad to hear you like the pepsi. The fuchsia looks very flat, it's a shame.

And yes - it'll be interesting to see how the space works out. I do like a nice "top hat" look to my vintage plexi - I've got Sternkreuz plexi XS302.450 from Cousins. Hopefully it'll give enough clearance.
 

GingerBubba

I make Billy Butcher blush.
24/10/17
3,534
5,775
113
What's the problem work the fuchsia? The colour looks nice. Too matte for your taste? If so, could you not just get a spray-on shiny coating? Like the matte spray Rich uses on all his dials, but the opposite.
 
Last edited:
  • Like
Reactions: p0pperini

p0pperini

patr0n h0arder
Gold Patron
Certified
29/1/19
9,452
34,163
113
UK
What's the problem work the fuchsia? The colour looks nice. Too matte for your taste? If so, could you not just get a spray-on shiny coating? Like the matte spray Rich uses on all his dials, but the opposite.
Yes GingerBubba, that's what I think I'll be doing - I'm going to try some very light gloss clear cote over it to add a little of the lacquered look back, that's been lost to the bleaching.
 

Perpetual

I'm Pretty Popular
23/1/16
2,372
3,627
113
Another update from the "I really shouldn't be let loose on this" school of watch modding...

So, when I previously showed this photo of the dial in place in the case, I was misleading both myself and you, the viewer - because the dial in this pic is not sitting snugly under the rehaut lip... It's sitting against the next step down.

IH2WI.jpg


As trip had already pointed out to me - the donor dial would need a mm or so shaved off in order to fit. I completely forgot/ignored this, and I didn't immediately realise that what I was looking at with the dial "in position" wasn't rehaut but the space for the movement ring to sit in. Another "D'oh" moment. It was handy that I noticed this before getting the dial feet and dial decal stuck on... it would have made the following process way more prone to even more "D'oh" moments.

I set up my Dremel as a makeshift lathe, and used 600... then when that was boringly slow, 500... then when my patience ran out, 350 grit sandpaper, to shave the dial down to the right size (approximately 27.3mm) to sit nicely under the rehaut lip.

IHHdj.jpg


IH3I1.jpg


Aaaand... done. Phew.

IHKx4.jpg


Next... the inserts. I've been at the bleach again, and I've got the two milk inserts at two different levels of "aged". The fuchsia insert has been faded down so that it's now very matt and the numerals have turned white. The Pepsi insert still has a metallic sheen but has developed a more uneven patina.

IHQJP.jpg


But... I don't know. I'm not very happy with them. I've had much better fading results with other inserts. Also, having previously been a fan of the "if it's old, it'll have scratches and scuffs" approach, after I added scratches and scuffs I regretted doing that too.

Anyway, I'll probably continue to work on both of them (until they're ruined. Then buy more.).

Wow great job!! And also what a great work station setup specifically made for a dremel toool?!?! How comes I didnt know about this setup?! Lol

great progress man keep up the good work and keep us updated!
 

p0pperini

patr0n h0arder
Gold Patron
Certified
29/1/19
9,452
34,163
113
UK
Wow great job!! And also what a great work station setup specifically made for a dremel toool?!?! How comes I didnt know about this setup?! Lol

great progress man keep up the good work and keep us updated!

Thanks lawlessflyer, appreciate it. We all pick up useful tips from each other! The Dremel workstation is a very inexpensive but handy piece of kit. As you can tell from the polish splattered all over mine, it gets plenty of use!
 

p0pperini

patr0n h0arder
Gold Patron
Certified
29/1/19
9,452
34,163
113
UK
Okay, dial (now the right diameter) epoxied in position on the dial feet! Once they’ve had time to properly set, I’ll remove the dial and spacer and then clip a little from the dial spacer (as chubbychaser911 was suggesting), so it clears the flat parts of the feet and the dial can sit against the spacer.

11a5dc2620ecabd8cb48b023b14ffc35.plist


Sent from my iPhone using Tapatalk