There is really no trick to this bro but trial and error. Using slow cure epoxy ofc is necessary - I just got some new bottles of my go-to BSI 30min yesterday. They updated the nozzle caps and made what was a top shelf product into an absolutely unparalleled must have for watchmaking needs. This stuff is awesome.
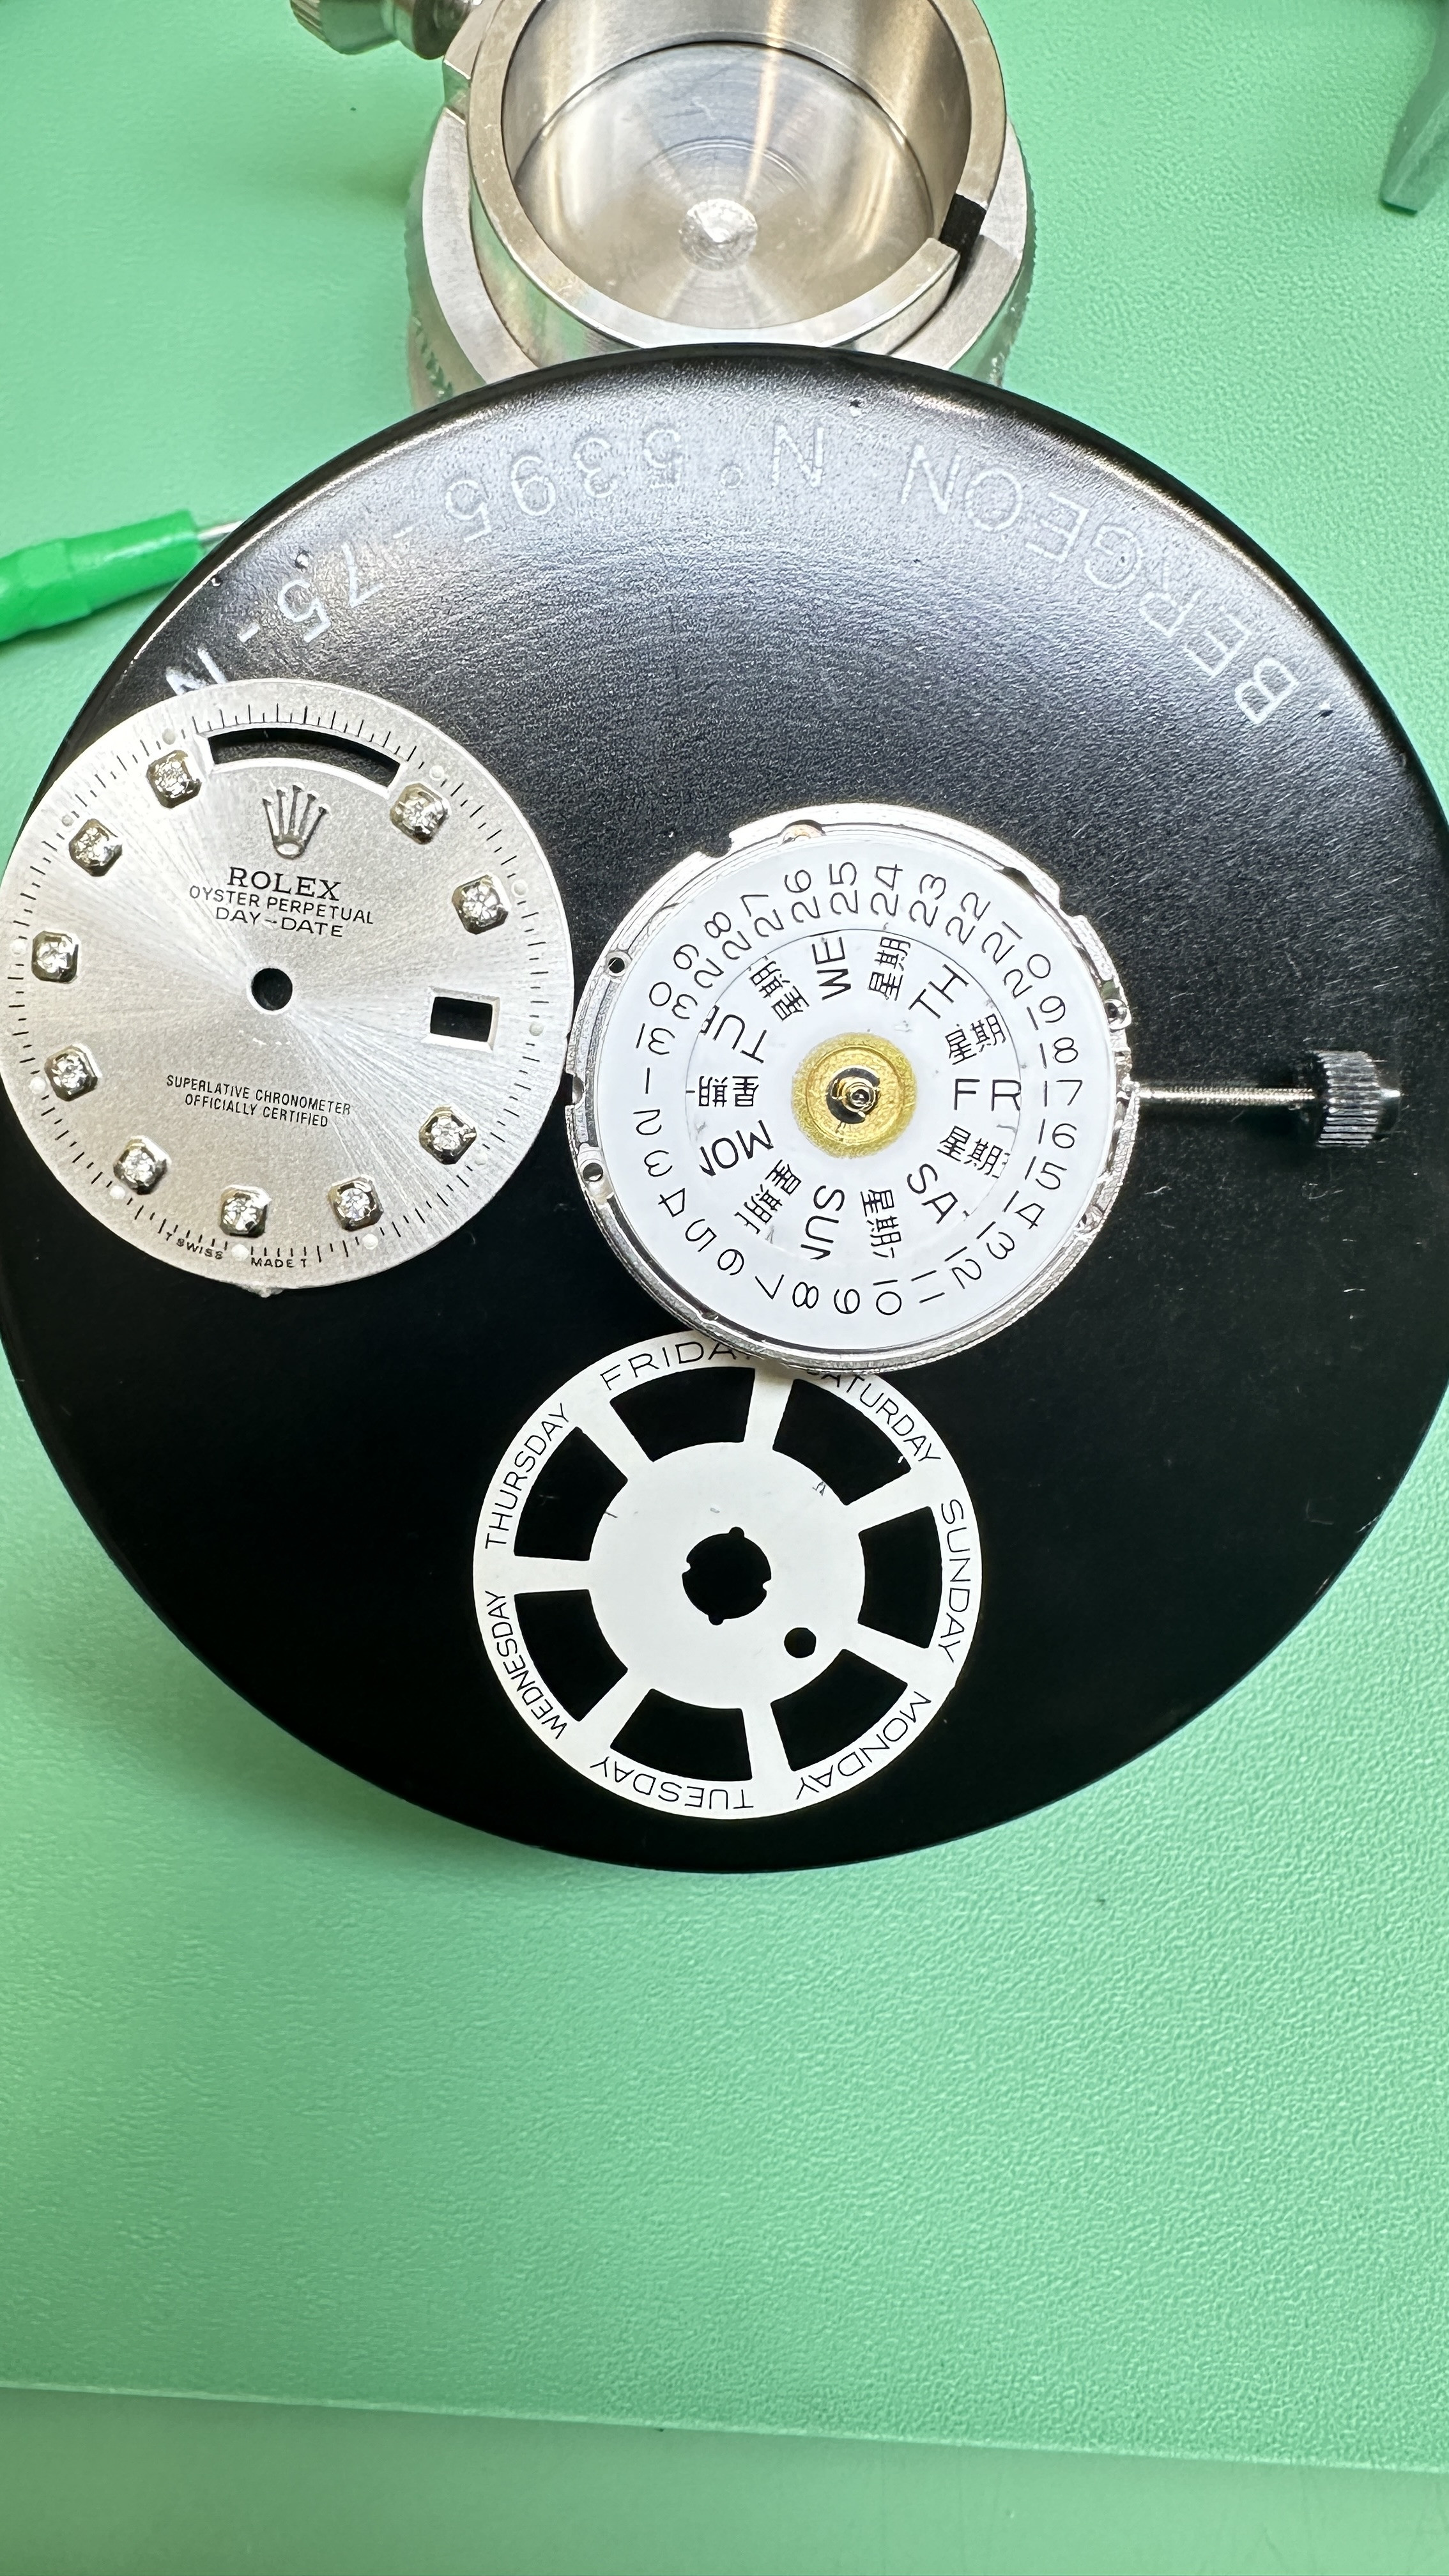
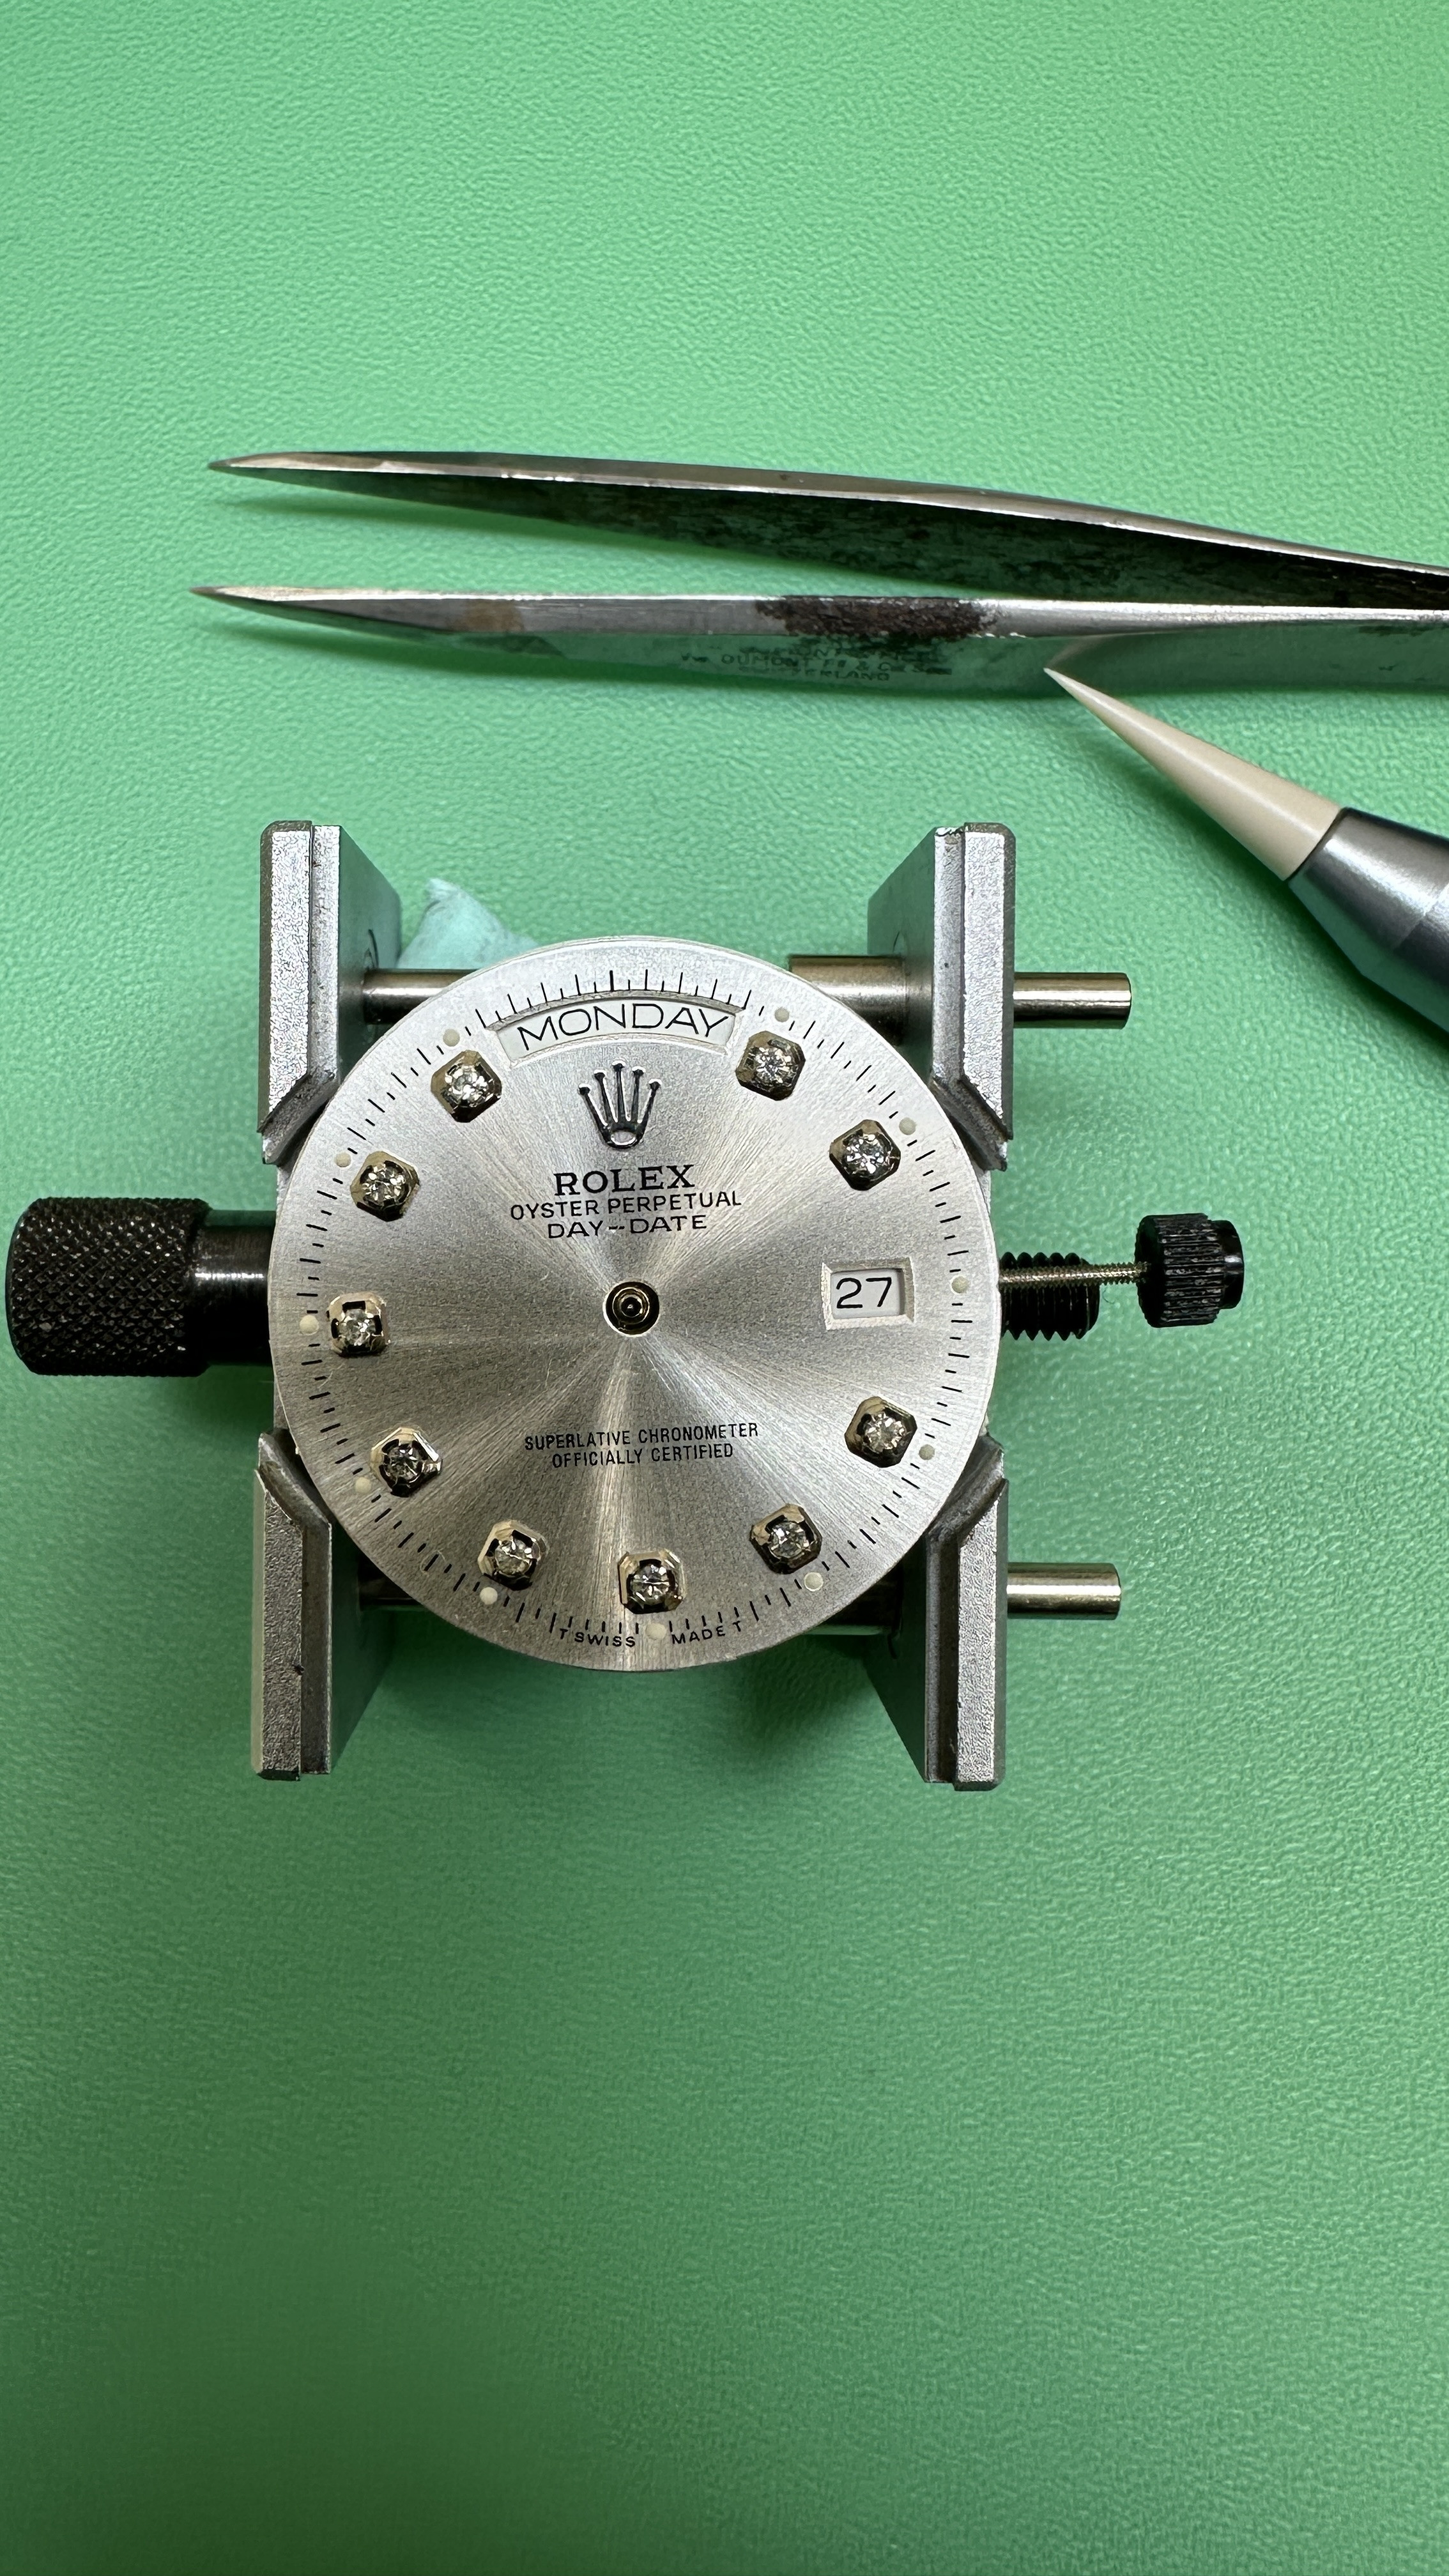
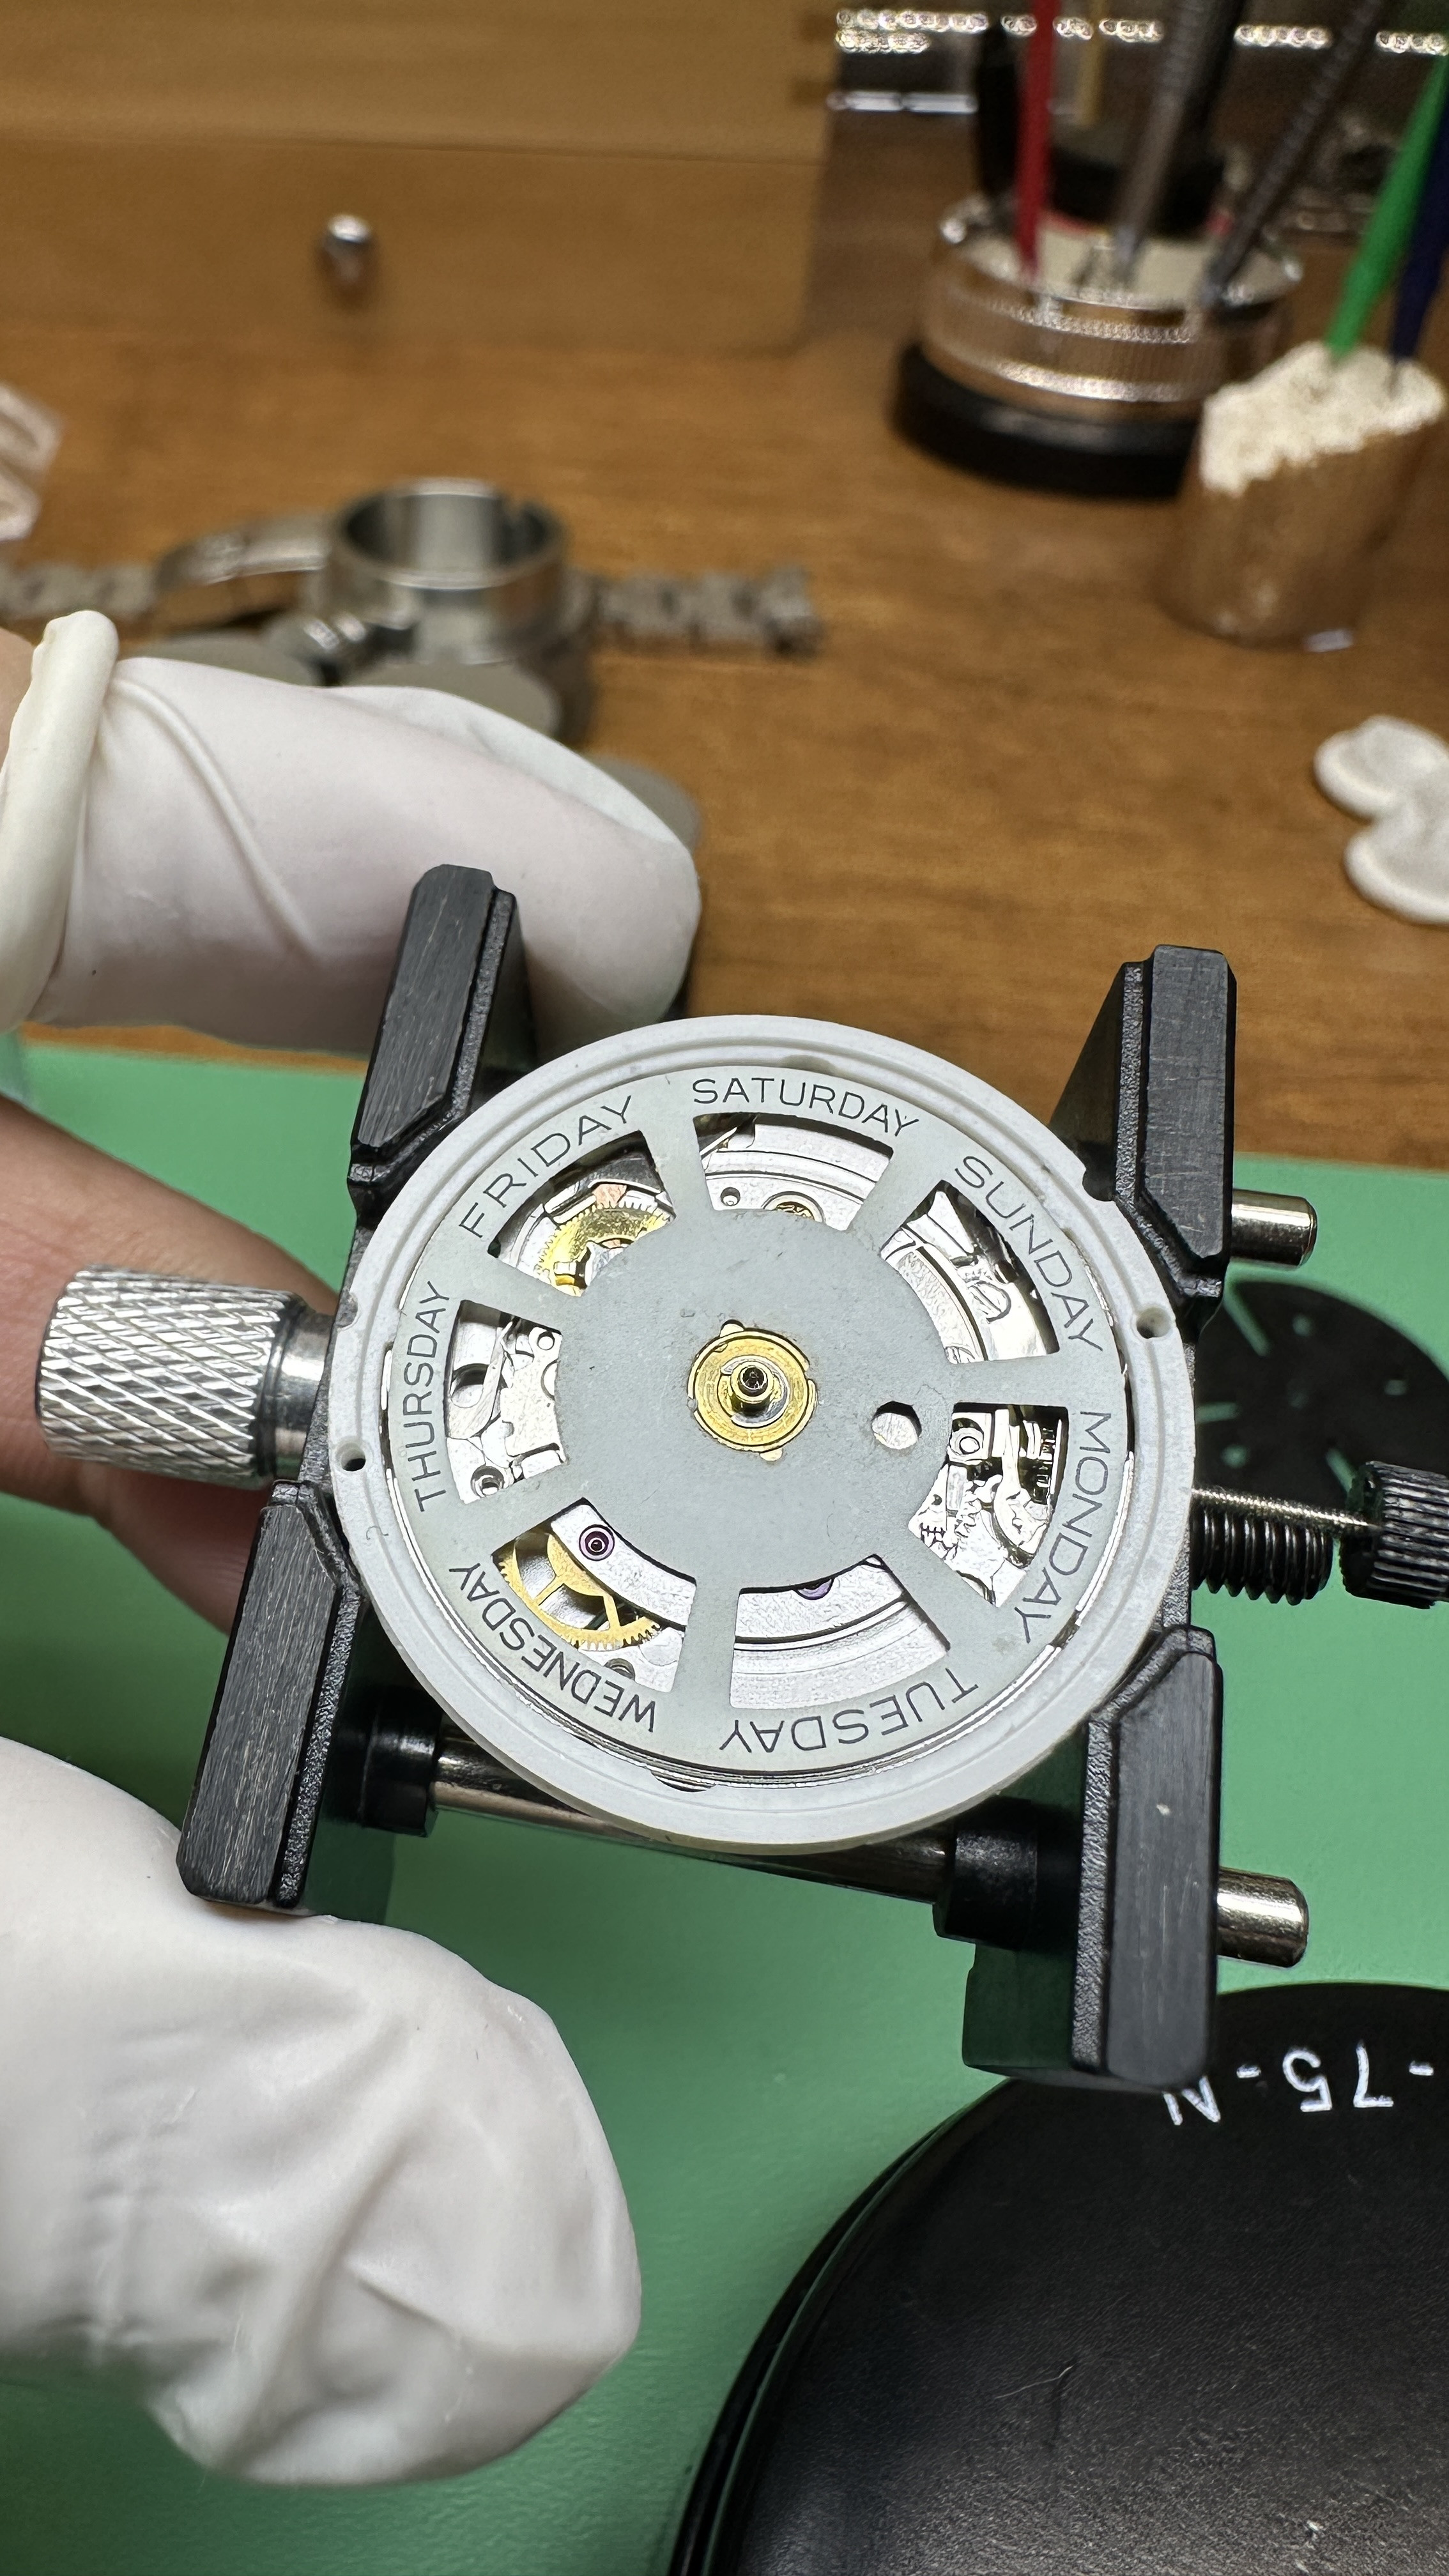
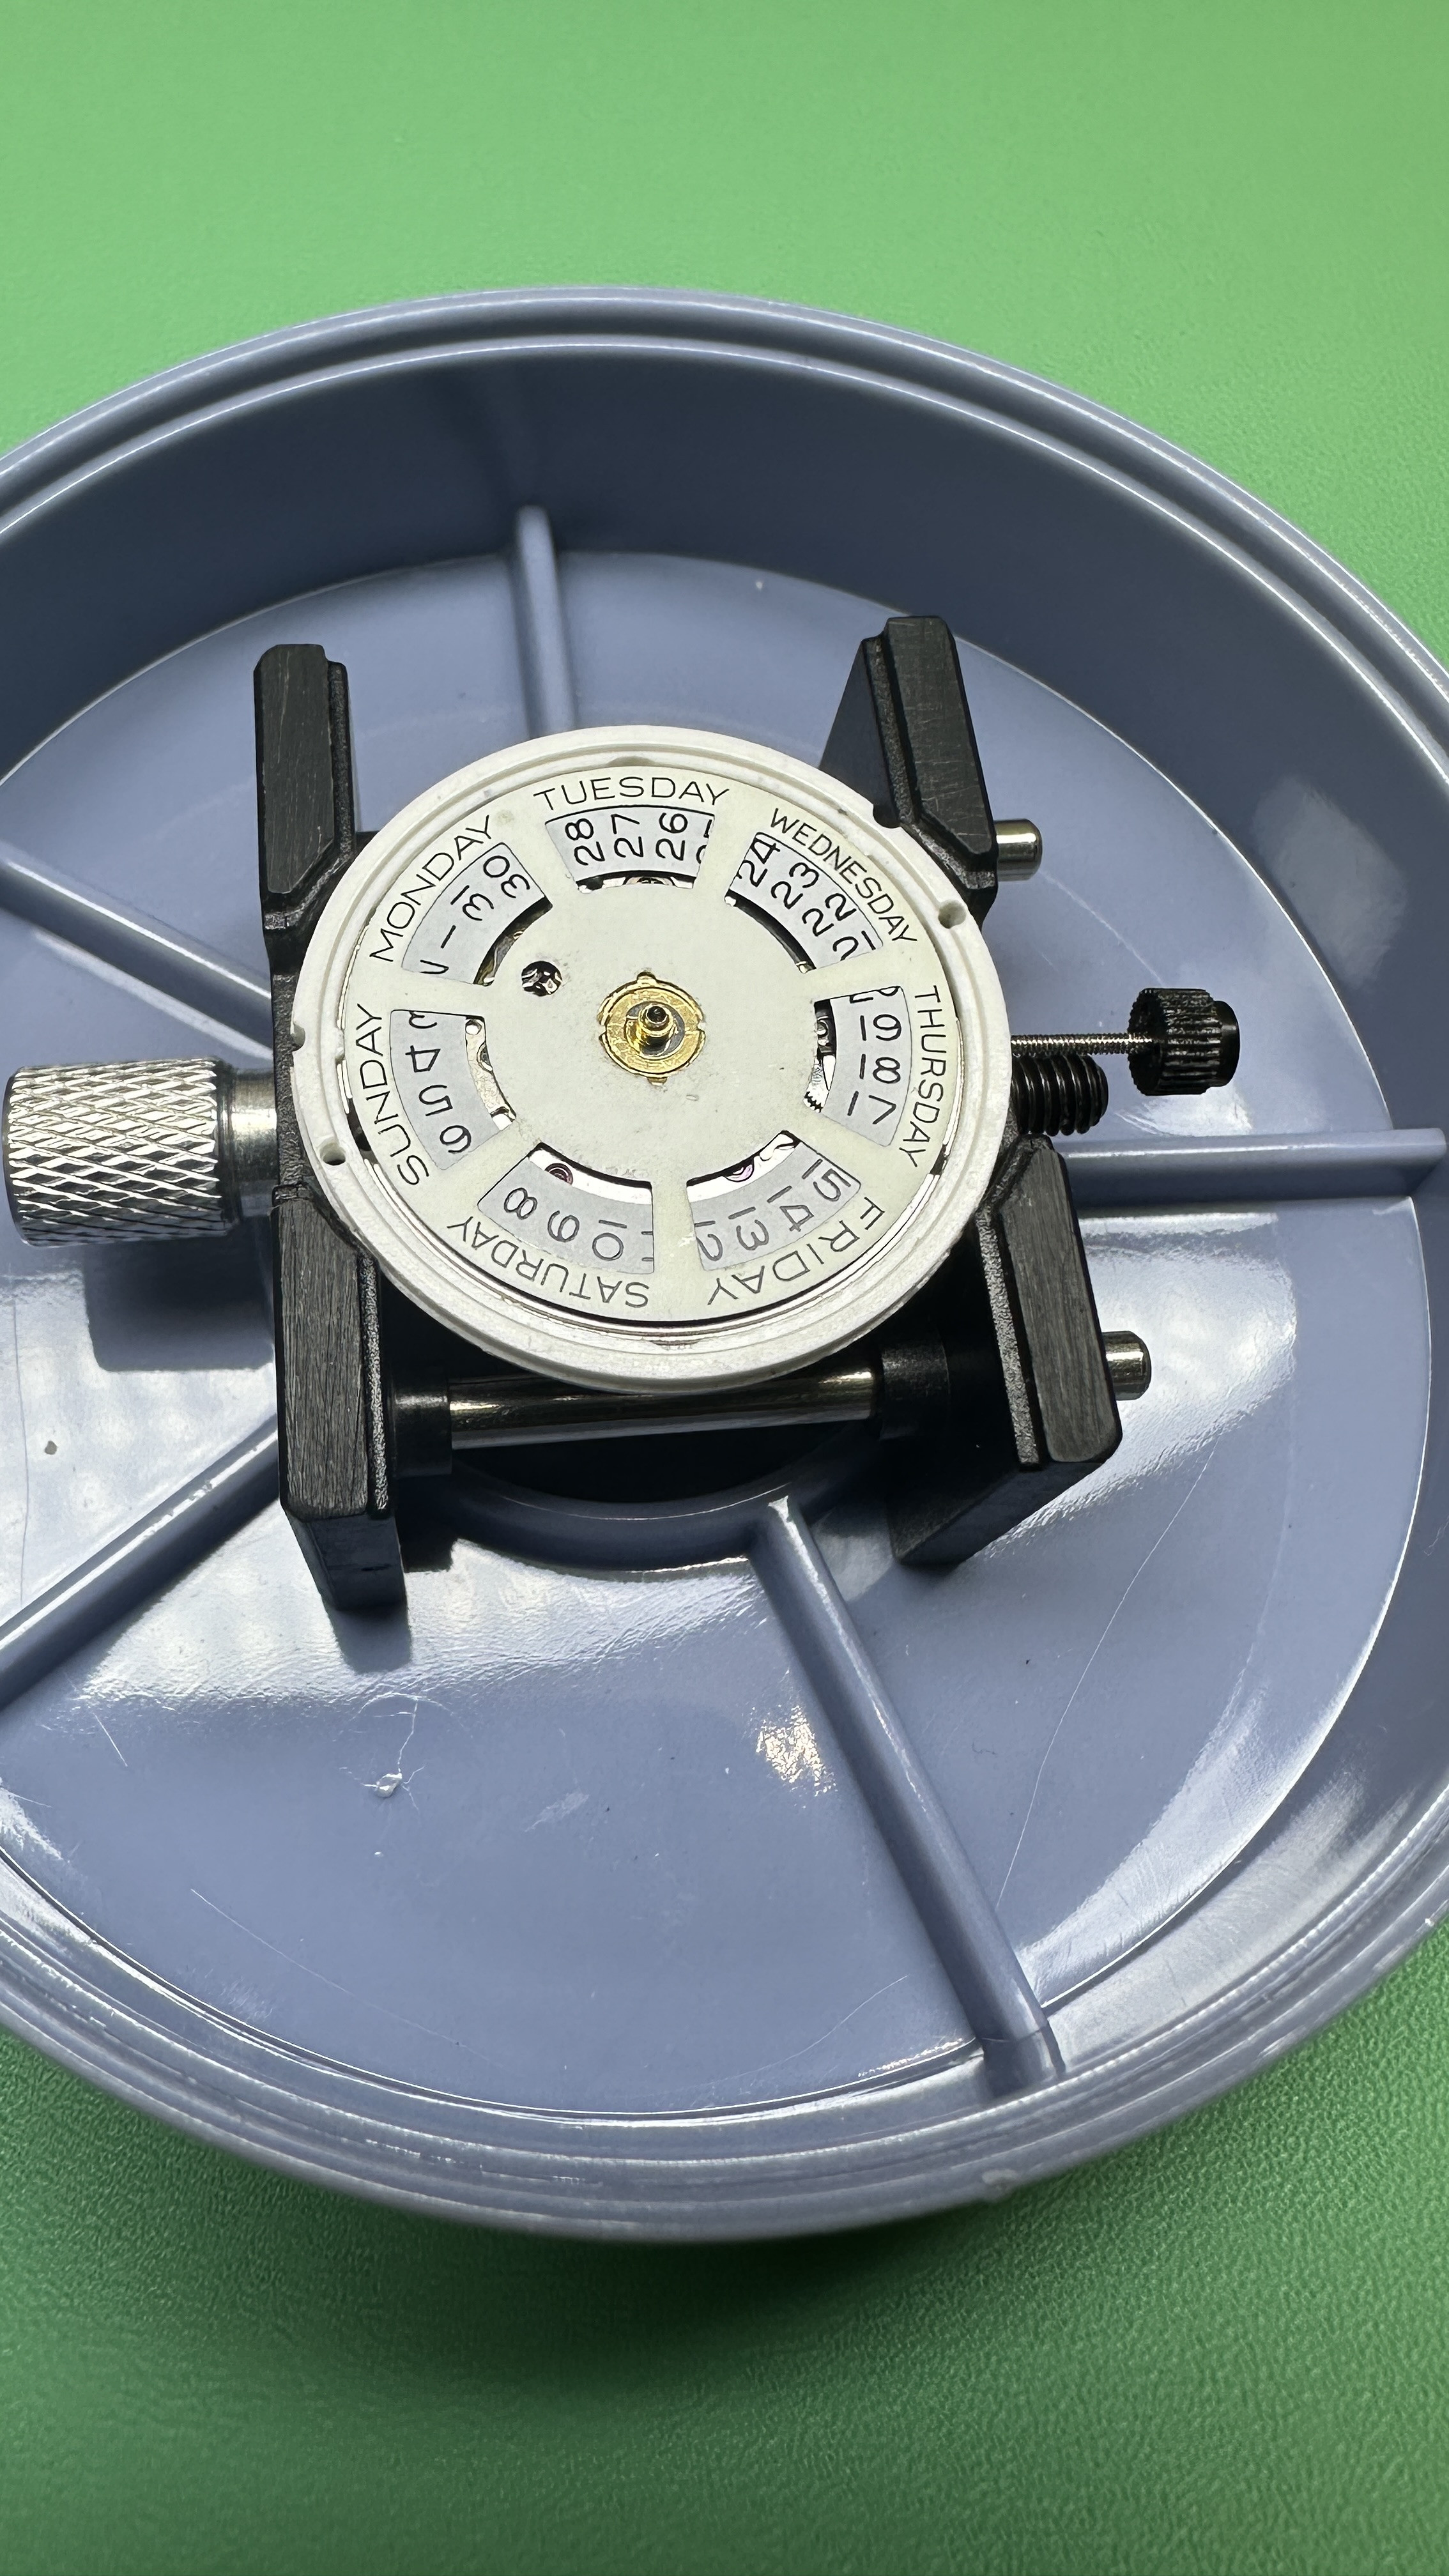
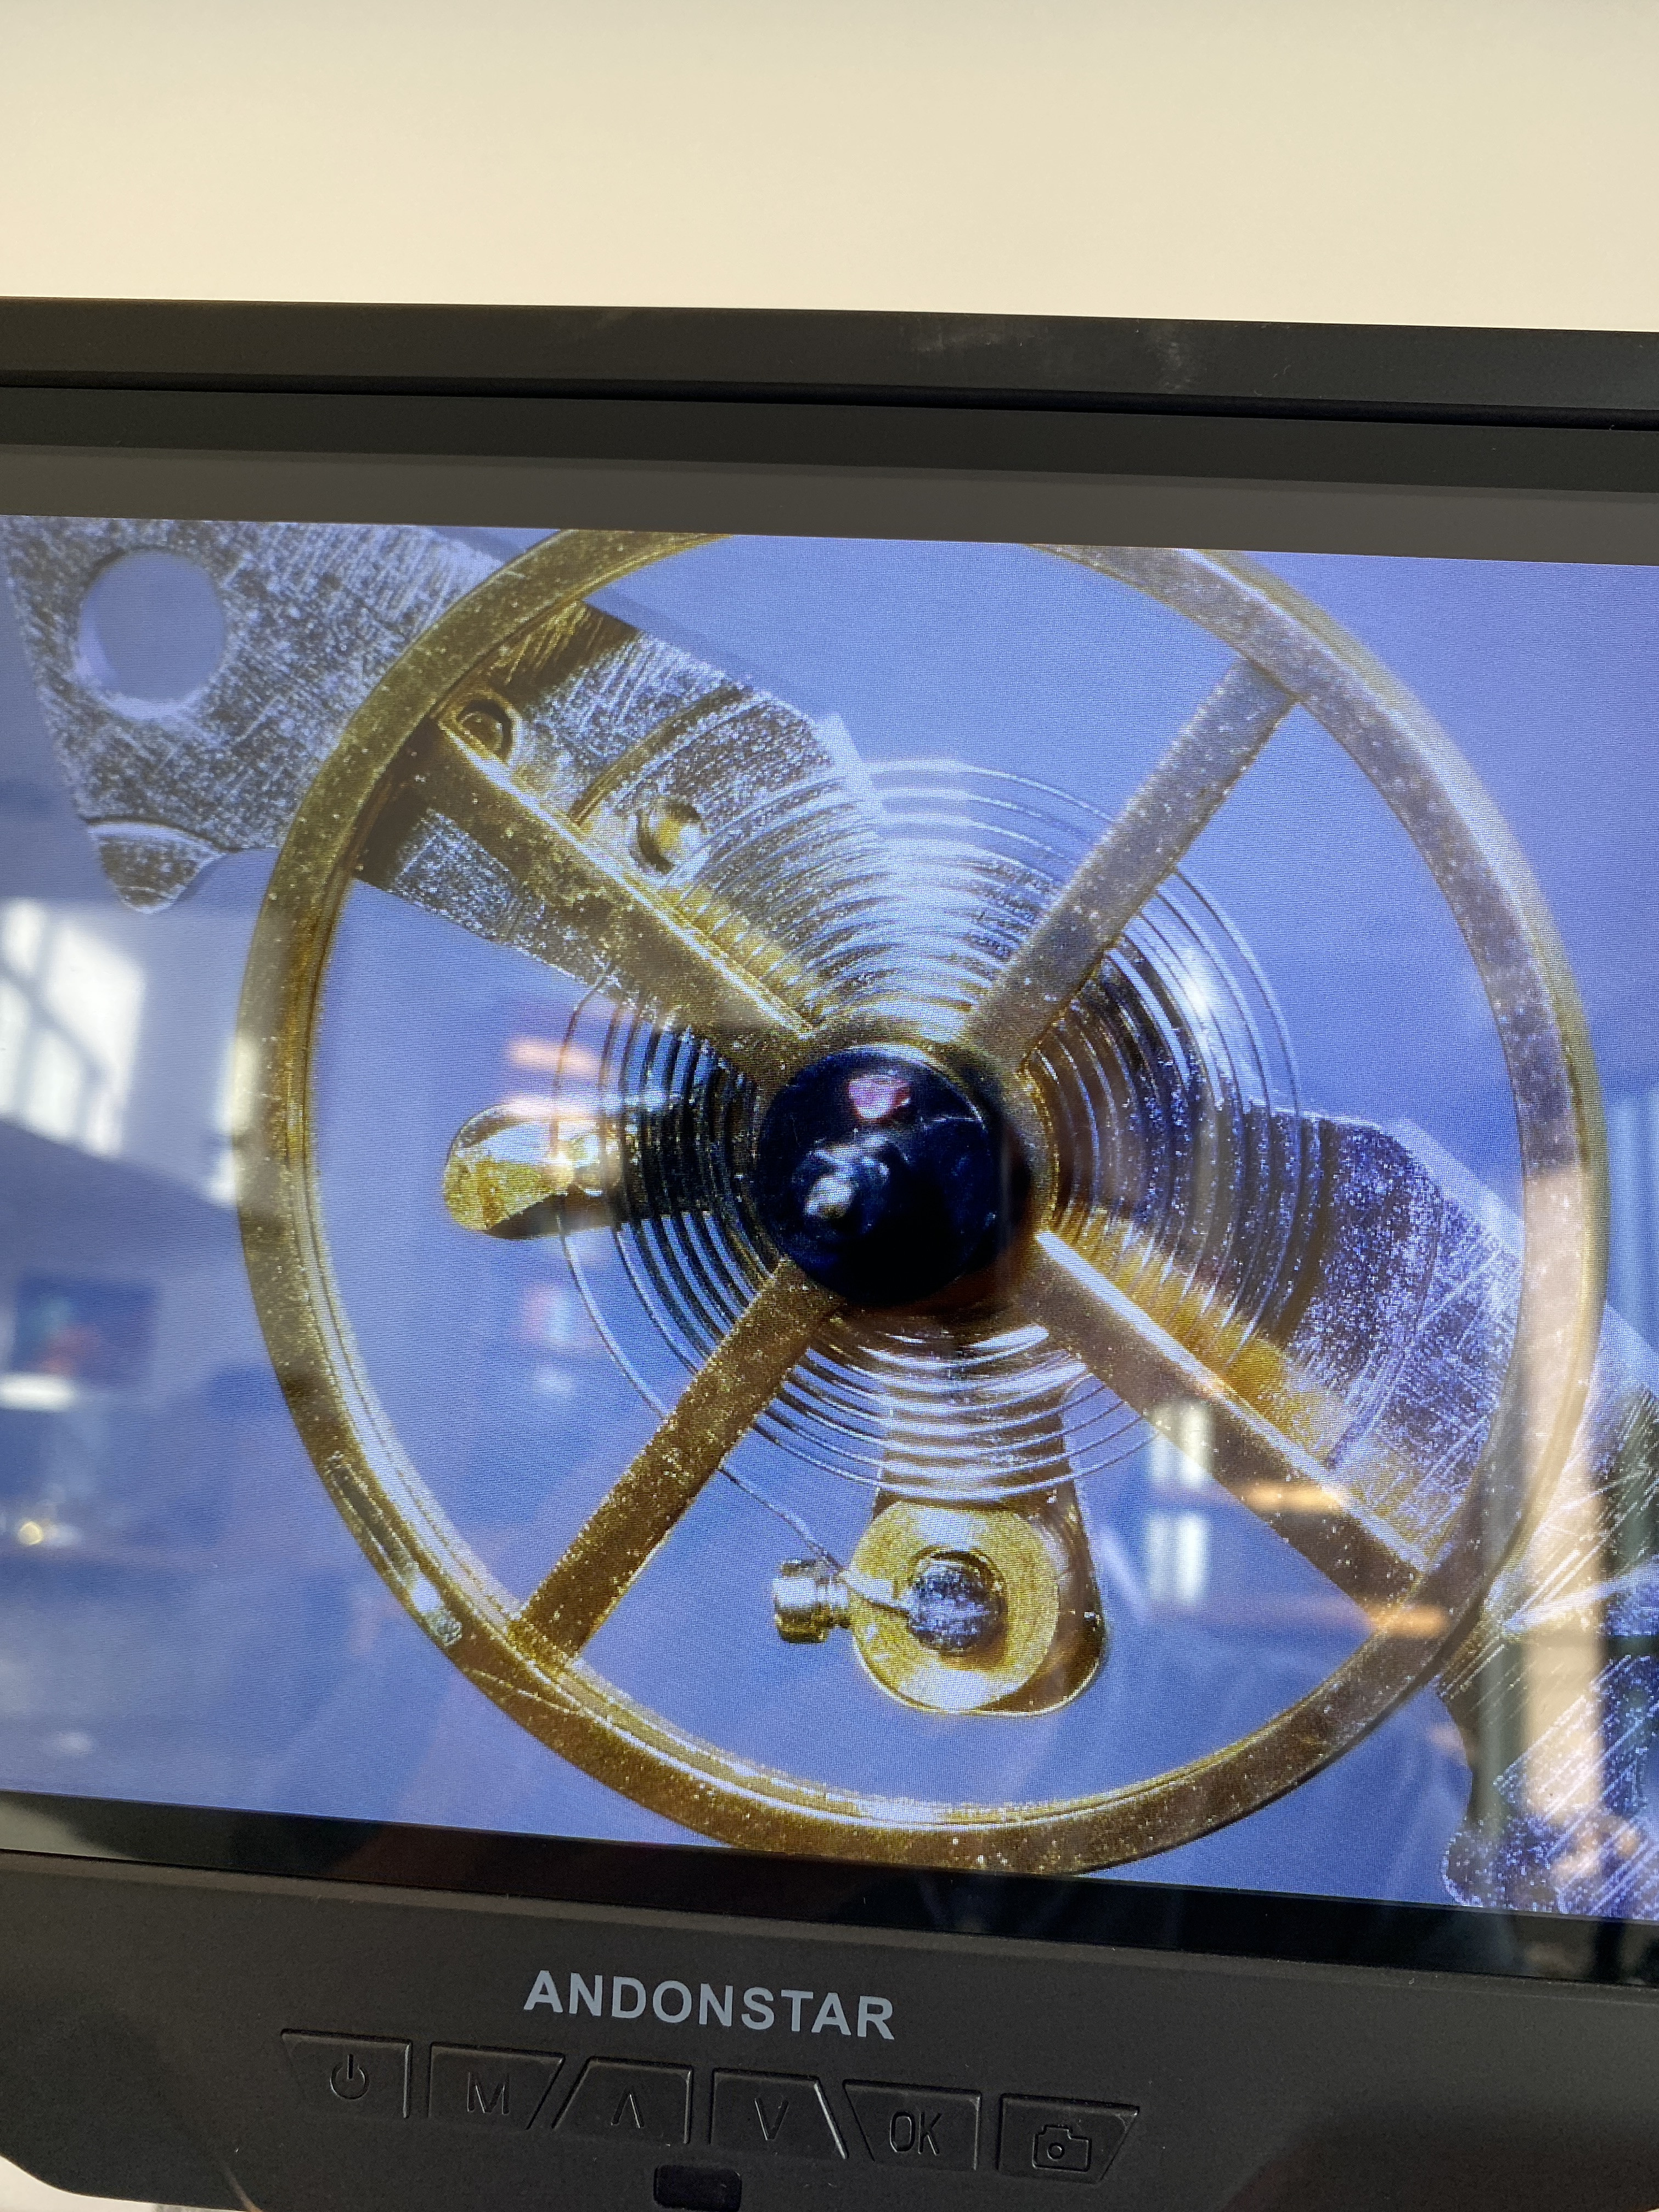
After seeing your result in the quoted pic, it's obvious the daywheel needs to be be centered better relative to the stock daywheel it's glued to. You can see the uneven distribution between the two at the center. This is how I would proceed:
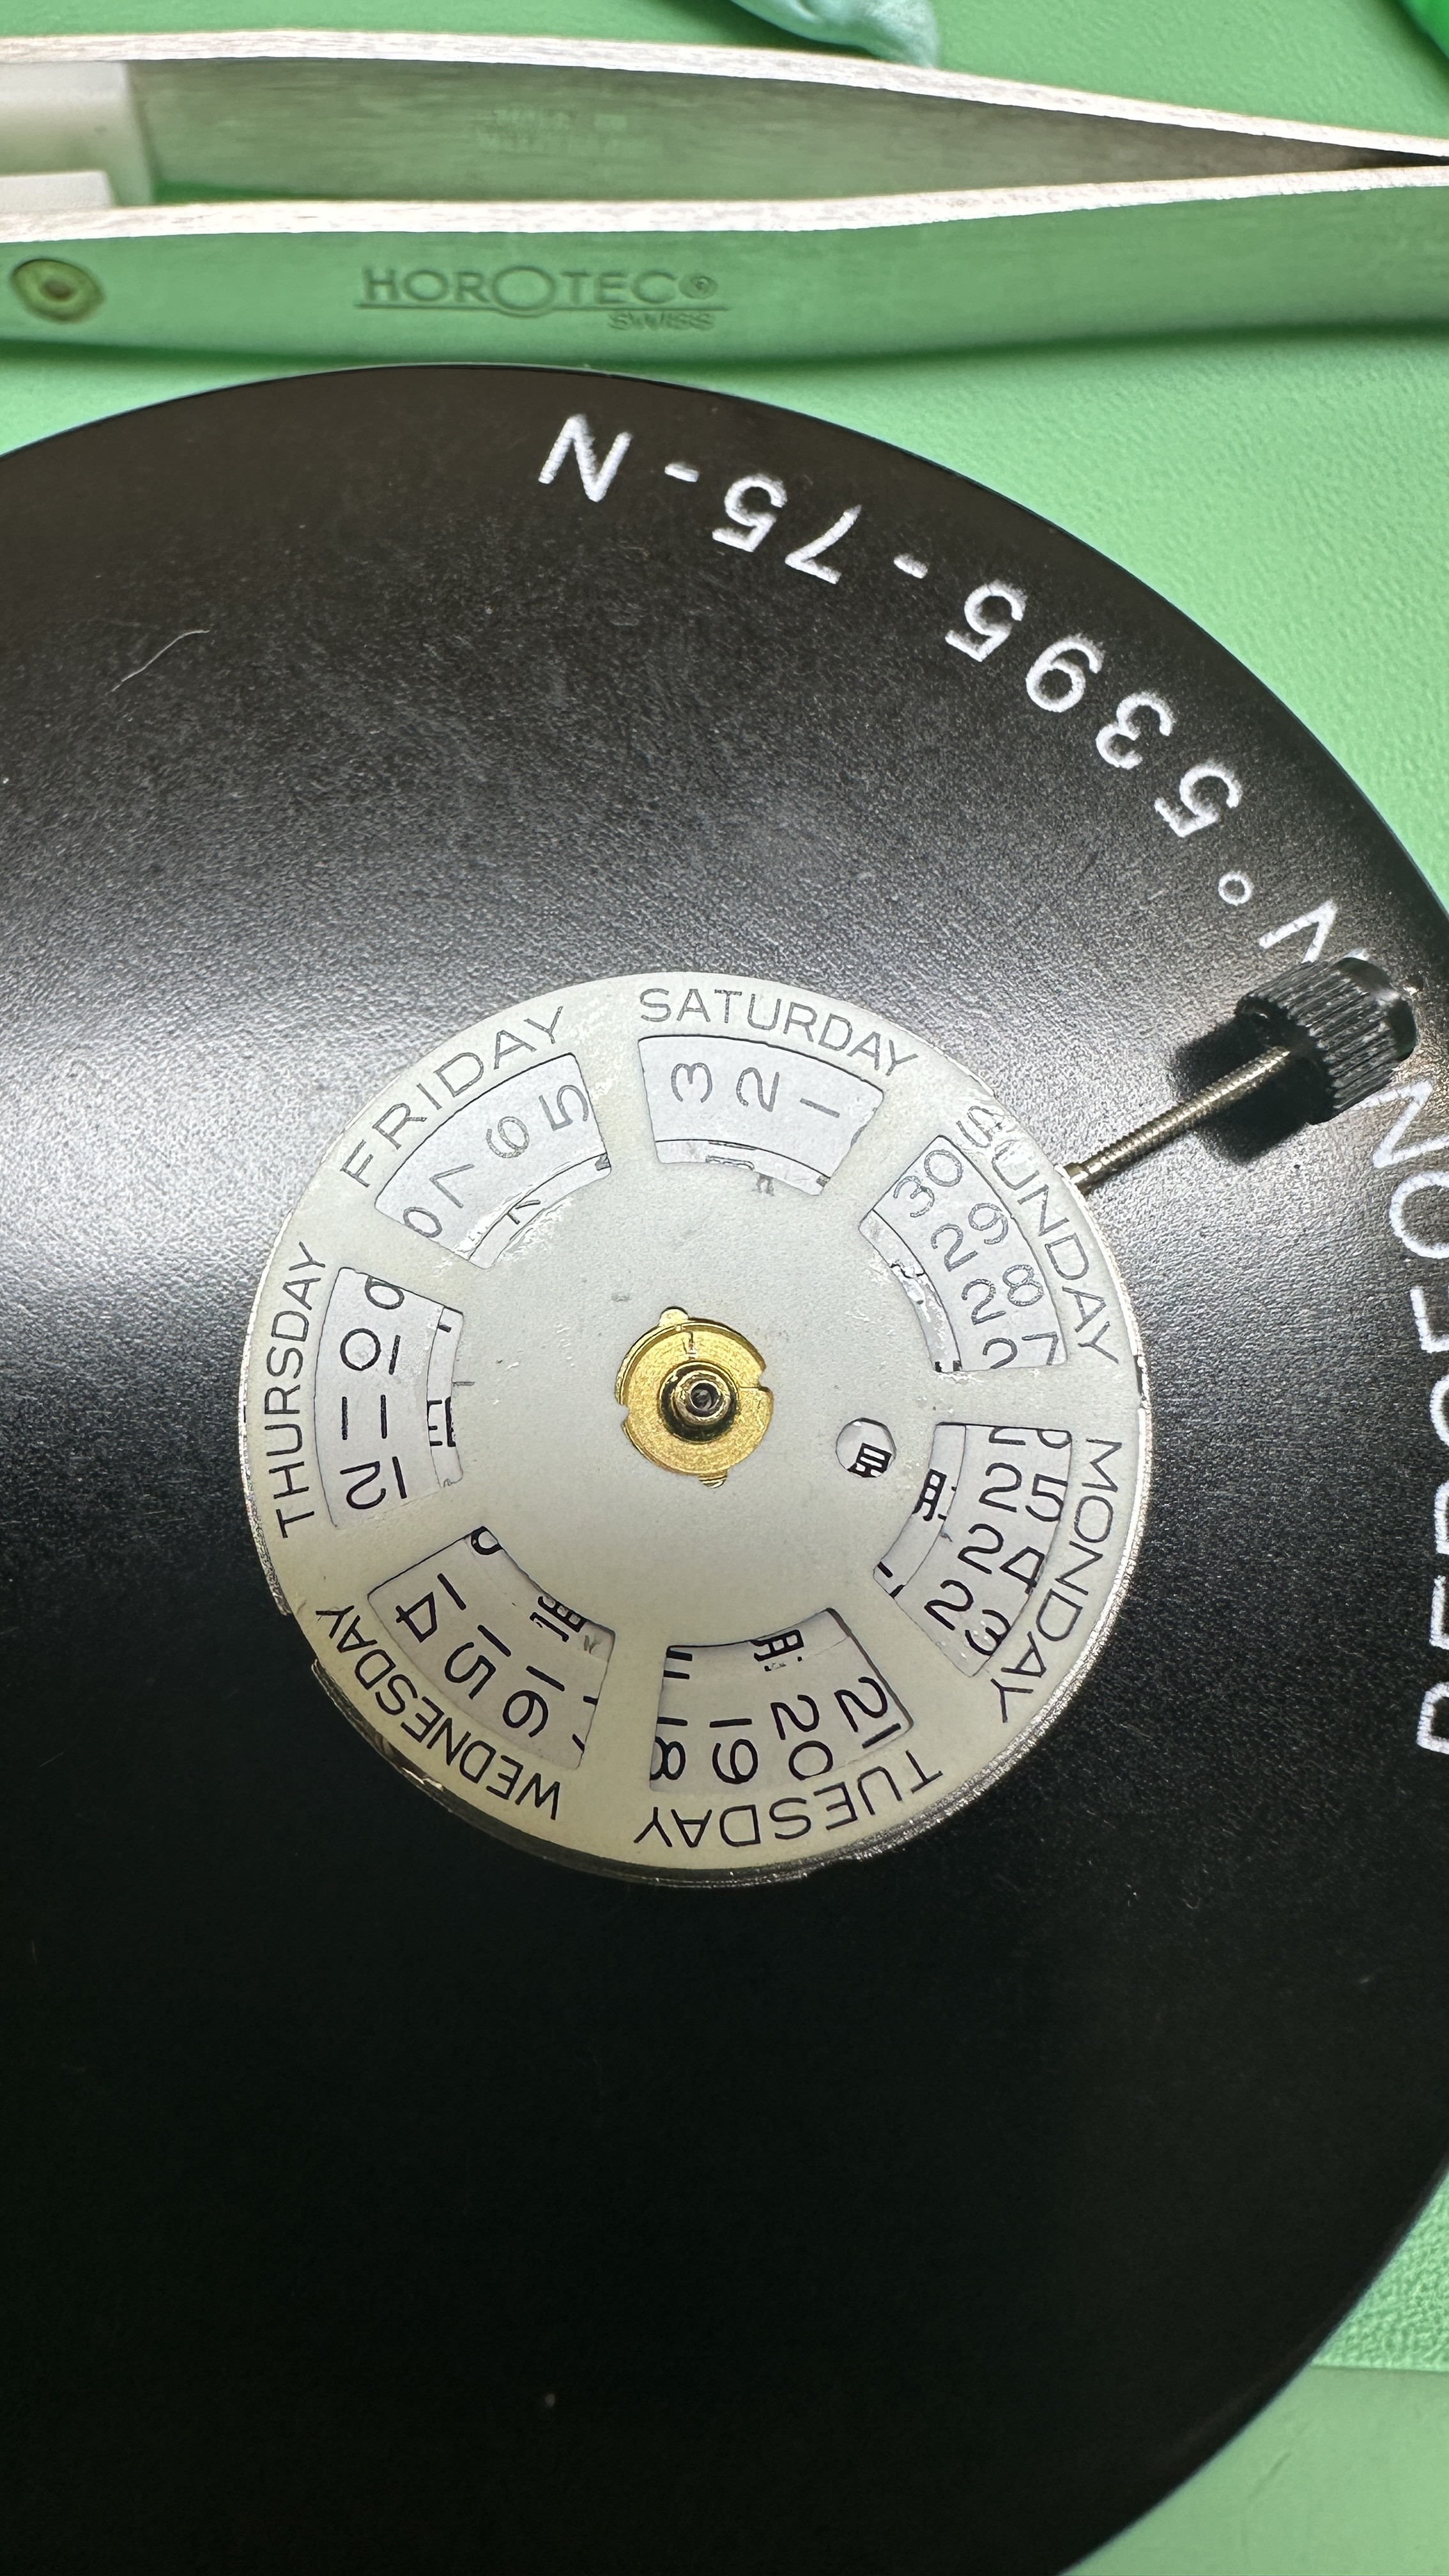
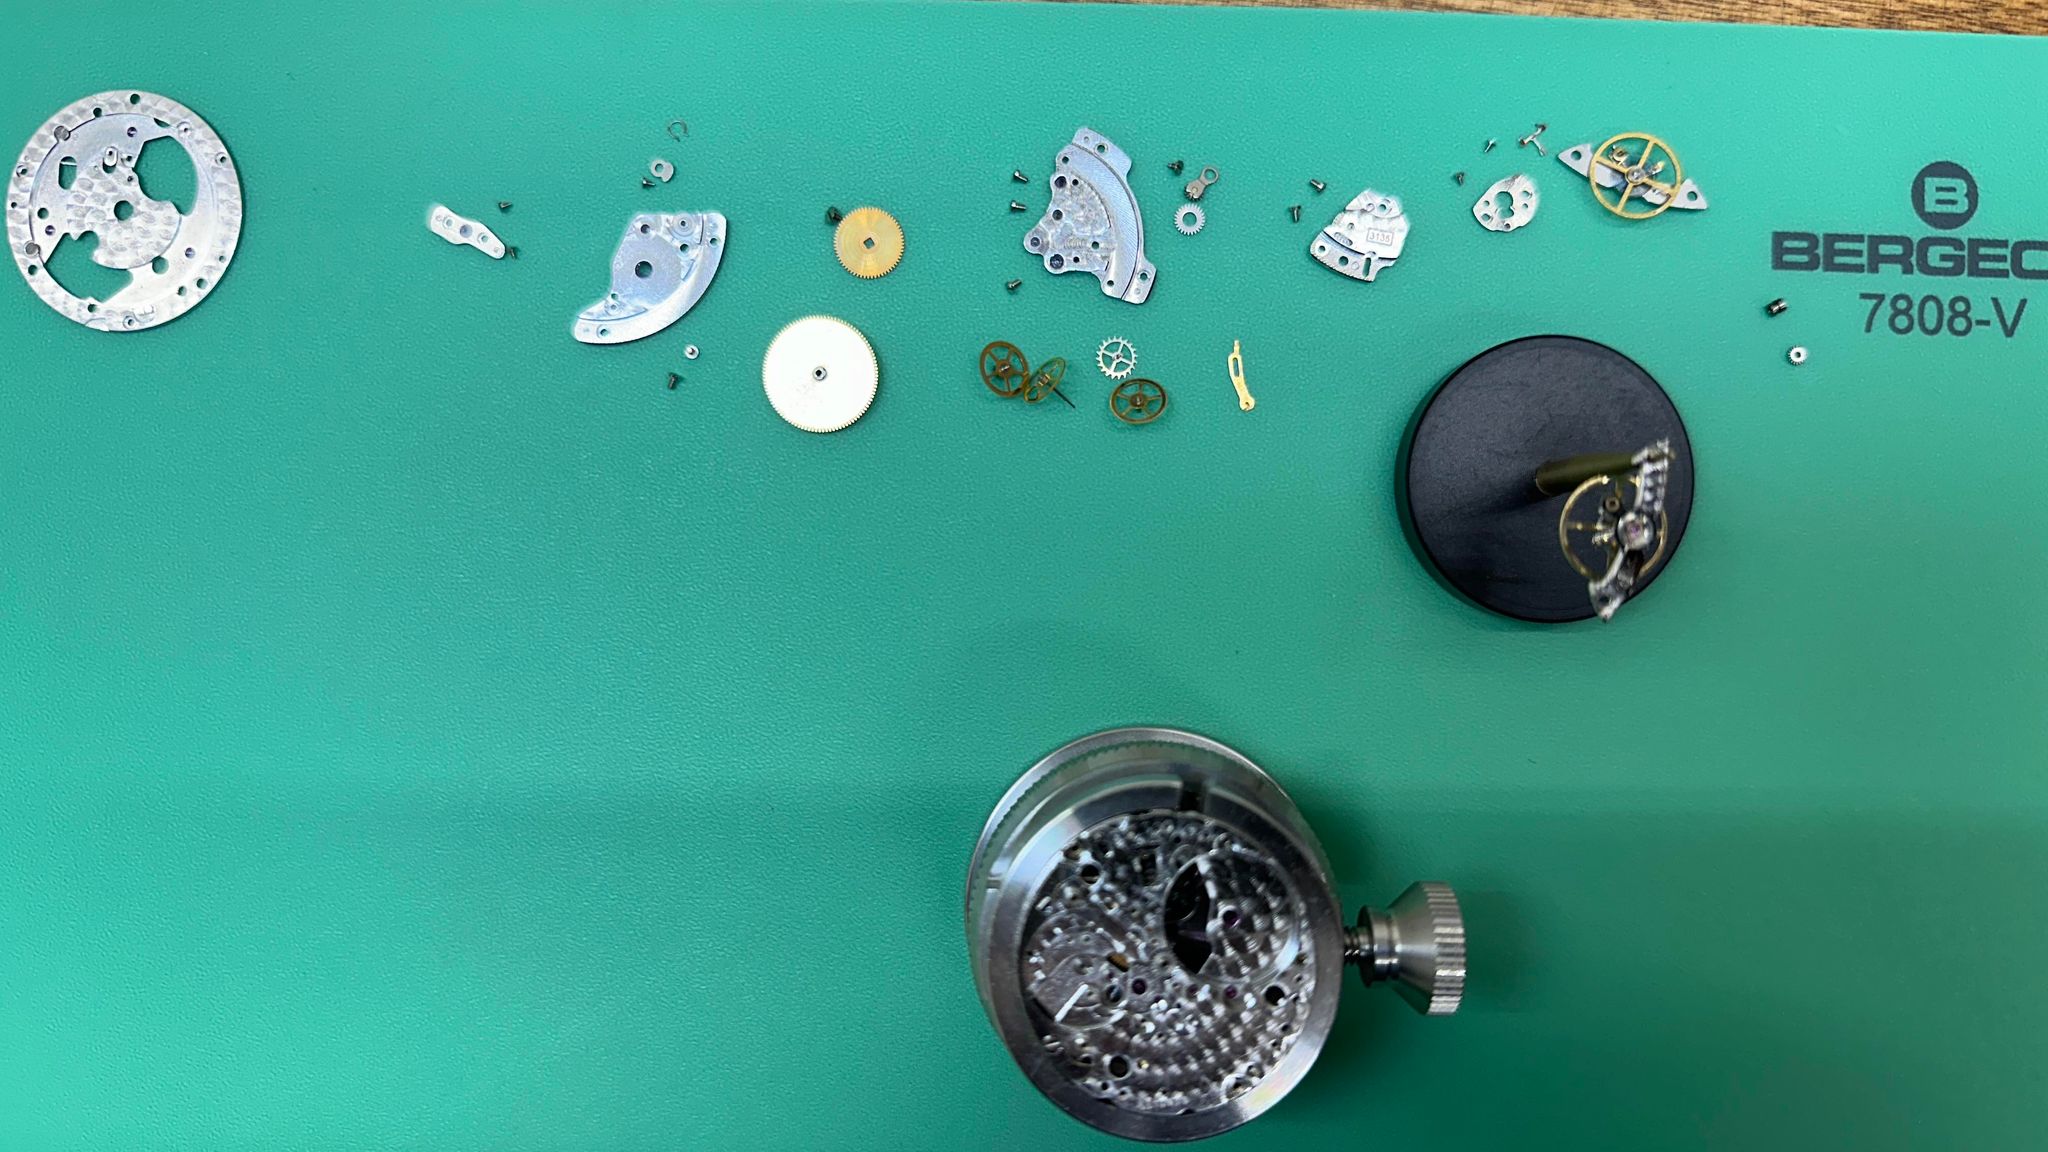
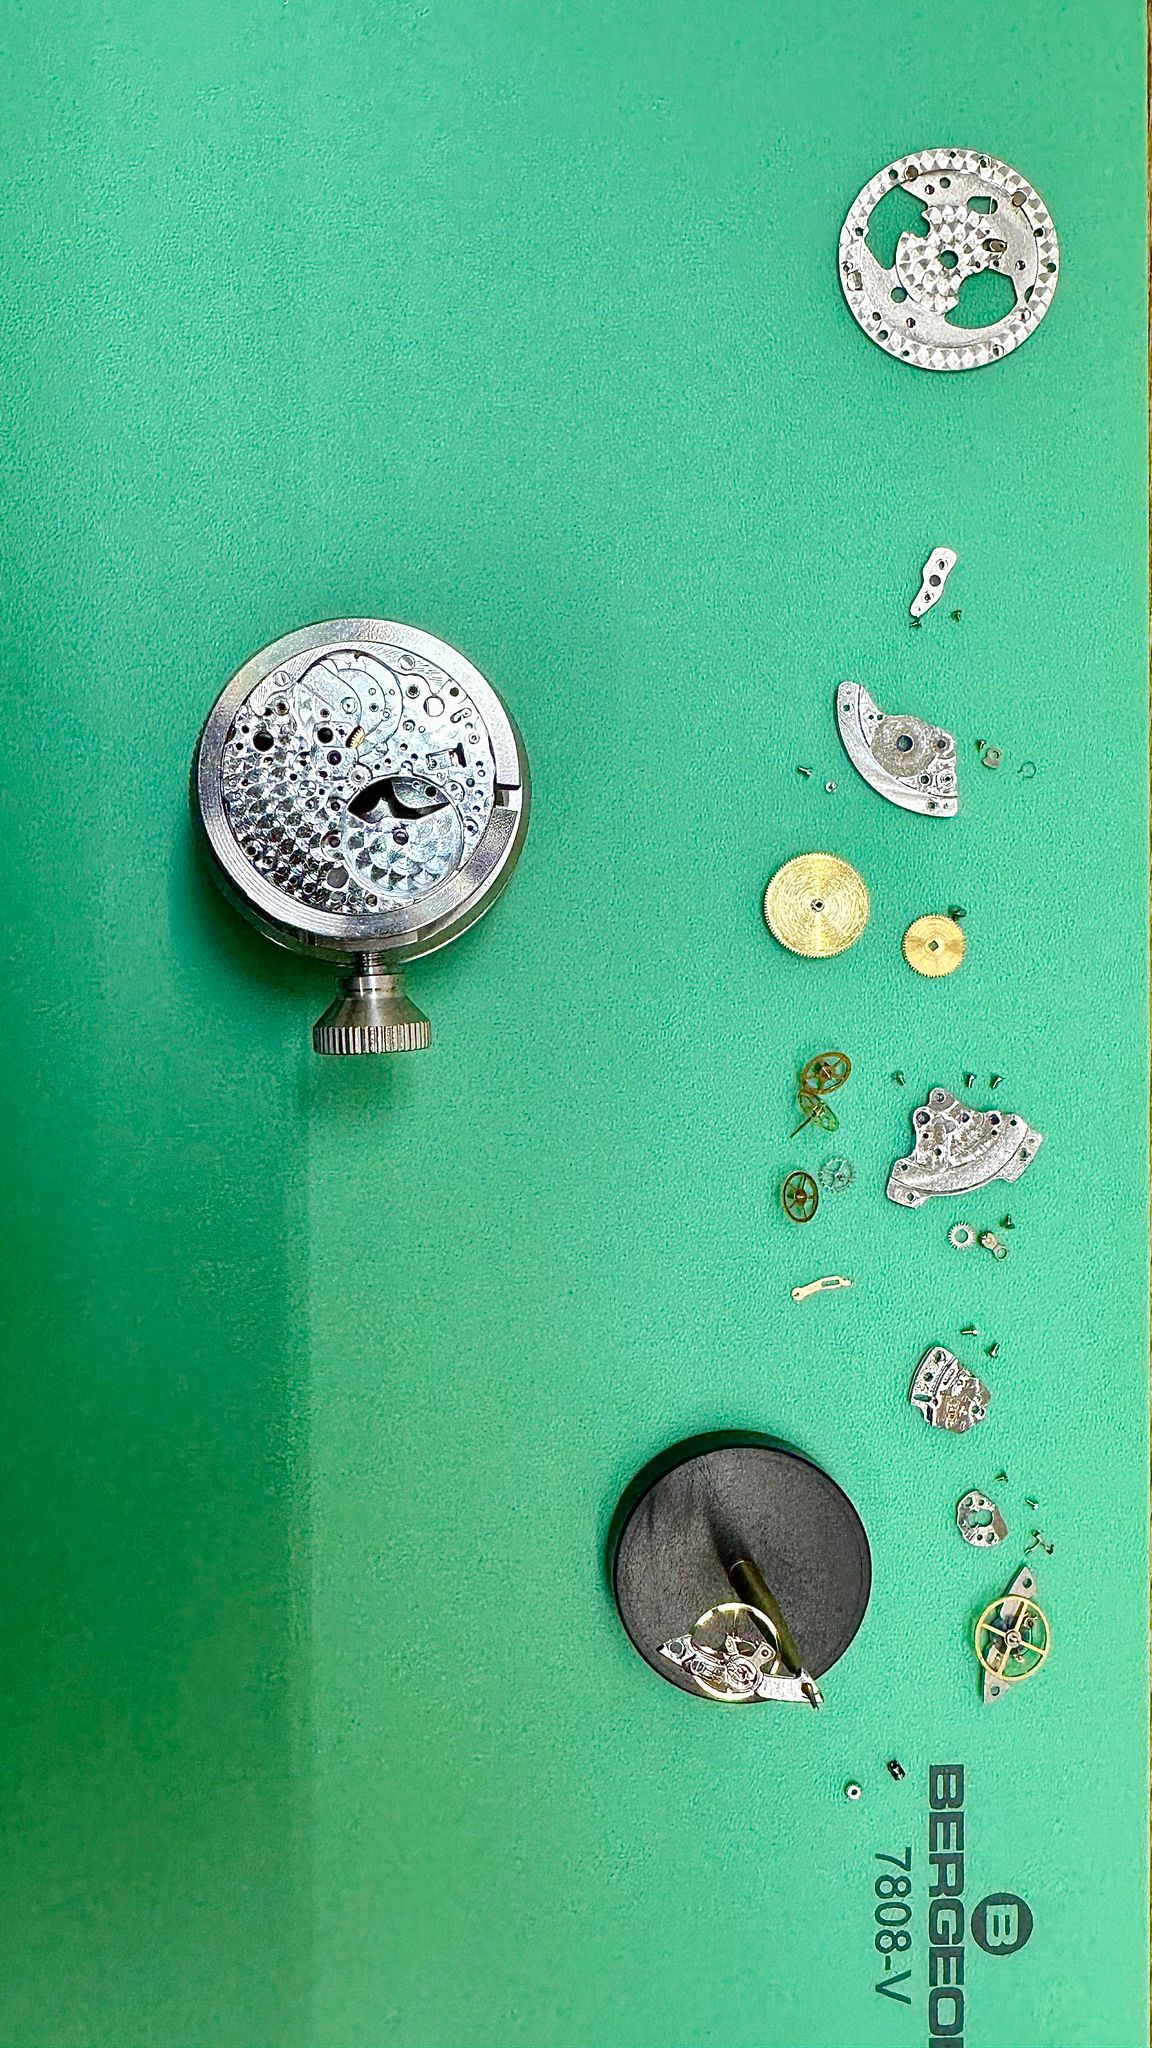
I would remove the daywheel and the datewheel. Then separate the daywheel overlay from the stock daywheel. Clean them both up from glue and remnants. The overlay glue can be carefully scraped away with a razor blade then wiped with a alcohol dampened cloth laid over a piece of pegwood. Careful not to dent the overlay with the blade or let alcohol contact the printed side. These tasks require a high level of close attention and care. The stock daywheel can have the glue sanded off or scraped away in similar fashion and then rinsed in alcohol for cleaning.
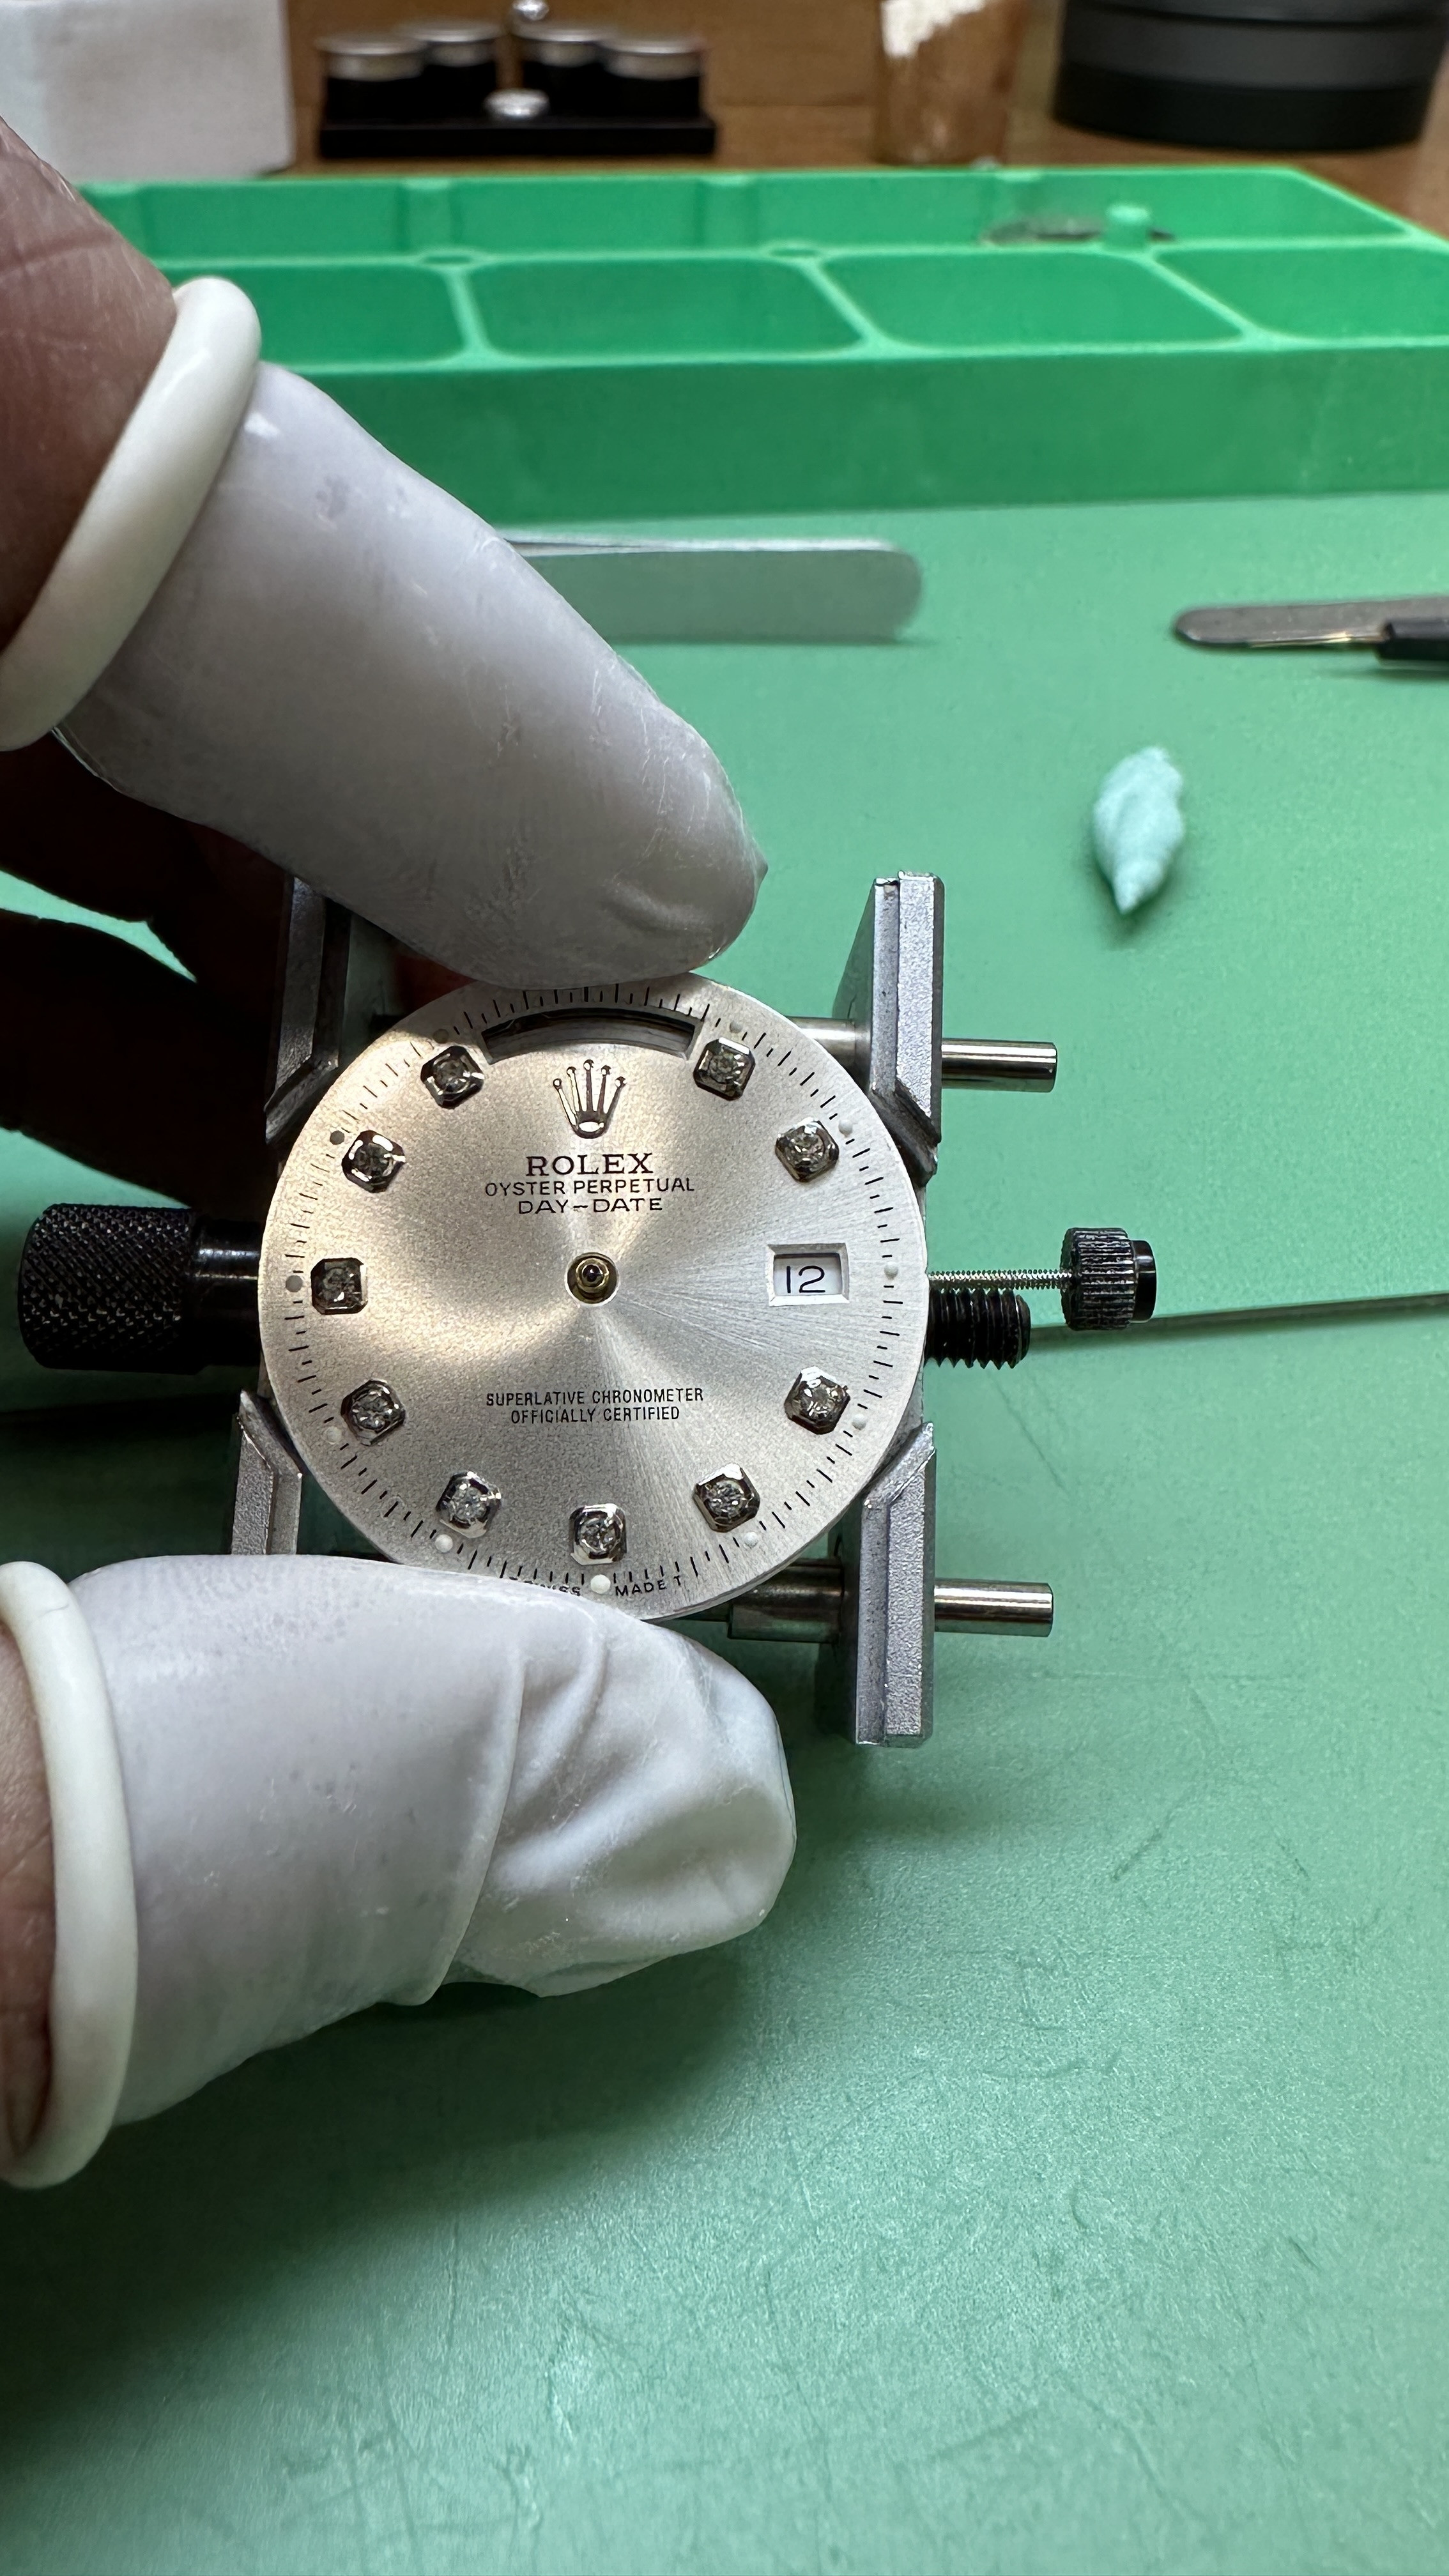
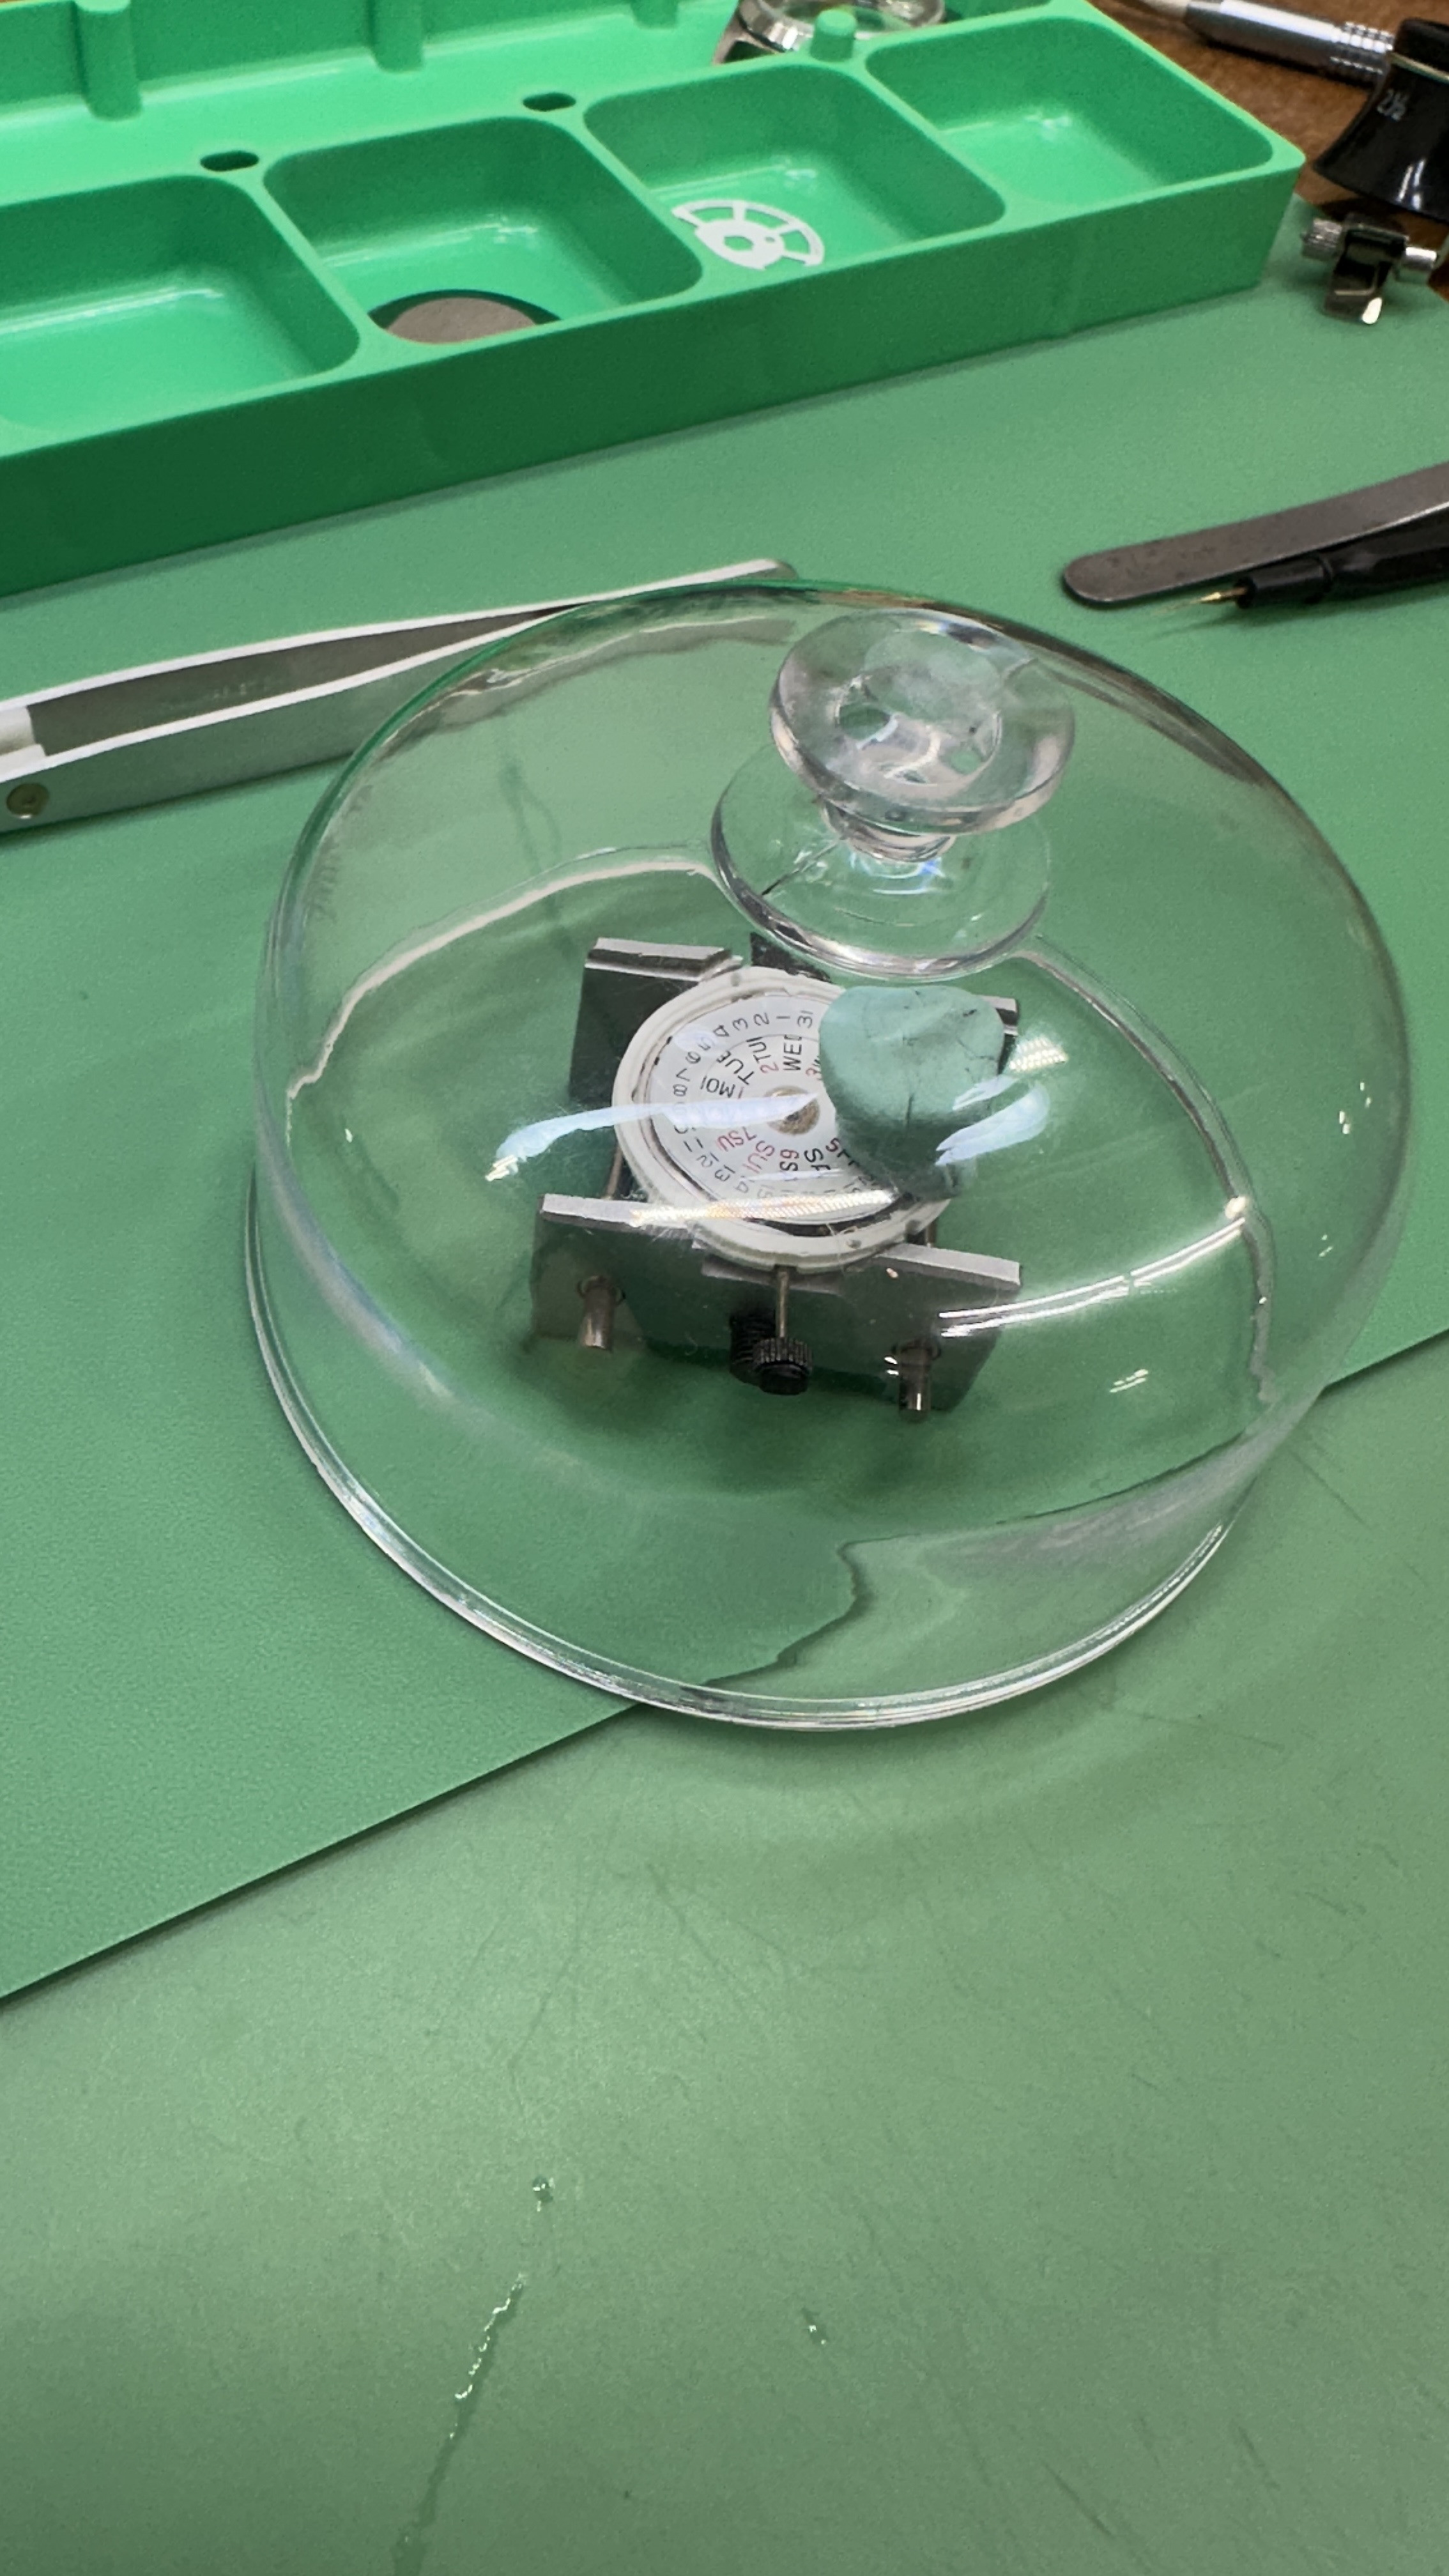
Next I would use just 2 or 3 tiny drops of BSI slow cure epoxy and experiment with the daywheel overlay. Place the drops on the stock daywheel, set the overlay, set the dial and see what you get. From there the goal is first ensure the daywheel never appears in the dial date window. Keep adjusting it until it's right. This is a lateral adjustment. It should happen when the two centers are perfectly superimposed.
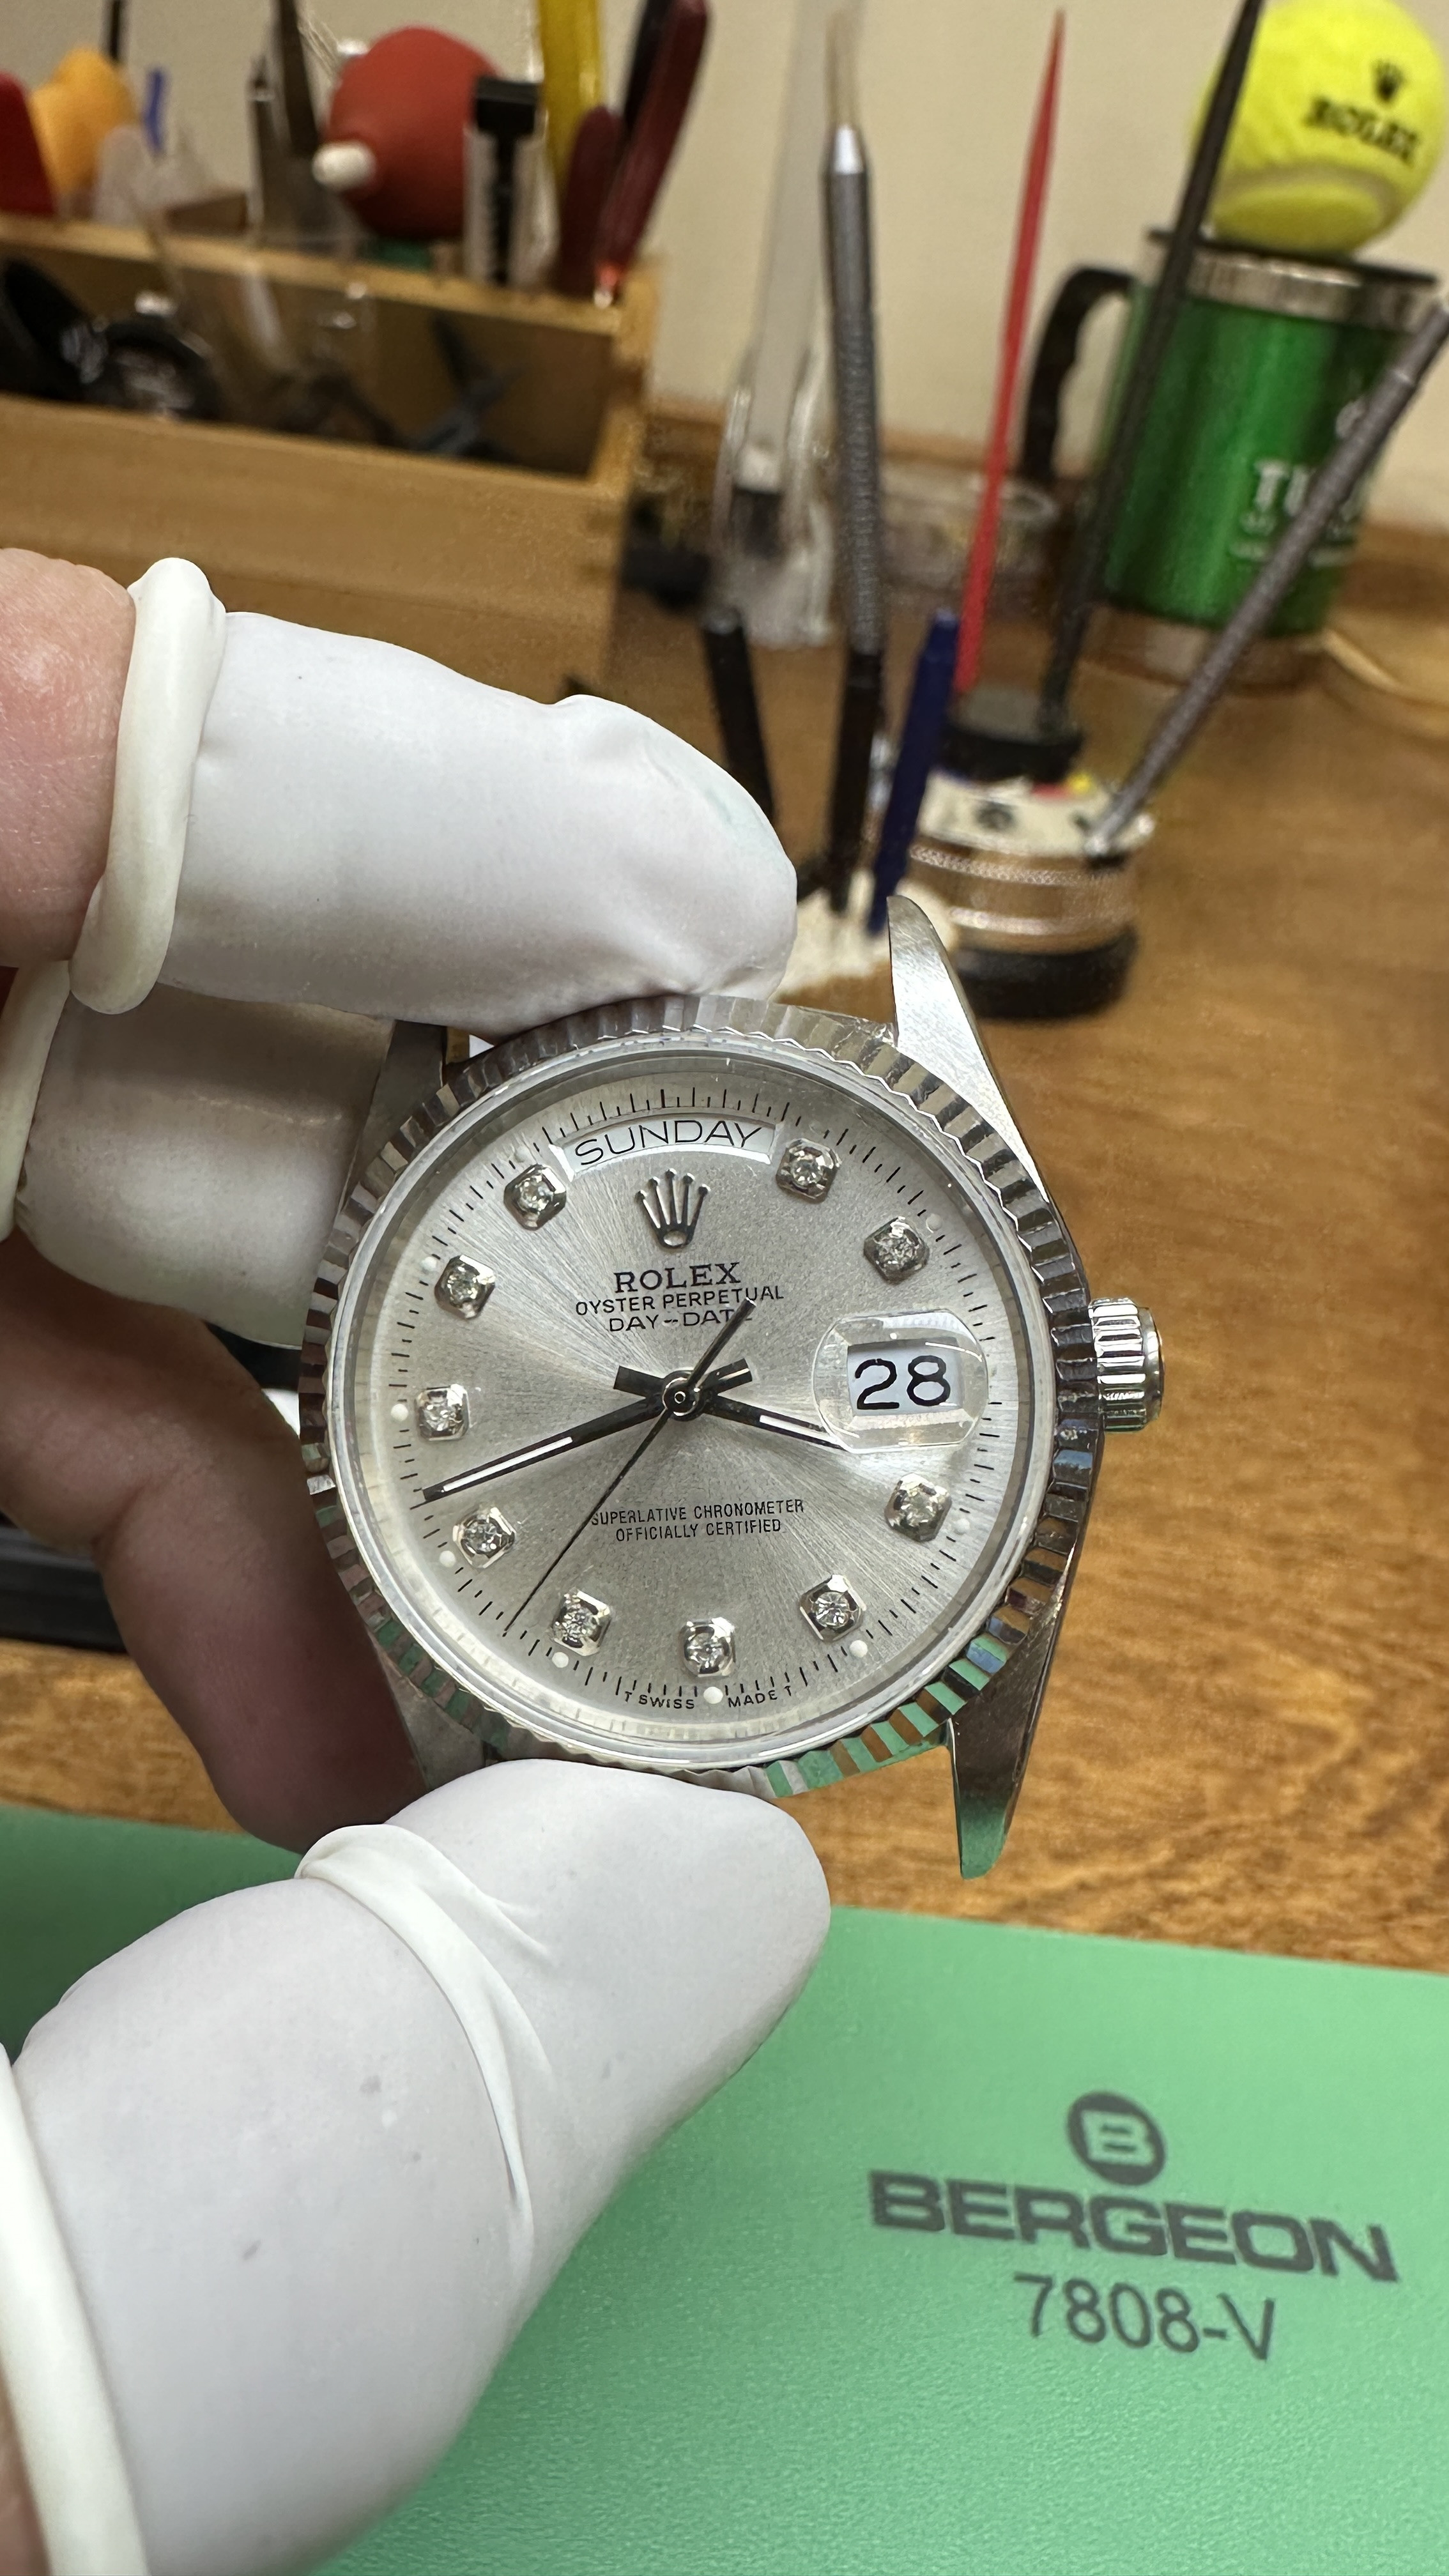
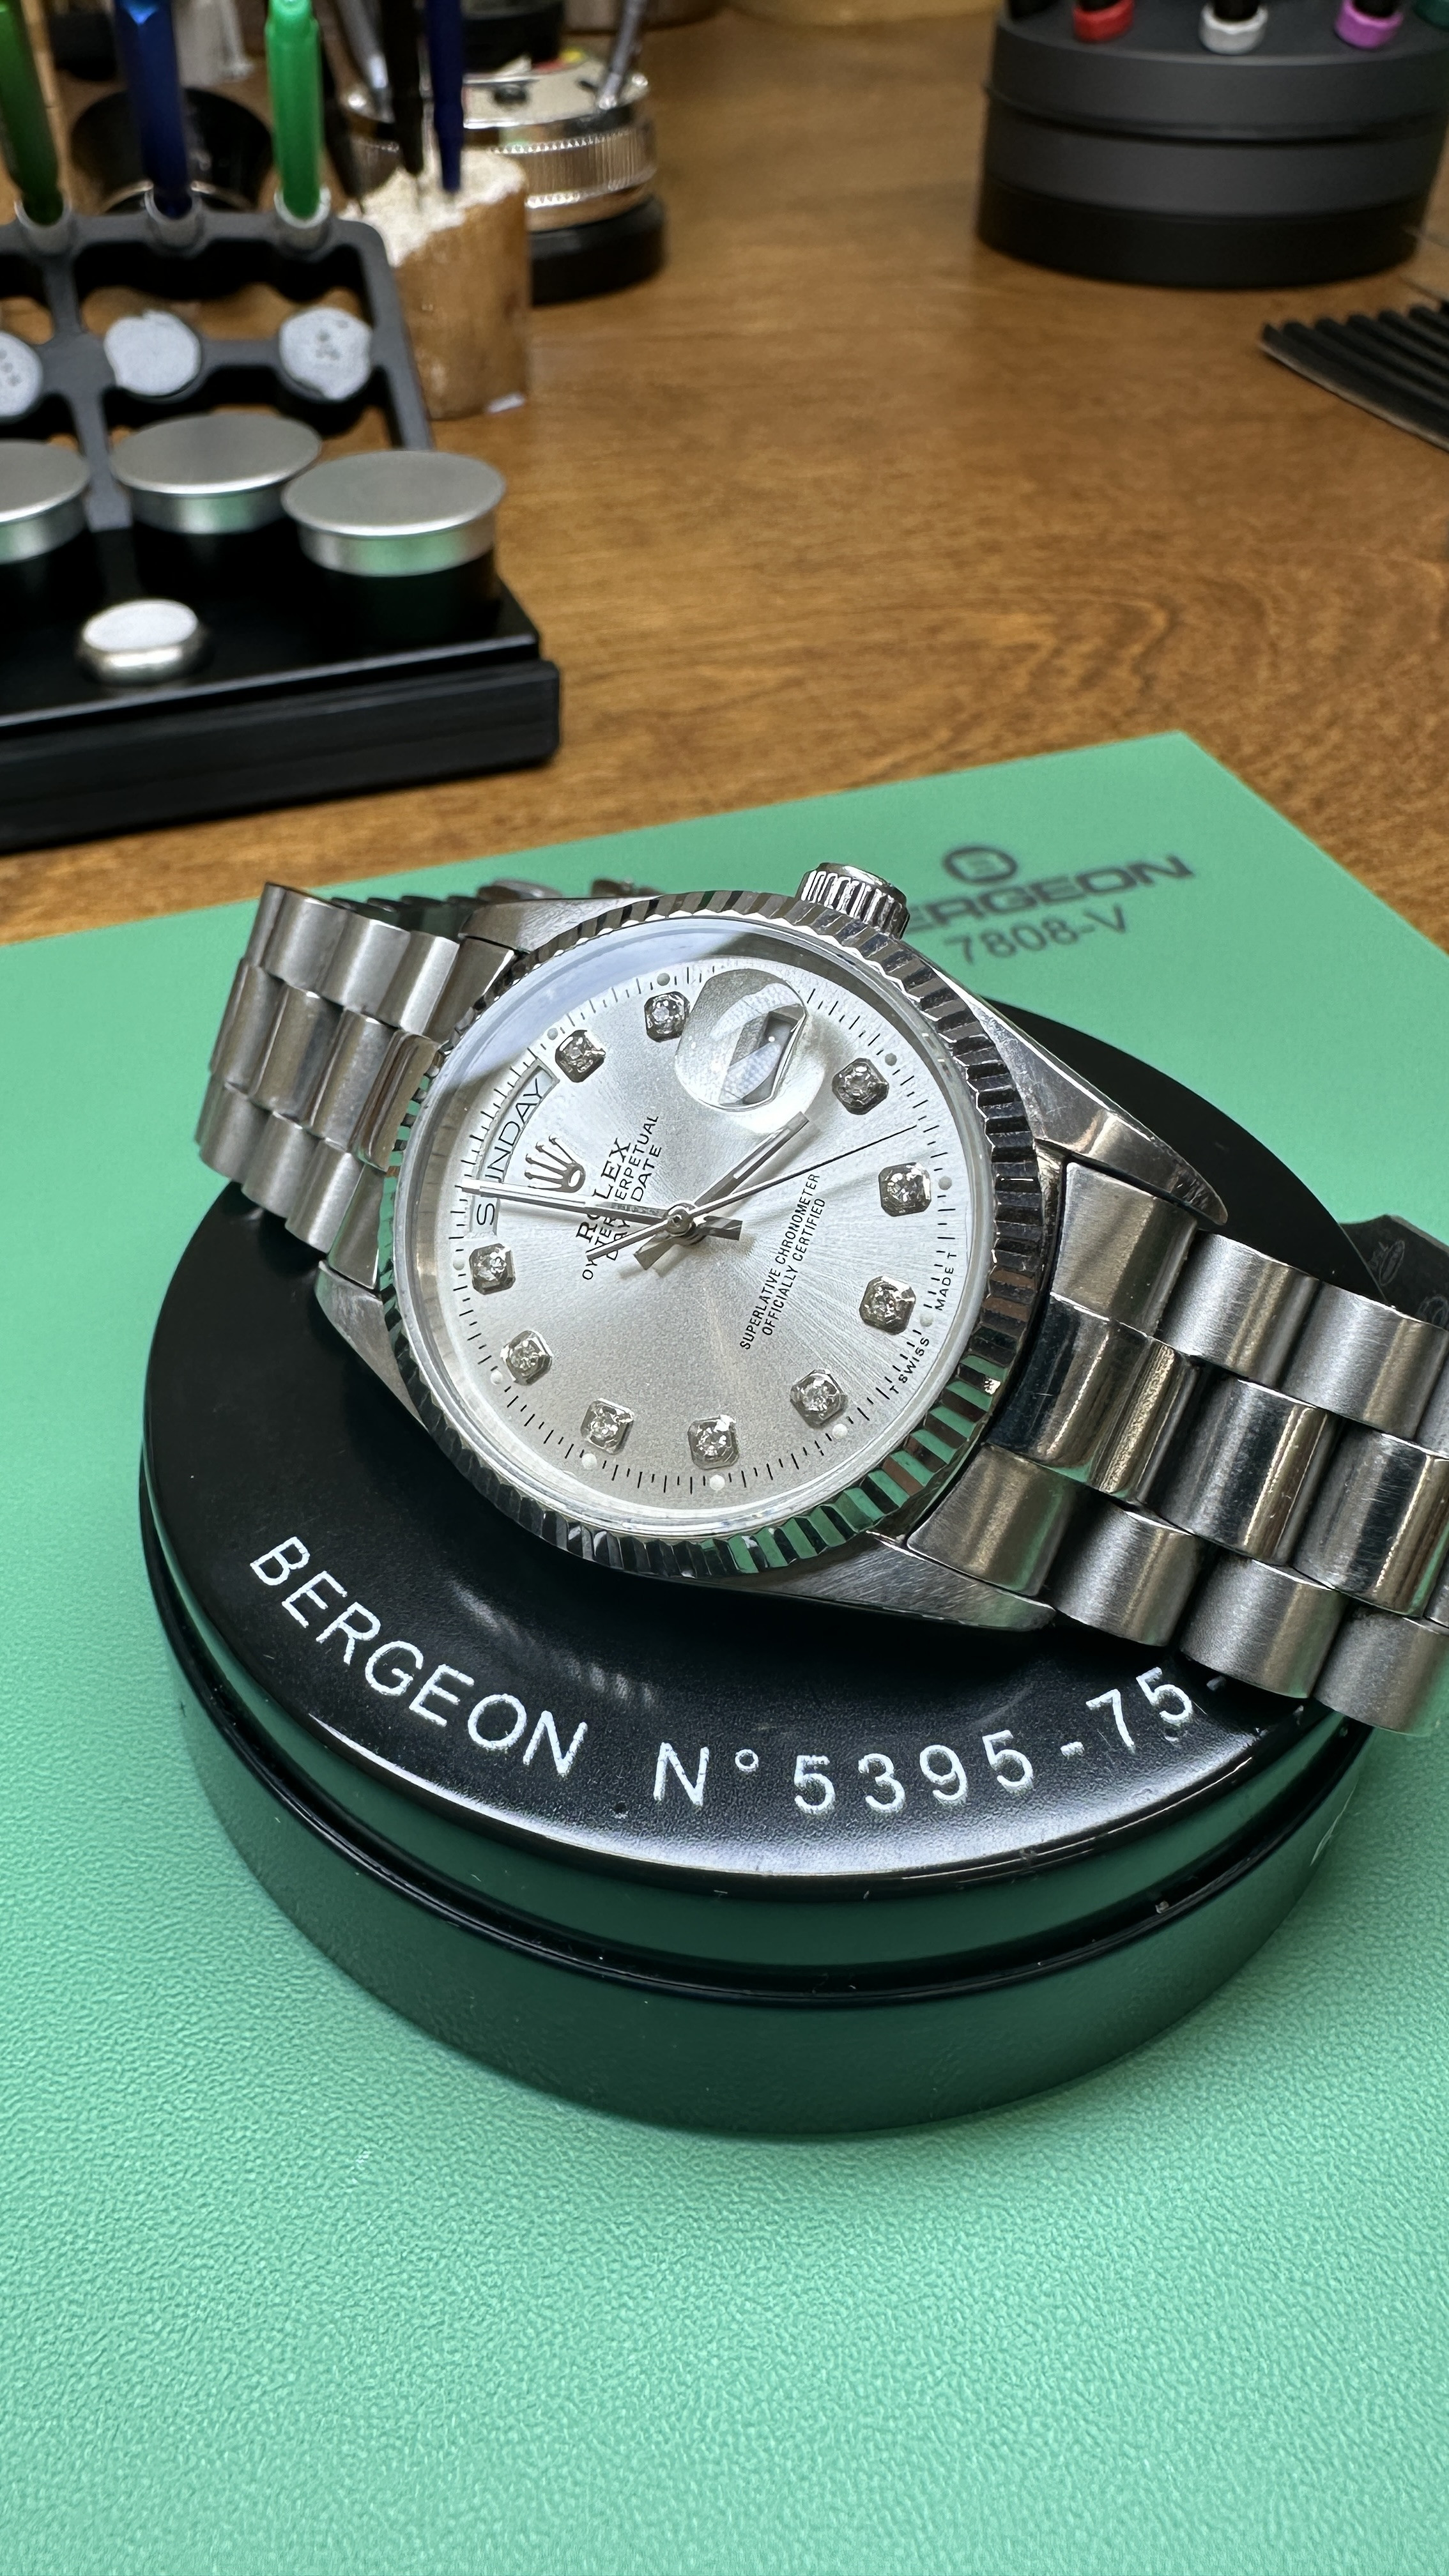
Then you can address the centering of days in the day window. This is a rotational adjustment. While doing this second adjustment, don't let the lateral adjustment change. That's easier said than done but it should be possible.
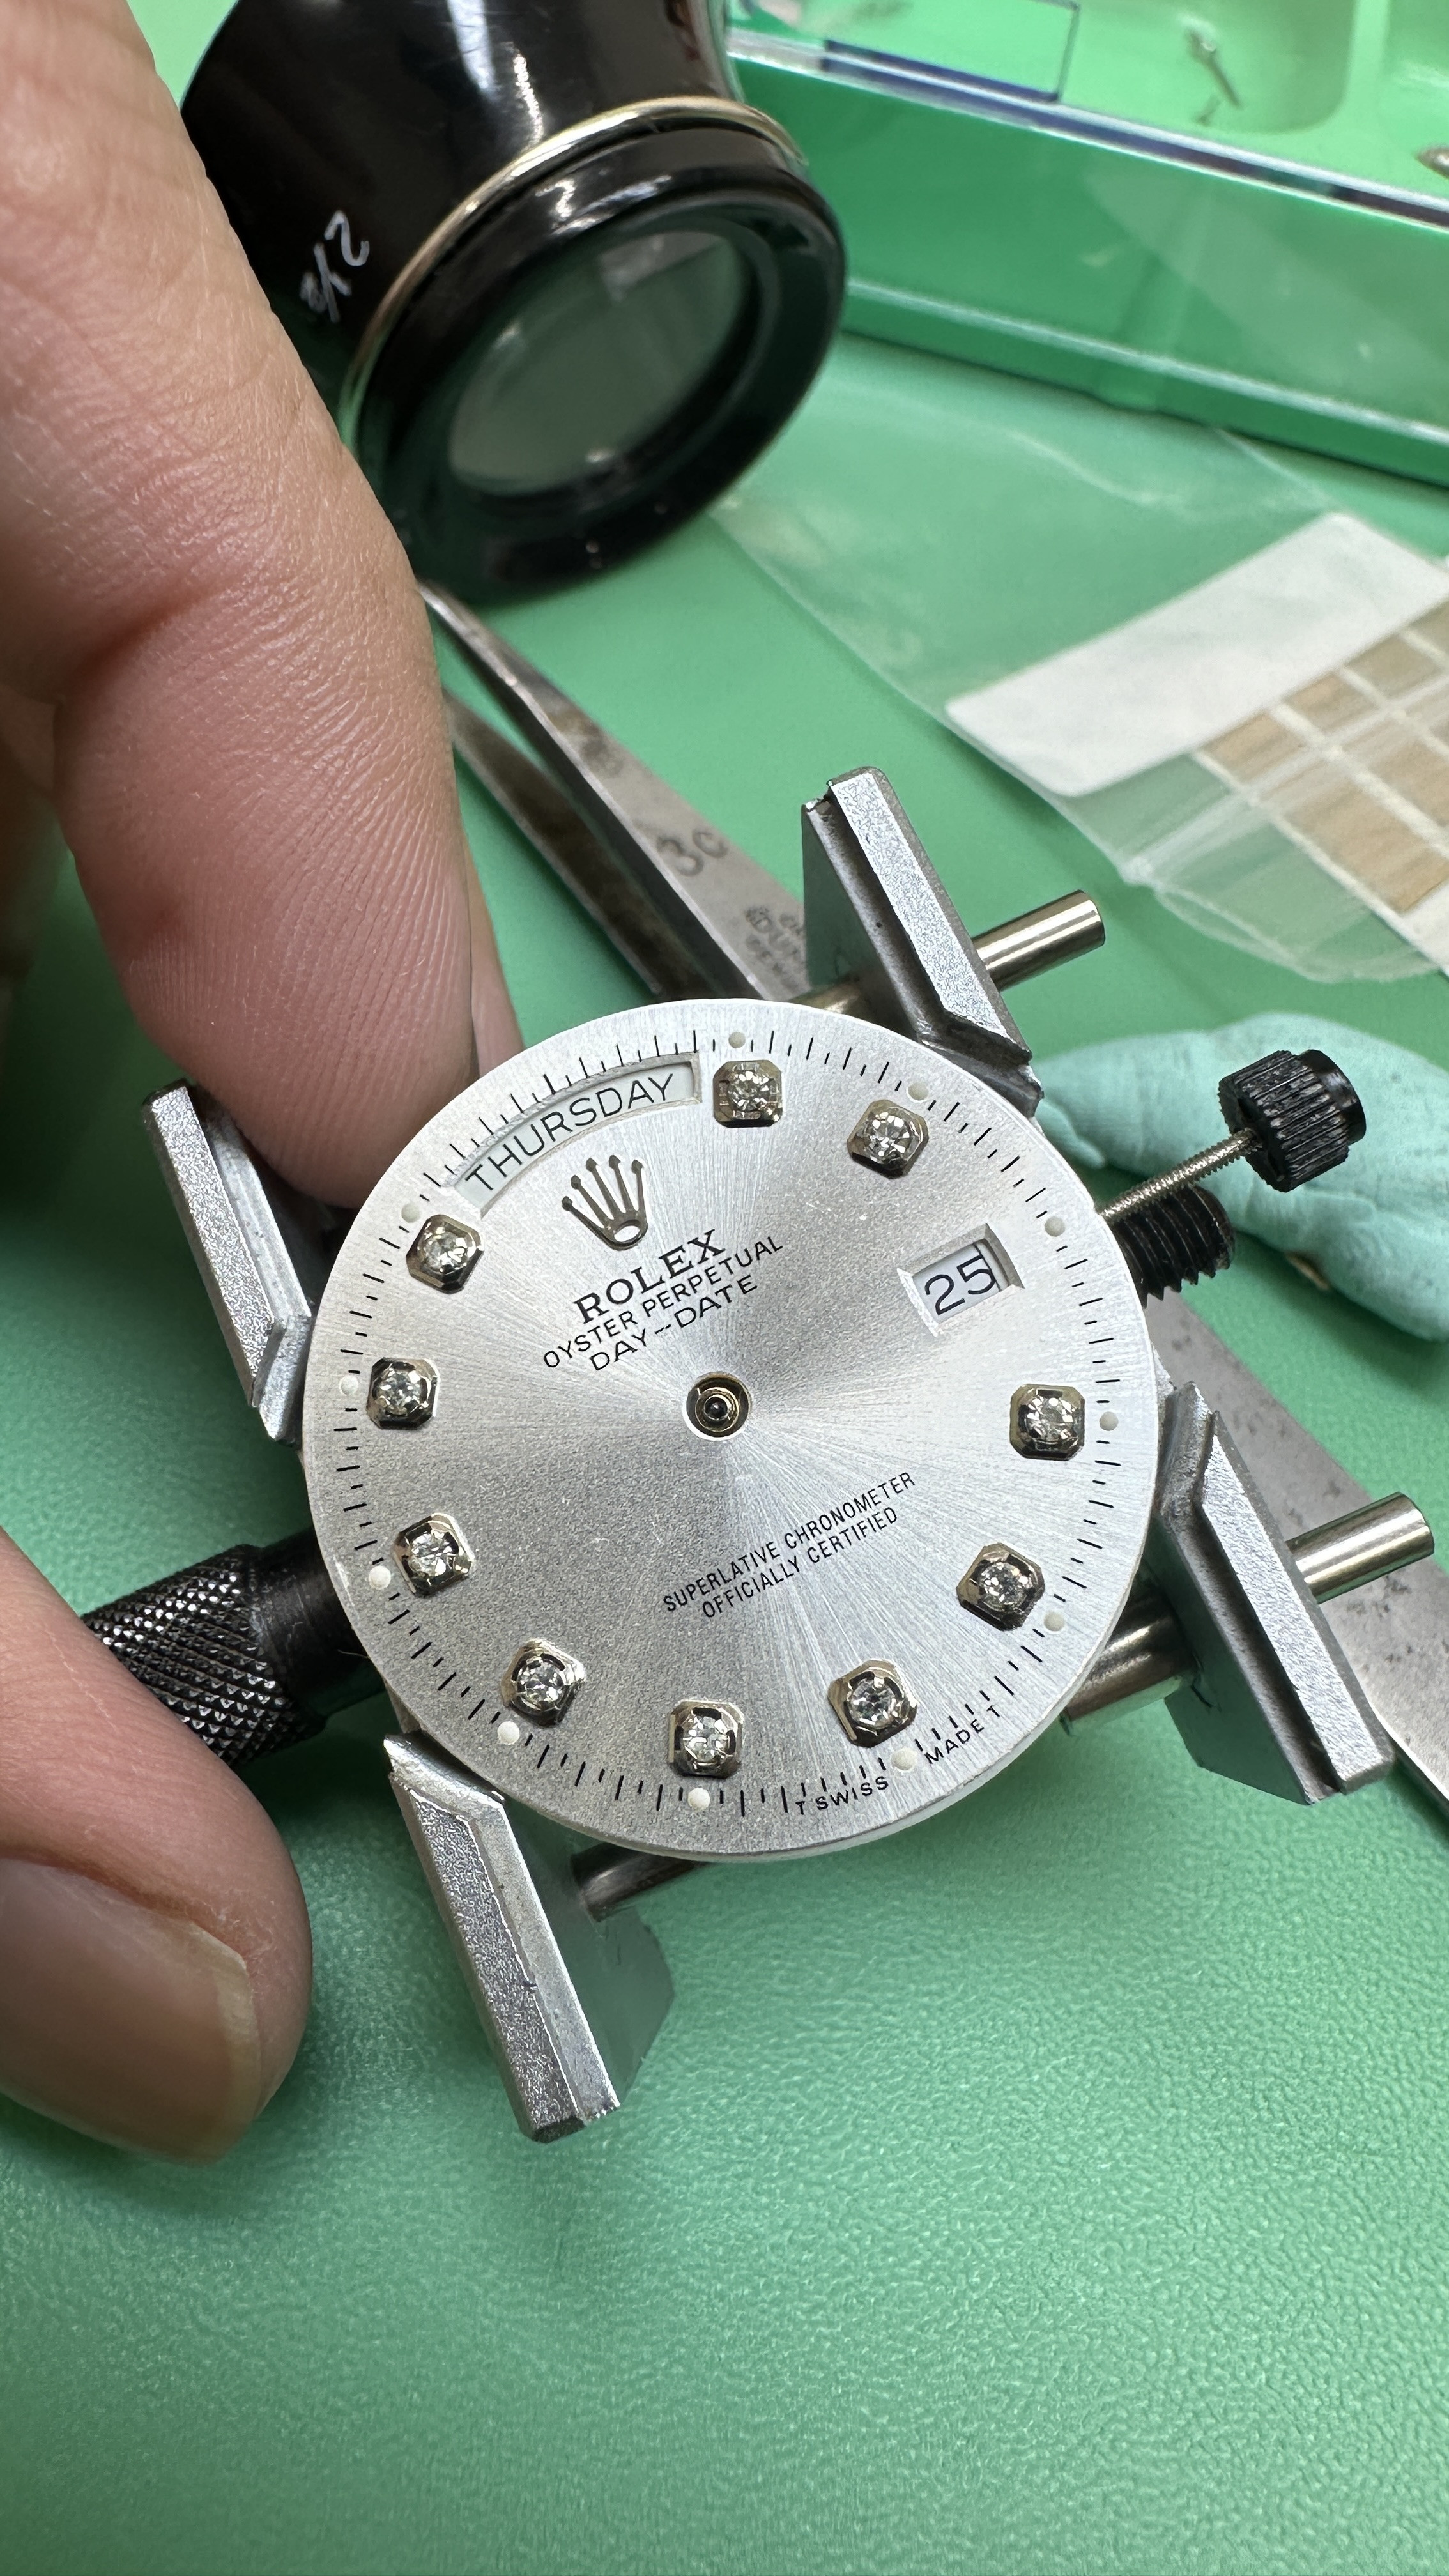
There is only one "best" position of the overlay onto the daywheel. Finding and anchoring it is challenging to be sure and it may turn out that some compromises need to be made. Not all the days may appear exactly centered for example or some may be slightly higher in the day window than others, etc. Some of these deviations may be the fault of the printing or spacing on the cheap overlay. Assuming a reasonably symmetric overlay, it should be possible to find the best position for it you just have to know how to make corrections and keep at it til you get close enough to that position.
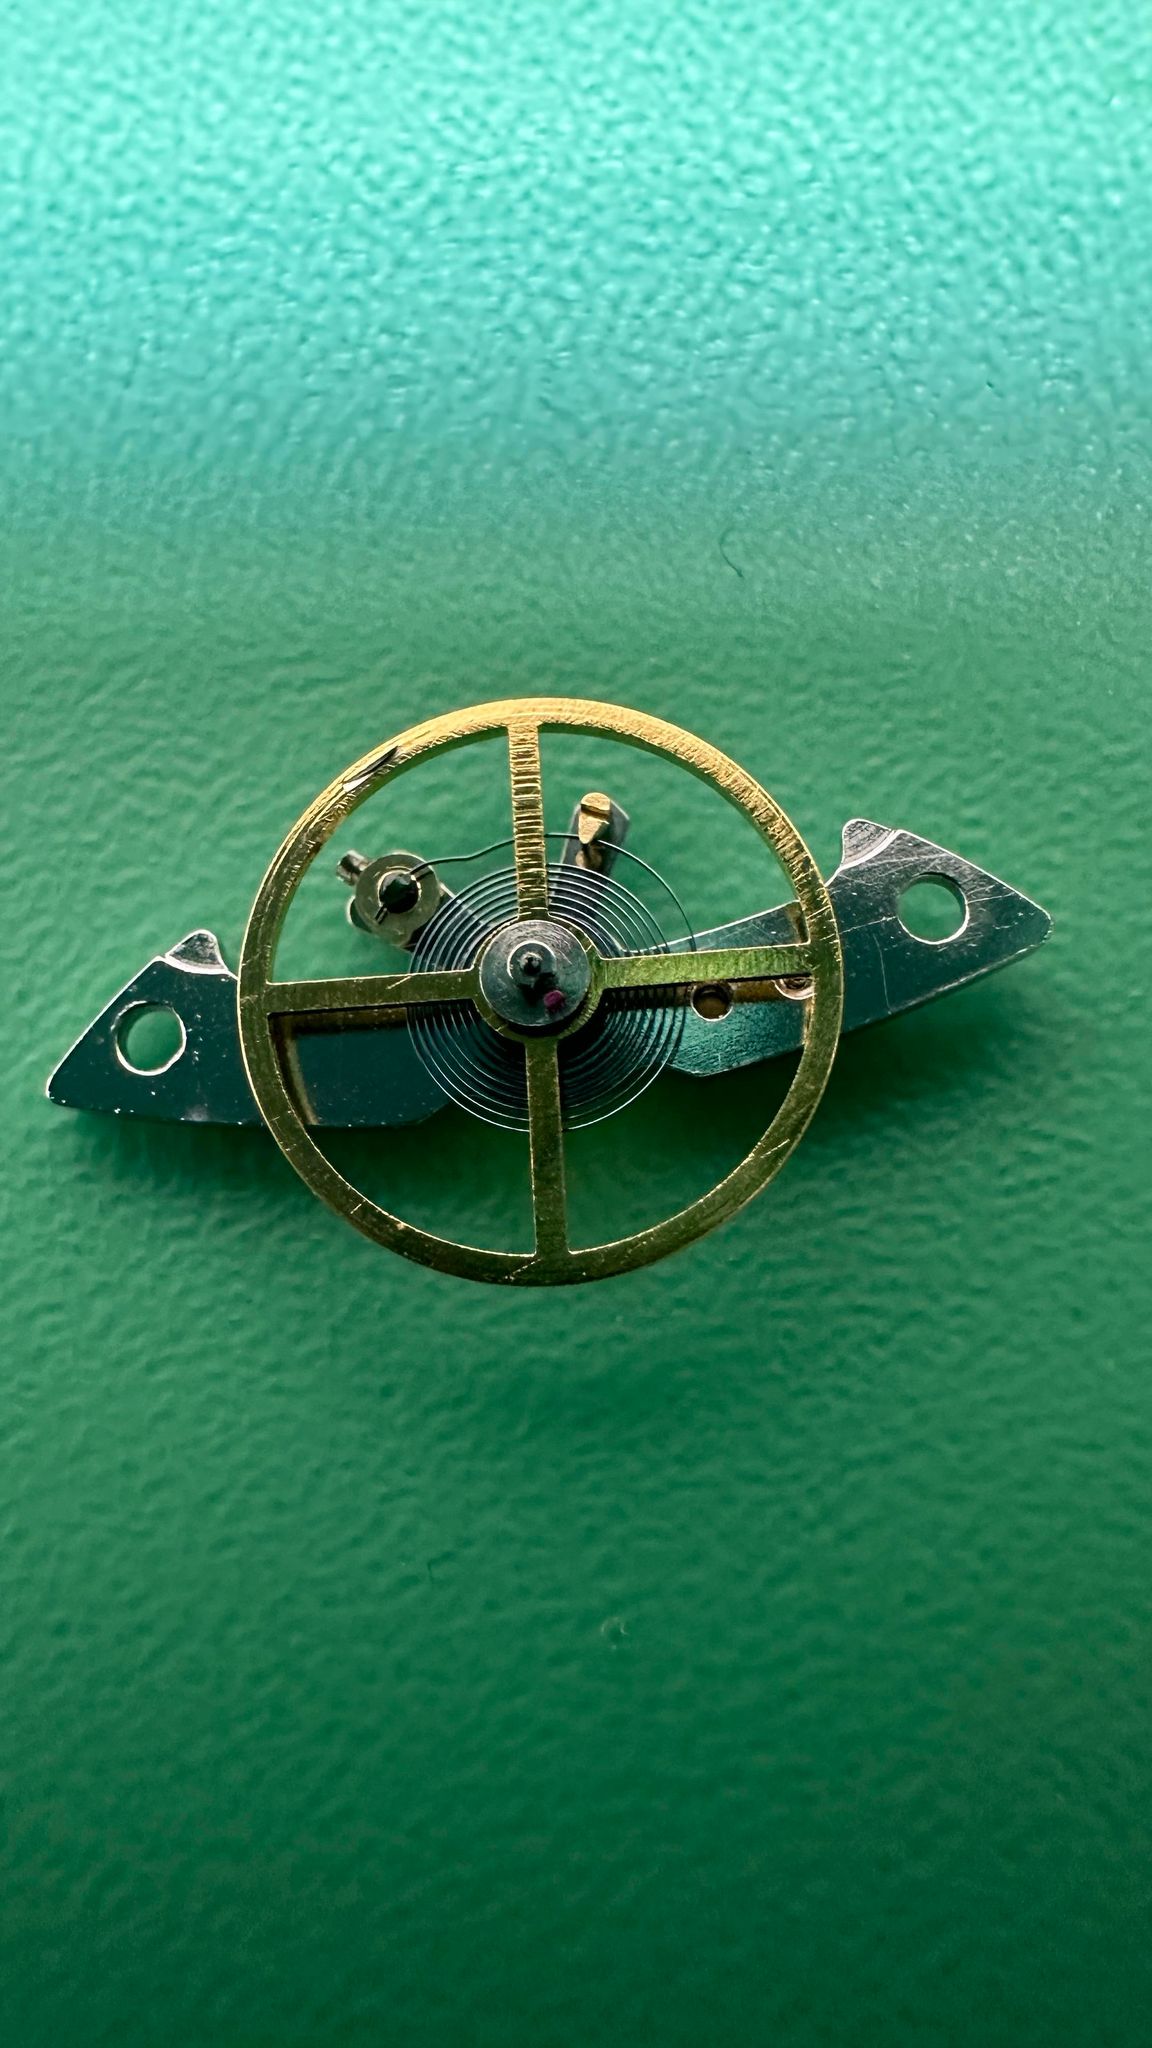
I've taken more than a dozen dial on dial off iterations checking and adjusting a DWO before. Then they can actually shift a little while curing if your last adjustment was made too late in the 30 min slow cure window. I've had to pull one apart again and start over more than once. All this makes your final success so much sweeter.
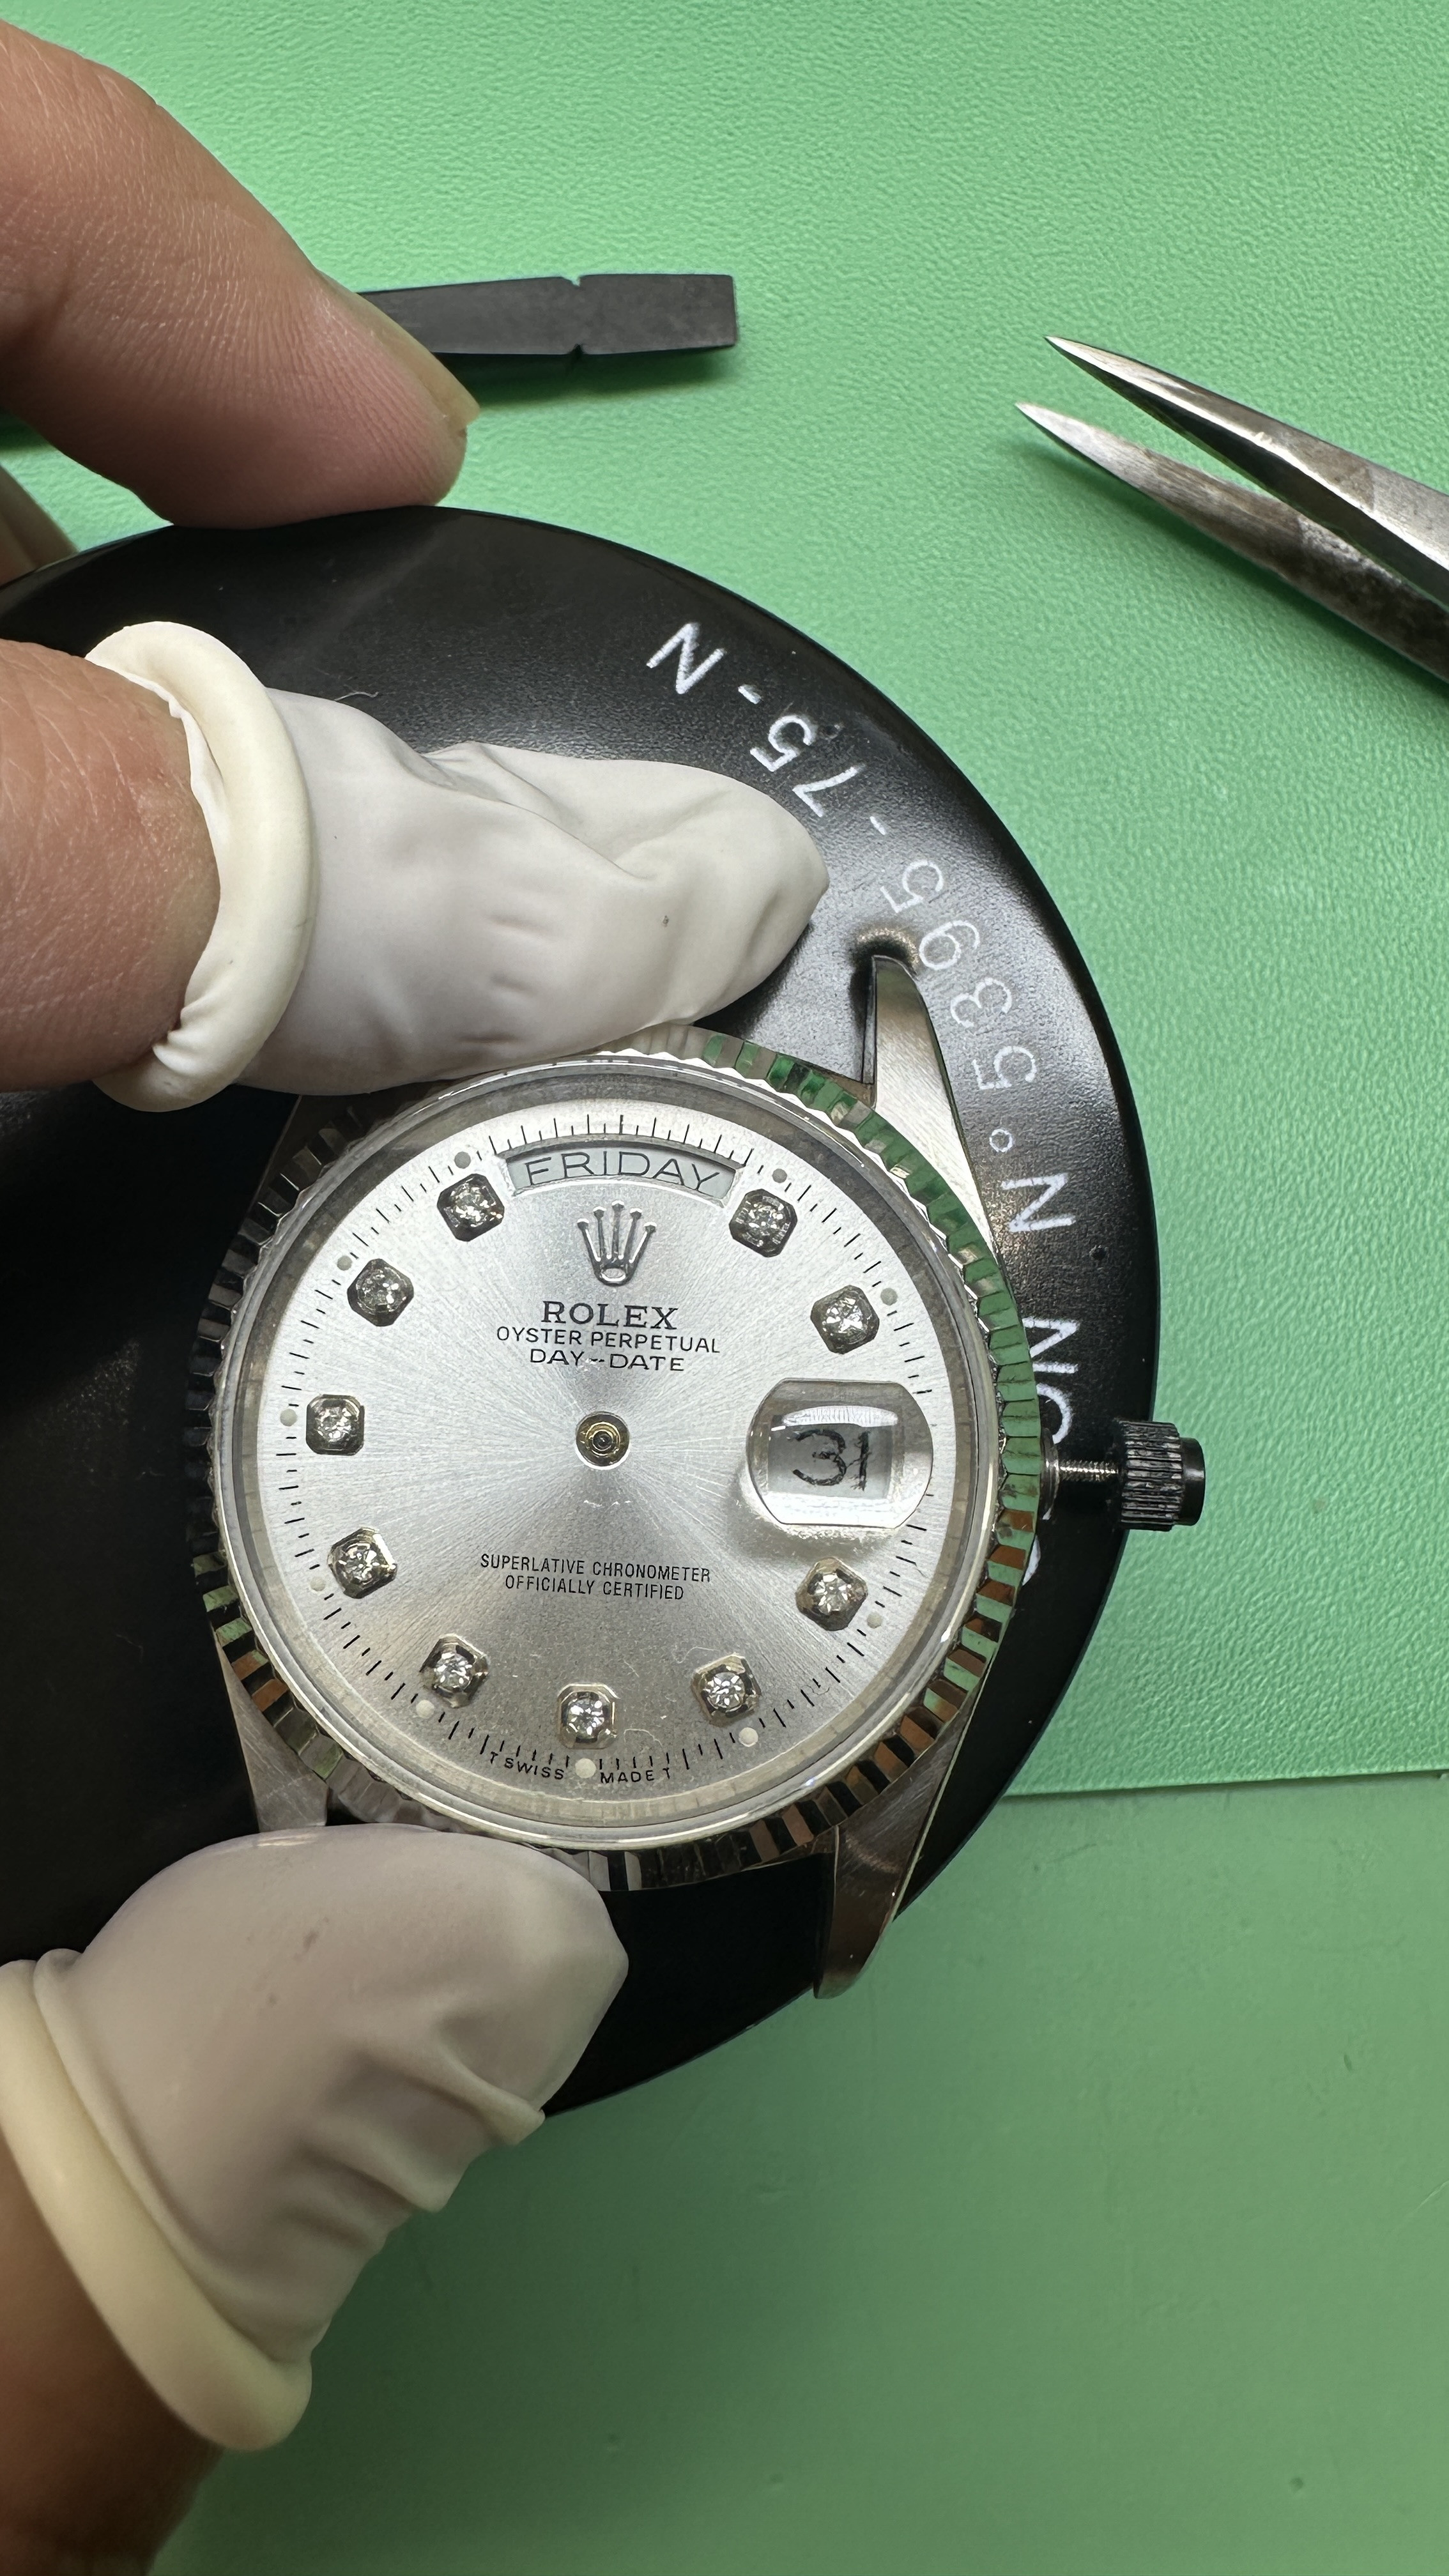
I don't think it will happen but once you have the daywheel in the best position it may be that a sliver of the daywheel still shows ALL the time in the date window. This would be the unfortunate result of two rep parts being slightly incompatible. We run into this all the time. In this case, the inner diameter of the daywheel might be able to be shaved a little (sanded back lightly) as long as it doesn't affect the day window appearance significantly.
Once you know what you really can do with your daywheel overlay and your dial, you can add the datewheel back and maybe not have to mess with it any further. It looks like its position is pretty good.


")