Hi Members,
I’ve made some more Brass buckles, documentated it and would like to share the .“ making of .“ with you.
Have mercy, this is my first try of a tutorial.
Here is the material I’ve started with:
Brass metal sheet 3mm thick.
Cutted in pieces from 35mm x 45mm
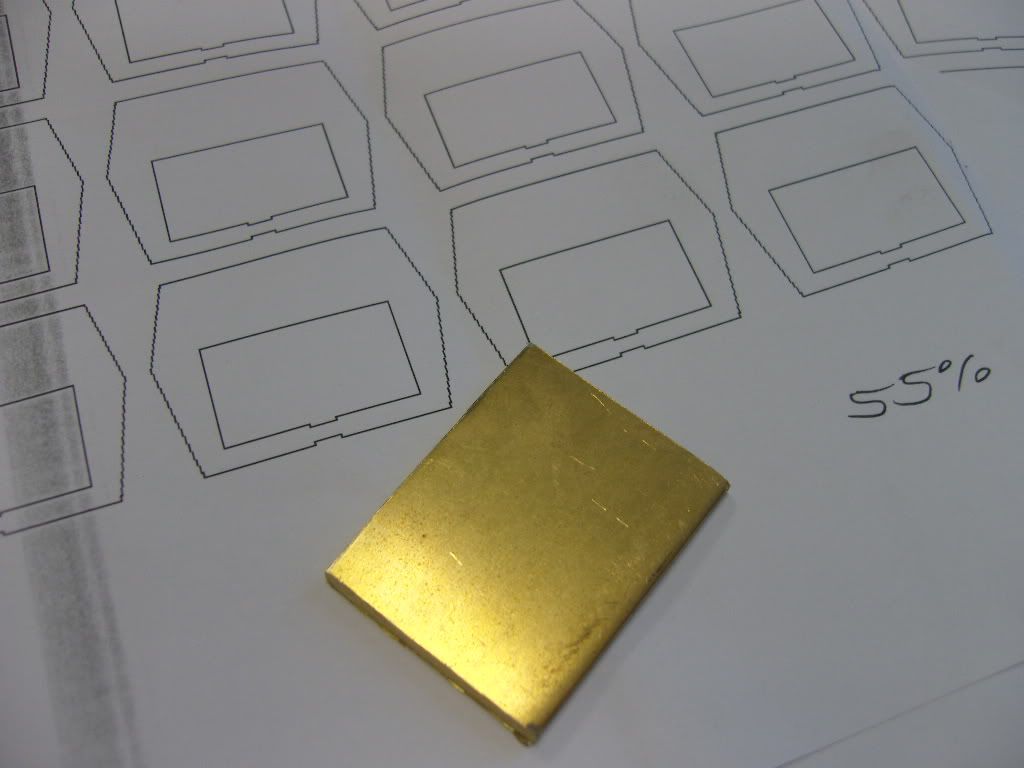
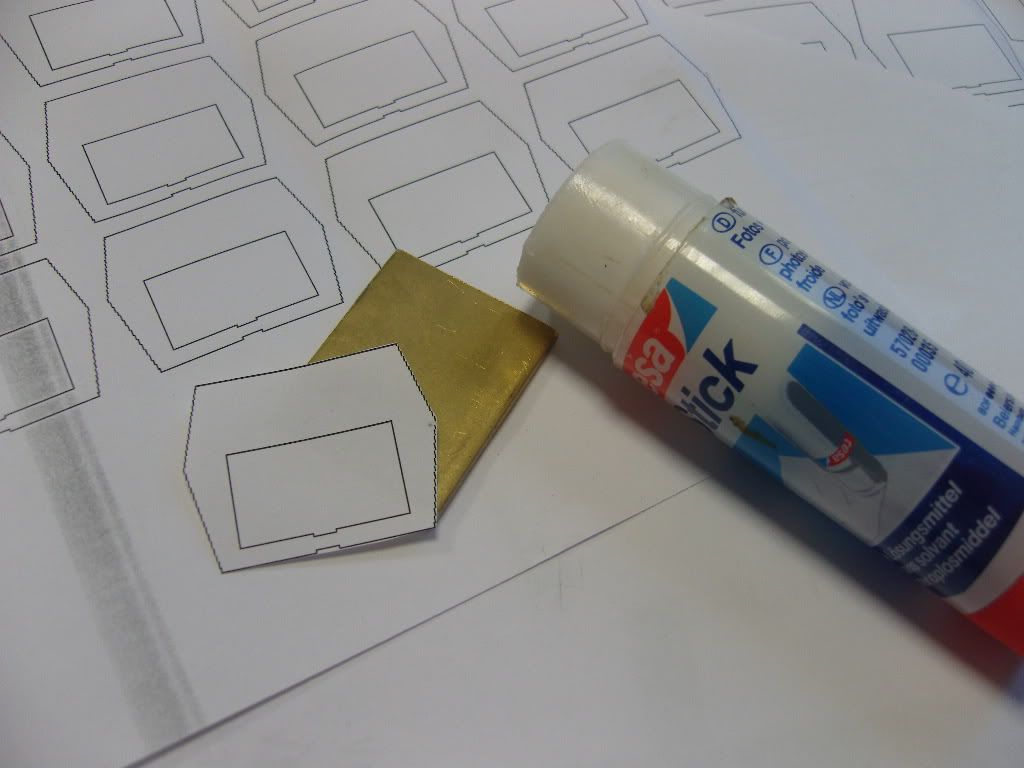
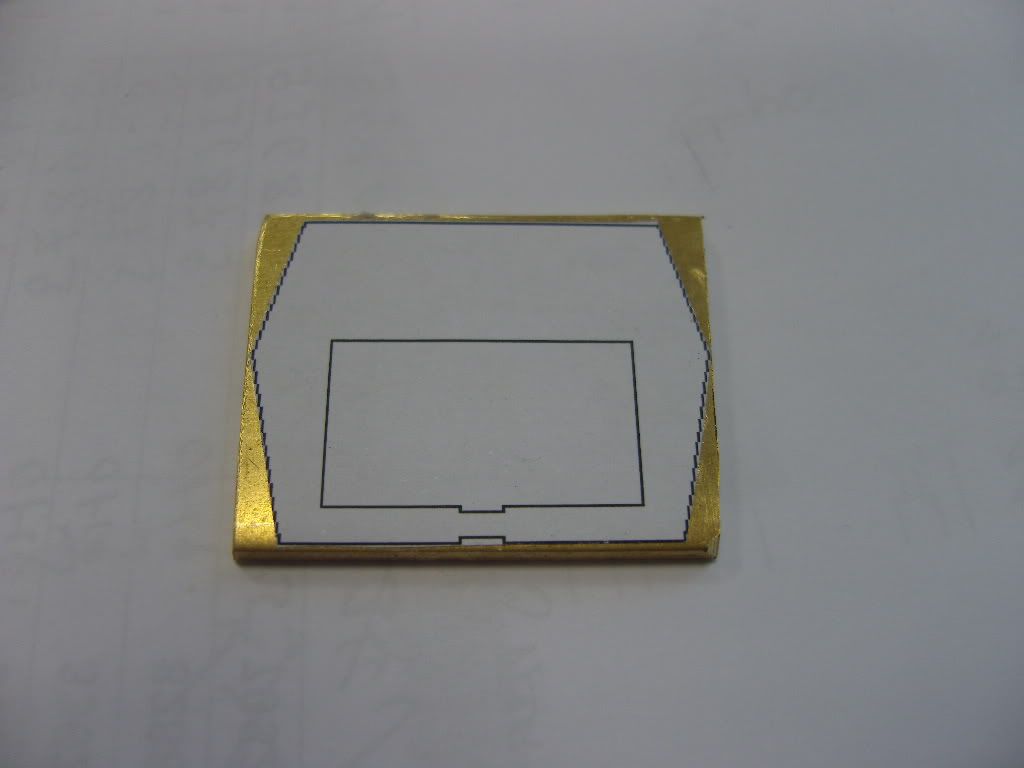
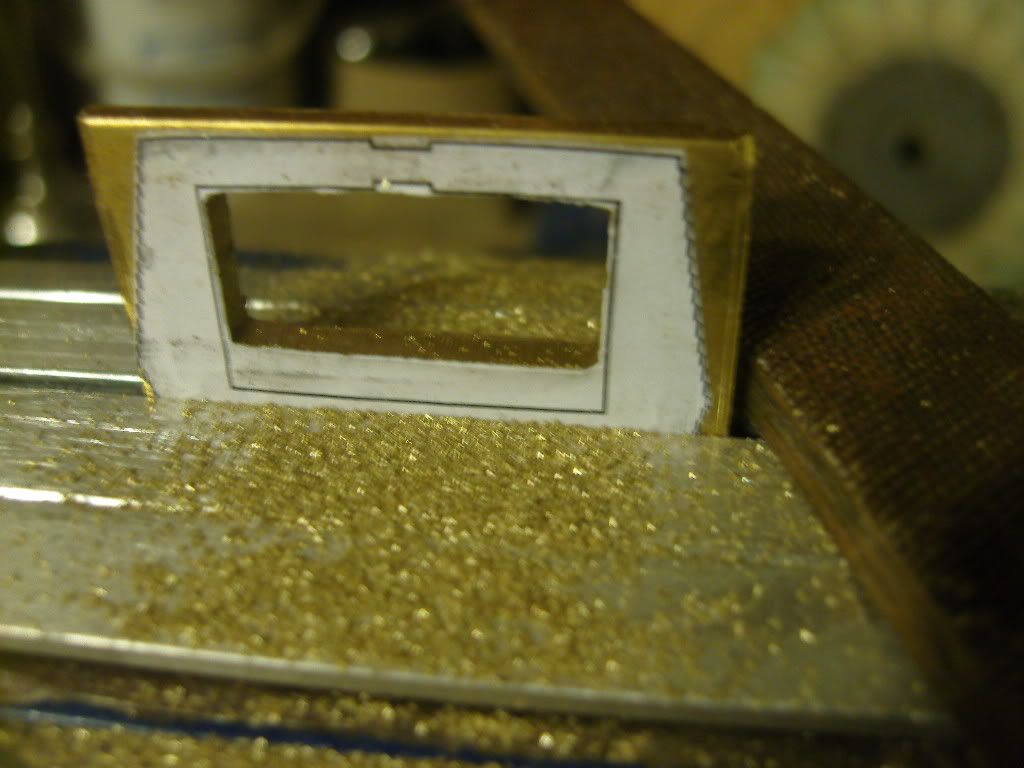
Glue a paper template with the sizes you need ( done with MS paint ) on it .
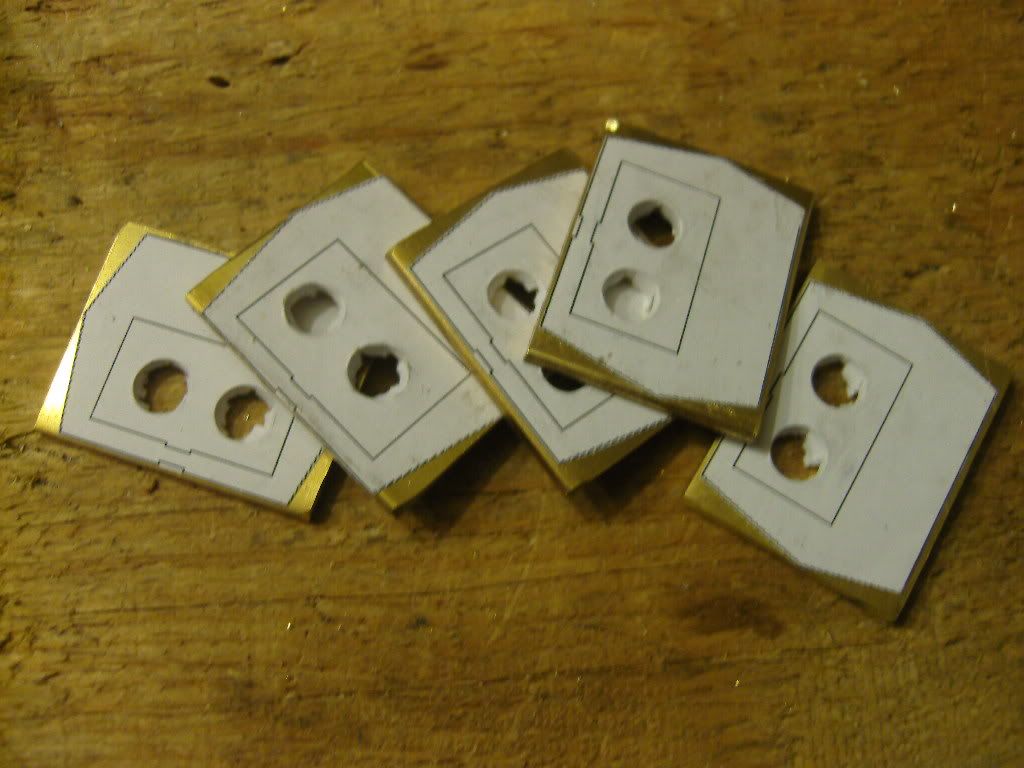
Drill some holes and cut out the space between them with a small jab saw
You also can drill more or bigger holes if you want. I do it this way, because with more or
wider holes, the holes sometimes went into the lines and the whole piece was scrapped.
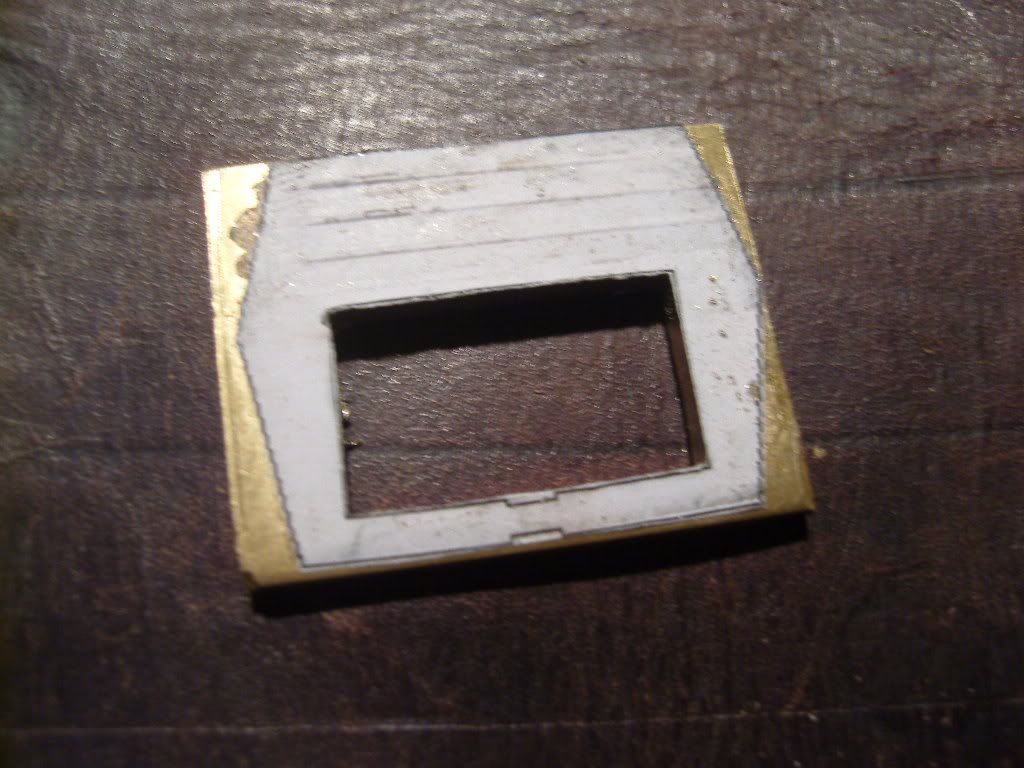
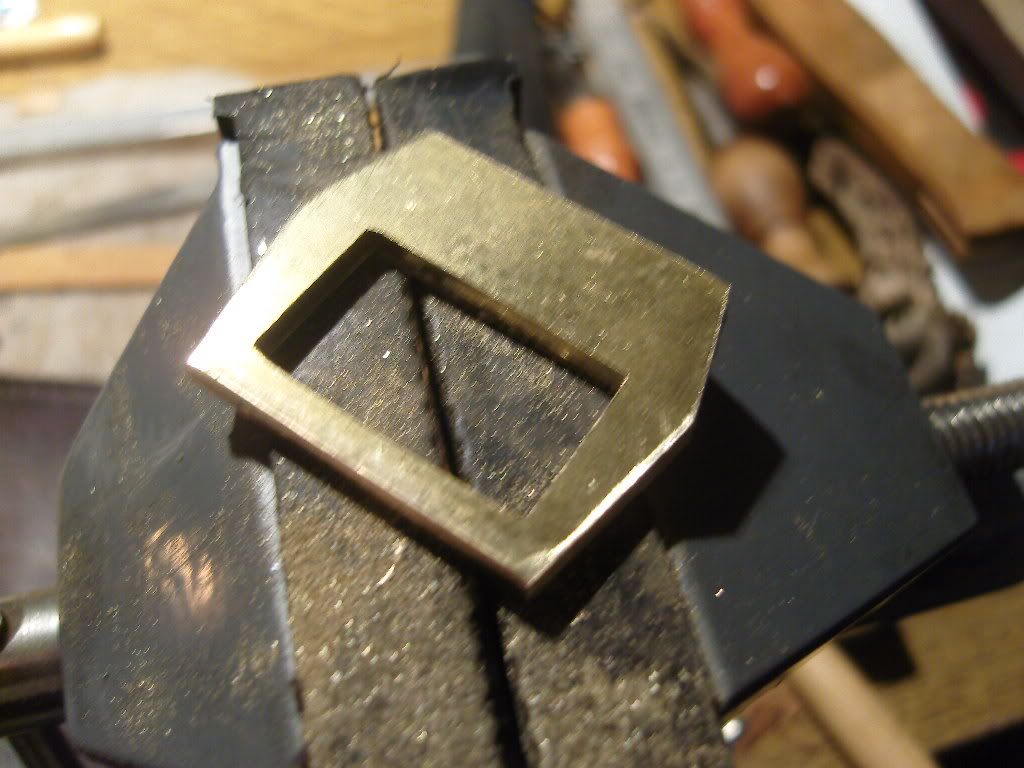
Now start with the hardest part of it, filing down until the lines of the template
This is to do before cutting the edges, because you need the metal around your hole
to clamp it in your workbench.
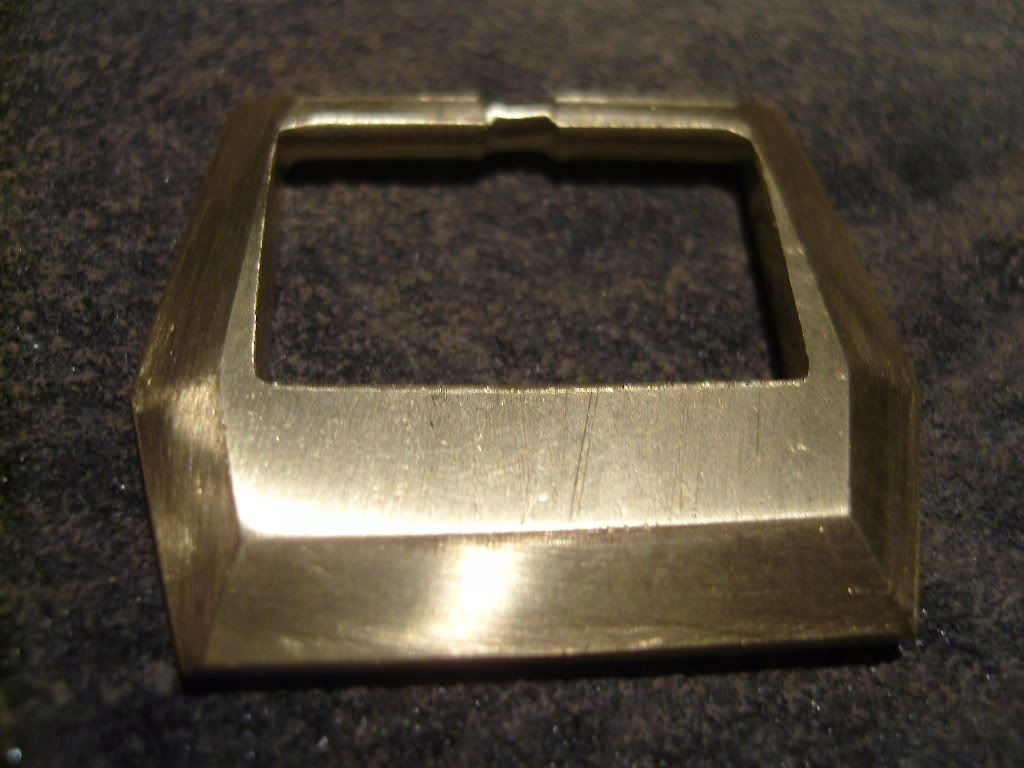
The rectangular hole for the strap is finished, now we need to cut the edges.
Just use a simple hack saw and cut the edges along the line of the template
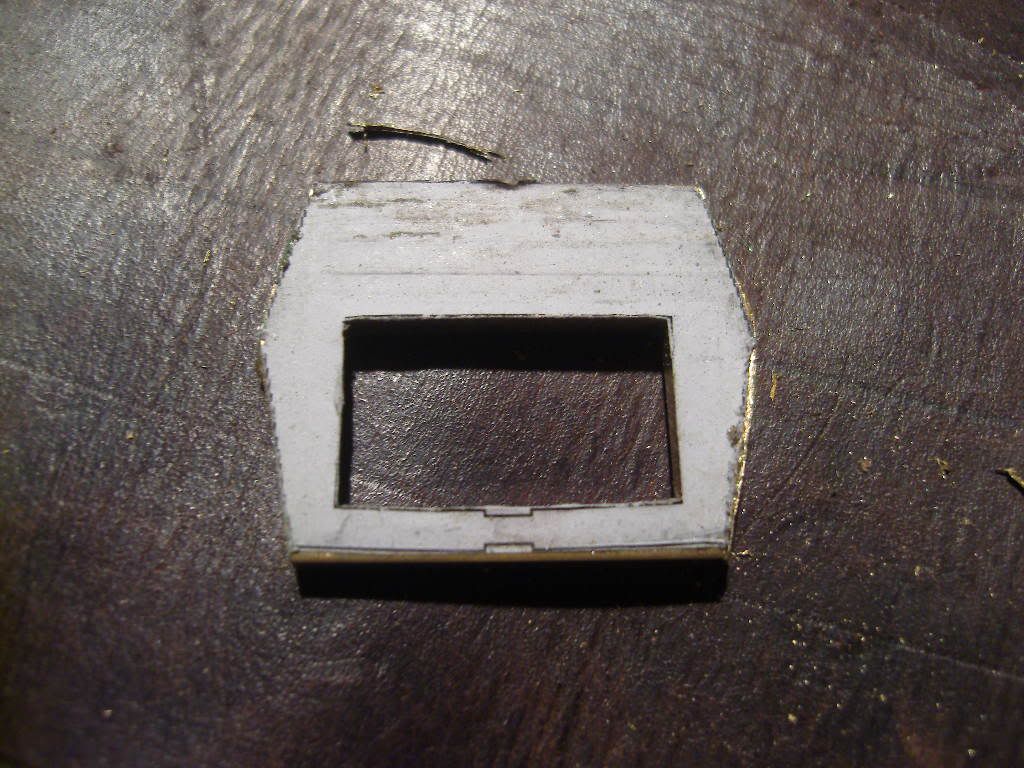
When all edges are cutted, file them to a smooth finish.
Remove the template with water.
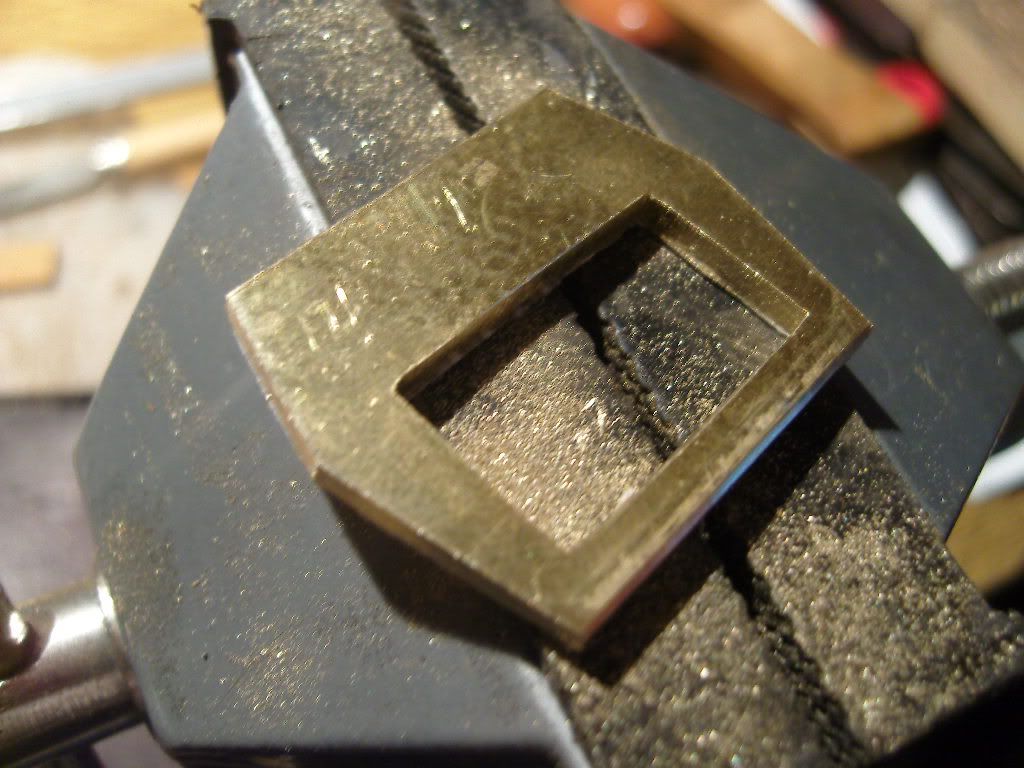
Now we break the edges to chamfers as far as we want..
Round off the thornbridge where the thorn will sit later.
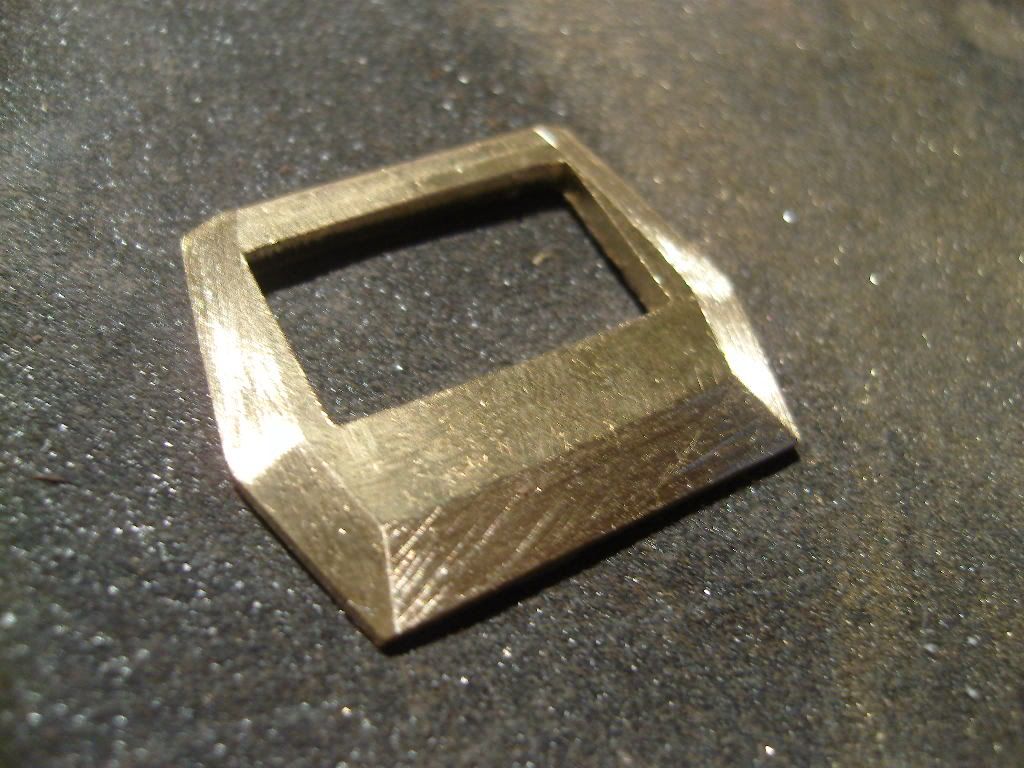
Now polish it with 1000 grit sandpaper. Lay down the sandpaper on
a clean and even surface without any scratches or marks.
Move the sides and edges only in one direction, flat, with pressure, over the sandpaper.
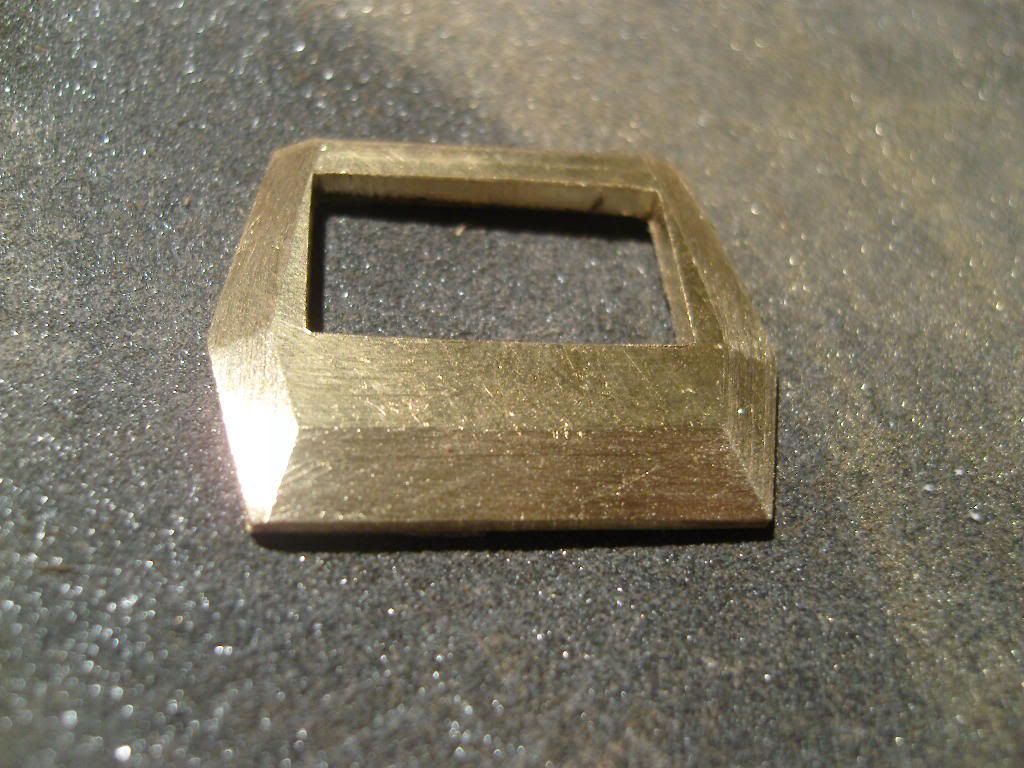
Grind a small area in the middle of the thornbridge about 4mm wide and 1mm deepness for the thorn.
After trying a while you will find the right angle to polish the chamfers by feeling it.
Needs some practise, but it is easier than it looks.
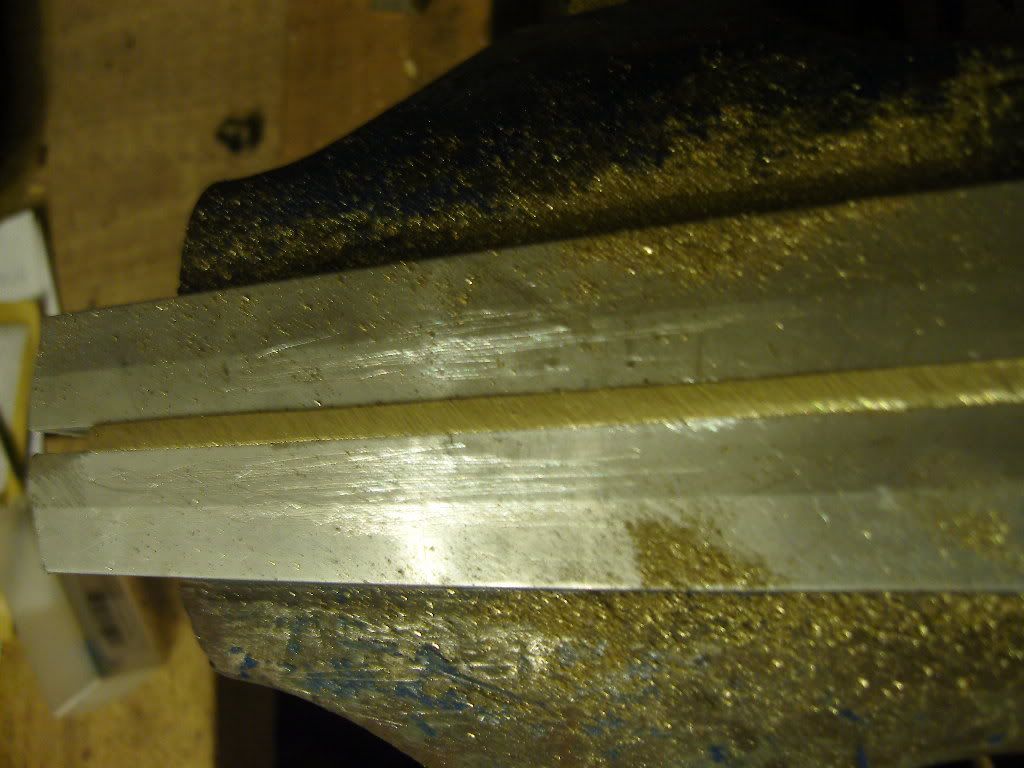
Here is a flat stripe of brass I stripped from the brass sheet, about 3mm in square, file one side down to 2mm thickness
We will cut our thorns from this
Now we need the length for the thorn. Lay the stripe on the buckle as far as you want it, at
the opposite side from the thornbridge. Leave 3 times the thickness of the thornbridge as length
that protrude.
File, grind and polish it the same way we did the buckle.
Make the tip of the thorn not too sharp, make it more rounded.
Leave the underside flat.
It looks more accurate after bending if you rond off the other side as well.
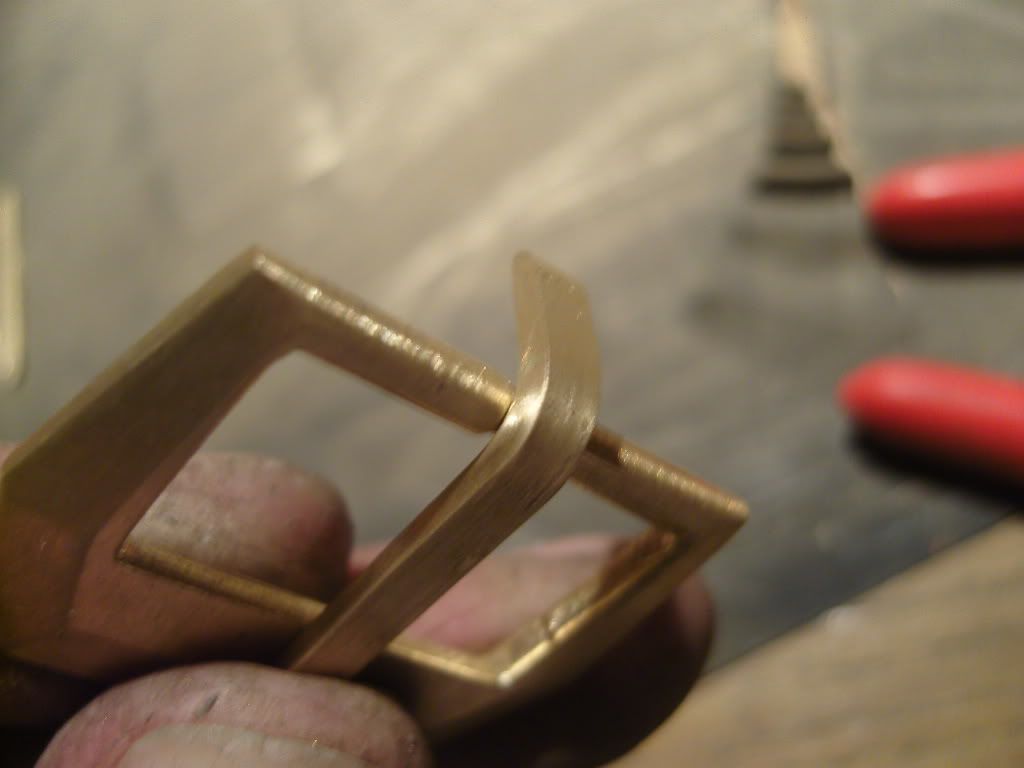
Now we will bend the thorn, hold it together with the buckle like you’ve planned it before.
clamp it together with a pair of tongs, then bend it 90 degrees with another pair of tongs this way.
Be sure to place it in the deeper area we left for it.
Not possible to make a pic of this, I needed both hands for this step.
Hold it in position and bend it further 90 degrees.
Now you can control your thorn, is each side in the same direction ?
If yes, go for the last bending.
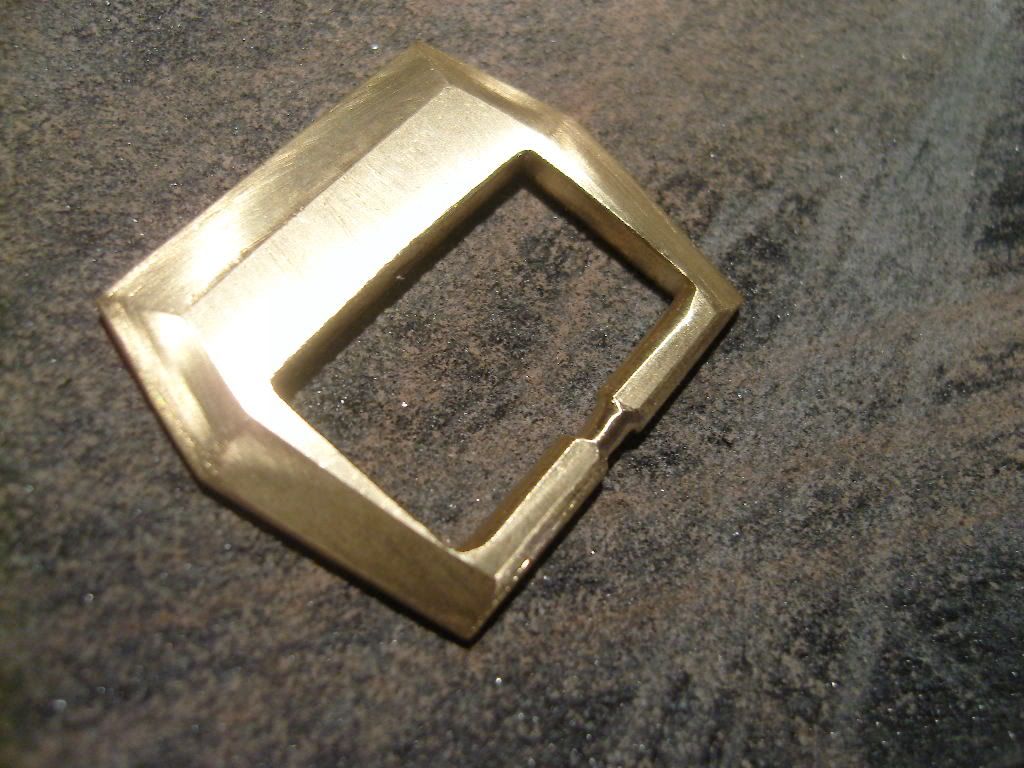
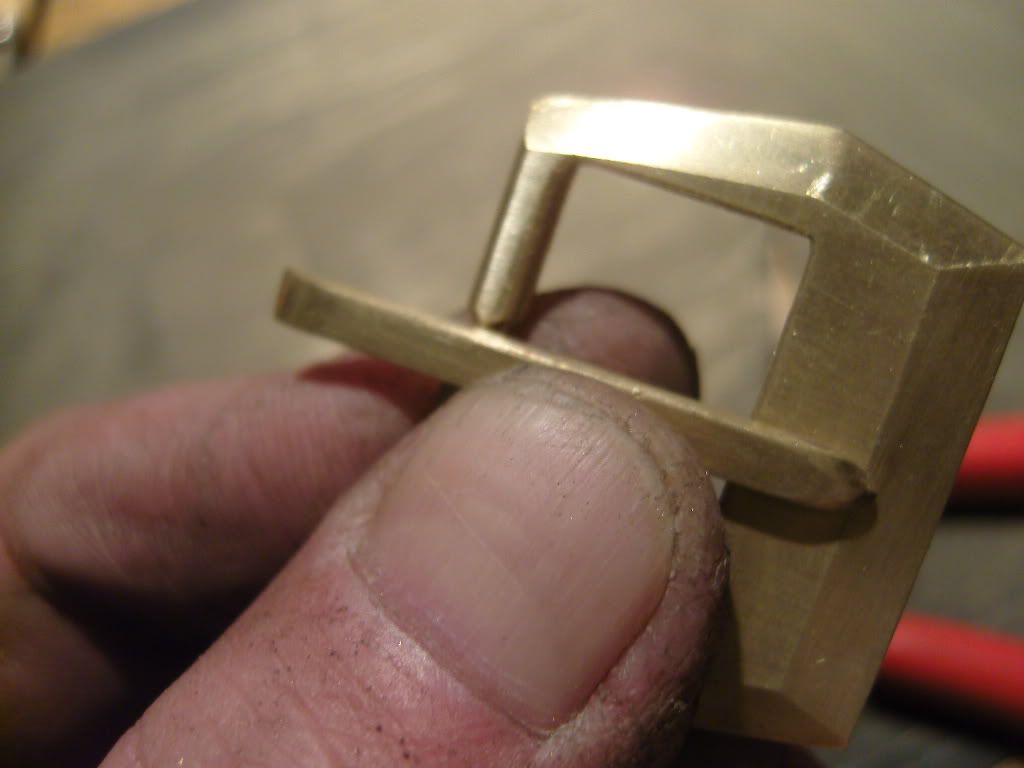
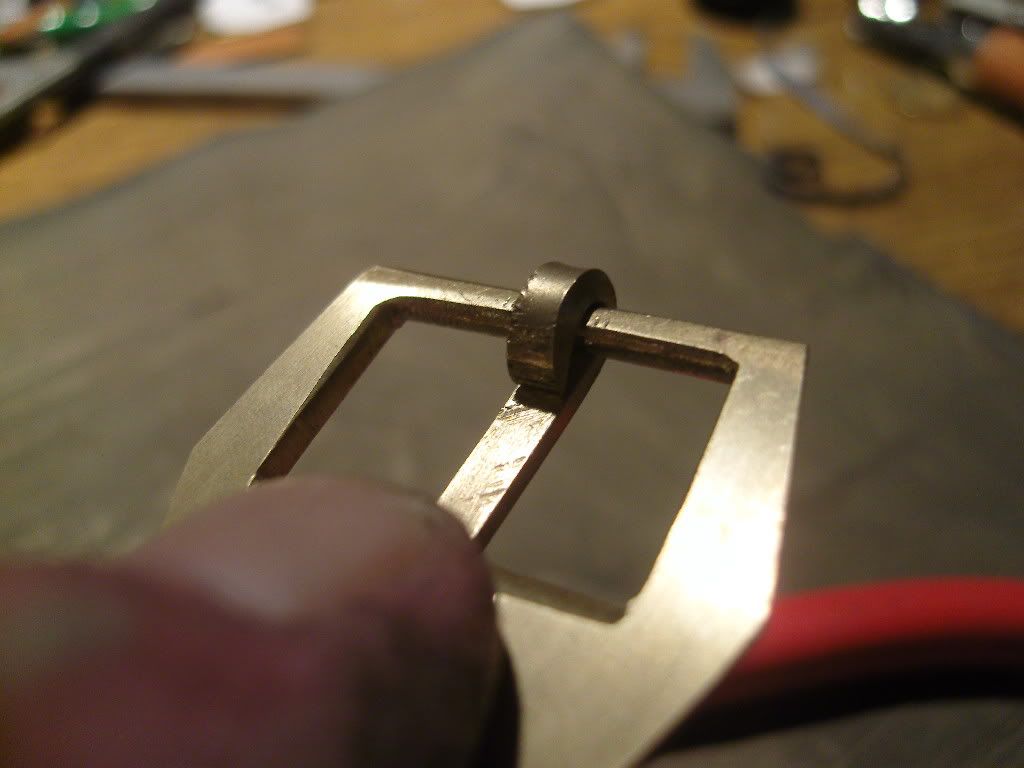
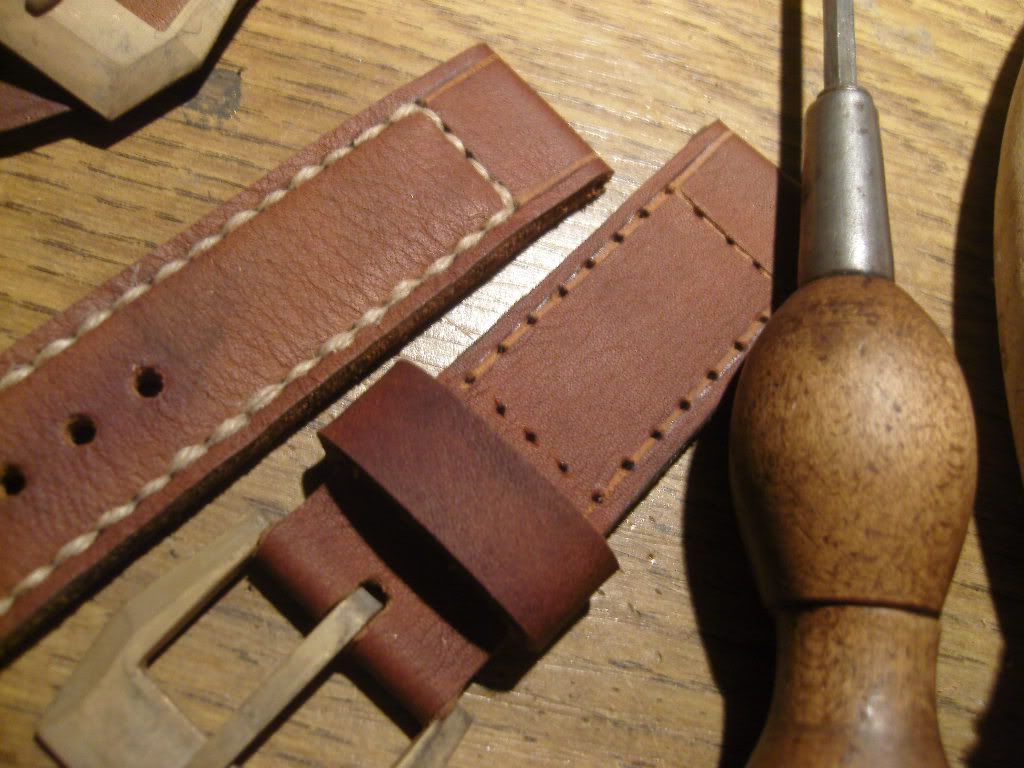
( , forgot to tell you and also forgot to make separate pics of an important step. Round off the backside from the rectangular hole, to let the strap slip over it without damages. You can see it at the following pic )
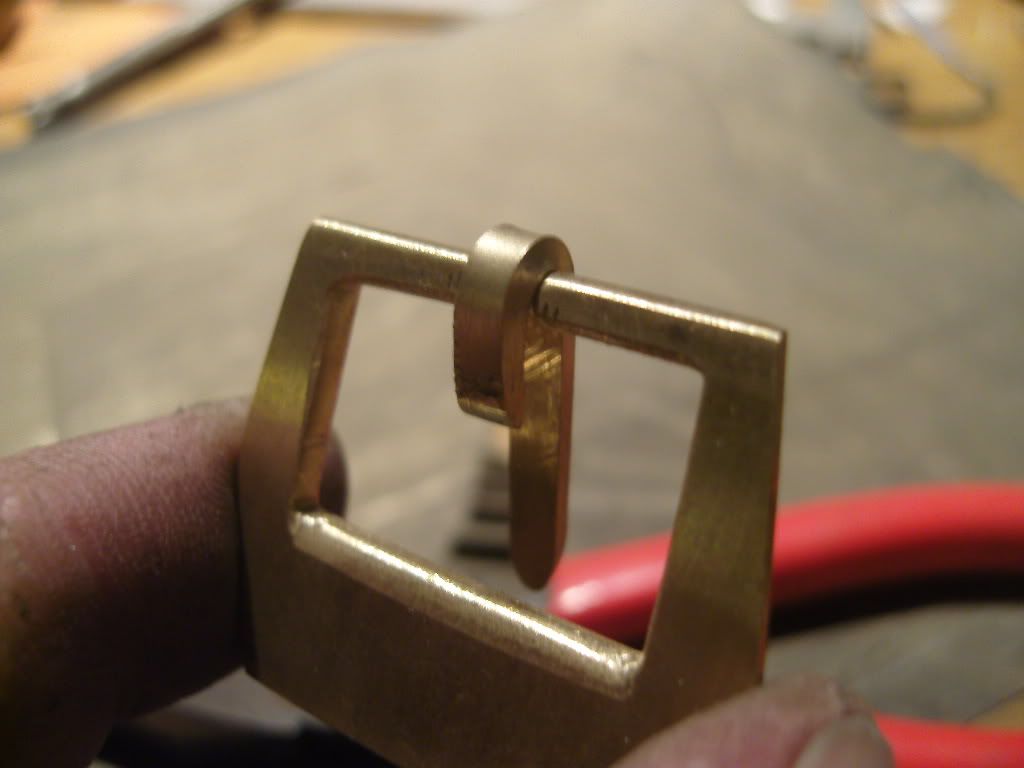
Press the tip of the thorn against the curve with a pair of tongs, as far as nessesary
If it is done right, the thorn cannot move to the sides, only up and down.
After bending you have to remove the scratches and marks from the tongs. Move the damaged areas
again flat over the sandpaper.
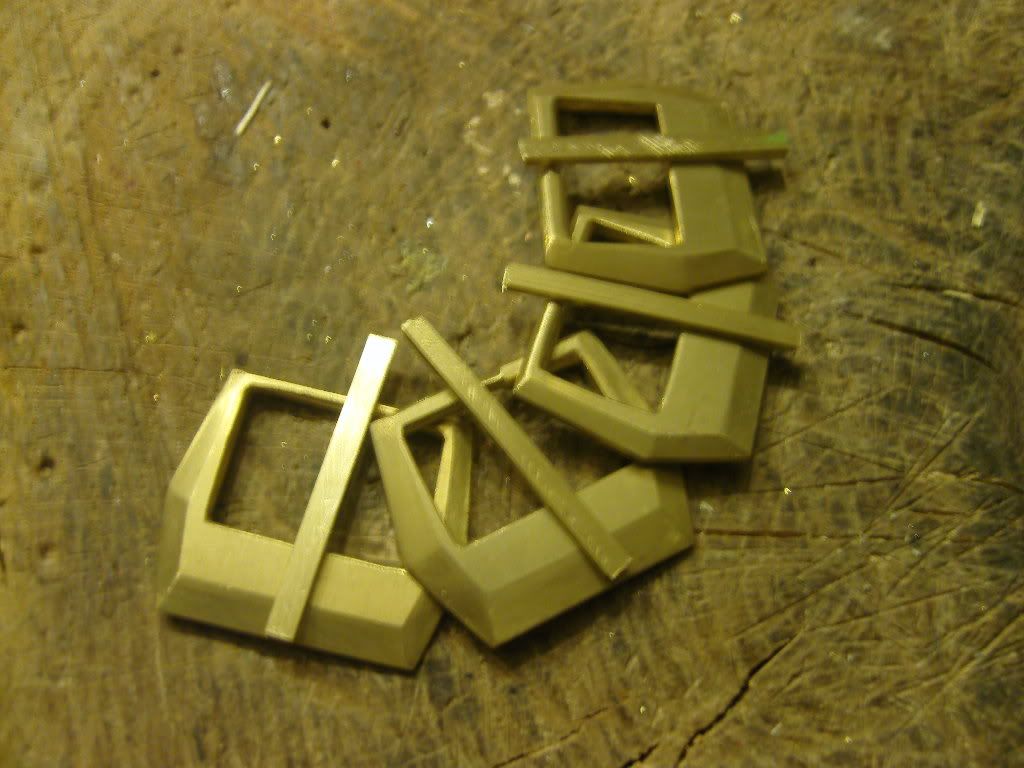
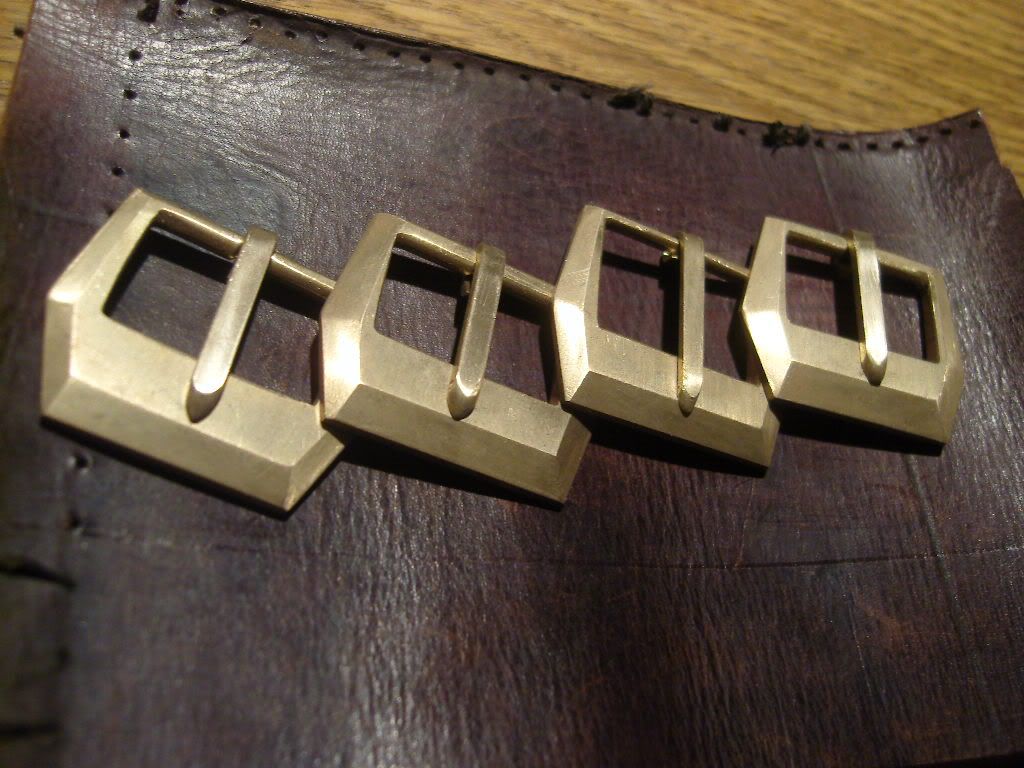
Here are the finished buckles. If you don’t want to vintagize them, you can stop reading.
But if you have time enough, read further, anyway which finish you want.
Here is the step for vintagizing.
I use a propane burner for that.
Last week I’ve used an acetylene / oxygen burner for that.
The buckle got too much heat and melted away in a second.
3 hours worked for the scrap
So you better use also a propane burner or something like a soldering lamp
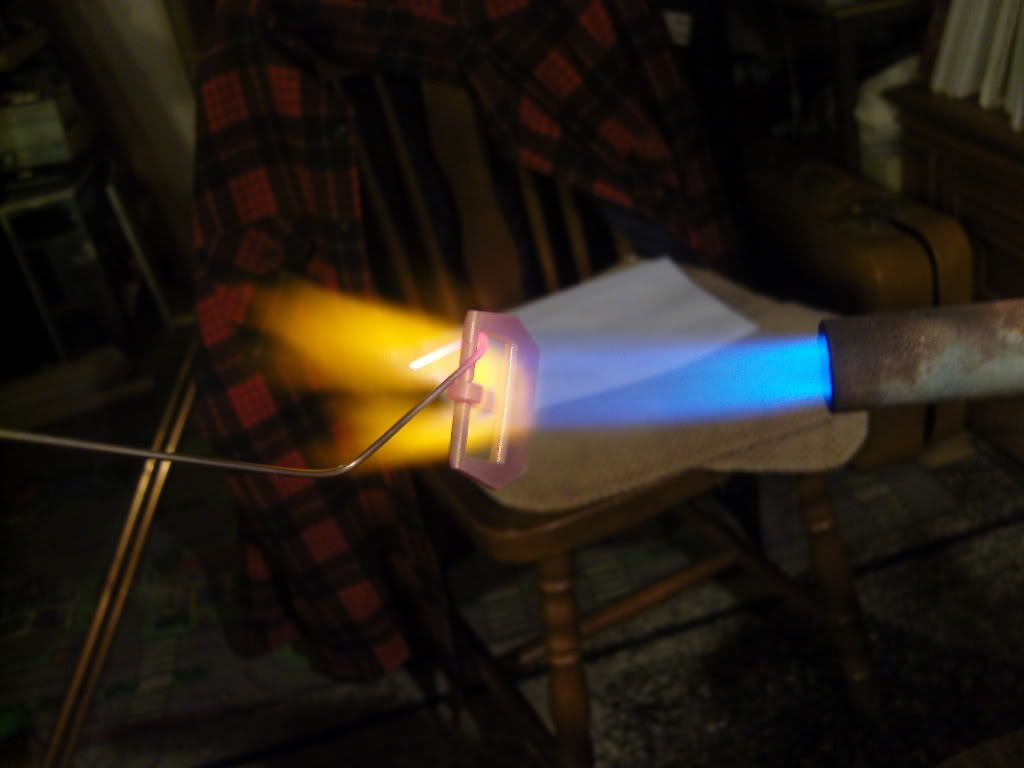
Start slowly with enough distance between buckle and flame.
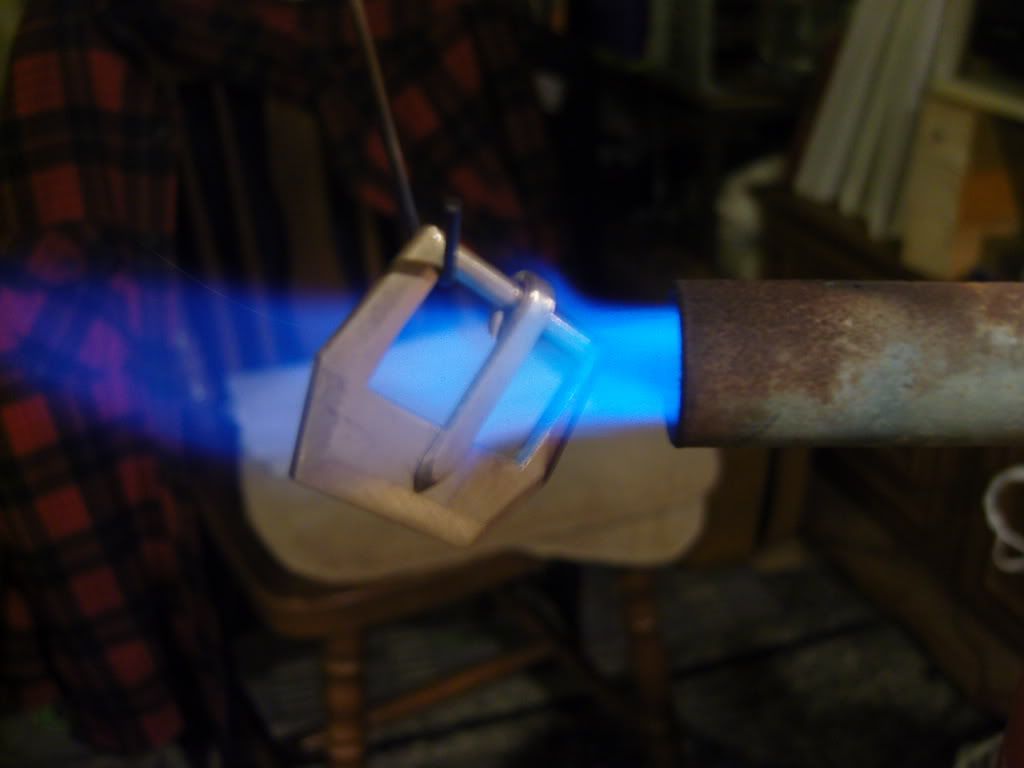
Take time for the heating, don’t make it too fast and too hot
Nearly bright red is enough for this procedure.
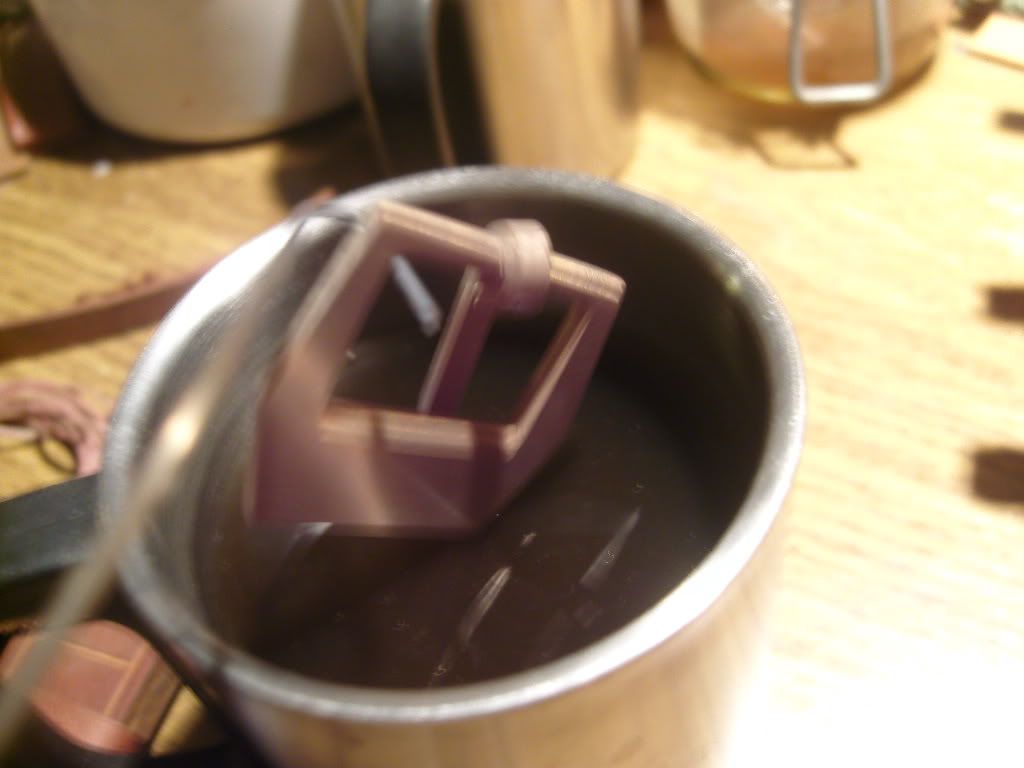
When you reached the colour, quench the buckle in a pot with cold water.
Is it not aged enough for you, repeat the procedure until you are satisfied with the result.
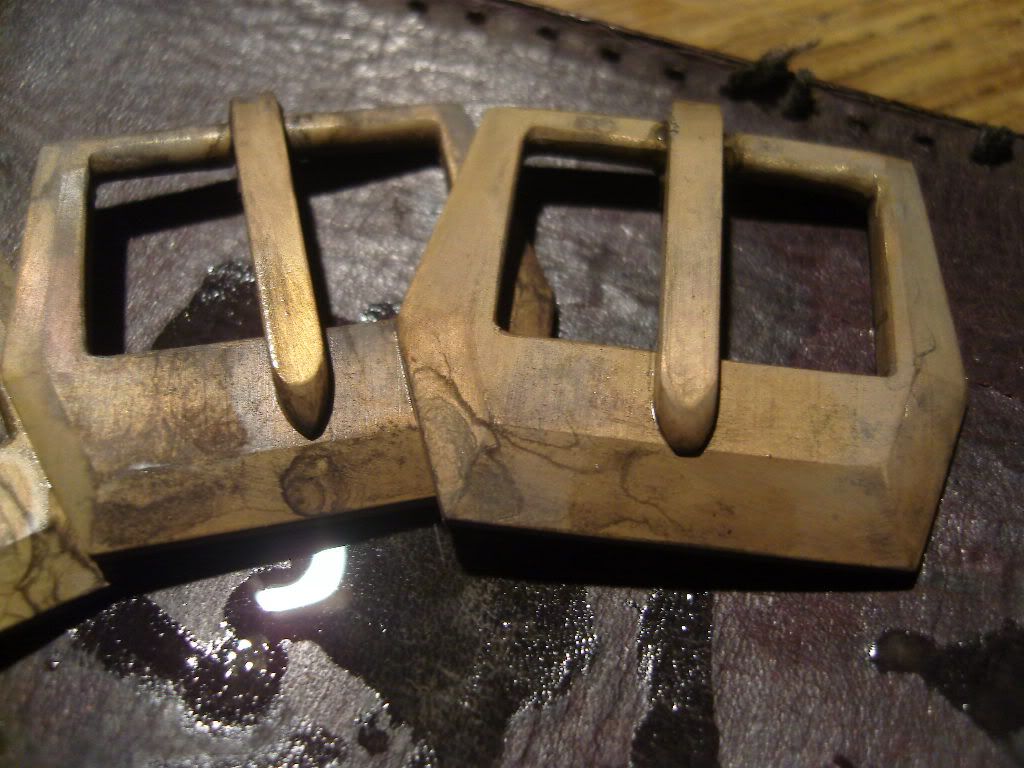
Here are the vintagized buckles as I use them for my straps

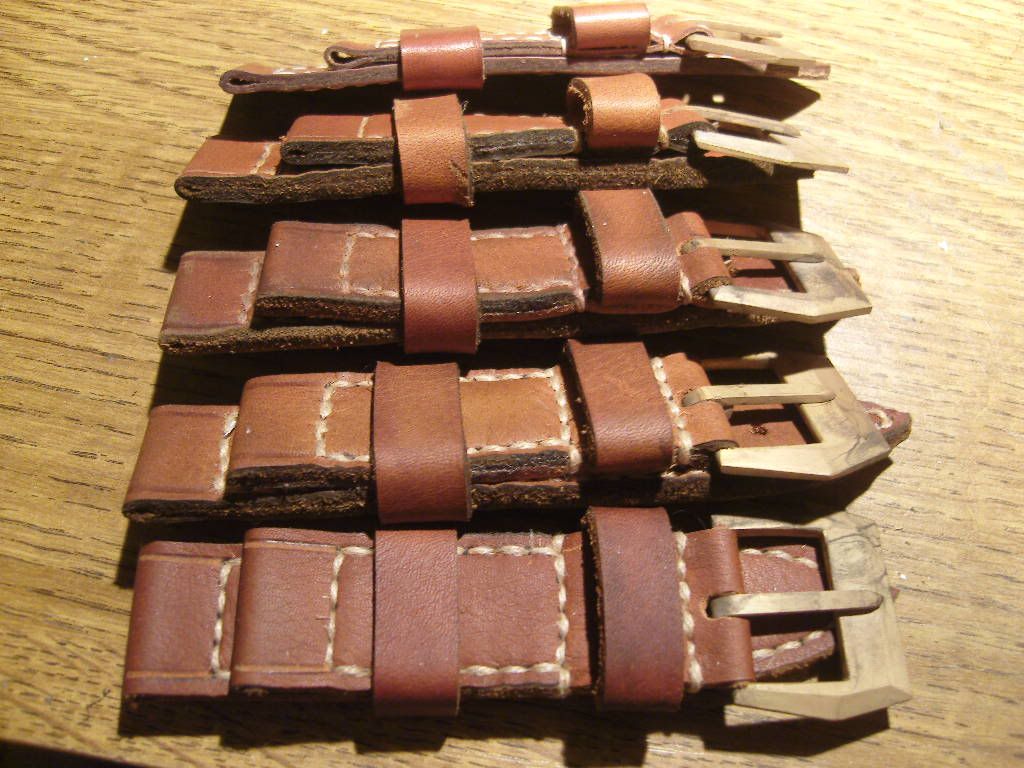
I guess this thread won’t be complete if I dont show you how the buckles story ended.
Here are the prefabricated bucklesides from 4 straps. The buckles are mounted in
position before the leathersides will be glued together.

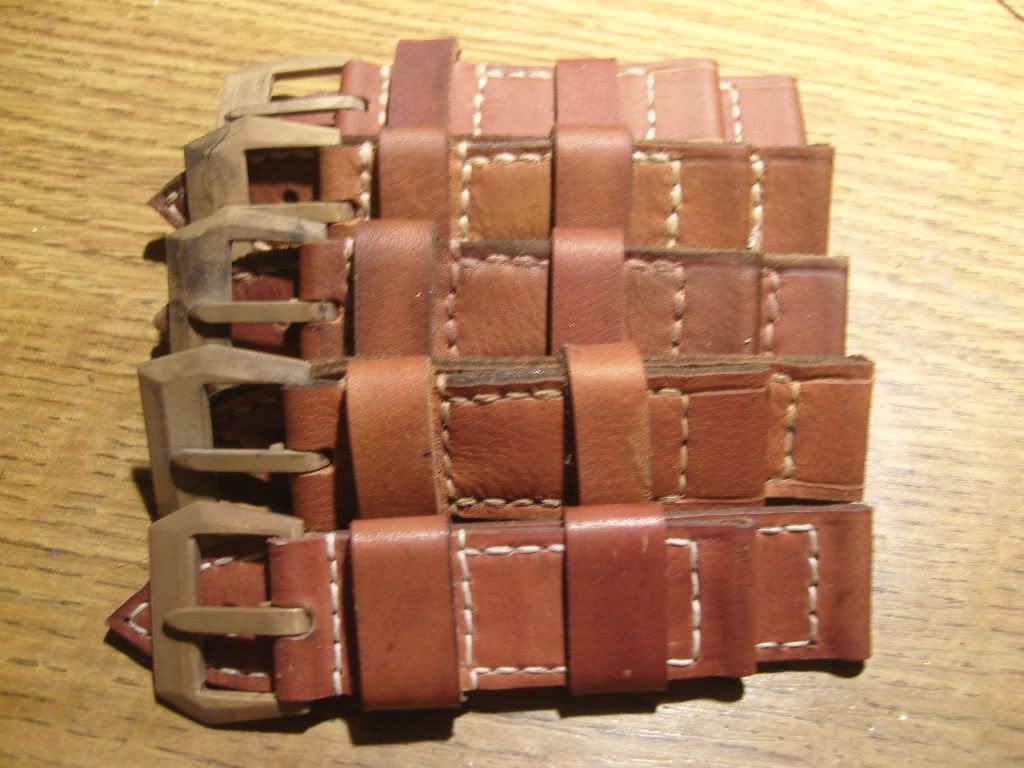
After drying of the glue, pressing and hammering the leather, holes are made for stitching.
Stitching is finished and the straps are finished
Thank you for looking
Greetz
Uwe
I’ve made some more Brass buckles, documentated it and would like to share the .“ making of .“ with you.
Have mercy, this is my first try of a tutorial.
Here is the material I’ve started with:
Brass metal sheet 3mm thick.
Cutted in pieces from 35mm x 45mm
Glue a paper template with the sizes you need ( done with MS paint ) on it .
Drill some holes and cut out the space between them with a small jab saw
You also can drill more or bigger holes if you want. I do it this way, because with more or
wider holes, the holes sometimes went into the lines and the whole piece was scrapped.
Now start with the hardest part of it, filing down until the lines of the template
This is to do before cutting the edges, because you need the metal around your hole
to clamp it in your workbench.
The rectangular hole for the strap is finished, now we need to cut the edges.
Just use a simple hack saw and cut the edges along the line of the template
When all edges are cutted, file them to a smooth finish.
Remove the template with water.
Now we break the edges to chamfers as far as we want..
Round off the thornbridge where the thorn will sit later.
Now polish it with 1000 grit sandpaper. Lay down the sandpaper on
a clean and even surface without any scratches or marks.
Move the sides and edges only in one direction, flat, with pressure, over the sandpaper.
Grind a small area in the middle of the thornbridge about 4mm wide and 1mm deepness for the thorn.
After trying a while you will find the right angle to polish the chamfers by feeling it.
Needs some practise, but it is easier than it looks.
Here is a flat stripe of brass I stripped from the brass sheet, about 3mm in square, file one side down to 2mm thickness
We will cut our thorns from this
Now we need the length for the thorn. Lay the stripe on the buckle as far as you want it, at
the opposite side from the thornbridge. Leave 3 times the thickness of the thornbridge as length
that protrude.
File, grind and polish it the same way we did the buckle.
Make the tip of the thorn not too sharp, make it more rounded.
Leave the underside flat.
It looks more accurate after bending if you rond off the other side as well.
Now we will bend the thorn, hold it together with the buckle like you’ve planned it before.
clamp it together with a pair of tongs, then bend it 90 degrees with another pair of tongs this way.
Be sure to place it in the deeper area we left for it.
Not possible to make a pic of this, I needed both hands for this step.
Hold it in position and bend it further 90 degrees.
Now you can control your thorn, is each side in the same direction ?
If yes, go for the last bending.
(
, forgot to tell you and also forgot to make separate pics of an important step. Round off the backside from the rectangular hole, to let the strap slip over it without damages. You can see it at the following pic )
Press the tip of the thorn against the curve with a pair of tongs, as far as nessesary
If it is done right, the thorn cannot move to the sides, only up and down.
After bending you have to remove the scratches and marks from the tongs. Move the damaged areas
again flat over the sandpaper.
Here are the finished buckles. If you don’t want to vintagize them, you can stop reading.
But if you have time enough, read further, anyway which finish you want.
Here is the step for vintagizing.
I use a propane burner for that.
Last week I’ve used an acetylene / oxygen burner for that.
The buckle got too much heat and melted away in a second.
3 hours worked for the scrap
So you better use also a propane burner or something like a soldering lamp
Start slowly with enough distance between buckle and flame.
Take time for the heating, don’t make it too fast and too hot
Nearly bright red is enough for this procedure.
When you reached the colour, quench the buckle in a pot with cold water.
Is it not aged enough for you, repeat the procedure until you are satisfied with the result.
Here are the vintagized buckles as I use them for my straps
I guess this thread won’t be complete if I dont show you how the buckles story ended.
Here are the prefabricated bucklesides from 4 straps. The buckles are mounted in
position before the leathersides will be glued together.
After drying of the glue, pressing and hammering the leather, holes are made for stitching.
Stitching is finished and the straps are finished
Thank you for looking
Greetz
Uwe