• Tired of adverts on RWI? - Subscribe by clicking HERE and PMing Trailboss for instructions and they will magically go away!

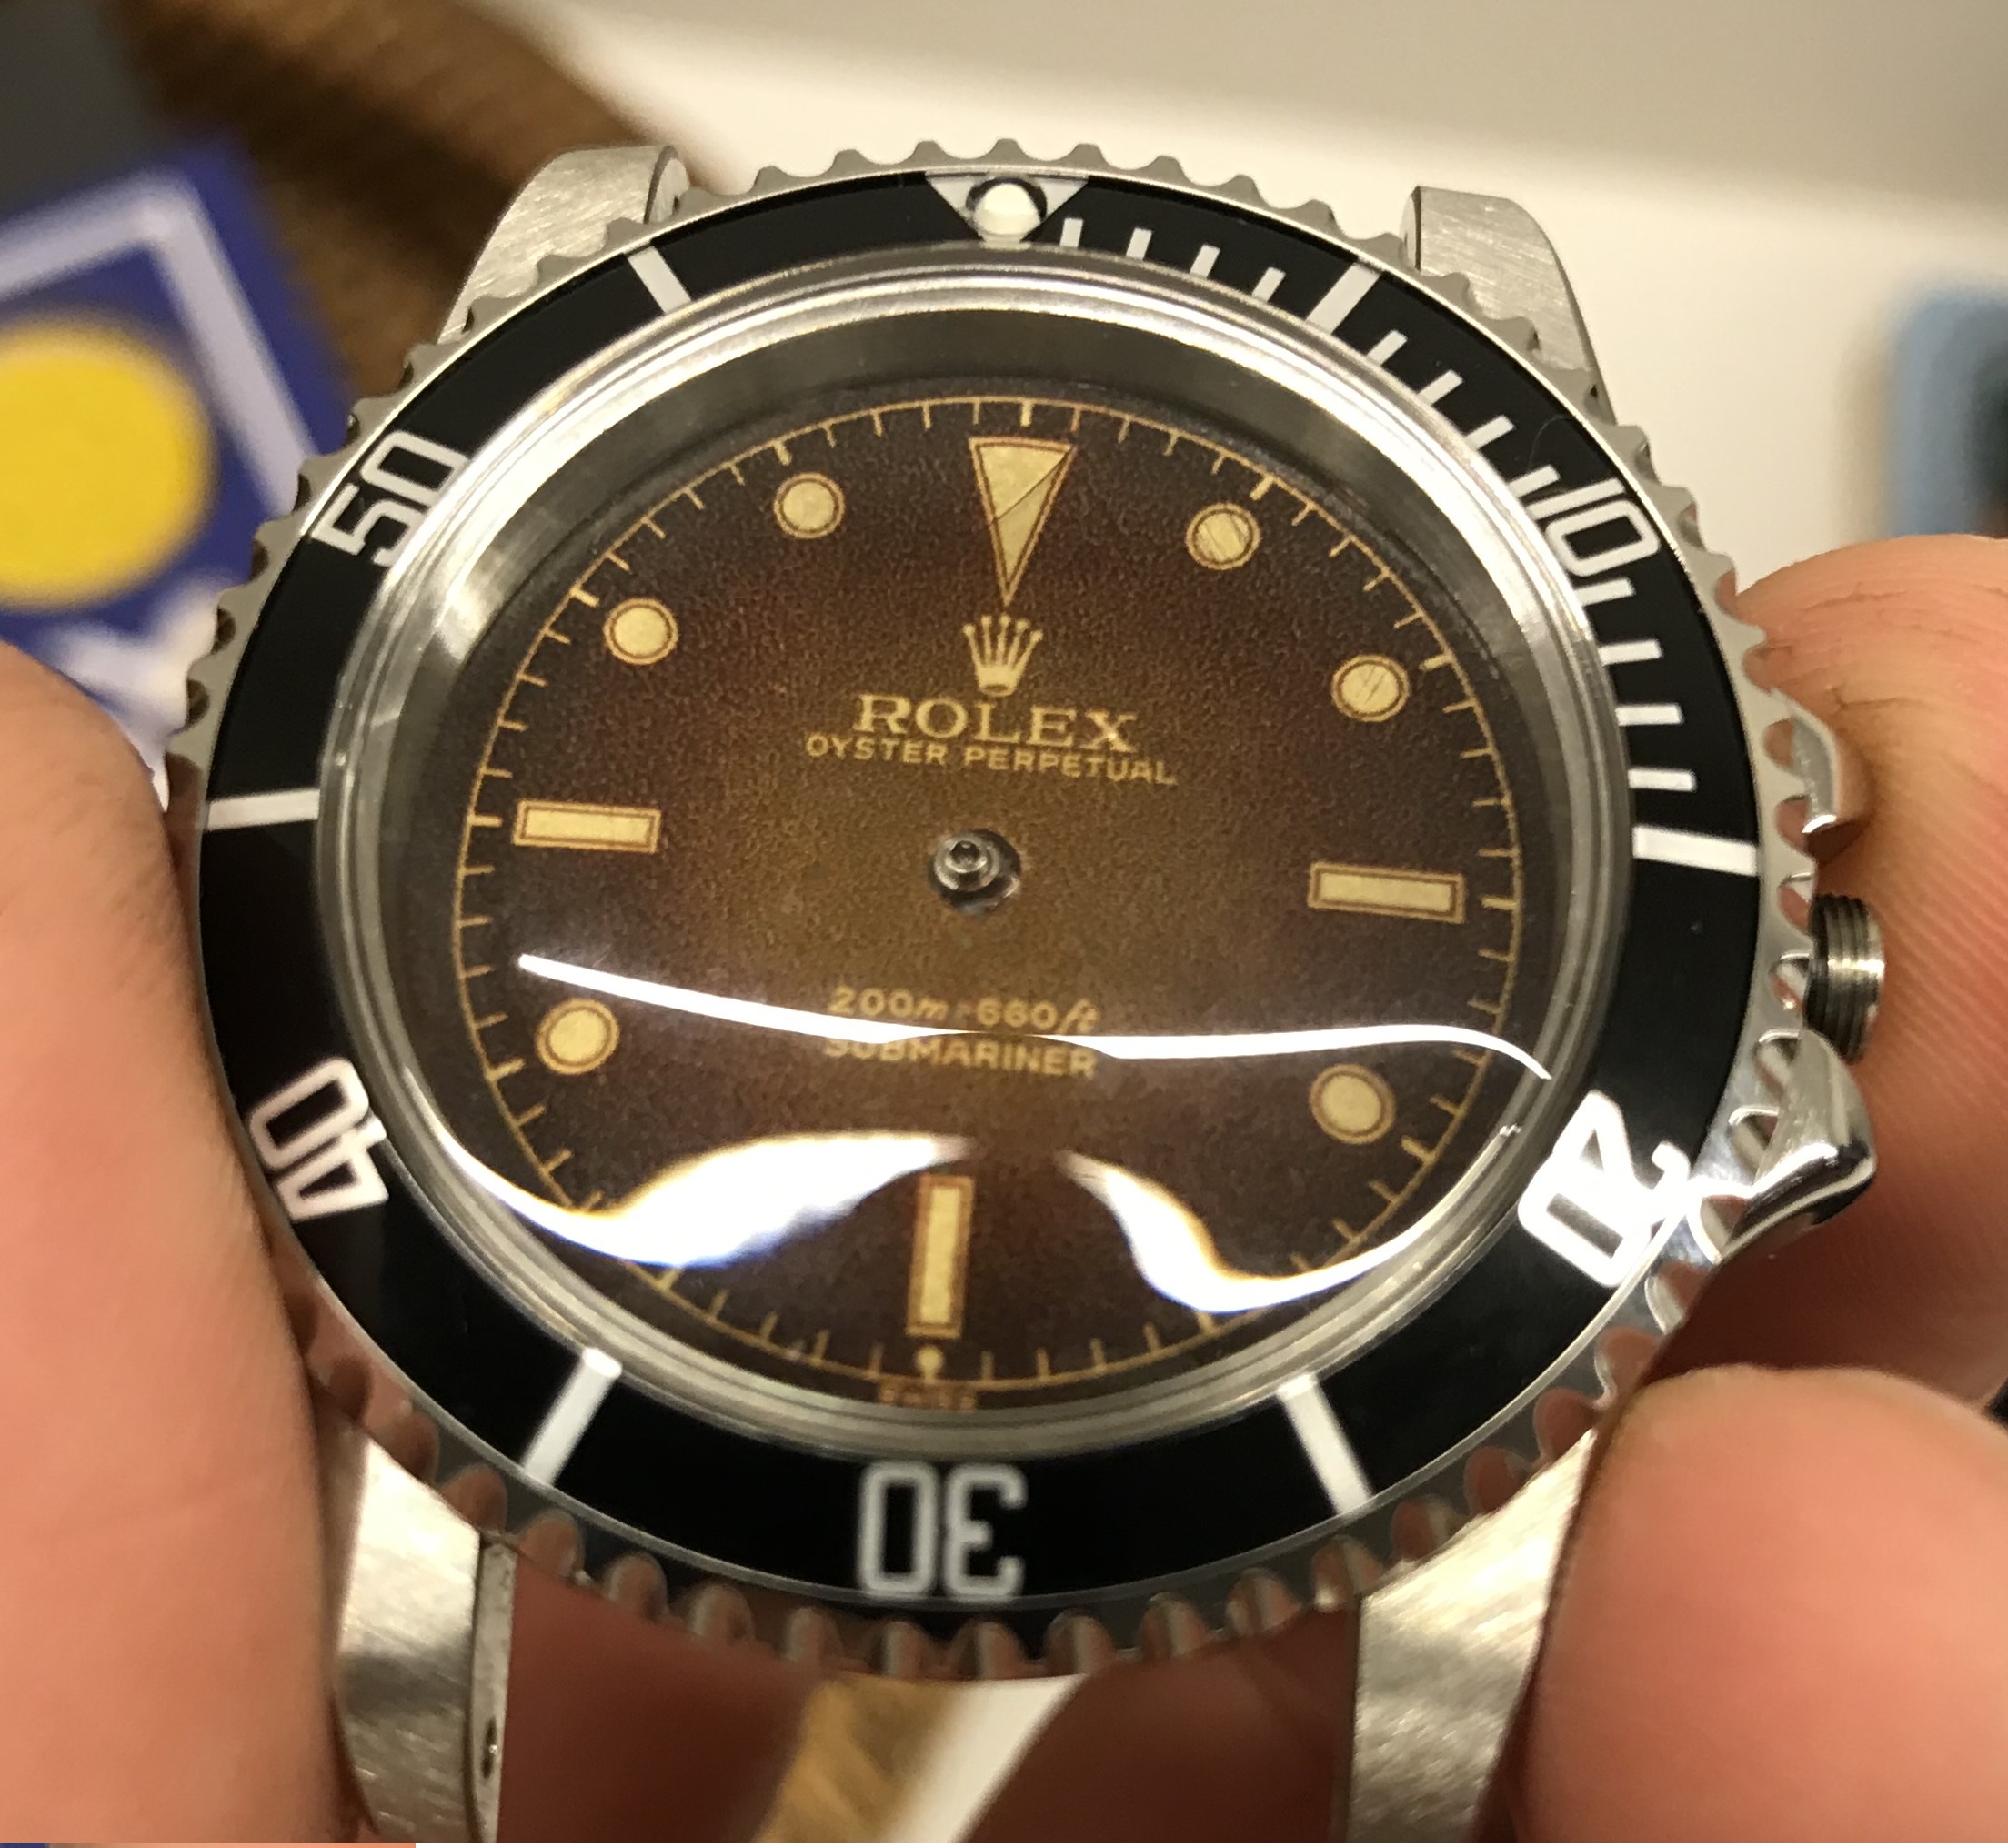
Decal printed dial

deadpan

Active Member
1/6/19
462
271
0
Over the horizon
wow, that looks great. What end link reference # are those? seem to fit the silix case pretty well.

Thanks. They’re 455b end links. I had to take out the spring bar retaining rings in the end links as I’m using fat spring bars. Then it was trial and error in terms of bending the metal underneath to get them to cling to the case, but they’ve always been a good fit on the silix (even with std. spring bars).
 

Netesac

Getting To Know The Place
23/8/15
74
25
8
My local FedEx Office Print & Ship Center uses a Canon C700 color laser printer with a maximum resolution of 2400x2400.

I was getting terrible results printing using a Word document as the print source. I would use a 2400x2400 image file in GIMP, export the image file to png and insert it into Word. I then would scale the image, to 1.12" inches (which is 28.43mm) and then cut and pasted as many as I needed and then saved the file.

It turns out that Word has a default print setting of 220 DPI. To increase the DPI you need to go into Word and click Files -> Options -> Advanced ... scroll down to Display and set "Show measurement of units in:" to 'millimetres', so you can scale the images to 28.5mm or what ever your dial needs.

Then scroll down to "Image Size and Quality" and set "Do not compress images" and set "Default resolution" to 'High Fidelity'. Still not sure exactly what DPI the printer is printing at. I need to find a 2400x2400 test image. But, the results are much better now.
 
  • Like
Reactions: Spoons

Slayer1976

Known Member
Supporter
Certified
25/7/16
153
36
28
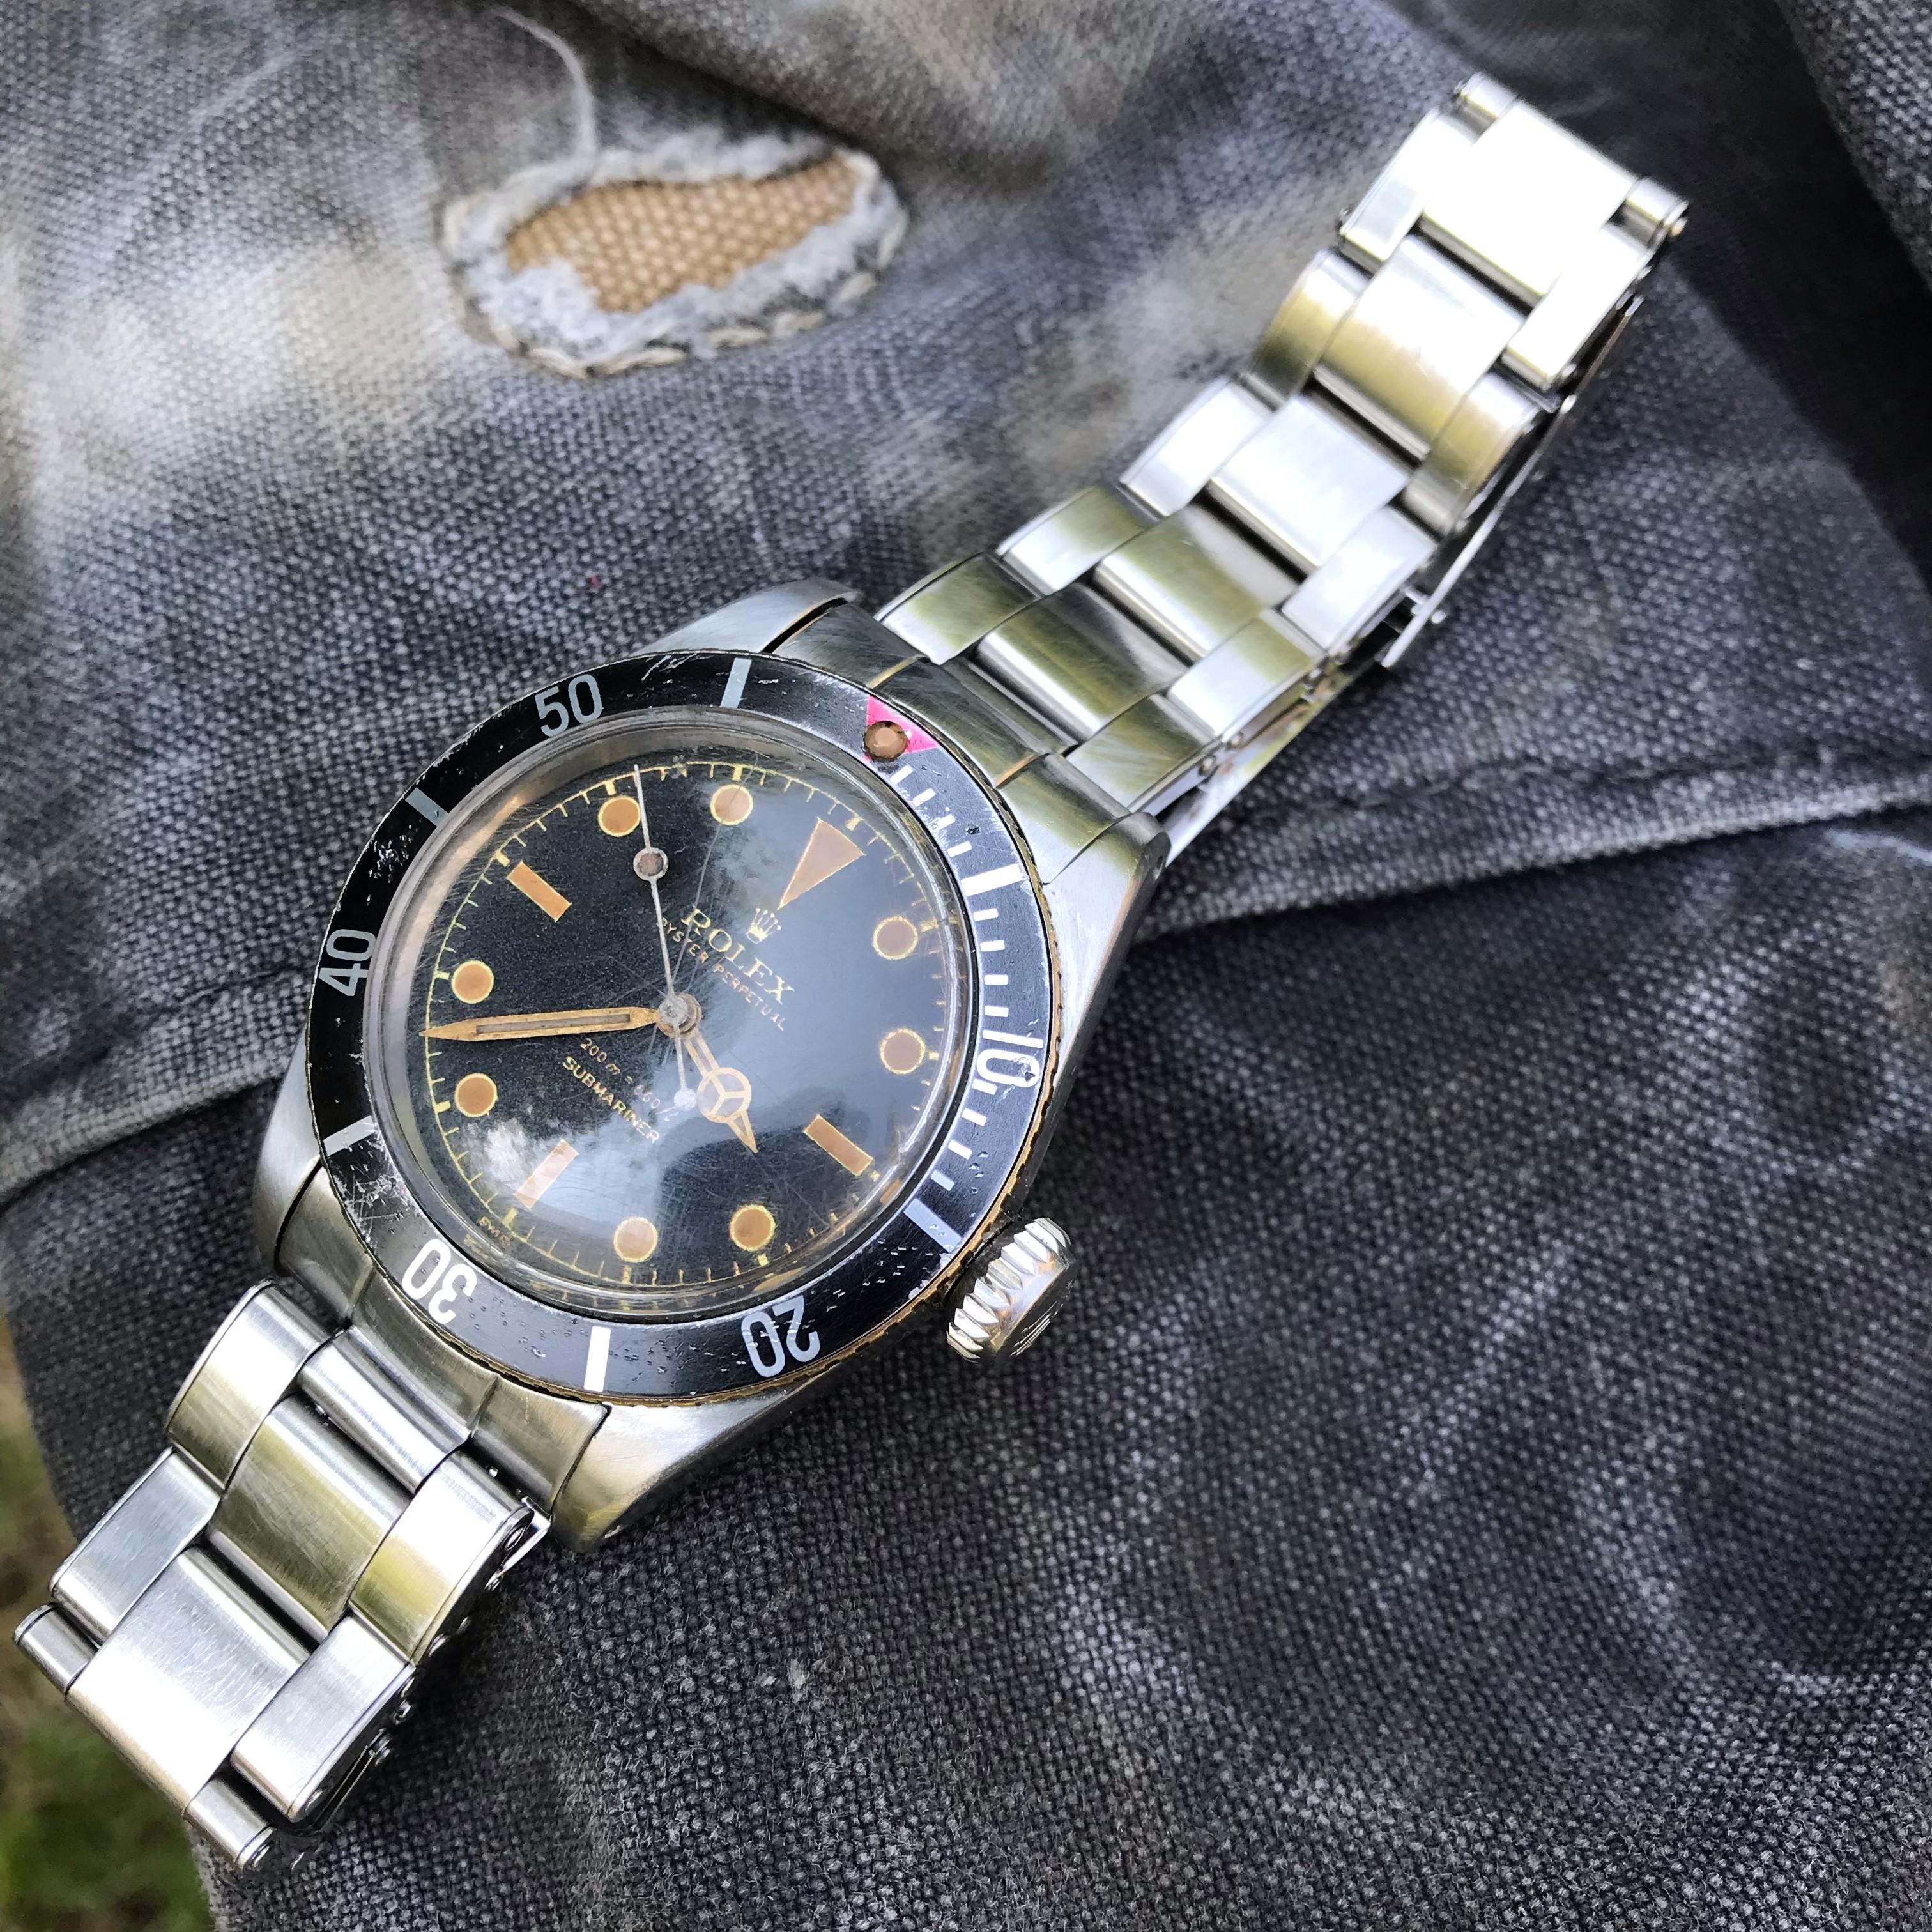
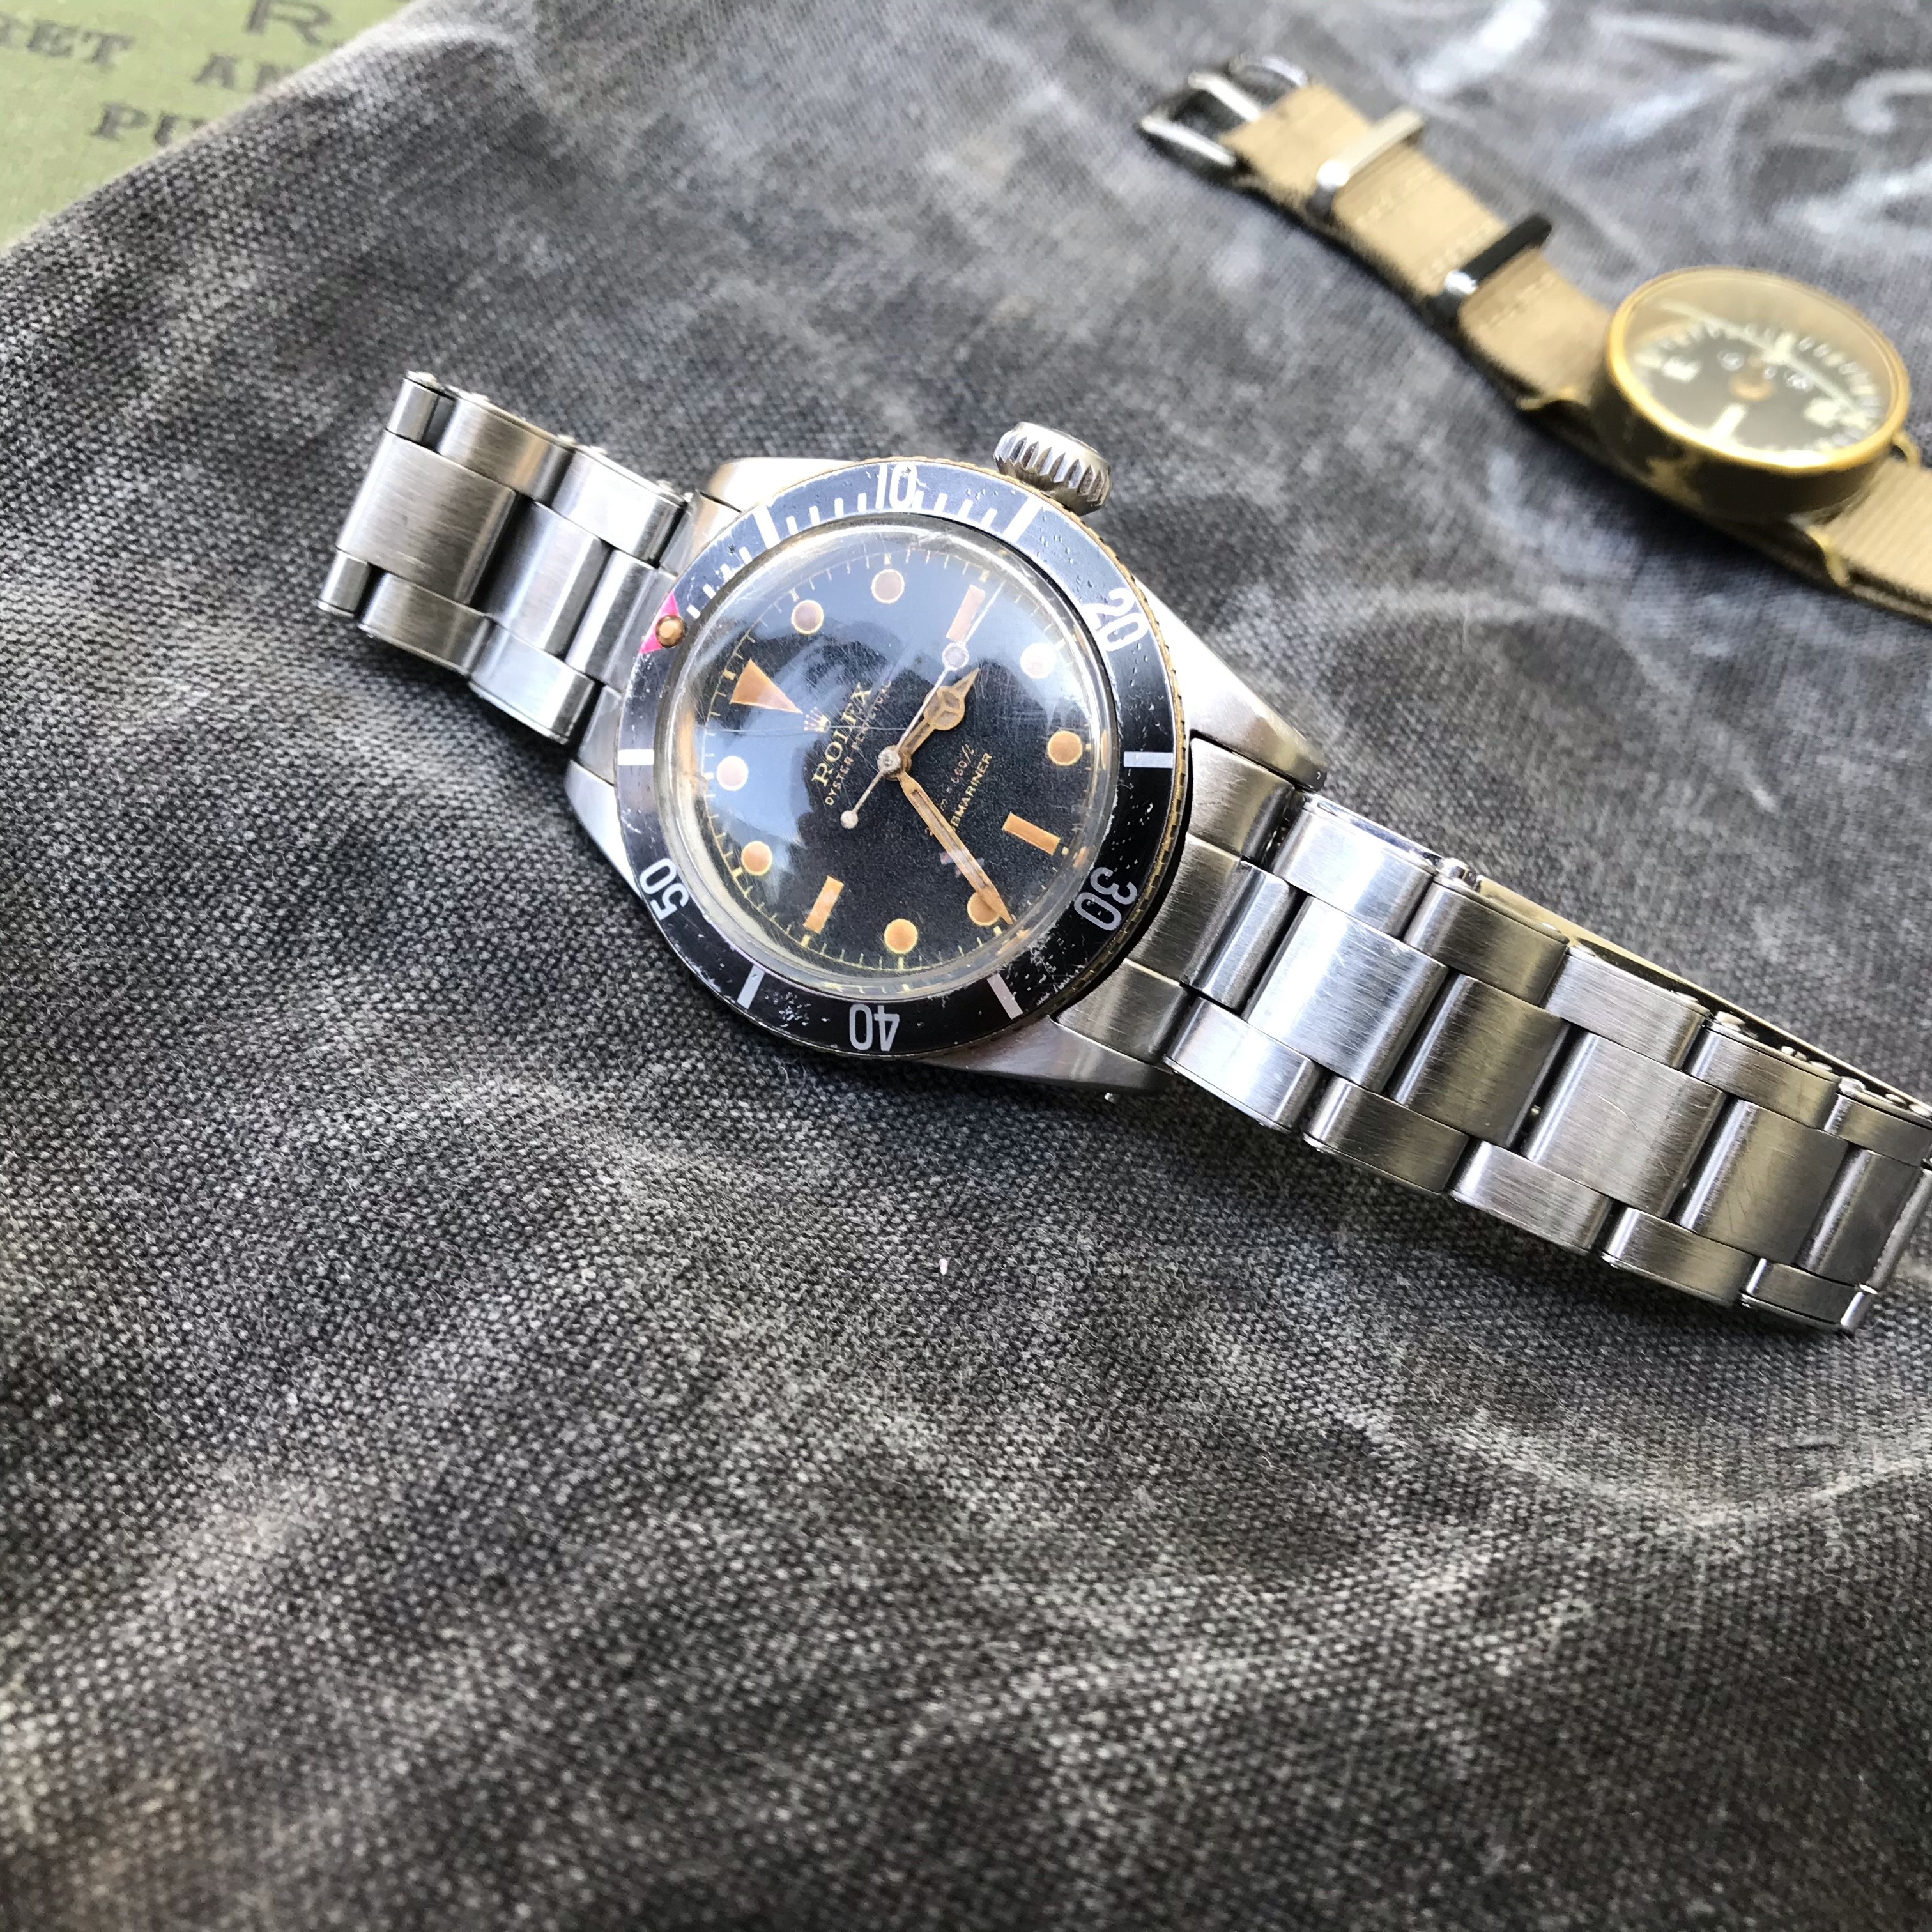
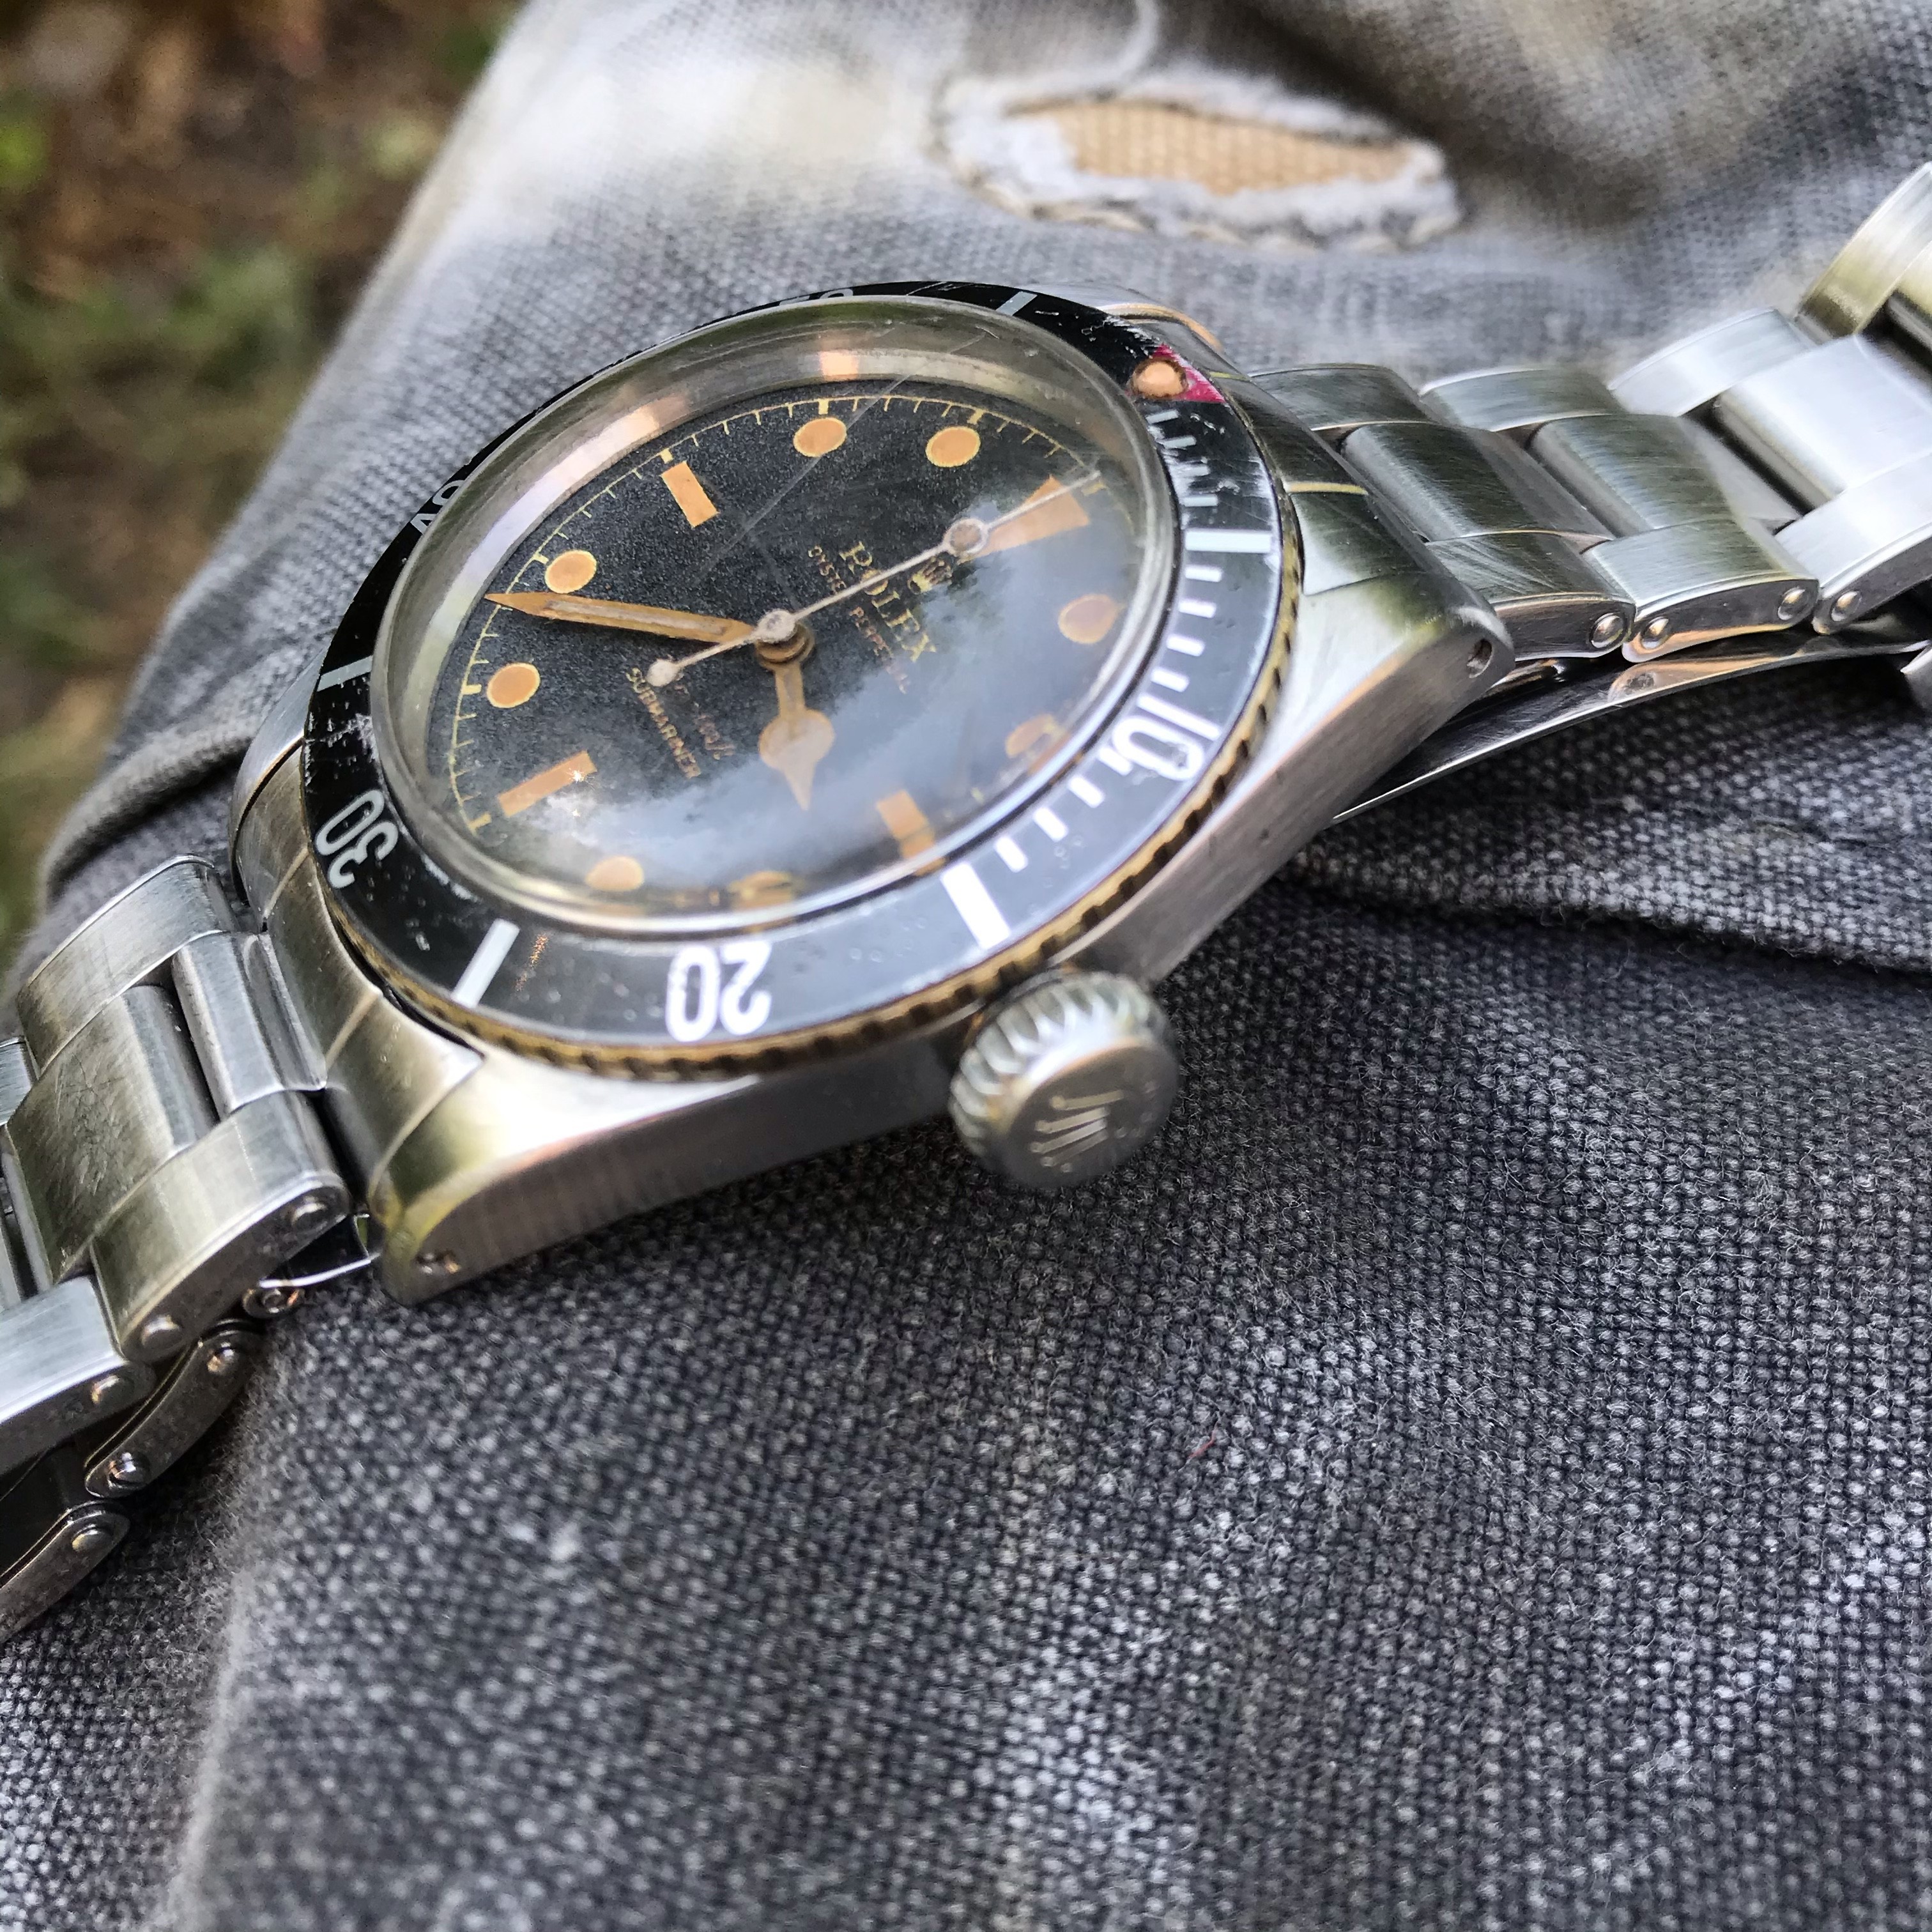
My ‘inspiration’ for how I wanted the watch to look. This was my grail 6538...well used but a survivor.


I managed to persuade Briteling to make me a decal dial. He was a massive help in all respects of the build from there on, and even donated a new Silix crown to replace the one I messed up! (thanks Briteling).

So now I had a gilt relief dial. I’d originally requested it glossy (so I could decide later if I wanted it matte). After taking a long look at it, I decided to give it a matte laquer coat. That worked well, and I’ve since given it a nice second coat with some matte/ coffee/ brush ‘stamping’ to give it a very organic/ random distressed texture, that is very hard to capture, but looks great IRL. I used a combination of sulphur, inks and matte lacquer on the hands until they matched the fantastic Lume job that Briteling did on the dial.


I’d had so many mishaps with mounting hands that I then sent it to ado213 for drilling of lugs and final assembly. It’s no high end VN build, but I’m happy with the result;


Wow, that looks lovely. If you ever fancy making another one let me know!
 

Netesac

Getting To Know The Place
23/8/15
74
25
8
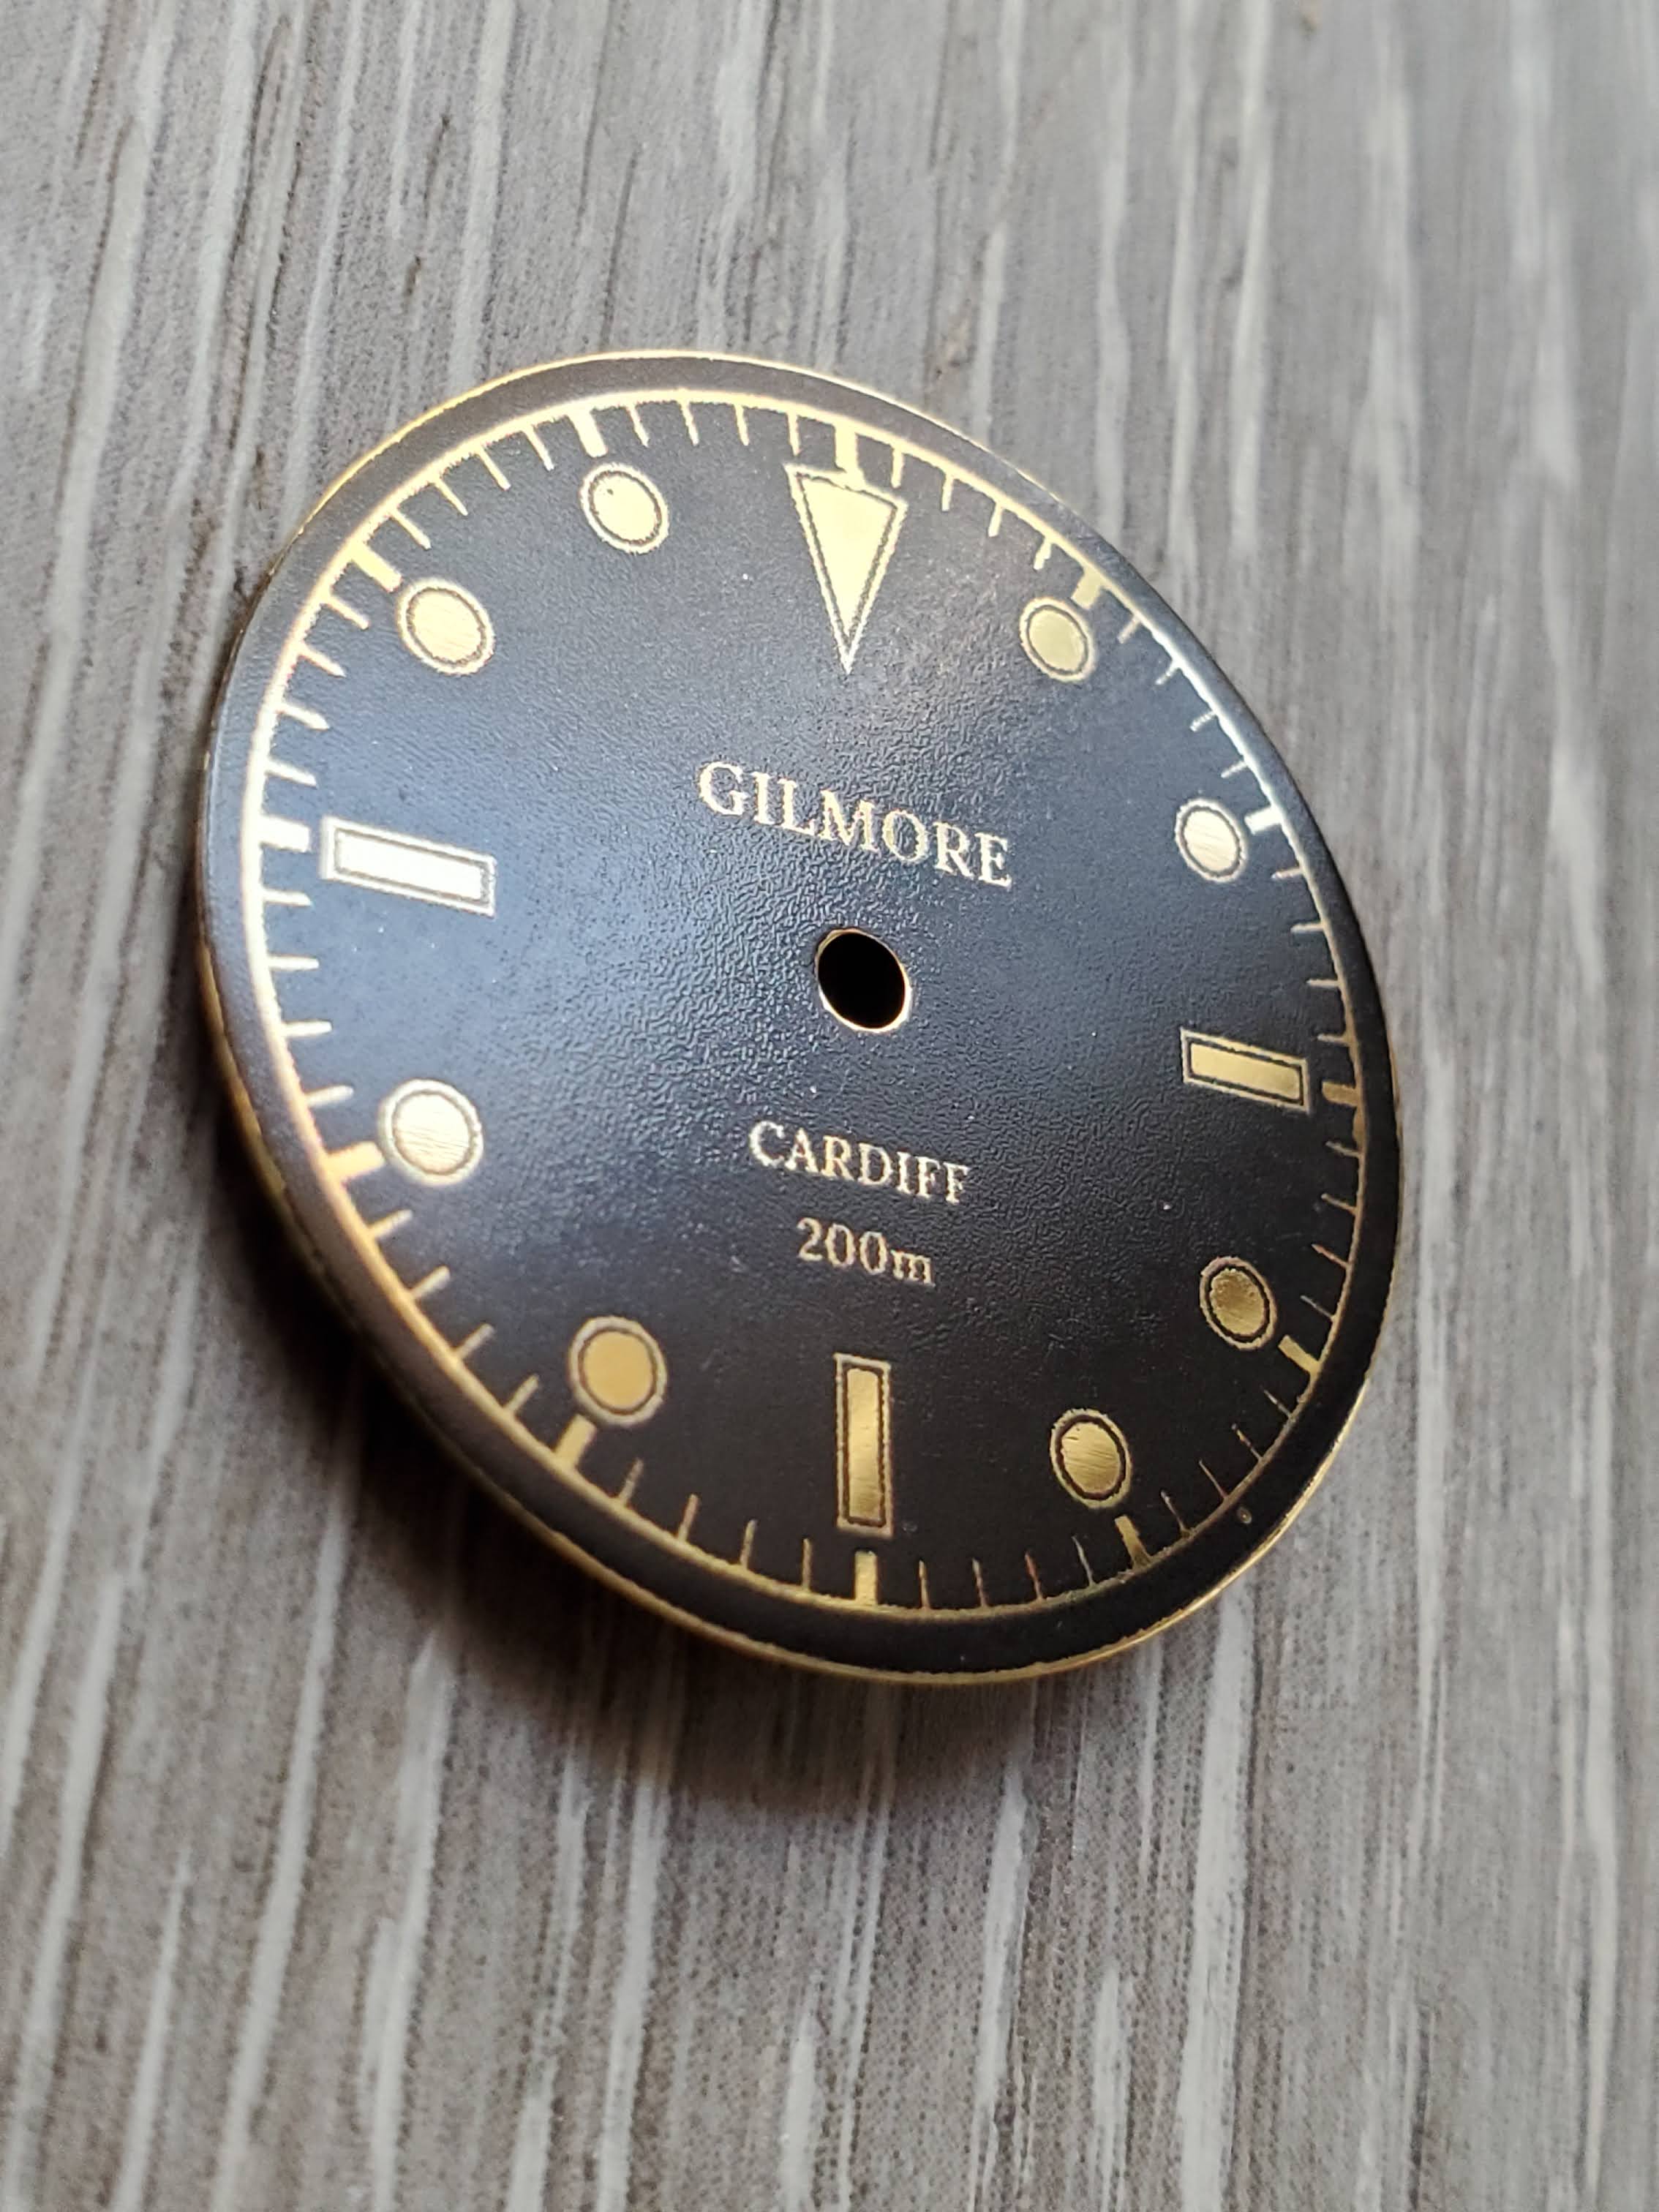
Getting closer... Still having an issue getting the decal/glue to cure during the "2-3 minutes under the hair dryer". Some toner still peels up when I pull the film off. Looks way better in person though. I polished the brass to a mirror finish, but can't capture it quite right with my photography.


Netesac

Getting To Know The Place
23/8/15
74
25
8
Finally produced a dial worthy of putting some lume on. Can anyone point me to a good lume tutorial. No sure which lume to buy/try to get that old radium vintage look. Any help would be much appreciated.
 
  • Like
Reactions: chrome72

deadpan

Active Member
1/6/19
462
271
0
Over the horizon
Getting closer... Still having an issue getting the decal/glue to cure during the "2-3 minutes under the hair dryer". Some toner still peels up when I pull the film off. Looks way better in person though. I polished the brass to a mirror finish, but can't capture it quite right with my photography.

Looks great. I agree, they seem to look better in person. The human eye resolution is (technically) a bit lower than our cameras nowadays, so I think that’s why.
 

Briteling

Known Member
28/1/19
152
142
43
Amsterdam
When it peels you can usually just stop pulling further, add a new whiff of glue, squeegy it gently (I put a little spit on the top, to make sure the squeegy glides smoothly and doesn't stick to pull it to bits) then heat up again. Yours looks like heated a bit too much, the toner will then melt and everything will start to wrinkle a bit. The best method is, use acetone to degrease the dial blank, then apply the decal with W1 glue as prescribed and heat it up with a heat gun from a distance and then after doing that a few minutes, let it cool down completely. This will usually make it stick really well.

What I then do, to prevent dust is after peeling the film, hold the dial upside down with tweezers on the feet, and use a mini blowtorch to heat the dial from the back a few seconds. Not too long, but you should see a little whiff of vapor coming down from it. Then let it cool long enough for the toner to cure, before flipping it over, as any dust will stick to the molten toner and ruin the looks.

Best also, is to use a cup with a lid for the water that you use to dip the decal in. And then after applying W1 glue (I dip a pair of tweezers in the glue bottle with the tip closed, that will suck up a nice portion of the glue) immediately apply the decal. Be careful not to move it along side sharp edges too much, as it will damage the toner. Then when perfectly aligned, don't be afraid to apply a small drop of spit on top to make the squeegy slide over it smoothly. When squeegeed the decal will already bond pretty well, usually, depending on the surface. A painted surface may stay very slippery, such as the jeans dial, the white matte paint on that was very hard to make the decal bond to. It was also not possible to bake it too much, but just enough to cure the toner.

They do look MUCH better in real life than on pics, this is so true!

Also if you want real mirror polish, you can use an ultra fine sandpaper and then some car polish to make it really smooth. Almost like a MKII Key West gilt dial. Best to use a stacked decal for this though, as it will be a much hticker layer and gives more real estate to polish before stripping it off fully at corners.
 
Last edited:
  • Like
Reactions: deadpan

deadpan

Active Member
1/6/19
462
271
0
Over the horizon
Also if you want real mirror polish, you can use an ultra fine sandpaper and then some car polish to make it really smooth. Almost like a MKII Key West gilt dial. Best to use a stacked decal for this though, as it will be a much hticker layer and gives more real estate to polish before stripping it off fully at corners.

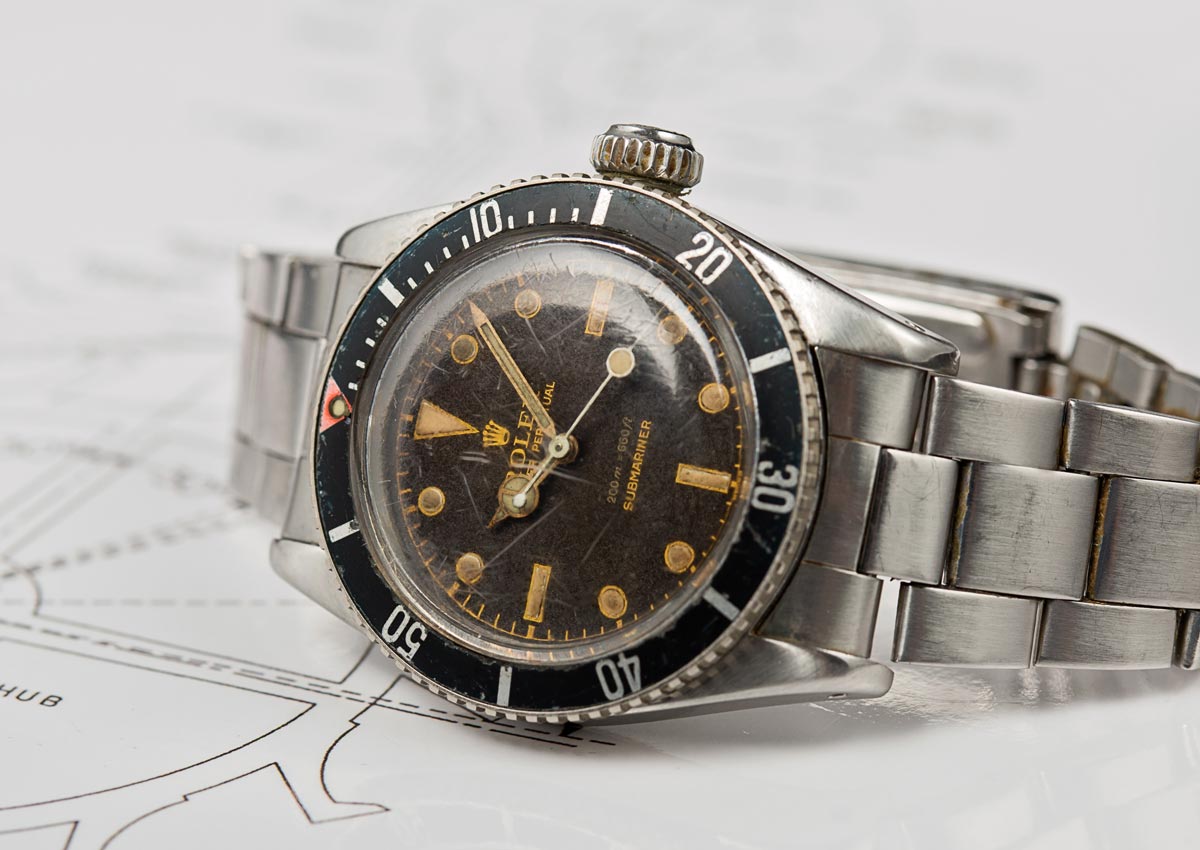
I’ve not tried it with a decal dial, but I’ve had good results at polishing a matte cartel dial to gloss with polywatch. BUT...there is then a very fine line between ‘mirror’ and ‘removal of (lettering)’ on the cartel dial I was polishing. Obvs. The line on a decal dial would be removal of the decal(s) back to brass.
 

chrome72

Renowned Member
7/12/17
639
562
93
Houston TX Baby
Finally produced a dial worthy of putting some lume on. Can anyone point me to a good lume tutorial. No sure which lume to buy/try to get that old radium vintage look. Any help would be much appreciated.

This is where I’m stuck. I’m using acrylic white paint. Raw sienna powder and a basic lume kit. Trying to figure out a good ratio of acrylic paint to the other ingredients. I am happy with my dots because those are easy. I’m failing on the straight lines of the other indices my mix is too thick.
 

Briteling

Known Member
28/1/19
152
142
43
Amsterdam
For hobbyists, UV binder or UV gels are the way to go with lume, buys you endless time to perfect the plots, trust me!
 

itgoes211

Active Member
10/4/19
373
188
43
What do you use? Googling it it looks like nail polish?

The nail polish binder works. Also try Flyfishing lure UV binder - brand: “RiverRun” comes in a pack of 3 different viscosities and a UV light. Check Amazon. Tip: shut your blinds if sun shines through your window or onto your desk, which quickens curing.
 

itgoes211

Active Member
10/4/19
373
188
43
Netesac : I’ve had success with putting the dial in the fridge for ~10 mins before removing the film. This really helps avoid pulling up the ink when removing the film. Also, peeling it slowly, and peeling it back horizontally rather than pulling it up vertically.

And Briteling is on point with all of his tips mentioned.
 

Netesac

Getting To Know The Place
23/8/15
74
25
8
Netesac : I’ve had success with putting the dial in the fridge for ~10 mins before removing the film. This really helps avoid pulling up the ink when removing the film. Also, peeling it slowly, and peeling it back horizontally rather than pulling it up vertically.

And Briteling is on point with all of his tips mentioned.
itgoes211 thanks for the tips!

BTW does anyone know if Noctilumina is still selling lume? I contacted them, but no reply.
 

chrome72

Renowned Member
7/12/17
639
562
93
Houston TX Baby
Tropical 5512 gilt decal in progress....anyone know how to get a 4 year old to sit still for an hour and be interested in my learning how to not mess up luming?

vXYkQ.jpg
 

Amaiel

Active Member
Supporter
Certified
27/4/16
403
106
43
Tropical 5512 gilt decal in progress....anyone know how to get a 4 year old to sit still for an hour and be interested in my learning how to not mess up luming?

well done man. The brown mélange looks great
 

Alhig72

I'm Pretty Popular
Supporter
Certified
15/11/16
2,768
3,917
113
UK
Tropical 5512 gilt decal in progress....anyone know how to get a 4 year old to sit still for an hour and be interested in my learning how to not mess up luming?

vXYkQ.jpg
Sweets in a bucket and youtube?? If all else fails the lock the little bleeder in the cupboard method usually works pretty well for me.
Great looking dial there, just don't do what I did on my last dial and lume it at night and it all looked amazing under the glow of the energy saving light bulb, come the morning in the natural light it was too yellow

Sent from my LYA-L09 using Tapatalk
 
  • Like
Reactions: deadpan