Hello community,
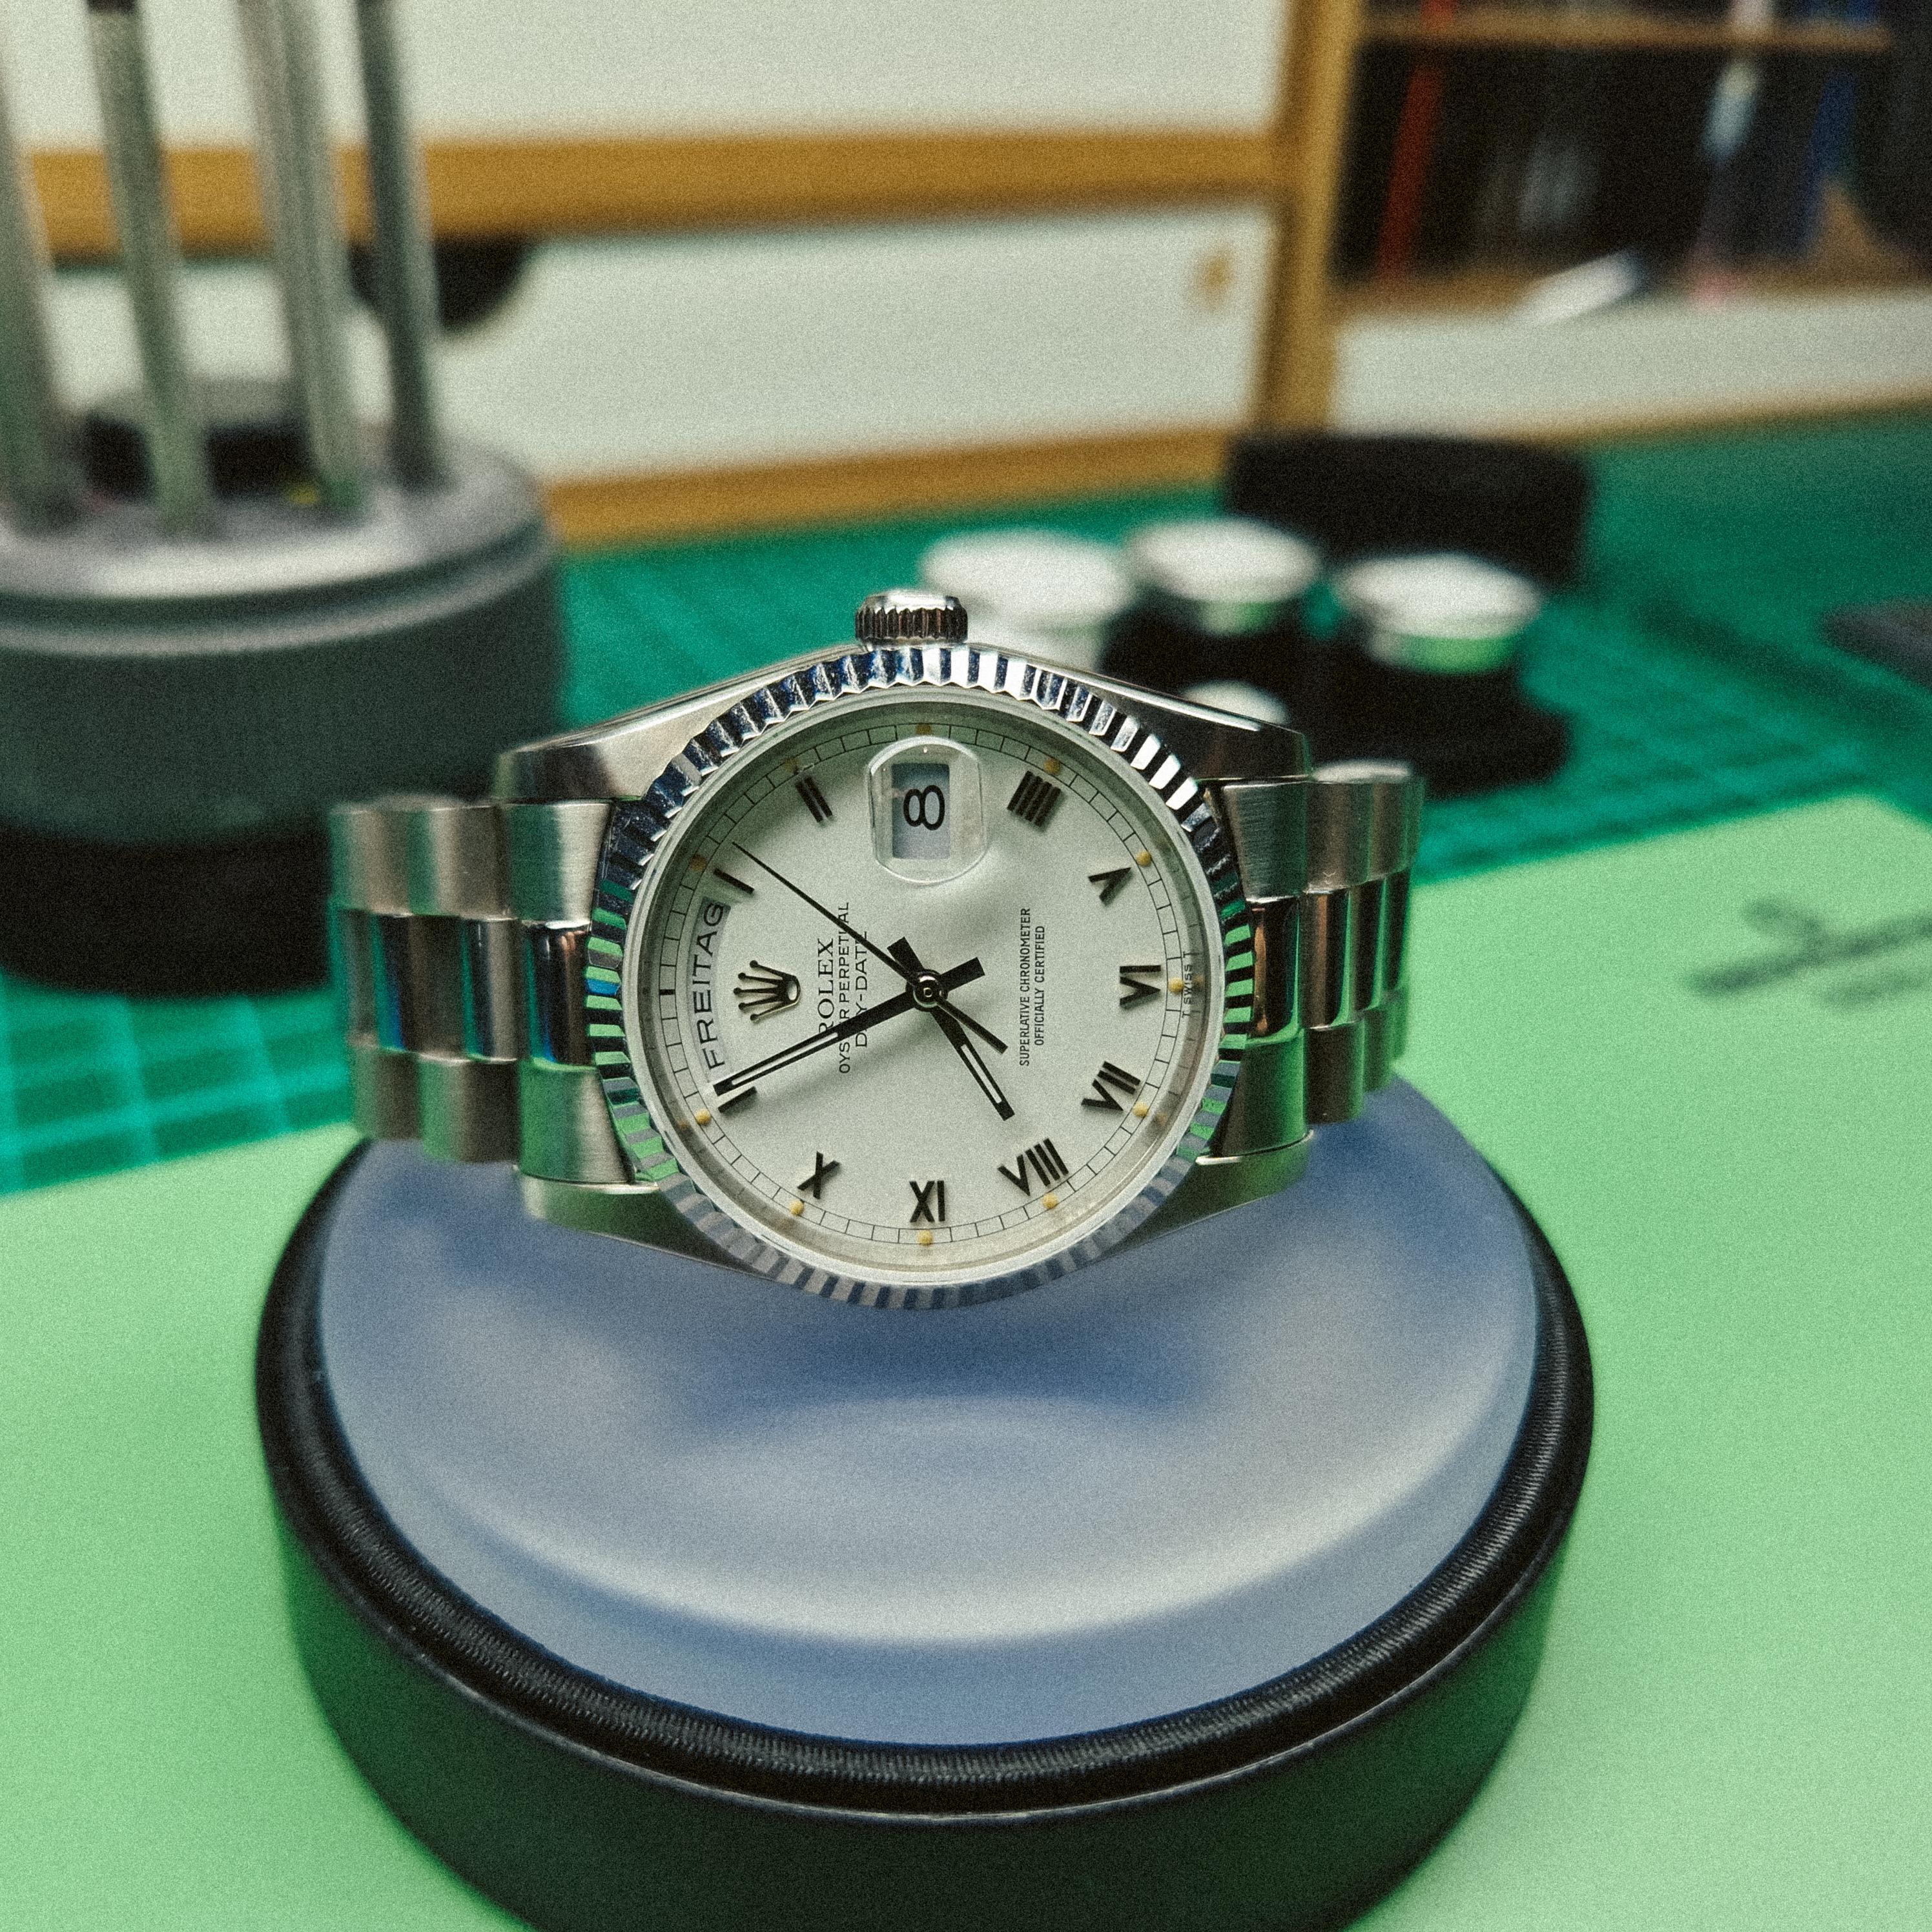
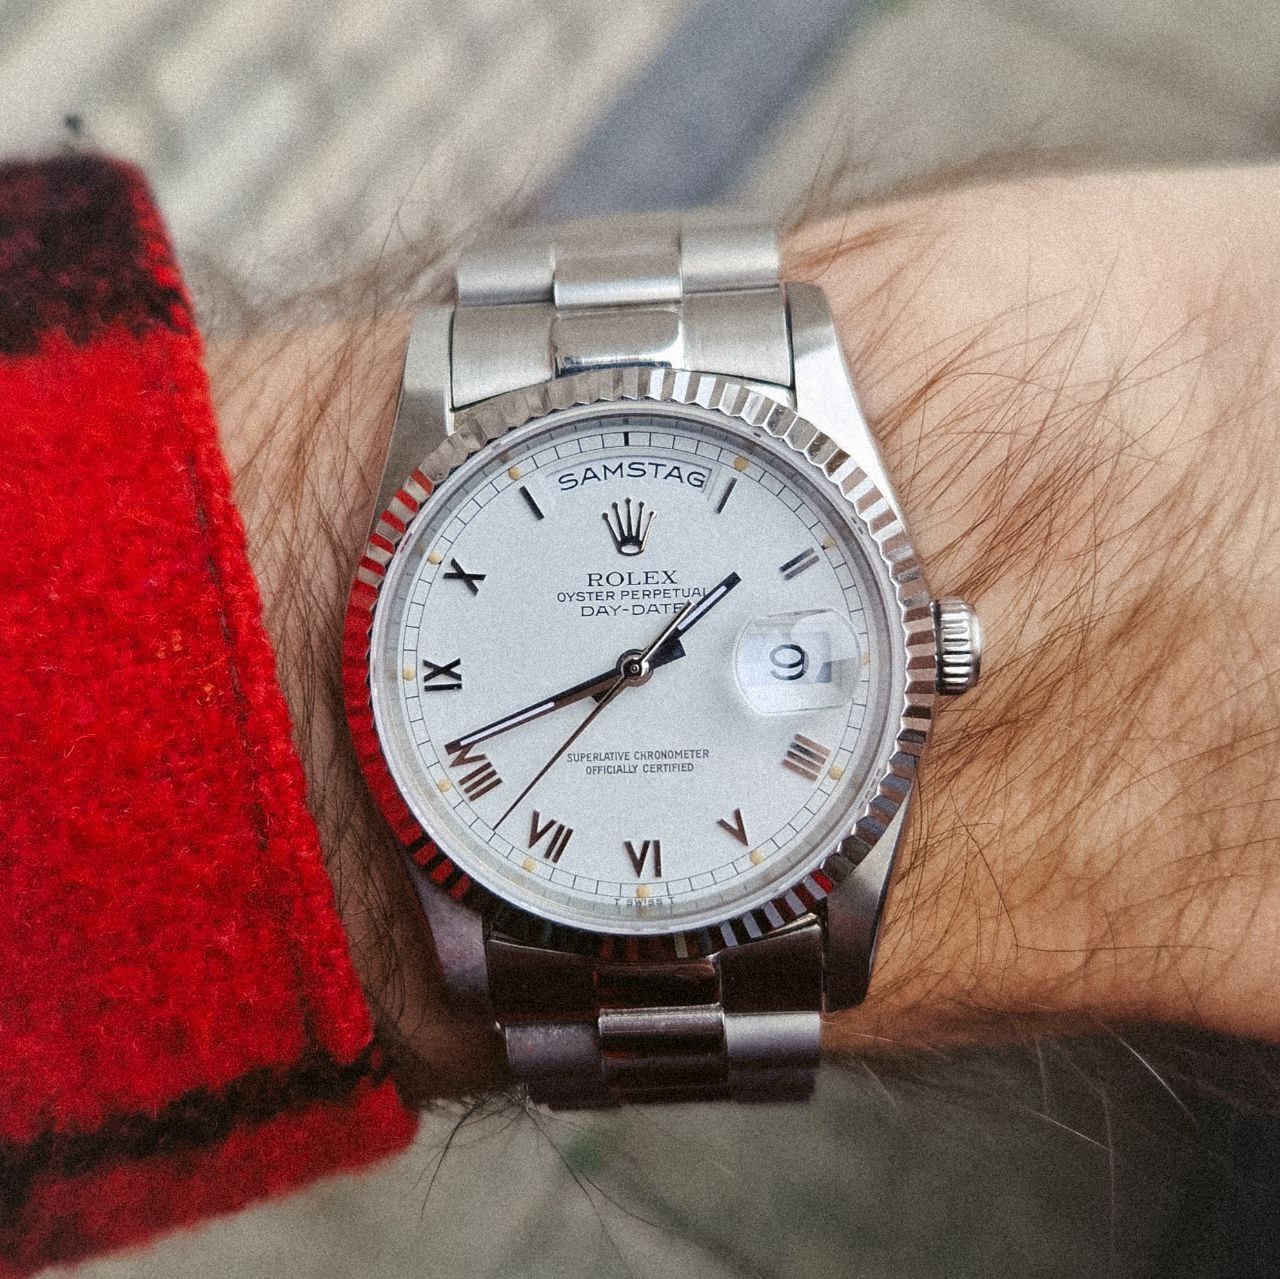
today i would like to show and explain my dream build to you, a vintage DayDate 36mm 18239. This is a very special build in my opinion, it has some unique features. First of all i am using a Gen dial with a modified spacer, so you won't have to cut the dial feets and second you will be able to fully disassemble the movement afterwards, even with the unmoded gen DWOs glued to it. But more on that later.
For this build i used the following parts:
First i addressed the problem, that when you glue the DWO on the original datewheel you wont be able to disassemble the dial site of the movement.
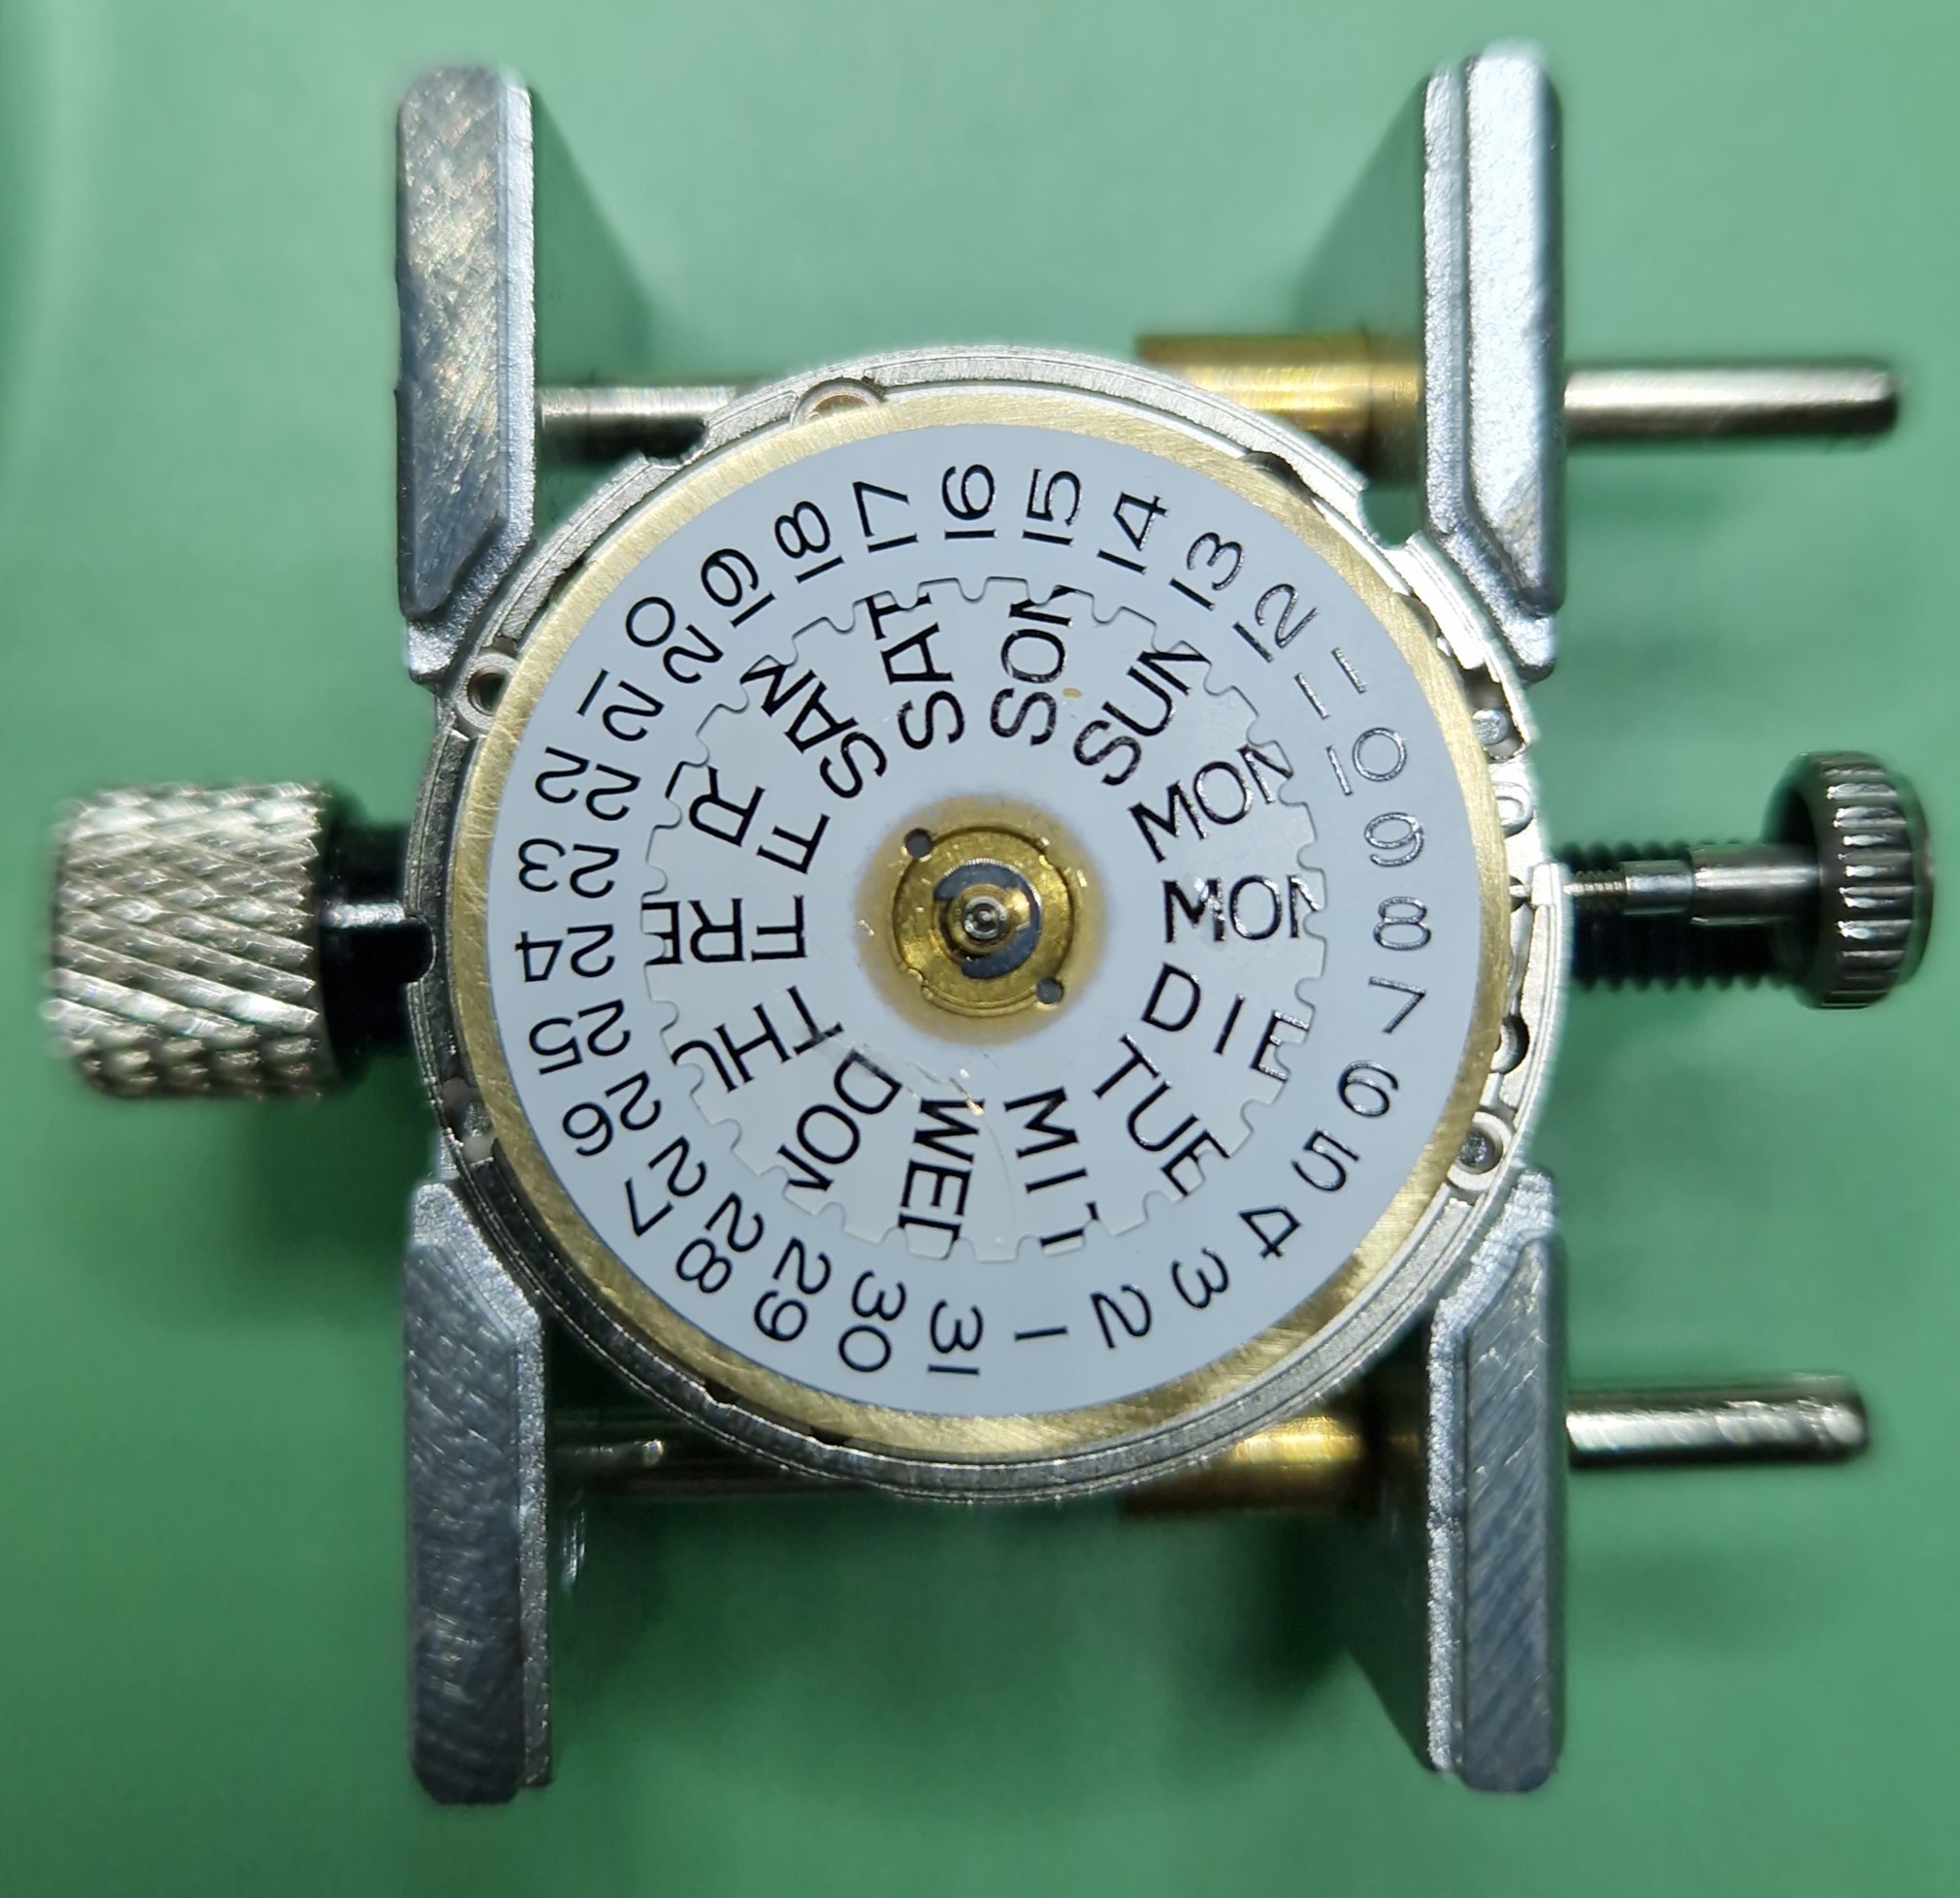
As you can see, the gen datedisc is smaller in diameter than the ETA disc and you wont be able to take the daydisc off first in order to disassemble the movement. I wanted to keep the gen parts unmoded, to maybe sale them again later. So grinding off the teeth of the gen datedisc wasn't an option!
So i had to came up with some (lets say) special ideas.
I built a tool to rework the daydisc on a lathe and make the diameter of the daydisc smaller, so it can fit through the gen datedisc.
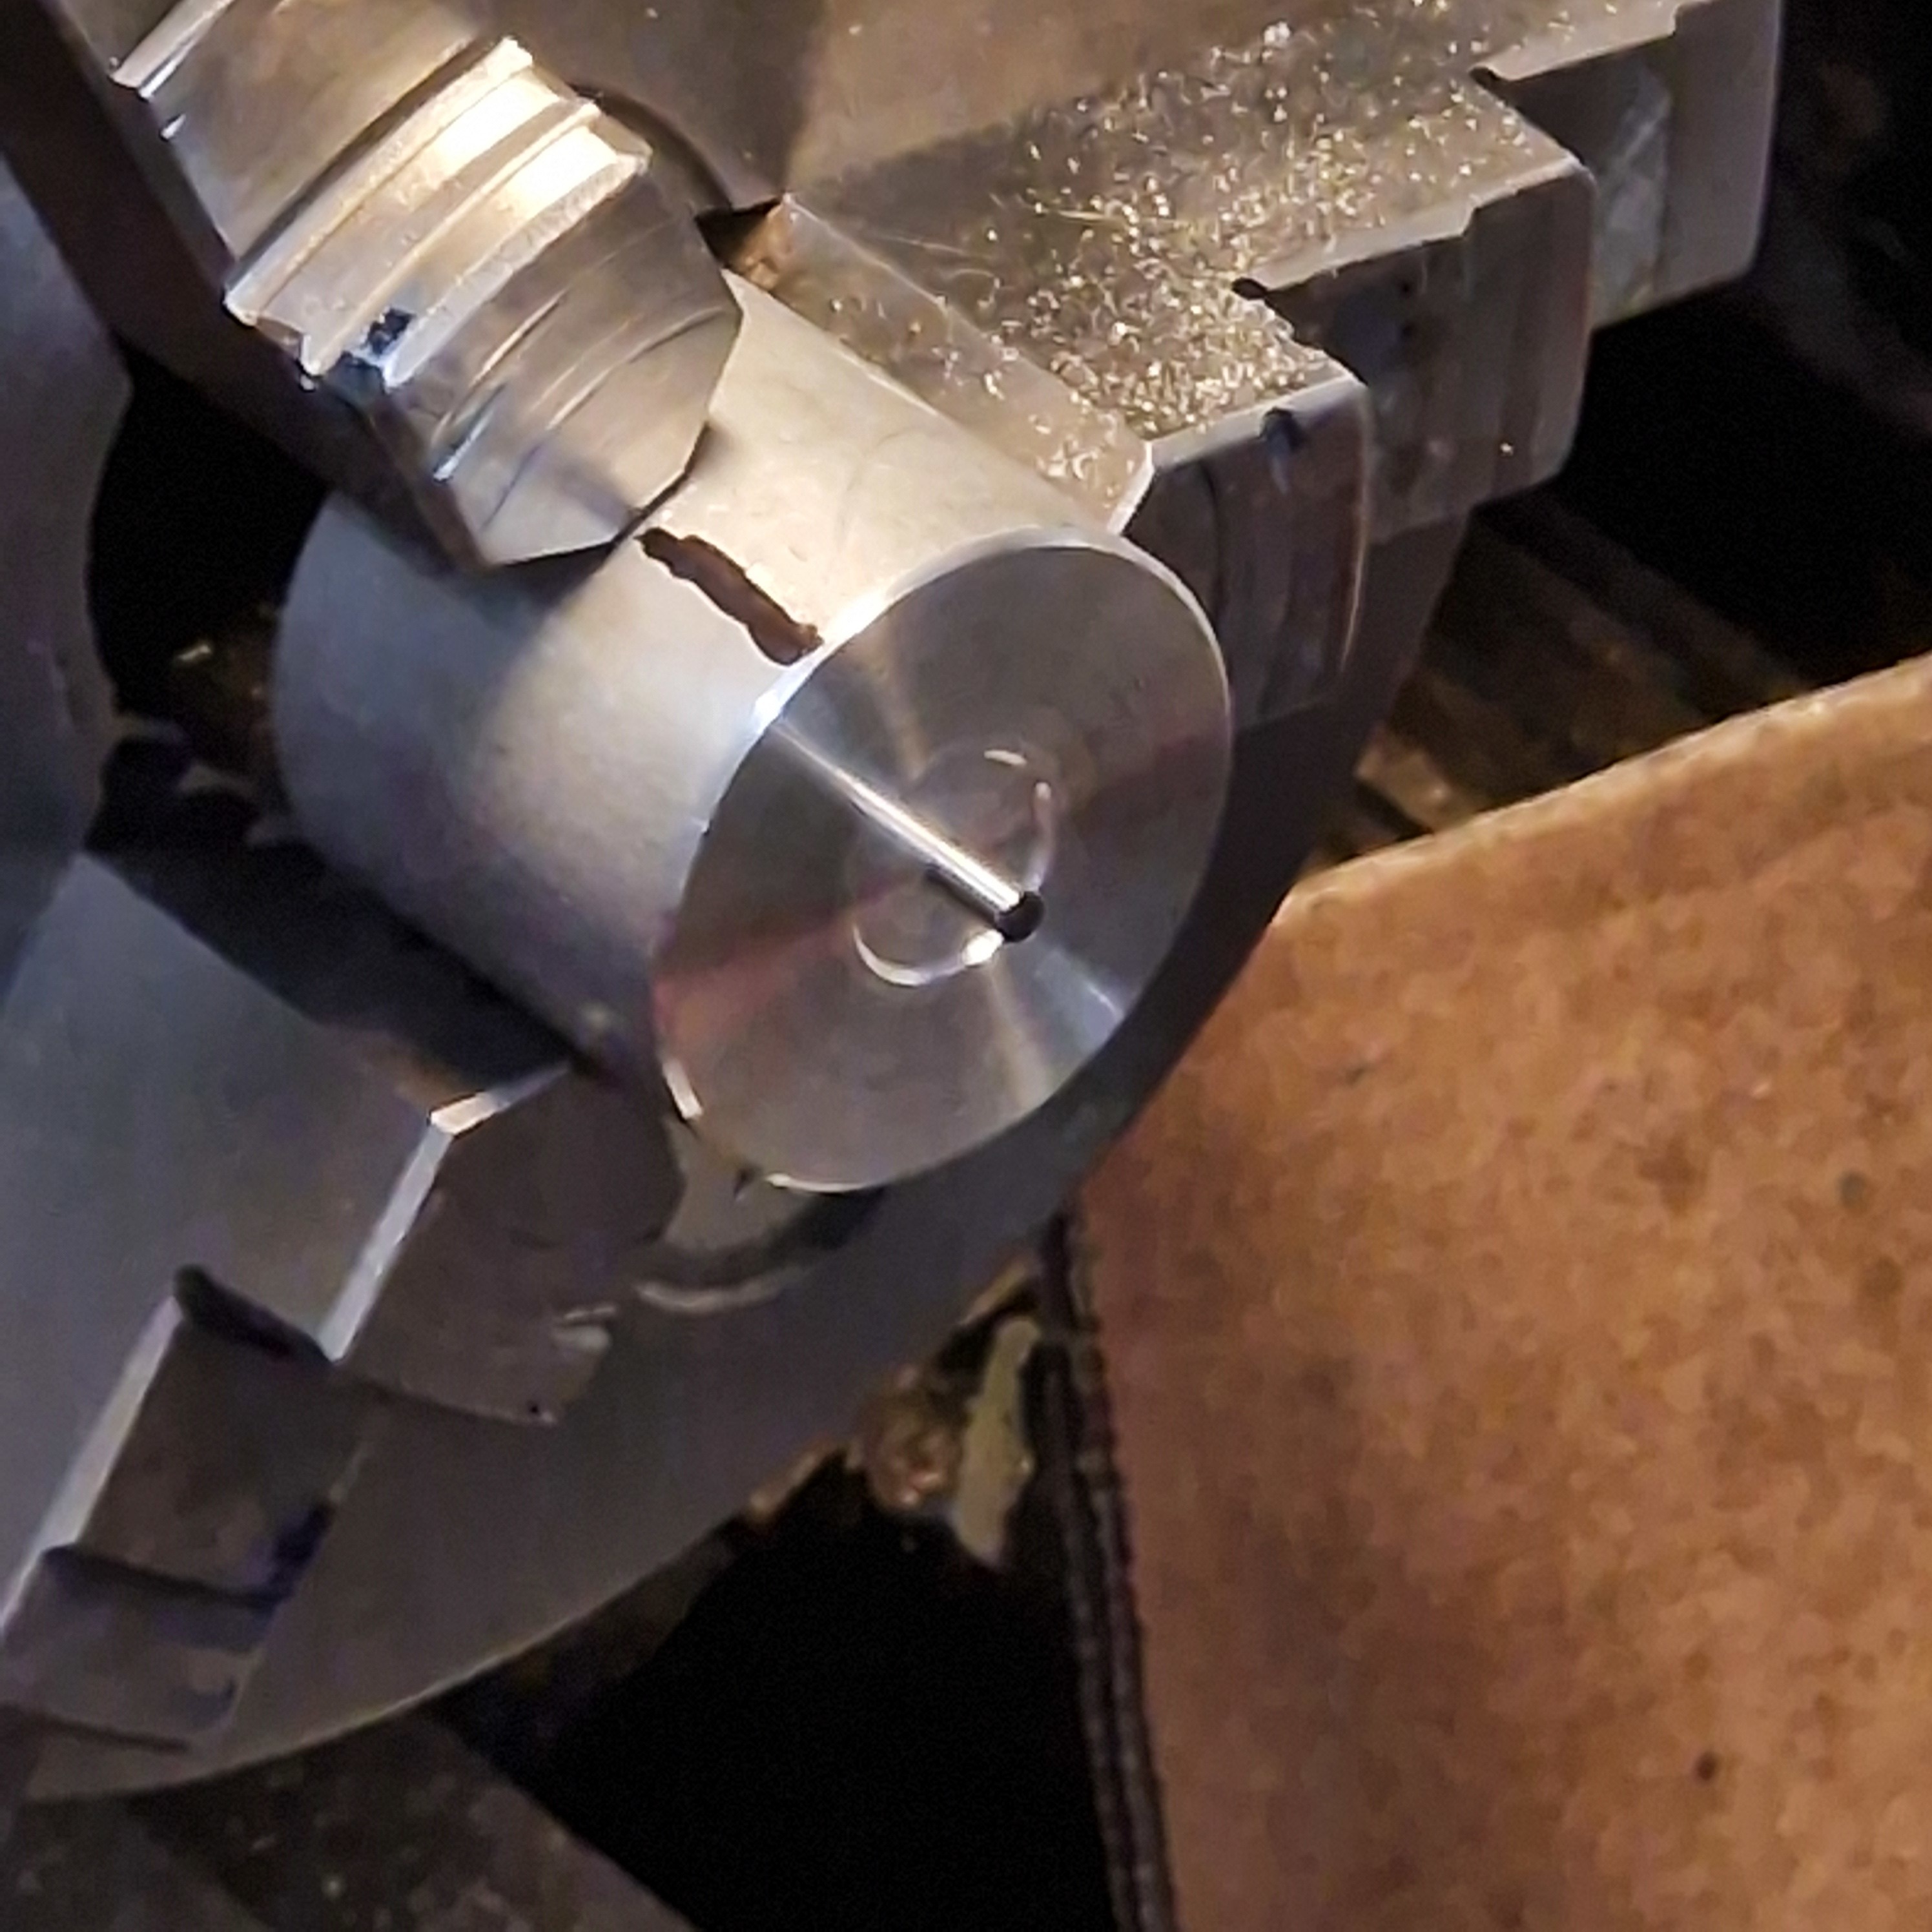
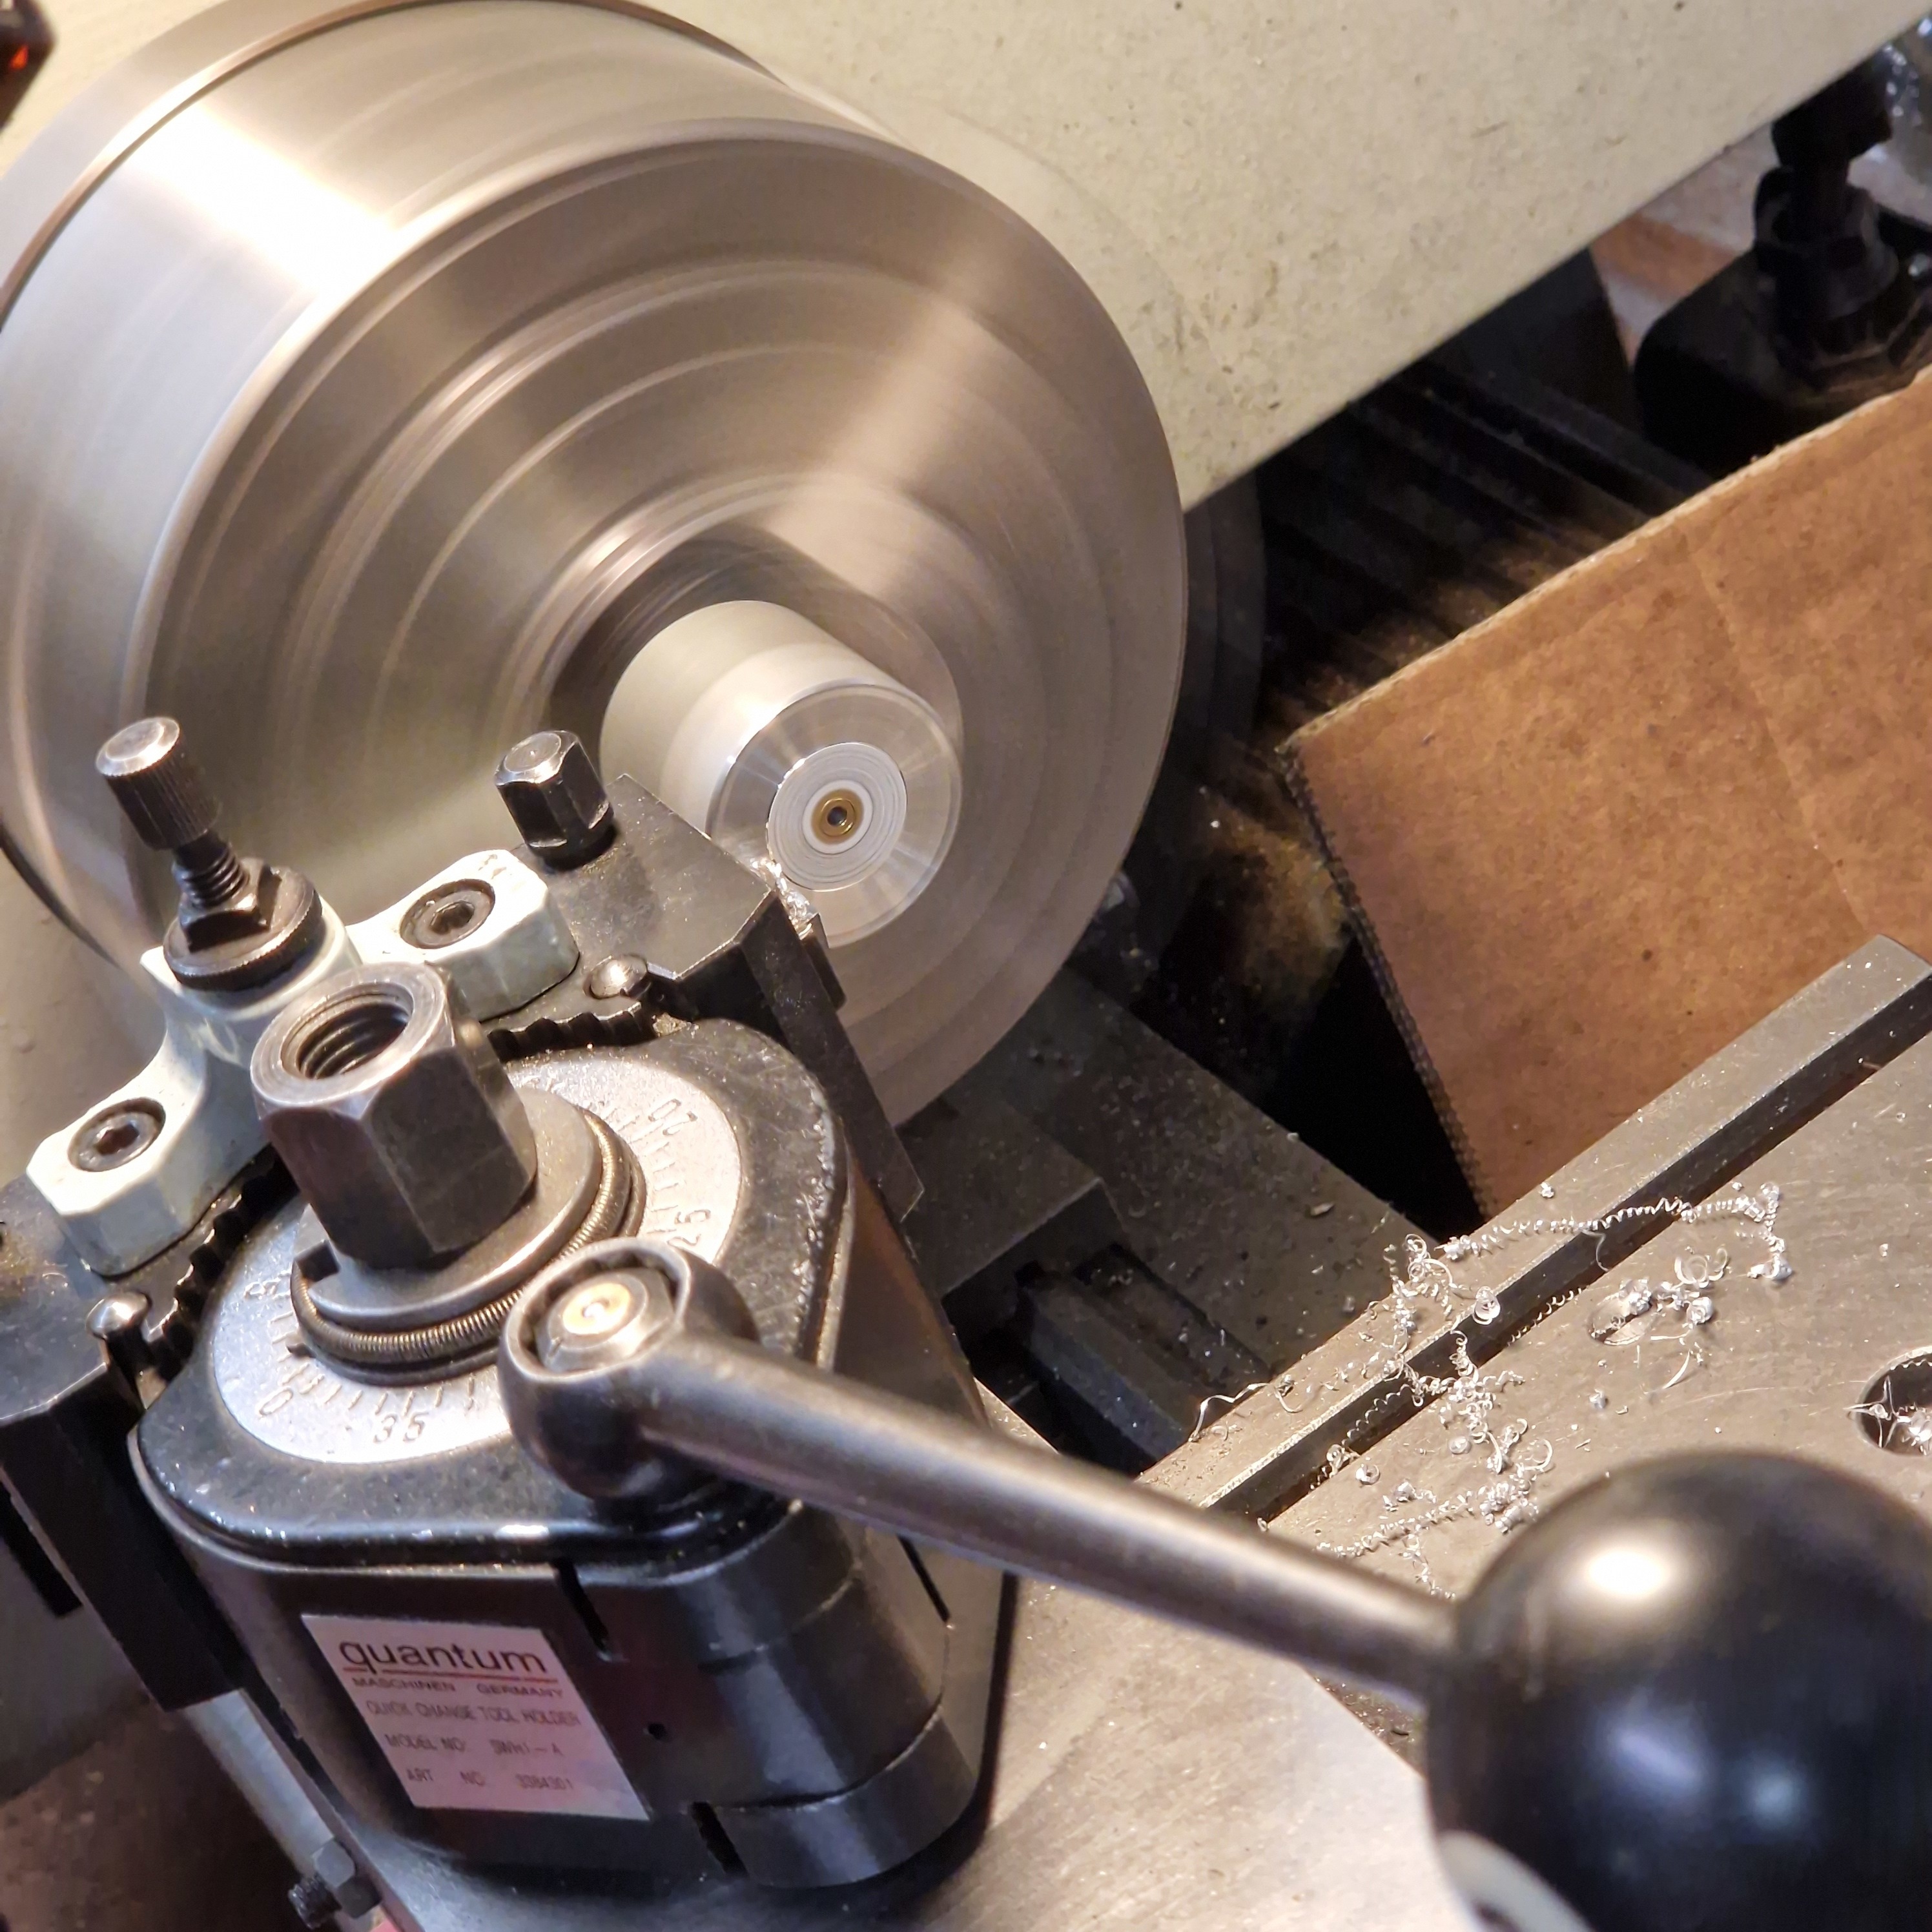
The ETA daydisc has to be slimed to a diameter of 13,60mm.
After reshaping the ETA daydisc, it will look like this. Now you are able to take the ETA daydisc off even with the gen datedisc.
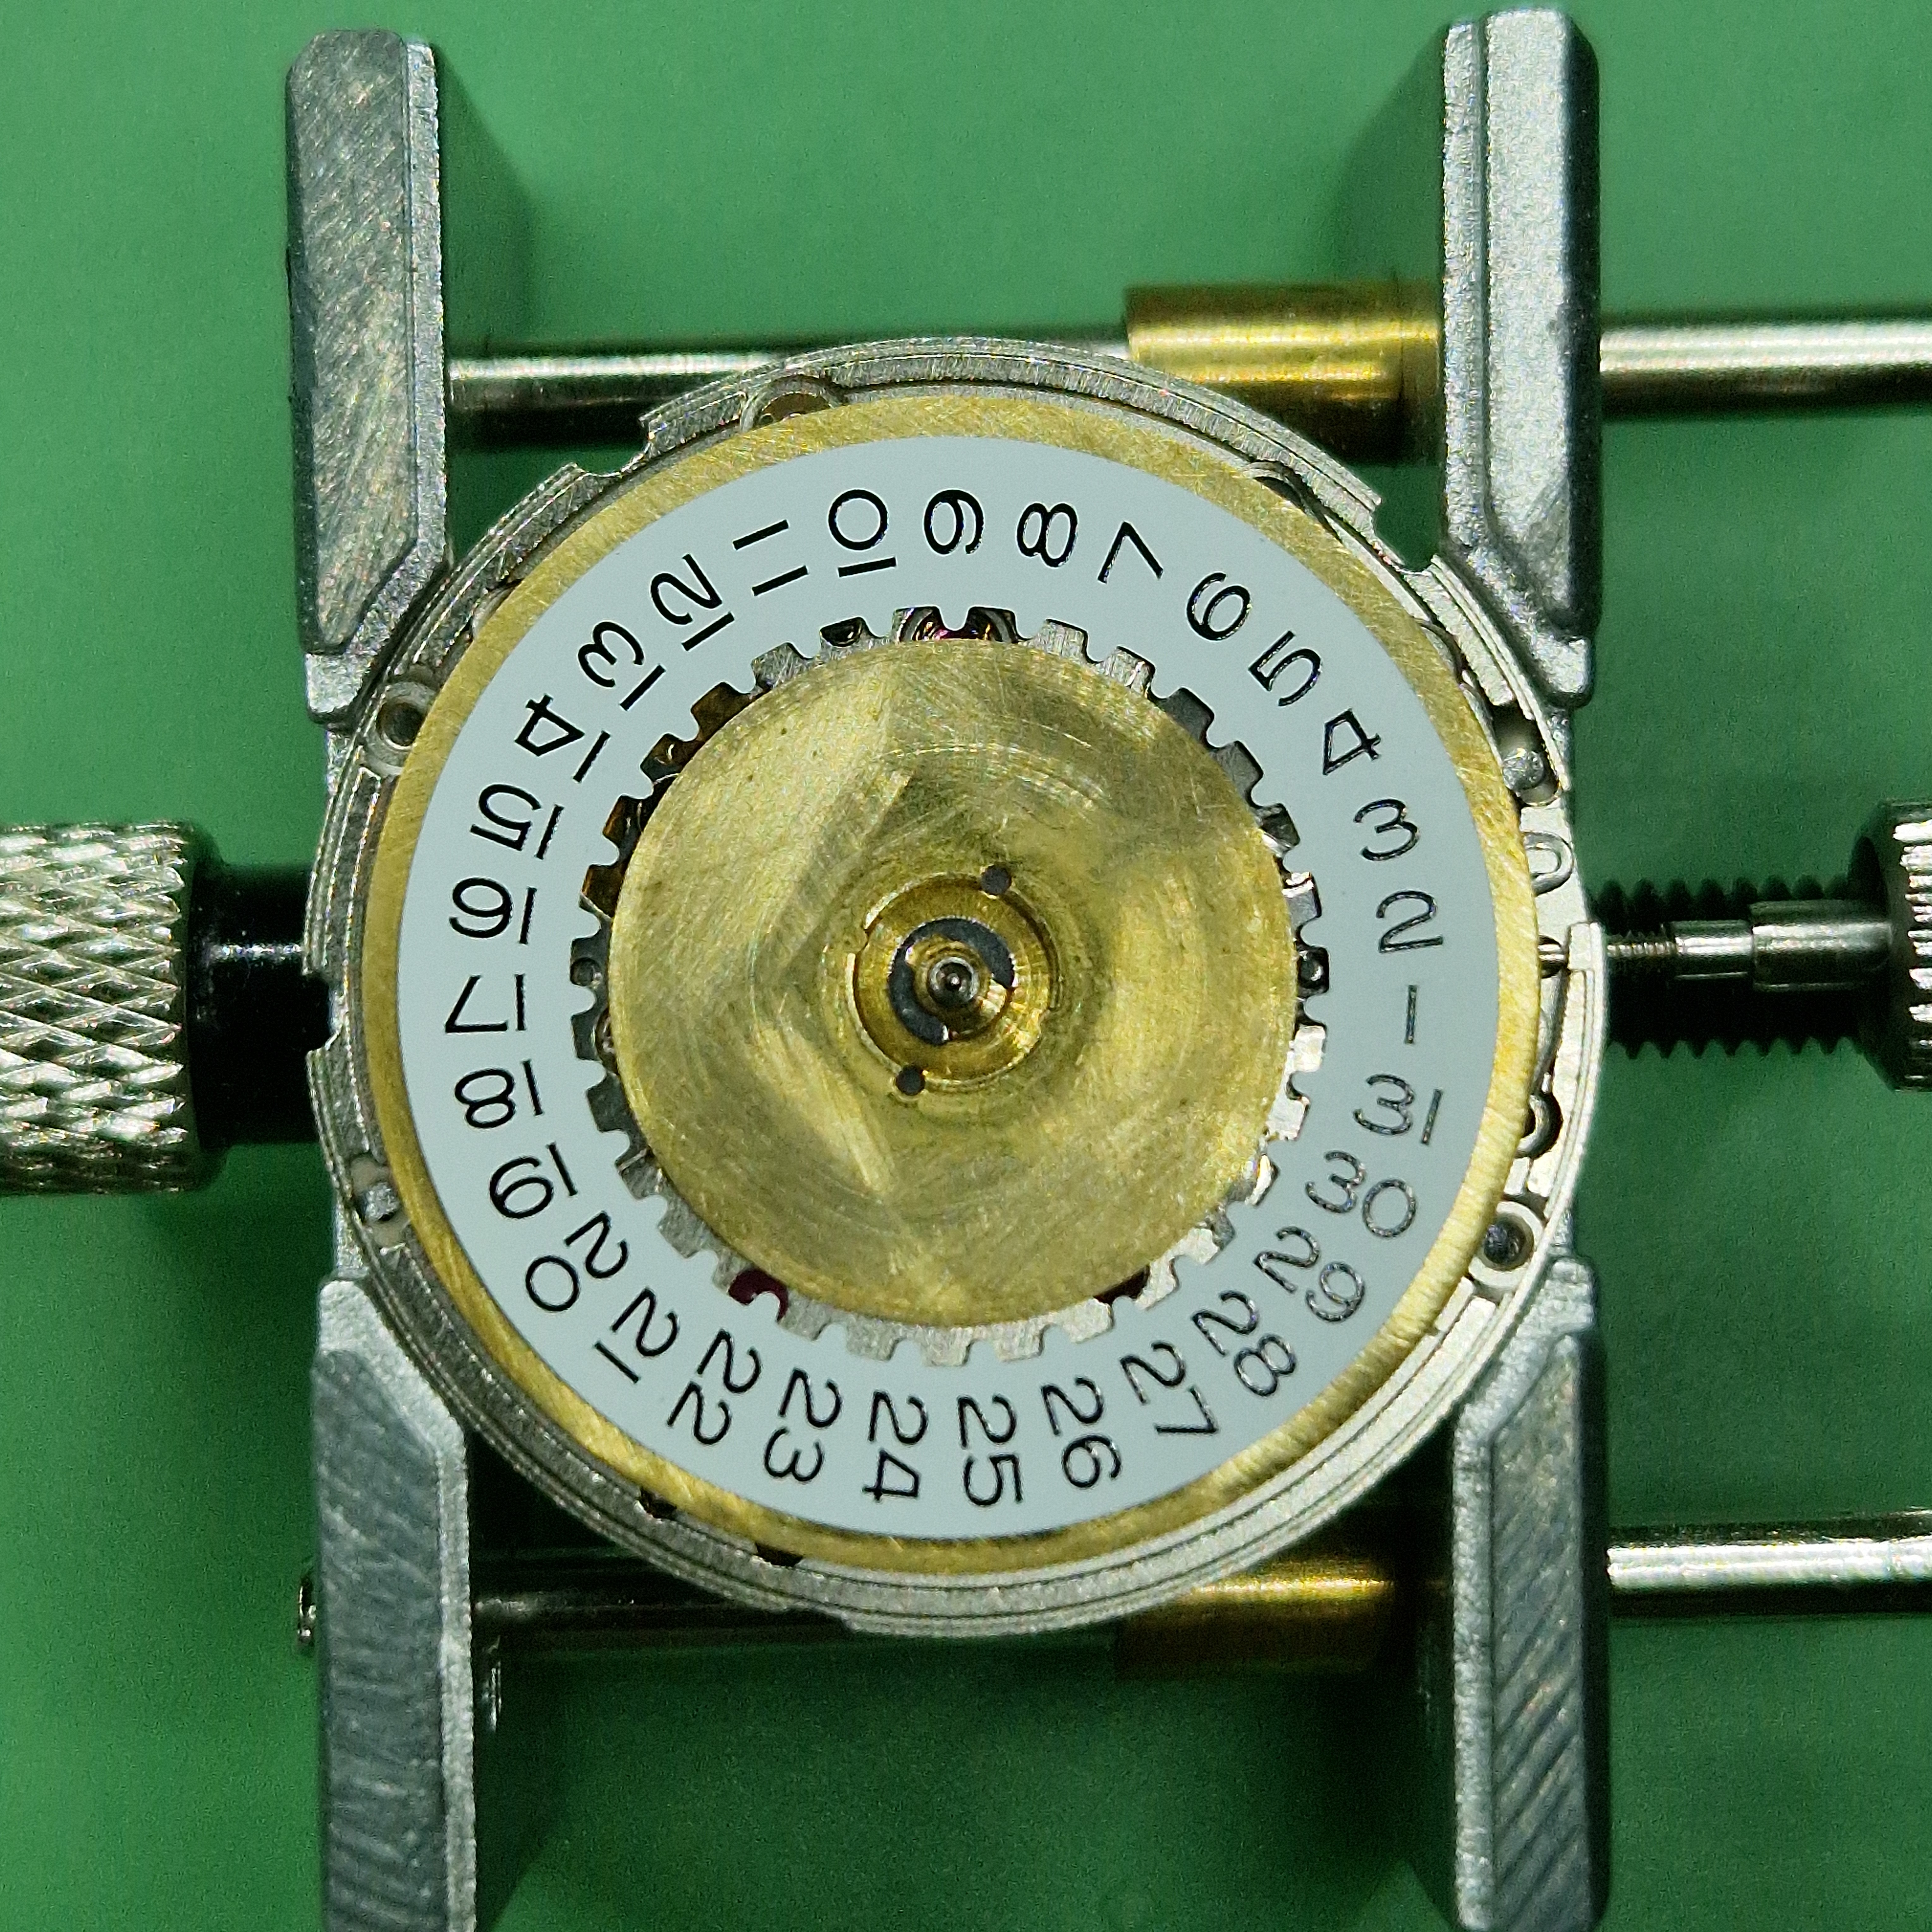
You can already see there are no more prints on the ETA day- and datedisc. To achieve this just put them in acetone. After the color is removed i sanded them down a little to get more space for the Gen DWOs under the dial and get a better surface for gluing.
Alright, next we will take a look on the dial and spacer. There was no way for me to cut off the feets on a 600€ dial, so i had to come up with an idea.
As you may know, the dial feets on an ETA dial and a gen Rolex dial haven't the same position. That was all i knew, thats it, nobody could tell me in which way they were different.
I ordered a "broken" gen dial for only 30€ on ebay as a sample for my build. And now i got all these sweet gen dial infos!!!
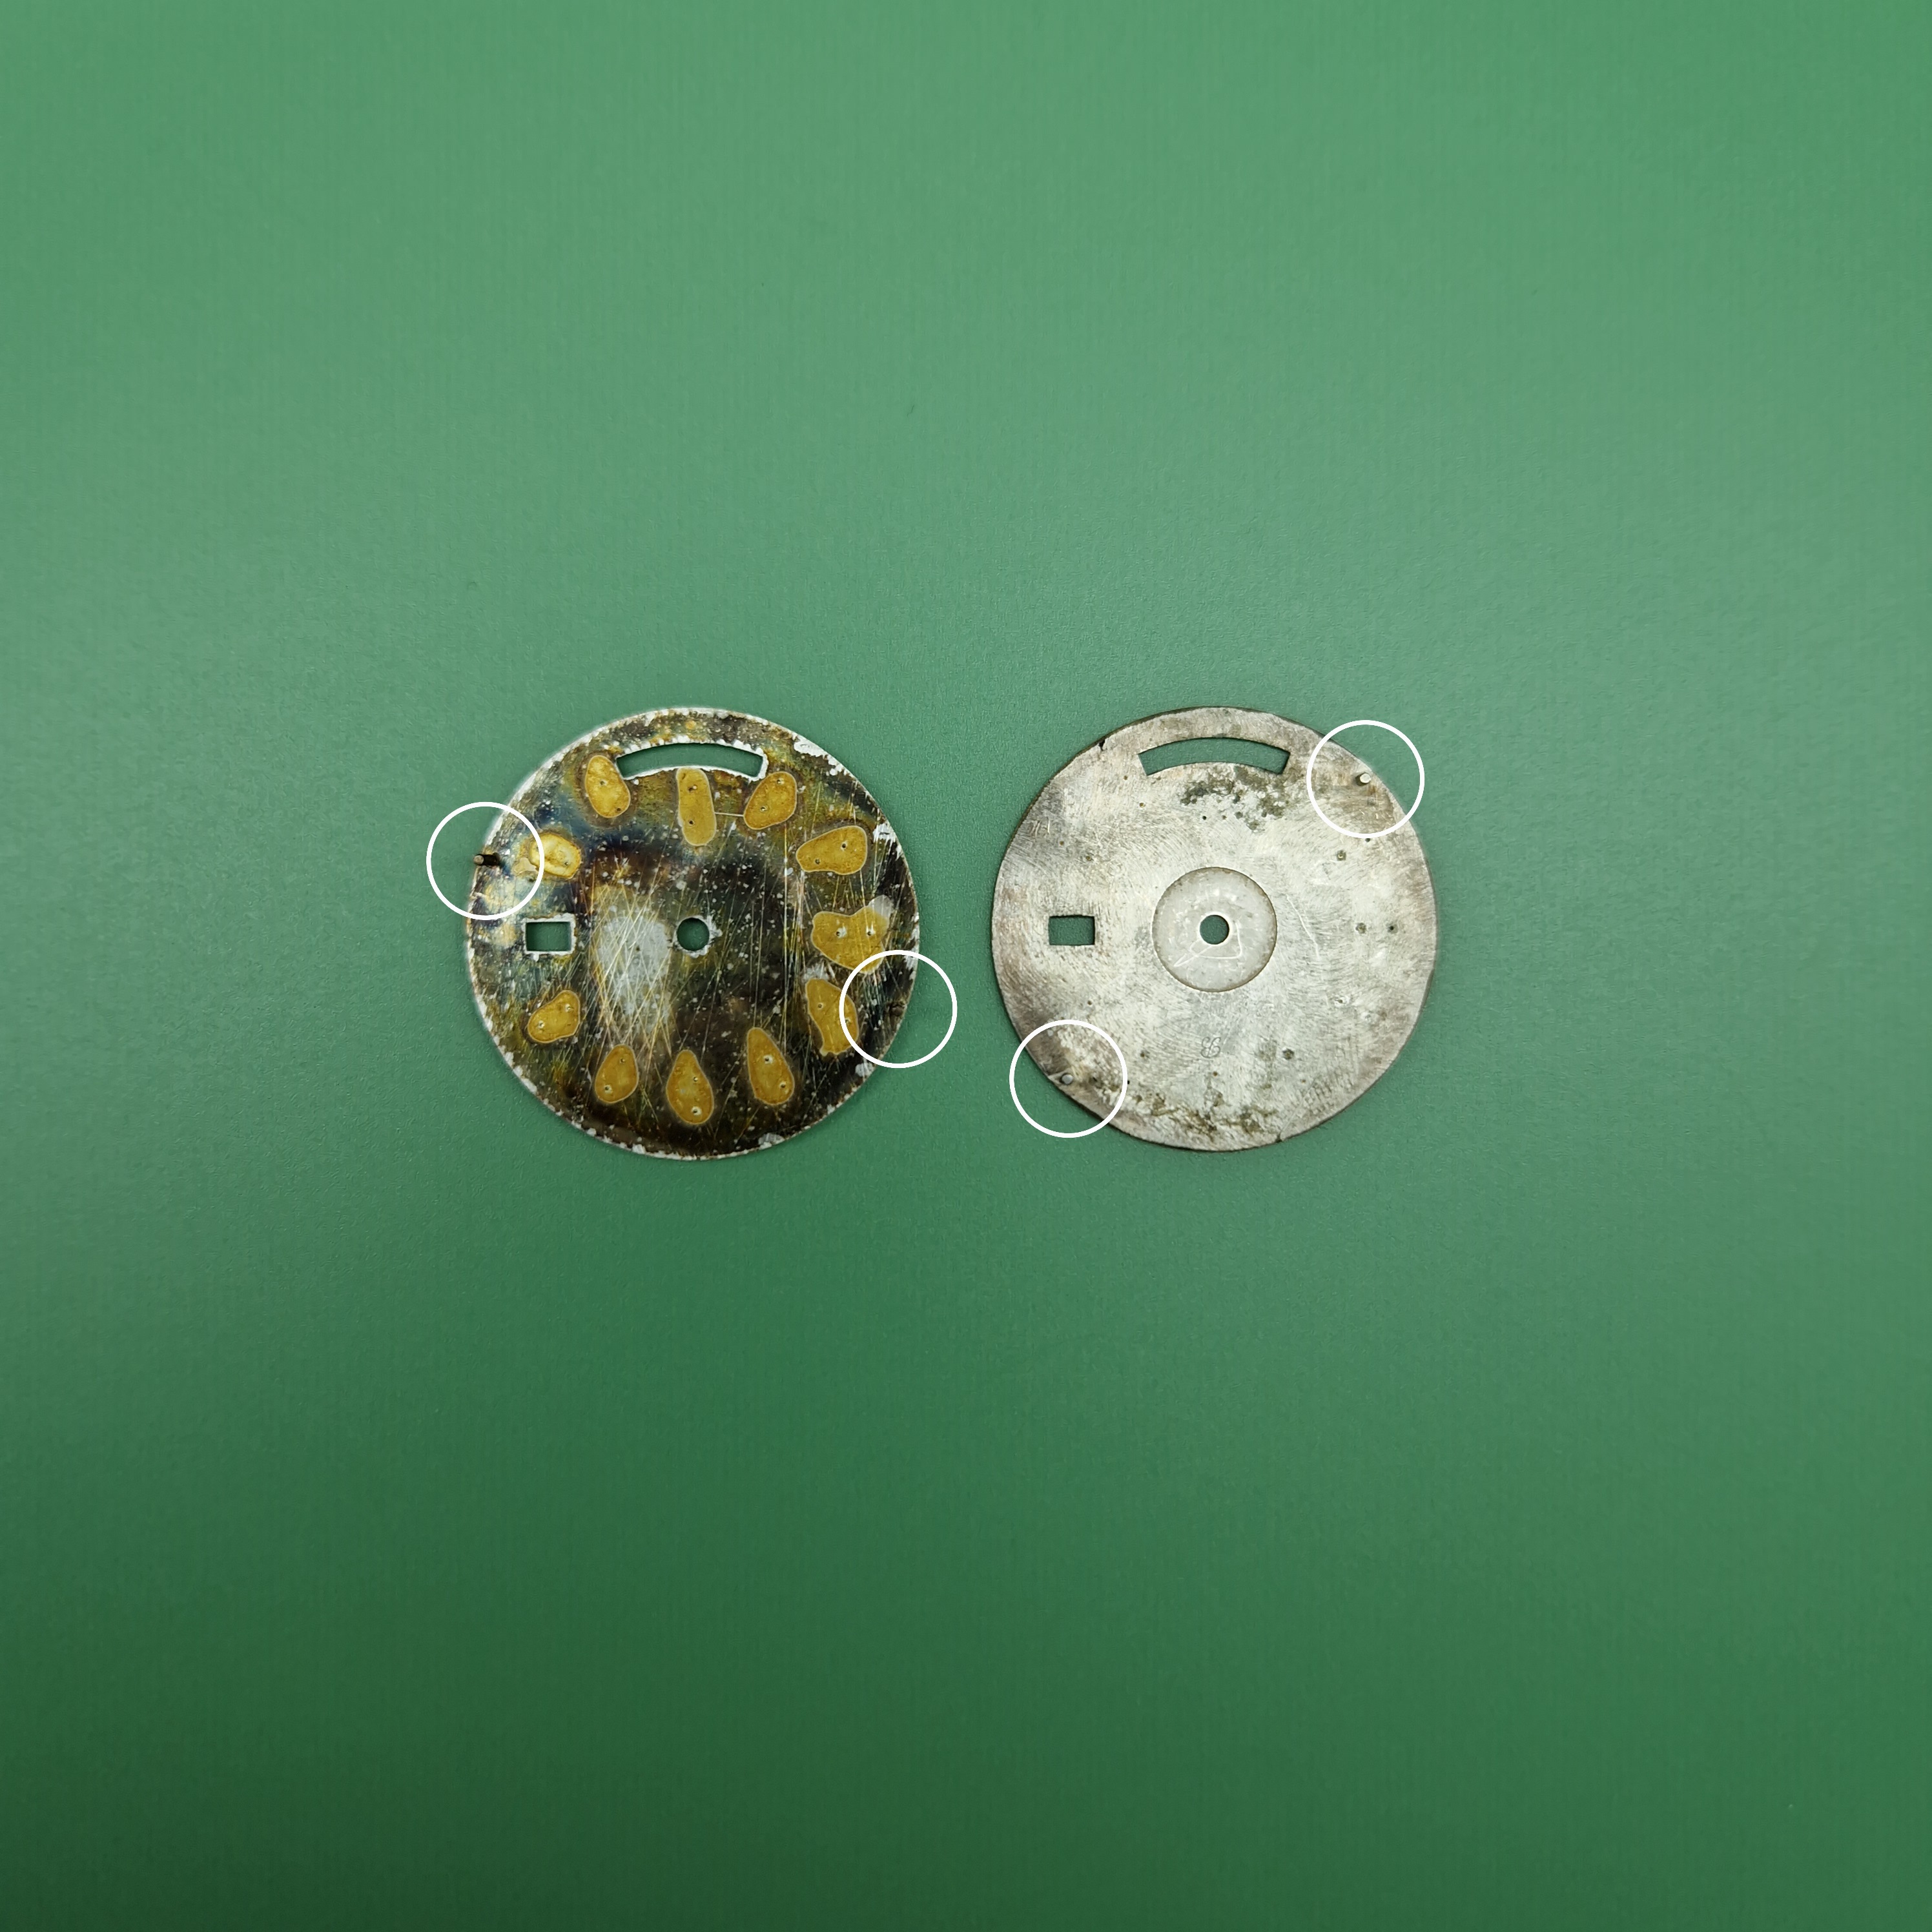
(left ETA, right GEN)
The dial feet positions on the ETA is 30°/70° and on the GEN its 45°/45°. Speaking from 3 and 9 o'clock.
Obvious the spacer from Raffles has the hole on the ETA positions and we need to drill new holes on the GEN positions.
Diameter of the GEN dial feet is 0,72mm
Now you could take your protractor to drill them by hand...
but not with me!!!
So i built a new tool to drill perfect holes on that 45° everytime.
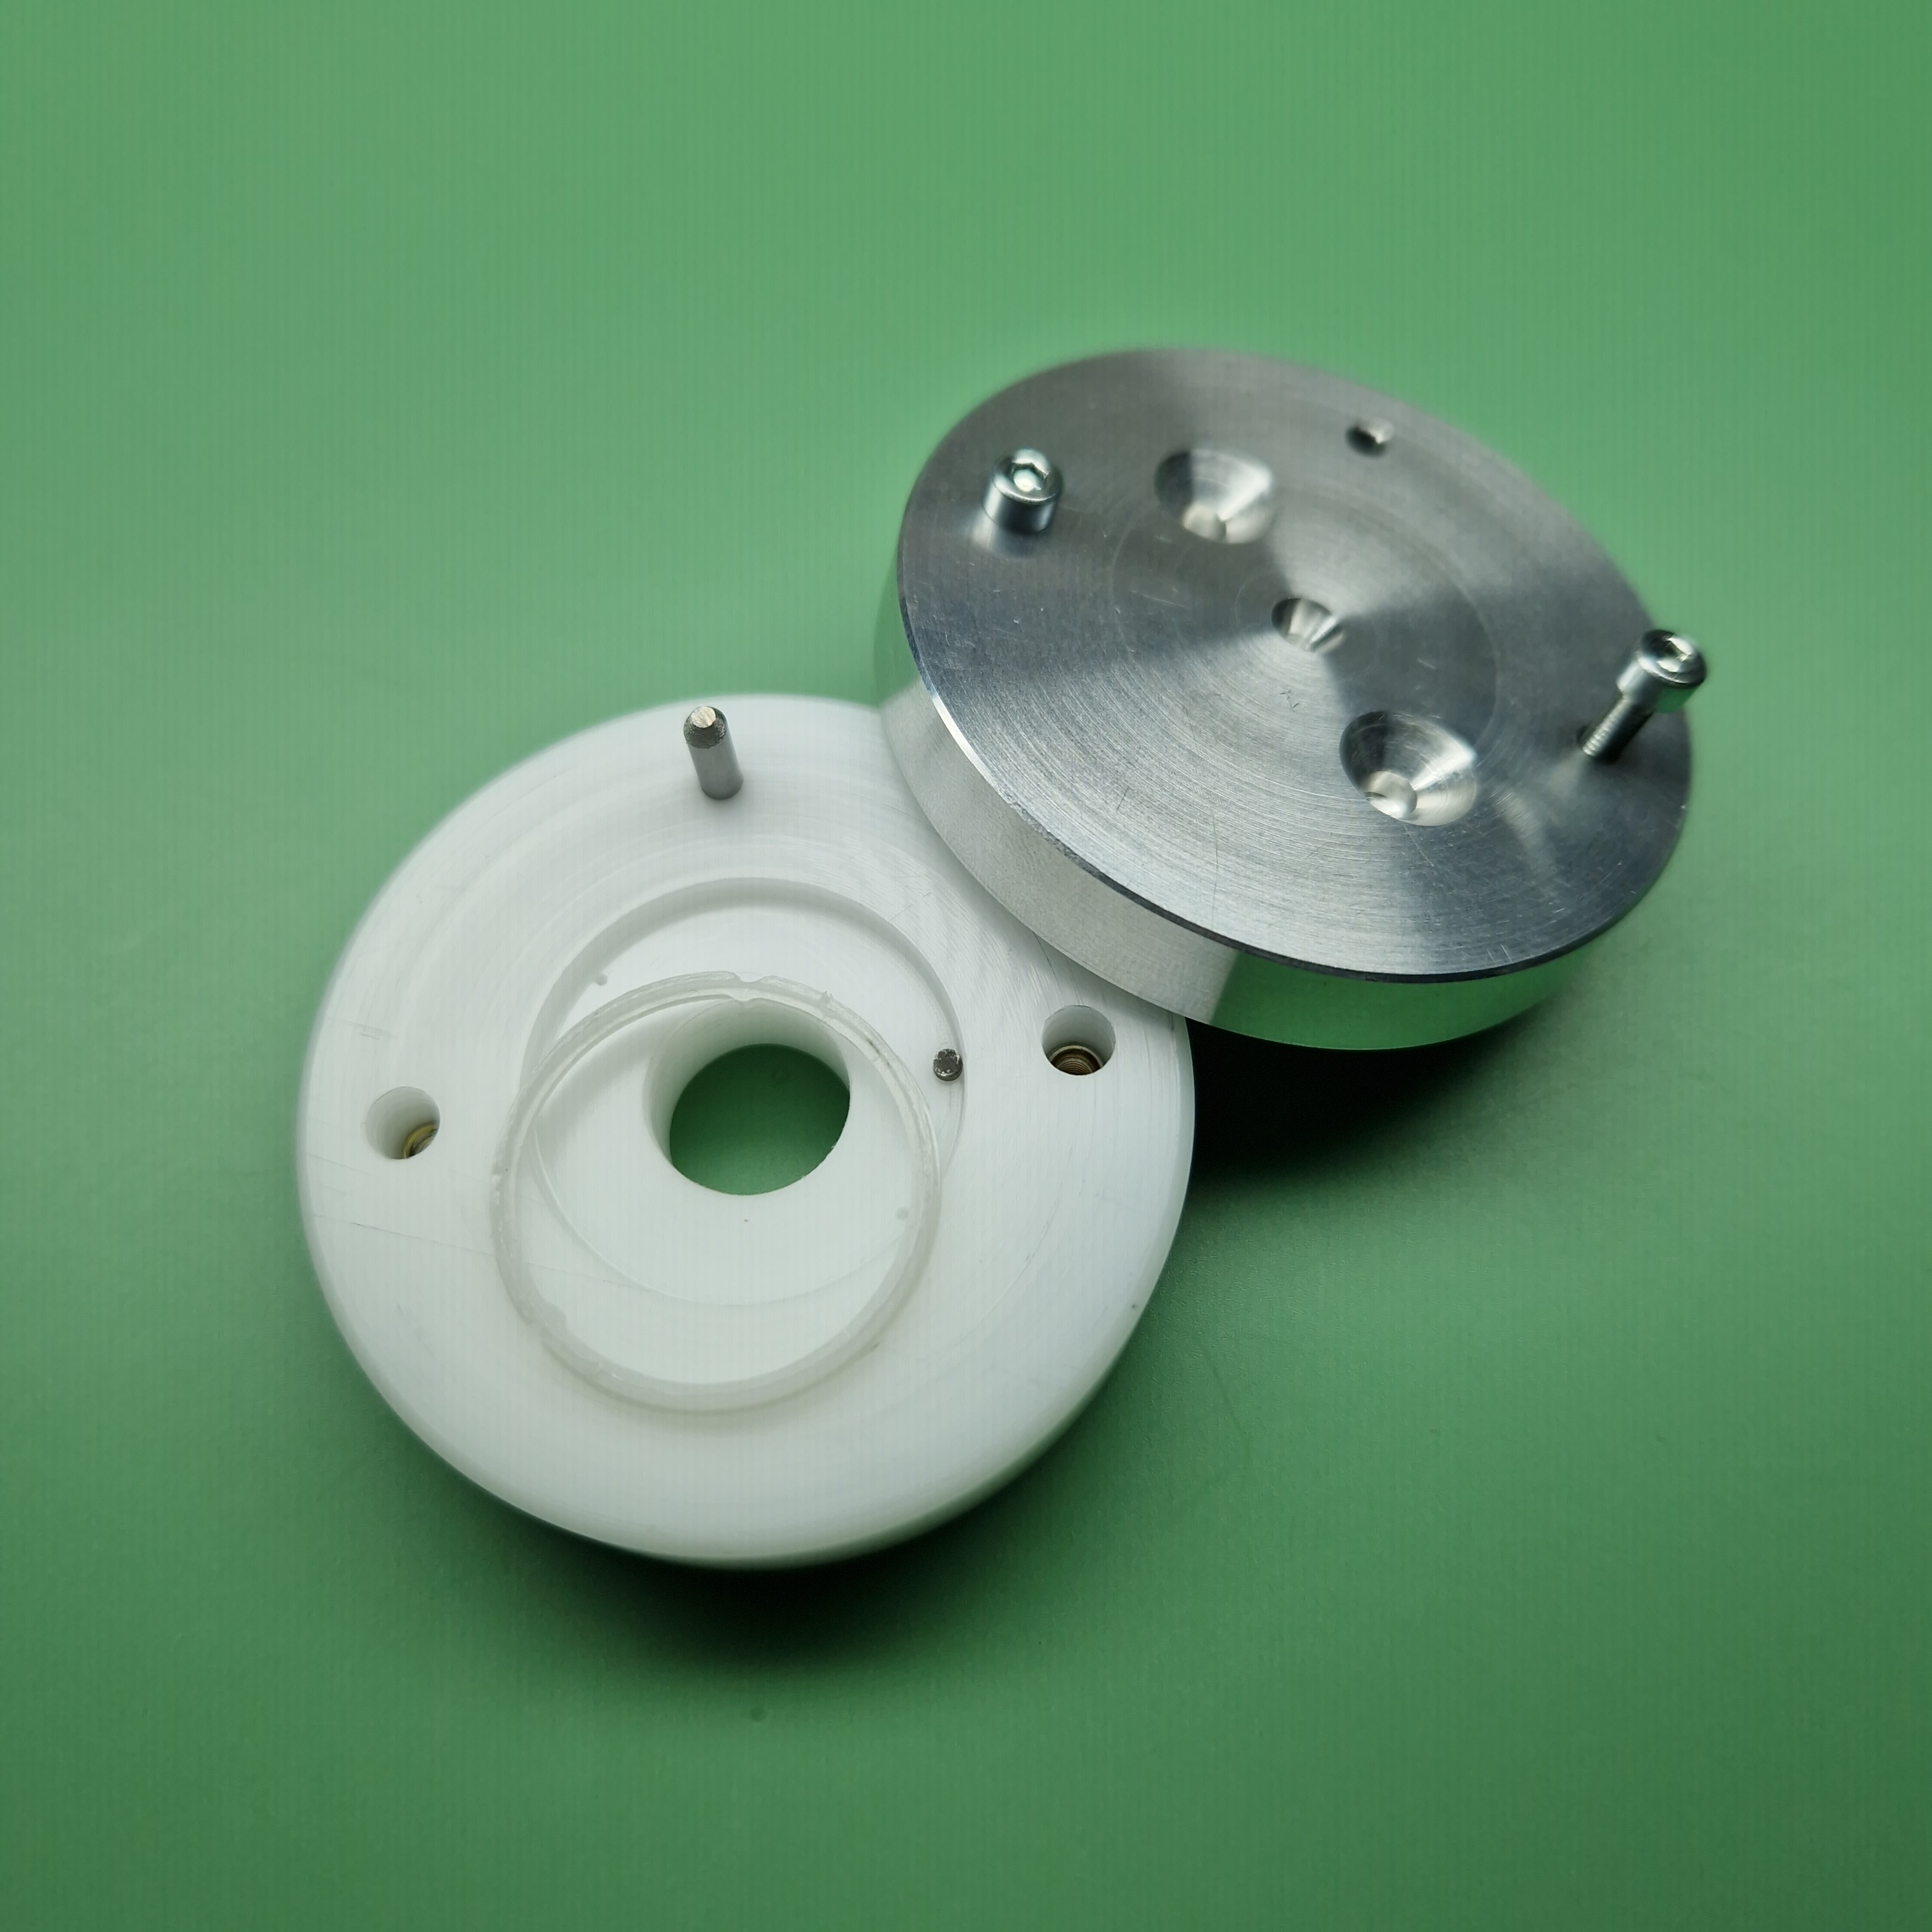
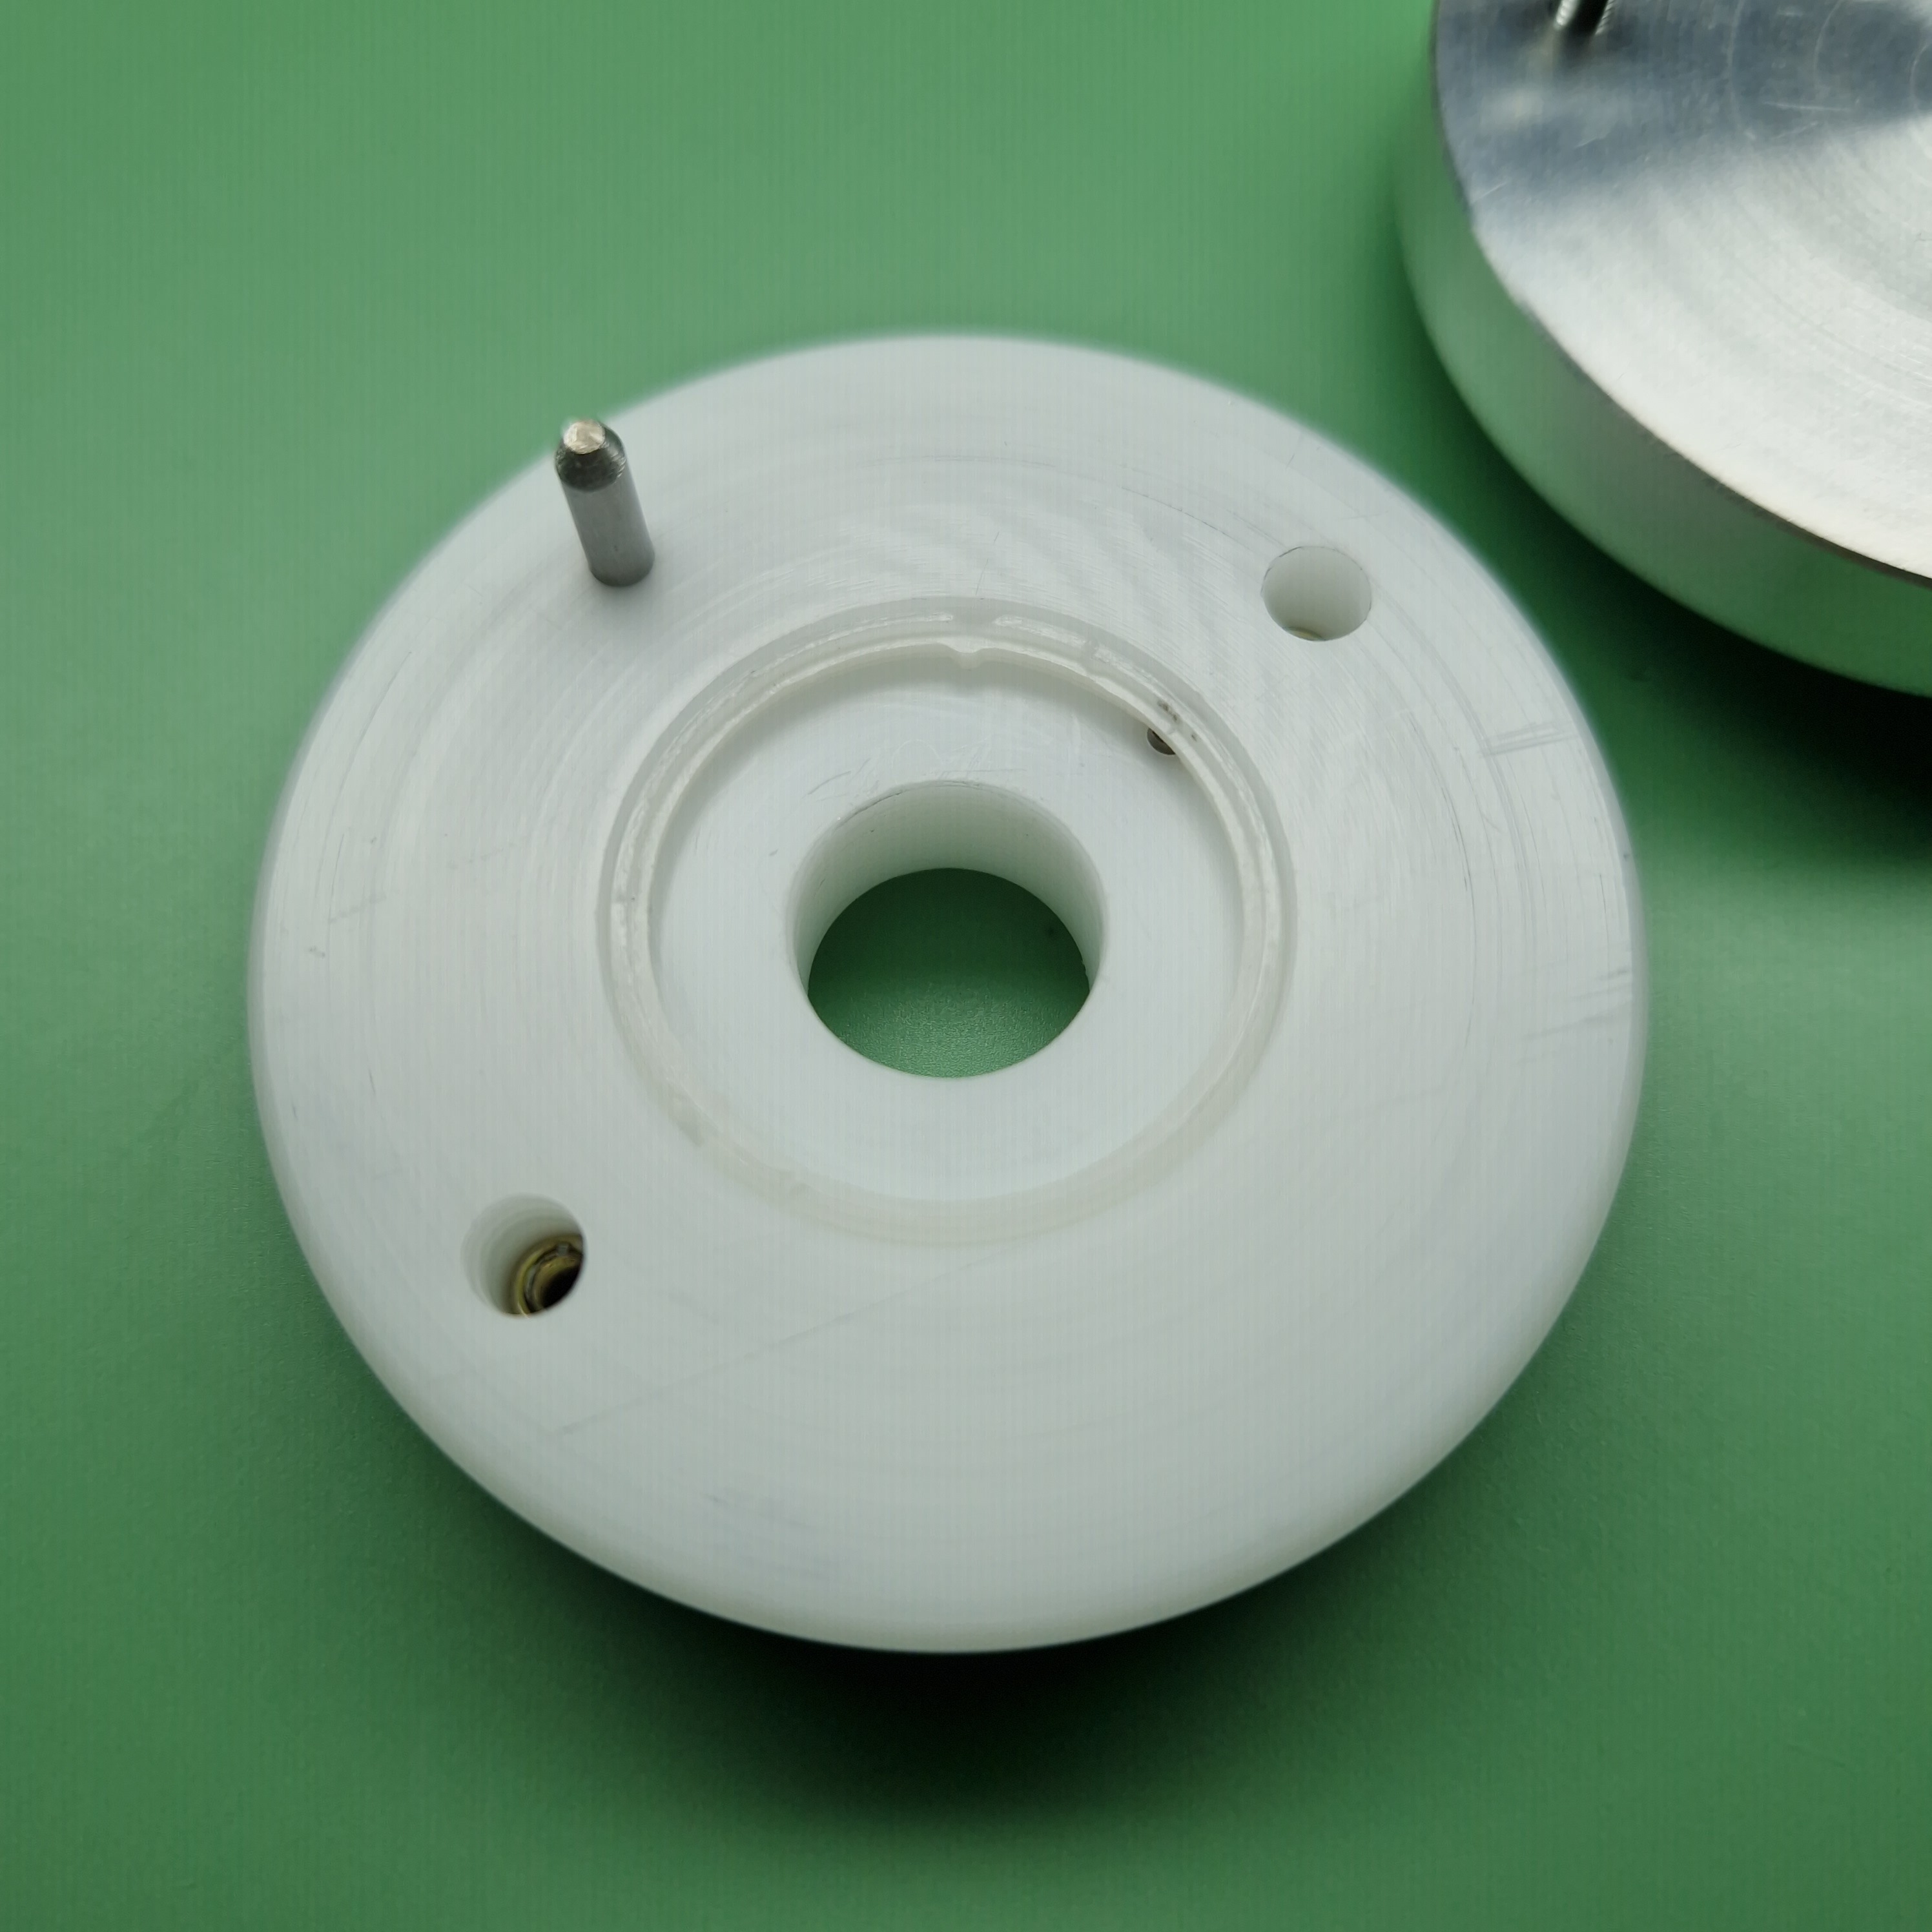
Lid gets centerd on 12, 9 and 3 o'clock.
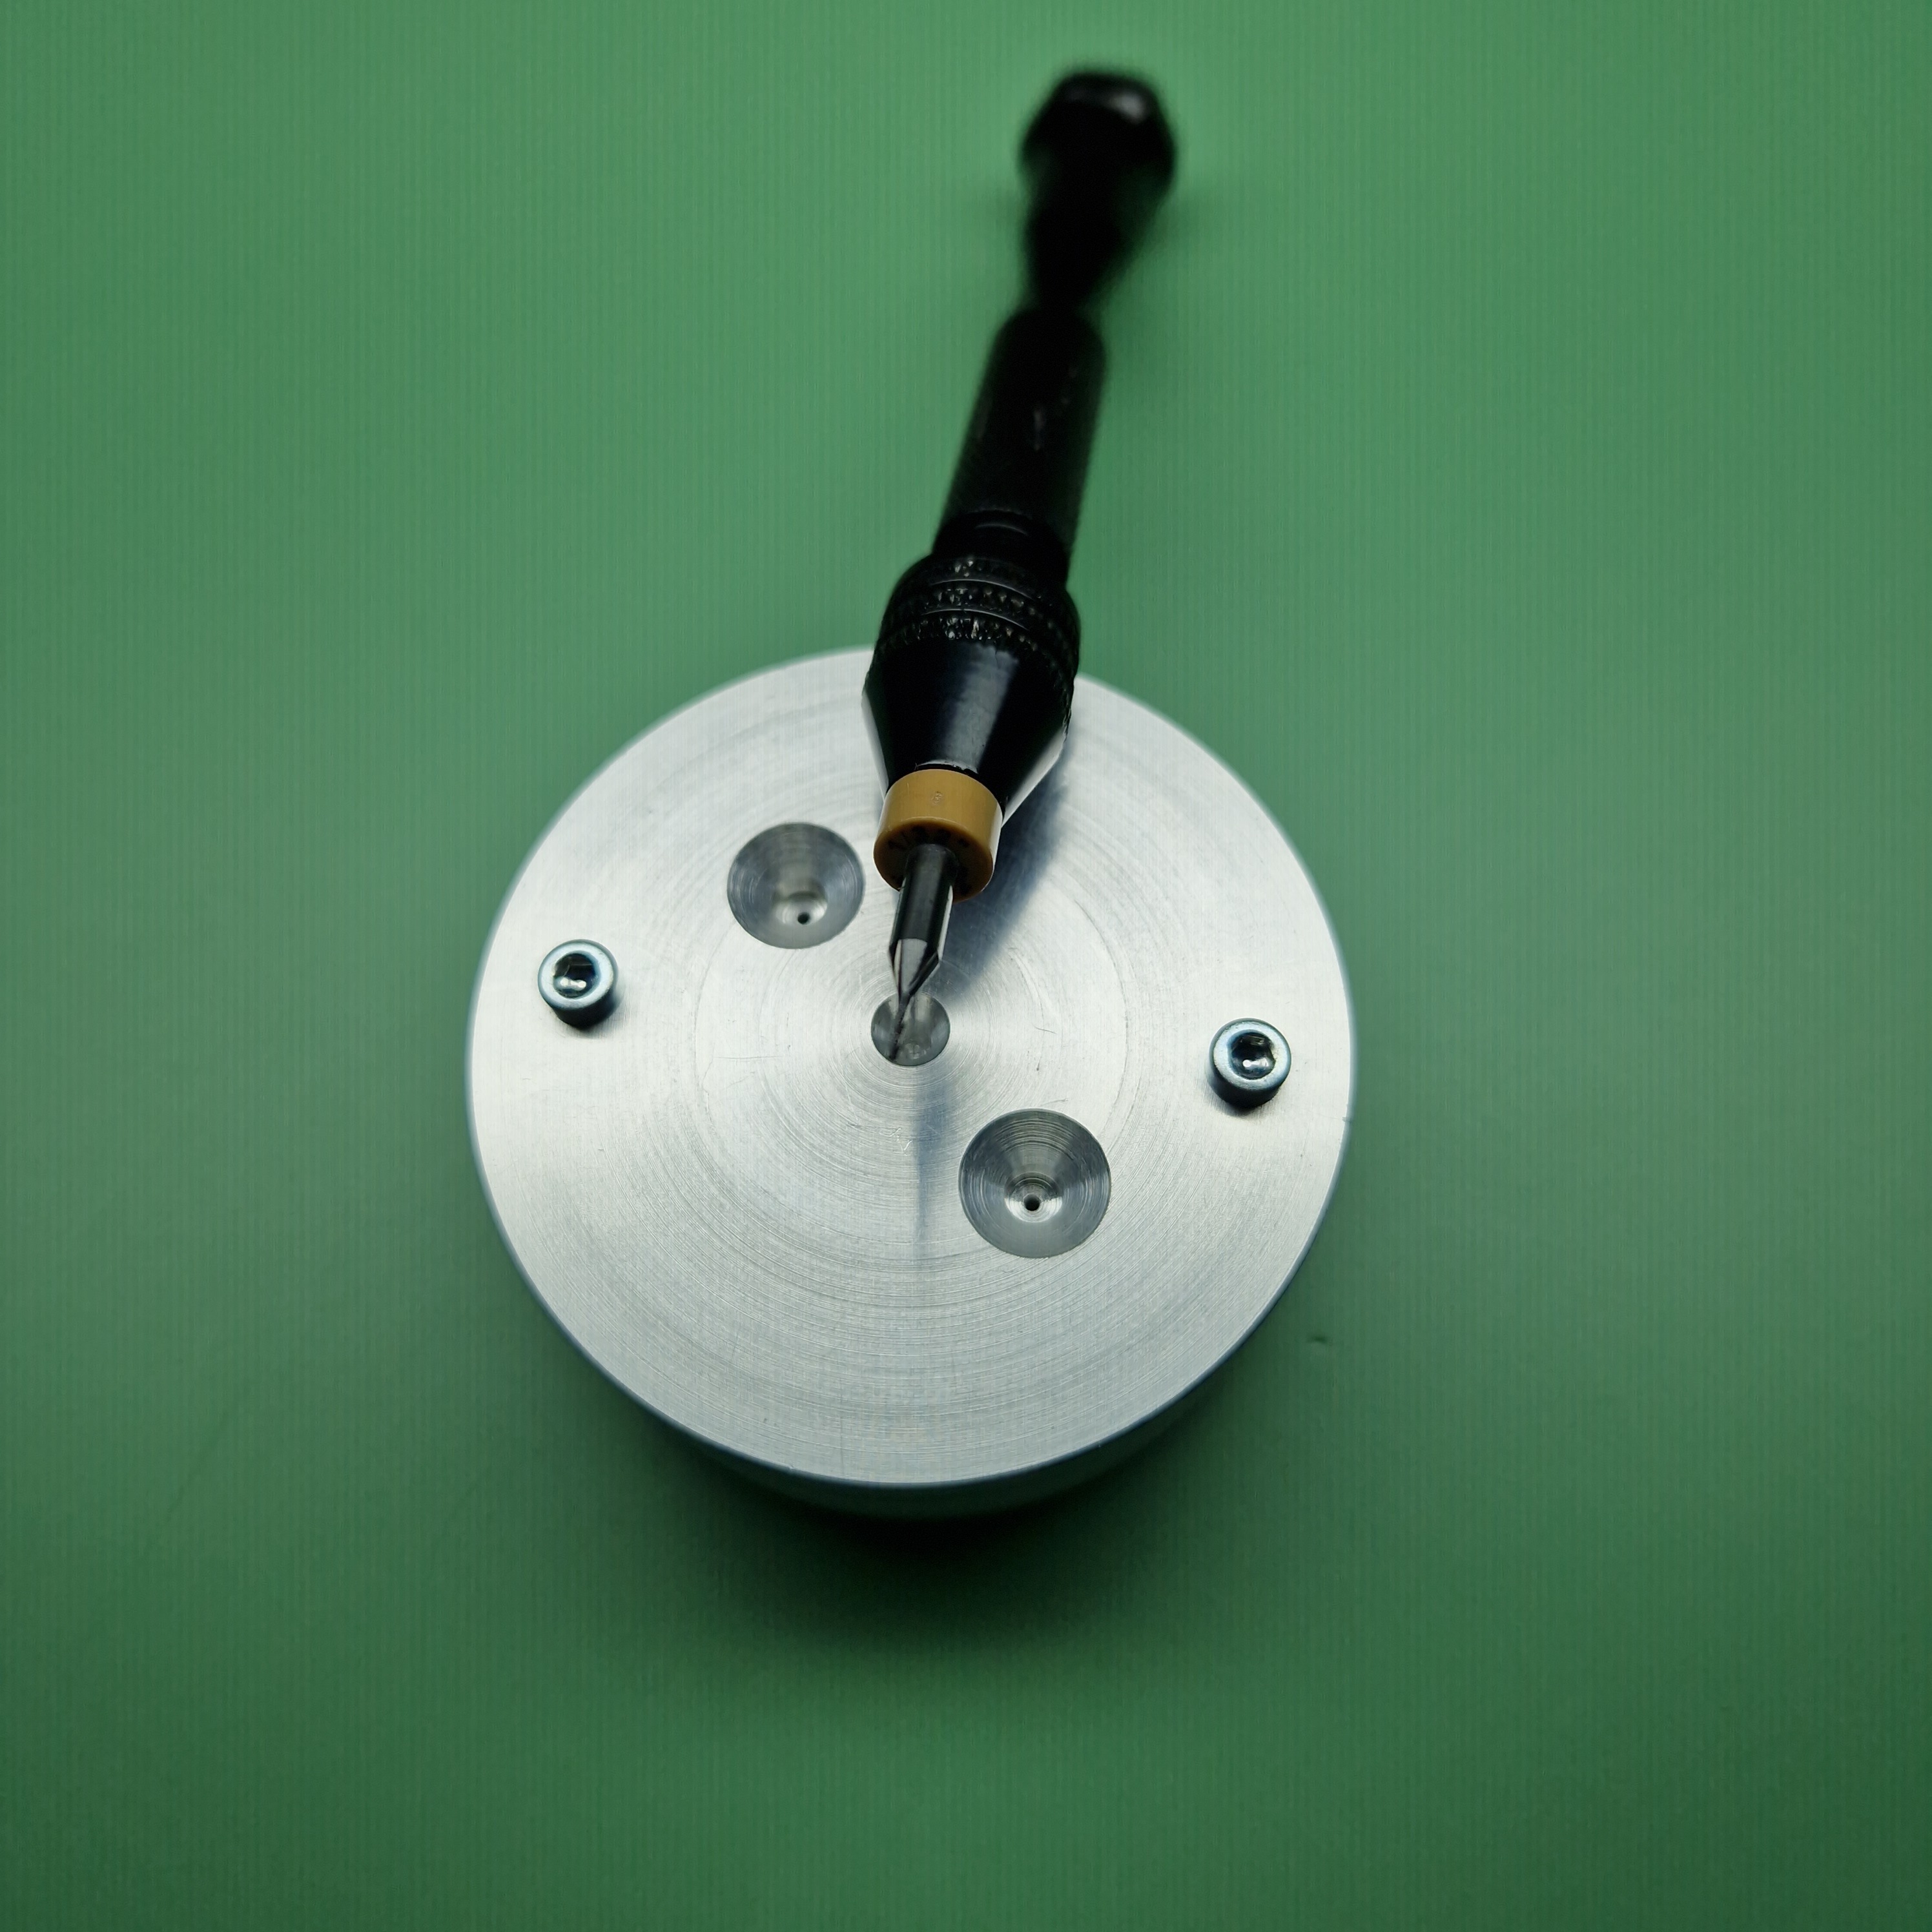
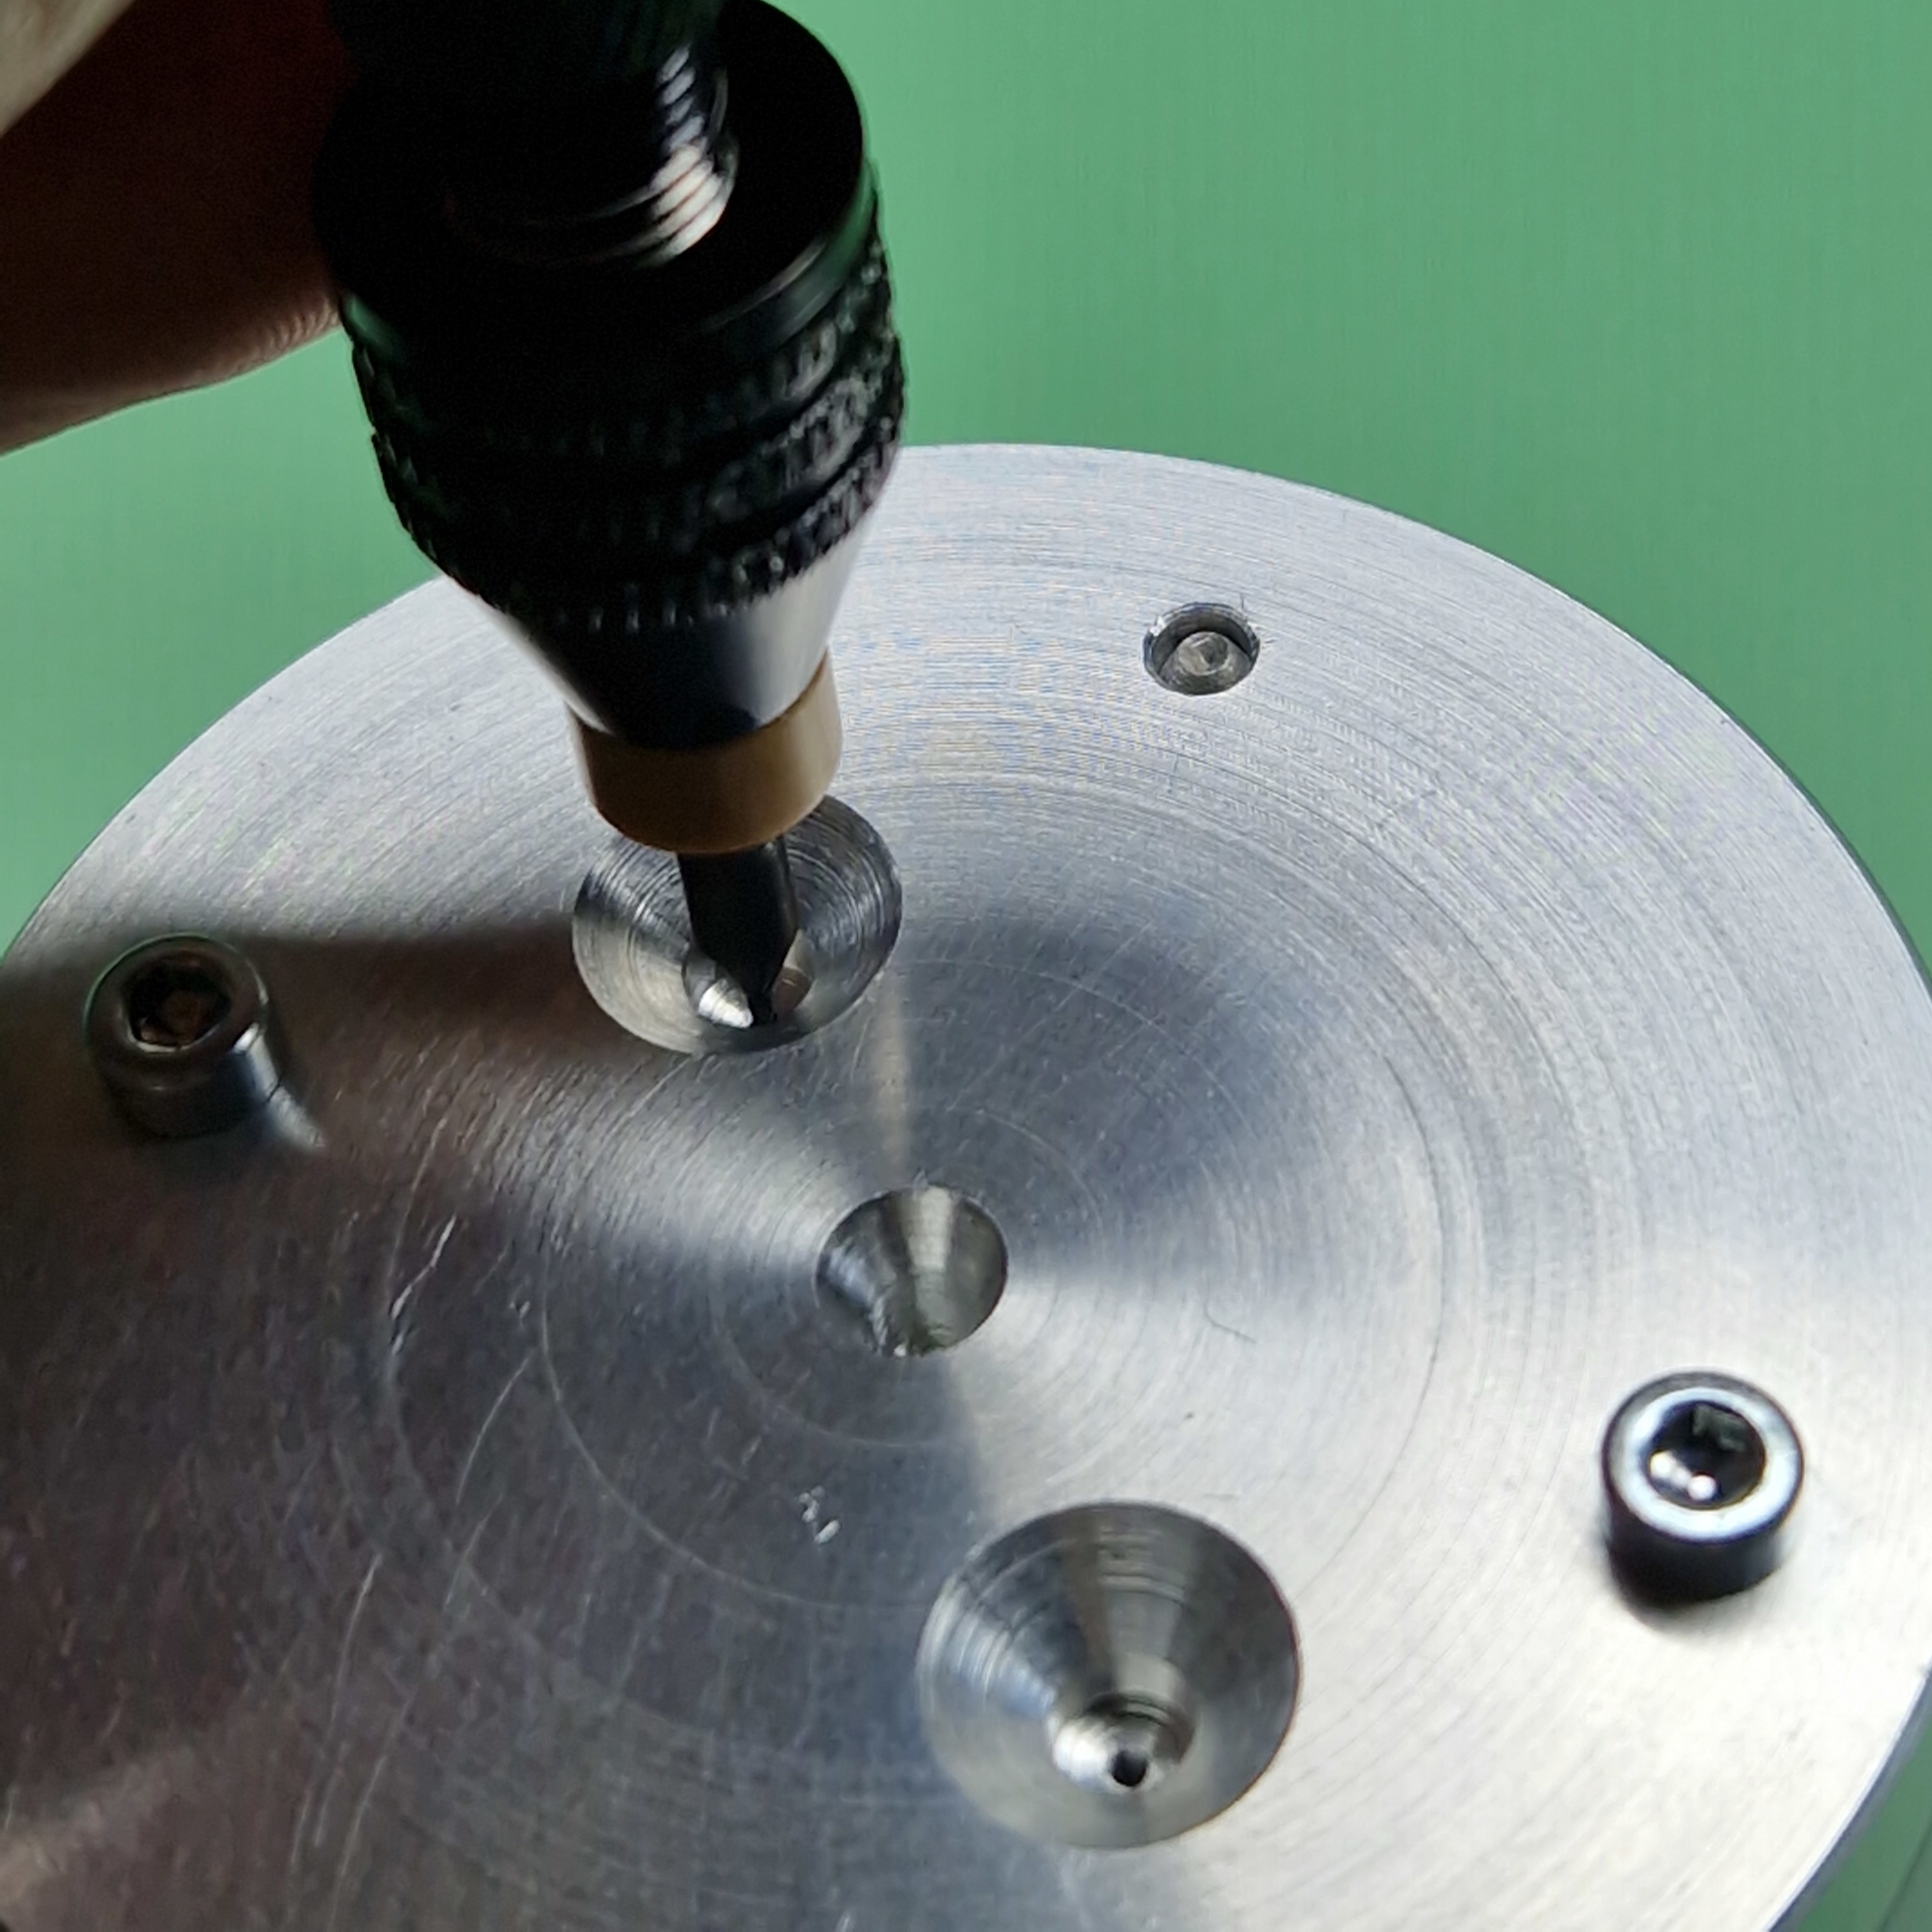
The spacer is centered on the 3 o'clok position at the stem cutout.
In the lid are two 0,80 mm holes to drill the new holes in the spacer
After drilling the new holes, you get a spacer with the correct postion for the GEN dial feet.
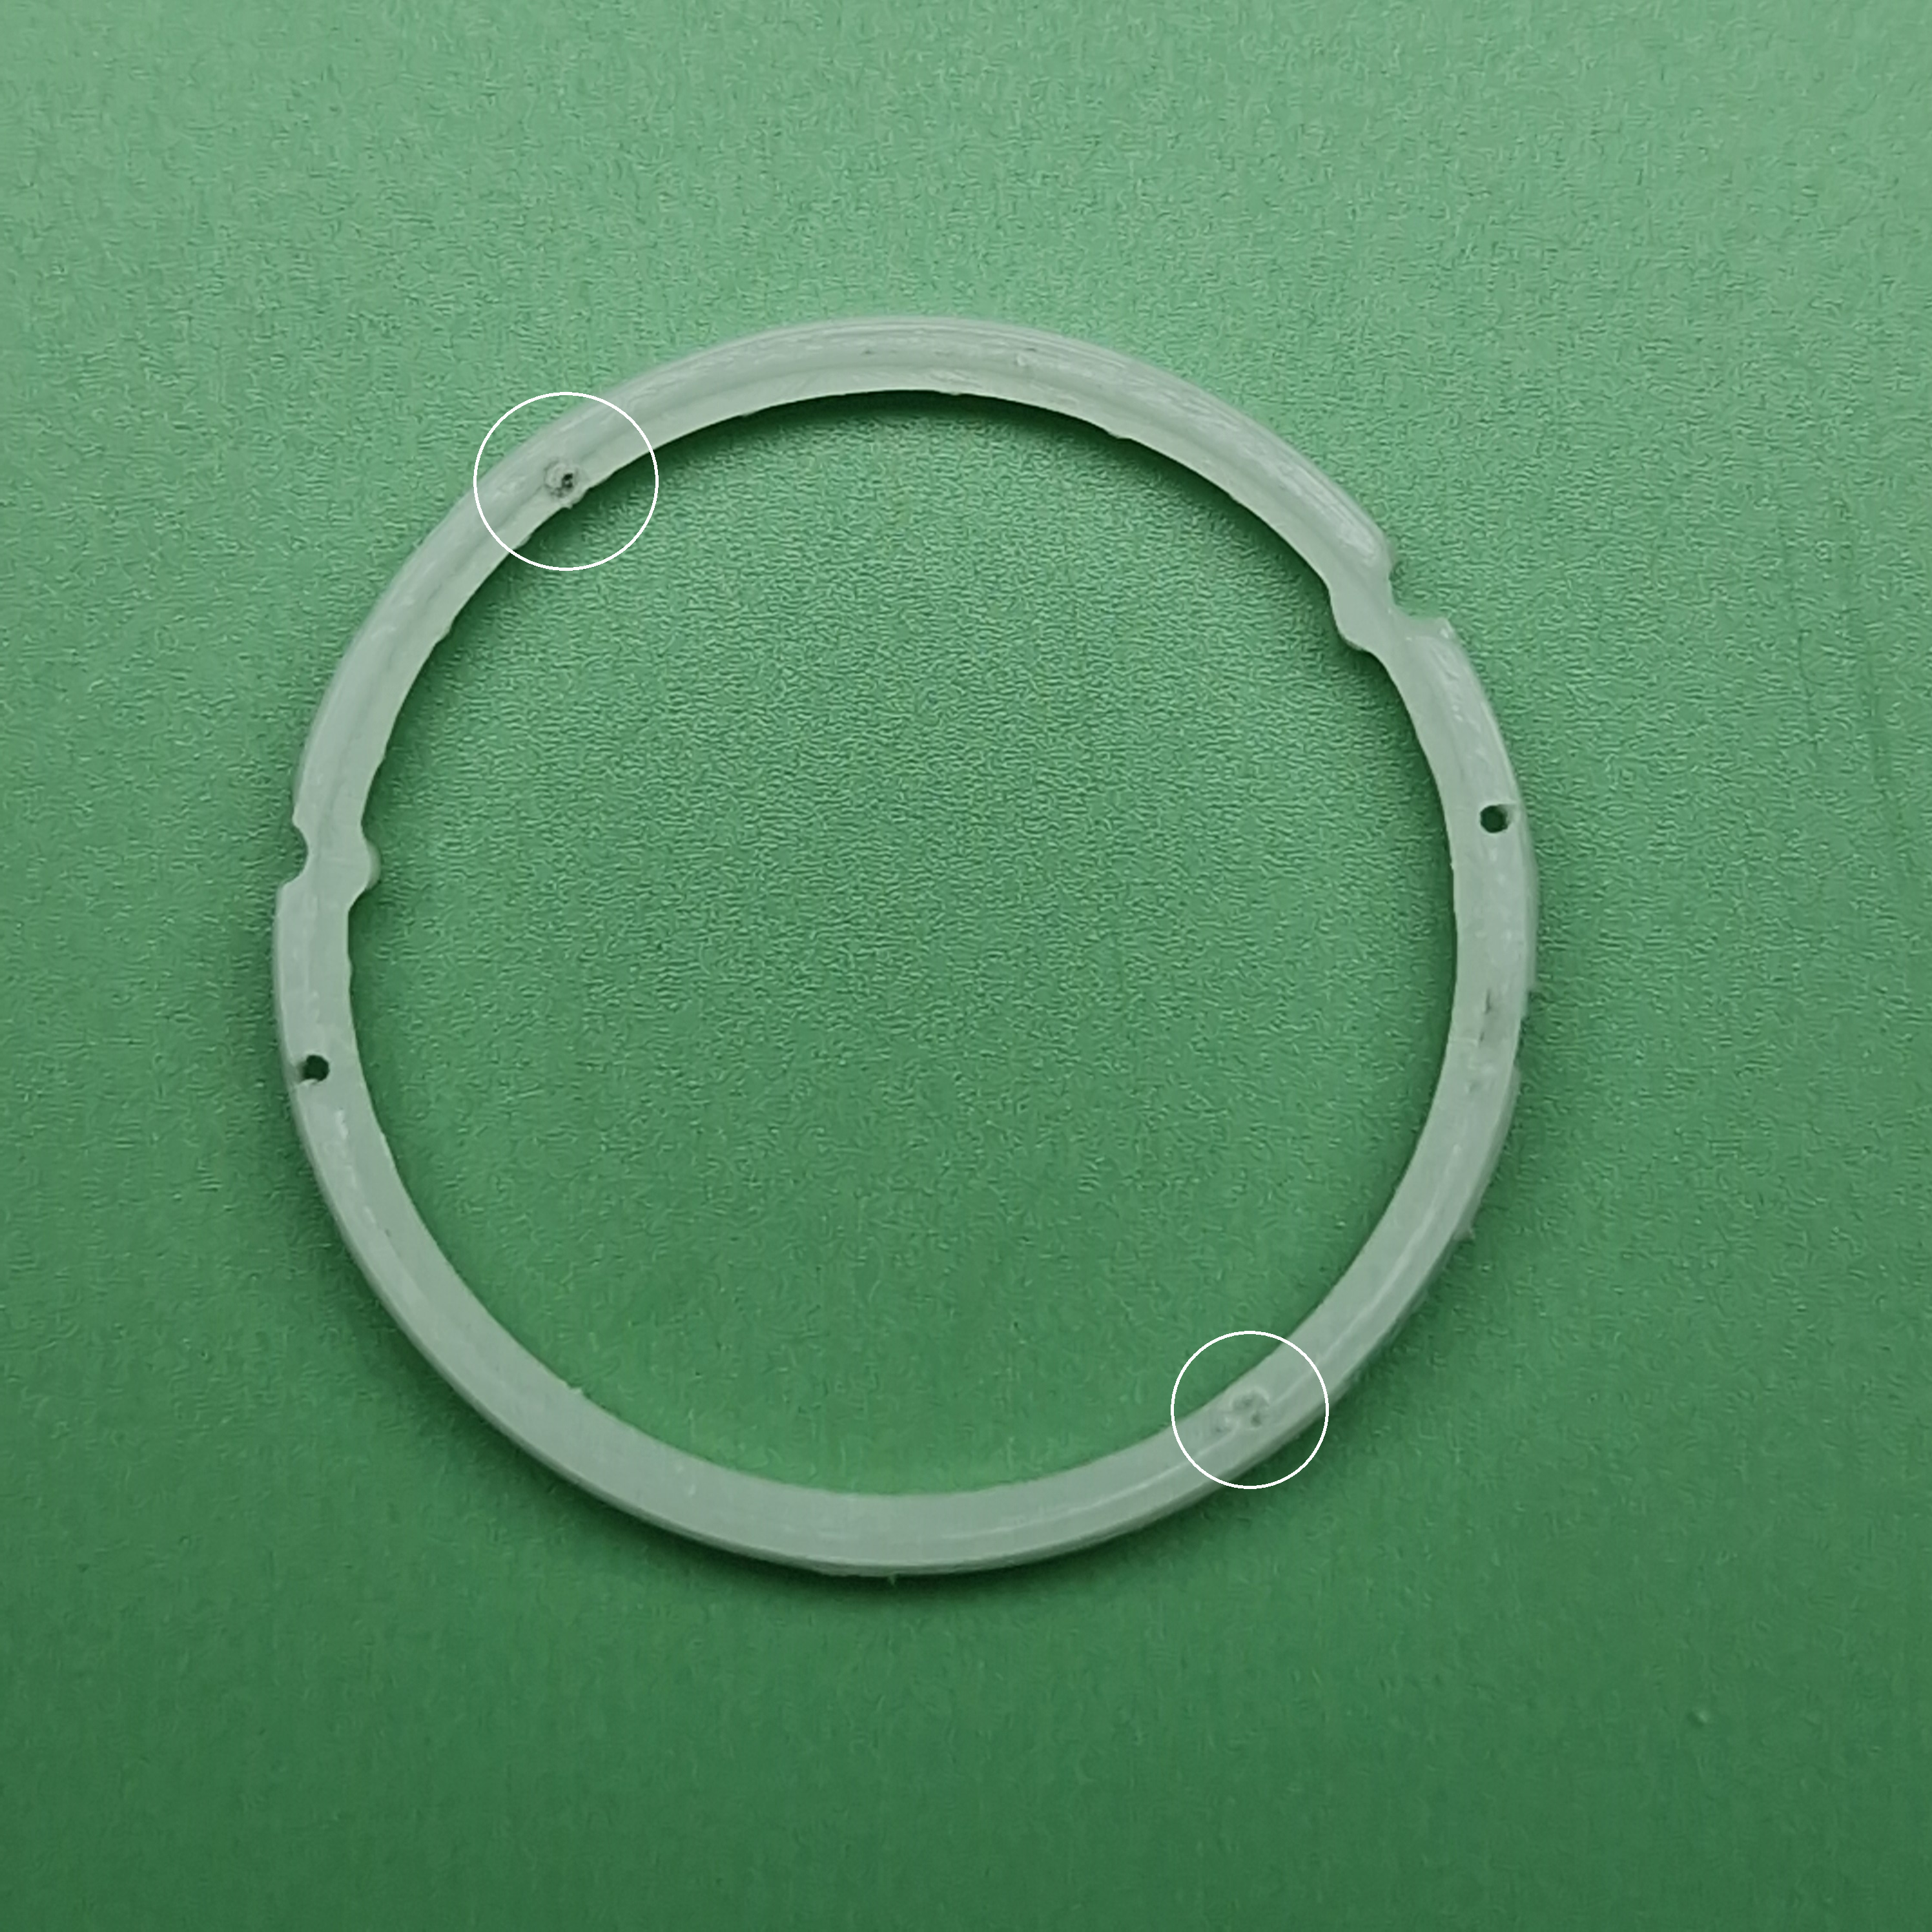
(white circled hole are GEN position)
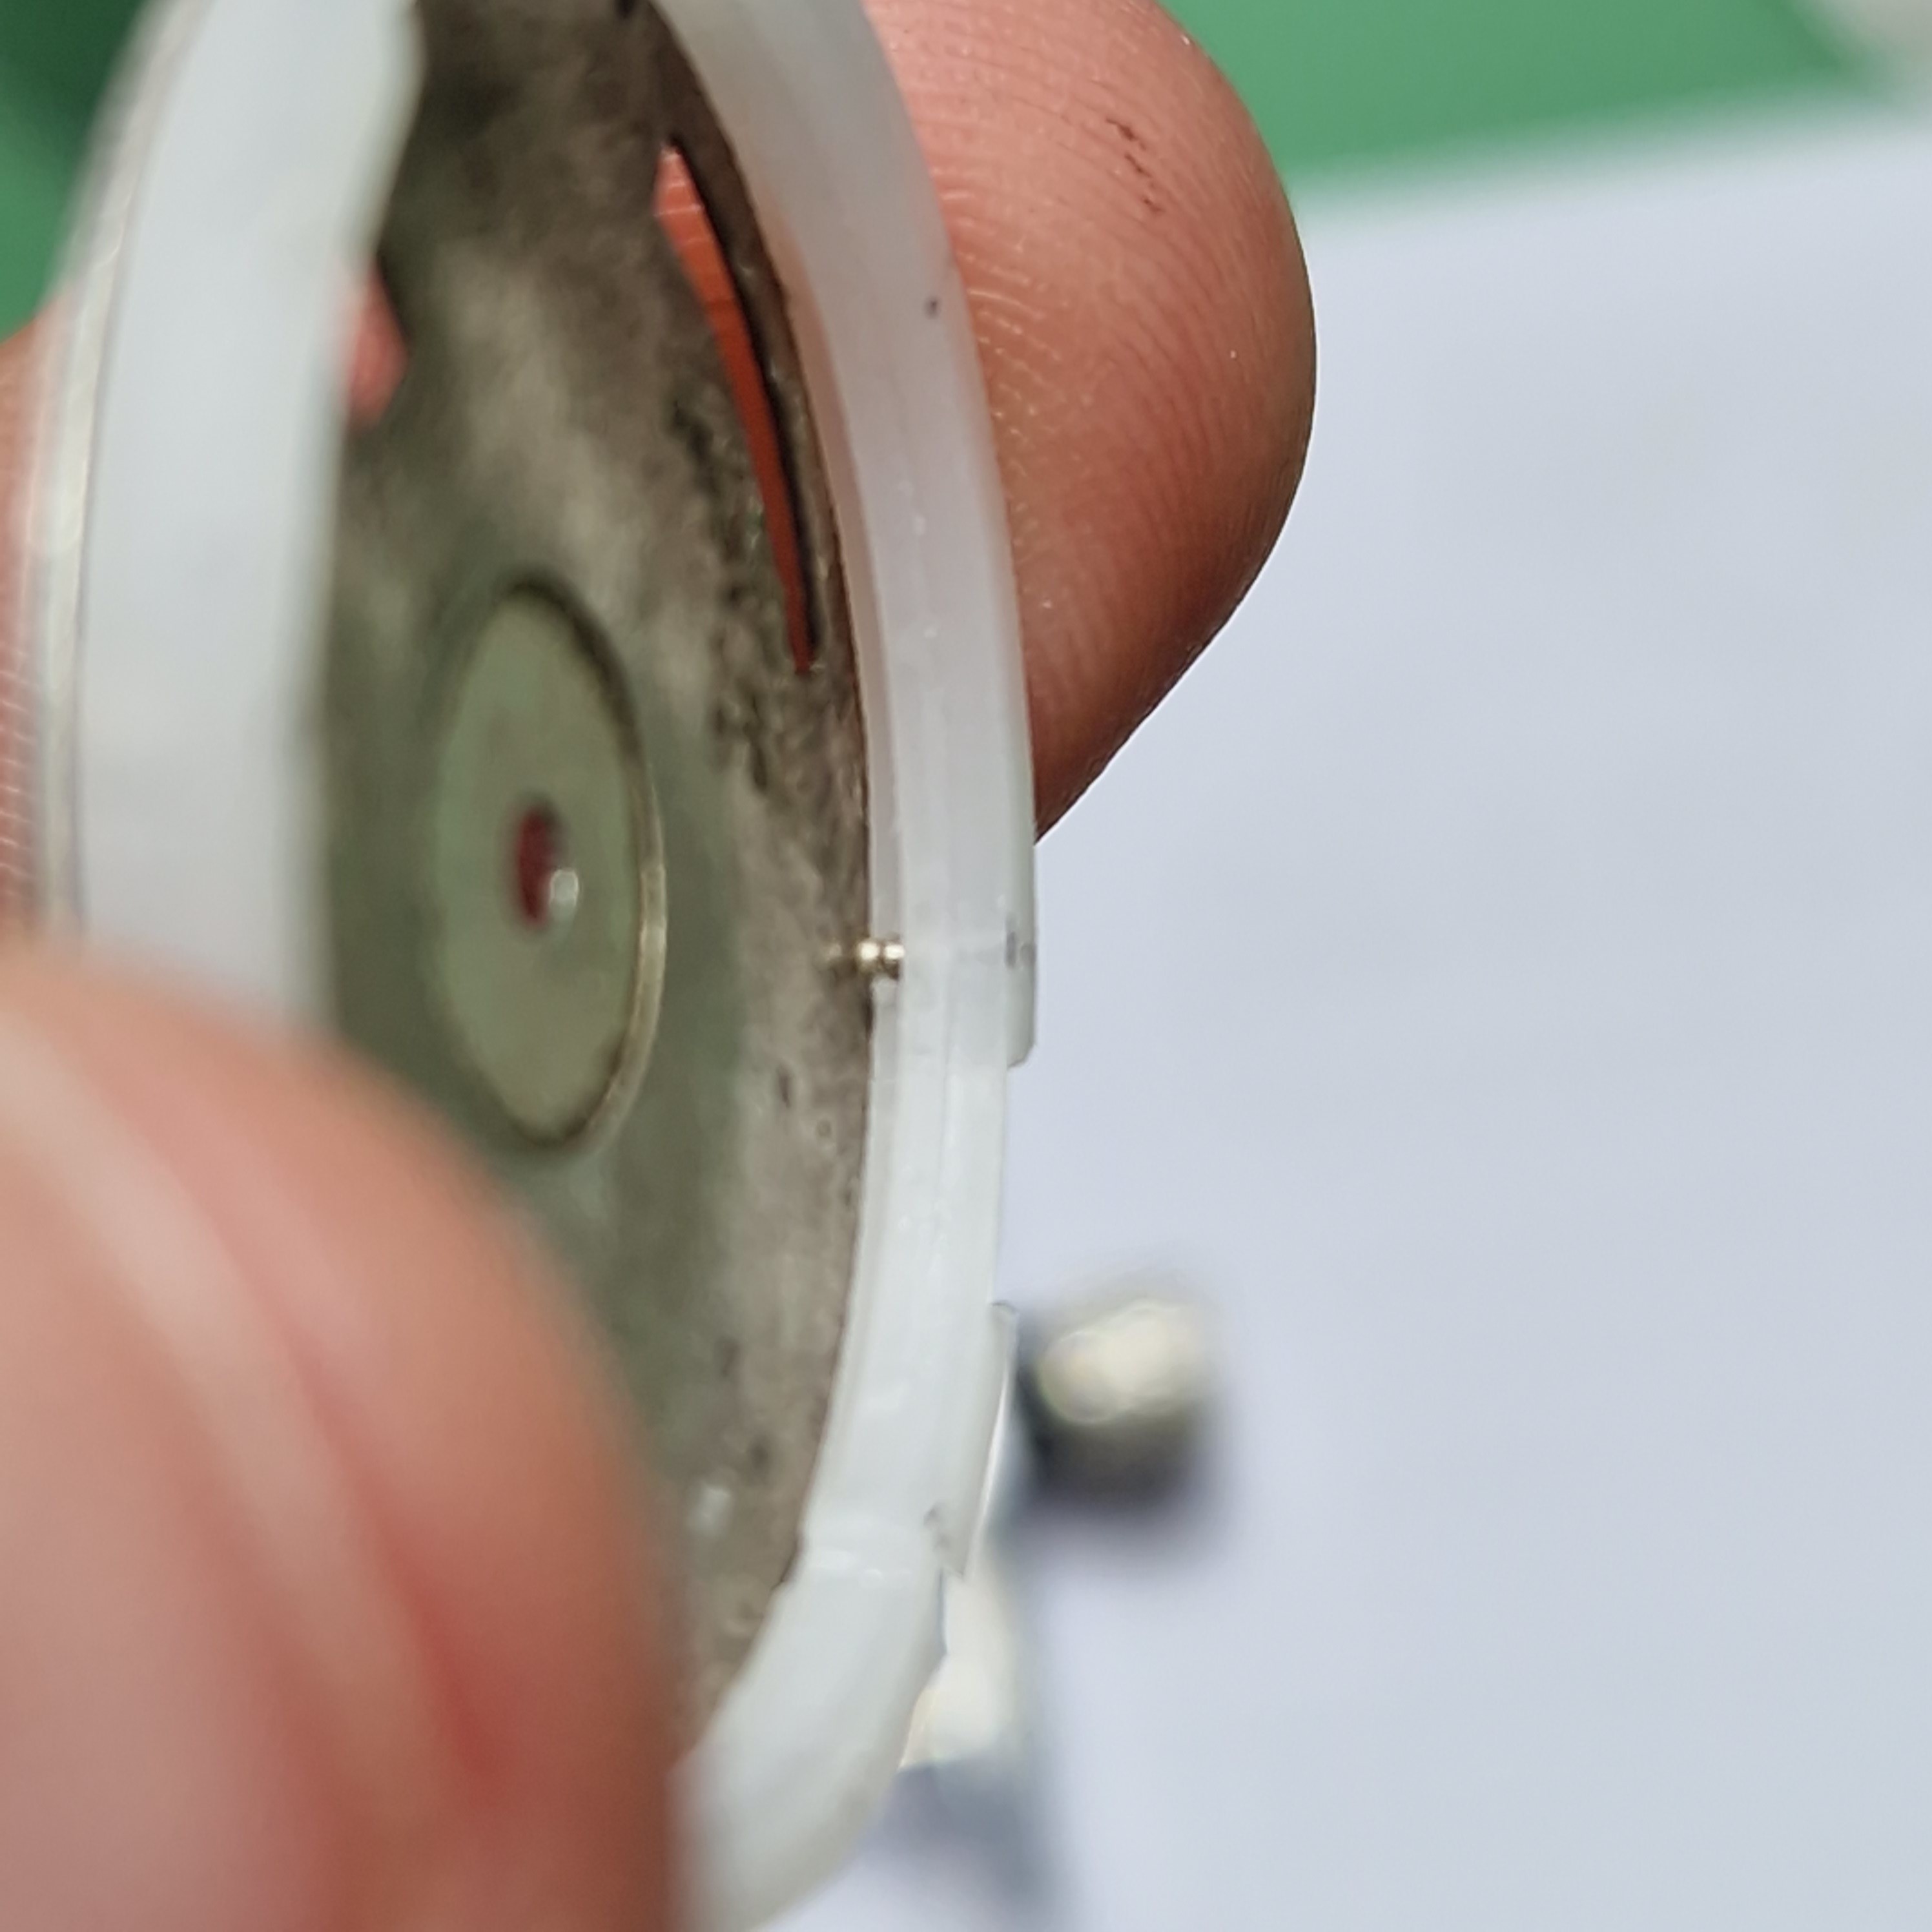
As you can see, the GEN dial now fits the spacer with the original feet, no cutting needed.
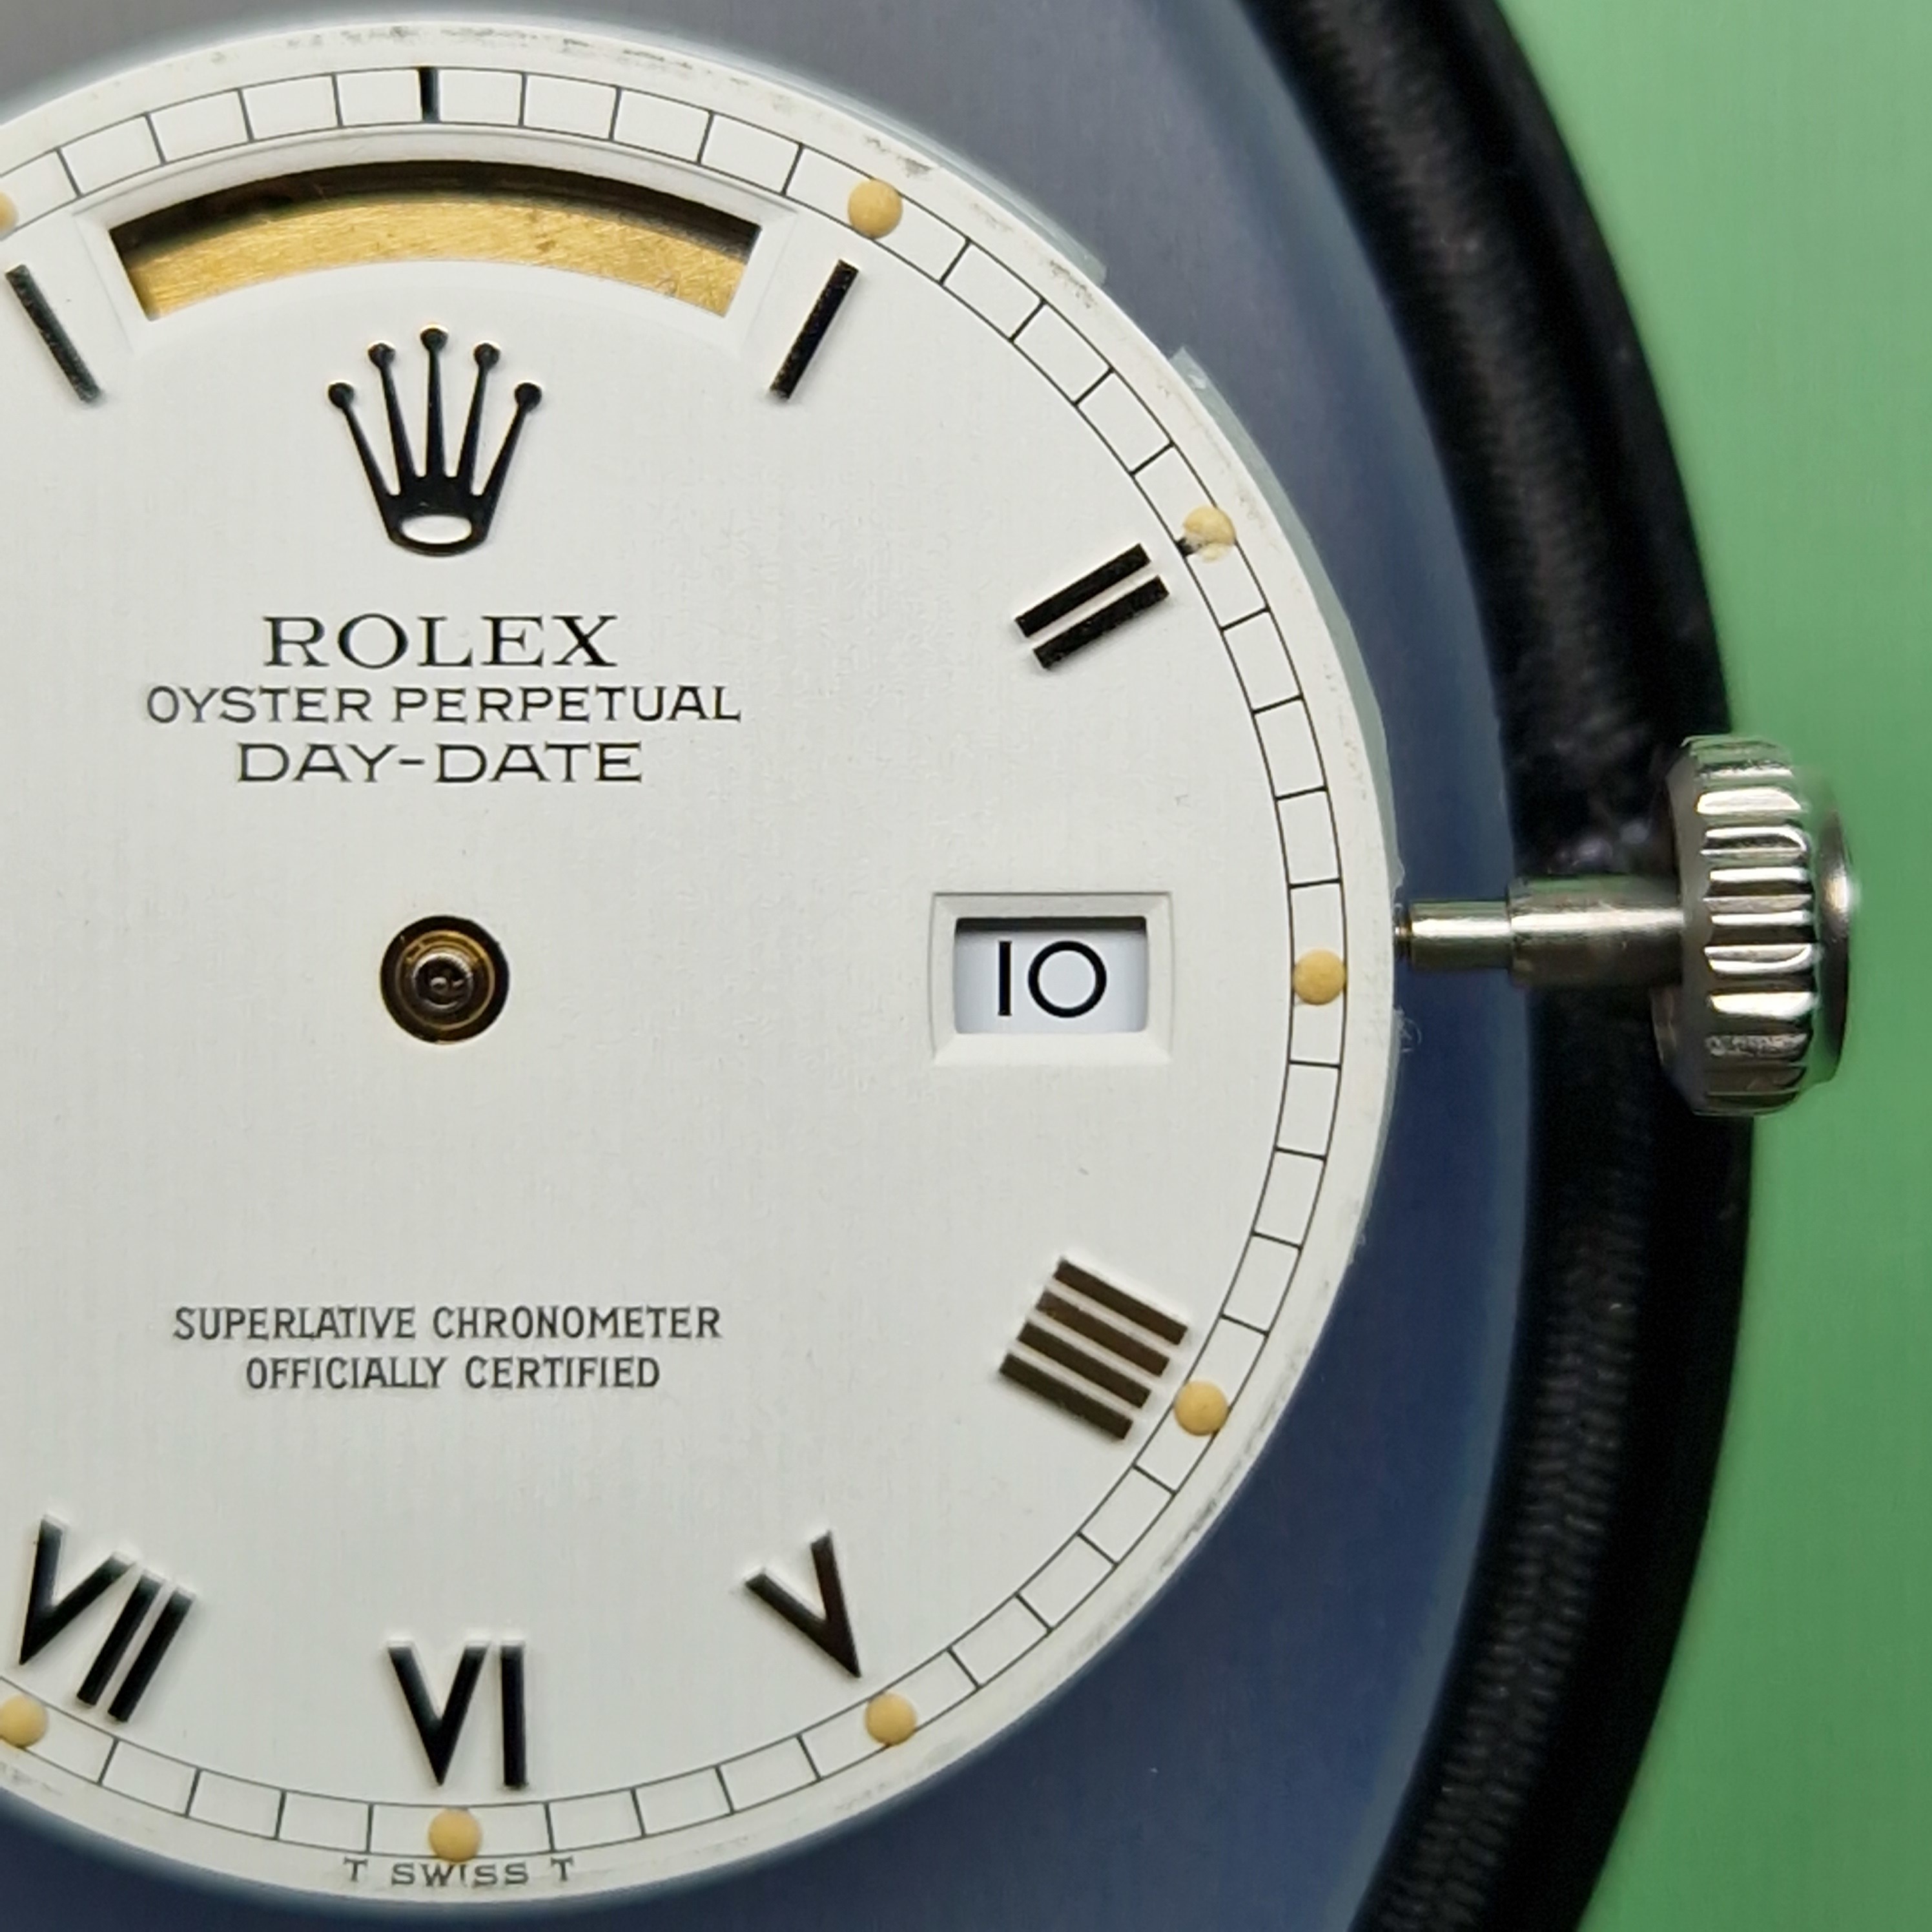
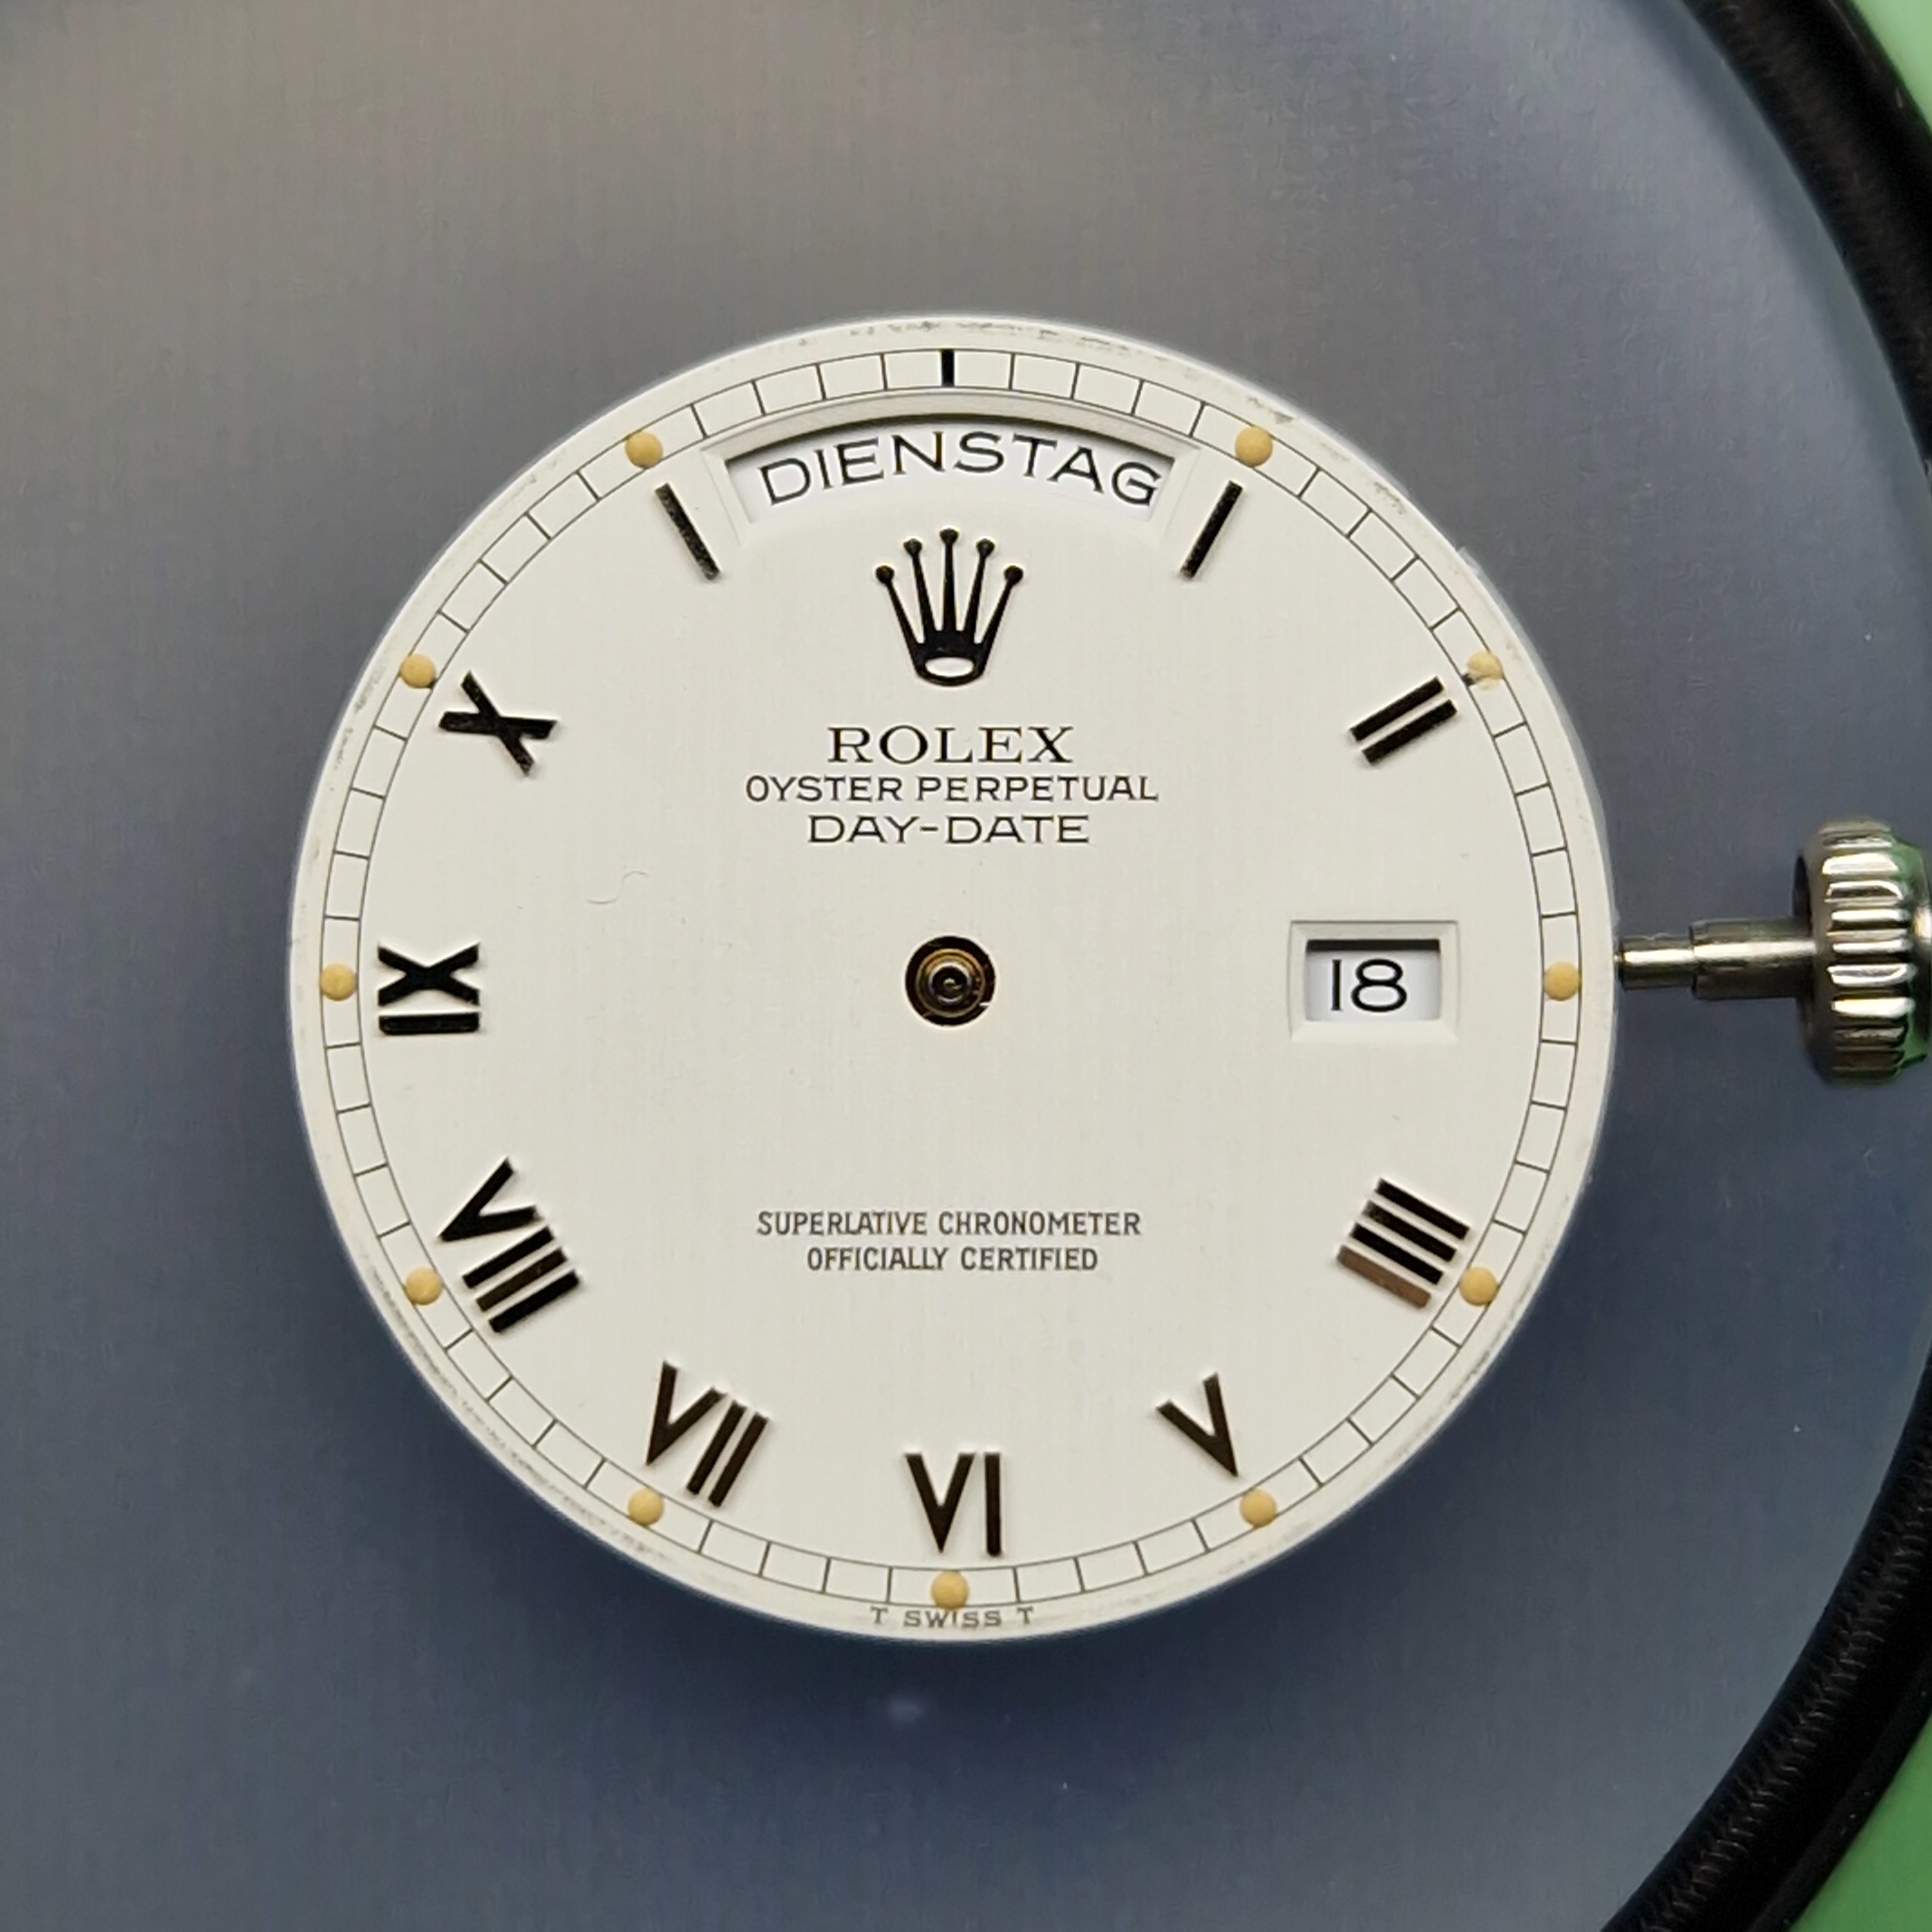
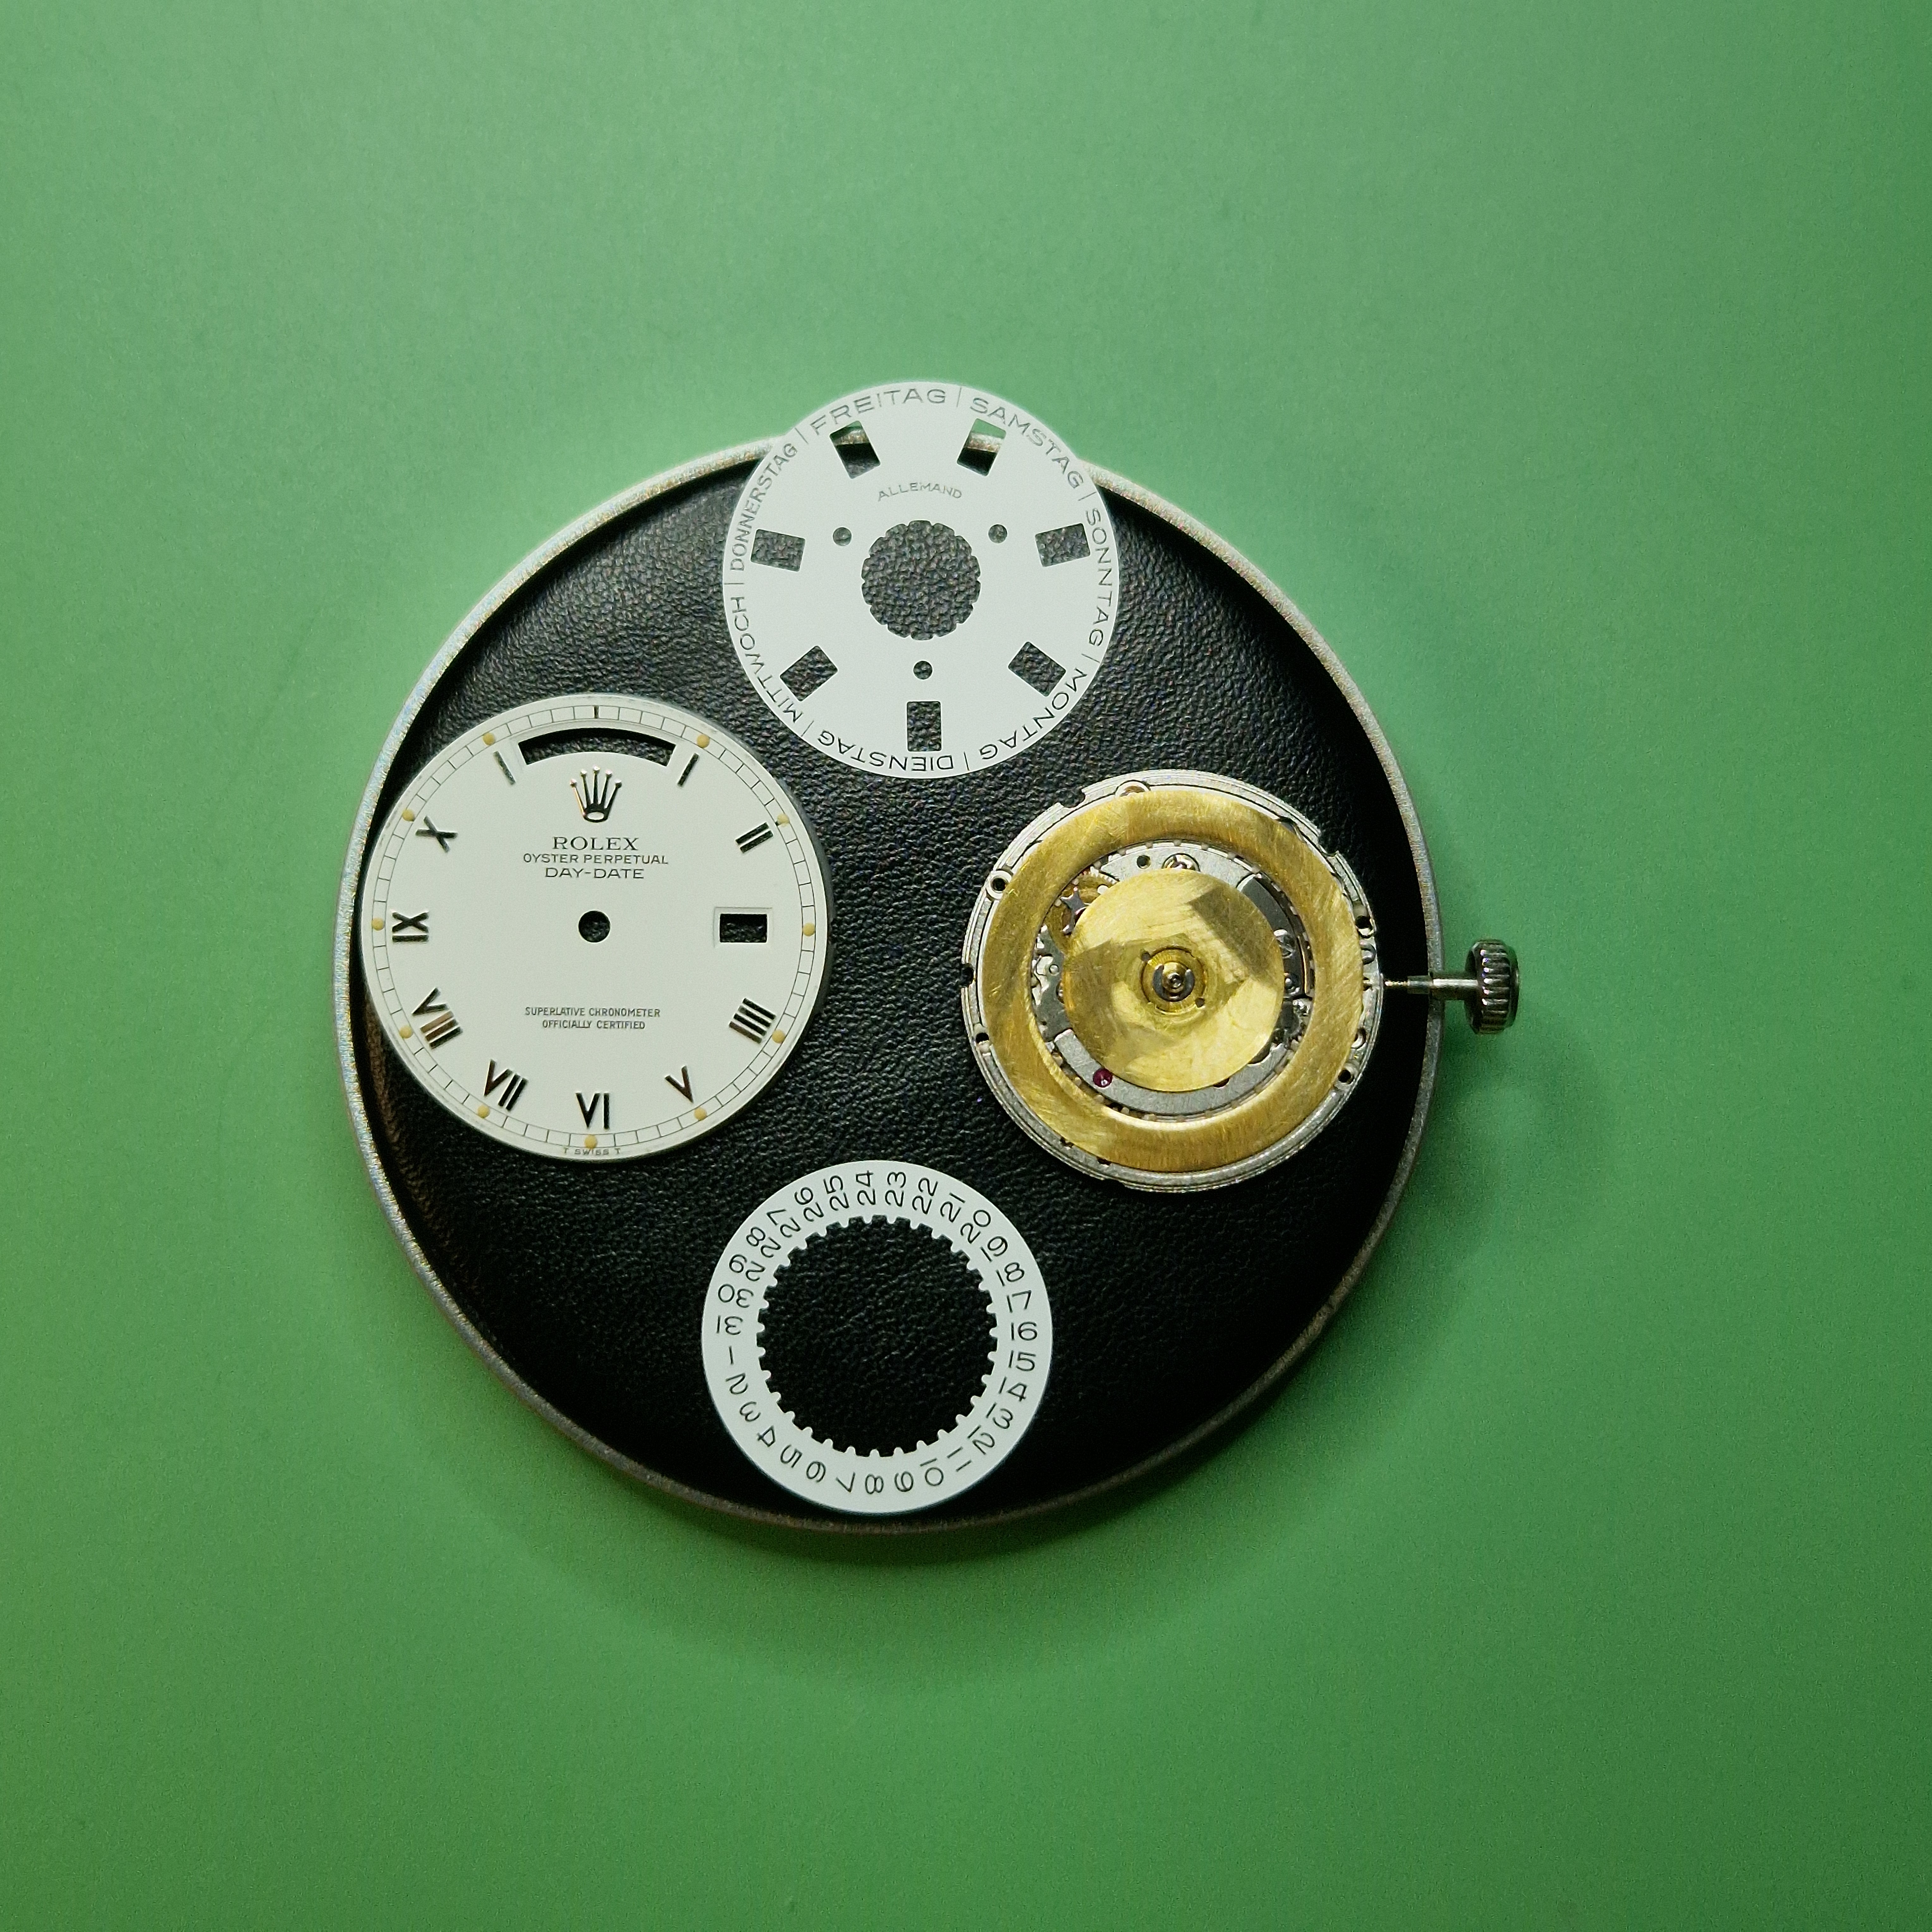
Finally all parts are ready to get assembled. On the next image you can see my final choice of the dial. It was a long hunt on the Gen parts and not paying a ton of money. Finding the dial was extra hard since DayDate dials are super expensive if you want a special one. Also you can see the movement with the modified discs.
today i would like to show and explain my dream build to you, a vintage DayDate 36mm 18239. This is a very special build in my opinion, it has some unique features. First of all i am using a Gen dial with a modified spacer, so you won't have to cut the dial feets and second you will be able to fully disassemble the movement afterwards, even with the unmoded gen DWOs glued to it. But more on that later.
For this build i used the following parts:
- Raffles 36mm Case
- Raffles President Bracelet
- Raffles Hands long Post ETA 2836
- Swiss ETA 2836-2
- Gen Dial
- Gen Daydisc
- Gen Datedisc
First i addressed the problem, that when you glue the DWO on the original datewheel you wont be able to disassemble the dial site of the movement.

As you can see, the gen datedisc is smaller in diameter than the ETA disc and you wont be able to take the daydisc off first in order to disassemble the movement. I wanted to keep the gen parts unmoded, to maybe sale them again later. So grinding off the teeth of the gen datedisc wasn't an option!
So i had to came up with some (lets say) special ideas.
I built a tool to rework the daydisc on a lathe and make the diameter of the daydisc smaller, so it can fit through the gen datedisc.


The ETA daydisc has to be slimed to a diameter of 13,60mm.
After reshaping the ETA daydisc, it will look like this. Now you are able to take the ETA daydisc off even with the gen datedisc.

You can already see there are no more prints on the ETA day- and datedisc. To achieve this just put them in acetone. After the color is removed i sanded them down a little to get more space for the Gen DWOs under the dial and get a better surface for gluing.
Alright, next we will take a look on the dial and spacer. There was no way for me to cut off the feets on a 600€ dial, so i had to come up with an idea.
As you may know, the dial feets on an ETA dial and a gen Rolex dial haven't the same position. That was all i knew, thats it, nobody could tell me in which way they were different.
I ordered a "broken" gen dial for only 30€ on ebay as a sample for my build. And now i got all these sweet gen dial infos!!!

(left ETA, right GEN)
The dial feet positions on the ETA is 30°/70° and on the GEN its 45°/45°. Speaking from 3 and 9 o'clock.
Obvious the spacer from Raffles has the hole on the ETA positions and we need to drill new holes on the GEN positions.
Diameter of the GEN dial feet is 0,72mm
Now you could take your protractor to drill them by hand...
but not with me!!!
So i built a new tool to drill perfect holes on that 45° everytime.


Lid gets centerd on 12, 9 and 3 o'clock.


The spacer is centered on the 3 o'clok position at the stem cutout.
In the lid are two 0,80 mm holes to drill the new holes in the spacer
After drilling the new holes, you get a spacer with the correct postion for the GEN dial feet.

(white circled hole are GEN position)
As you can see, the GEN dial now fits the spacer with the original feet, no cutting needed.

Finally all parts are ready to get assembled. On the next image you can see my final choice of the dial. It was a long hunt on the Gen parts and not paying a ton of money. Finding the dial was extra hard since DayDate dials are super expensive if you want a special one. Also you can see the movement with the modified discs.


