-
Tired of adverts on RWI? - Subscribe by clicking HERE and PMing Trailboss for instructions and they will magically go away!
You are using an out of date browser. It may not display this or other websites correctly.
You should upgrade or use an alternative browser.
You should upgrade or use an alternative browser.
5513 dial refinish
- Thread starter Raymond
- Start date
- 12/3/18
- 37,351
- 79,242
- 113
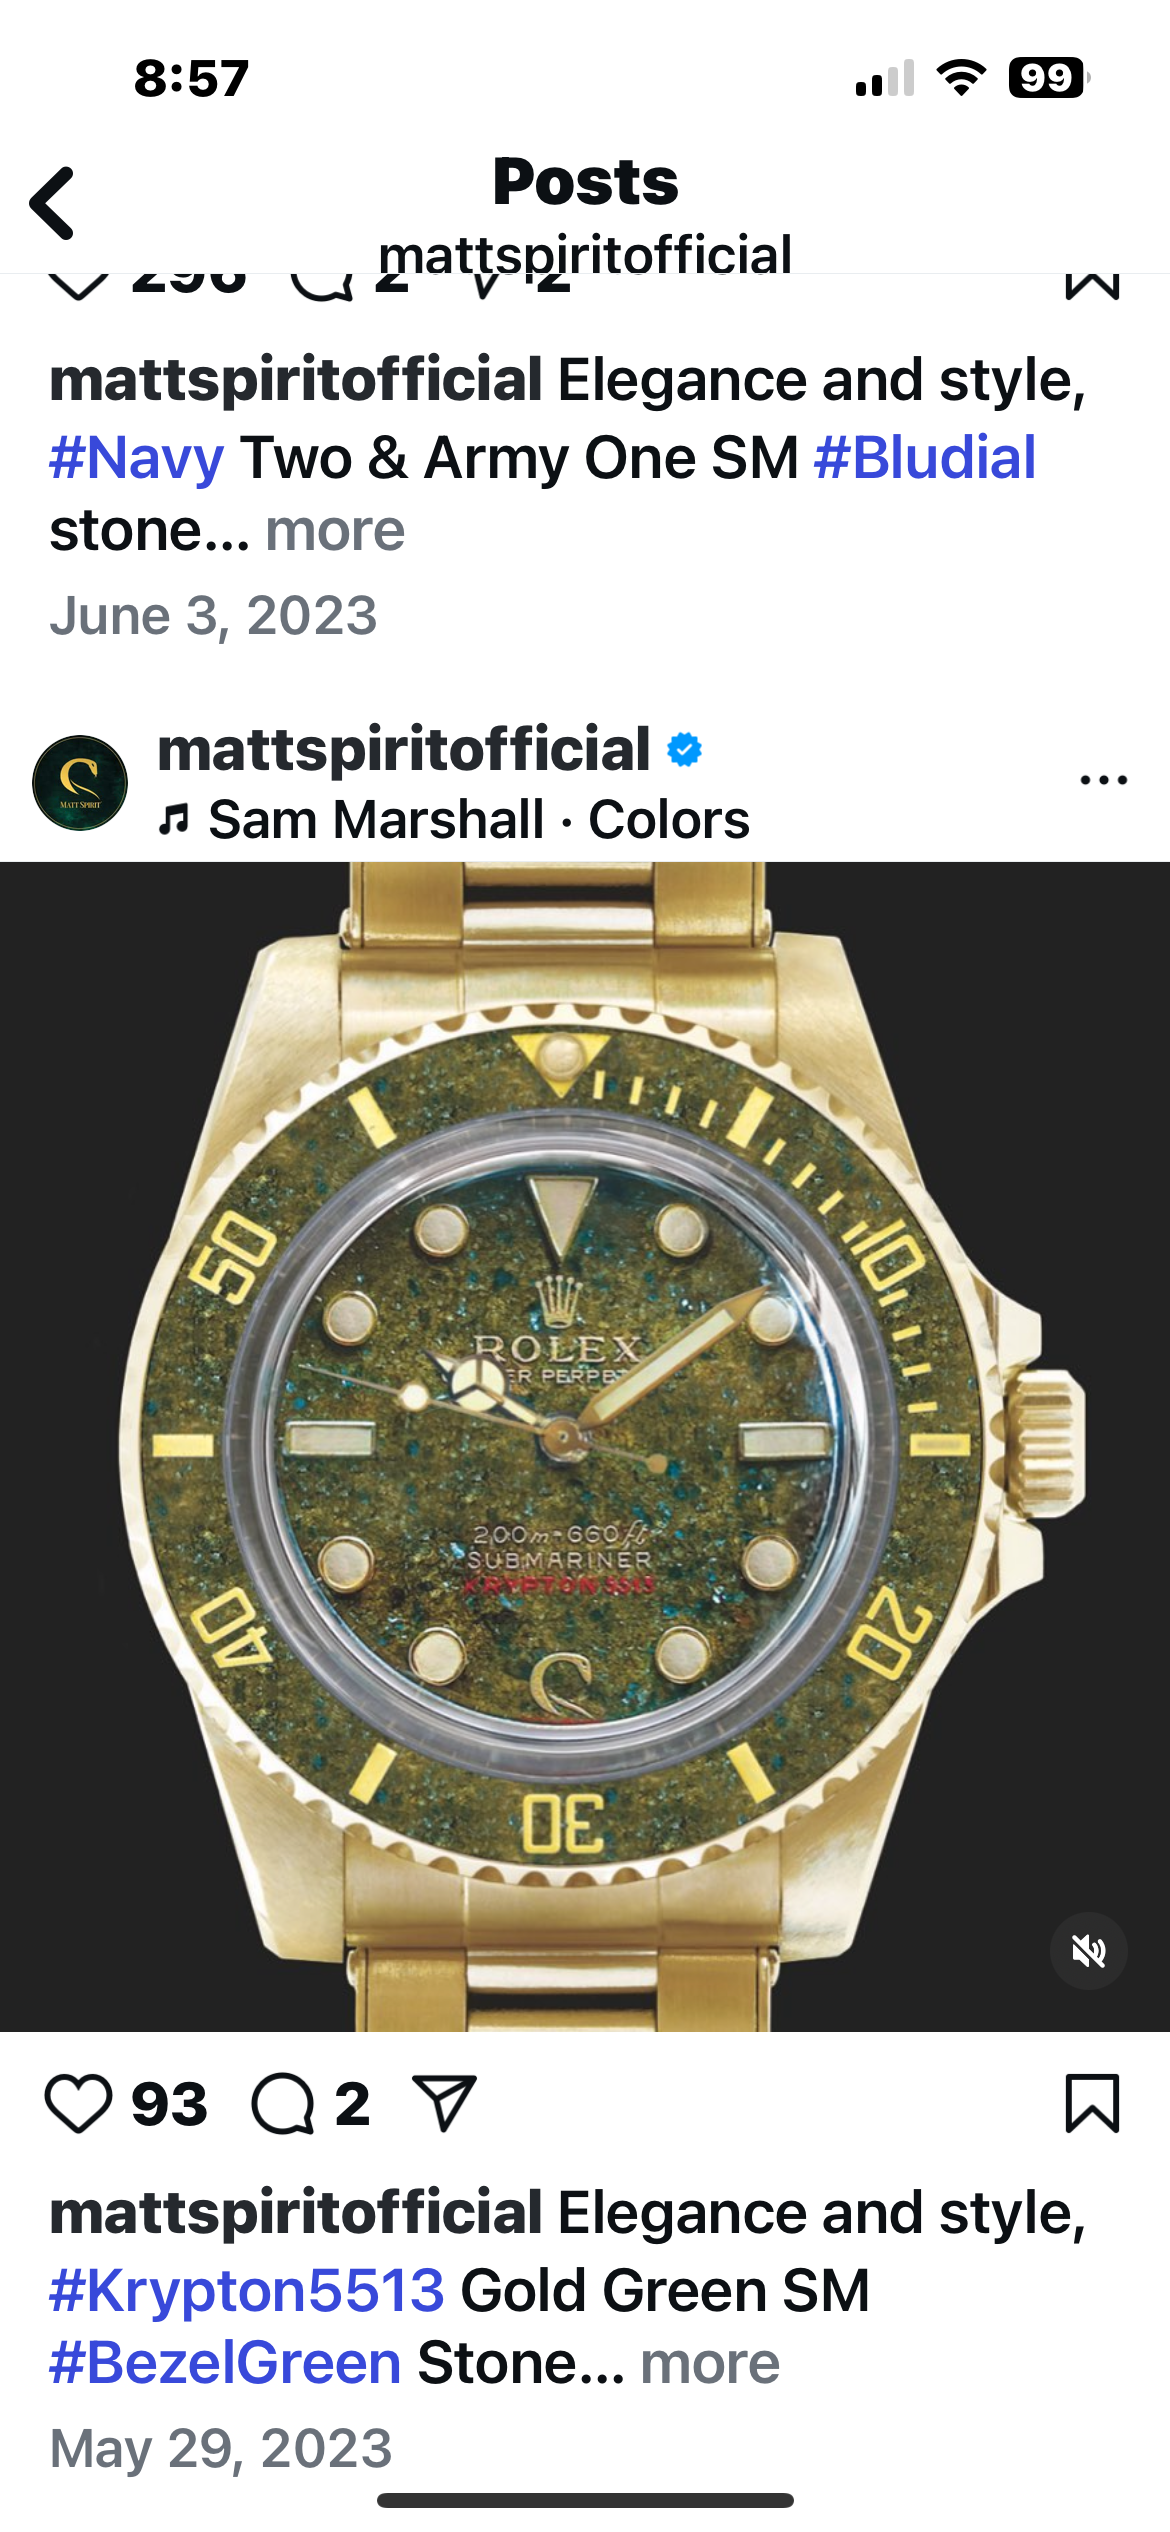
The ad says it's a stone dial. There are many different stones used to make dials from. After they are cut to shape and date window cut out if used, they are usually mounted on a metal backer plate to prevent cracking. Then they are pad printed like a normal dial, then finally the markers are placed on.
It's possible you could make something similar with paint but you would need to stay away from or be extremely careful around the text and the markers.
It's possible you could make something similar with paint but you would need to stay away from or be extremely careful around the text and the markers.
Last edited:
I dont know the specifics on how they did it but I know how I would do it.
Yes, pop out the indices from dial and take the gloss finish off the bezel insert with a very quick dip it draino the soap rinse, repeat until matte. Use double sided tape to adhere both to a piece of cardboard.
Place cardboard upright on the wall.
Then, I would hit the dial with some Transparent Vintage Amber guitar laquer from StewMac in a rattle can and perhaps a little of their green color too. Starting as far away from the dial as possible, maybe 6 feet away. Small quick bursts of the nozzle.
Then, moving in until all of the yellowish tint looks the same as the dial in your Pic. Basically stop of after each spray at each distance and observe what the dial looks like. Starting far away insures you won't over do it.
Let dry, then I would get rustoleum spray paint cans in every color of those little dots you see teal, white, off white etc...
Place the dial and insert on the floor on the cardboard. Start with color that has the most dots, teal? Hold the can at a high height and with thr quickest burst imaginable, send some say 6 feet into the air over your dial.
The mist will fall and only a few tiny drops will hit the dial.
Personally, I would test this on some black paper to see exactly what height the bursts of paint give the paper on the floor the correct amount of dots and the correct size.
After you have nailed the first color dots, work your way down to the less frequently occuring dots using higher height and fewer bursts to get less of that color.
Then, finish with a krylon matte spray or gloss spray depending what you want, to seal the insert and dial up.
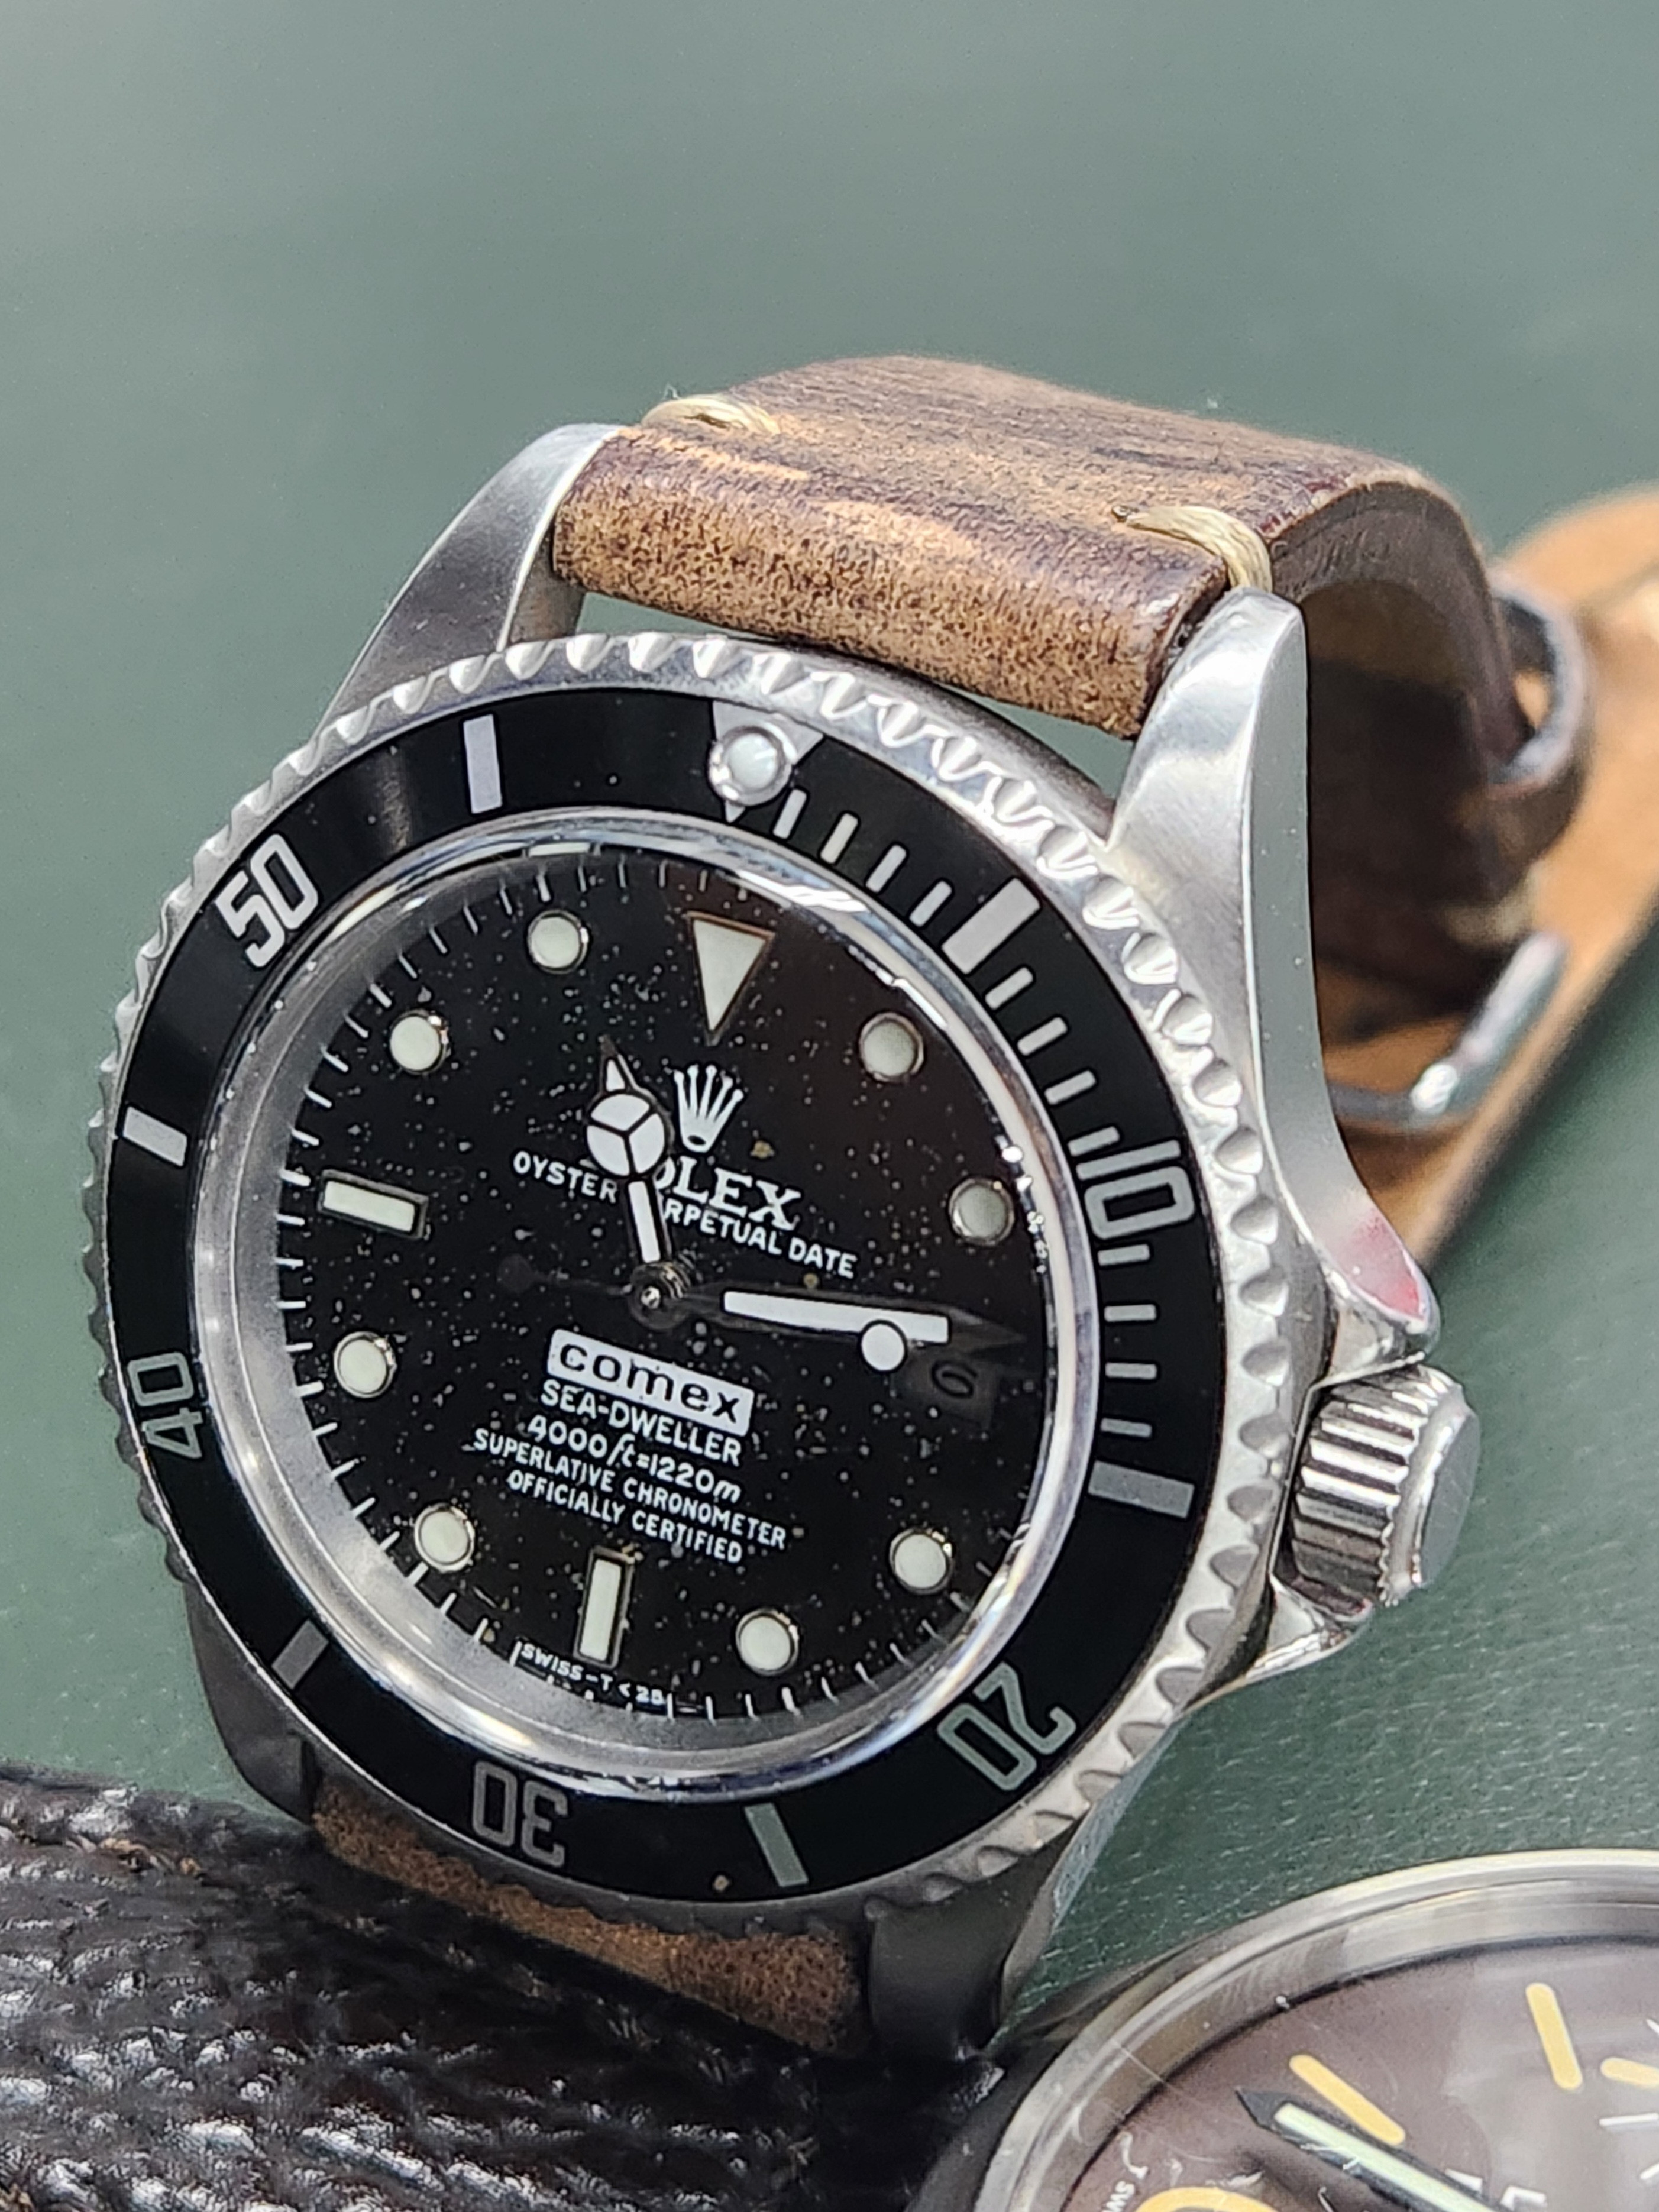
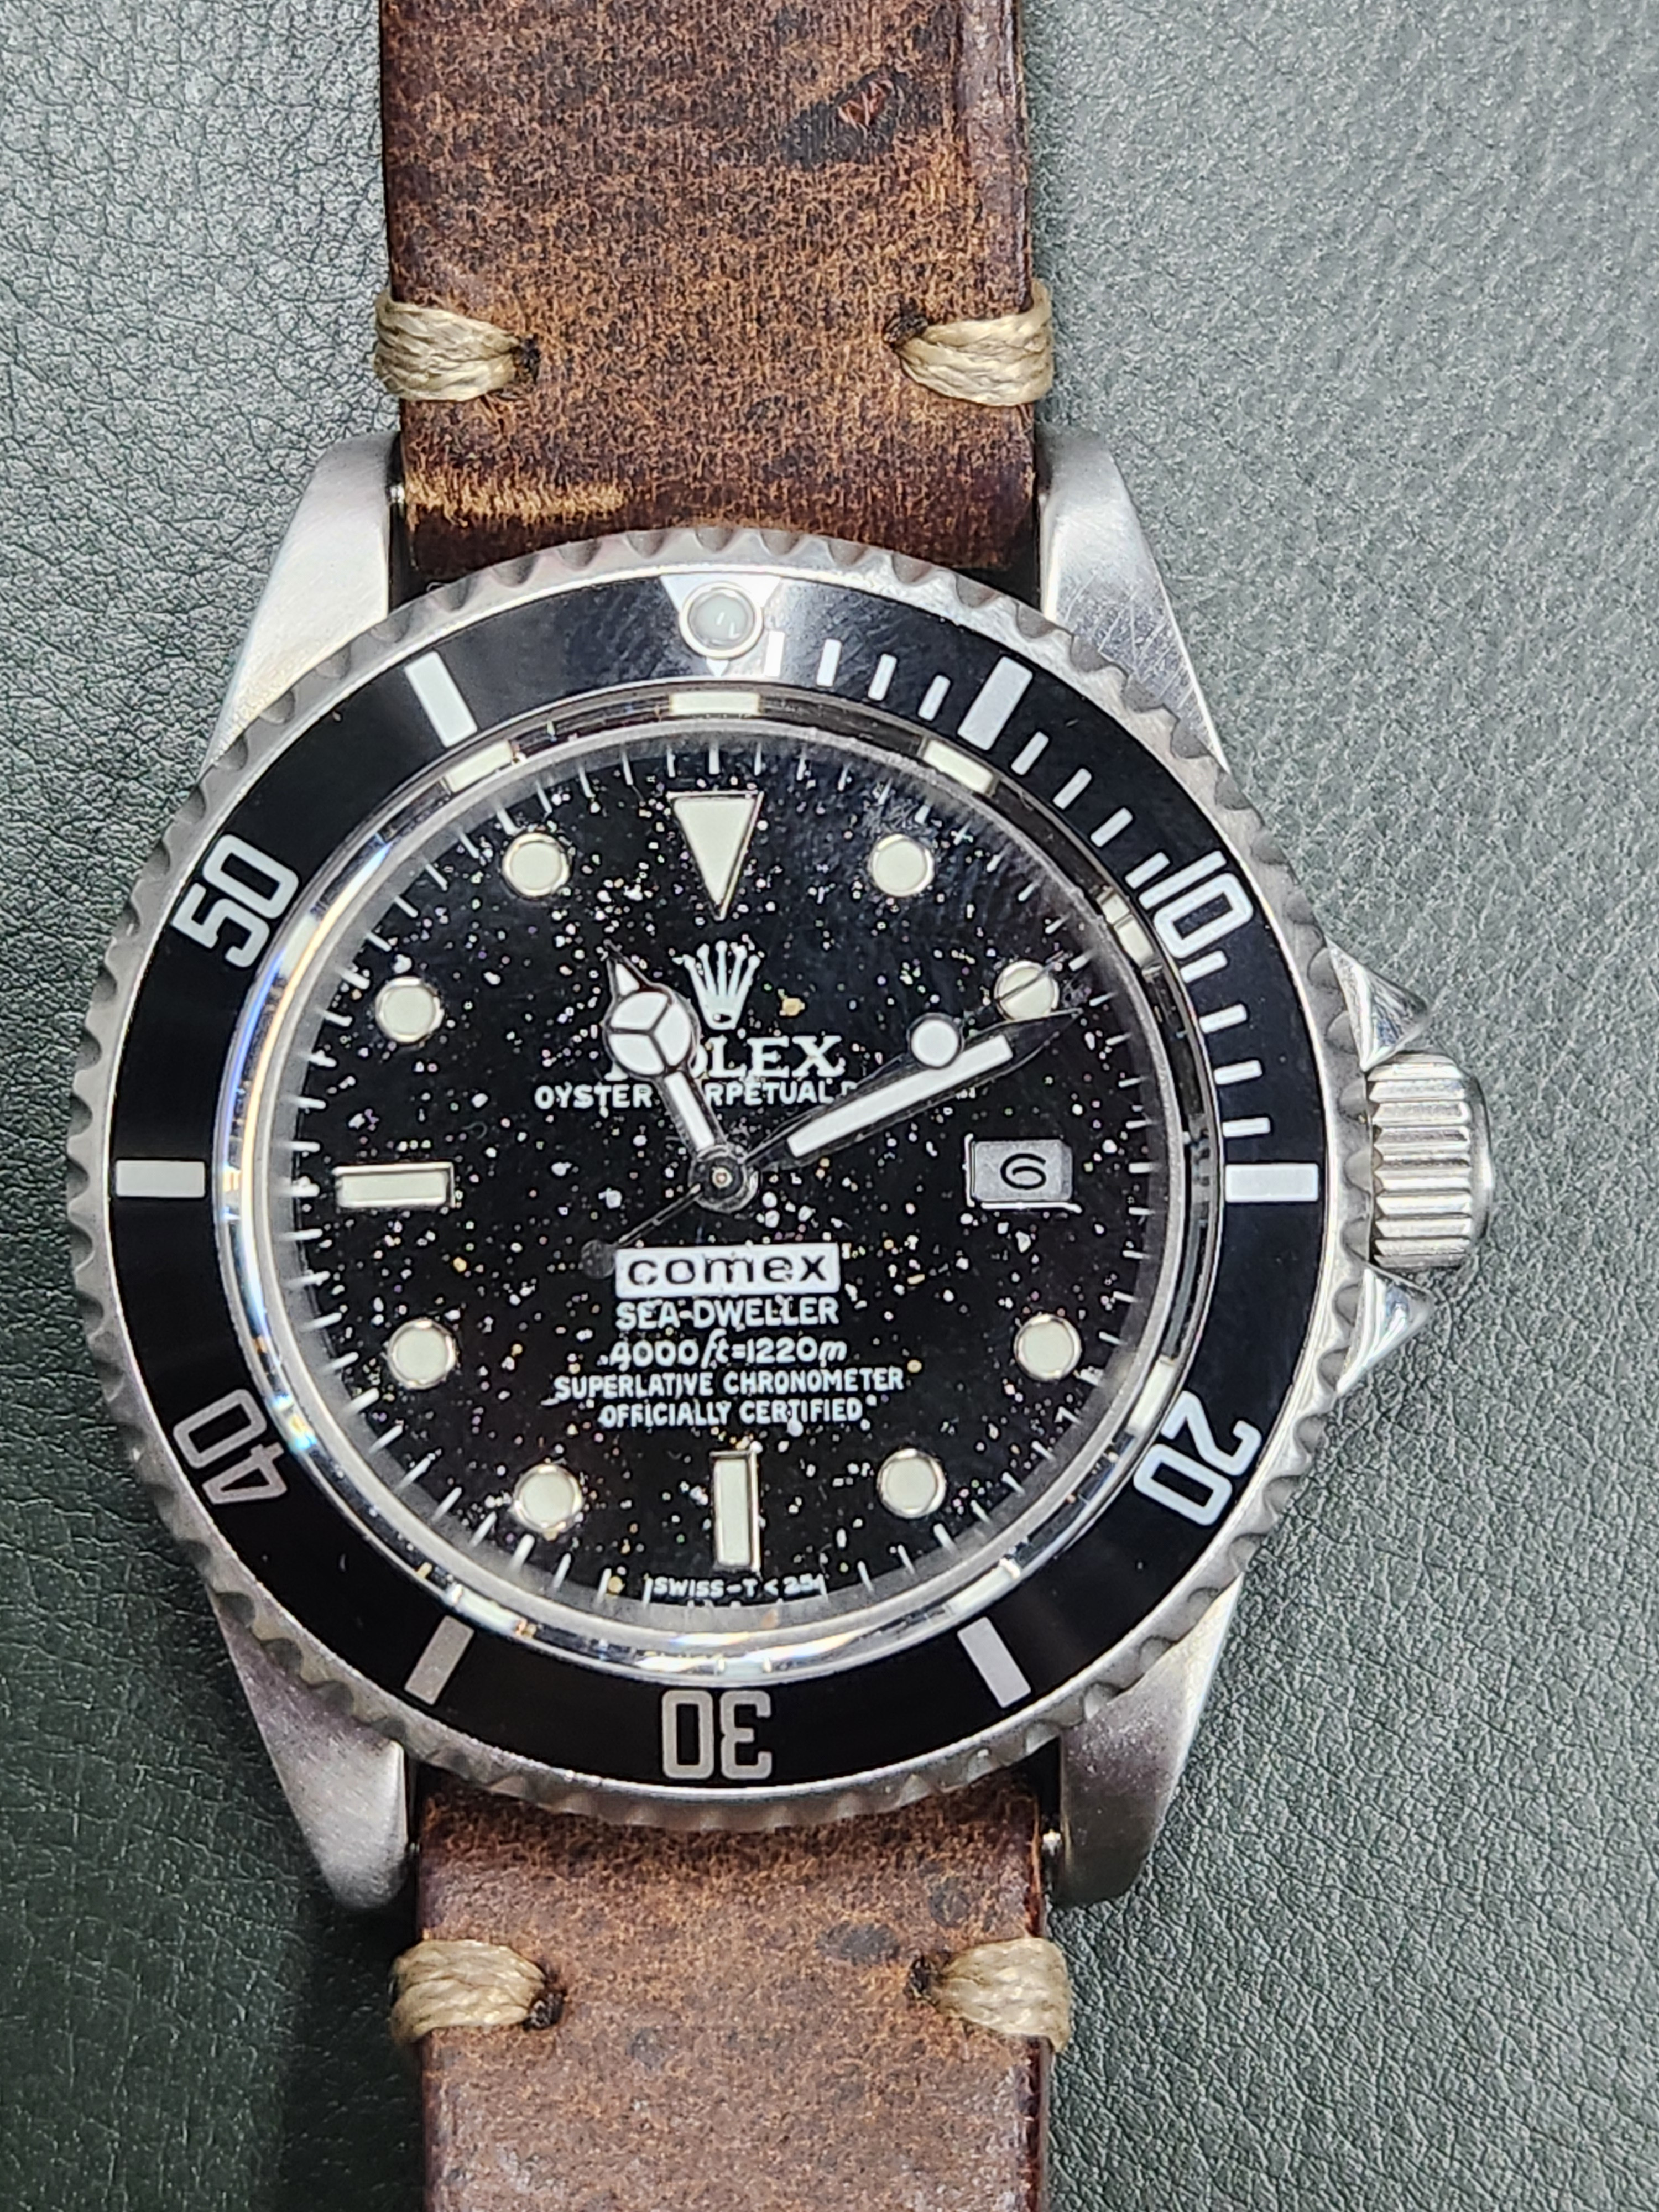
I have done similar projects using stewmac laquer and others with spray paint misting those little dots. Here's a few.
**I am unsure if the transparent Amber spray will build up enough to create the spotchy yellow/green base because i have never applied that much, I would test. You might need to resort to an opaque laquer, which stew mac sells too, and use a sponge to apply it, however as KJ says, you could cover up your dial print. But you would want to experiment with layering a few color tones over each other, it needs to look cloudy, made up of different shades, not uniform. Also, the dark splotches could be the black dial peering through, helping the design.
Starburst multicolor 16660
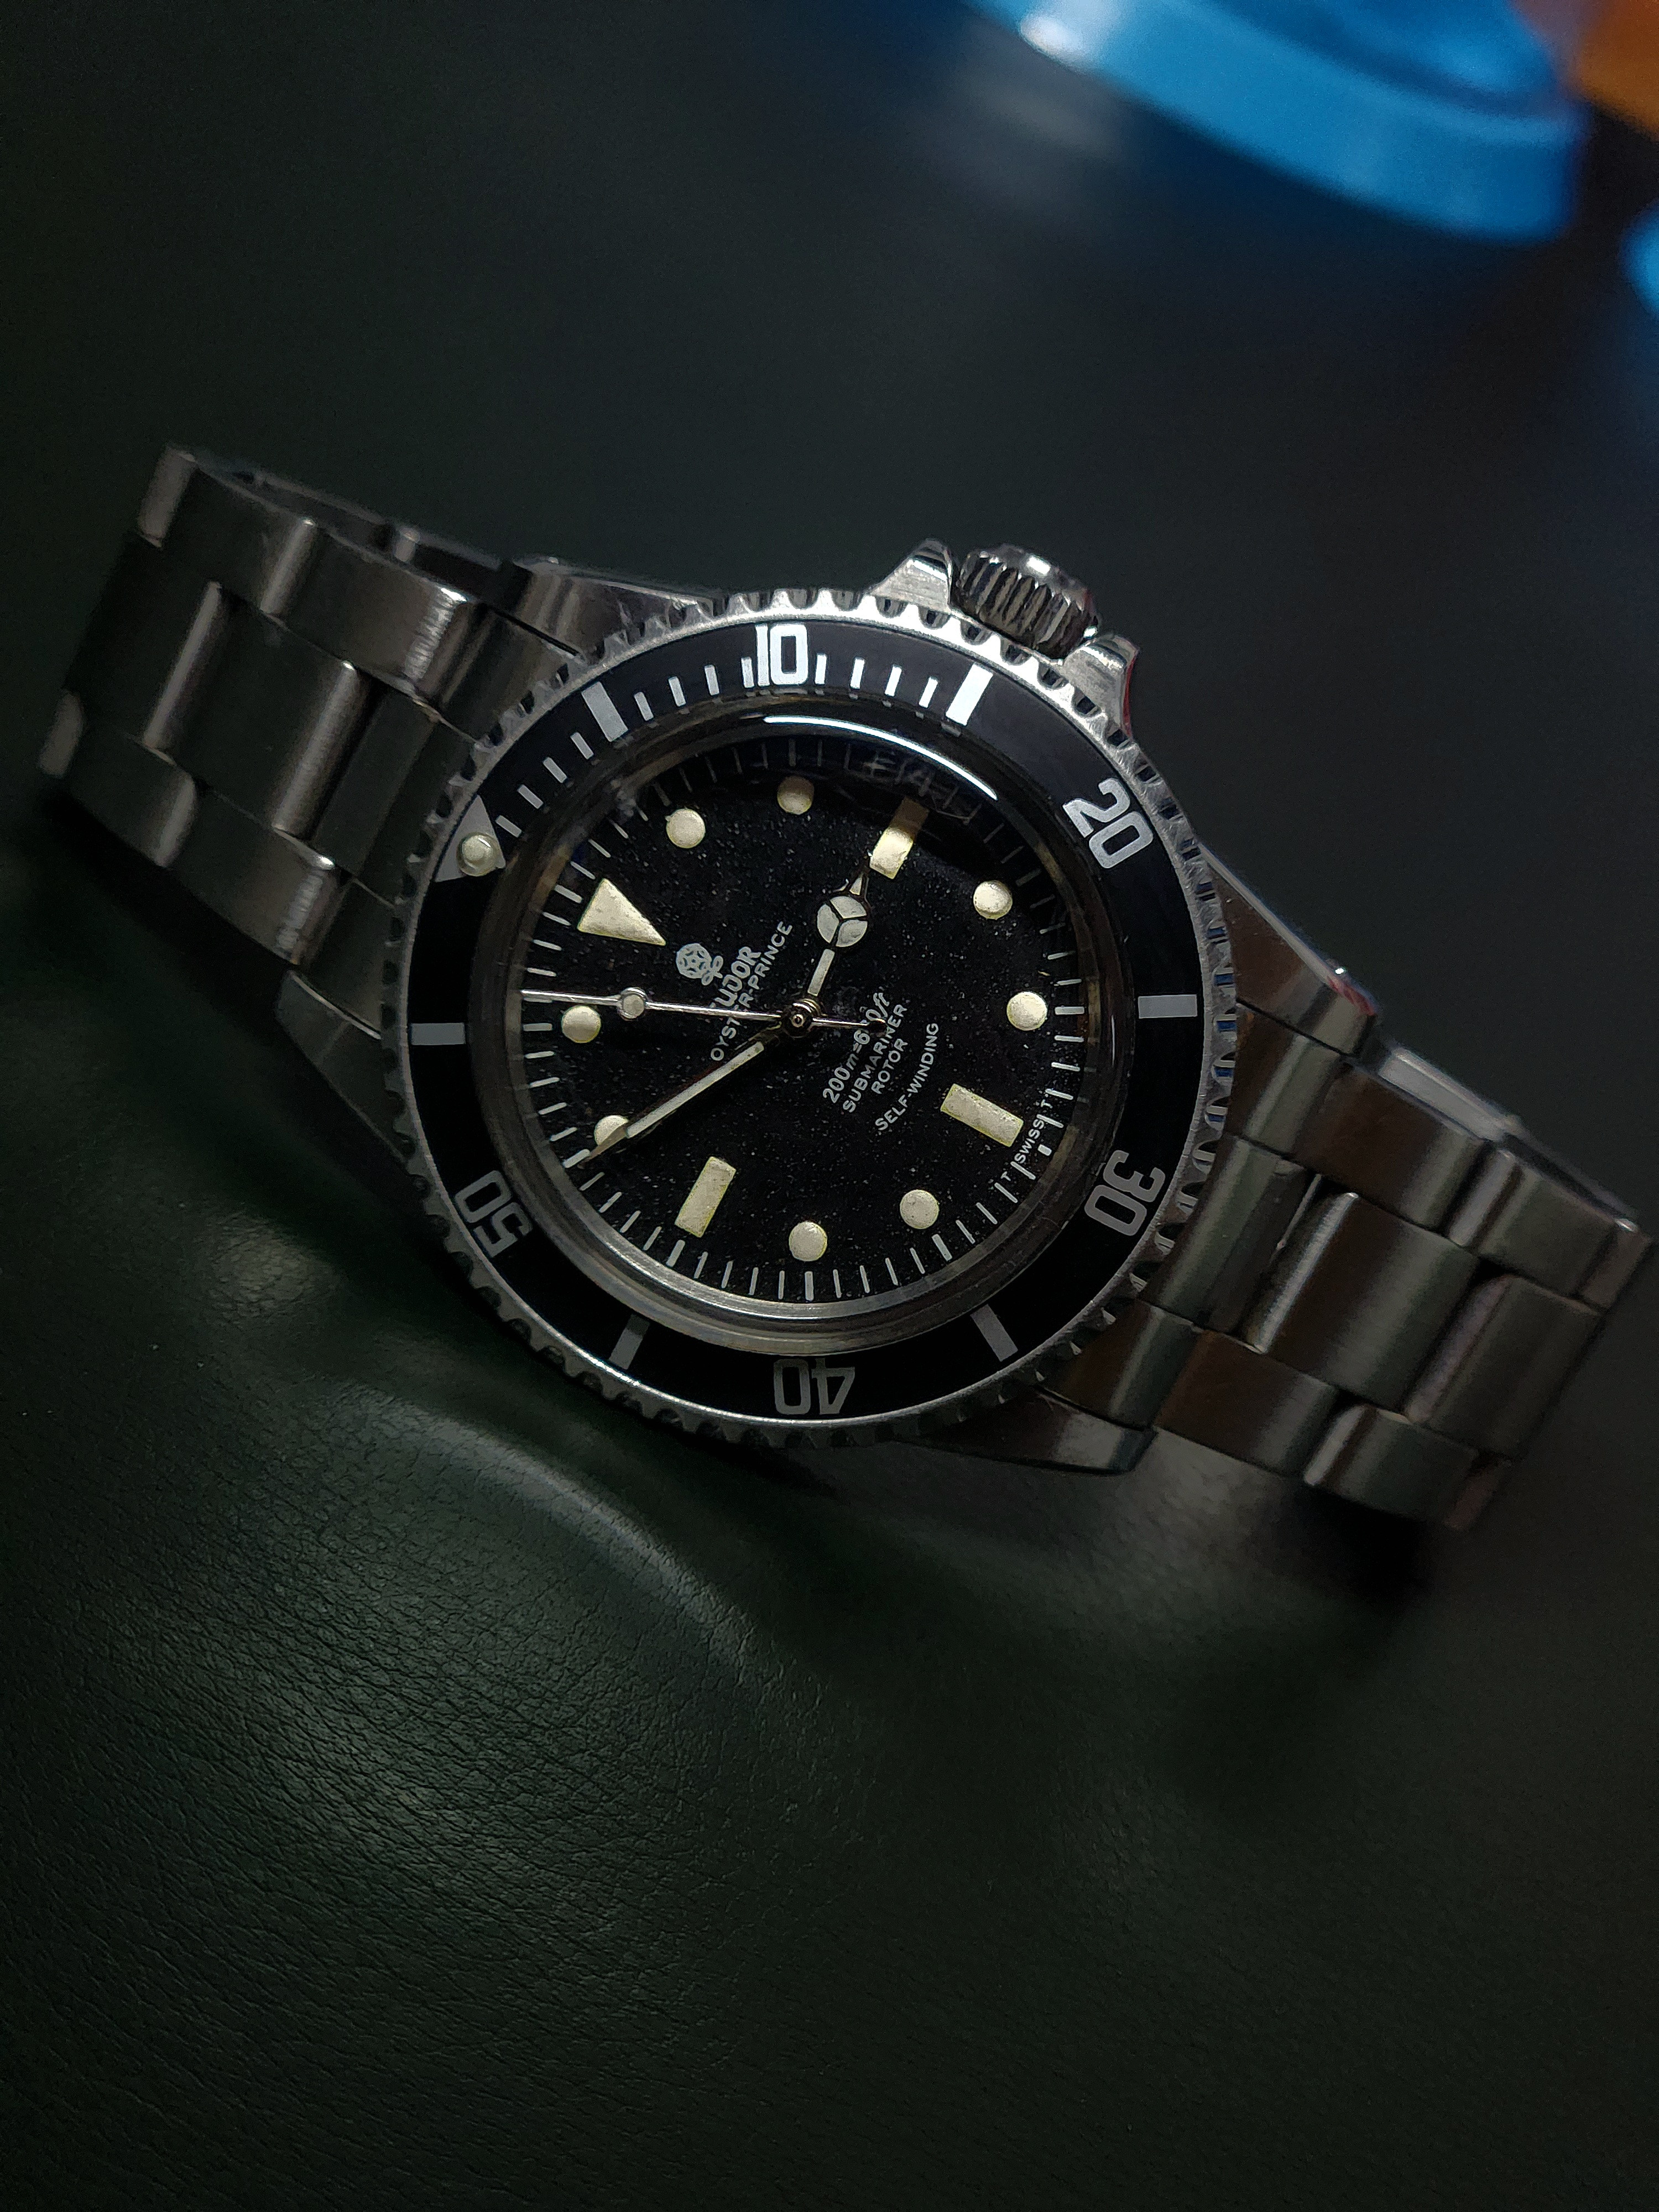
Tudor 7298 unicolor burst
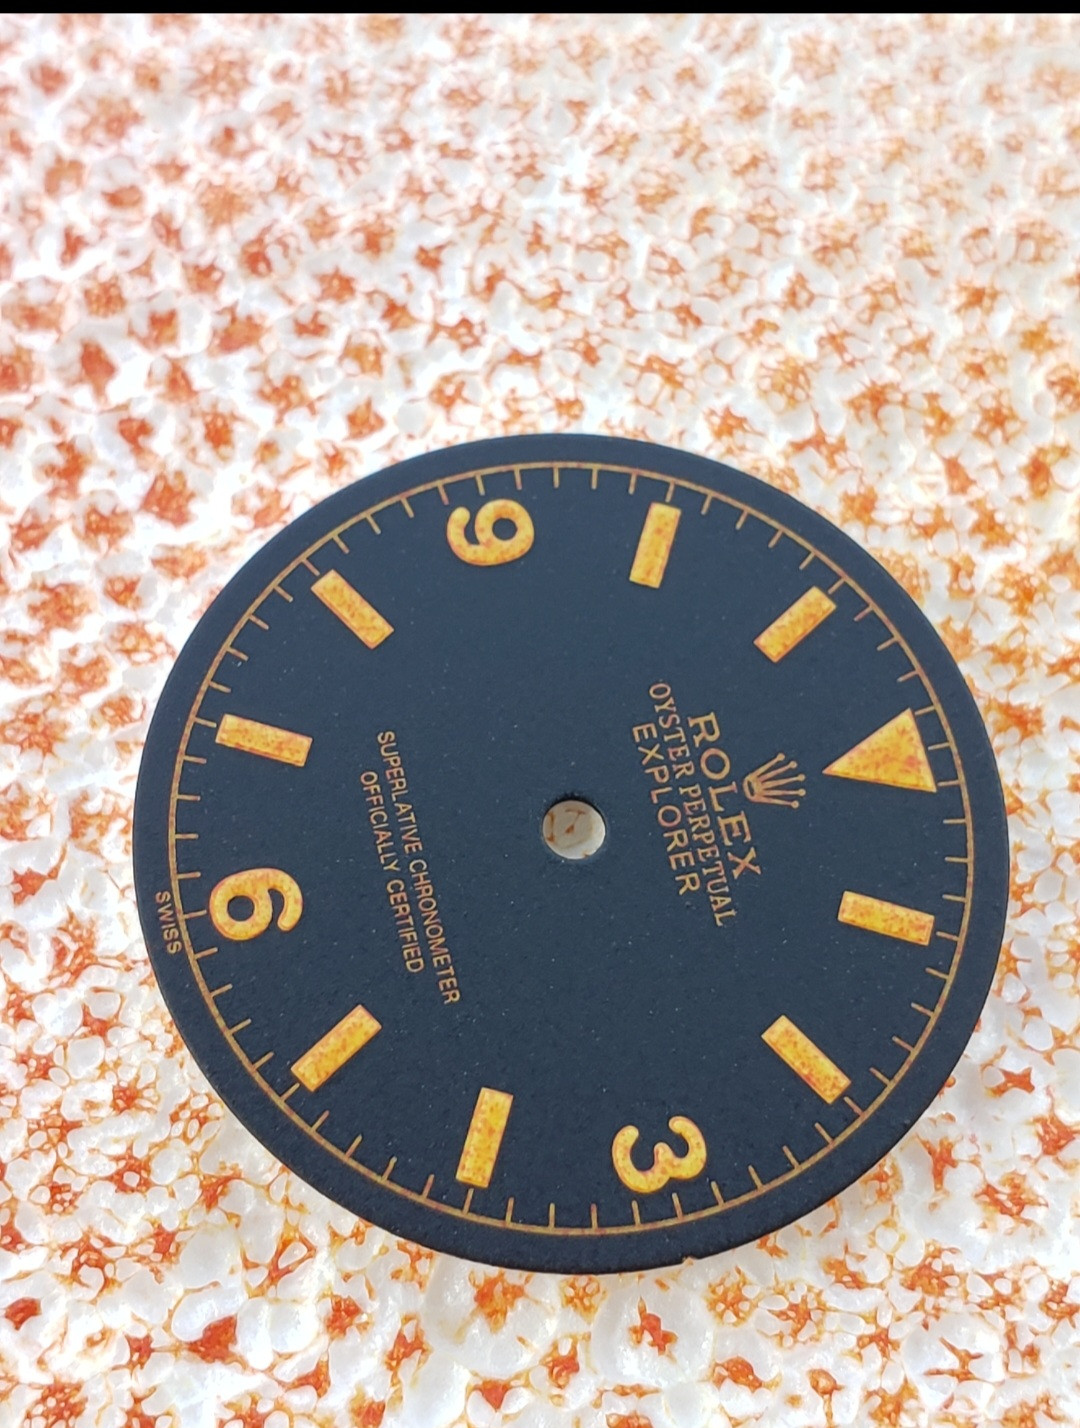
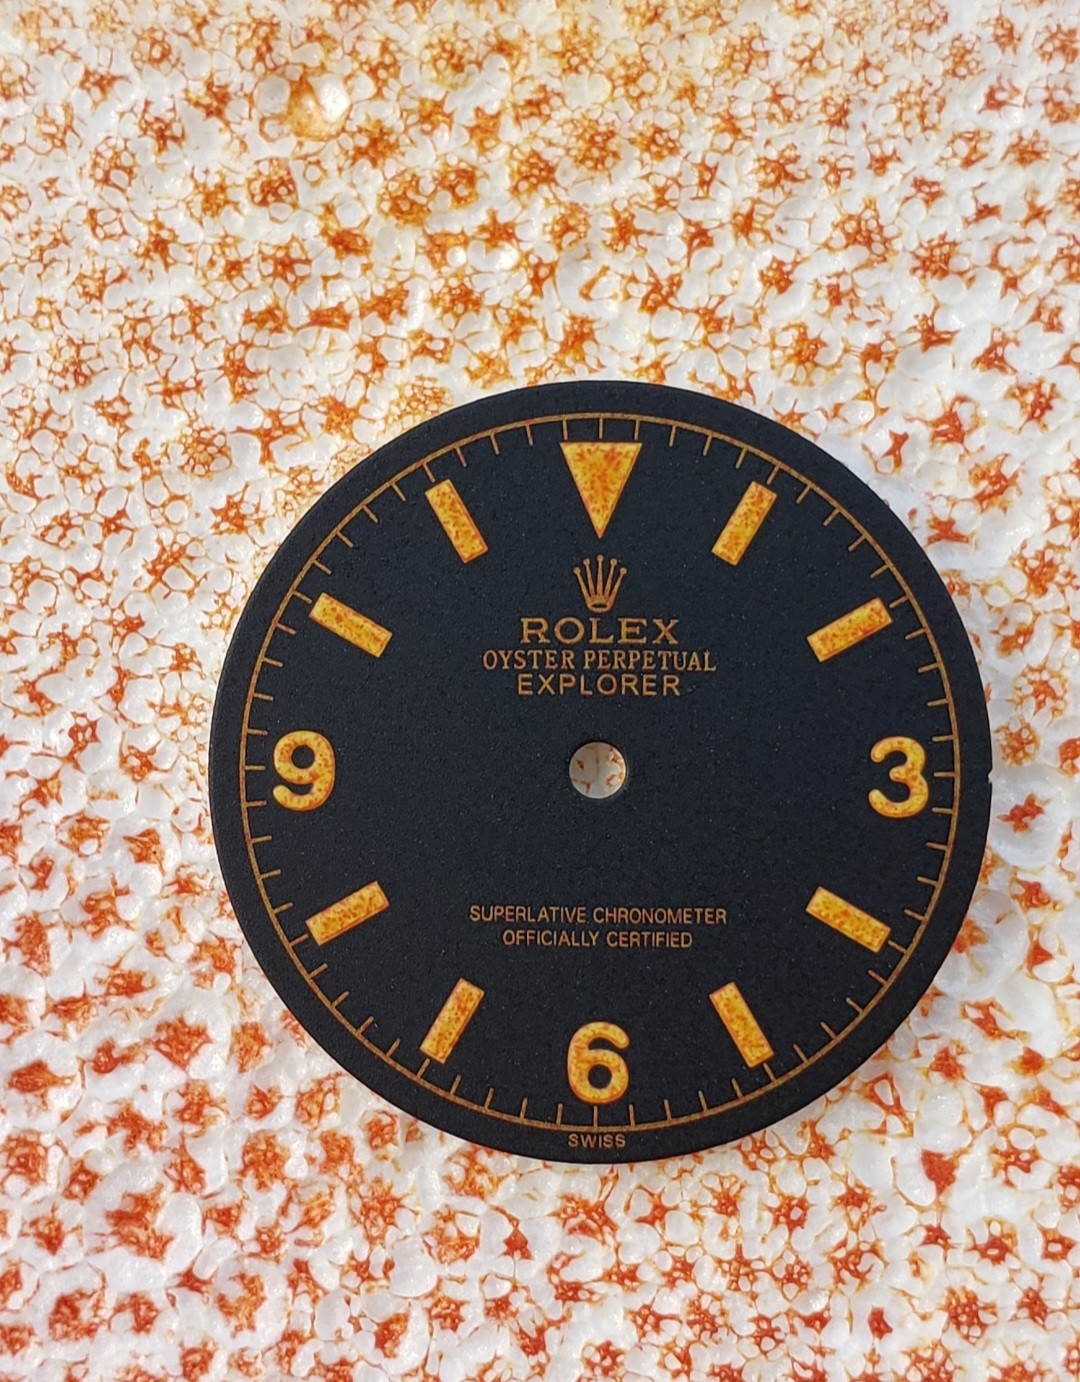
Vintage explorer fun
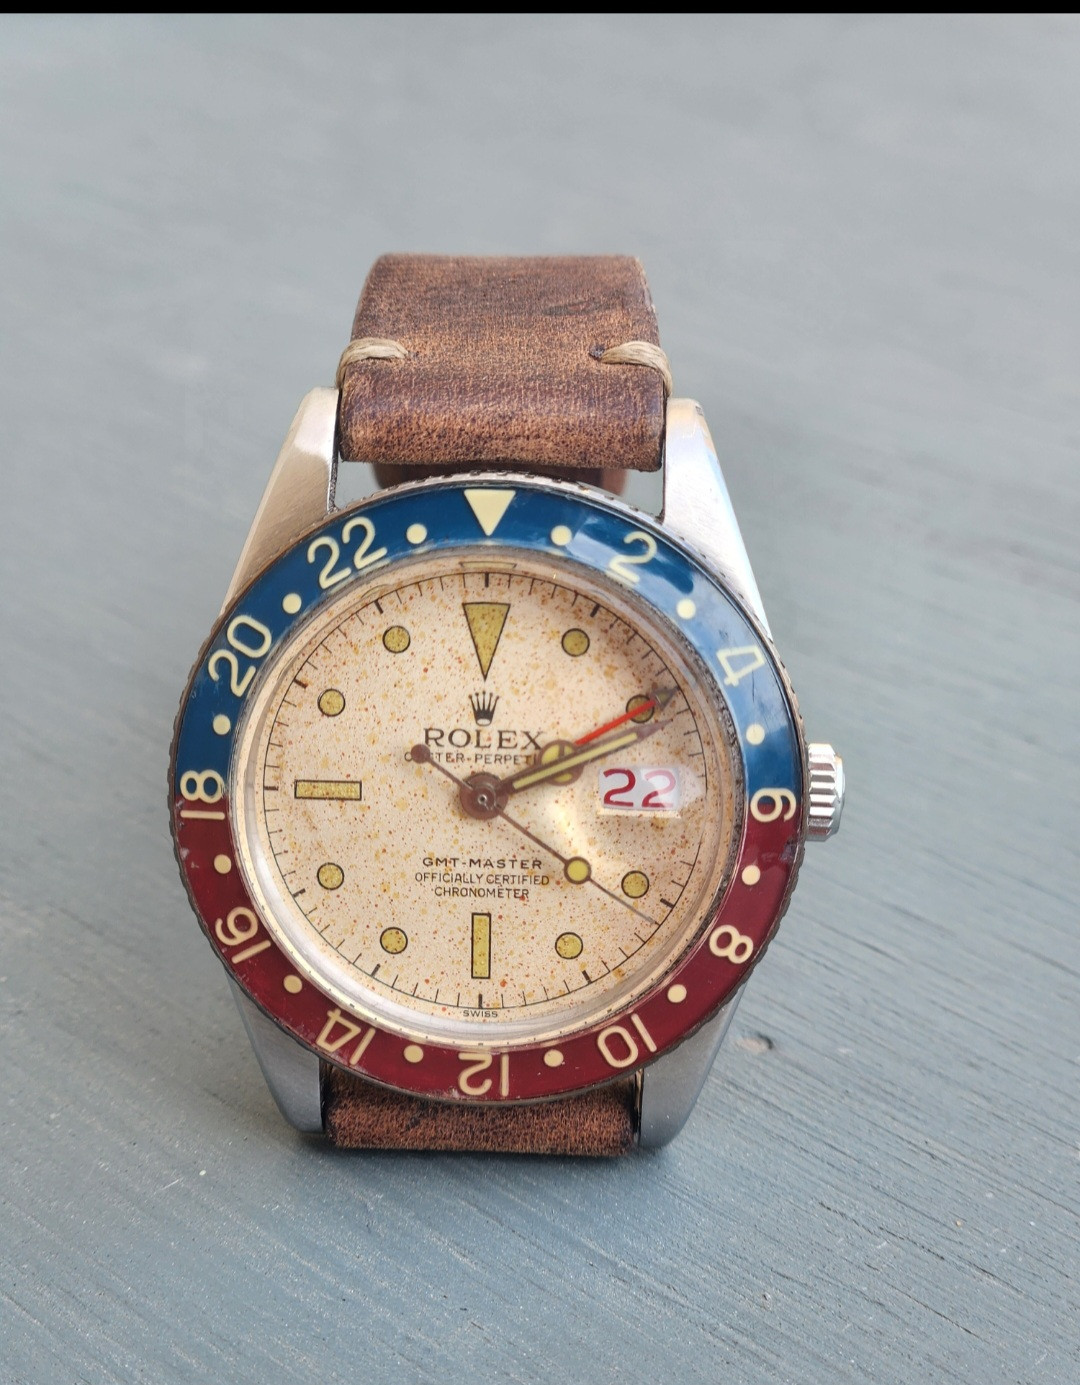
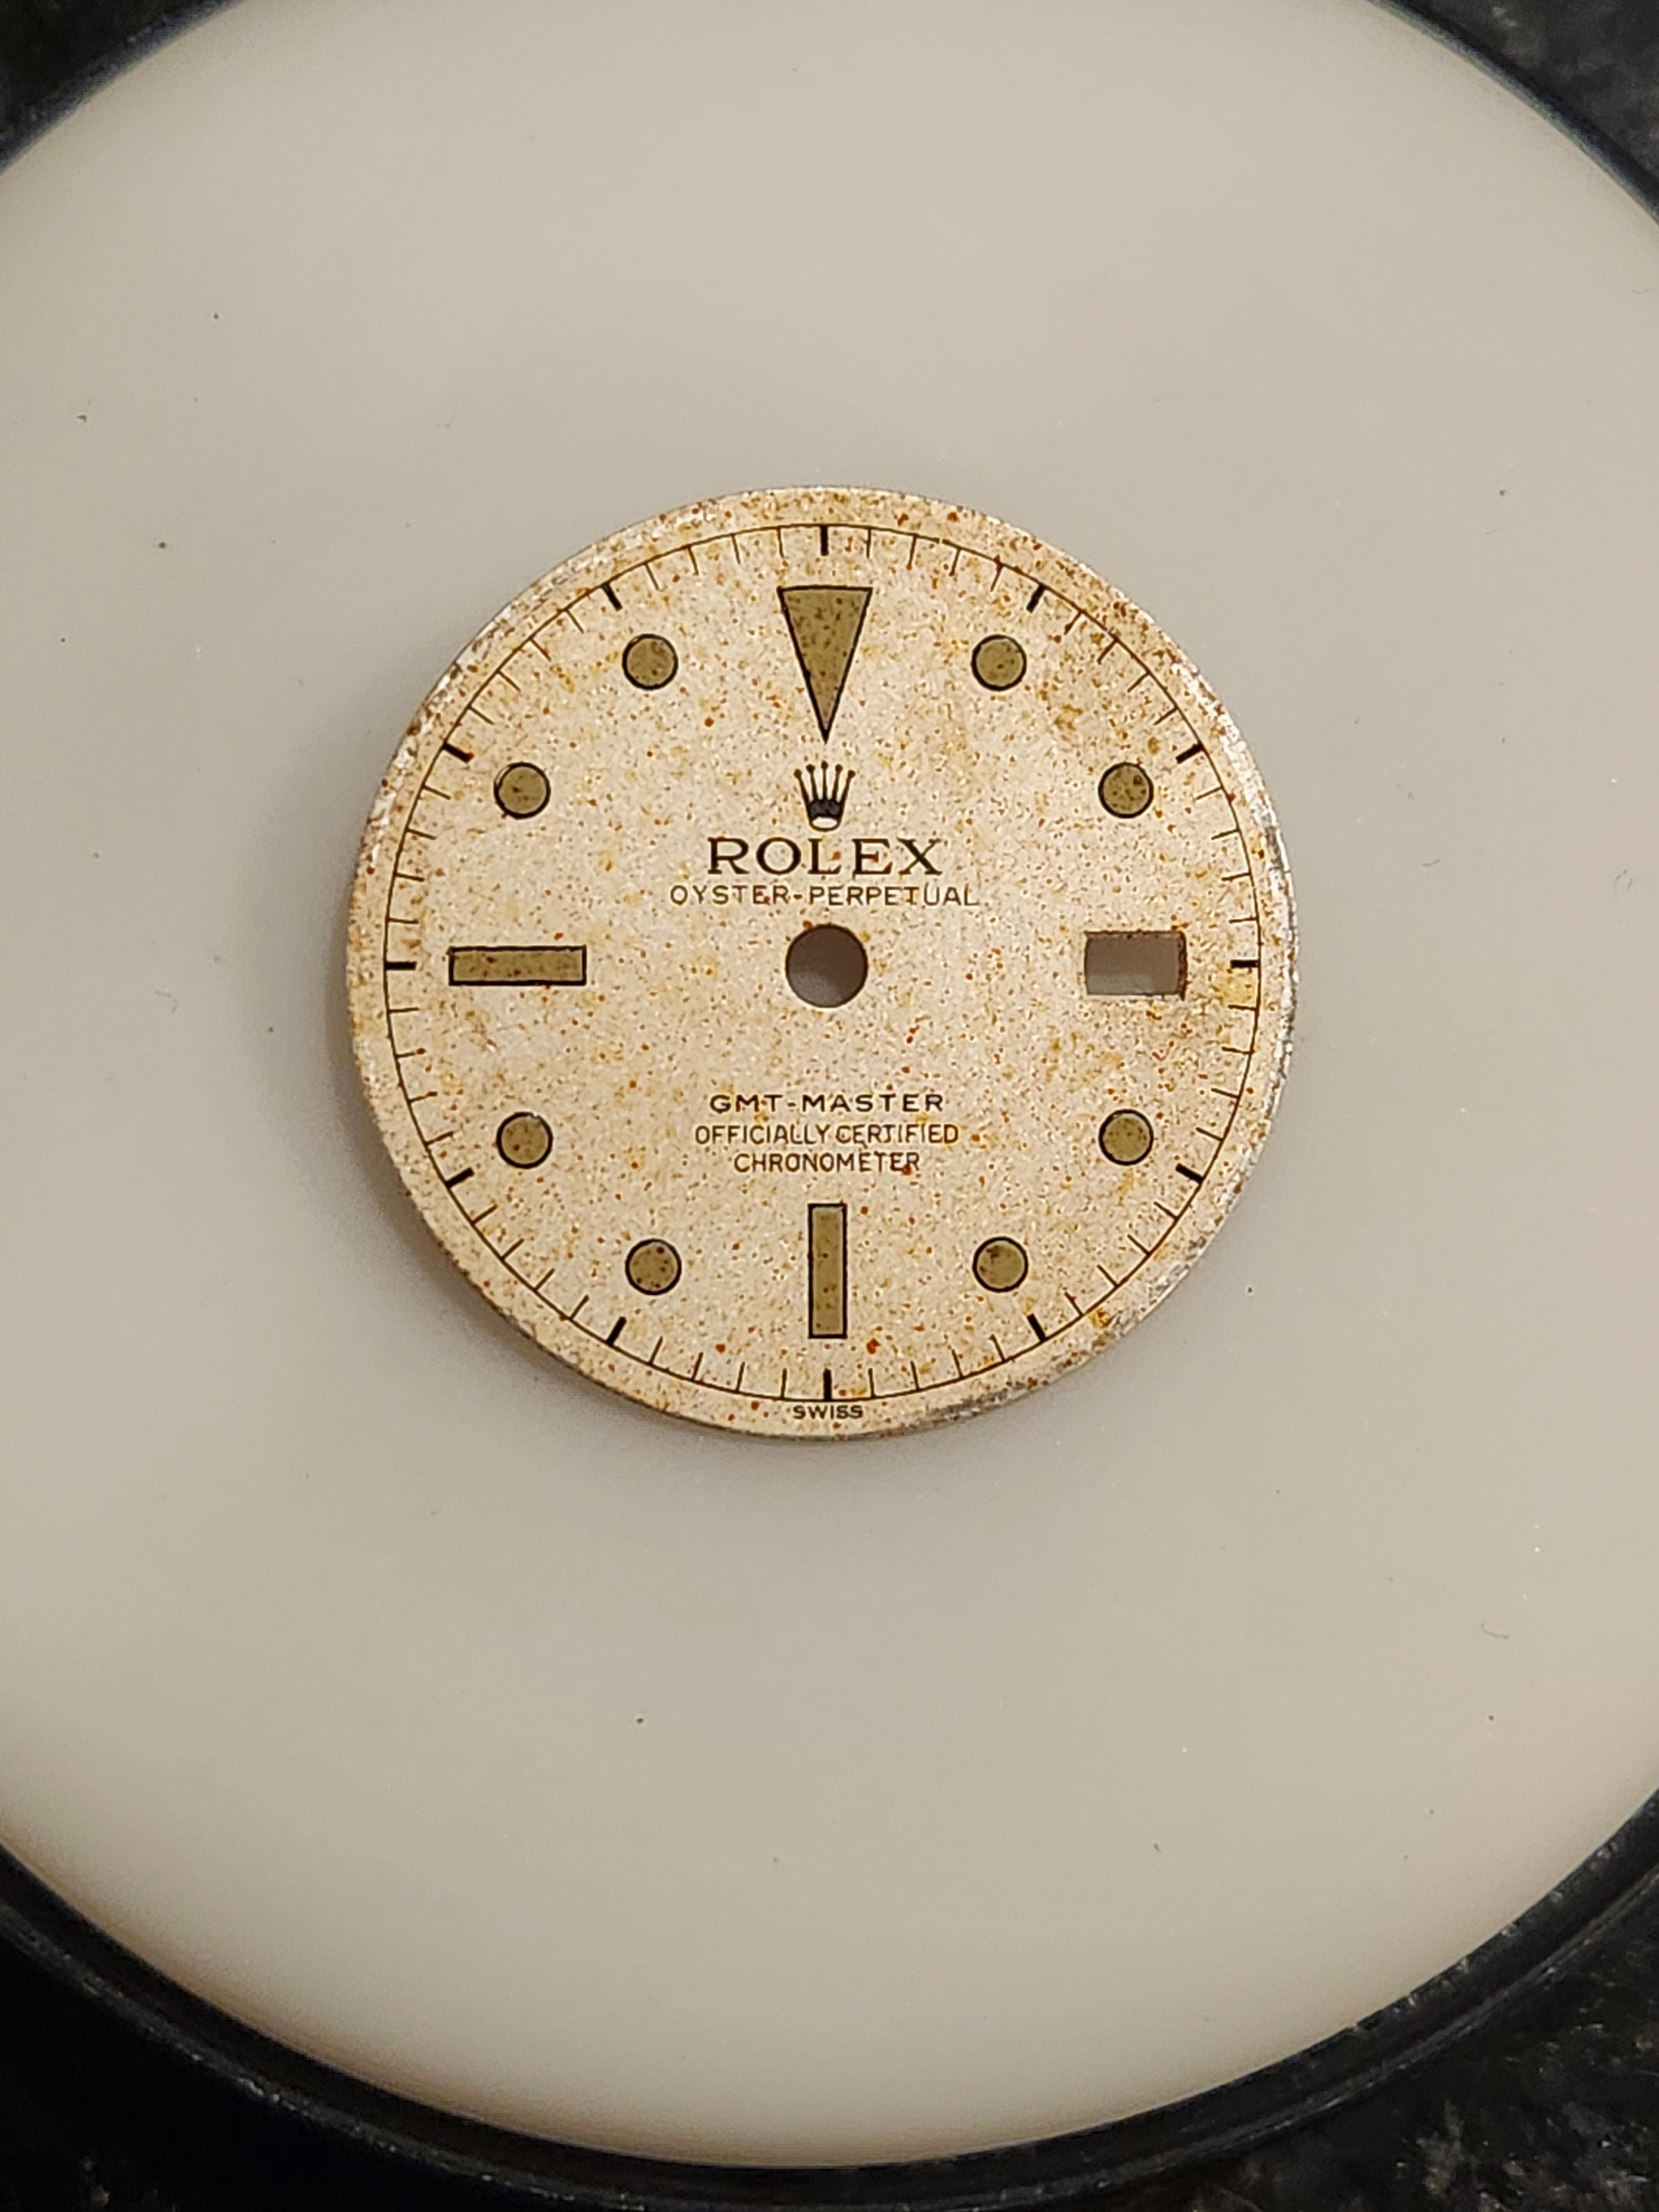
6542 albino vintagizing dial
Yes, pop out the indices from dial and take the gloss finish off the bezel insert with a very quick dip it draino the soap rinse, repeat until matte. Use double sided tape to adhere both to a piece of cardboard.
Place cardboard upright on the wall.
Then, I would hit the dial with some Transparent Vintage Amber guitar laquer from StewMac in a rattle can and perhaps a little of their green color too. Starting as far away from the dial as possible, maybe 6 feet away. Small quick bursts of the nozzle.
Then, moving in until all of the yellowish tint looks the same as the dial in your Pic. Basically stop of after each spray at each distance and observe what the dial looks like. Starting far away insures you won't over do it.
Let dry, then I would get rustoleum spray paint cans in every color of those little dots you see teal, white, off white etc...
Place the dial and insert on the floor on the cardboard. Start with color that has the most dots, teal? Hold the can at a high height and with thr quickest burst imaginable, send some say 6 feet into the air over your dial.
The mist will fall and only a few tiny drops will hit the dial.
Personally, I would test this on some black paper to see exactly what height the bursts of paint give the paper on the floor the correct amount of dots and the correct size.
After you have nailed the first color dots, work your way down to the less frequently occuring dots using higher height and fewer bursts to get less of that color.
Then, finish with a krylon matte spray or gloss spray depending what you want, to seal the insert and dial up.
I have done similar projects using stewmac laquer and others with spray paint misting those little dots. Here's a few.
**I am unsure if the transparent Amber spray will build up enough to create the spotchy yellow/green base because i have never applied that much, I would test. You might need to resort to an opaque laquer, which stew mac sells too, and use a sponge to apply it, however as KJ says, you could cover up your dial print. But you would want to experiment with layering a few color tones over each other, it needs to look cloudy, made up of different shades, not uniform. Also, the dark splotches could be the black dial peering through, helping the design.
Starburst multicolor 16660
Tudor 7298 unicolor burst
Vintage explorer fun
6542 albino vintagizing dial
Last edited:

Those vintage techniques work great, good workI dont know the specifics on how they did it but I know how I would do it.
Yes, pop out the indices from dial and take the gloss finish off the bezel insert with a very quick dip it draino the soap rinse, repeat until matte. Use double sided tape to adhere both to a piece of cardboard.
Place cardboard upright on the wall.
Then, I would hit the dial with some Transparent Vintage Amber guitar laquer from StewMac in a rattle can and perhaps a little of their green color too. Starting as far away from the dial as possible, maybe 6 feet away. Small quick bursts of the nozzle.
Then, moving in until all of the yellowish tint looks the same as the dial in your Pic. Basically stop of after each spray at each distance and observe what the dial looks like. Starting far away insures you won't over do it.
Let dry, then I would get rustoleum spray paint cans in every color of those little dots you see teal, white, off white etc...
Place the dial and insert on the floor on the cardboard. Start with color that has the most dots, teal? Hold the can at a high height and with thr quickest burst imaginable, send some say 6 feet into the air over your dial.
The mist will fall and only a few tiny drops will hit the dial.
Personally, I would test this on some black paper to see exactly what height the bursts of paint give the paper on the floor the correct amount of dots and the correct size.
After you have nailed the first color dots, work your way down to the less frequently occuring dots using higher height and fewer bursts to get less of that color.
Then, finish with a krylon matte spray or gloss spray depending what you want, to seal the insert and dial up.
I have done similar projects using stewmac laquer and others with spray paint misting those little dots. Here's a few.
**I am unsure if the transparent Amber spray will build up enough to create the spotchy yellow/green base because i have never applied that much, I would test. You might need to resort to an opaque laquer, which stew mac sells too, and use a sponge to apply it, however as KJ says, you could cover up your dial print. But you would want to experiment with layering a few color tones over each other, it needs to look cloudy, made up of different shades, not uniform. Also, the dark splotches could be the black dial peering through, helping the design.
Starburst multicolor 16660
Tudor 7298 unicolor burst
Vintage explorer fun
6542 albino vintagizing dial
Thanks looks like much more than I am capable of doing at the momentThe ad says it's a stone dial. There are many different stones used to make dials from. After they are cut to shape and date window cut out if used, they are usually mounted on a metal backer plate to prevent cracking. Then they are pad printed like a normal dial, then finally the markers are placed on.
It's possible you could make something similar with paint but you would need to stay away from or be extremely careful around the text and the markers.
Beautiful. What is the best ways to pop out the numbers and markers ?Those vintage techniques work great, good work
Thanks
- 12/3/18
- 37,351
- 79,242
- 113
How to fix crooked markers - DIYBeautiful. What is the best ways to pop out the numbers and markers ?
Thanks