Good Morning All!
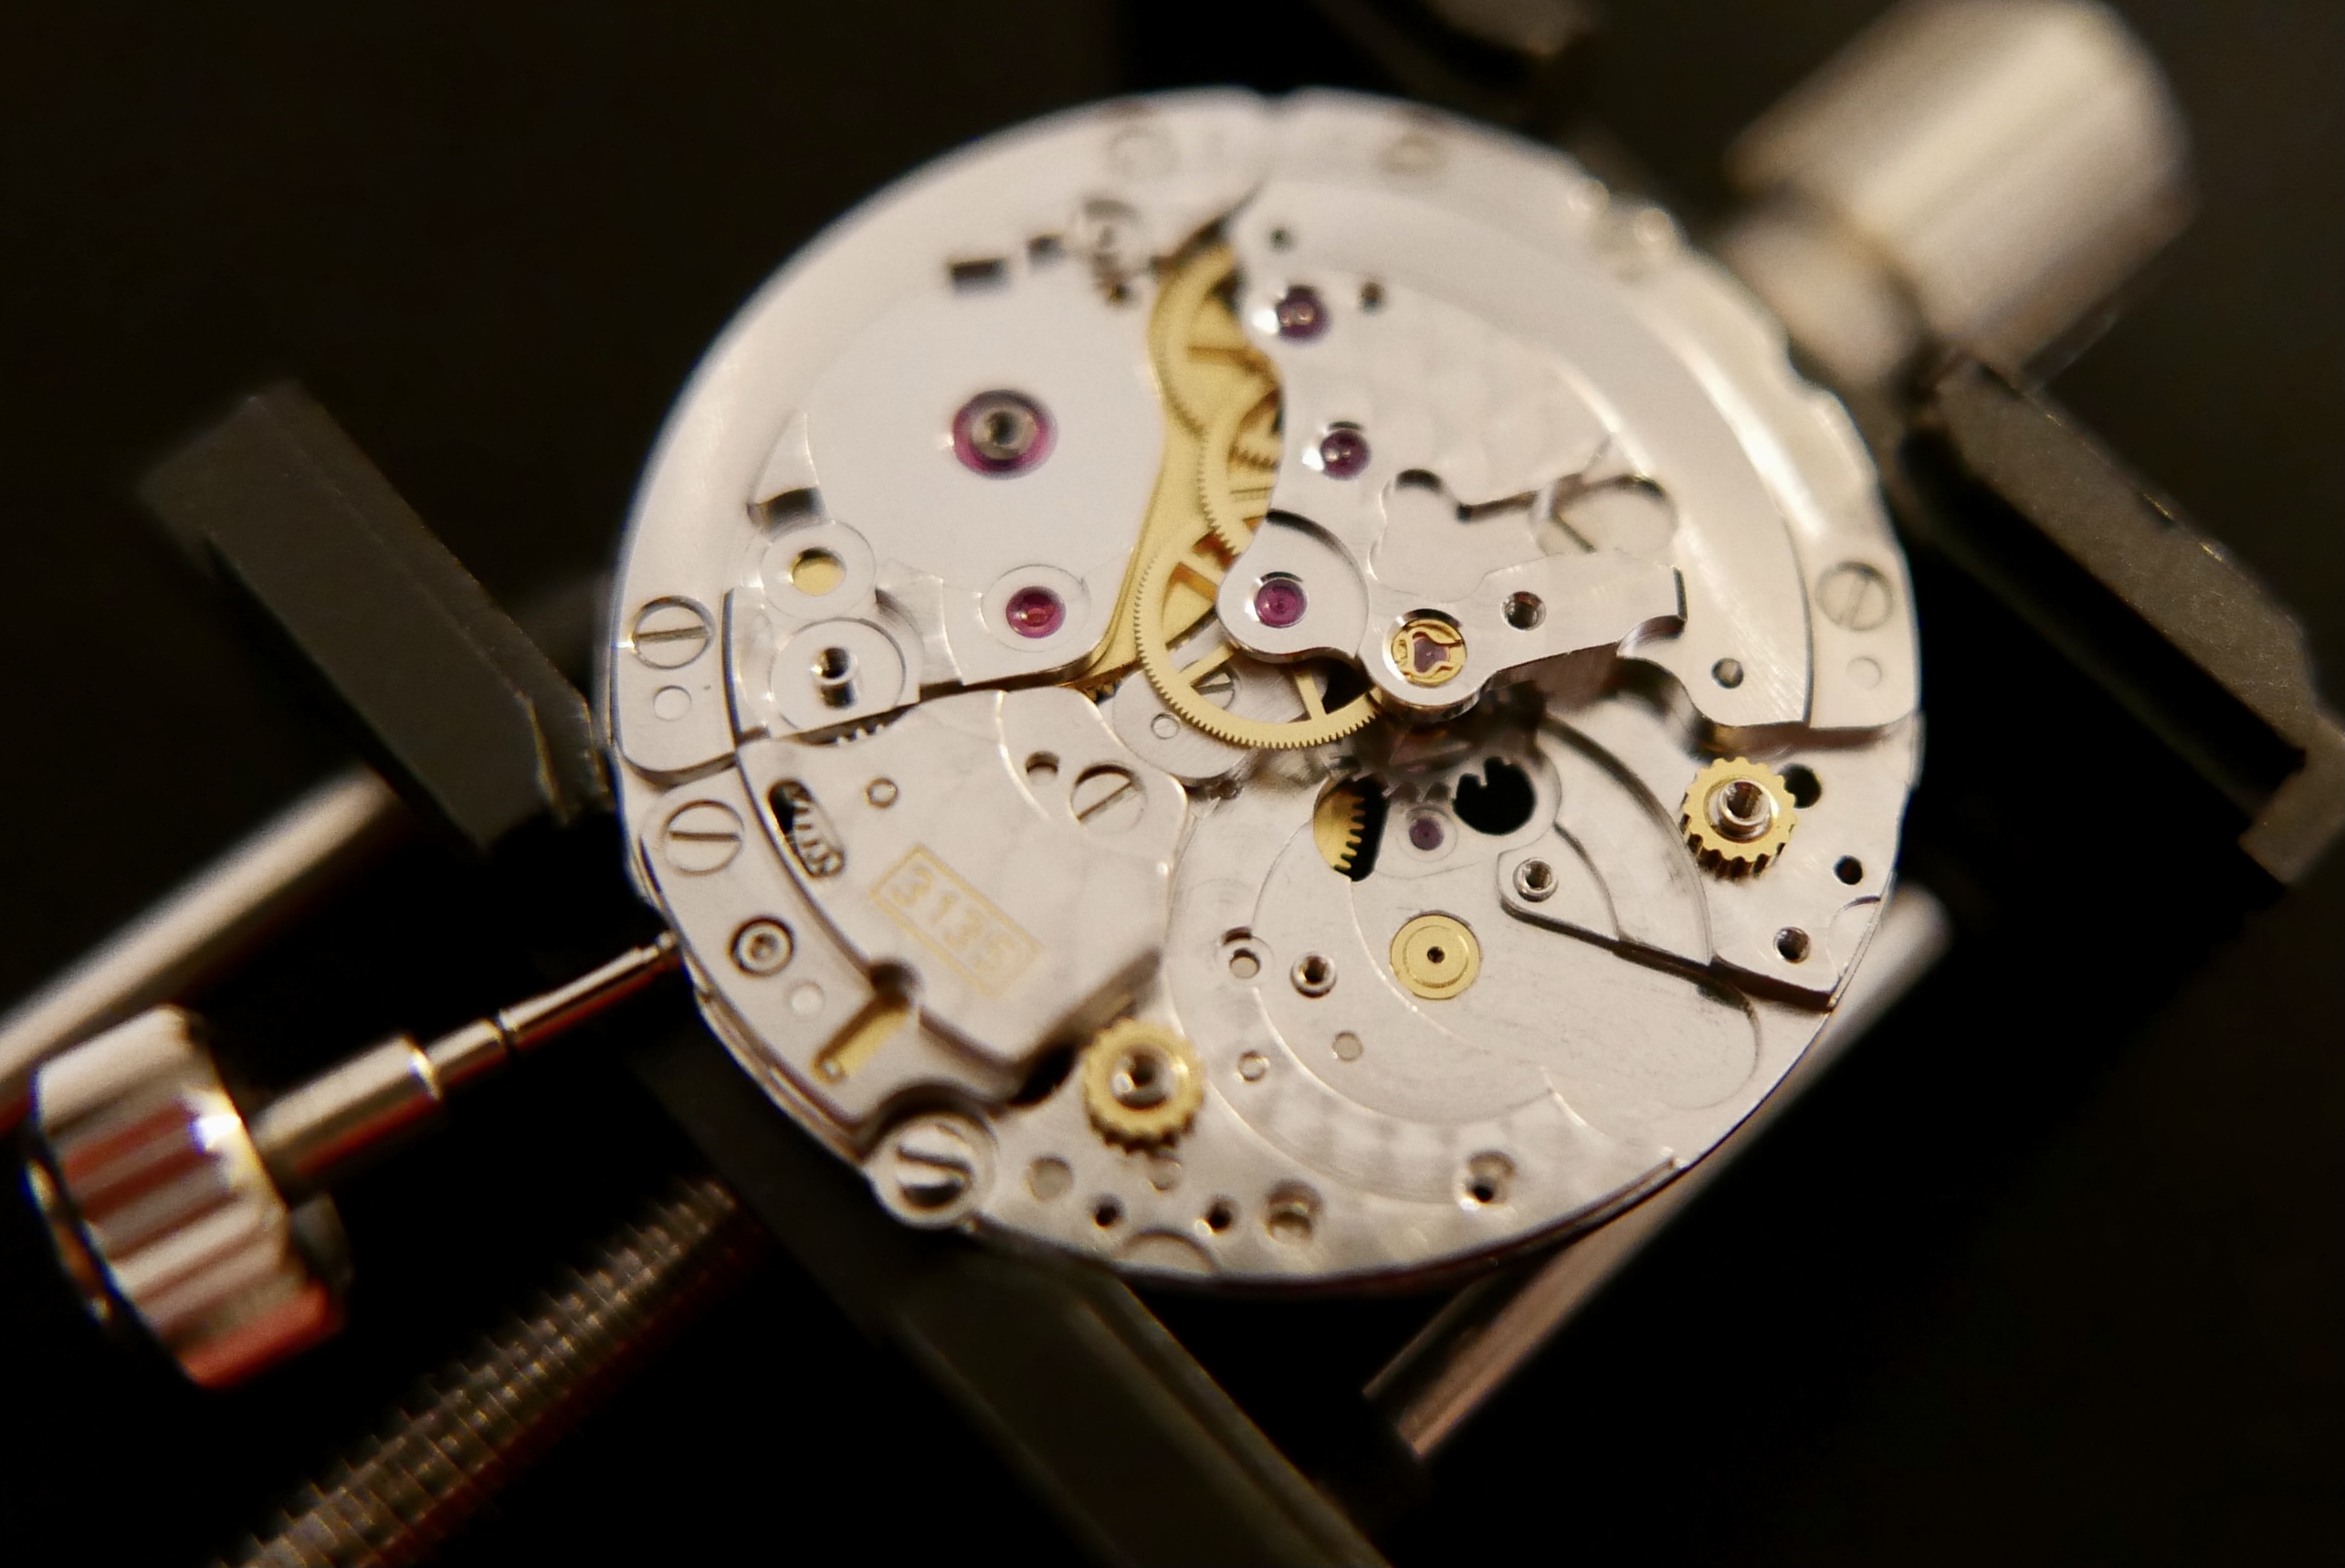
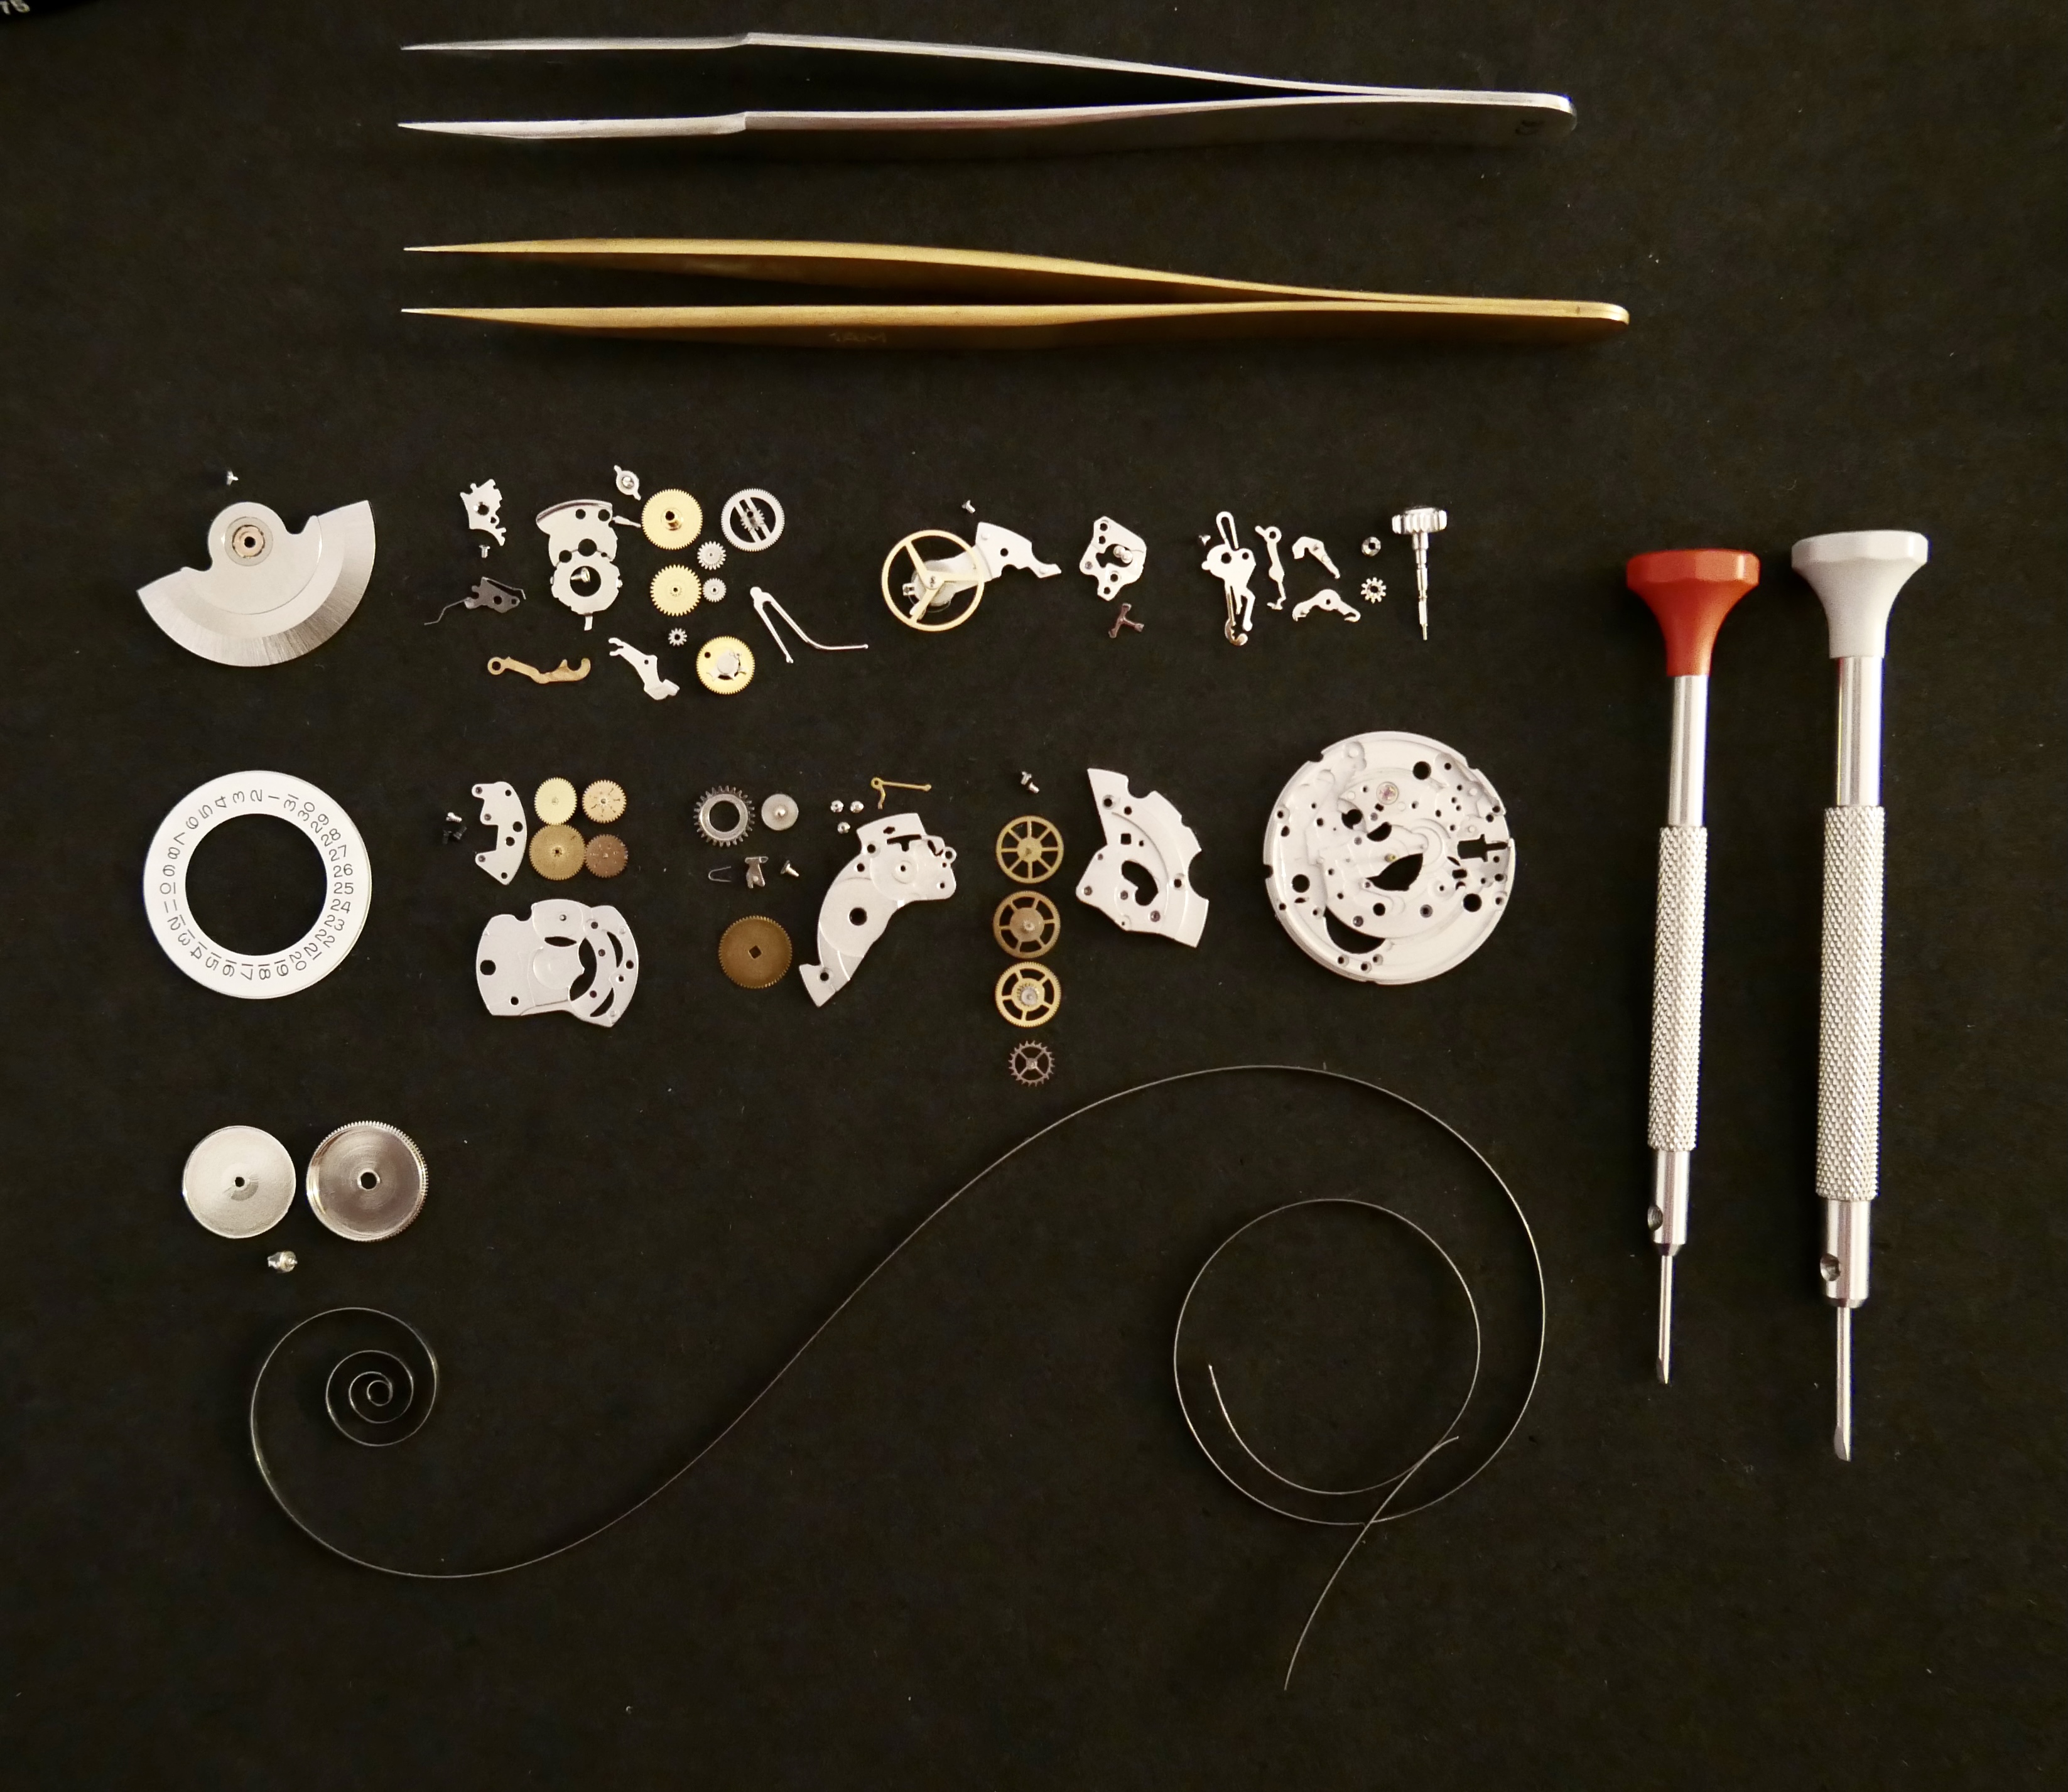
Making progress on the next watch...VS3135. Below I show a bit more detail on the keyless works and oiling locations.
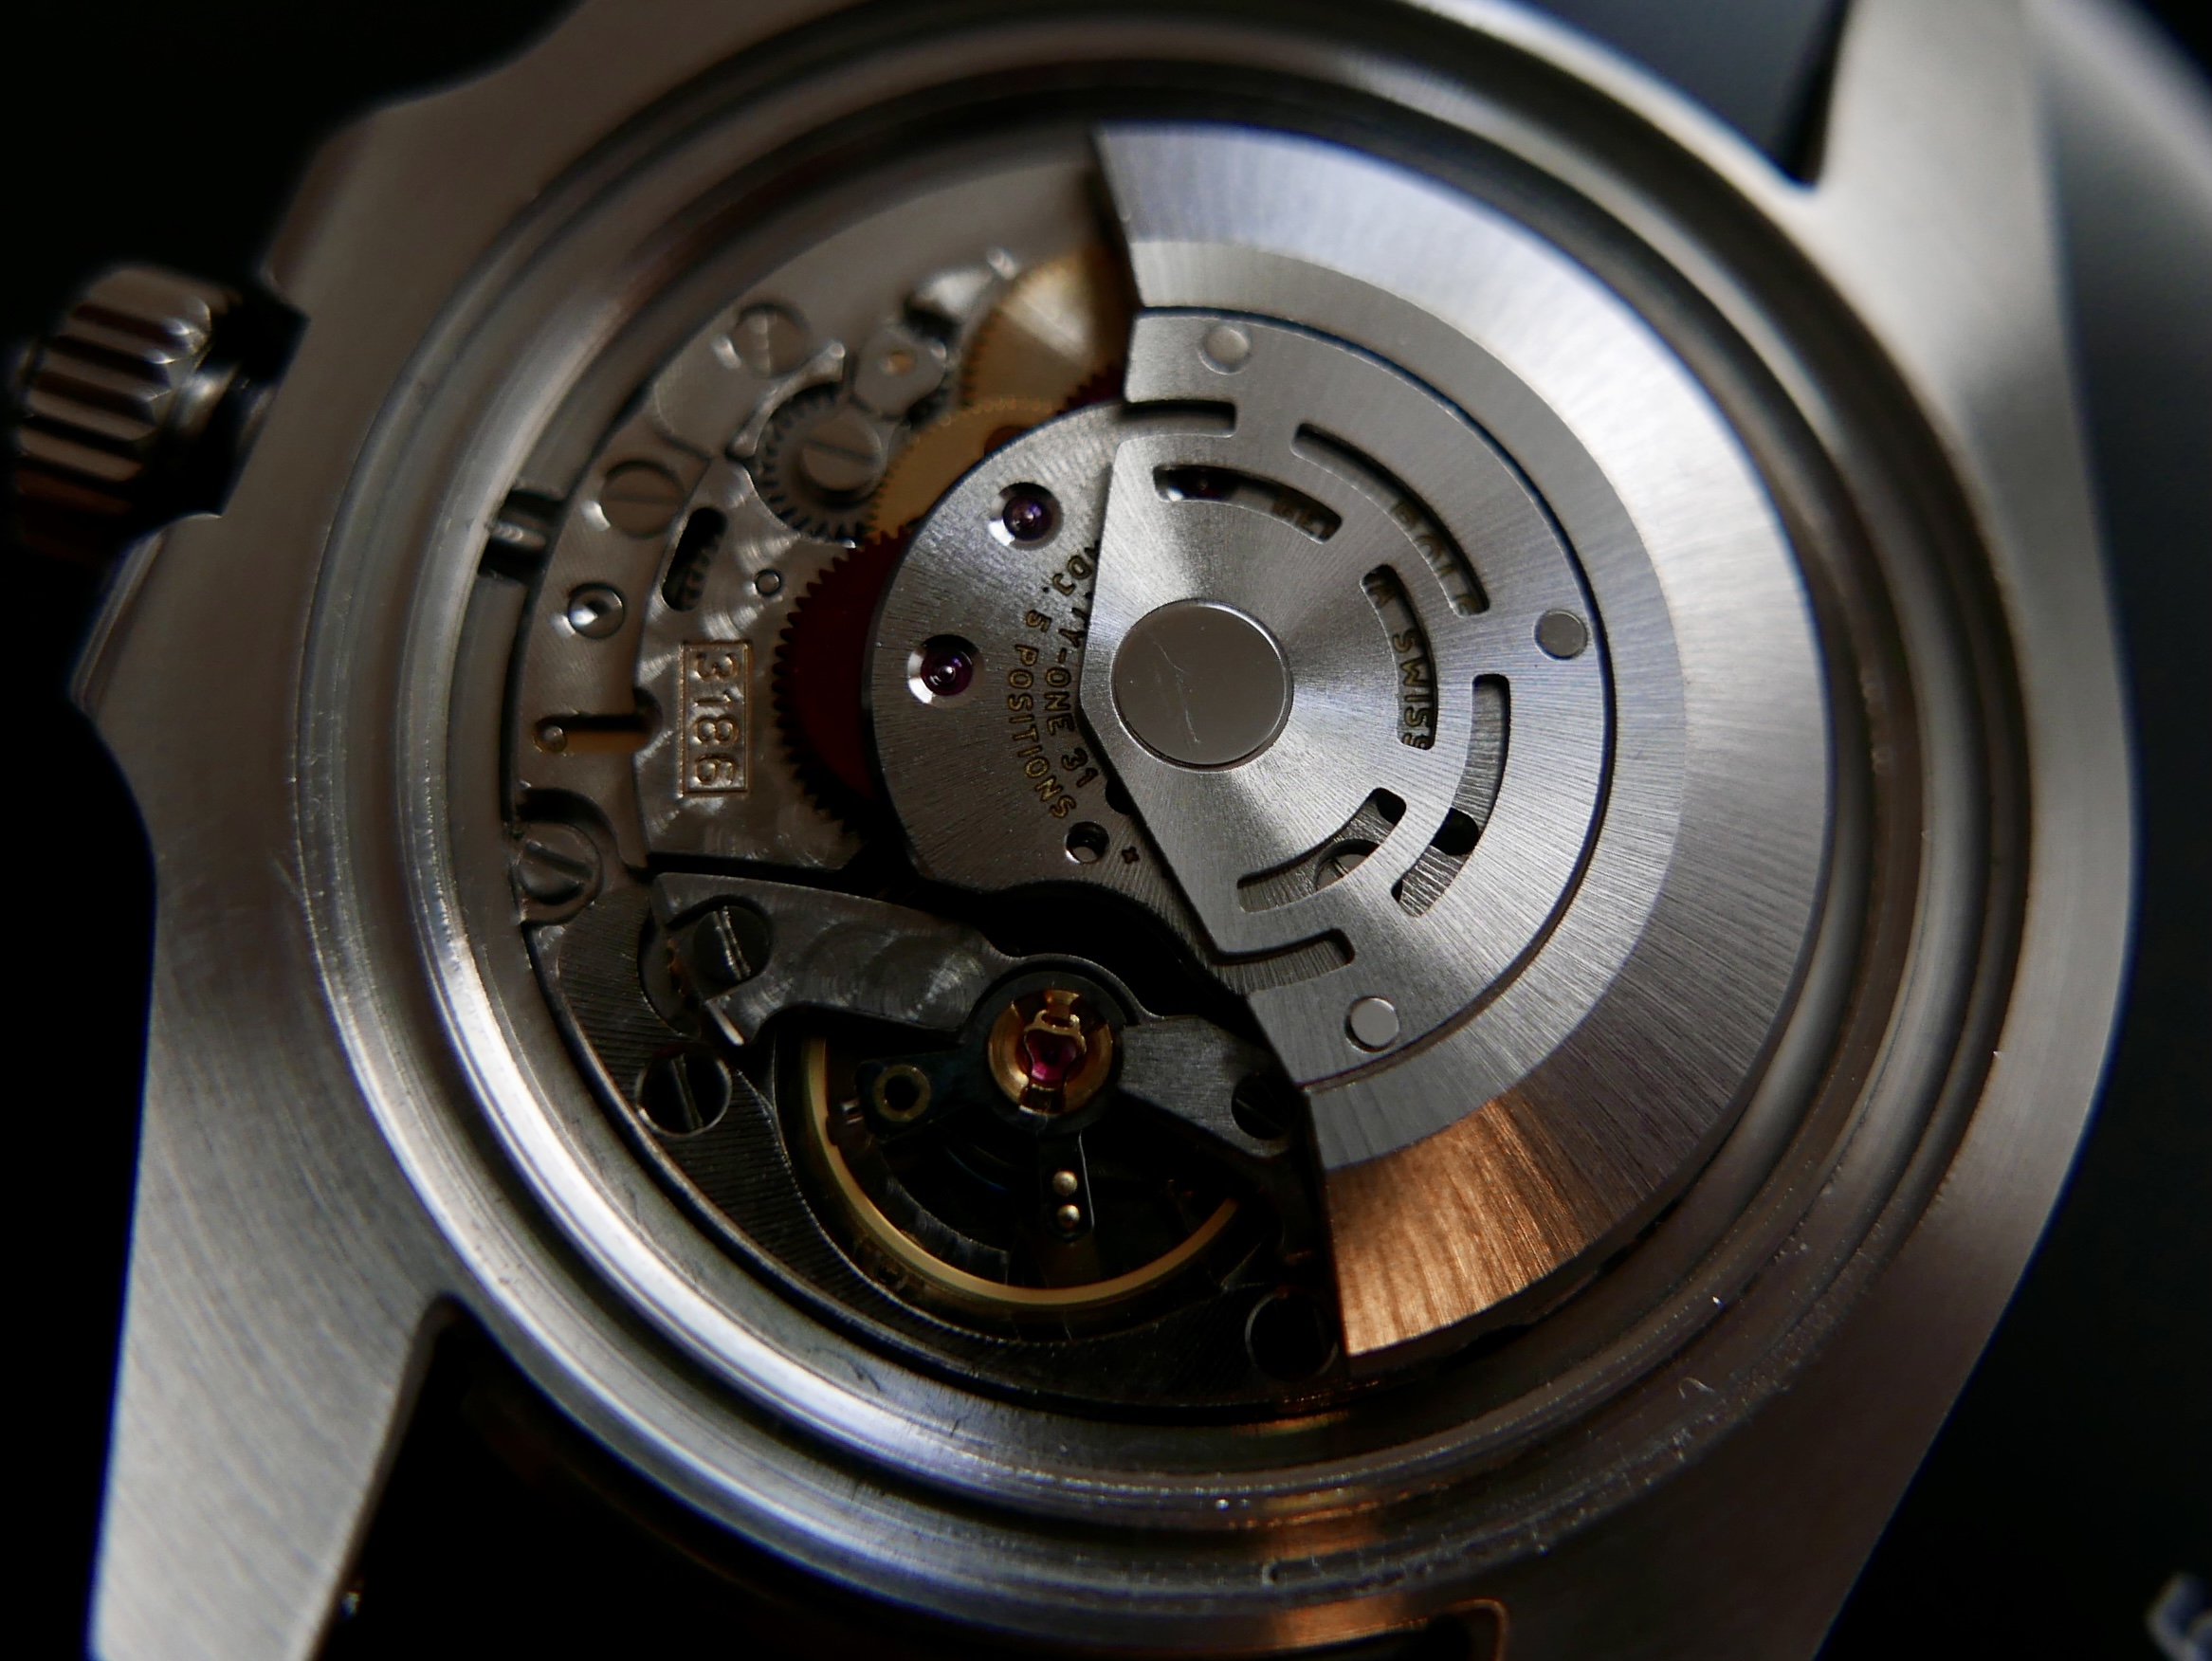
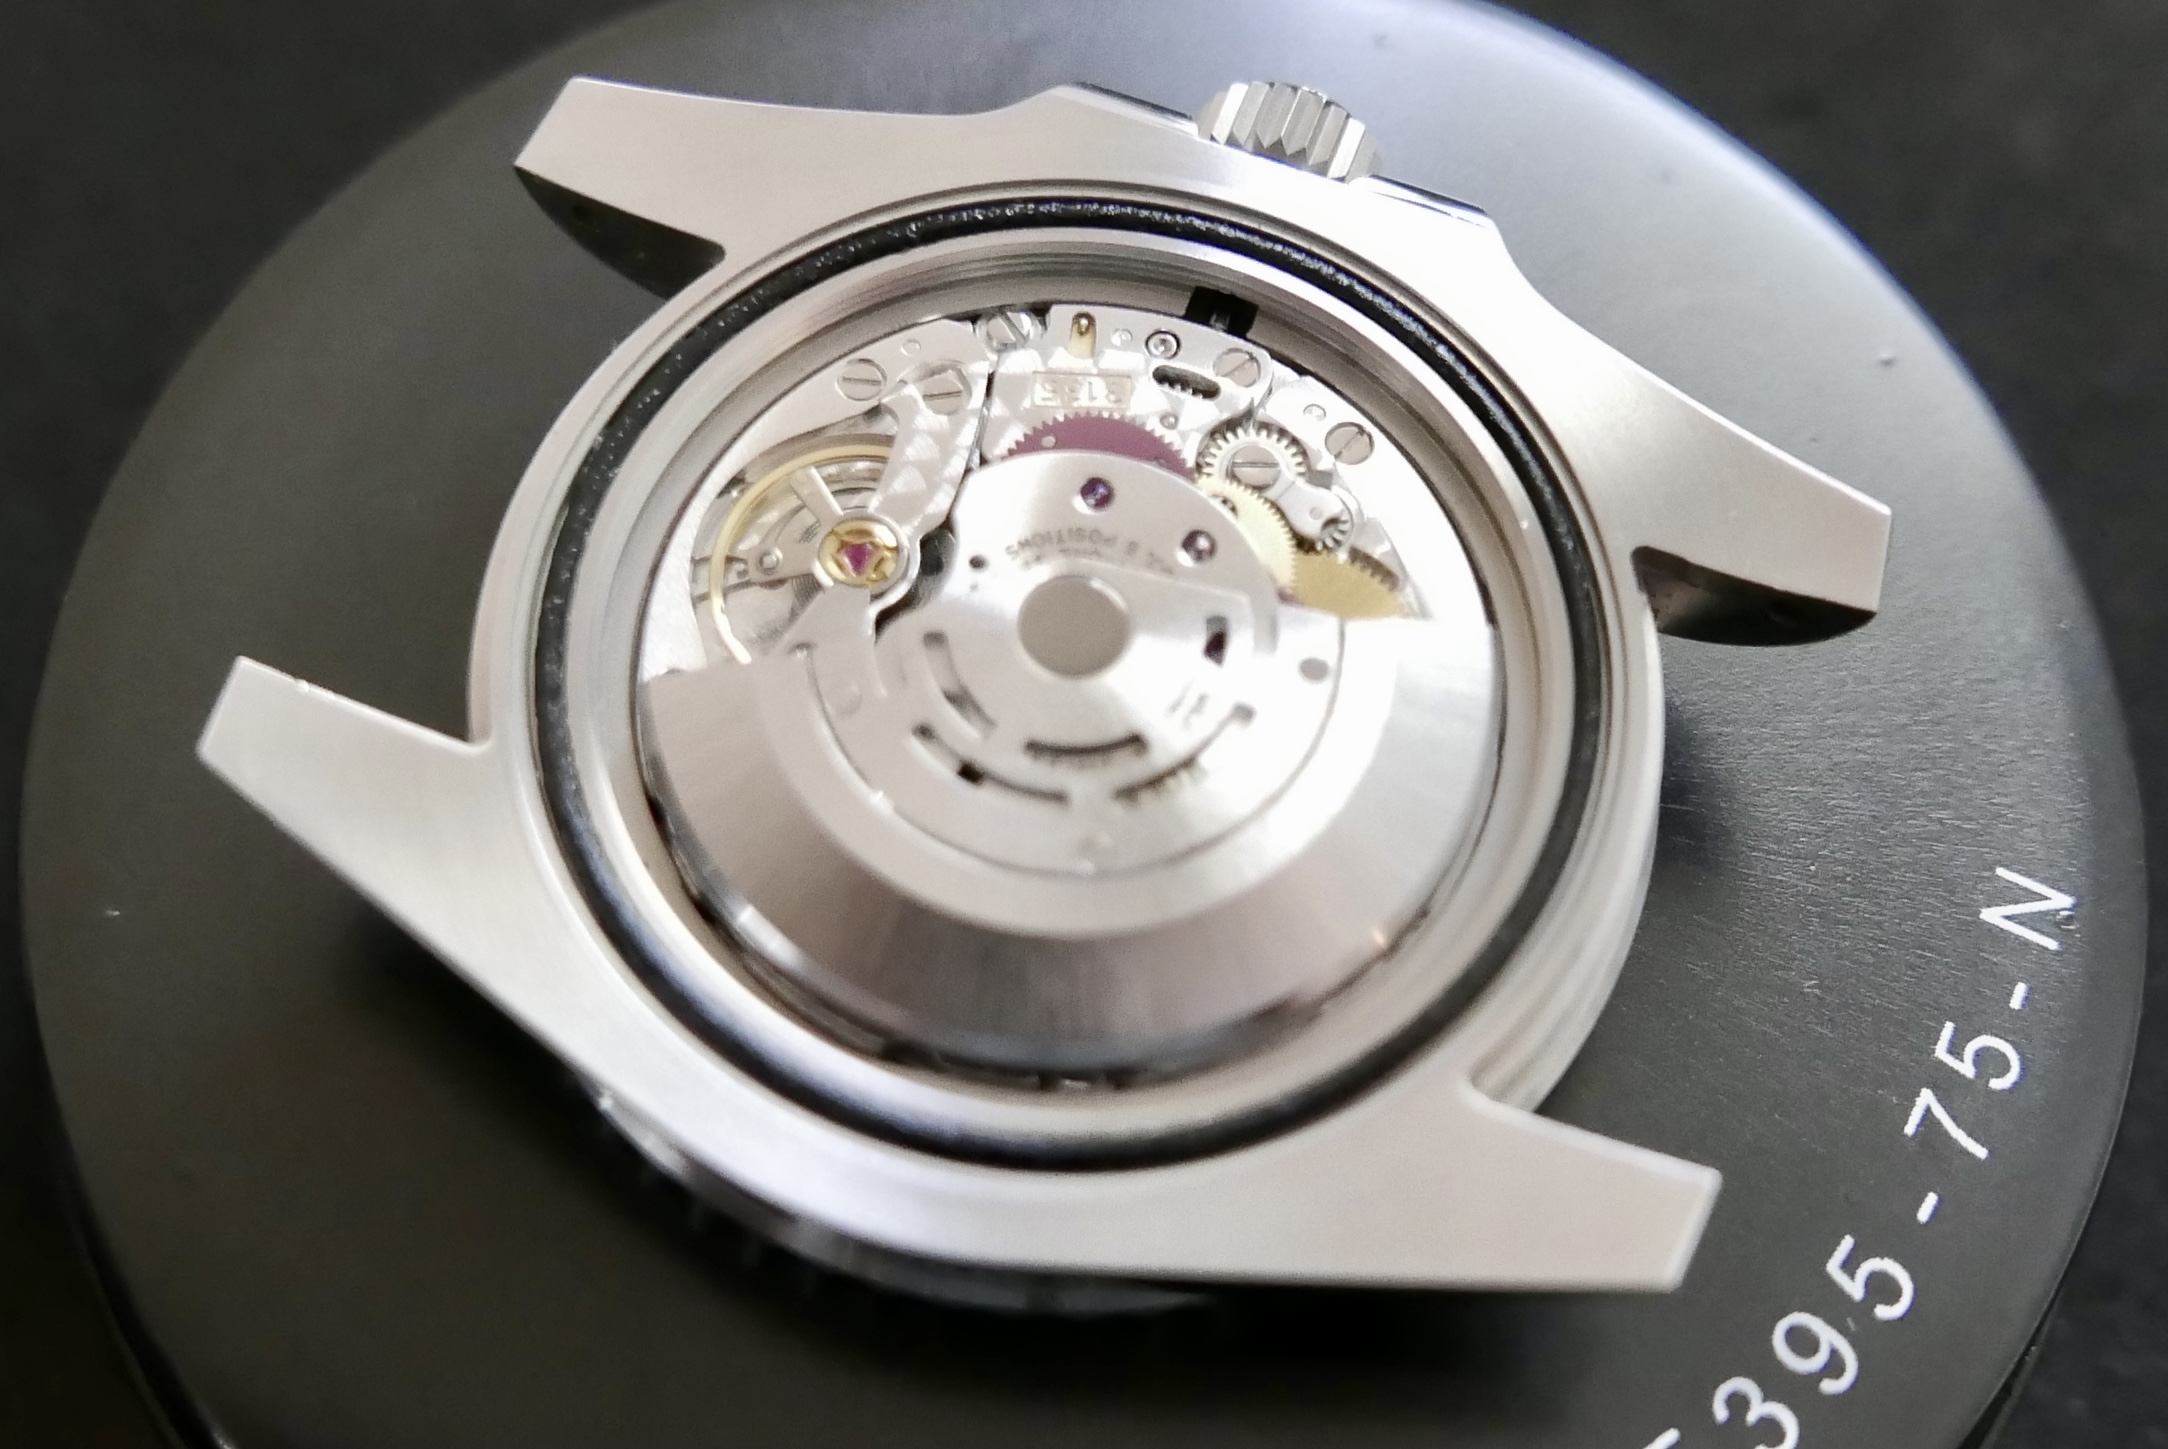
Nice clean movement!
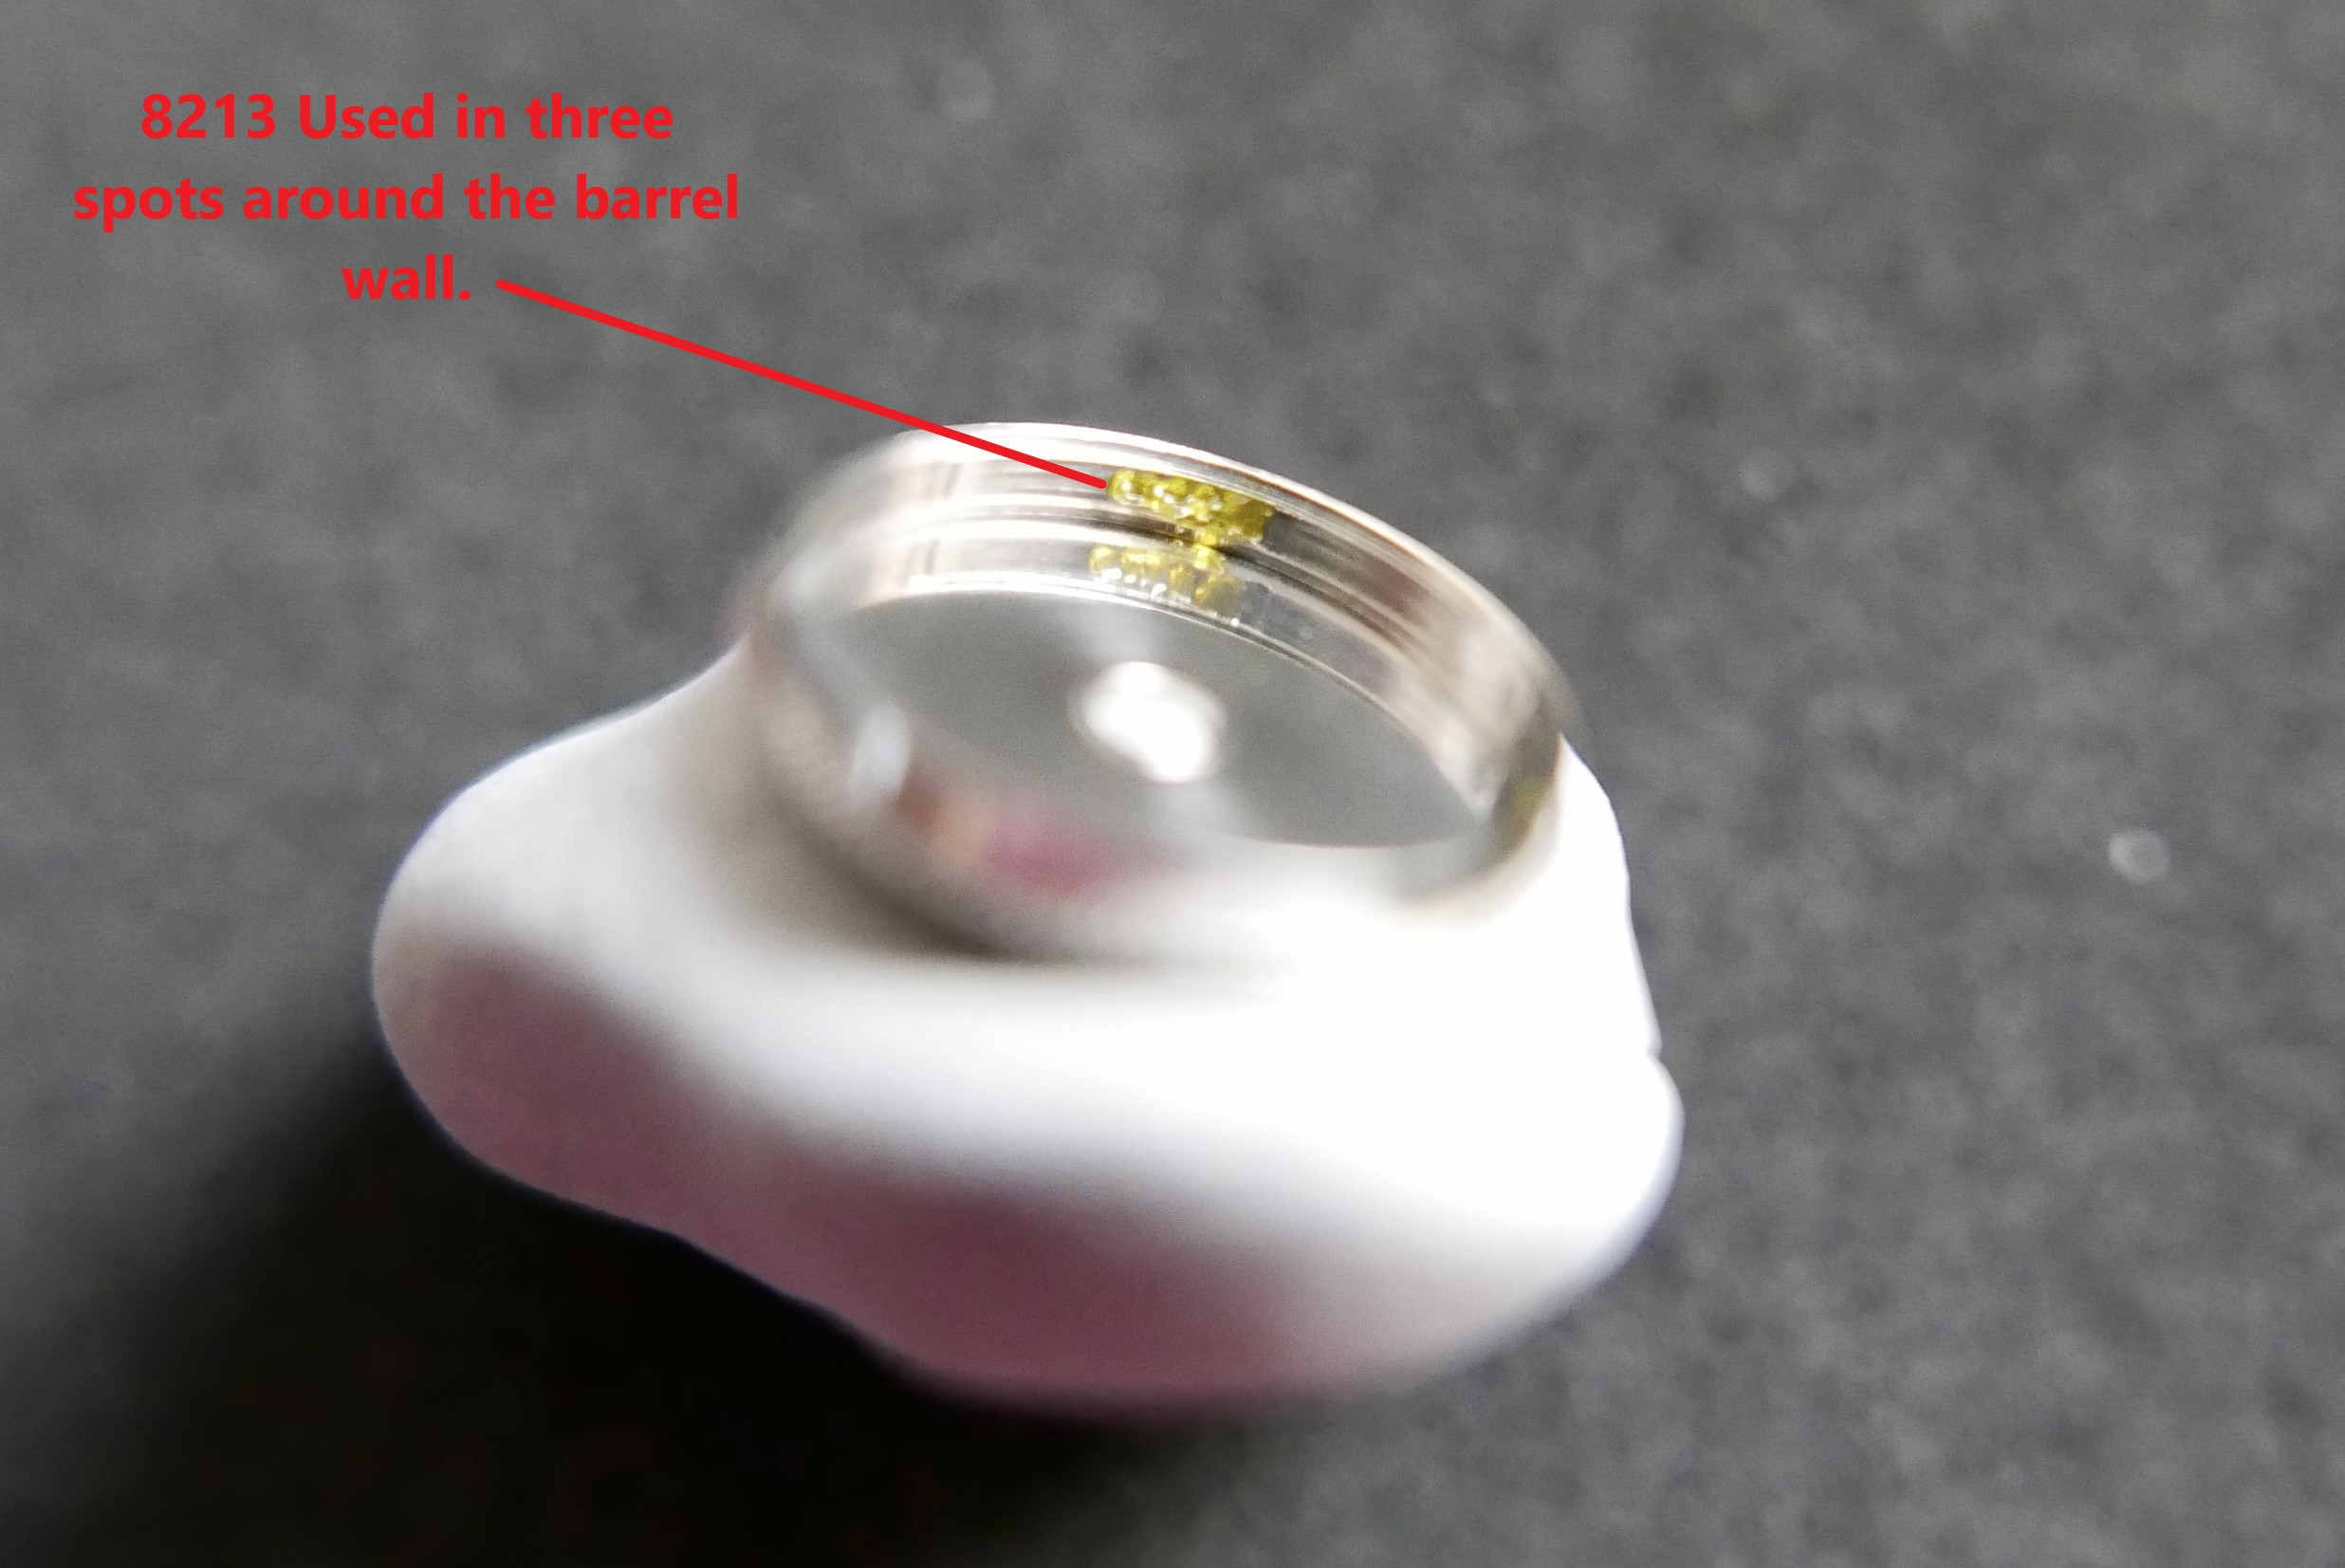
Again I Epilame the entire Keyless Works. This is not required per the manual, but I think it is good practice.


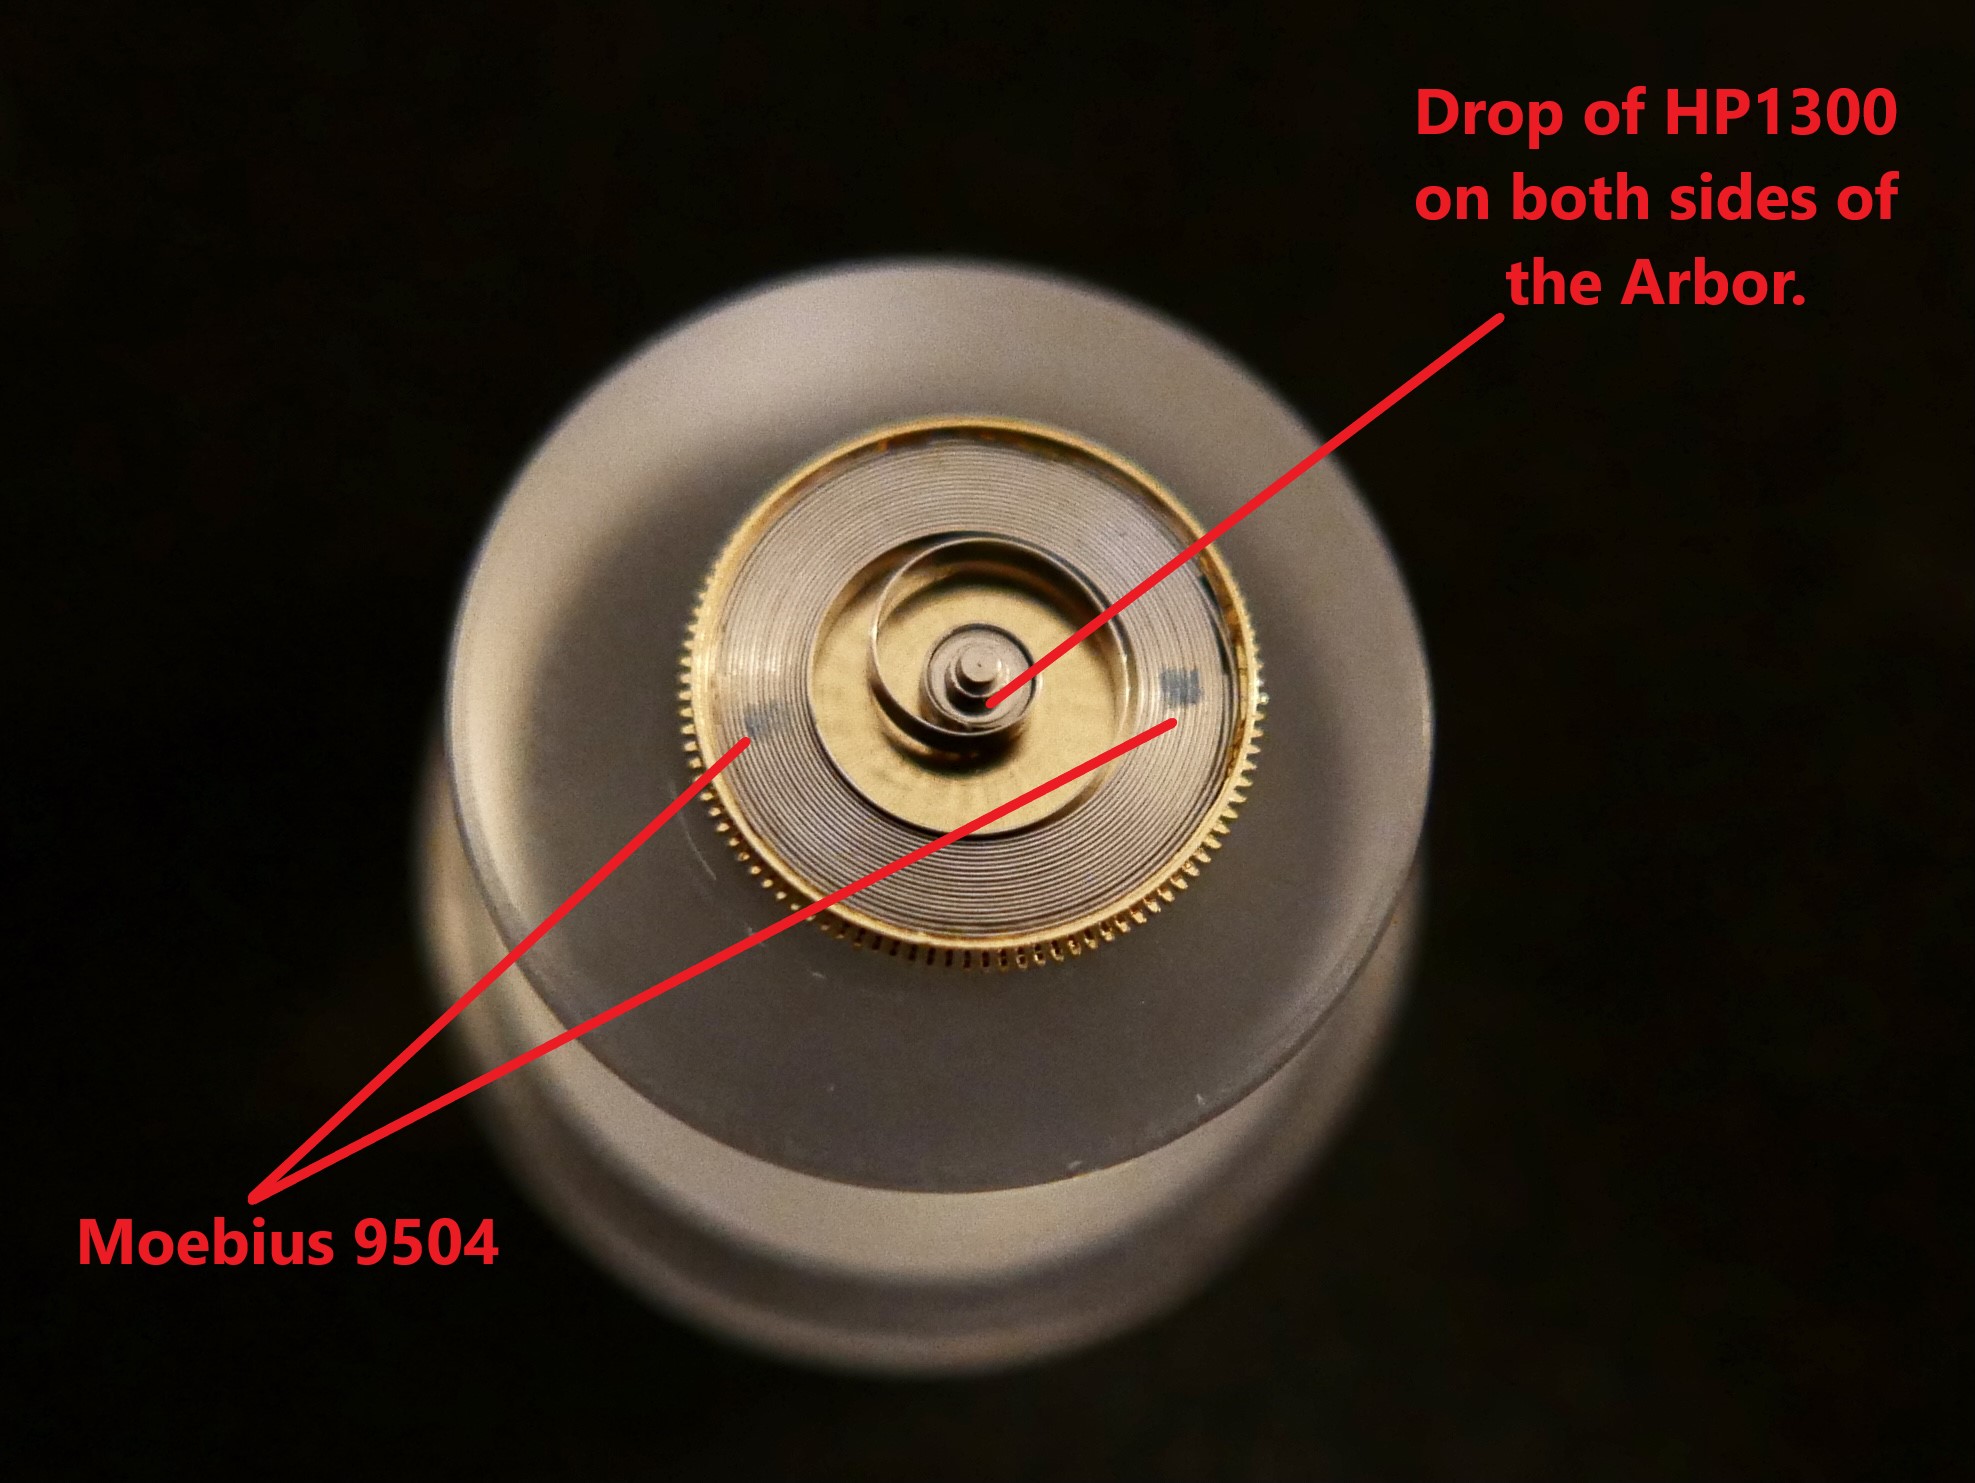
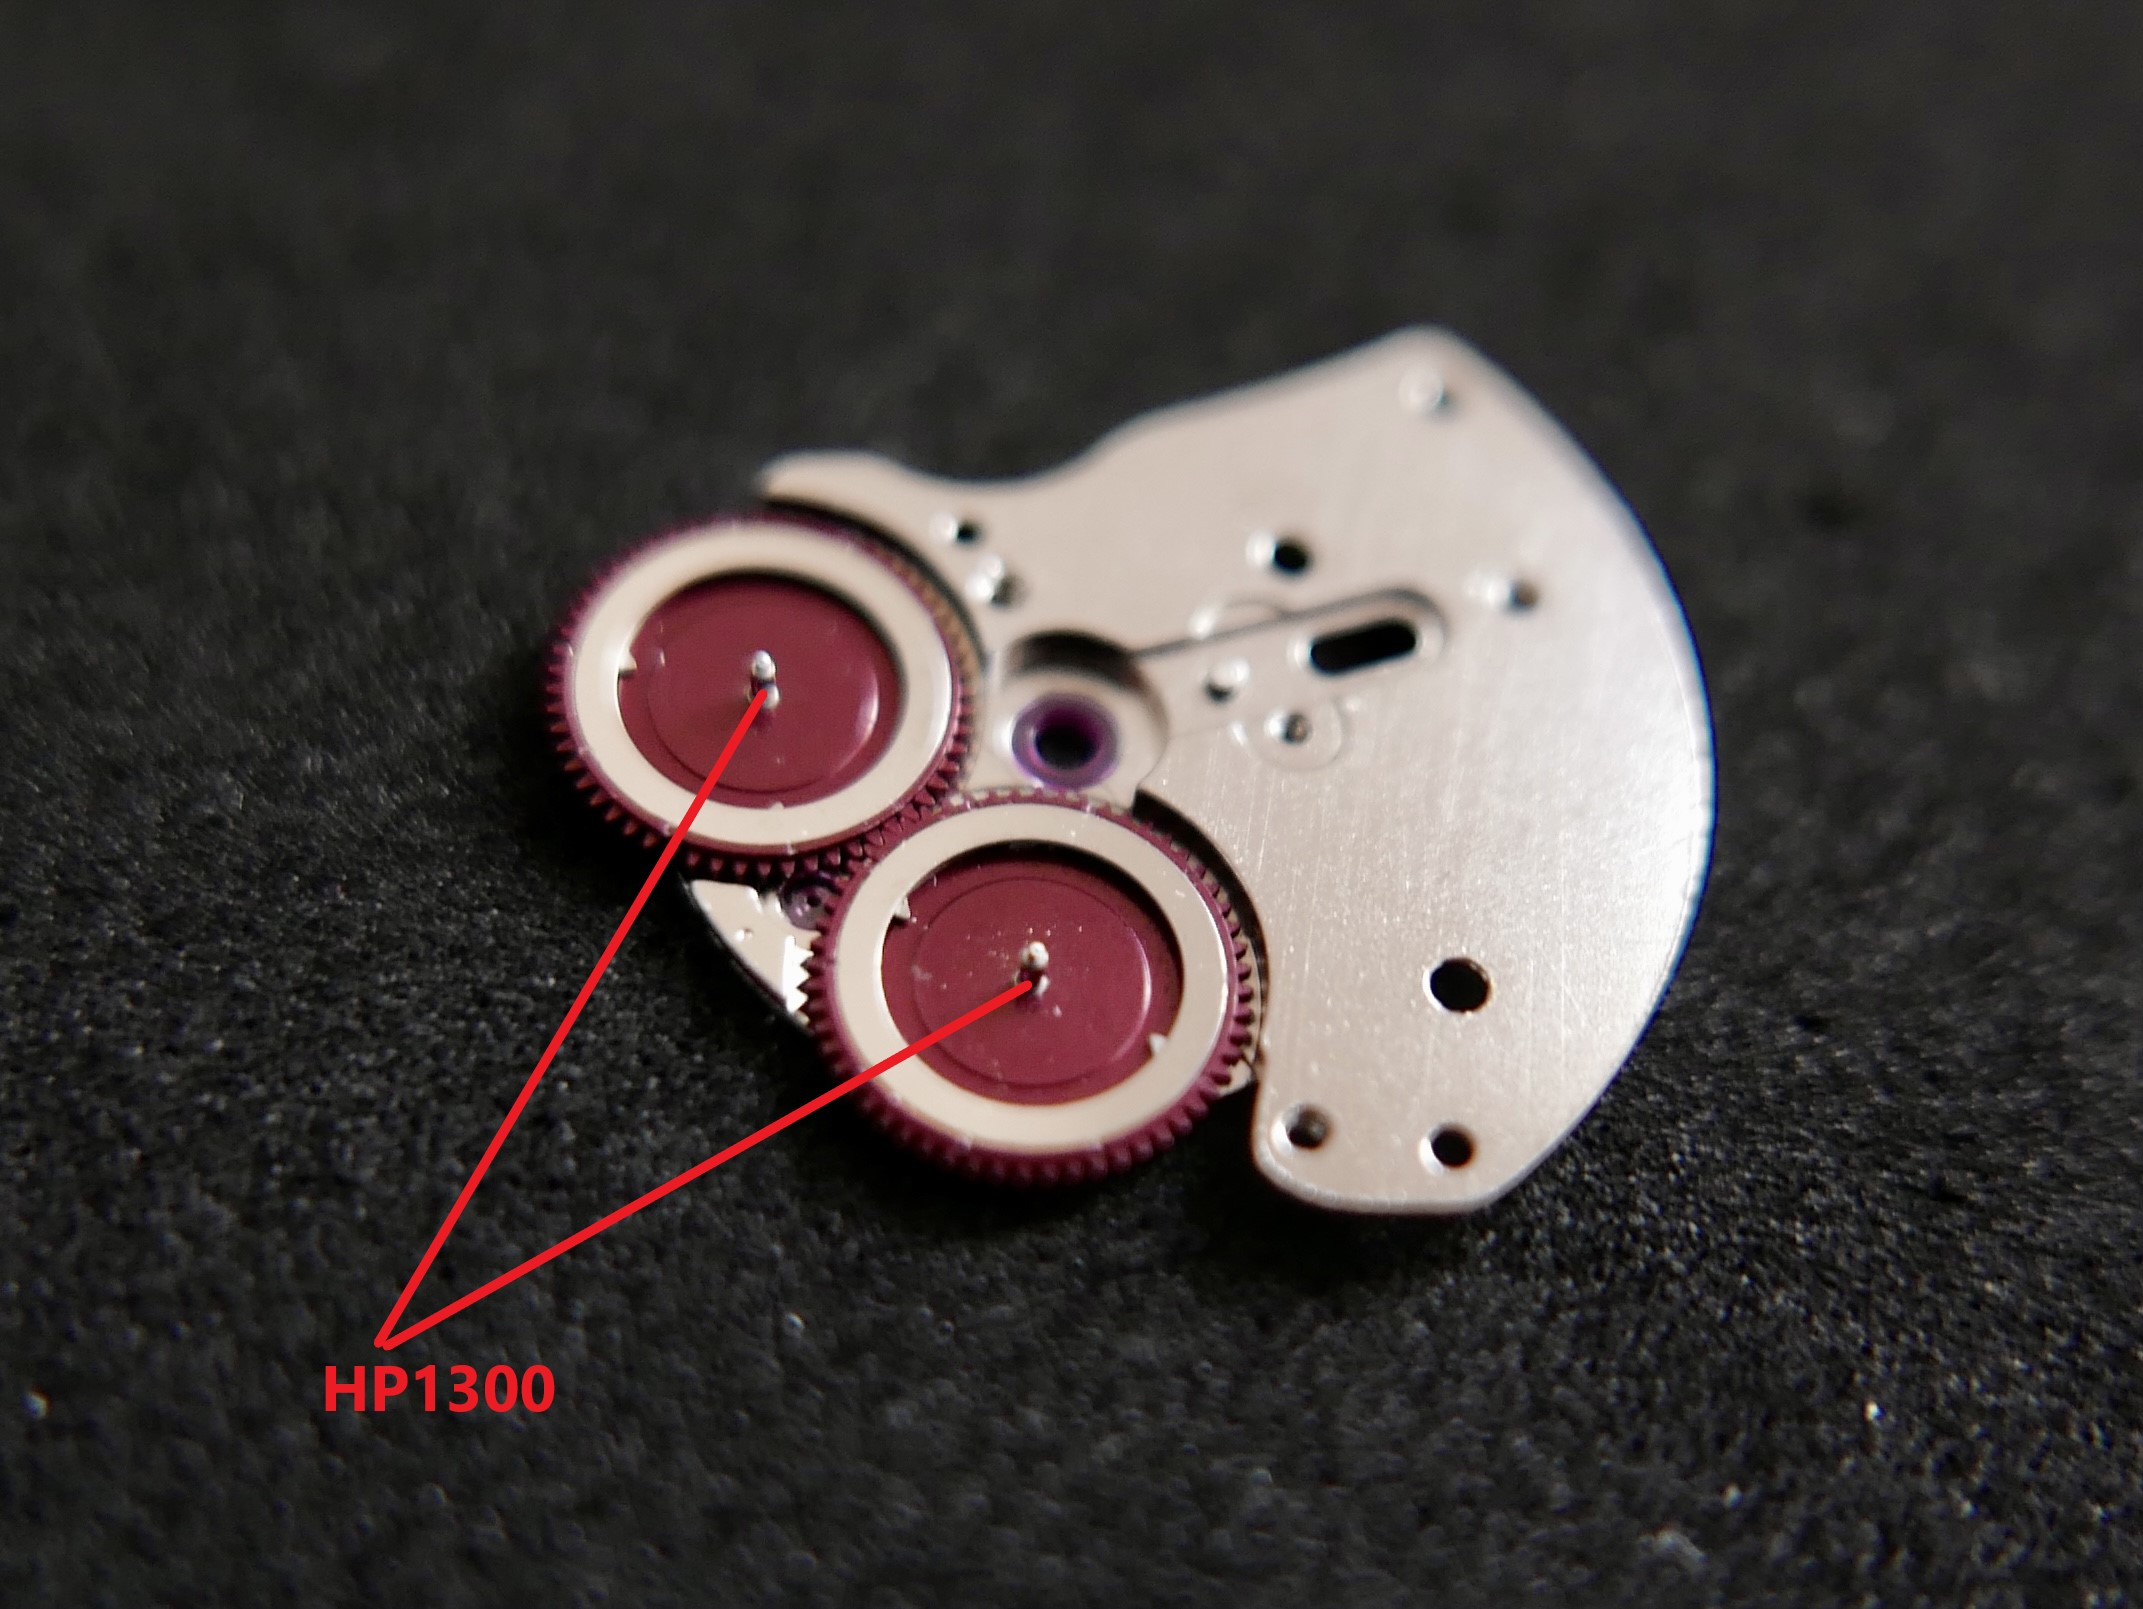
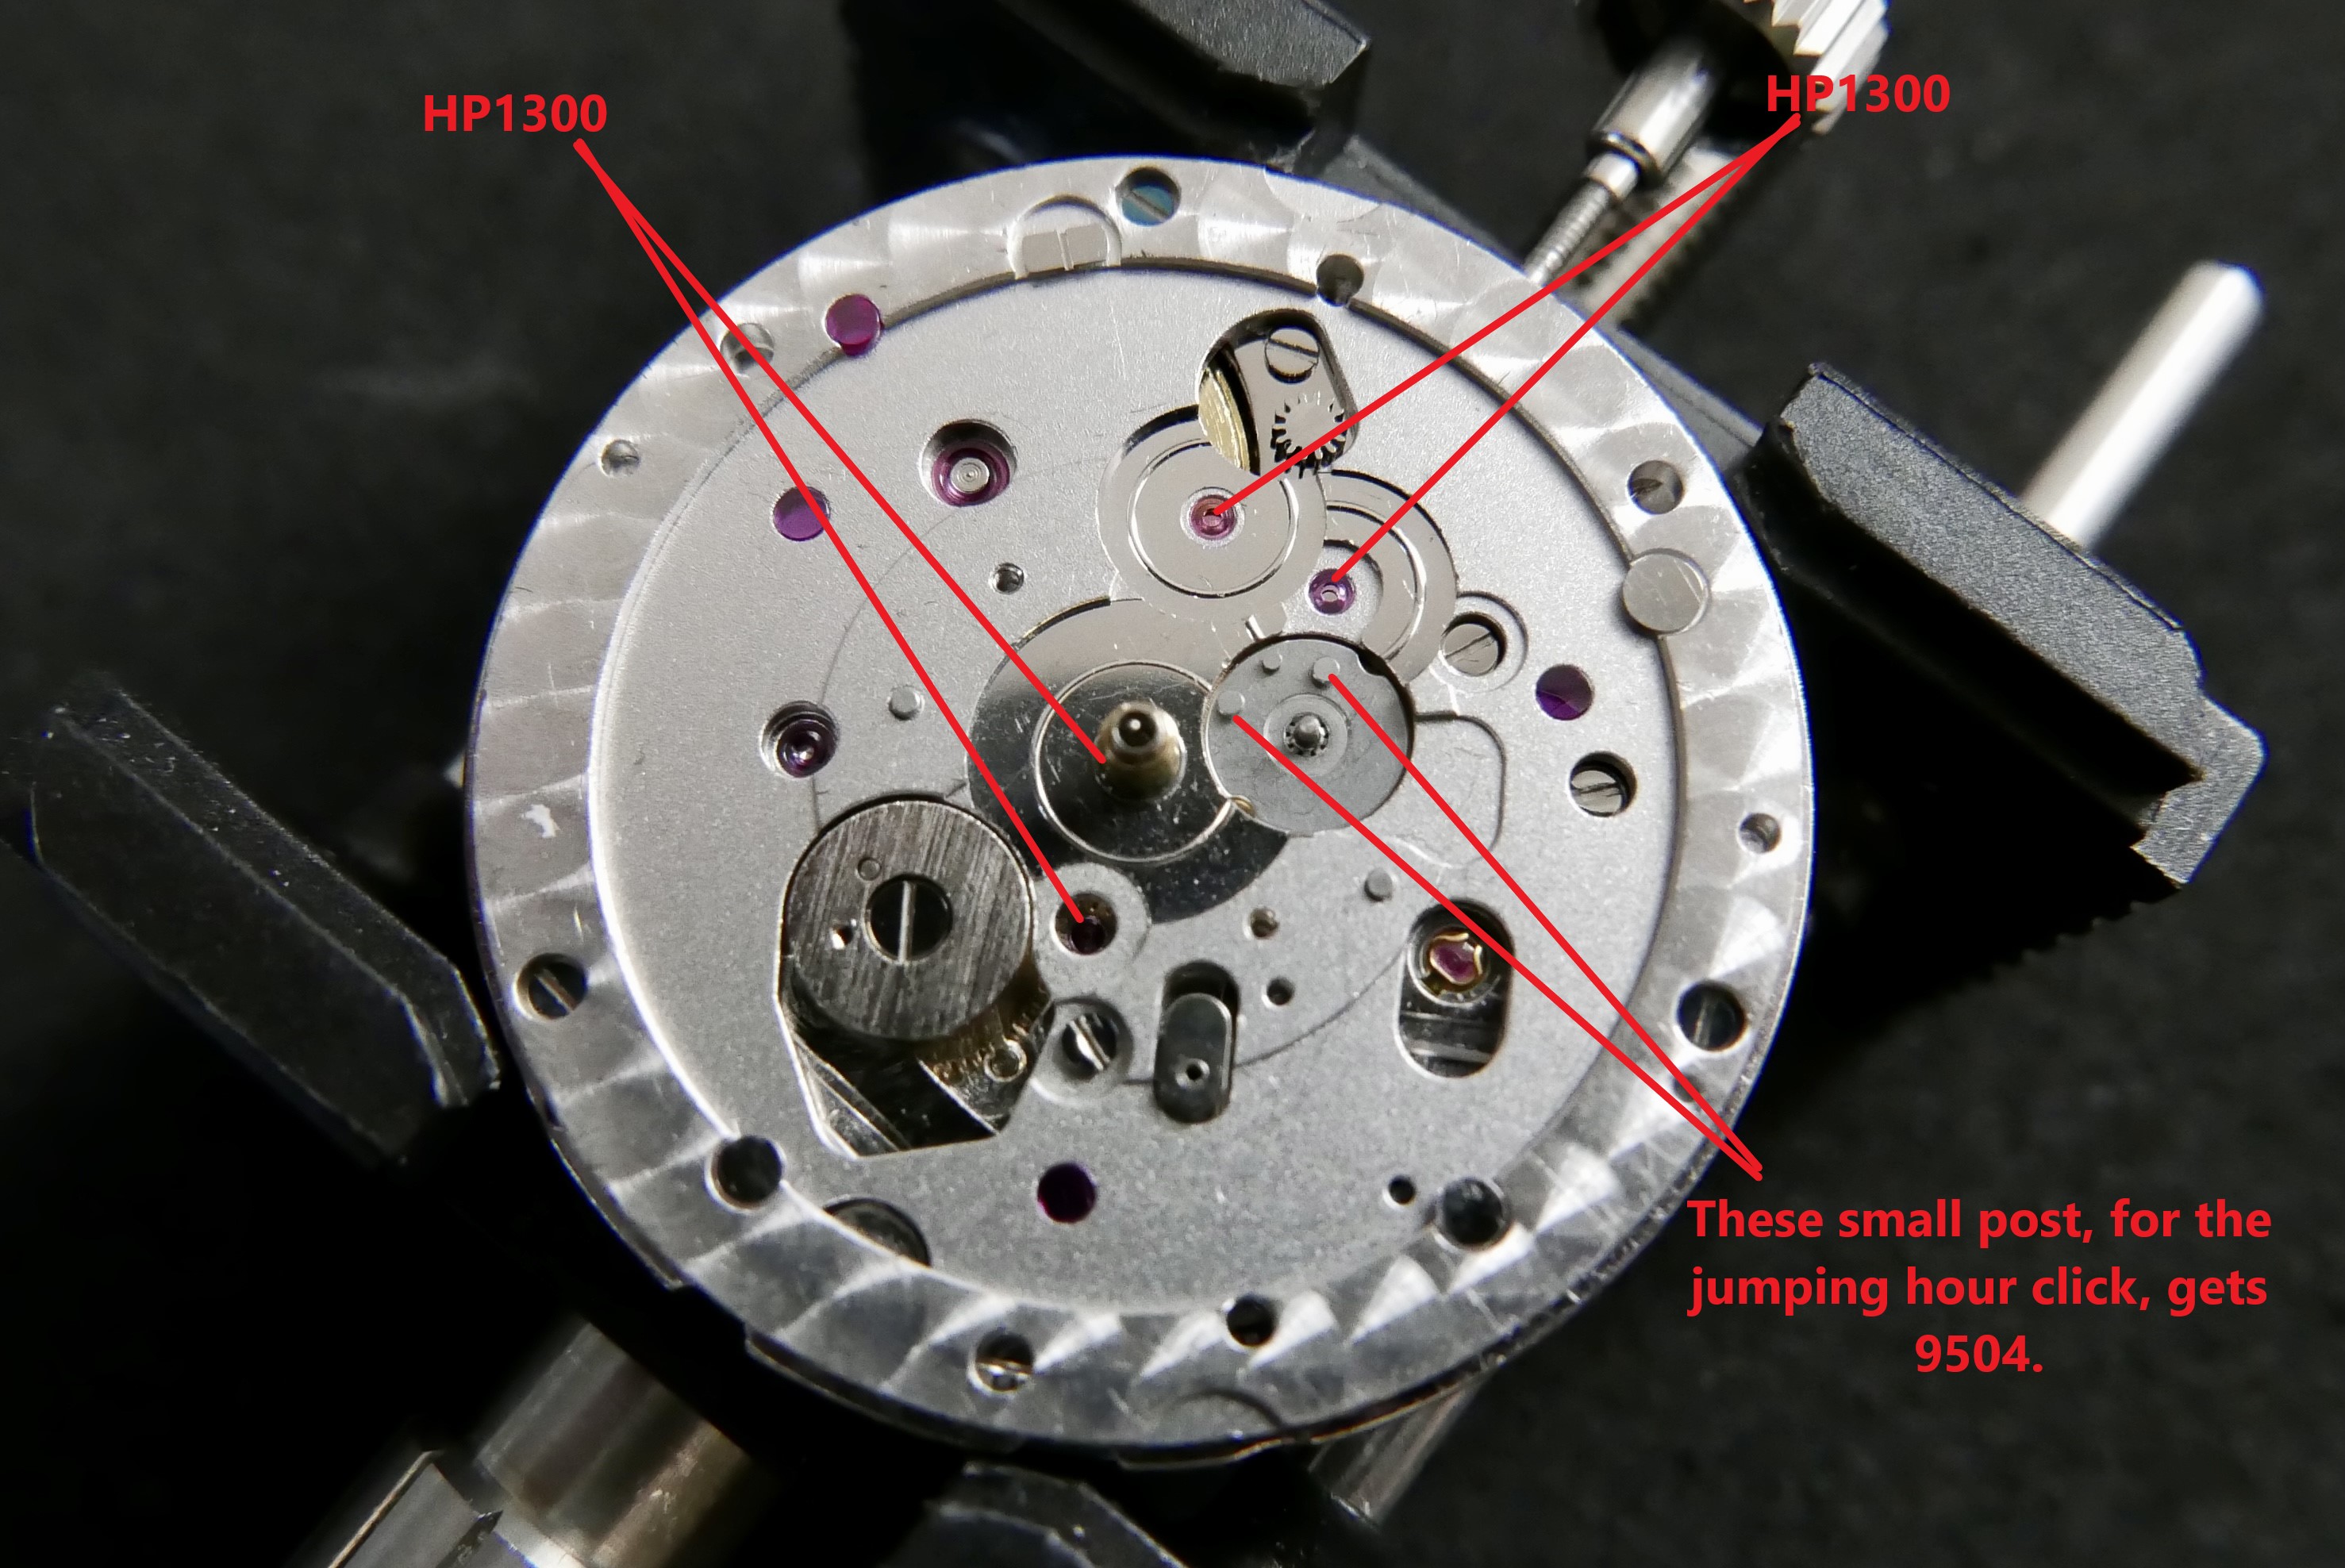
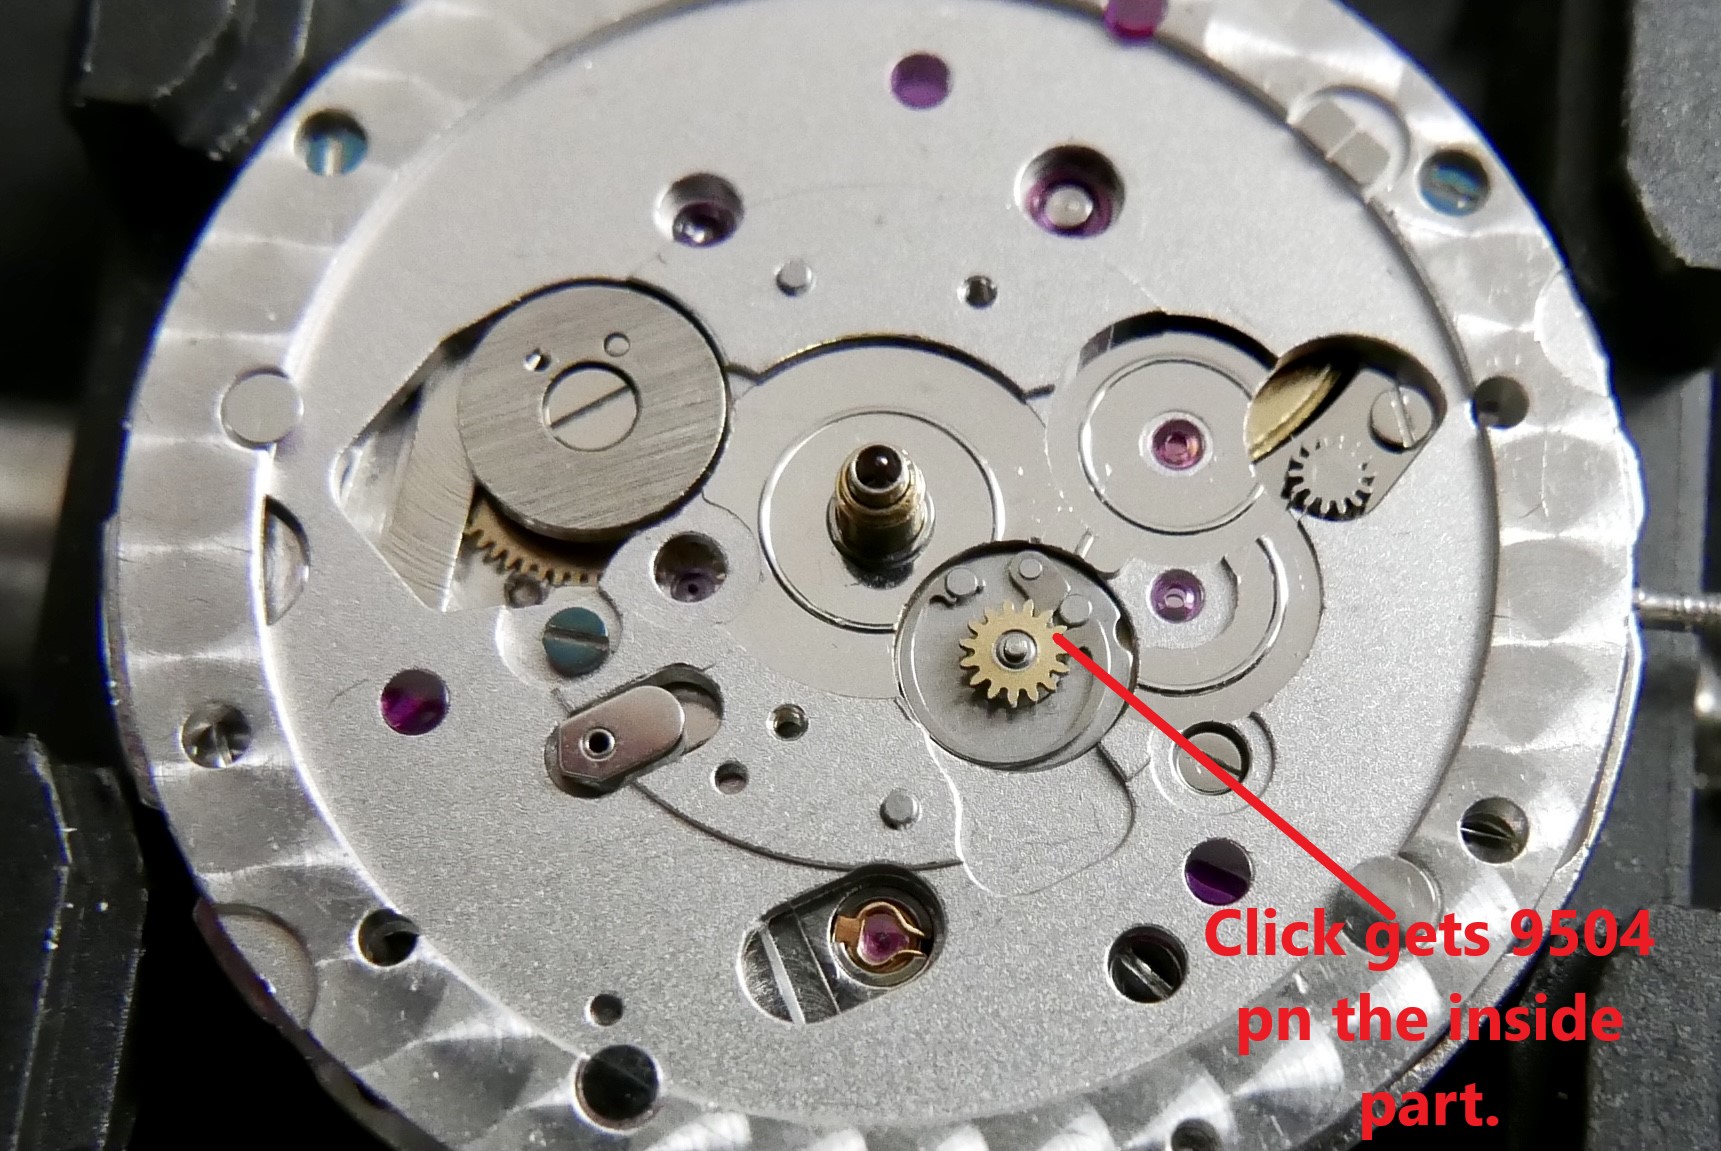
Stem, Winding Pinion, and Sliding Pinion oiled up! I didn't point to the locations, you can easily see them in the picture. Using 9504, of course.


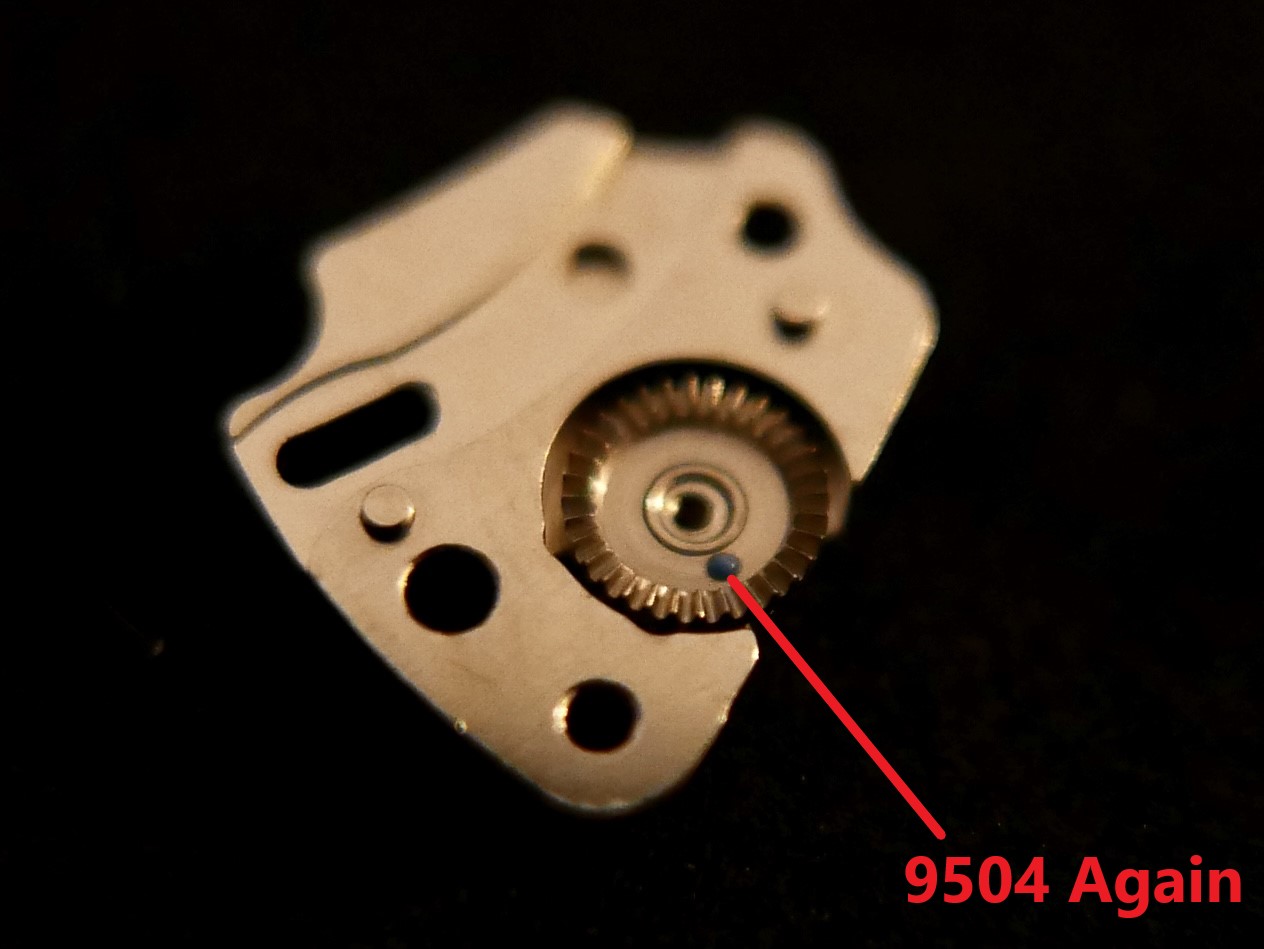
Both wheel and stem inserted into the movement plate. I then oil the sliding pinion again in preparation for it's yoke.

Yoke installed.

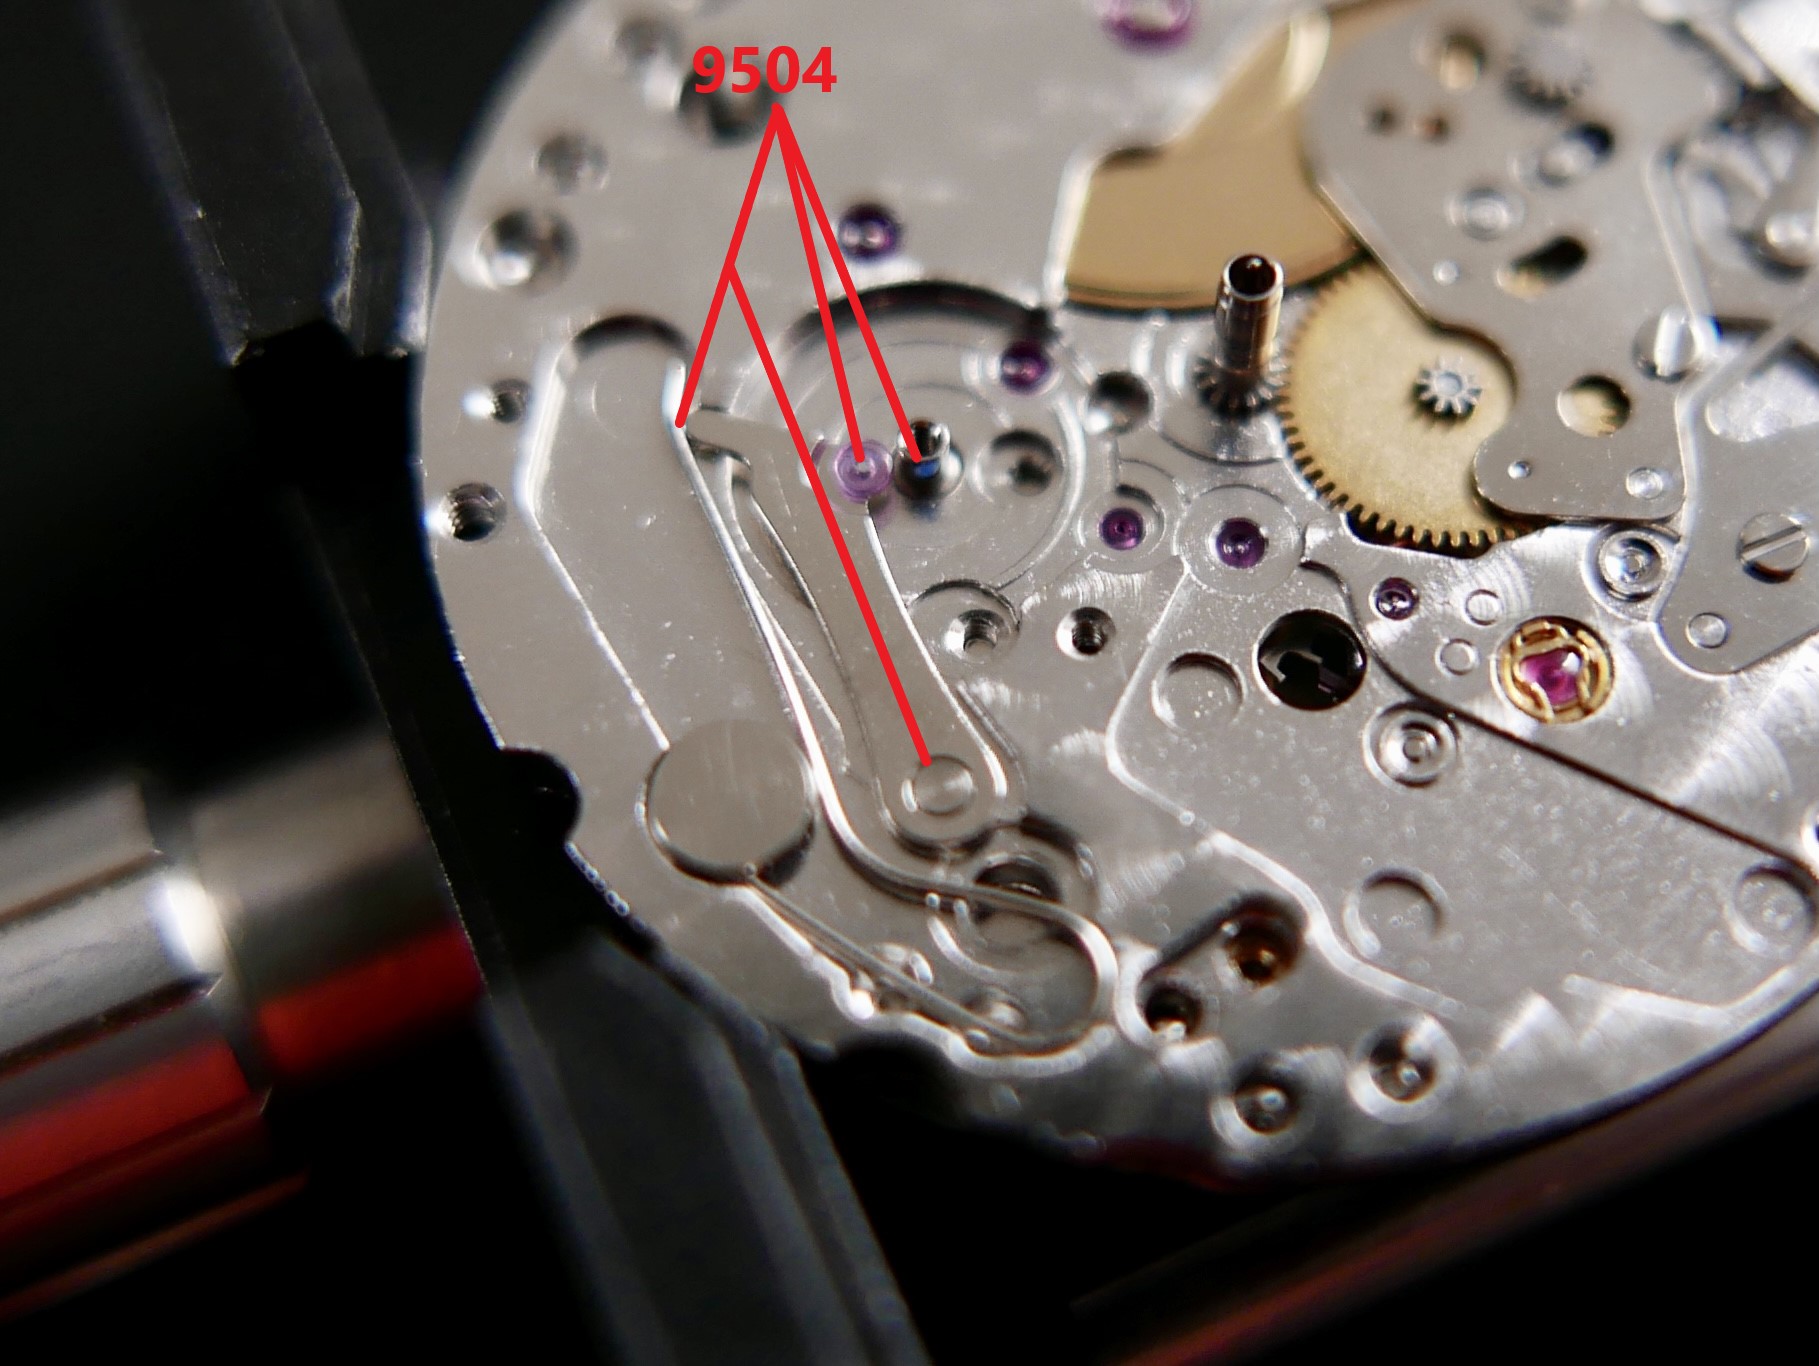
Setting Lever greased and ready to install.

Setting Lever Yoke, Lever, and Spring for Lever installed.

At this point I install the spring for the Yoke. I find it easier installing it at this point, rather than installing it when I install the sliding pinion yoke. I do not want this thing to spring into orbit!

Keyless complete!

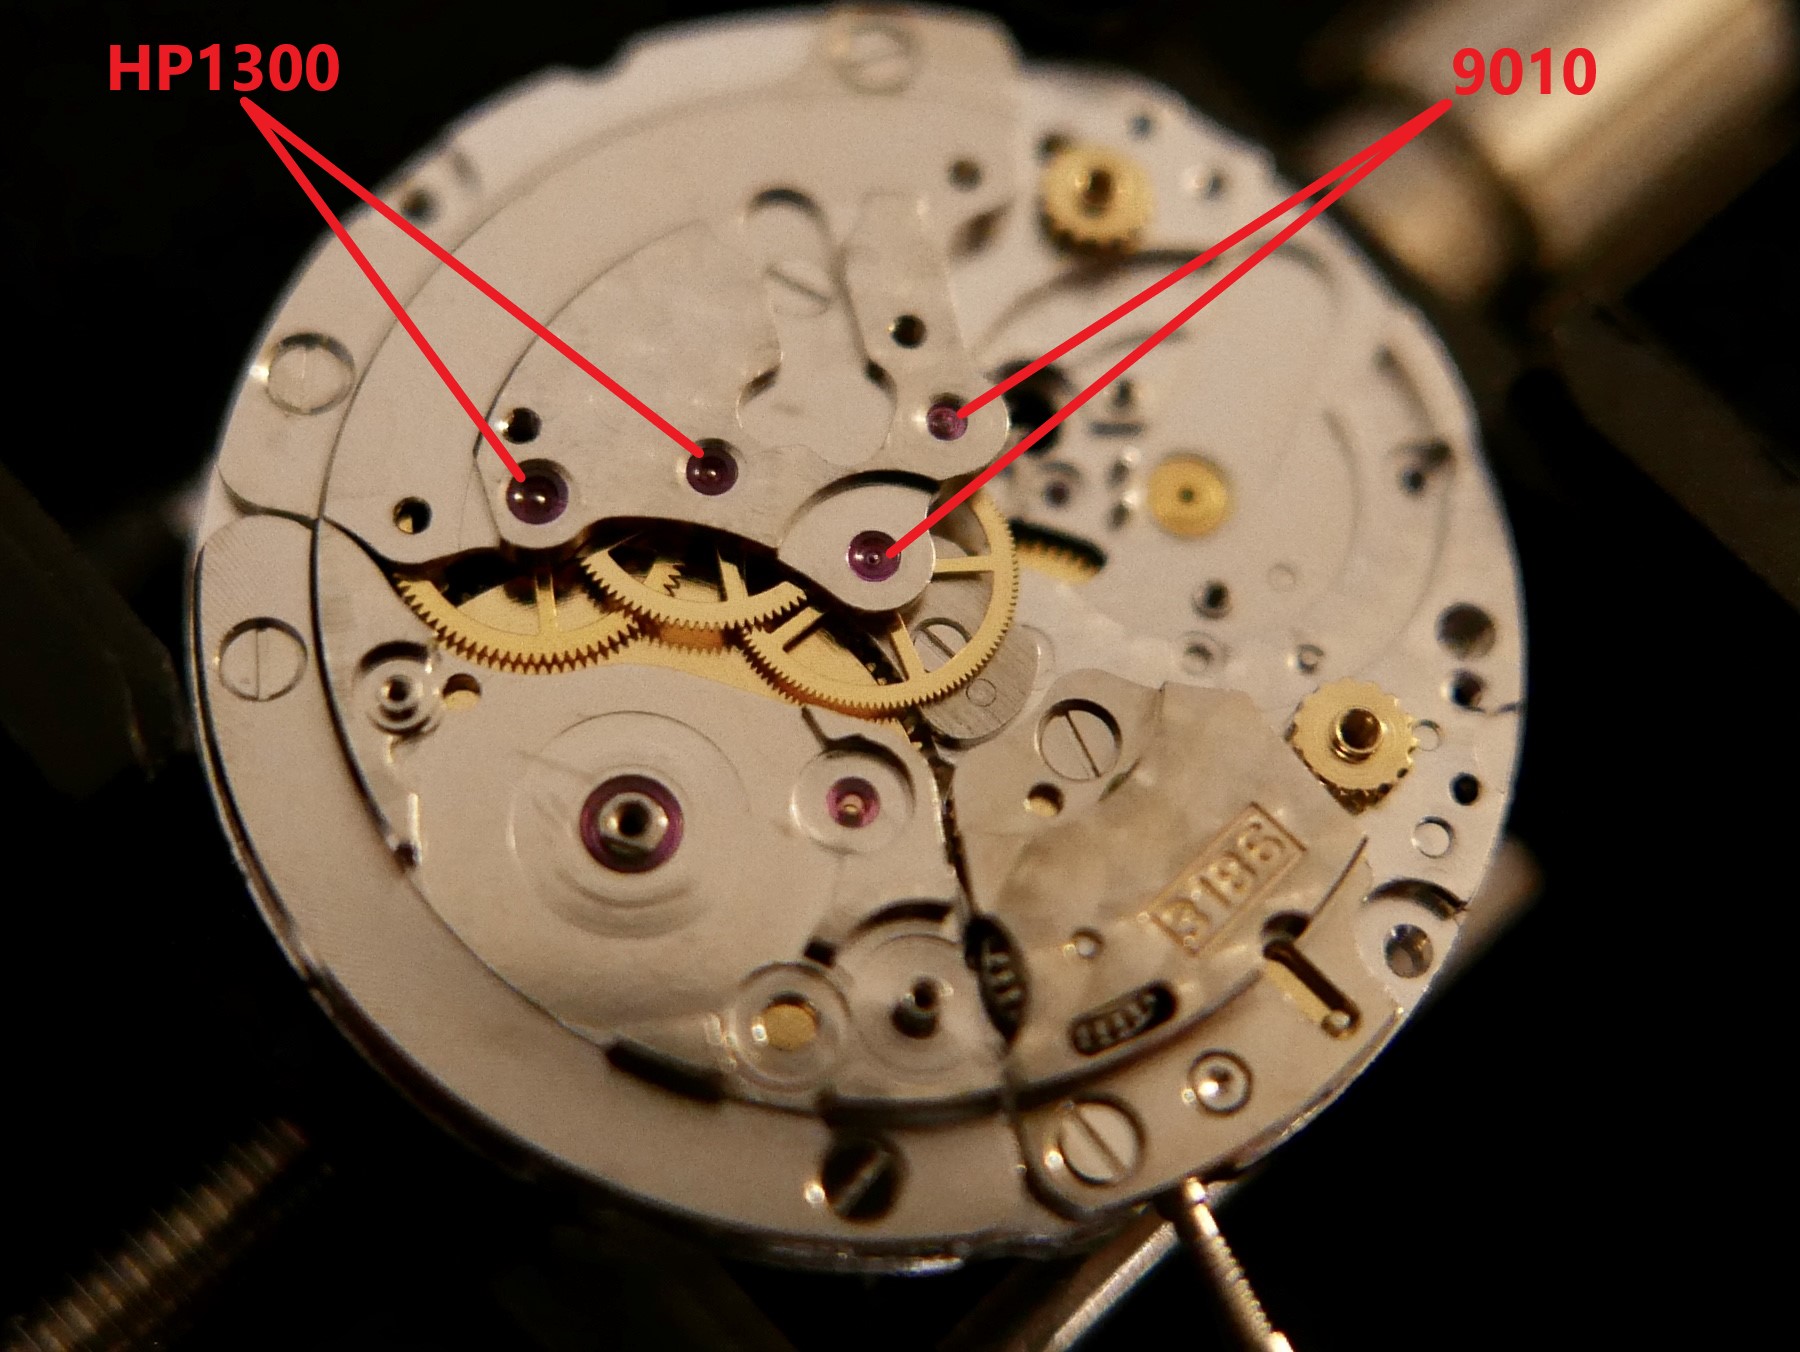
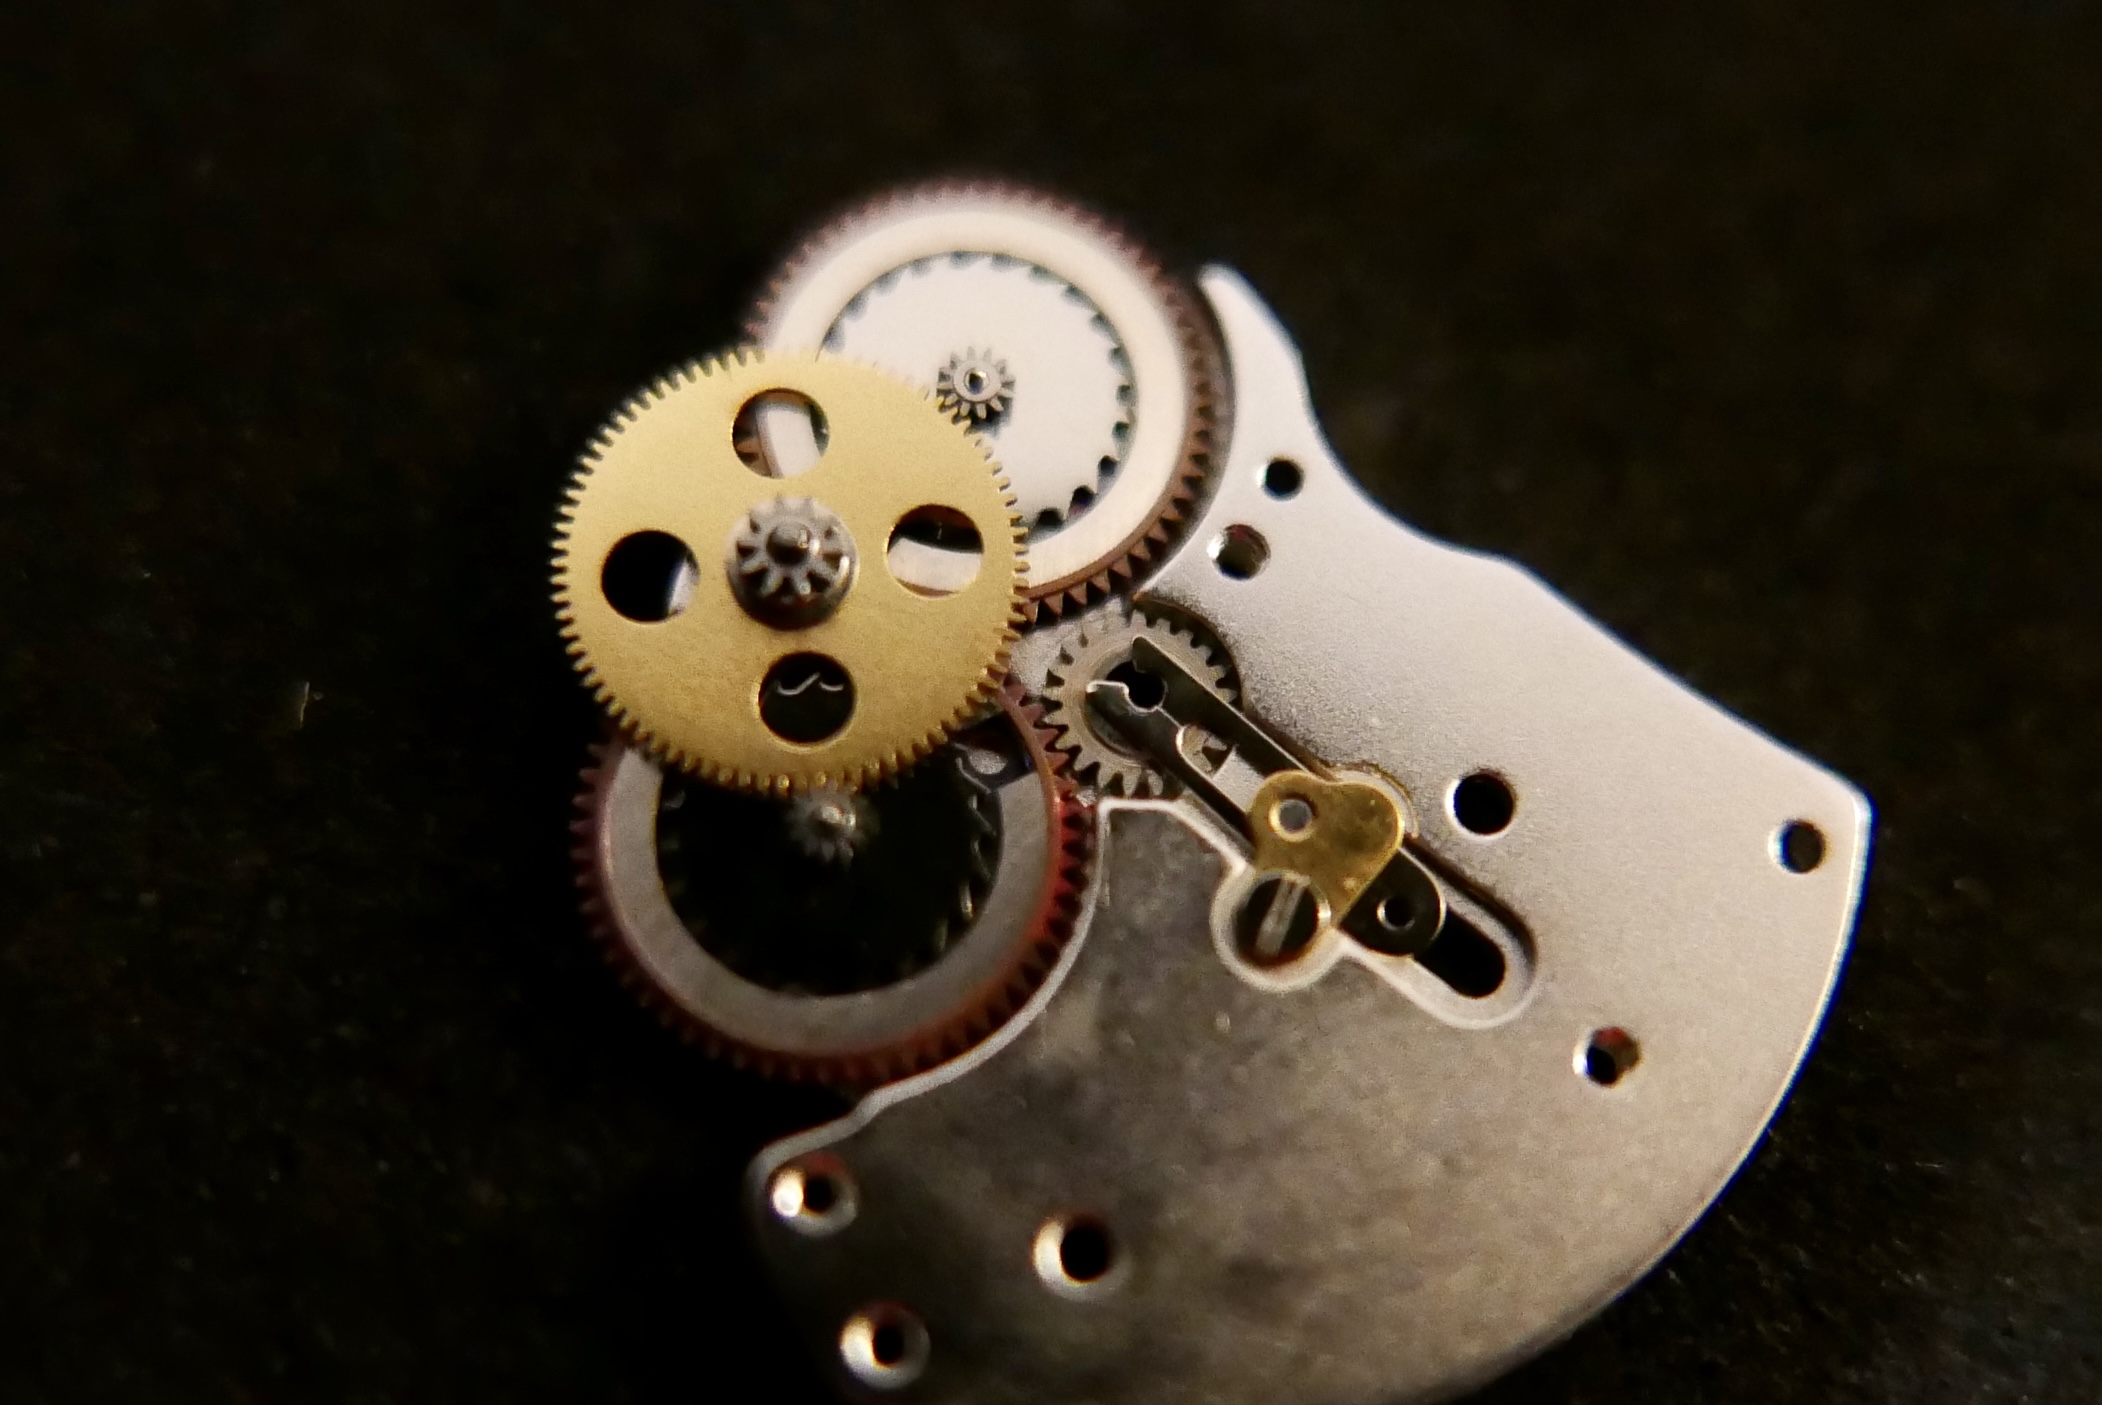
Next up I like to install the minute pinion and it's bridge.


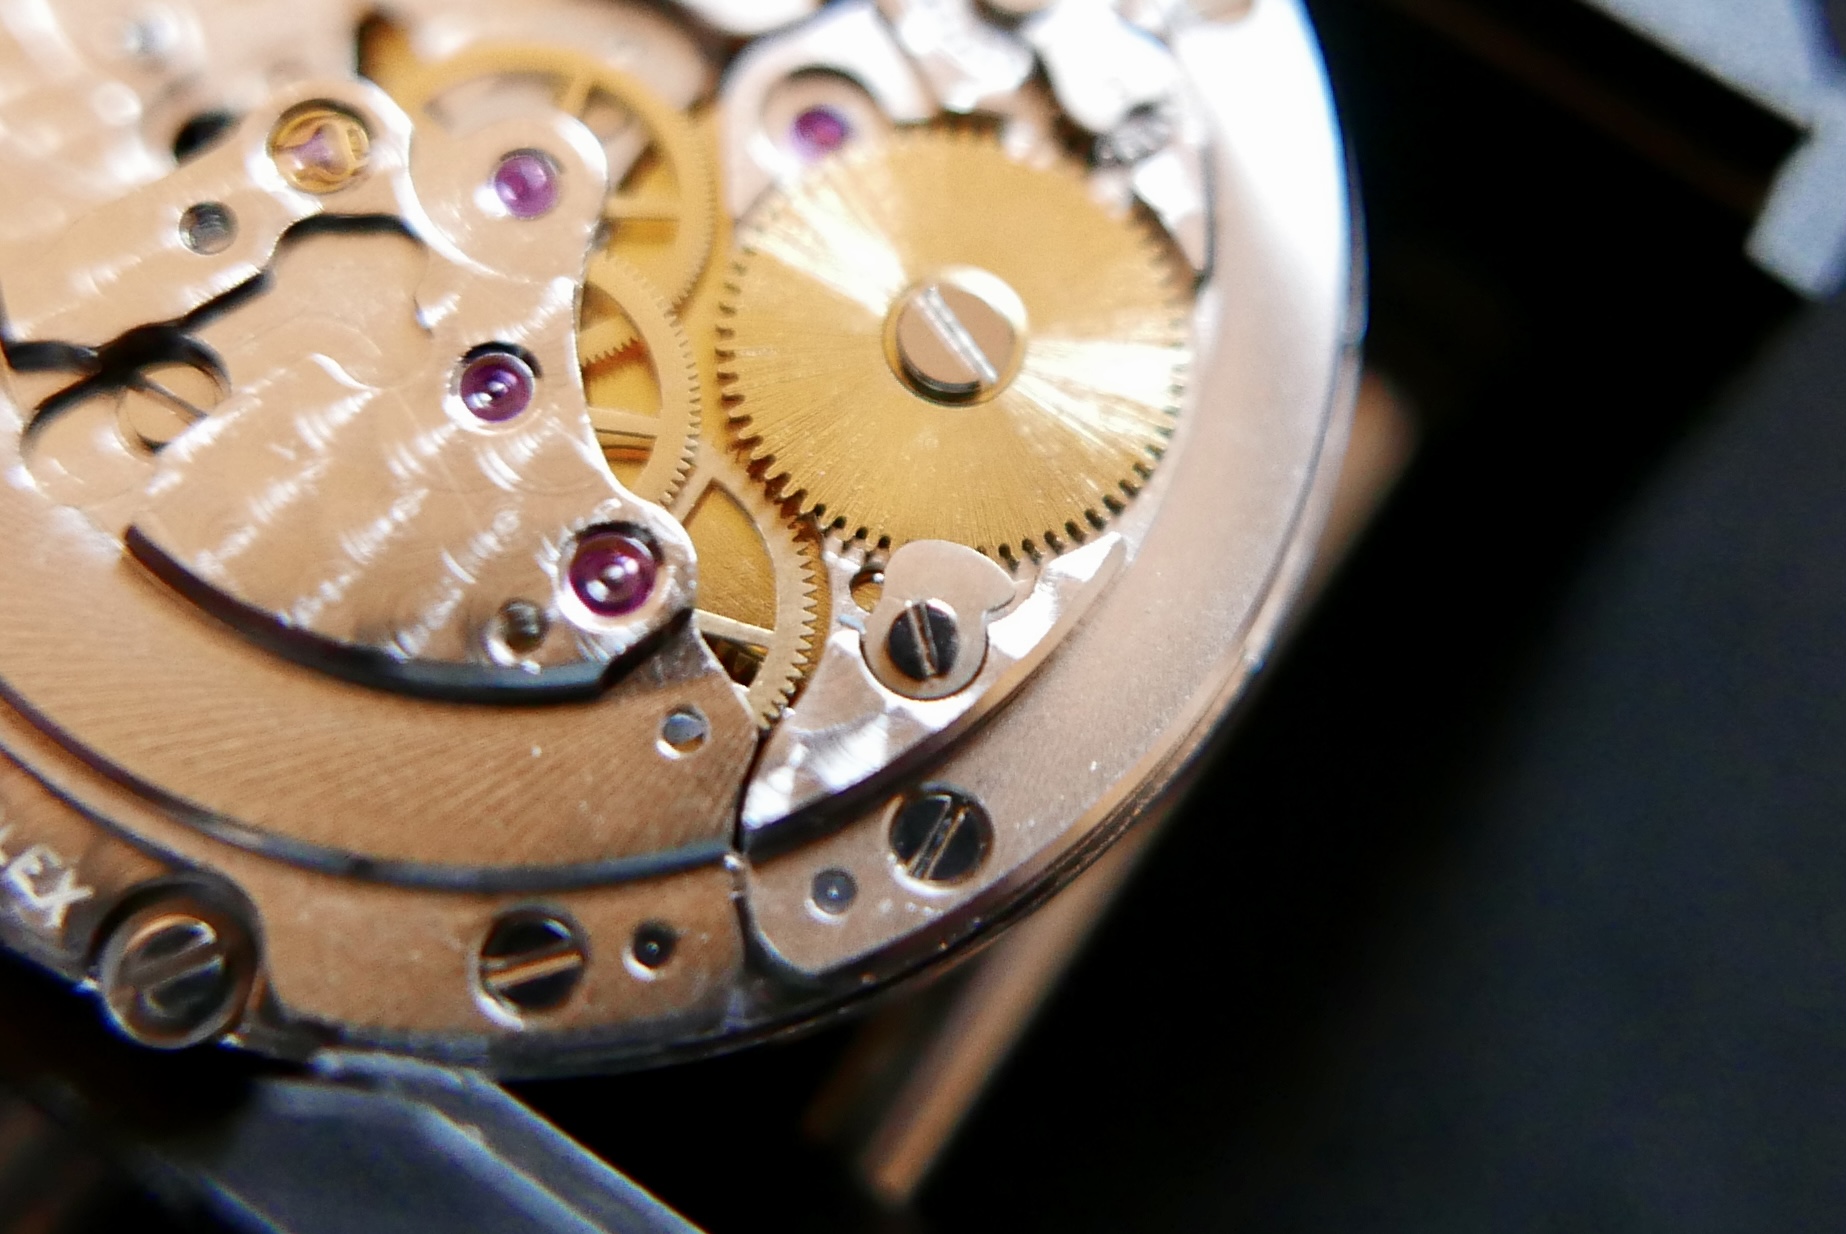
Next up will be the winding bridge and its components, then further on with the movement. I won't show too much of the oiling locations, as they will be the same as the previously detailed 3185 I worked on. Will still show a bunch of pics!
And as always, any comments are welcome!!