- 25/7/15
- 1,107
- 566
- 113
Ok so here's a tutorial for anyone interested in removing a 2836 from its case. There was a good tutorial a few years ago, but all of the links to the pictures are broken, so i'll just post this here and hopefully it'll help a few of you out.
I've used a Rolex submariner for this tutorial as it is a very popular watch but most 2836 watches will be the same.
So straight onto the pictures

Use a spring bar tool or screwdriver to remove the bracelet.

This is the die size we need to remove the case back.


Next remove the centre screw and the rotor will be free to put to one side and set the time to 12 o'clock, you will thank me later.

Remove the stem by pressing down where my tweezers are, roll the crown gently backwards and forwards and pull the stem out. ( theres lots of discussions on the best way to remove the stem. i remove the stem in the winding position, some remove it in the time setting. Google it and see what you prefer)

Put some gloves or finger cots on if you haven't already.
Once the stem is out cover the back of the movement with a zip lock bag and flip it over. Place the movement in a holder and place the stem in. You might need to place it in the movement holder dial down and depress the button to get the stem back in. Be careful not to scratch the dial.

Now place a ziplock back over the dial and hands to protect it so you can remove the hands with your levers


next we need to remove the dial, pull out the clamps for the dial feet, you can see one i've pulled out at 4 in the picture.The other is at 10

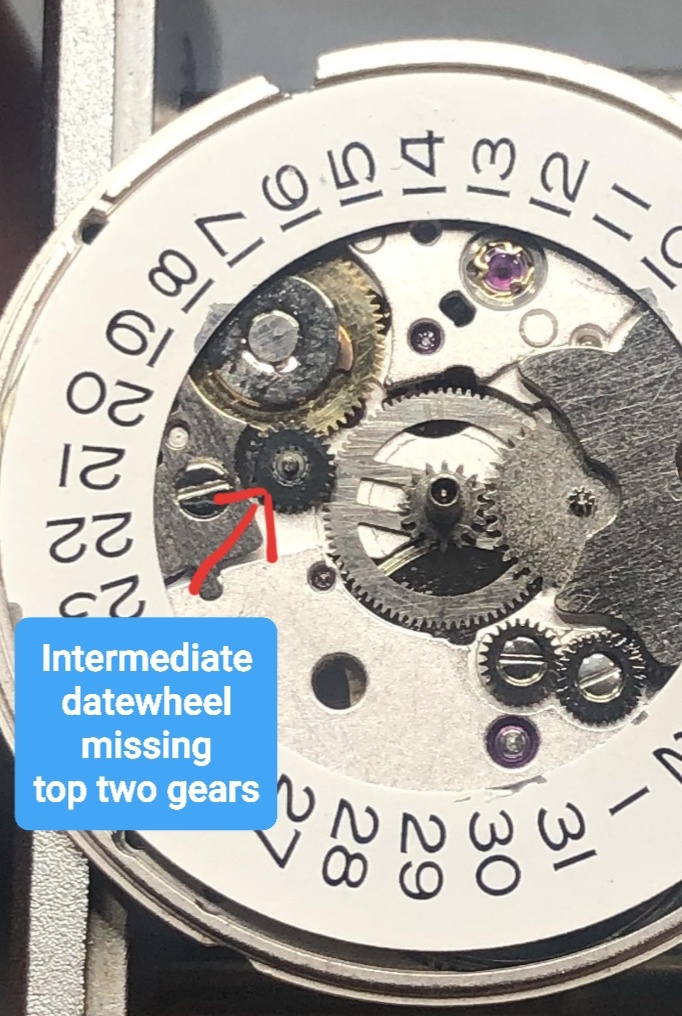
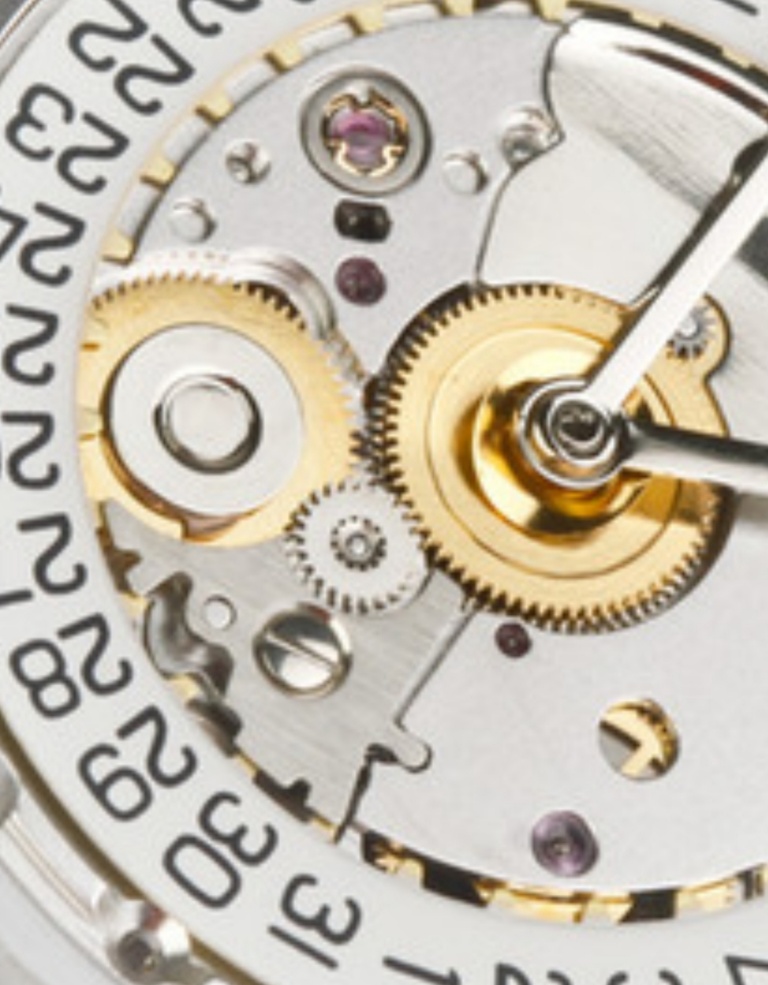
Once the dial is removed we can see the date wheel and minute train bridge.

Remove the date jumper plate screw and the date jumper plate will come out. Remove your datewheel carefully. do not pick it up with the end of your tweezers. it will mark very easily.


With date wheel removed we can take out the screw for the minute train bridge.

Slide the bridge towards the keyless and the tabs will become free

Now we can see the keyless, loosen the screw for the setting lever jumper but do not remove it

Lift up here with your tweezers or screwdriver, once the tension is removed you can take the screw out and put the jumper somewhere safe

Remove the yoke

Remove the setting lever

Remove the corrector lever

And finally the sliding and winding pinions, familiarise yourself with the orientation before you remove it


I hope this helps and part 2 rebuilding will be tomorrow...
I've used a Rolex submariner for this tutorial as it is a very popular watch but most 2836 watches will be the same.
So straight onto the pictures

Use a spring bar tool or screwdriver to remove the bracelet.

This is the die size we need to remove the case back.


Next remove the centre screw and the rotor will be free to put to one side and set the time to 12 o'clock, you will thank me later.

Remove the stem by pressing down where my tweezers are, roll the crown gently backwards and forwards and pull the stem out. ( theres lots of discussions on the best way to remove the stem. i remove the stem in the winding position, some remove it in the time setting. Google it and see what you prefer)

Put some gloves or finger cots on if you haven't already.
Once the stem is out cover the back of the movement with a zip lock bag and flip it over. Place the movement in a holder and place the stem in. You might need to place it in the movement holder dial down and depress the button to get the stem back in. Be careful not to scratch the dial.

Now place a ziplock back over the dial and hands to protect it so you can remove the hands with your levers


next we need to remove the dial, pull out the clamps for the dial feet, you can see one i've pulled out at 4 in the picture.The other is at 10

Once the dial is removed we can see the date wheel and minute train bridge.

Remove the date jumper plate screw and the date jumper plate will come out. Remove your datewheel carefully. do not pick it up with the end of your tweezers. it will mark very easily.


With date wheel removed we can take out the screw for the minute train bridge.

Slide the bridge towards the keyless and the tabs will become free

Now we can see the keyless, loosen the screw for the setting lever jumper but do not remove it

Lift up here with your tweezers or screwdriver, once the tension is removed you can take the screw out and put the jumper somewhere safe

Remove the yoke

Remove the setting lever

Remove the corrector lever

And finally the sliding and winding pinions, familiarise yourself with the orientation before you remove it


I hope this helps and part 2 rebuilding will be tomorrow...


