so, thanks to dmacnz thread : http://forum.replica-watch.info/vb/showthread.php/two-tone-bezel-92767
I did this to my GMT bezel too.
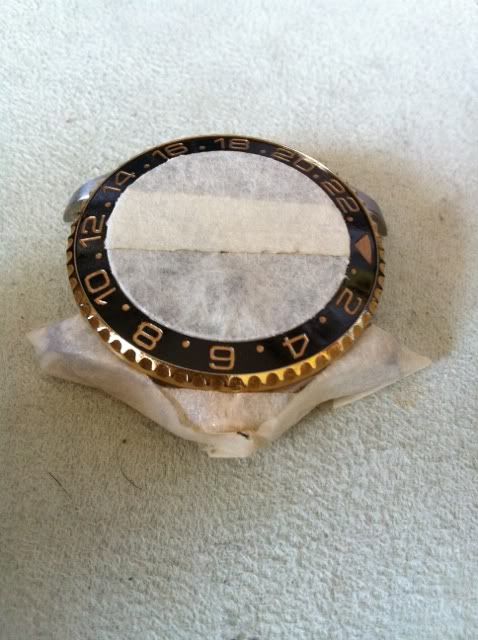
this is previous pic of the old bezel with the "awwww" yellow color on marking.
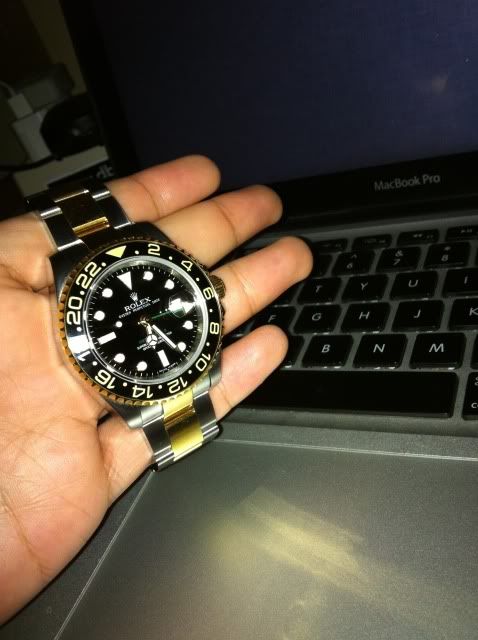
ewww..:frusty:
so I read the Dmacnz thread about repainting this to a better color.
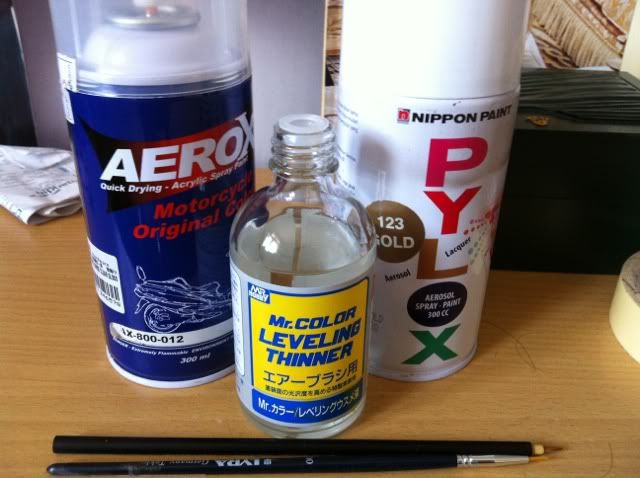
and this is the tools that i used in this project :
1. Gold Color Pylox Acrylic spray paint. this is used as the base color.
2. Mr. Color Leveling Thinner. this is used for mixing the paint, so the finished will be more glossy and "stands out"
3. Aerox Clear Spray as the clear spray for protection coating.
4. modelling brush.
sorry for not showing pic of the process, for the proccess I already take more than 5 repainting because of the color and finished. I experiment a lot of gold and yellow color and some bottle of different thinner.
now, this is my step for achieving the results :
1. first of all, I need to take the old paint off. I used needle wor this job. it's so precision in my opinion.
2. after taking of all the paint, I rubbed it with a thinner to clean the surface.
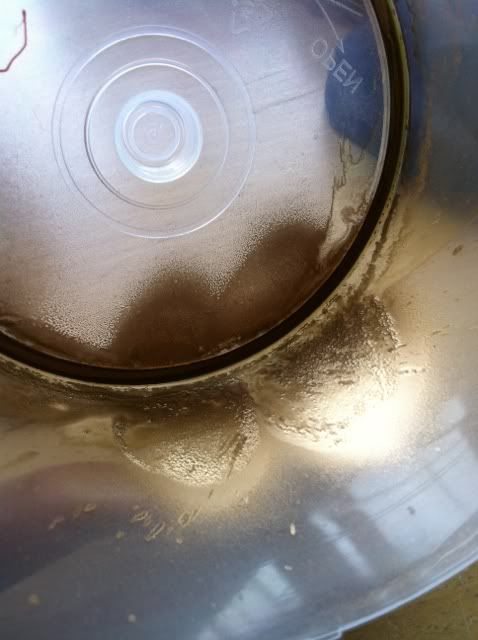
3. spray the paint first in some kind of palette. I spray 3-4 times in a close range so it will make some liquids.
4. mix it with the levelling thinner. (I only used 2-3 drop from regular straw), and mixed it properly.
3. start painting the marker. now, this is so important, I noticed it after the 4th try that i have to paint it 2-3 times to make the gold colors came out.
so, I start painting lightly layer per layer with 15minutes difference between painting for each layer..if somebody want to do this to, I recommend not to blot the marking in first layer, you can do it in the last layer.
4. let it dry for 1 hour.
5. remove the overpaint with the needle (don't worry, the ceramic bezel seems to be scratch proof enough).
6. remove the dirt from the overpaint, and wipe it gently with a cloth.
7. last step, spray the clear spray over the ceramic bezel, let it dry for 1-2 hour, and i'm done.
uupss..no, i'm lying, it's not finished yet. . i'm still waiting for the clear spray to dry
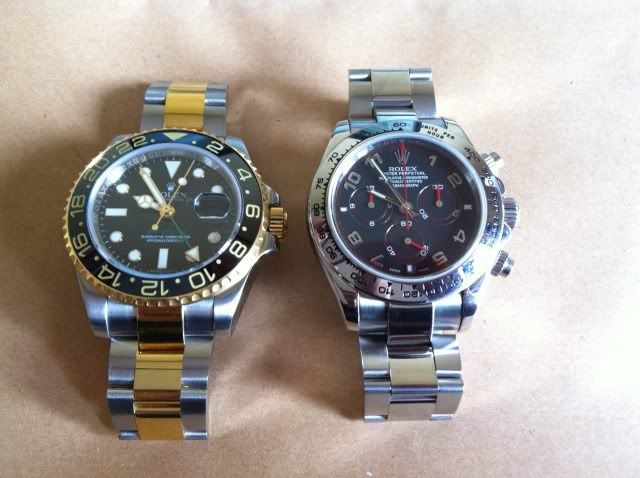
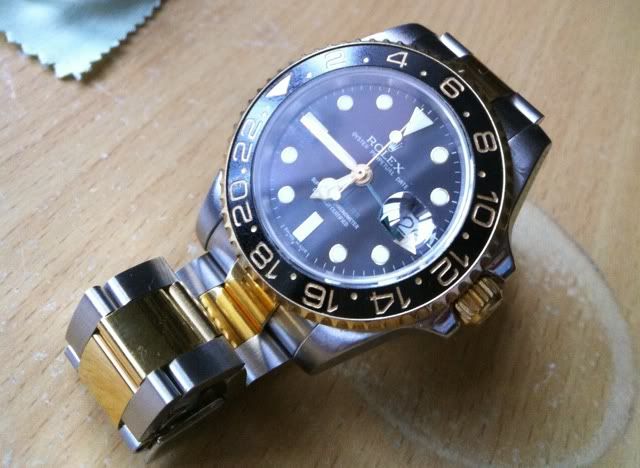
and this is some result (not dry yet)
wohooo..gotta love that color
special thanks to dmacnz for his inspiring thread.
UPDATE :
here's the dry result (notice that the yellow comes out)
noticed the ugly ceramic bezel in this photo?
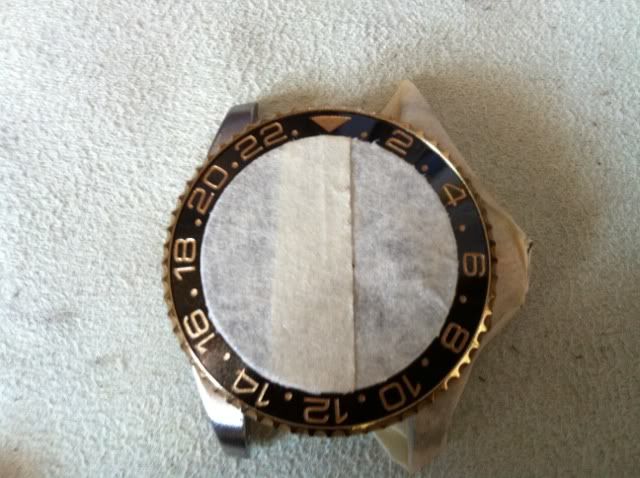
that's because the clear spray coating.
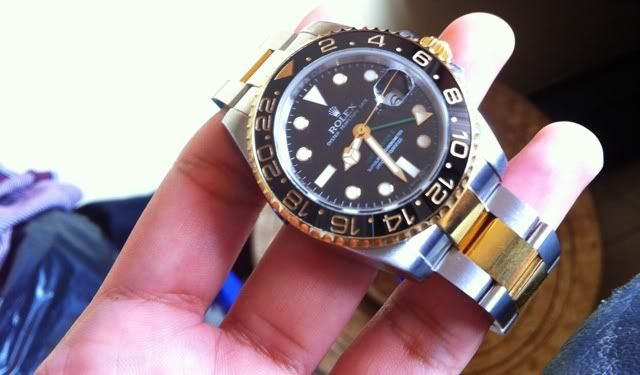
and this is after few minutes of cleaning the ceramic to bring back the shine
I did this to my GMT bezel too.
this is previous pic of the old bezel with the "awwww" yellow color on marking.
ewww..:frusty:
so I read the Dmacnz thread about repainting this to a better color.
and this is the tools that i used in this project :
1. Gold Color Pylox Acrylic spray paint. this is used as the base color.
2. Mr. Color Leveling Thinner. this is used for mixing the paint, so the finished will be more glossy and "stands out"
3. Aerox Clear Spray as the clear spray for protection coating.
4. modelling brush.
sorry for not showing pic of the process, for the proccess I already take more than 5 repainting because of the color and finished. I experiment a lot of gold and yellow color and some bottle of different thinner.
now, this is my step for achieving the results :
1. first of all, I need to take the old paint off. I used needle wor this job. it's so precision in my opinion.
2. after taking of all the paint, I rubbed it with a thinner to clean the surface.
3. spray the paint first in some kind of palette. I spray 3-4 times in a close range so it will make some liquids.
4. mix it with the levelling thinner. (I only used 2-3 drop from regular straw), and mixed it properly.
3. start painting the marker. now, this is so important, I noticed it after the 4th try that i have to paint it 2-3 times to make the gold colors came out.
so, I start painting lightly layer per layer with 15minutes difference between painting for each layer..if somebody want to do this to, I recommend not to blot the marking in first layer, you can do it in the last layer.
4. let it dry for 1 hour.
5. remove the overpaint with the needle (don't worry, the ceramic bezel seems to be scratch proof enough).
6. remove the dirt from the overpaint, and wipe it gently with a cloth.
7. last step, spray the clear spray over the ceramic bezel, let it dry for 1-2 hour, and i'm done.
uupss..no, i'm lying, it's not finished yet.
. i'm still waiting for the clear spray to dry and this is some result (not dry yet)
wohooo..gotta love that color
special thanks to dmacnz for his inspiring thread.
UPDATE :
here's the dry result (notice that the yellow comes out)
noticed the ugly ceramic bezel in this photo?
that's because the clear spray coating.
and this is after few minutes of cleaning the ceramic to bring back the shine