- 13/3/16
- 1,307
- 2,060
- 113
Great Job Sam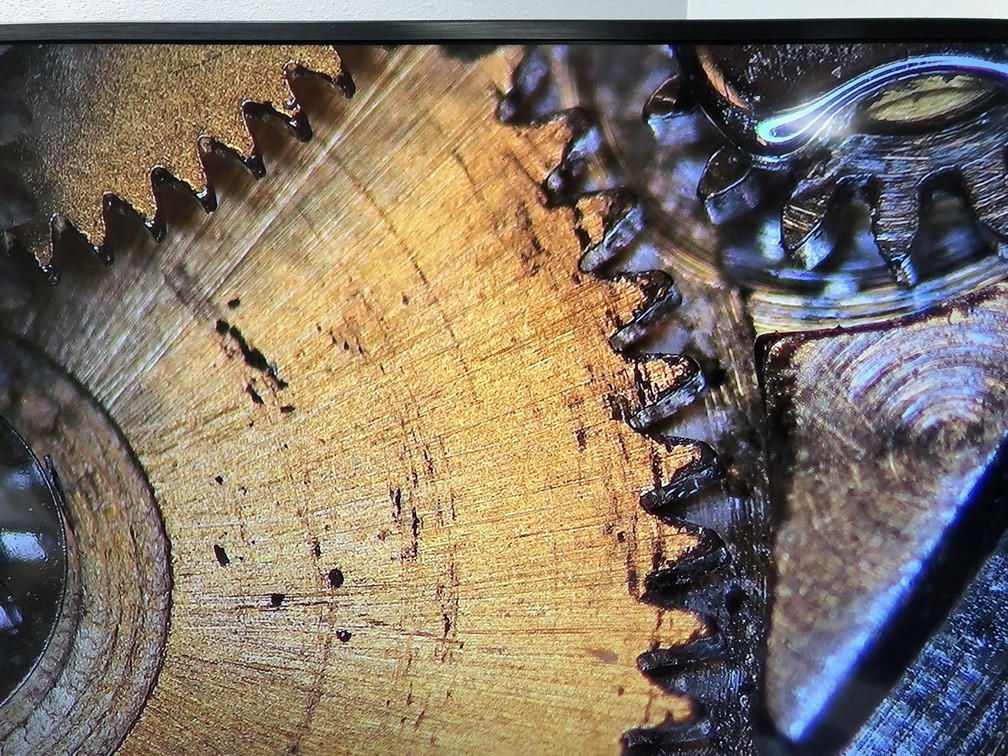
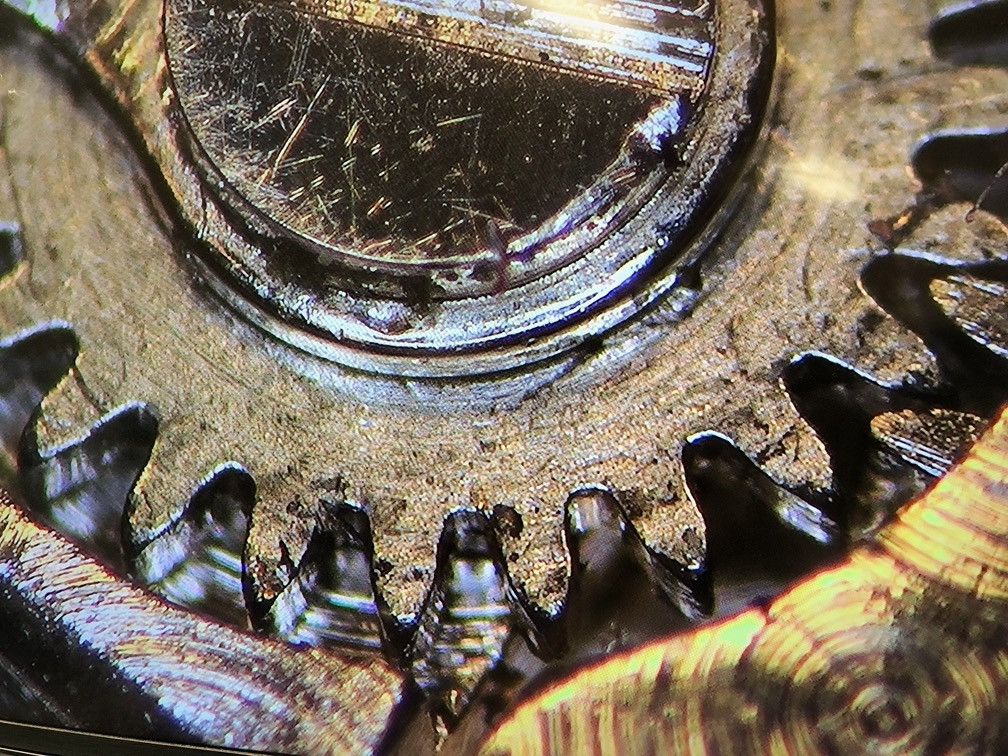
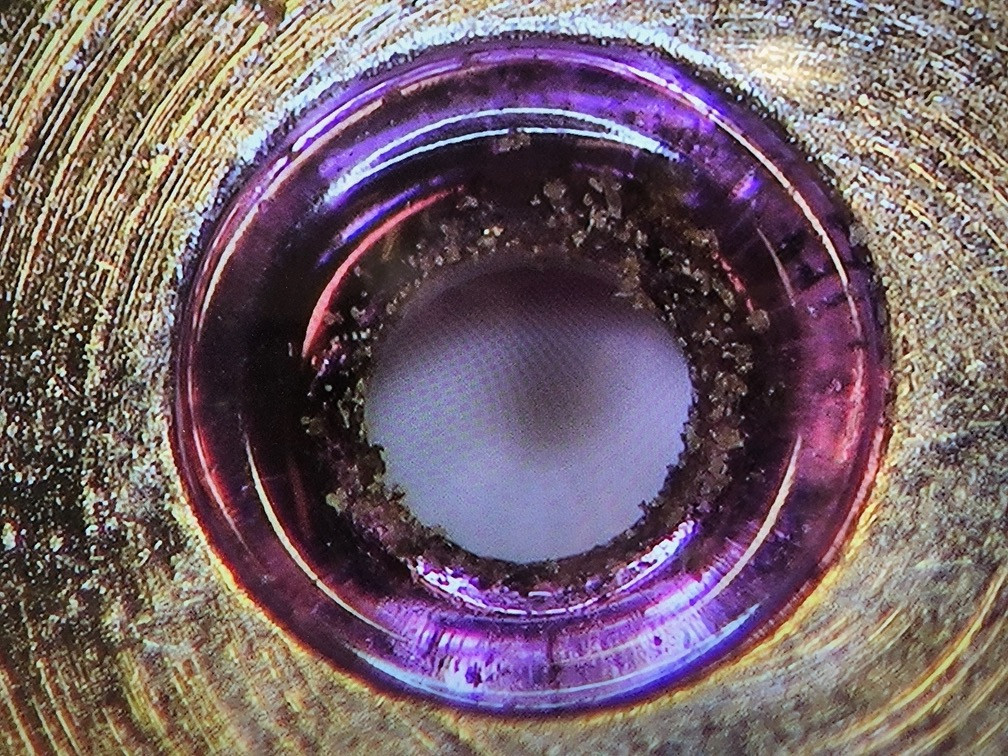
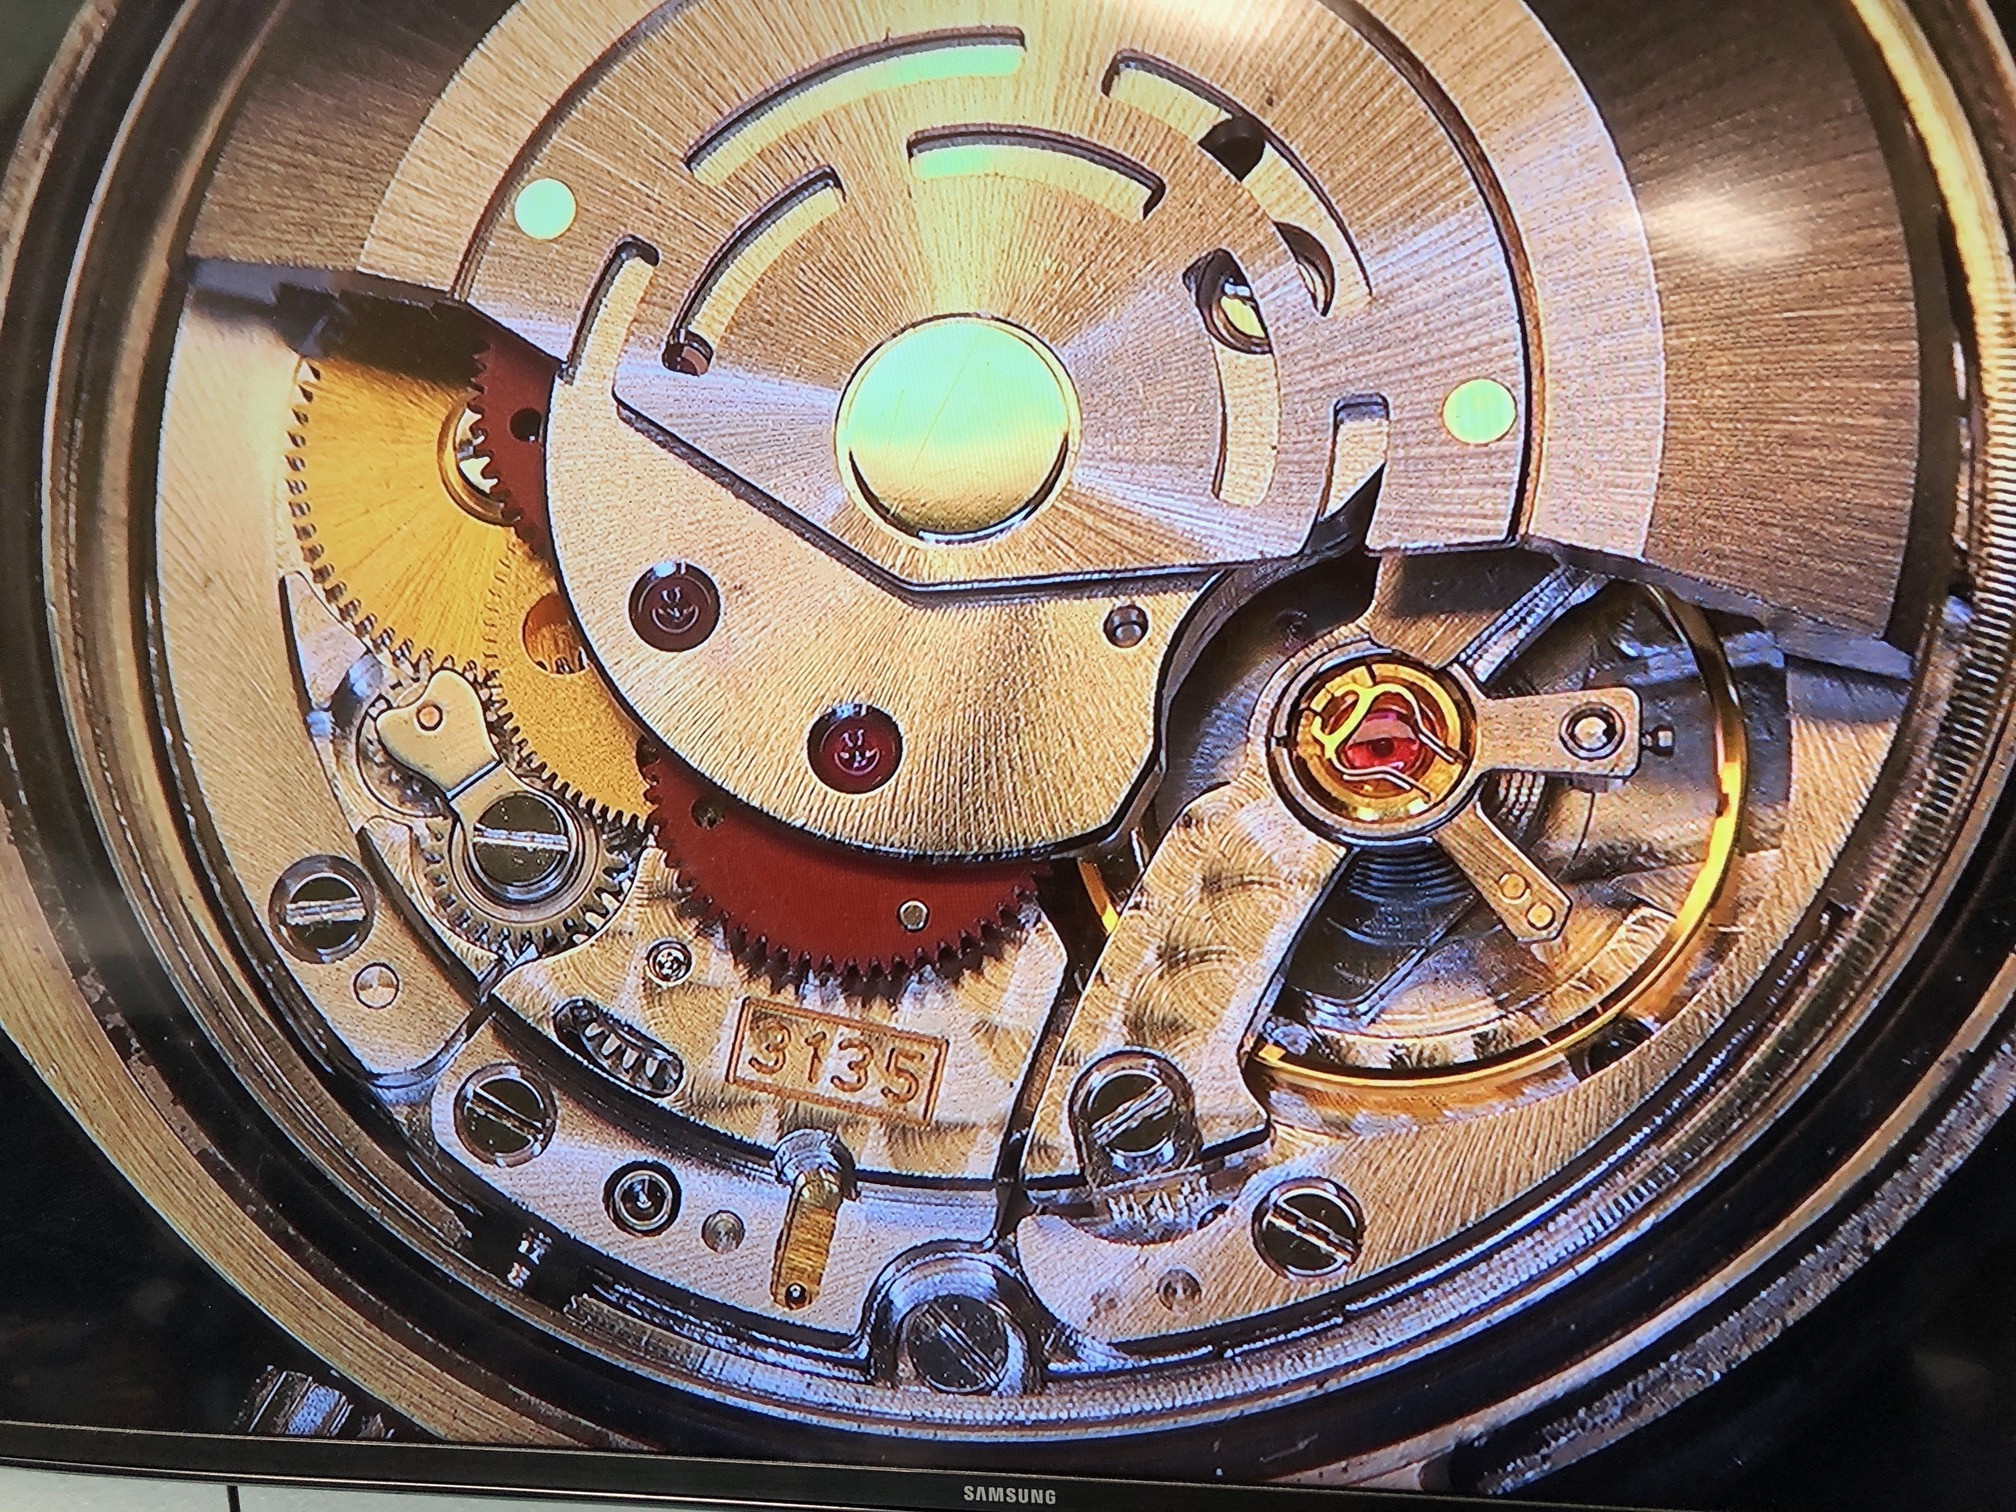
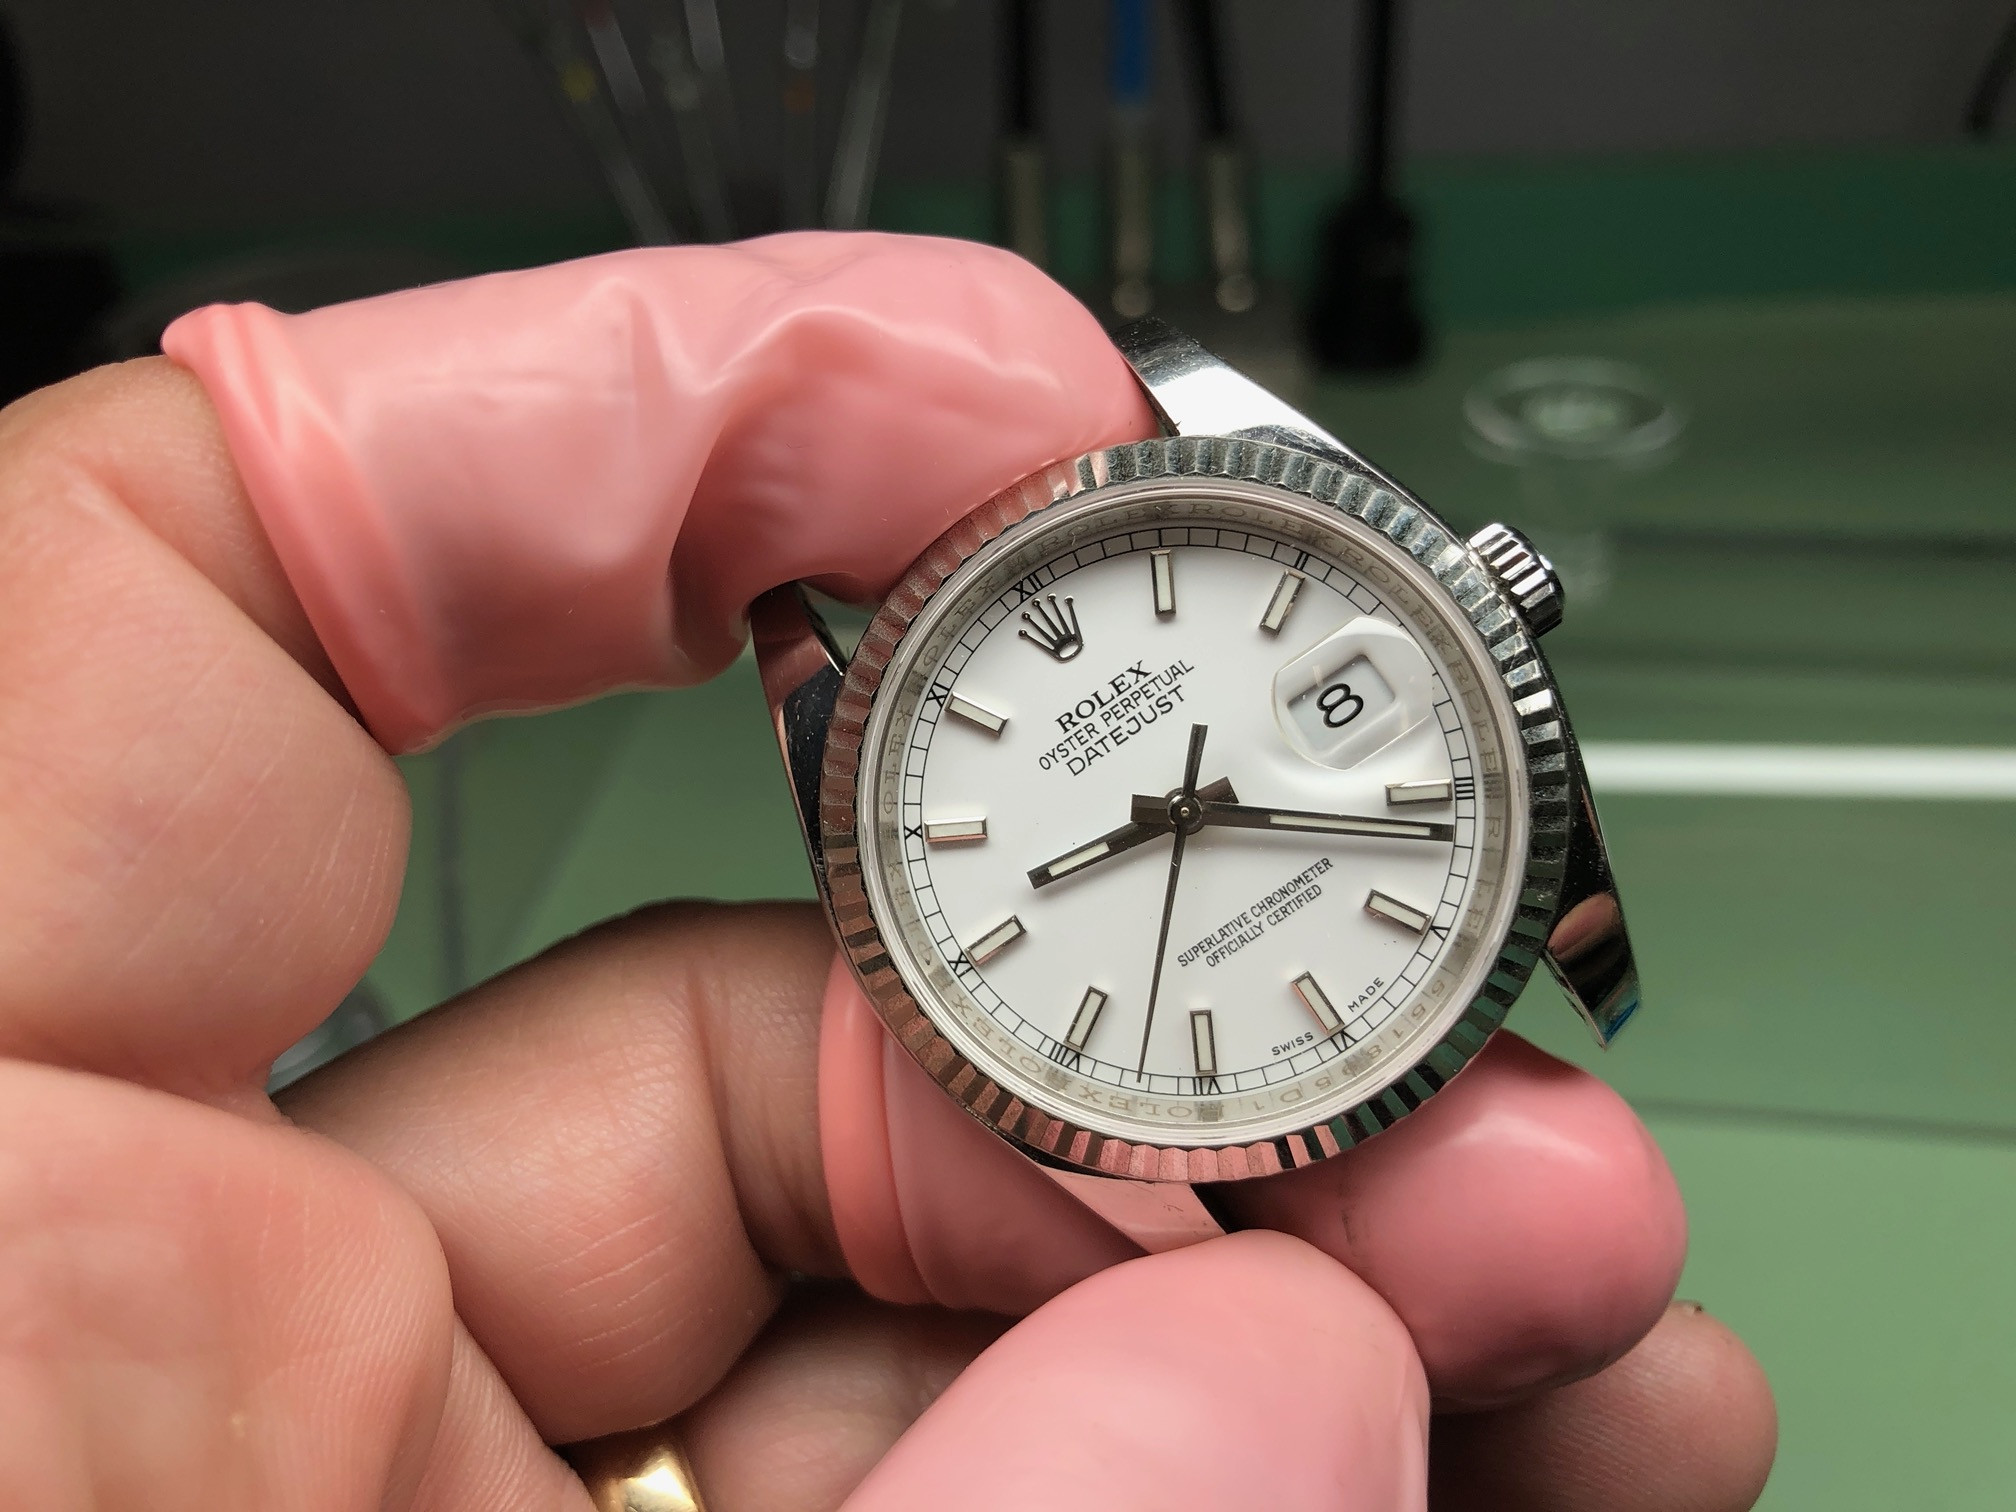
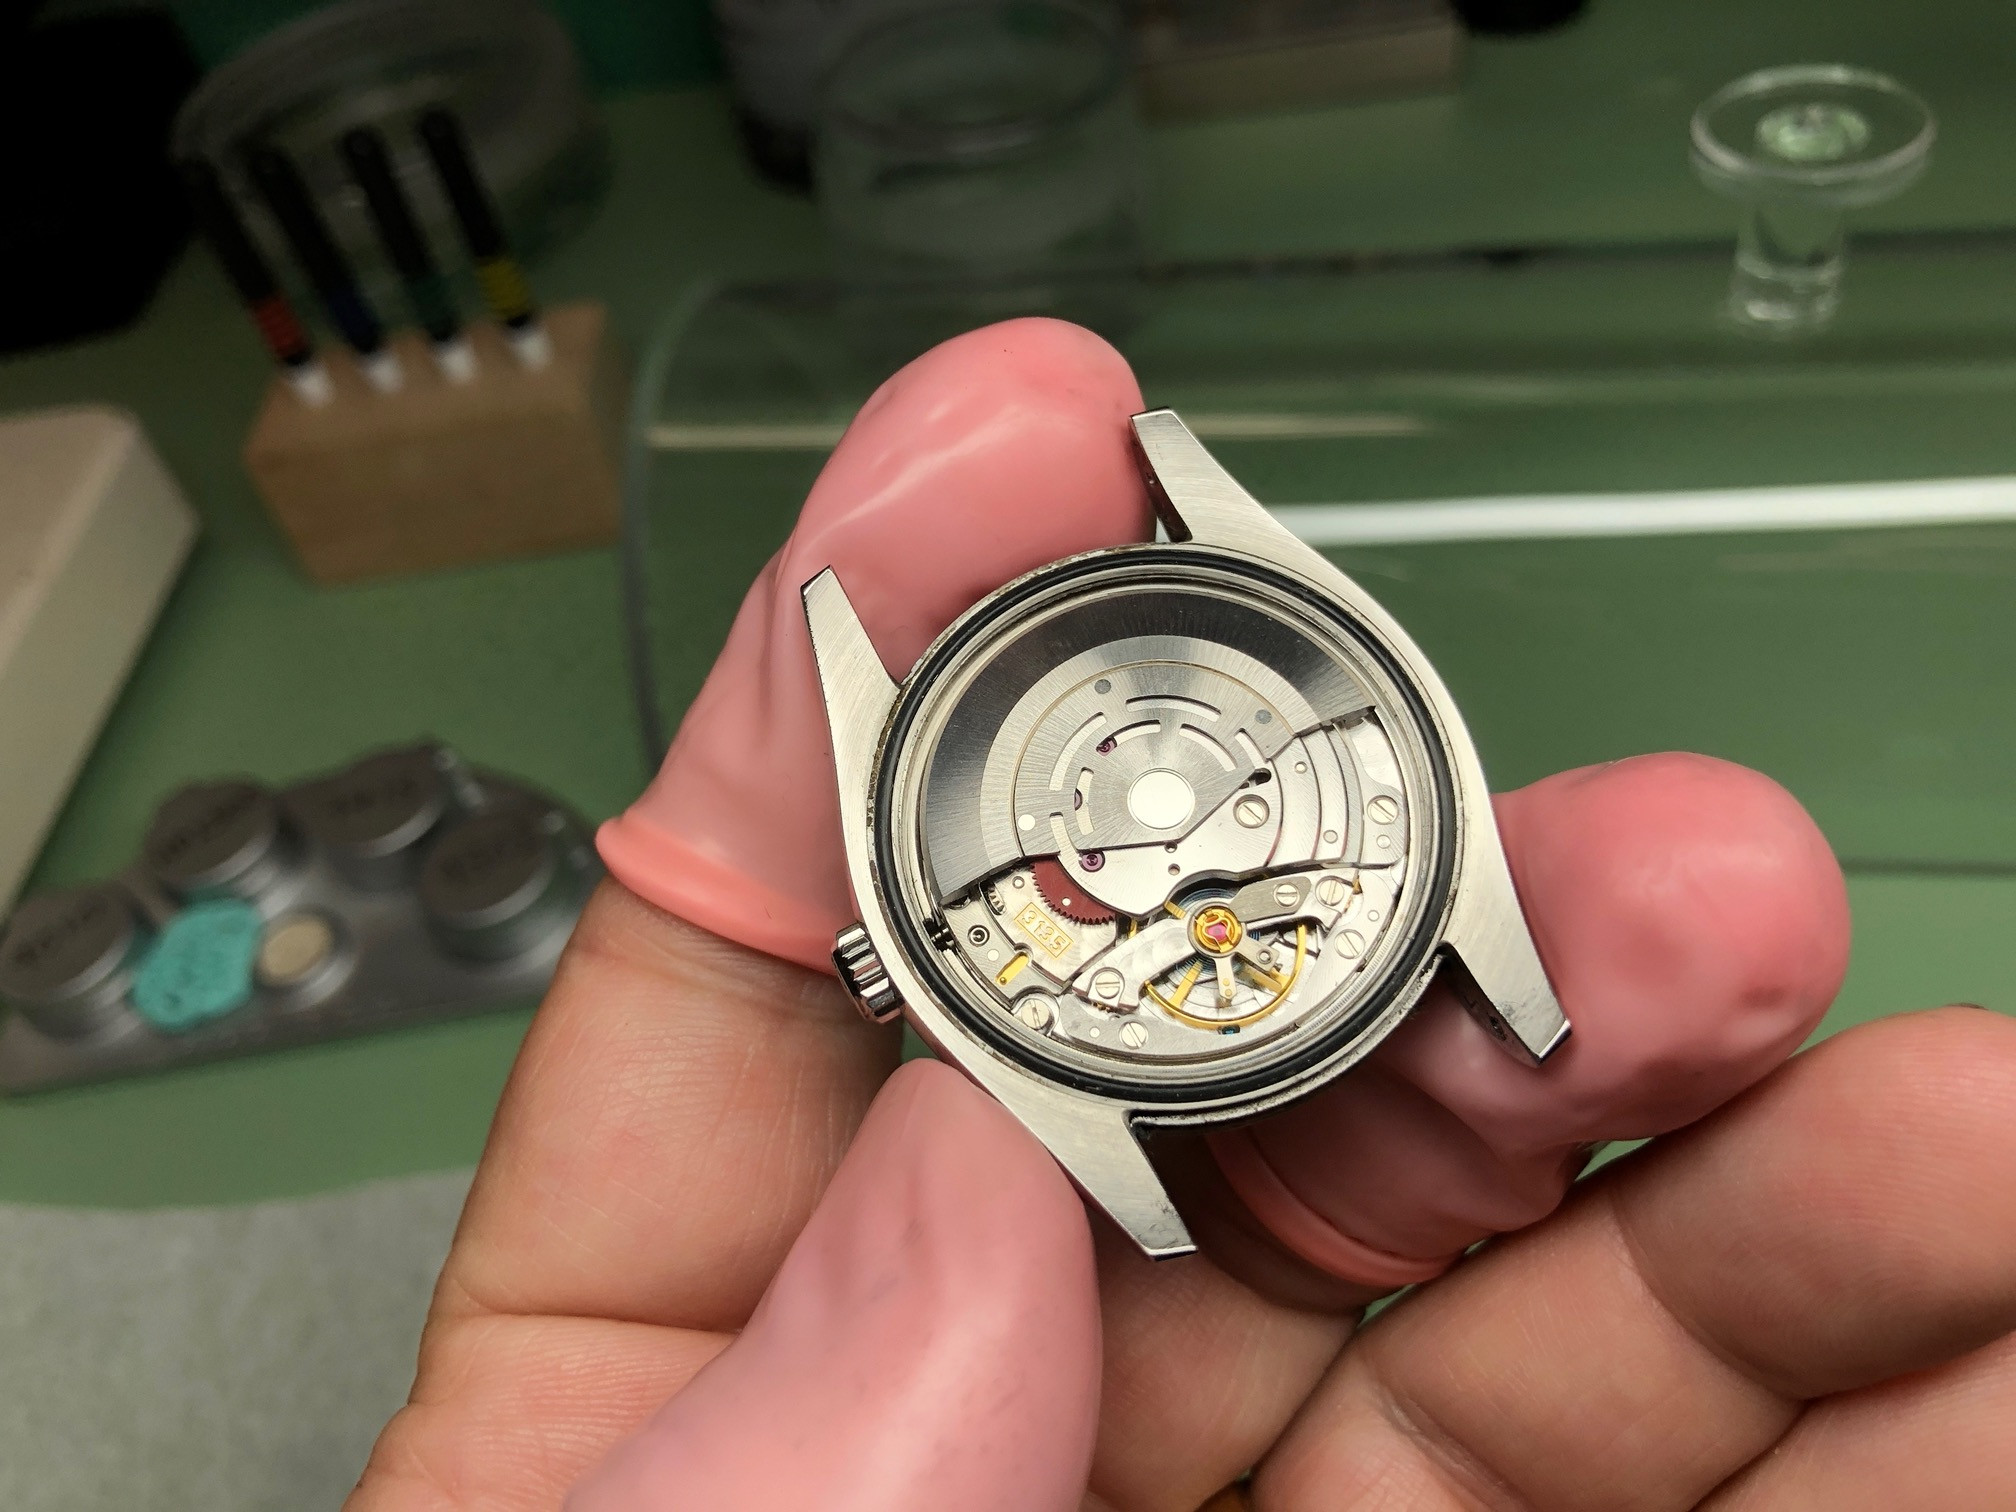
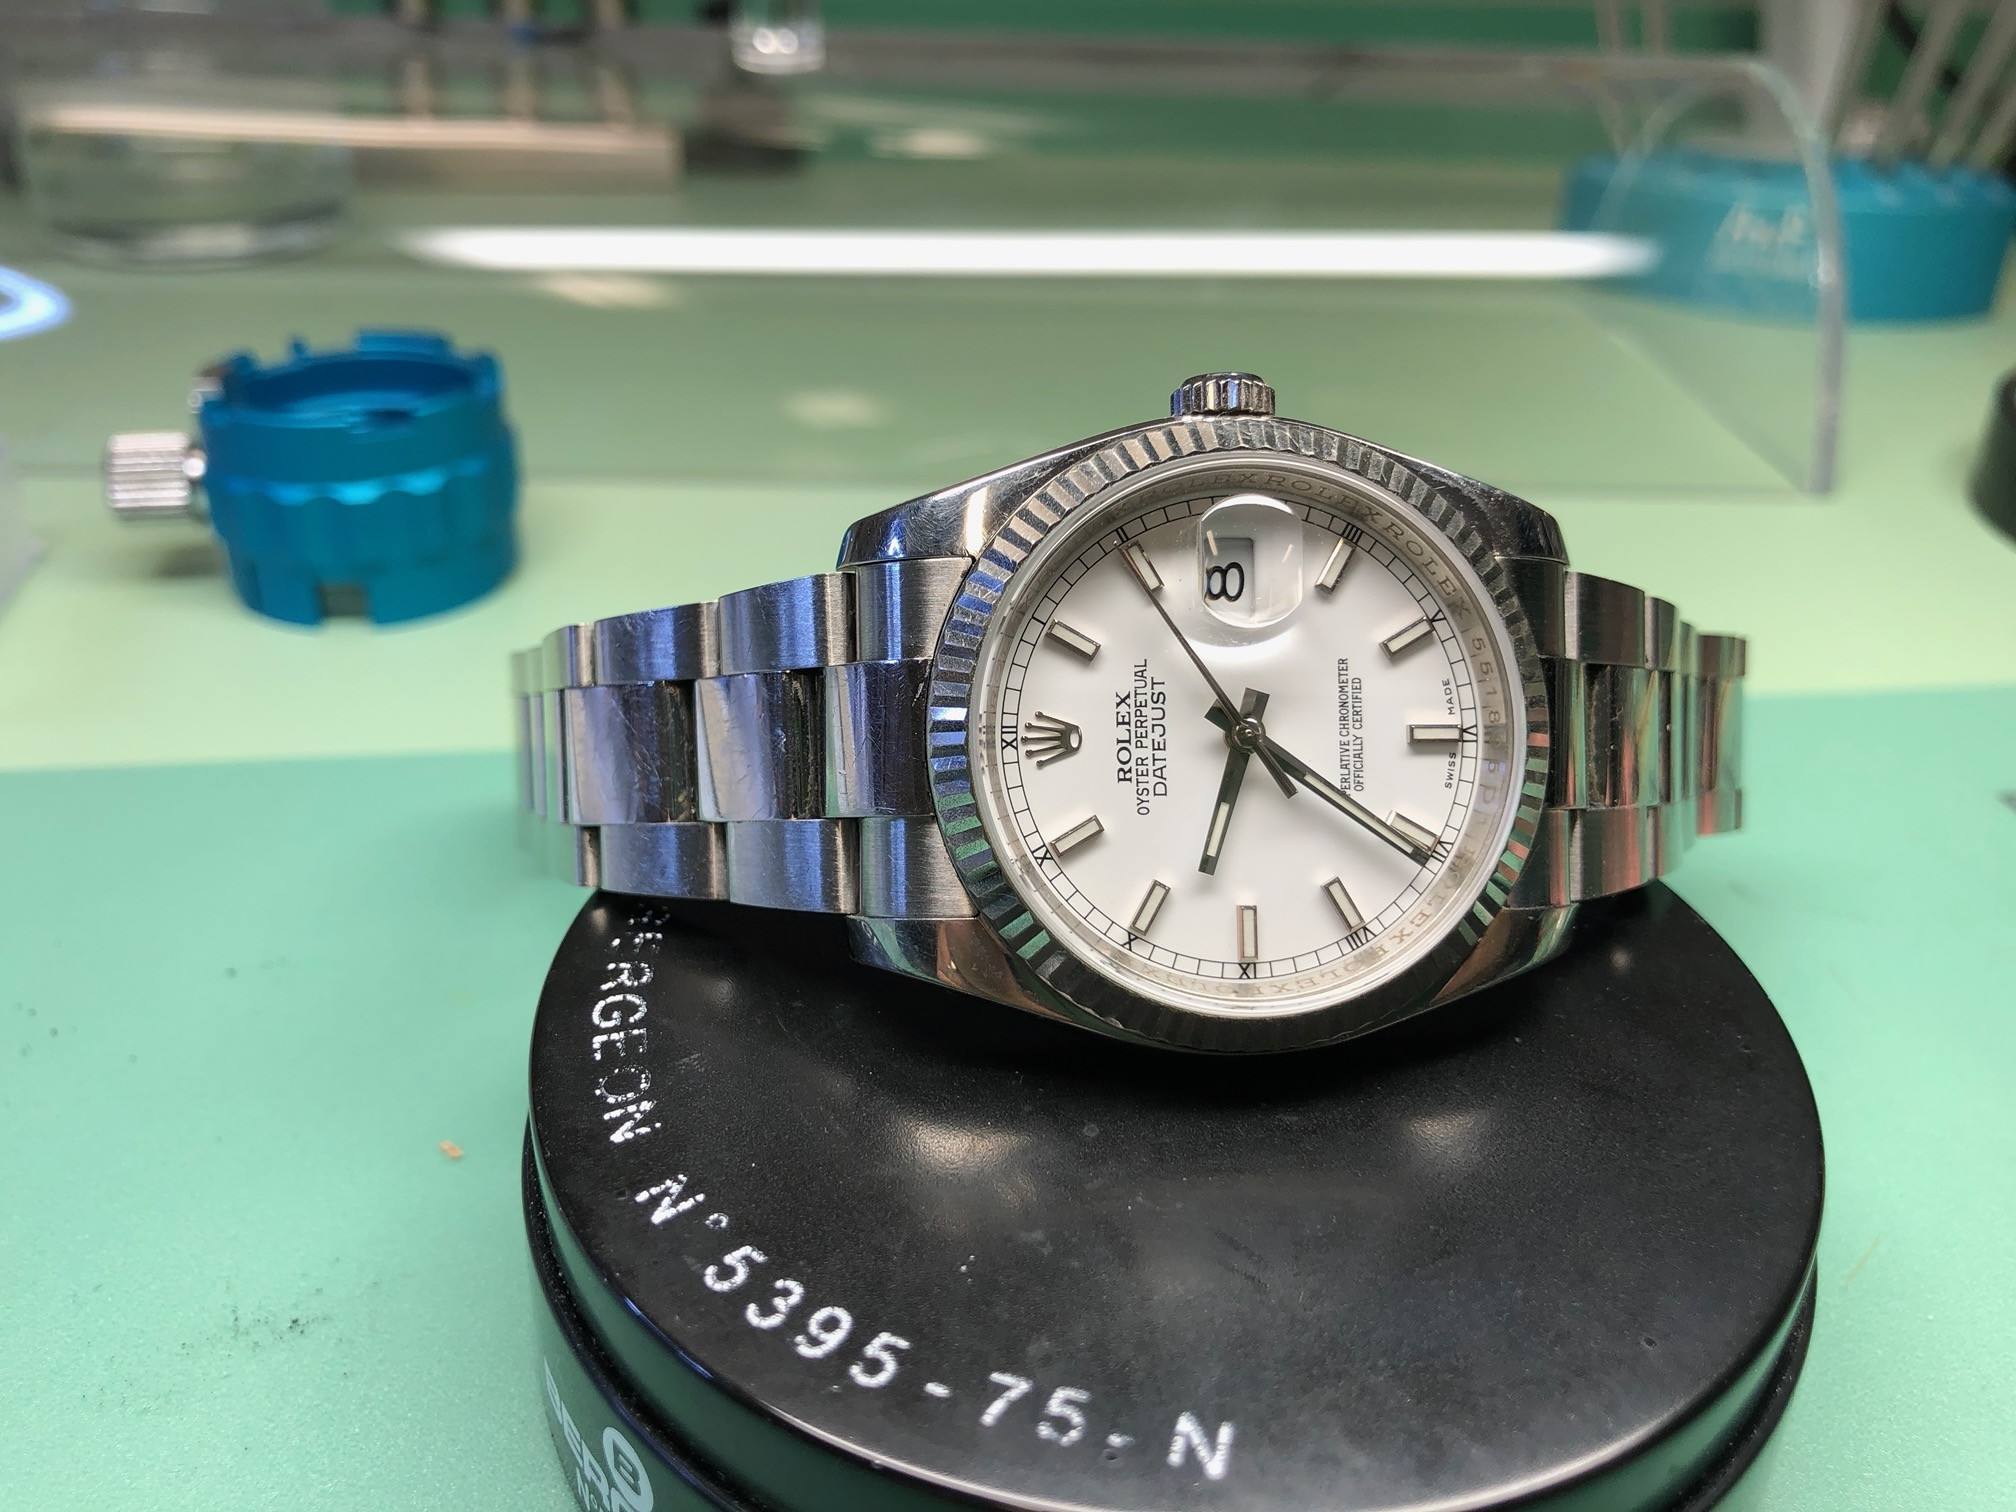

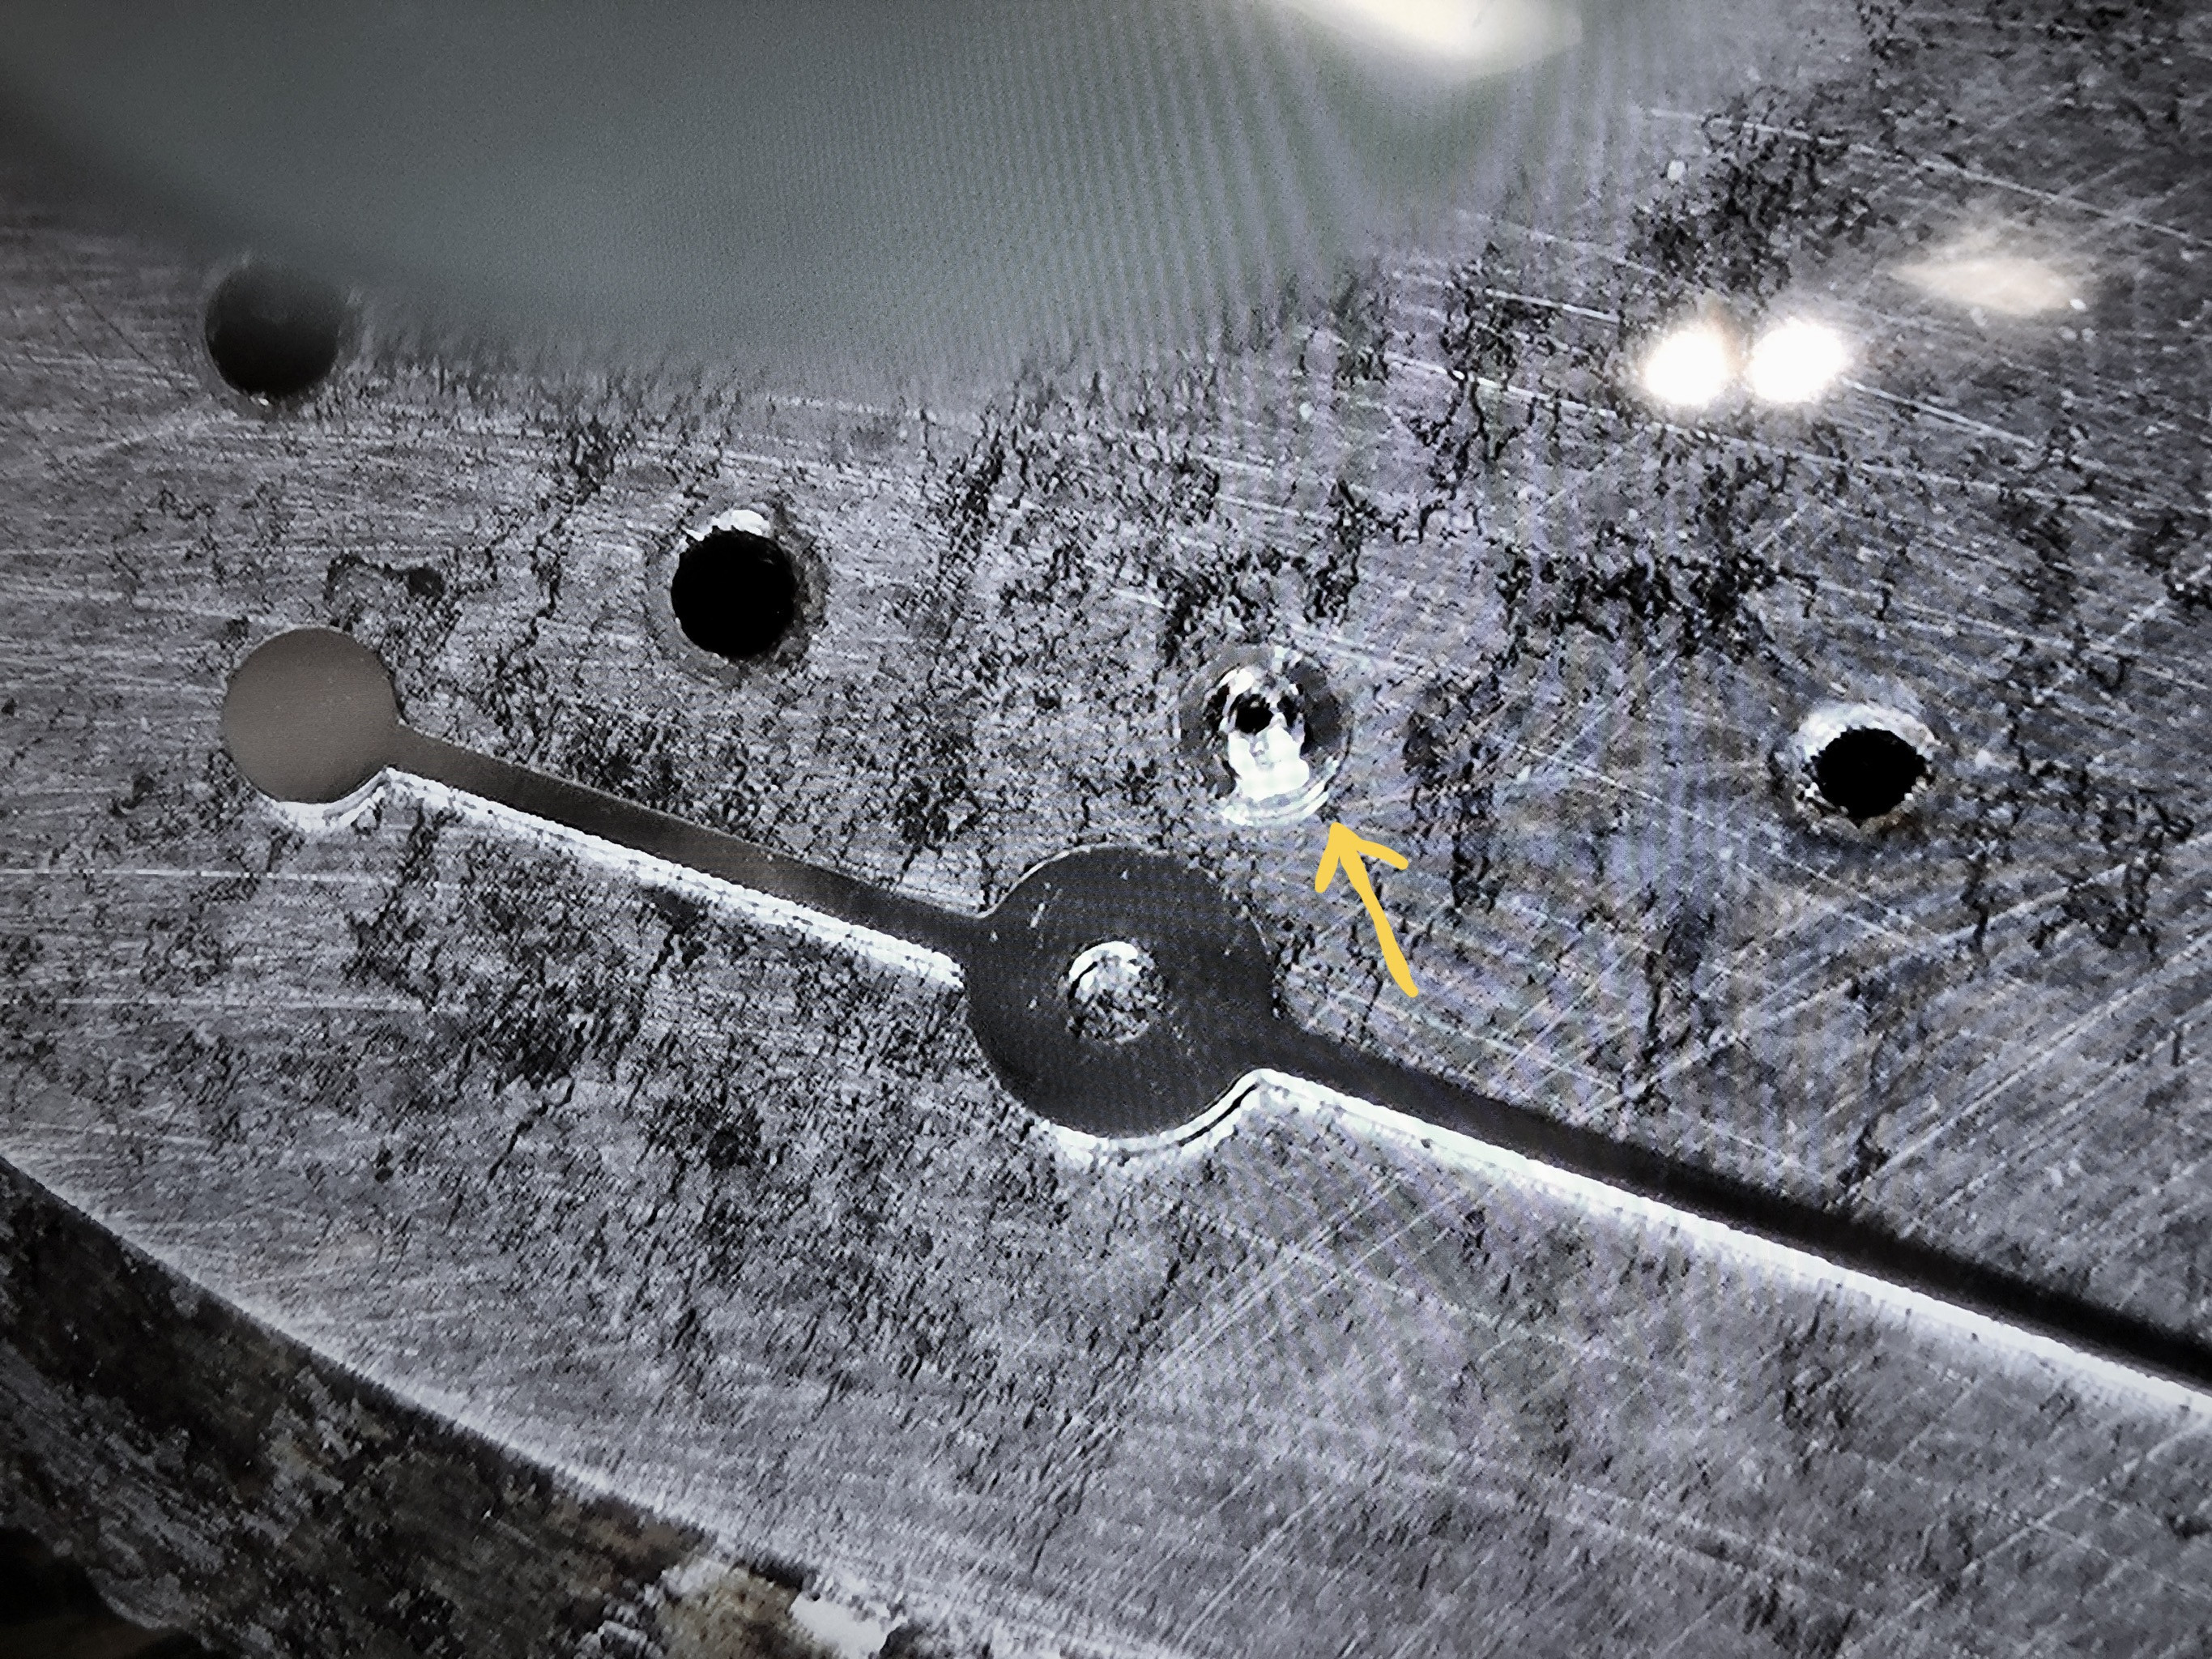
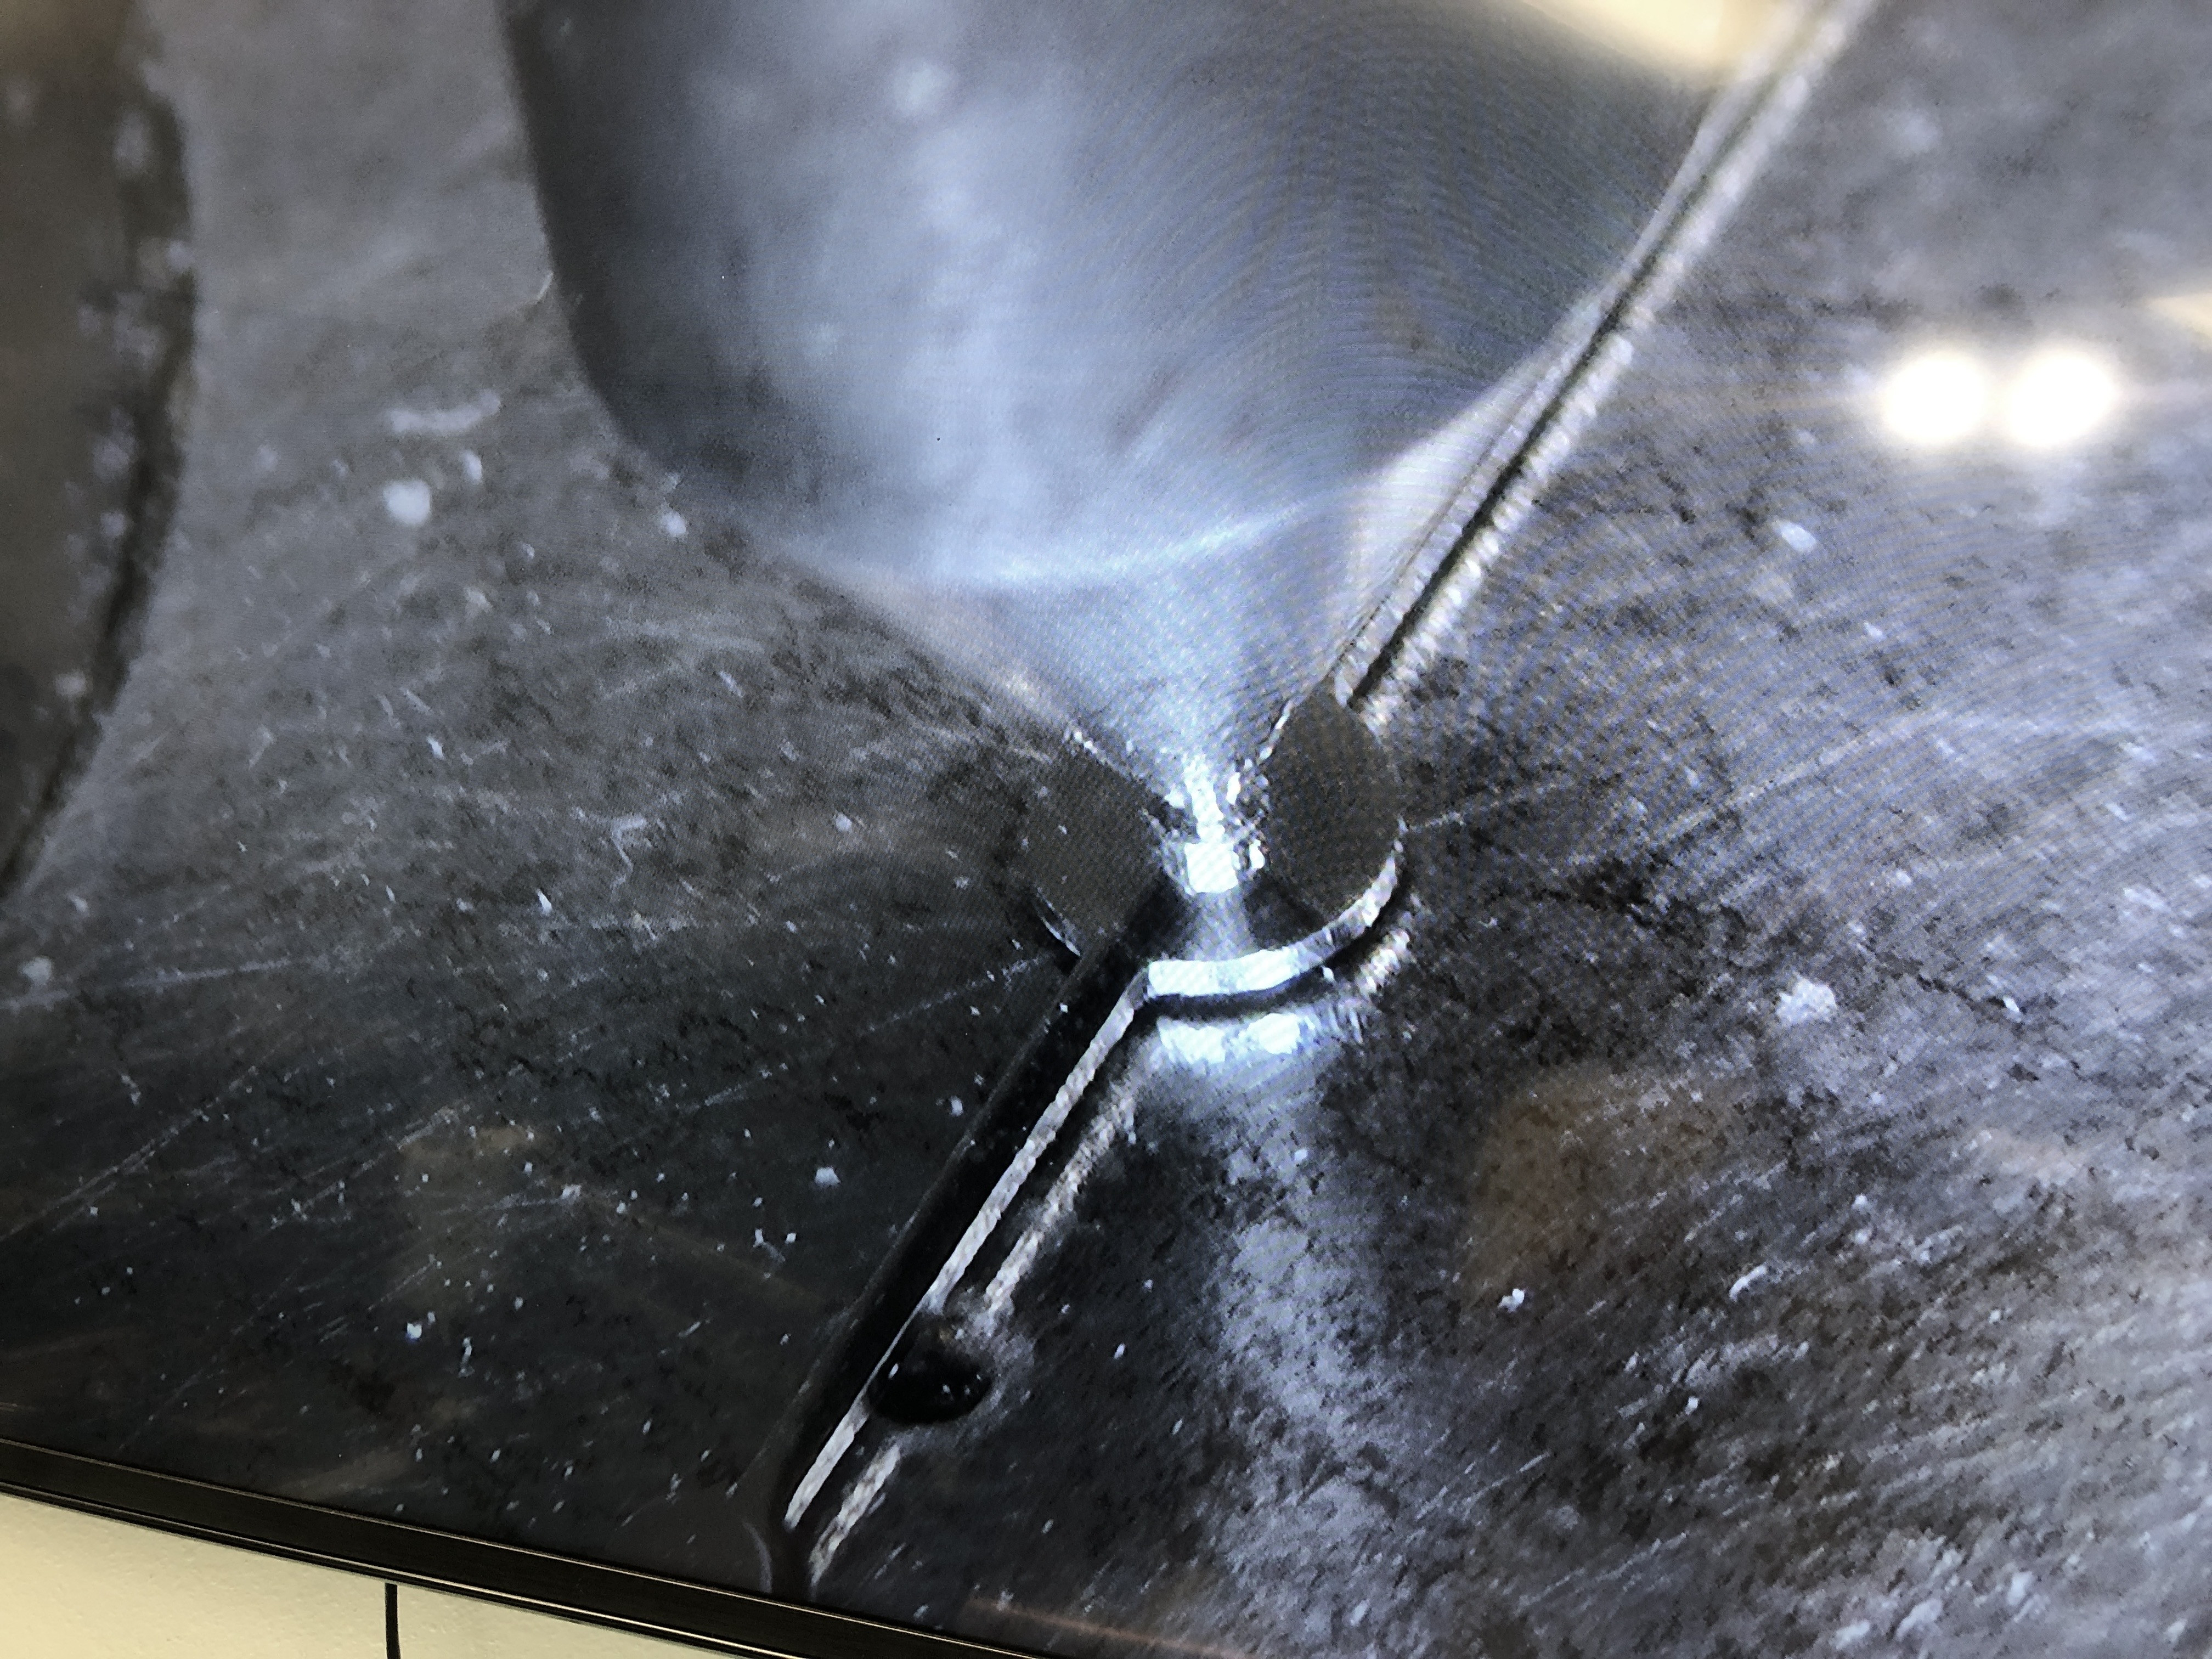
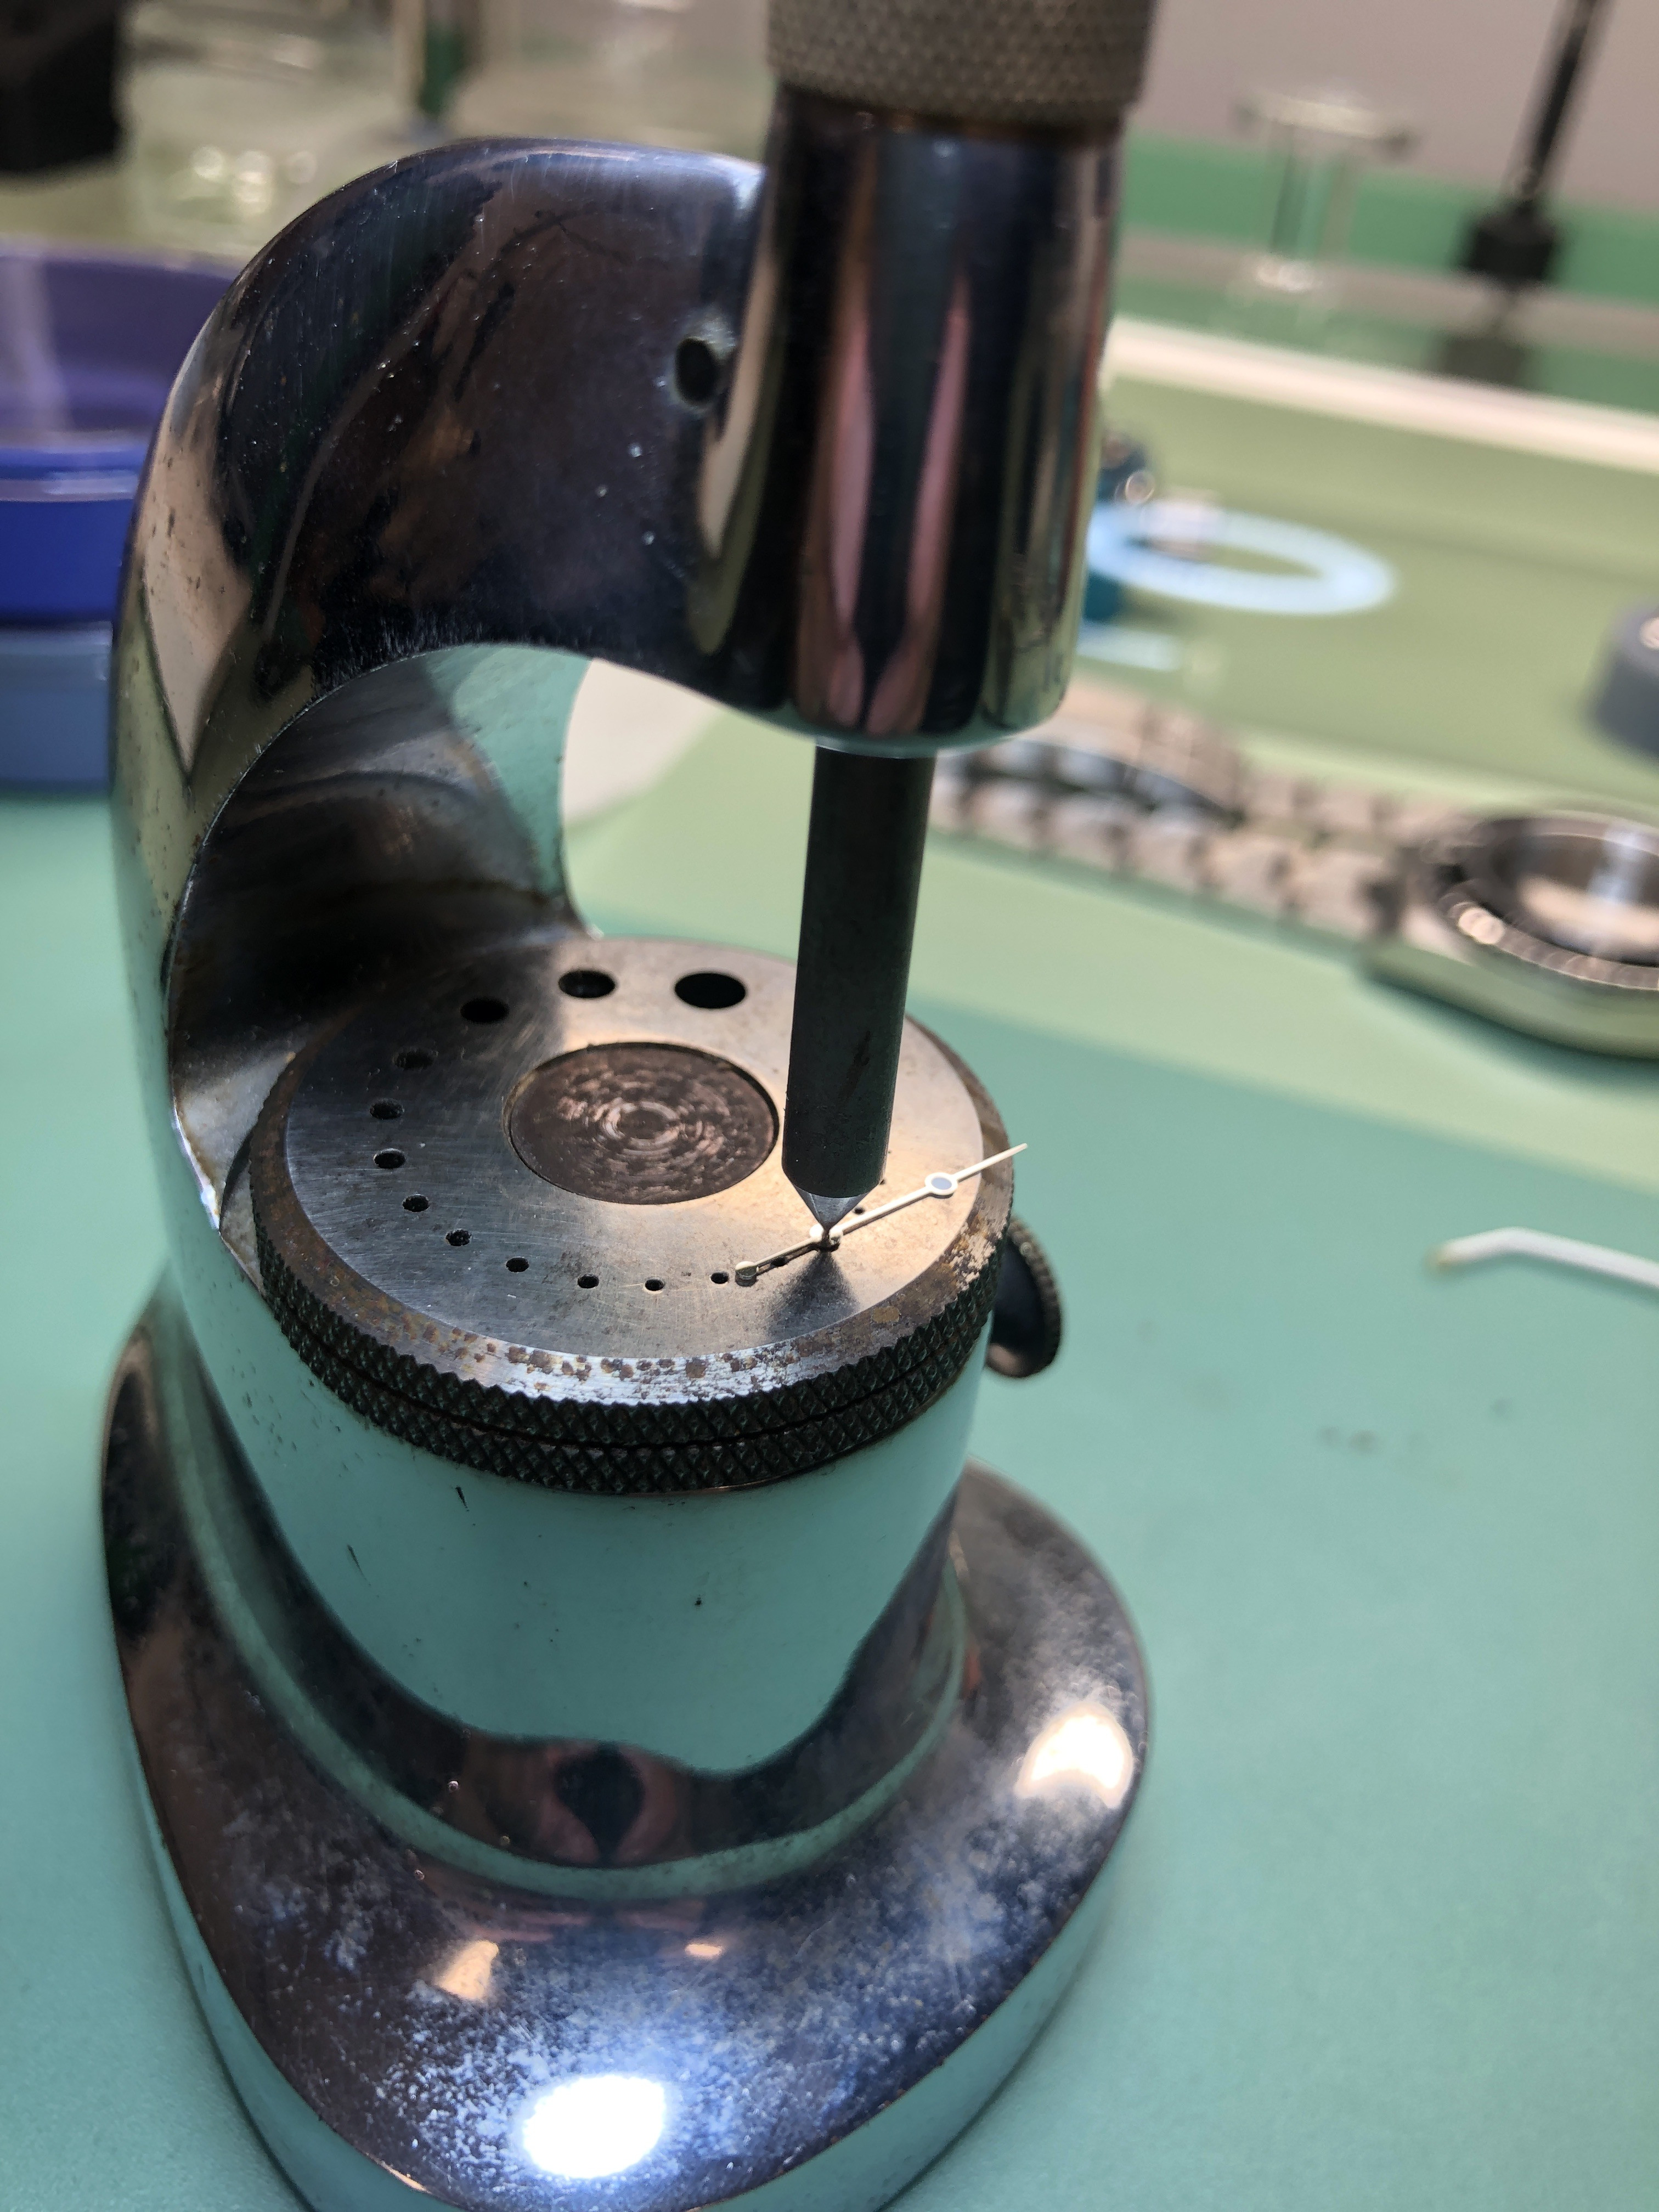
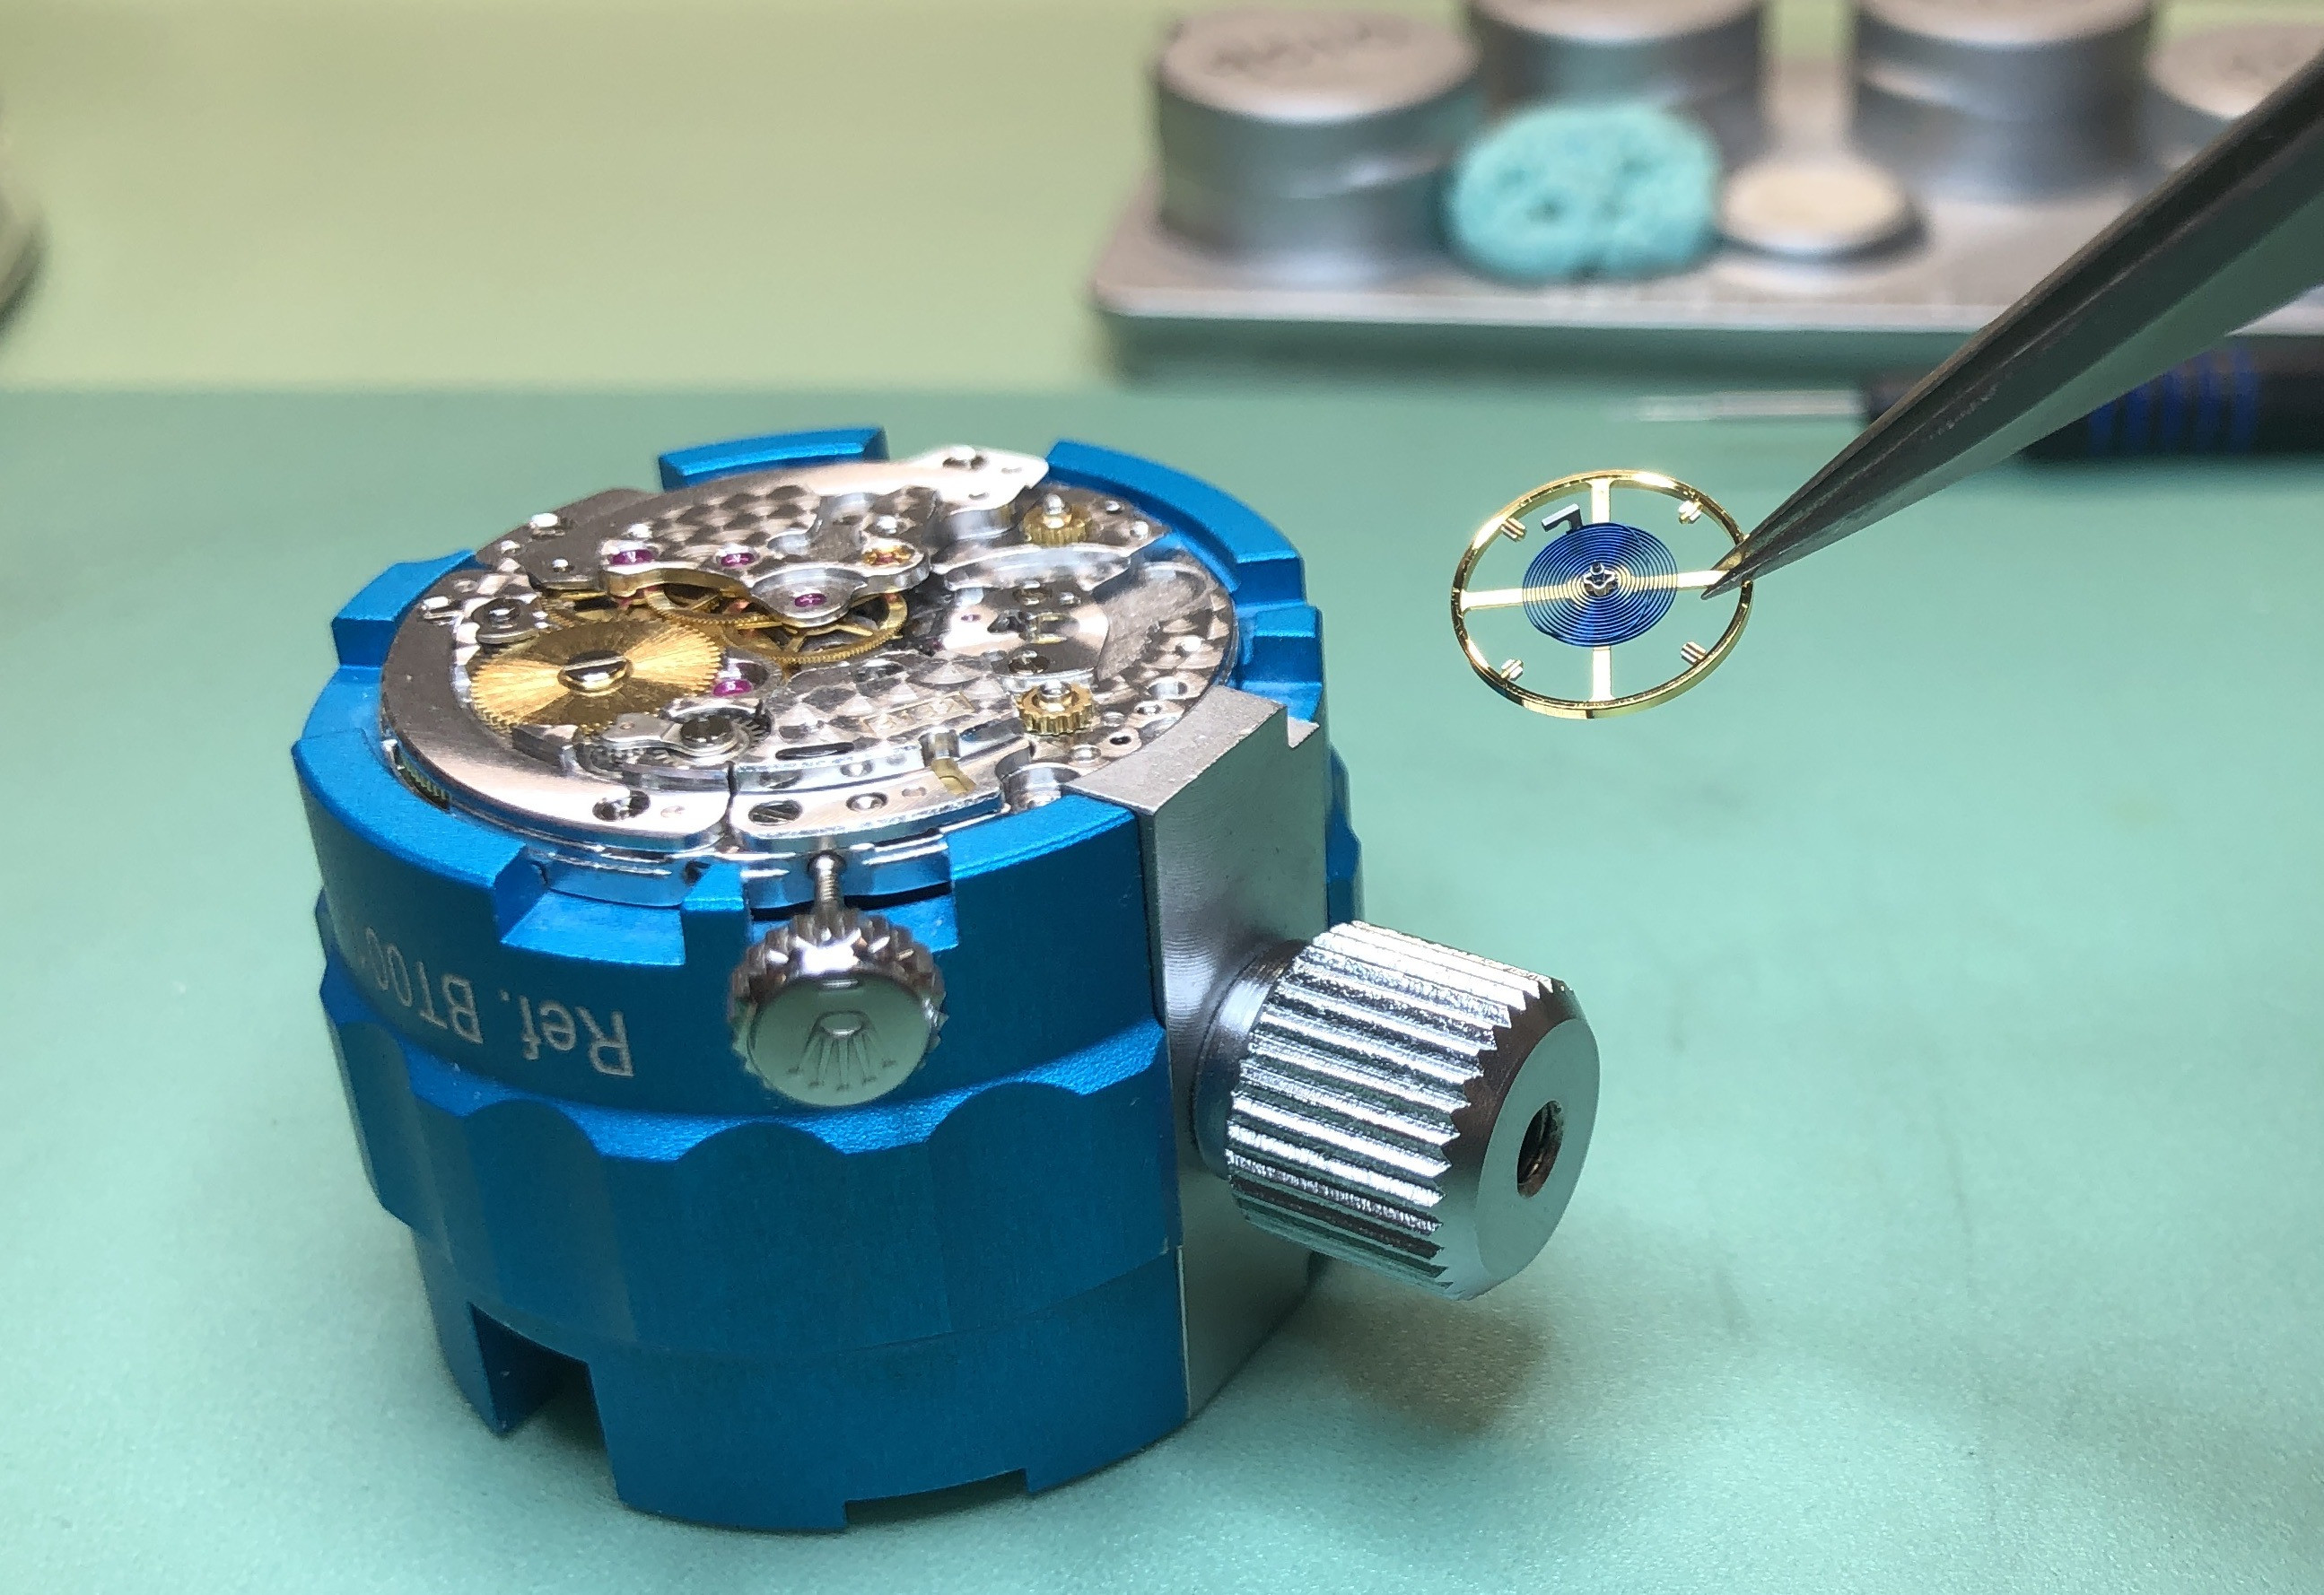
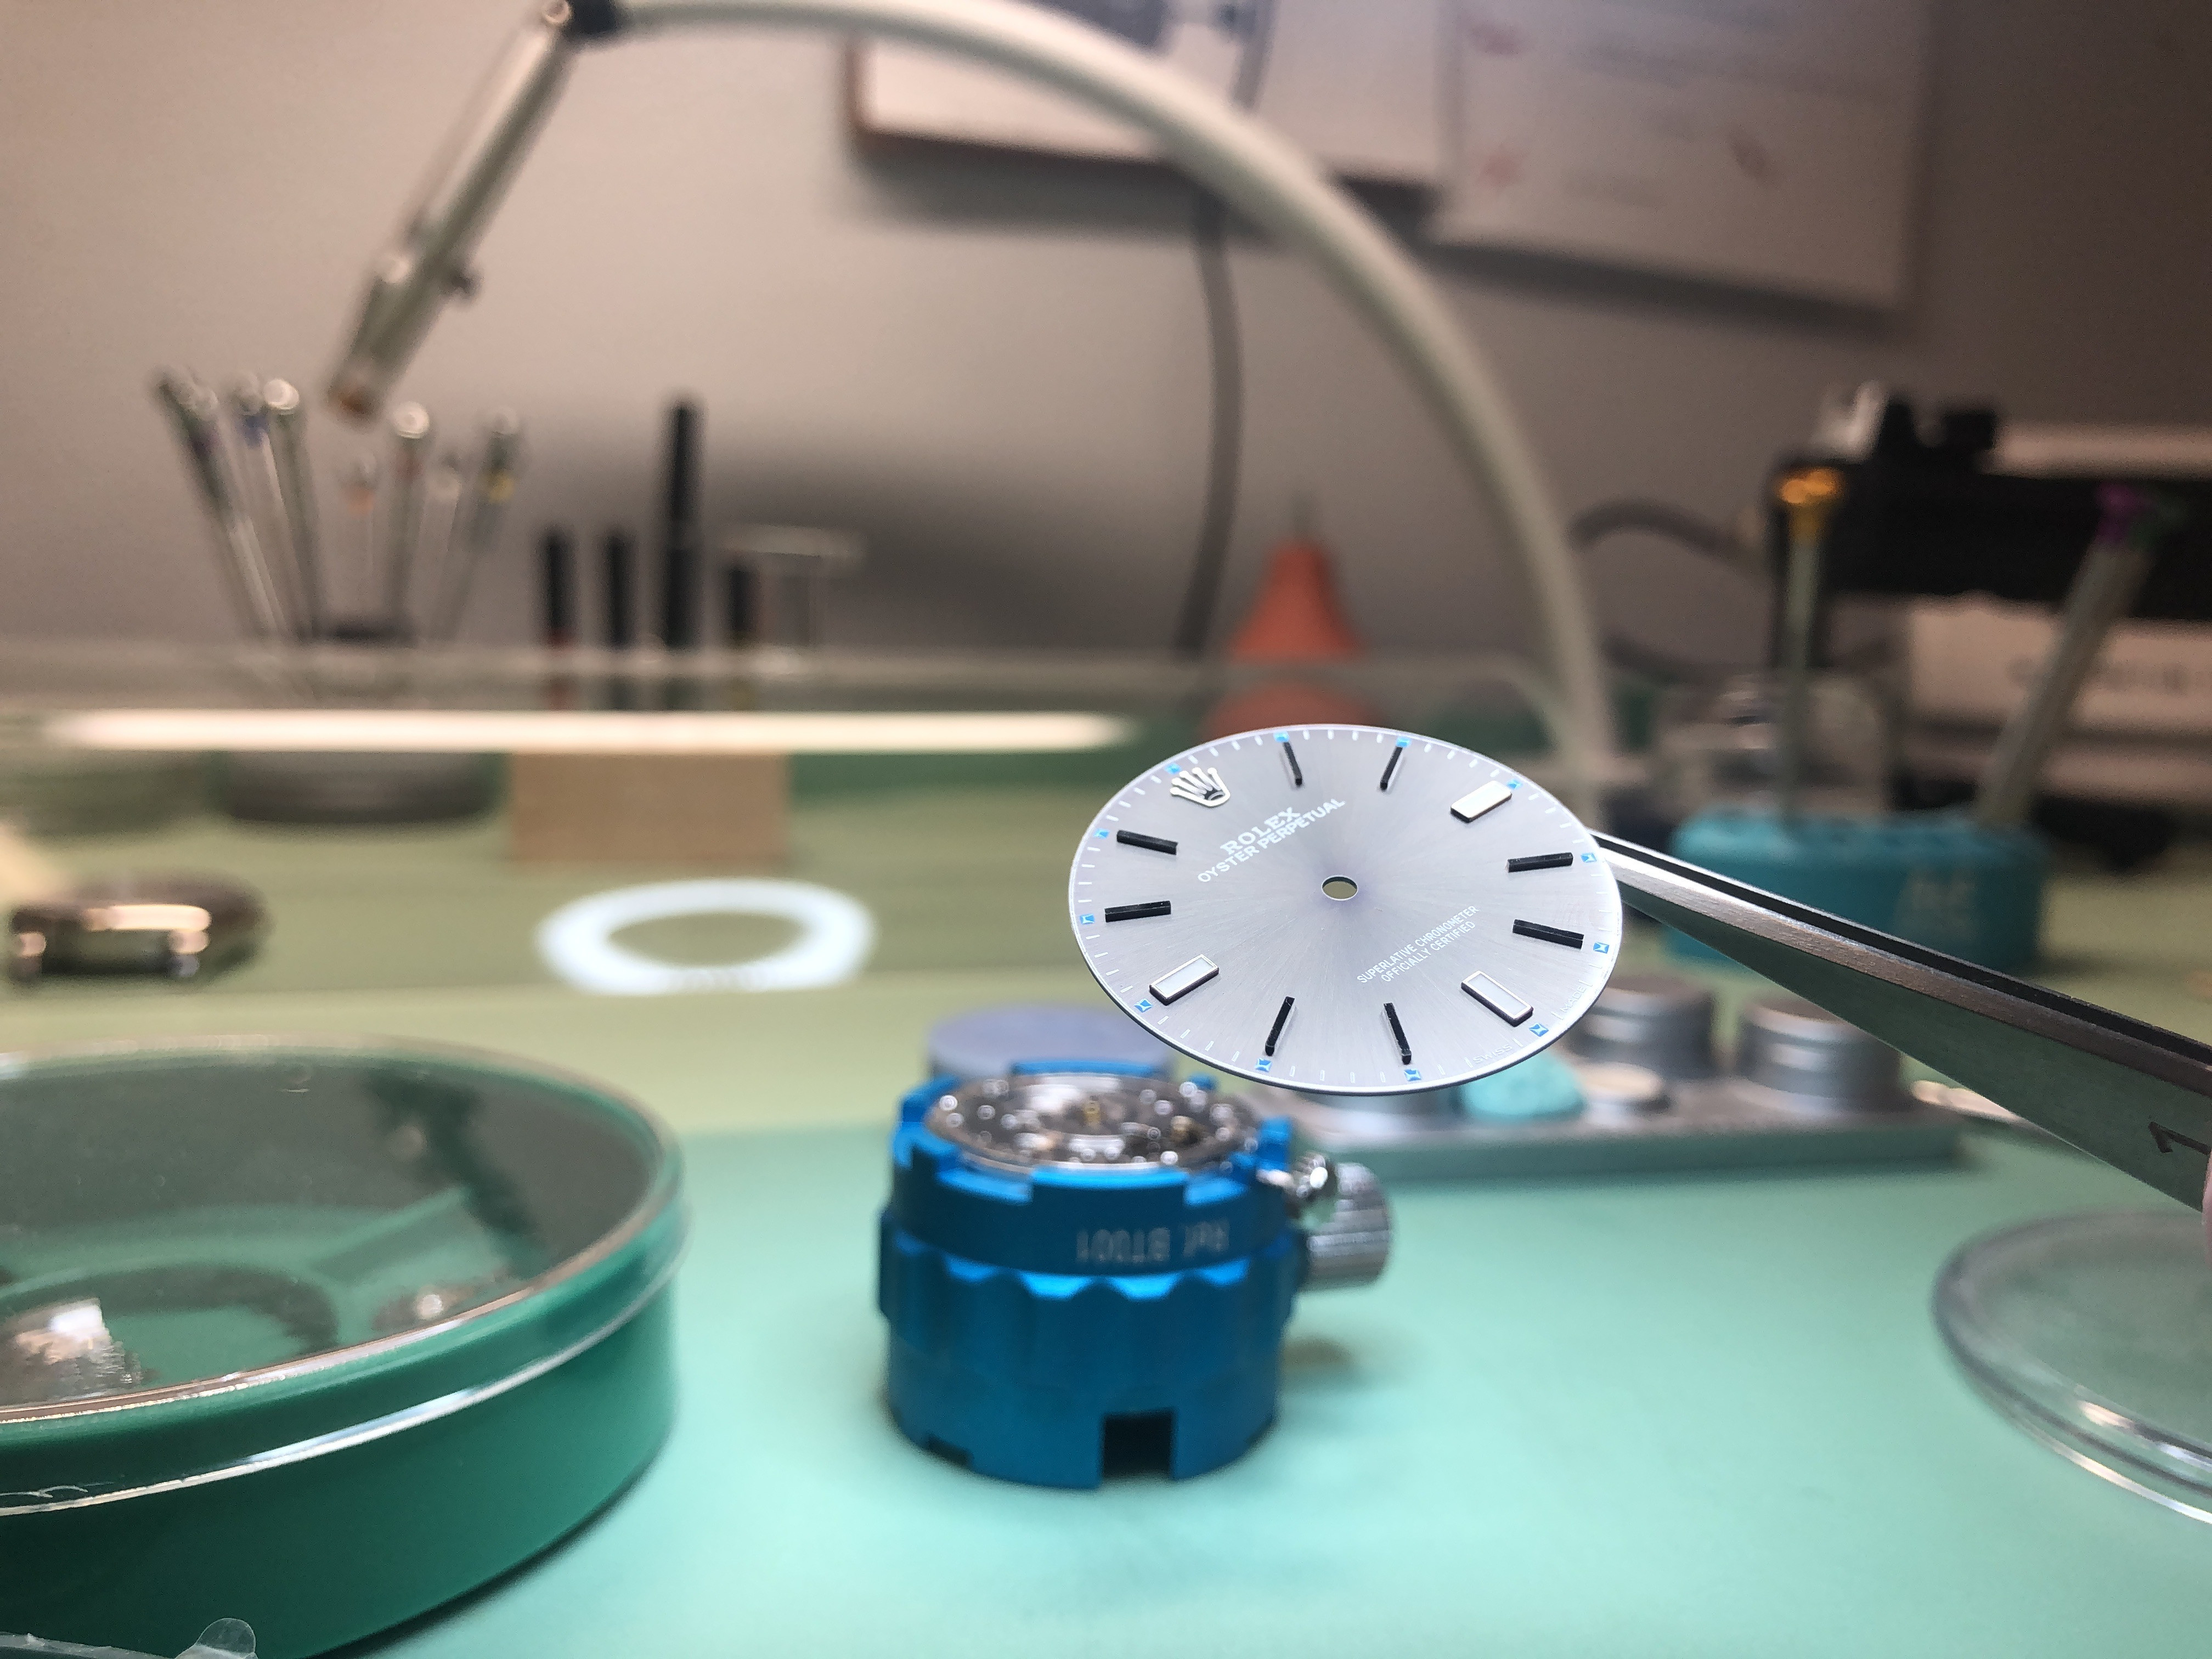
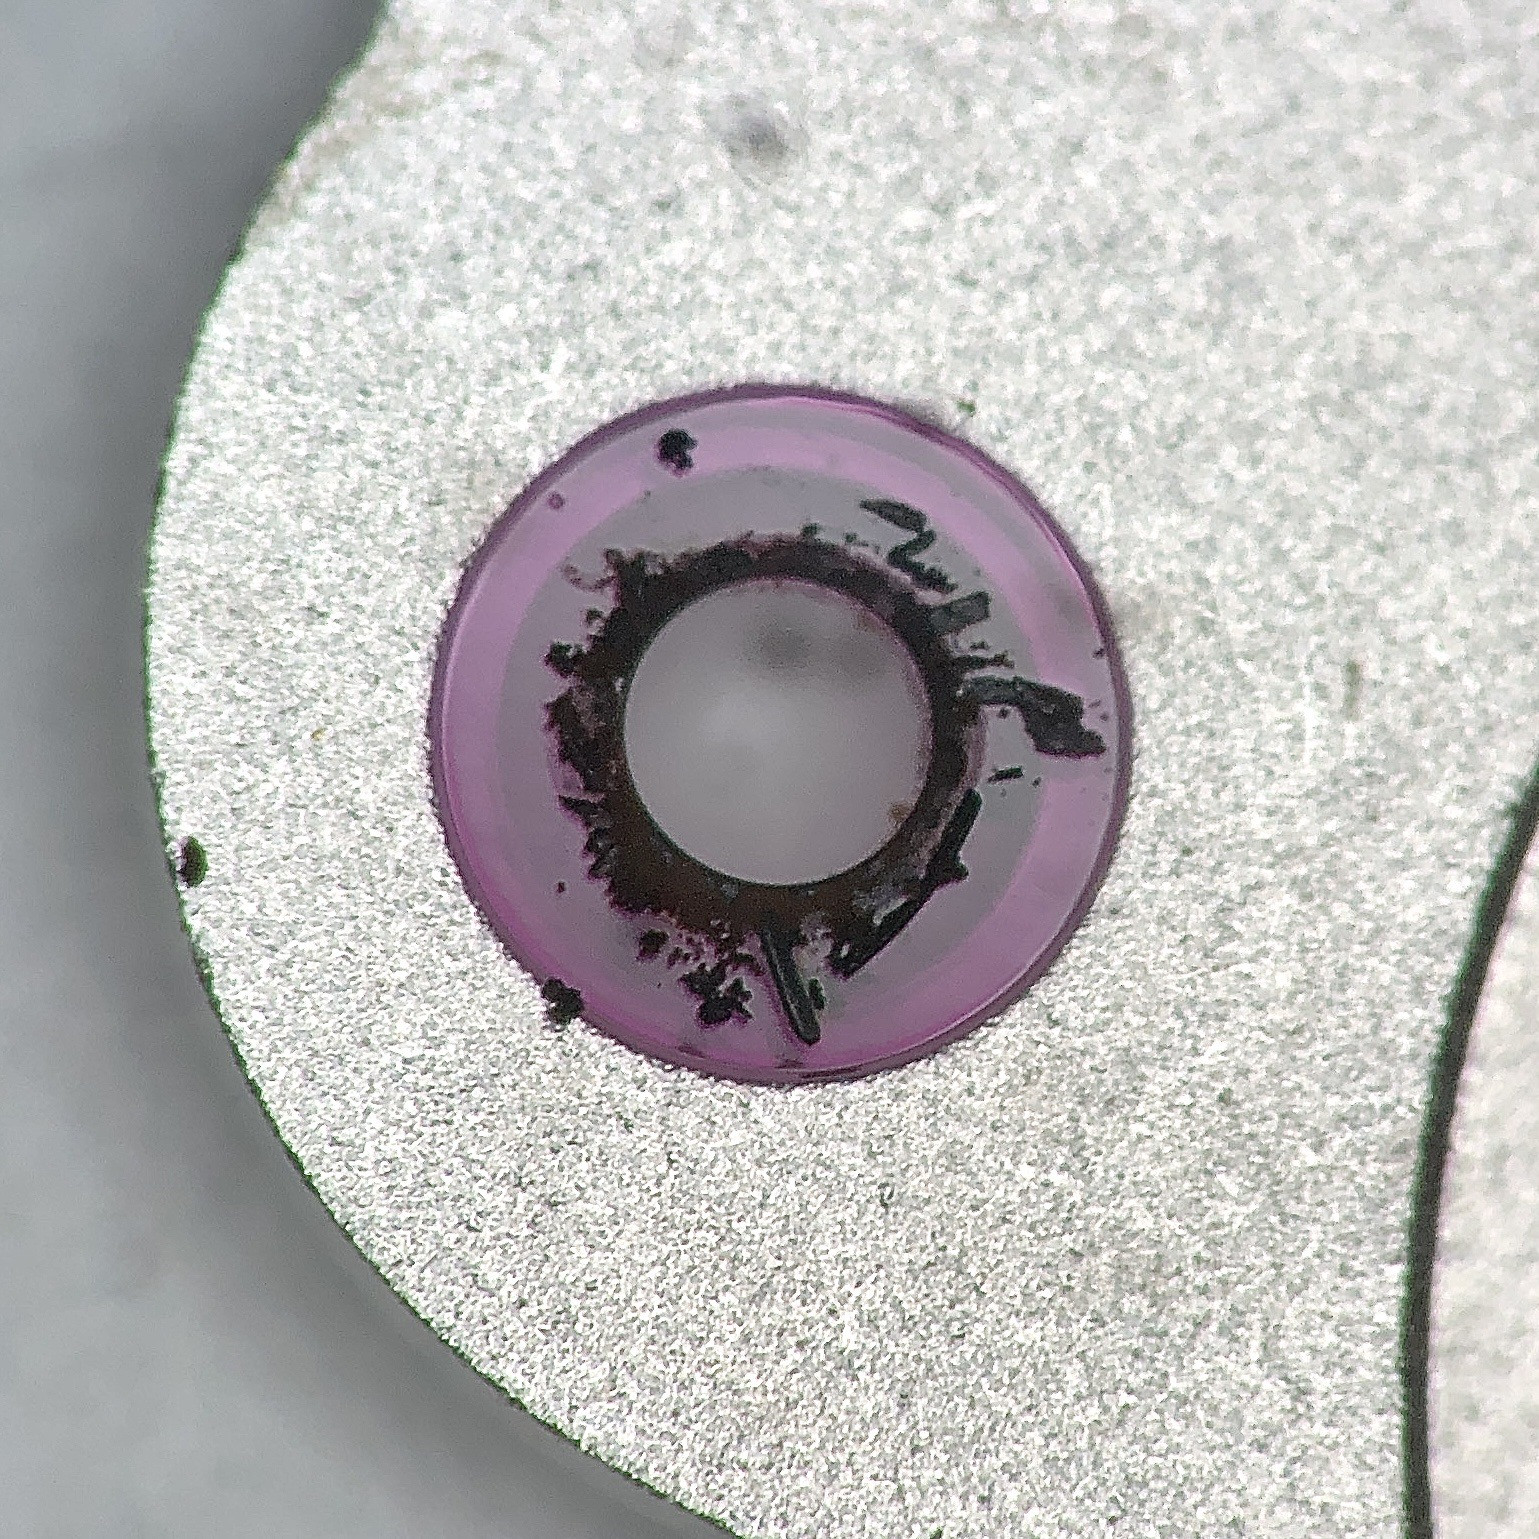
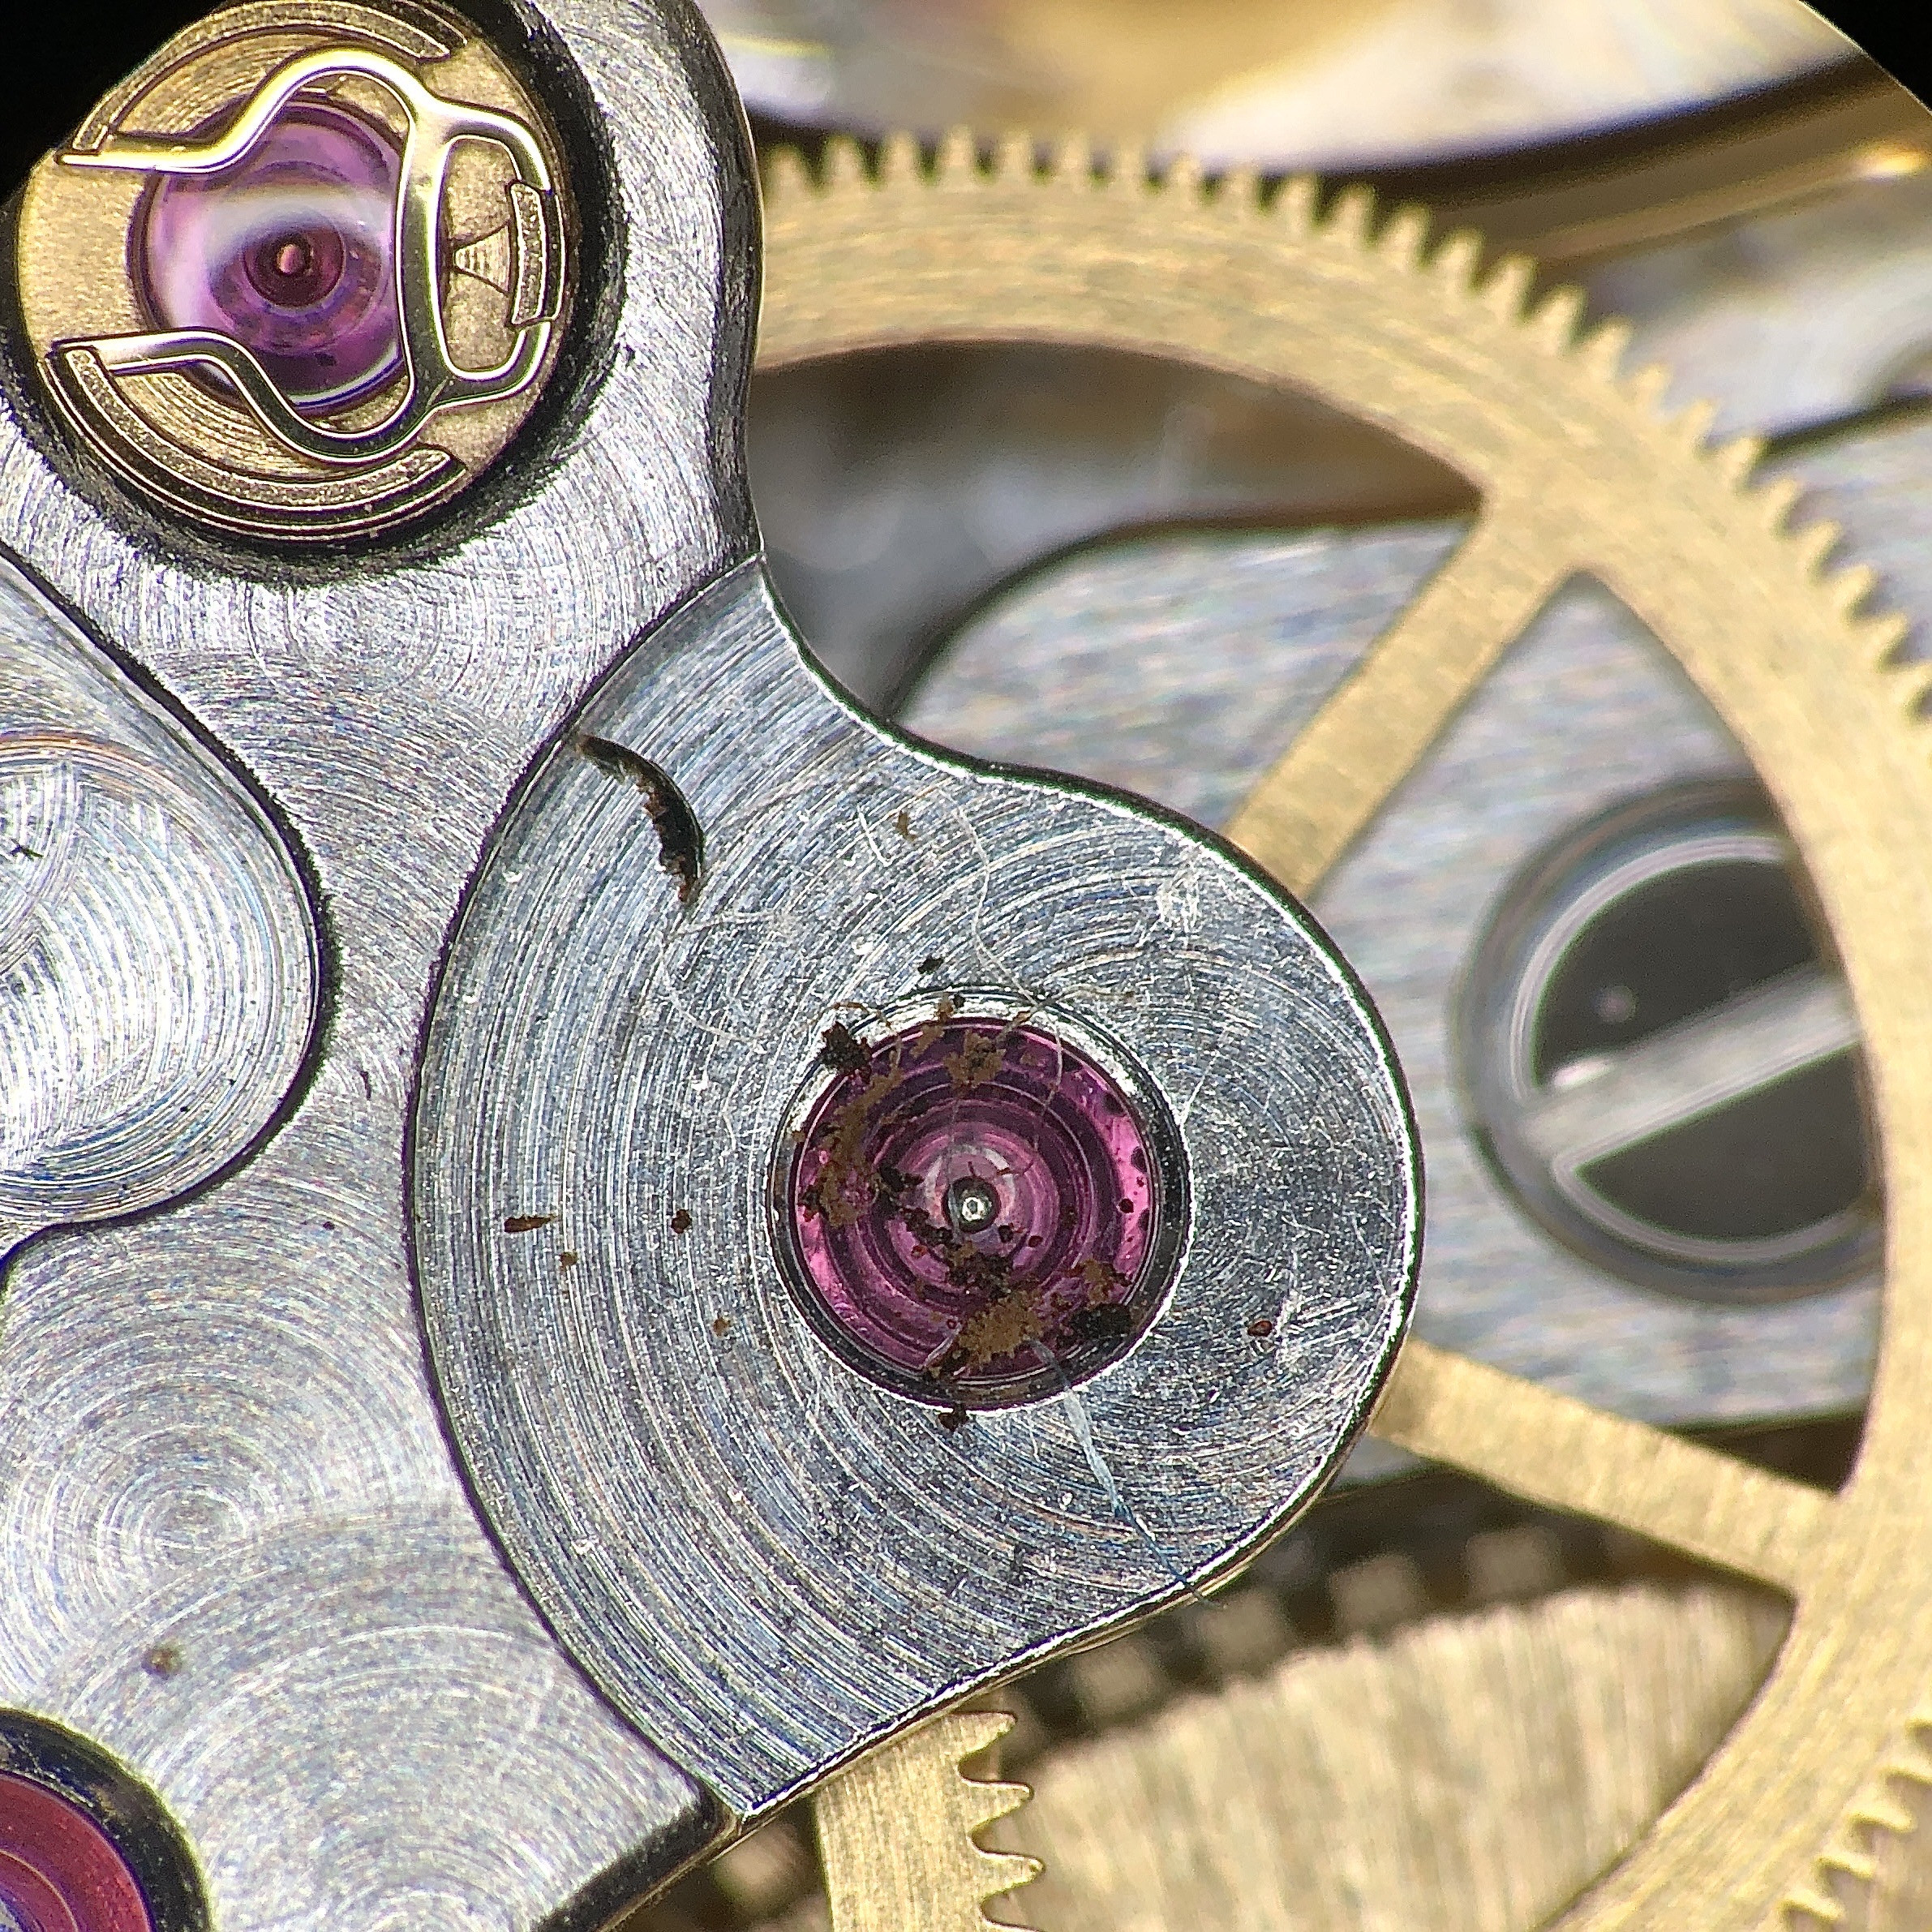
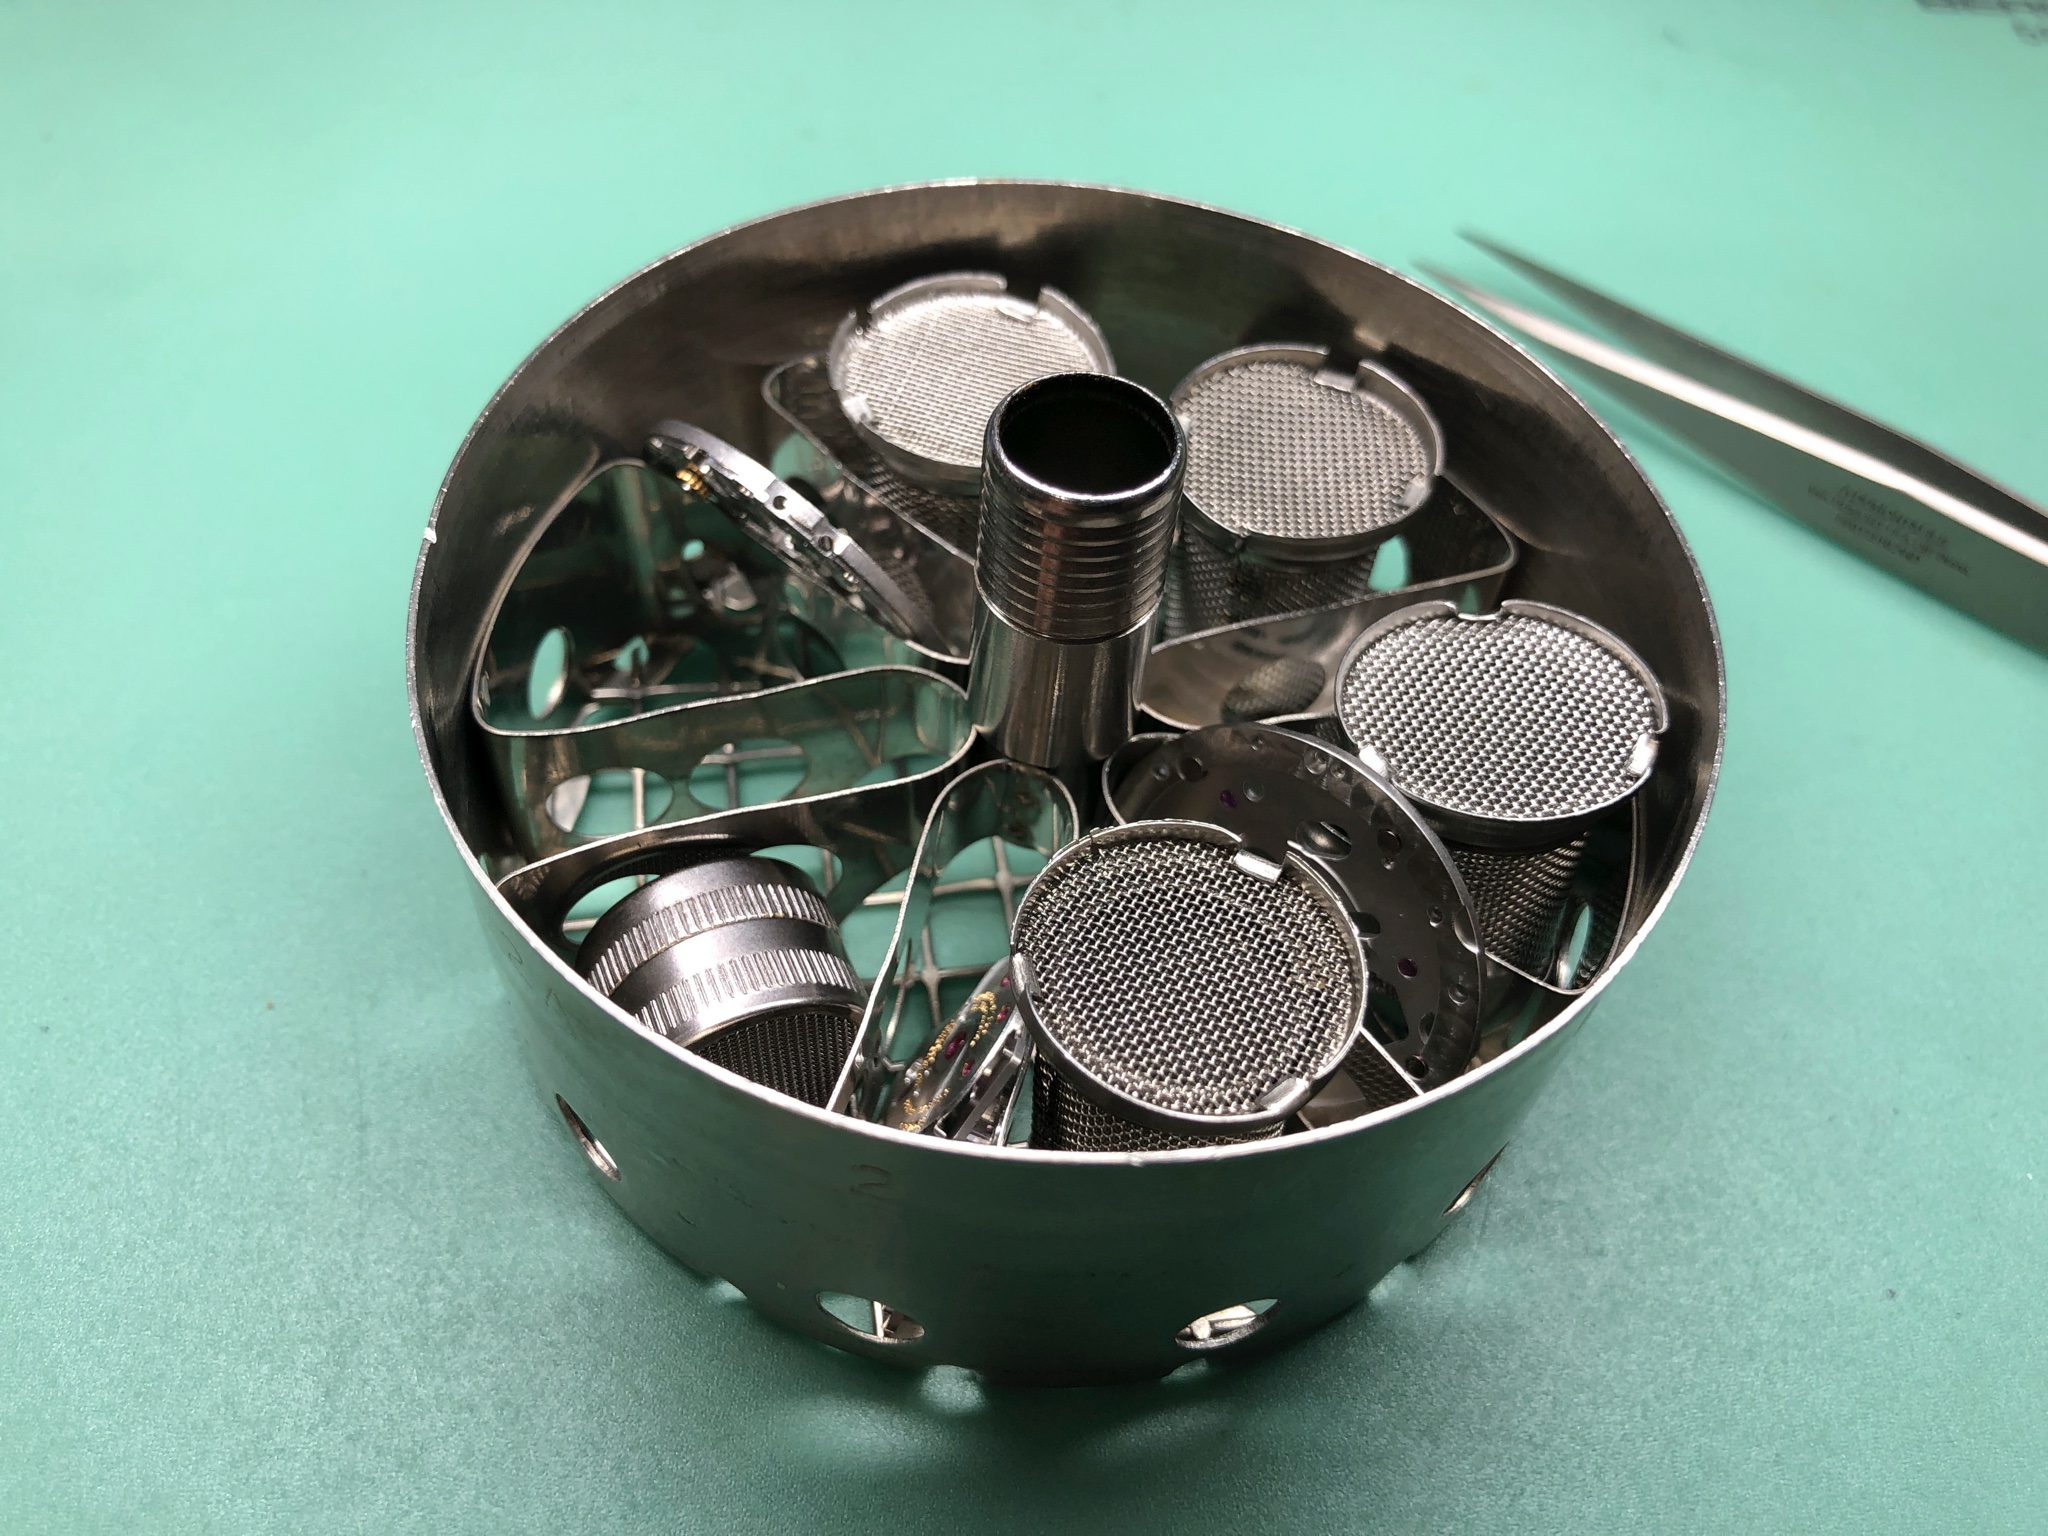
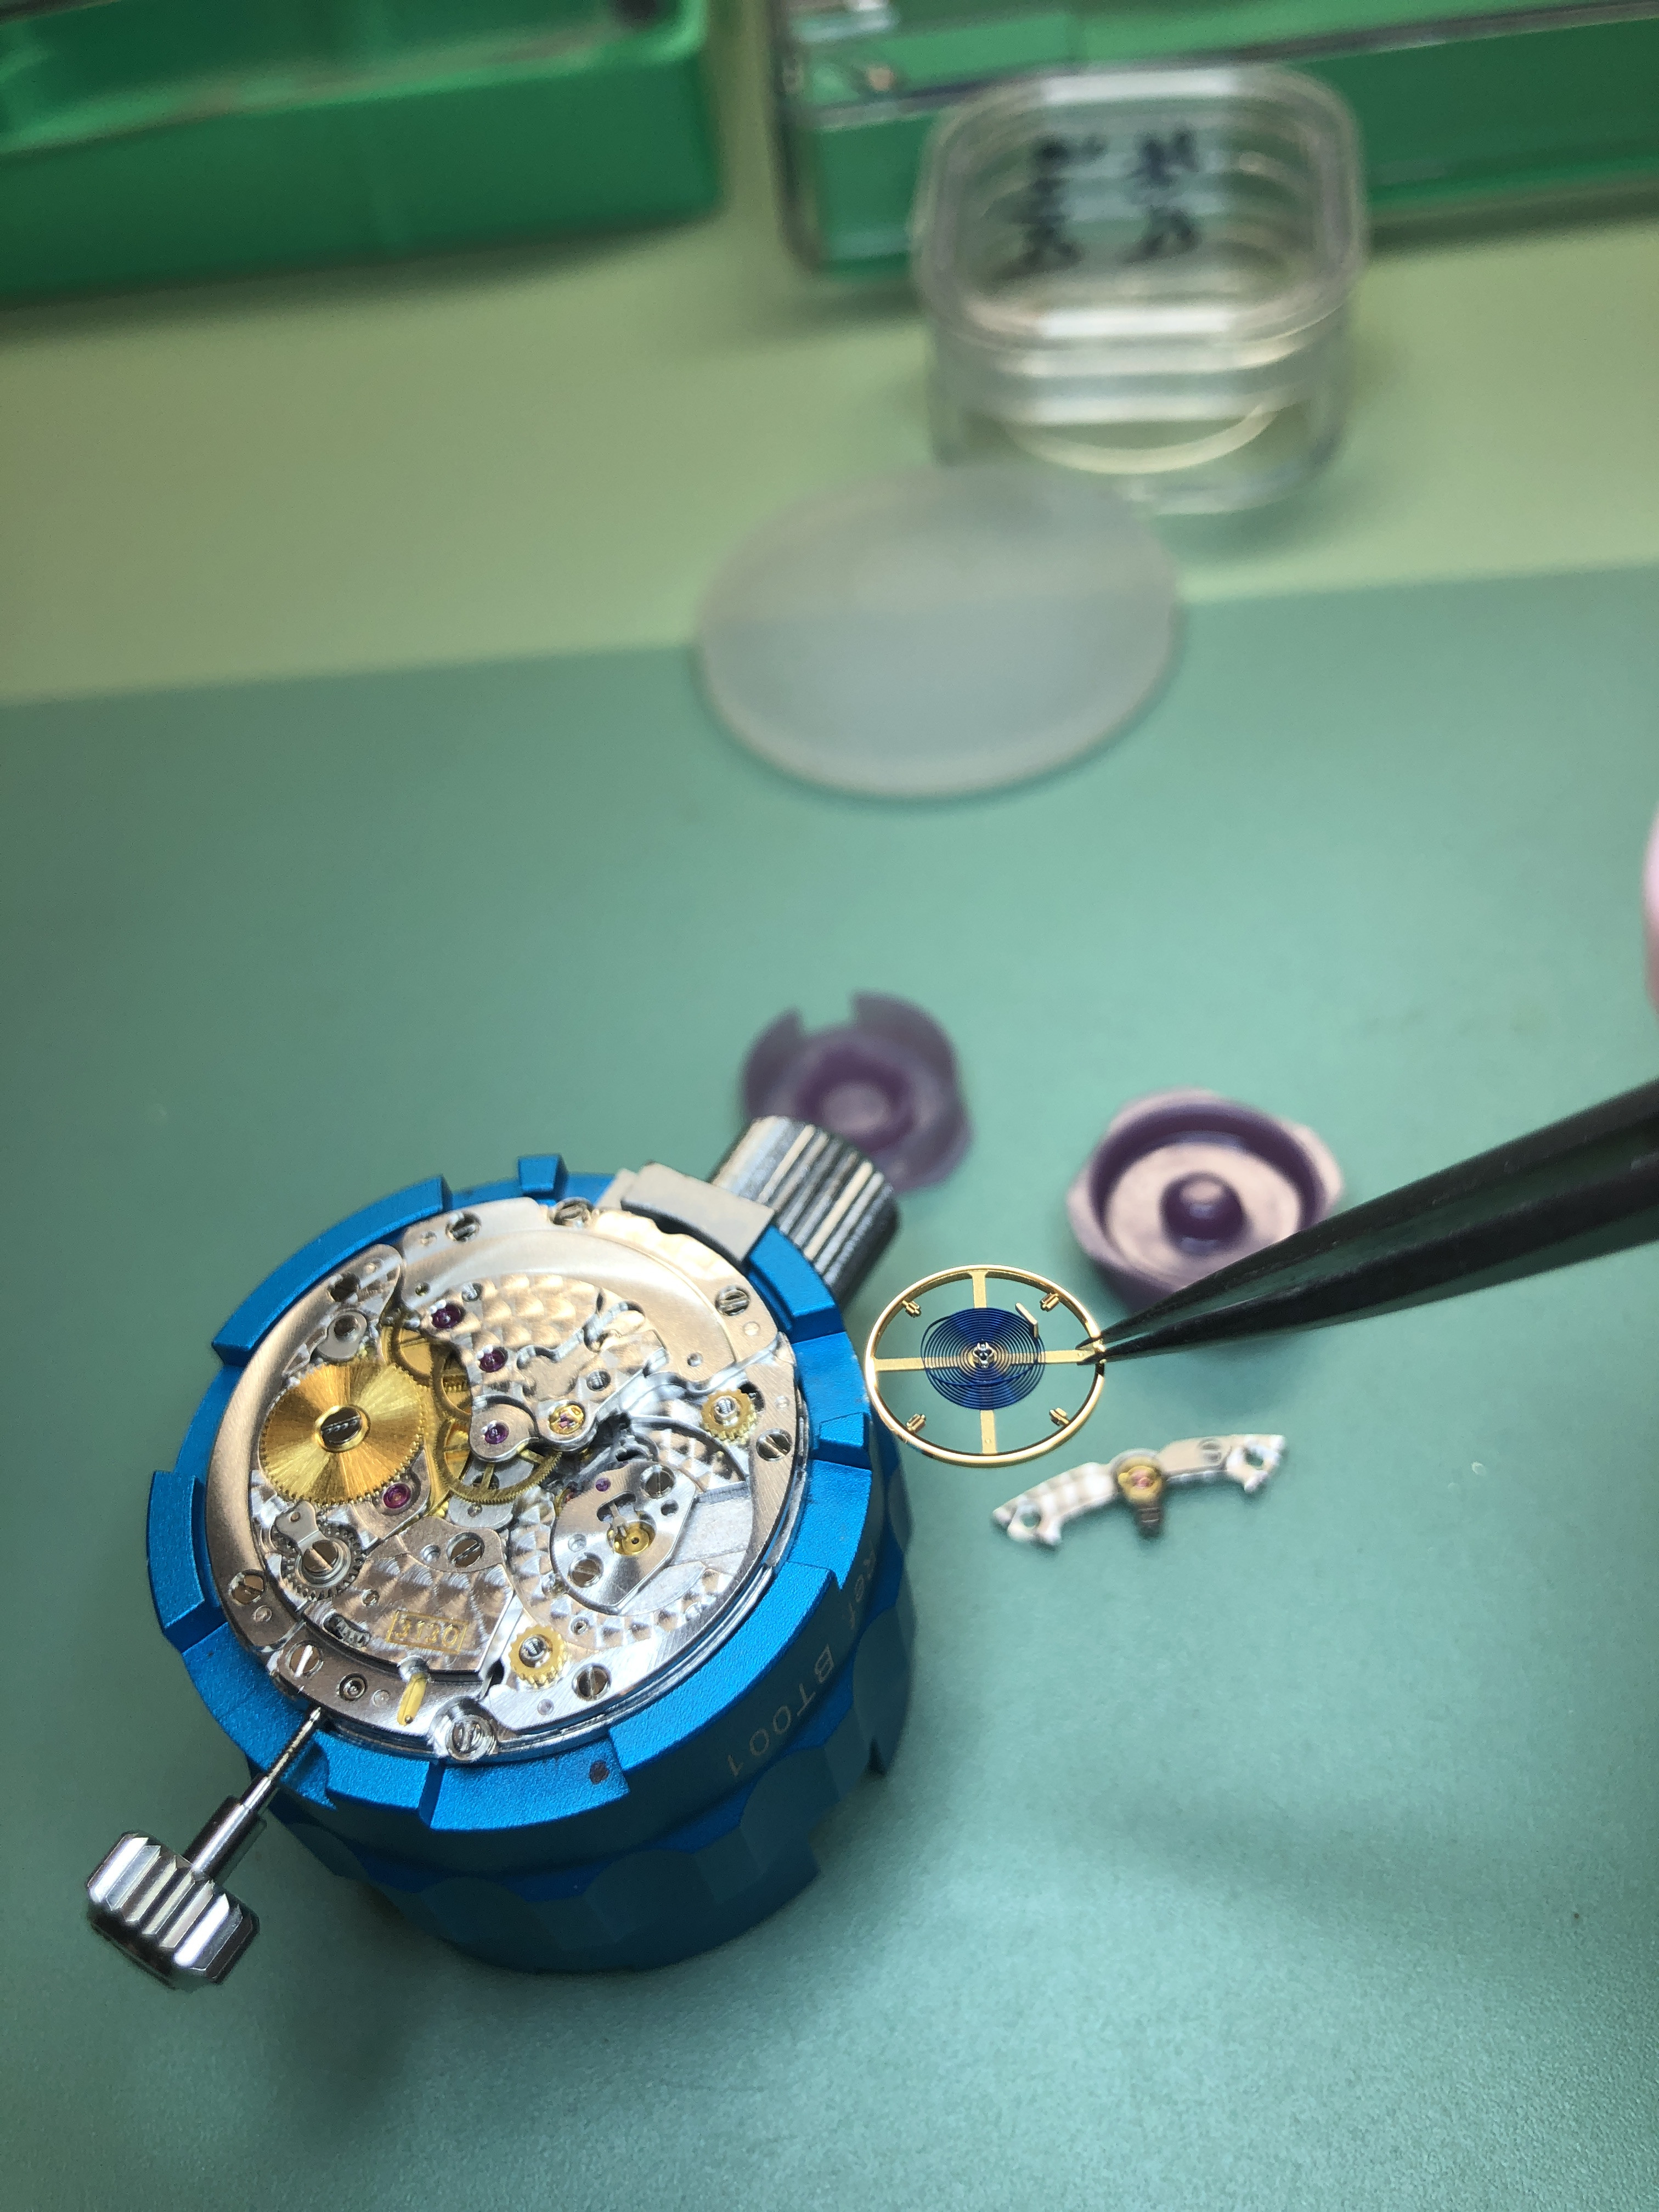
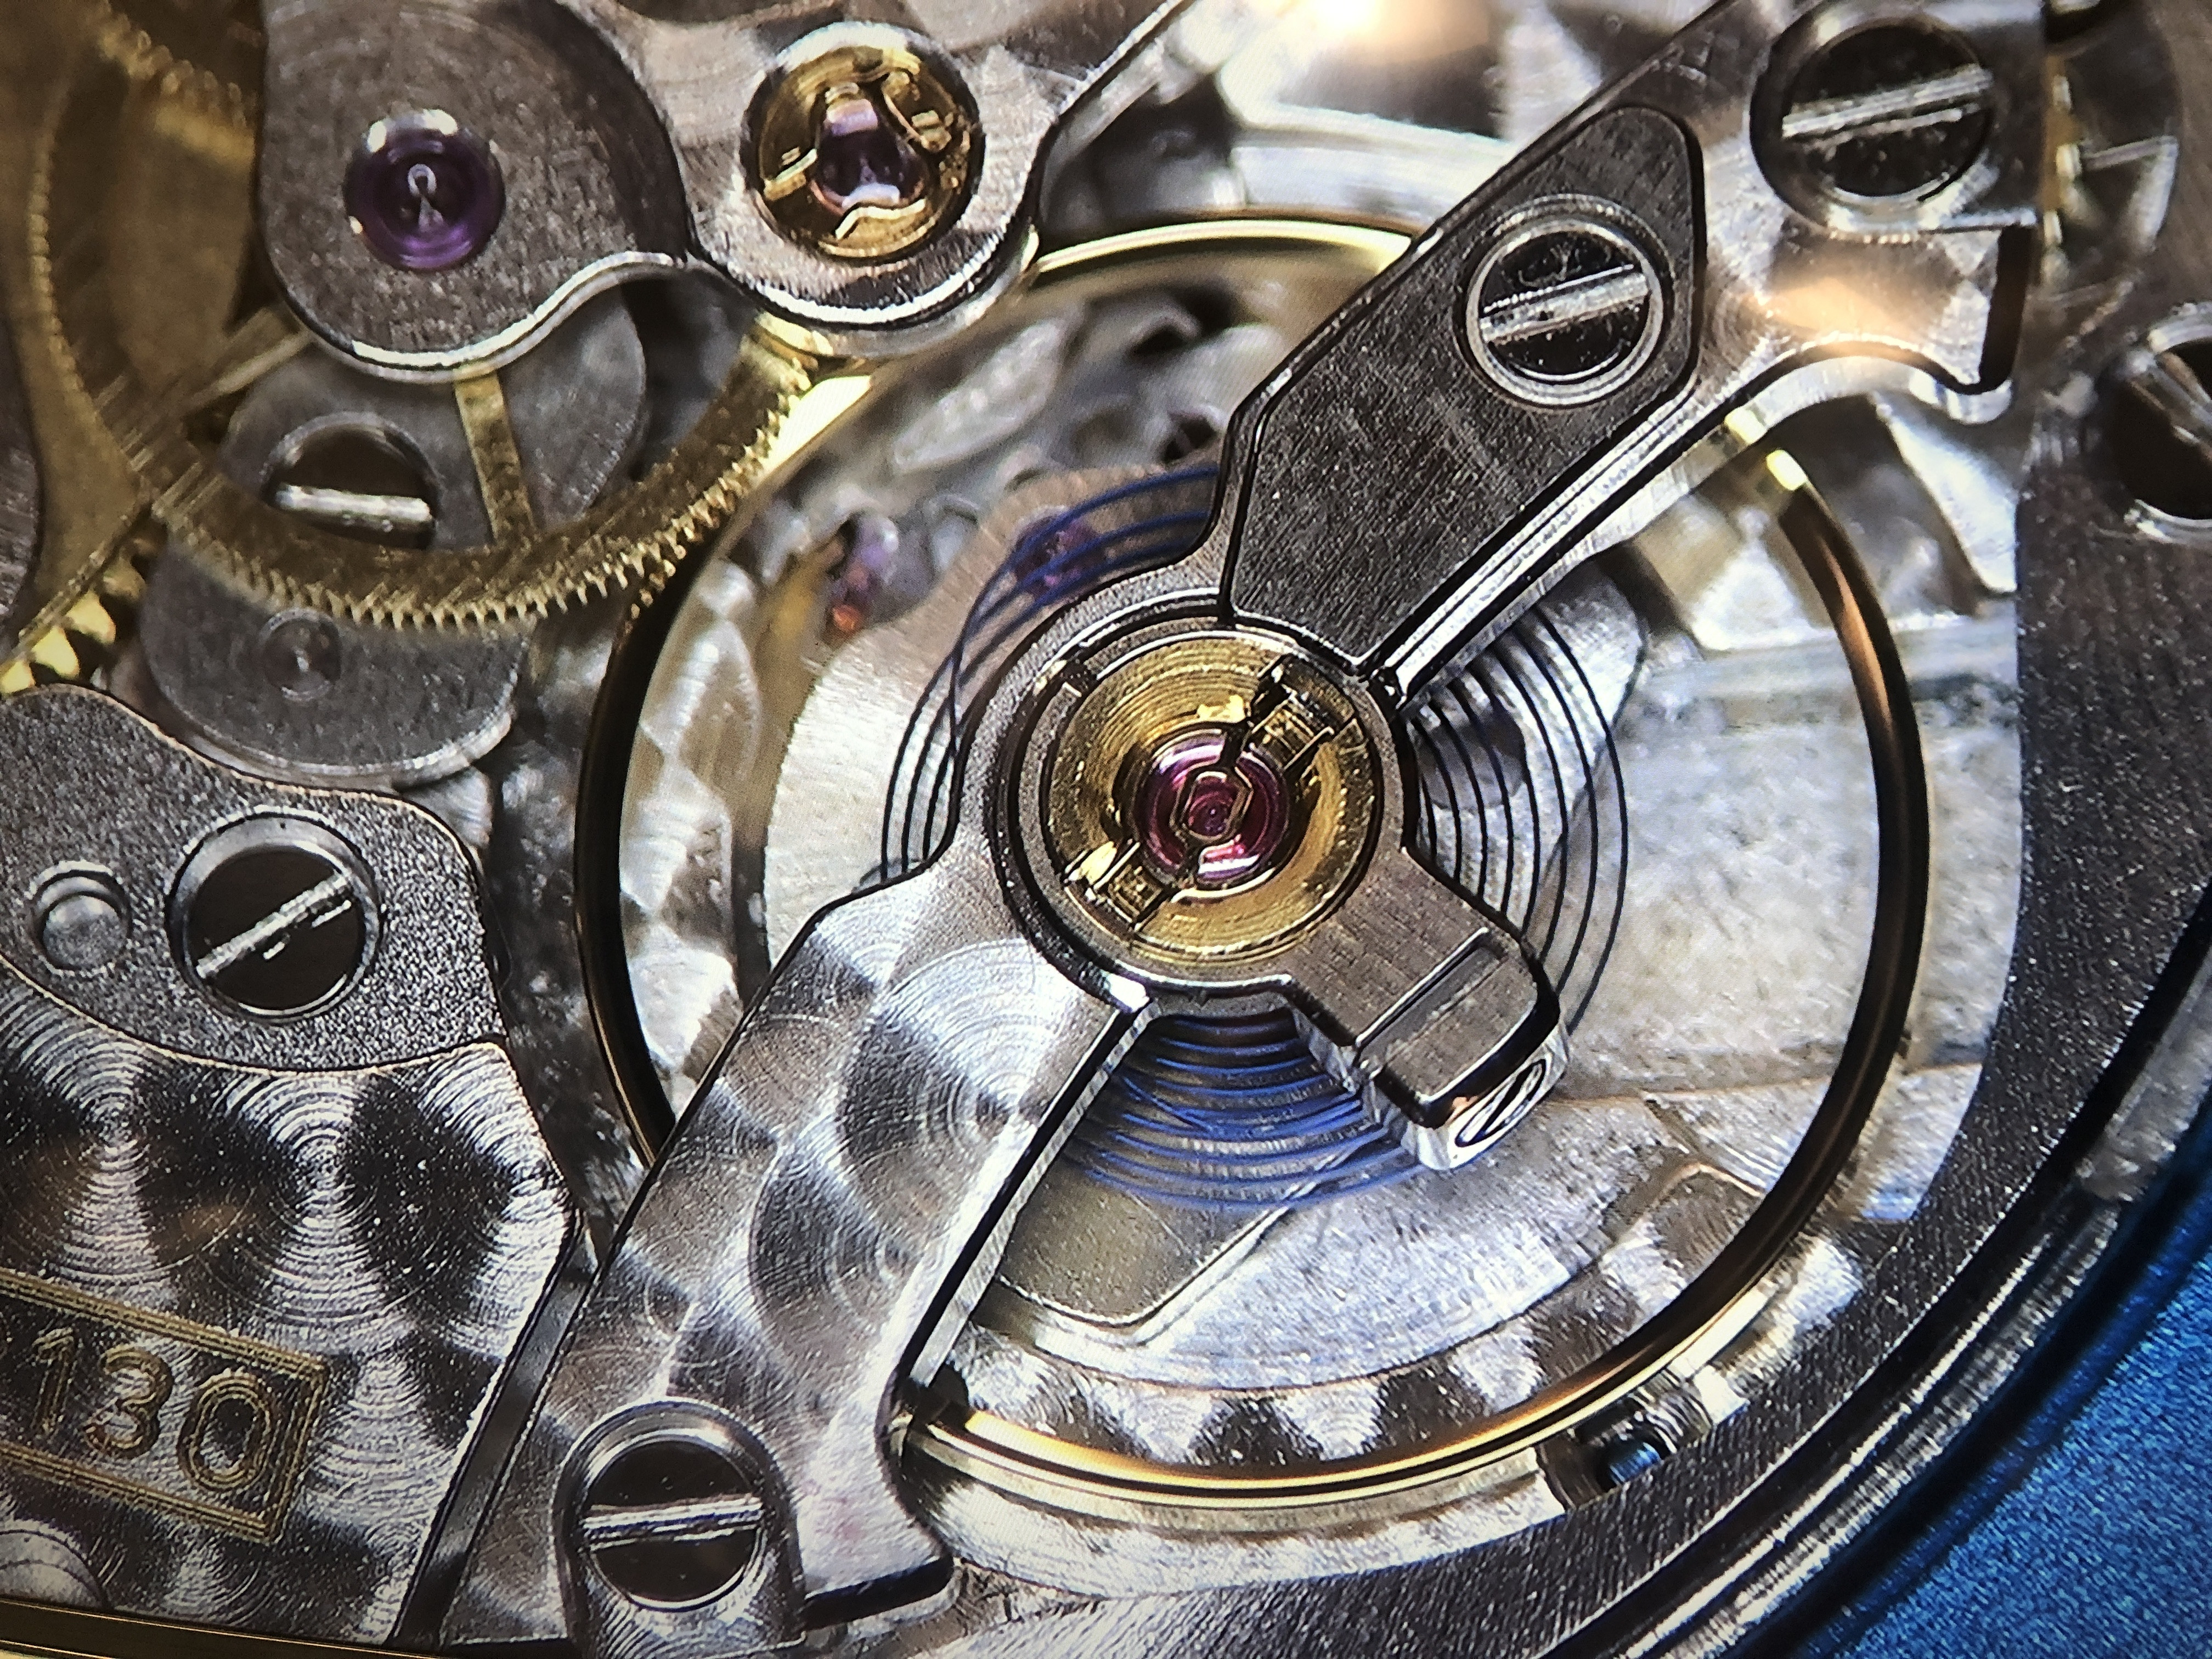
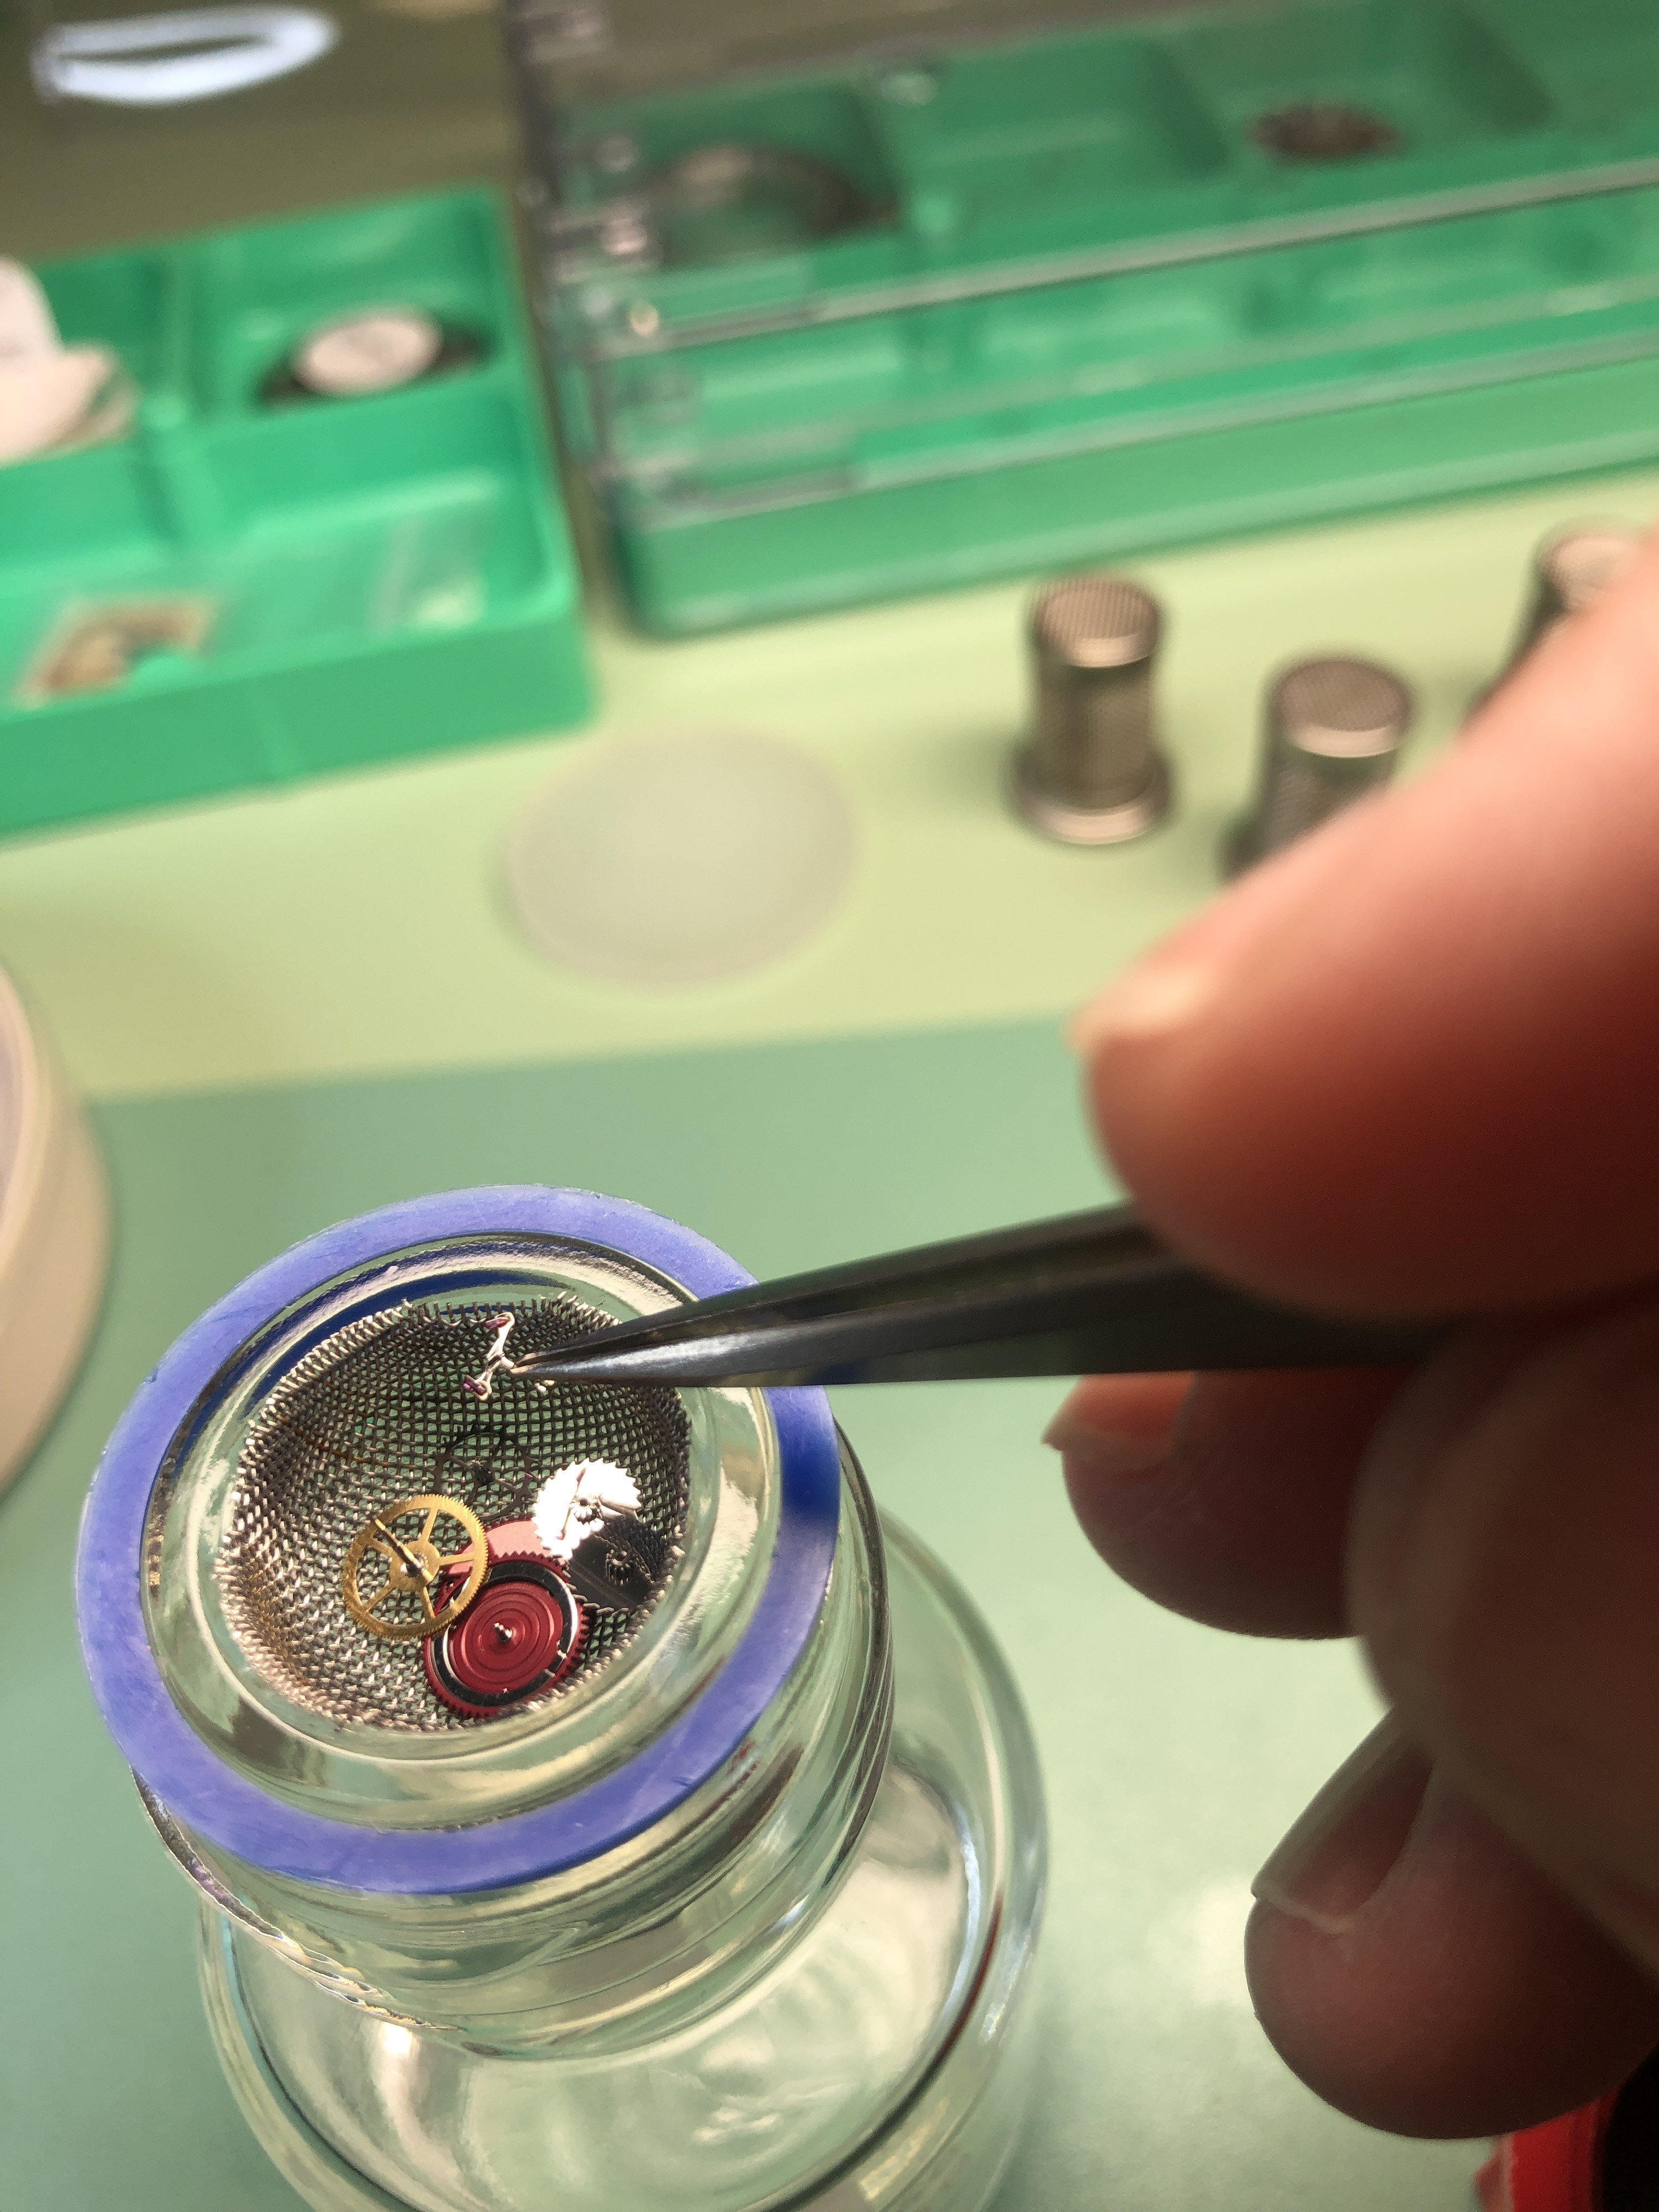
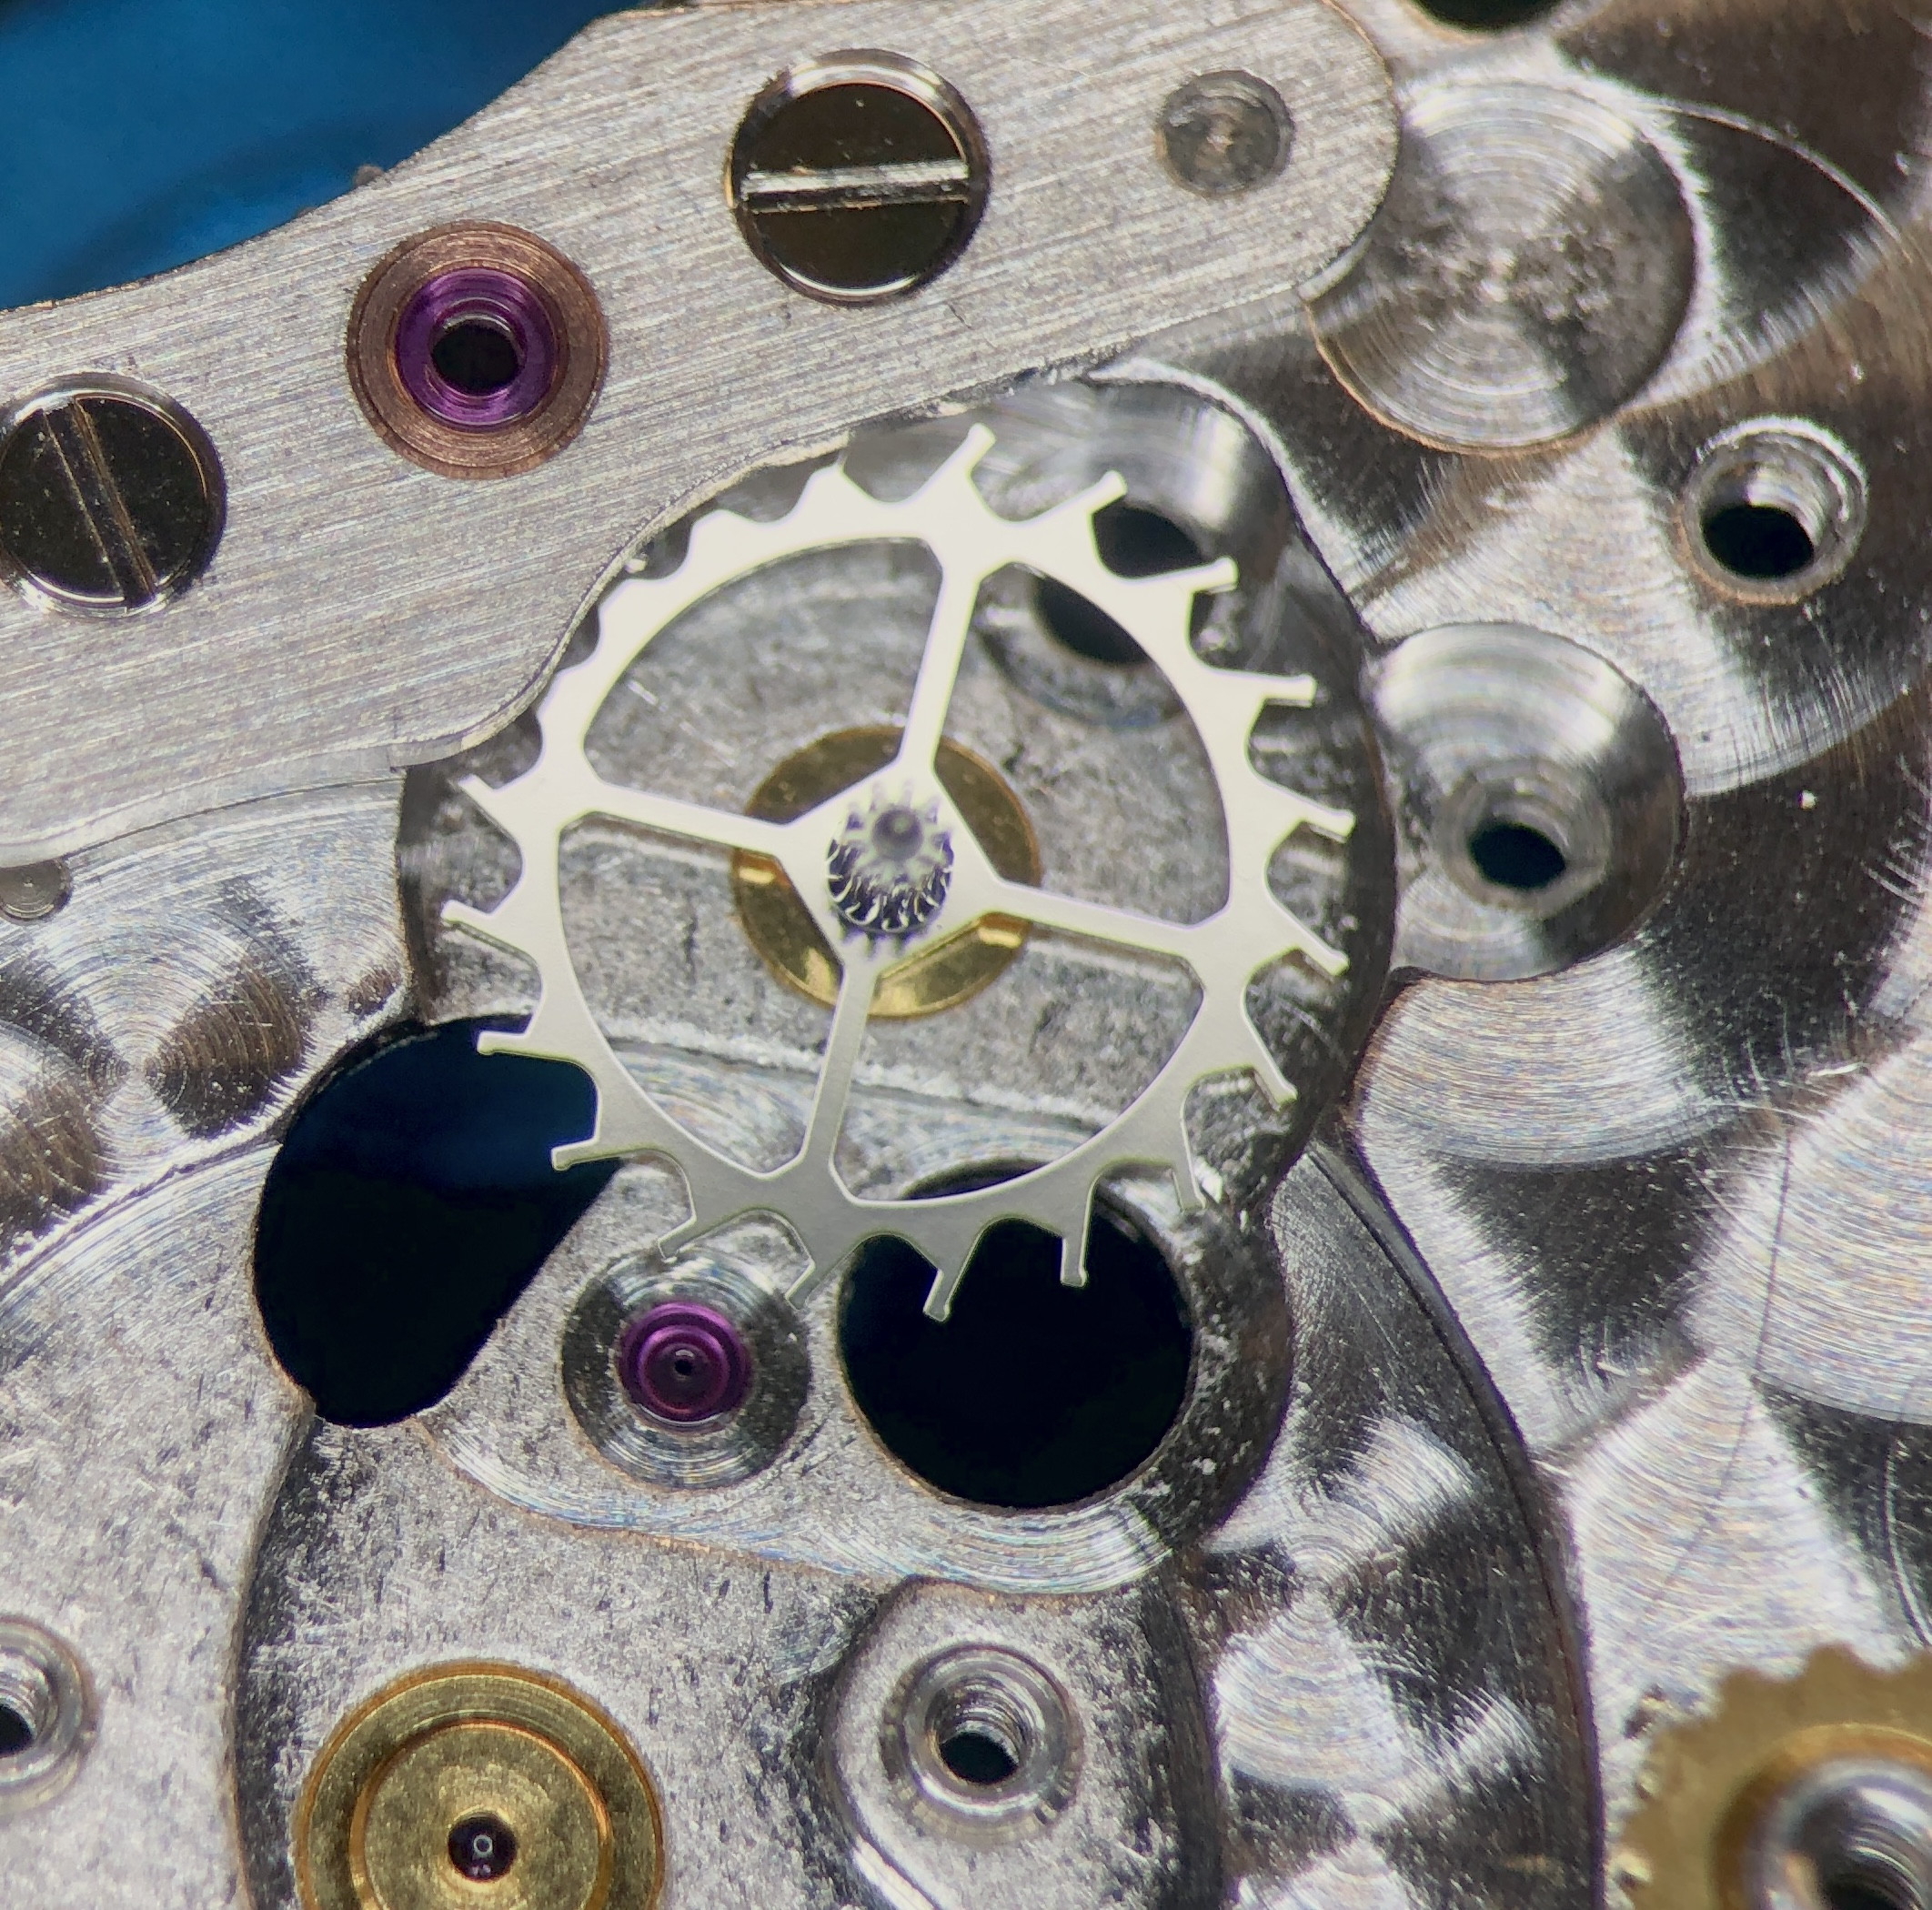
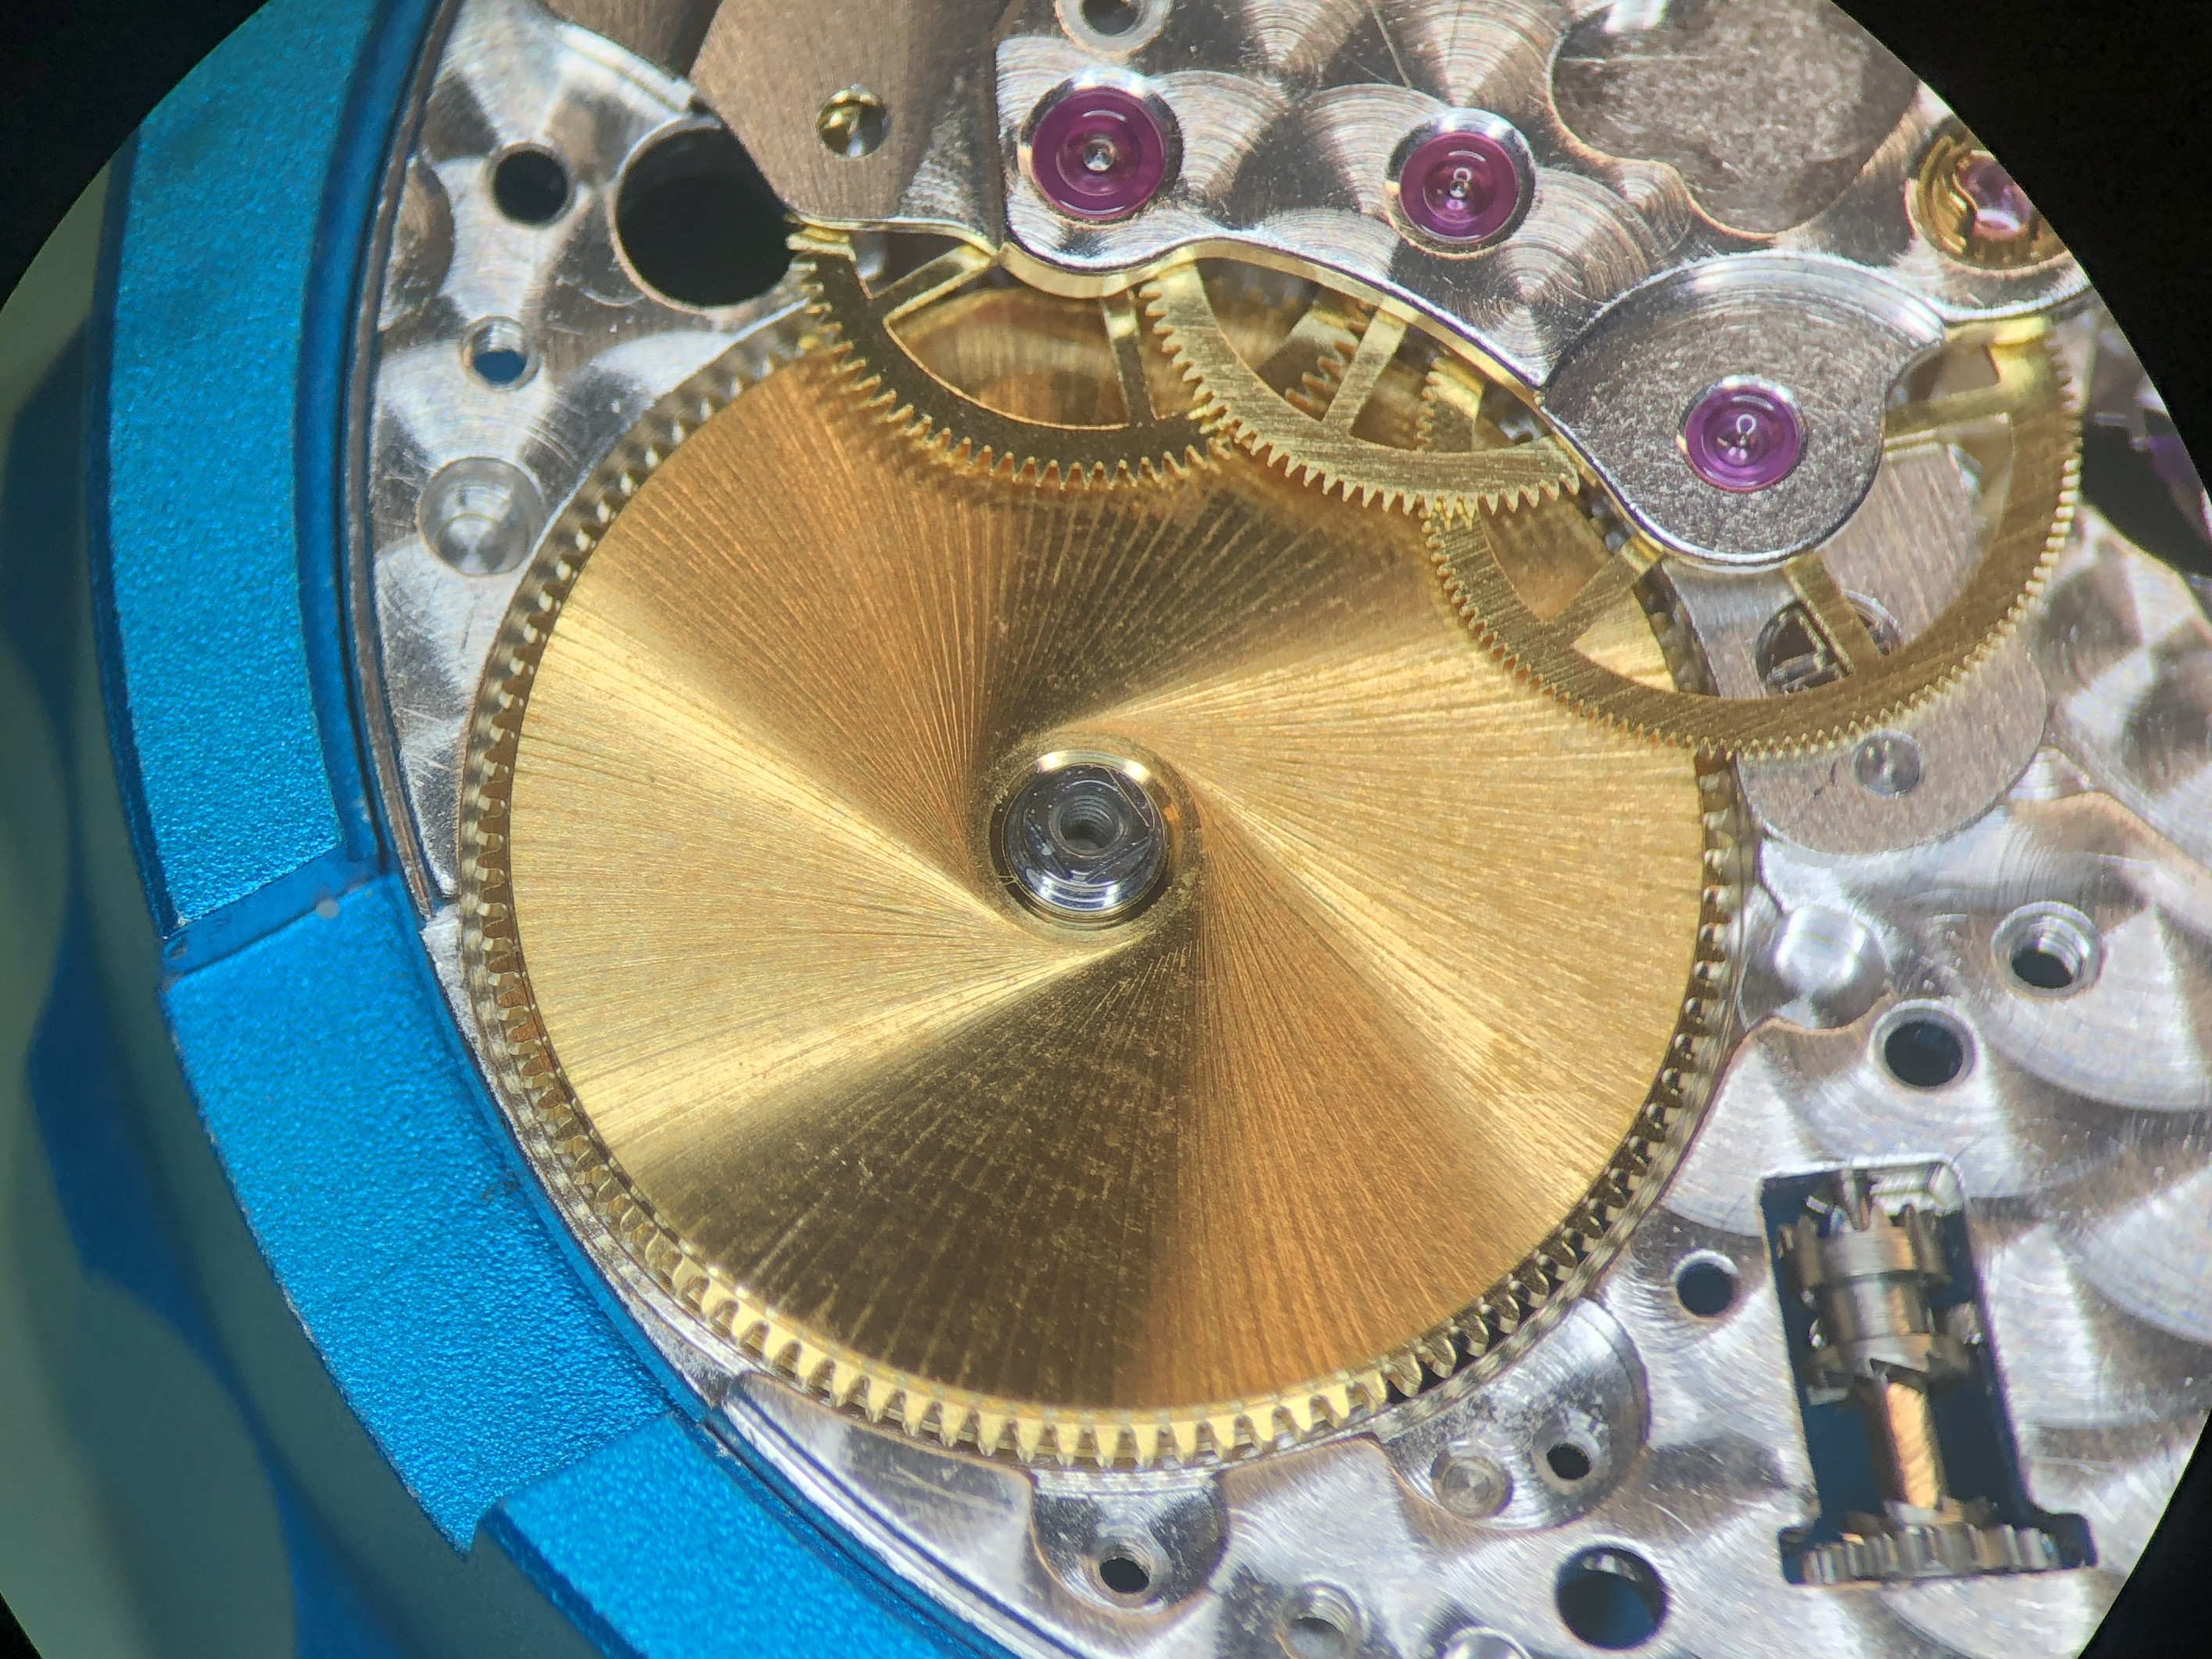
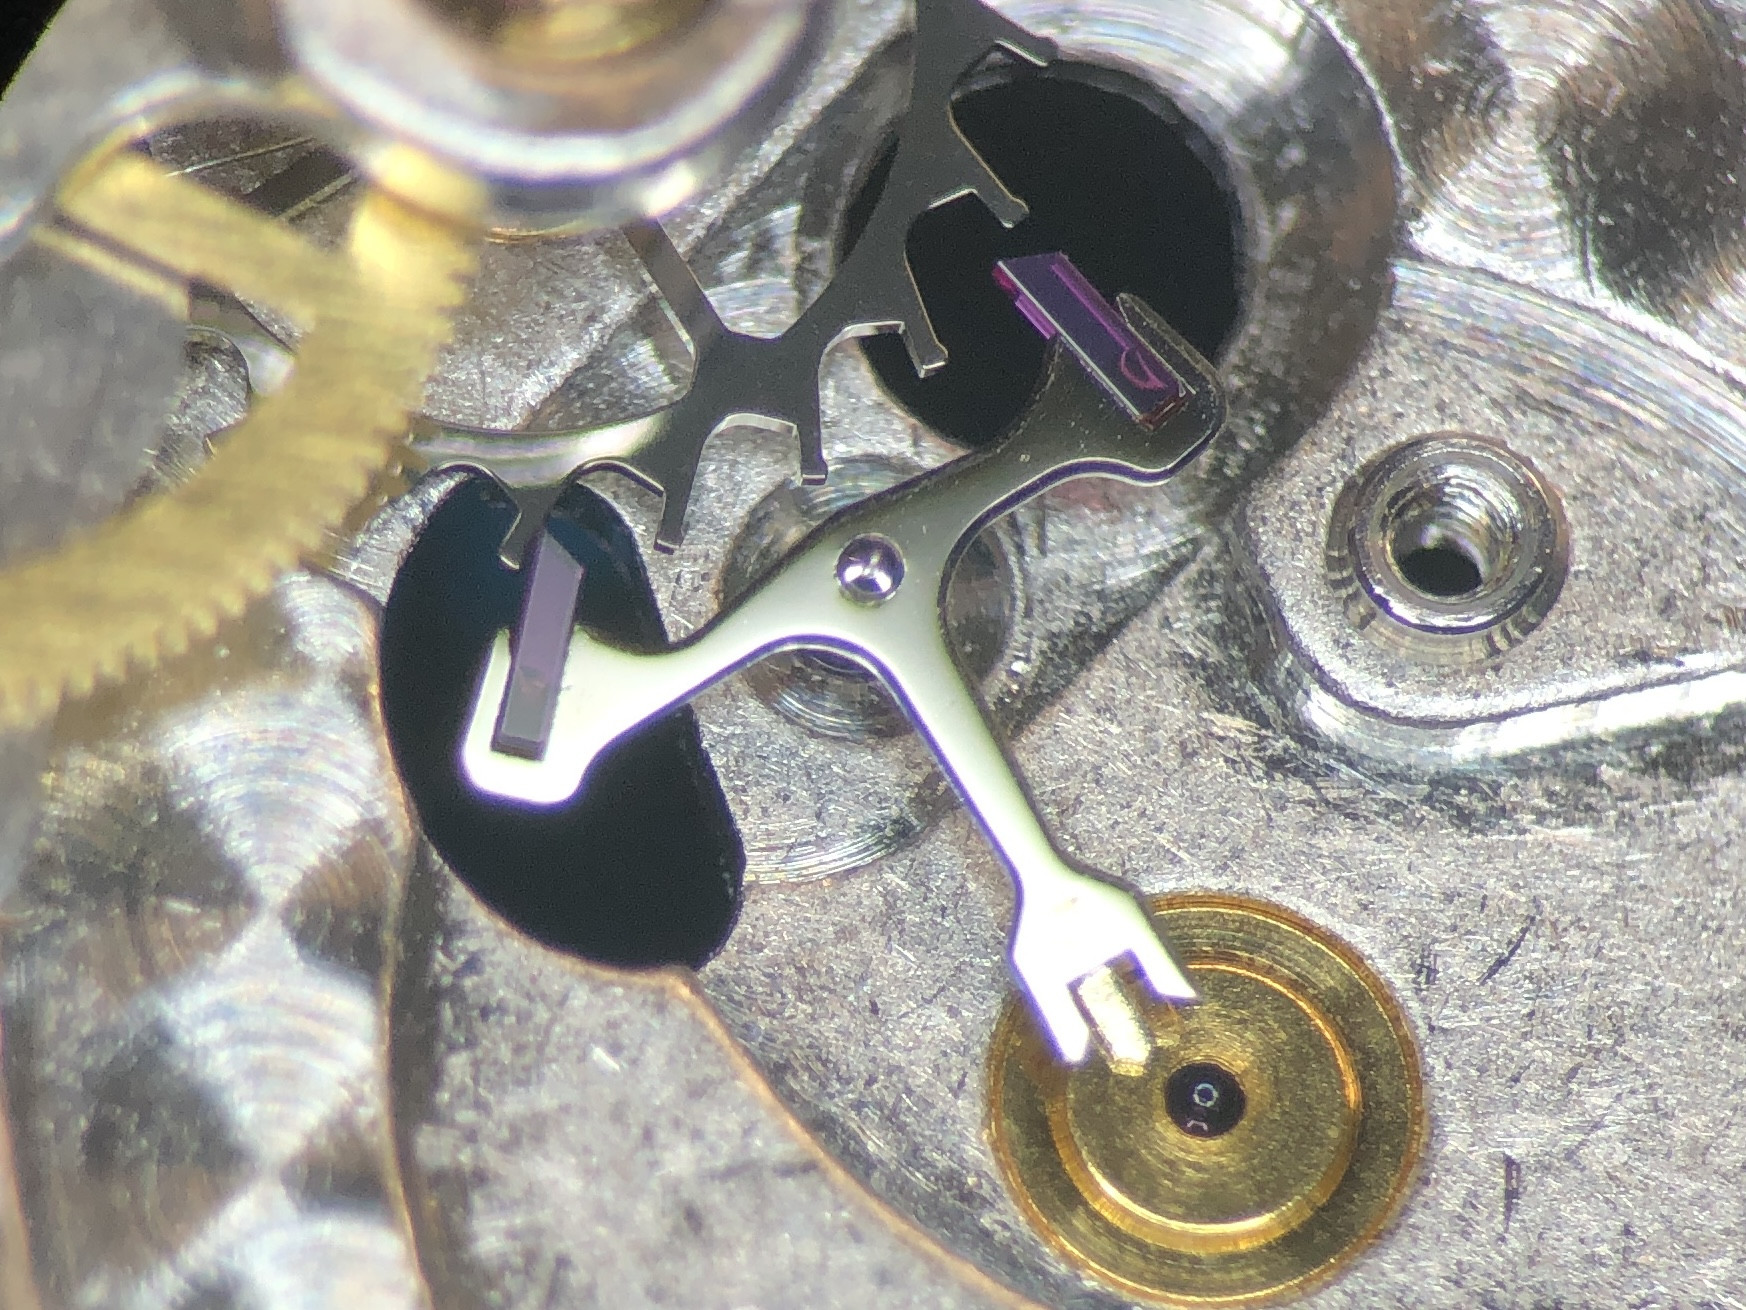
A very dirty Datejust in for service. After pegging out the jewels and giving the parts a good washing and new mainspring, it runs like new.
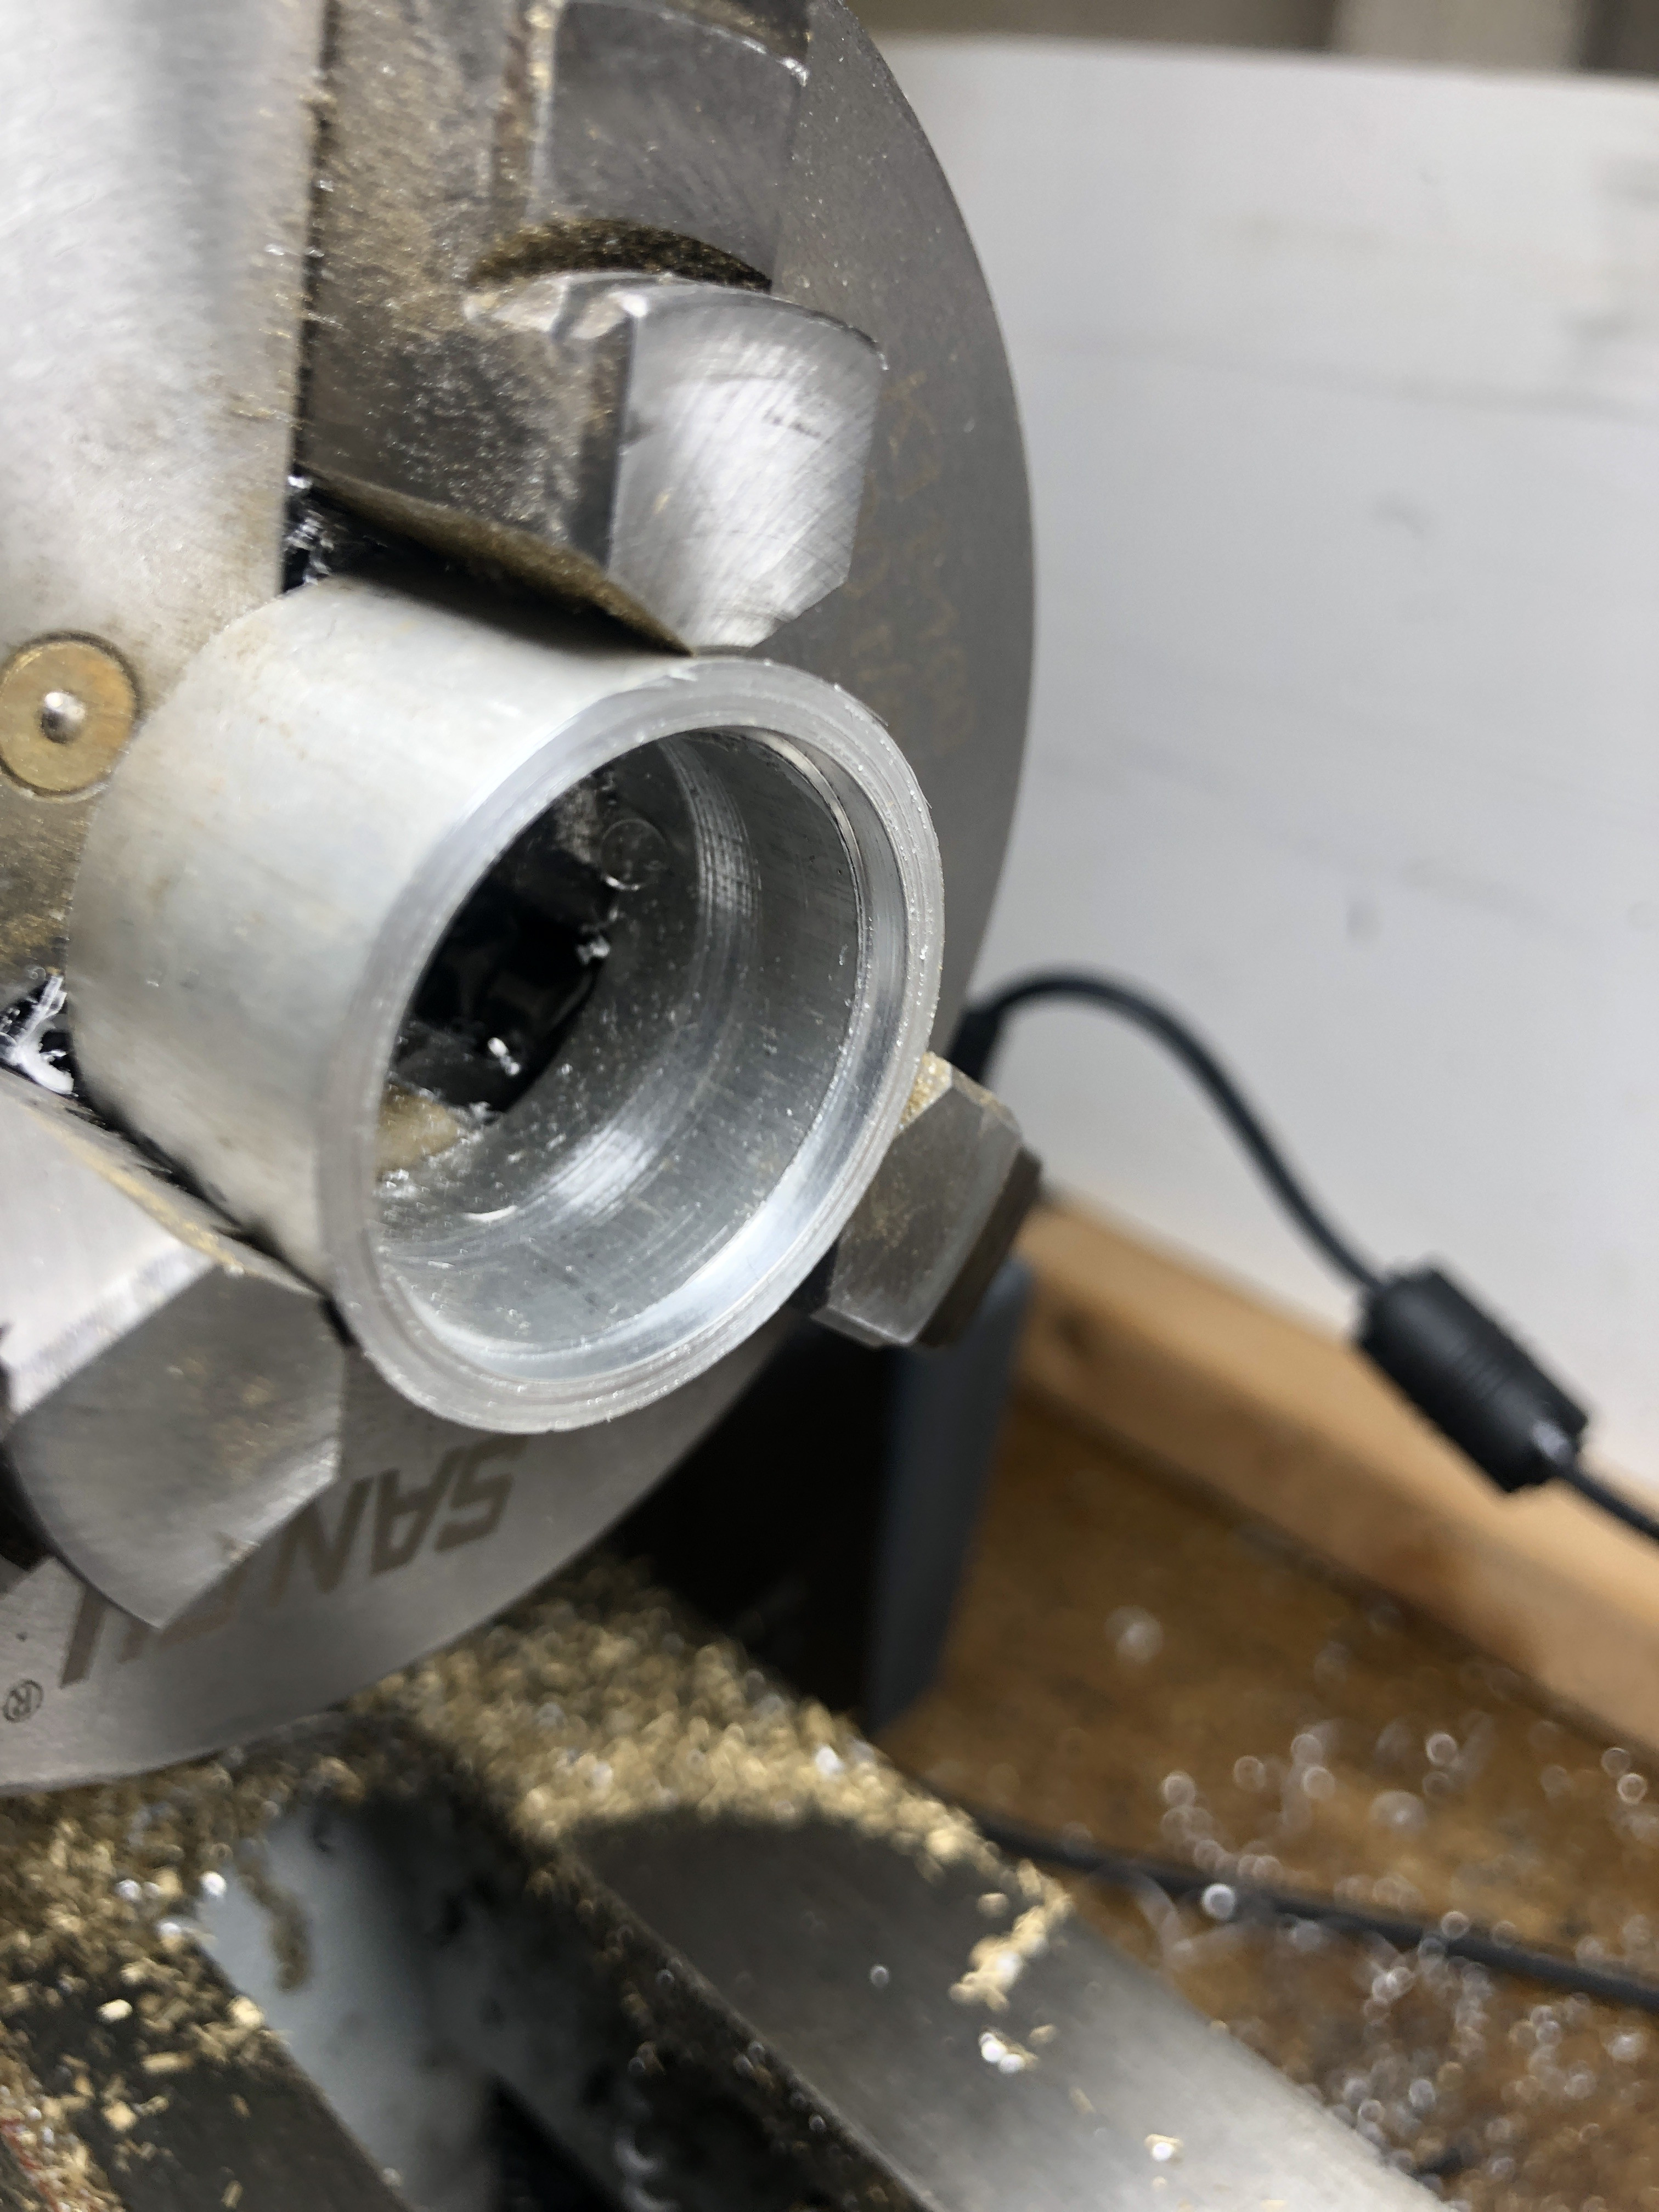
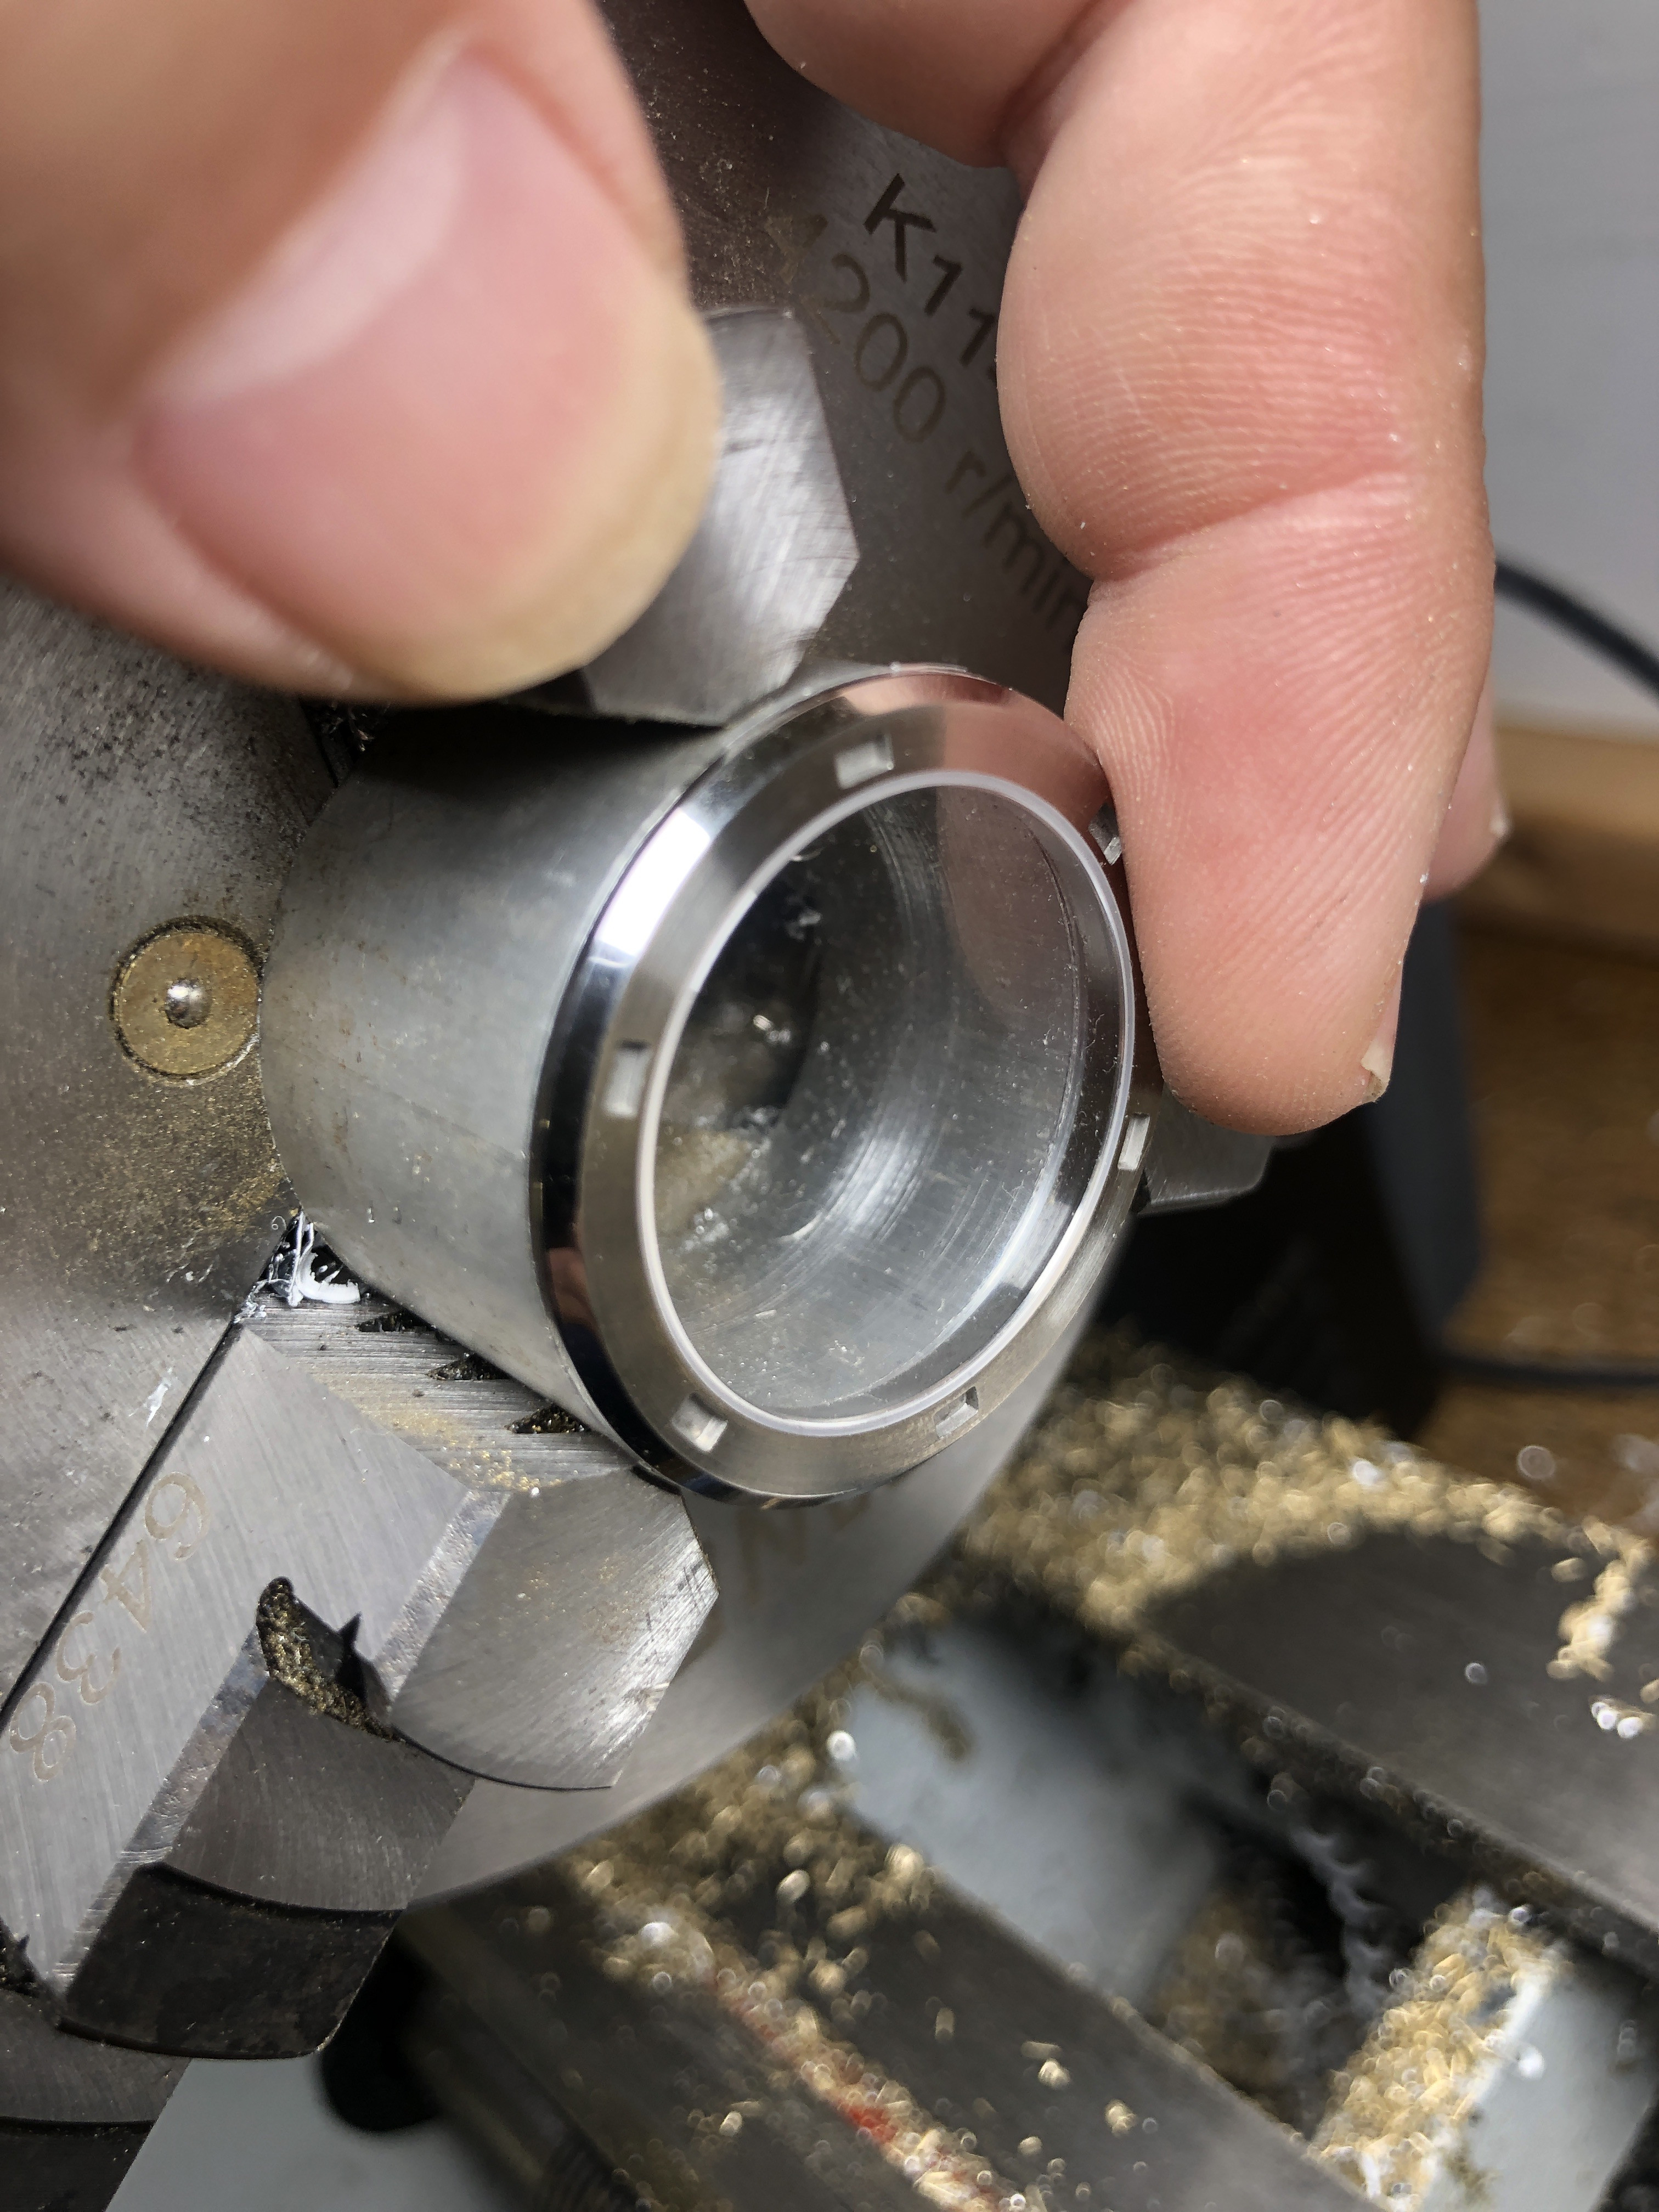
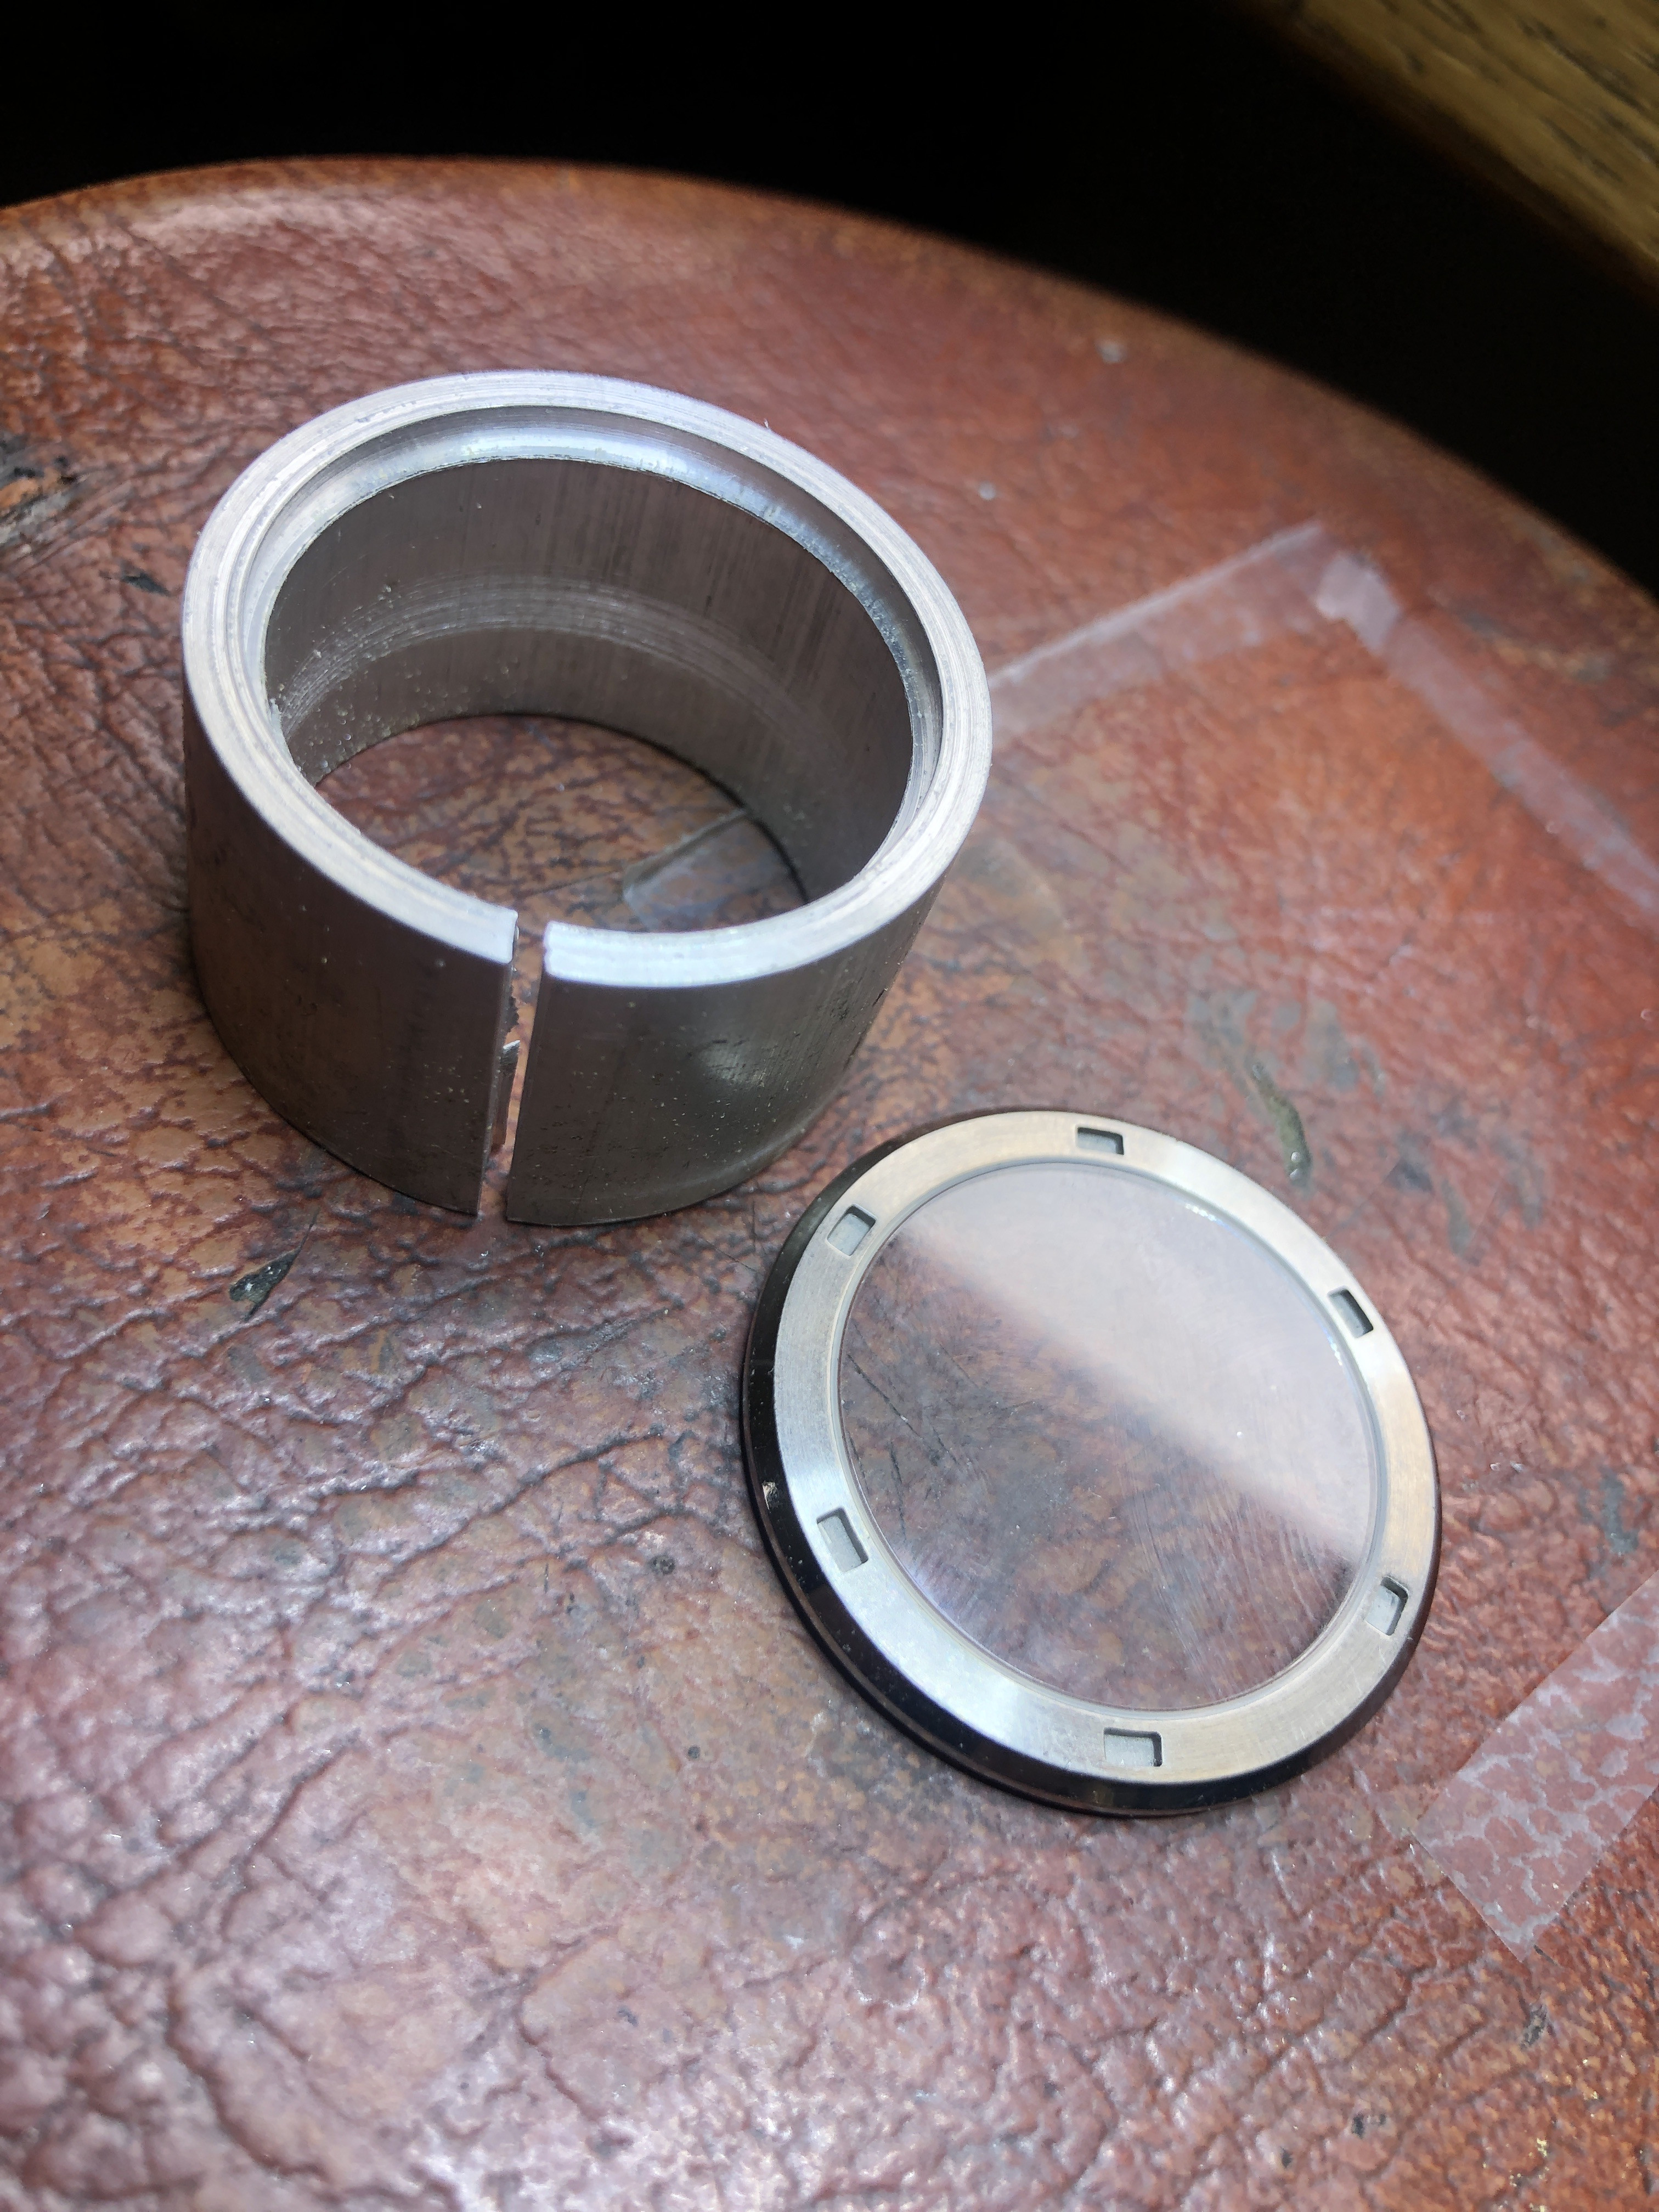
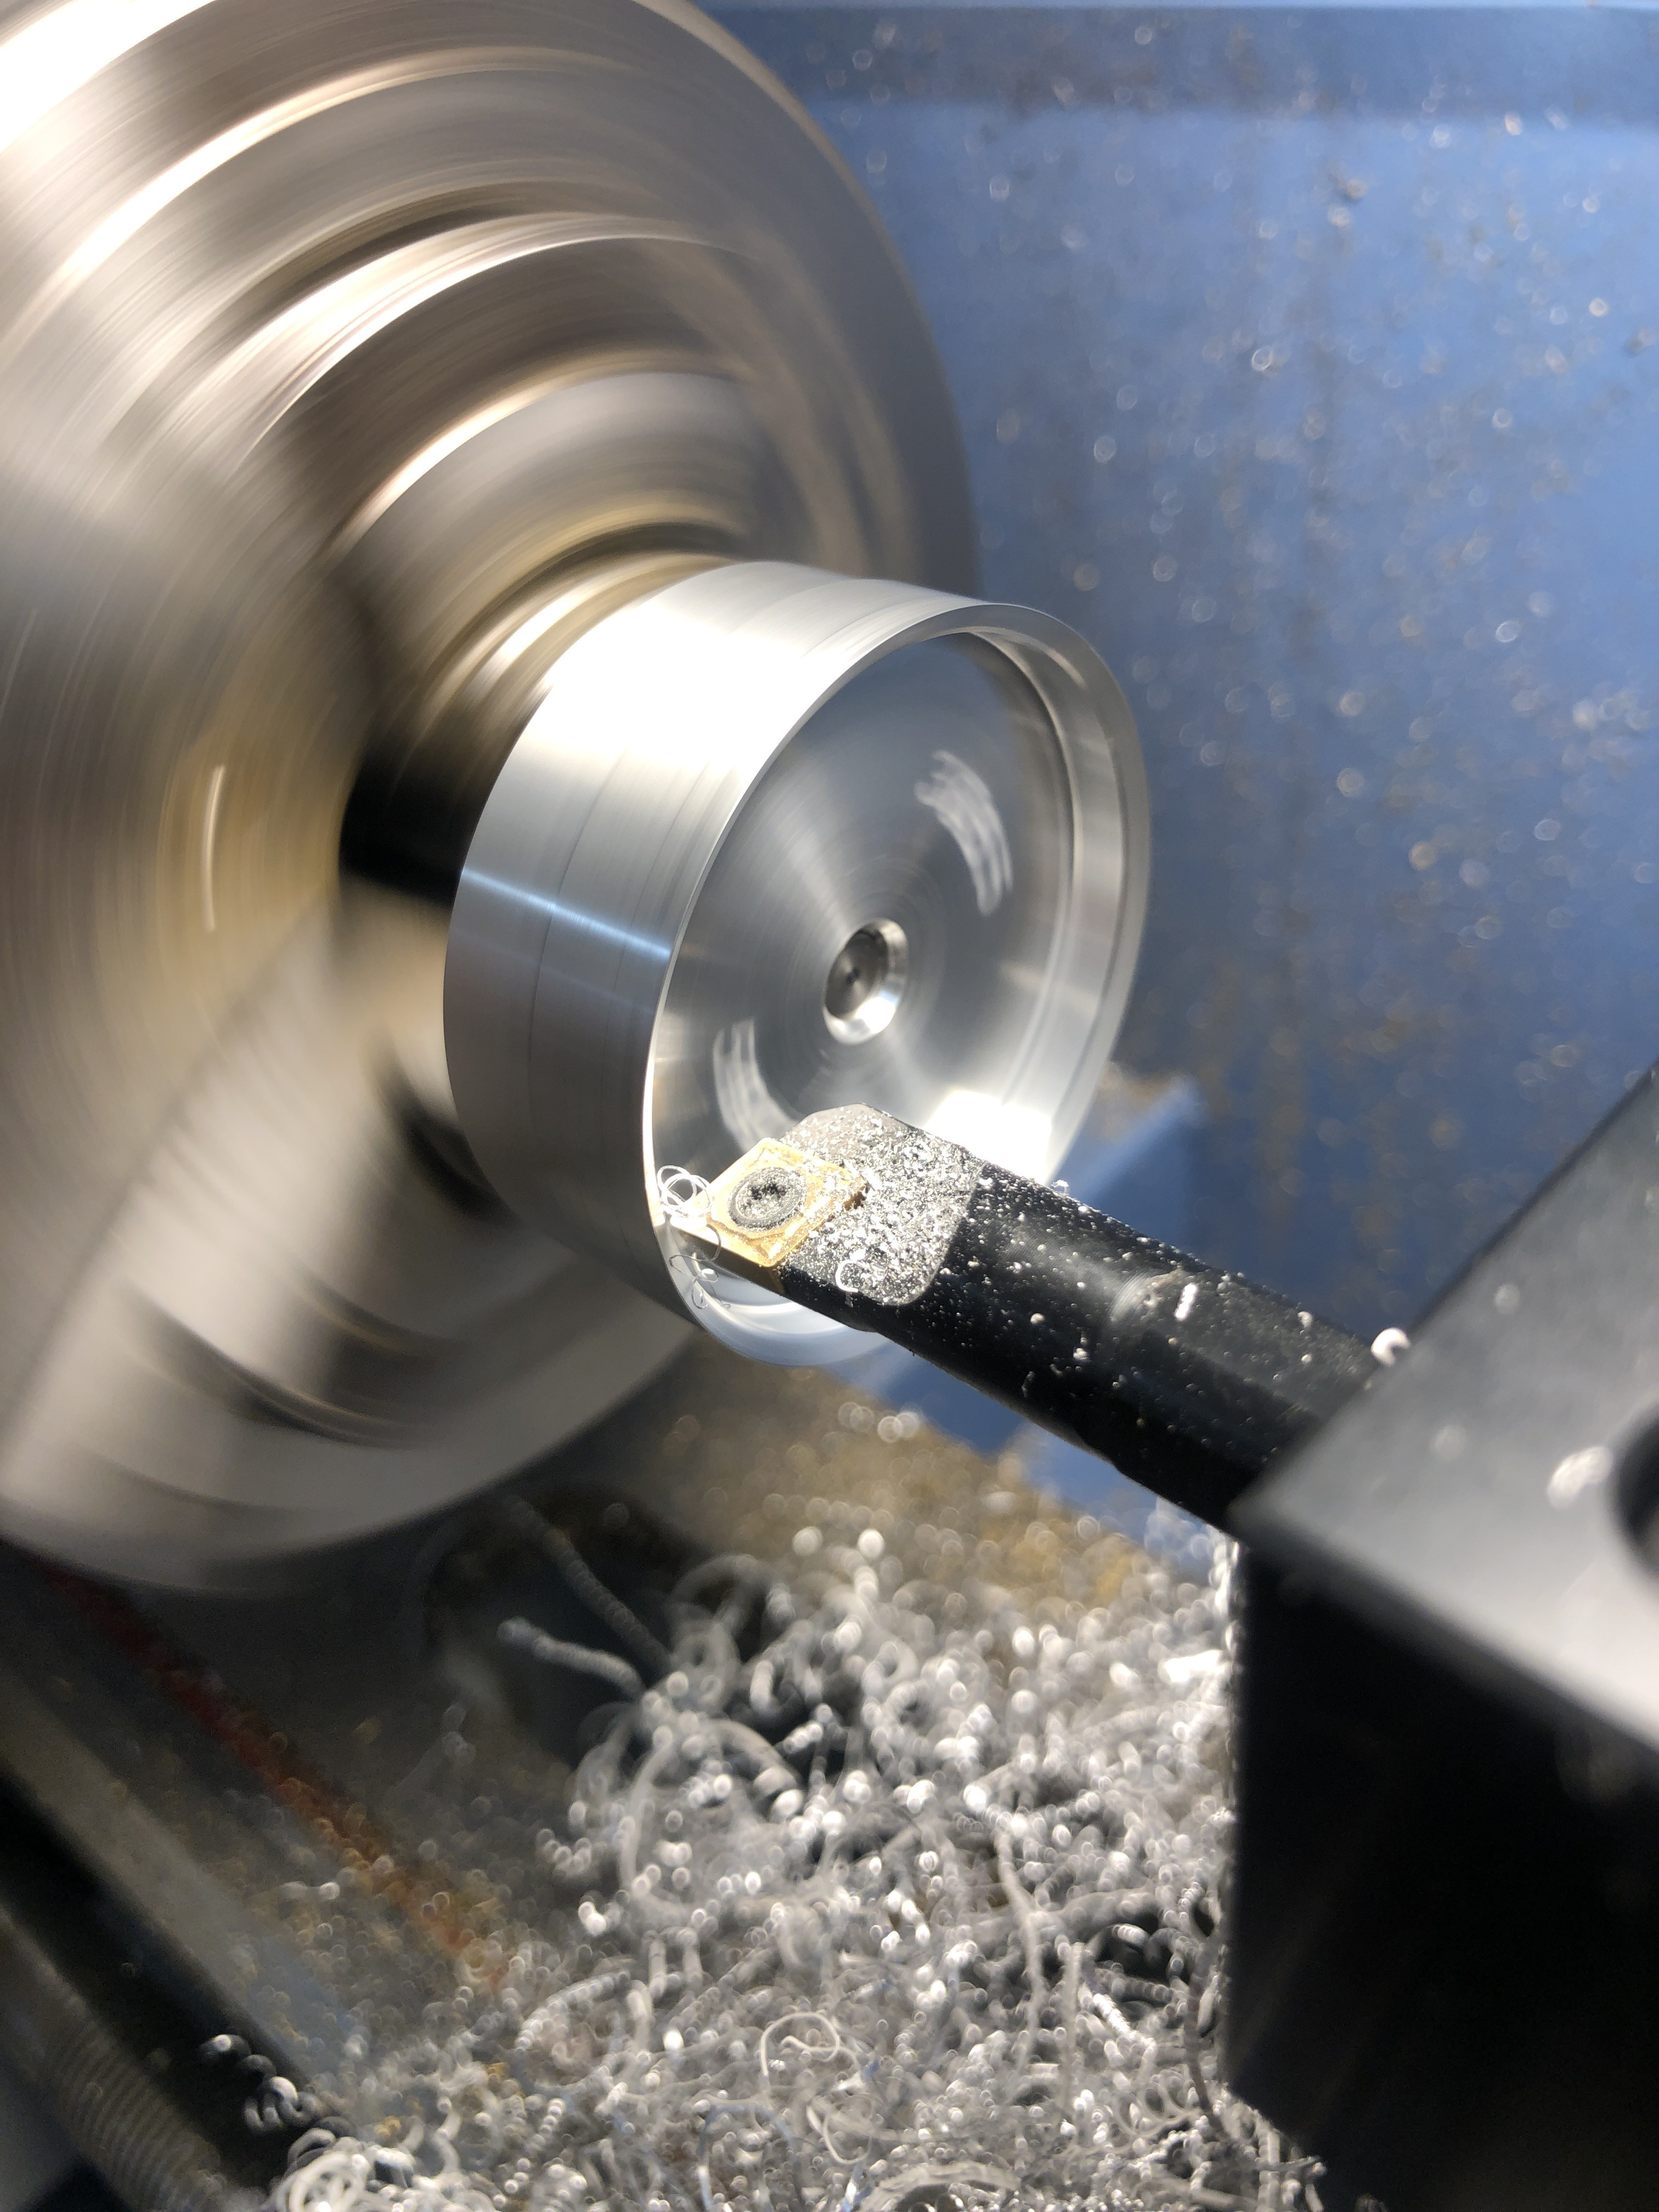
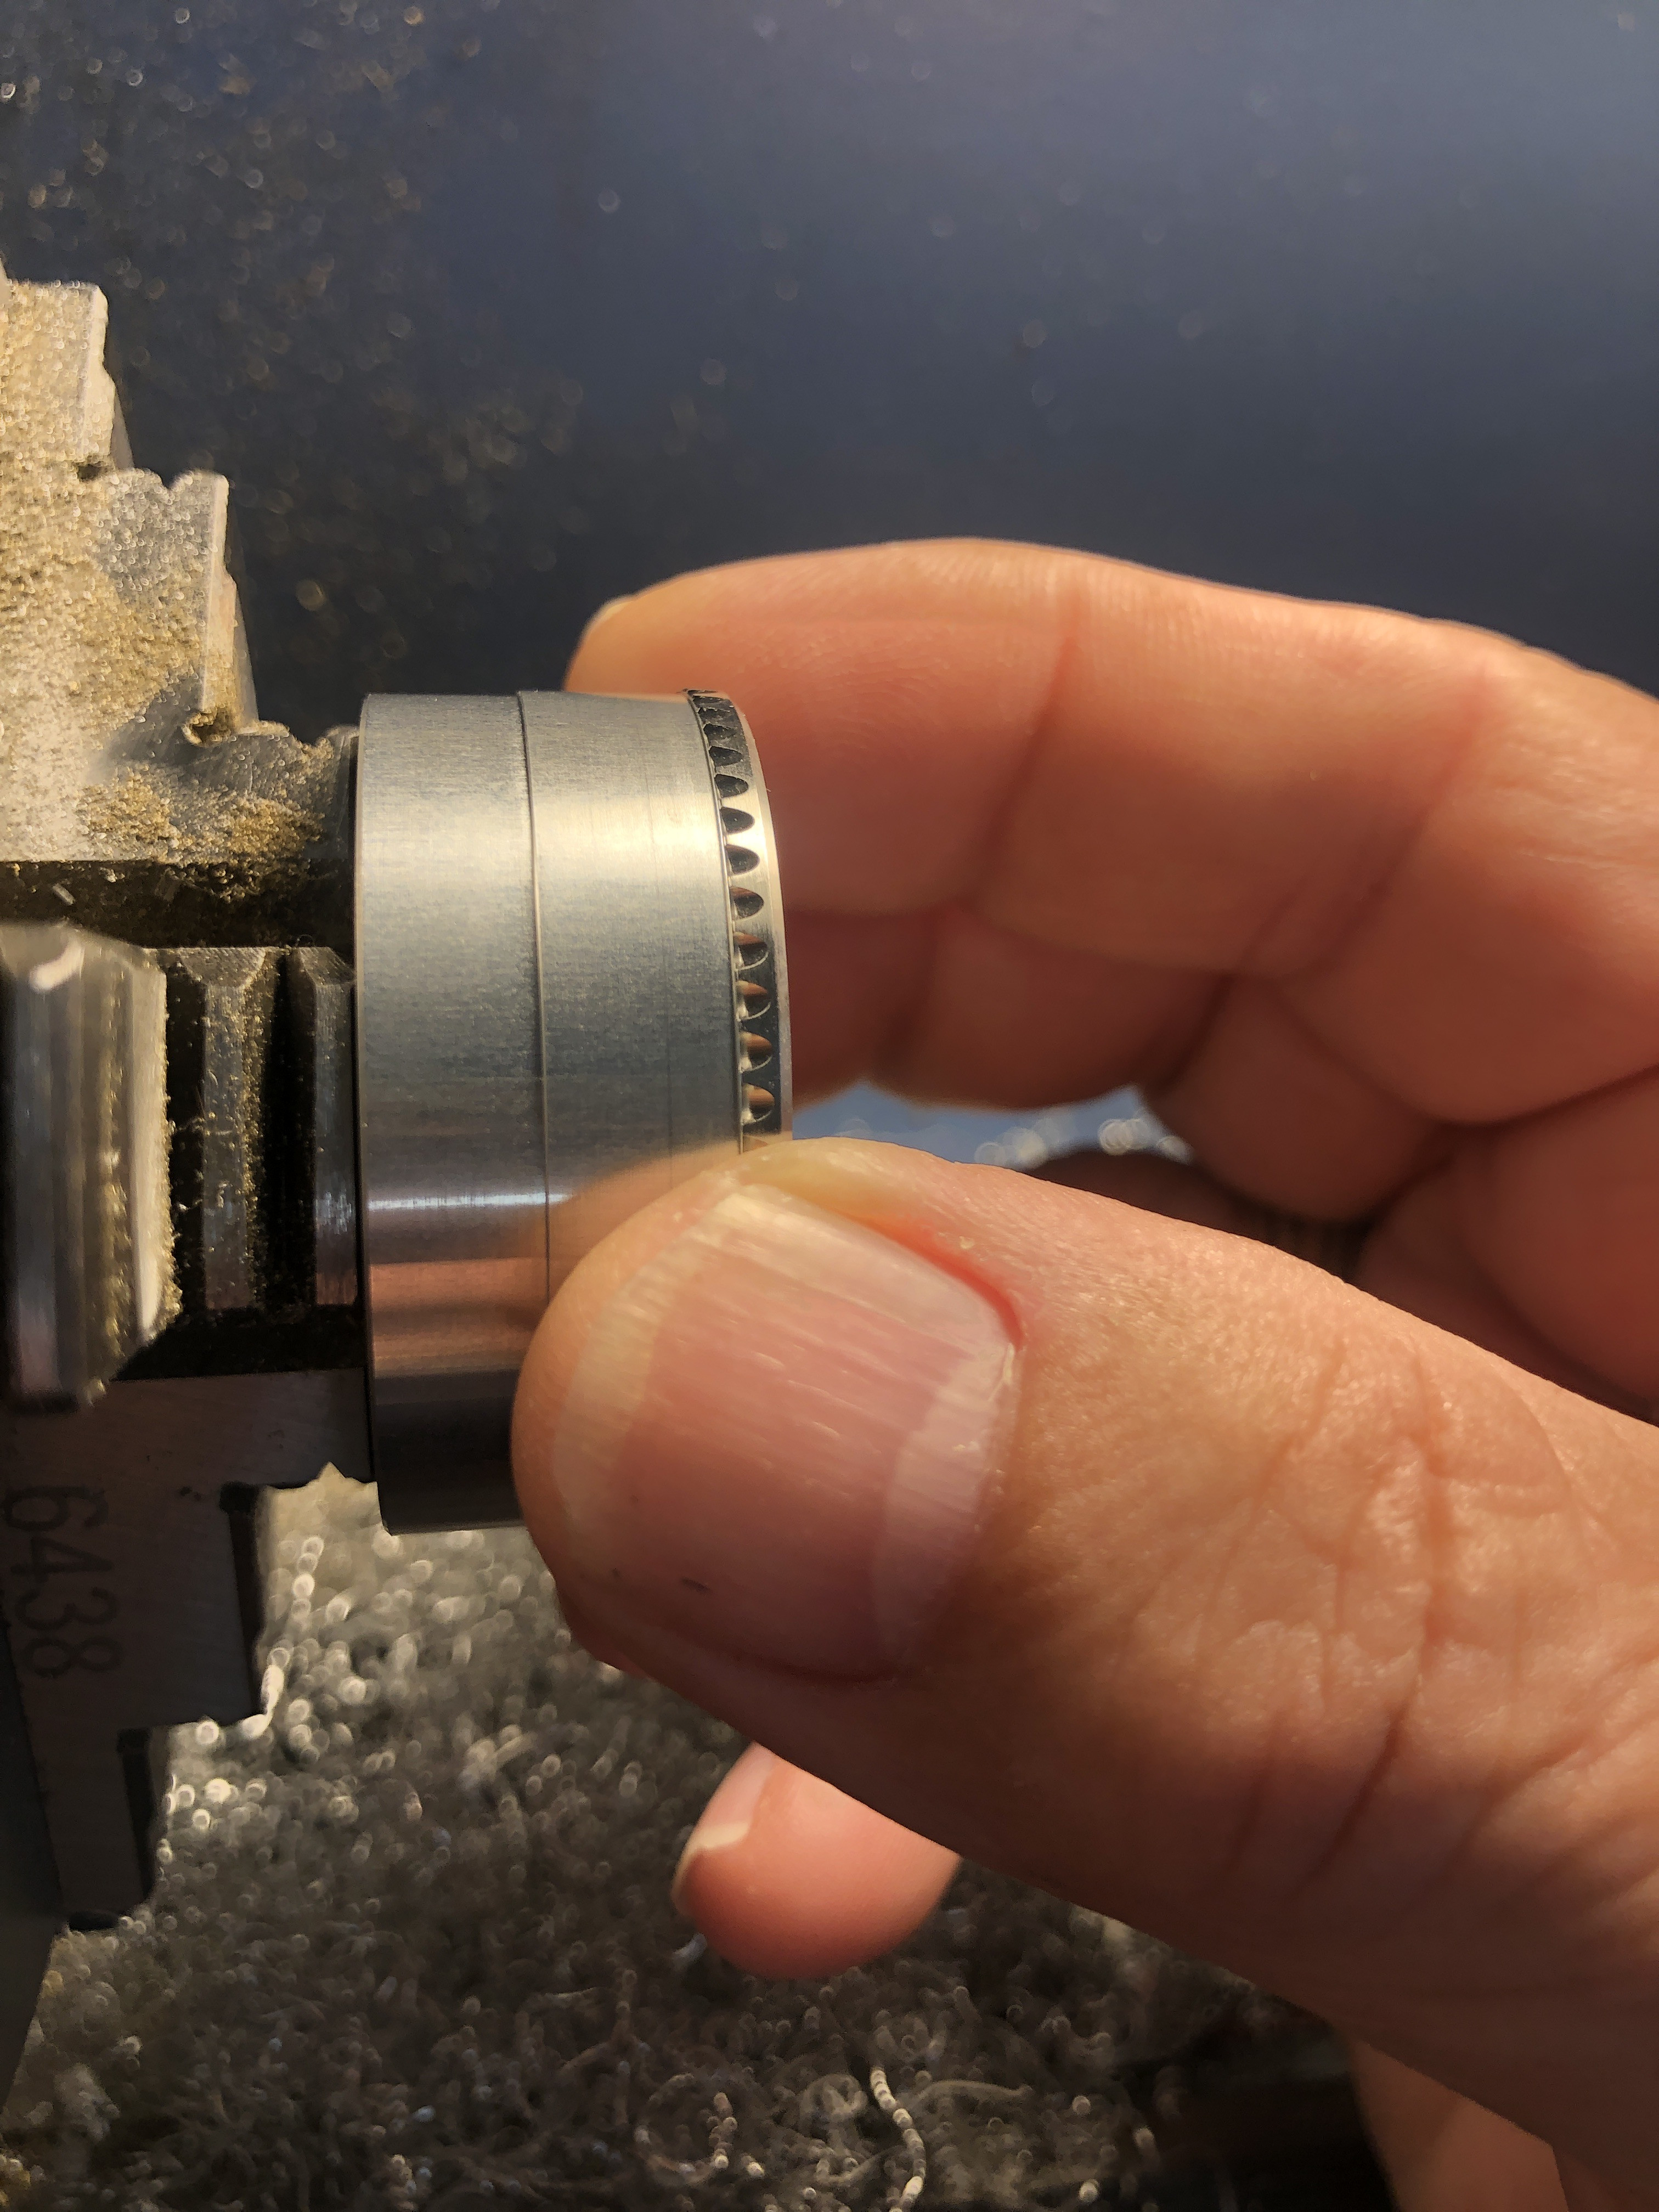
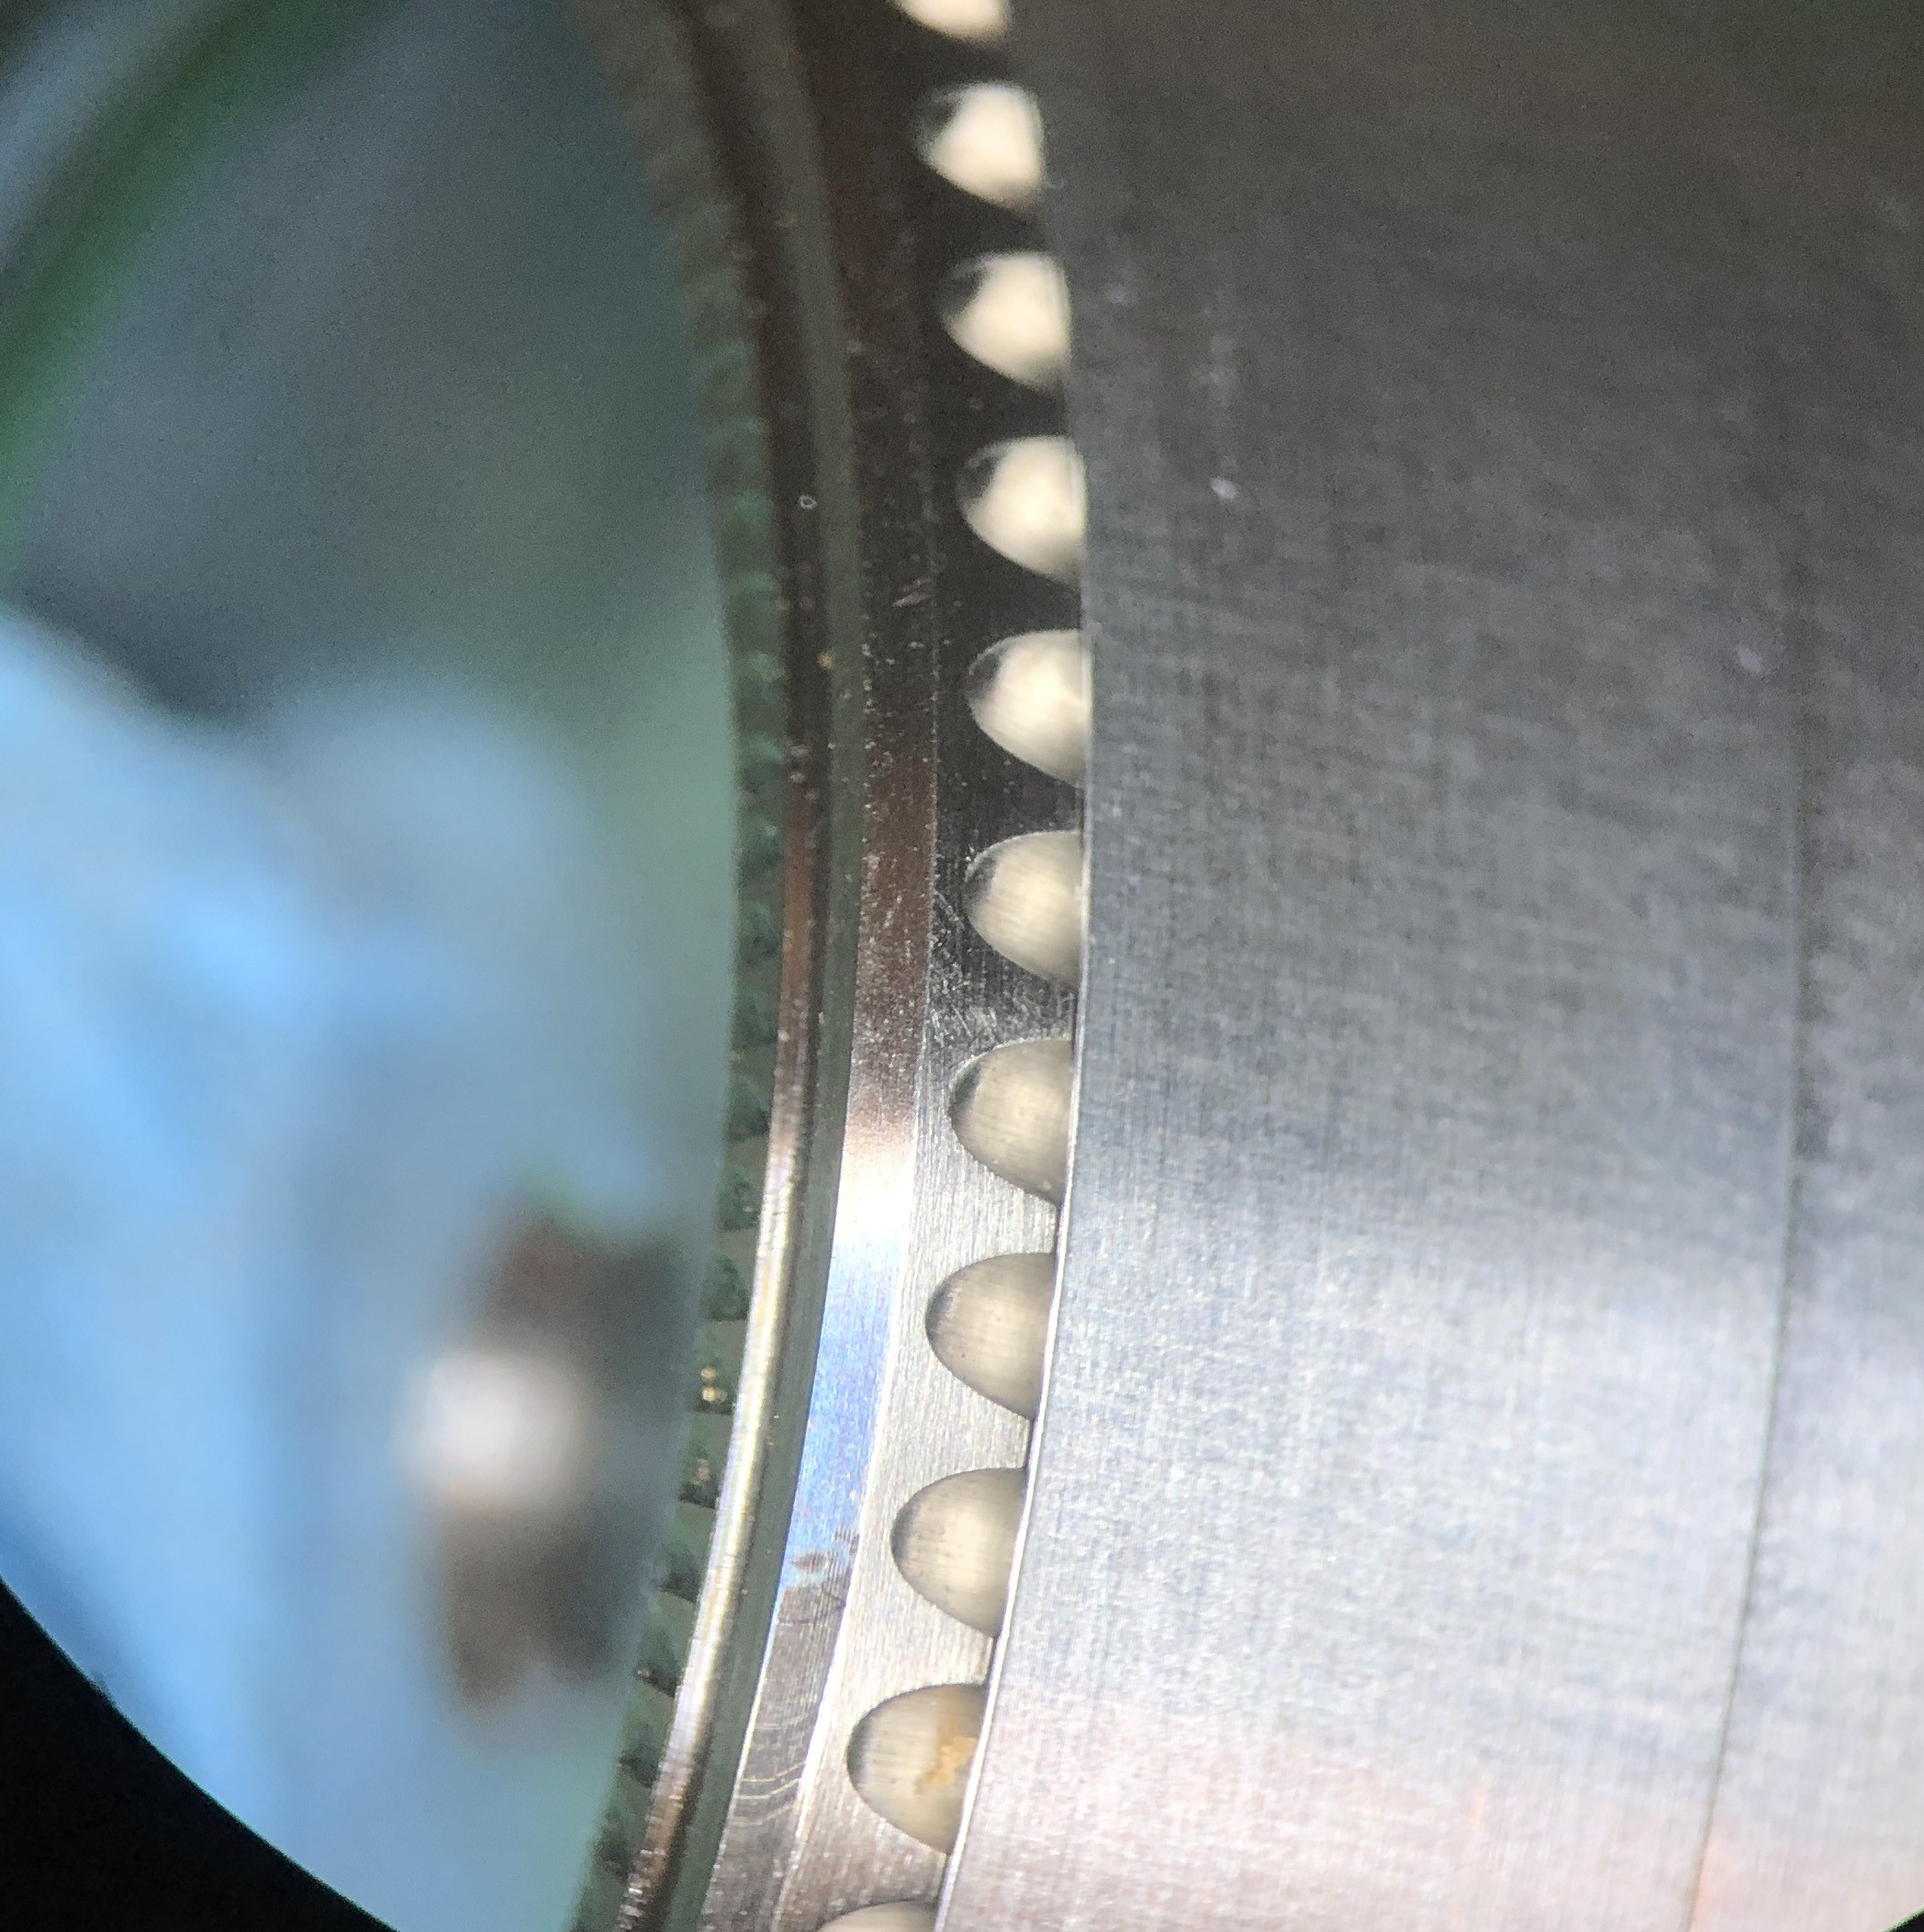
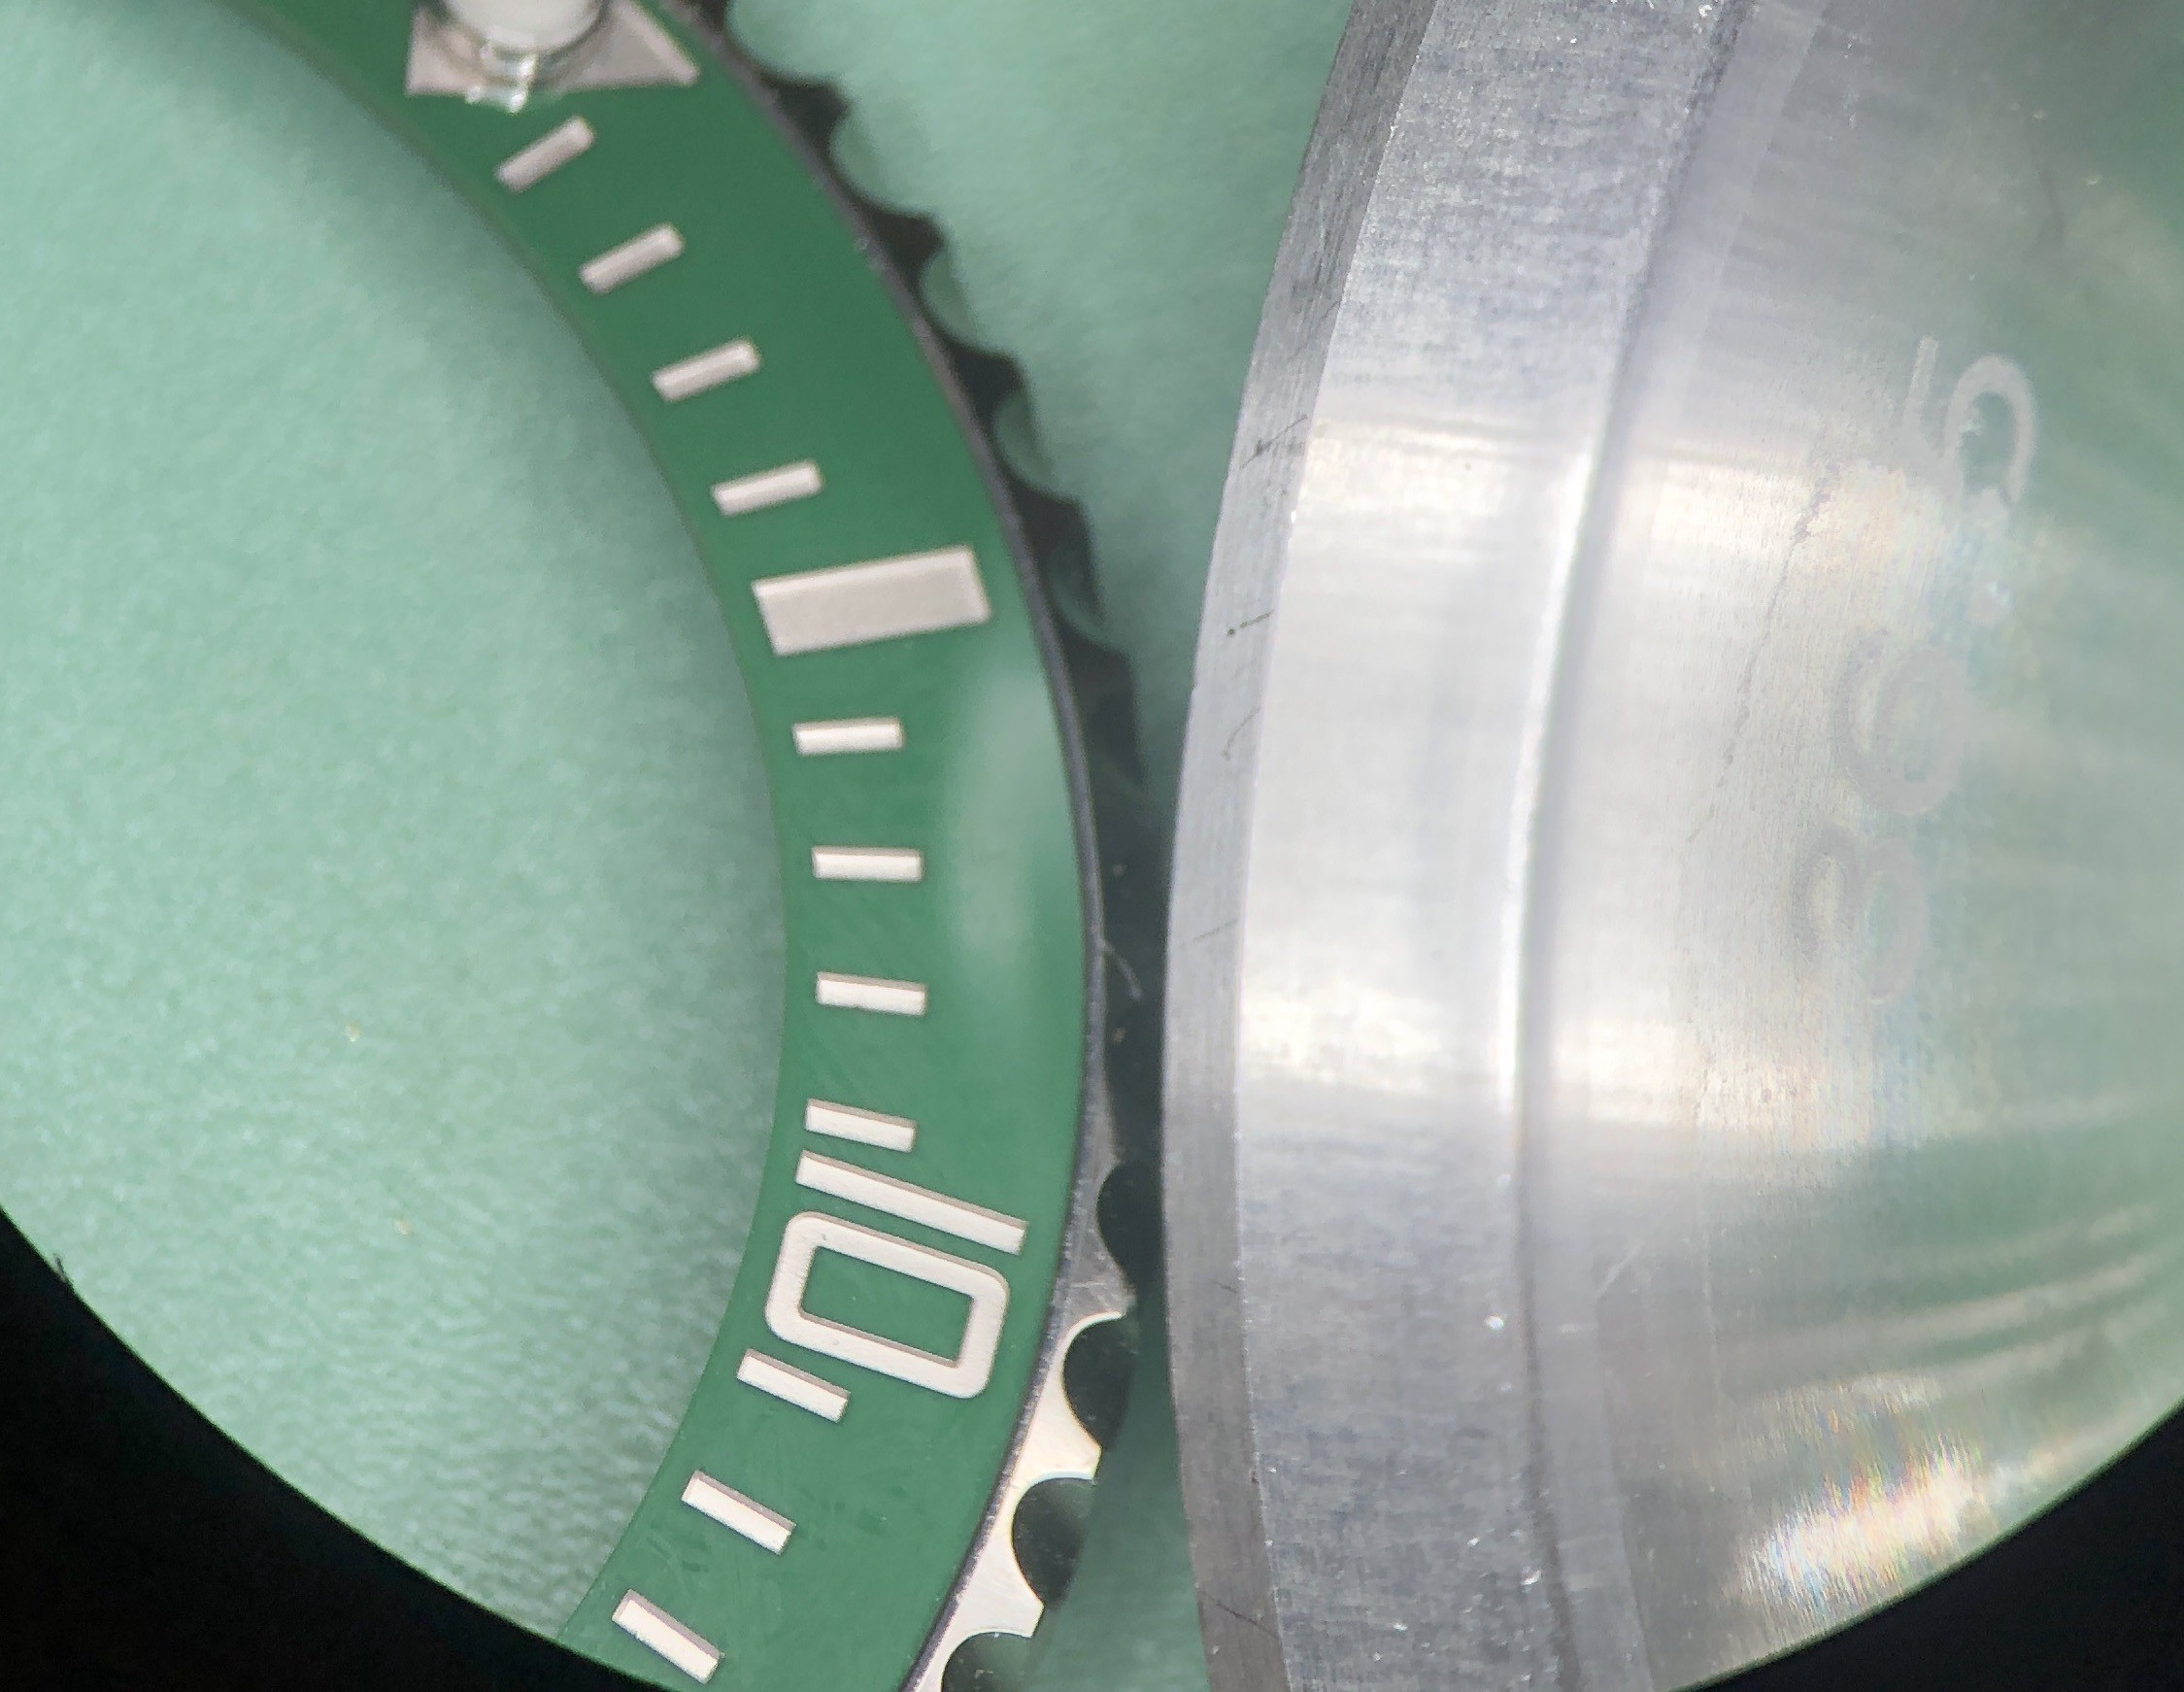
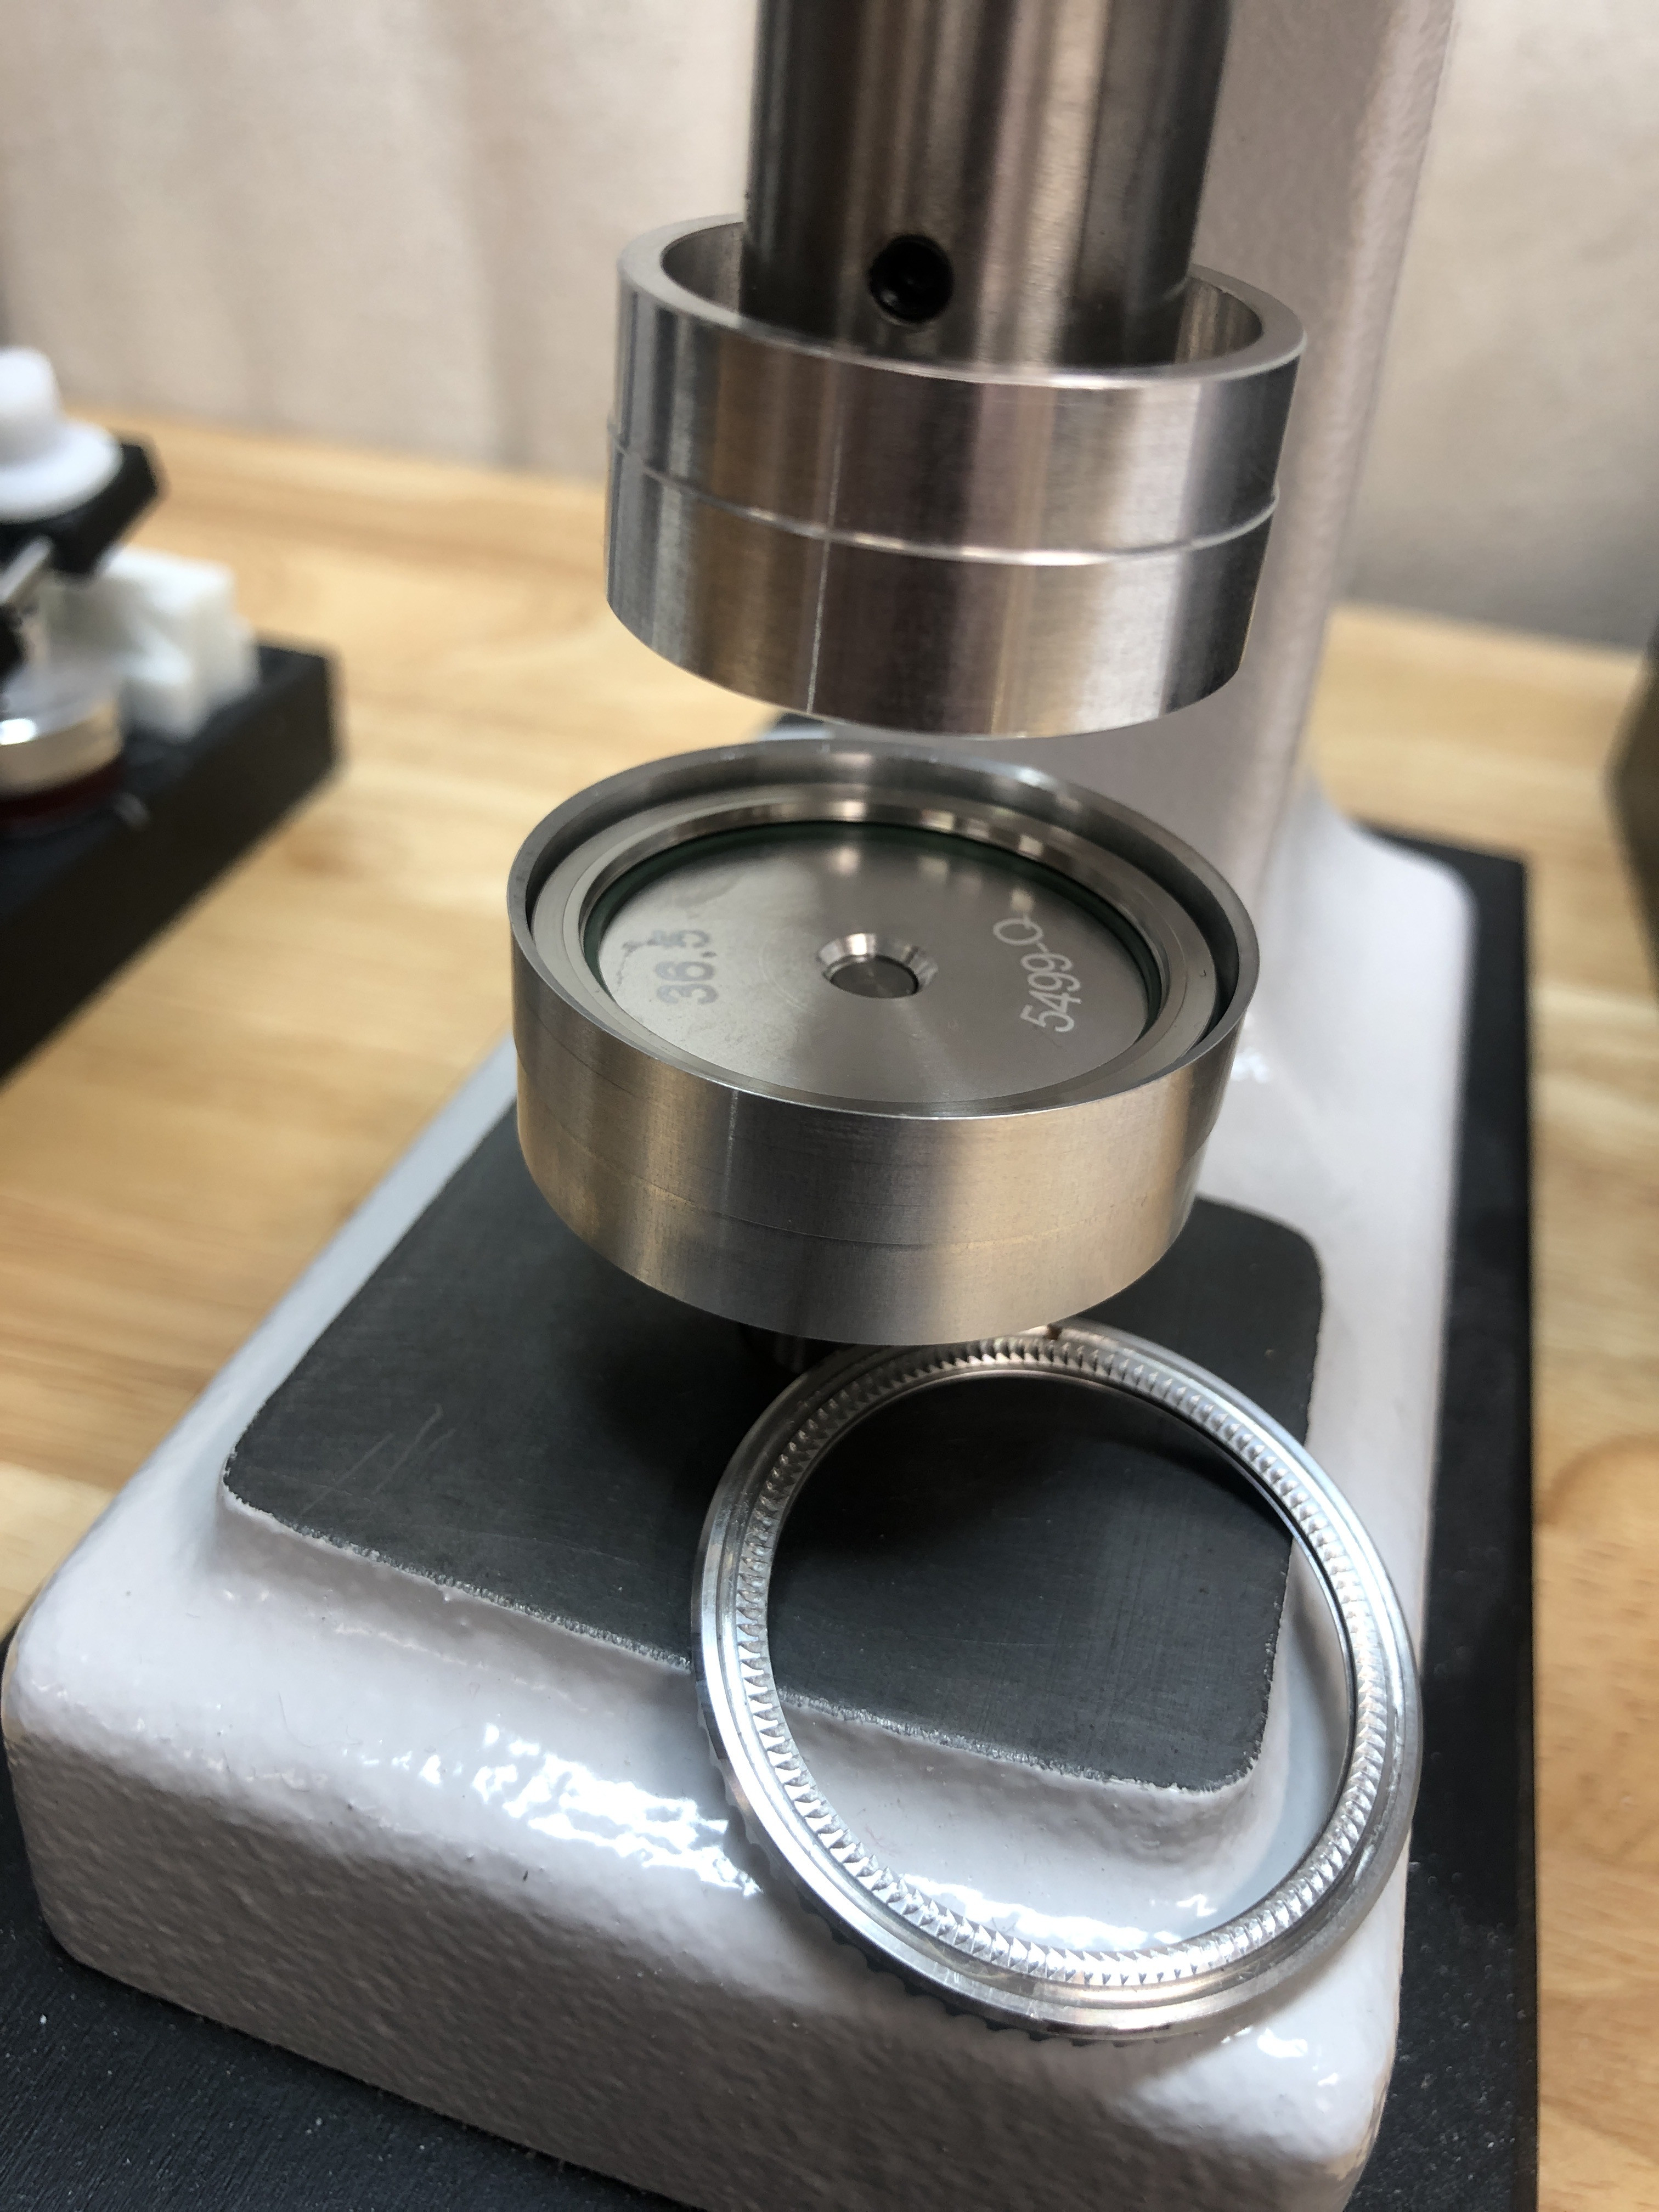
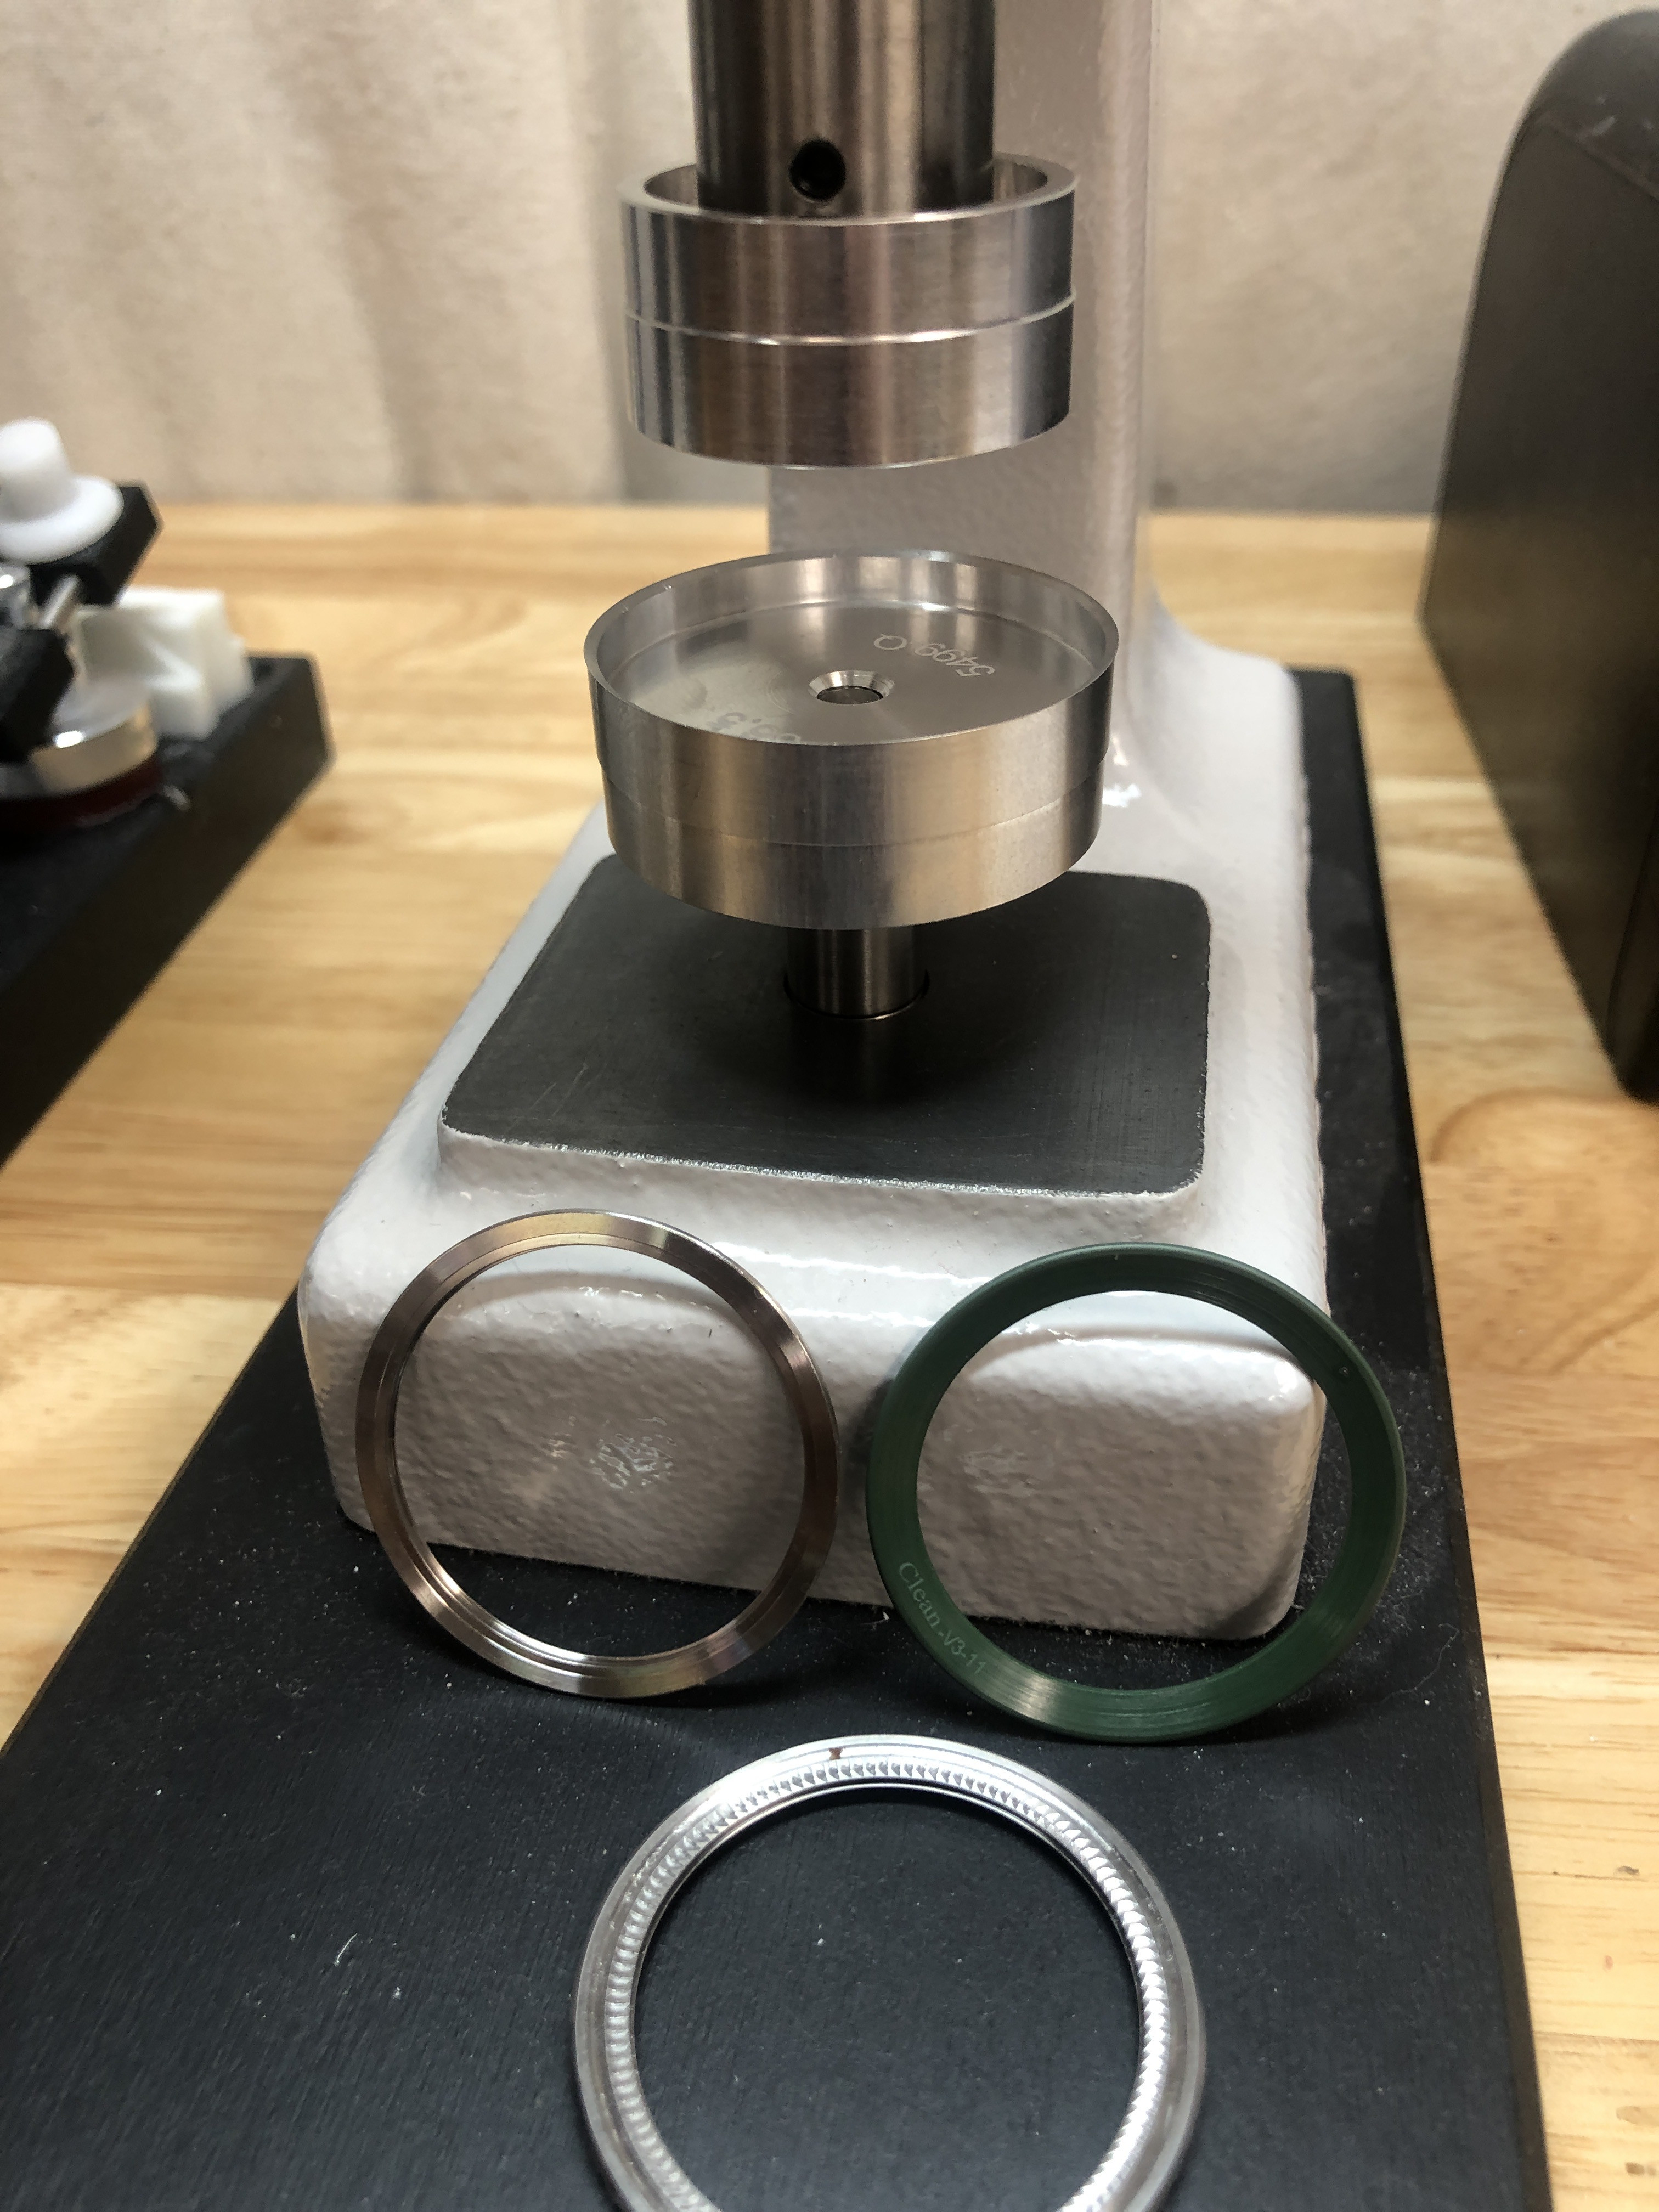
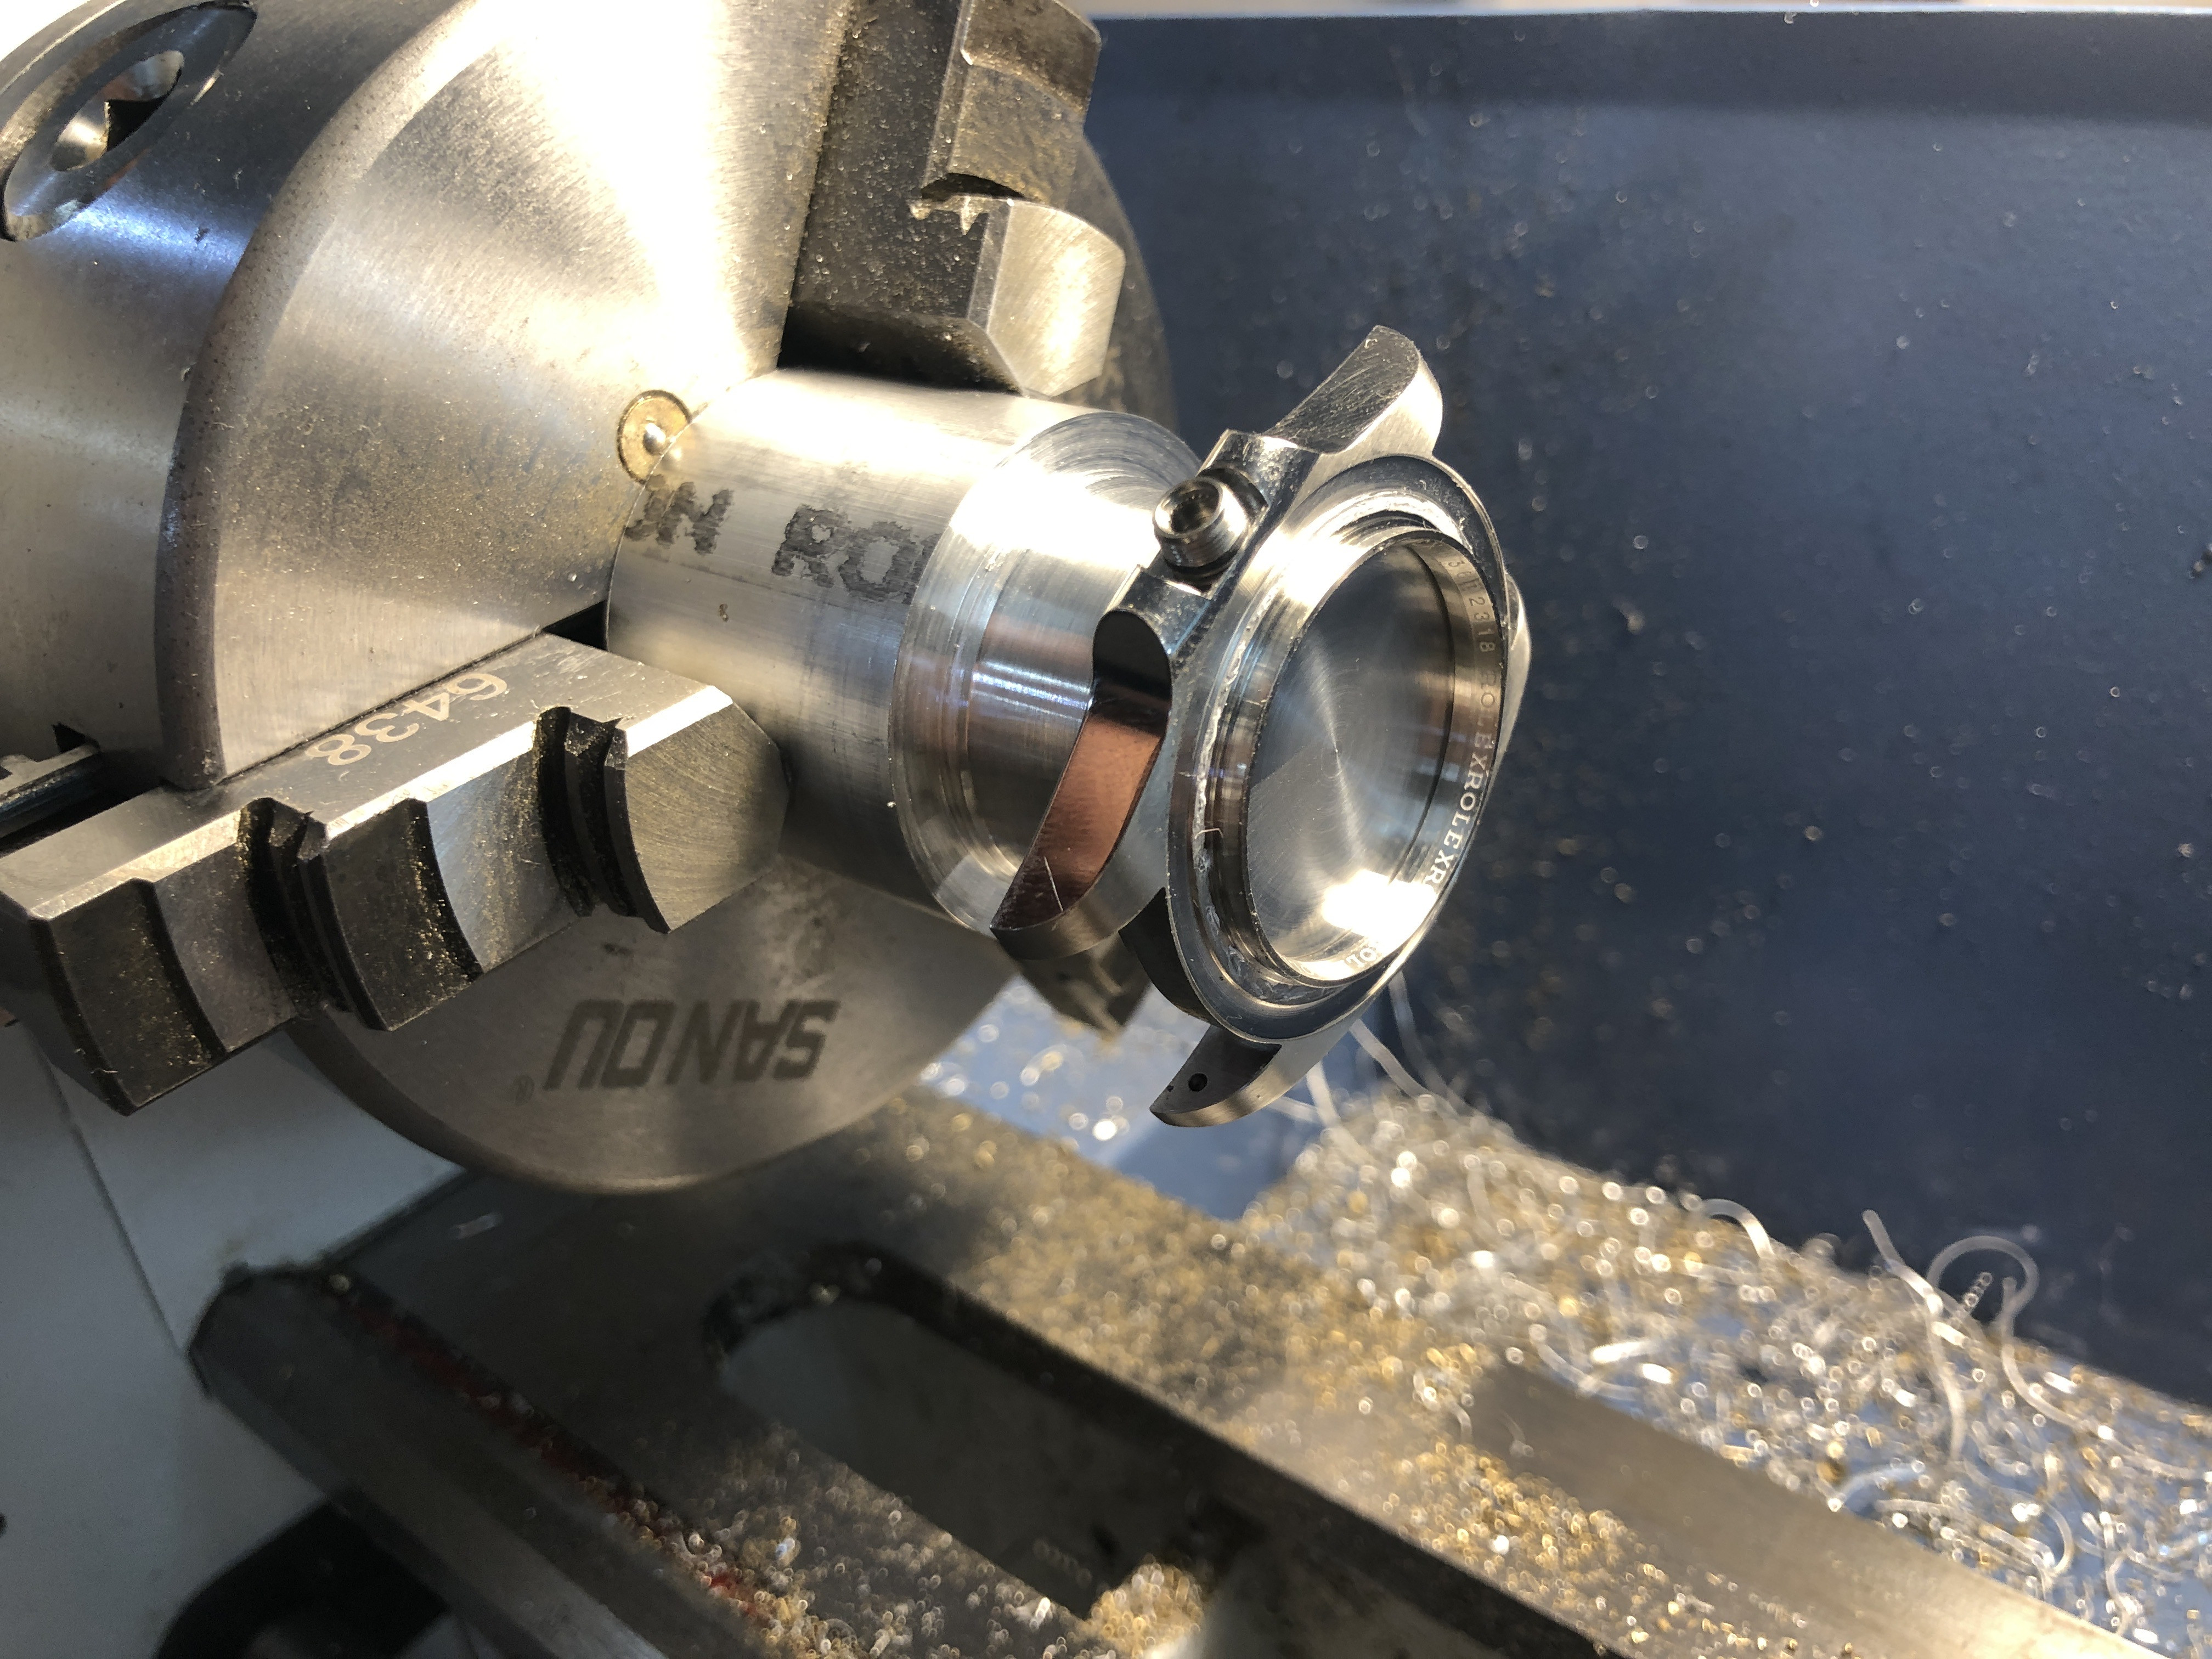
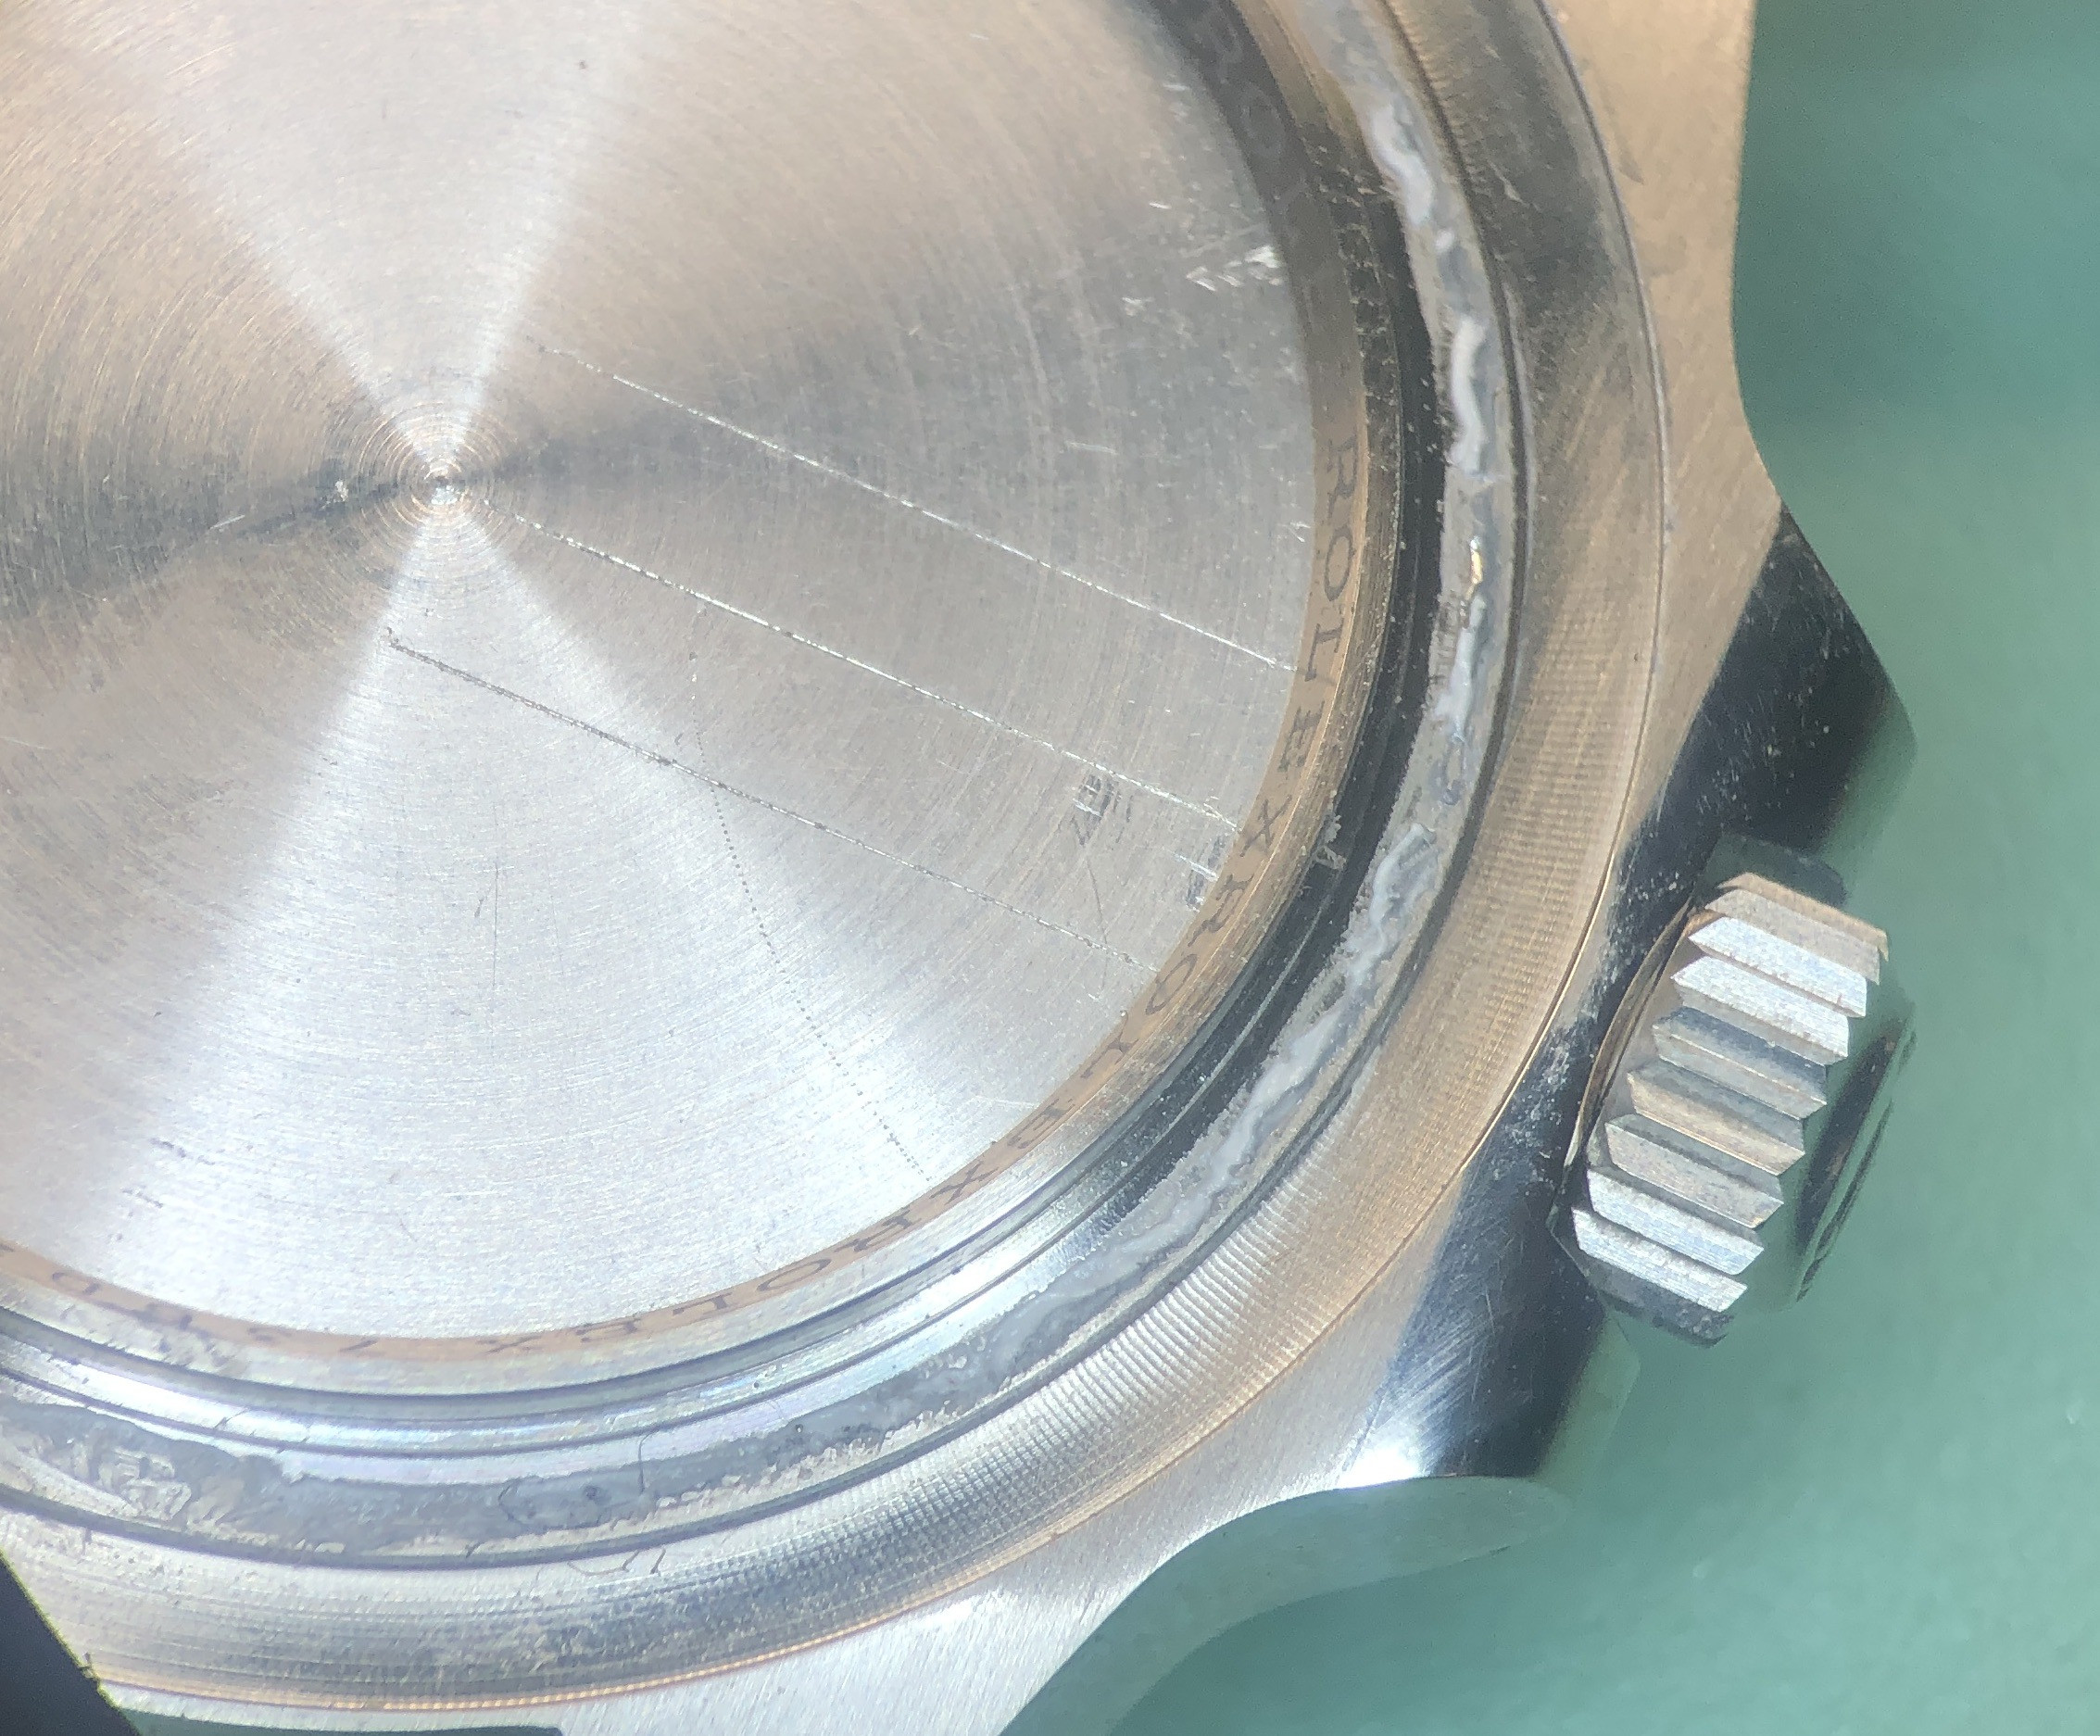
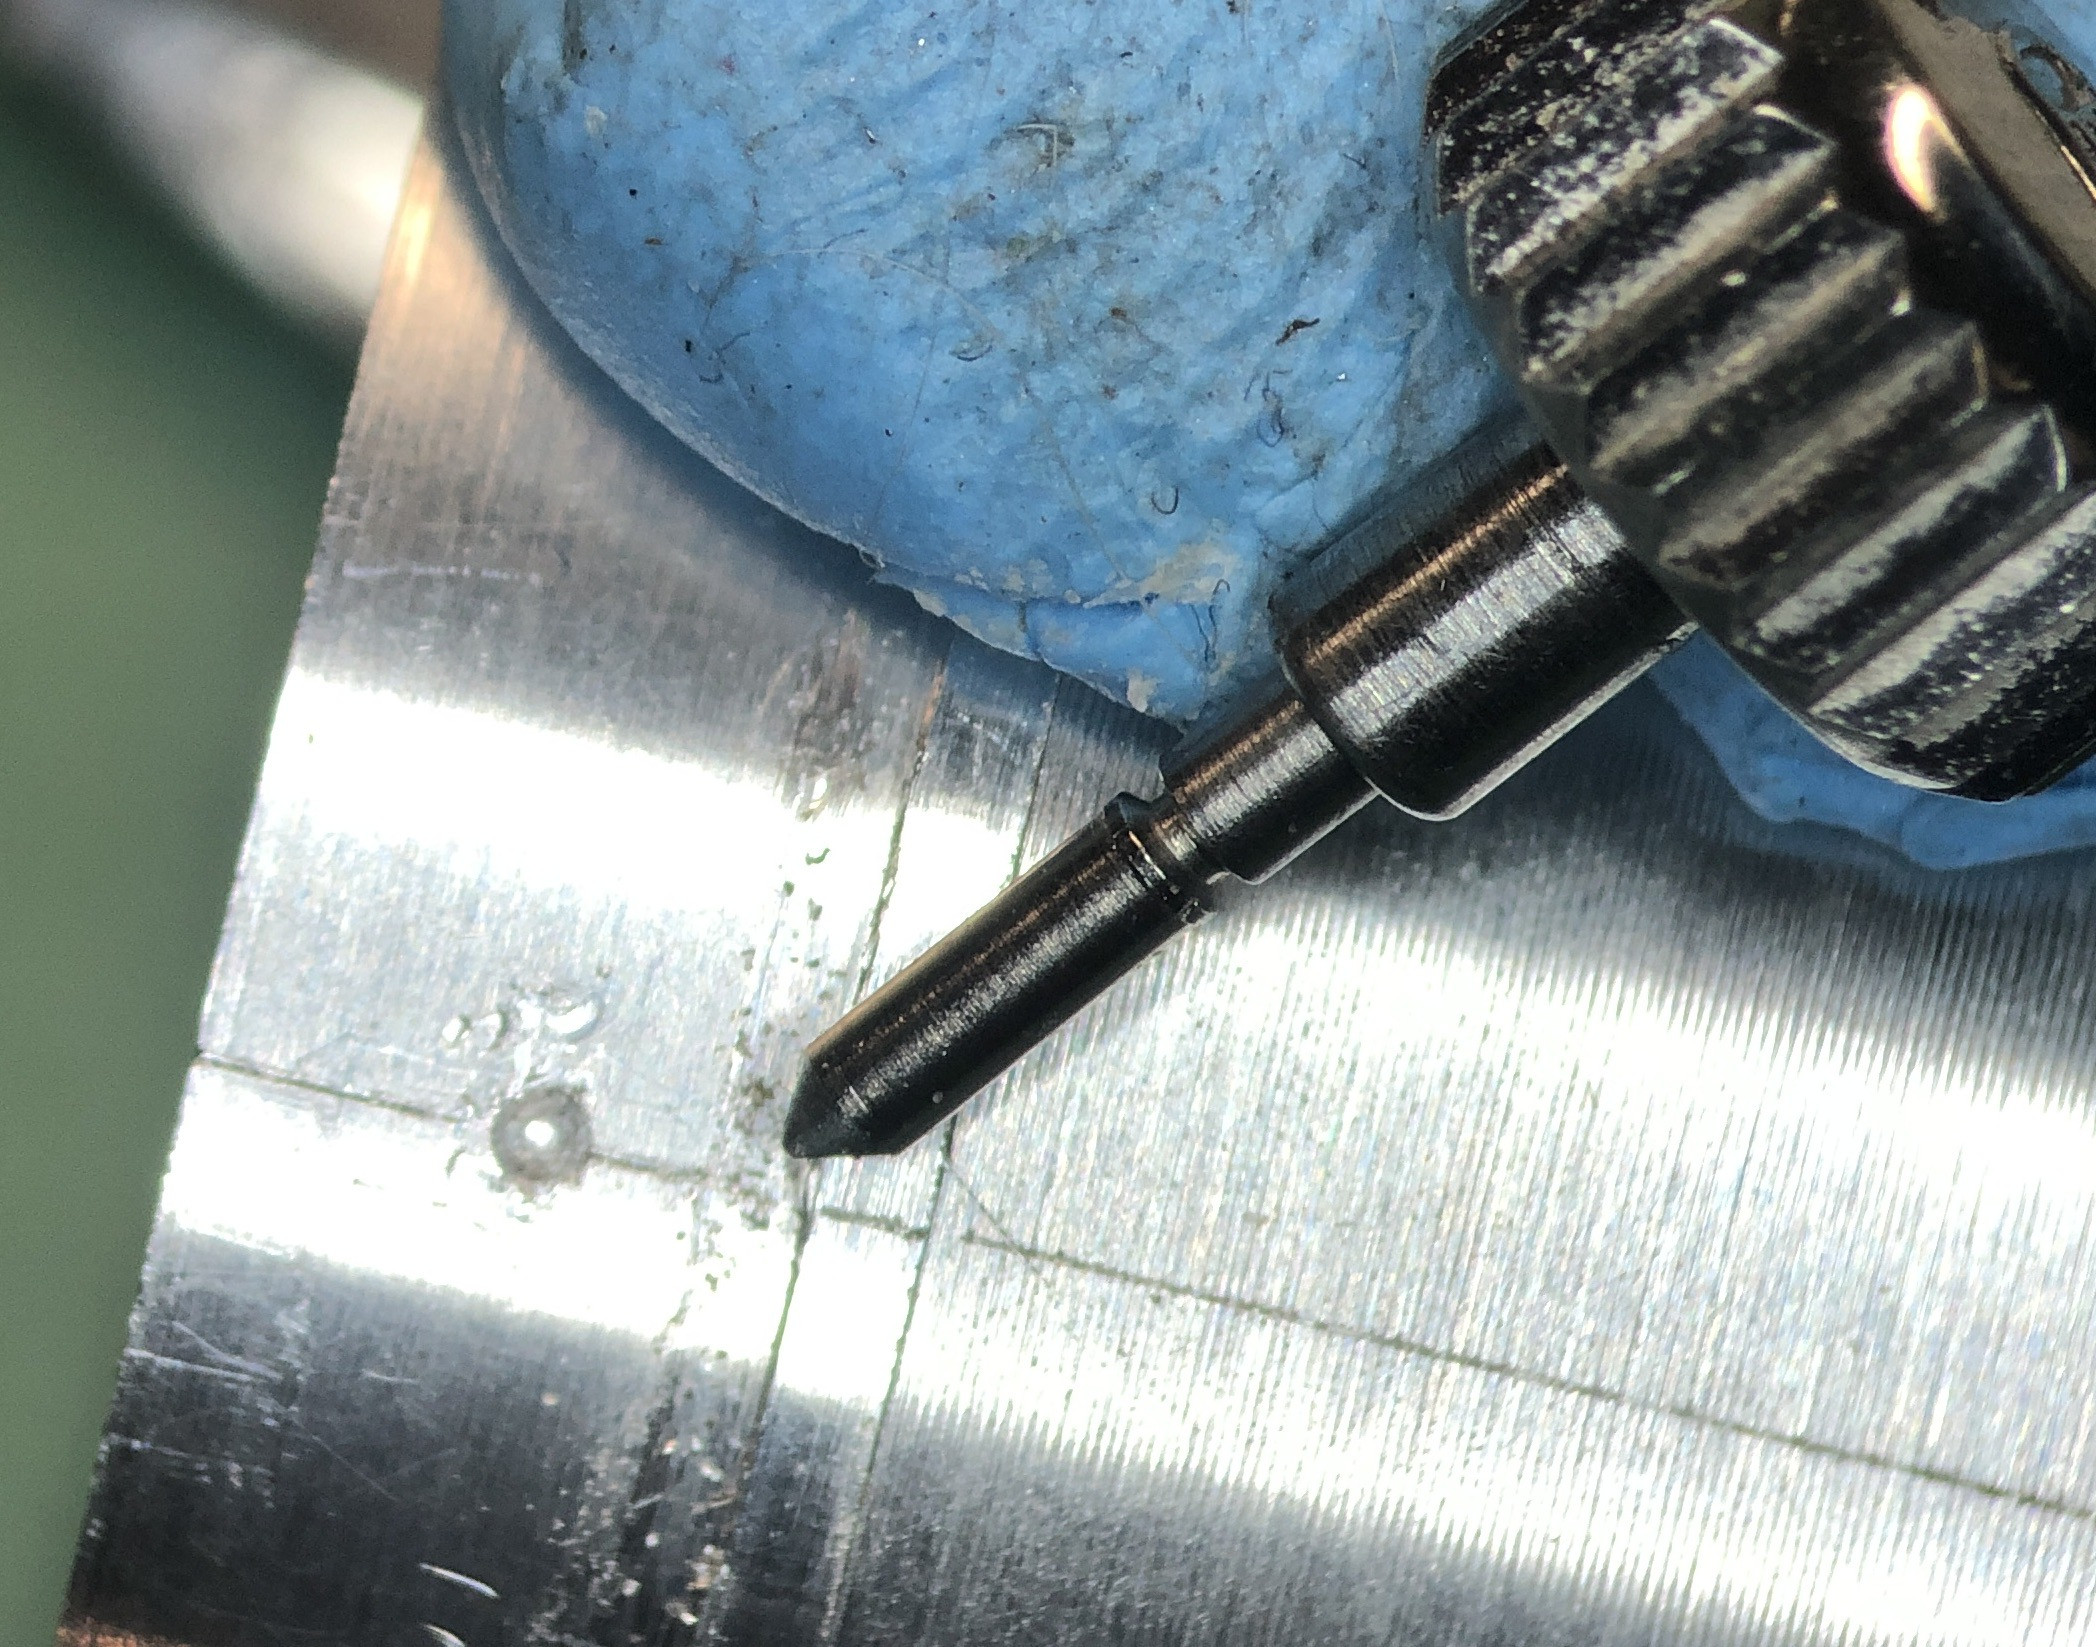
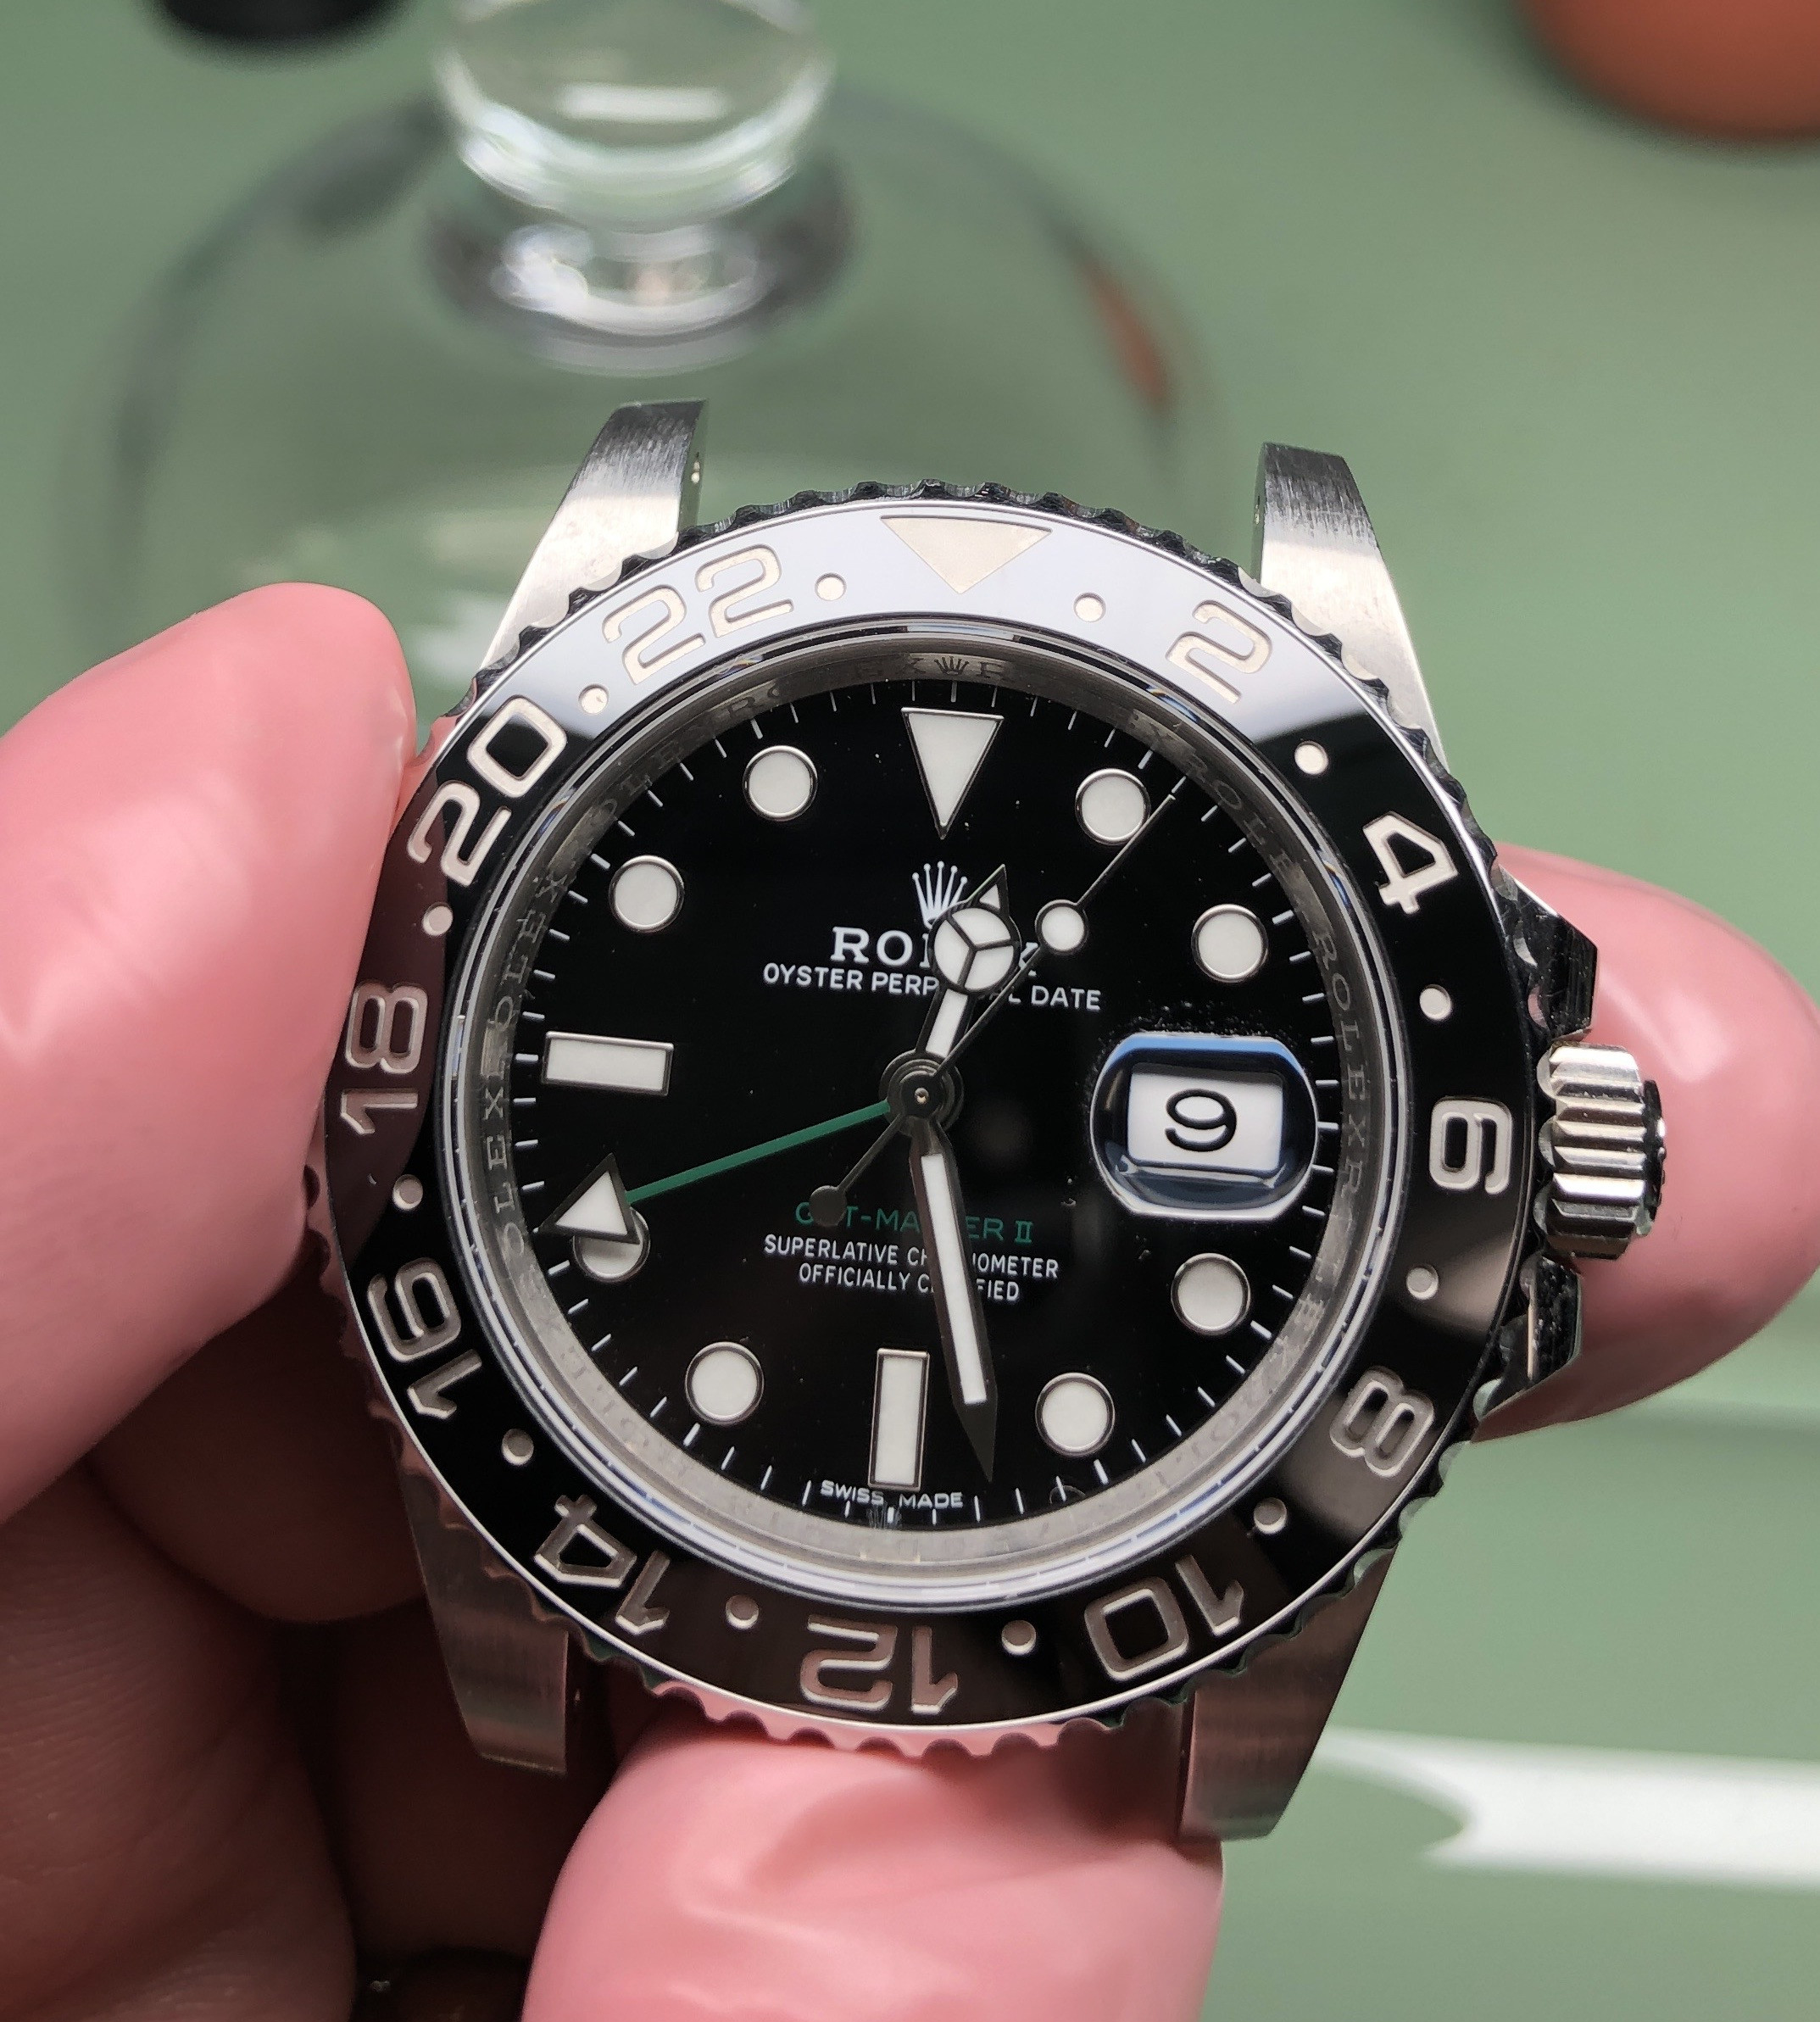

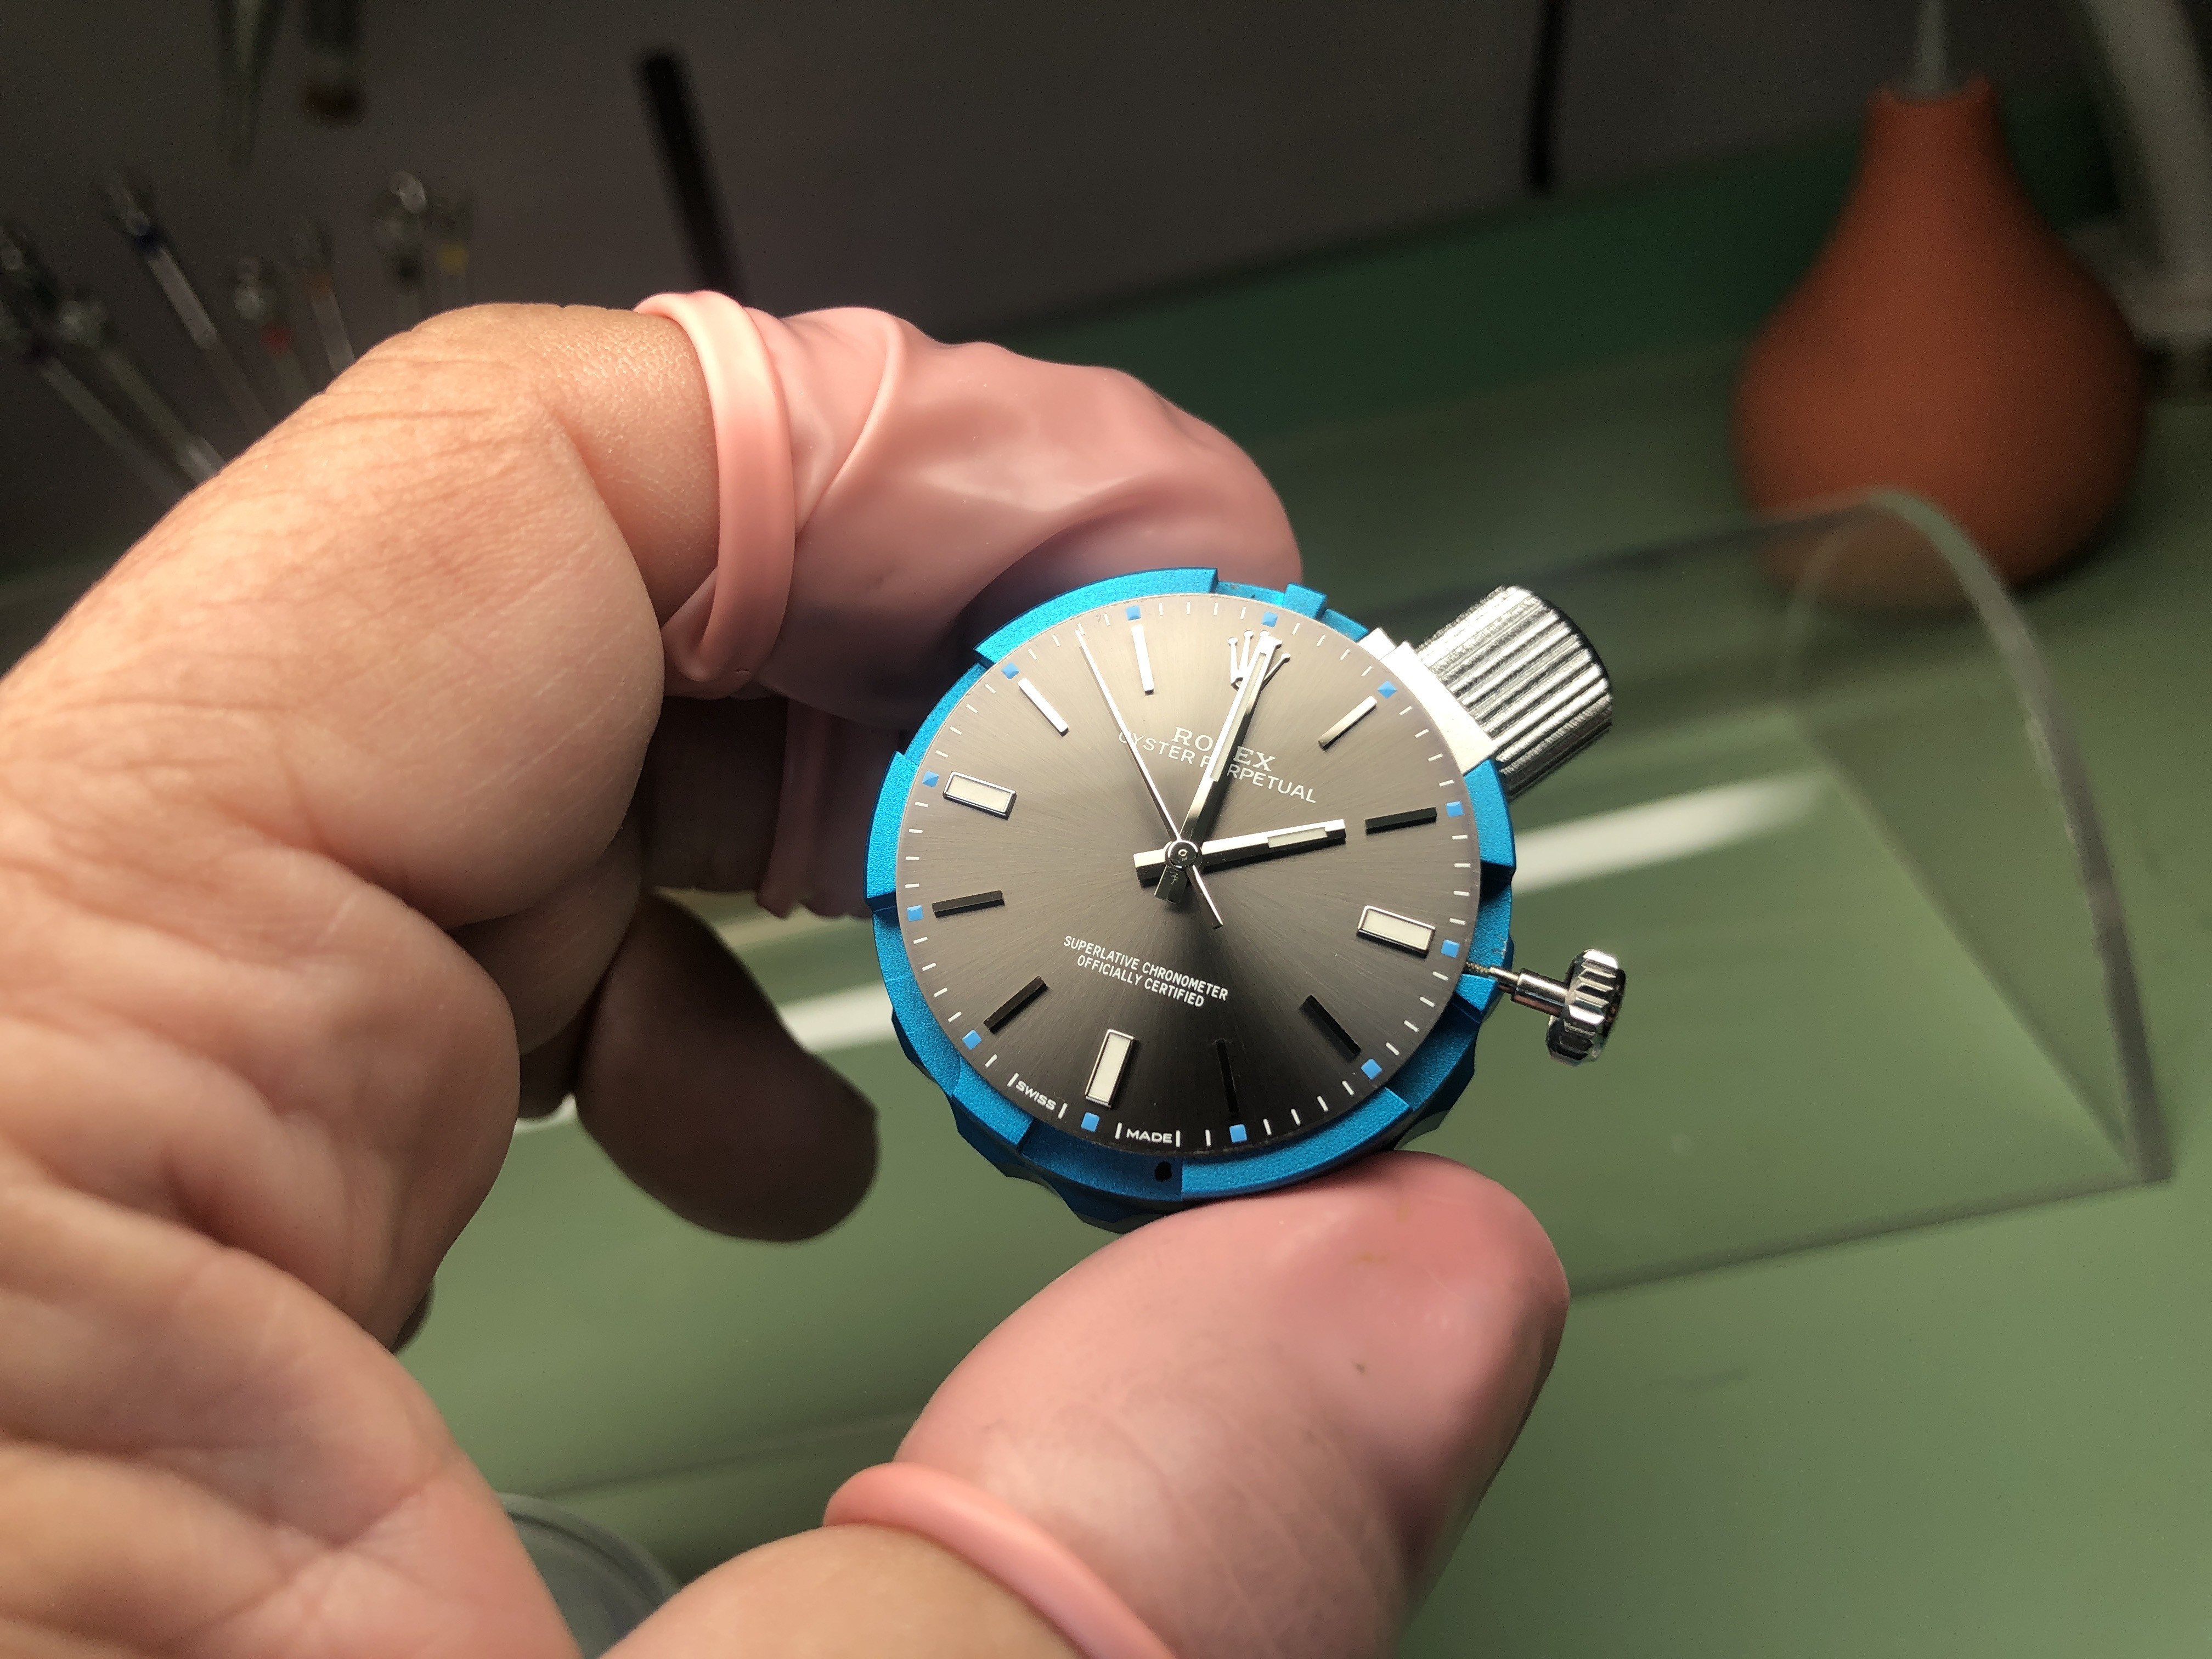
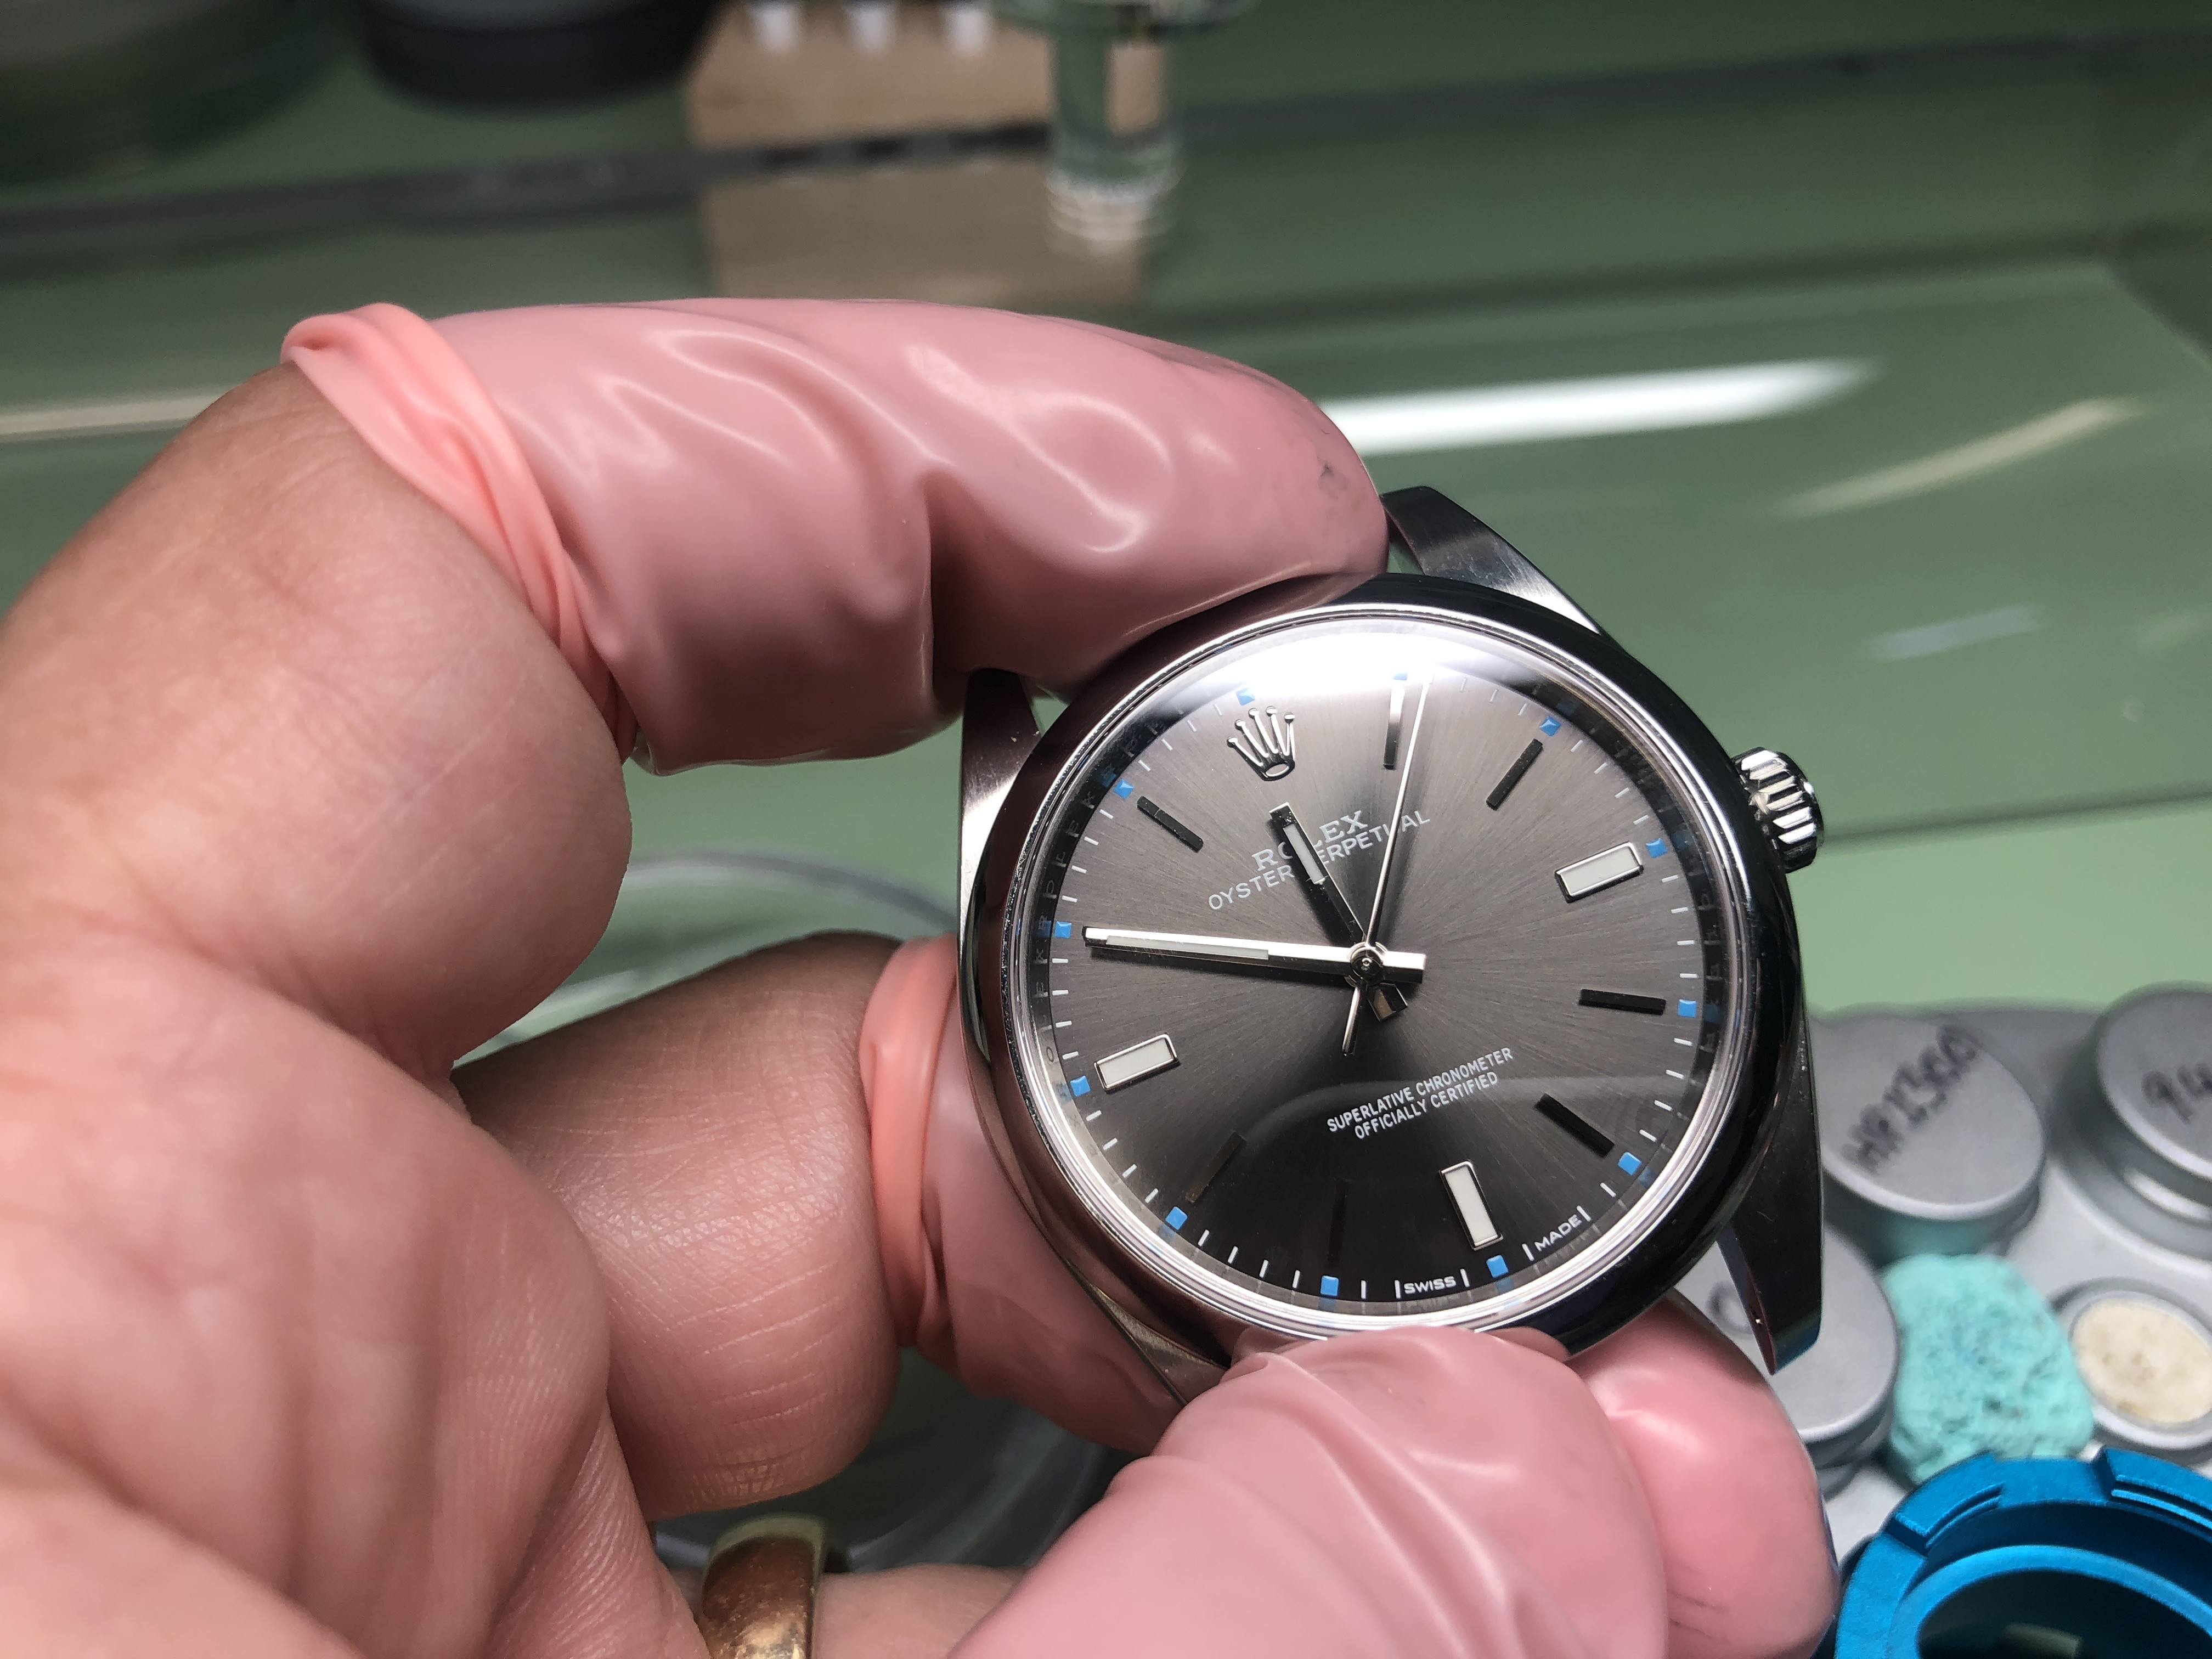
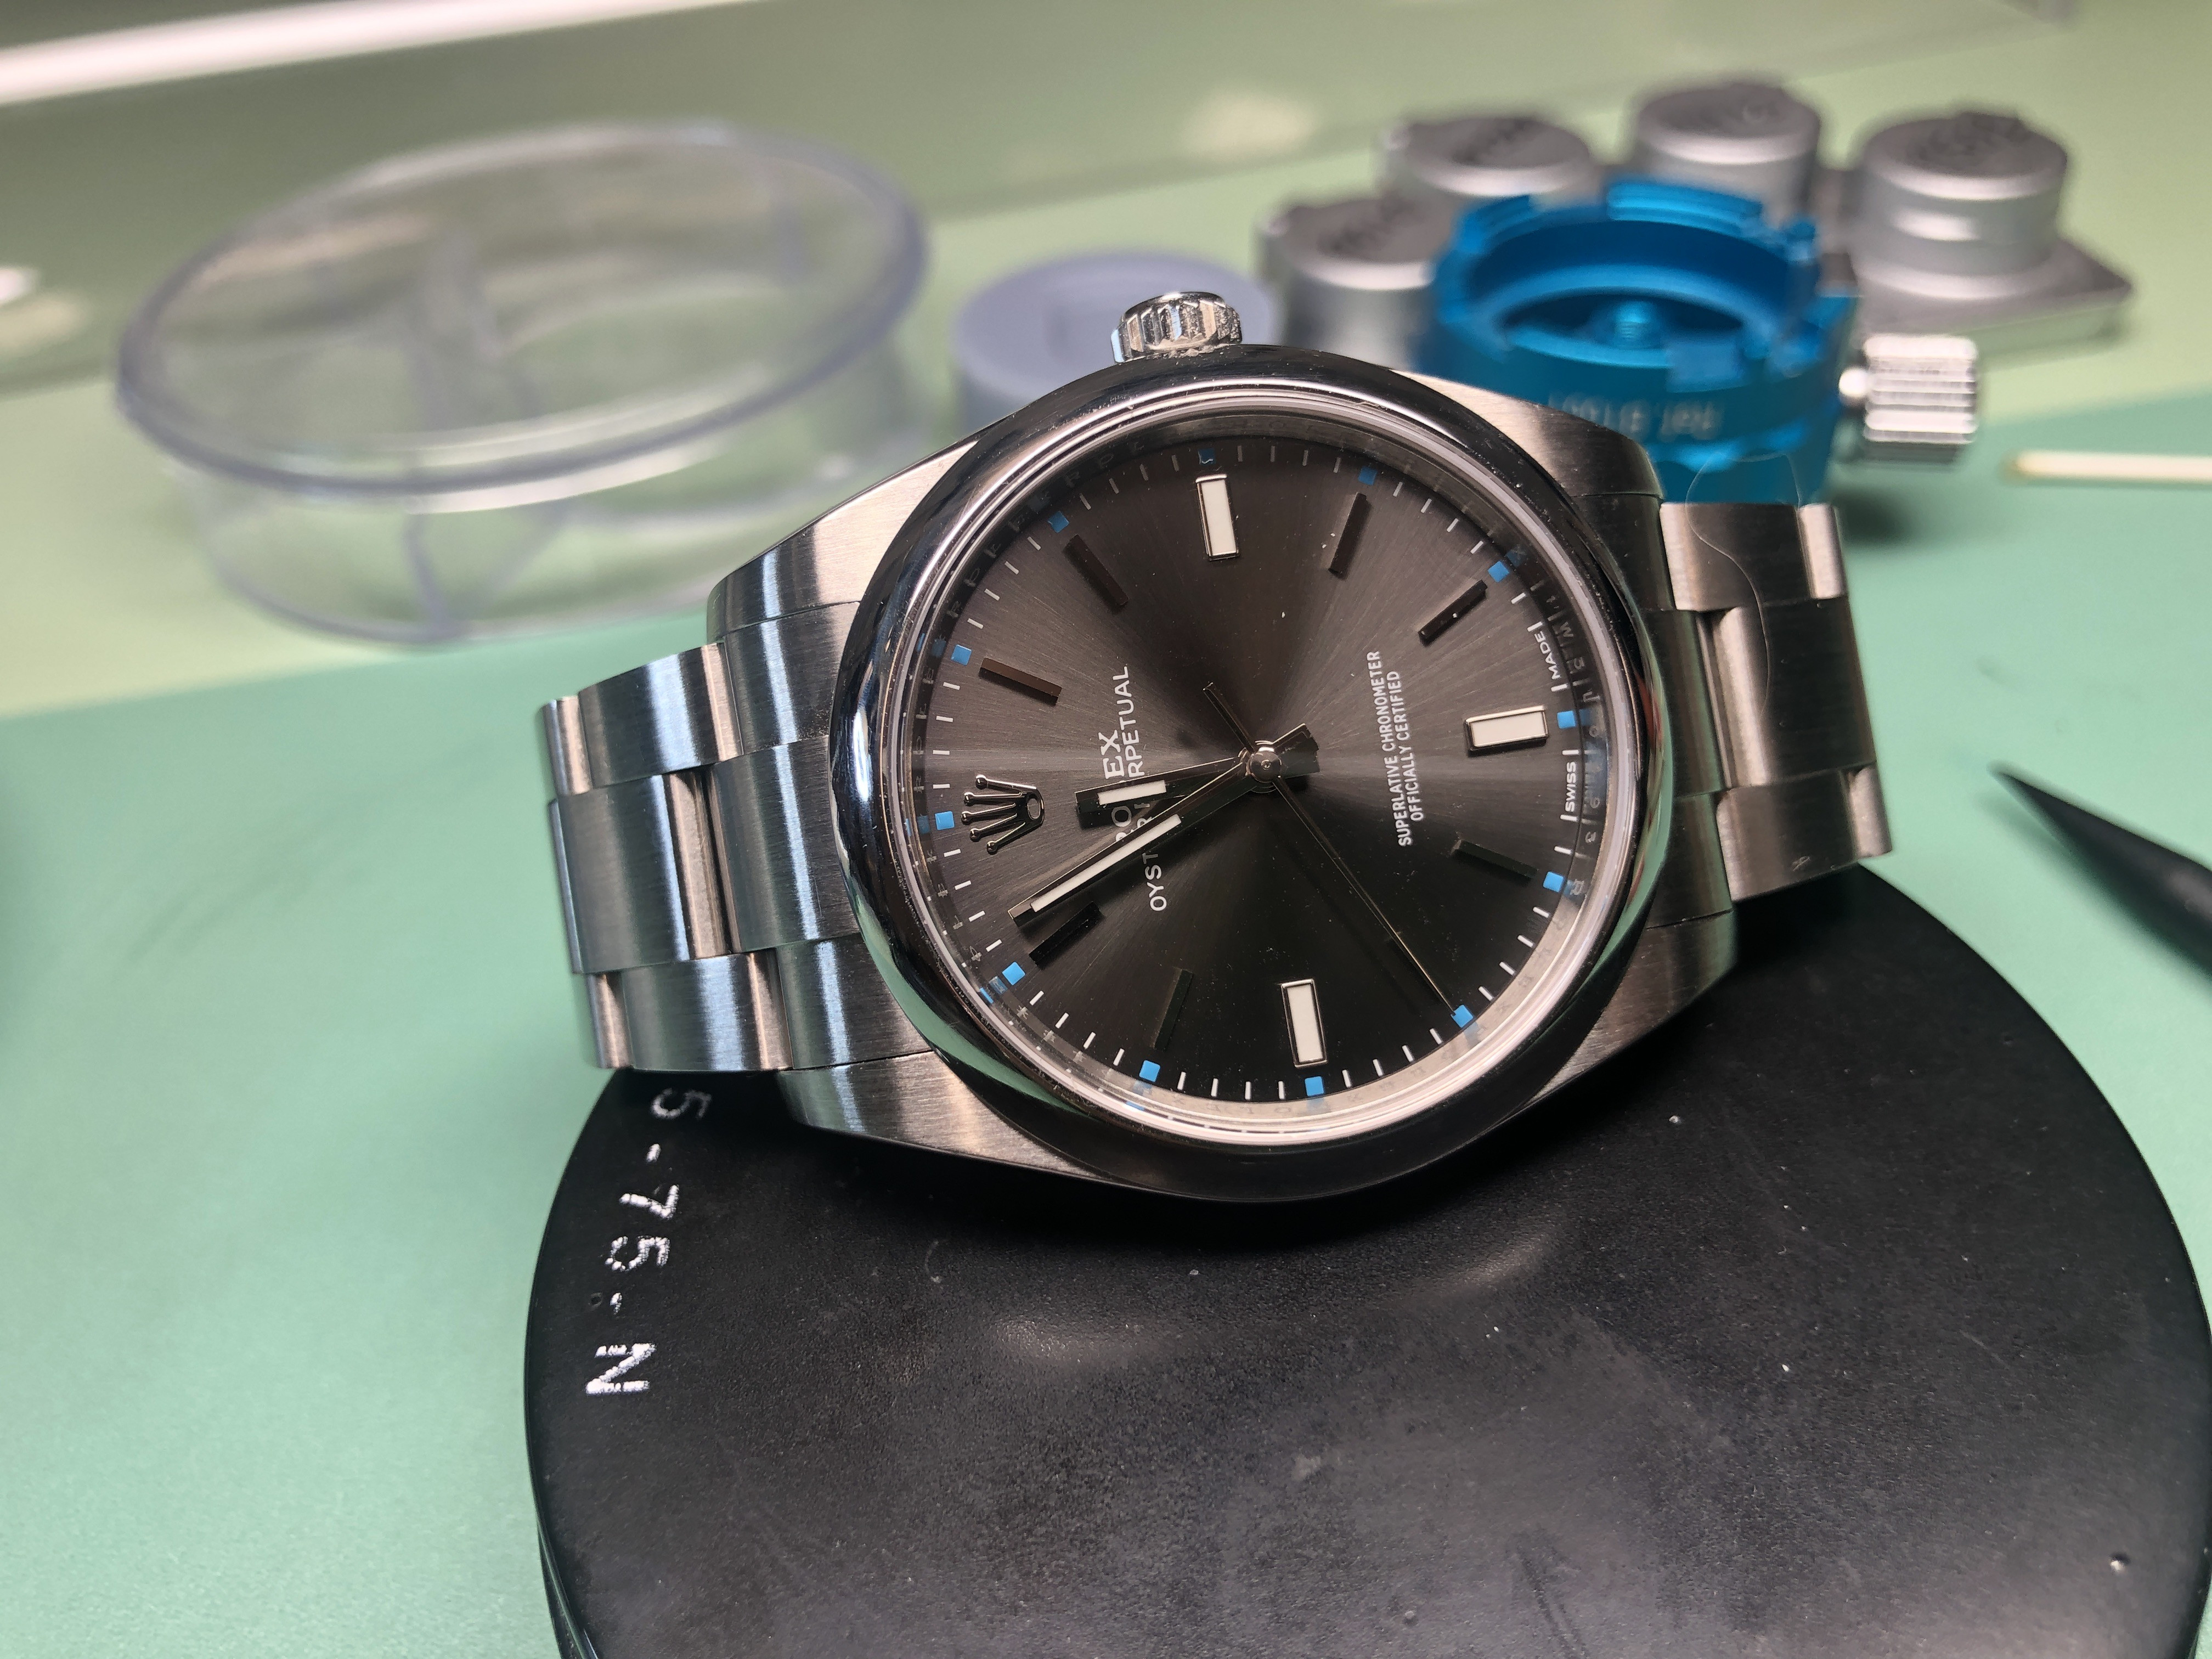
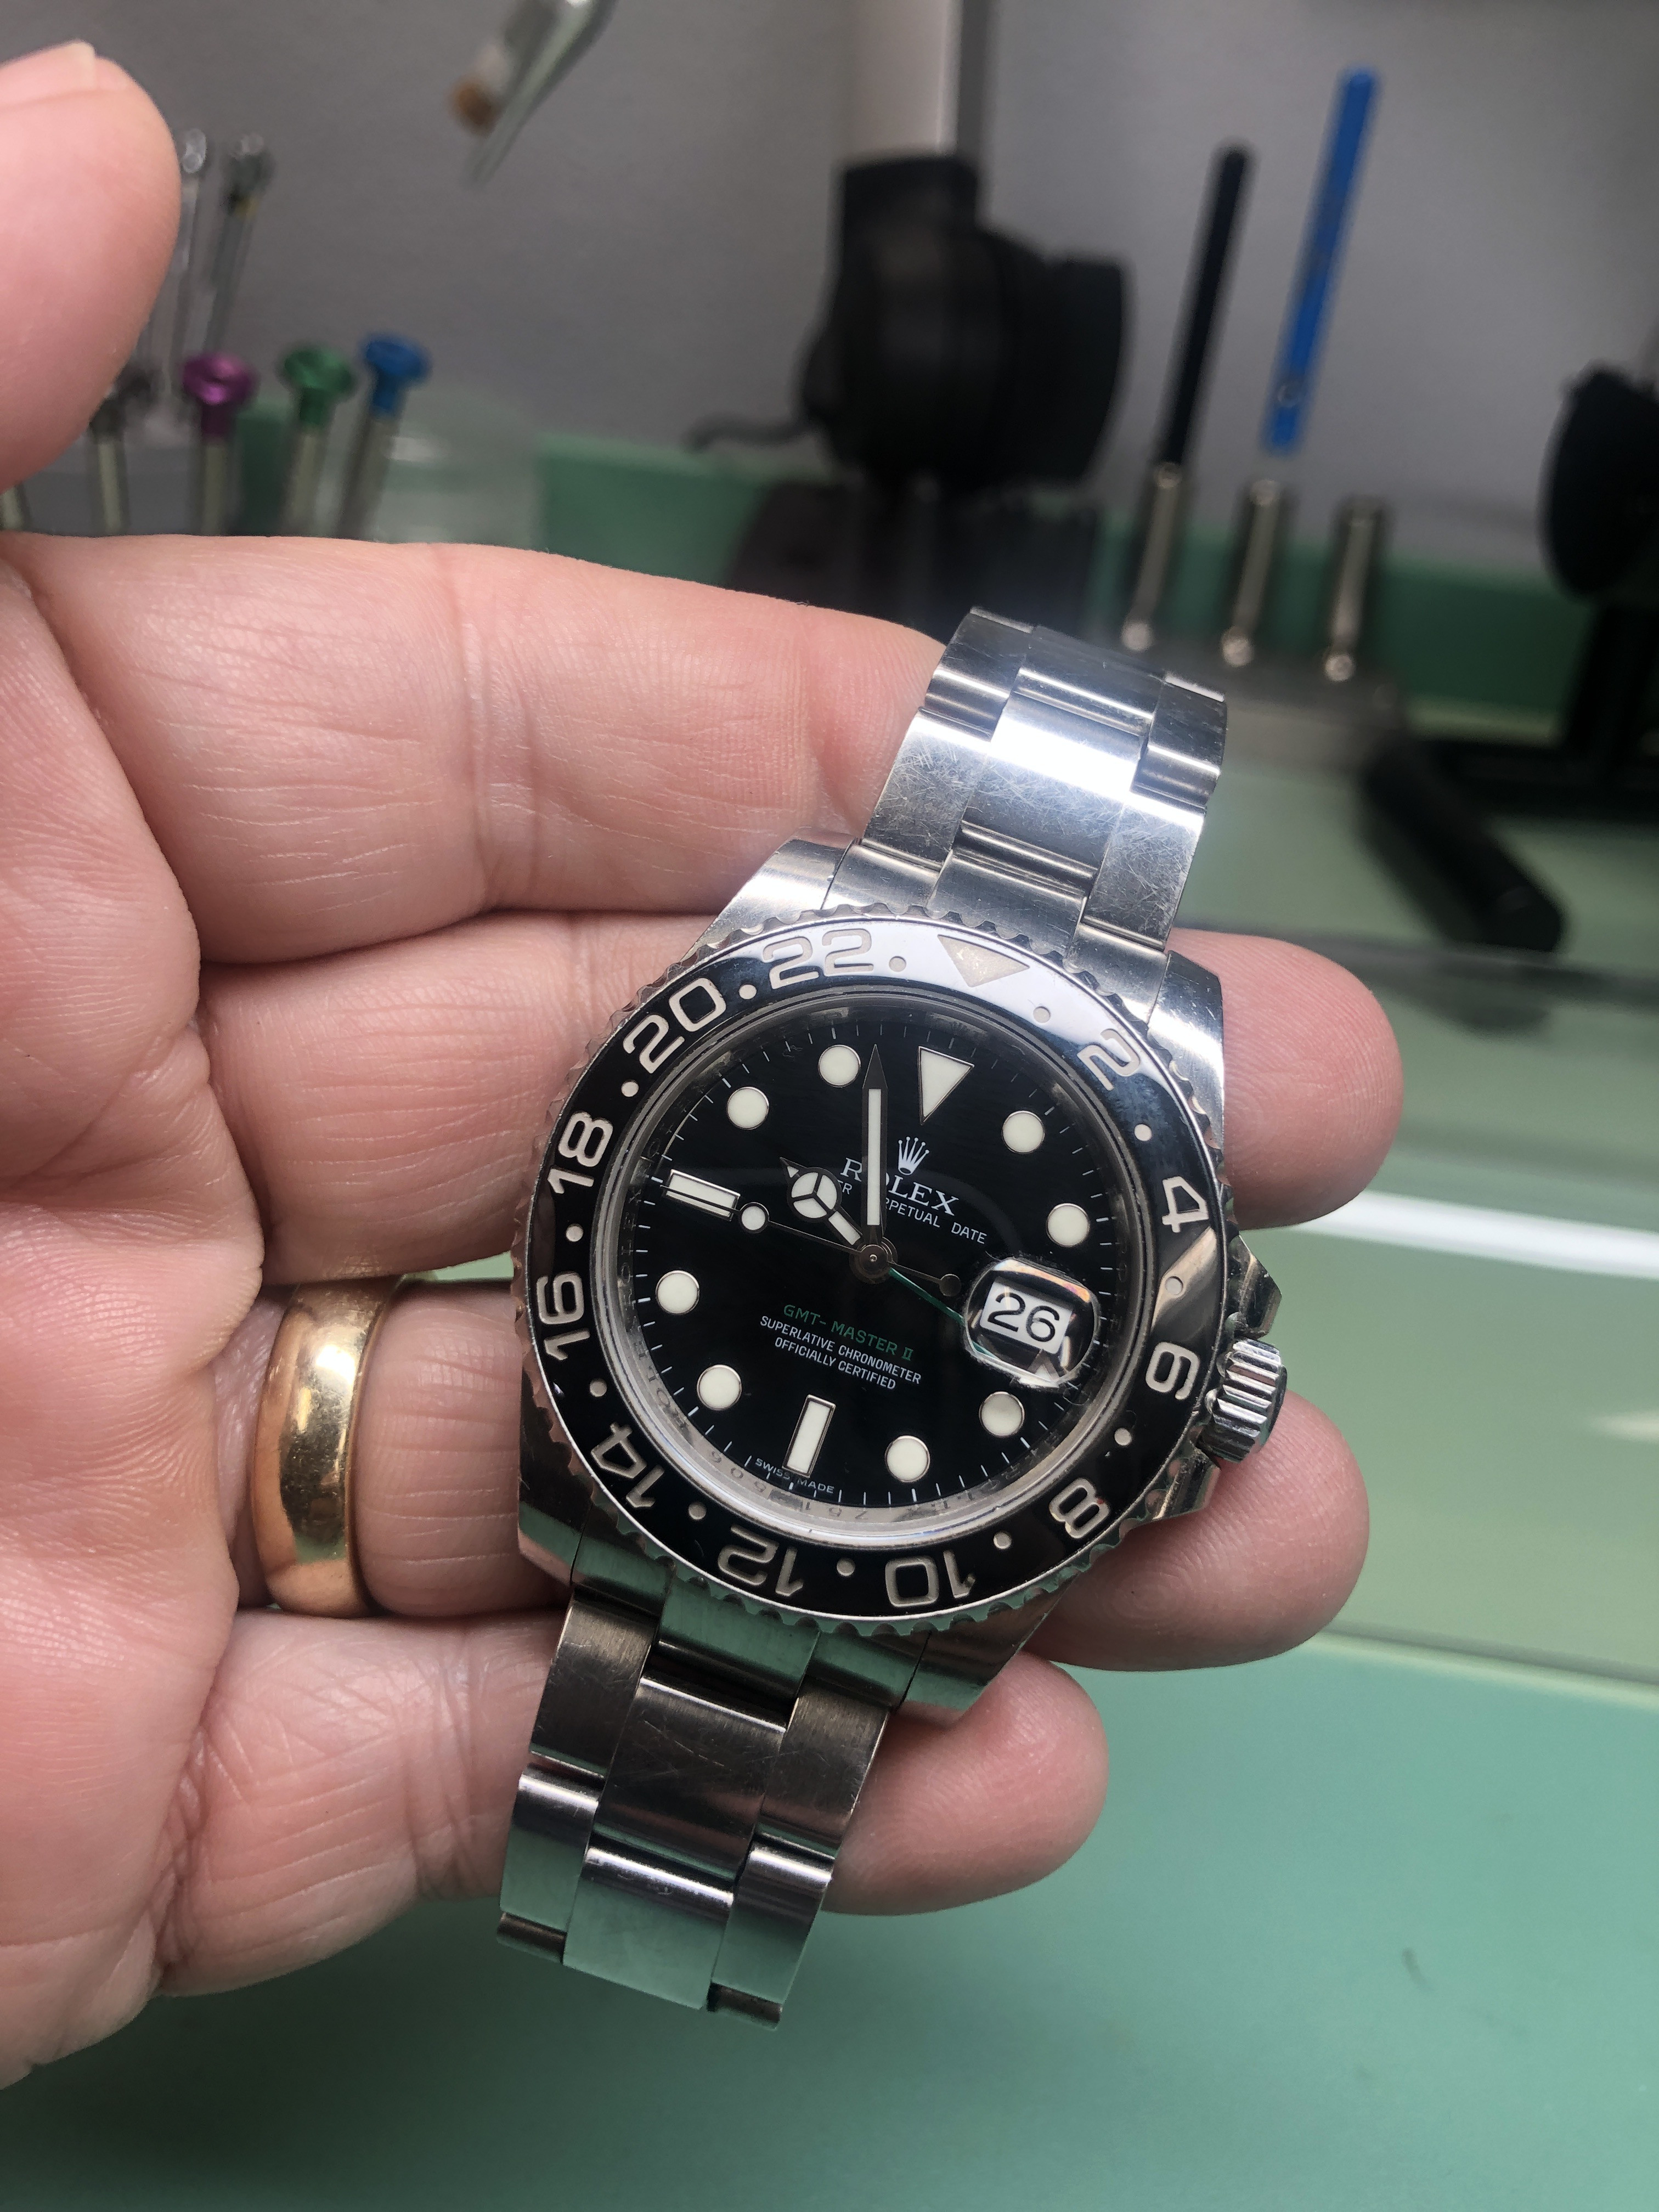
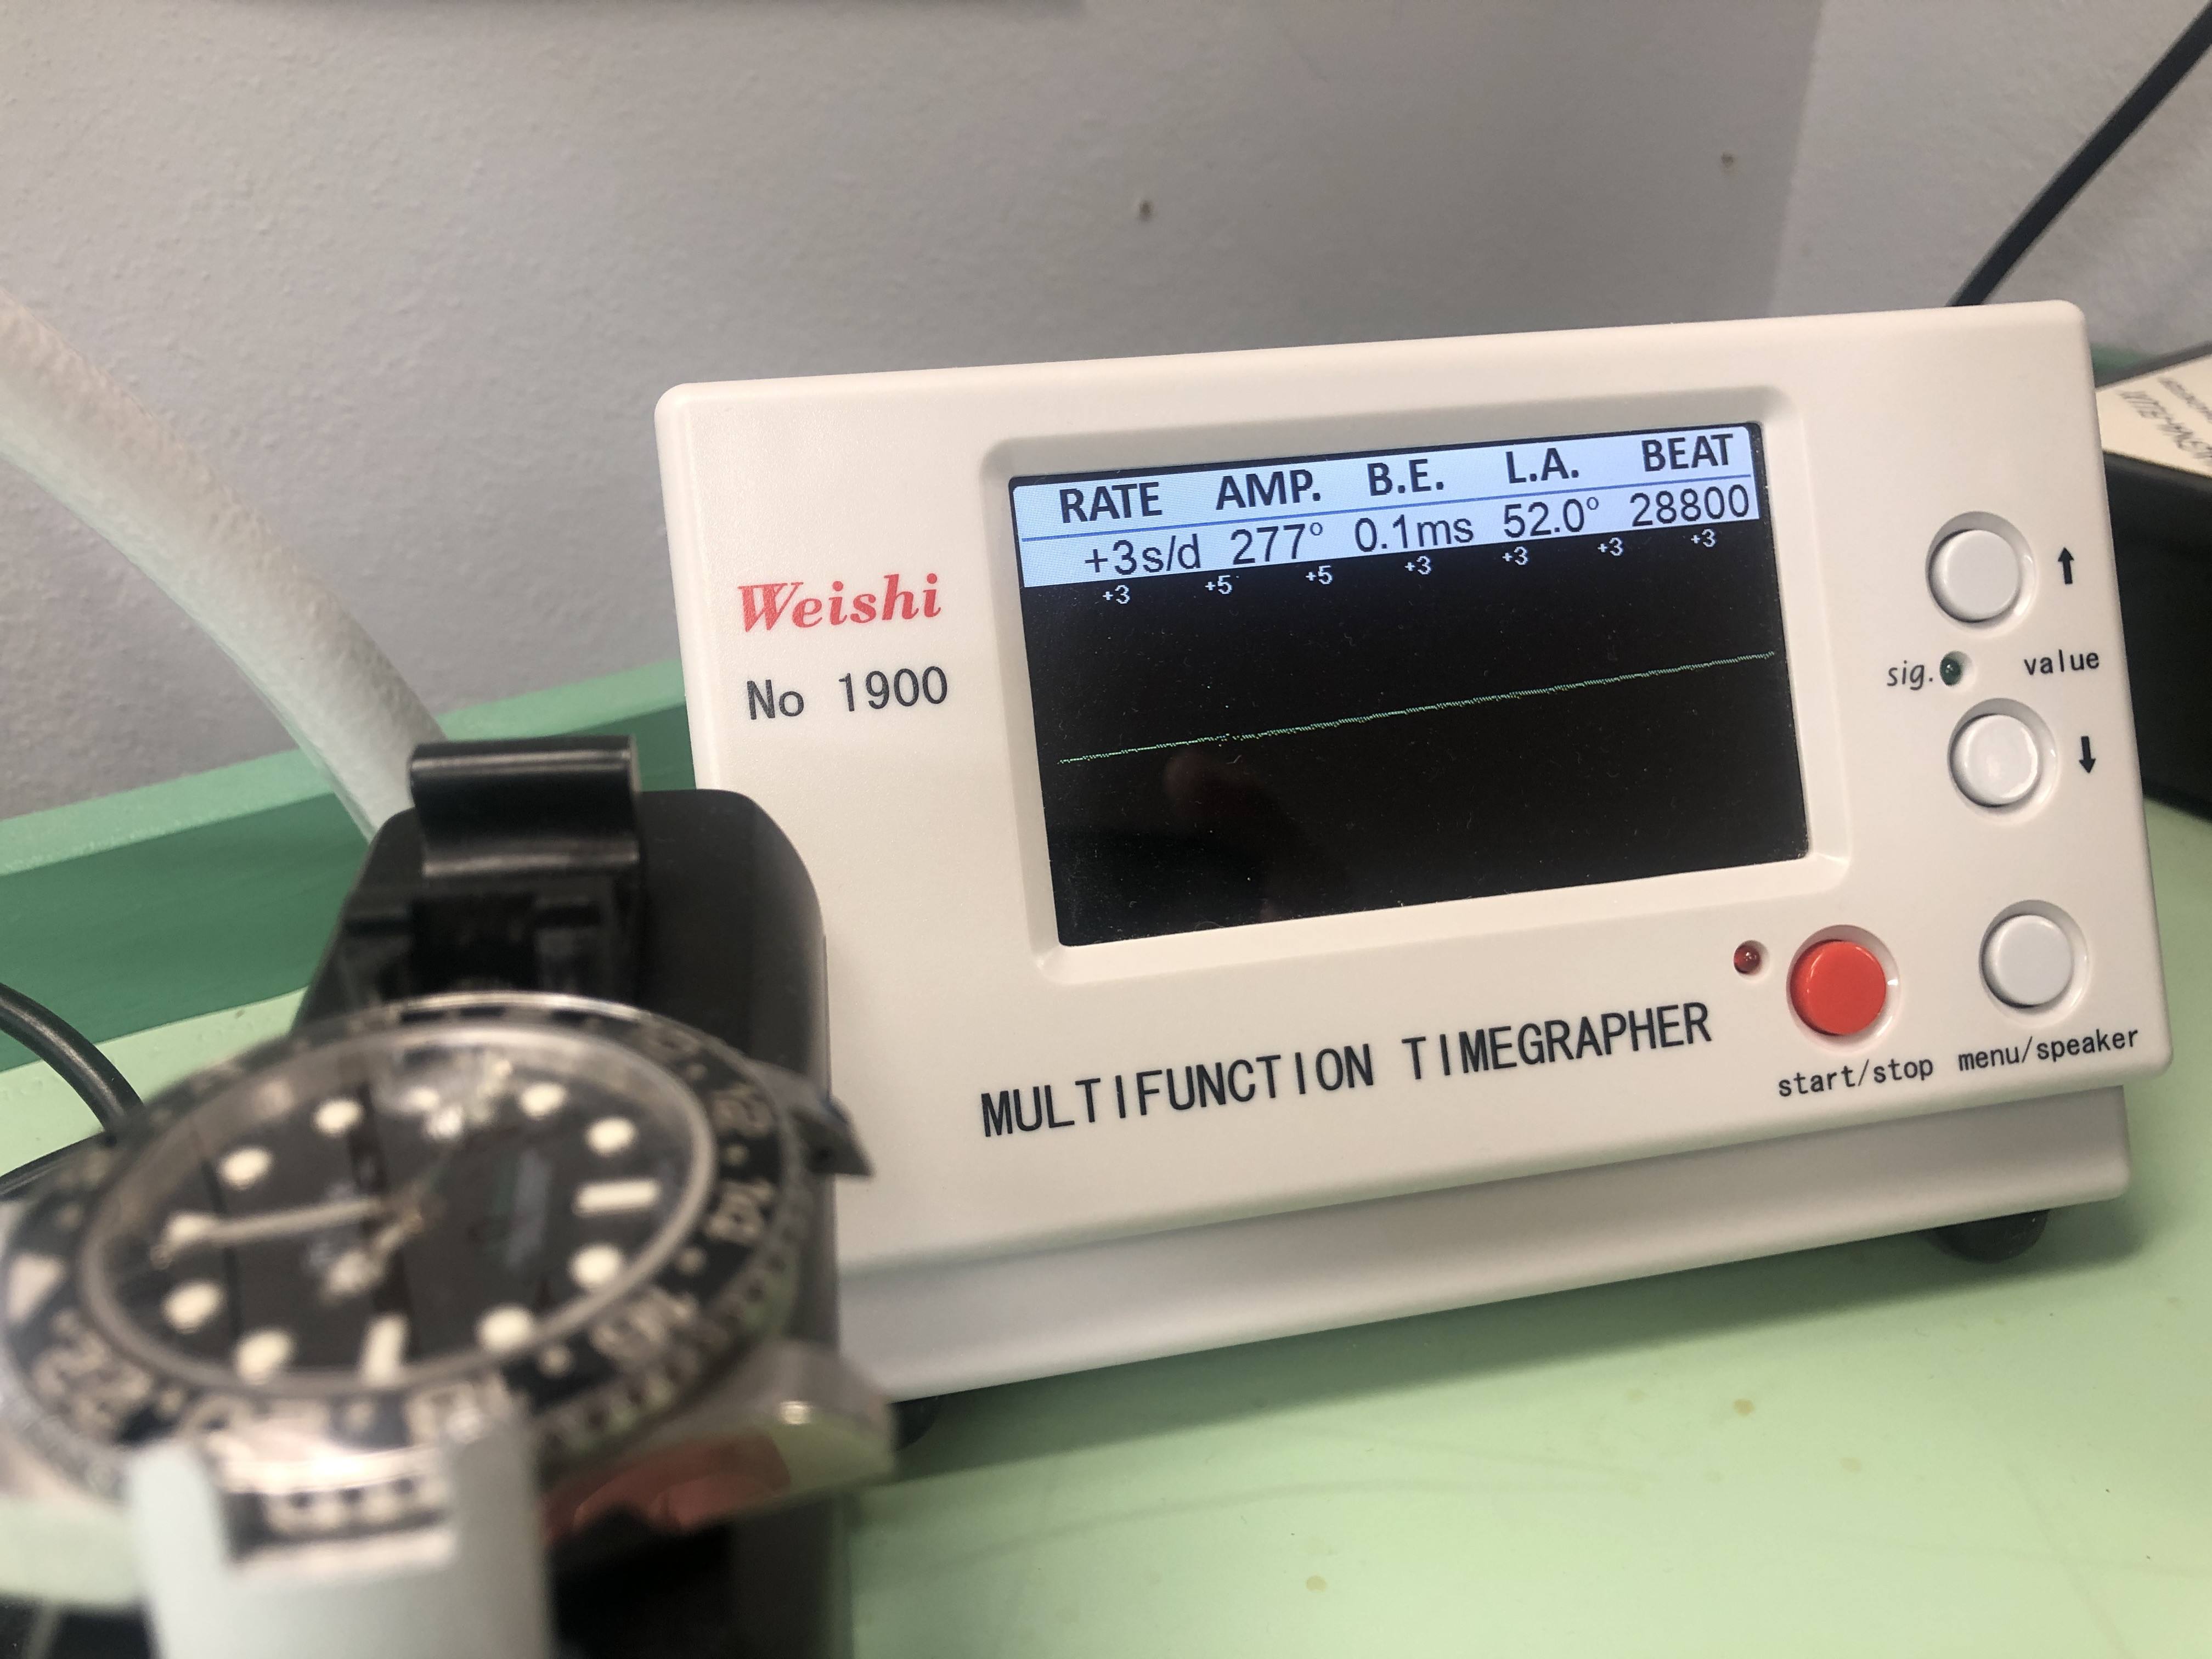
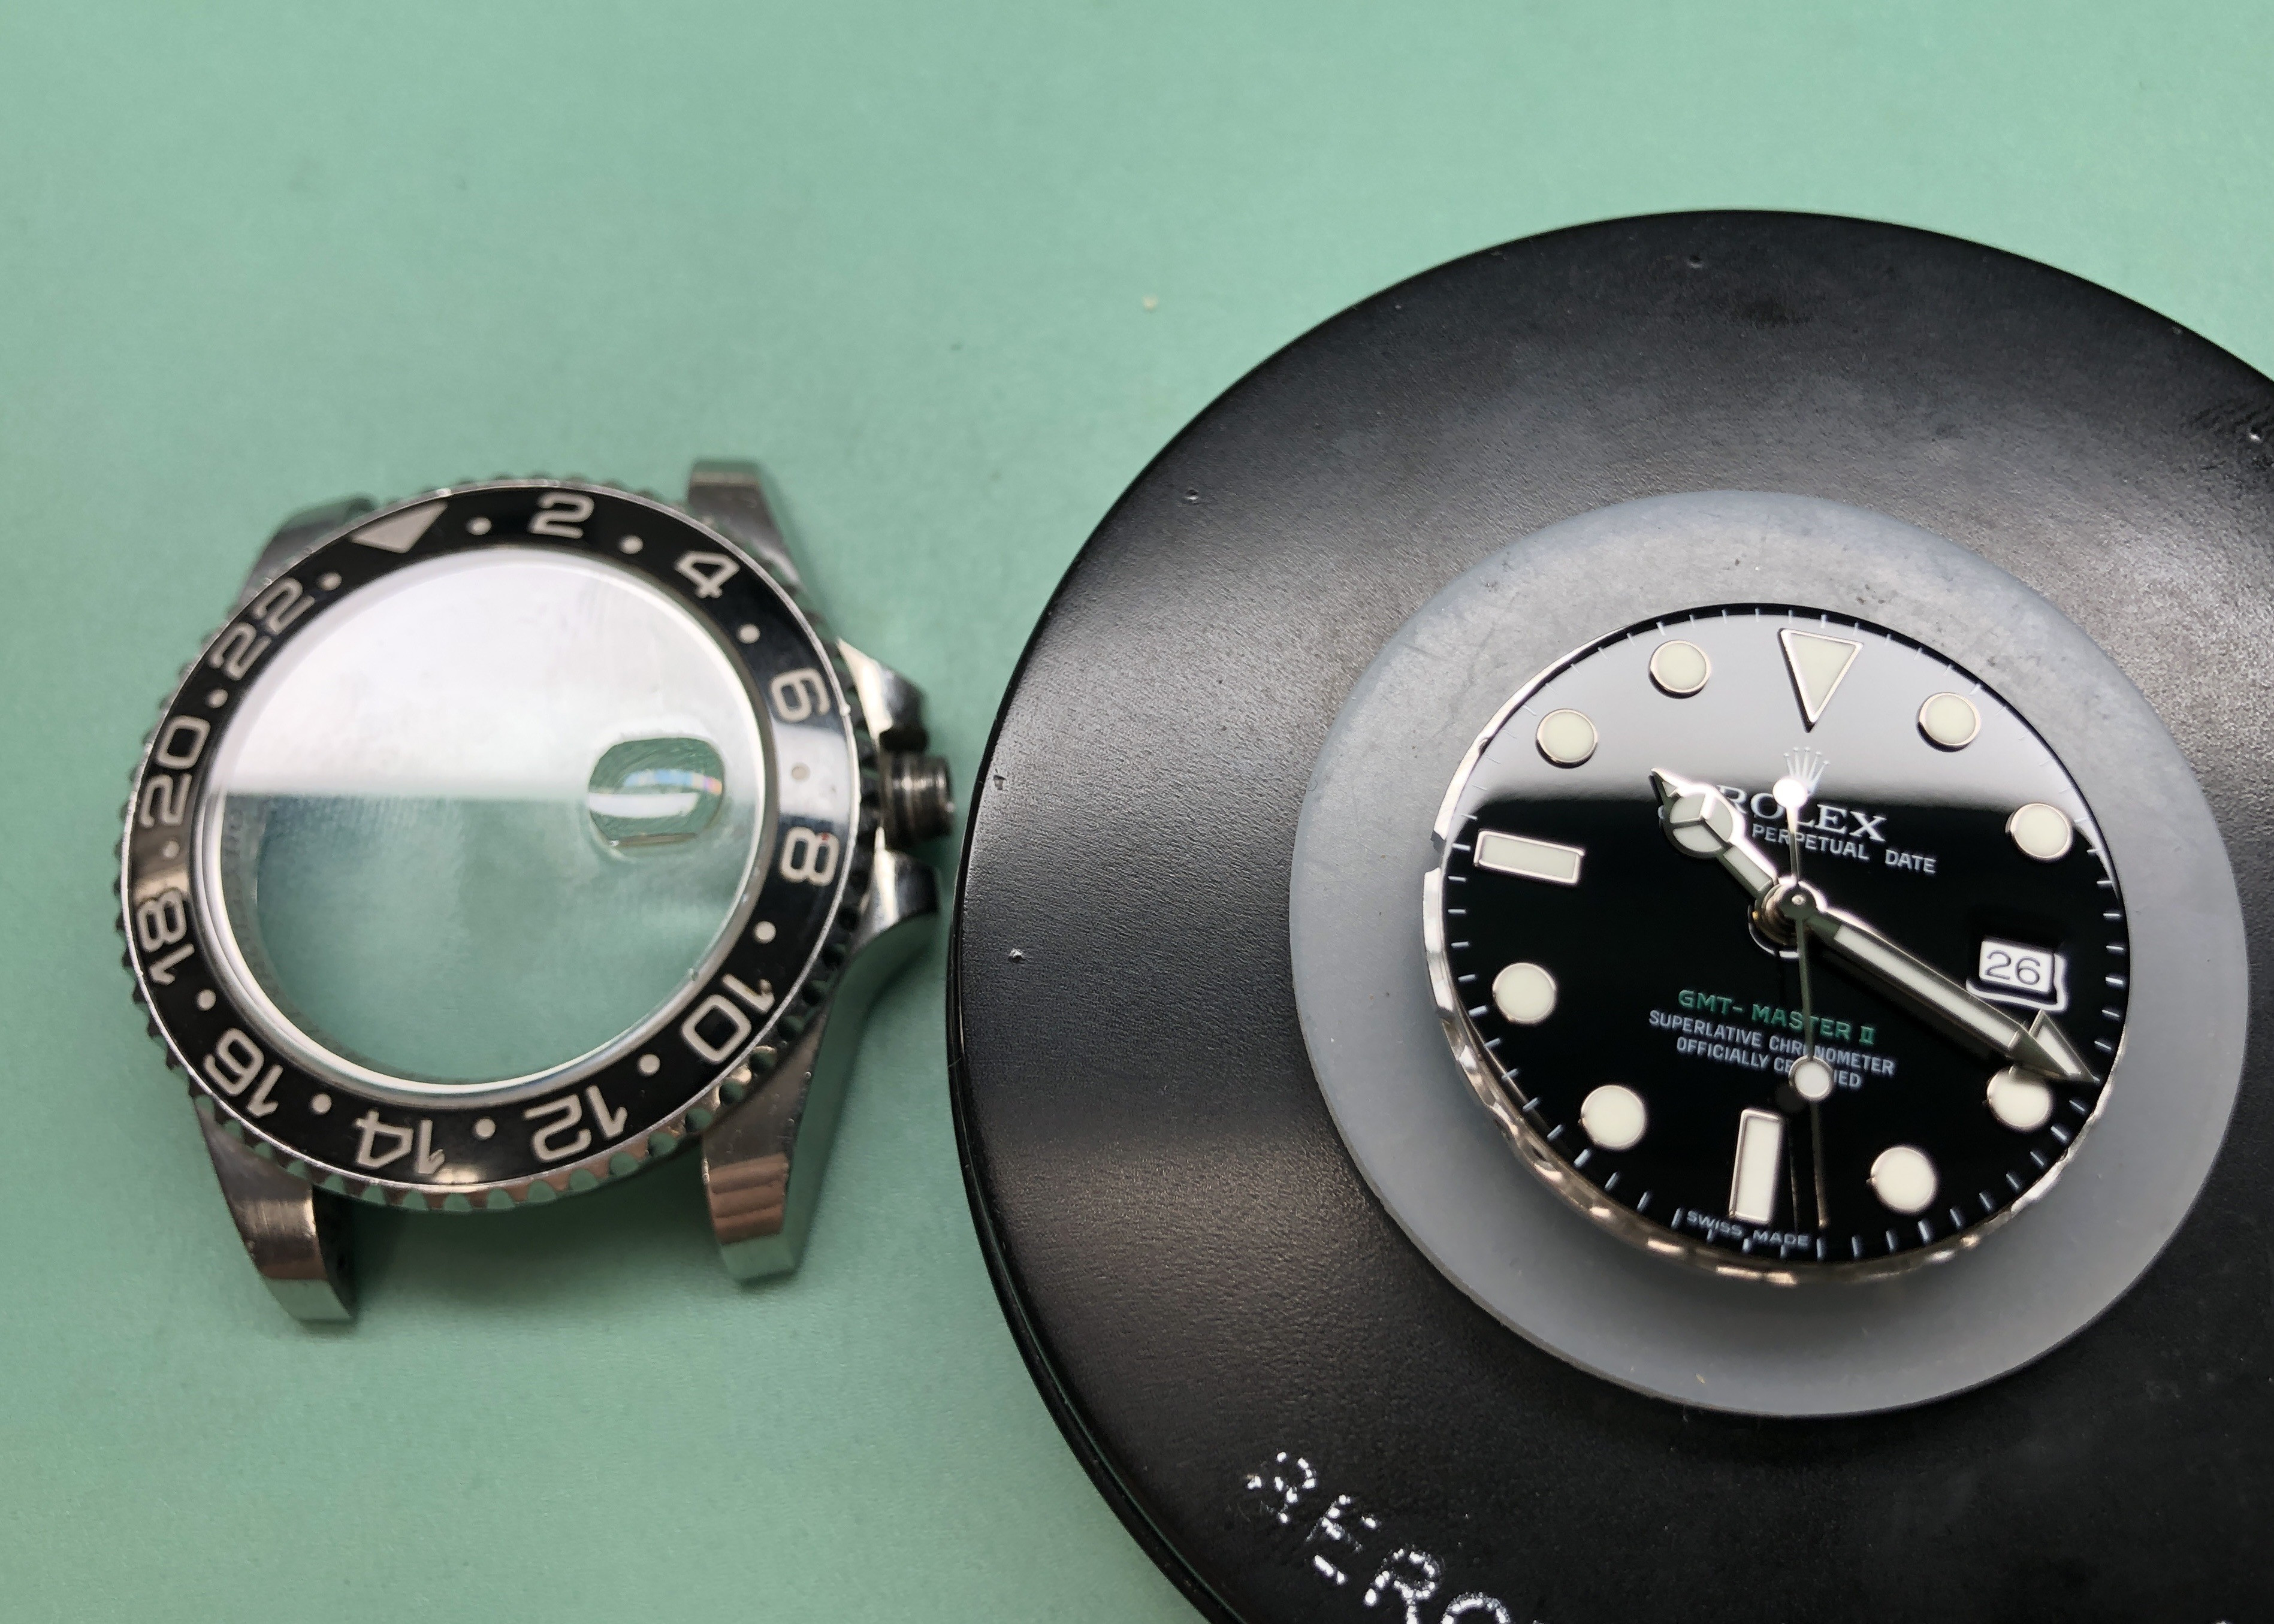
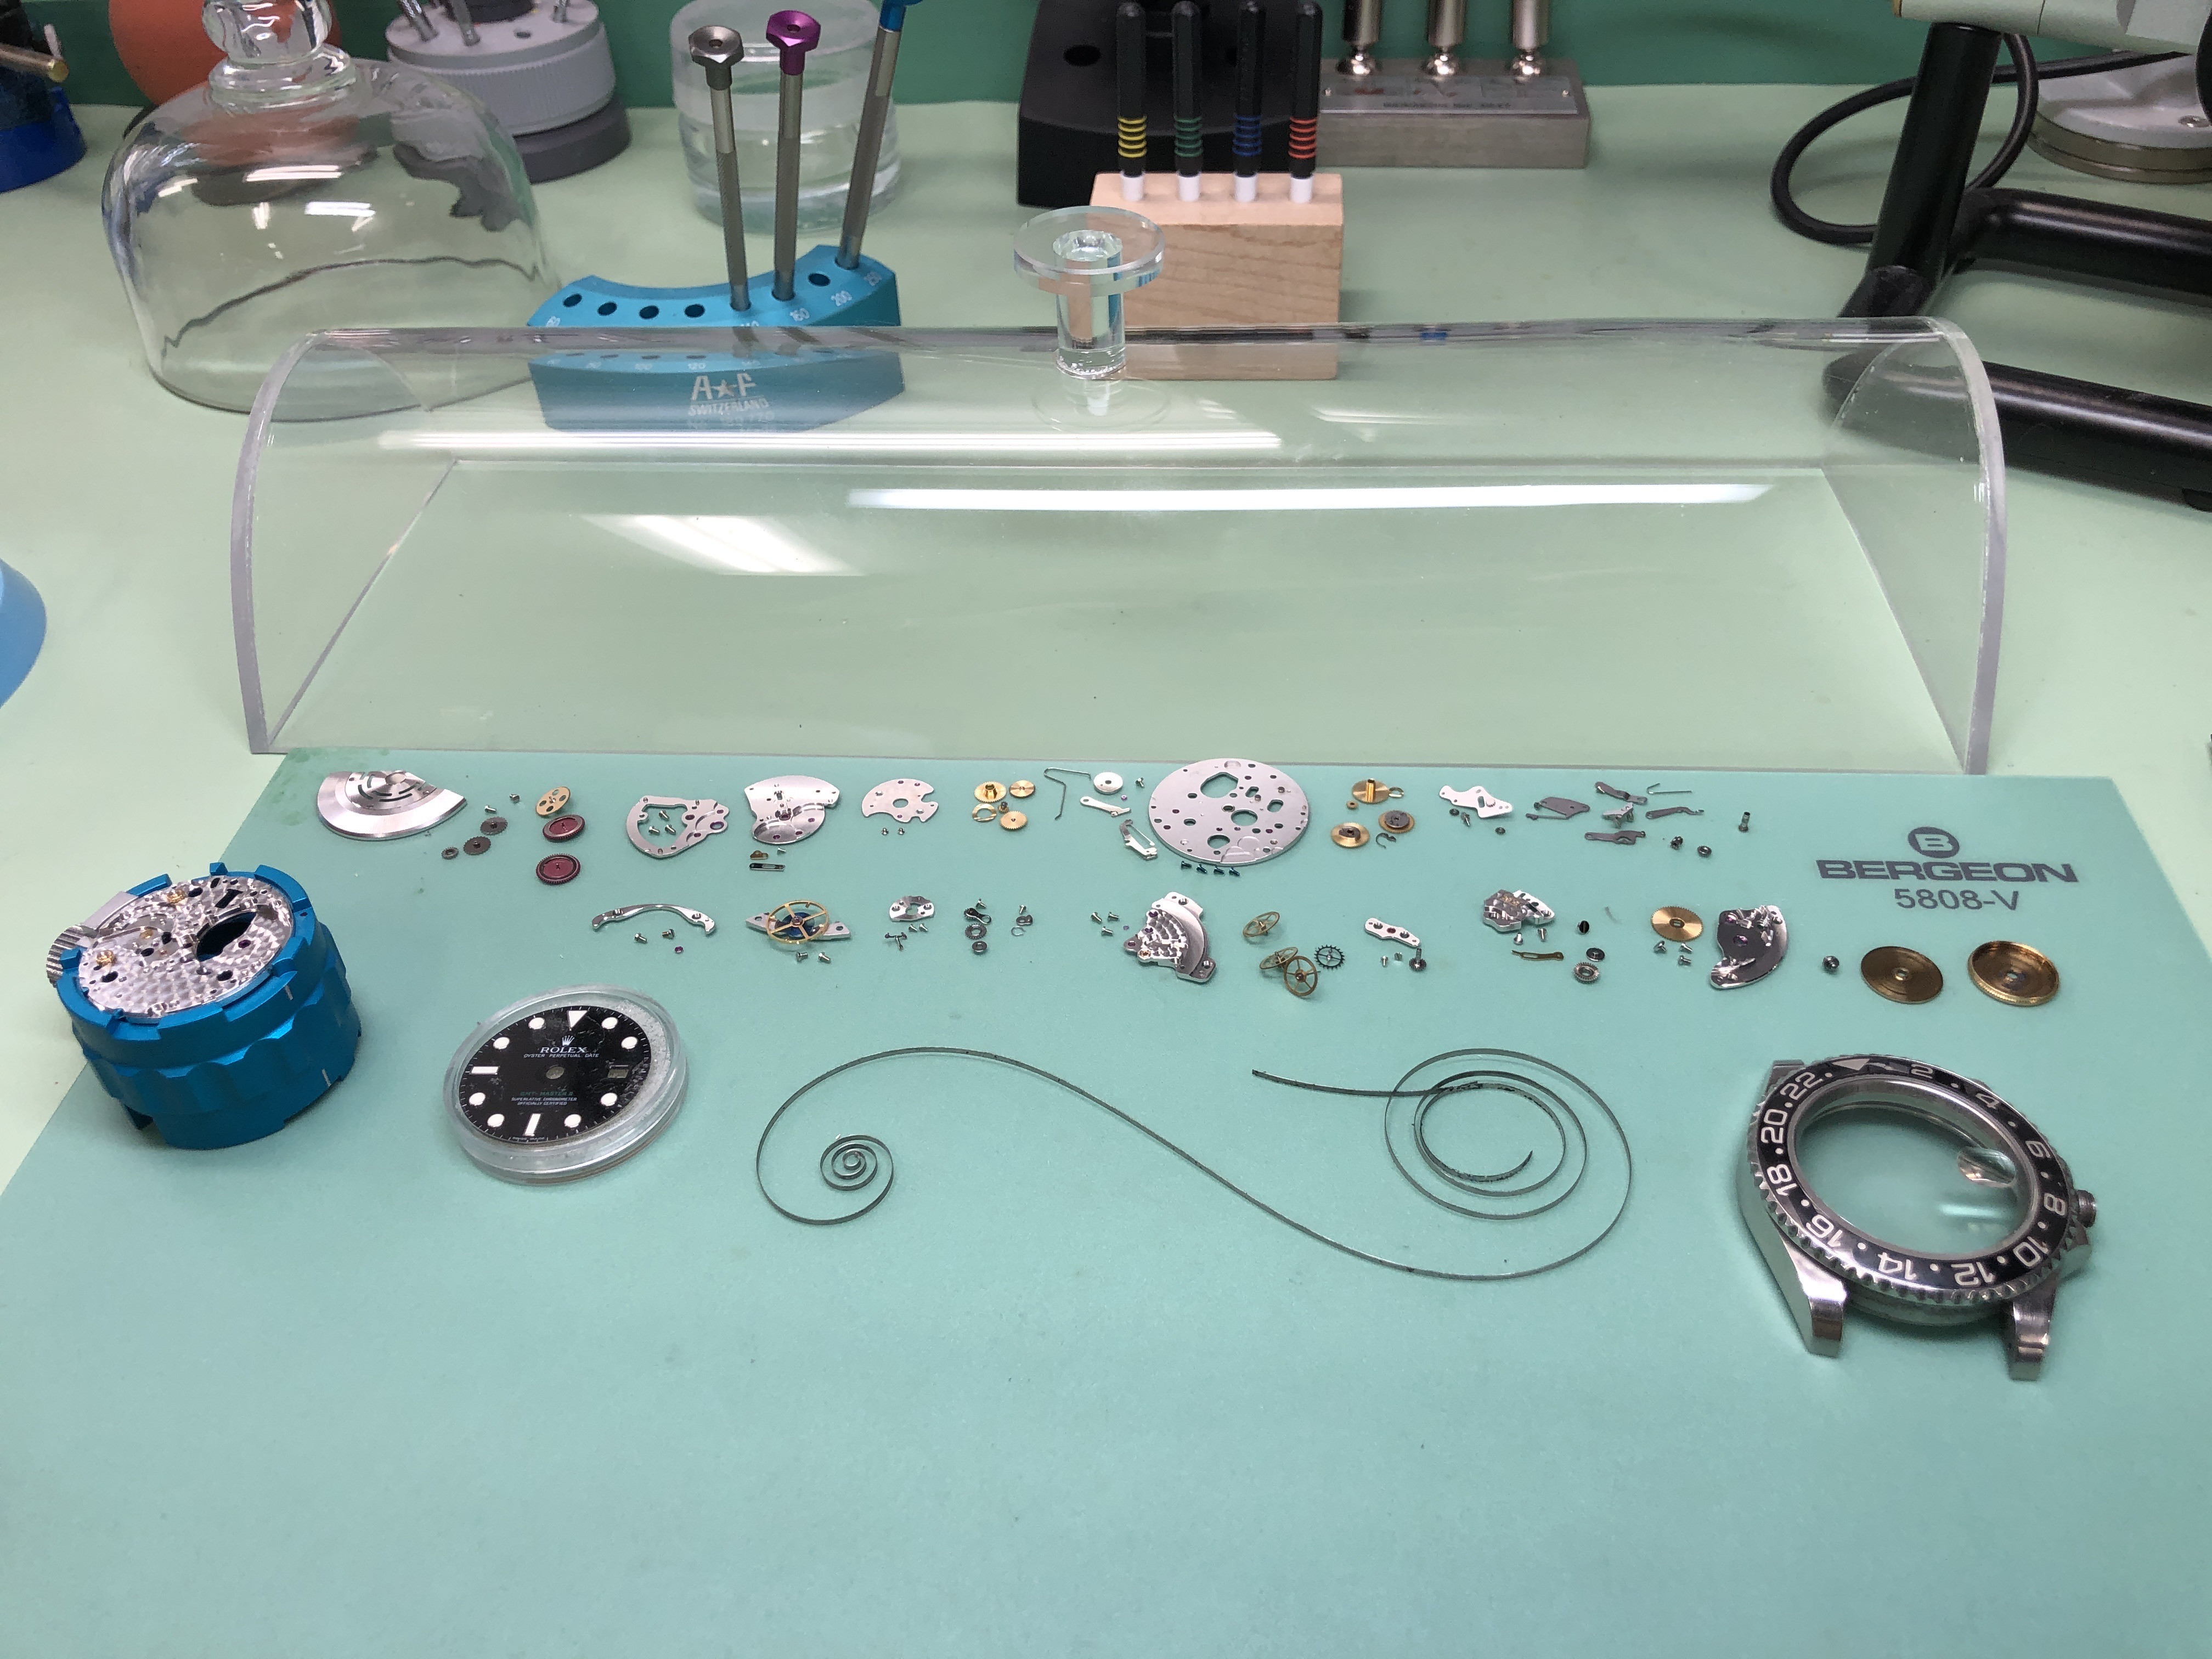
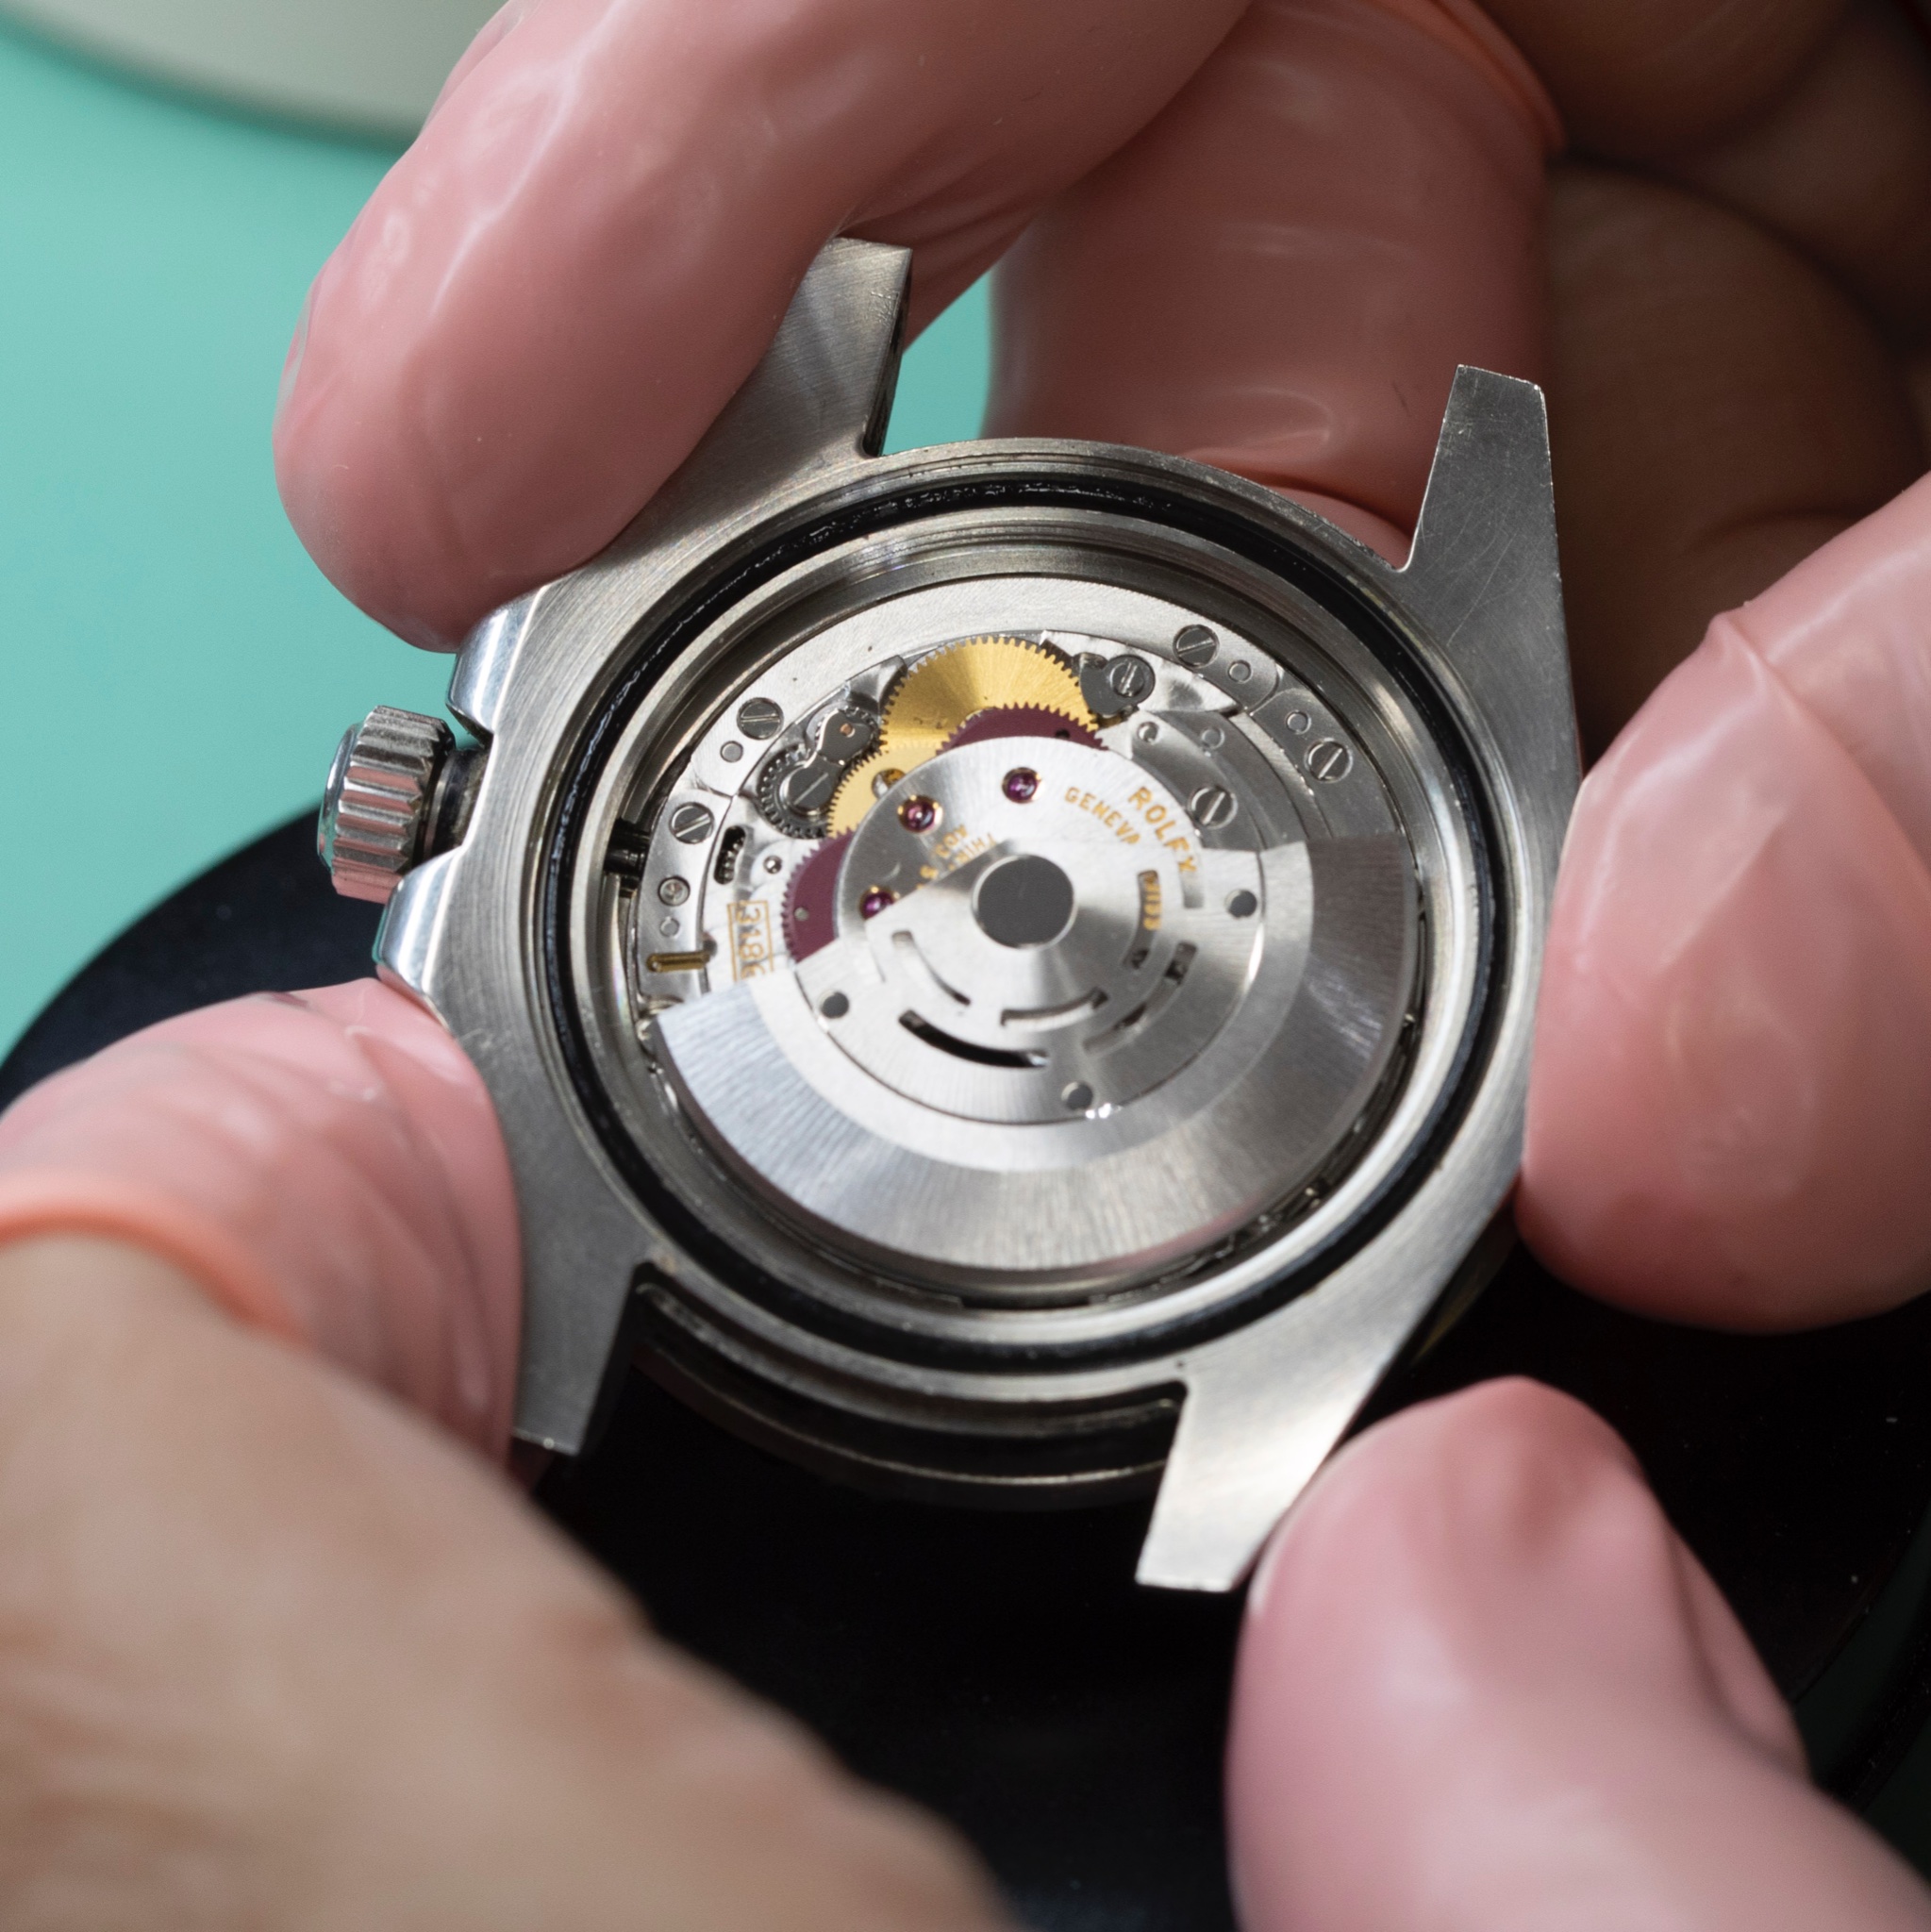

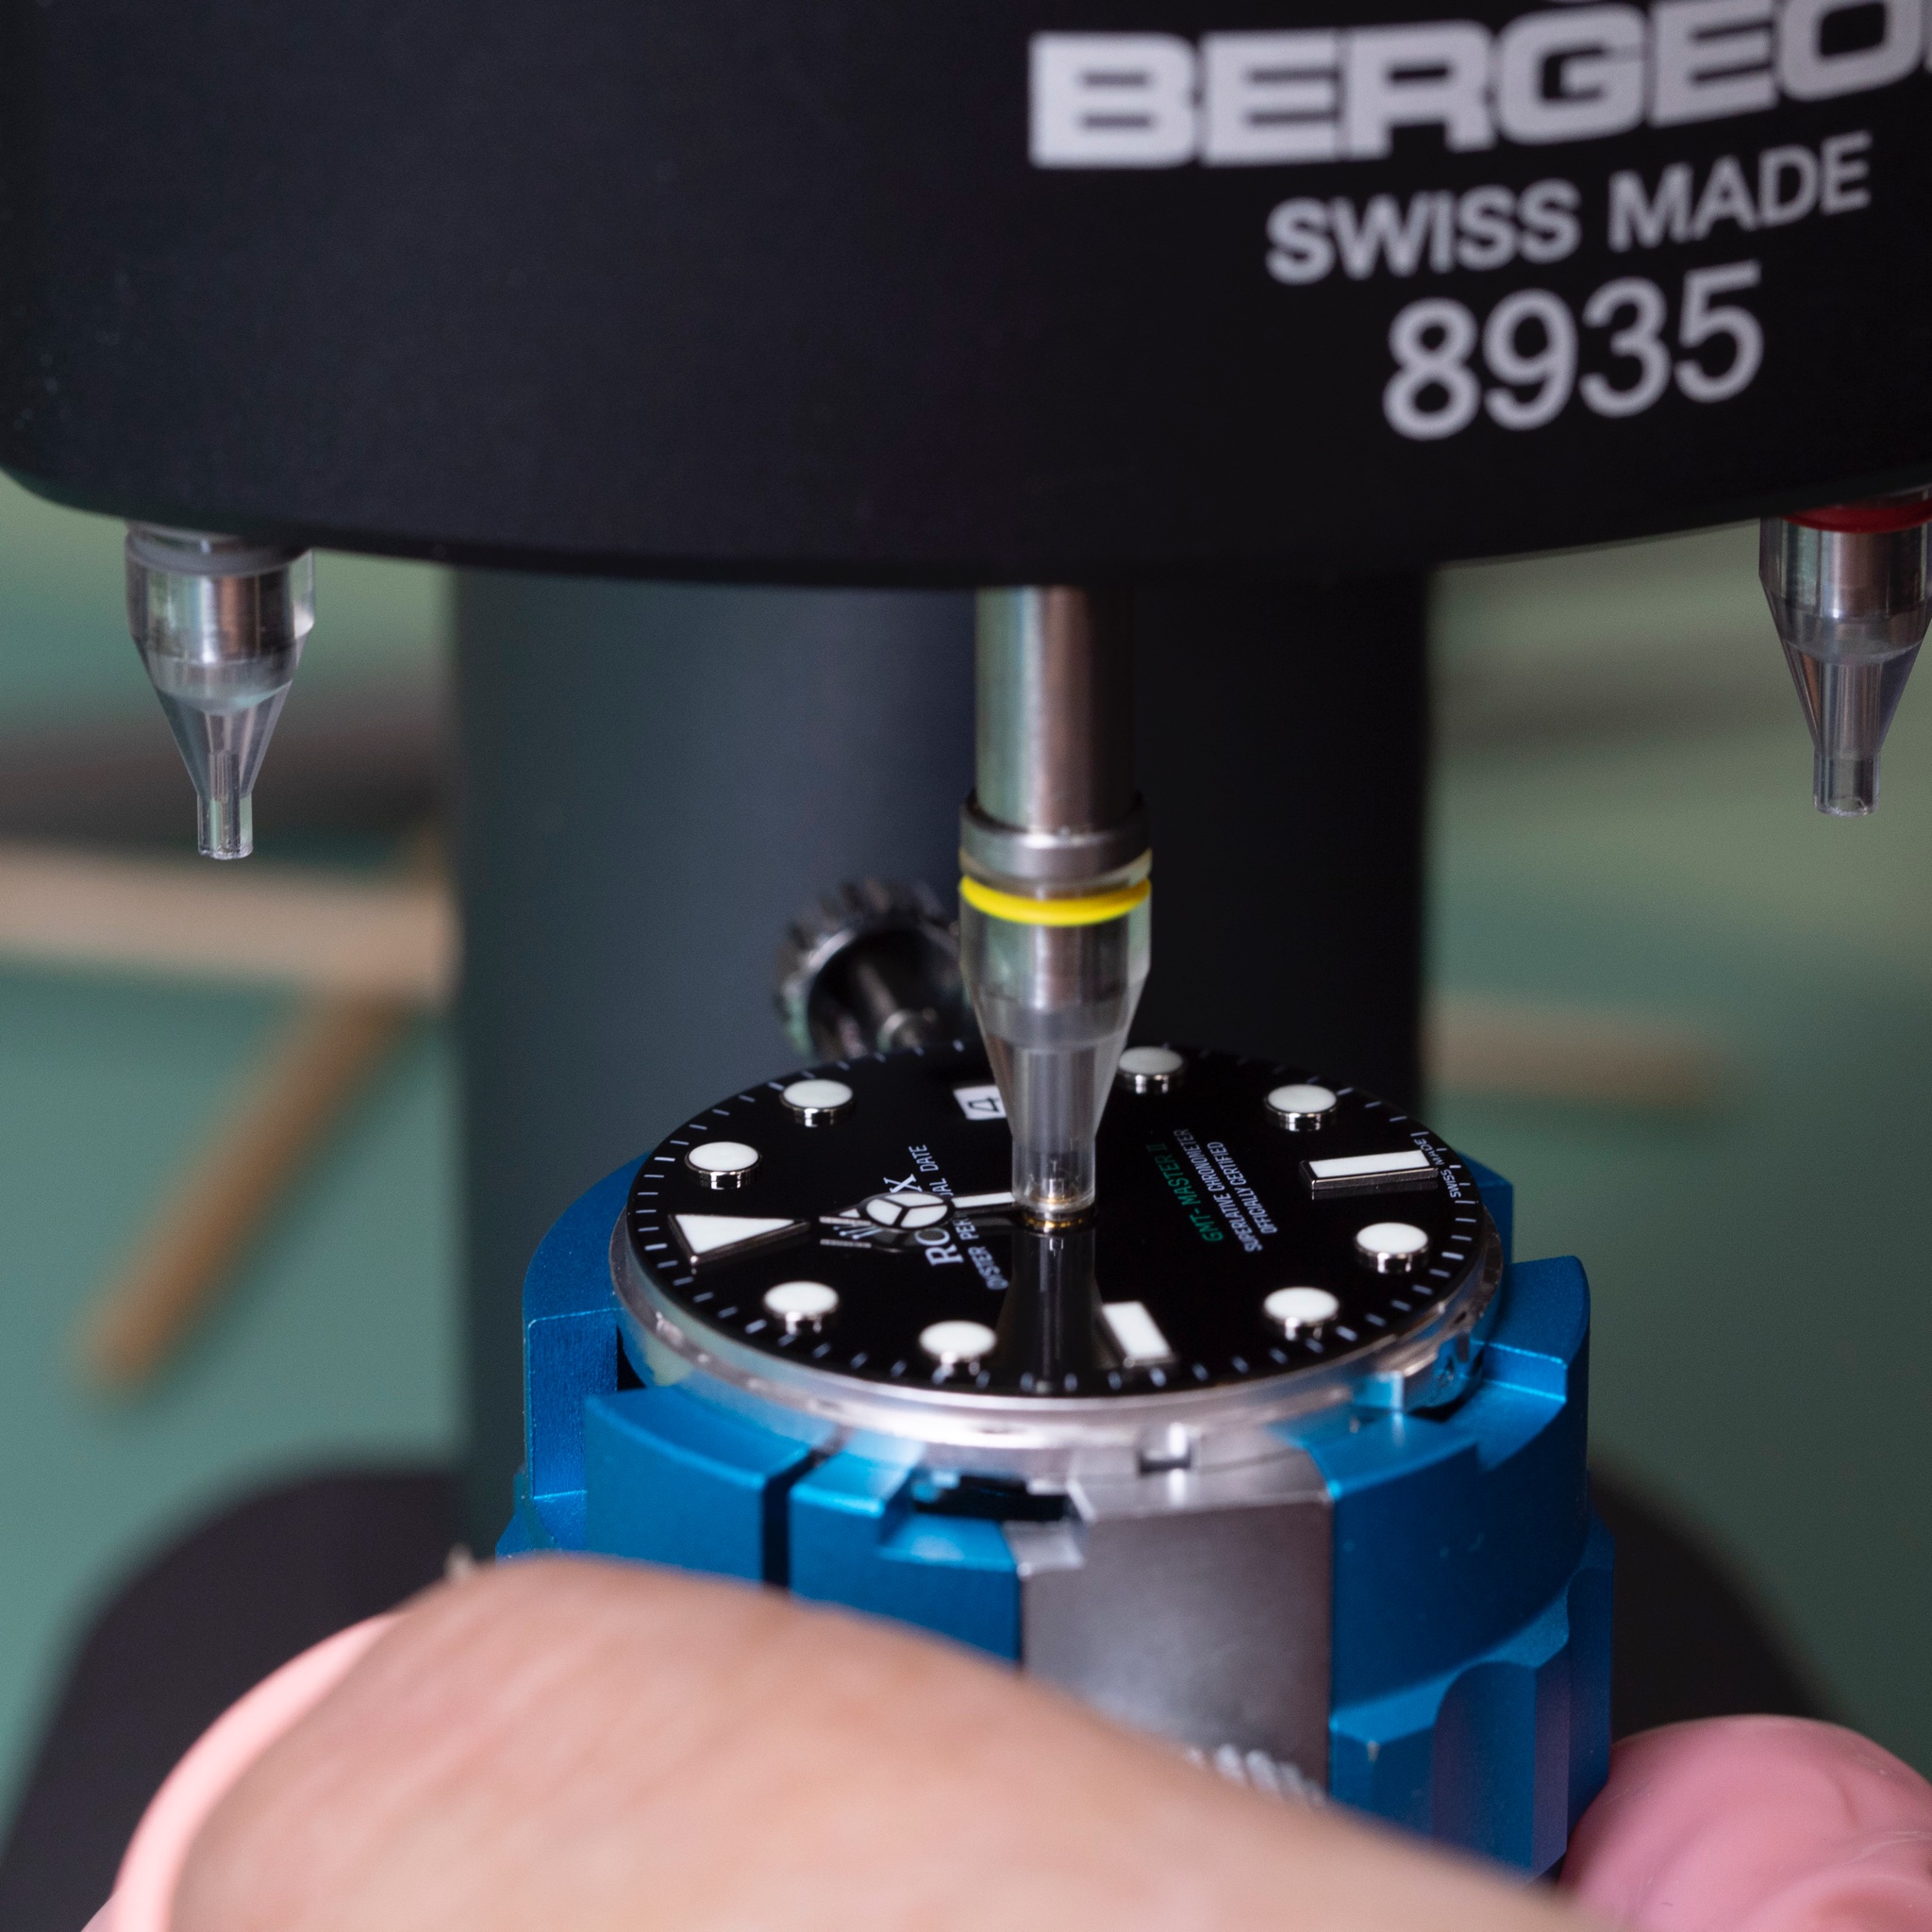
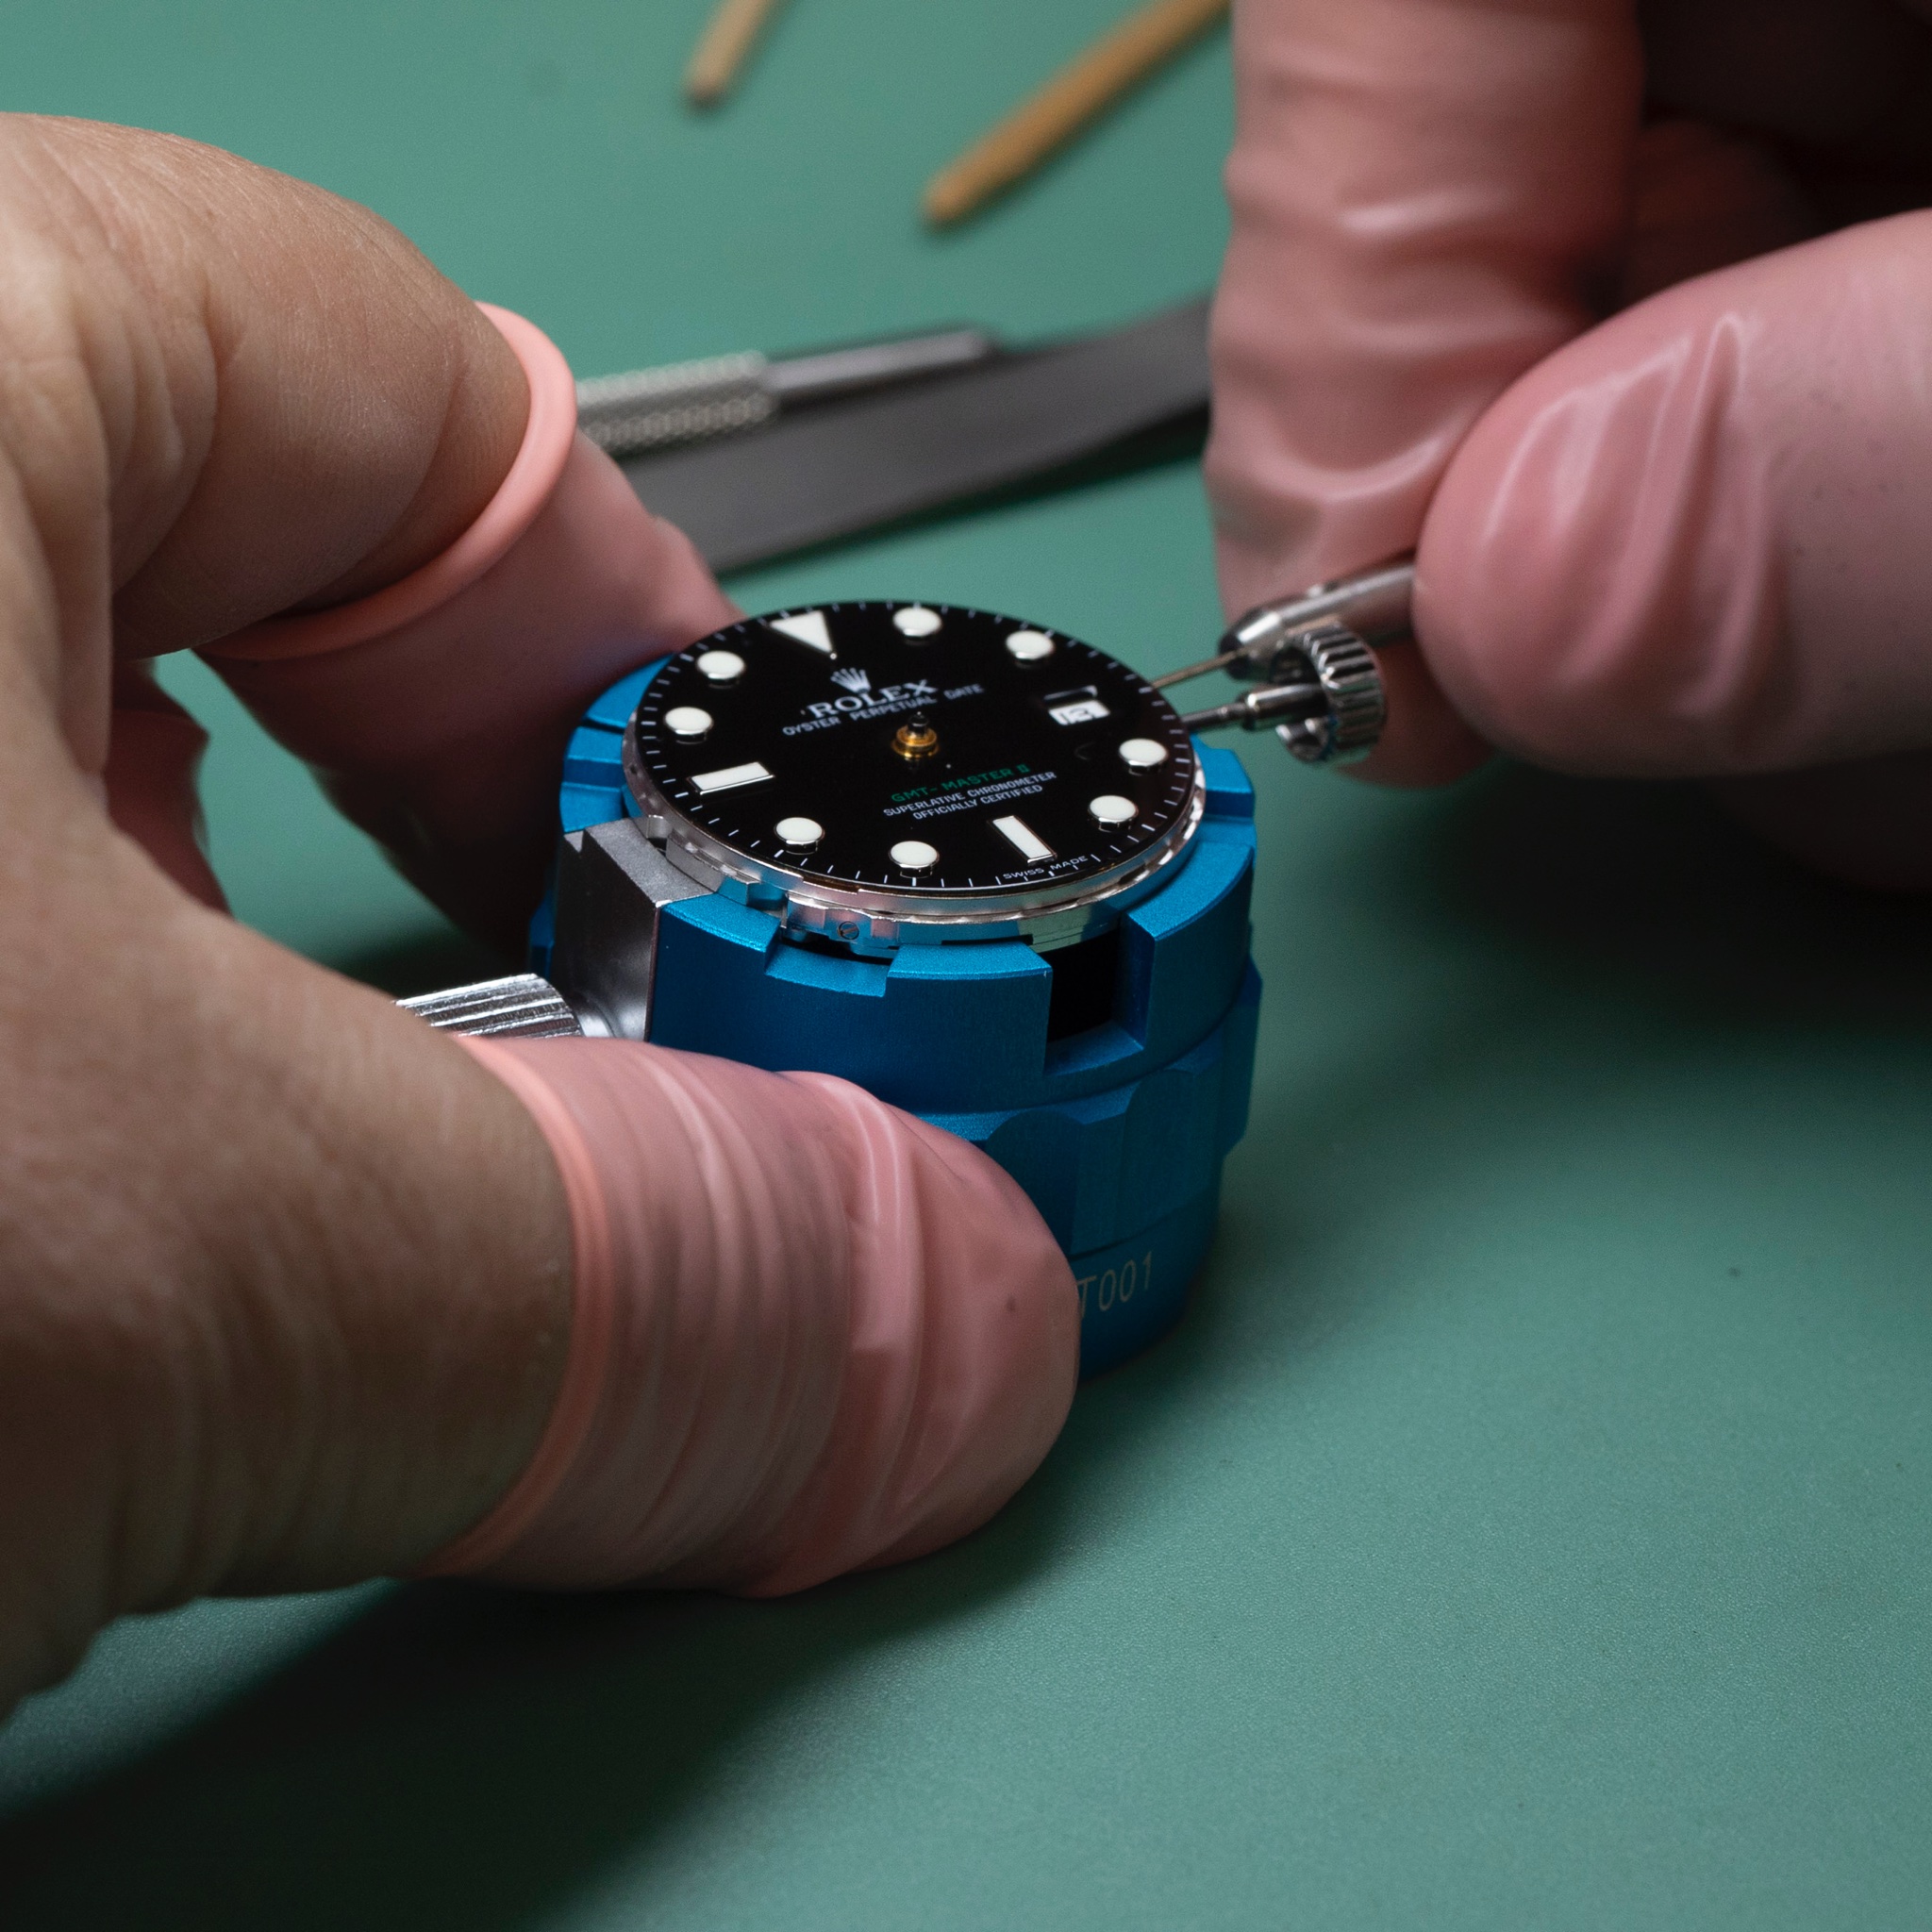
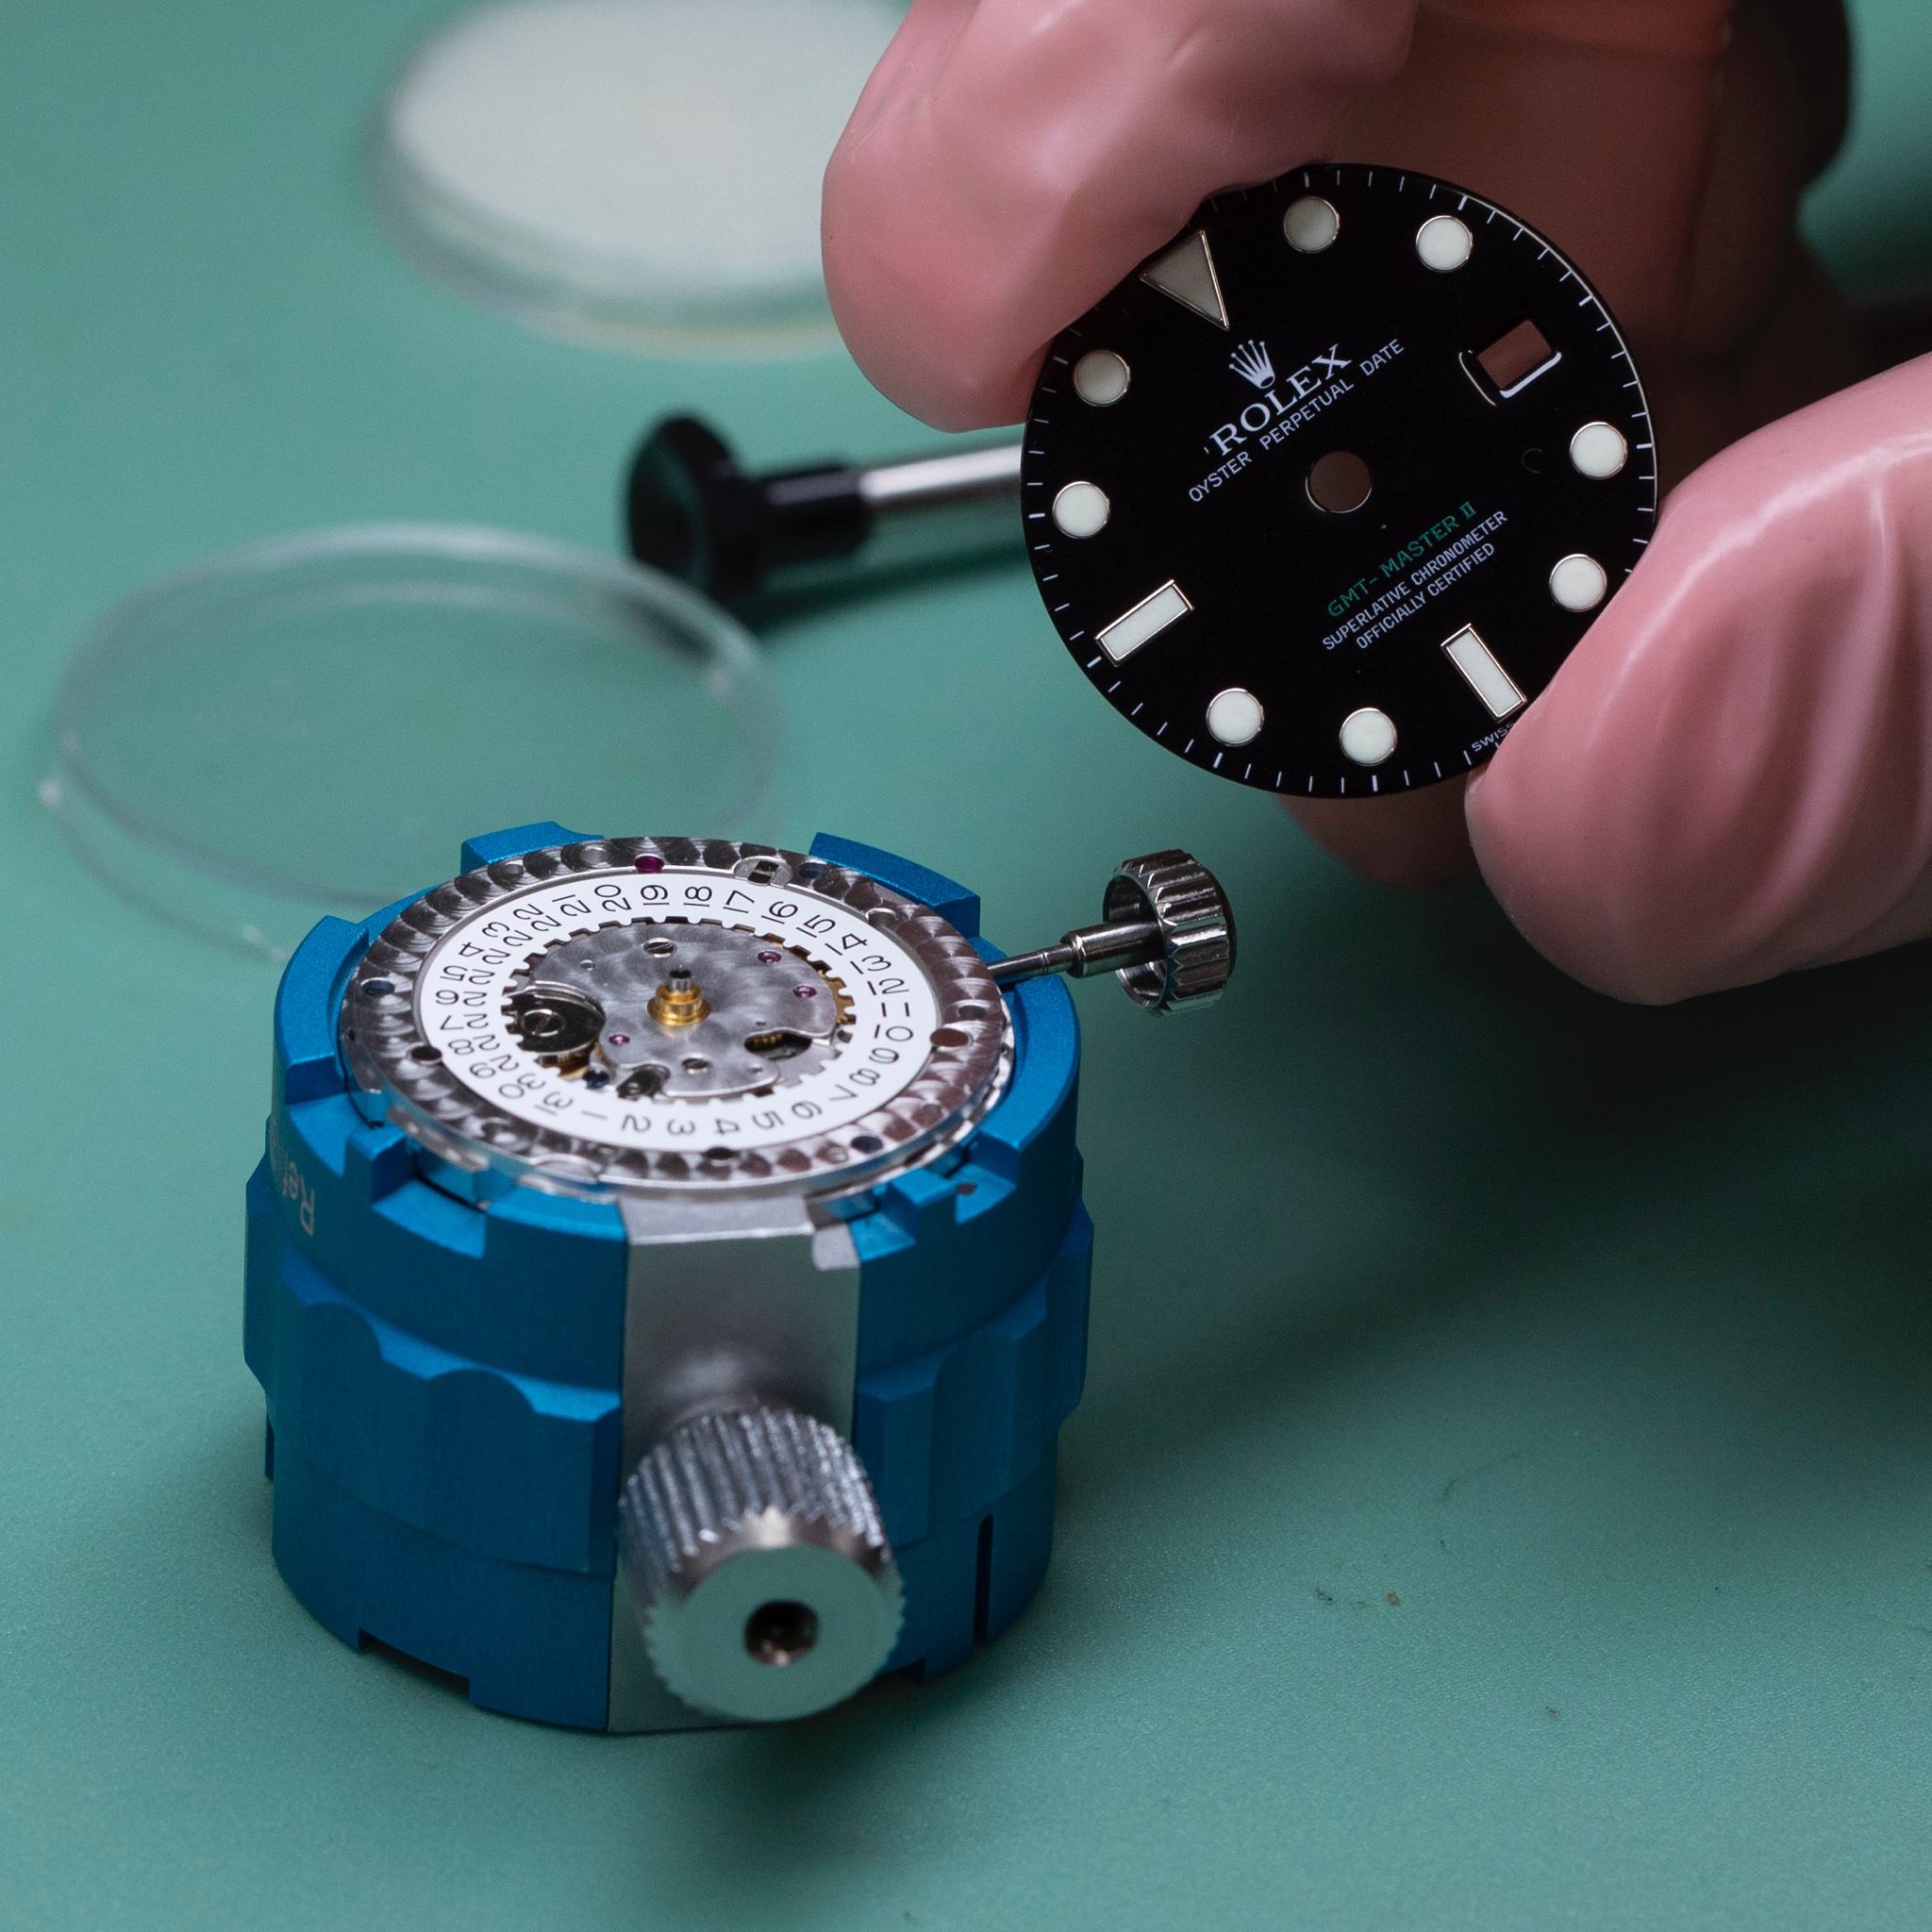
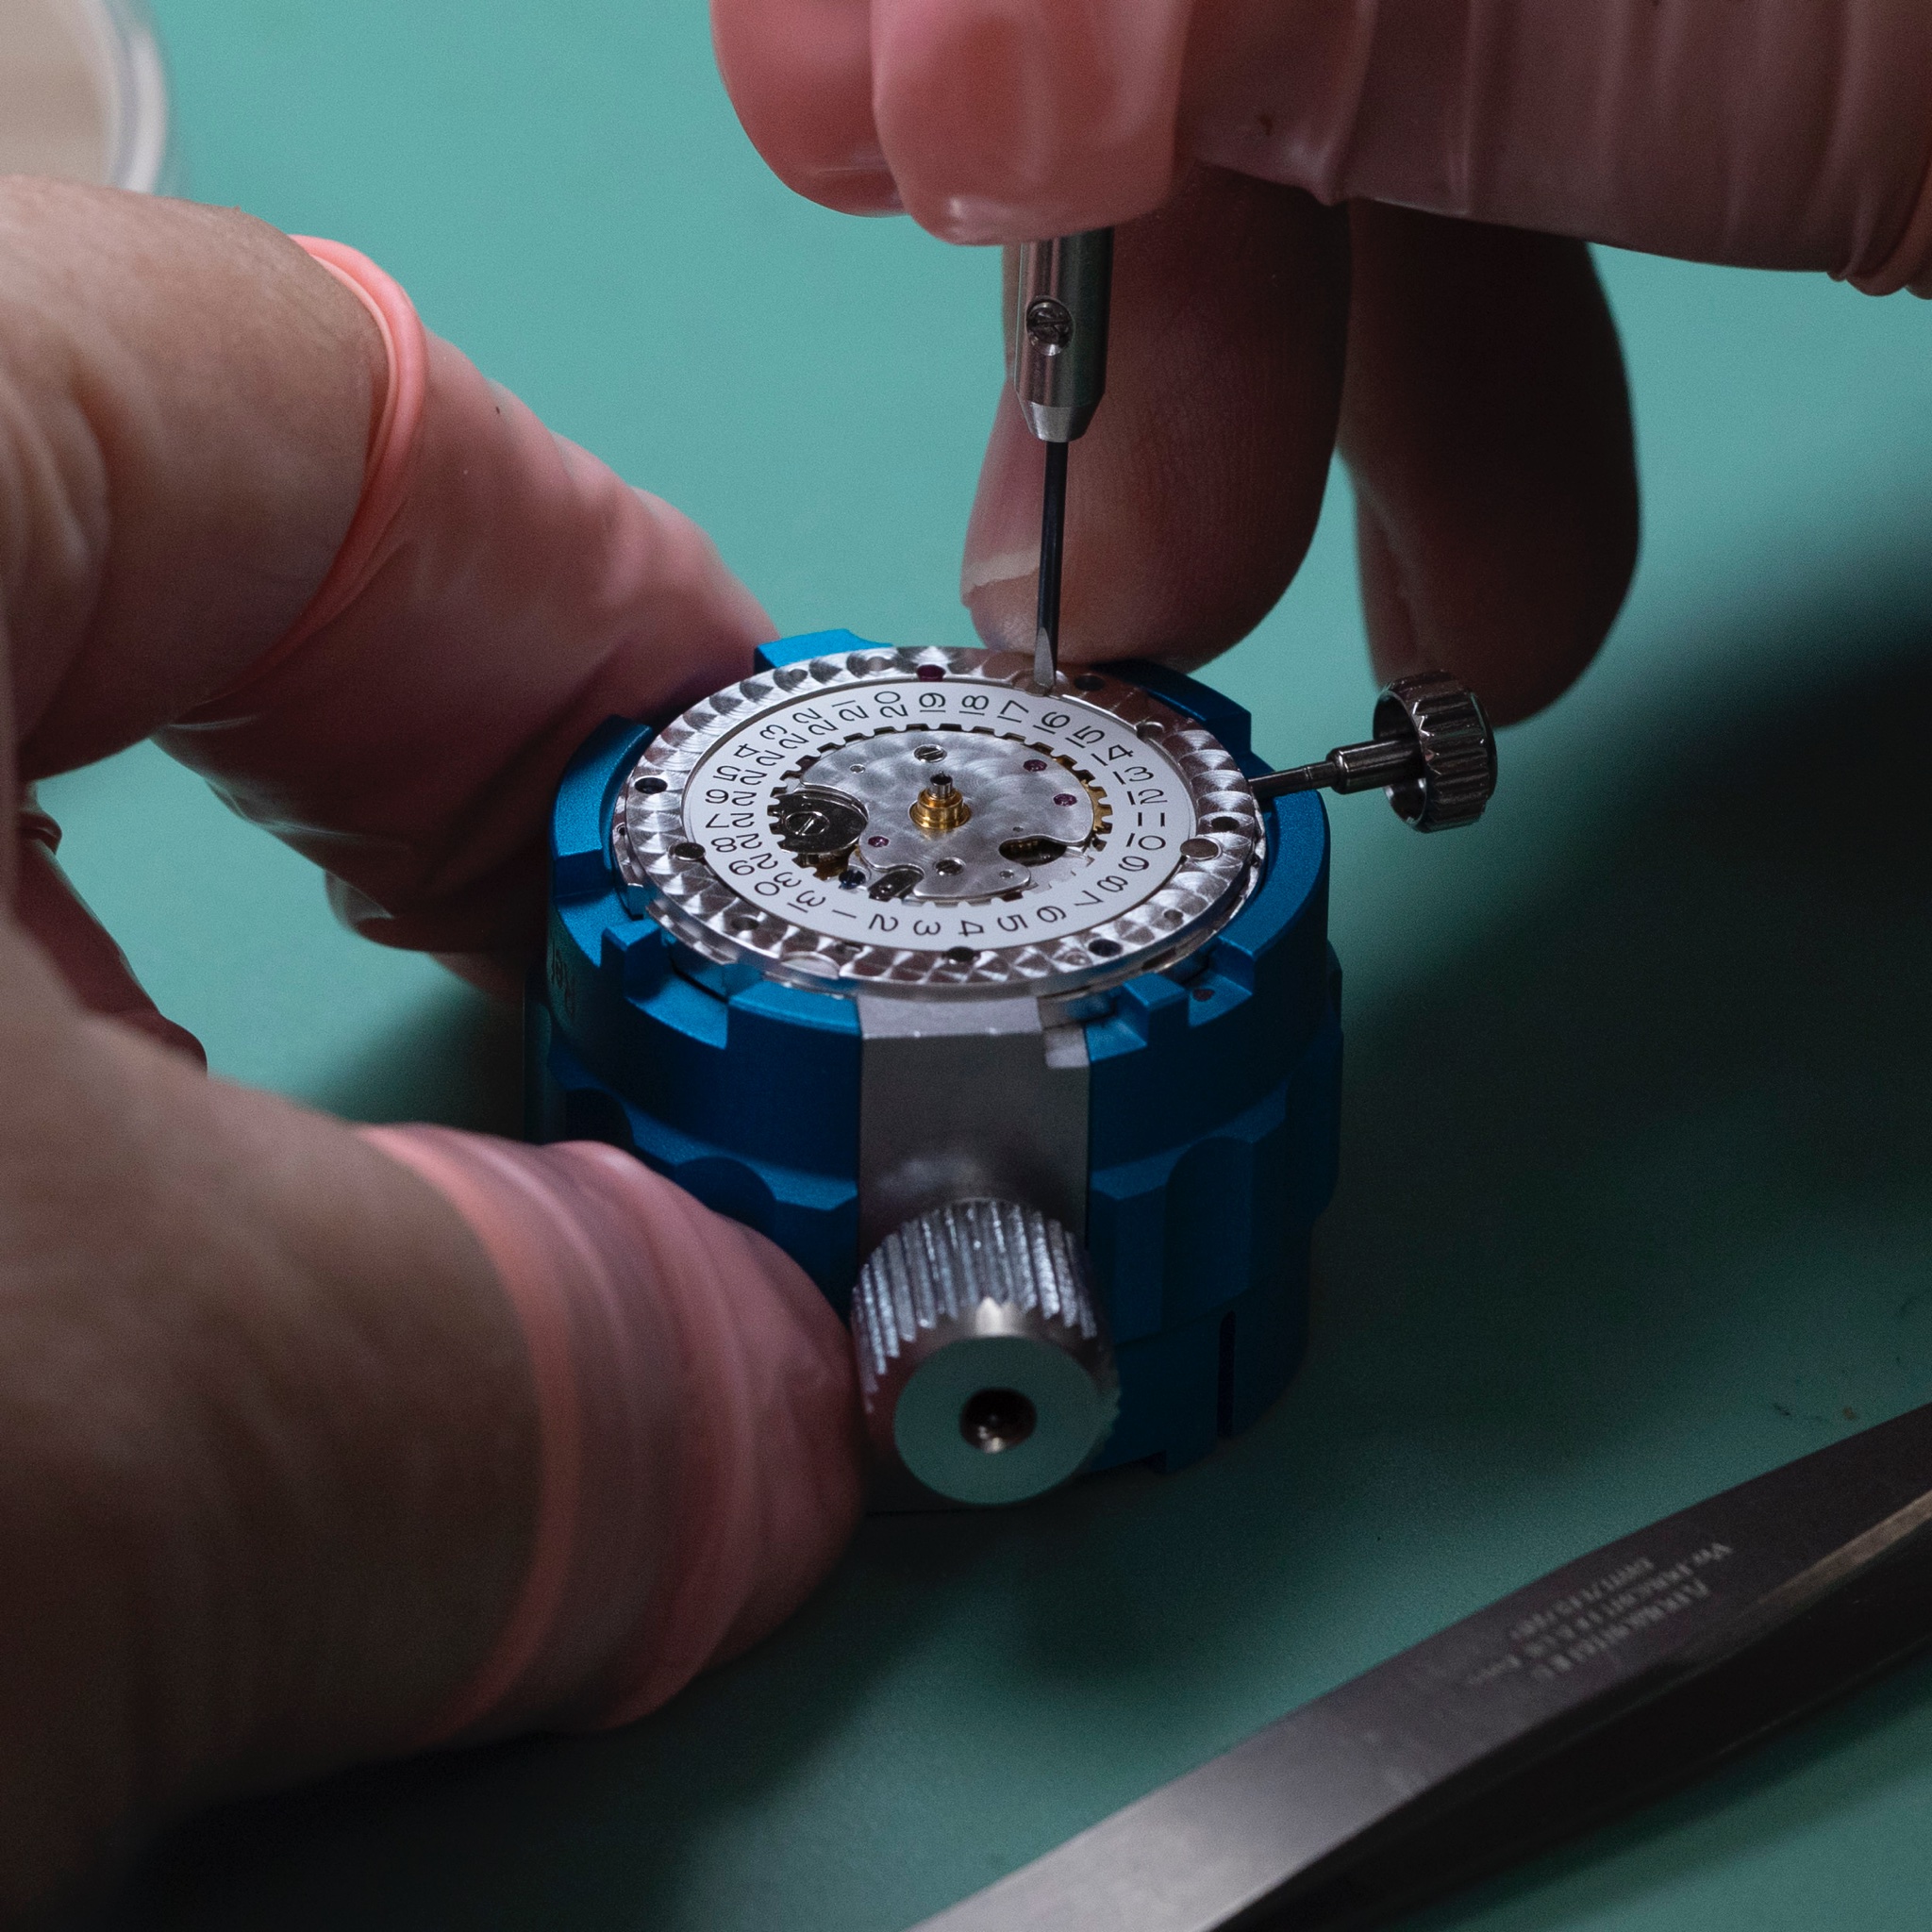
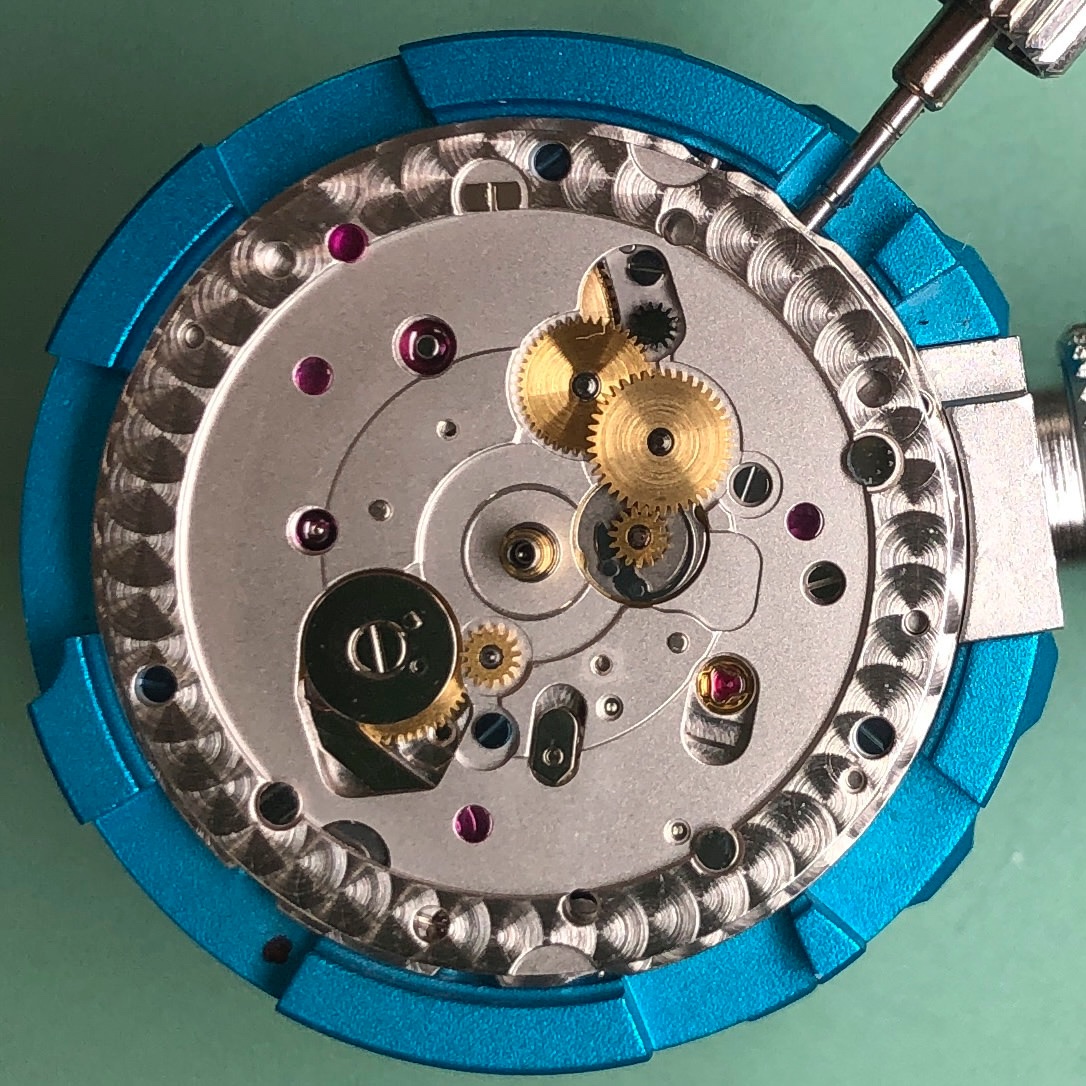
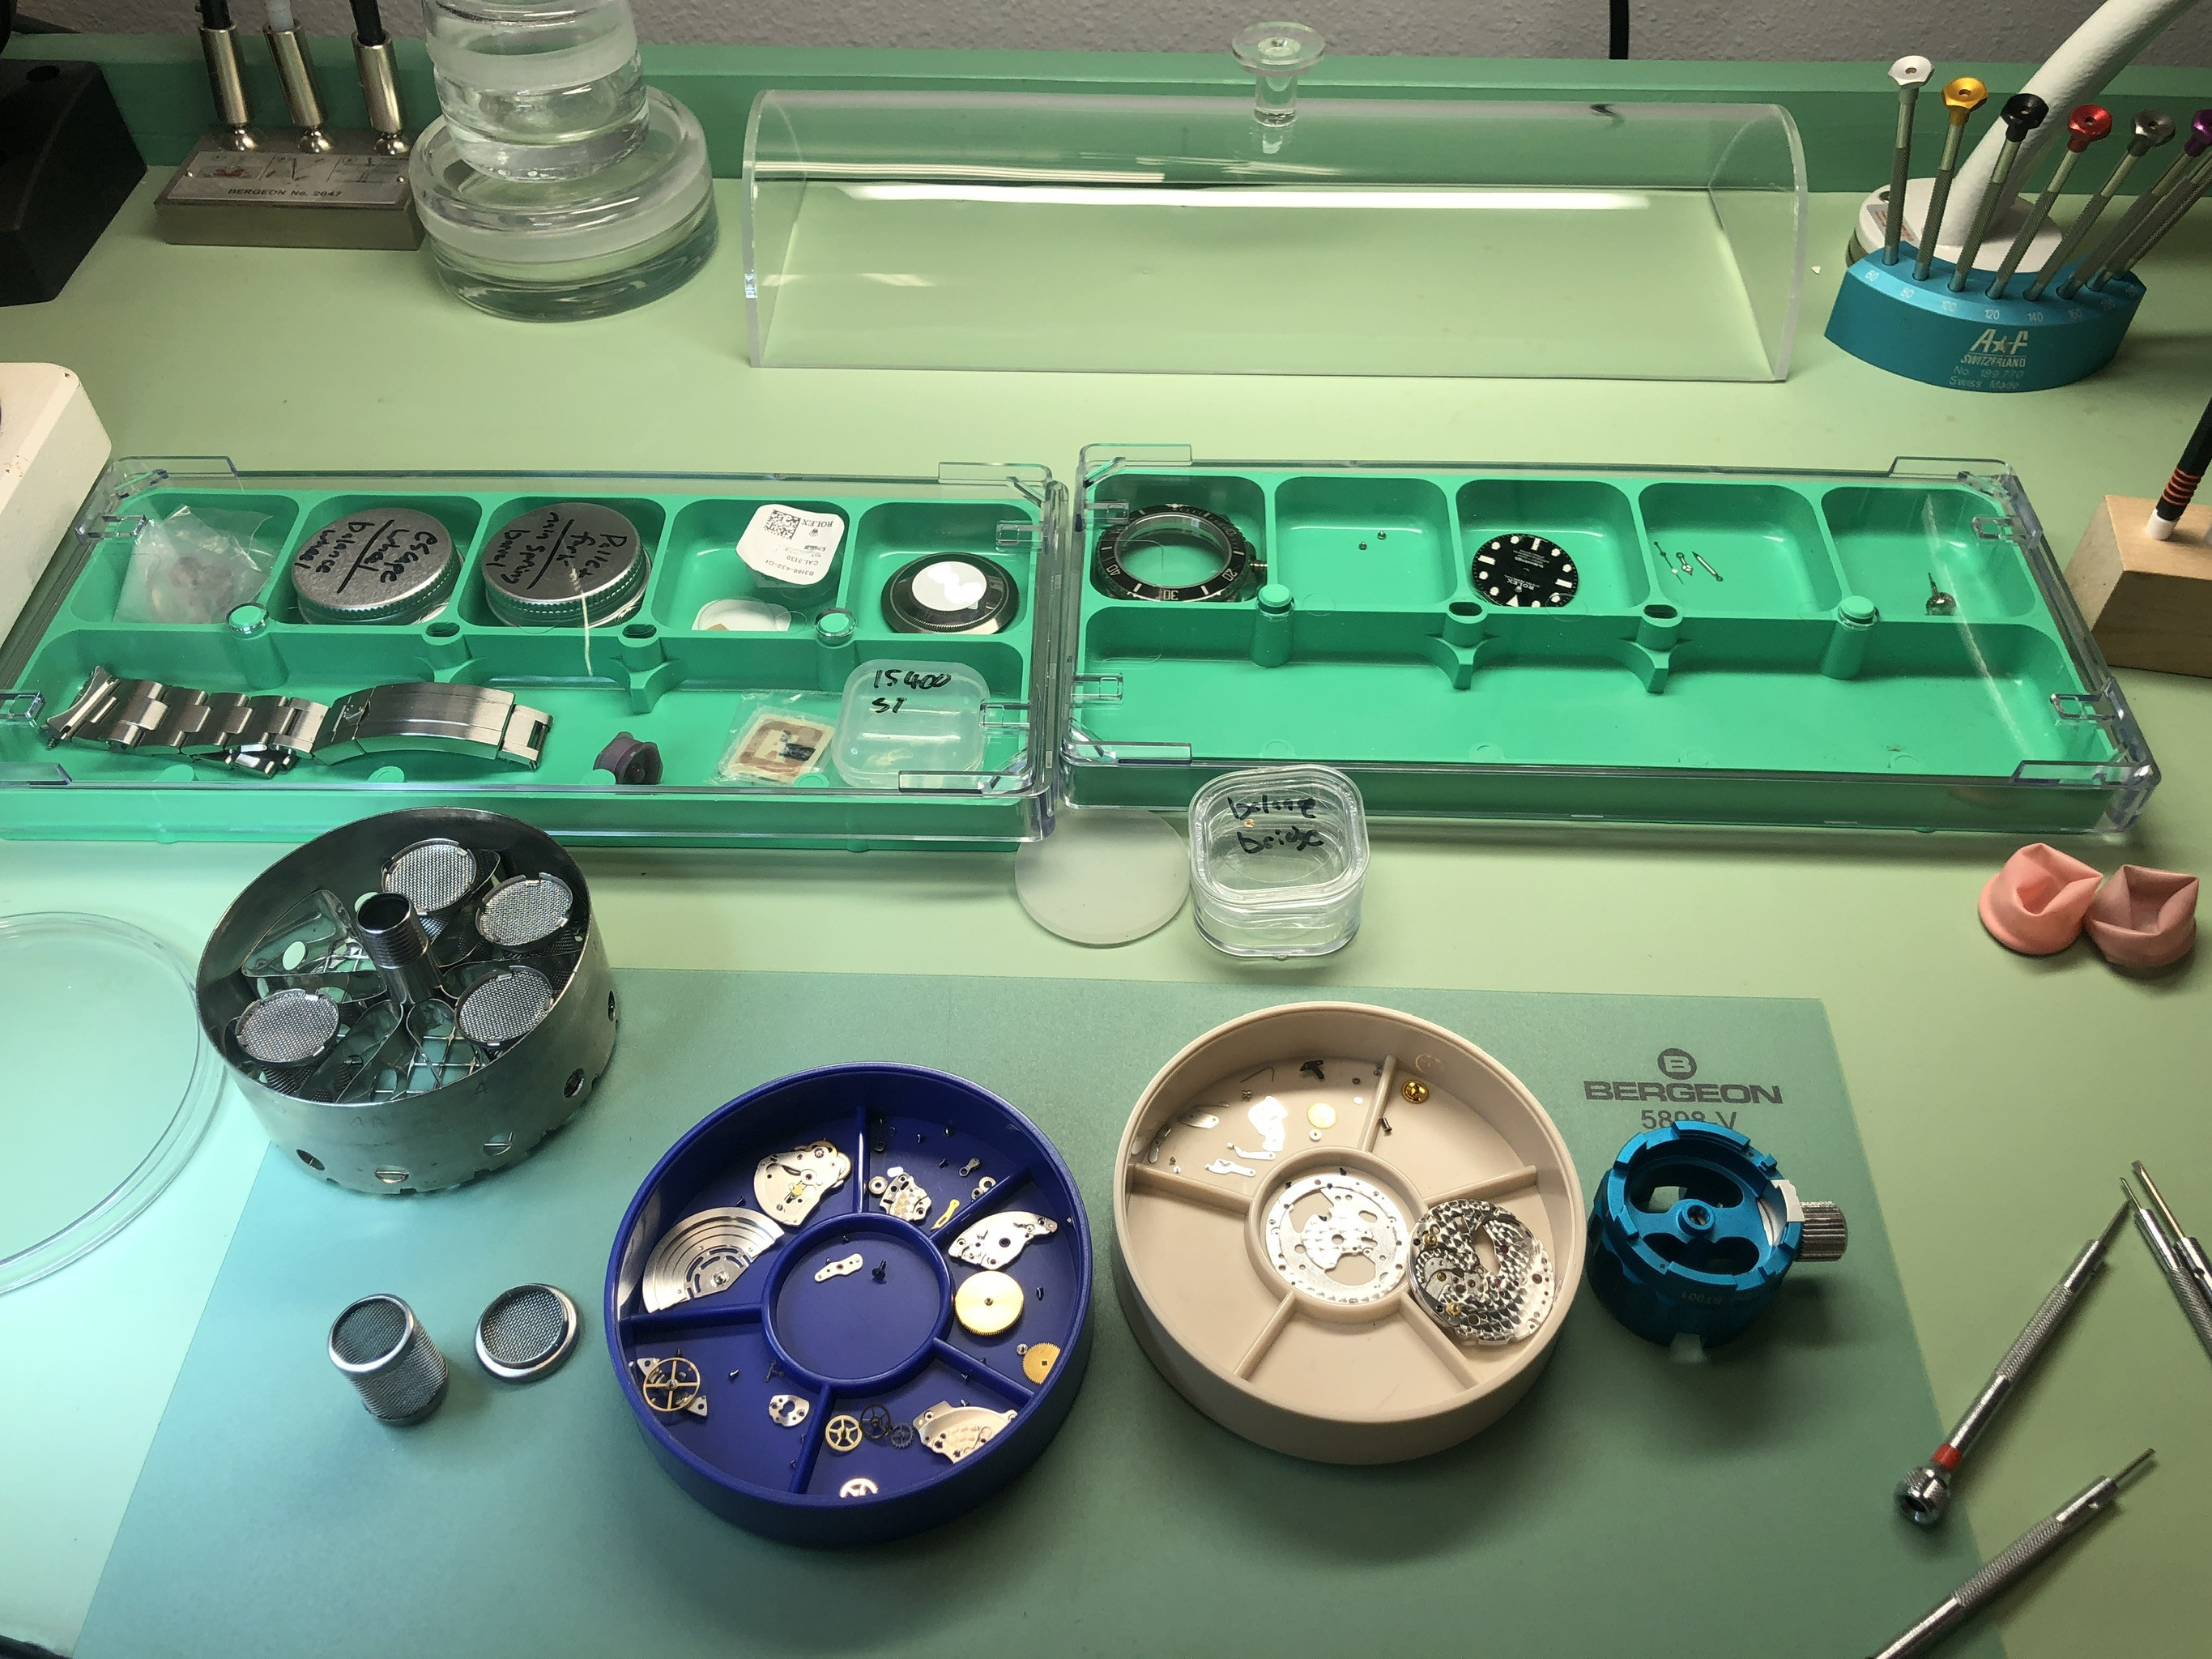
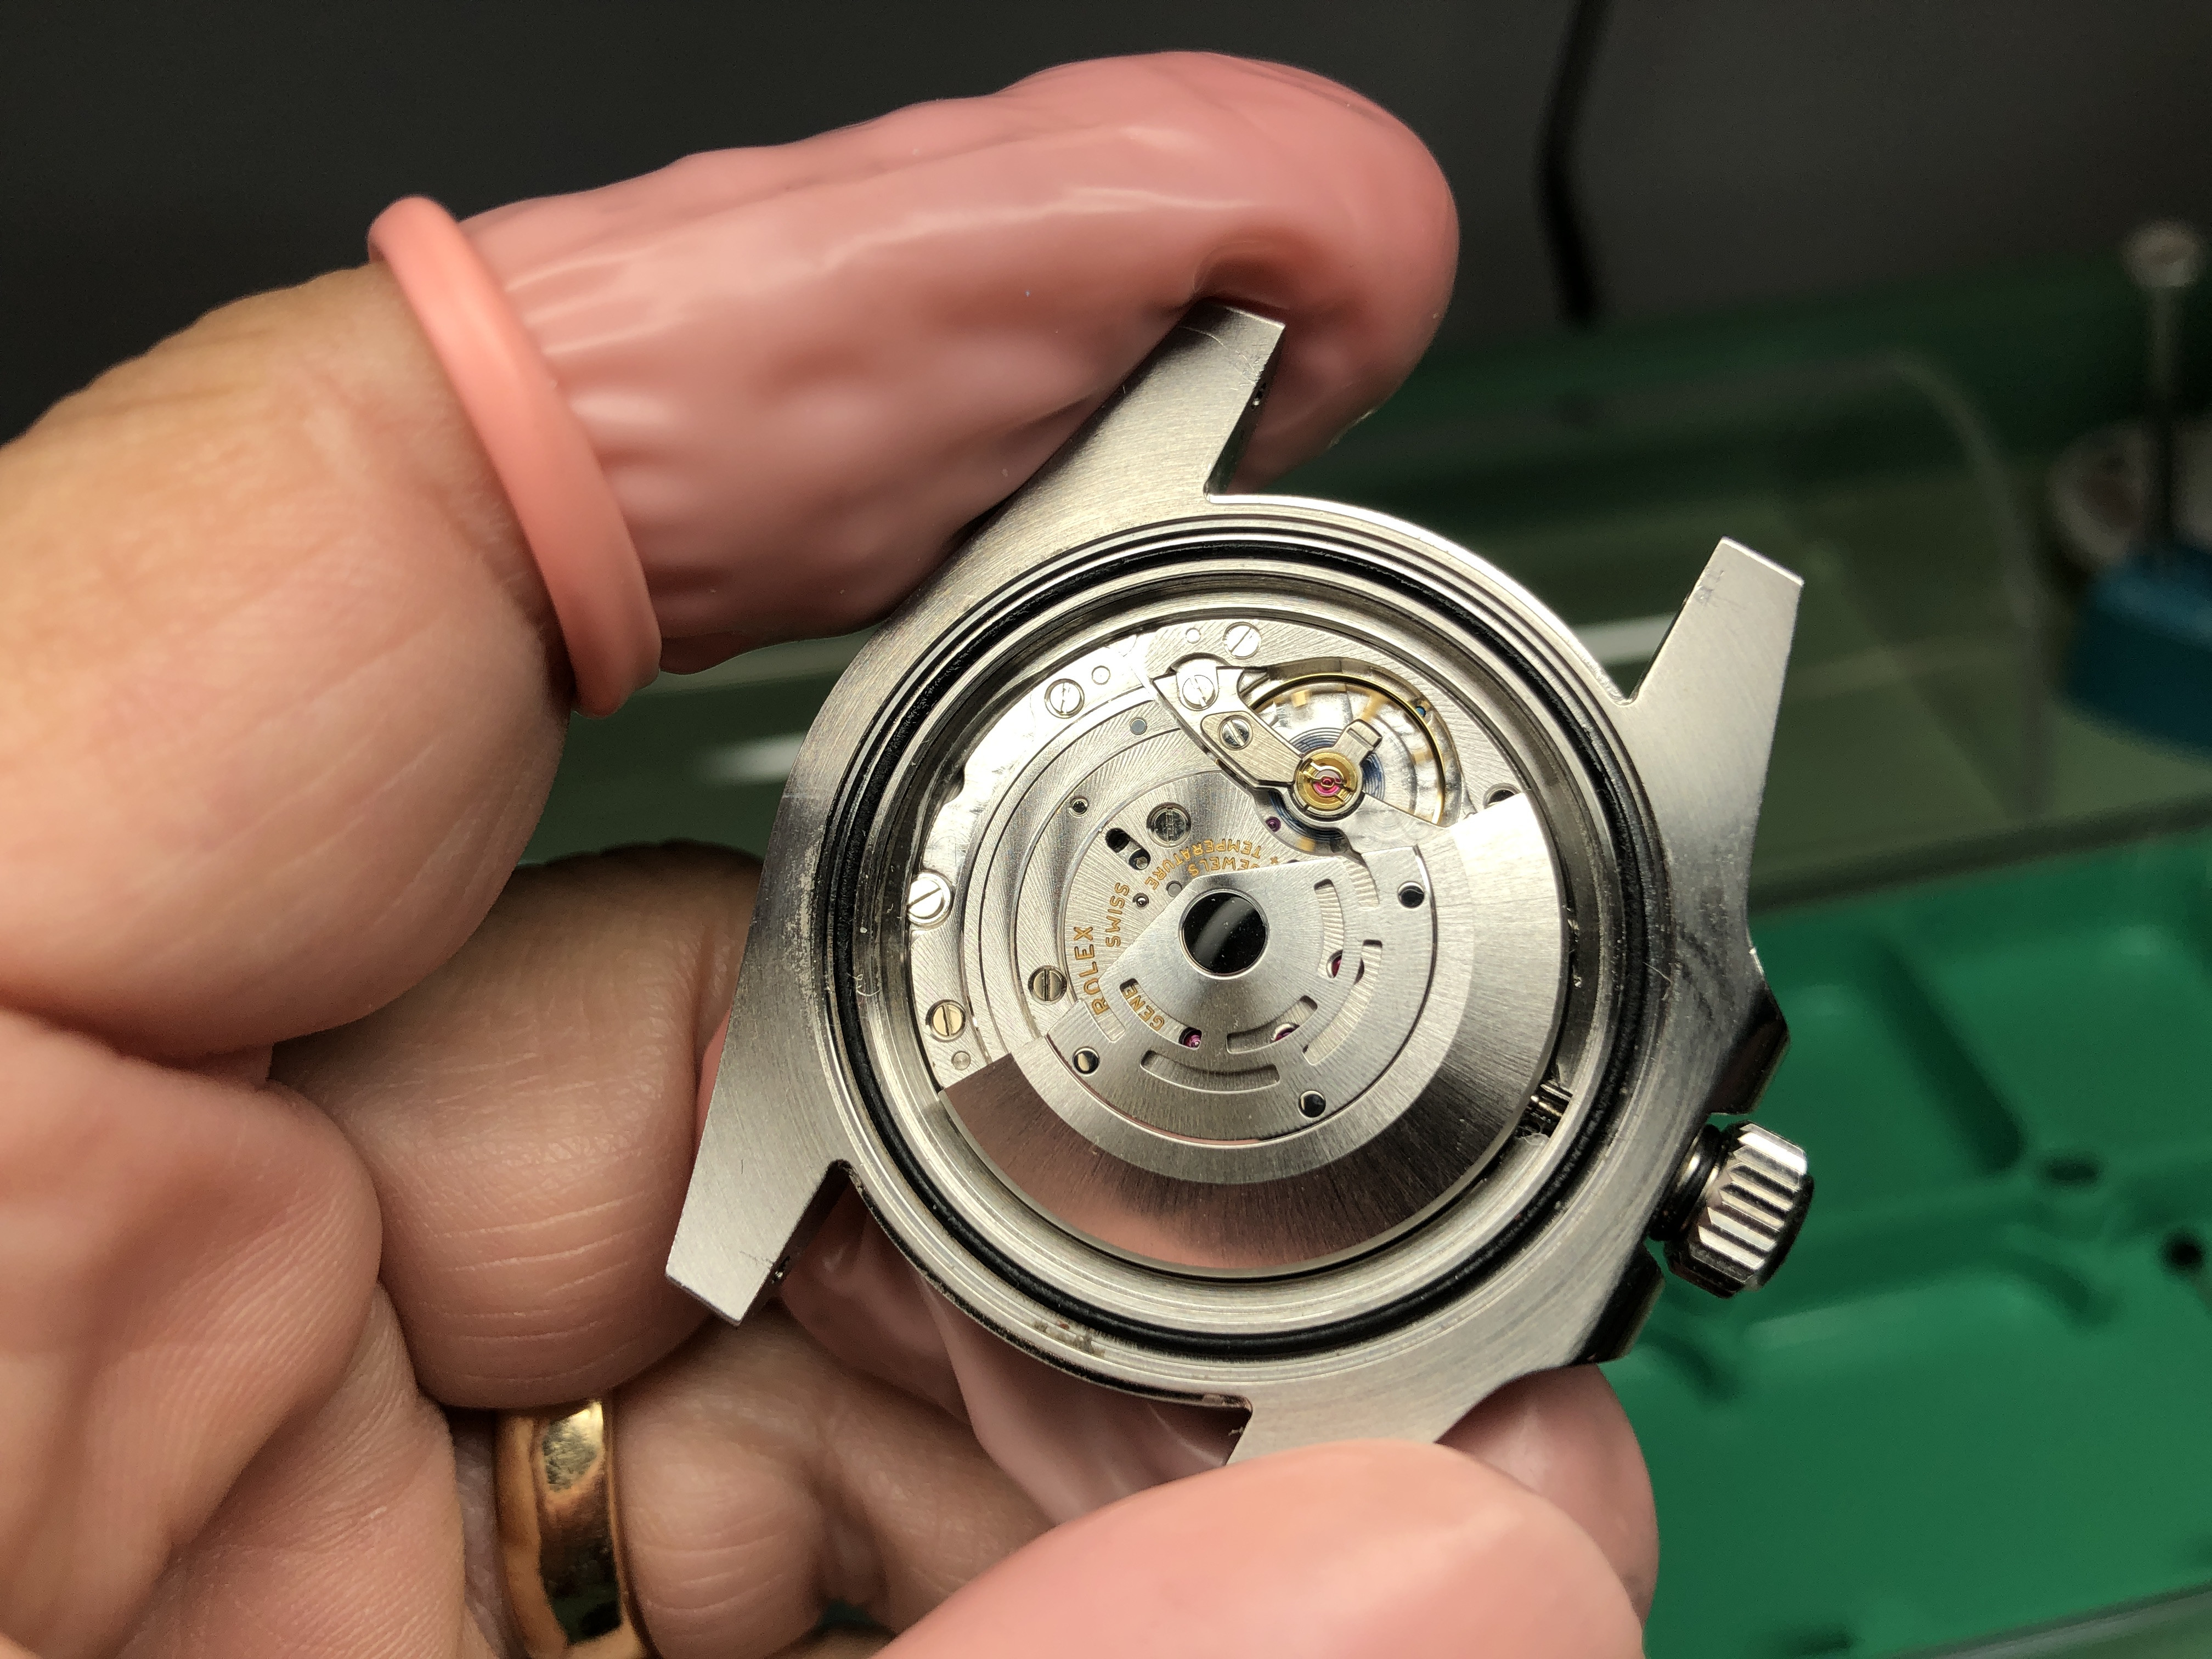
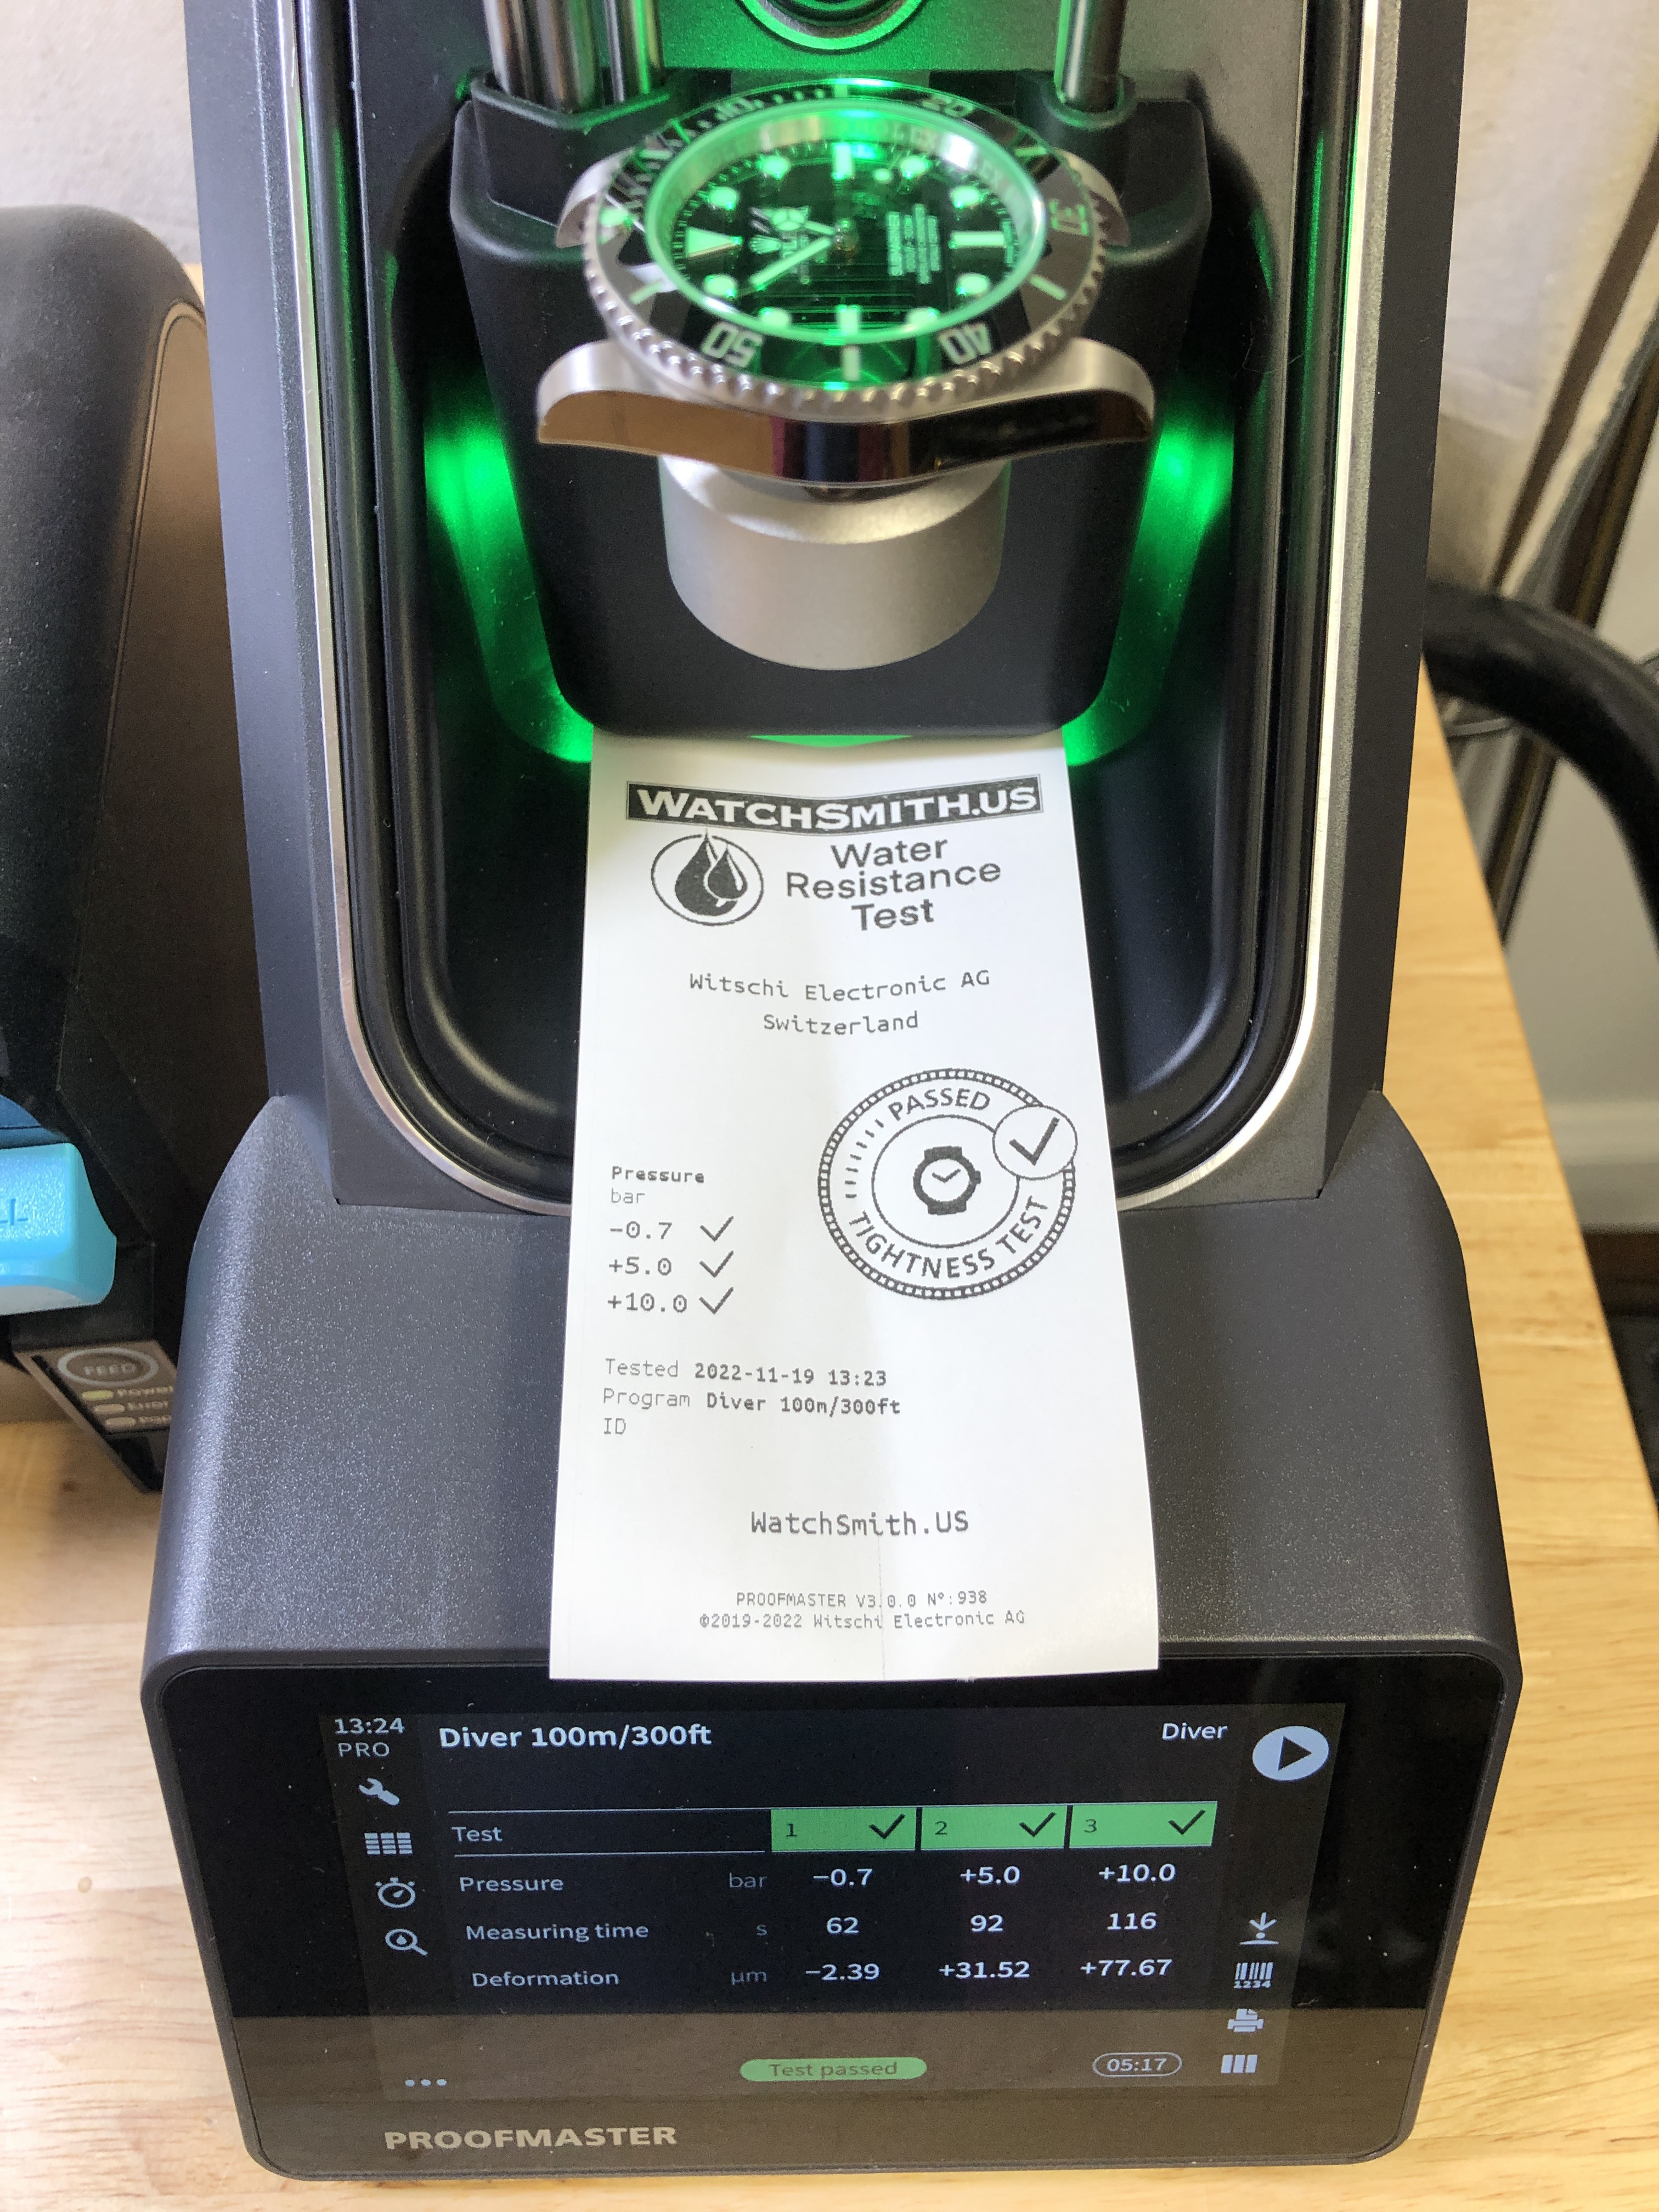
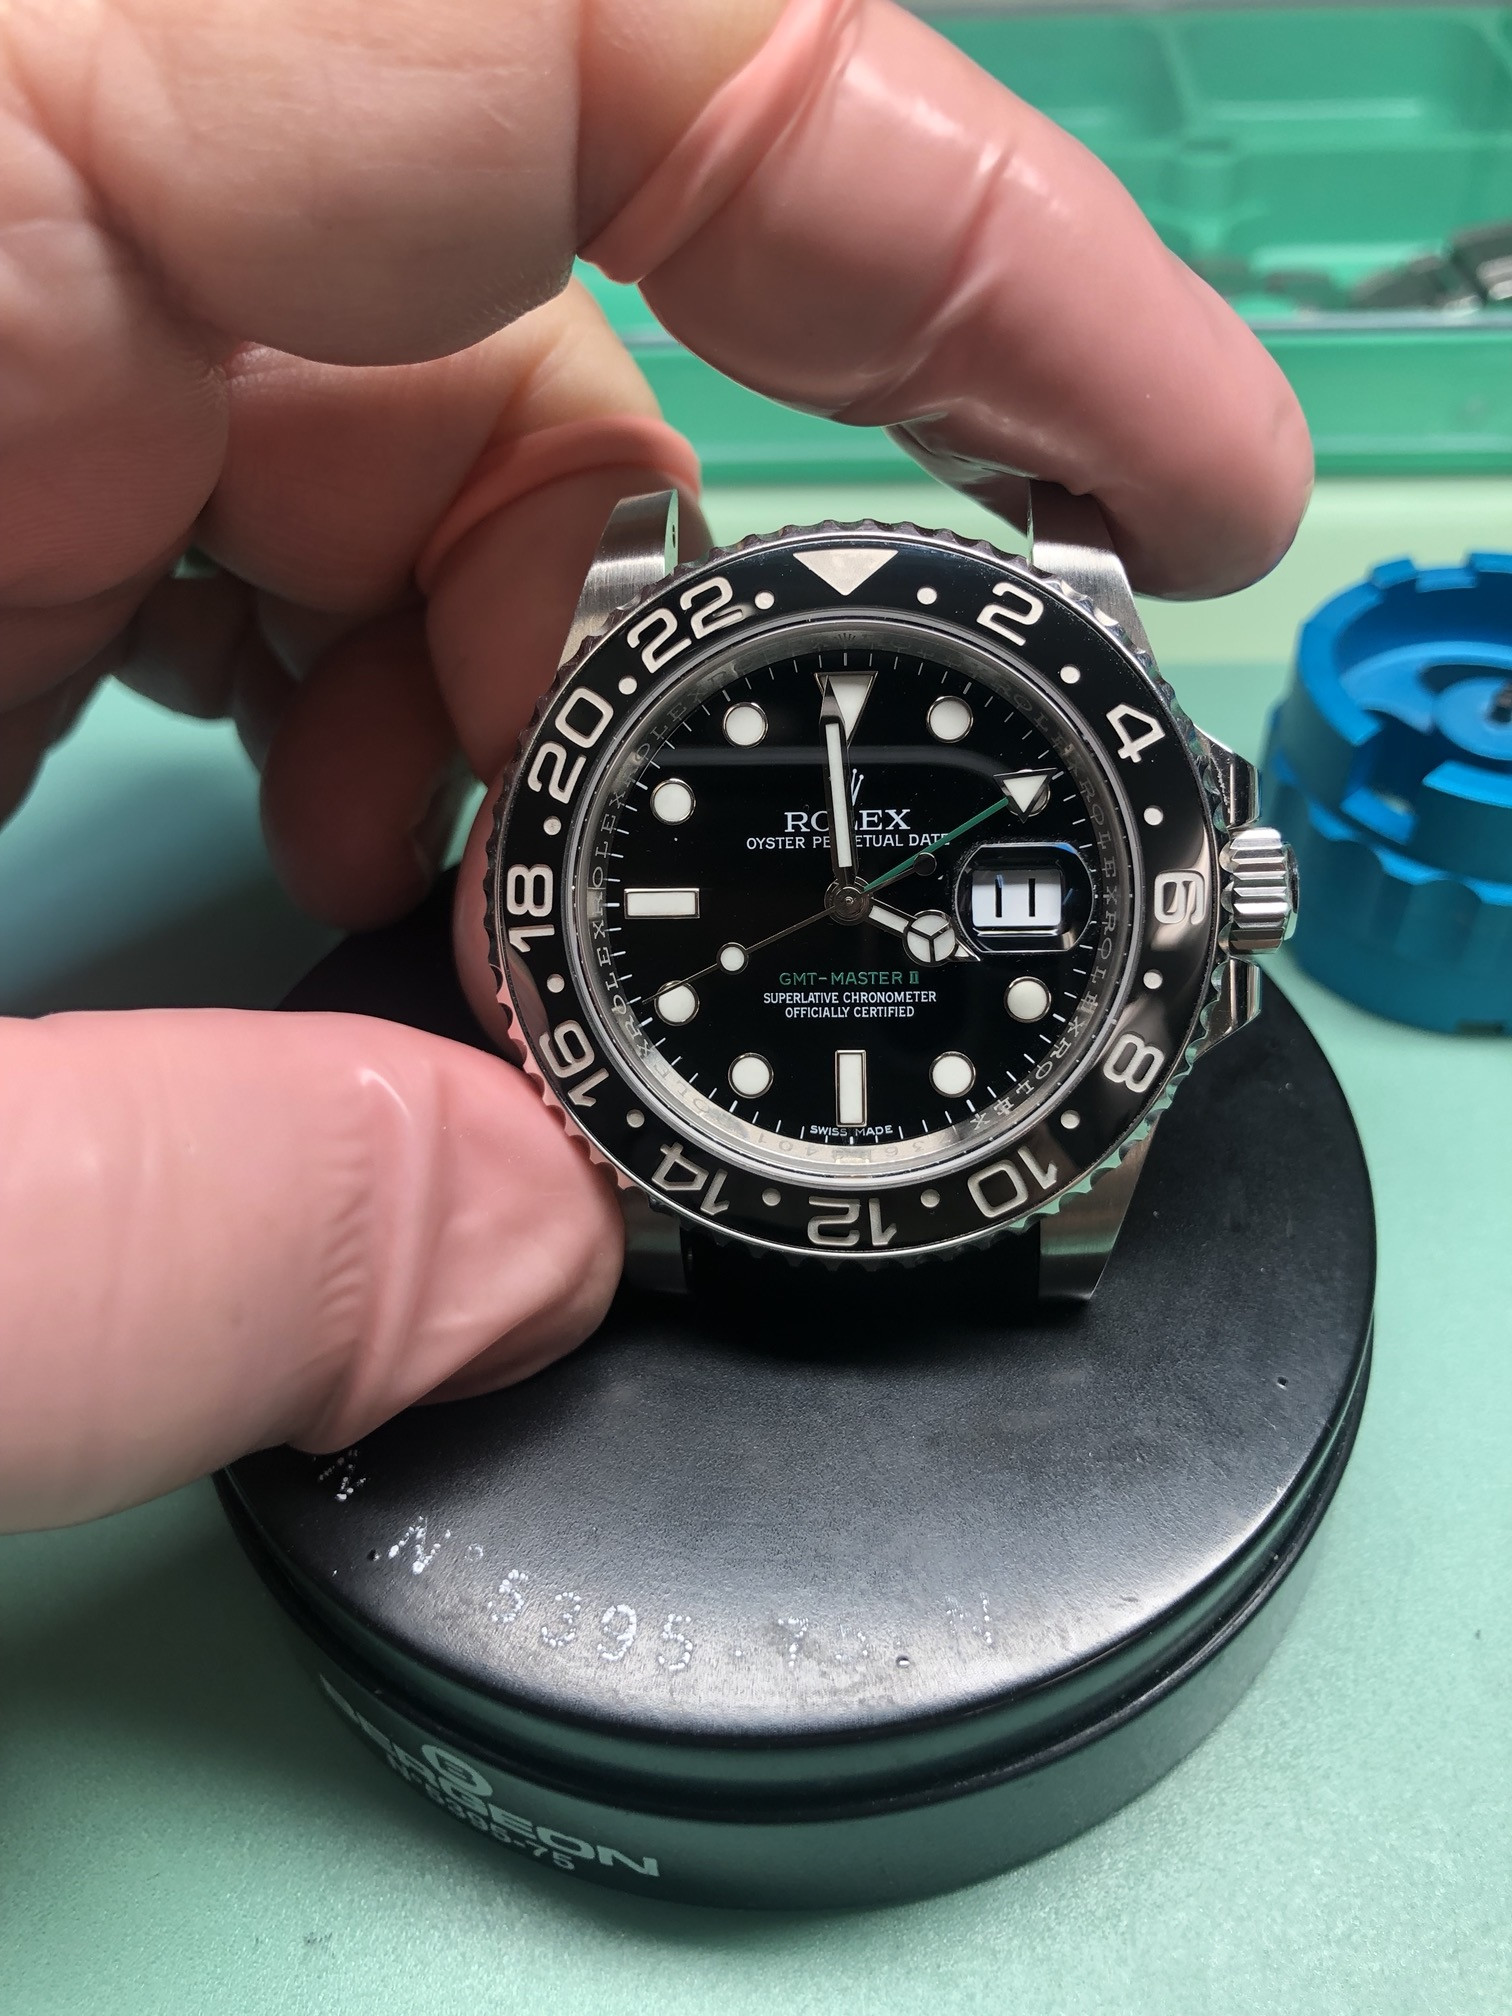
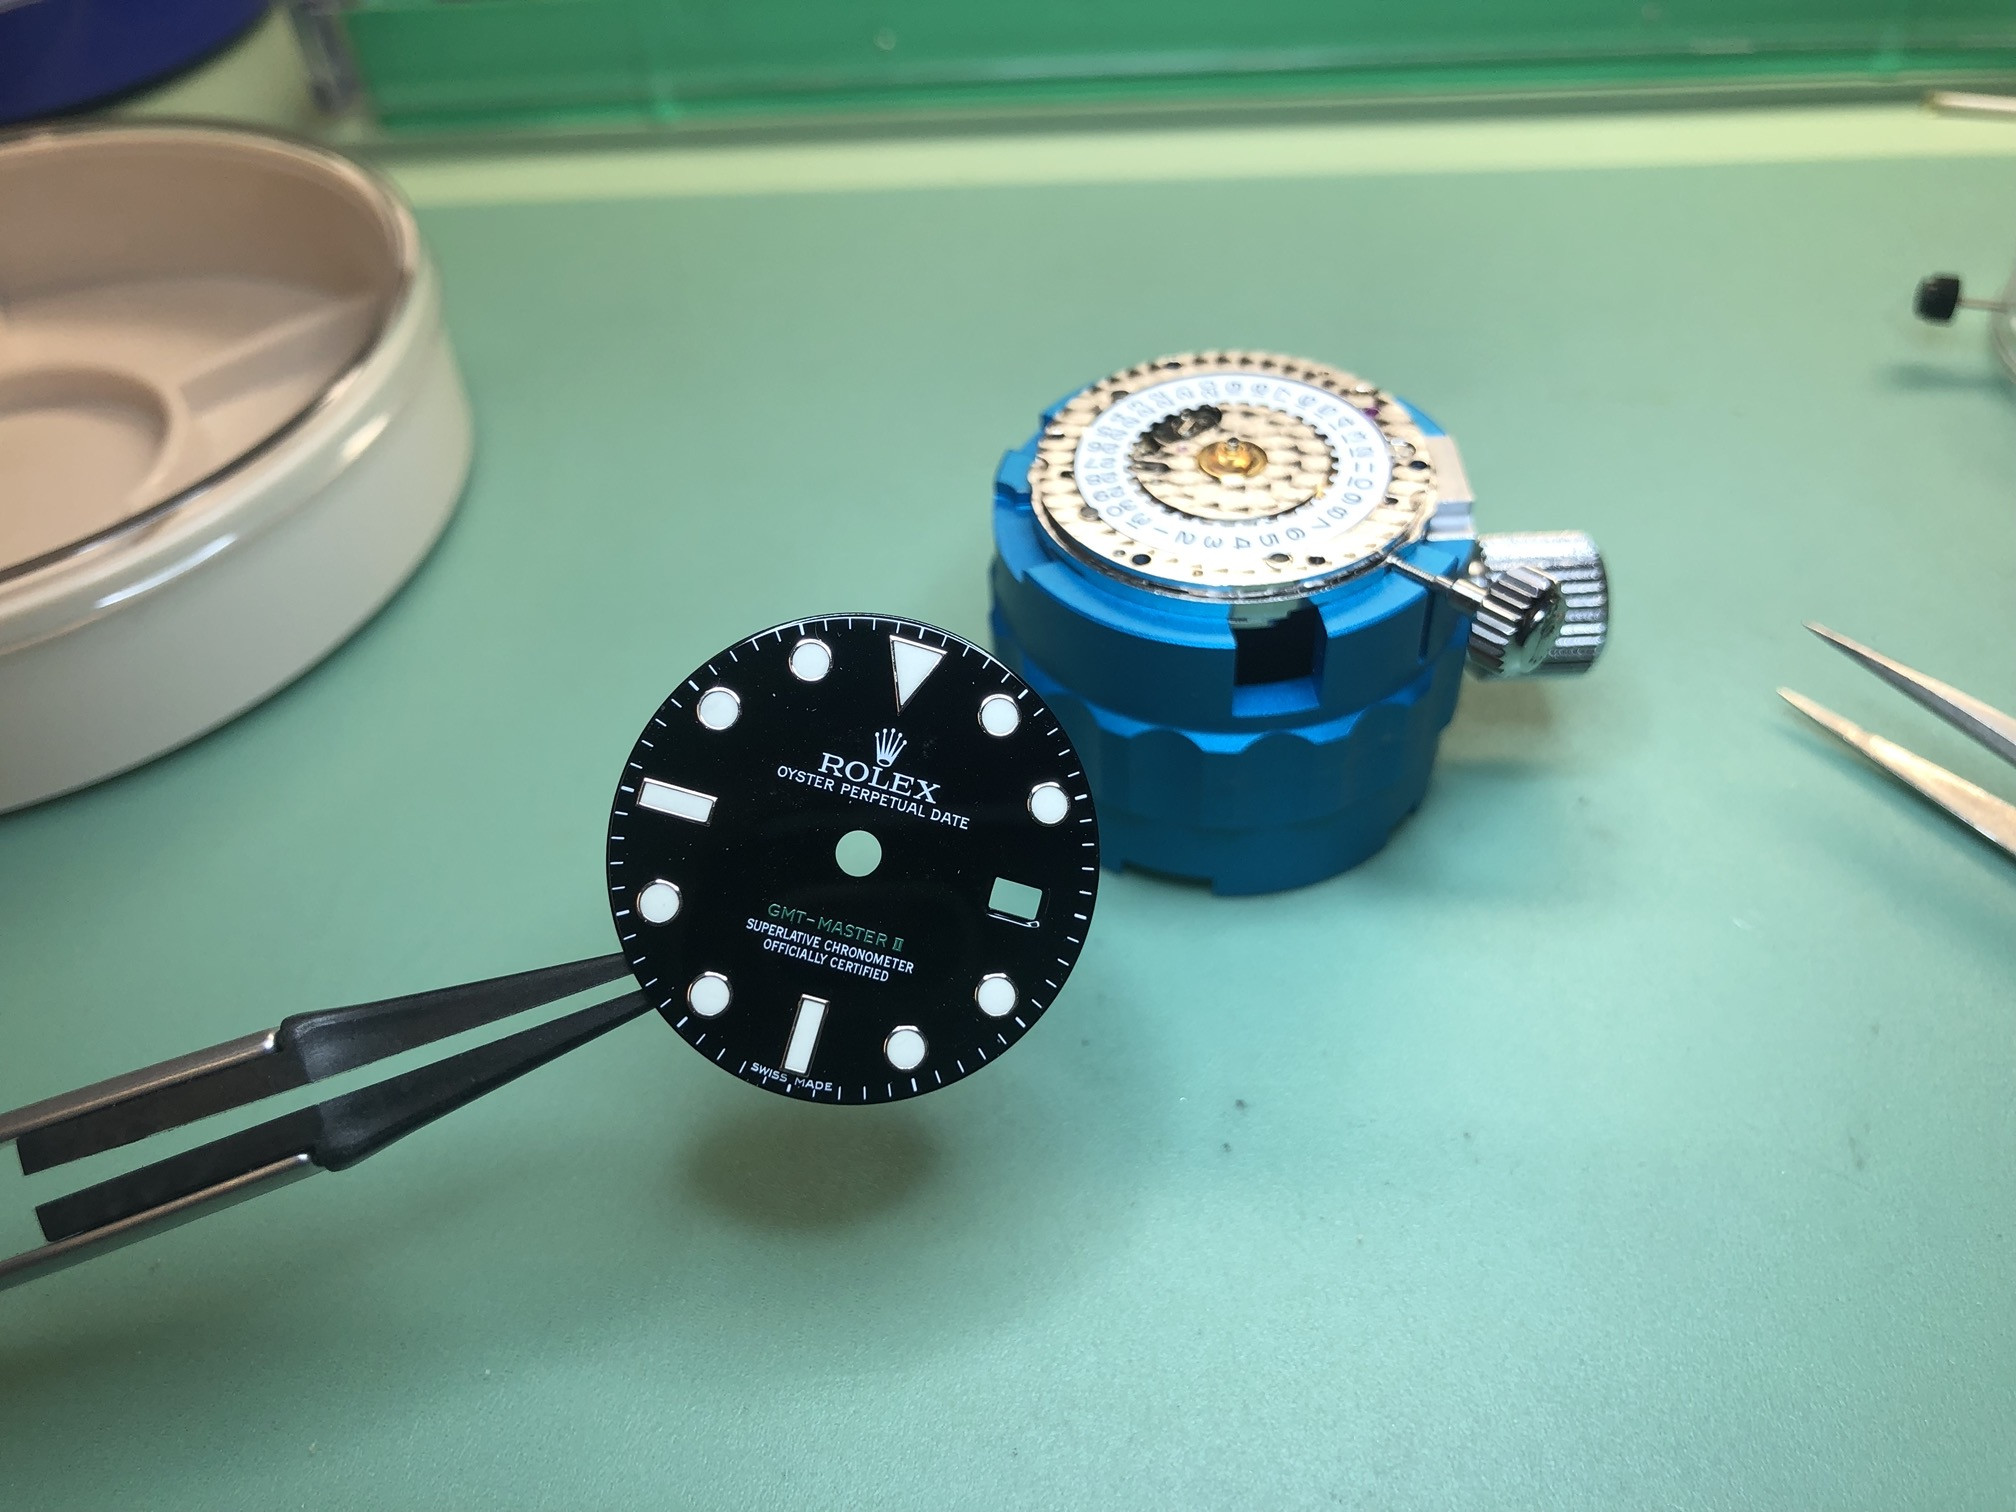
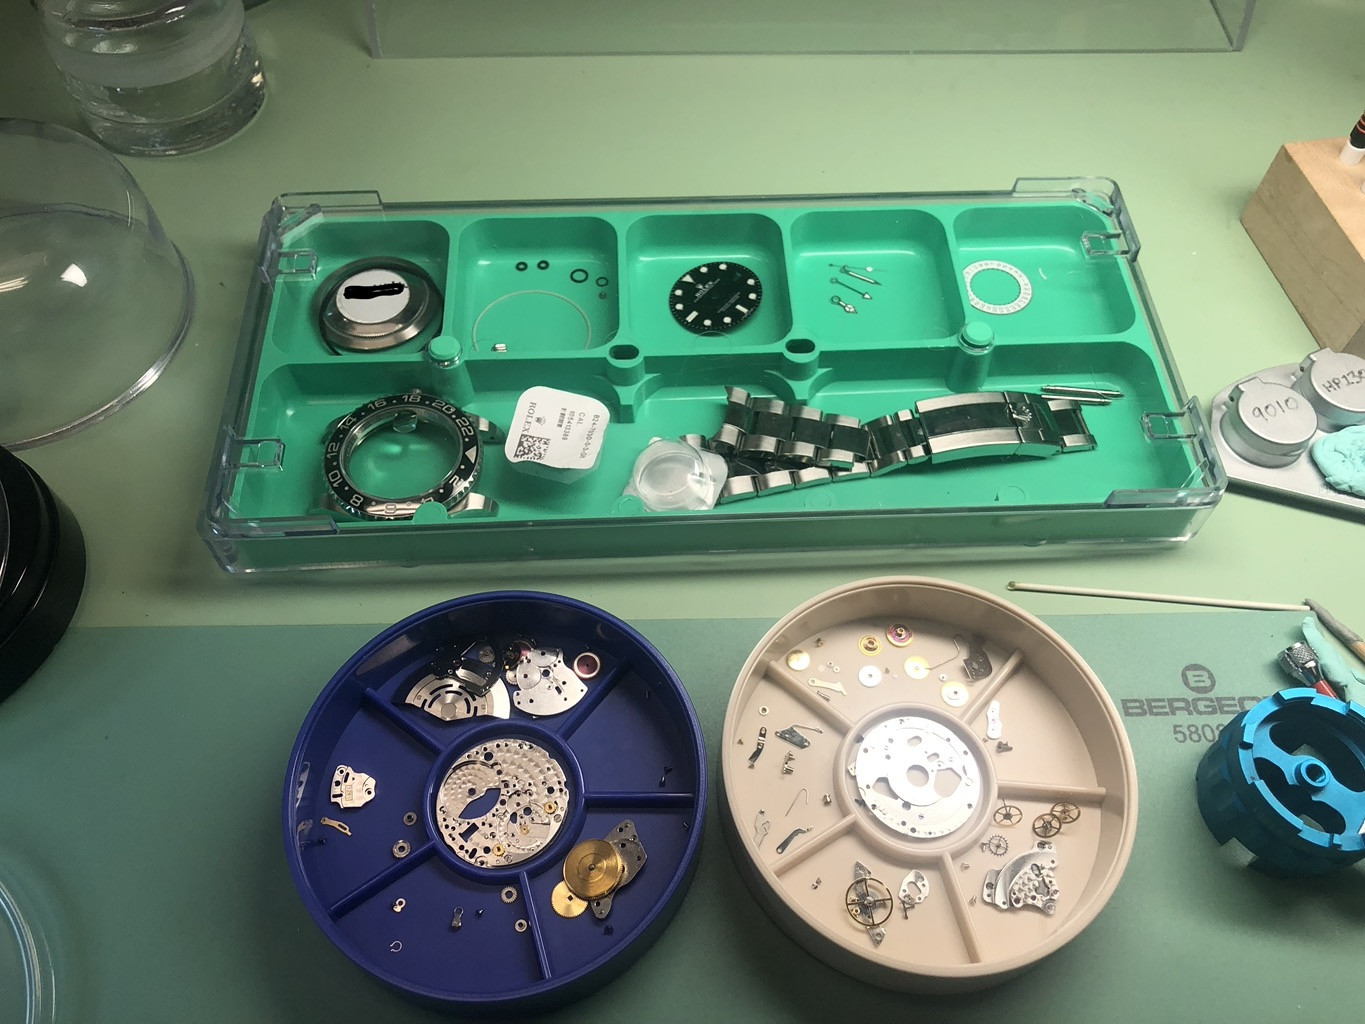
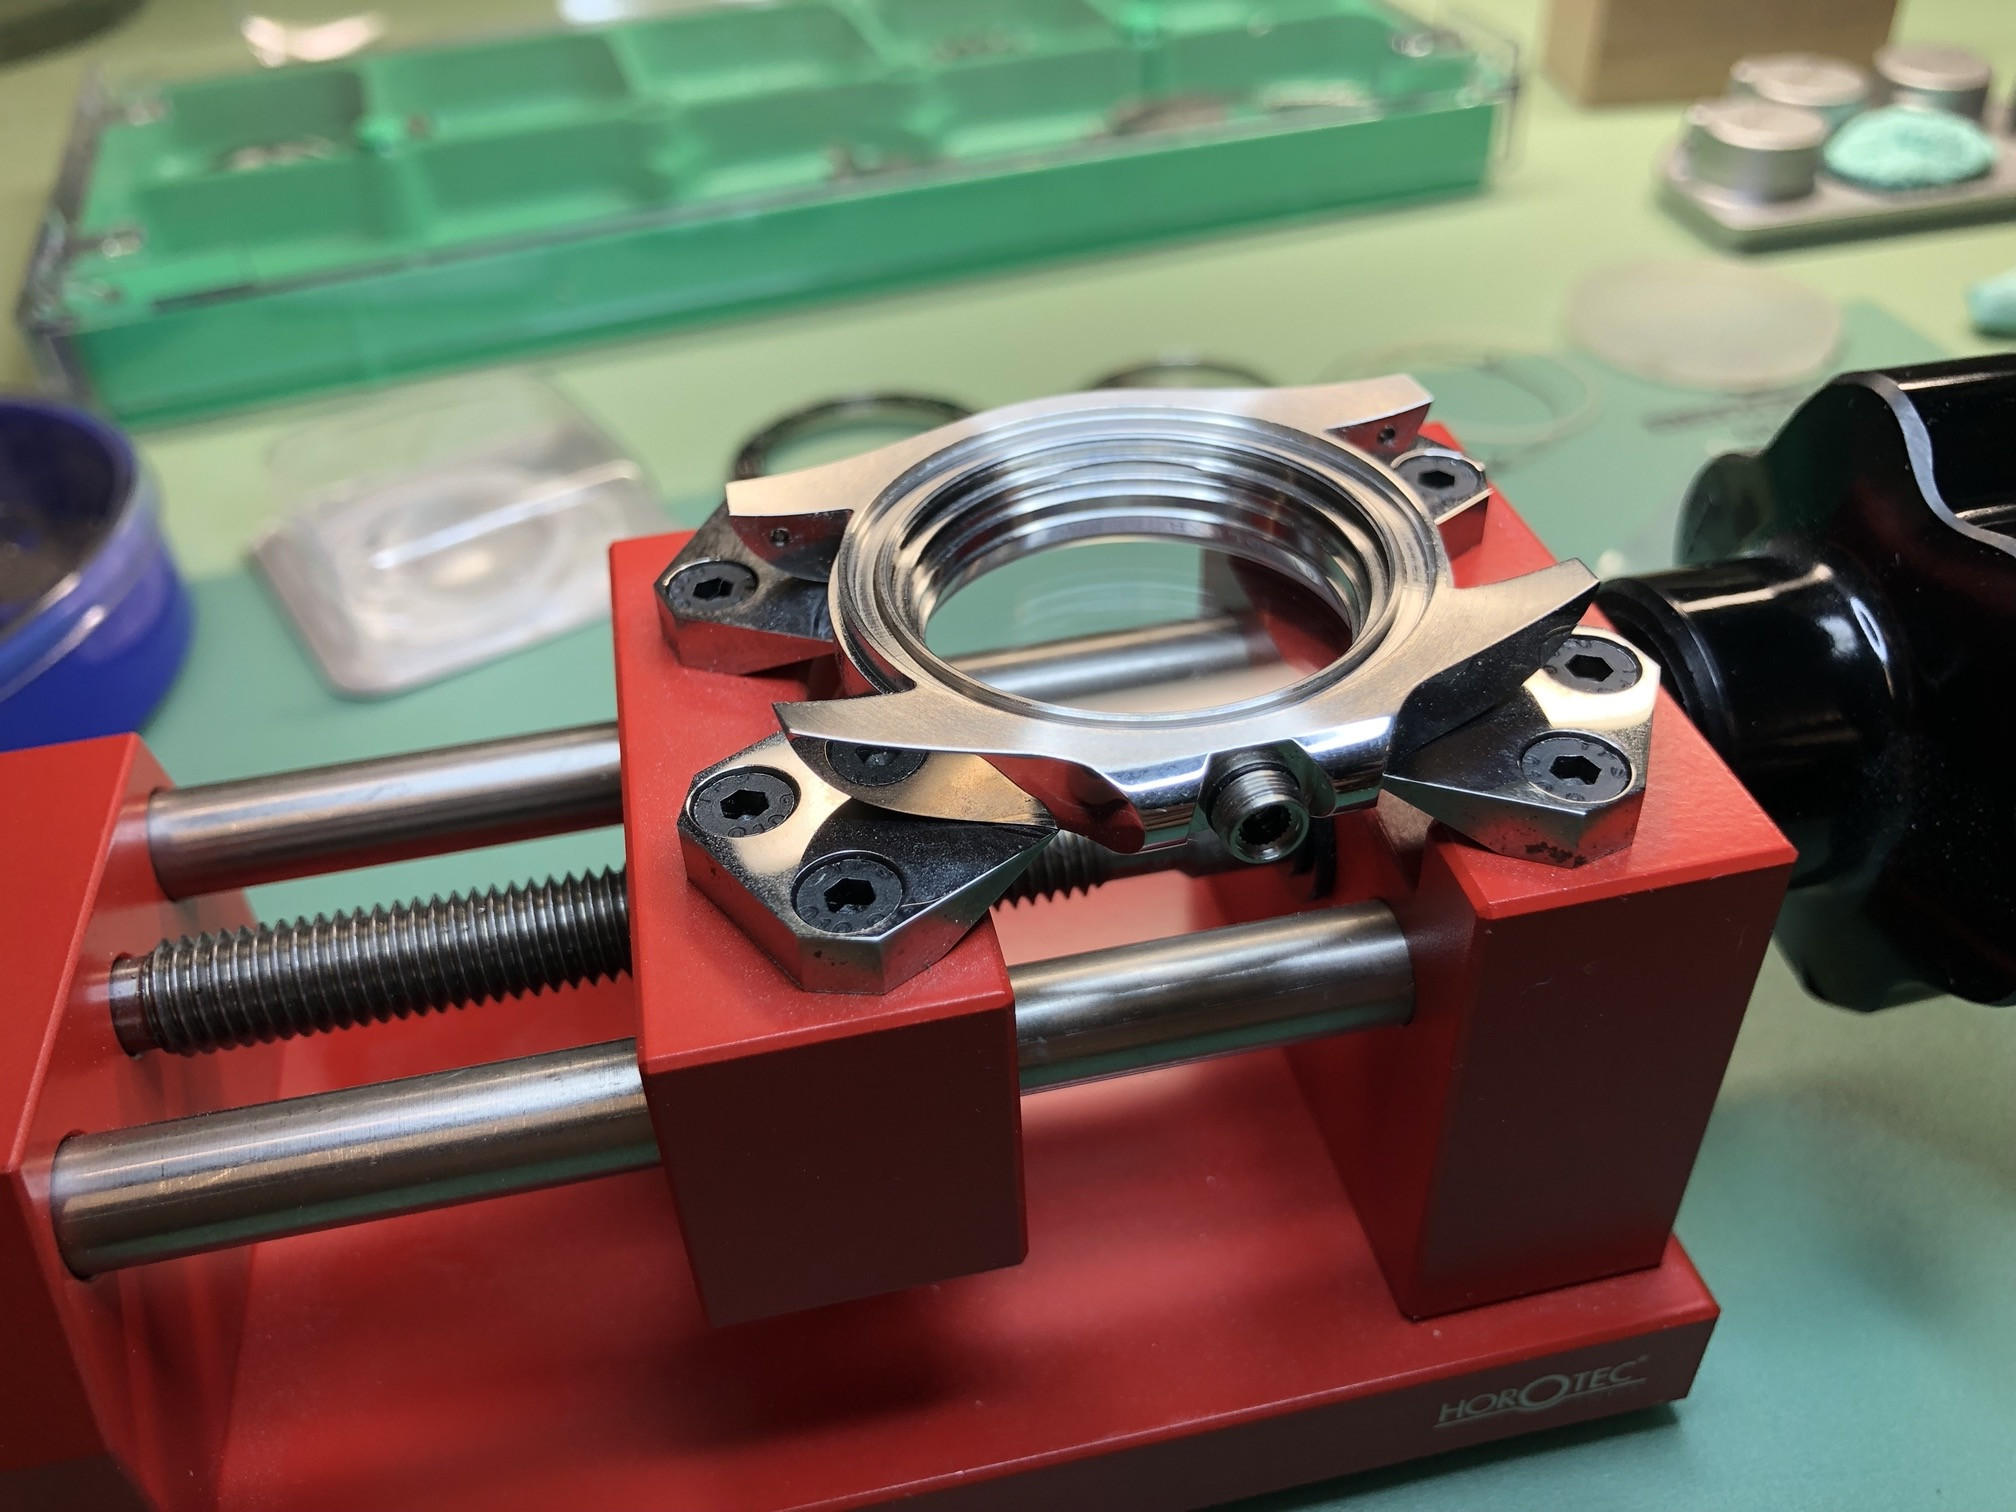
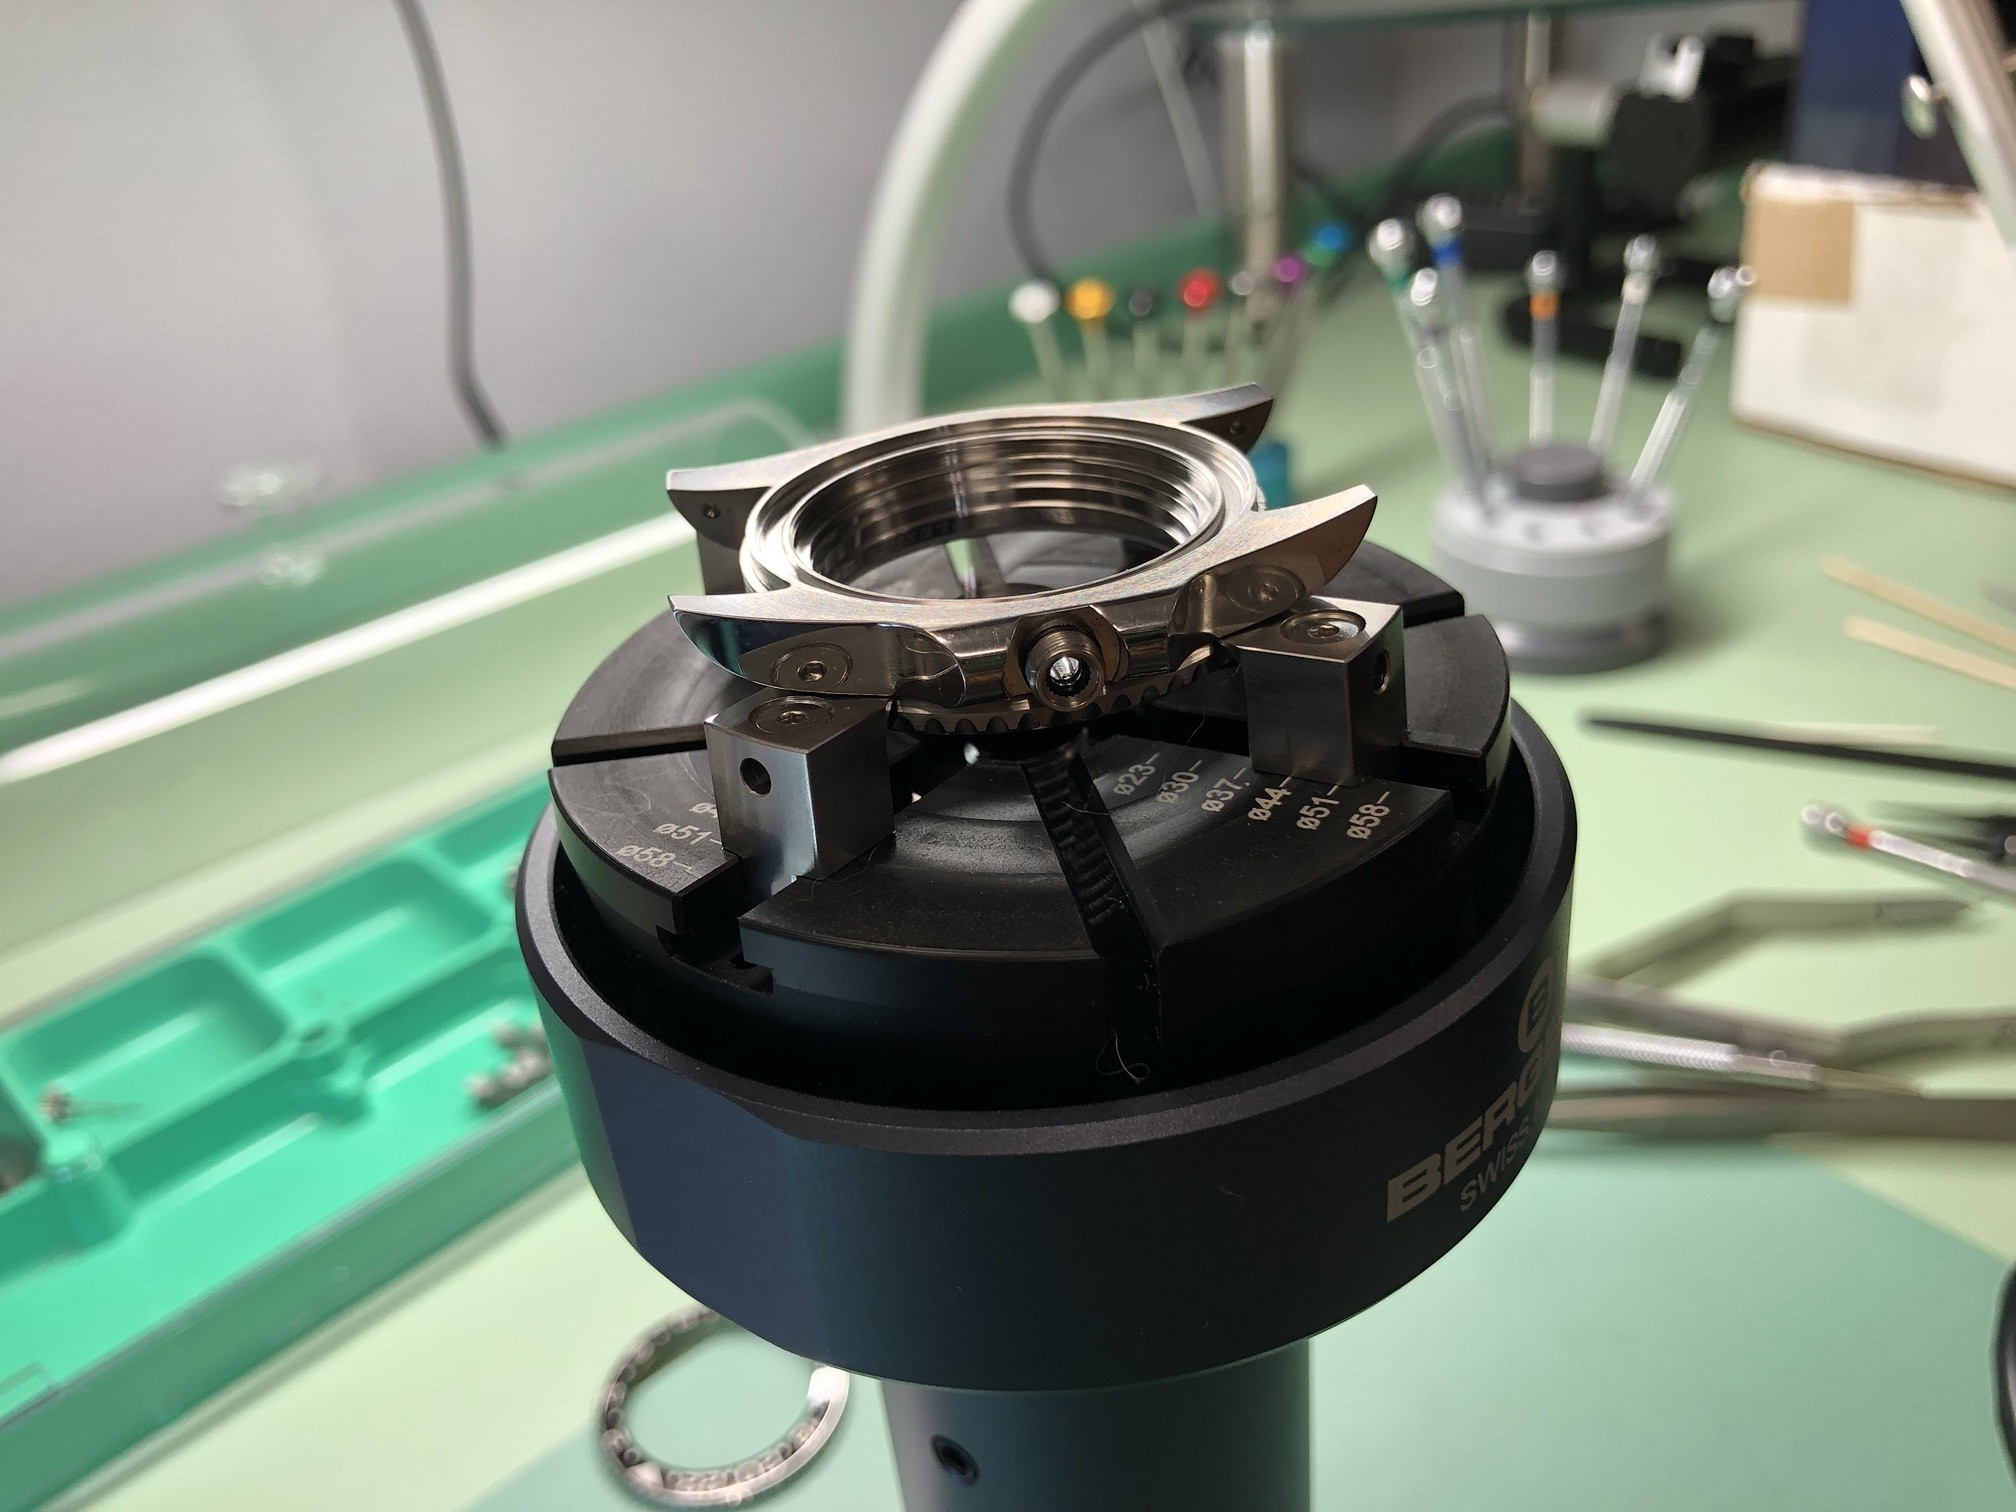
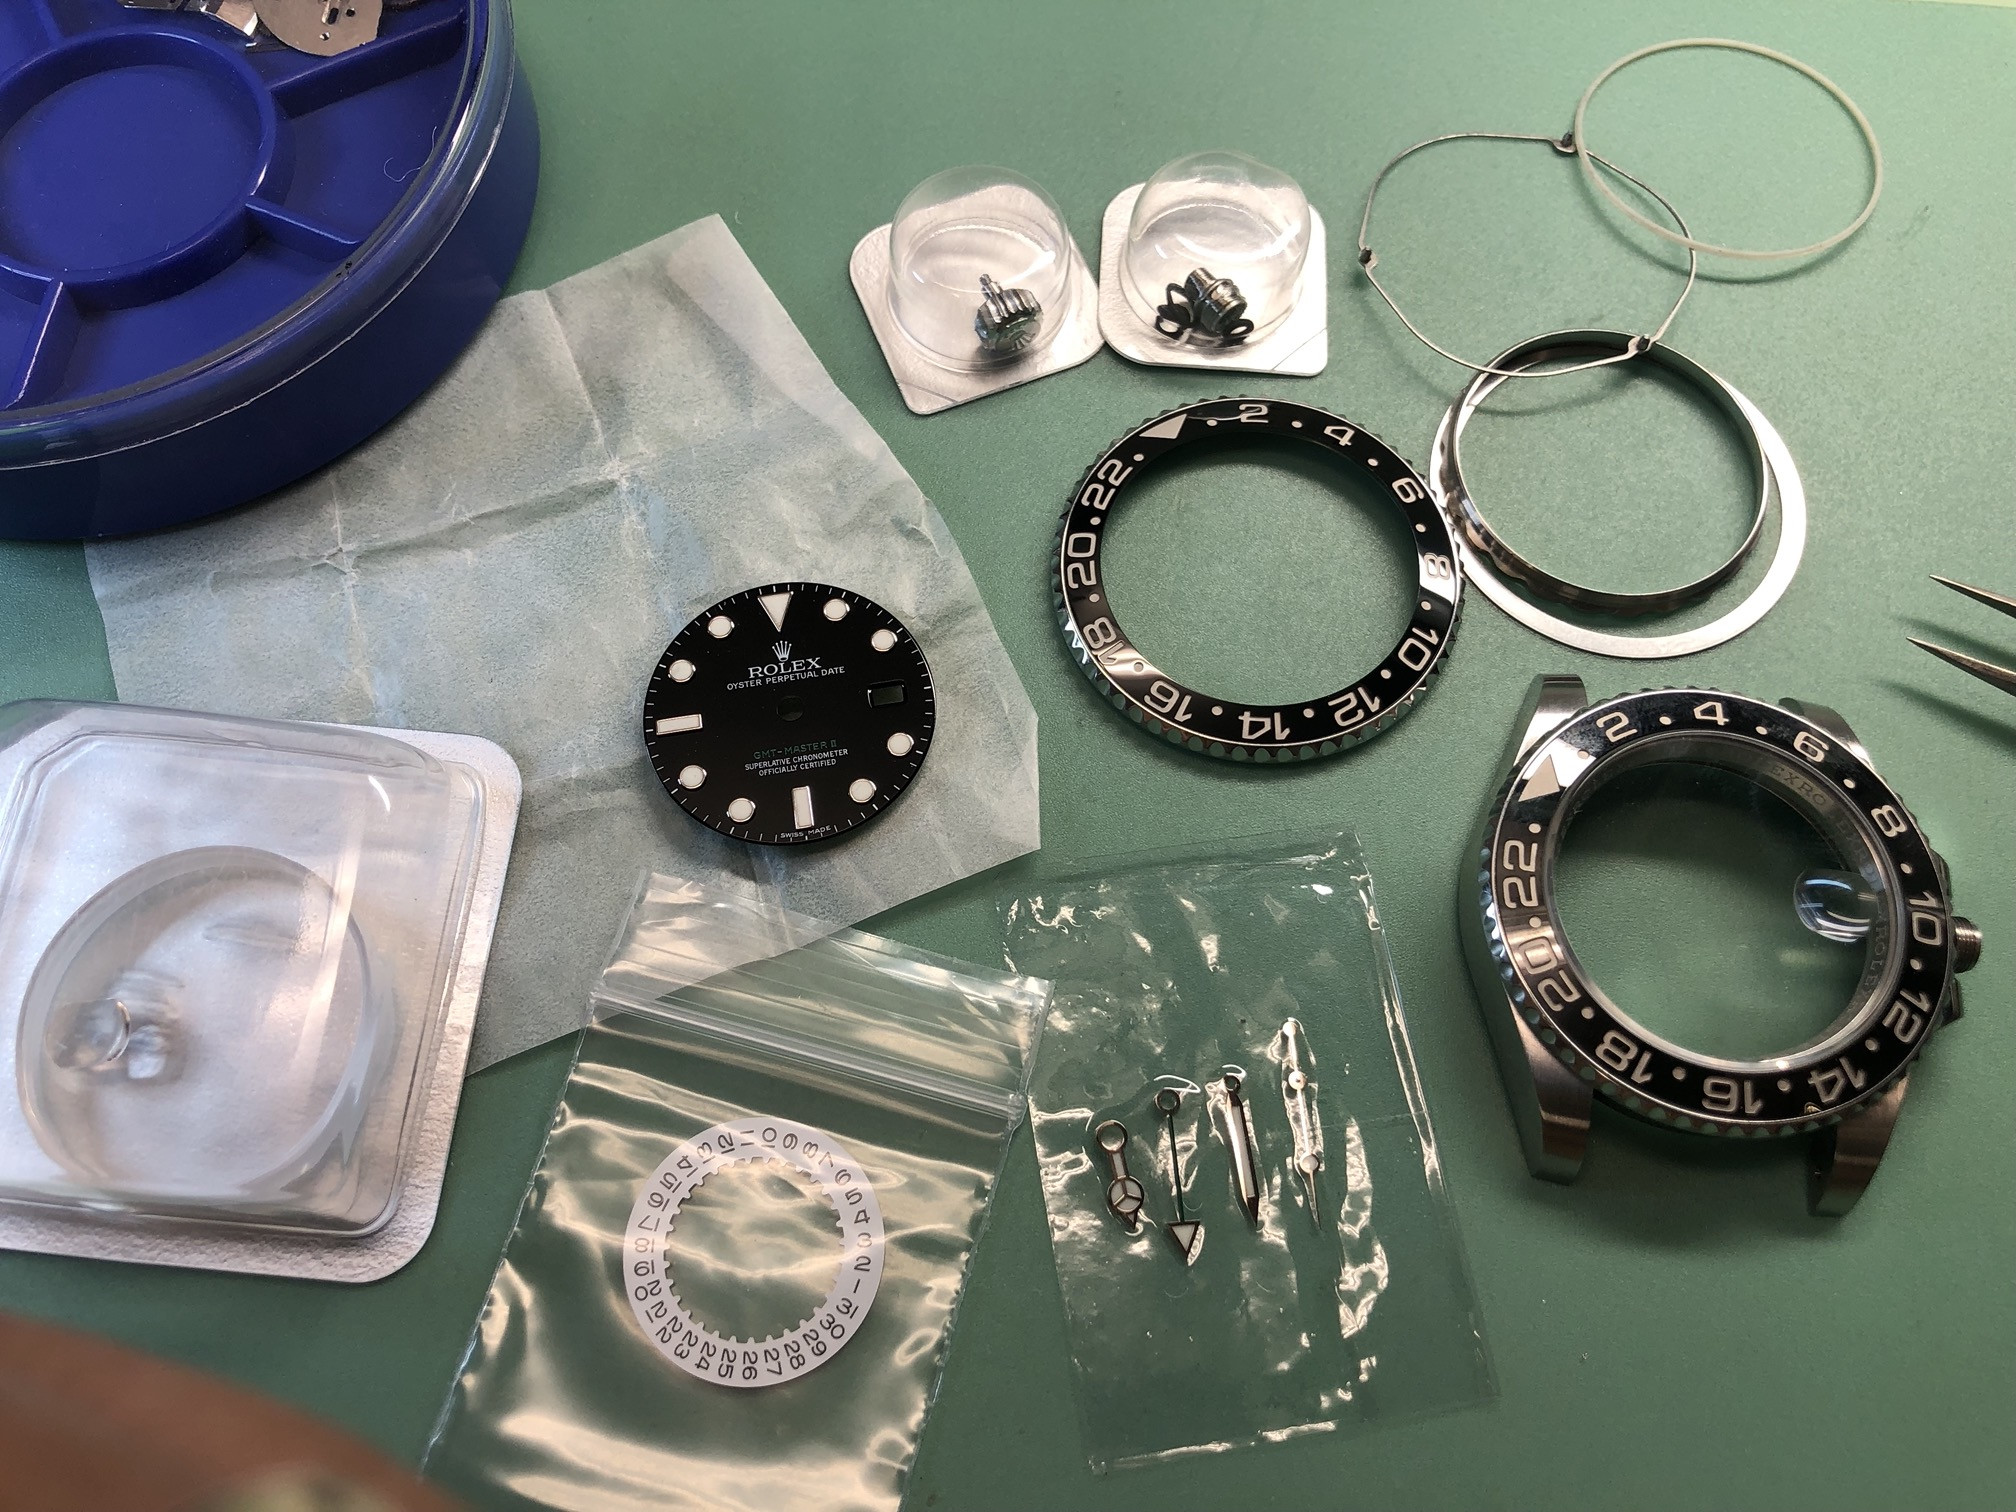
CF GMT upgraded with gen bezel assembly, crystal, crown & tube, dial & hands, datewheel, and full movement service.
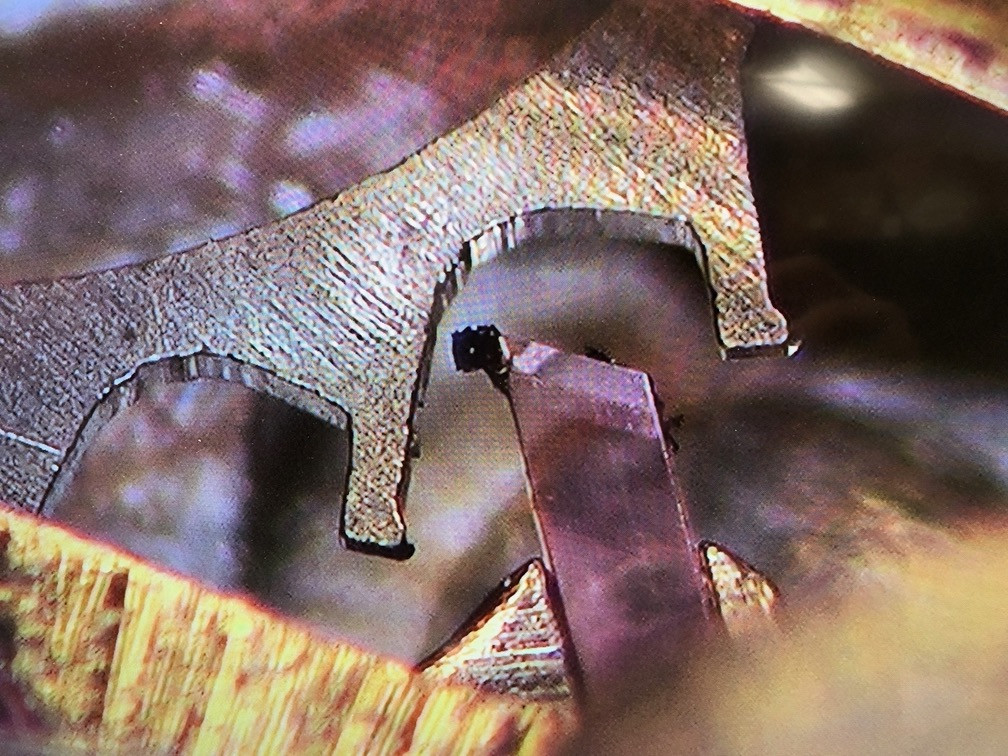
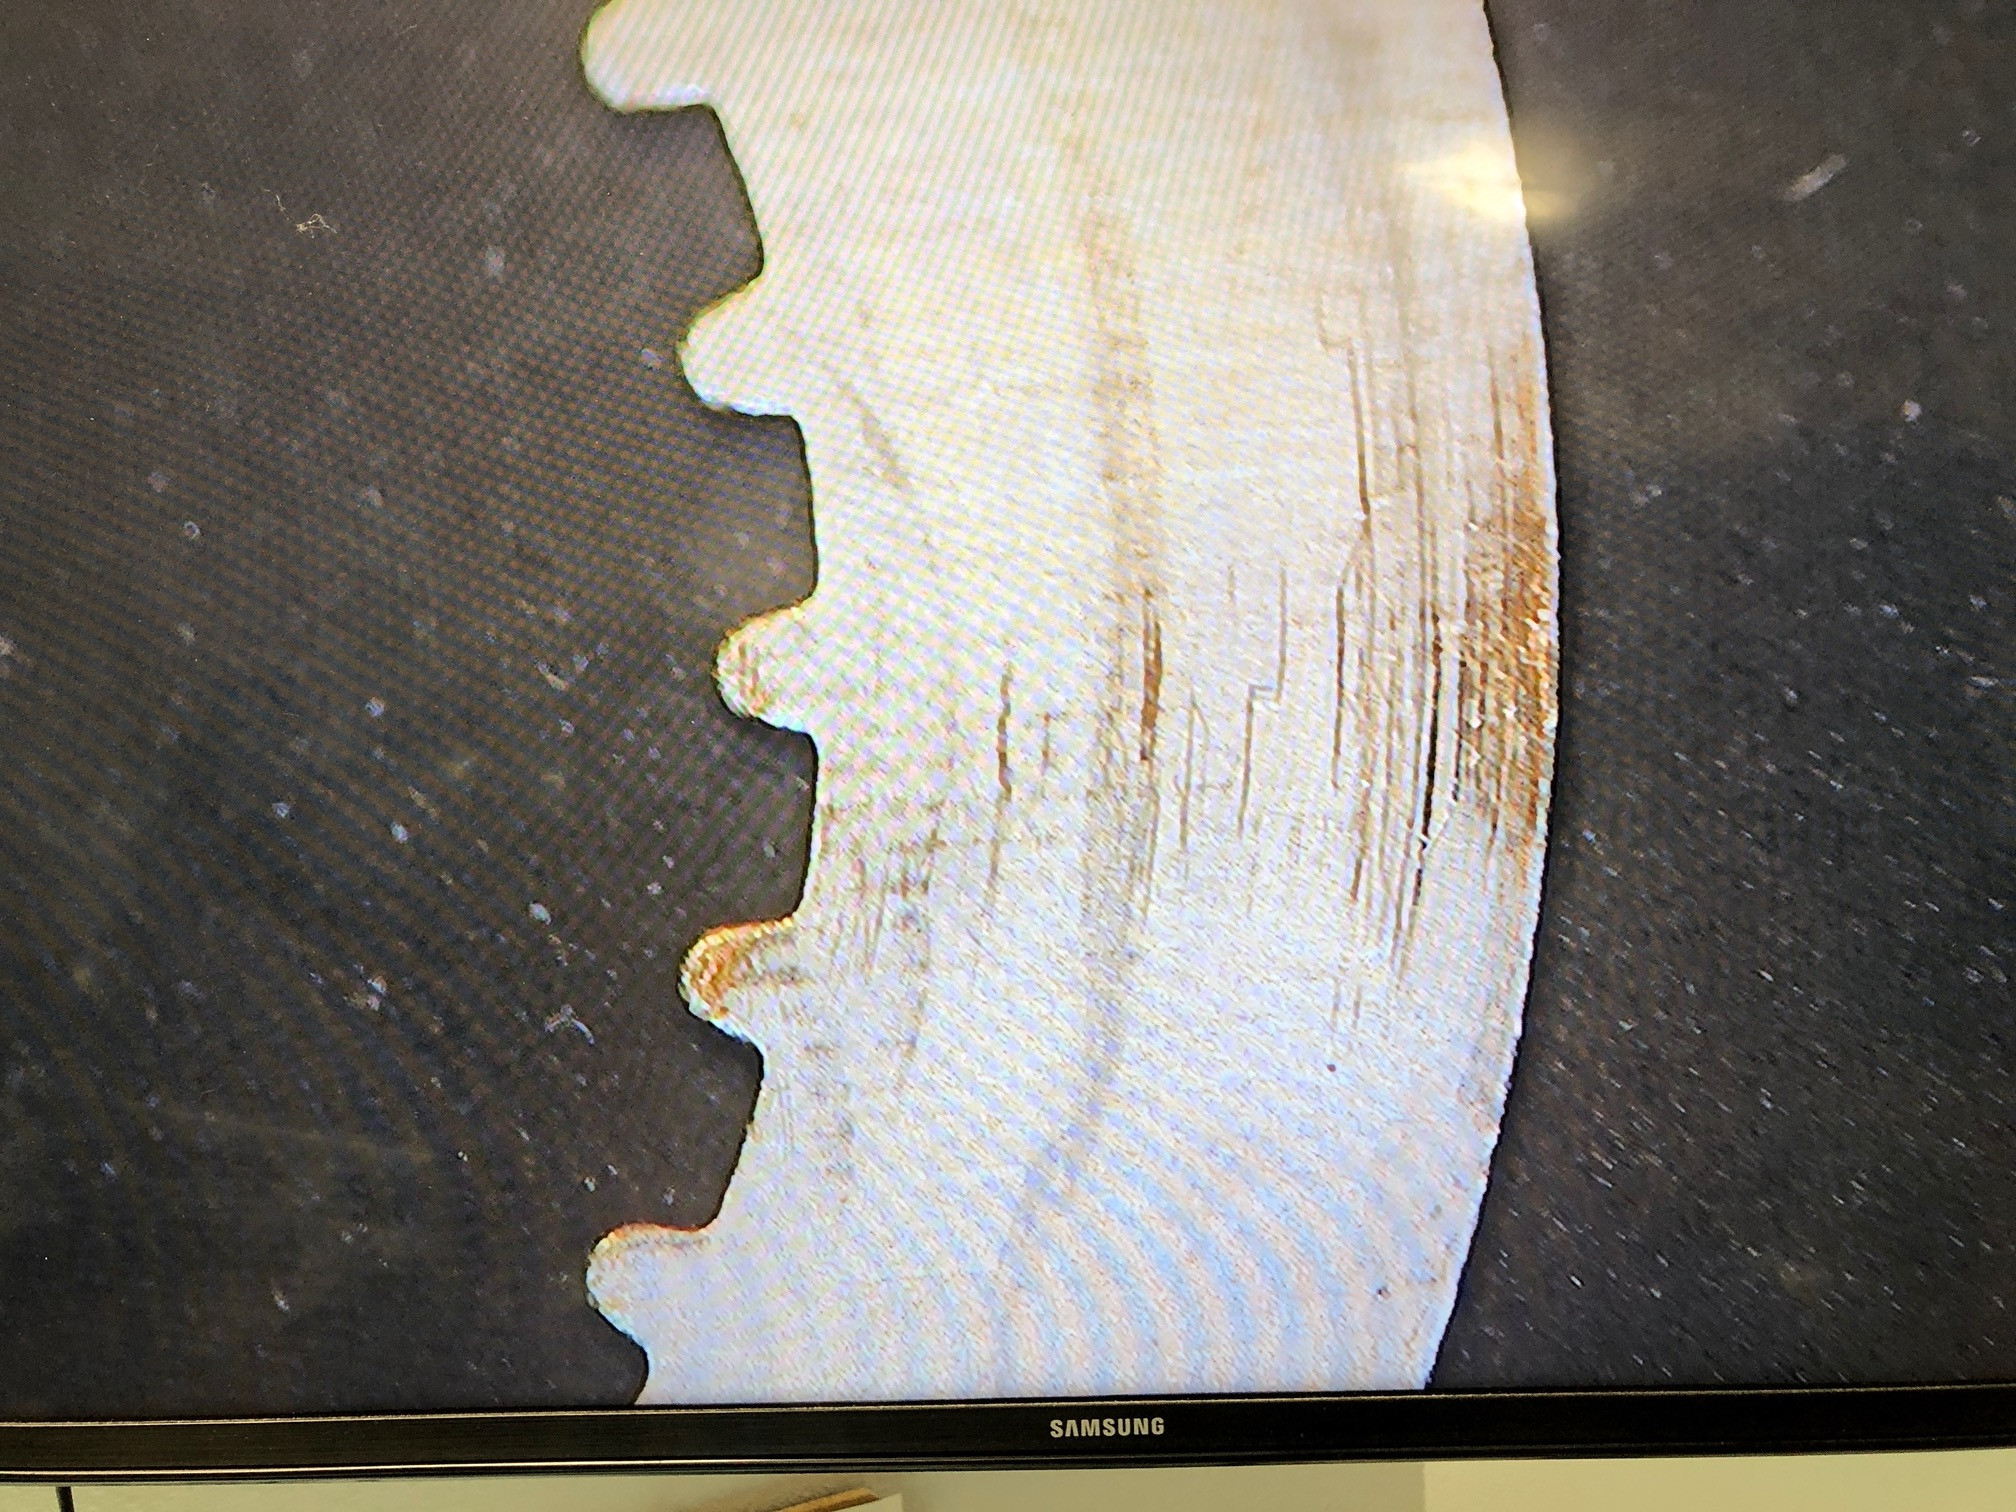
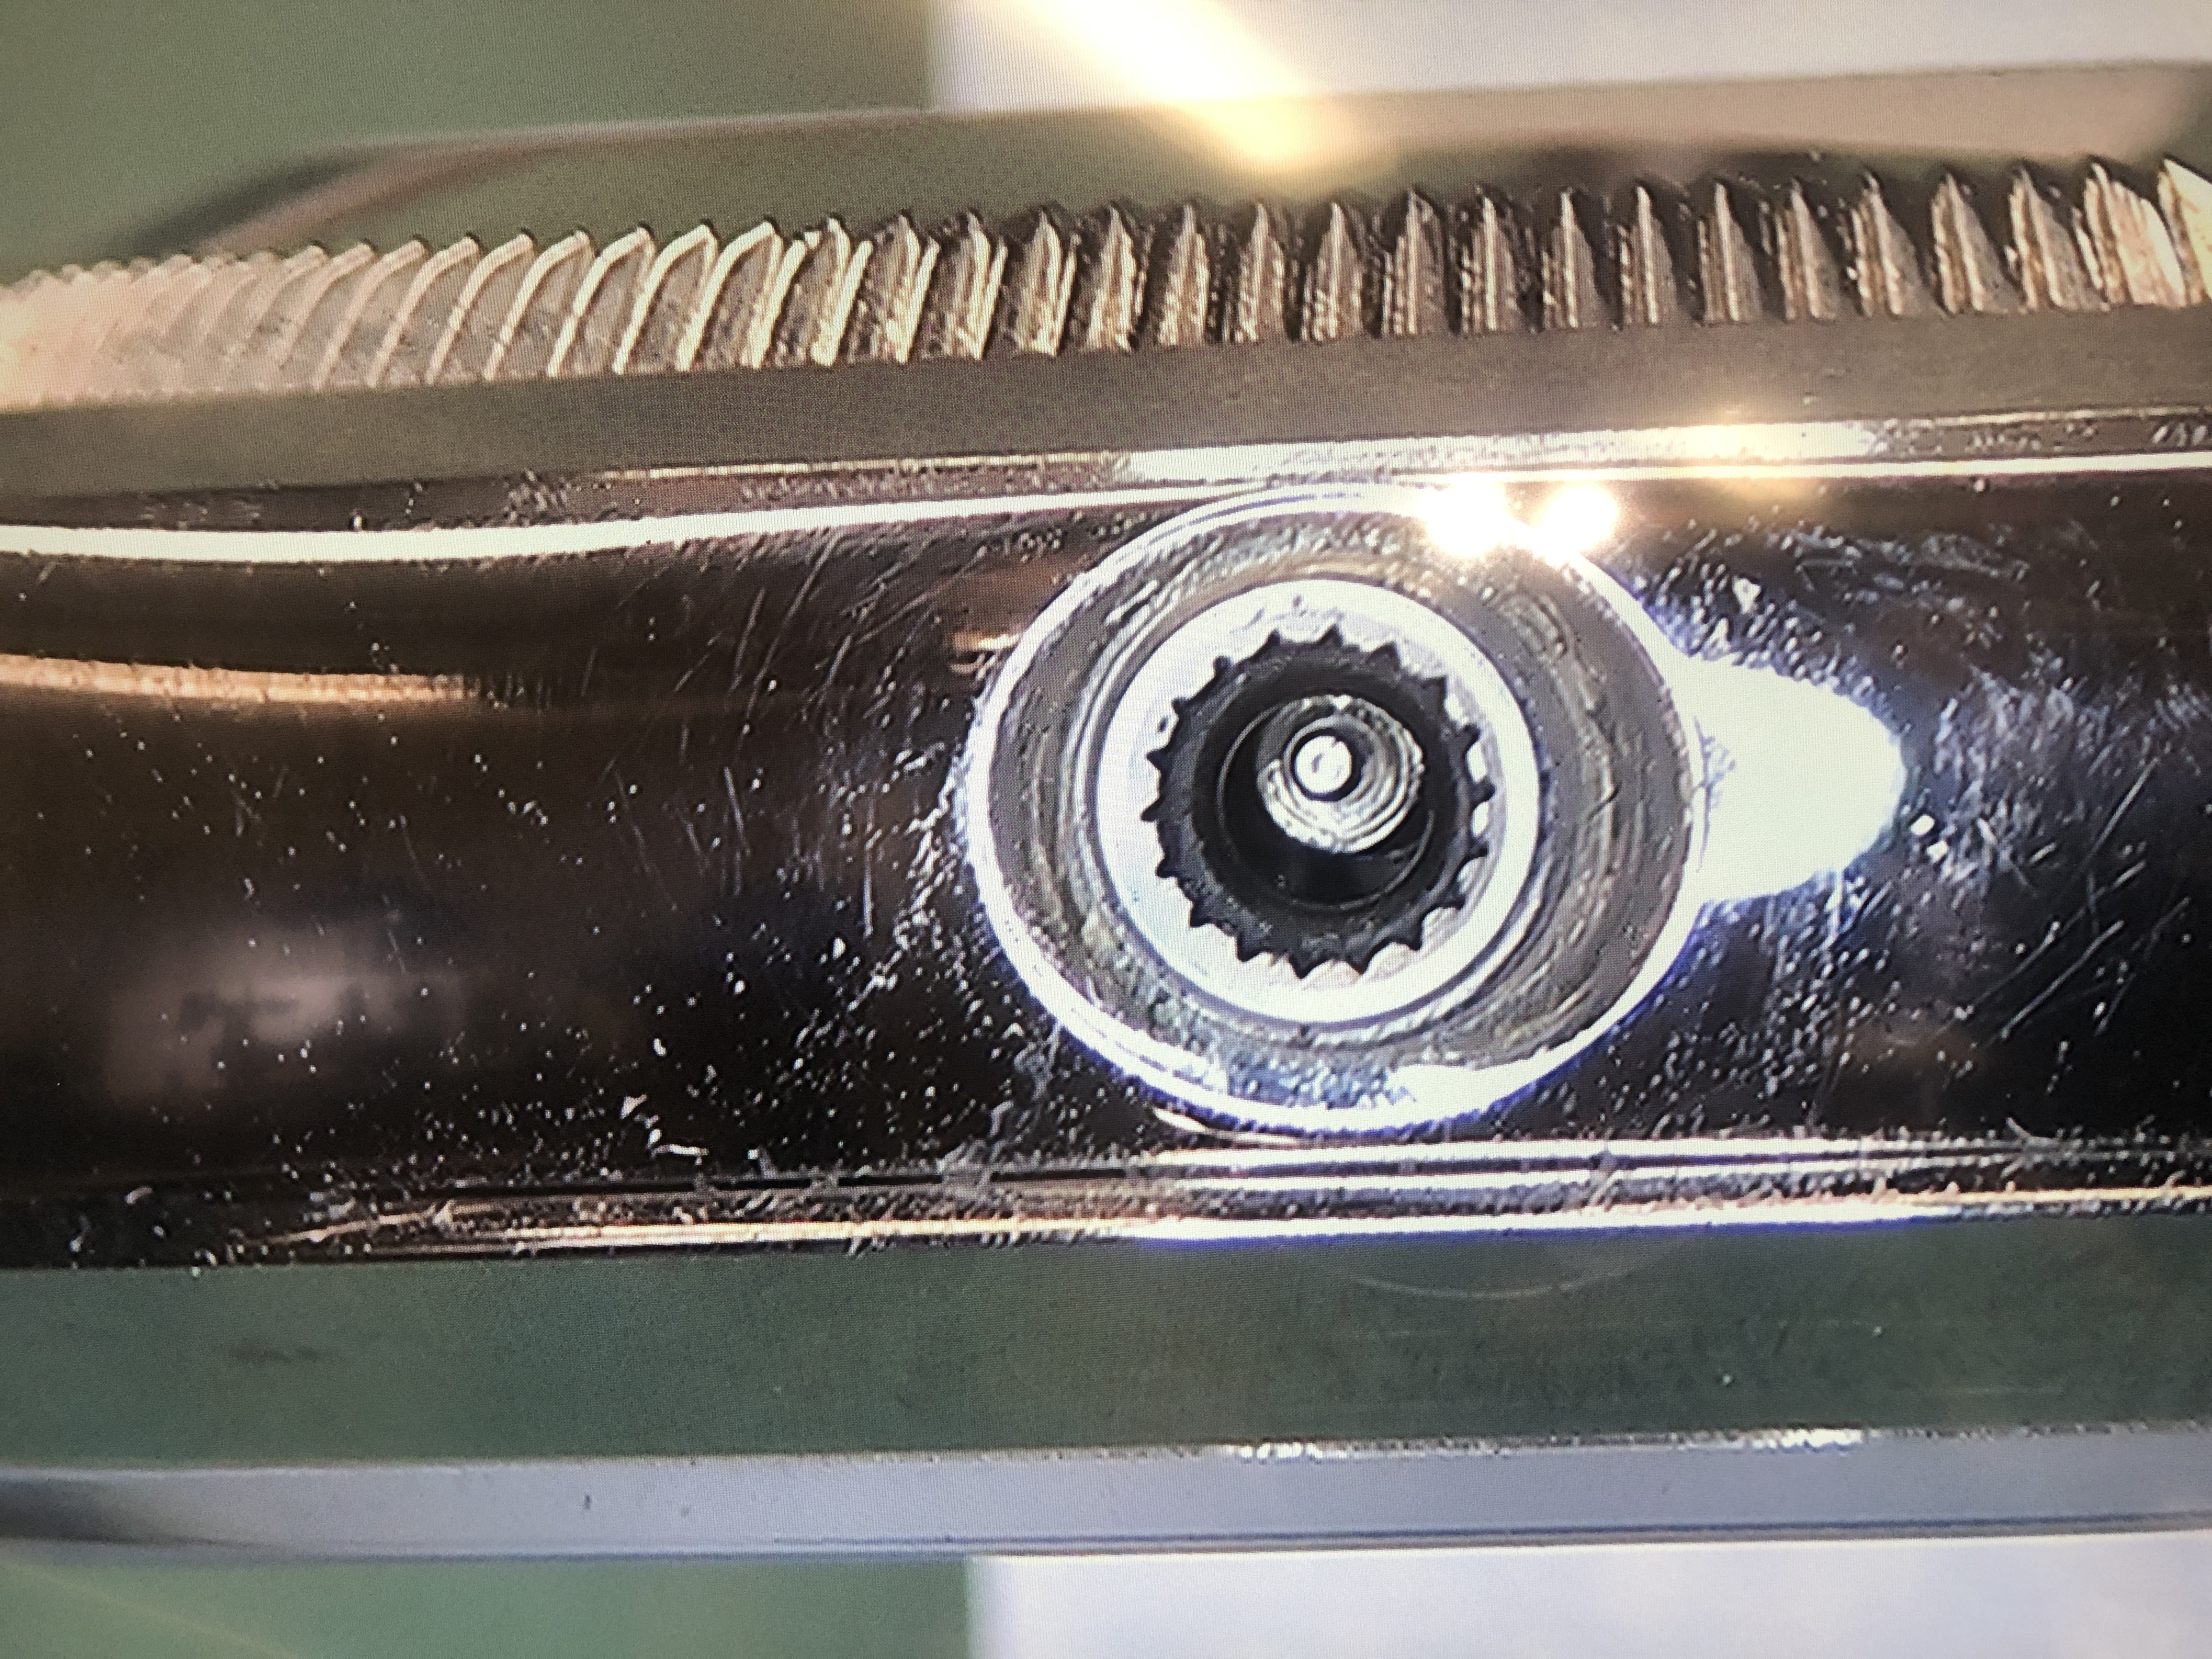
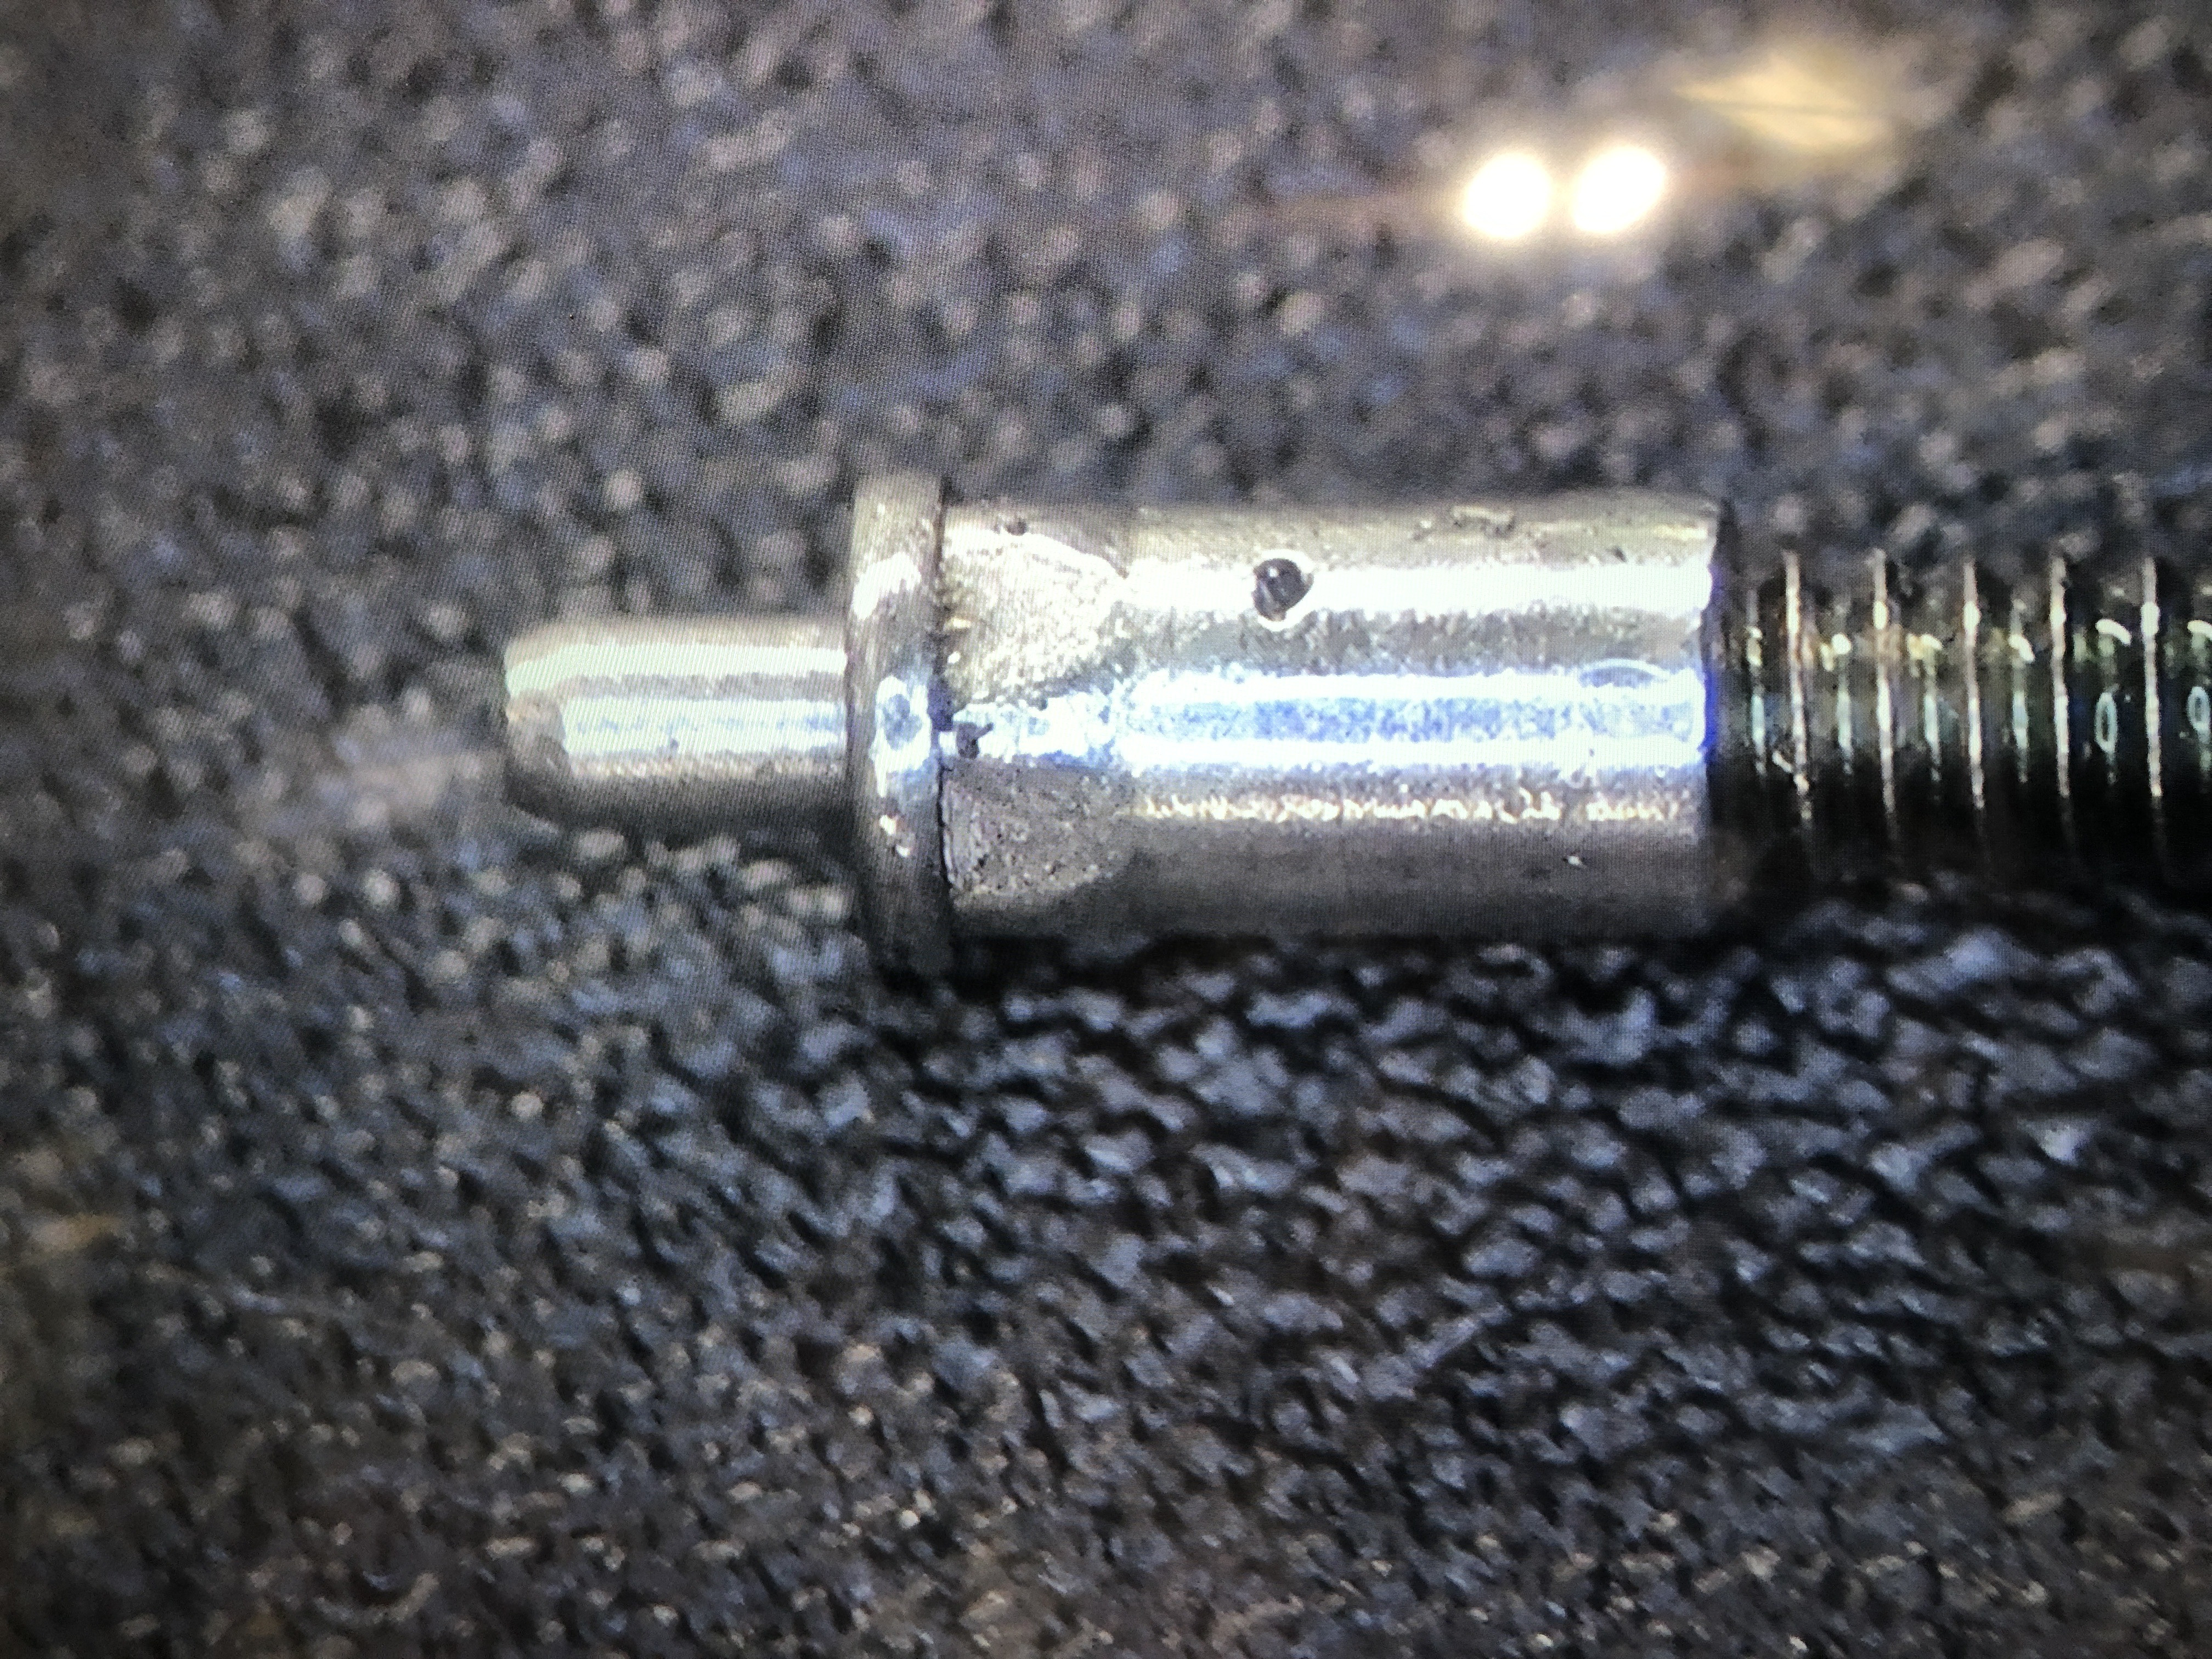
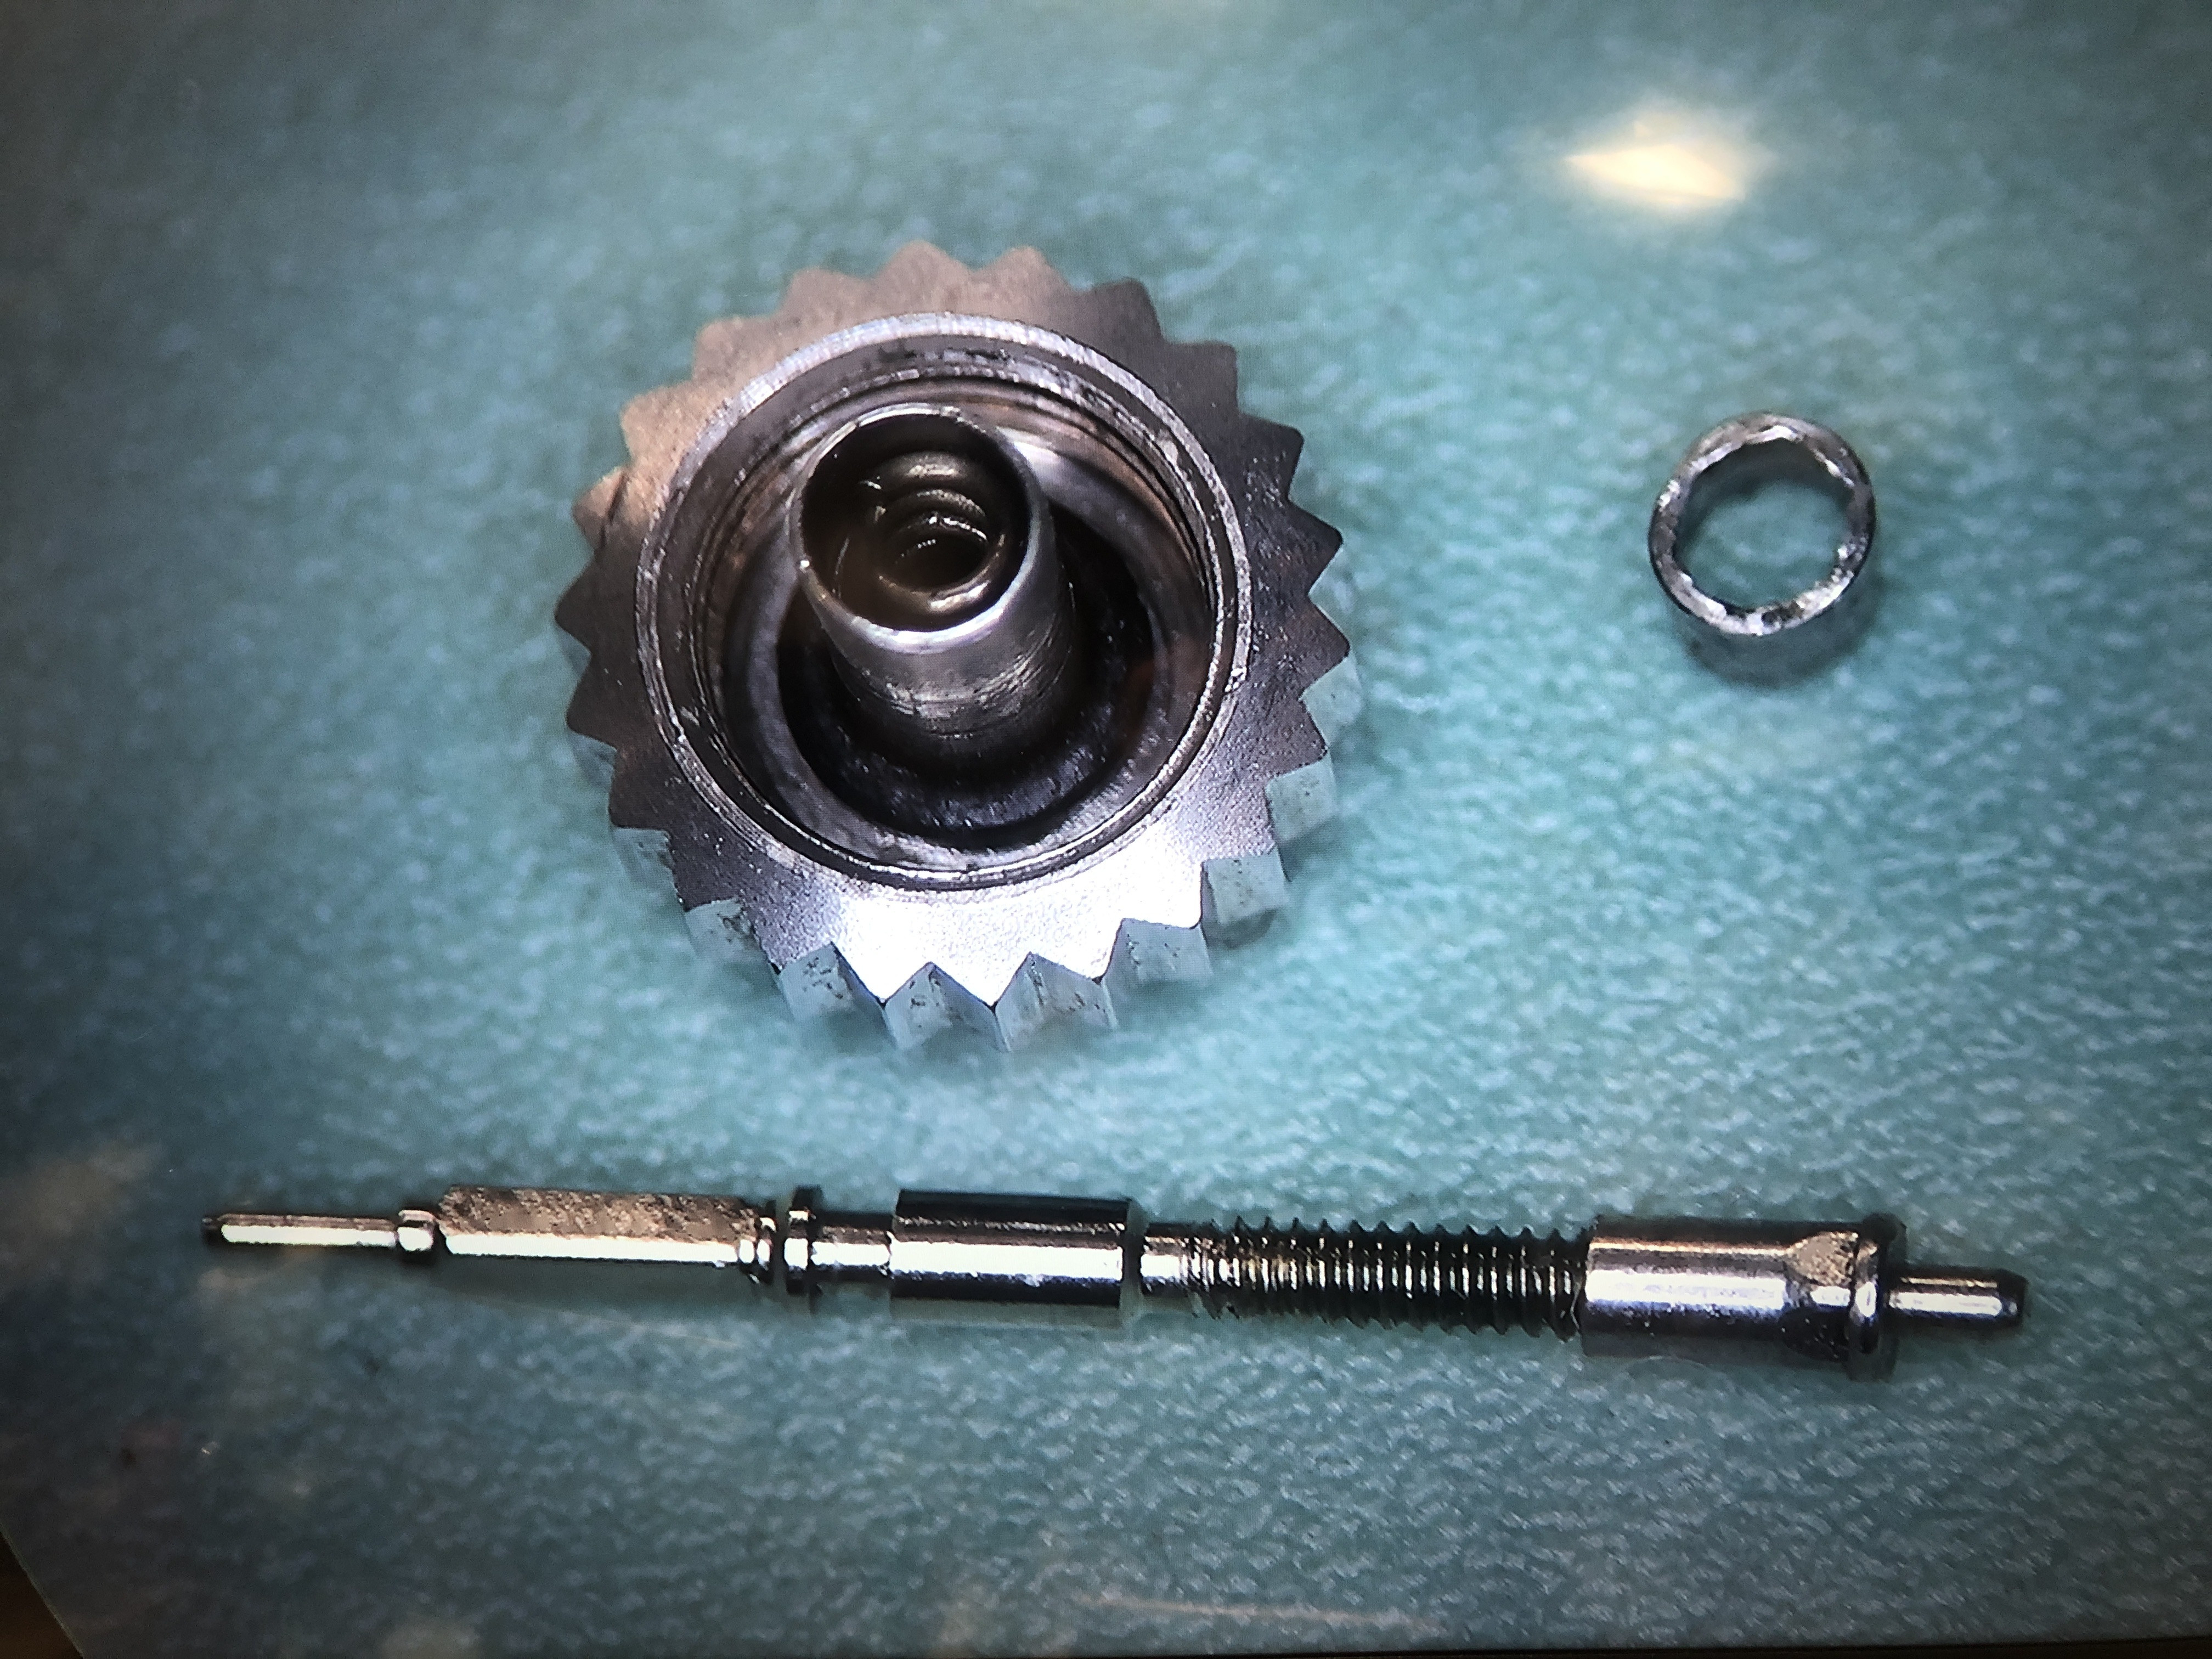
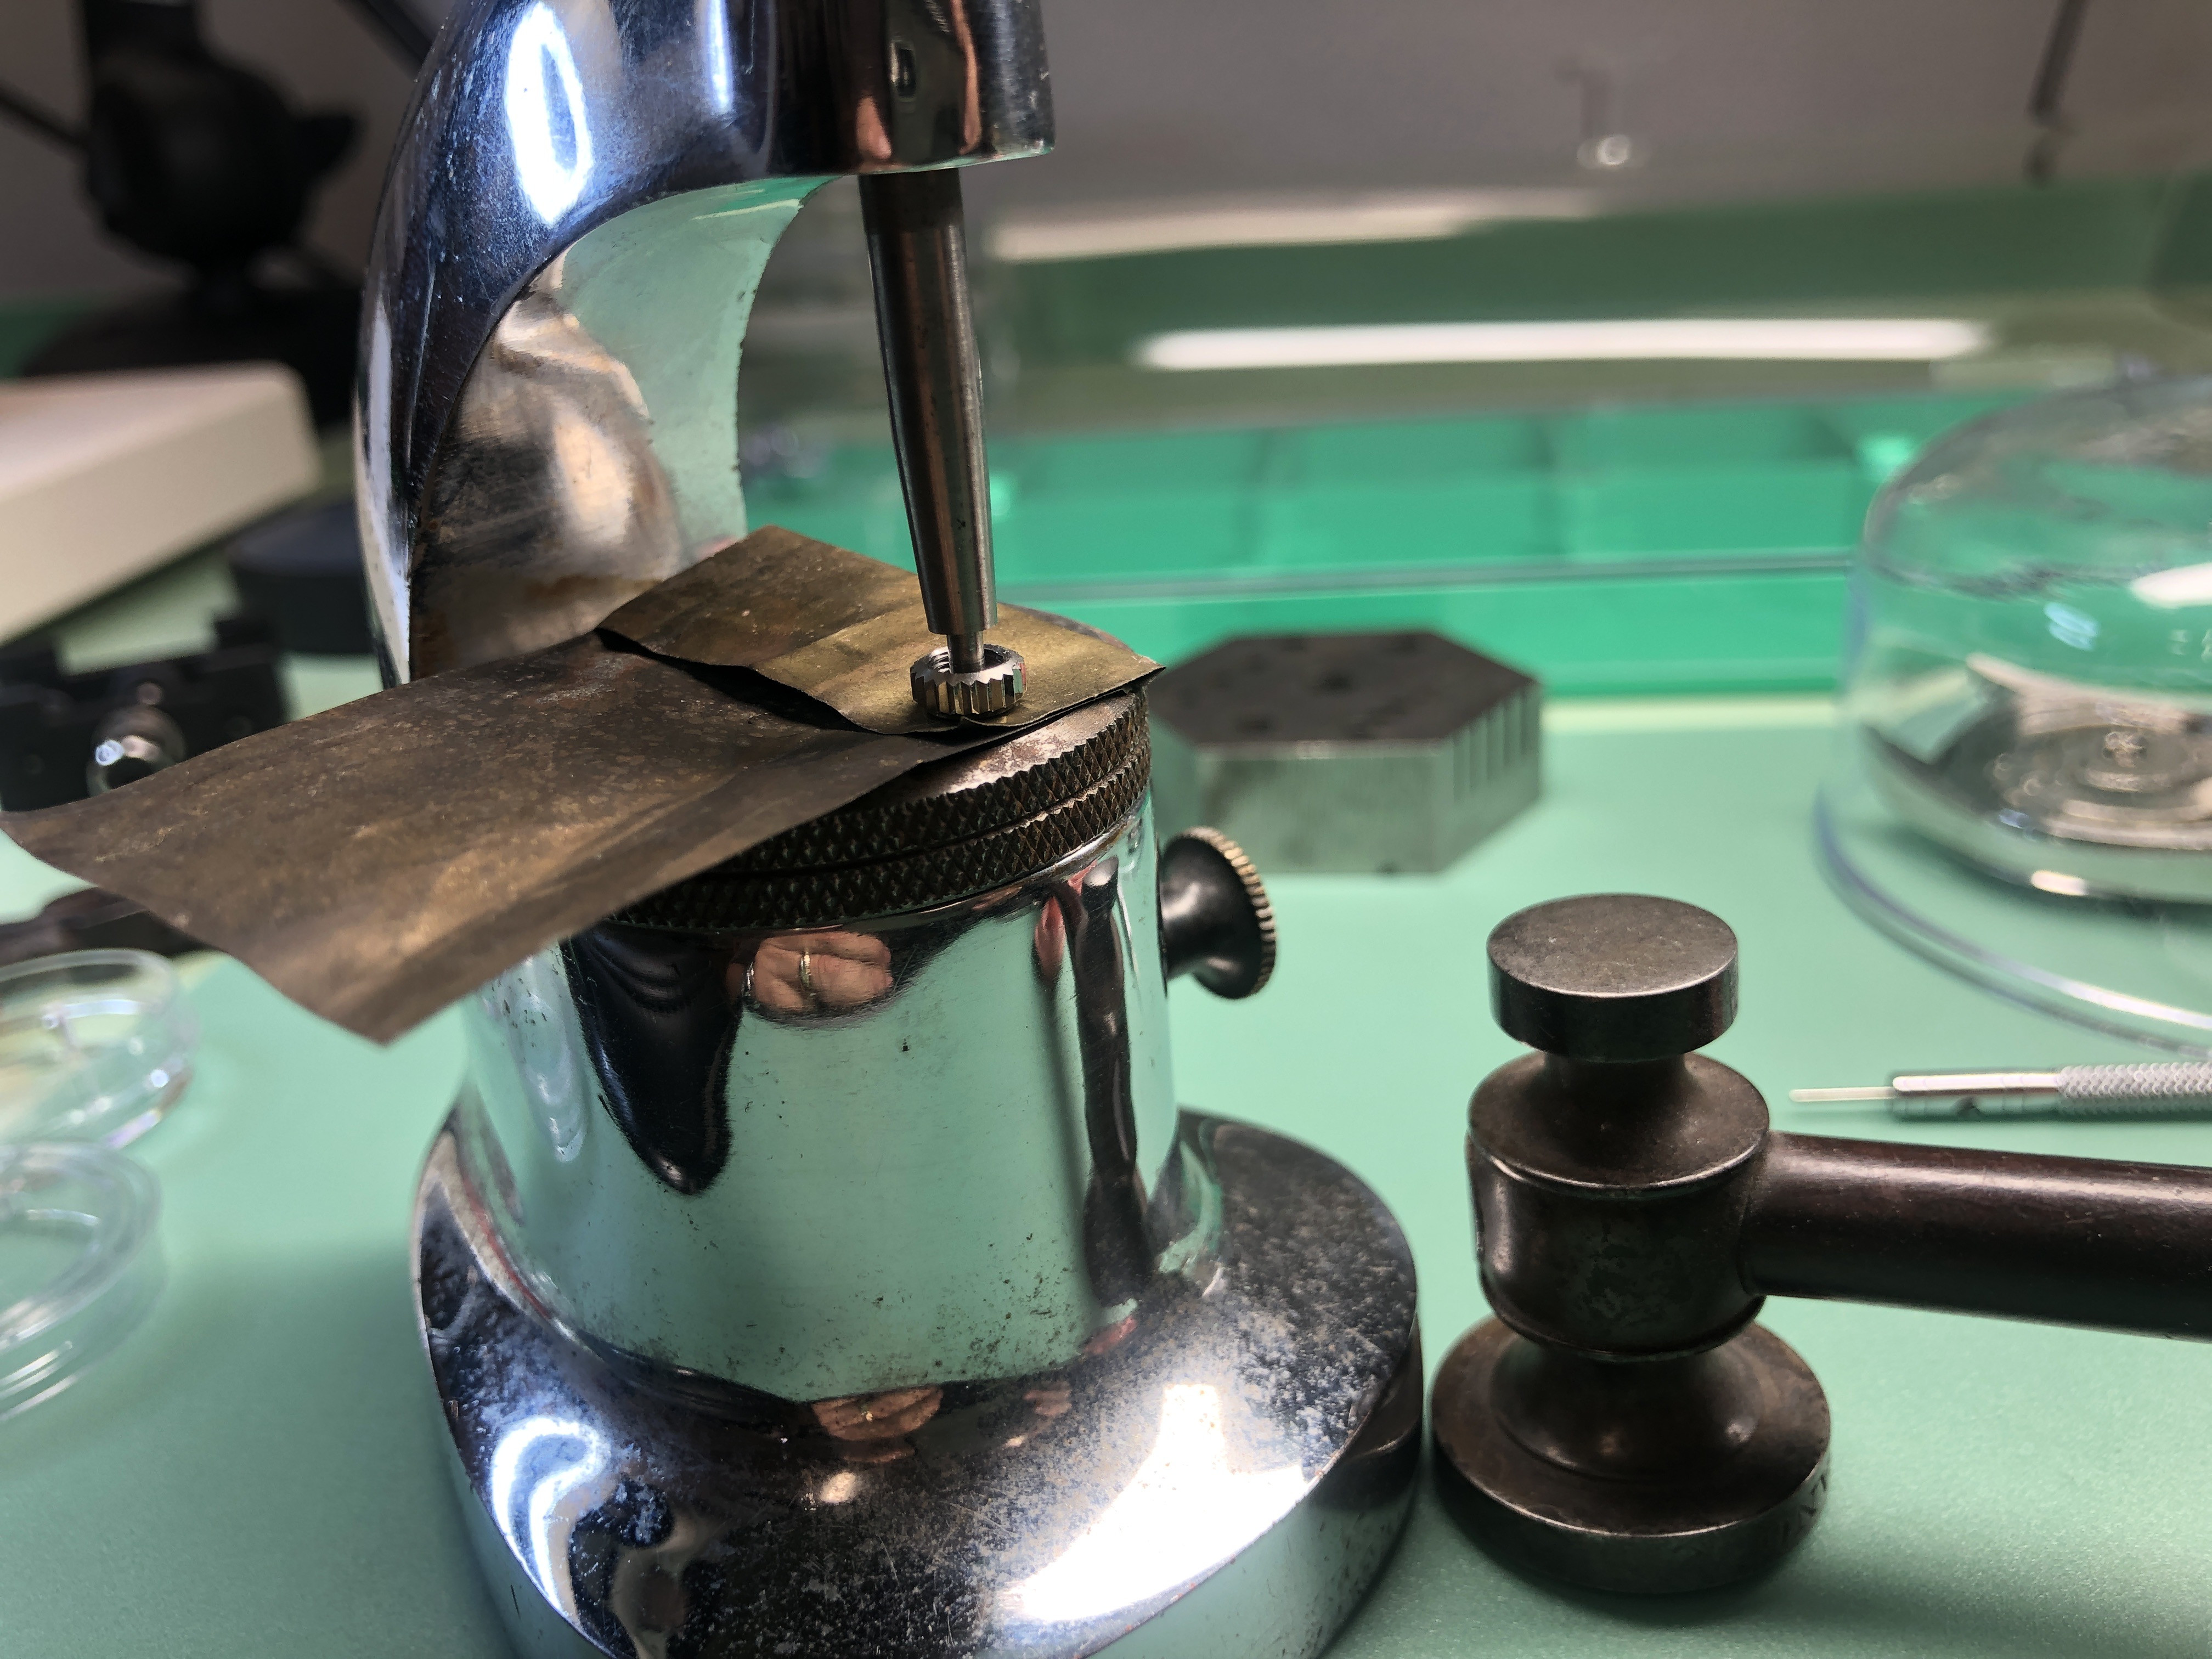
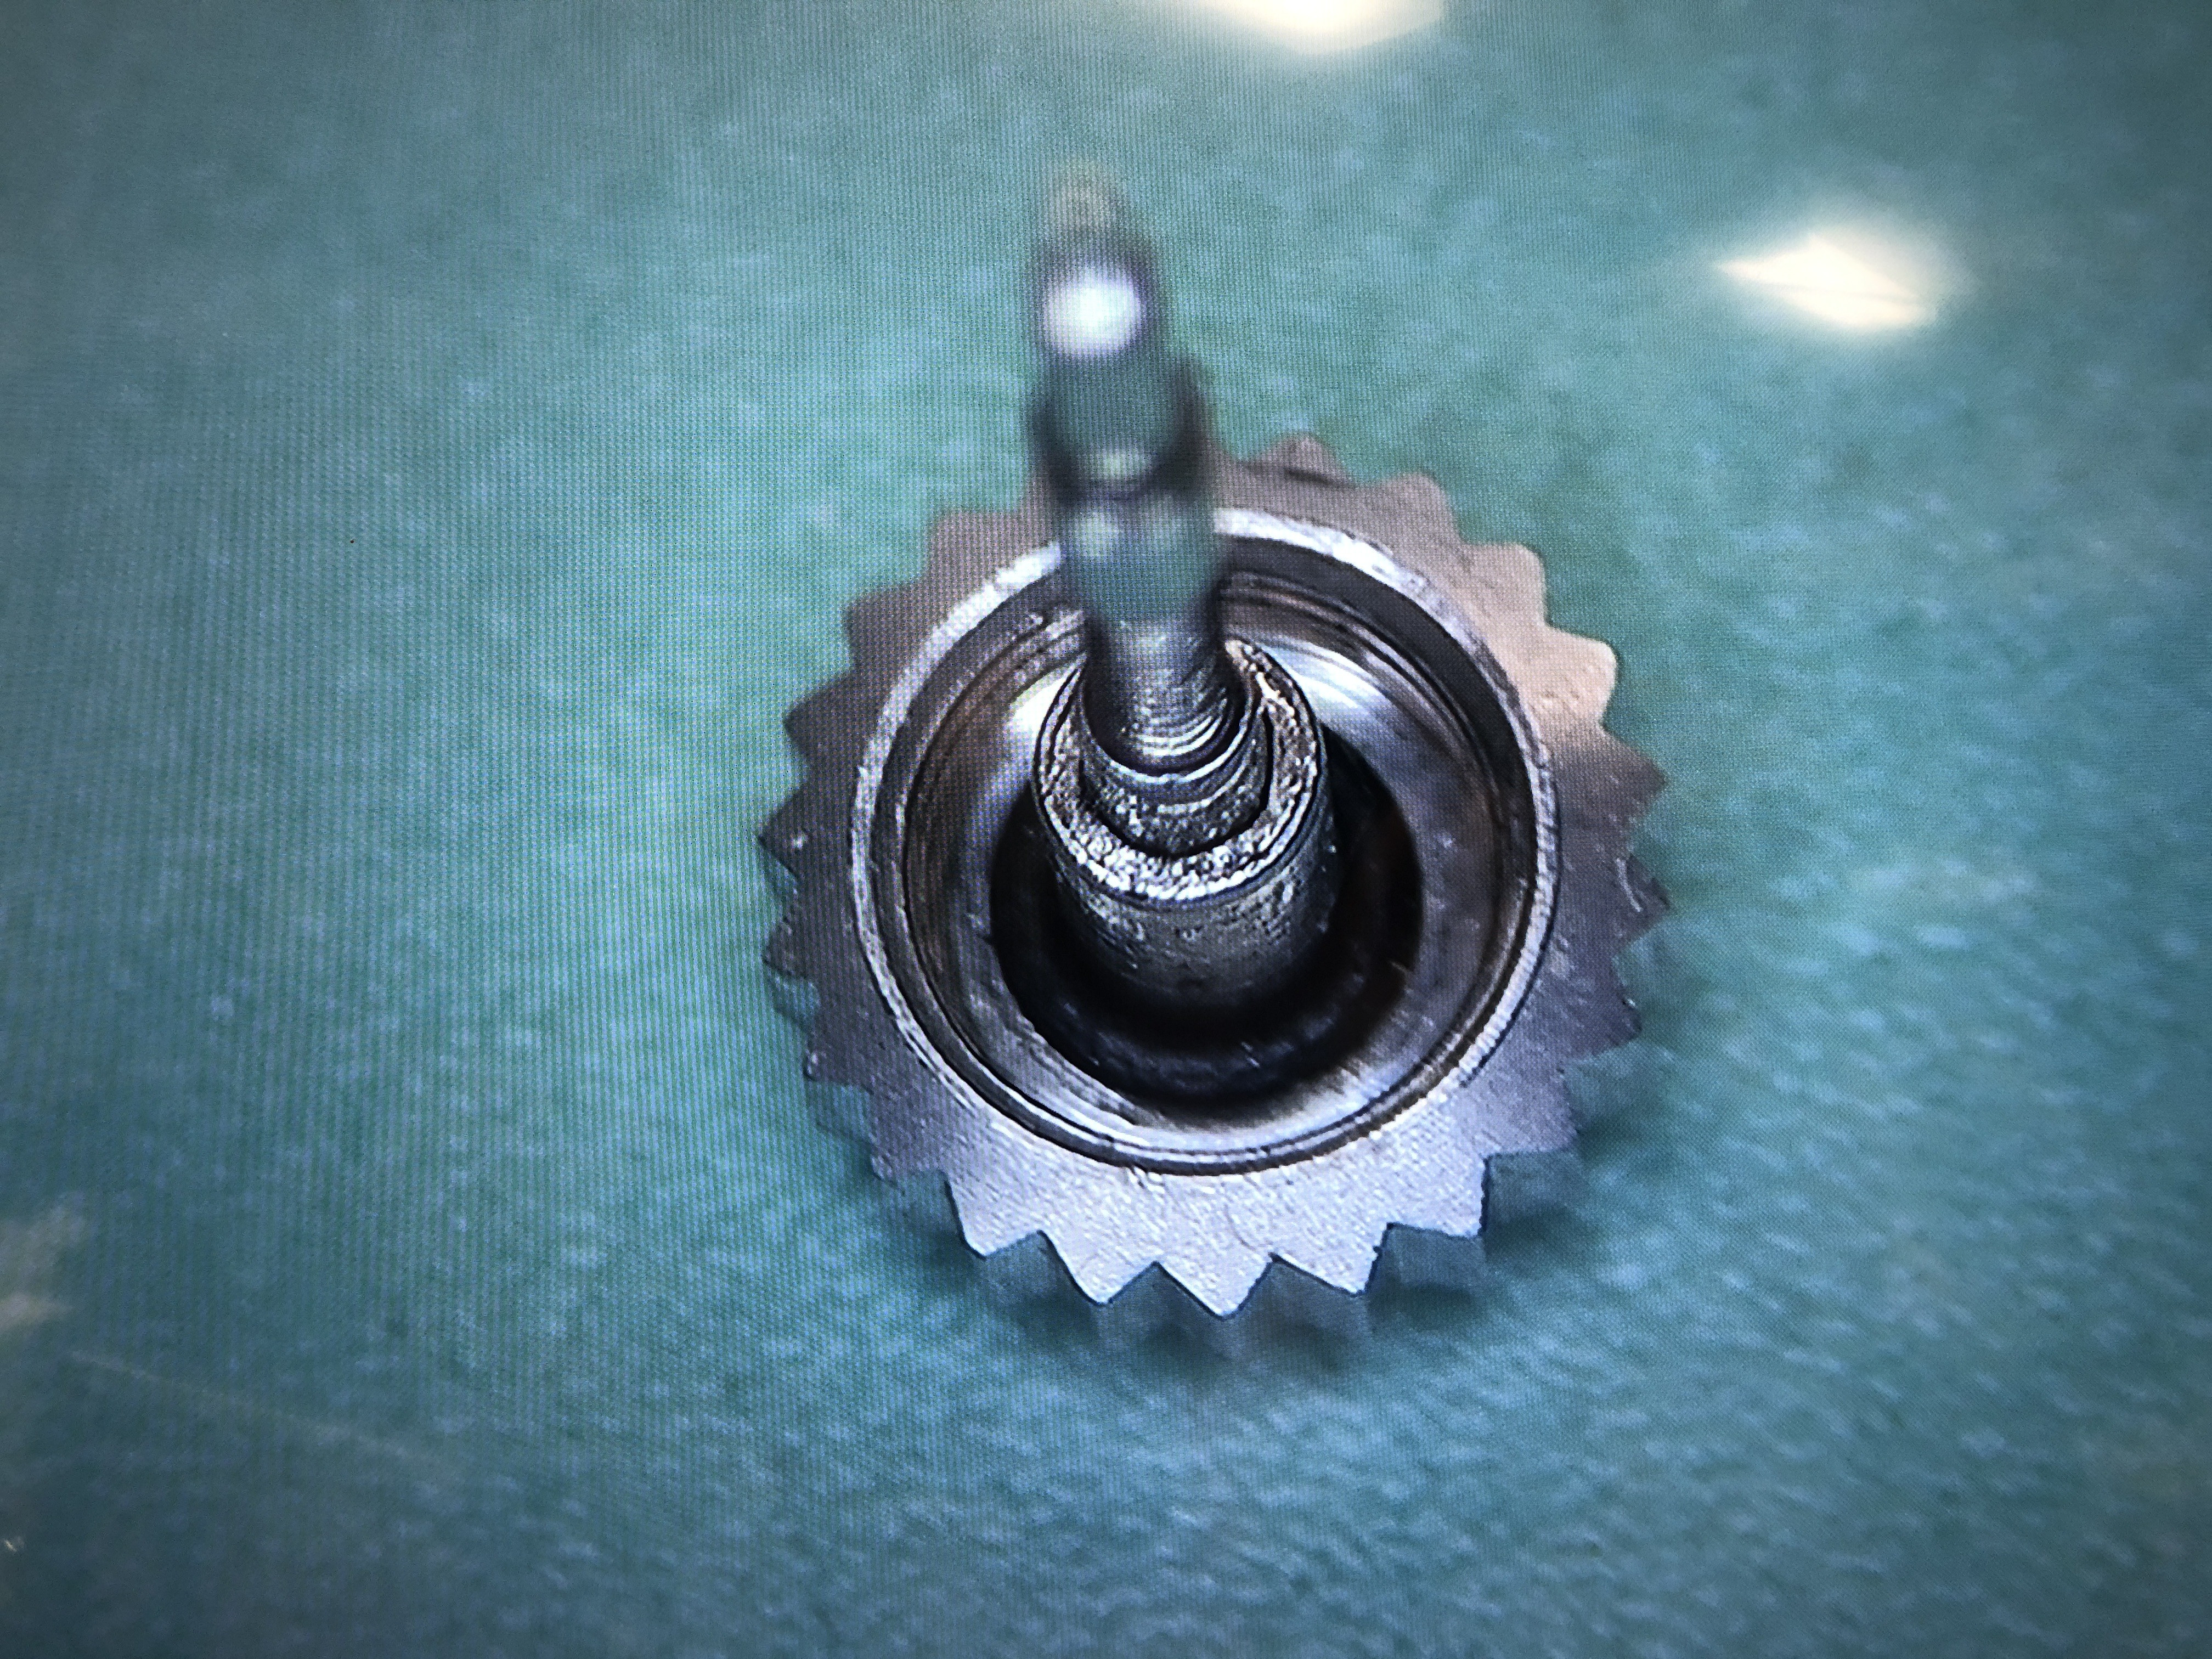
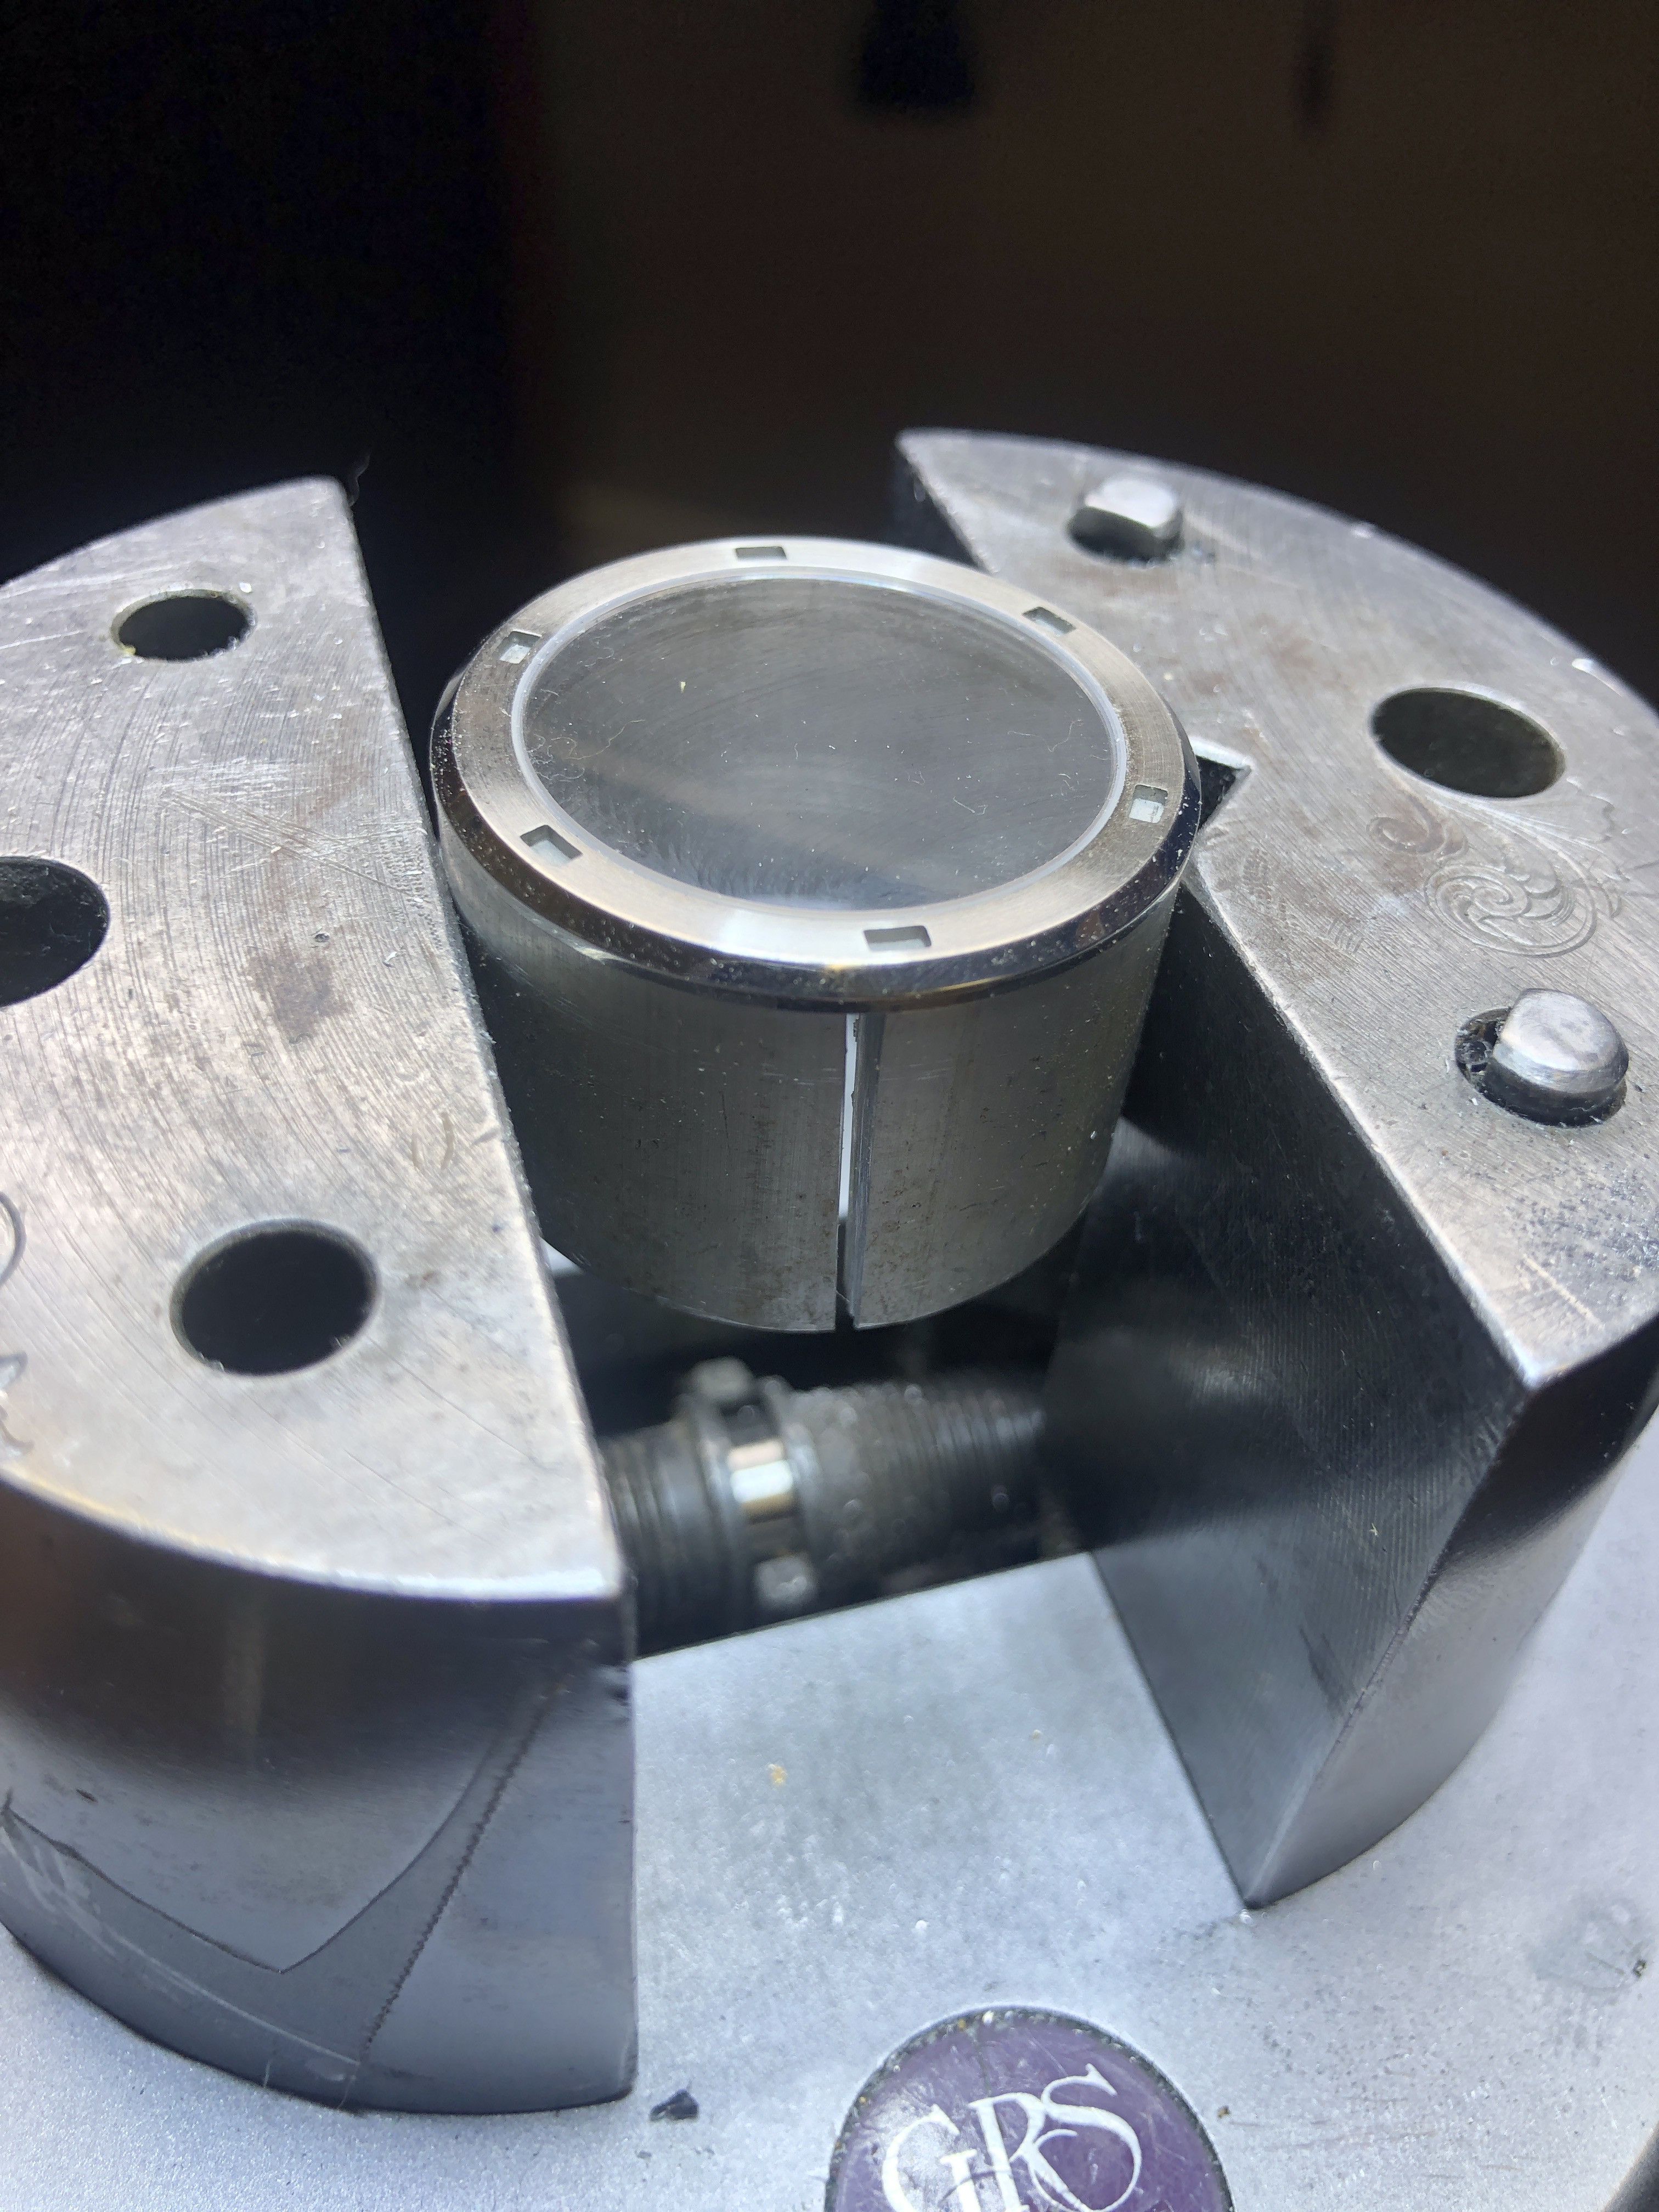
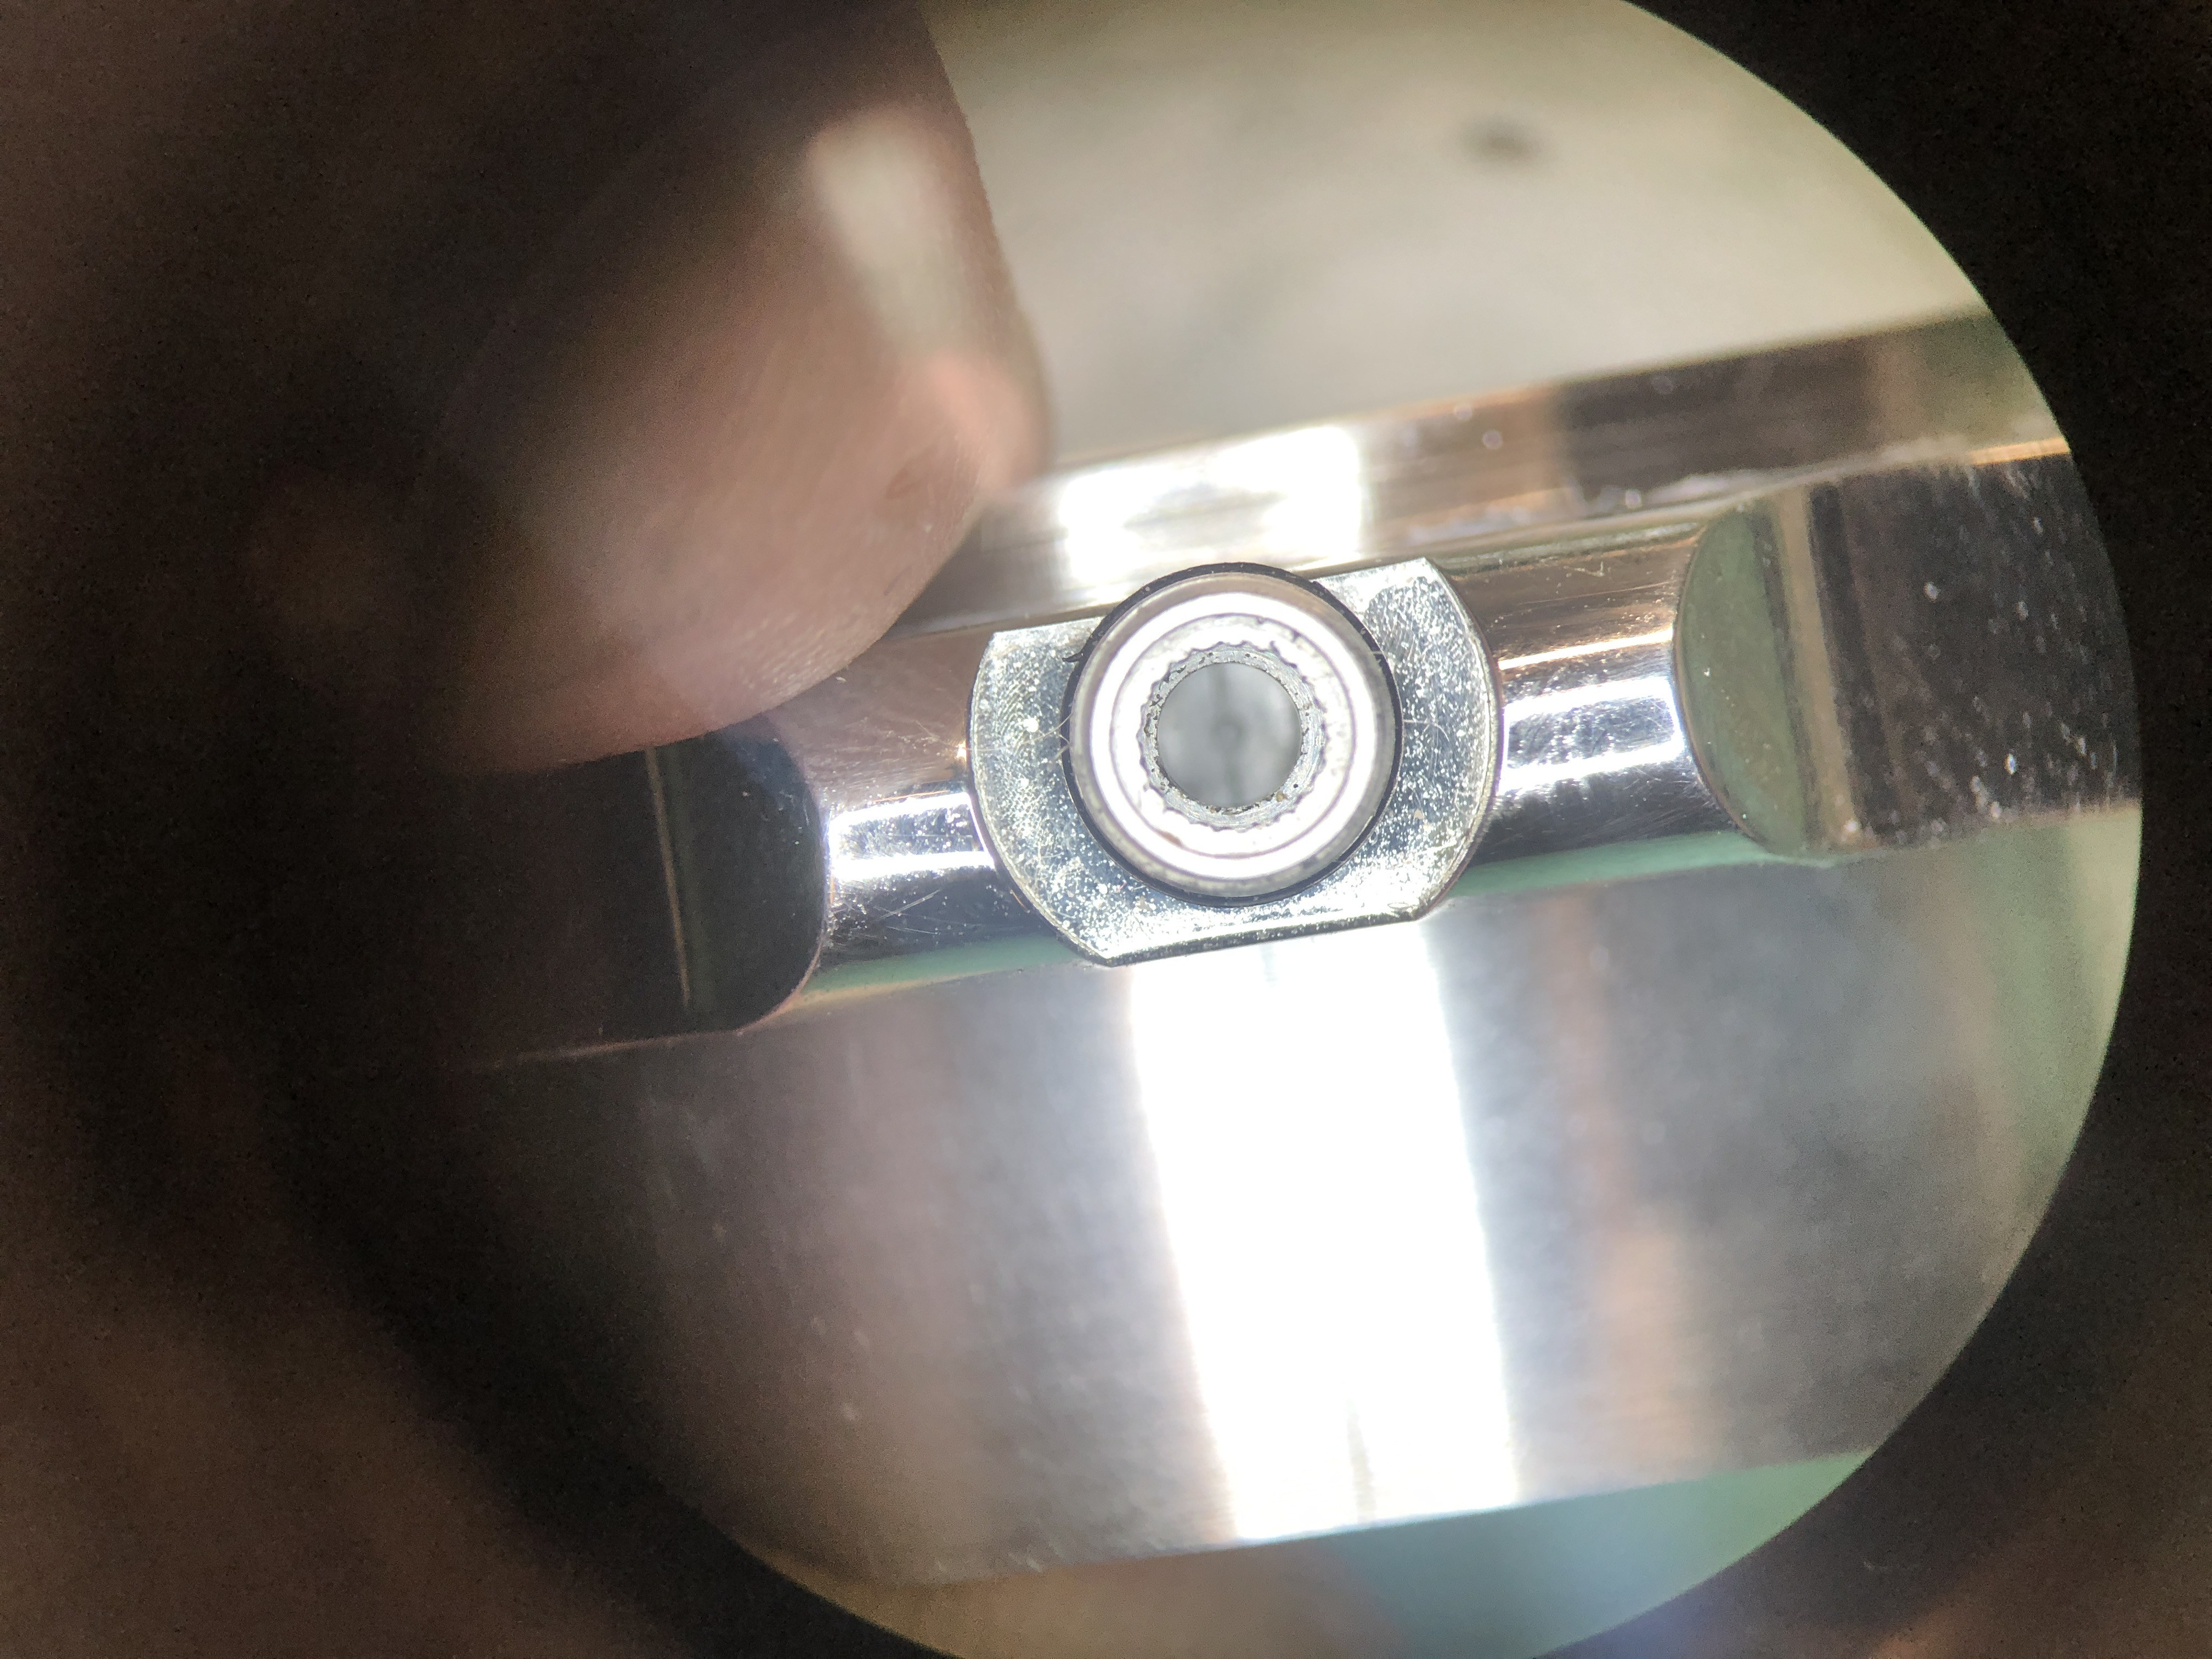
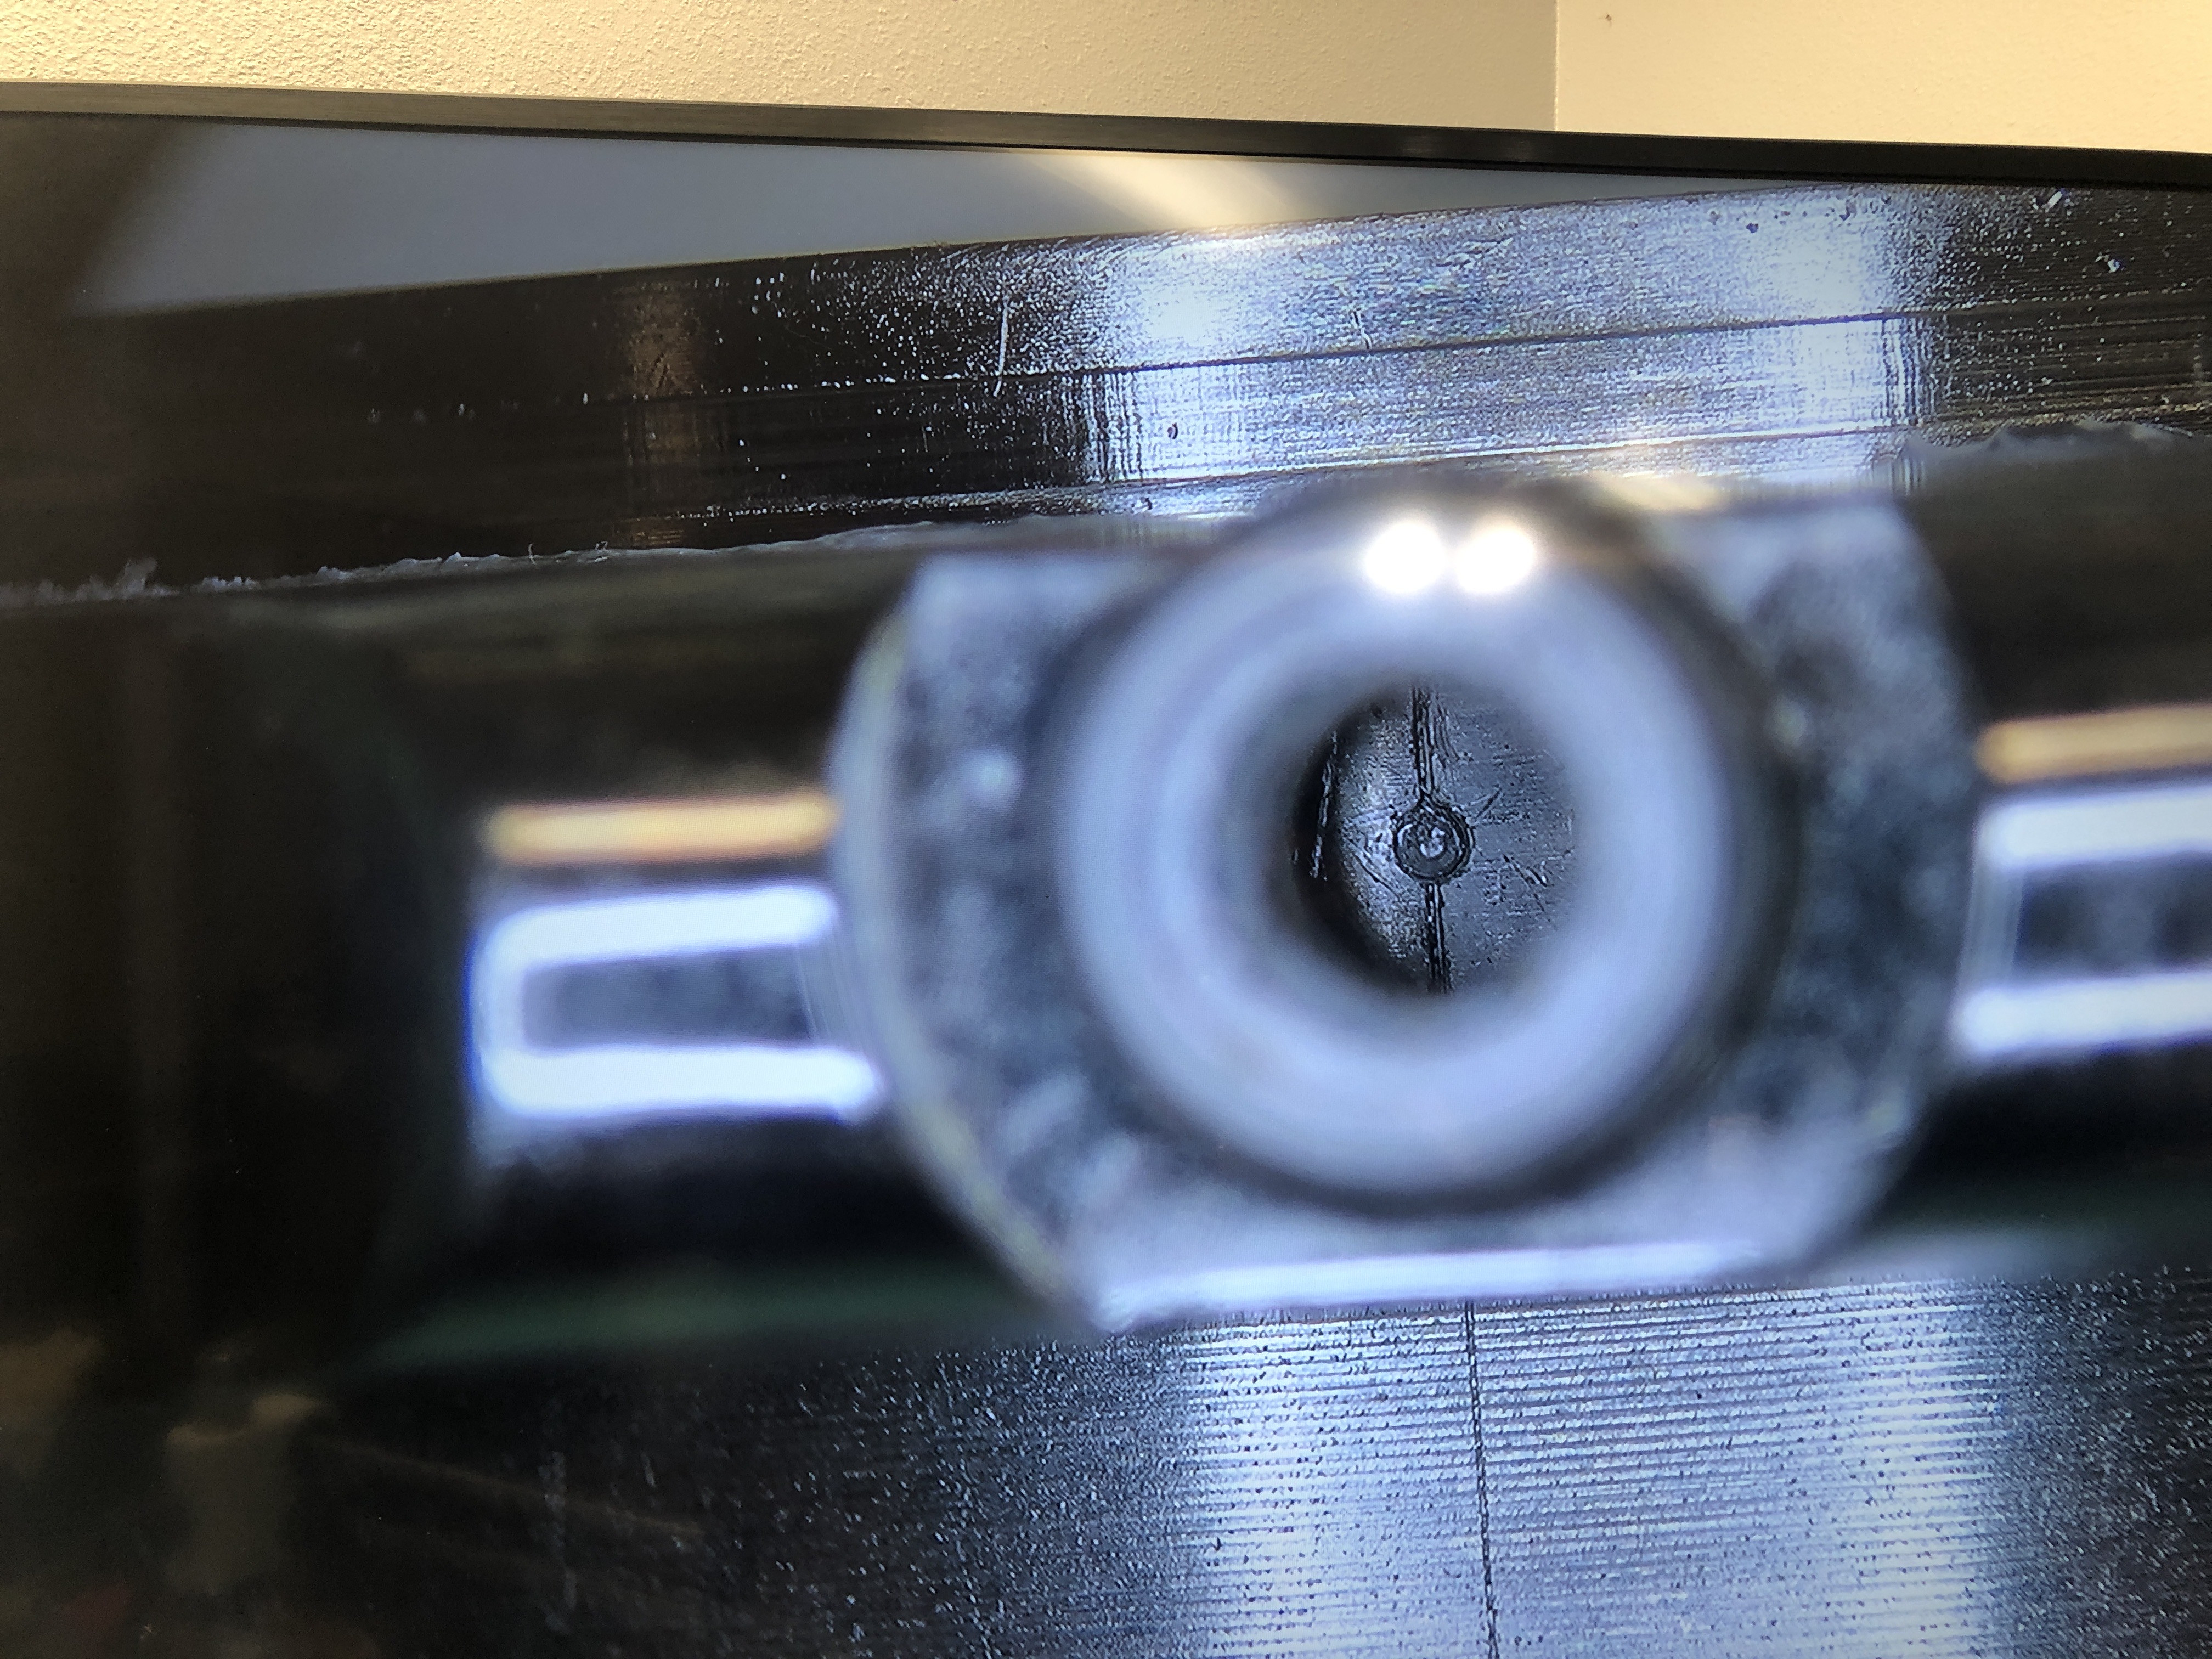
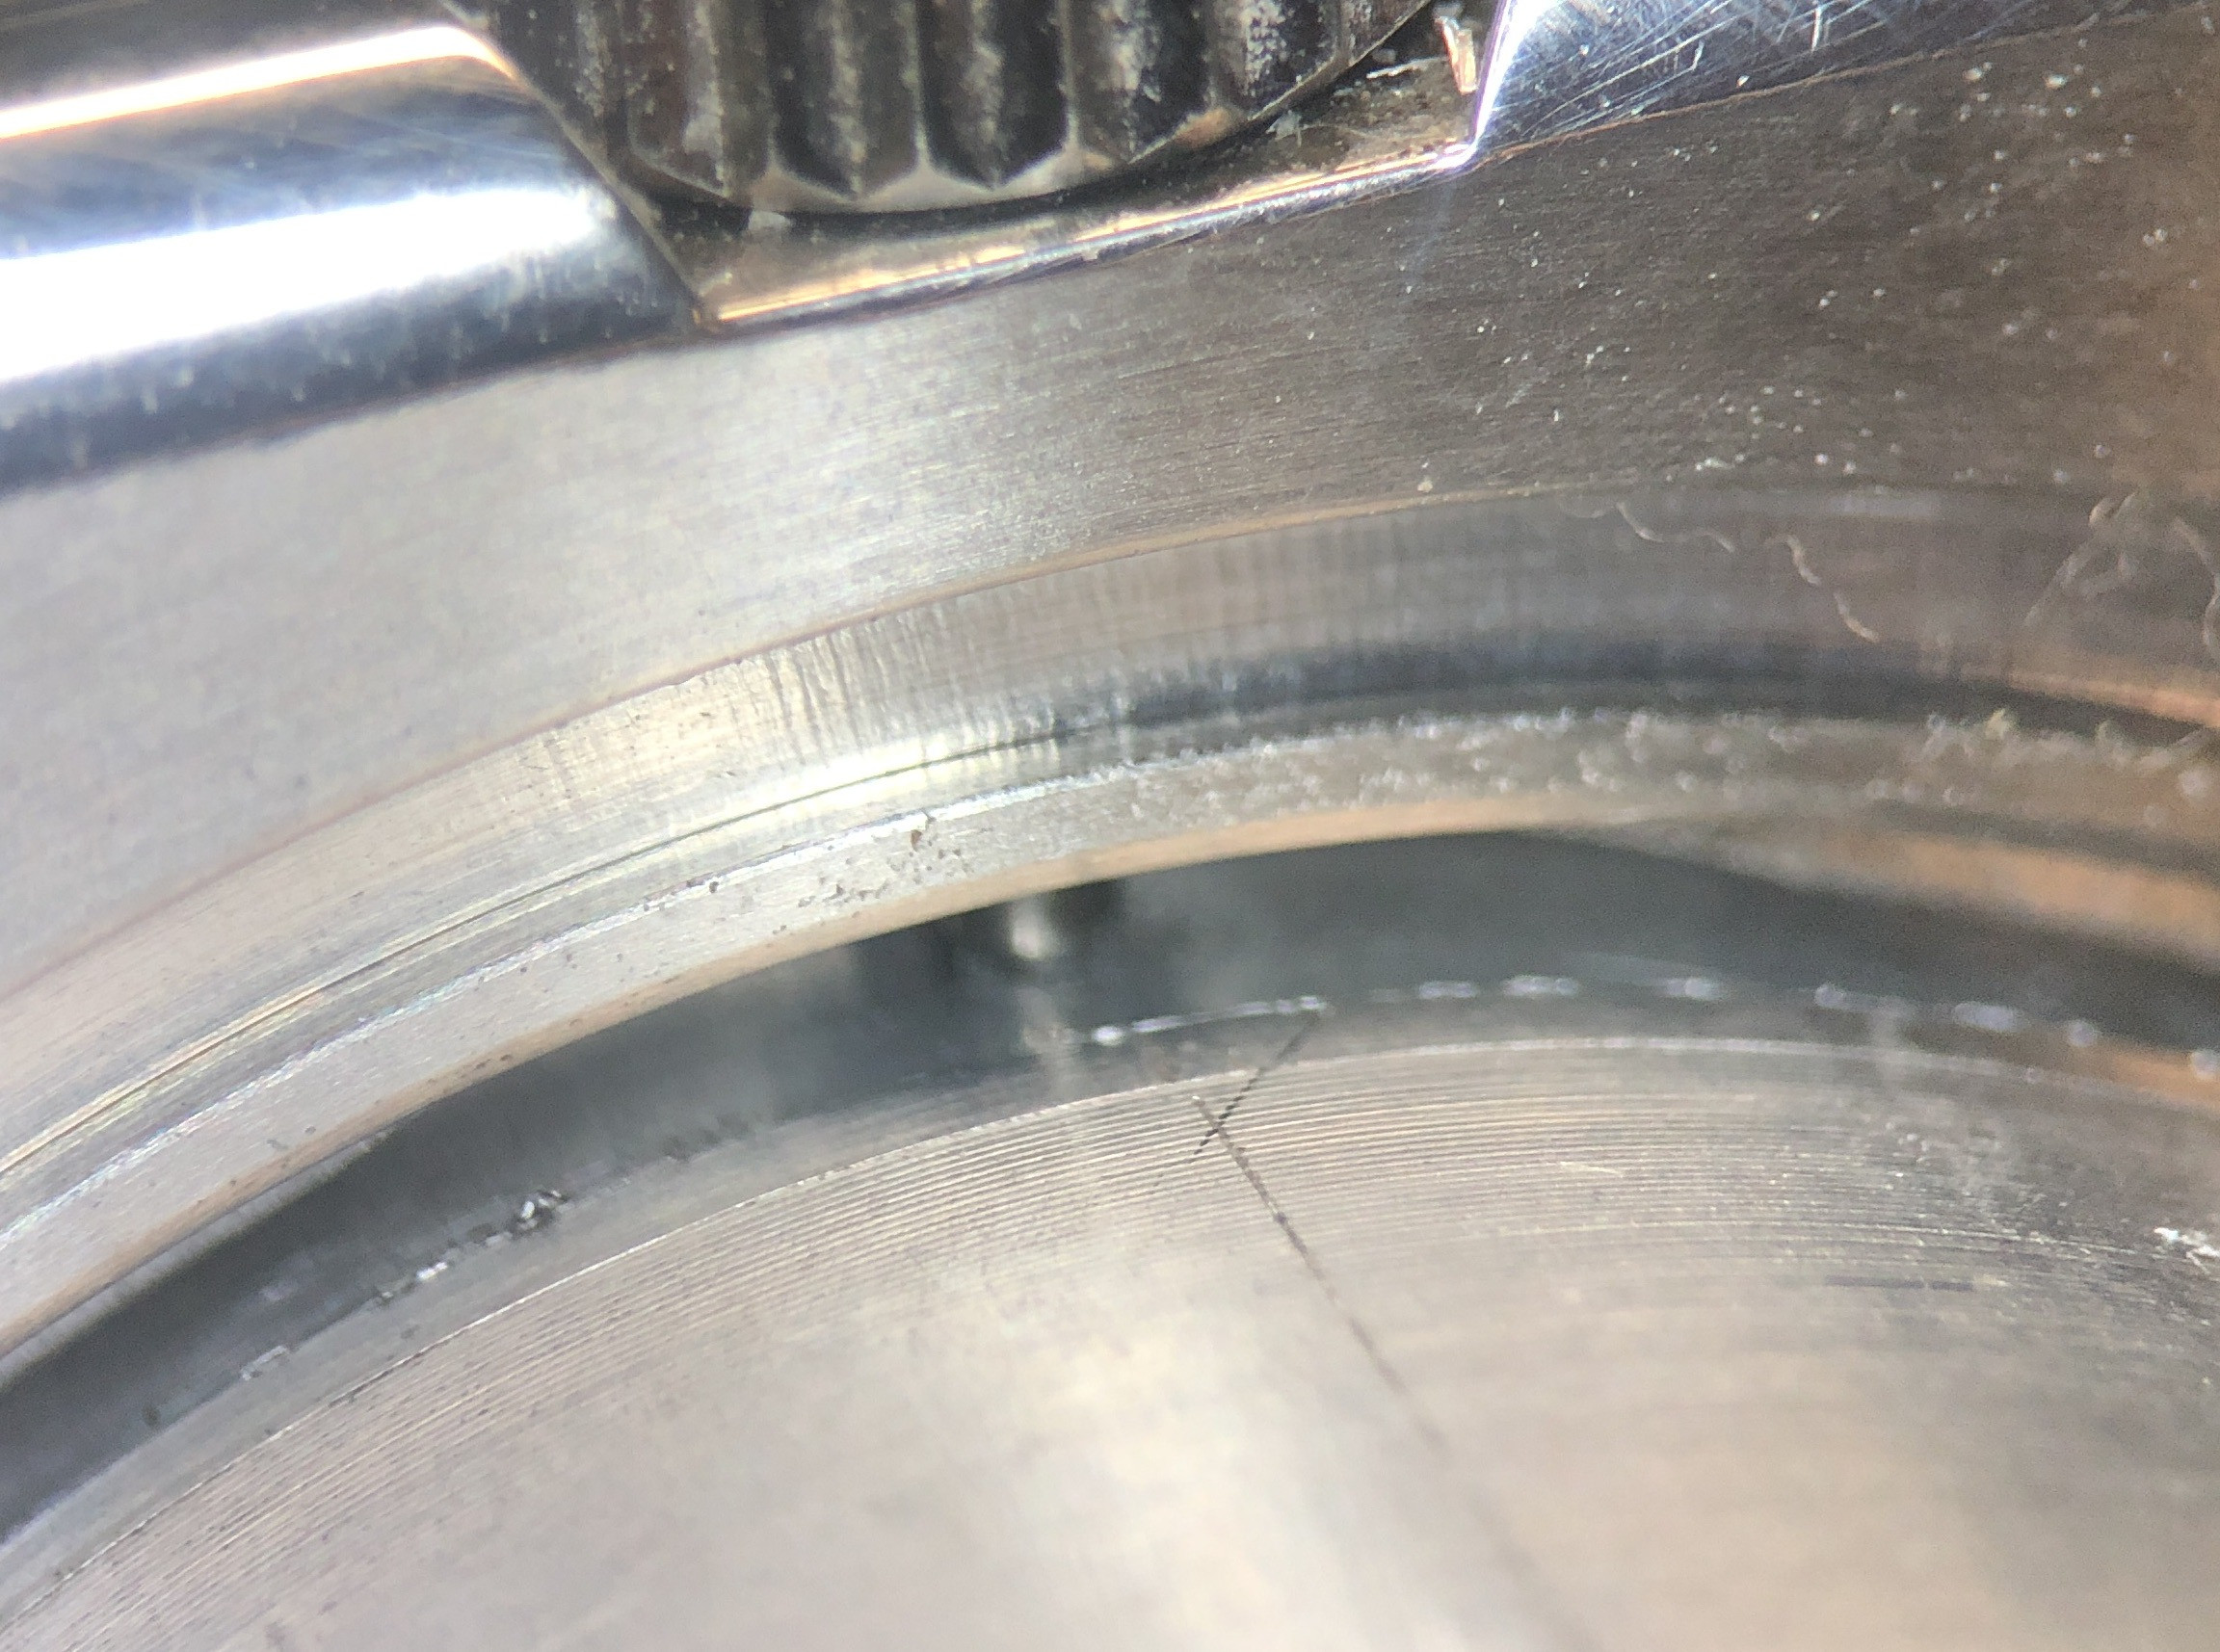
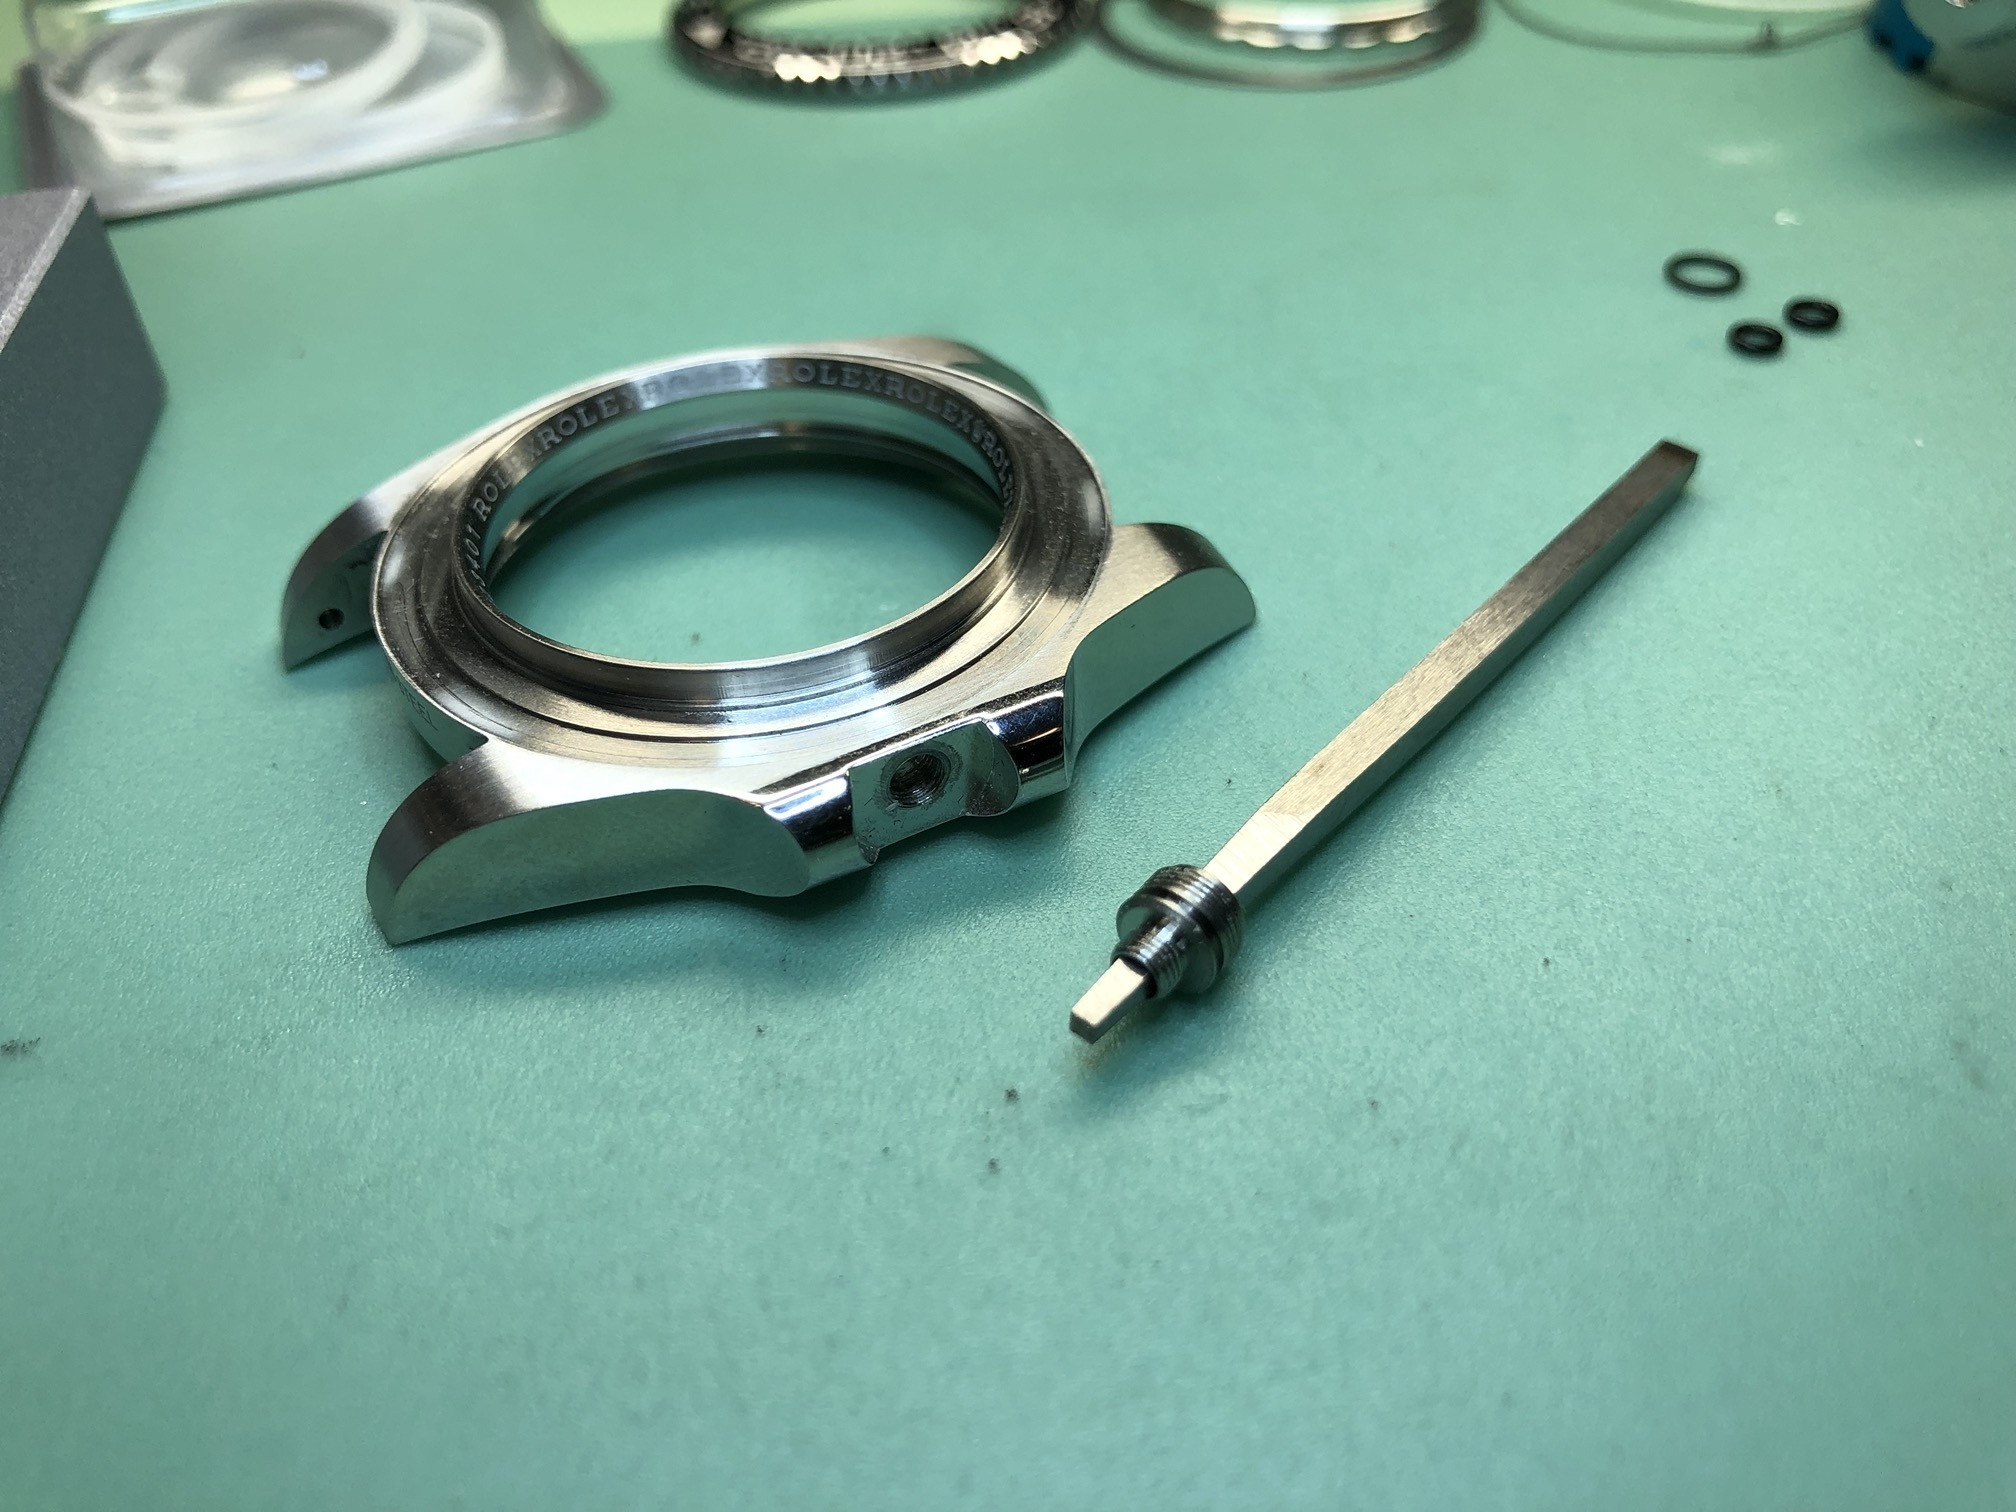
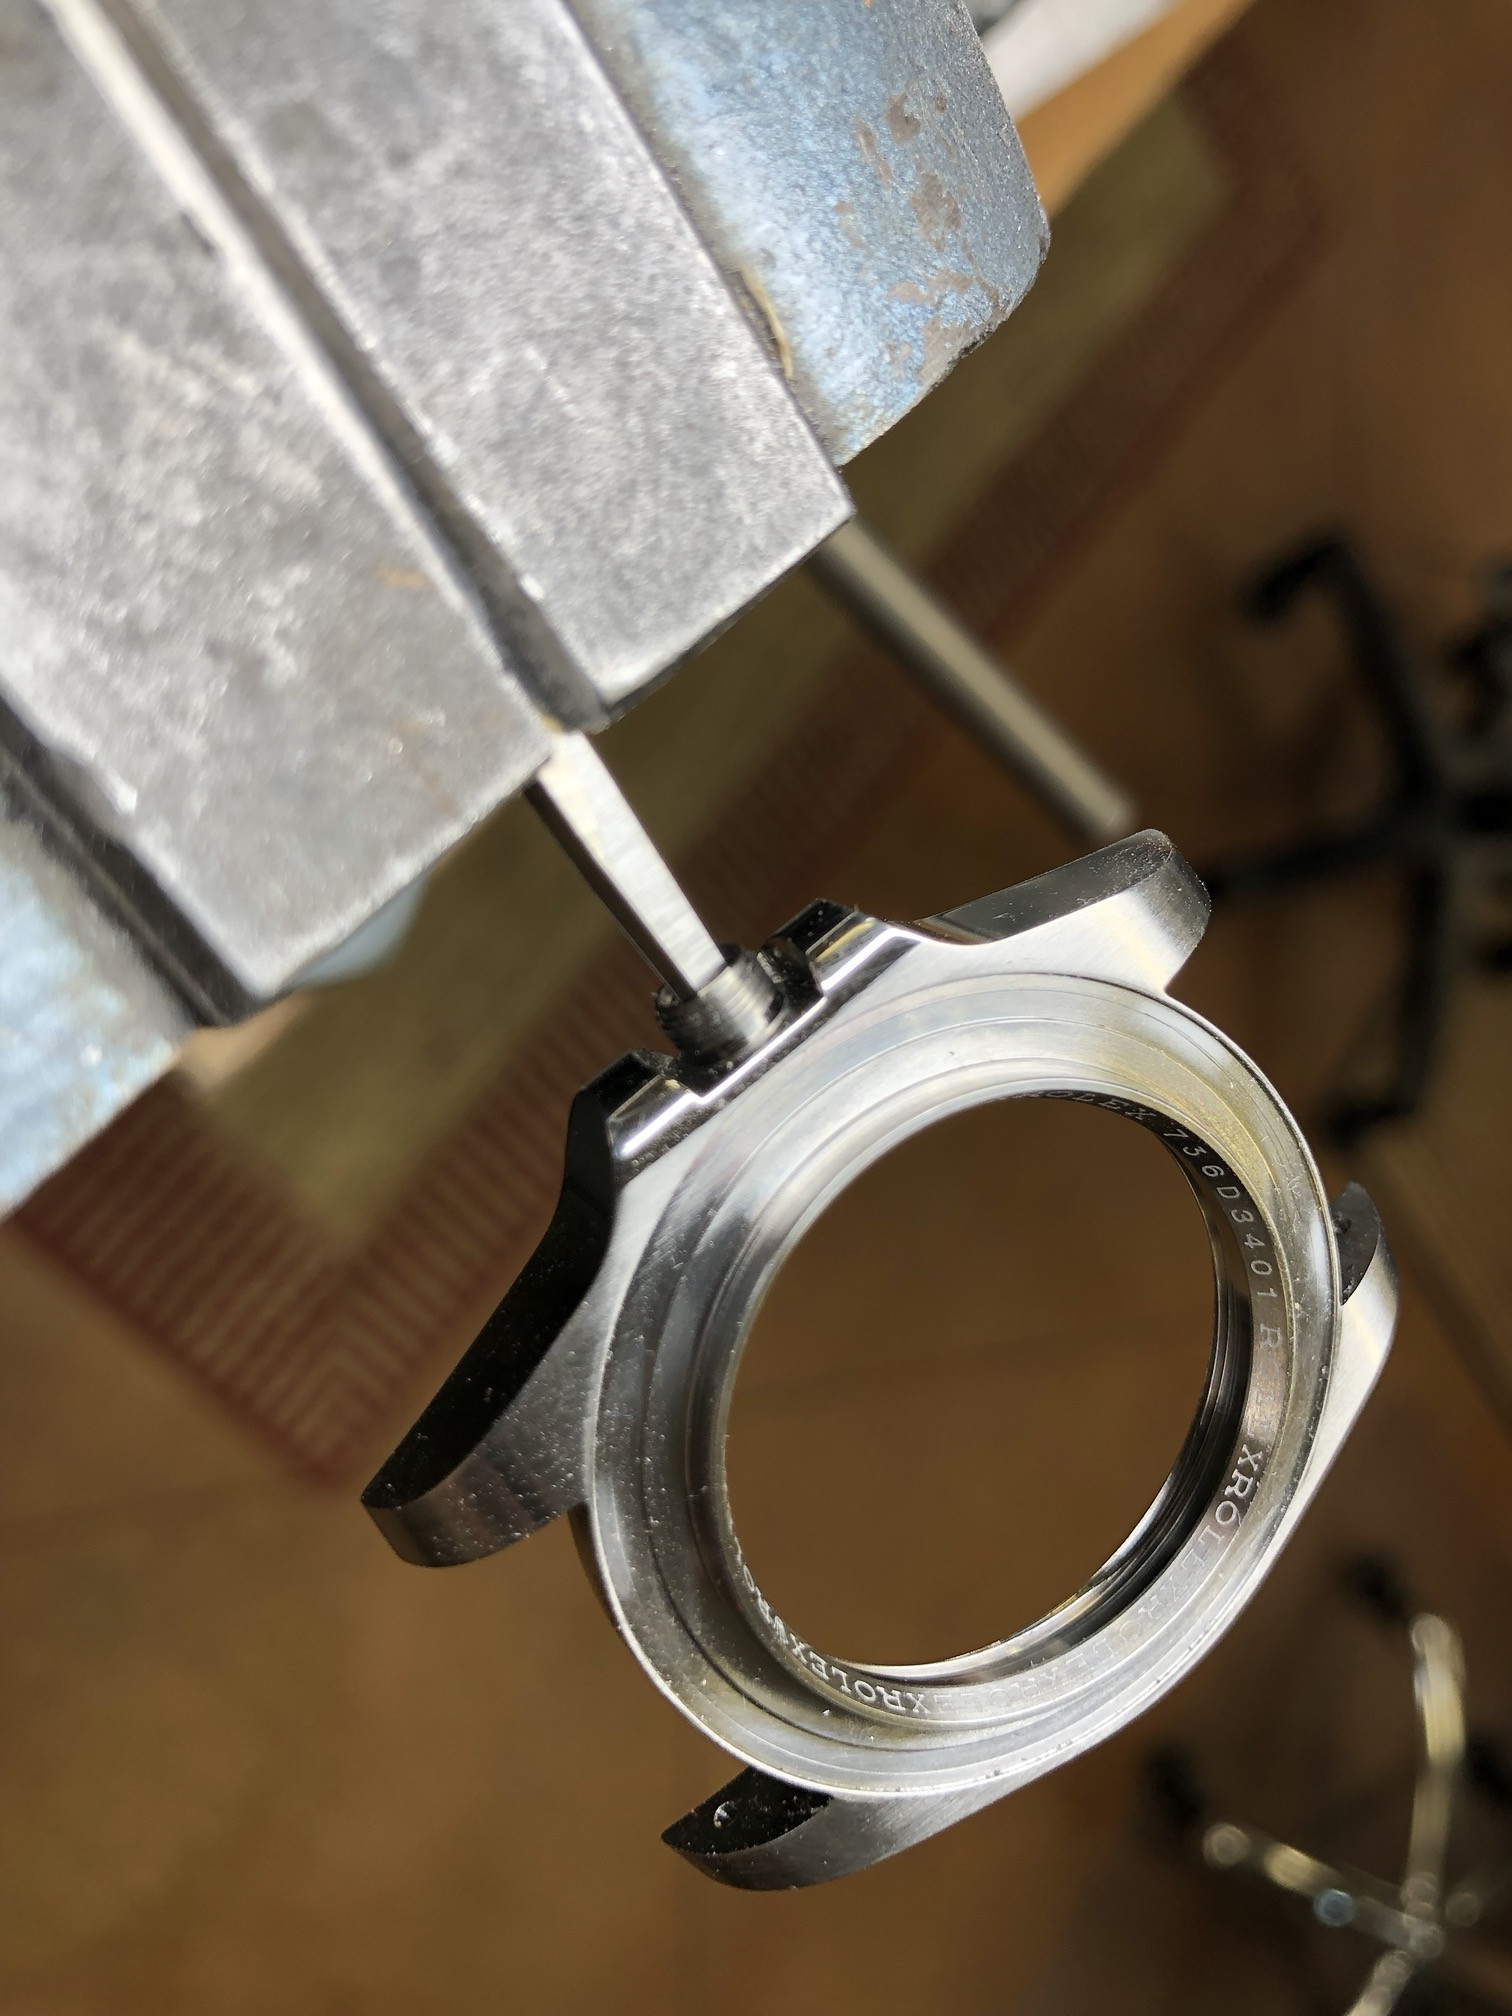
The square tool is a custom tool I made for extracting rep tubes with stripped out splines.
Thanks for looking!
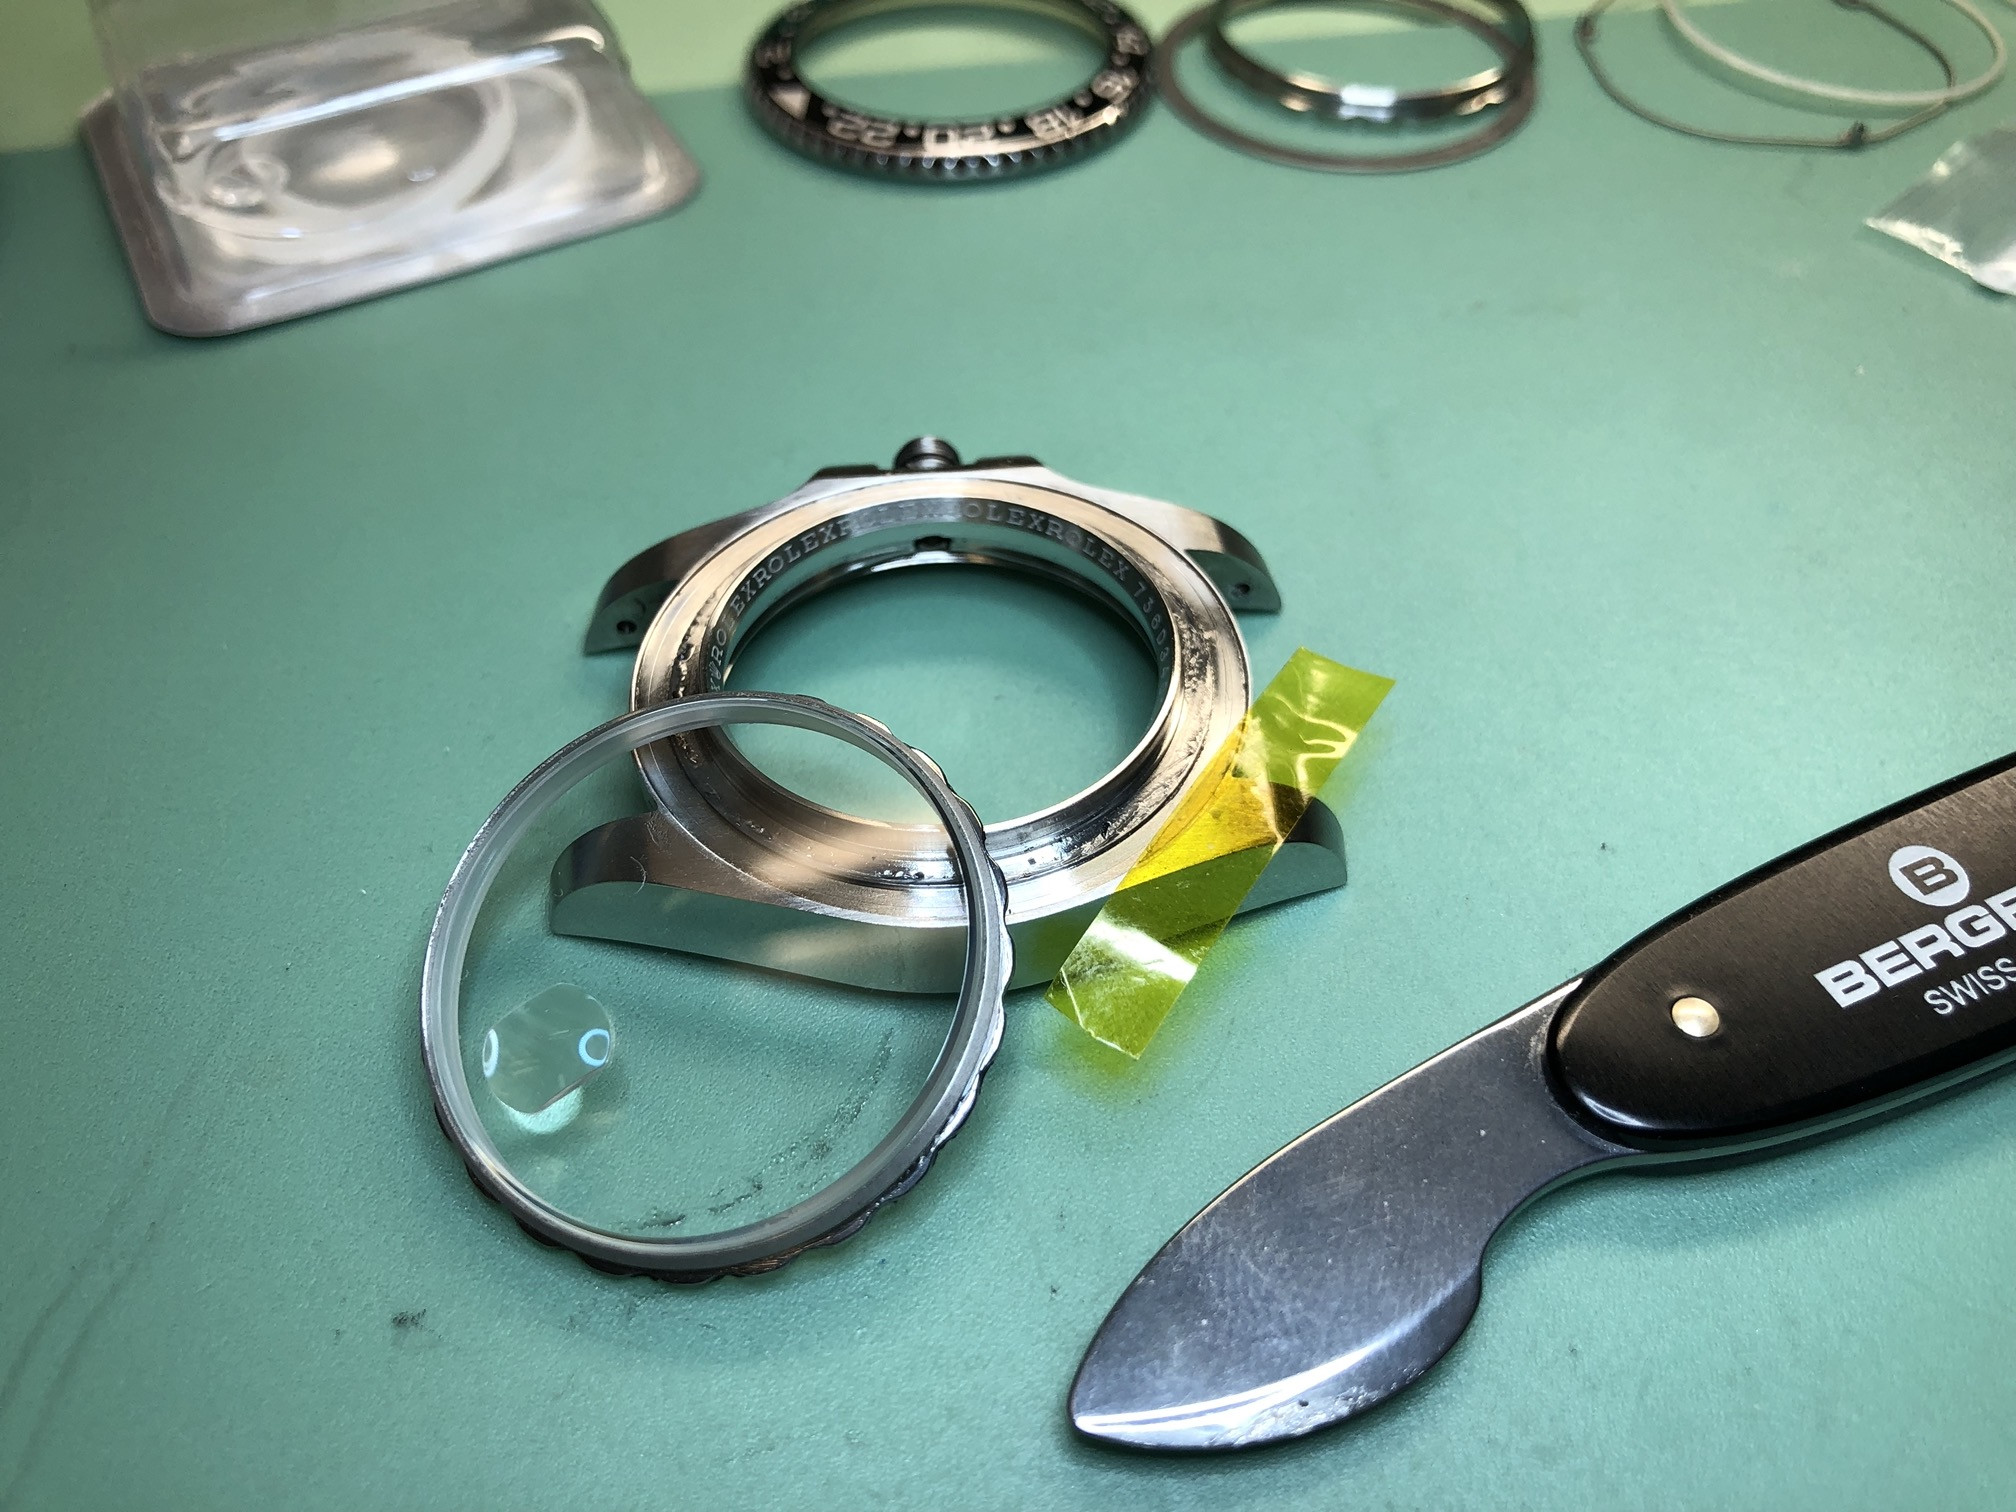
All depends on the model.Is it necessary to remove the insert from the bezel when swapping in an assembled gen bezel/insert? Or can the new bezel and insert be (carefully) pressed on in one piece?
Oops, I thought I mentioned that. CF, same as the one above.All depends on the model.
Oops, I thought I mentioned that. CF, same as the one above.
GMTs it's possible to install without removing the insert but i personally like to remote it so i can get a perfect alignment, but it's not necessaryOops, I thought I mentioned that. CF, same as the one above.
Oops, I thought I mentioned that. CF, same as the one above.

