Hi Members, there are sometimes people who guess a strap is done in a few minutes, I want to show here how much effort it is, in my case, to built a strap that fits exactly and won’t tear apart after 3 month. It is also a try to help our members to build their own straps.
If you can’t do it this way, there are a lot of easier ways to make a strap yourself.
Part 1.
I cut a stripe of leather for the top layer. A little bit wider and longer as nessesary for the long side.
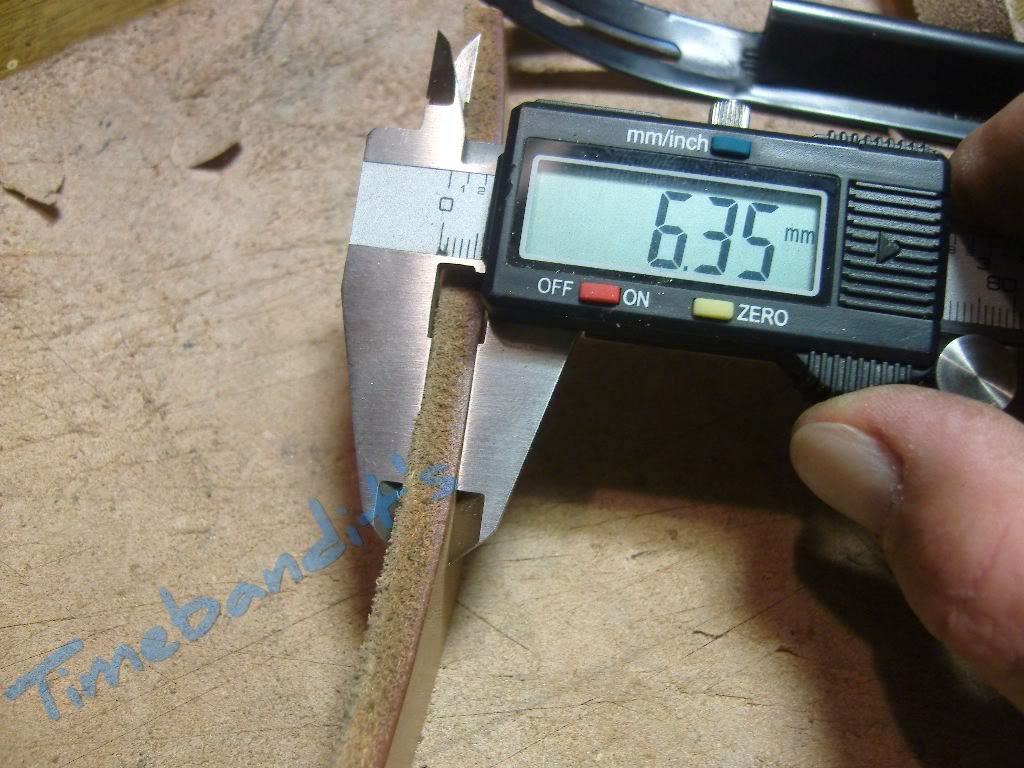
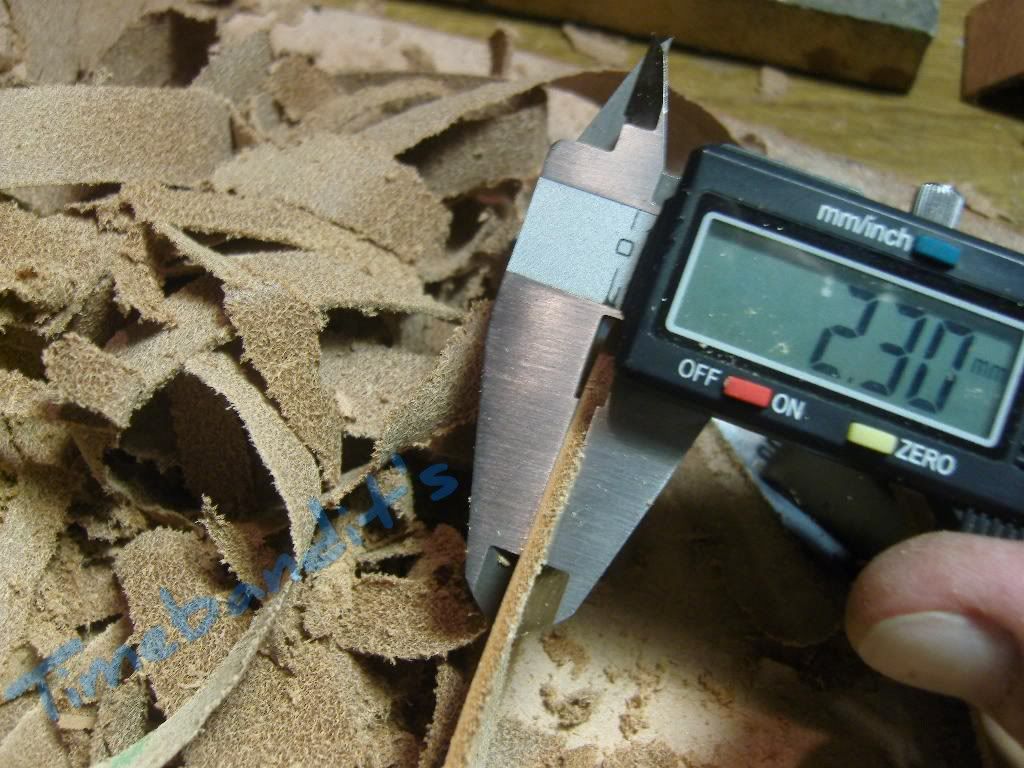
Sometimes the leather is too thick, in this case it was 6,35mm
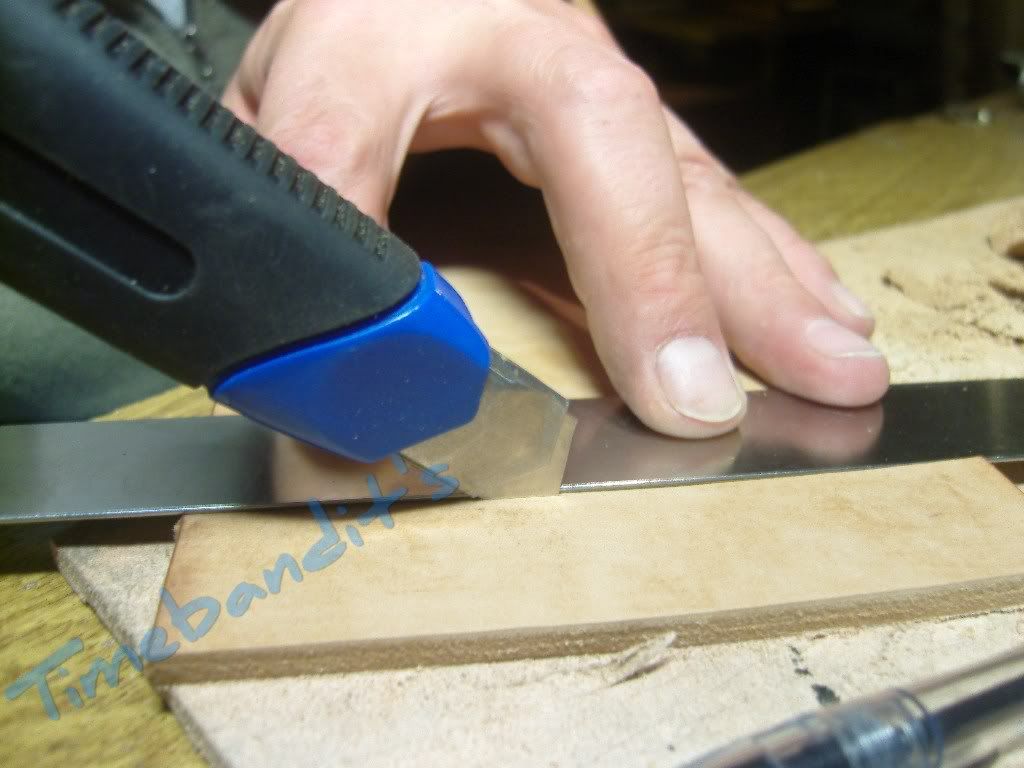
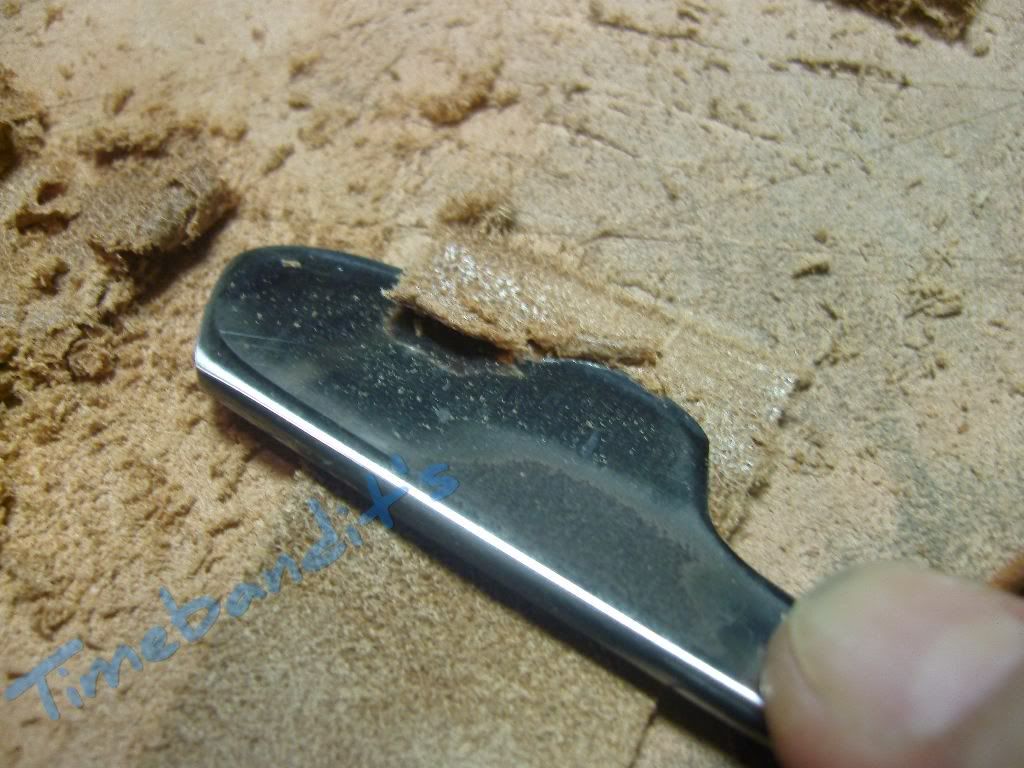
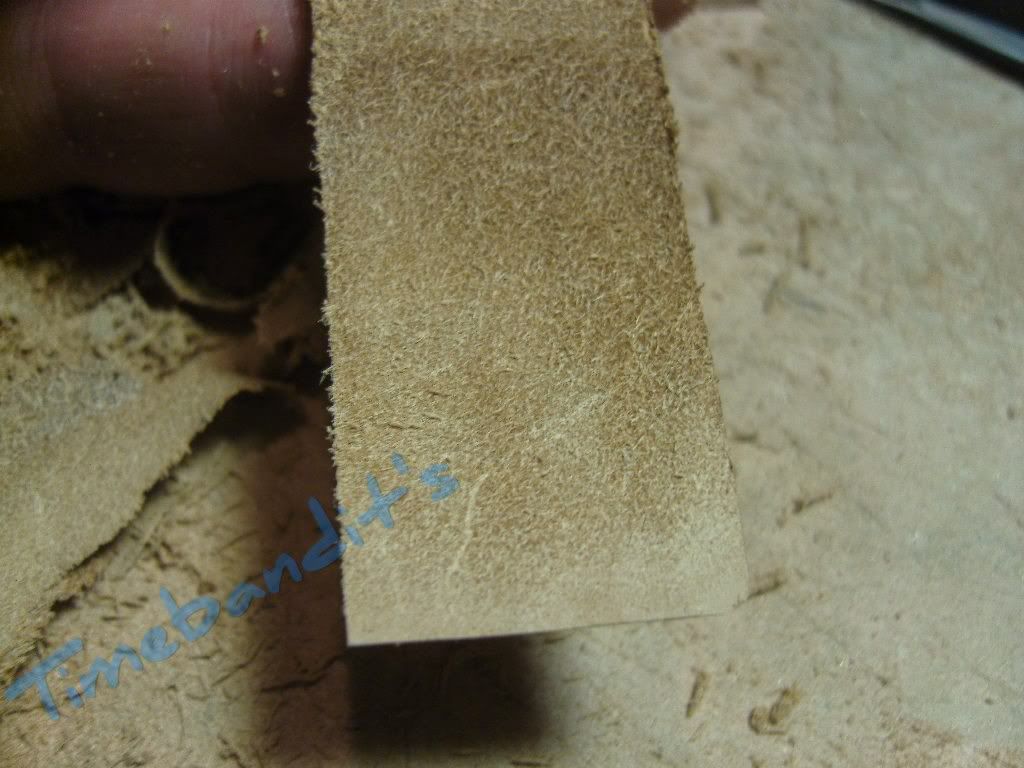
This needs to get thinner, I slice it down to the wanted thickness.
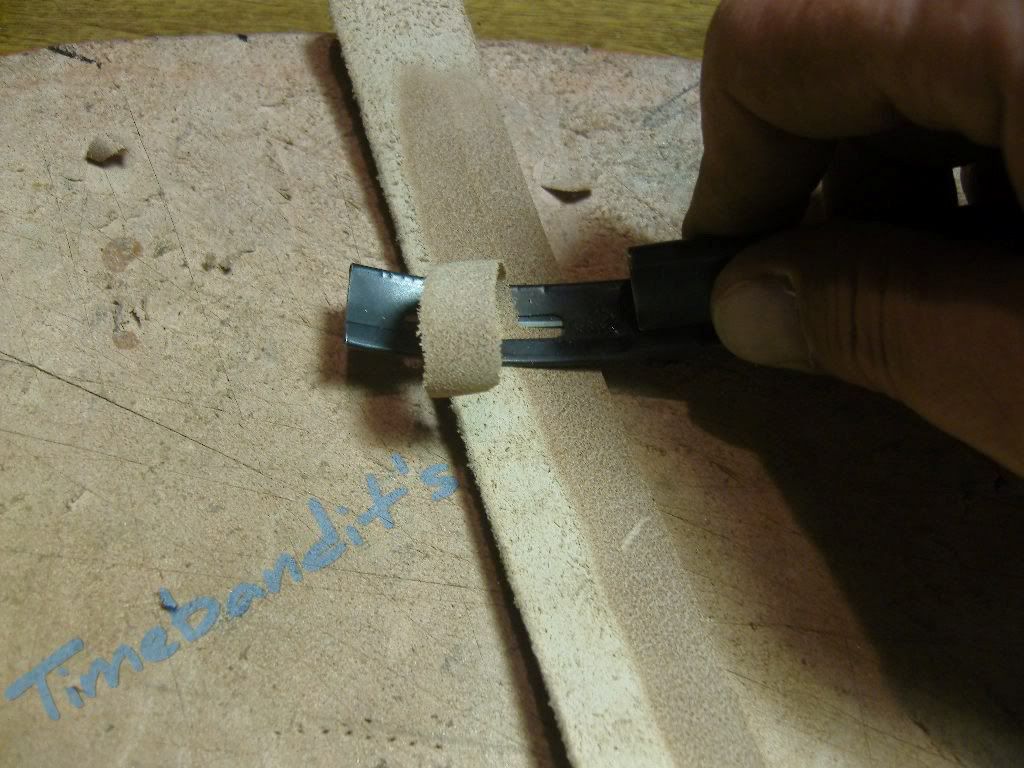
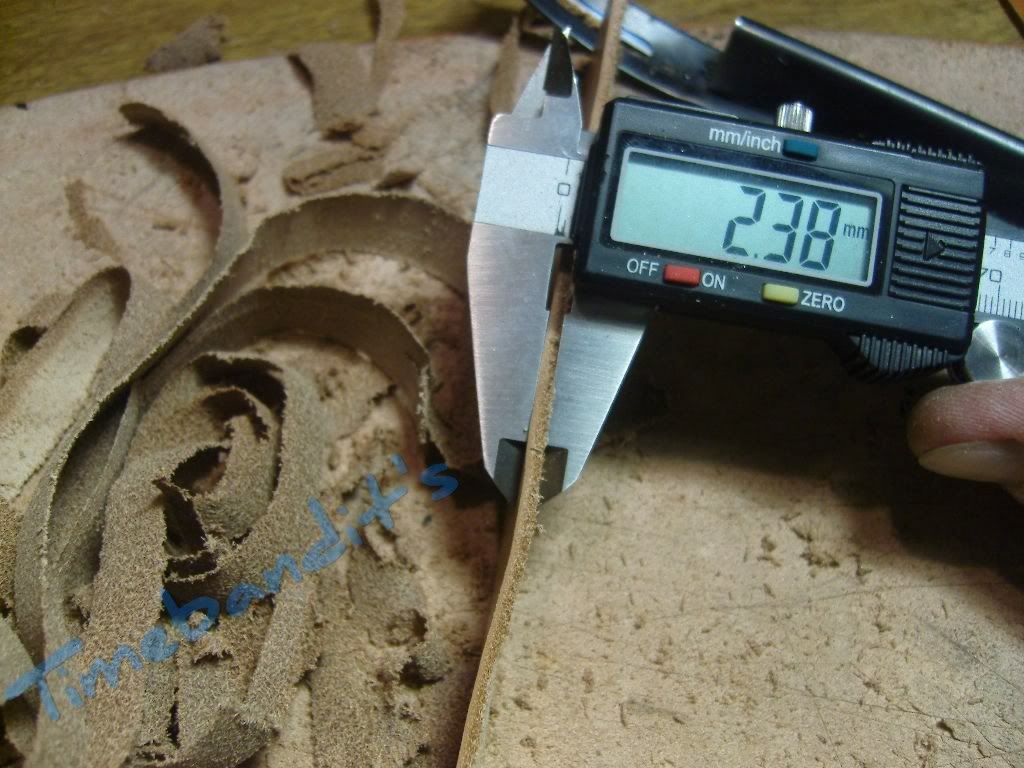
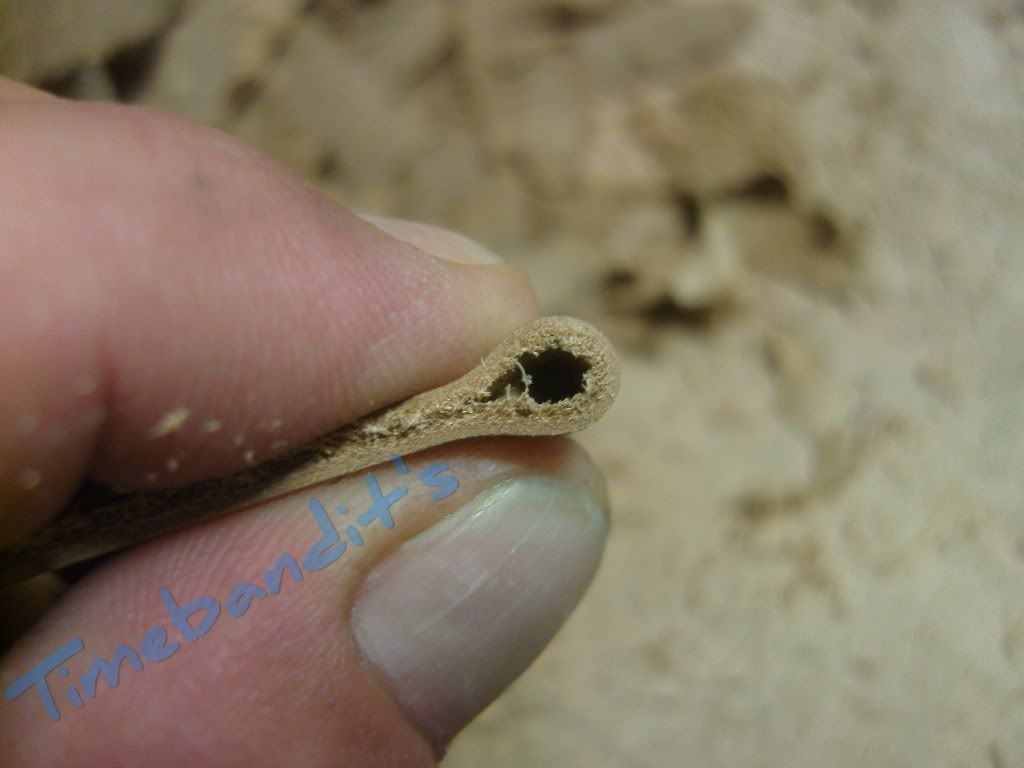
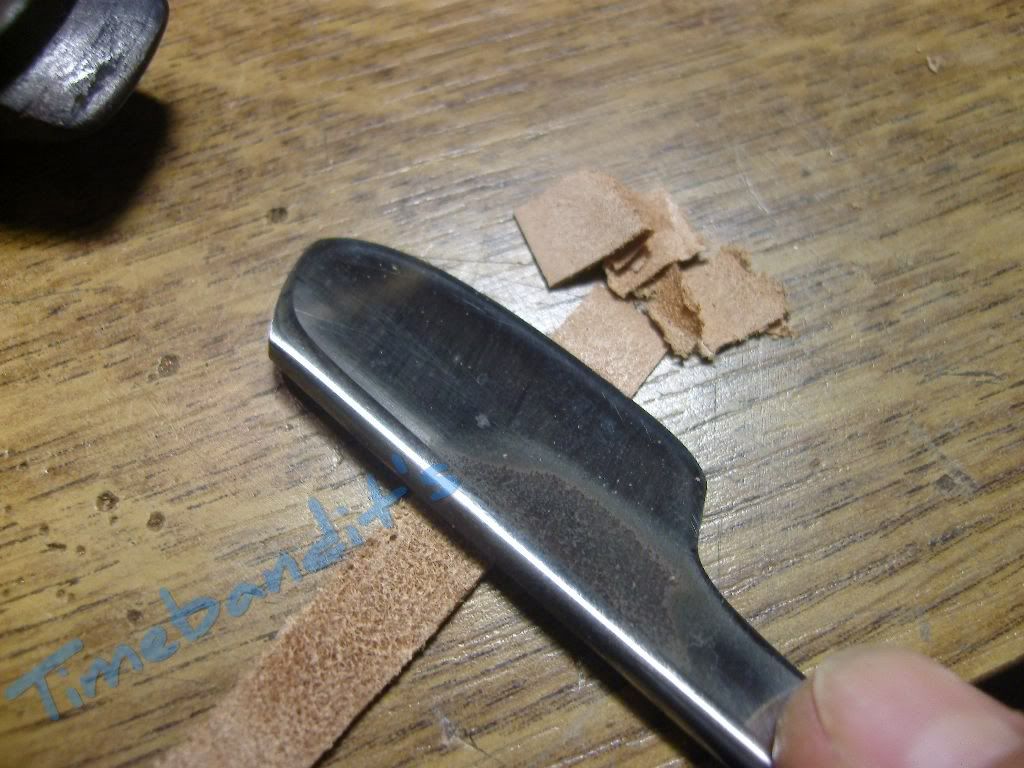
One end gets sharpened, that is important to get close to the watchcase.
It is for the bottom layer as well, not to get an uneven edge.
I use a modified razorblade for this job.
A good leather glue is as important as a sharp knife. There is nothing more dangerous than a blunt blade, if you work with leather.
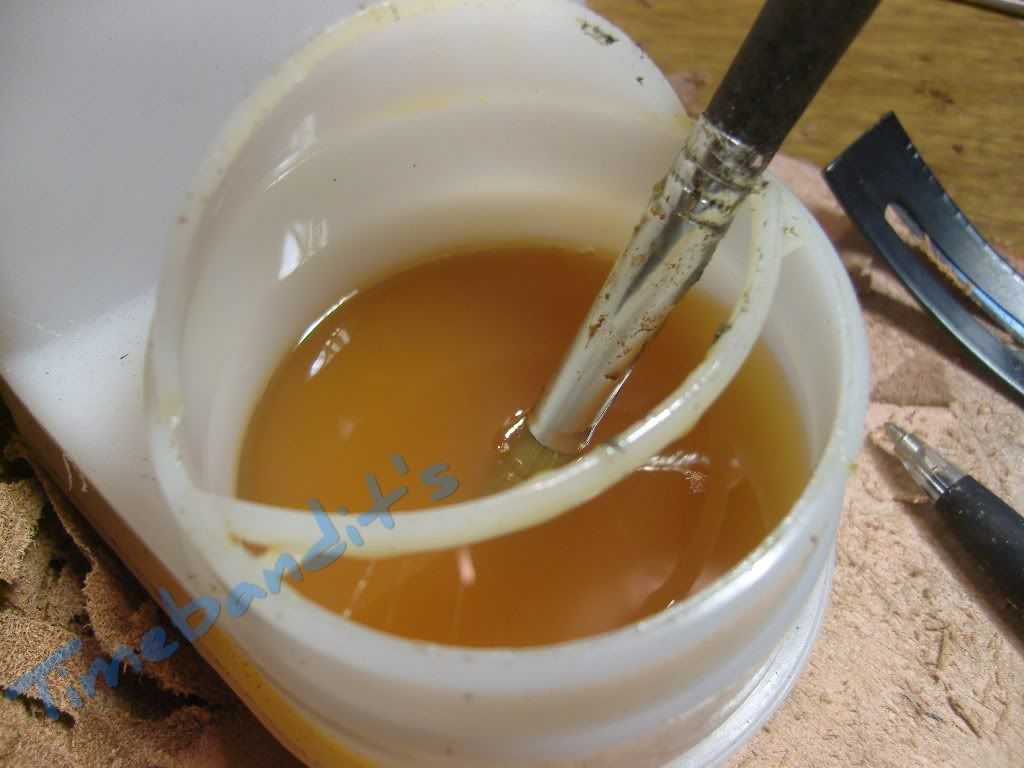
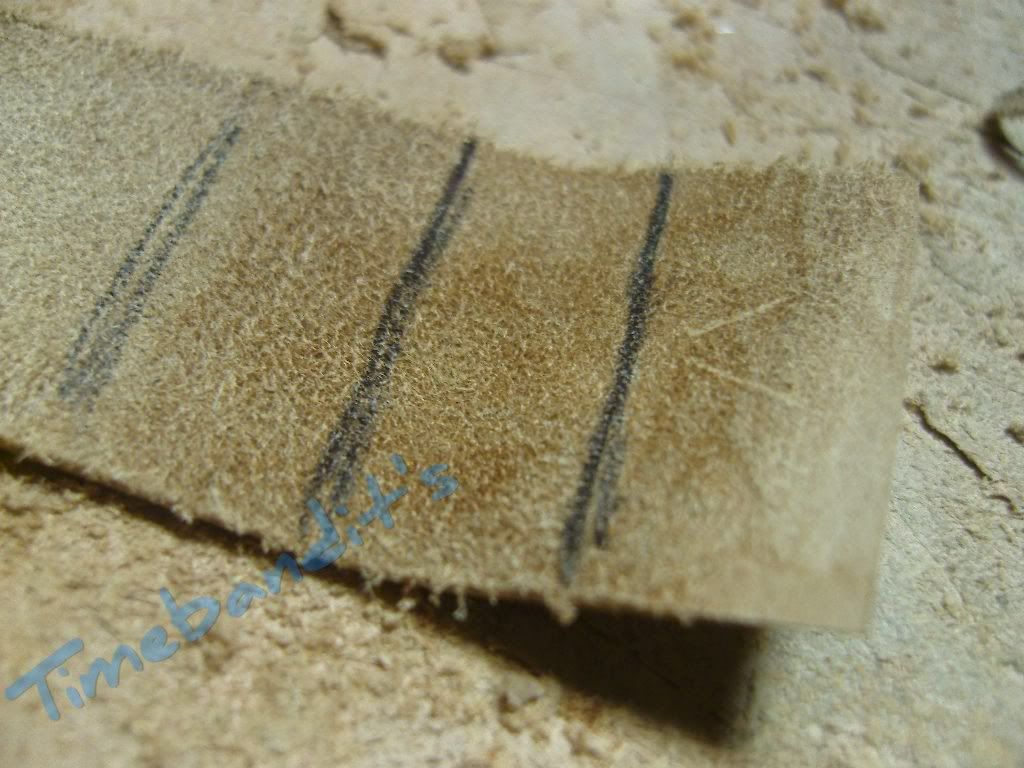
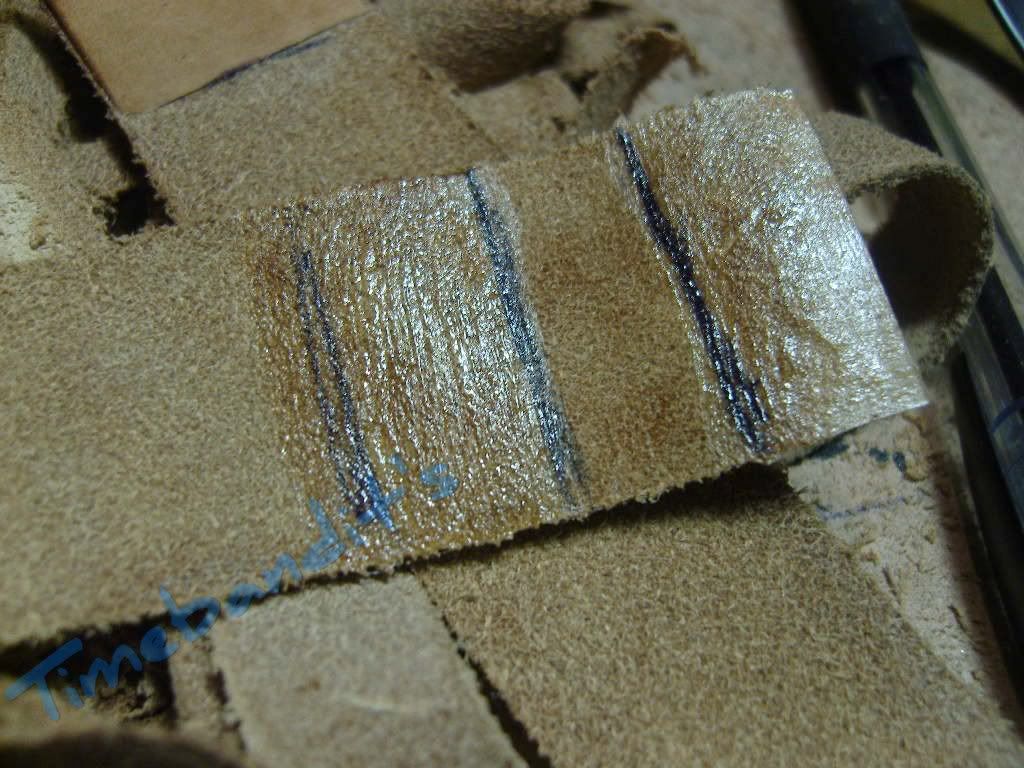
The glue is applied to the marked areas, a thin layer, much doesn’t help much. If you apply a too thick layer of glue, it won’t dry,
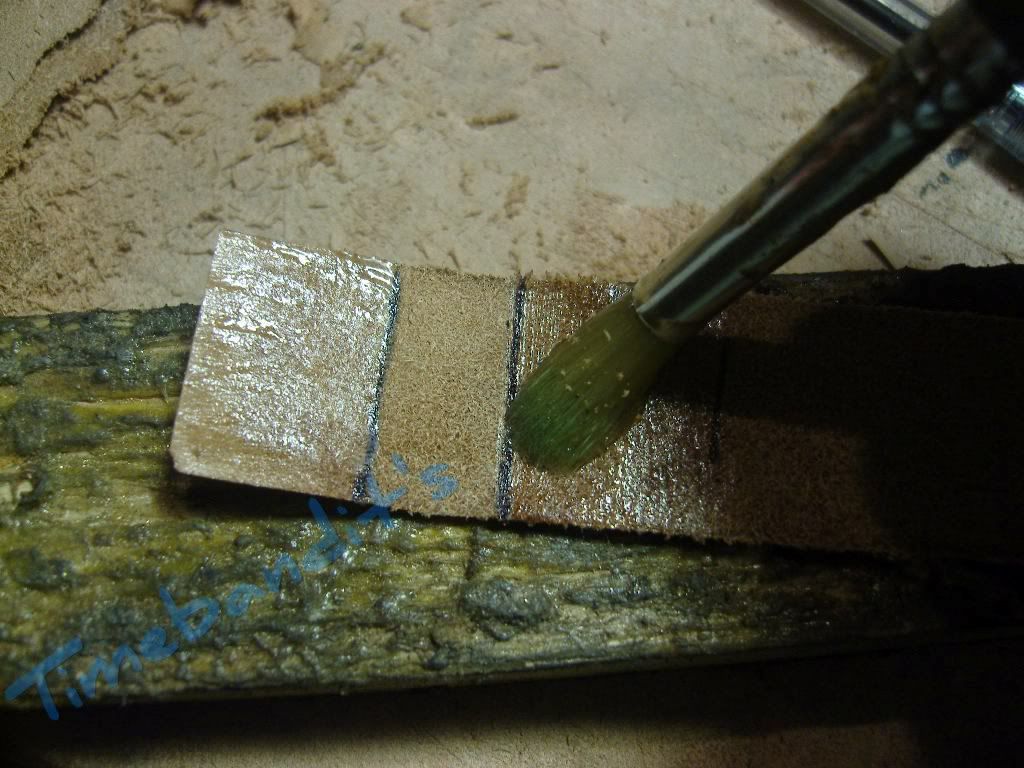
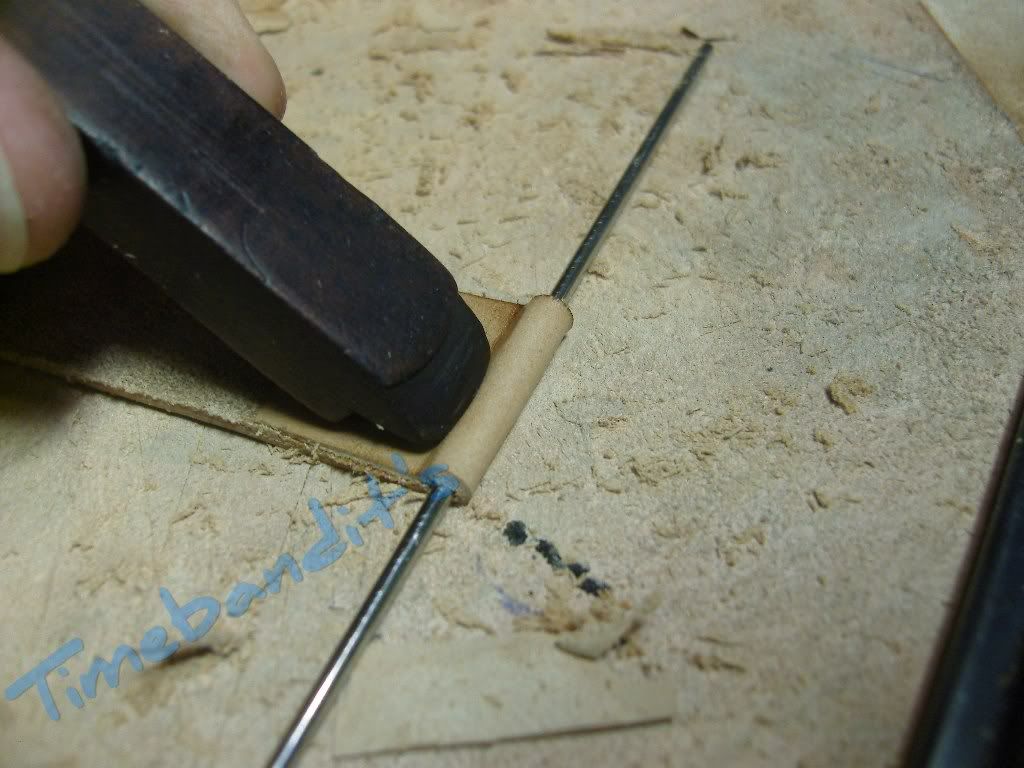
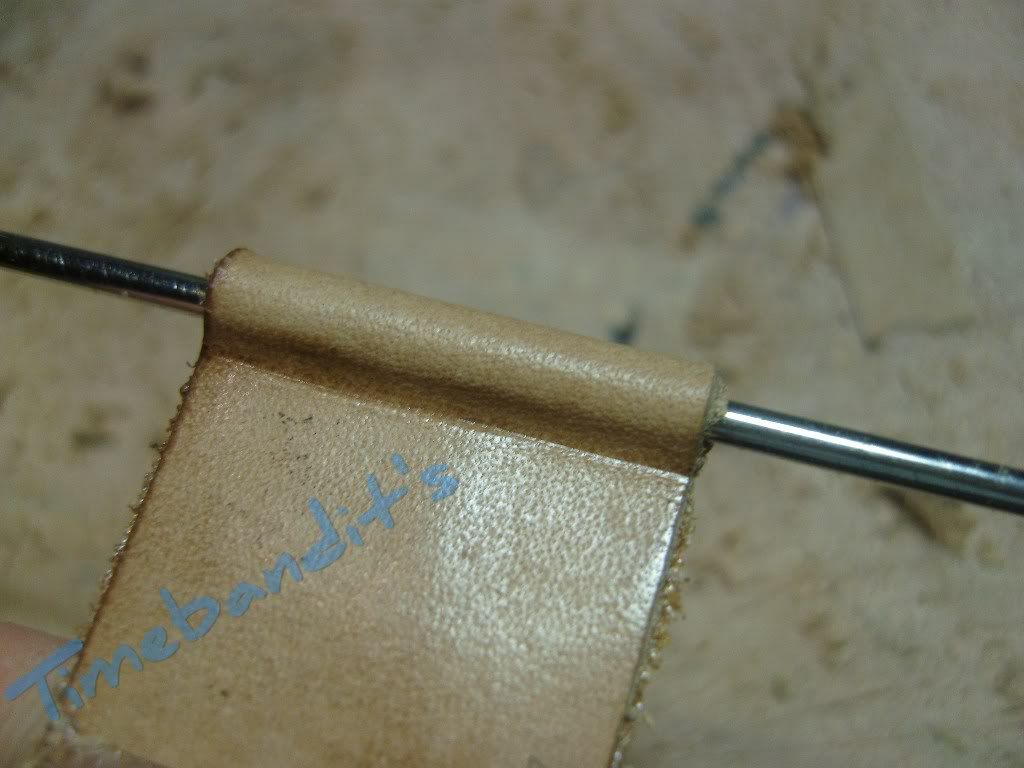
The sharpened end is turned down and both sides, at the markings, will be pressed together with power.
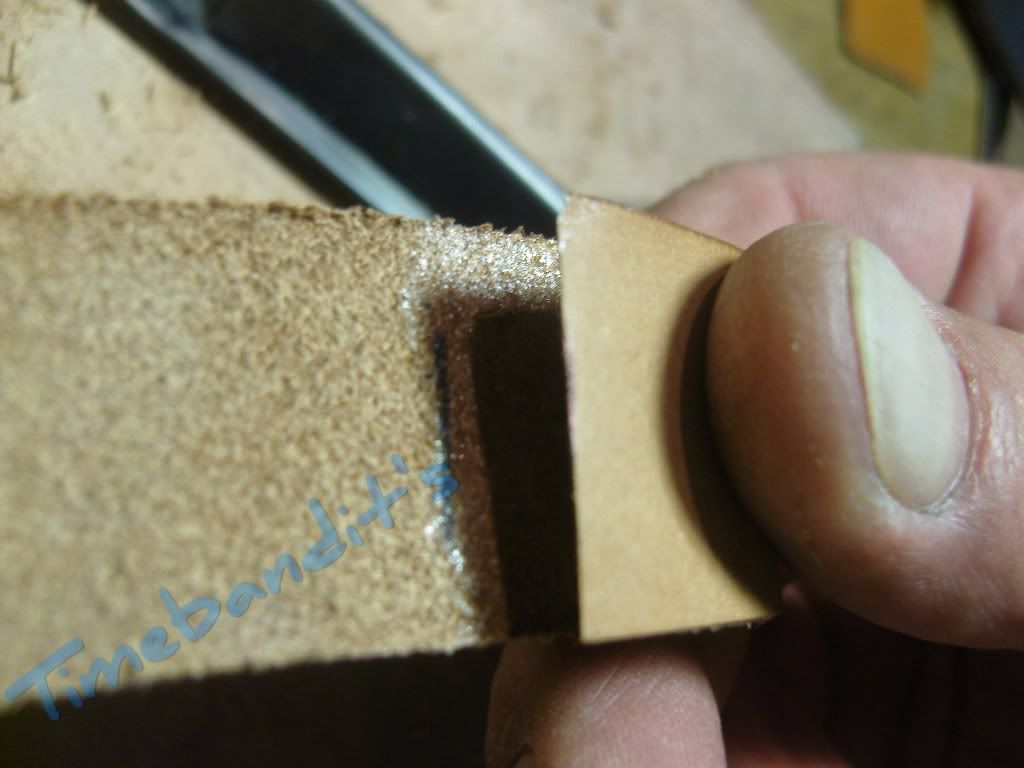
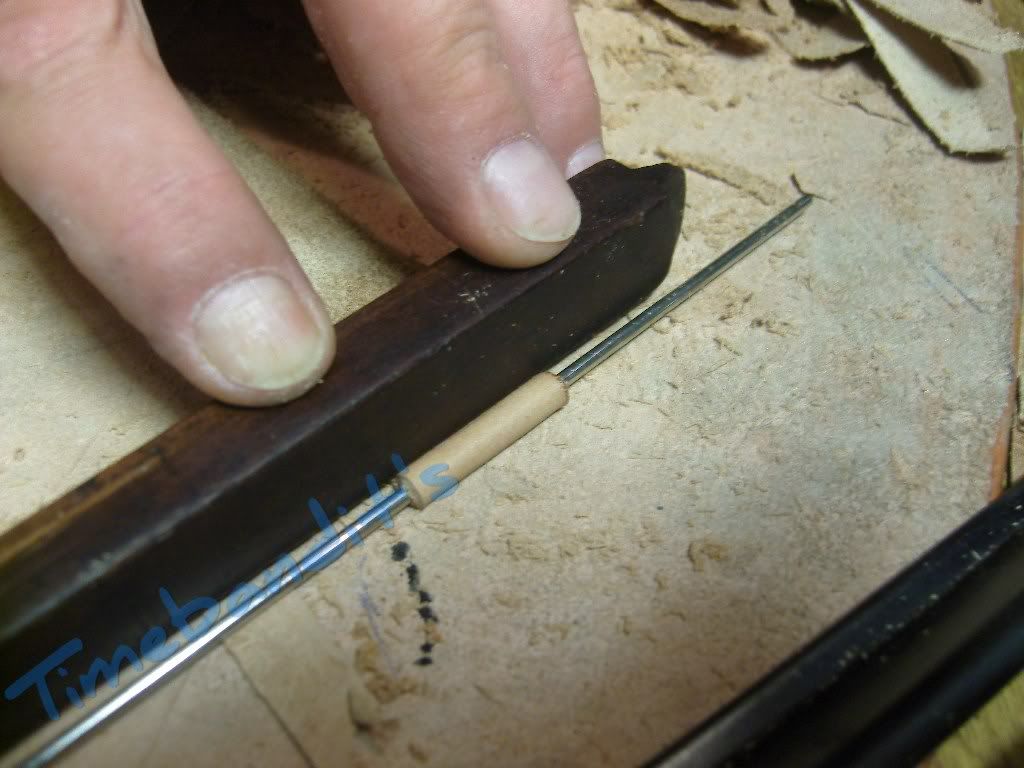
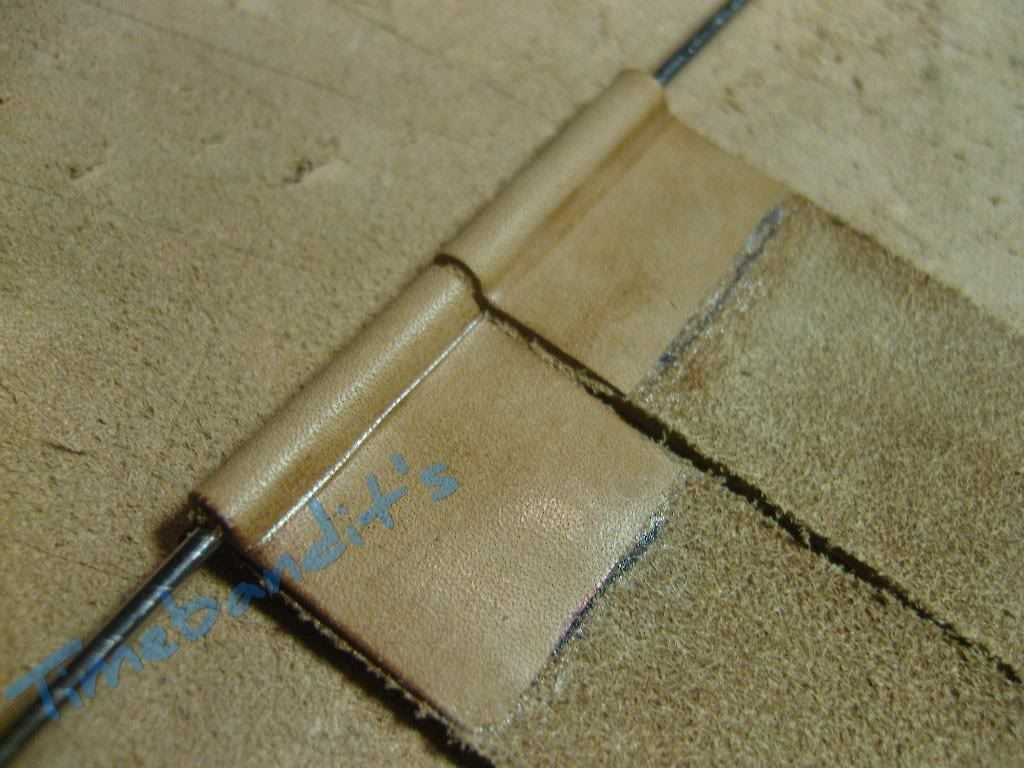
A 2,4mm thick wire is used as a lugbar substitute .
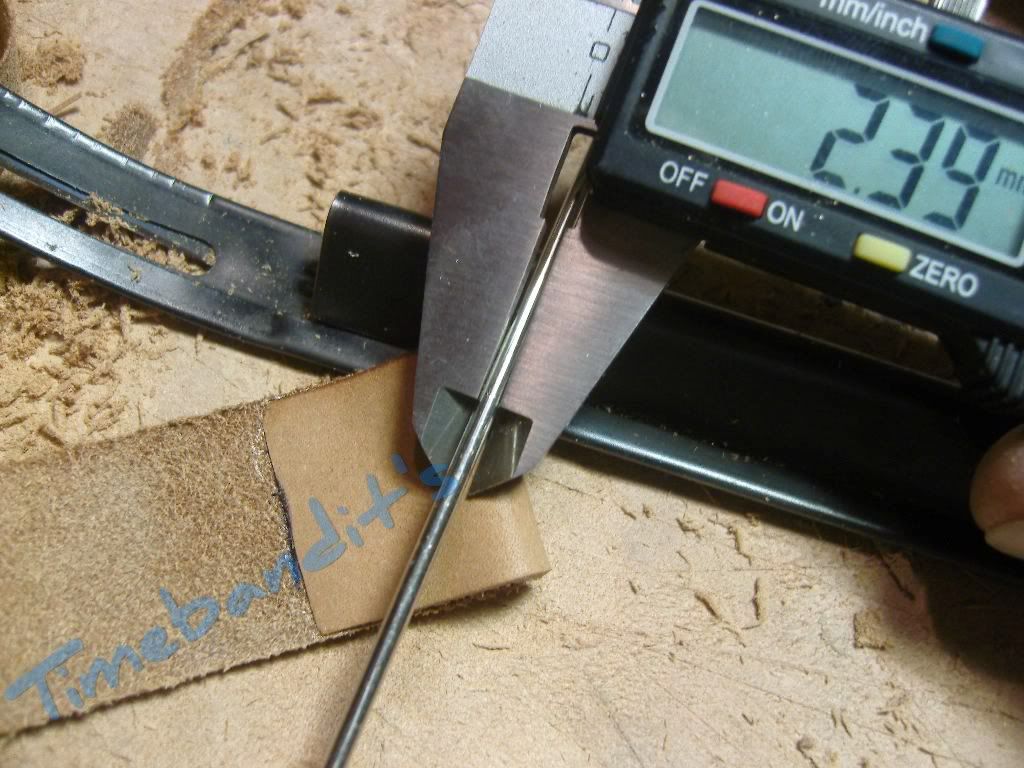
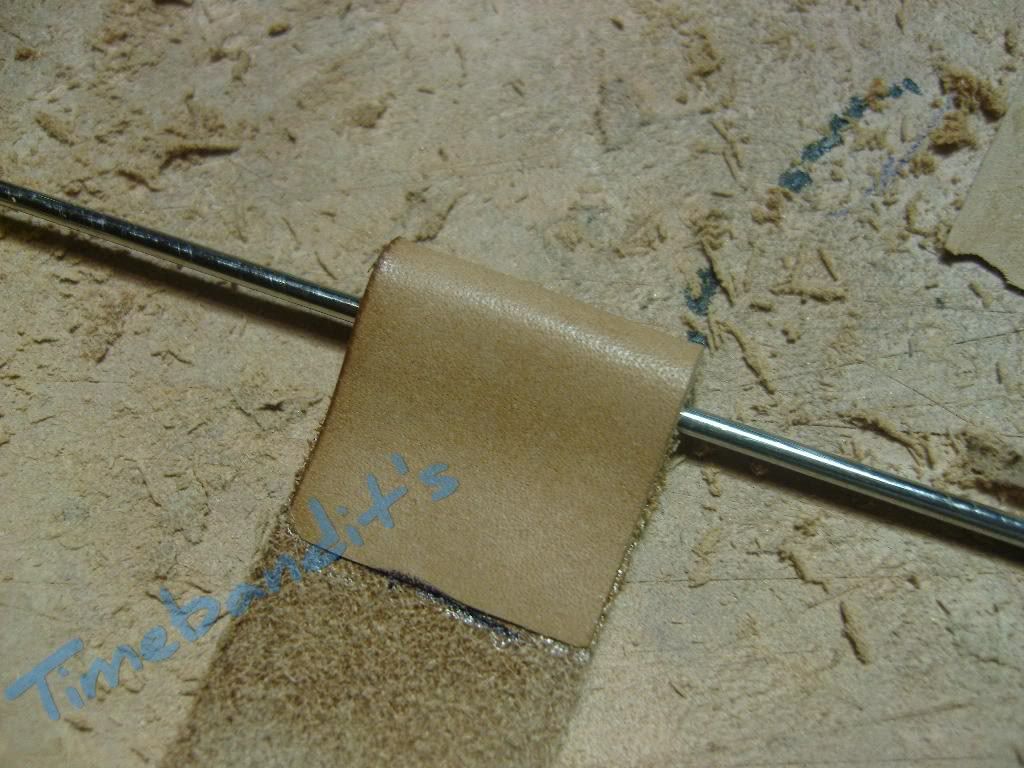
With a bone folder or a Reiffelholz ( Don’t know the english word for it ) the glued faces are pressed more, due gliding with pressure over the surface against the wire.
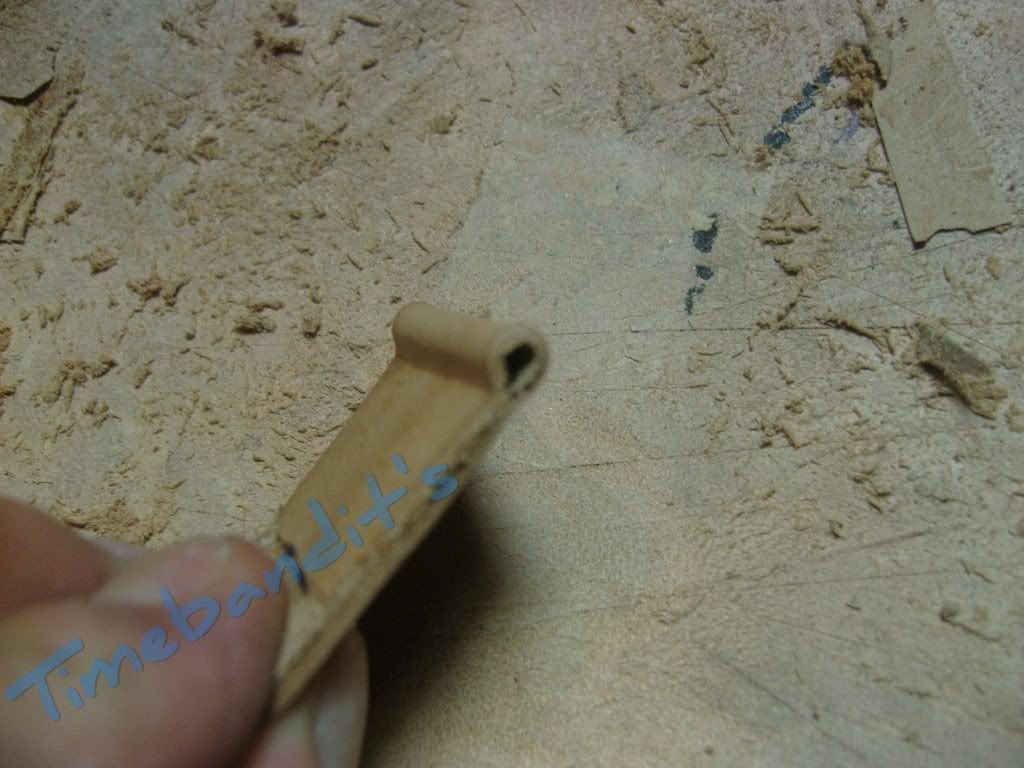
Basically are the same steps necessary for the short side. But only for the side that is mounted to the lugs.
Now it is time to choose the leather for the underside. It should be a very soft leather.
The thread must sink into the leather for a high comfort at wearing.
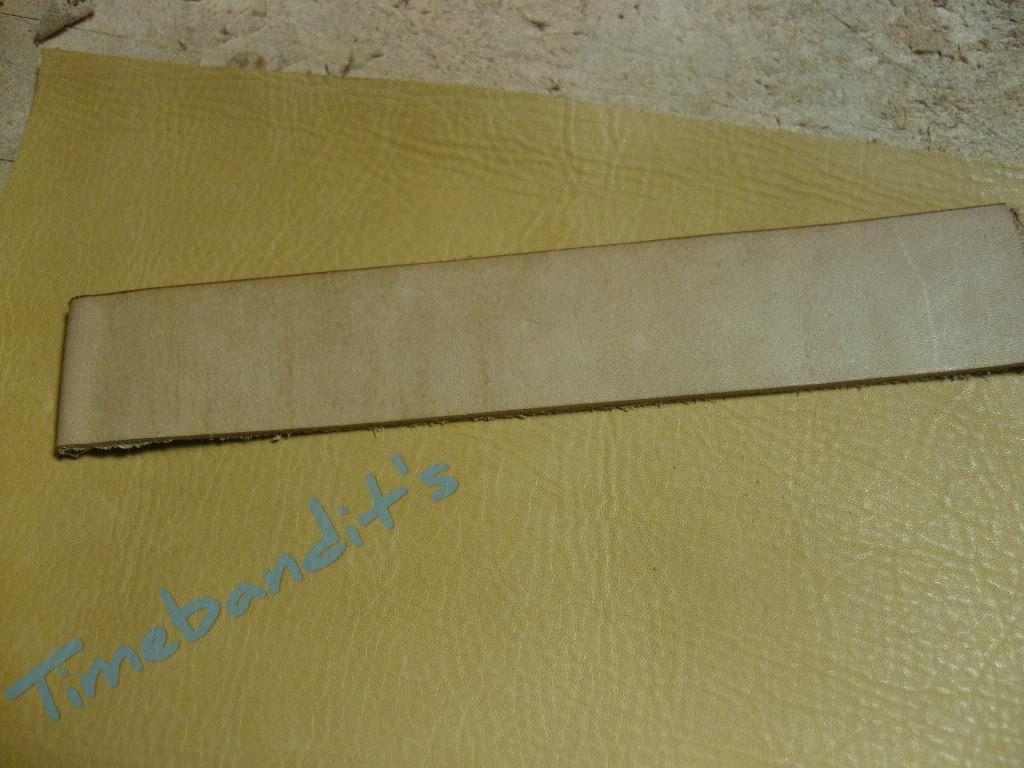
A stripe in the same wide as the strap so far is cutted.
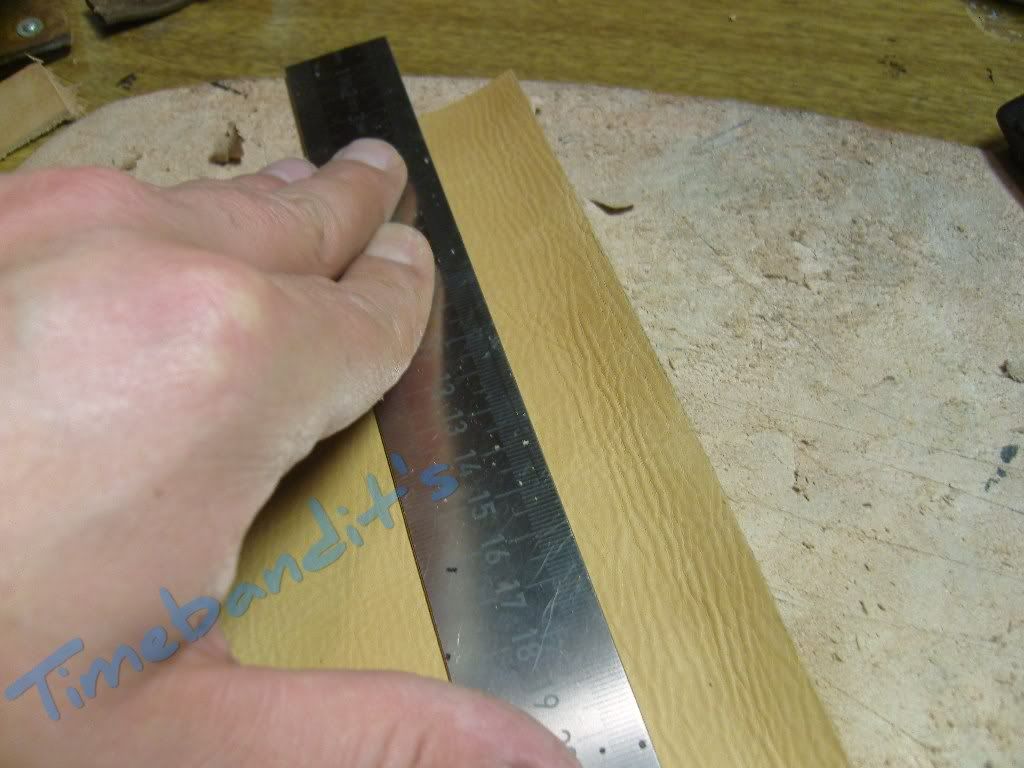
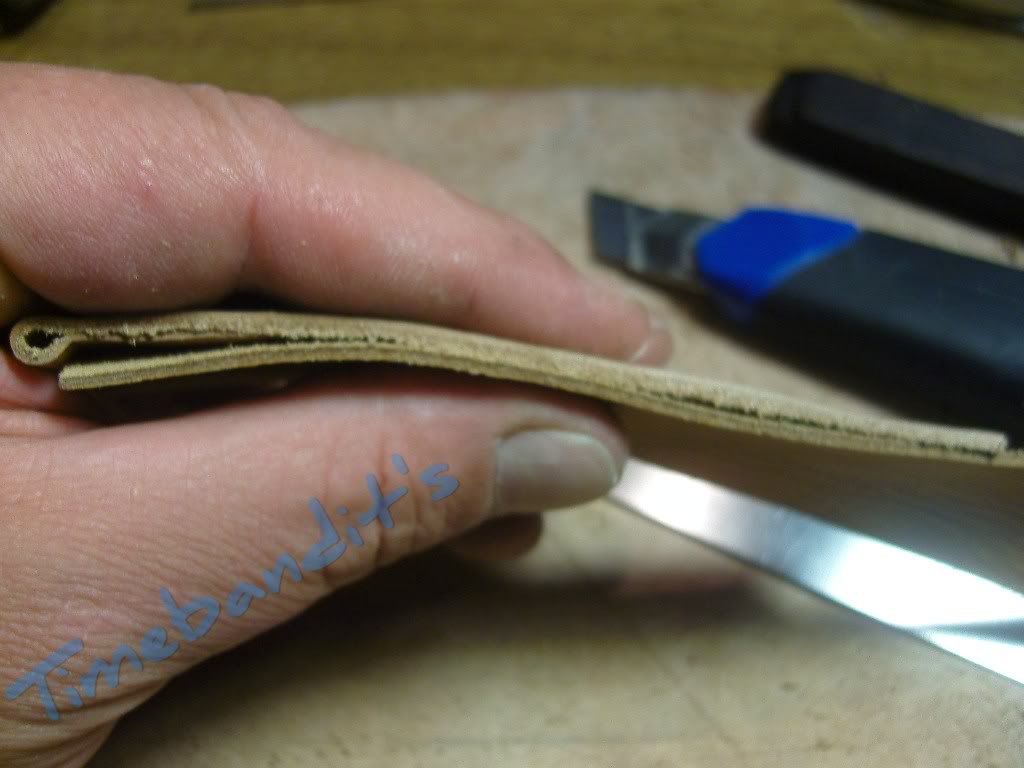
Cut this stripe to almost the length as the strap is
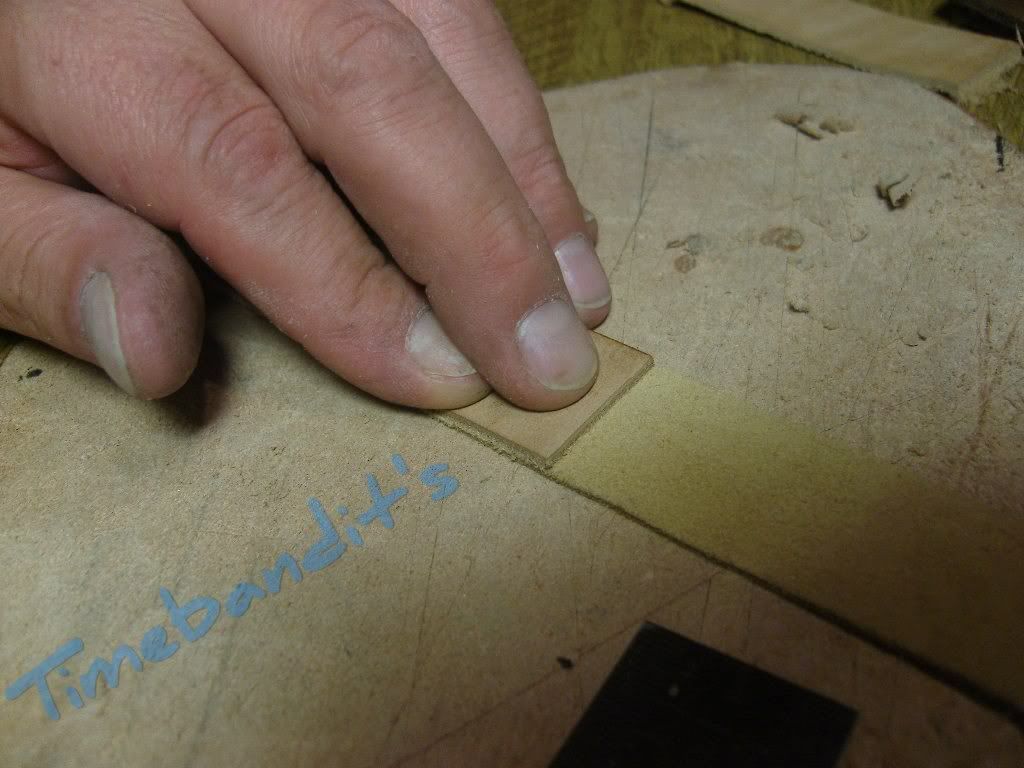
Choose the length long enough to cover the short side as well.
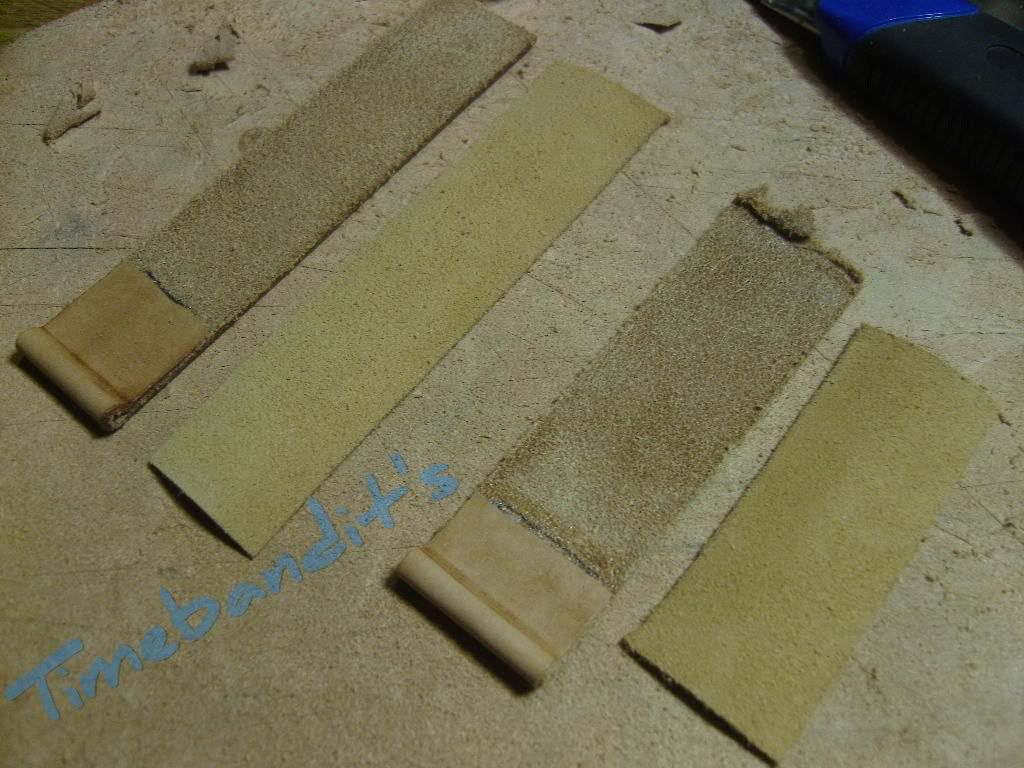
Again the sharpening of the underside, this time with the bottomleather.
This needs to be done exactly.
It is just the underside, but the cutted edge will always be visible.
So, try hard
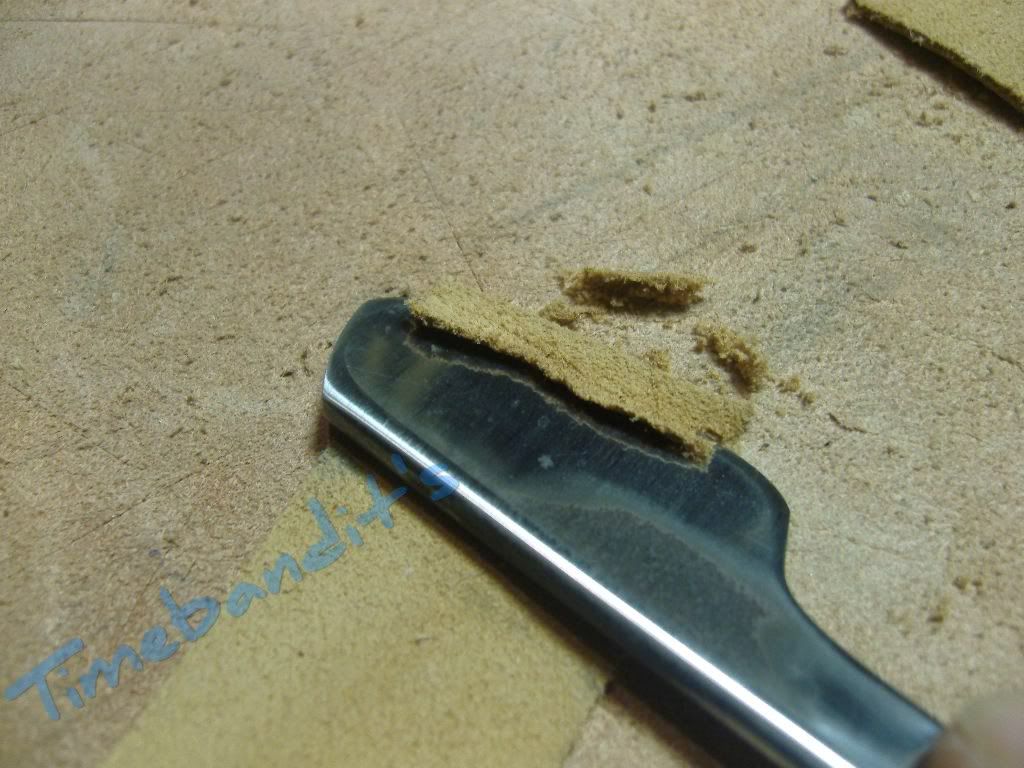
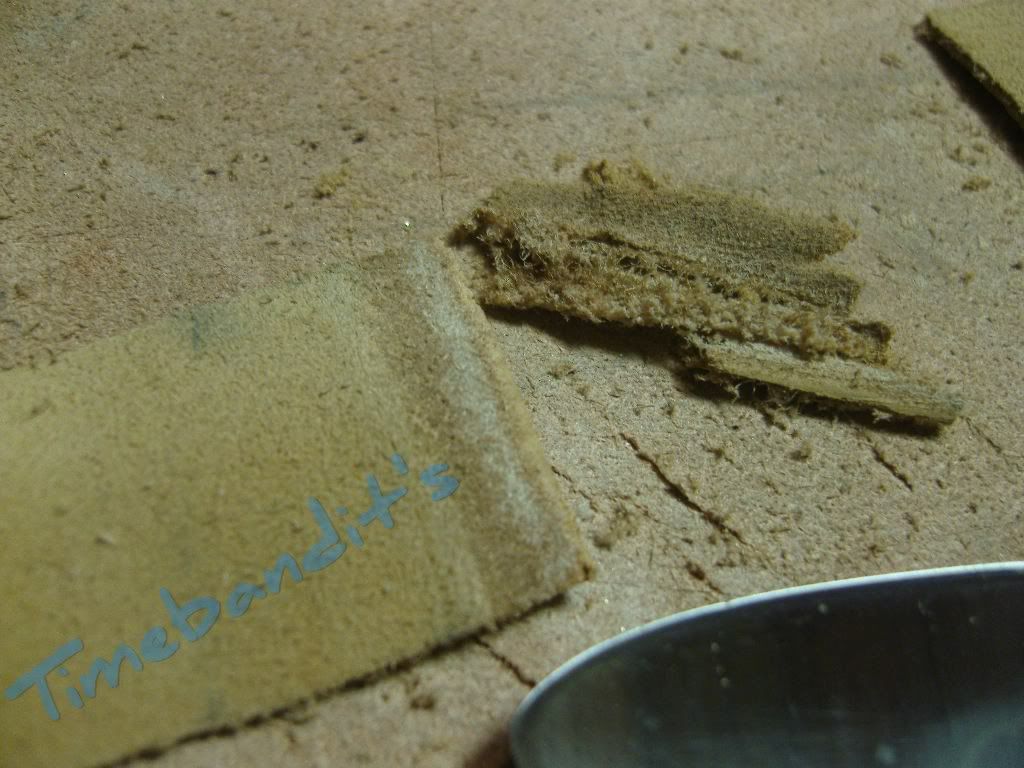
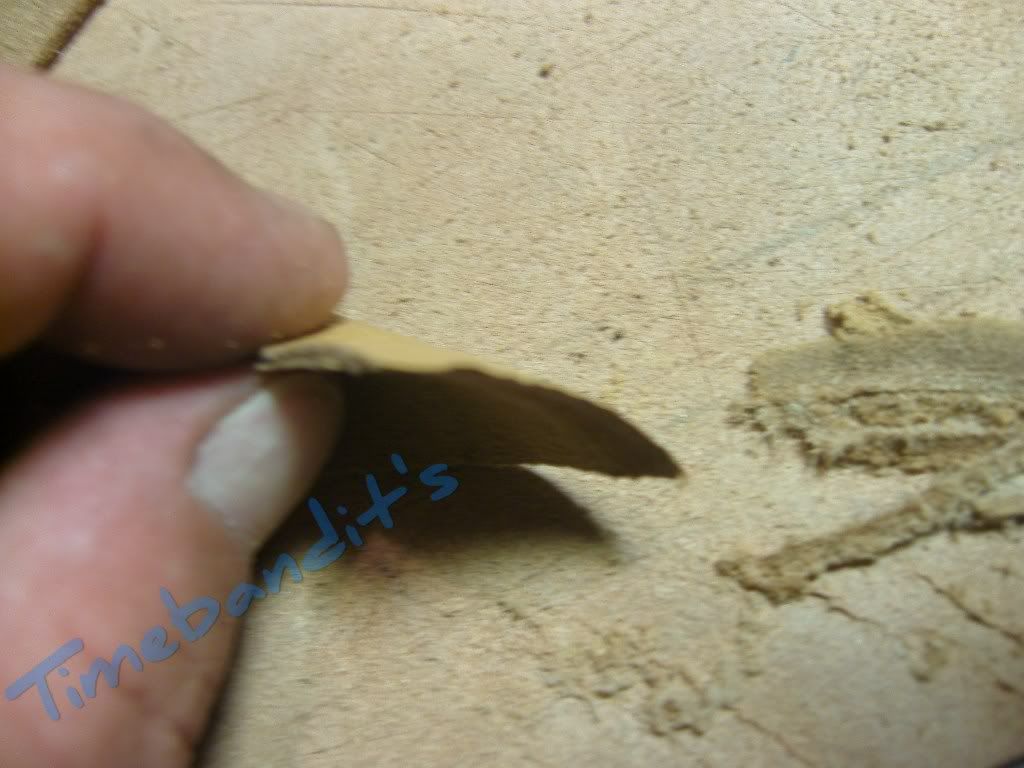
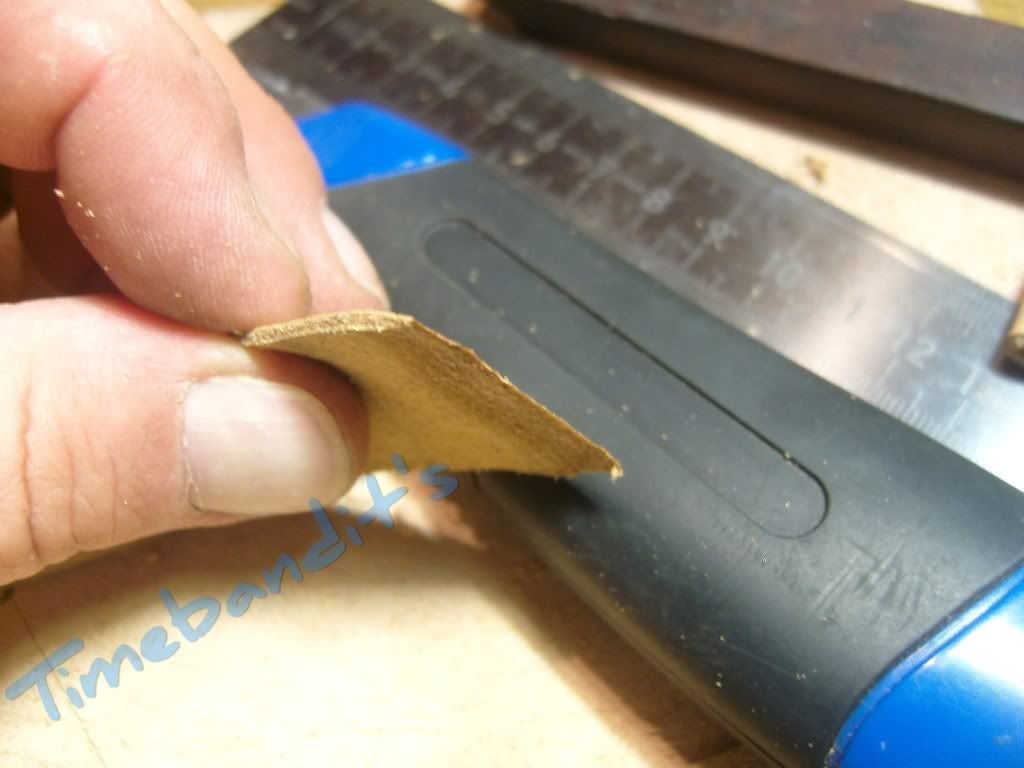
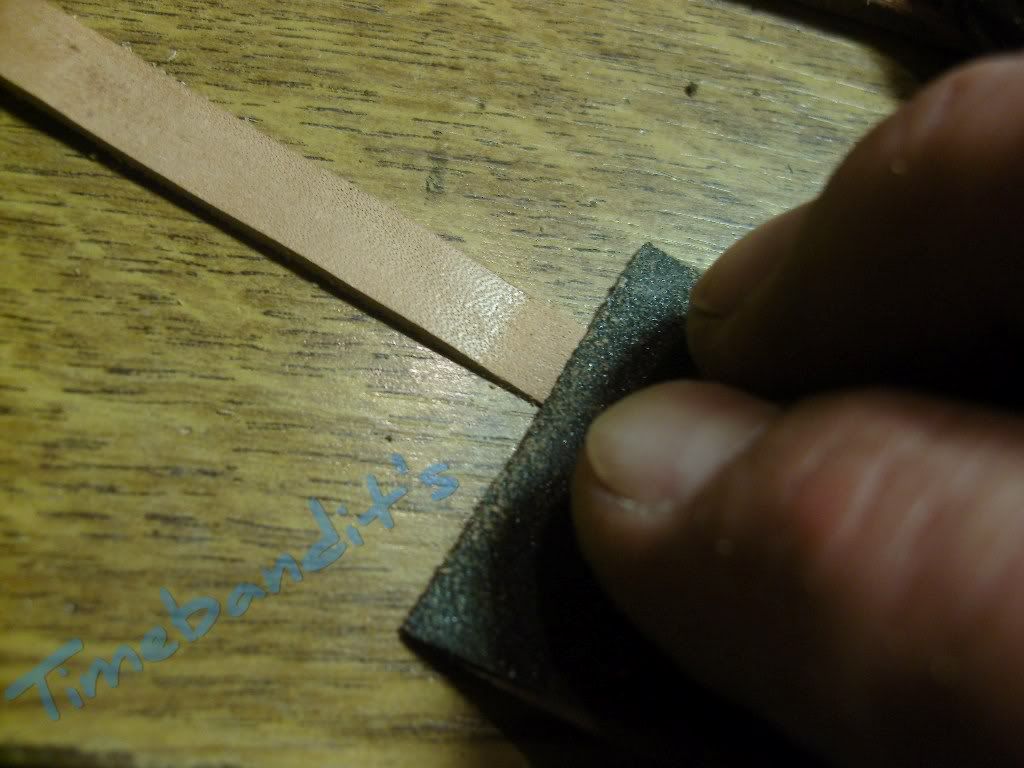
Now we have to roughen the untreated areas from the underside with sandpaper.
The skived areas are rough enough.
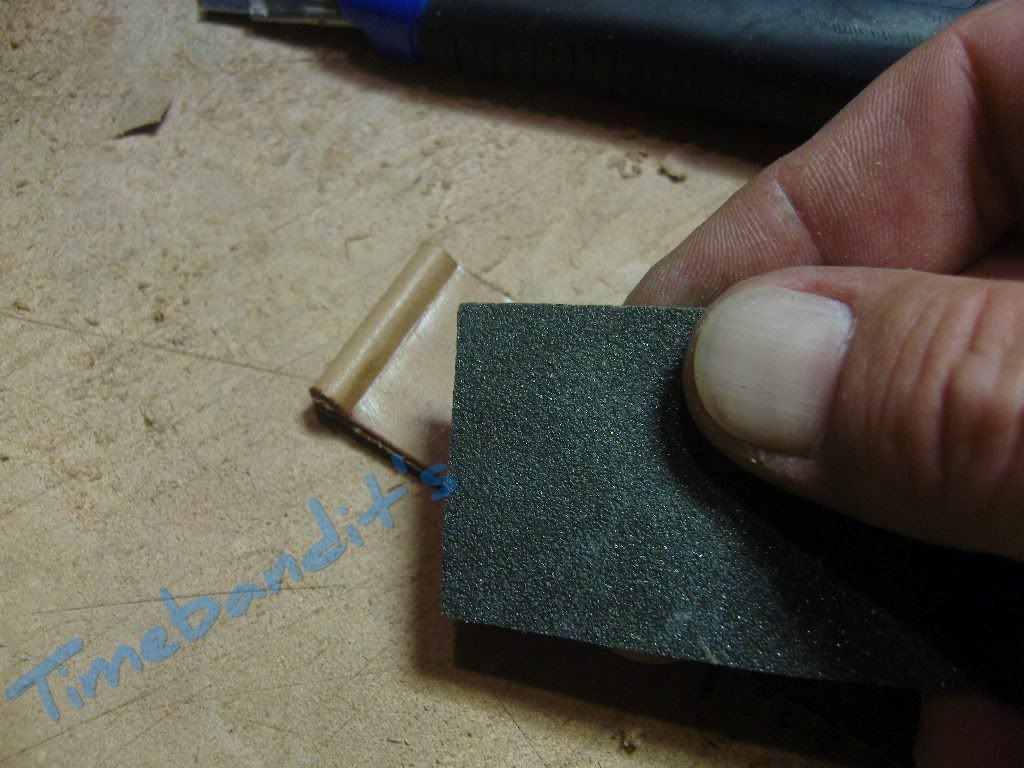
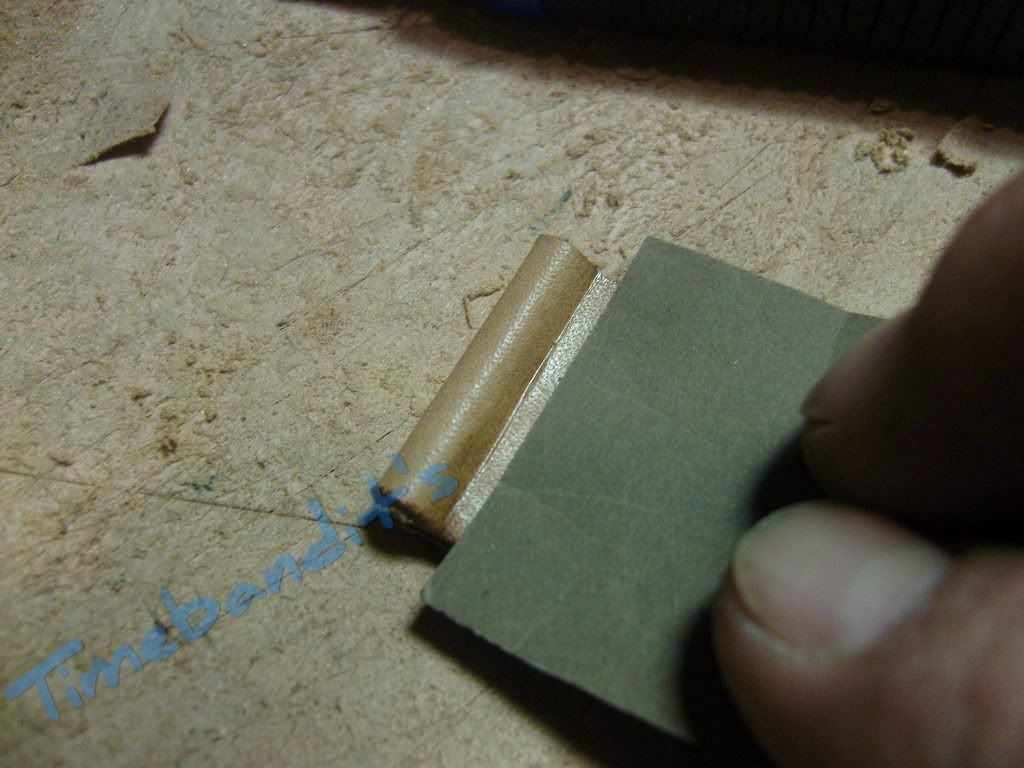
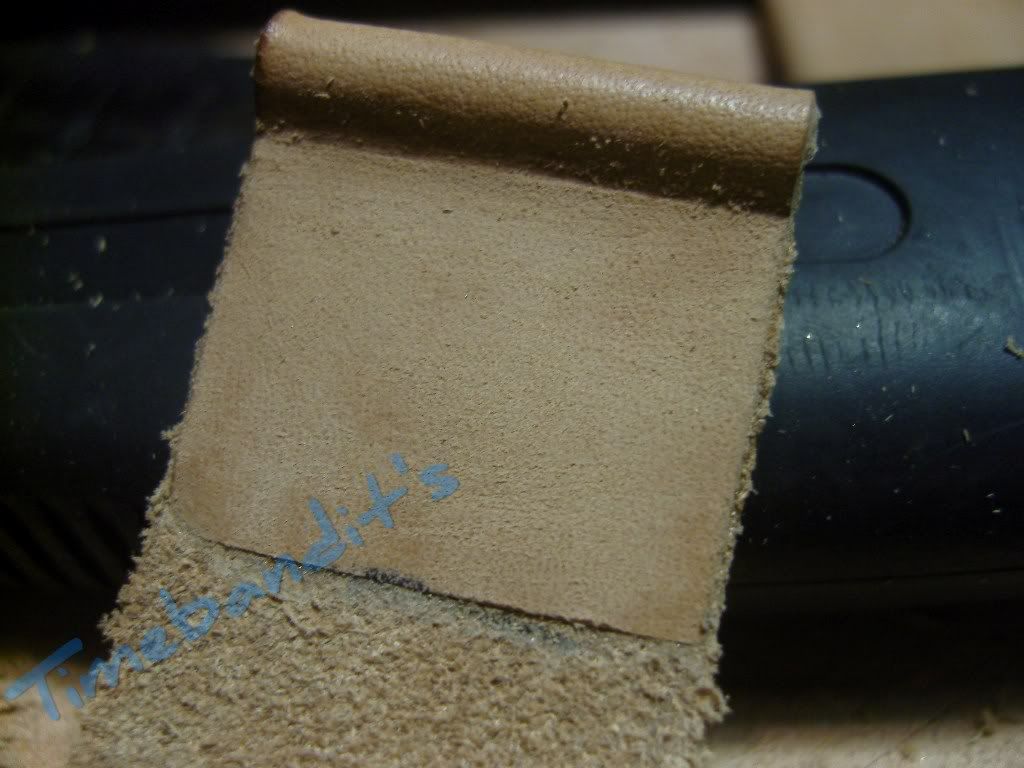
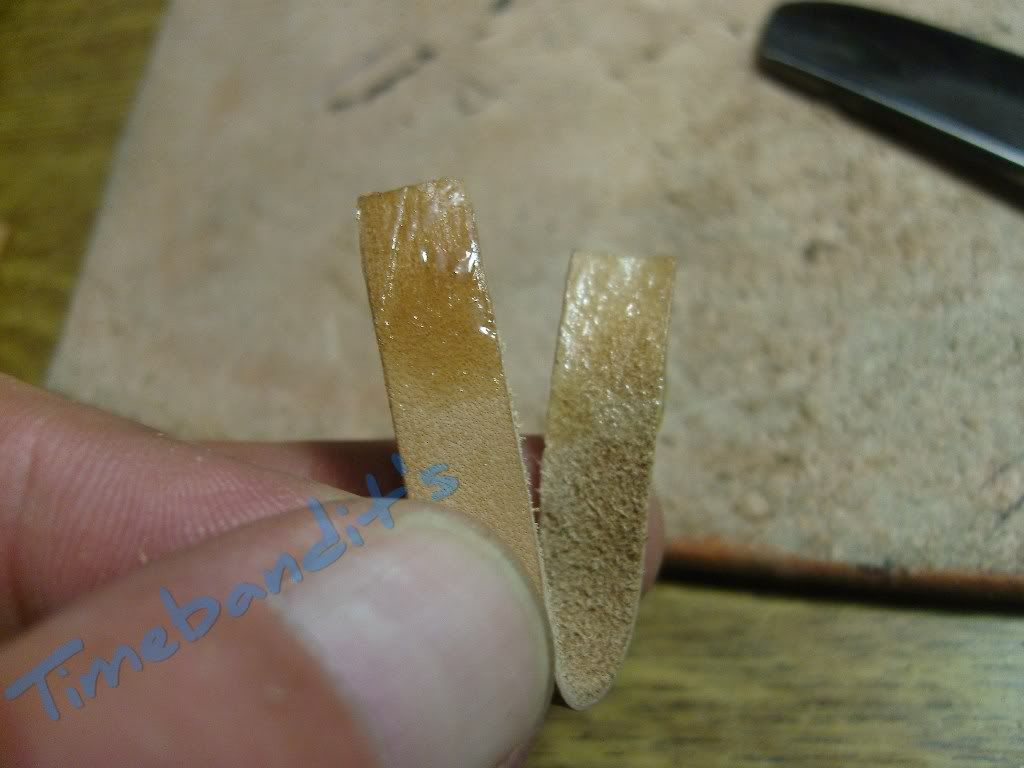
now we have to spread both leather stripes with a thin, smooth layer of glue.
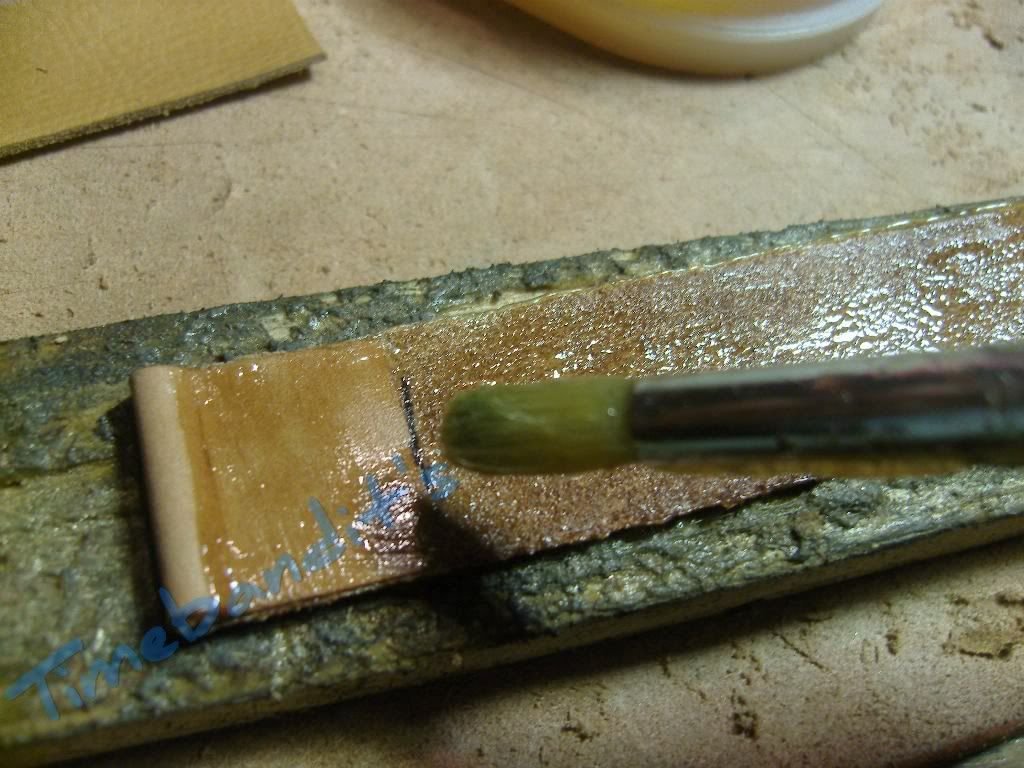
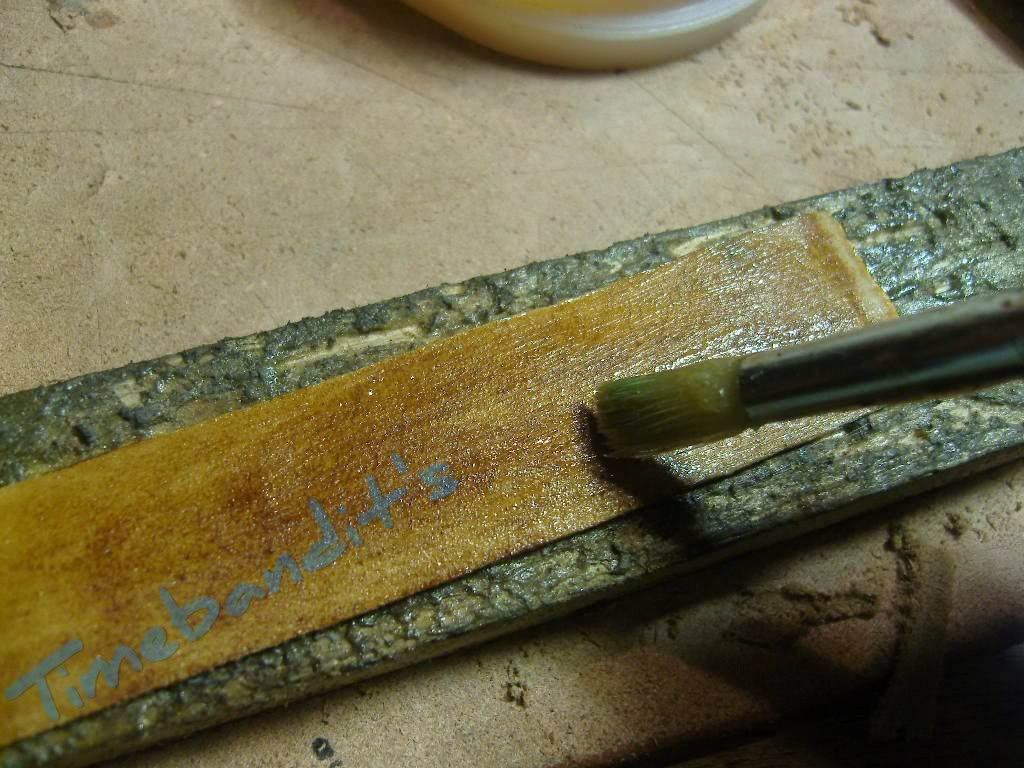
The glue that I use needs about 10 minutes to dry, dry means; you can touch it and the leather won’t stick at your fingers.
Now we have to assemble the two stripes, this also needs to be done exactly.
If we don’t do it evenly, we will regret it.
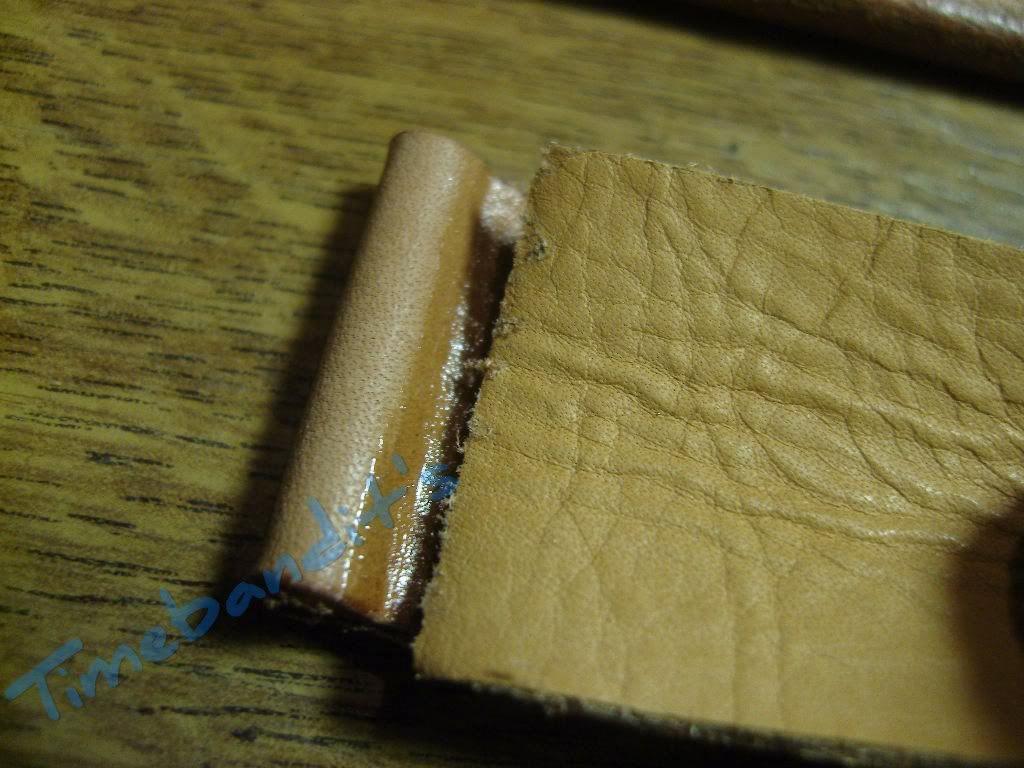
If this was done fairly evenly, it should have to look like something like this.
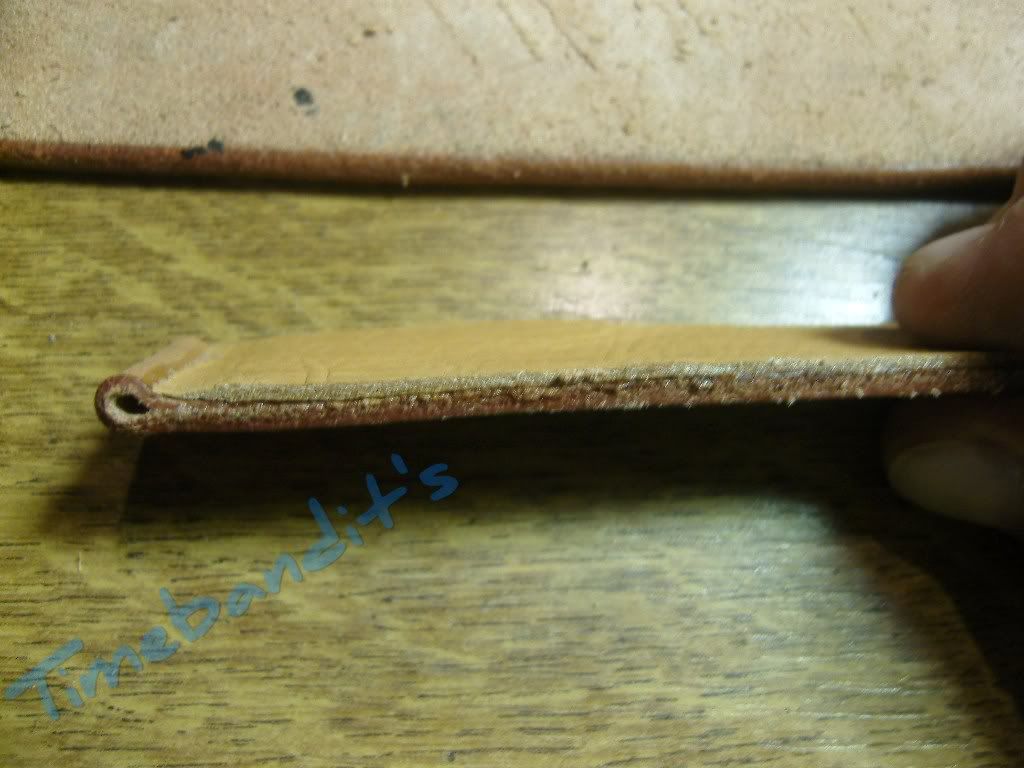
No we put this glued stripe between two plain and flat pieces of steel.
I have used aluminium plates.
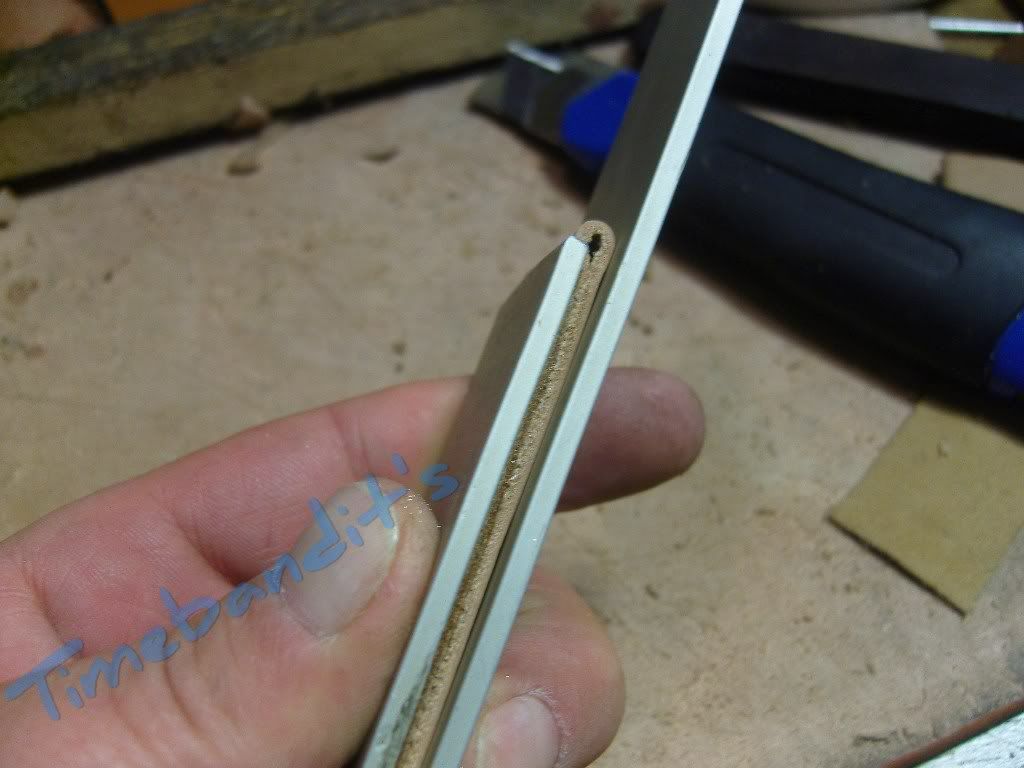
Again, we have to work exactly. The metalplate must be placed flush with the cutted edge of our bottomside leather. The topside must lay completely on the plate.
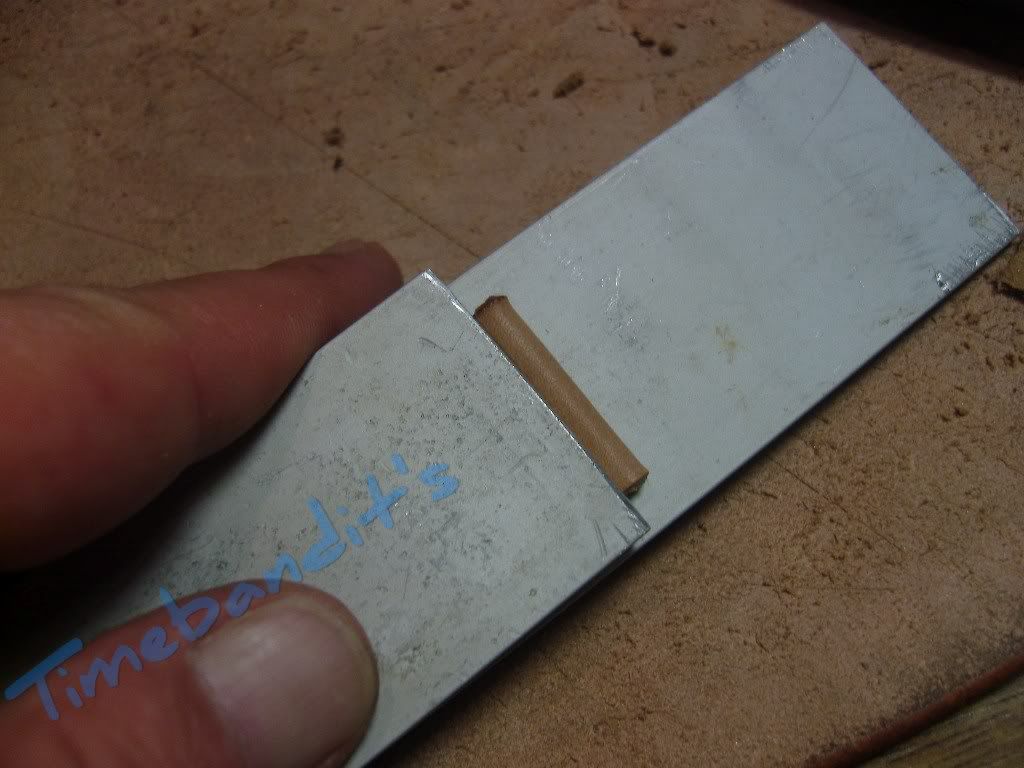
OK, now it is time for rough power, the metalplates are positioned between the vicejaws ( also covered with alu ). Wind the jaws together, with most of pressure you can do.
The glue I use doesn’t need time, just pressure.
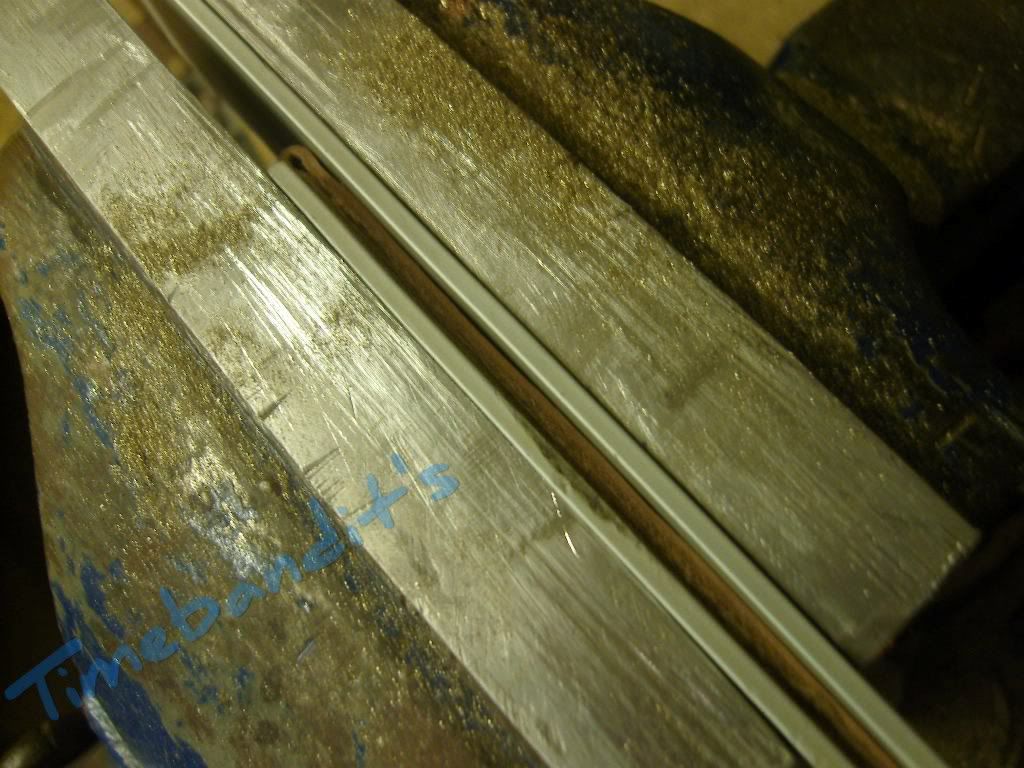
The both stripes, that are now one strap, got a thickness about 3,6mm.
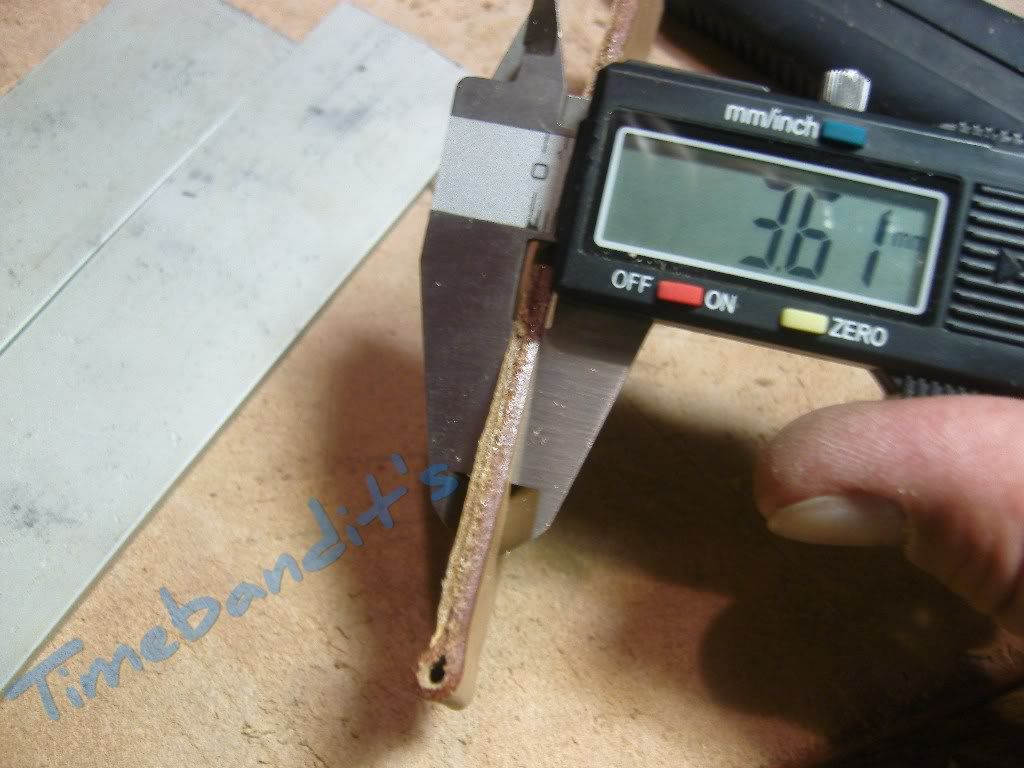
So, how much time went into the land until here ? Something about 60 minutes ( the making of the pics is not included )
As long as we are making a tutorial, we can also make a tapered strap. Easy levels are for the other ones
This means nothing else than a wider end at the lugs and a smaller end at the hole/buckleside.
In our case we will have 26mm ate the lugside and 24mm at the hole/buckleside.
We mark the distance from 26mm at the lugside with a calliper.
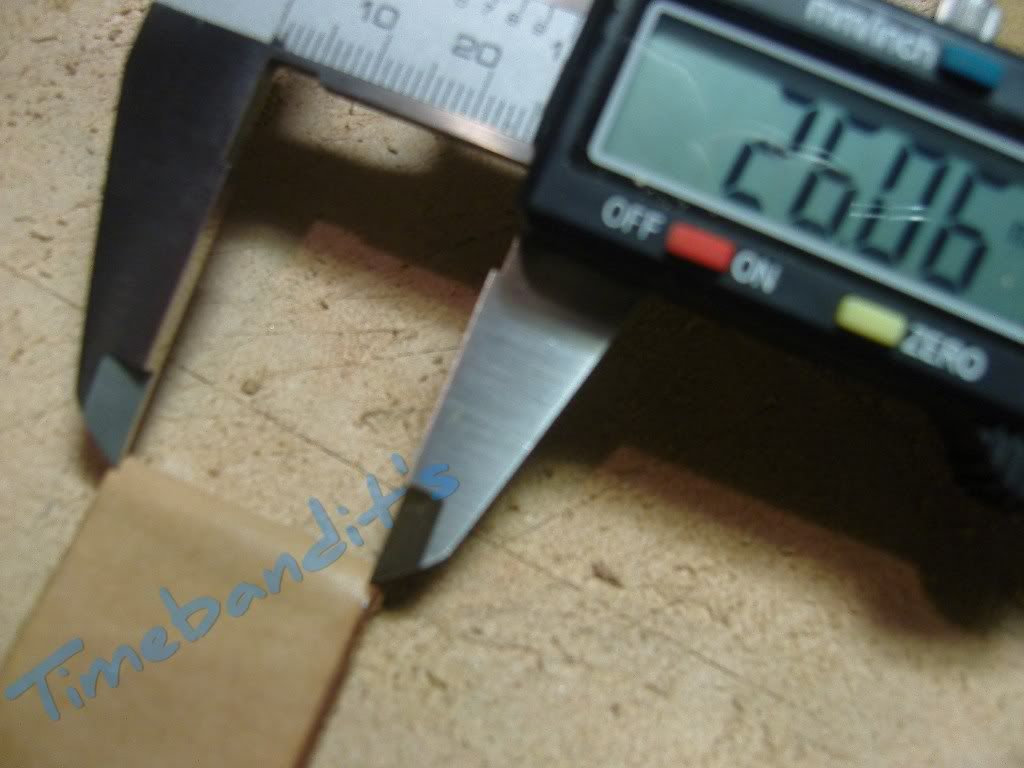
Then we have to mark the wide from 24mm. From the point where our tapering should start until the end ( 40mm from the lugside is enough in every case ).
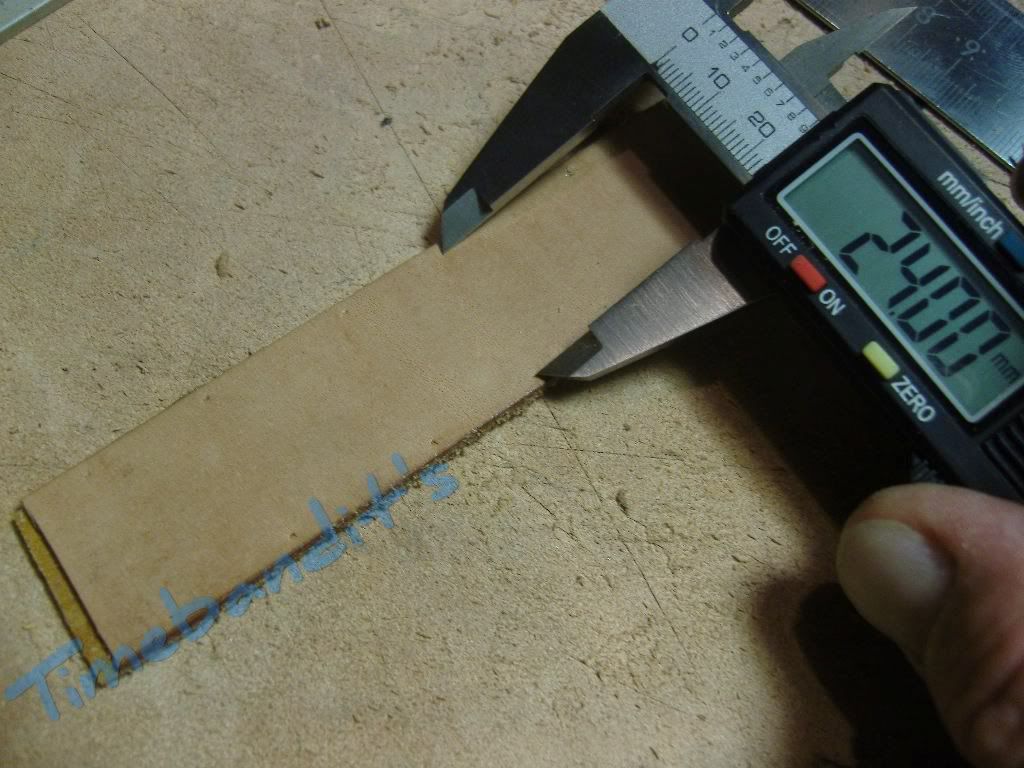
Now we have to cut along the marks, this ist he final cut, take good care.
It is a kind of tricky, we have to force the strap under the ruler and give pressure to both, leather and ruler to avoid that it slips away.
If we fail here we can use it for a 24 x 22mm strap.
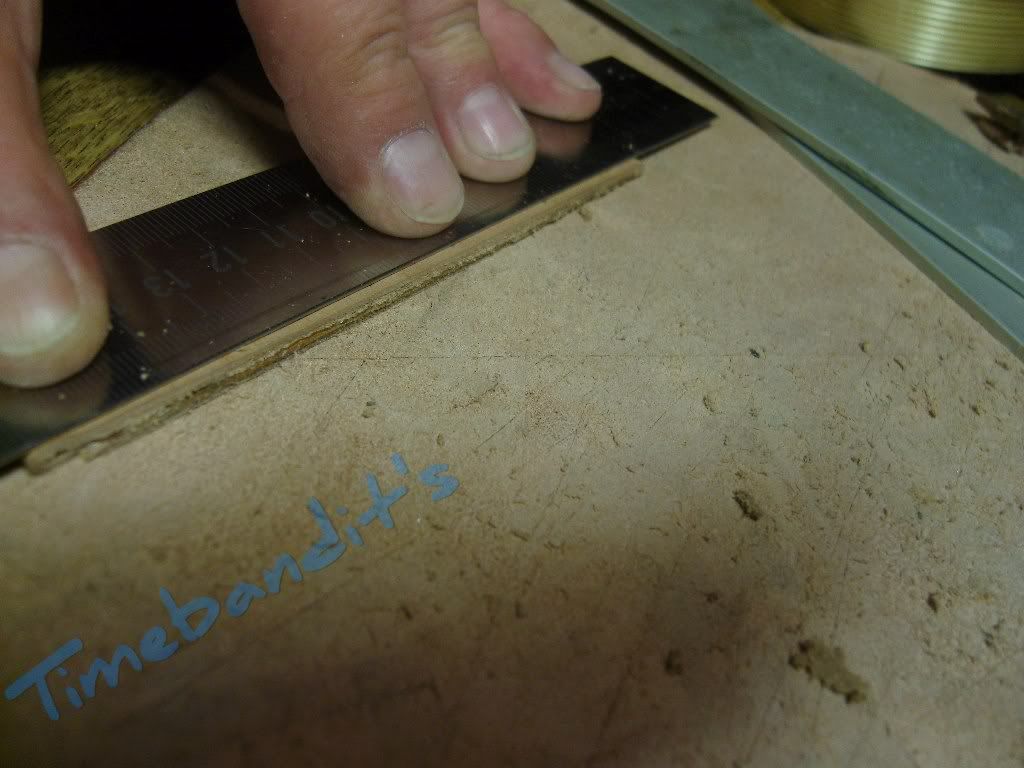
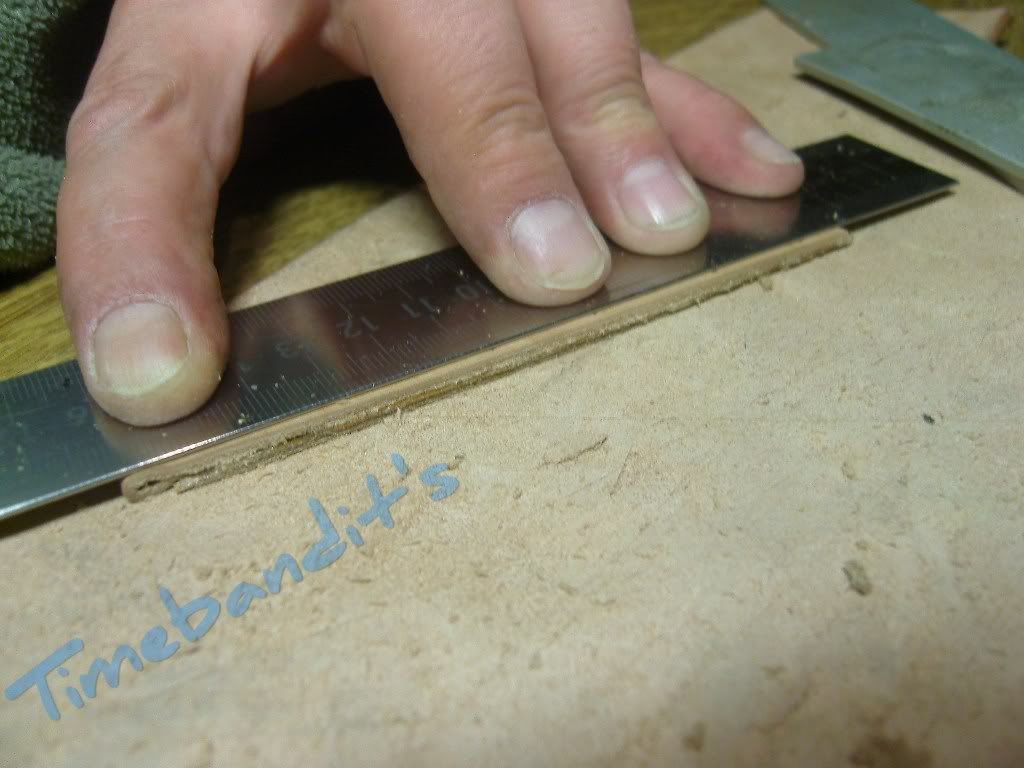
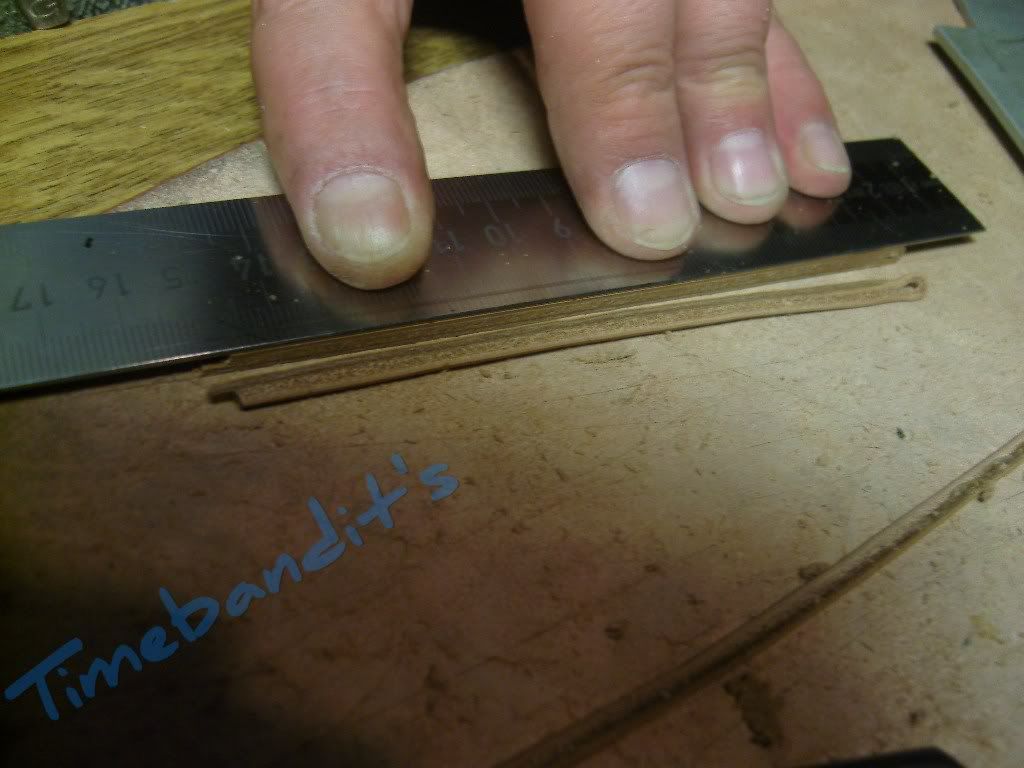
So, if now the guys are separated who are no table to do this, we can make a measurement control. ( it would be fatal if everybody were able to make his own straps )
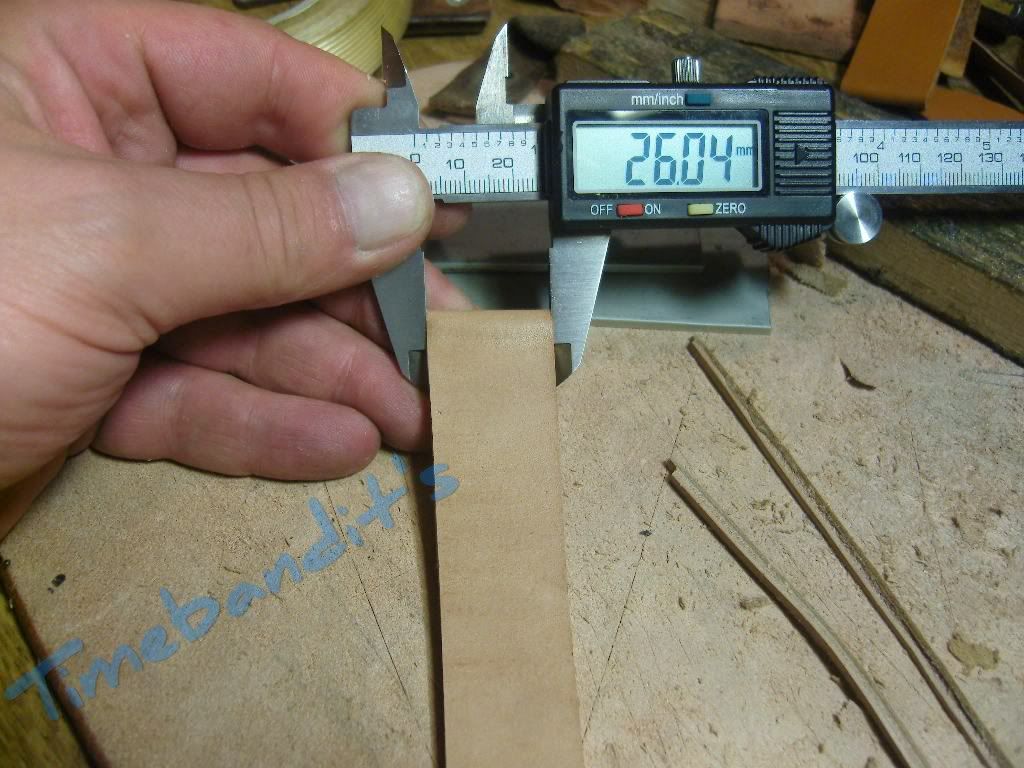
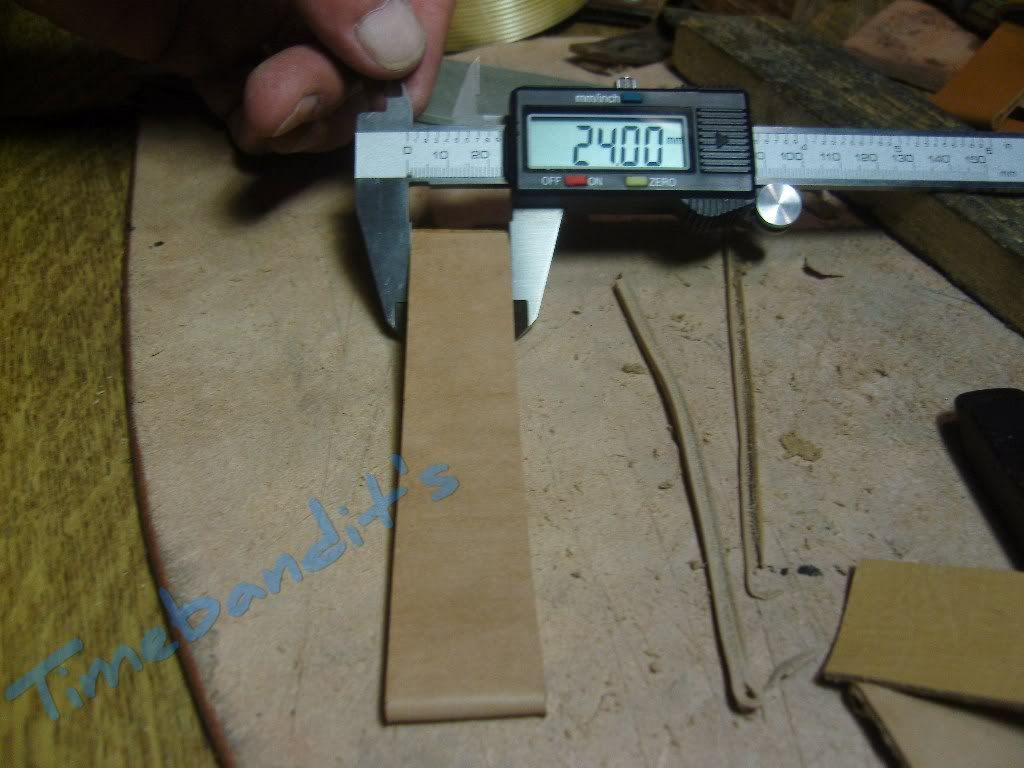
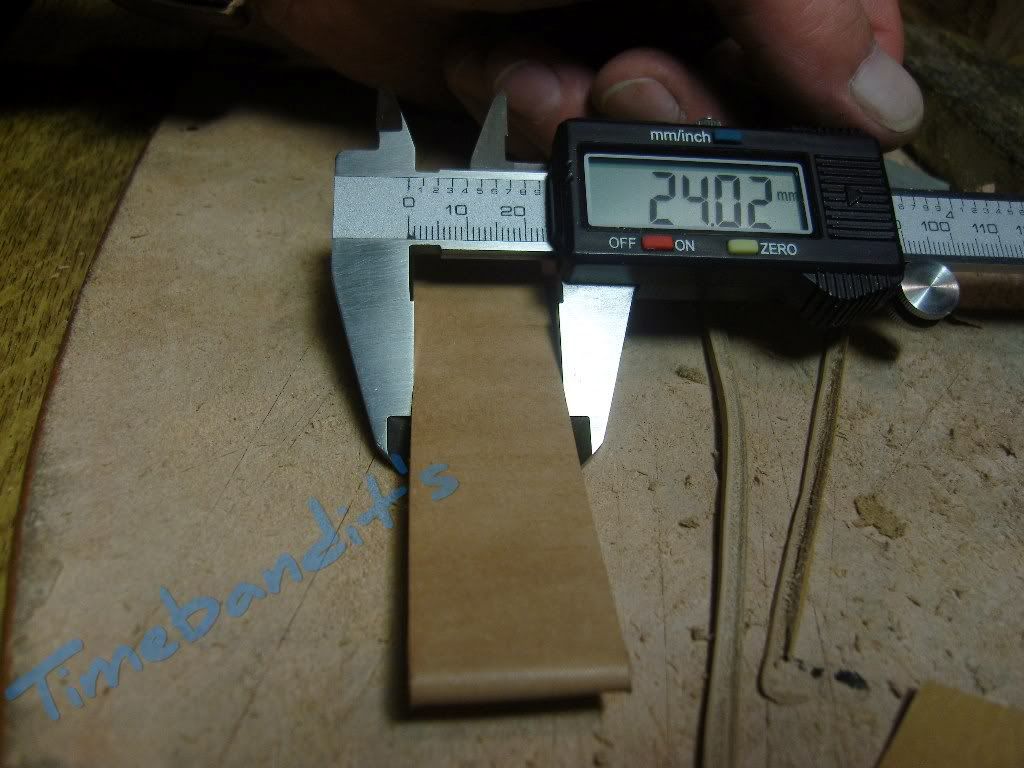
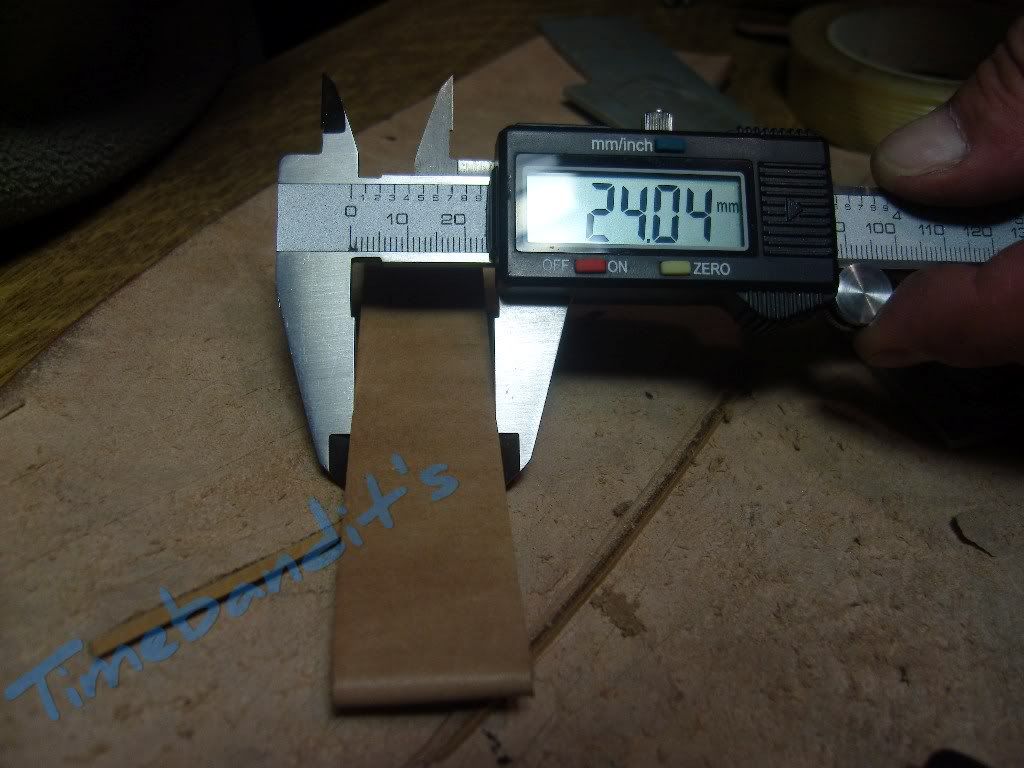
Now we cut the strap to the wanted length.
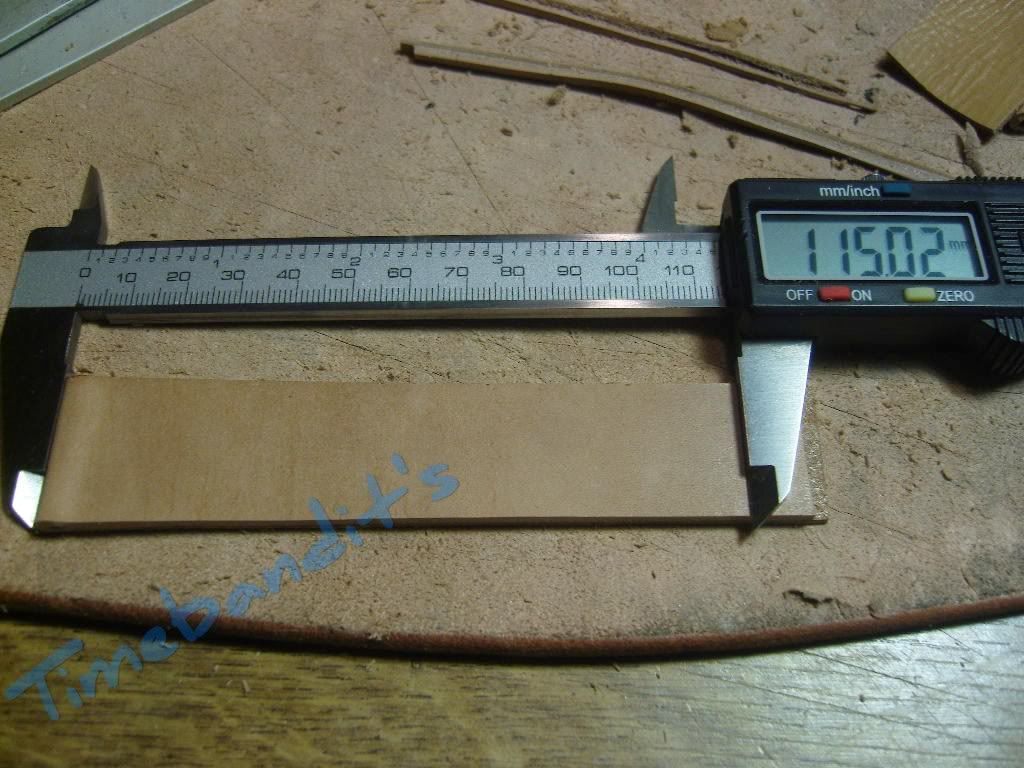
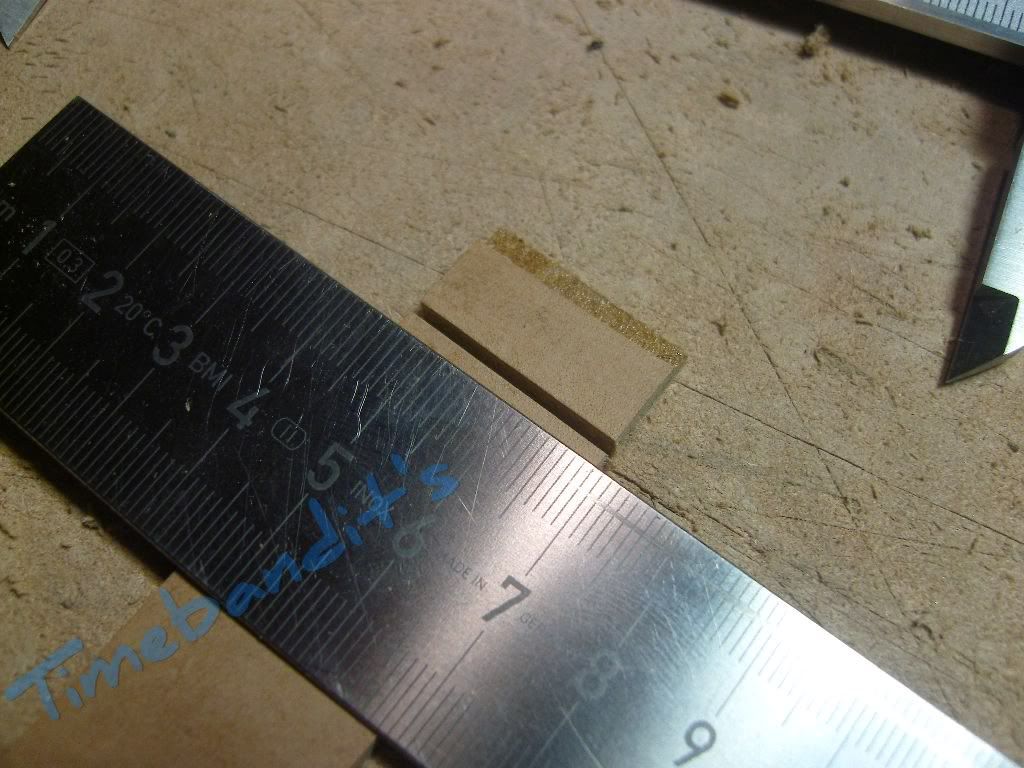
You believe, that the strap will have a length from 115mm when it is finished, no, that is wrong.
That would be too easy, later when we sew it, it will shrink.
It is necessary to add some milimeter, depending to leather and thread.
No formula available for that, experience will show.
I have here a big box with straps that are too short or too long, LOL
Let’s have a look if the selfmade buckle fits the strap.
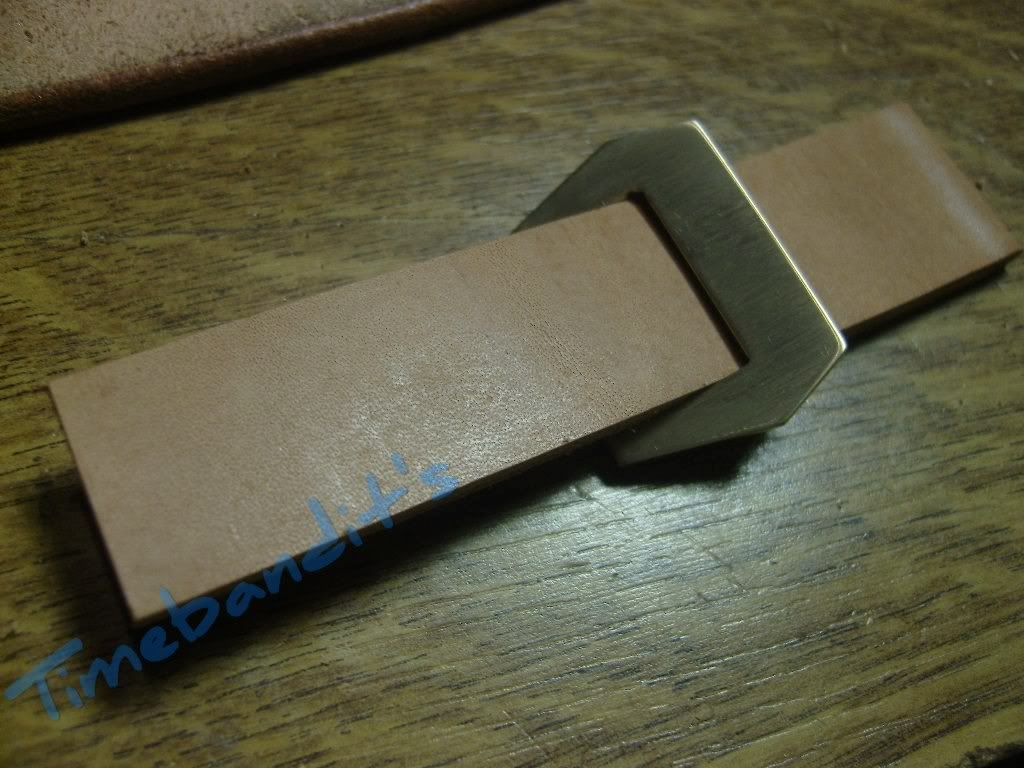
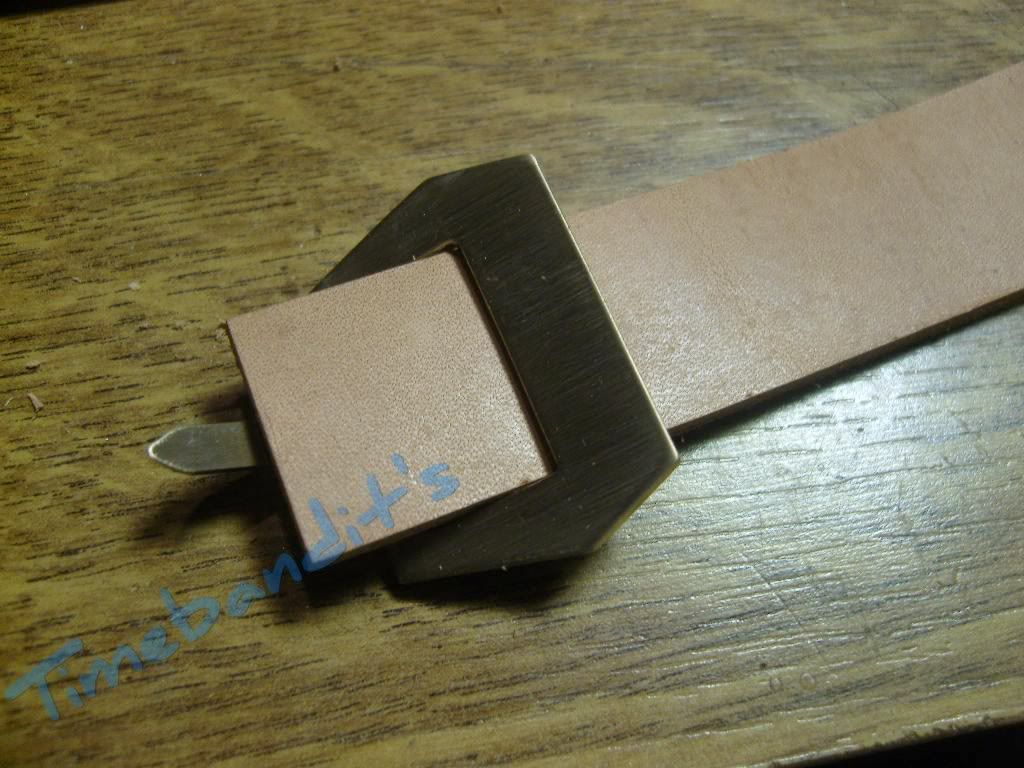
Jepp, it fits.
Now we have to make the tip, at the best is a punch for that available, if not it can also be carved with a sharp knife.
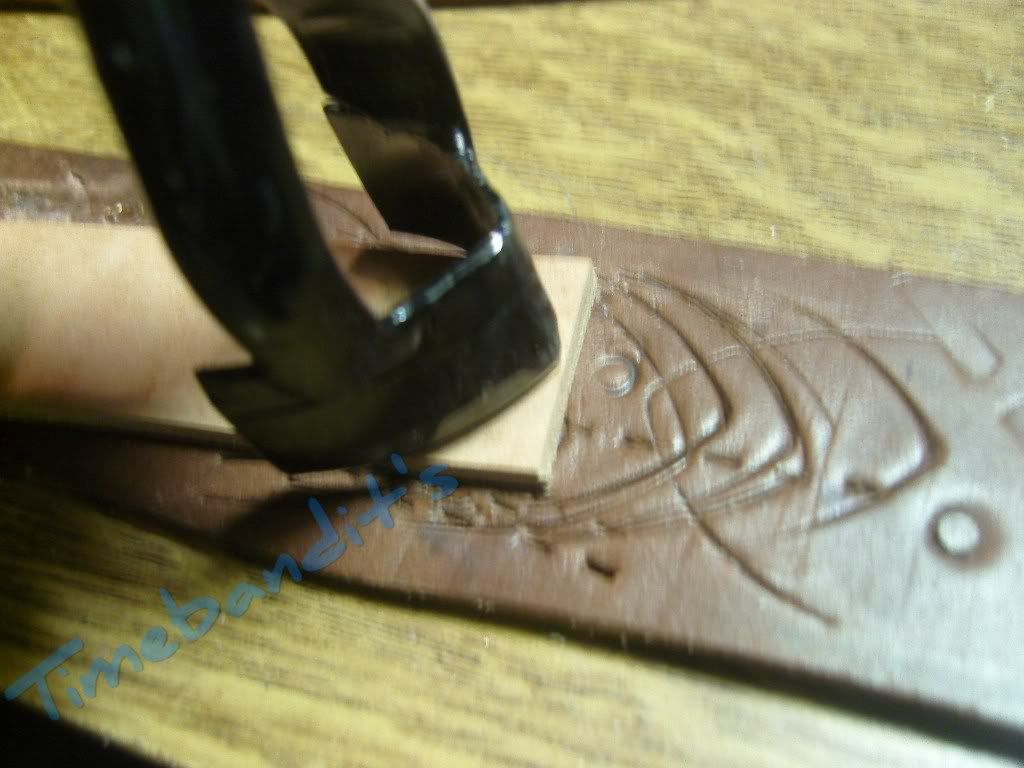
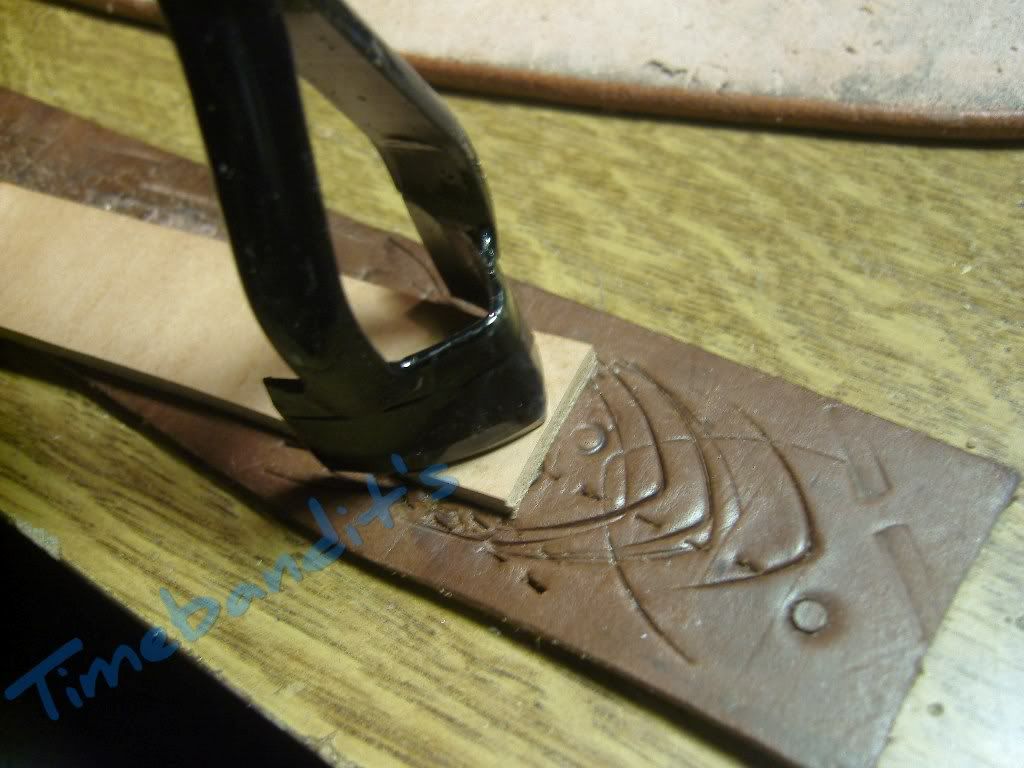
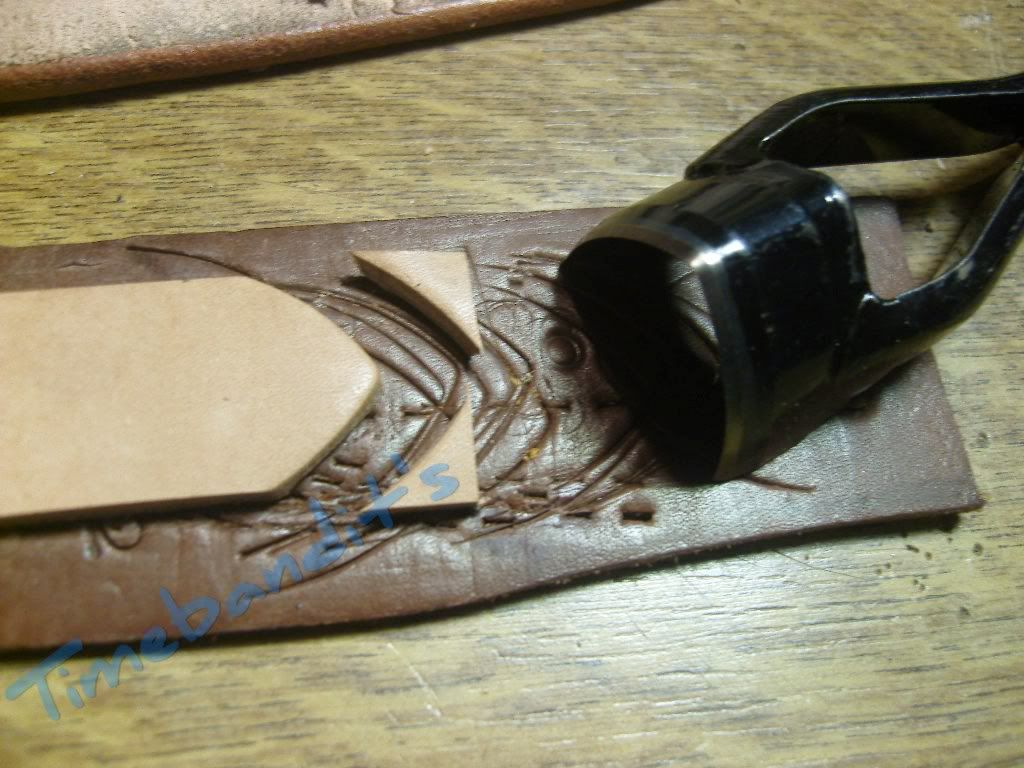
The tip is finished, just some fine tuning is to do. My special tool is necessary here, highest sharpness is asked.
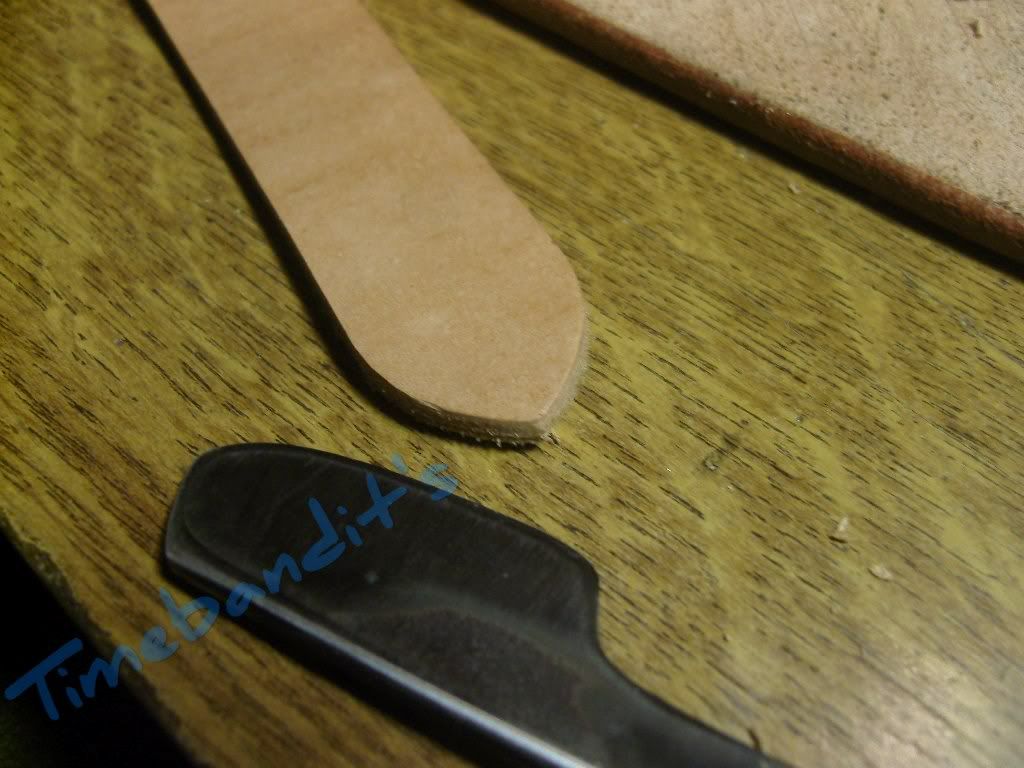
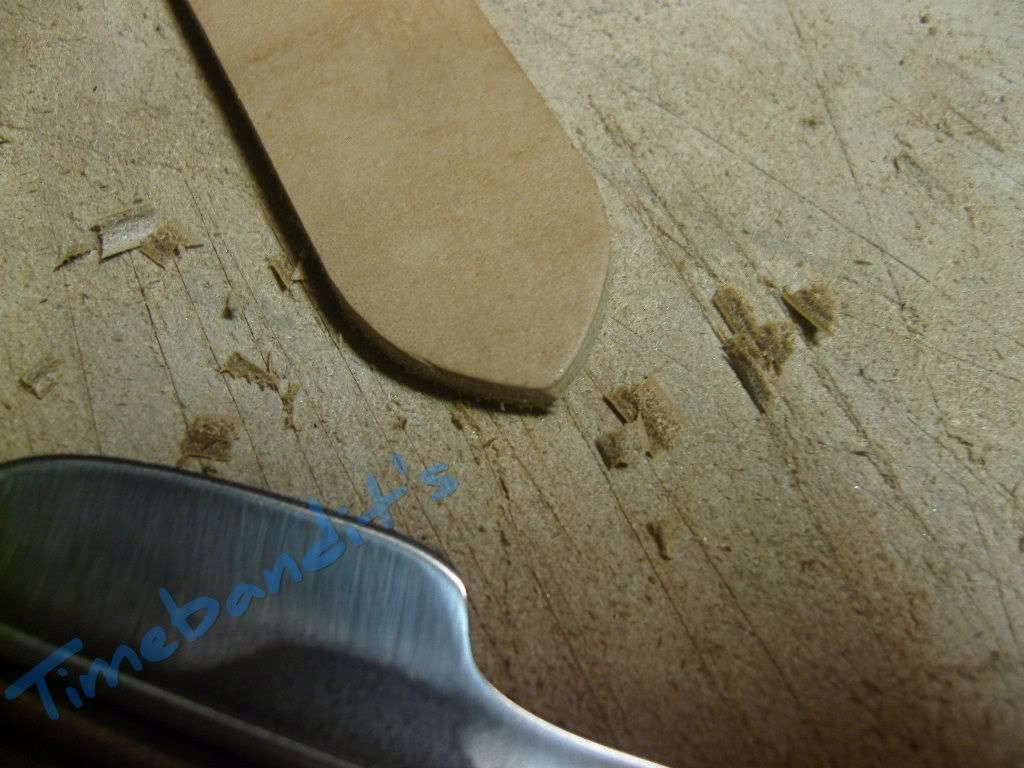
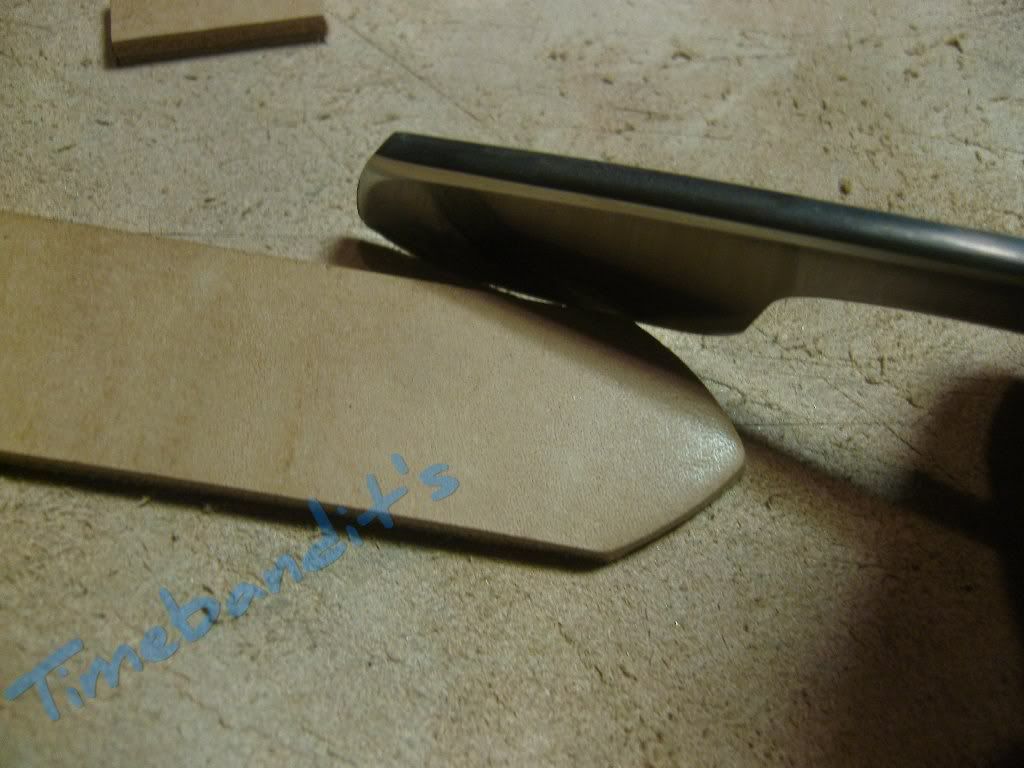
I use a thick leather as a underlay. You can buy a cuttingpad, but it is imho too expensive.
The blade stays also sharper with the thick underlayer from leather.
Looks good so far.
Now we come to the buckleside strap, also a nice challenge
The buckle is a sewn-in one, we also want to have one fixed buckle.
That means we have to work and cut exactly BEFORE we glue.
A little bit more difficult, but a increase it always welcome, isn’t it ?
The lugside was already glued, we remember ?
Now we need to sharpen the other side. At first we need to mark the place where the buckle
is placed at the end.
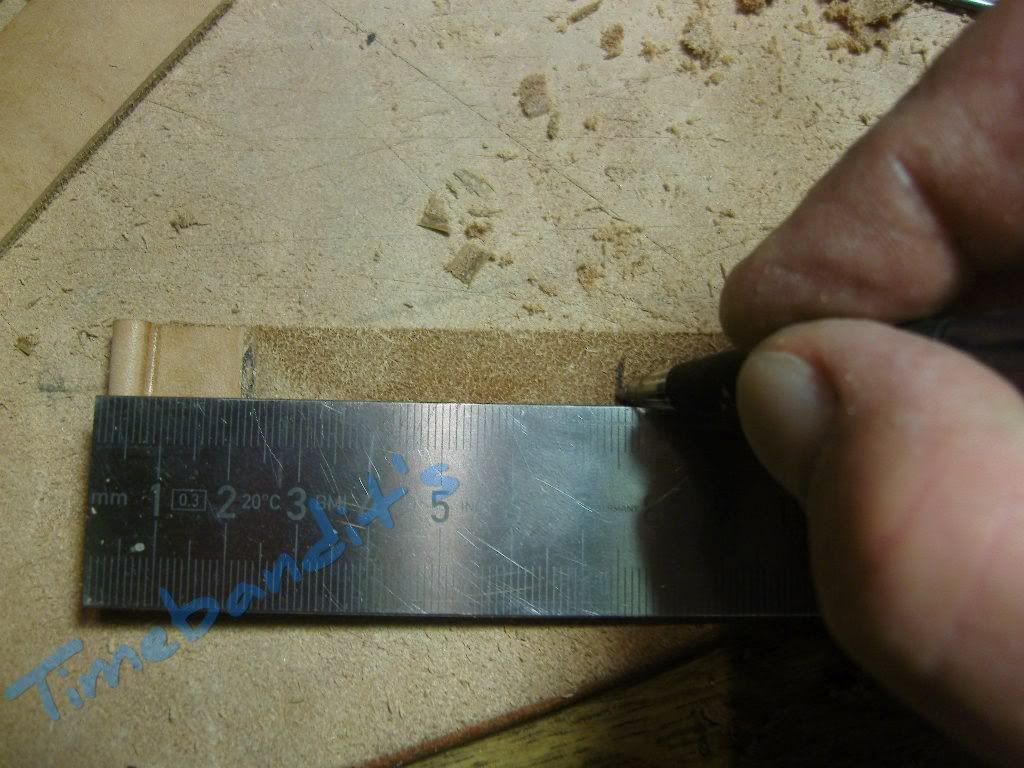
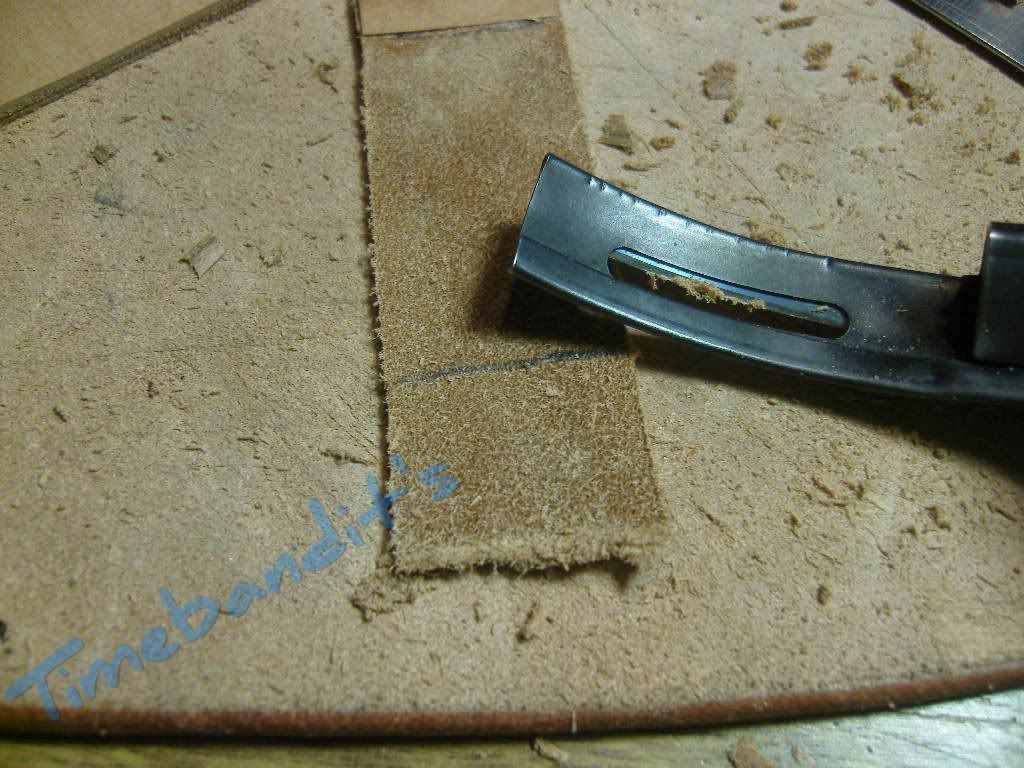
Now we don’t glue it completely, just a pre-glueing. We need to separate it later.
The pre-glueing makes sure that all parts will stay in position.
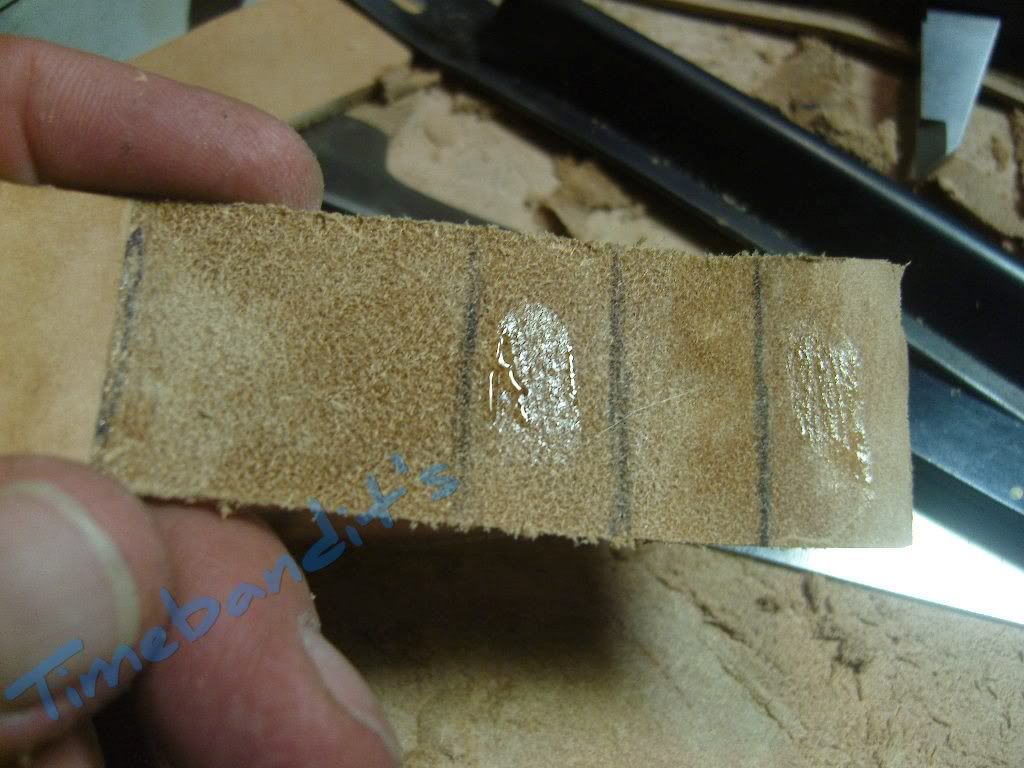
Again marking with the caliper, but here is no transition necessary, just straight tapering.
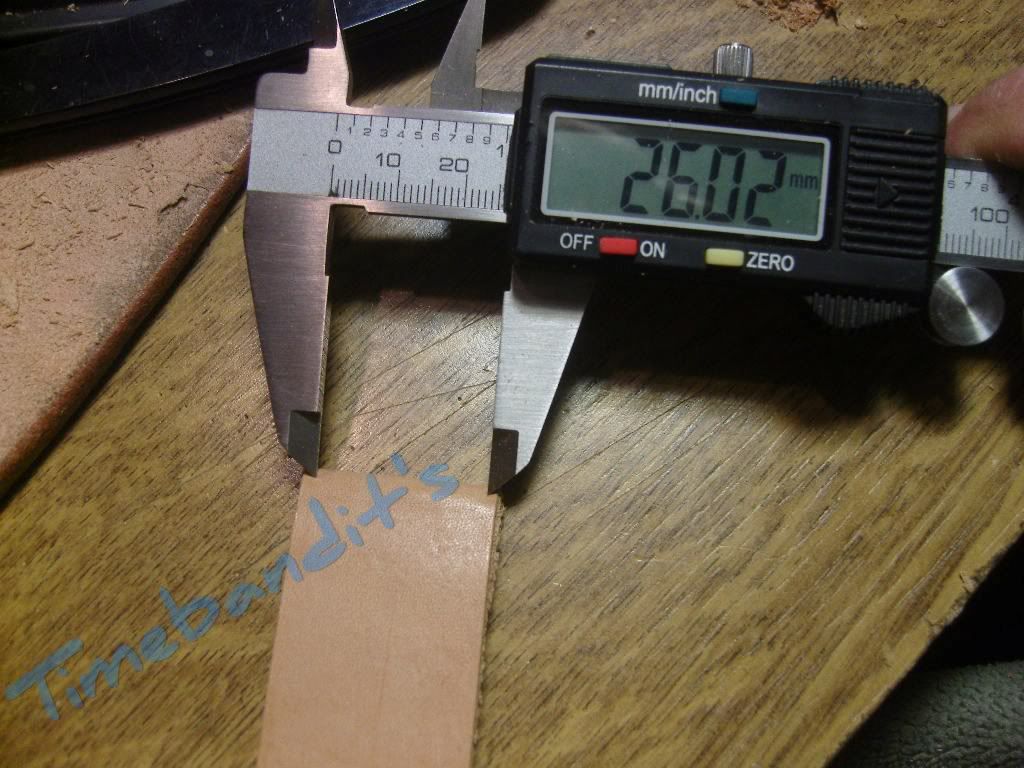
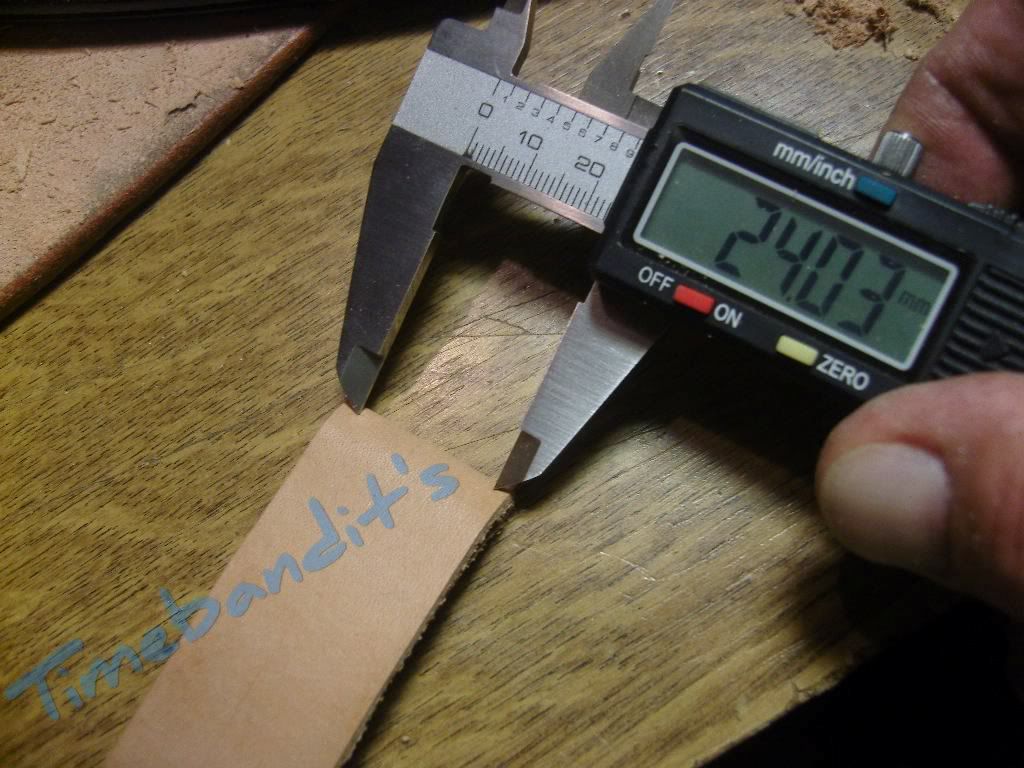
Cutting
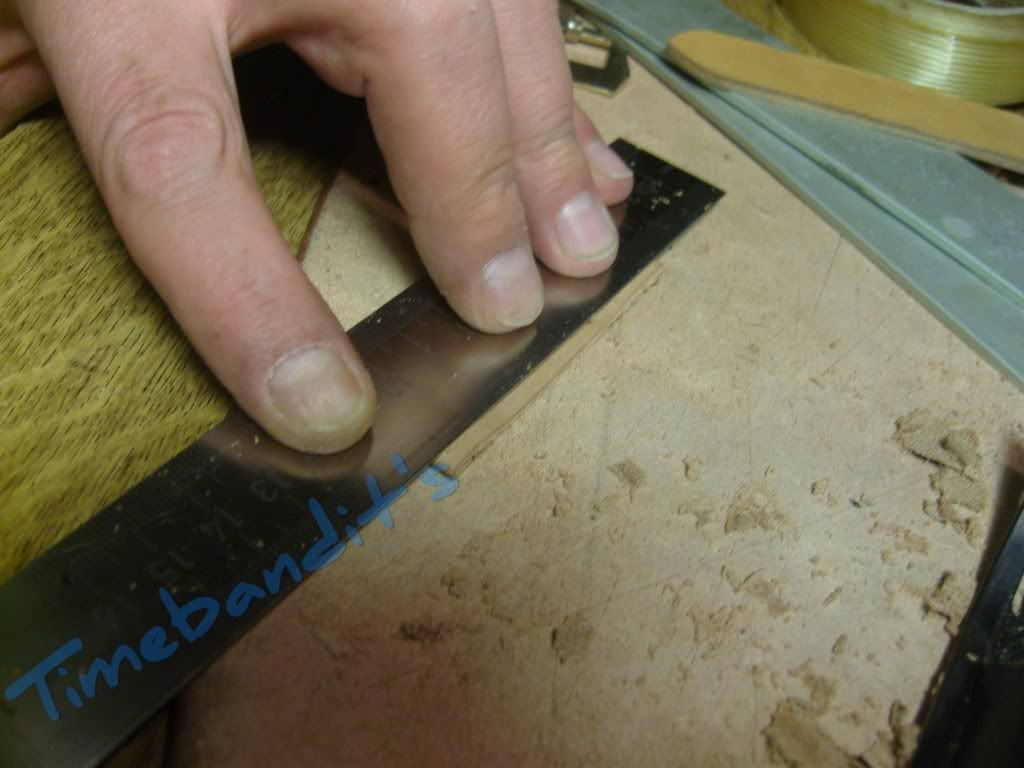
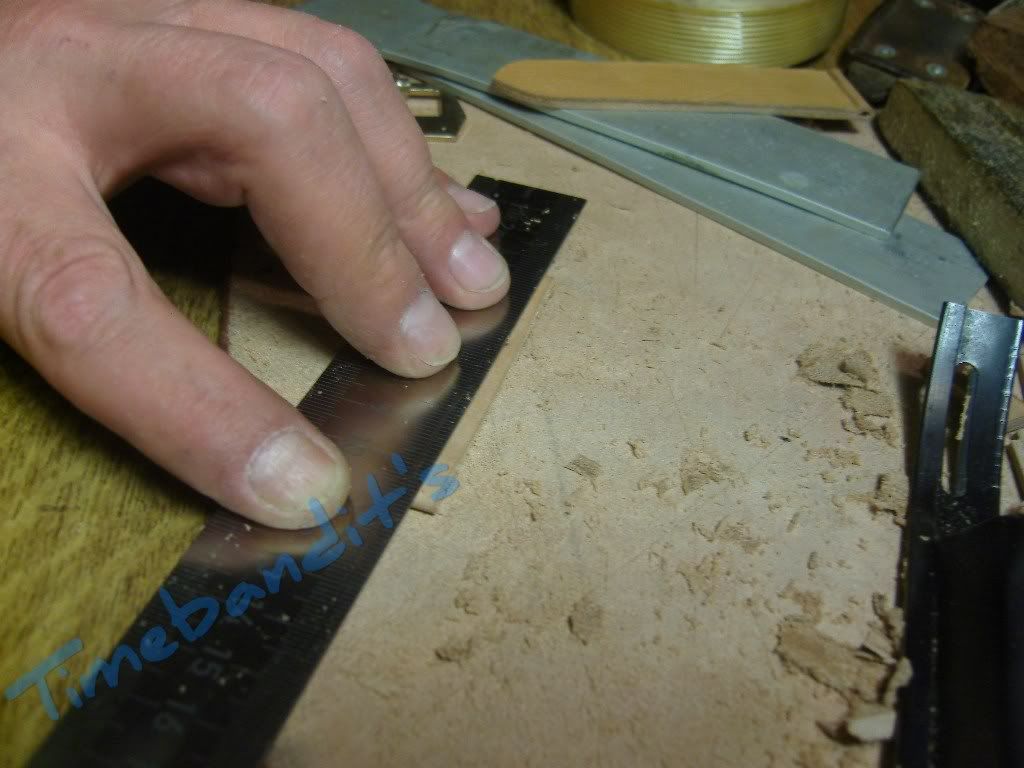
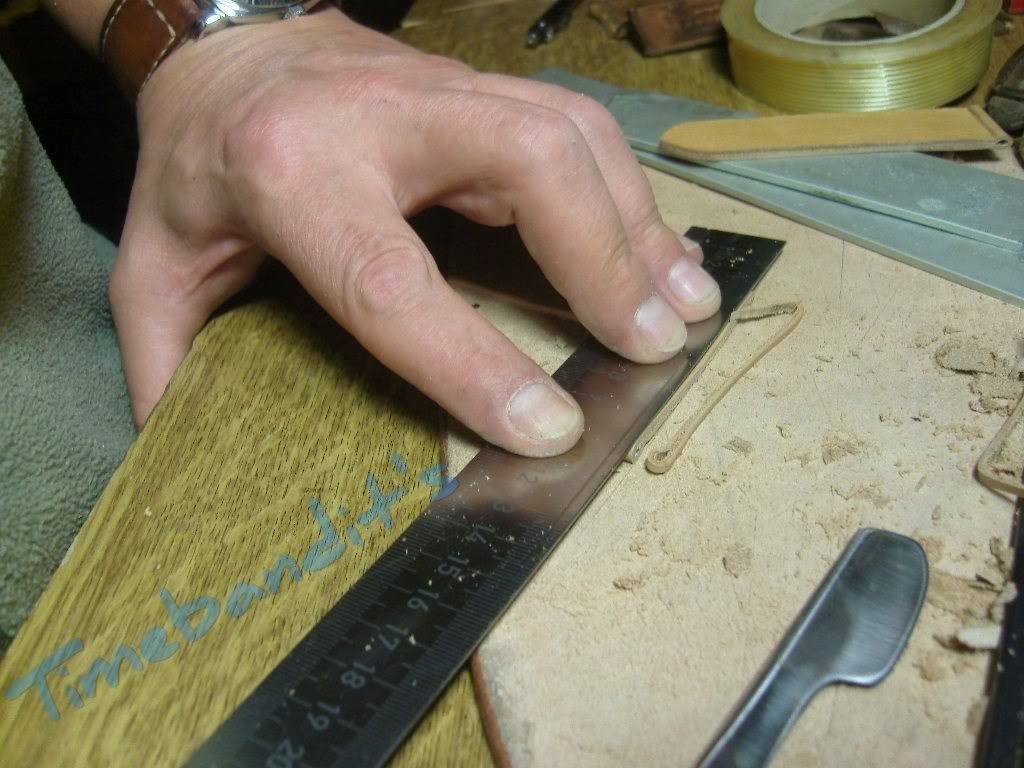
Again measure to be safe.
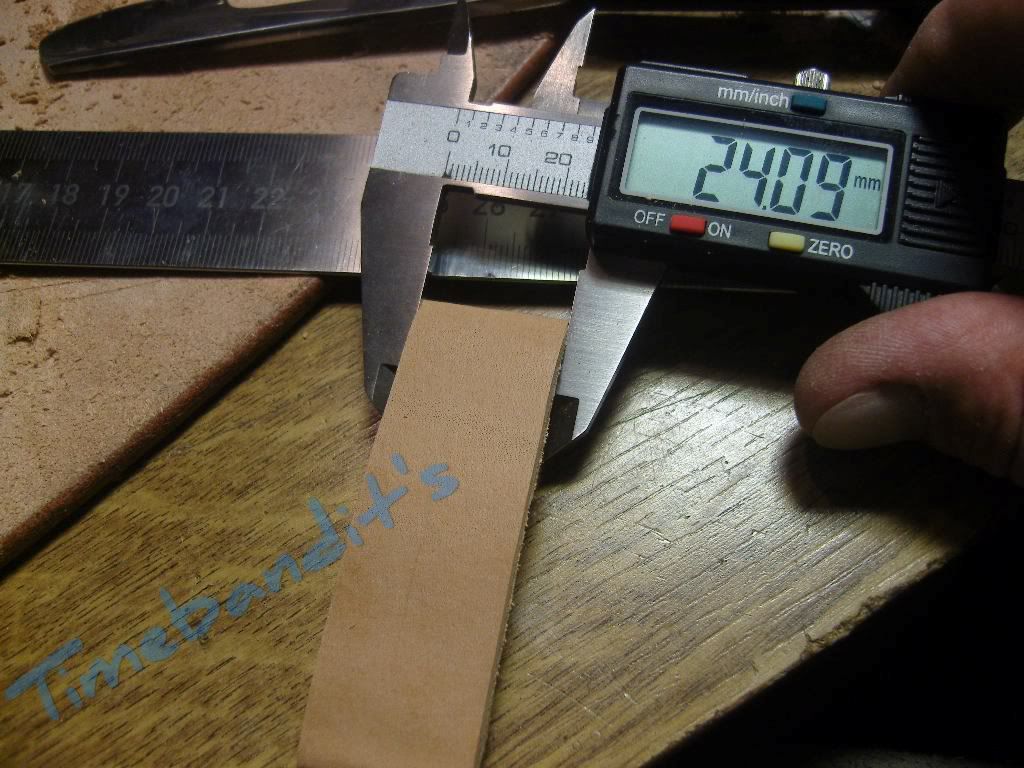
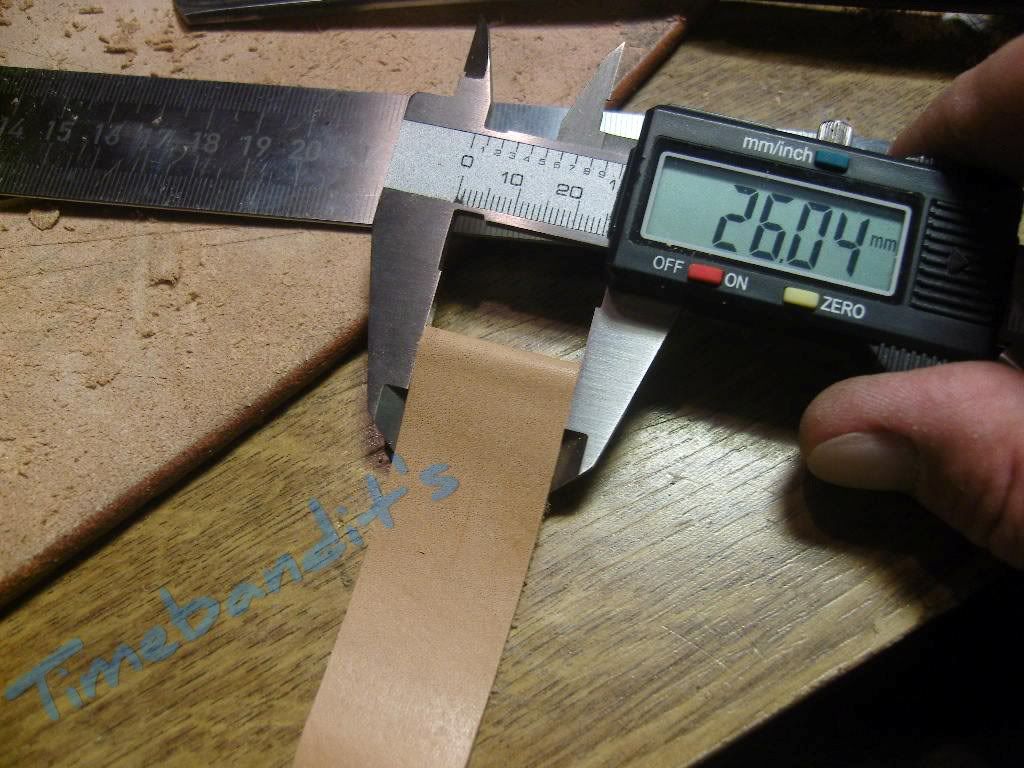
Usually I cut the bottom leather in this step together with the top leather.
No idea why I haven’t done it this time
Not a big deal, I will cut it later.
Let’s have a look at the position of the buckle and the preparing to sew it in.
We have to mark the middle, in a distance about 6-7mm from the end at the buckleside.
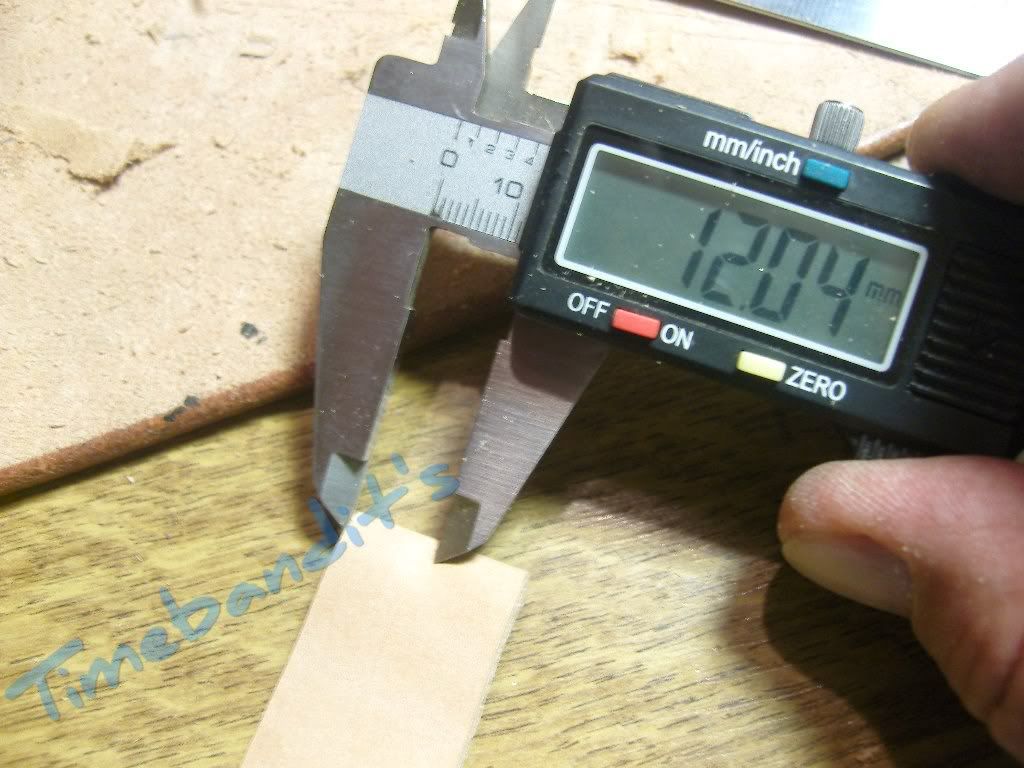
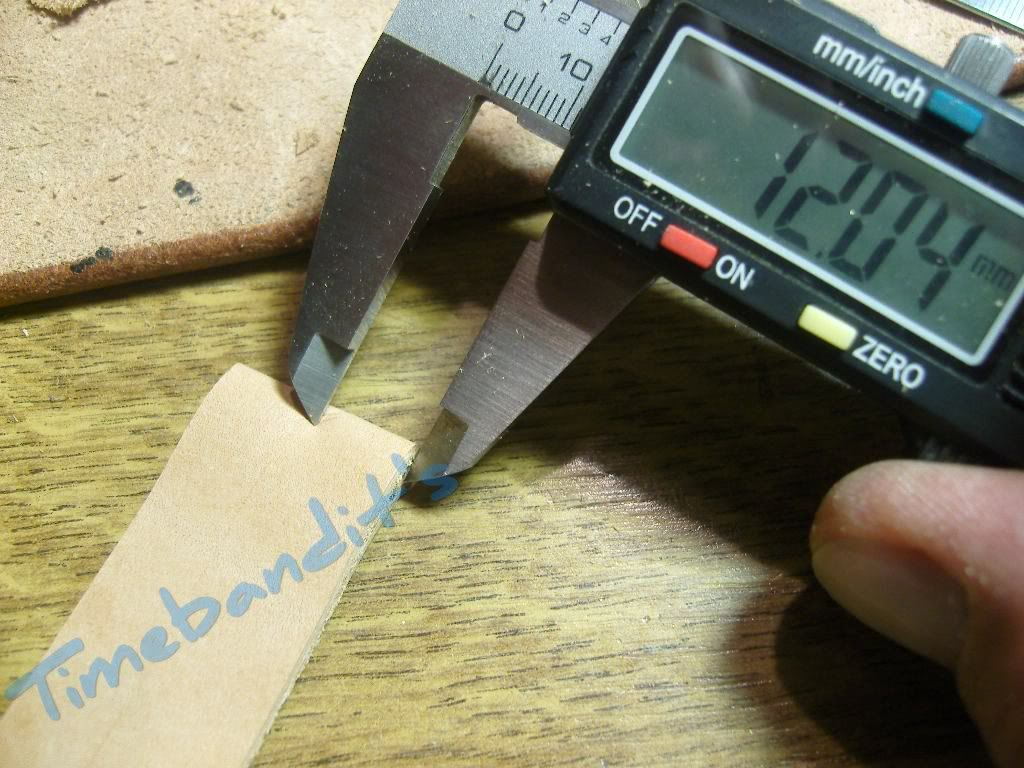
Now we have to punch the hole exactly at the marking.
I use always a piece of leather under the strap while punching the holes.
It keeps the punch sharp.
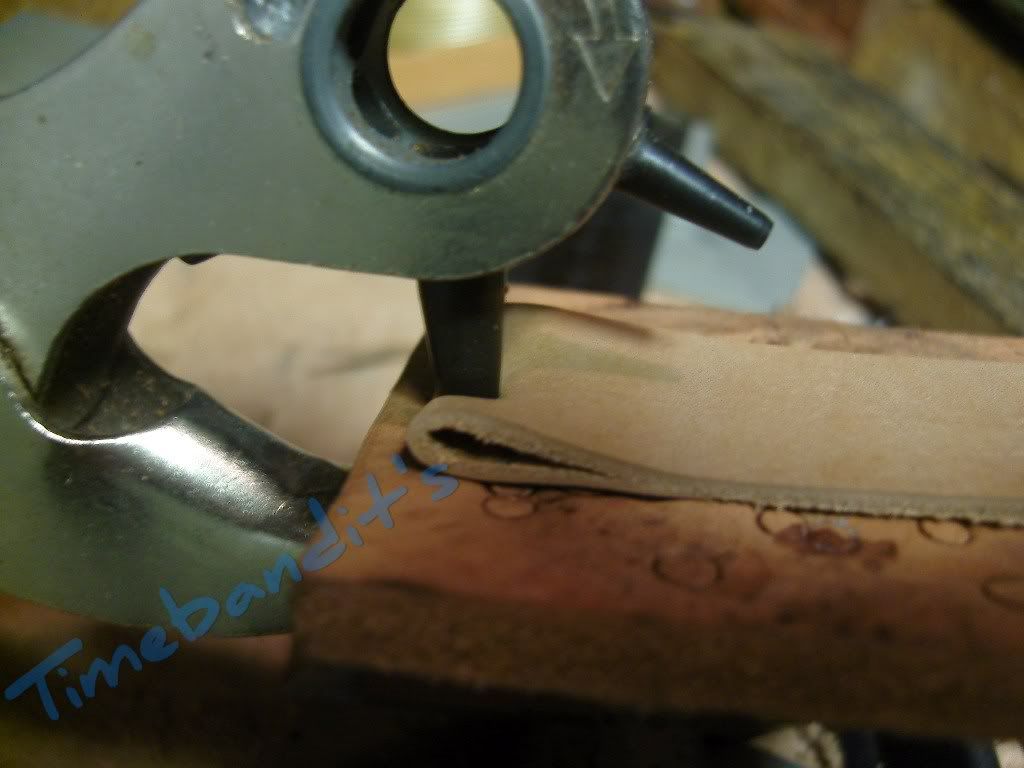
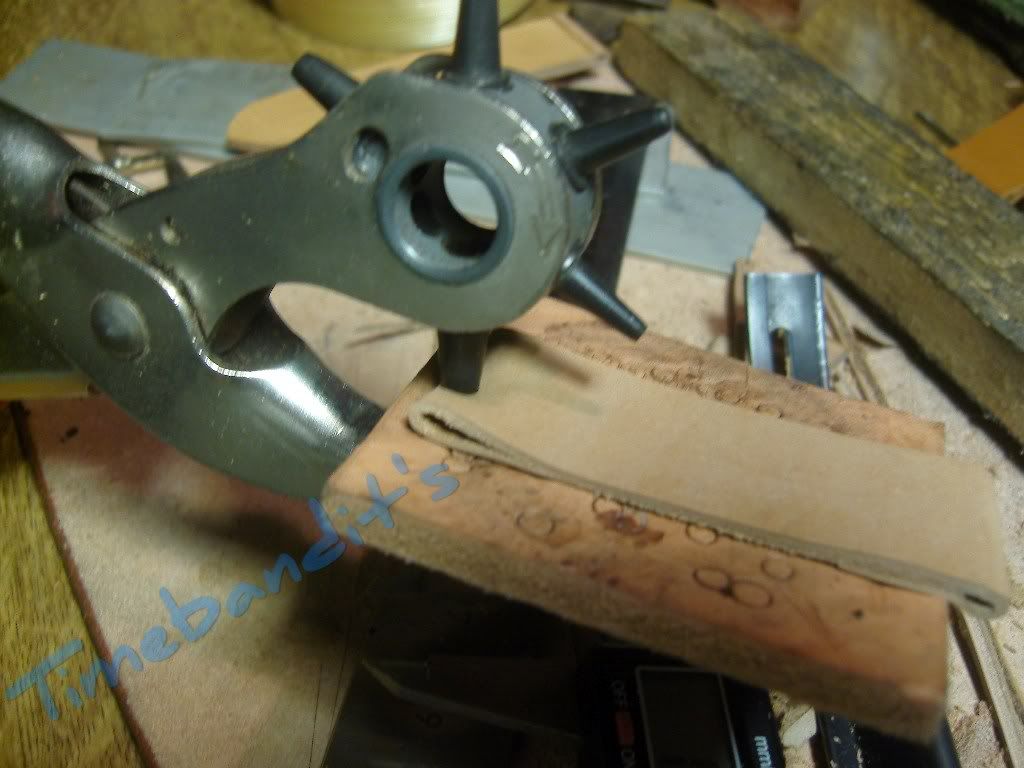
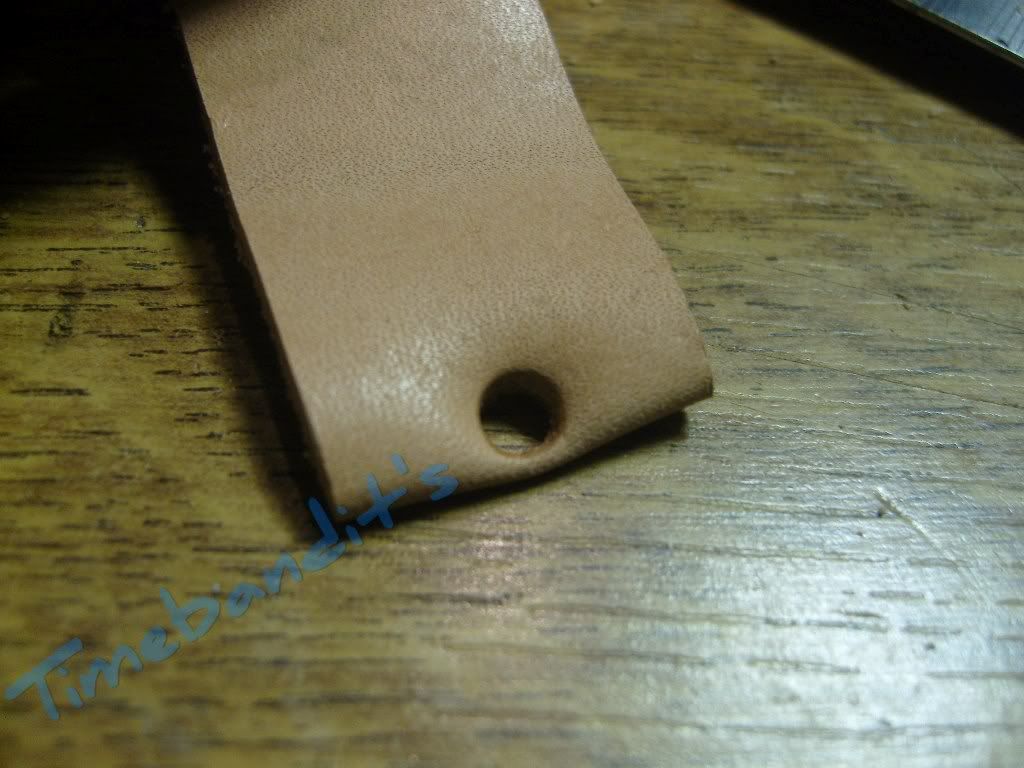
It is far enough to separate the pre-glued ends. There are two holes, connect them with two cuts.
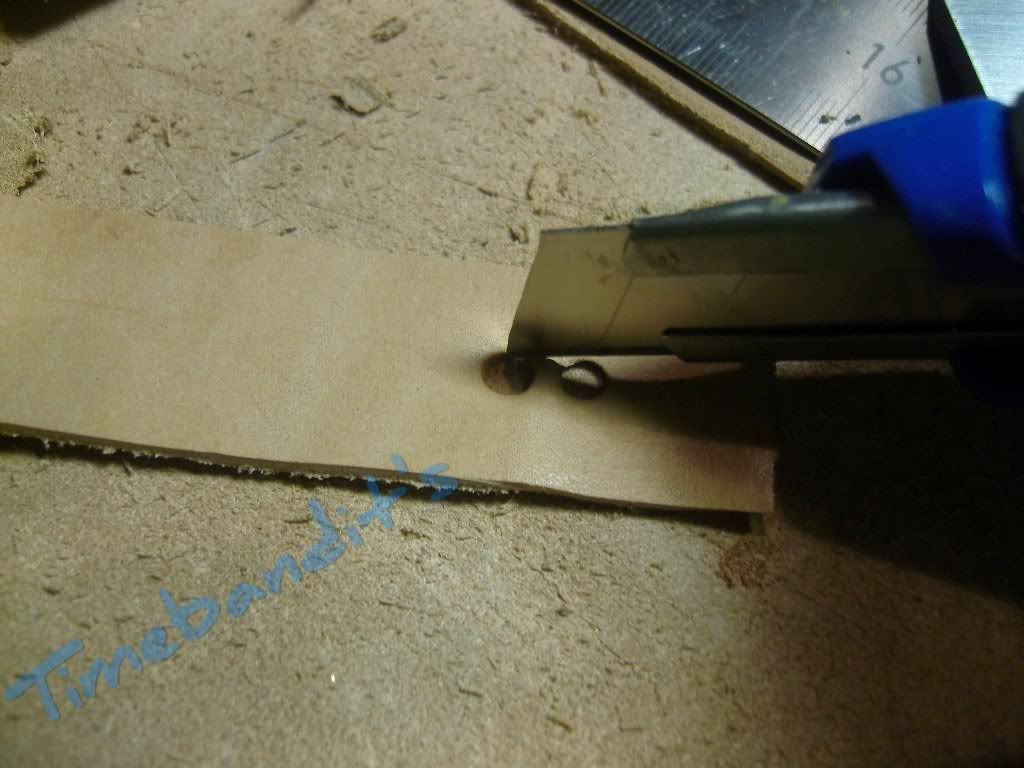
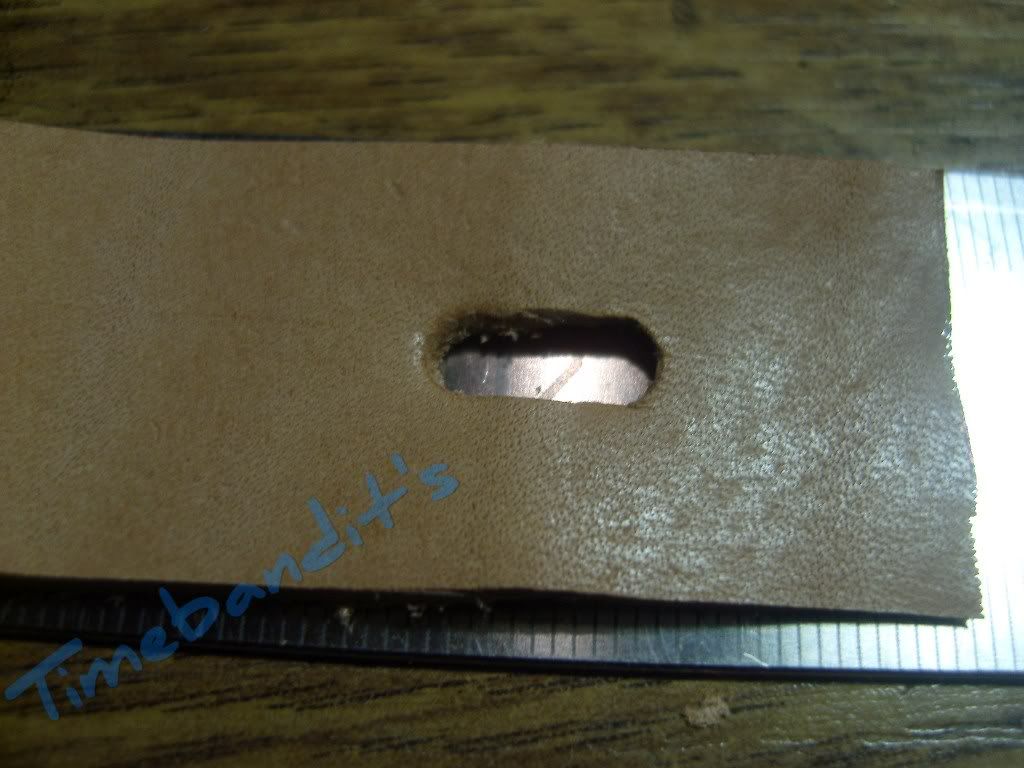
Tadaa, an oblong hole is born
Now it is time to use our selfmade buckle
( This is another tutorial )
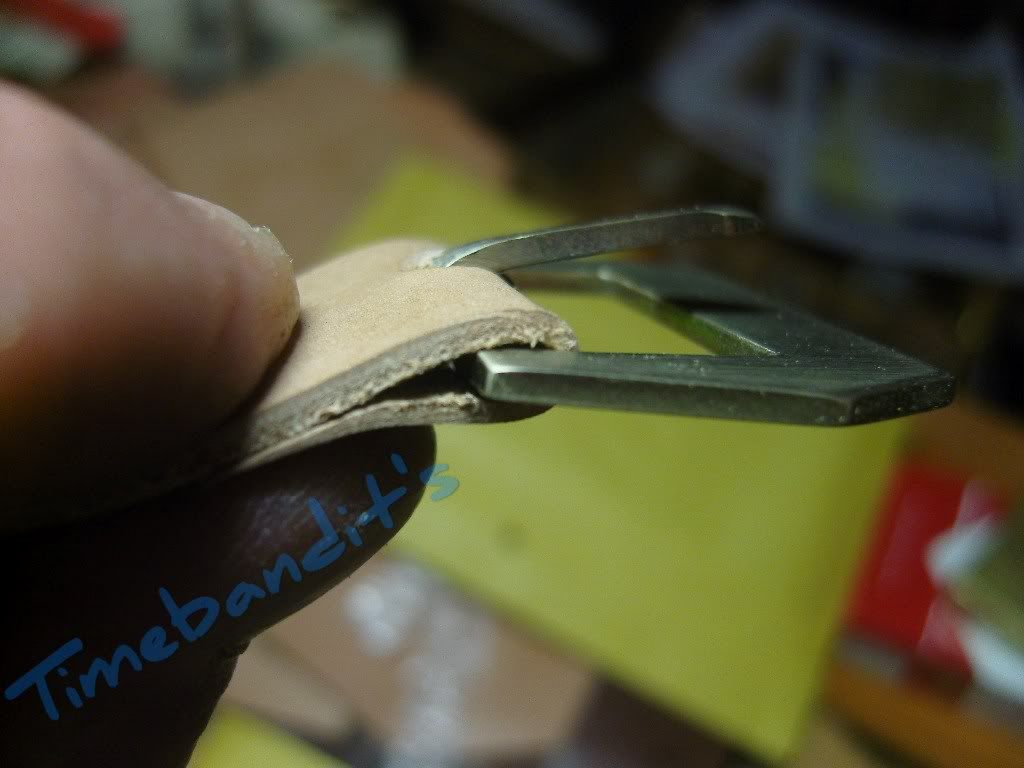
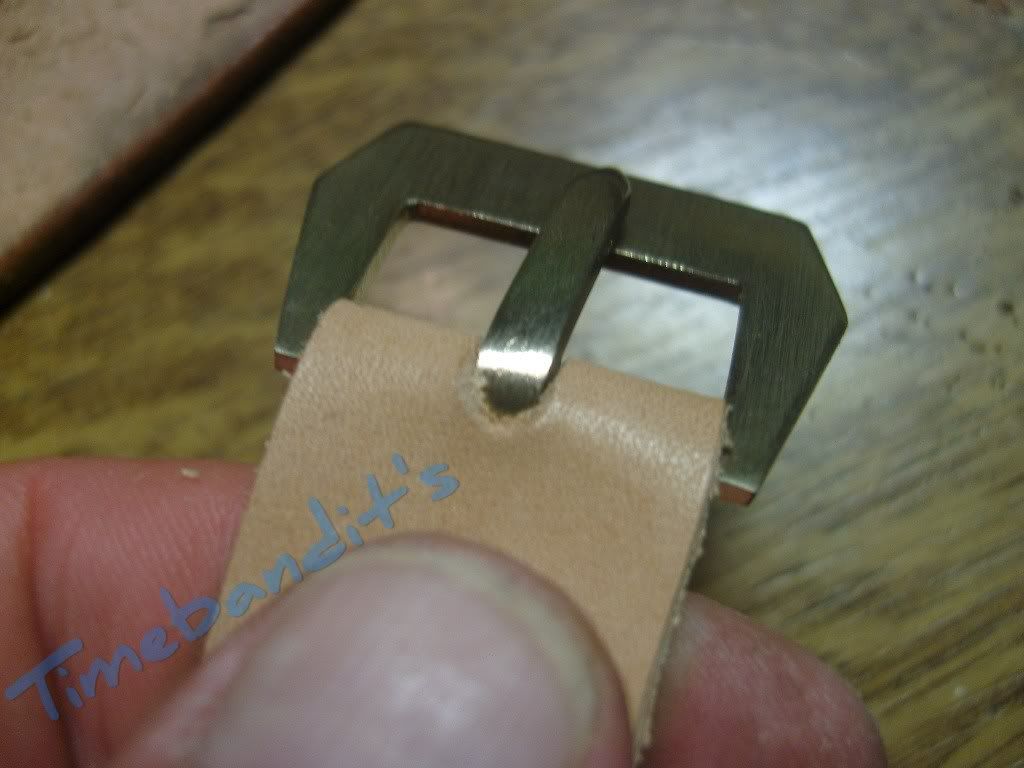
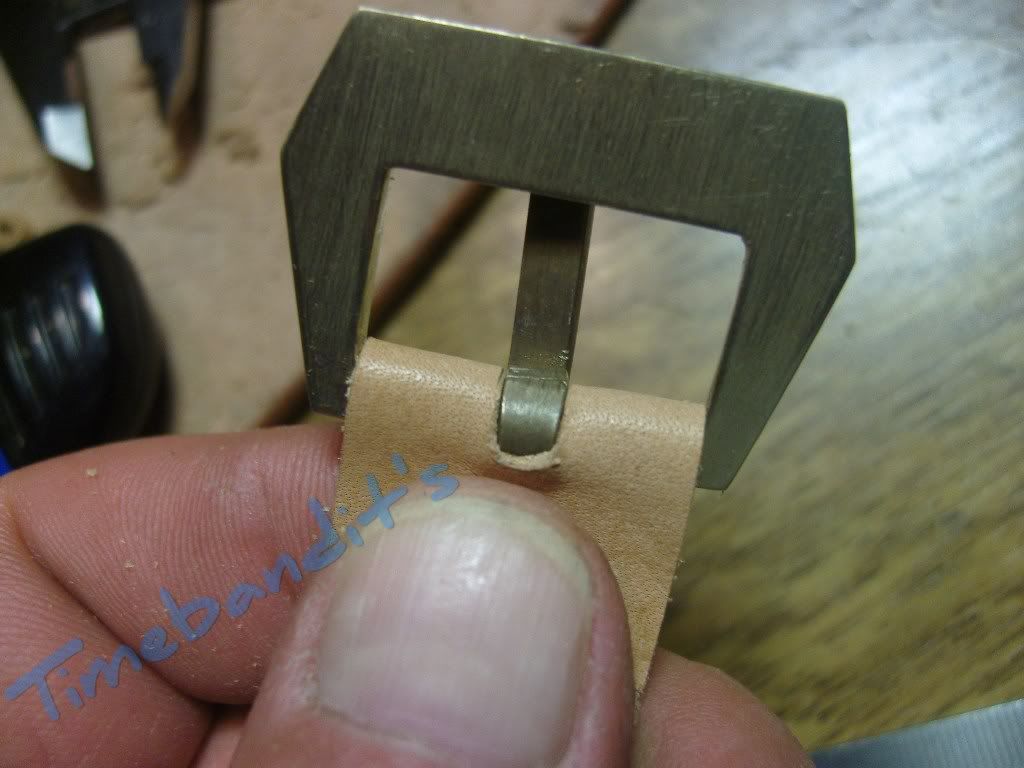
The keepers are made from the skived top leather. We can cut them both.
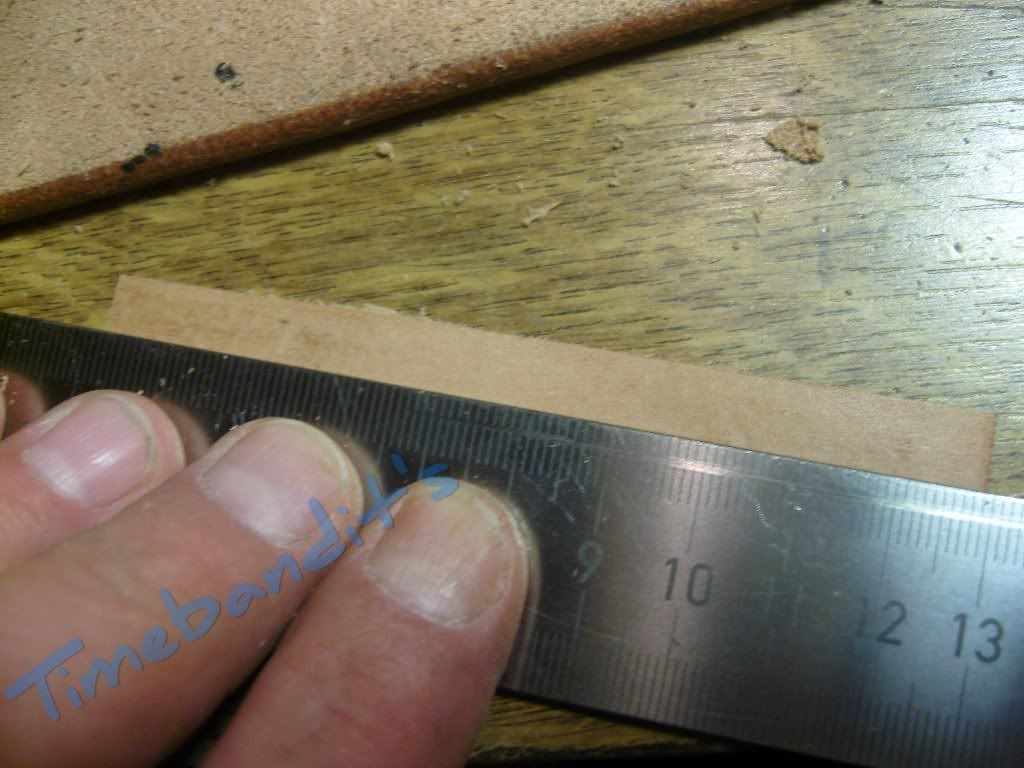
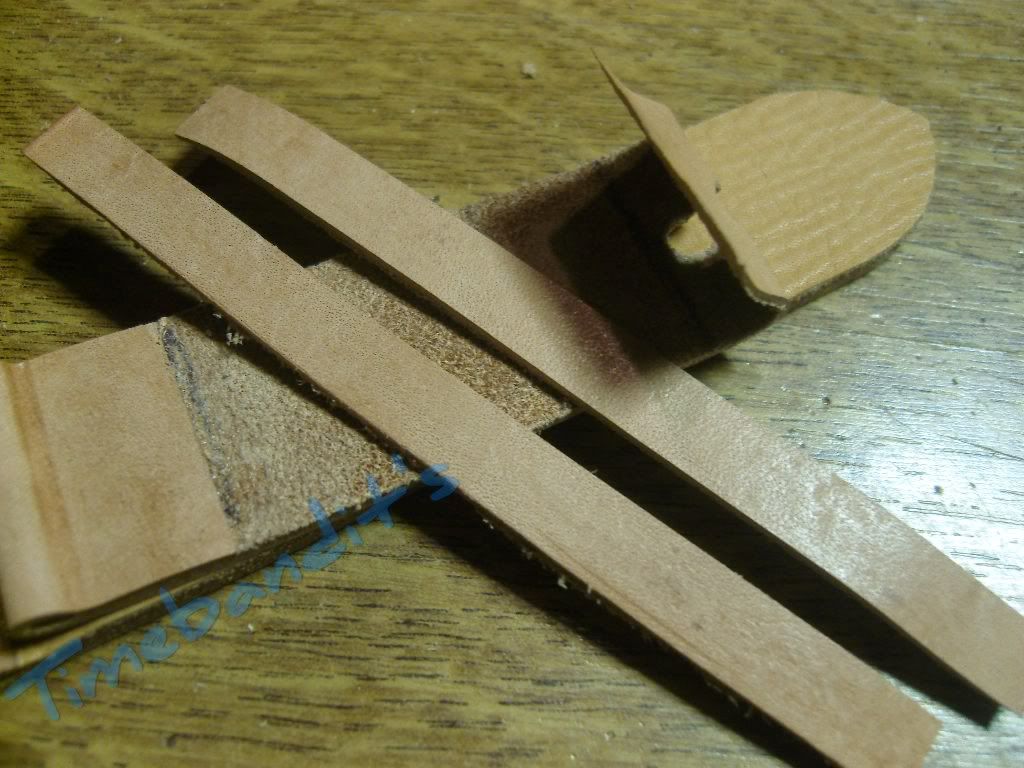
Now it makes sense that we have made the long side first. Lay the both straps together.
Wind the keeper around them and mark the point where we want to cut it.
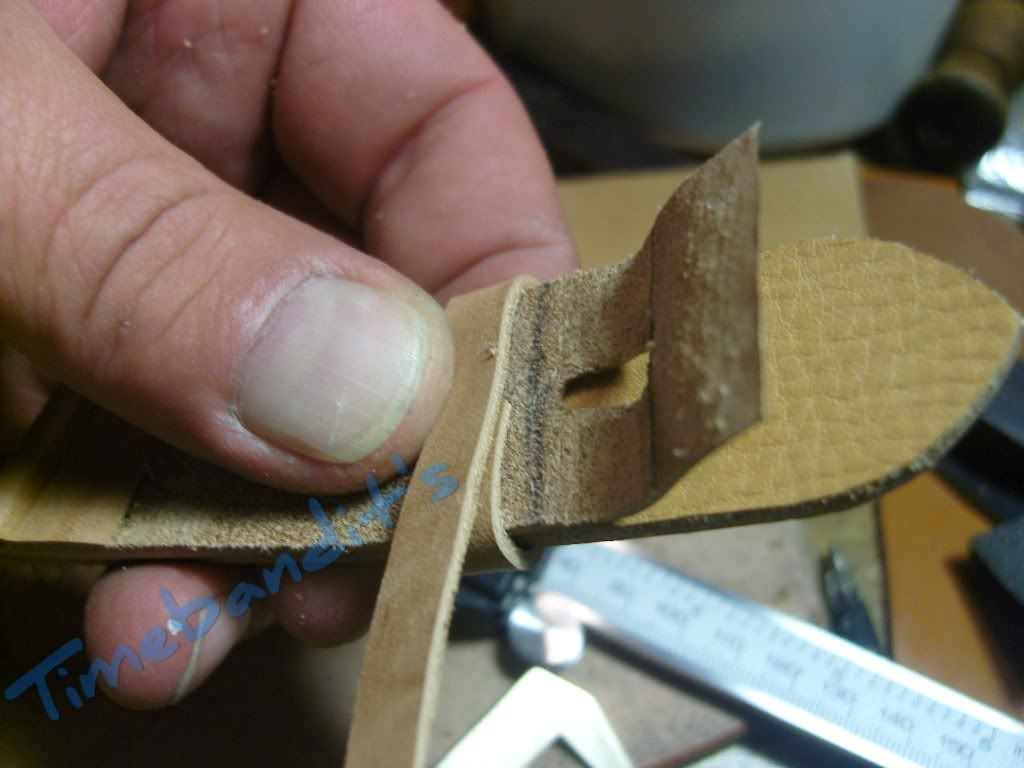
Cutting, sharpening, roughening as usual. Glueing at the underside of the strap and the keeper
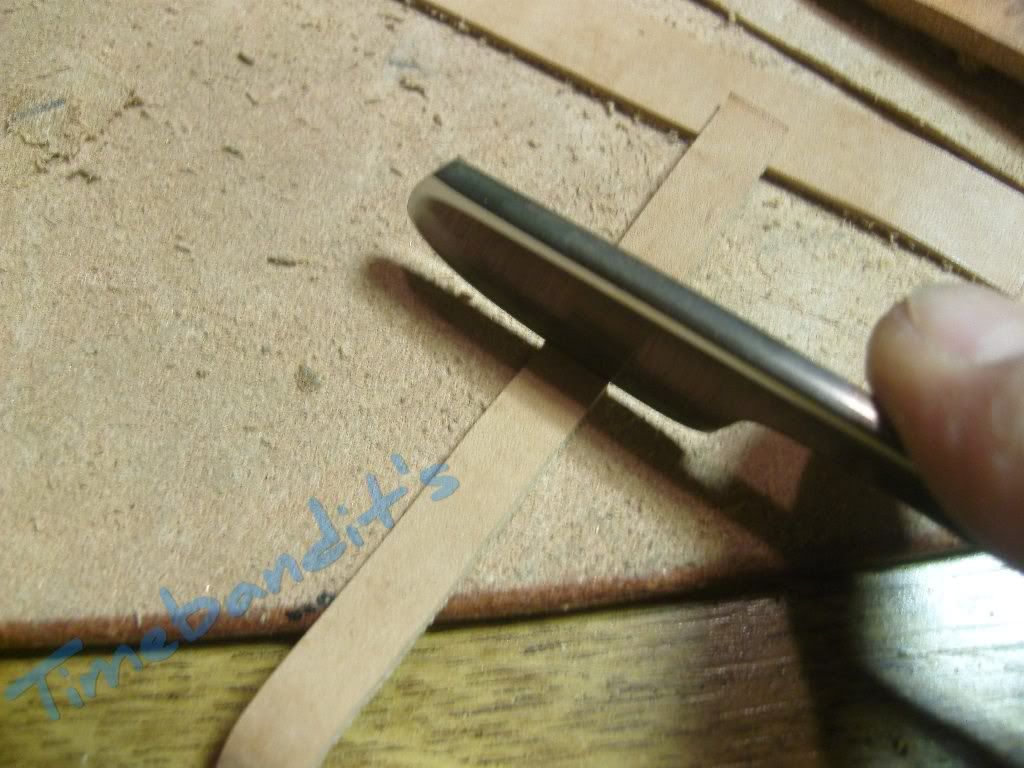
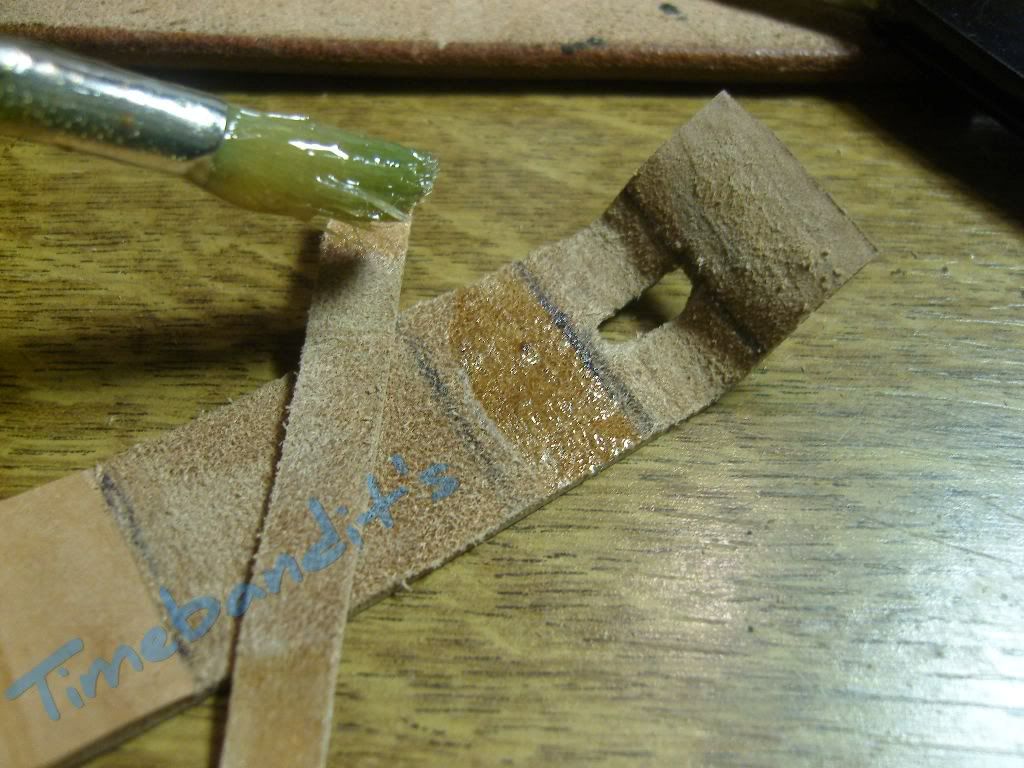
In the meantime, while the glue is drying, don’t be lazy. The underleather for the short side needs to be cutted.
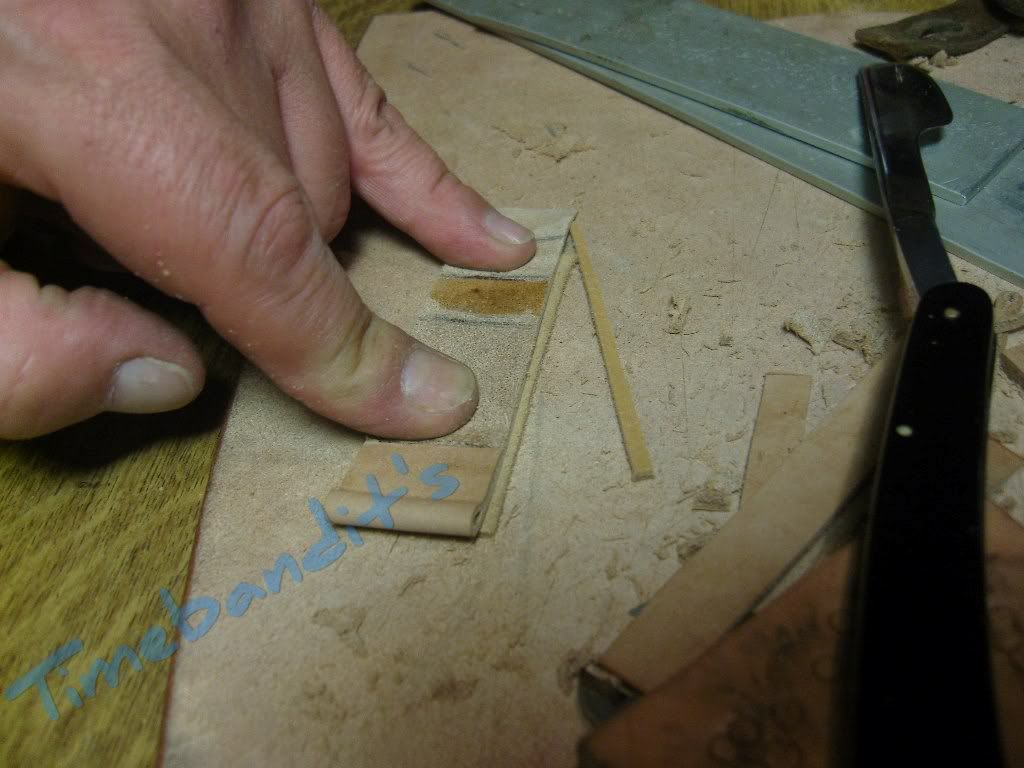
Don’t forget the sharpening
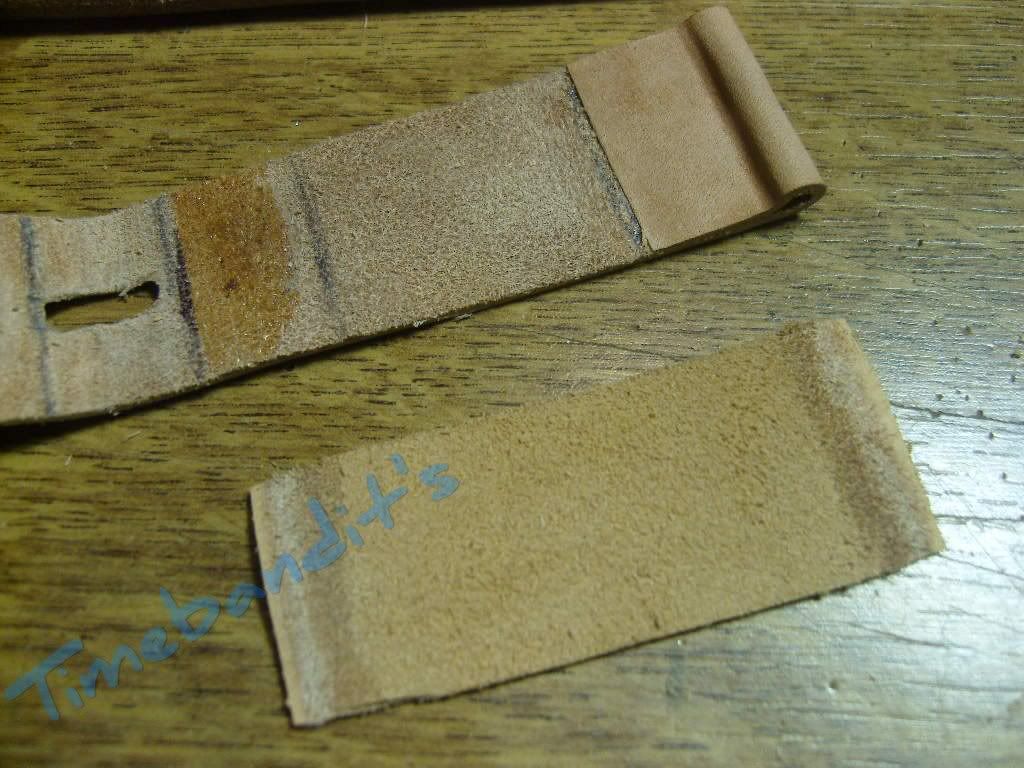
The glue is now dry enough and we can glue the fixed keeper in.
Put both straps together, wind the keeper around them, straight enough that the other strap can slide easily. Press the ends on the glued area.
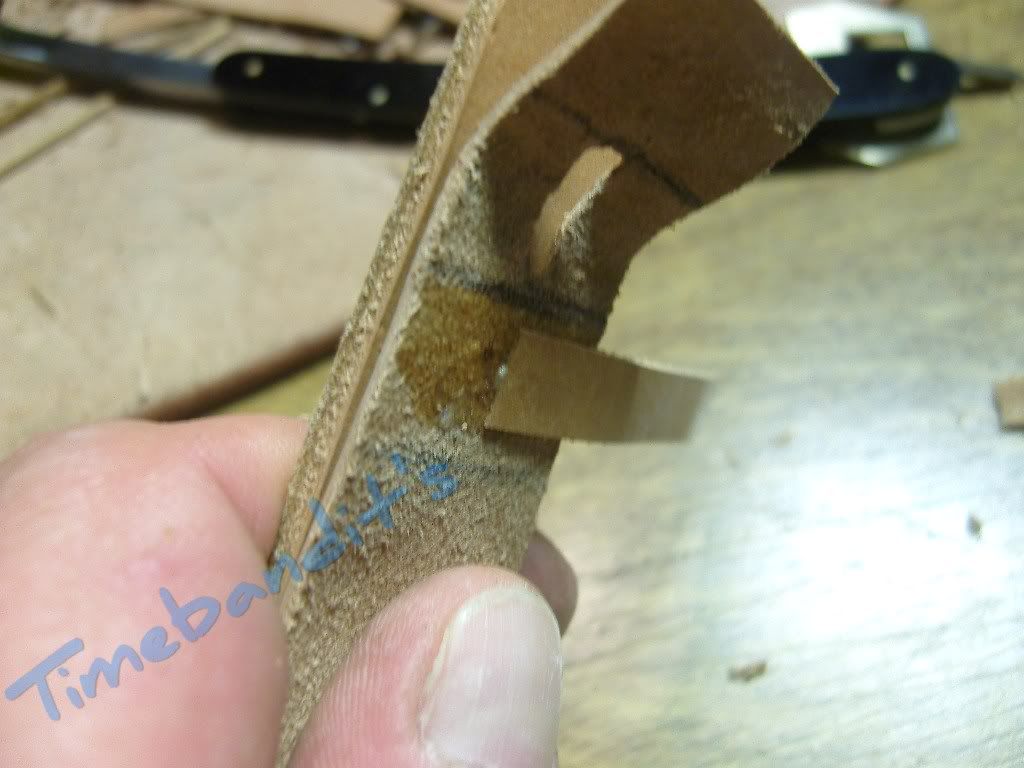
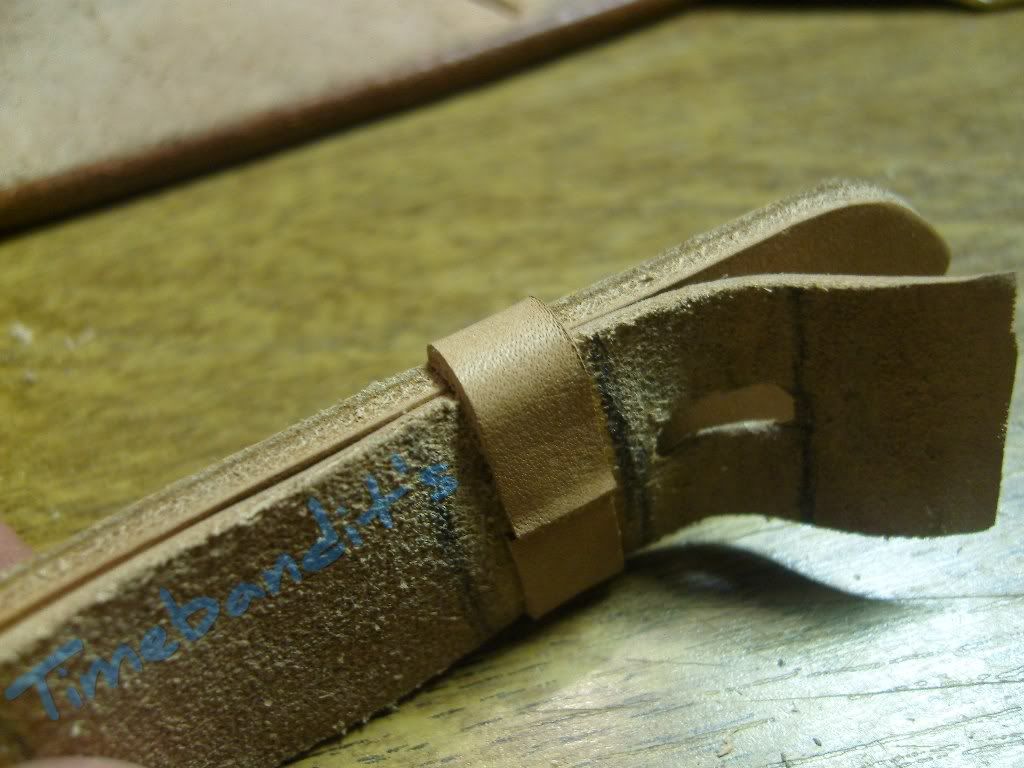
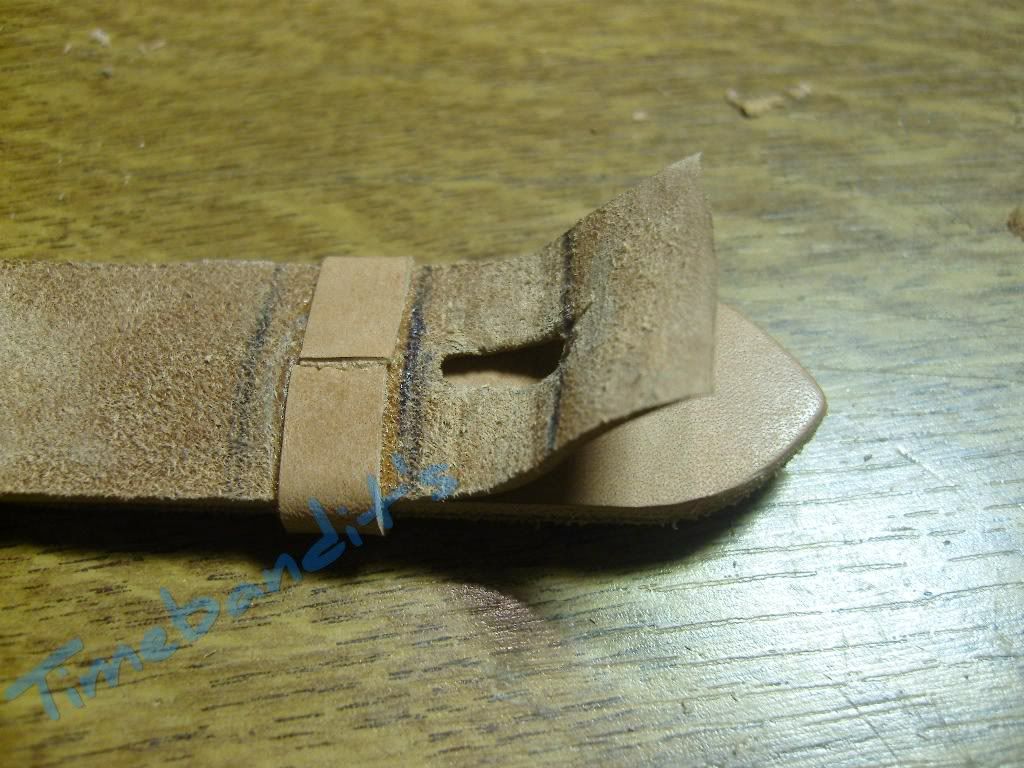
The underside of the keeper needs roughening with sandpaper.
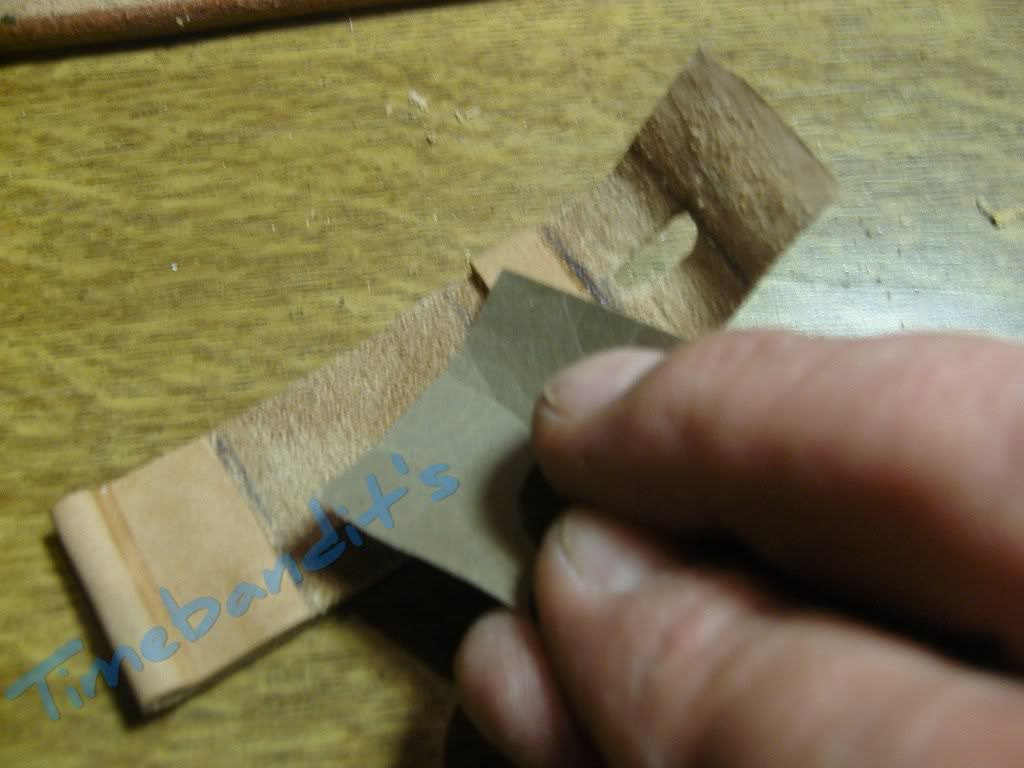
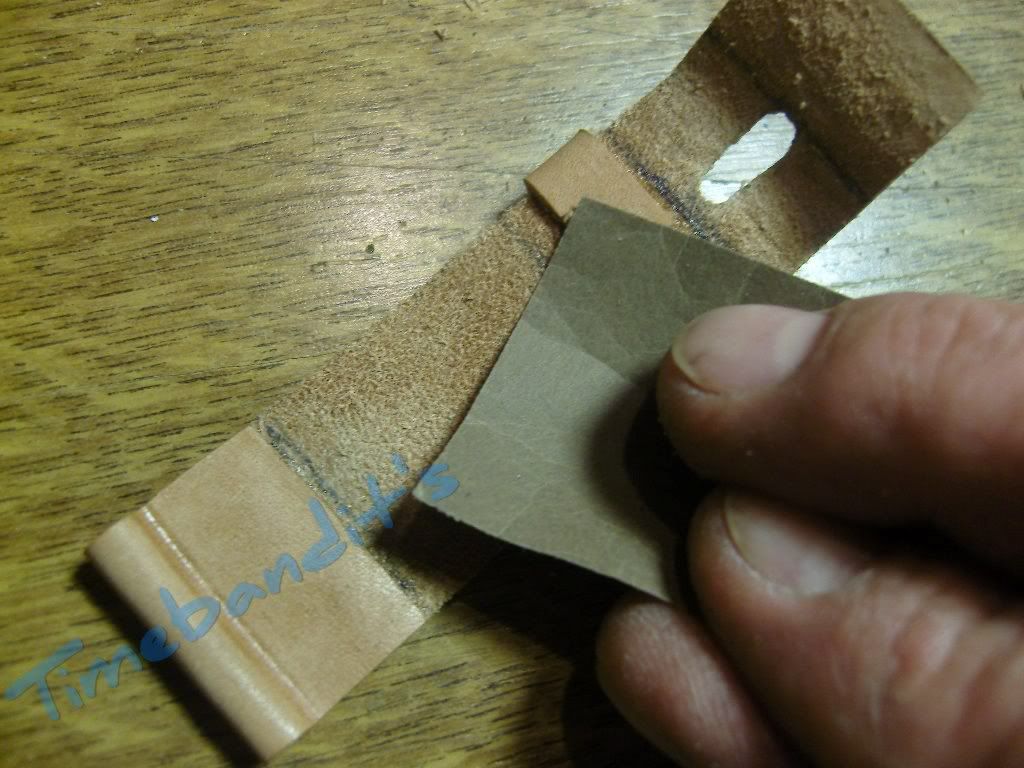
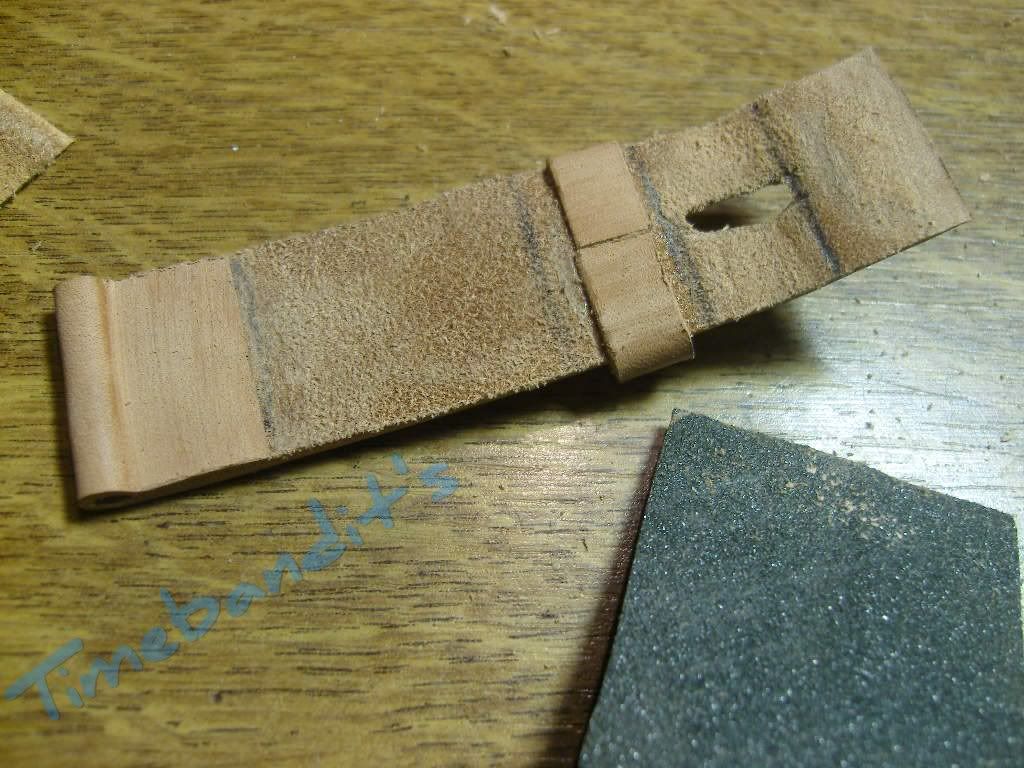
Time to apply glue inside the marked areas at both sides

When the glue is dry, we can put in the buckle
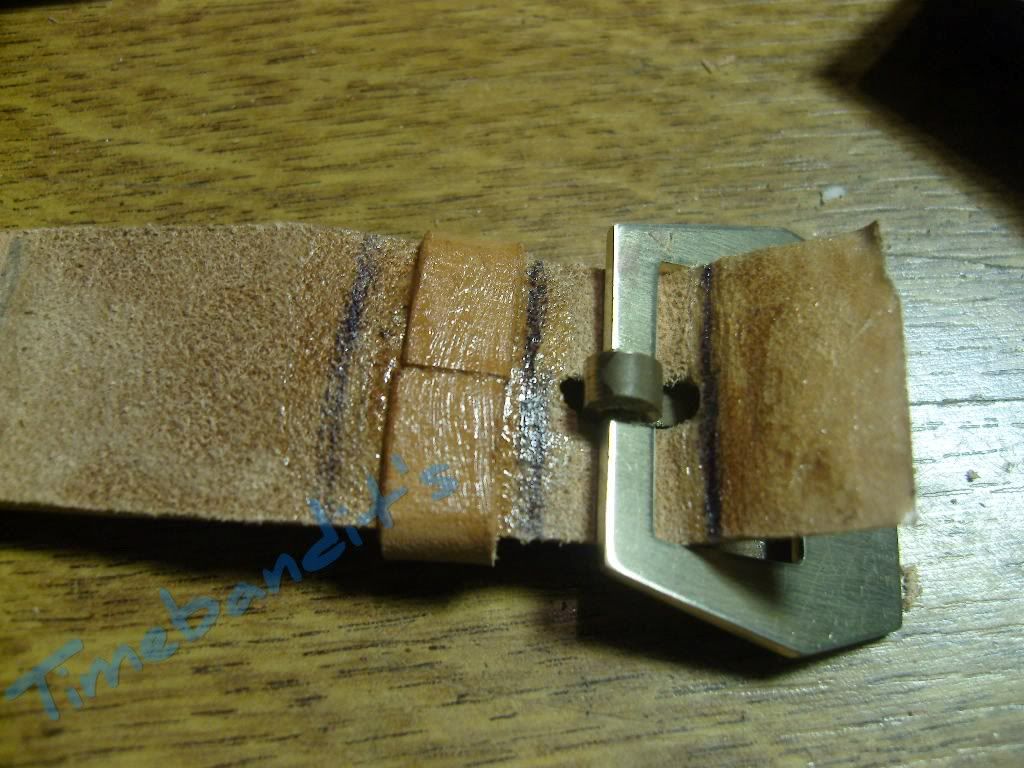
Put the ends together, take care, that the edges are flush, press them together with your fingers, that is enough so far.
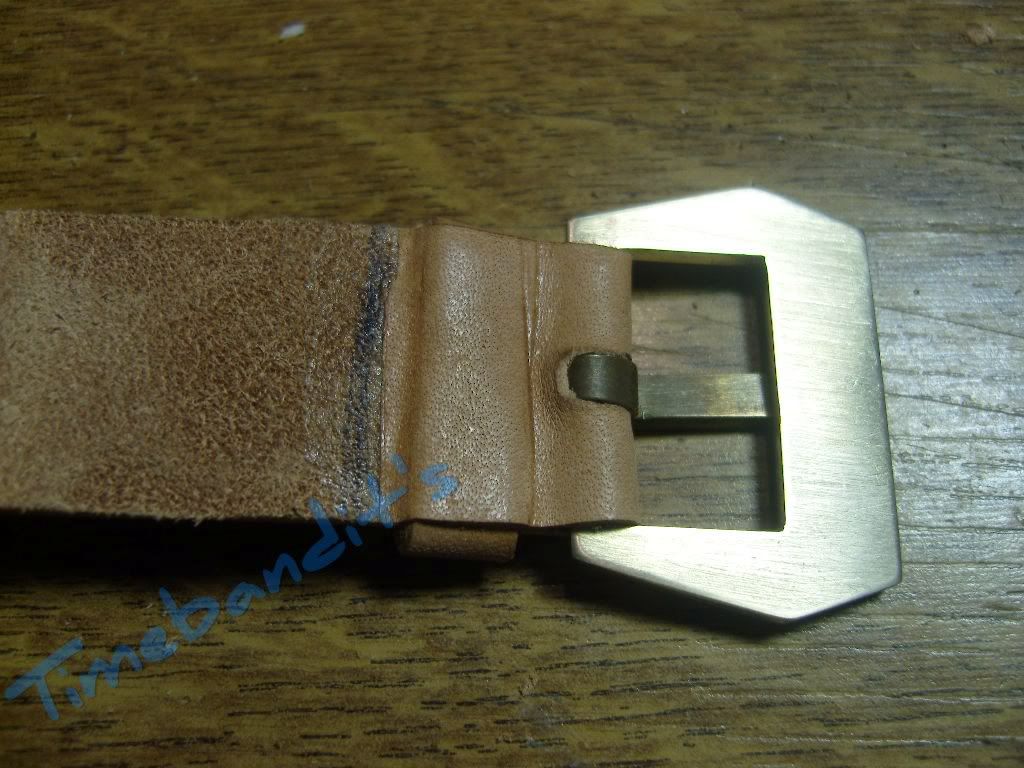
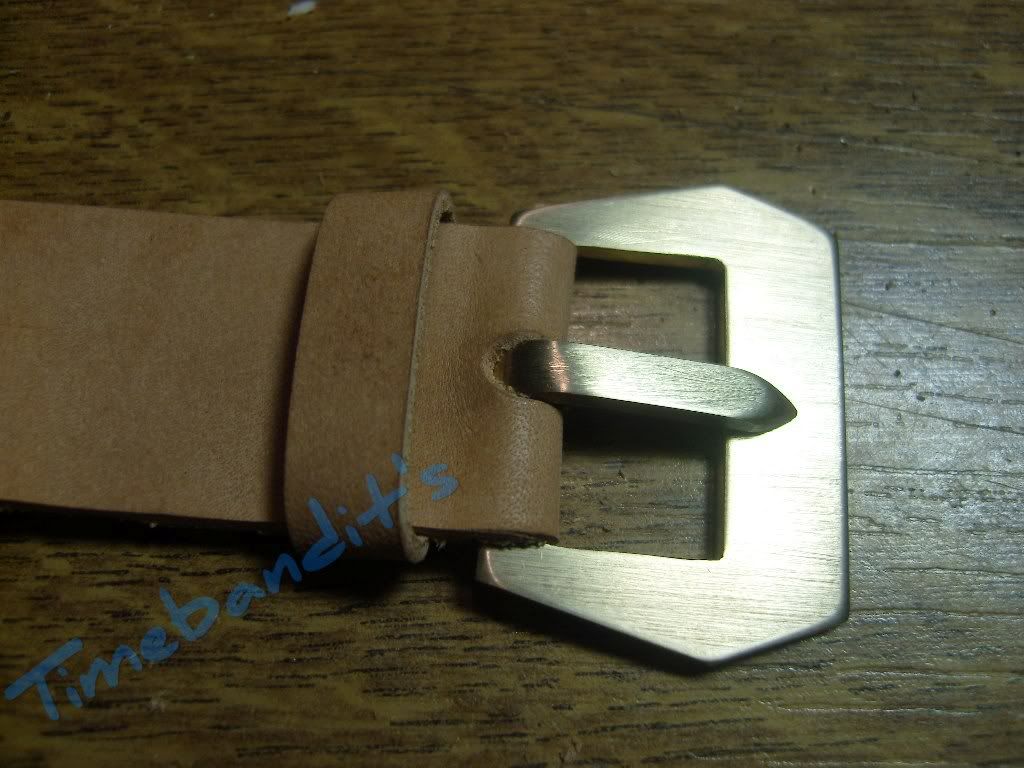
Apply glue to the underside of the short side and also to the bottom leather.
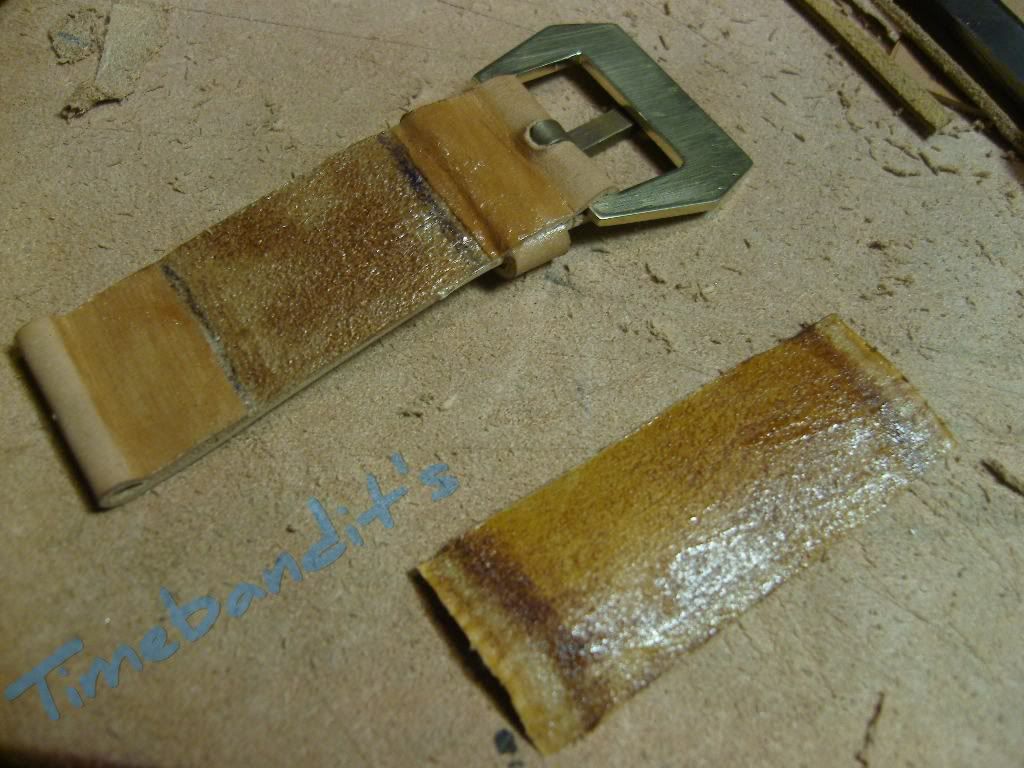
When the glue is dry, put them together, this needs to be made exactly. Press them together between the vicejaws, as shown with the strapside.
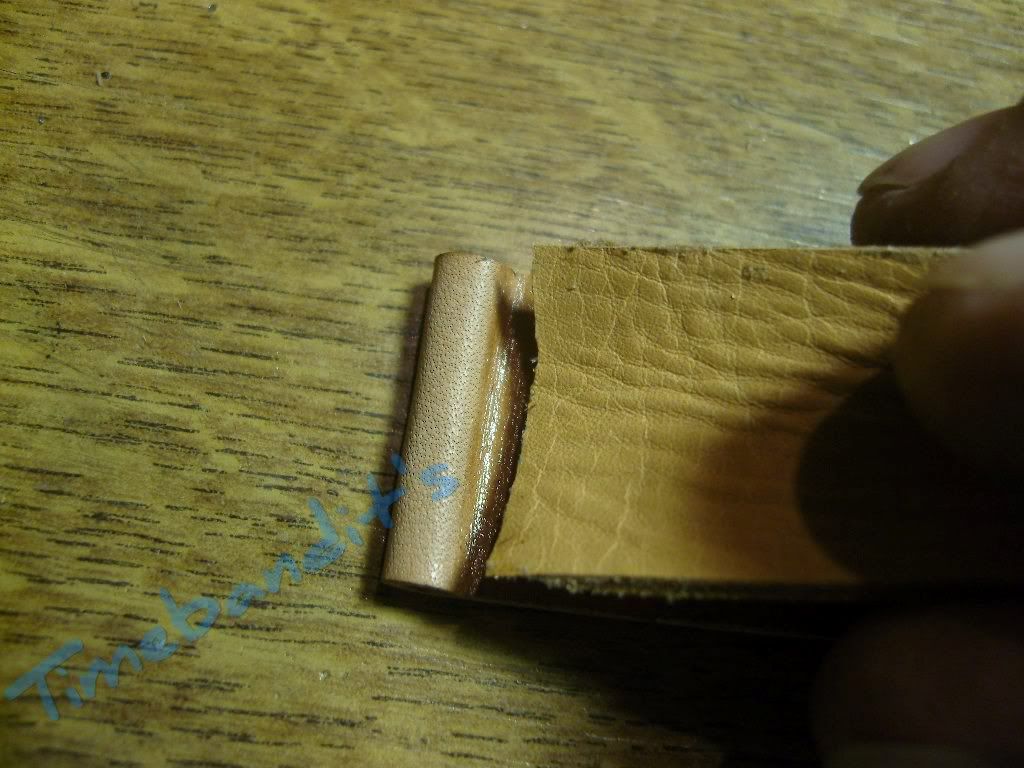
Same procedure with the bone folder, as shown with the long side.
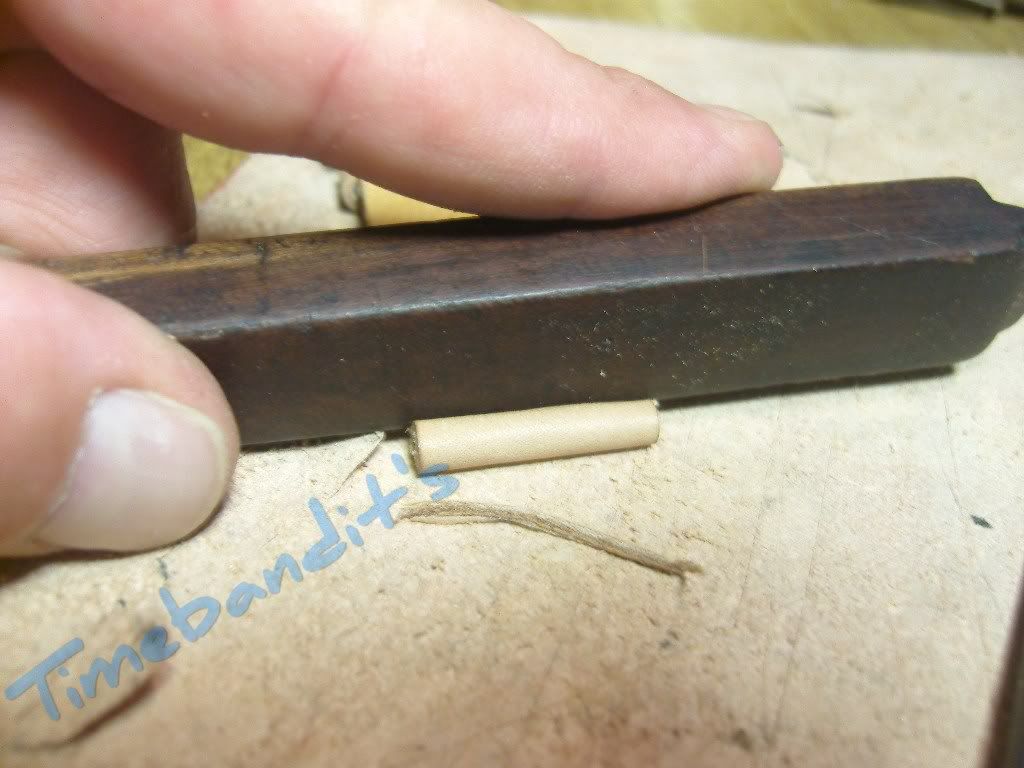
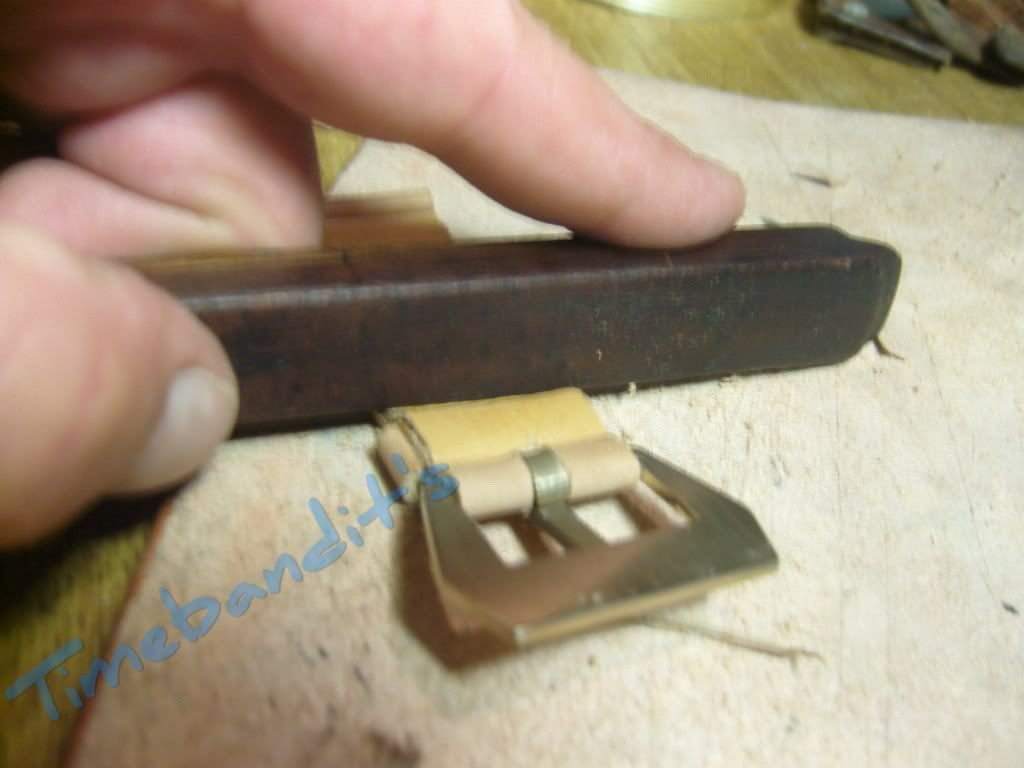
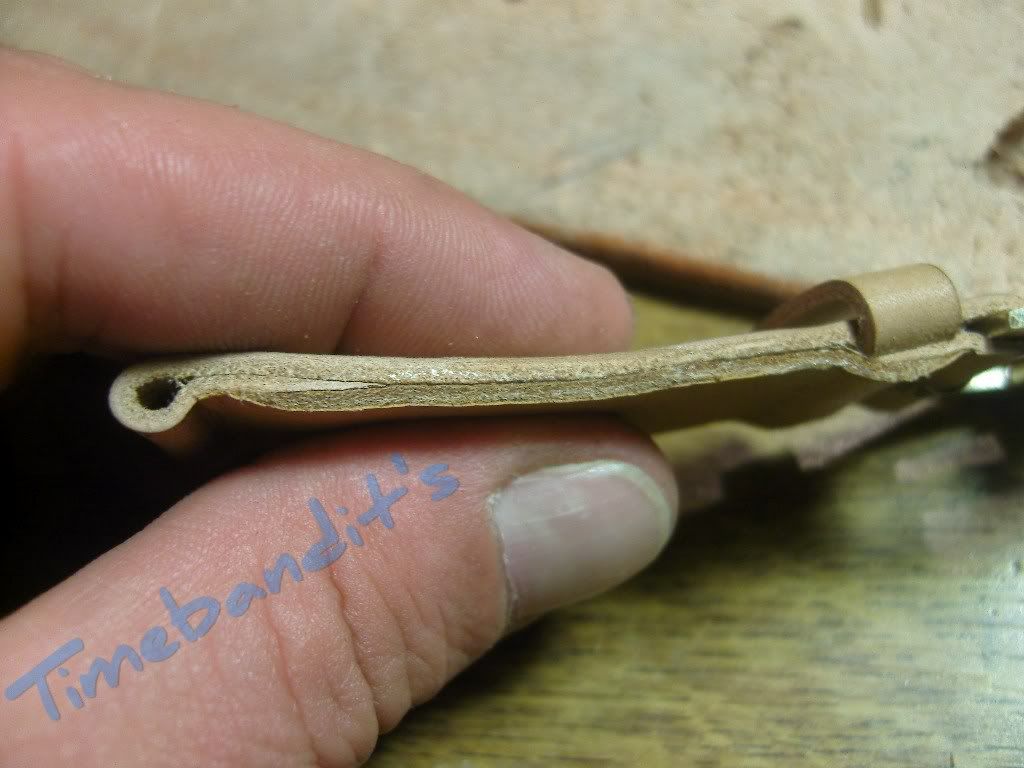
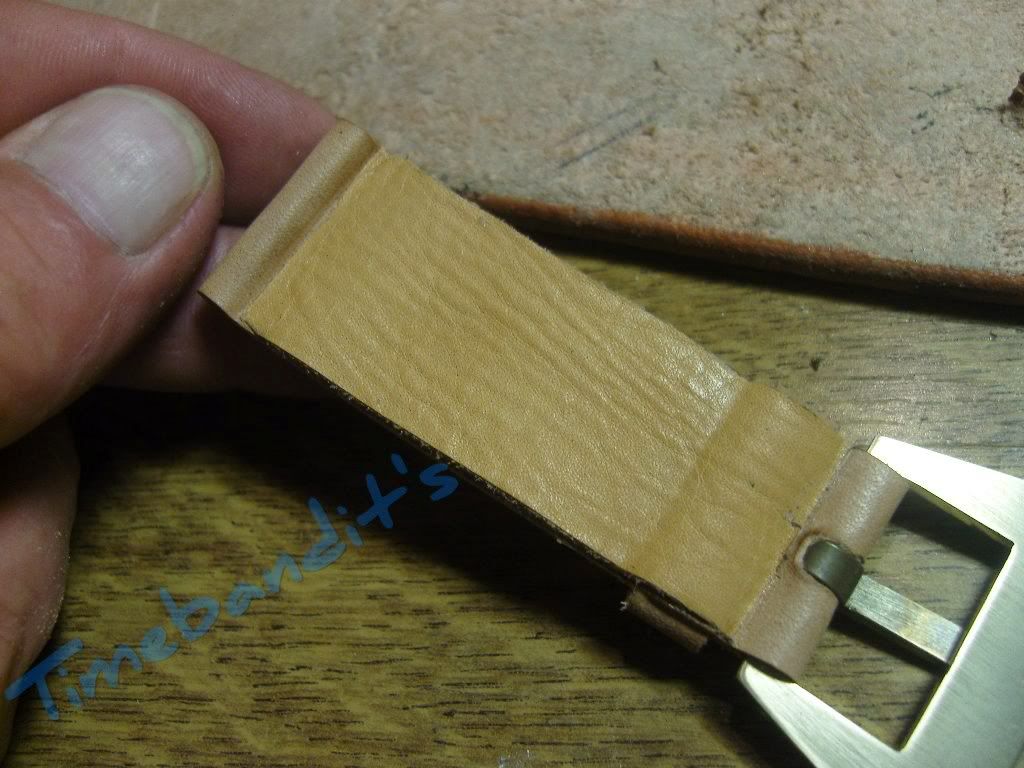
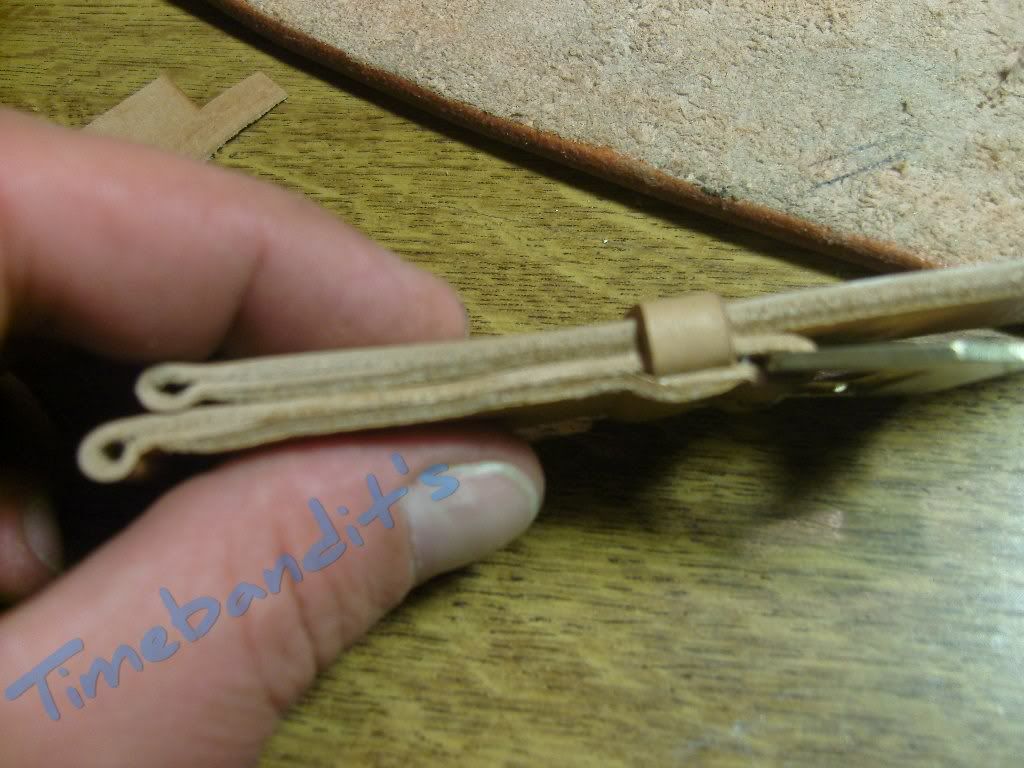
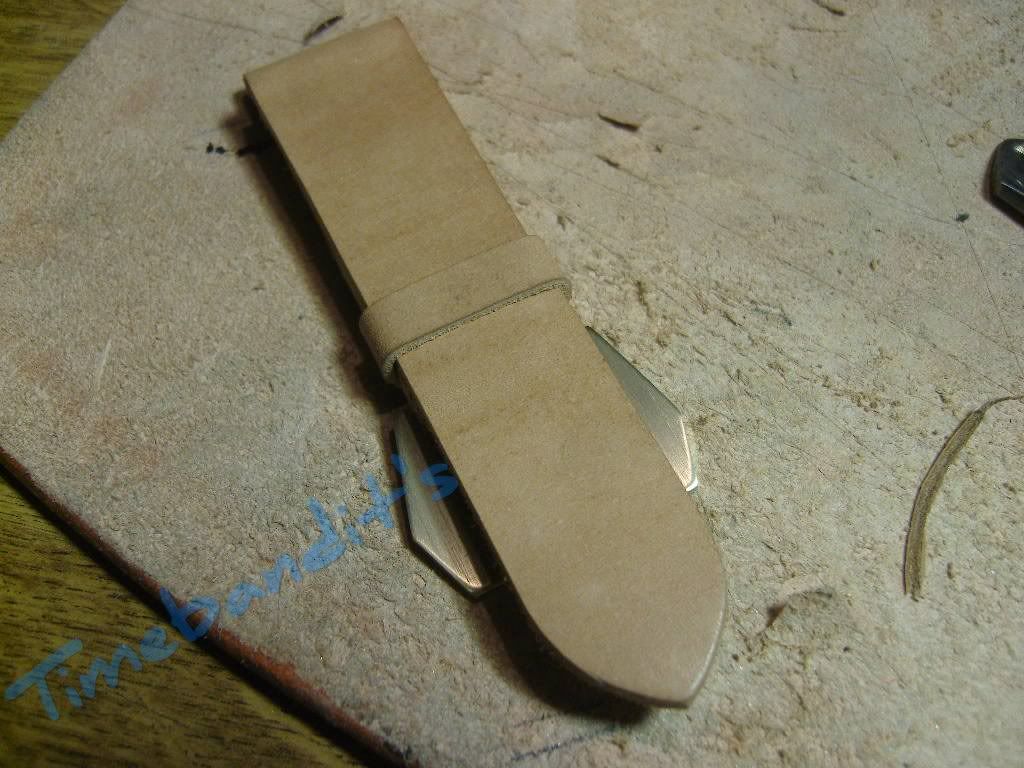
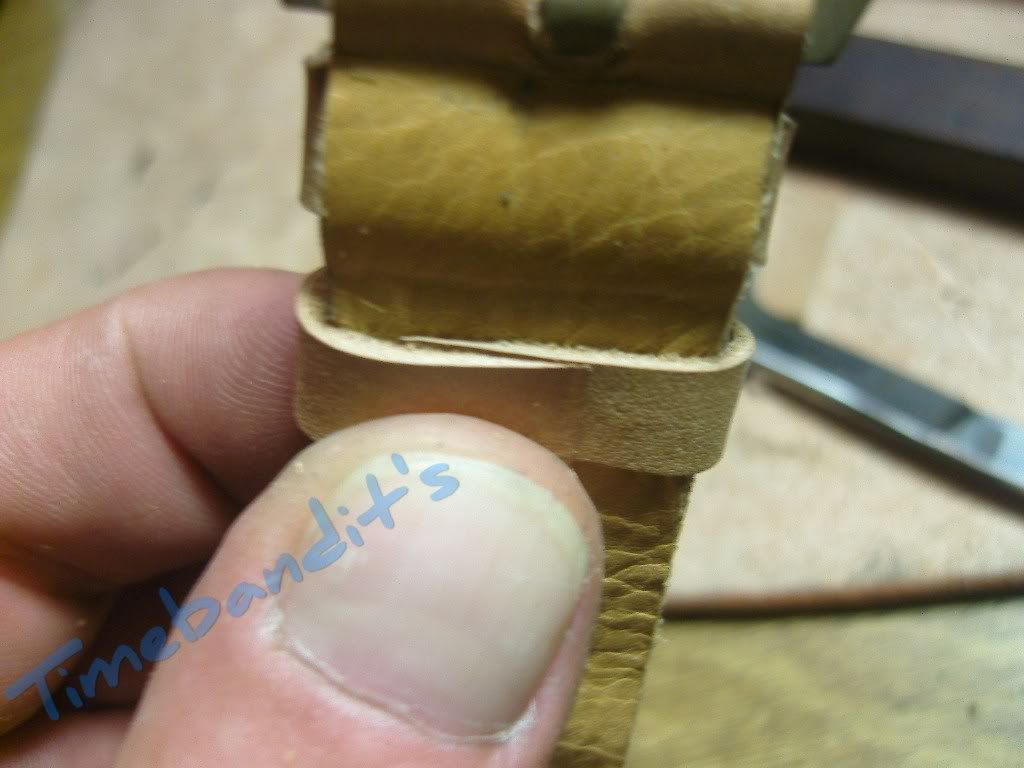
Now we can make the second keeper. Some guys like their keepers end to end, connected just with a thread.
Others, like me, like them overlapping.
An overlapping from 10-12mm must be sharpened
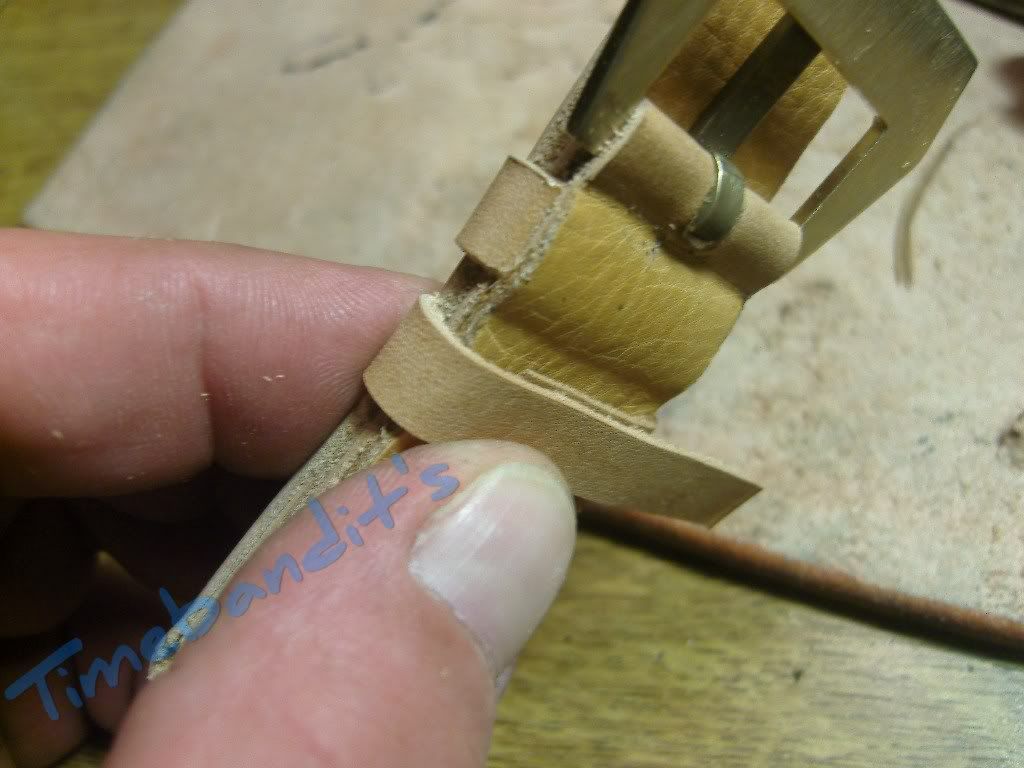
The overlapping must be roughened on the topside at one end and the bottom side at the other end
Apply glue on top at one side and on bottom of the other side.
The same procedure as shown at the fixed keeper, put the straps together to get the right wide for the loose keeper
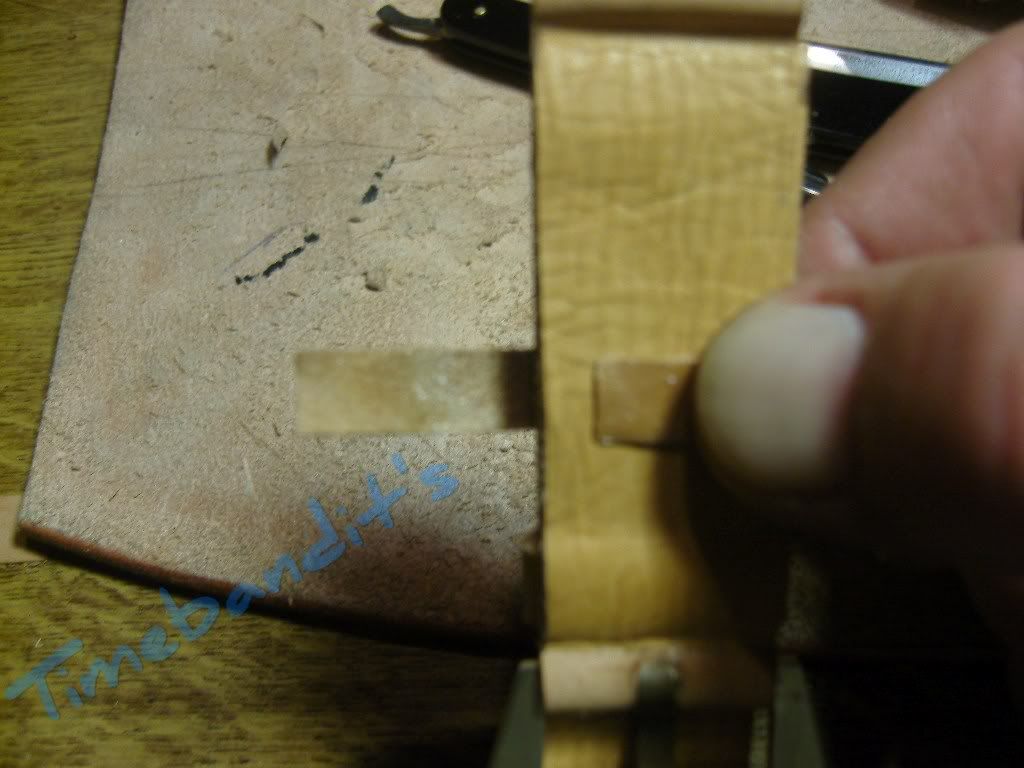
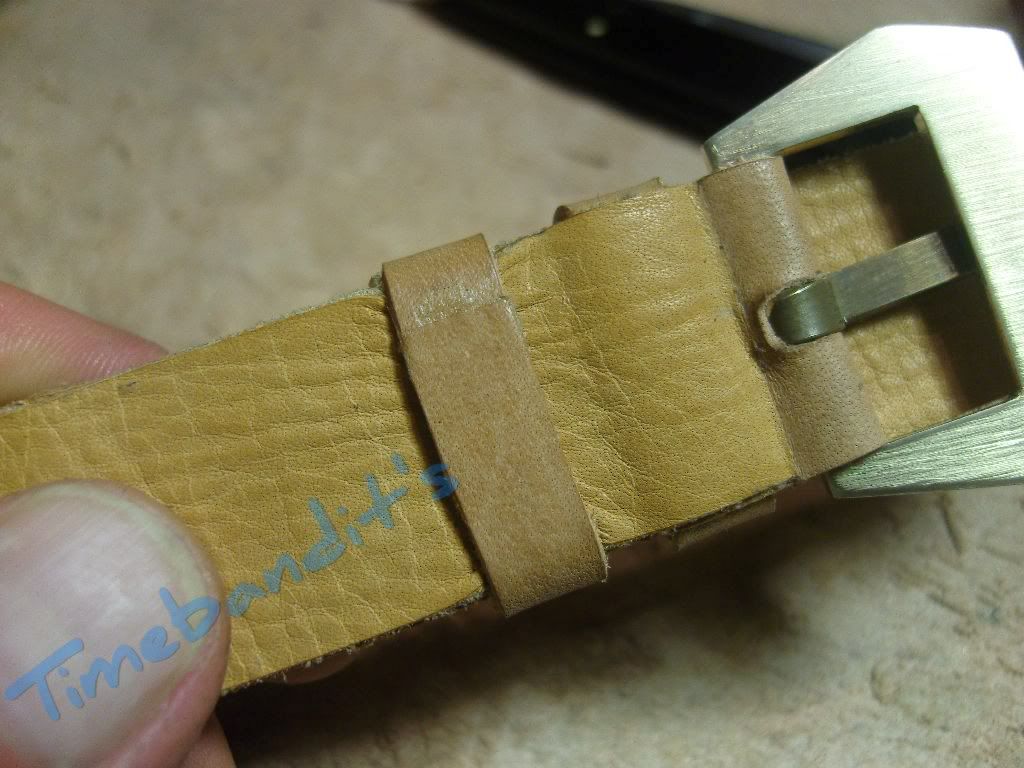
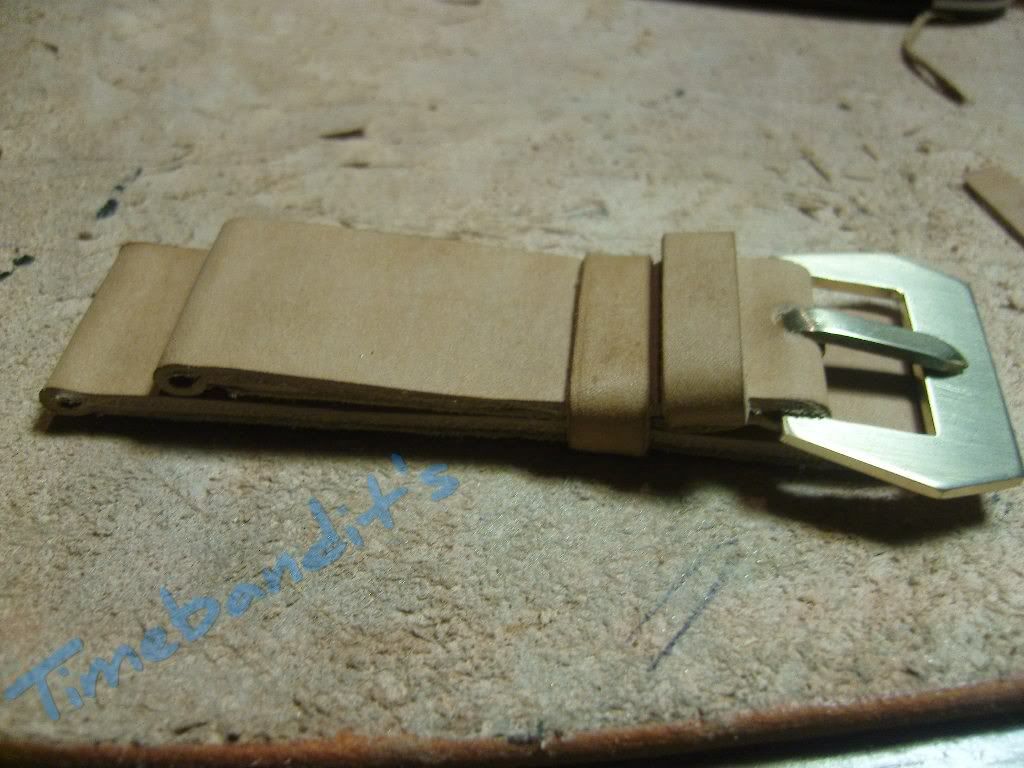
The rudest part is done
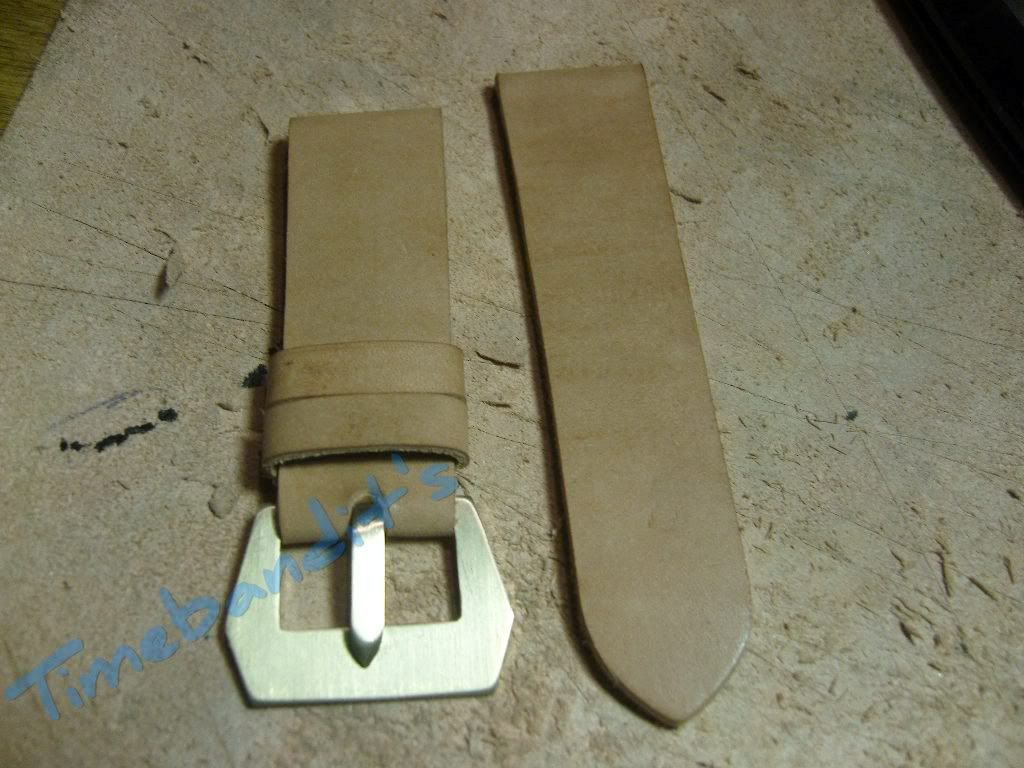
OK, measuring and marking is our next Step
Take the measurement from the underside where the bottomleather ends.
Transfer the measure -3mm to the topside of both straps ( Lugside )
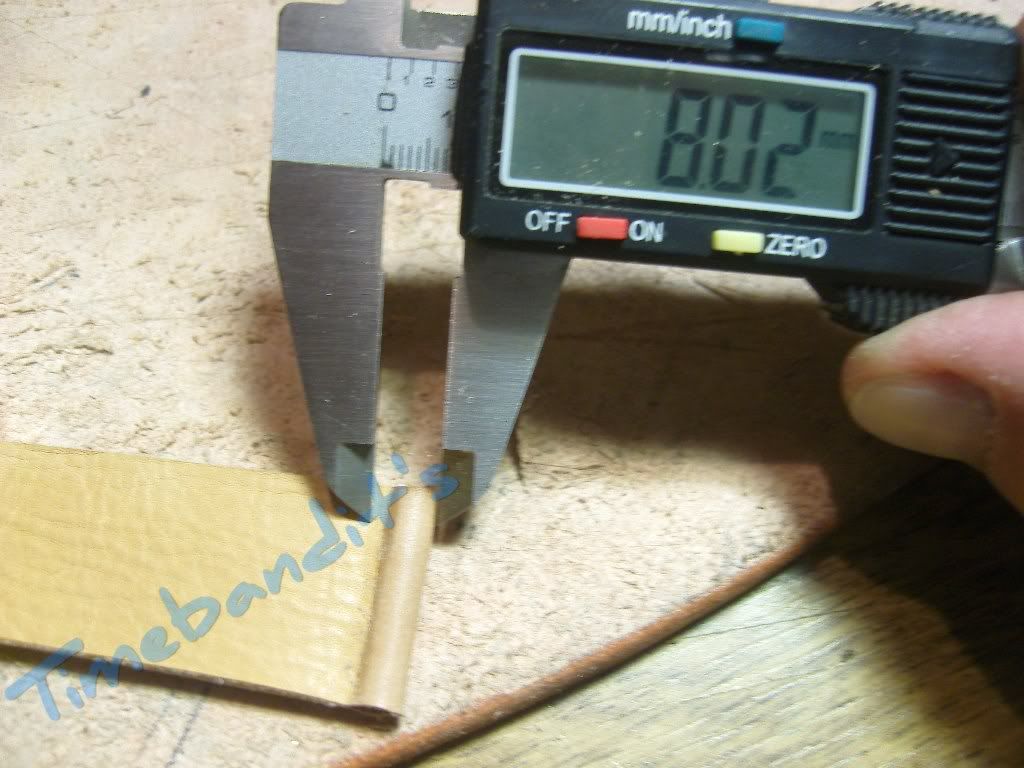
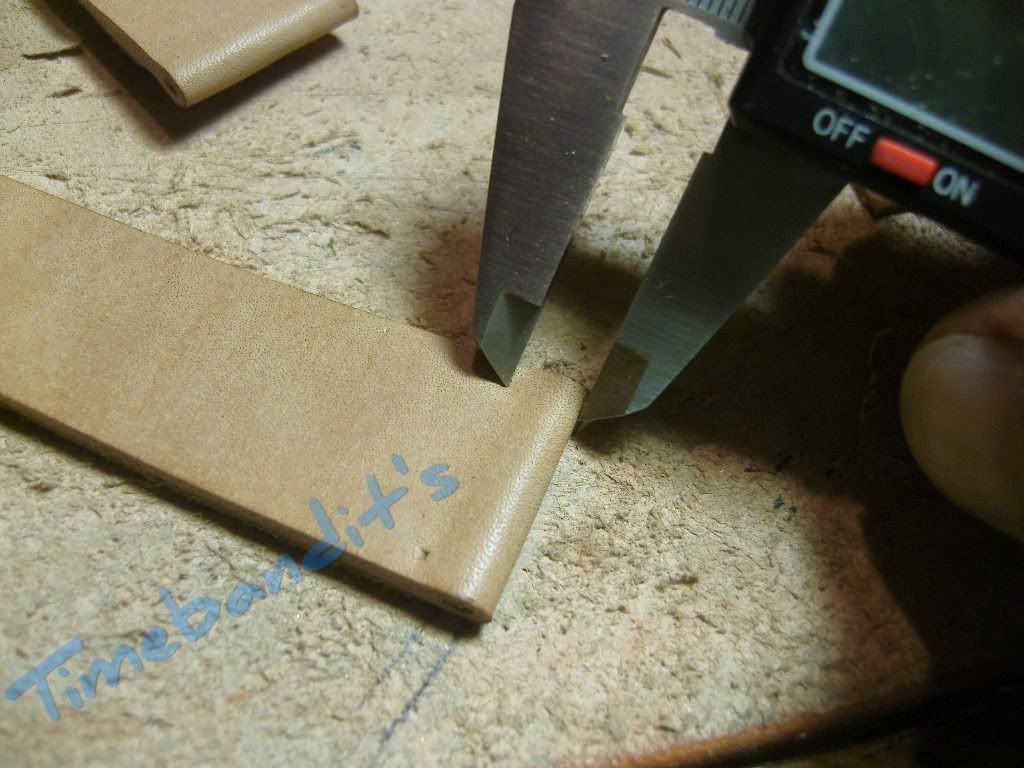
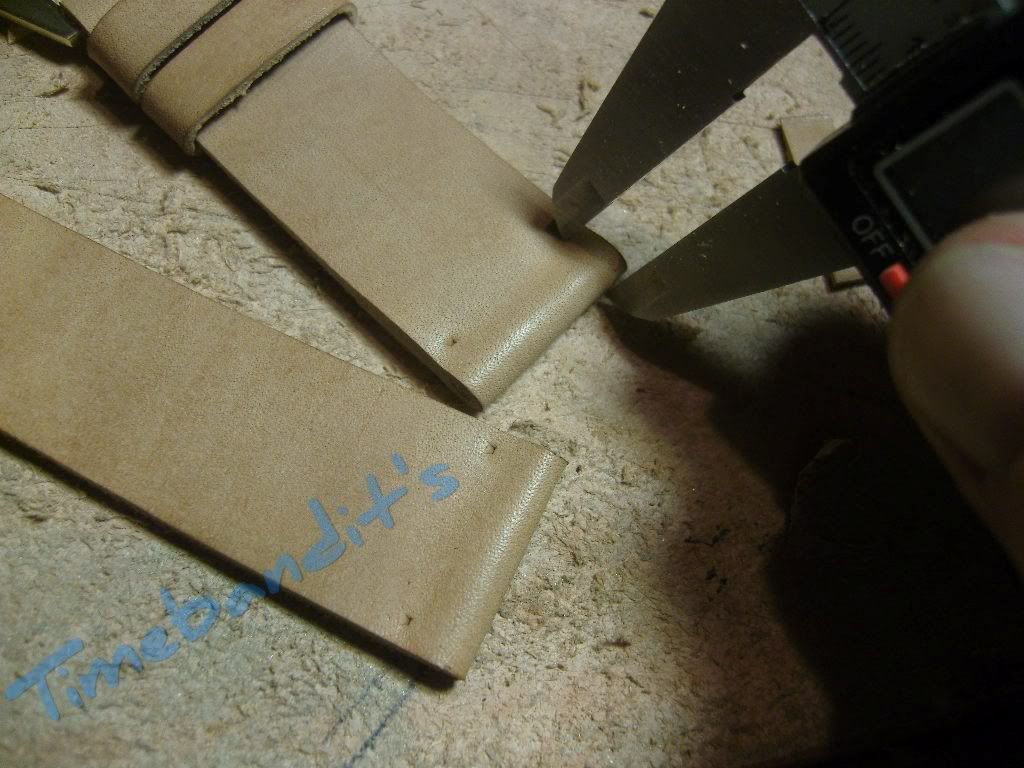
We need an adjustable groover, a very helpful tool to make grooves in the same distances from the edges.
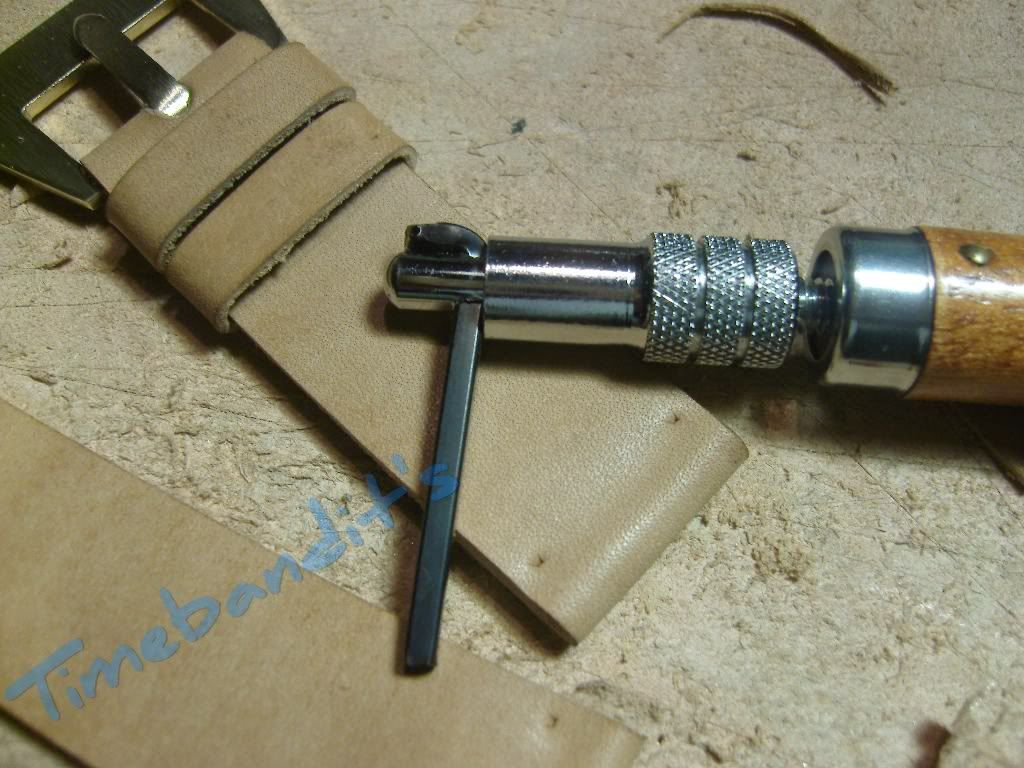
With this tool we can make the grooves at both straps
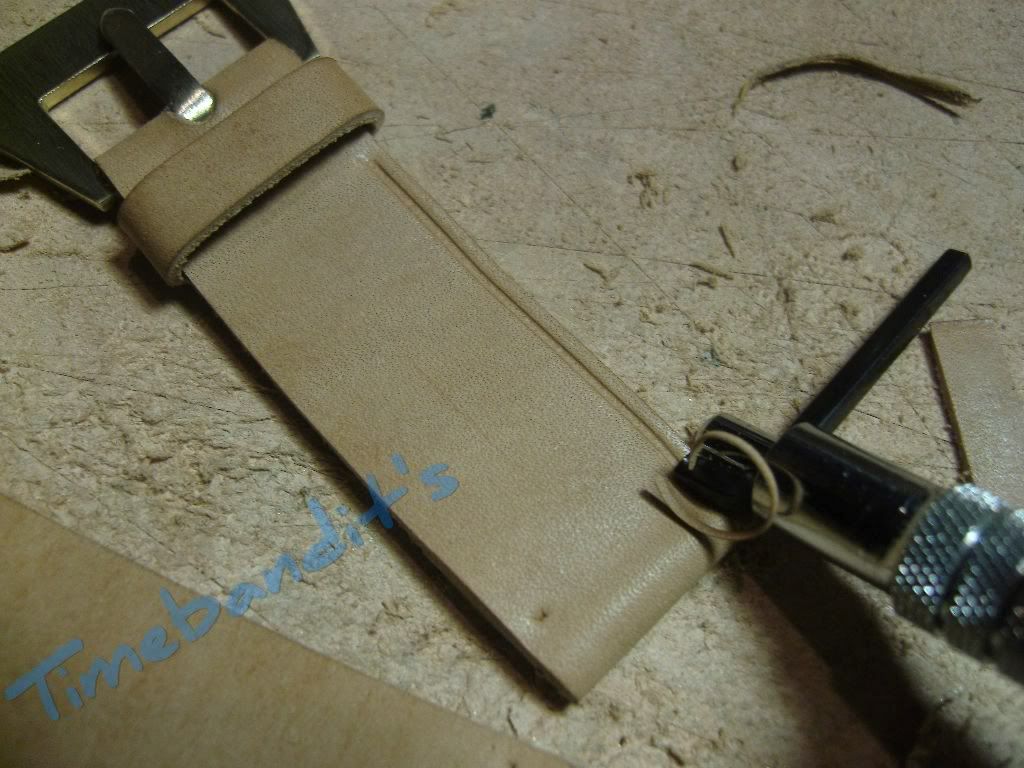
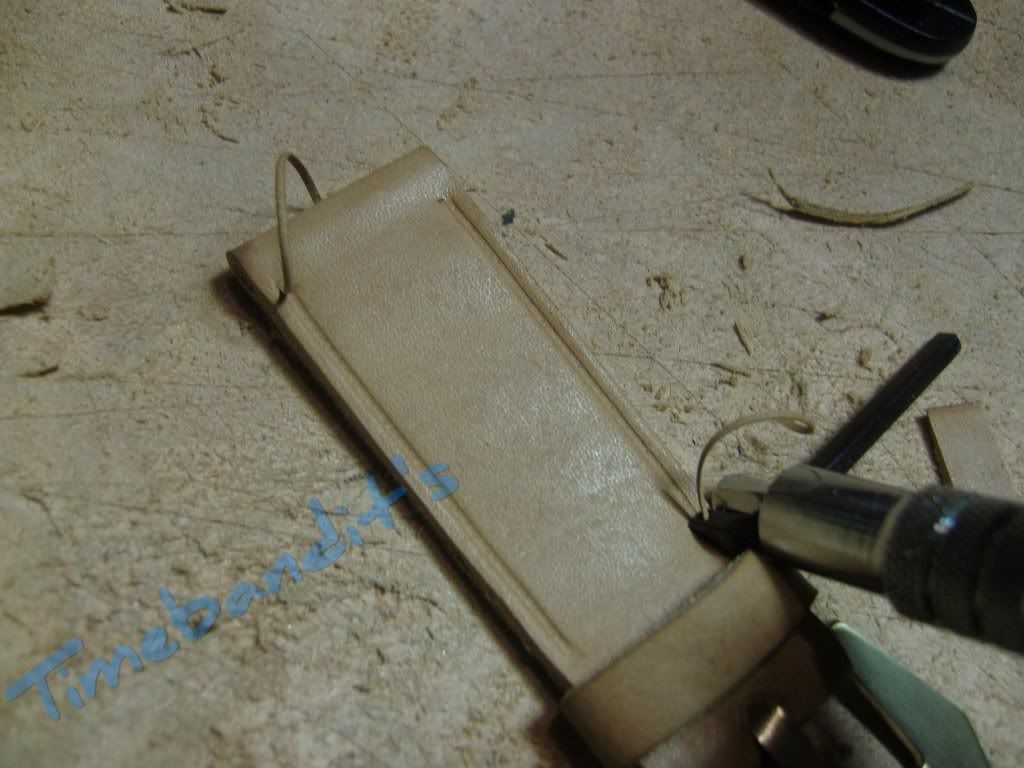
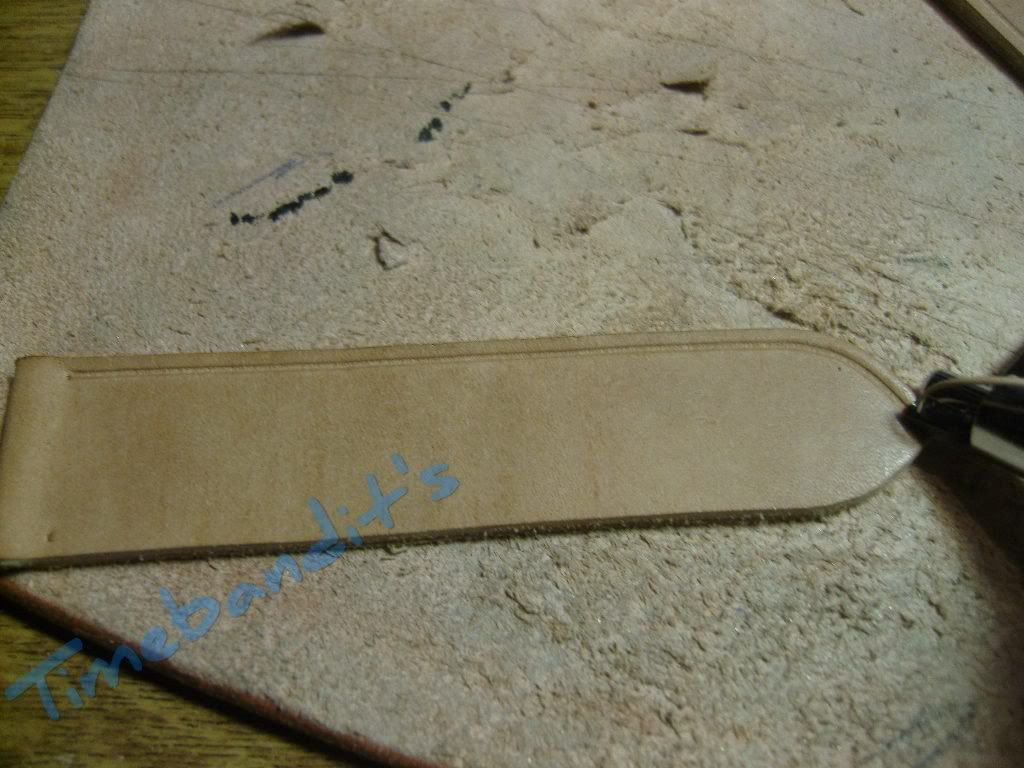
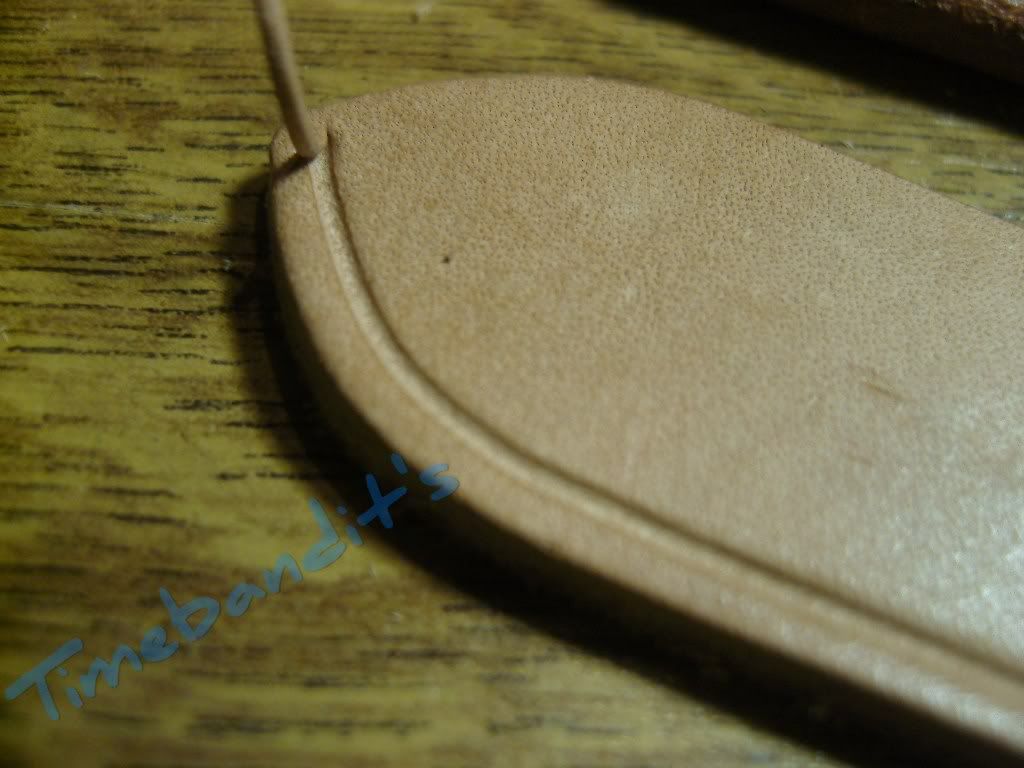
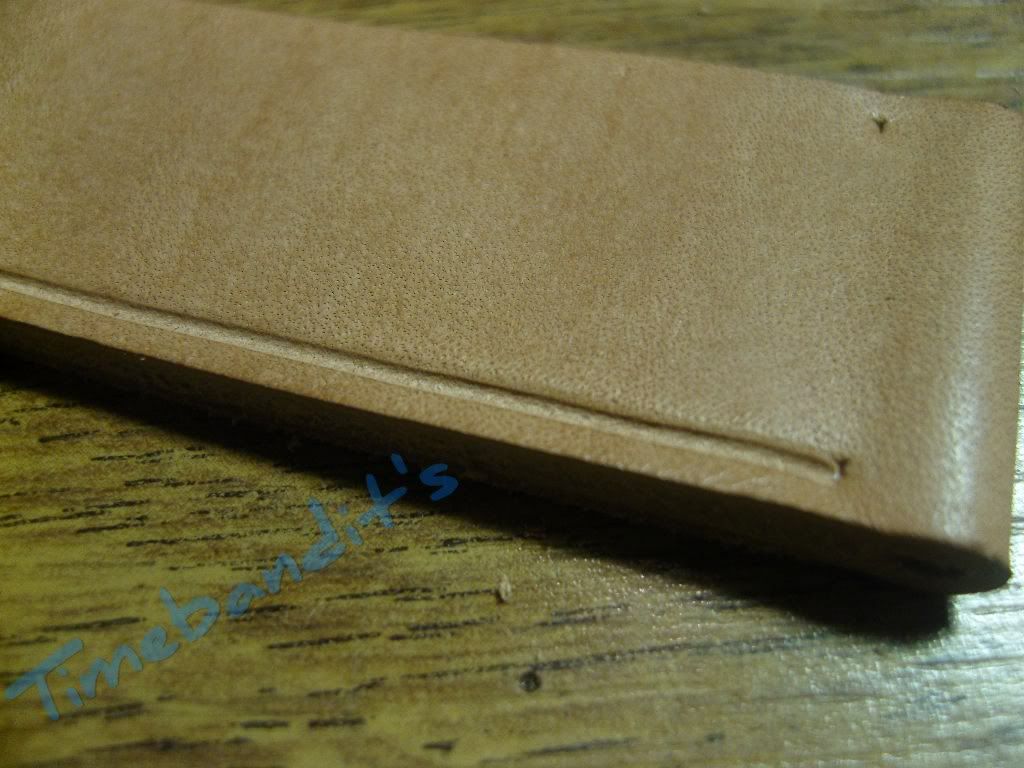
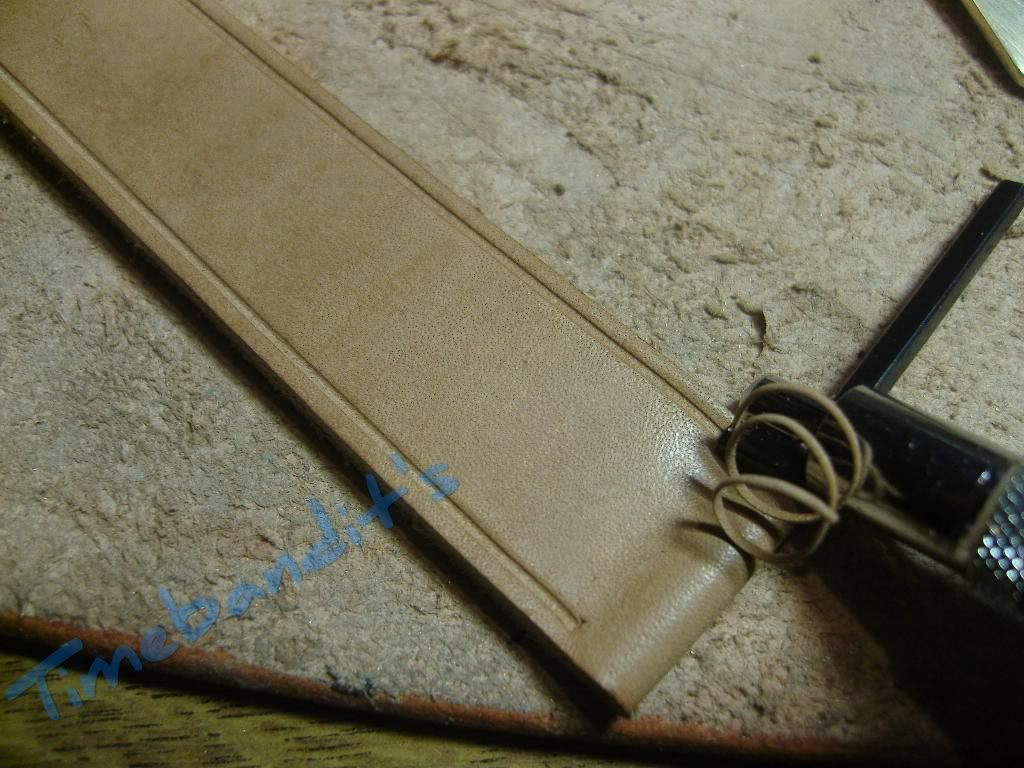
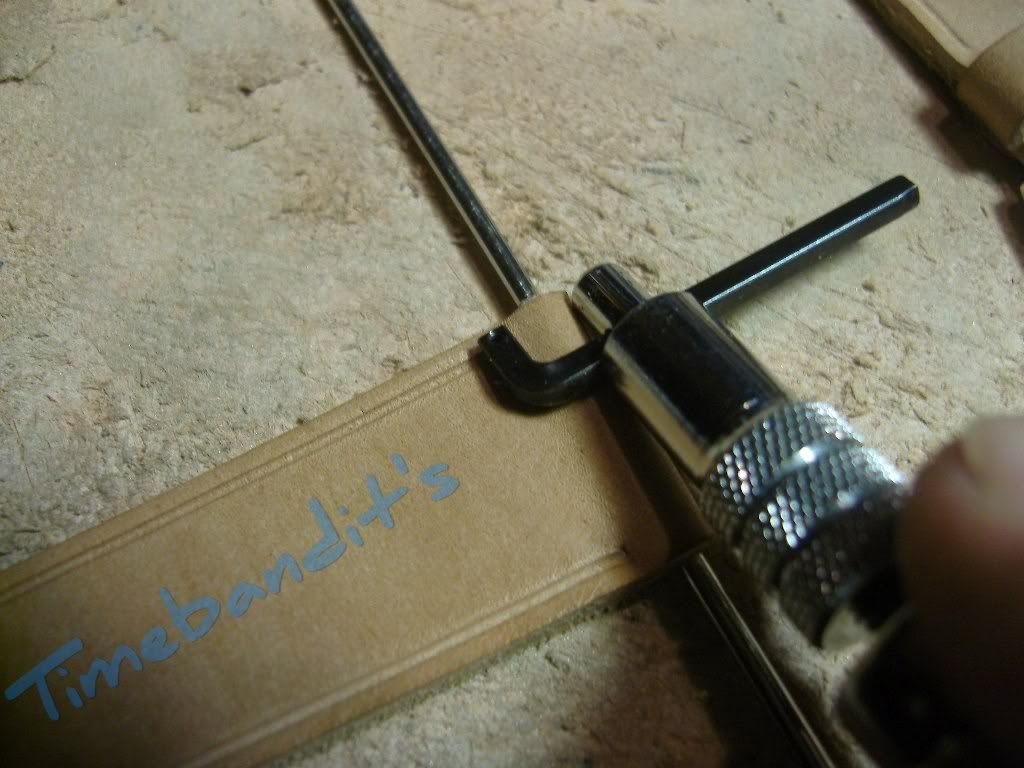
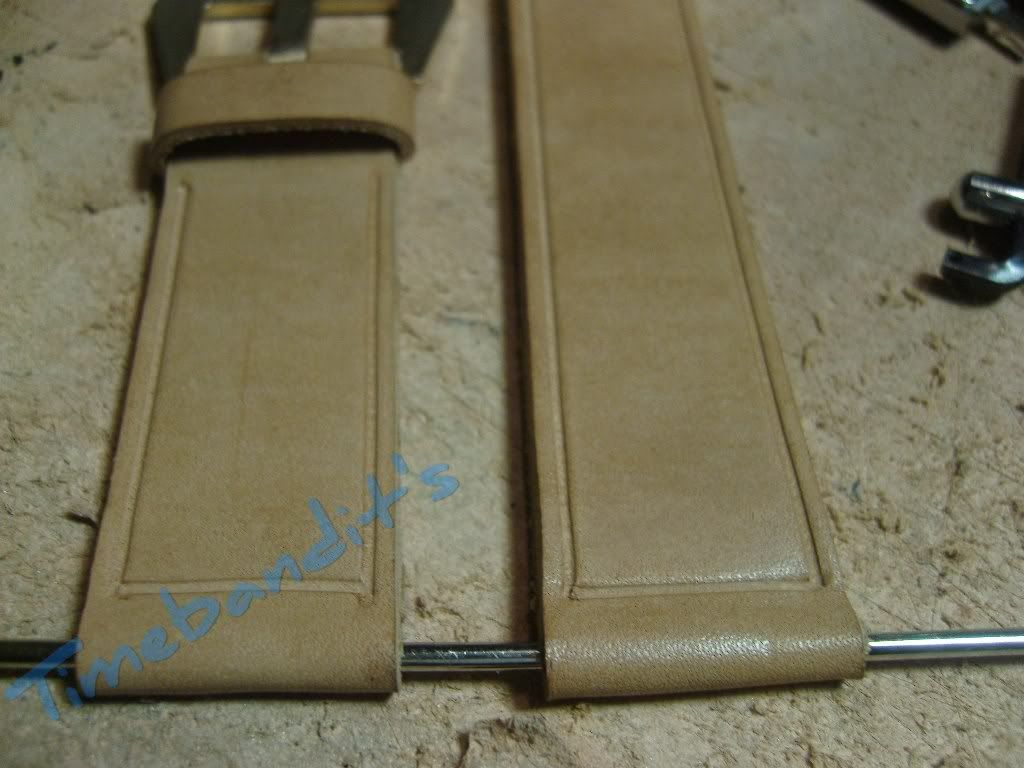
Now we need another tool, an overstitch wheel. This one is necessary to mark the points for the sewing holes in exactly distances.
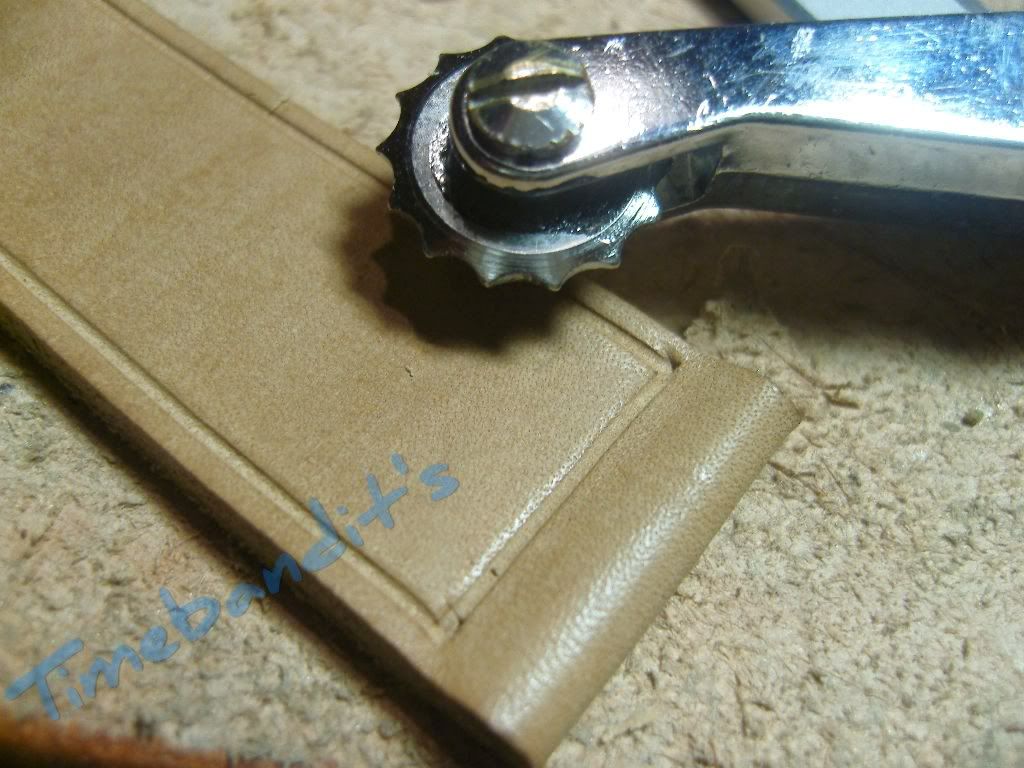
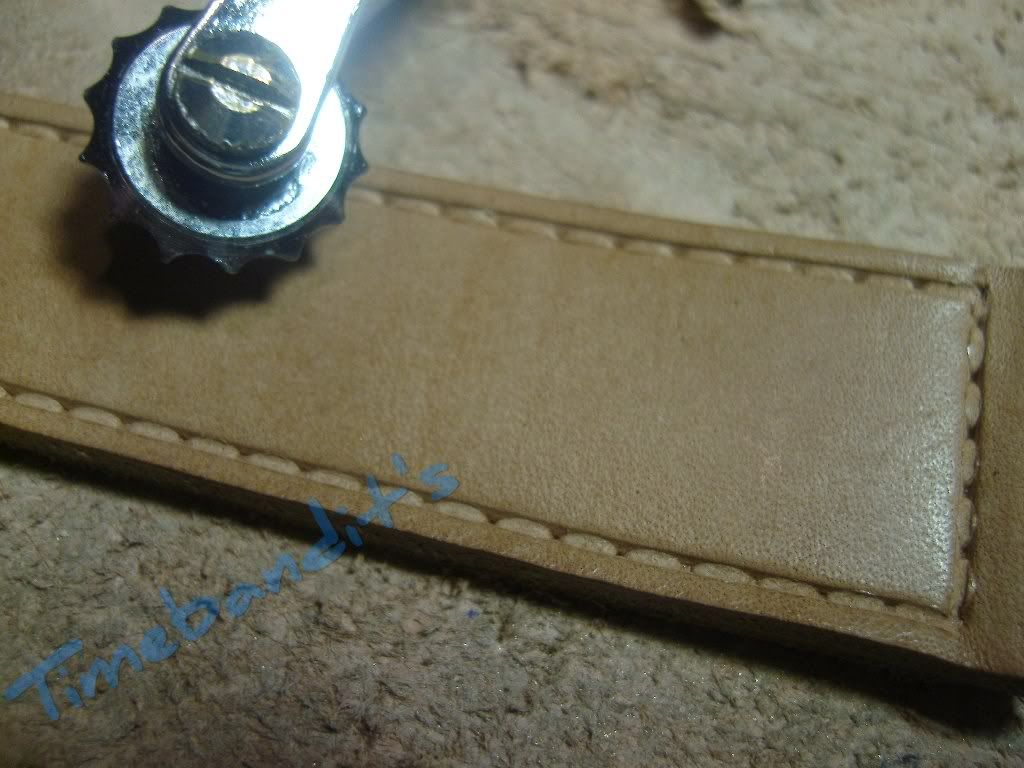
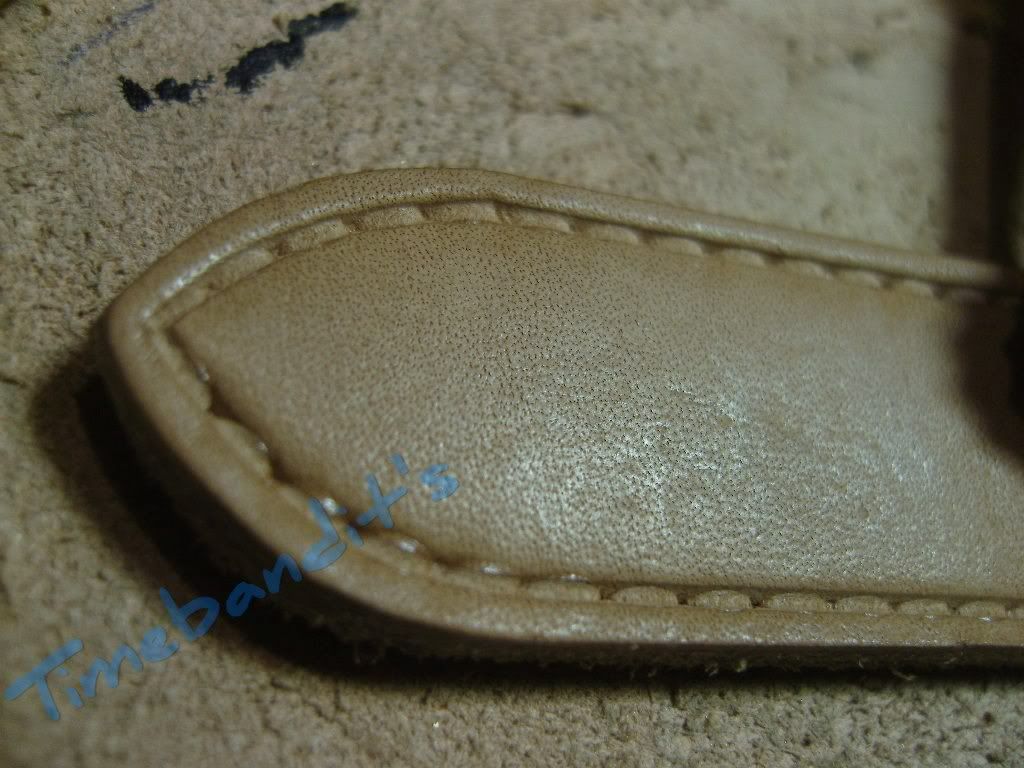
All holes are marked
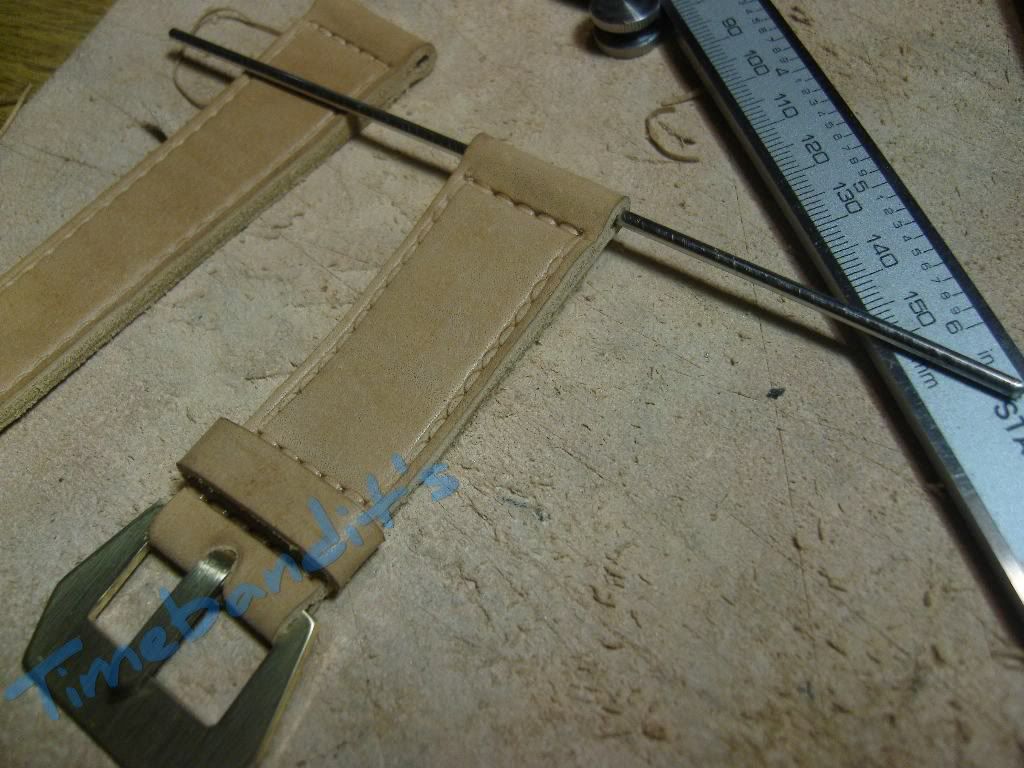
Now we need an awl to make the holes for the sewing
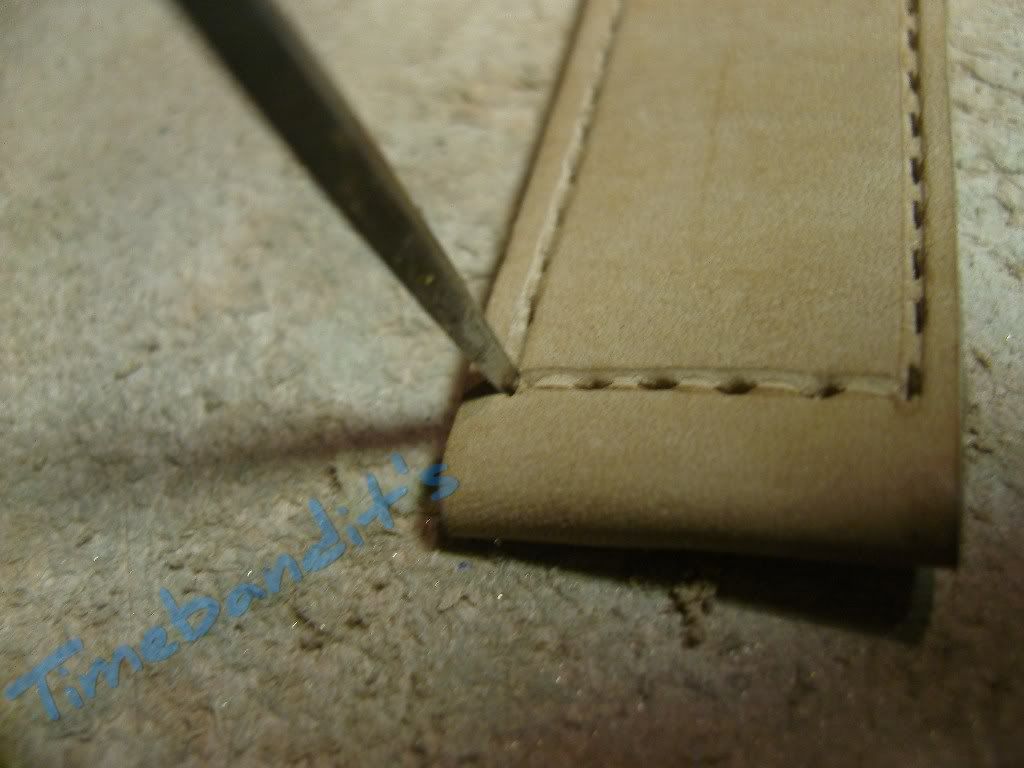
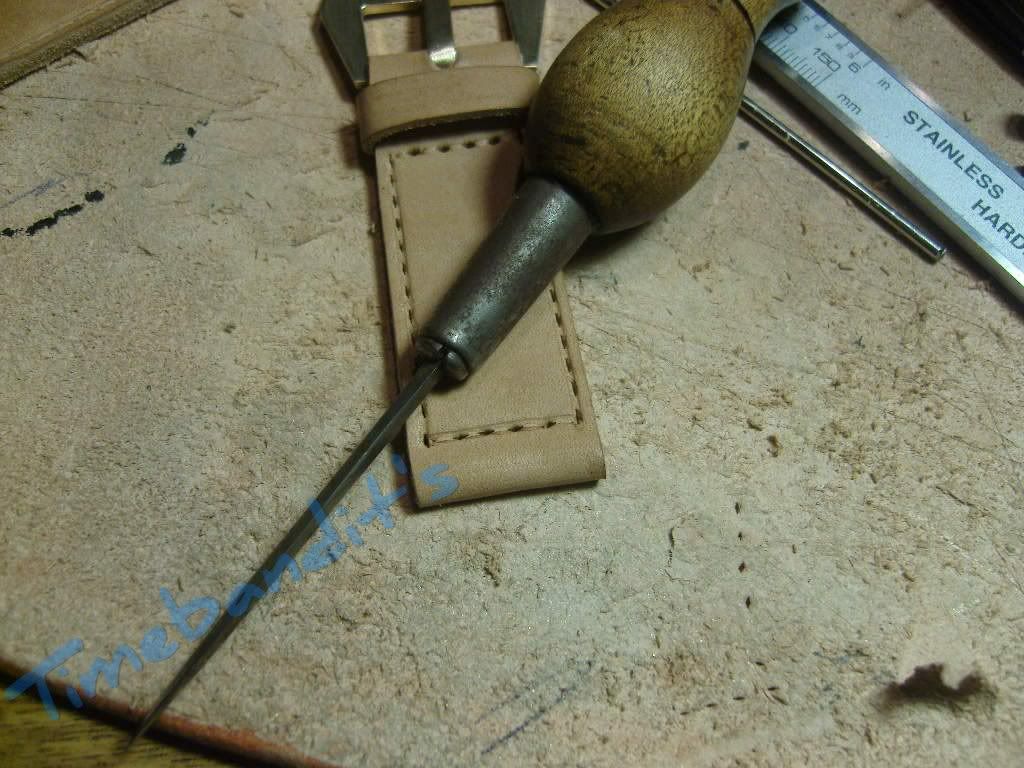
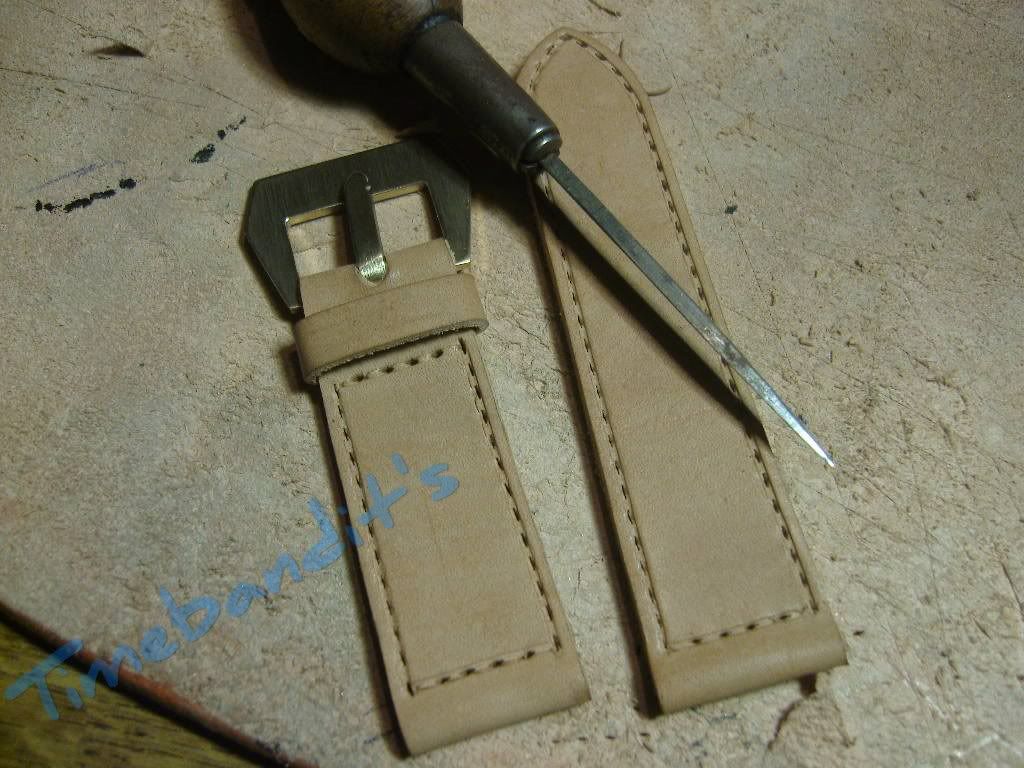
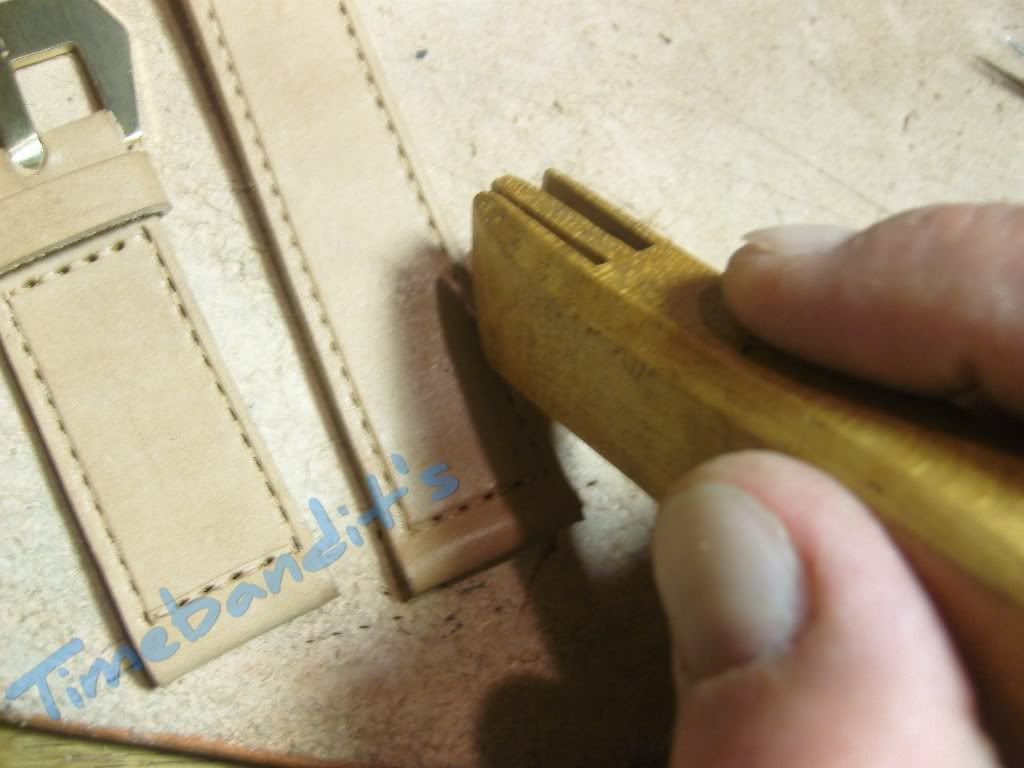
When all holes are made, we smooth the grooves with a wood creaser
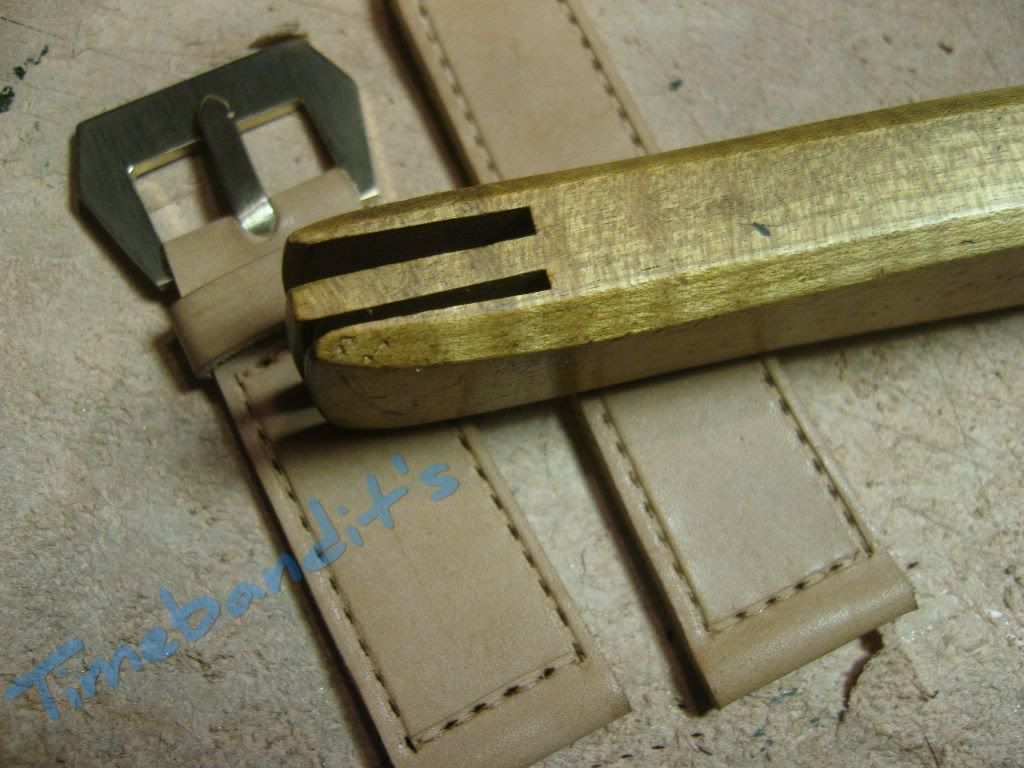
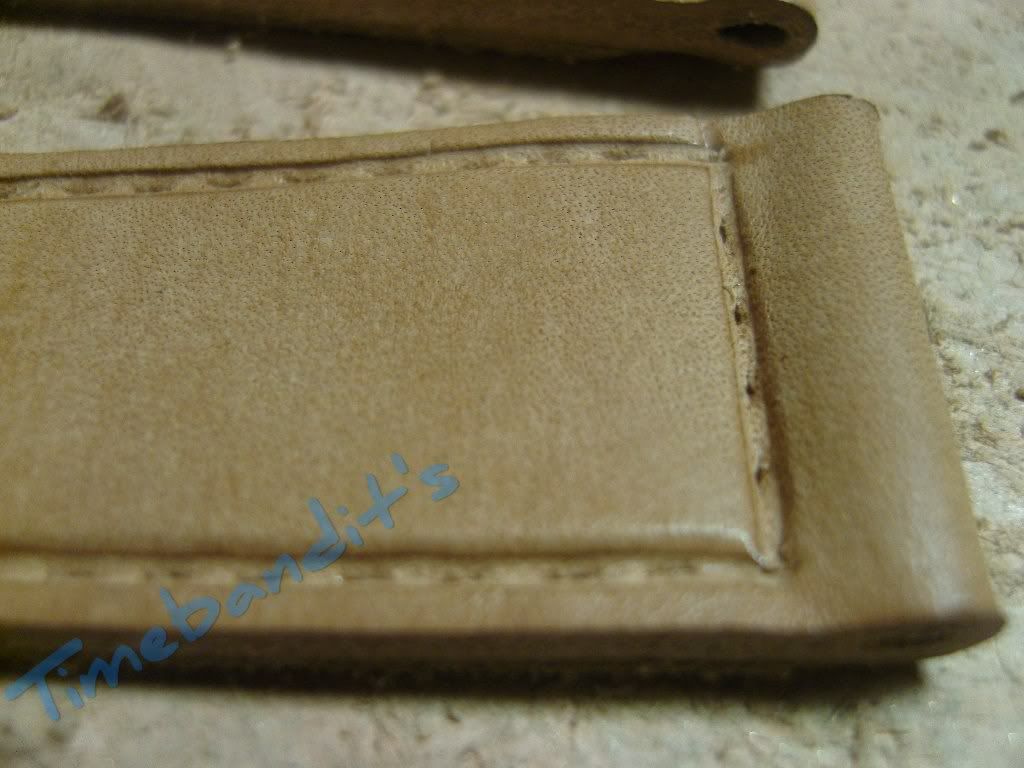
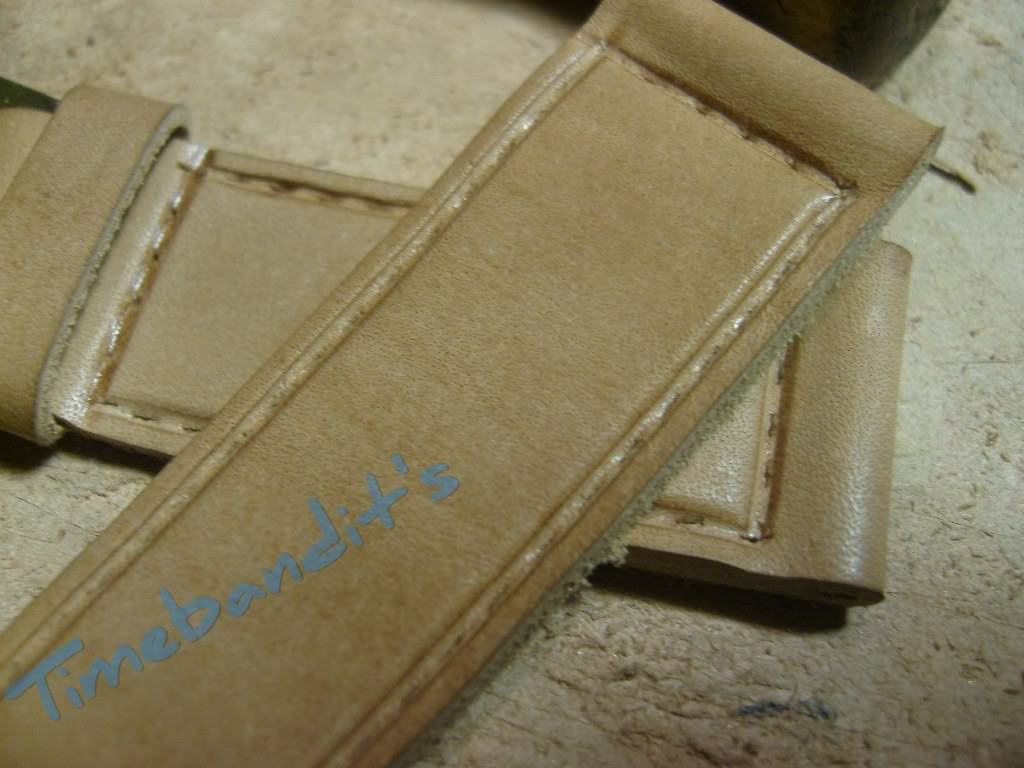
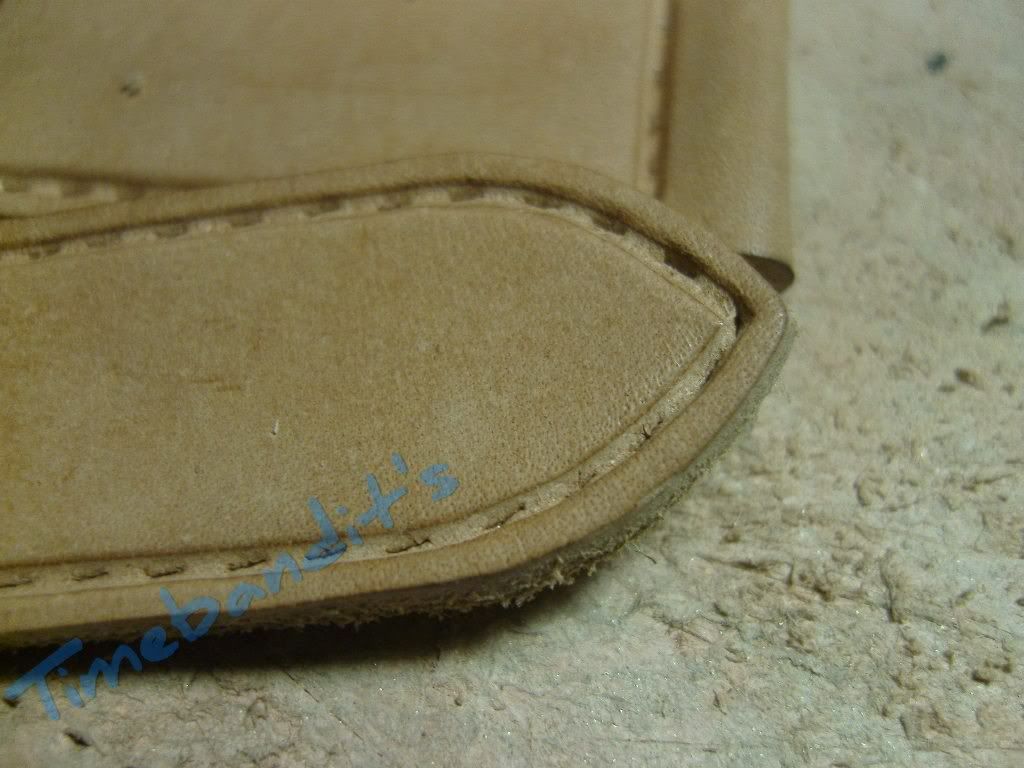
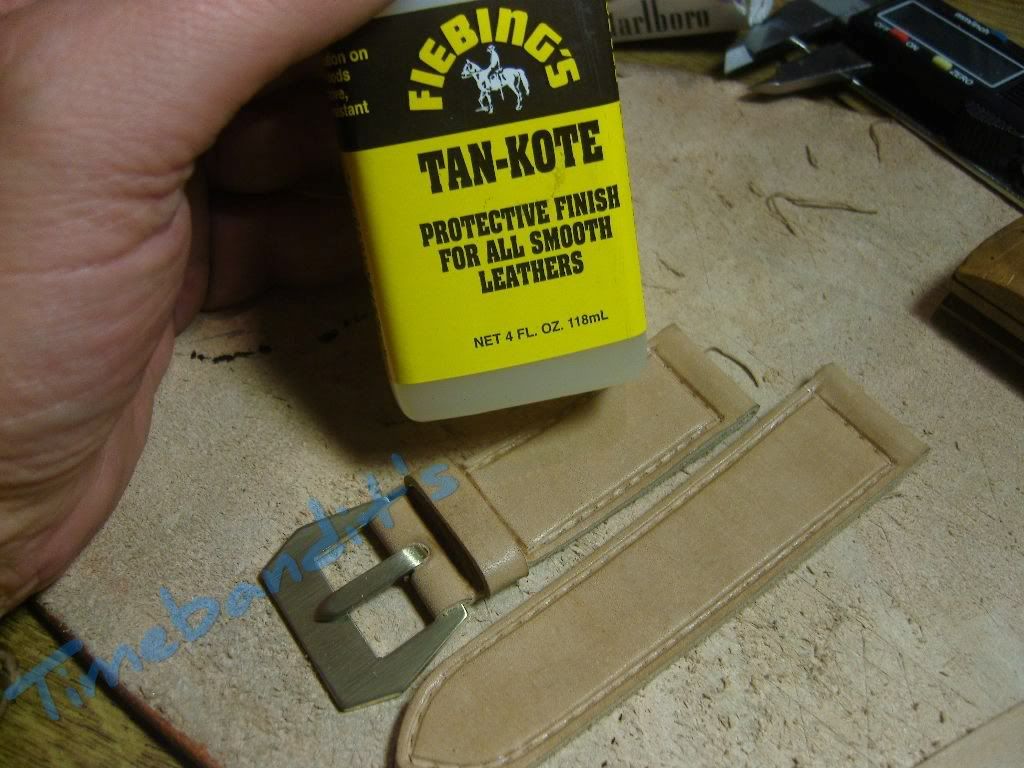
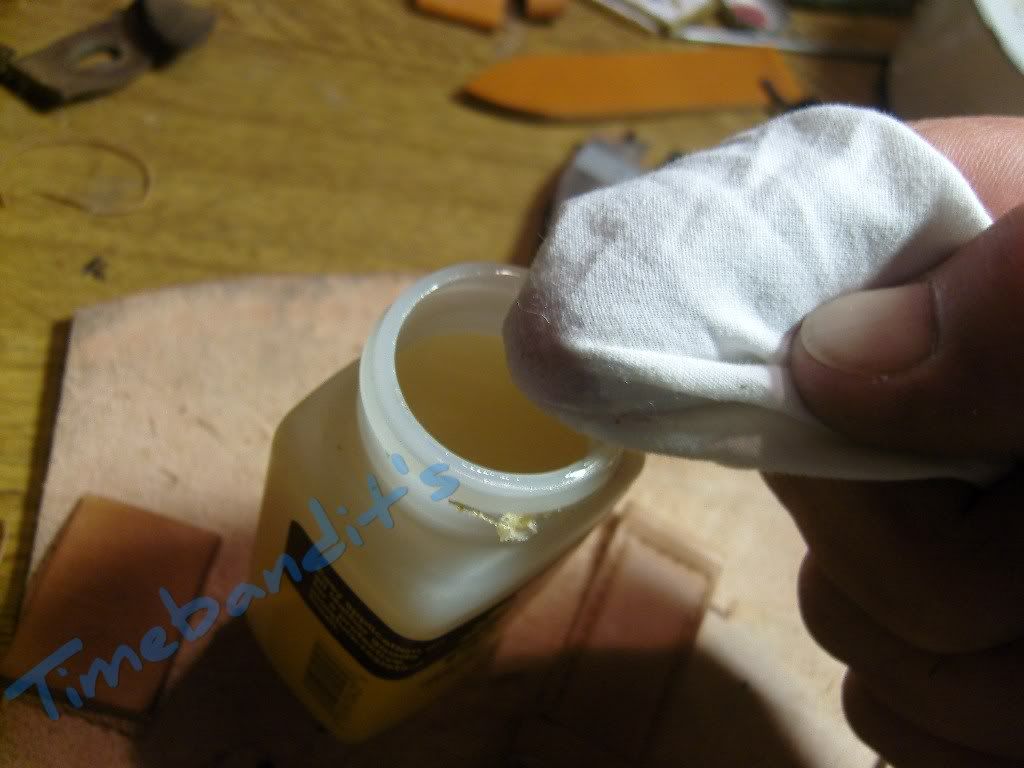
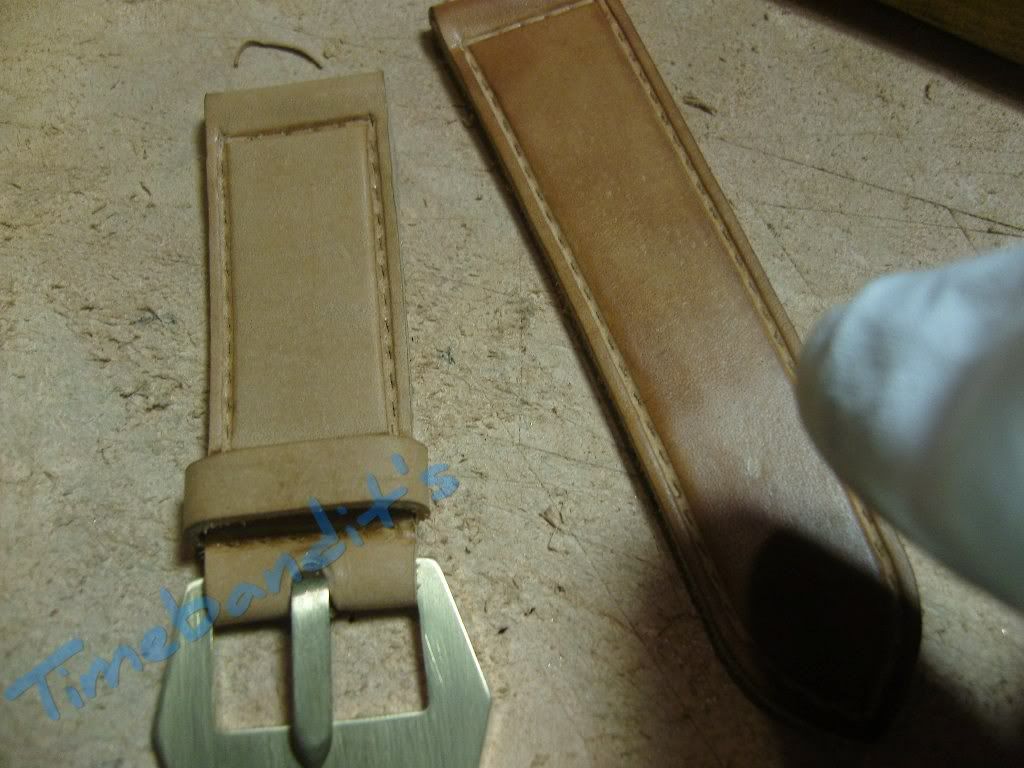
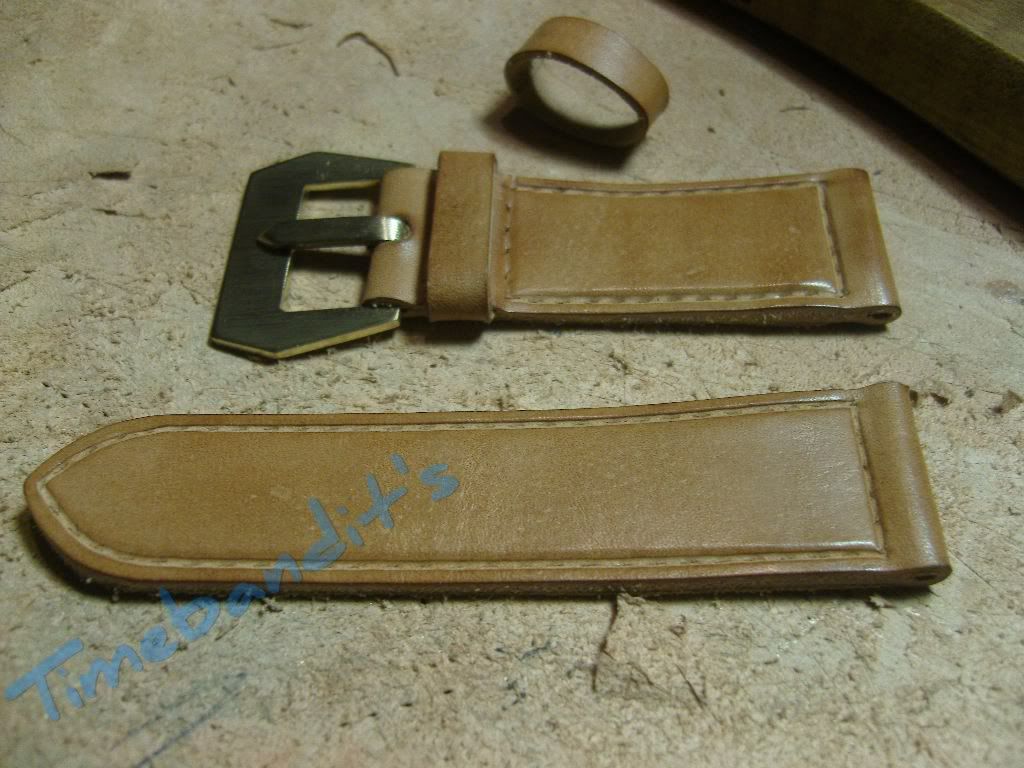
Now we treat our straps with Tan Kote to give them some protection.
I decided to use a dark thread for the stitching
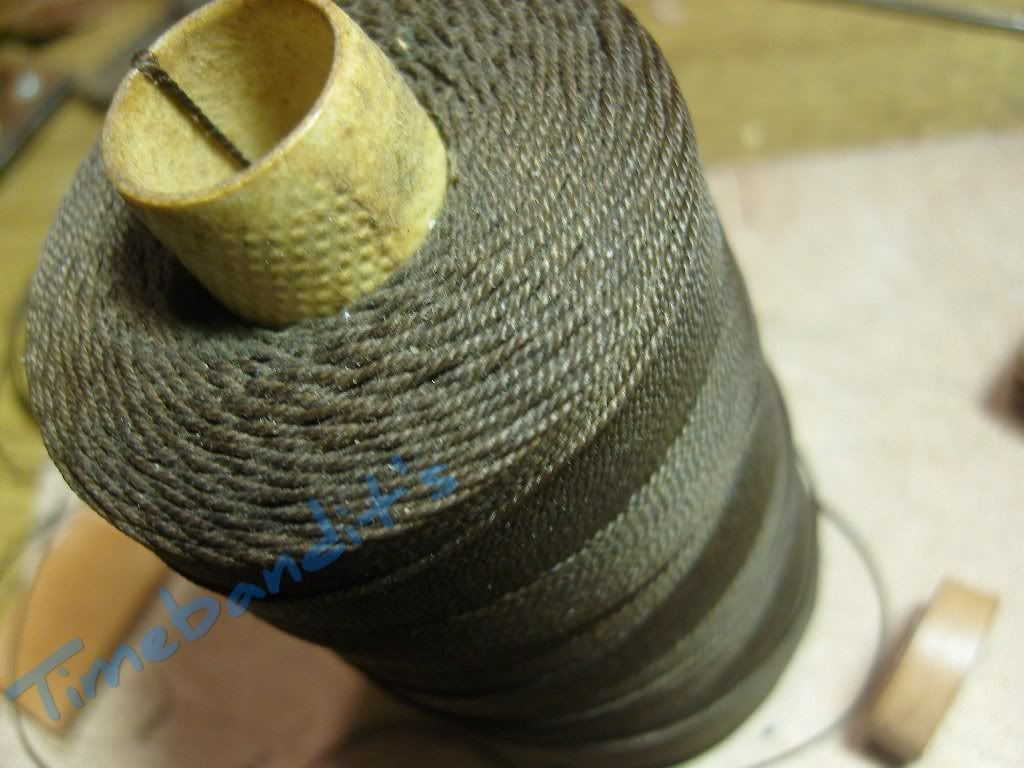
The length of the thread is 6 times the length of the strap.
We need needles at both ends of it
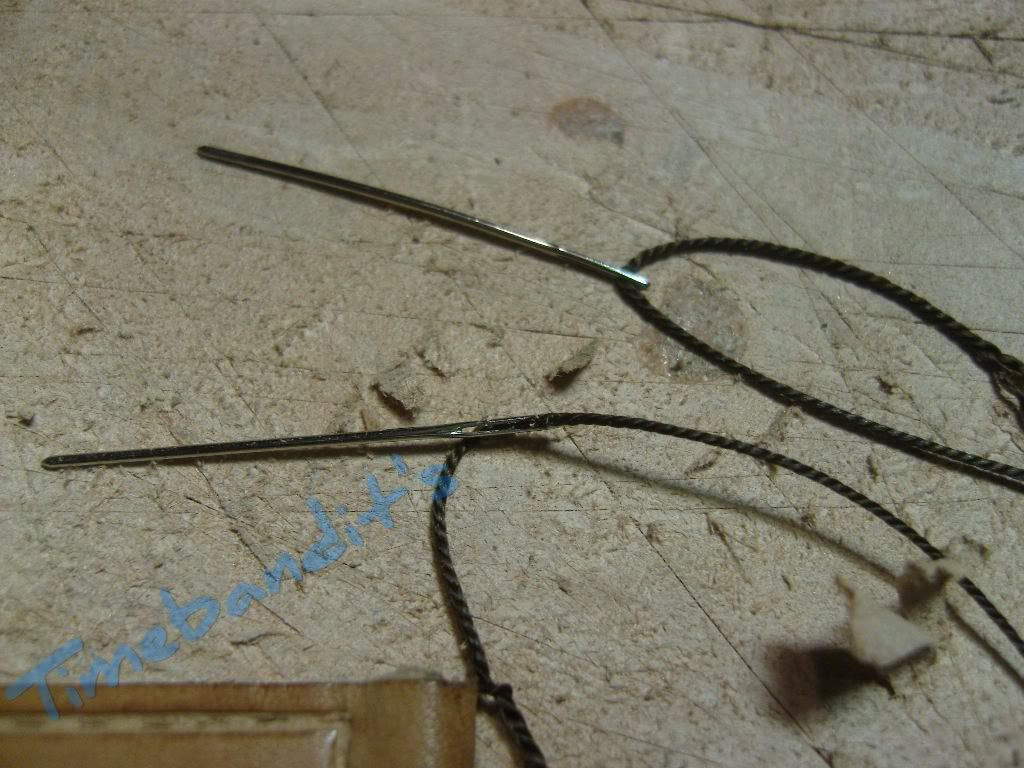
Stitch them into the hole in opposite to each other
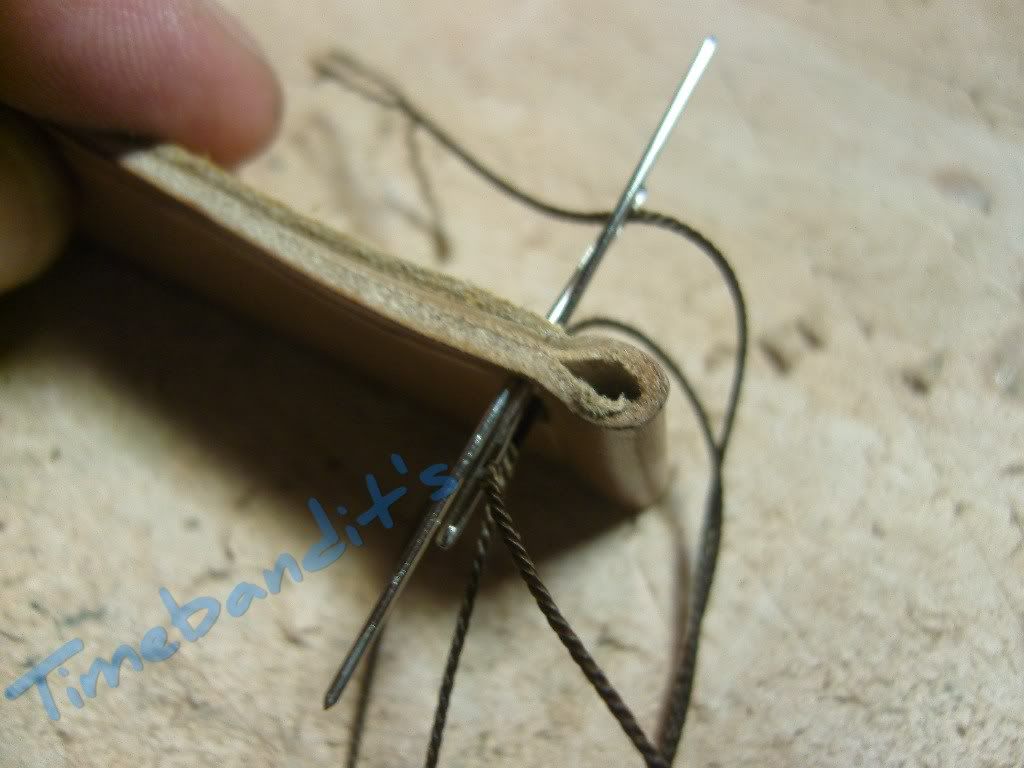
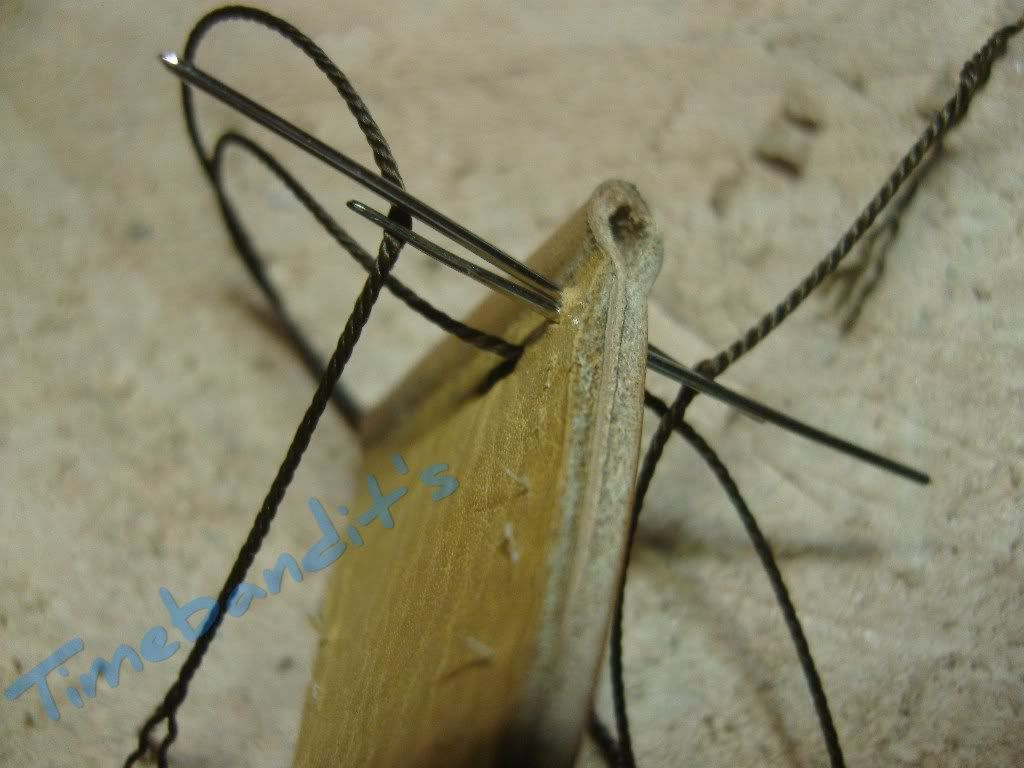
I changed my mind and removed the dark thread. A beige one looked better in my opinion
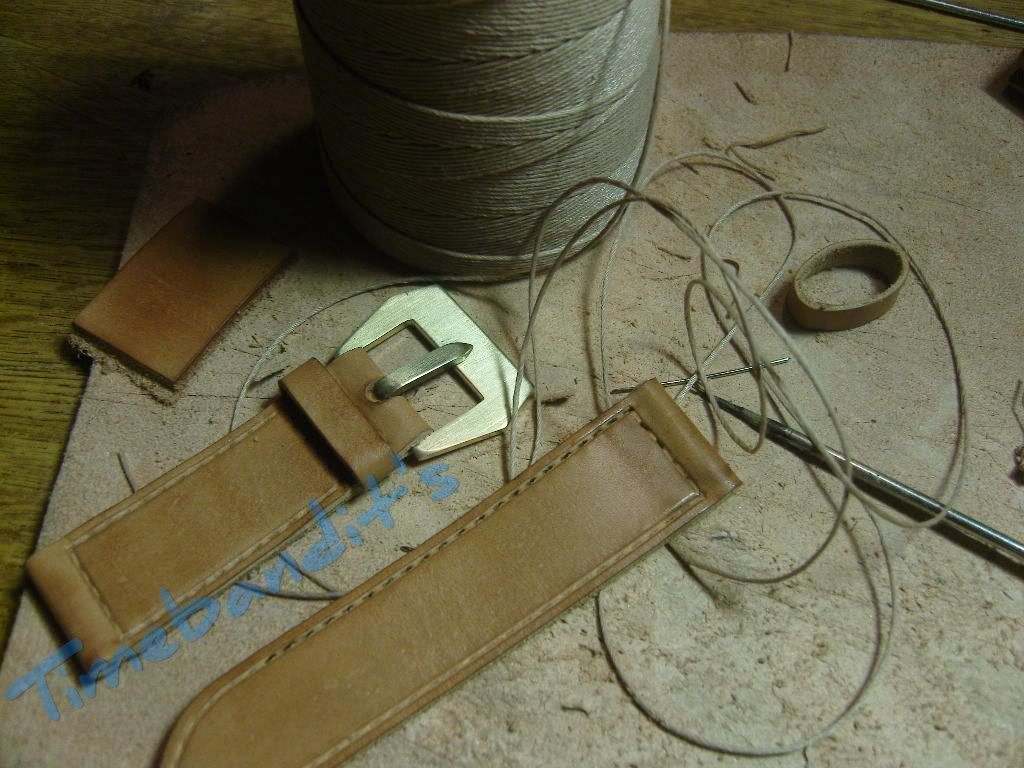
I also forgot to show the waxing of the the thread, here it is
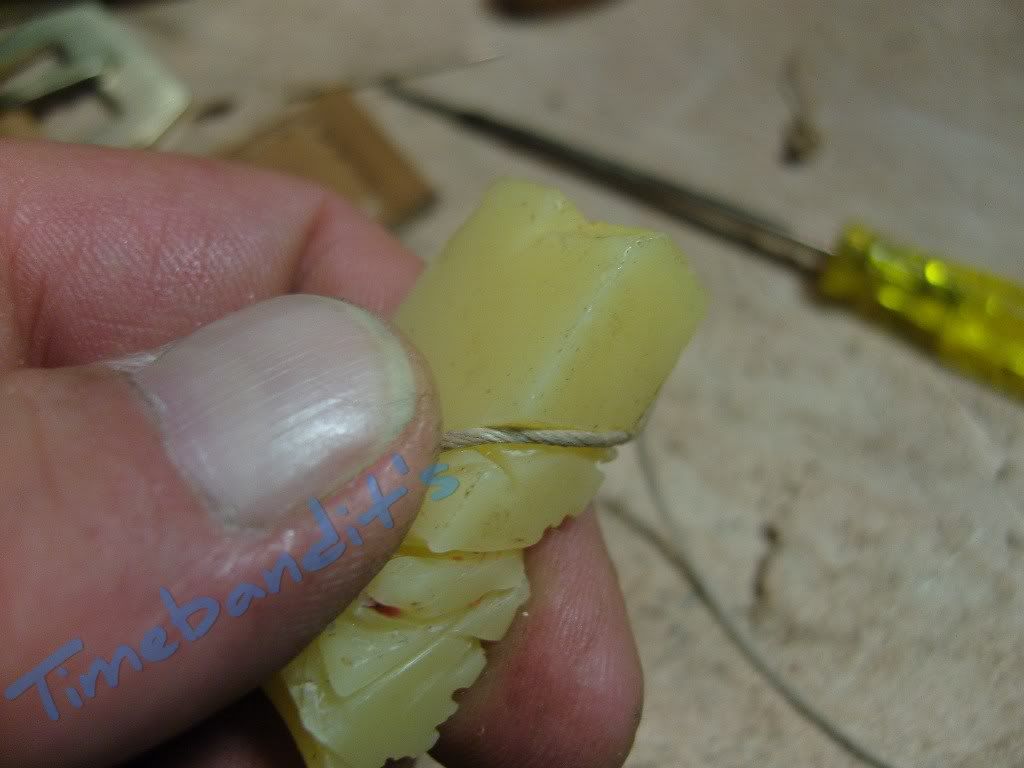
Let’s go on to the sewing
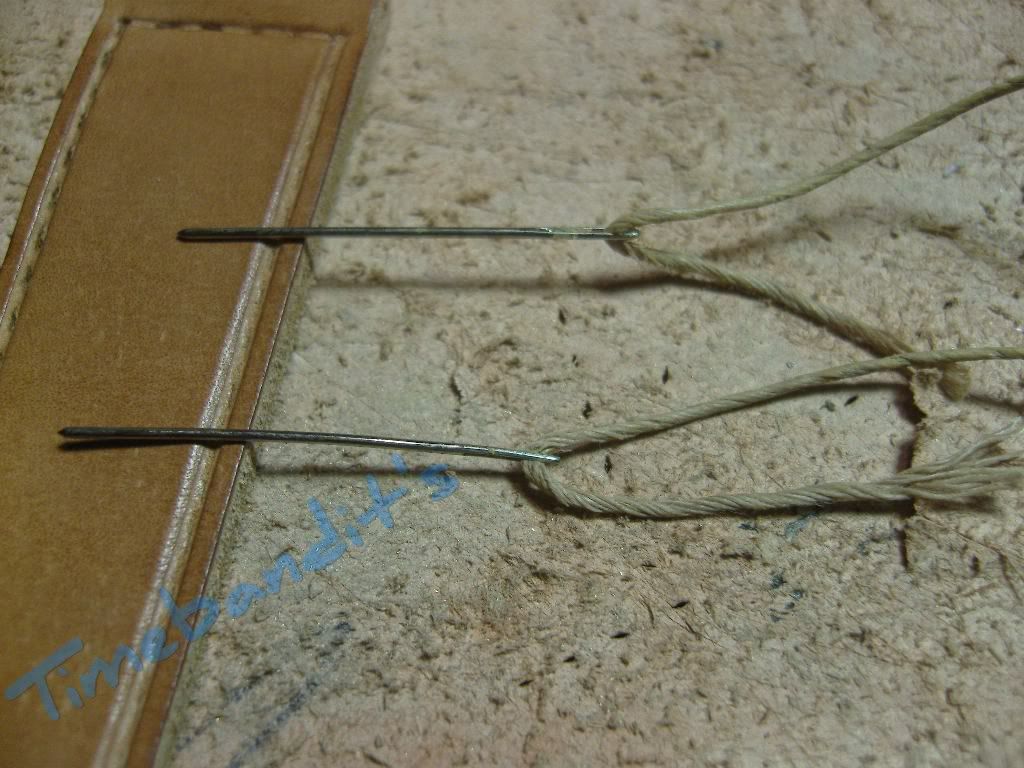
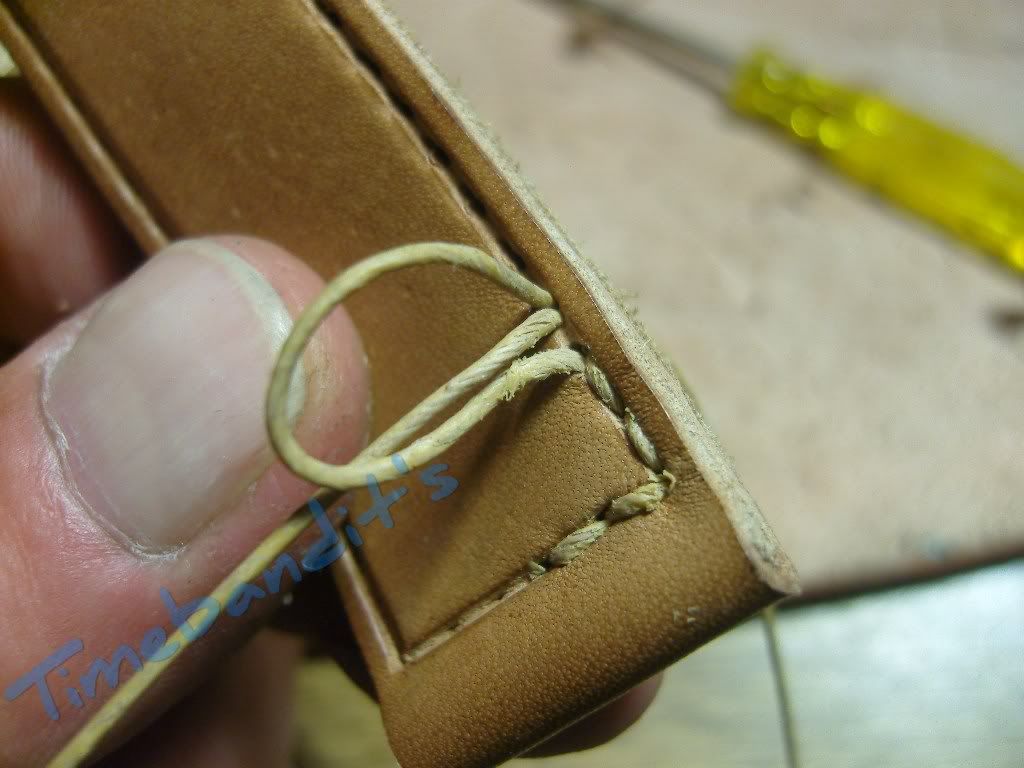
The strap gets curved by the force of the sewing
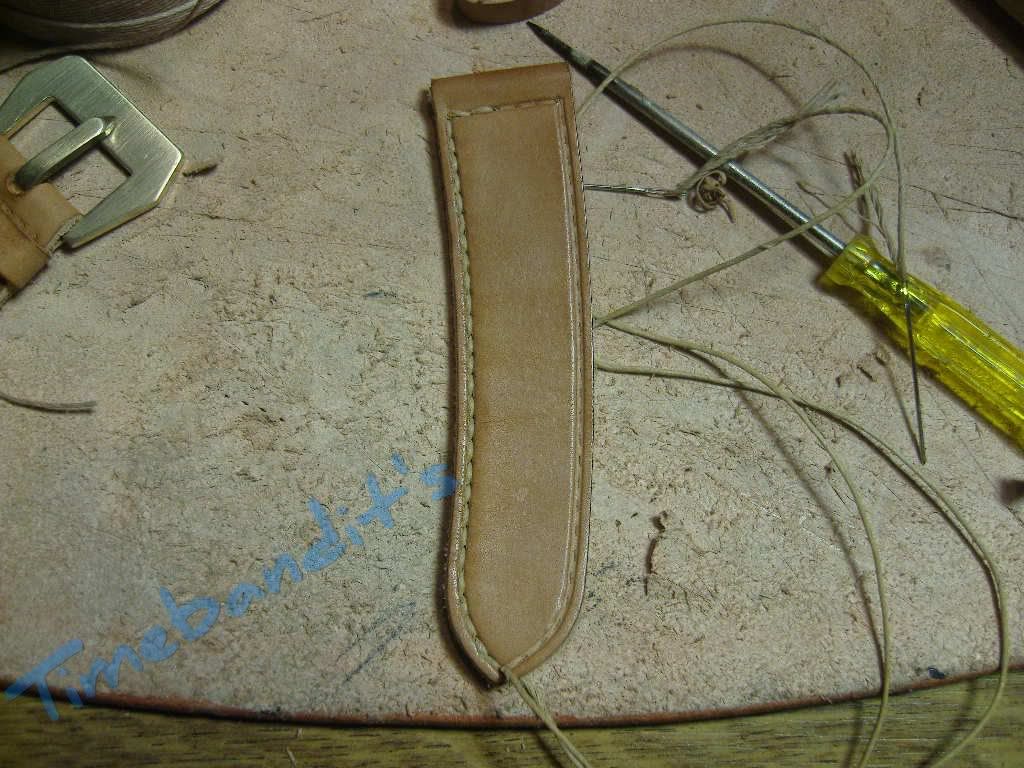
That is no problem, if we sew the other side with the same force, the curve gets straightened
and the strap looses some milimeter in length. ( We gave it some additional length before )
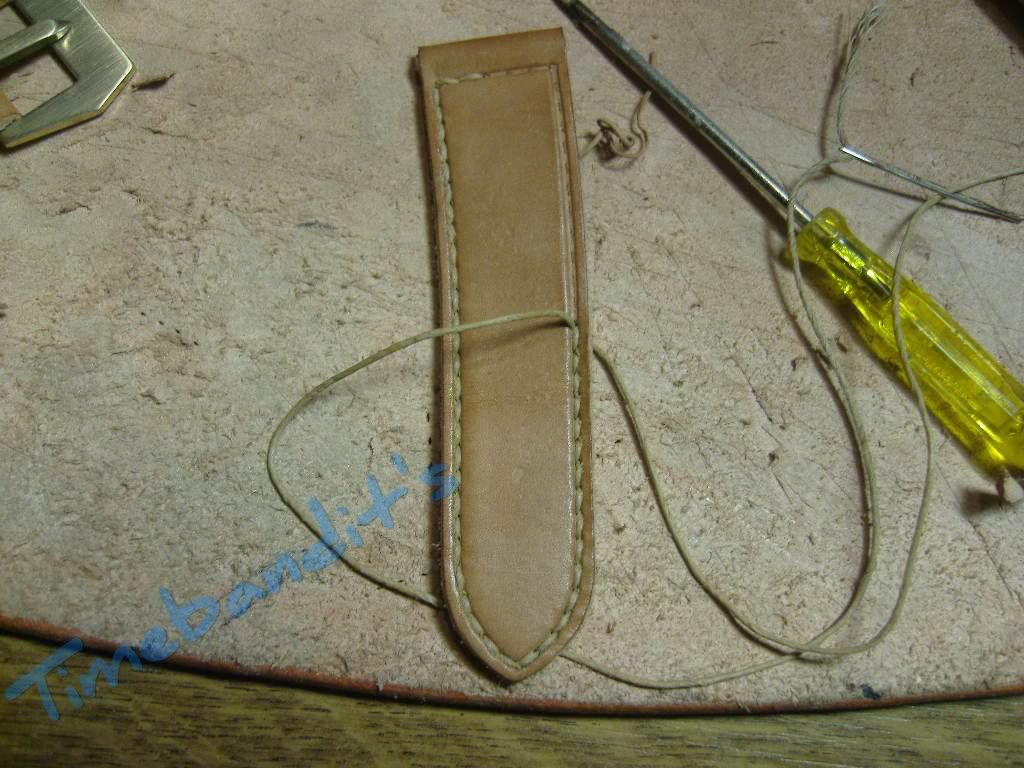
It is important to start the sewing at the lugside end. Because it will end where we started.
The most comfortable place for the knot is at the lugside.
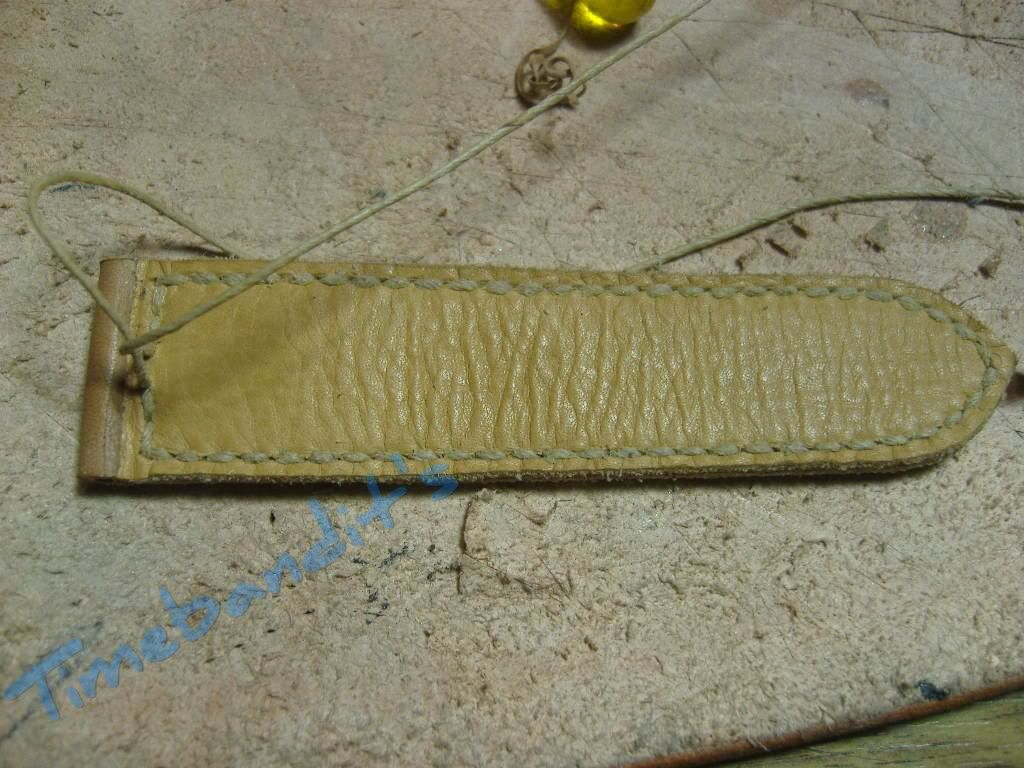
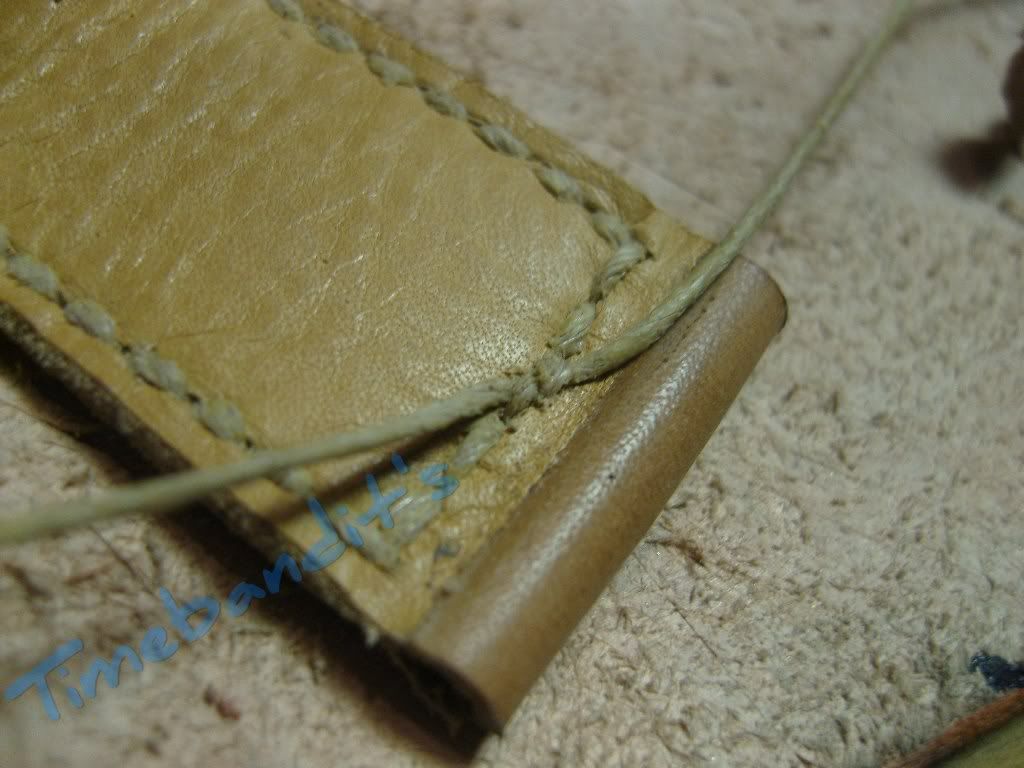
Add some glue to the knot, it prevents to open
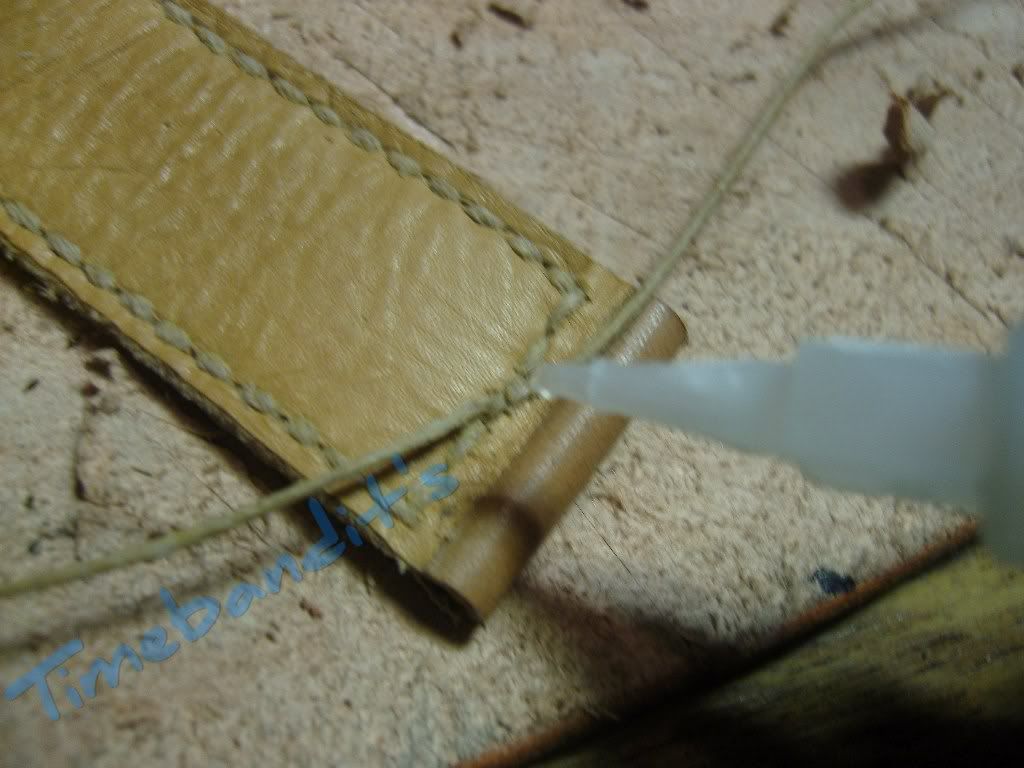
Let the glue dry and cut the extending ends of the thread close to the surface
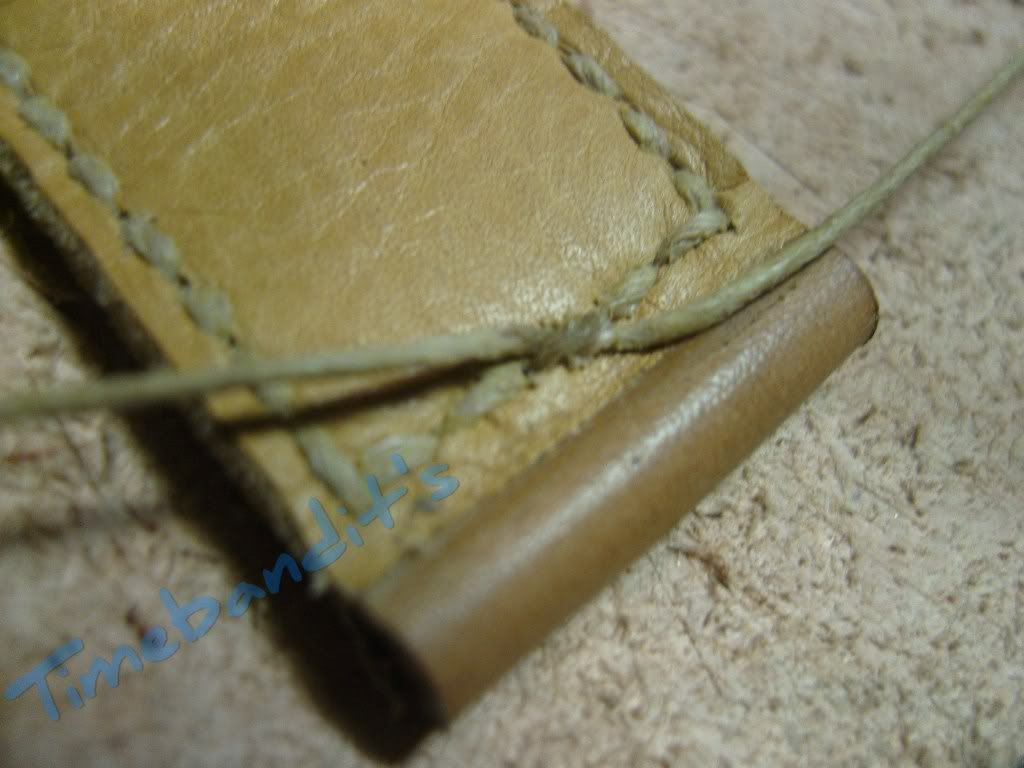
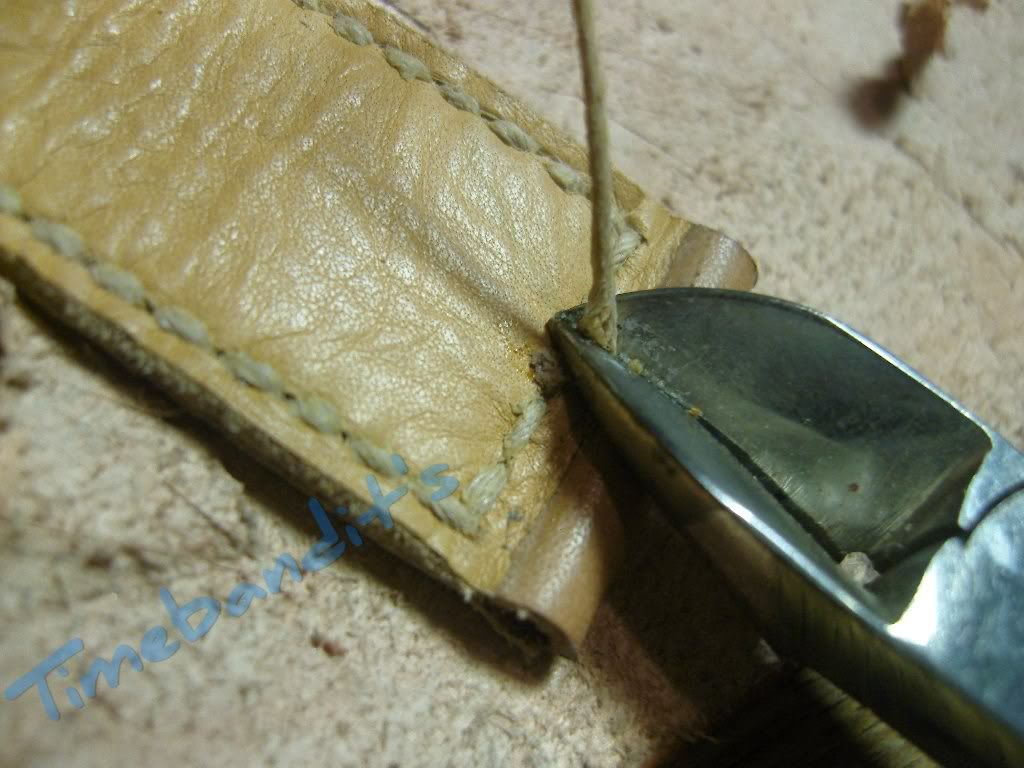
Sew the buckleside
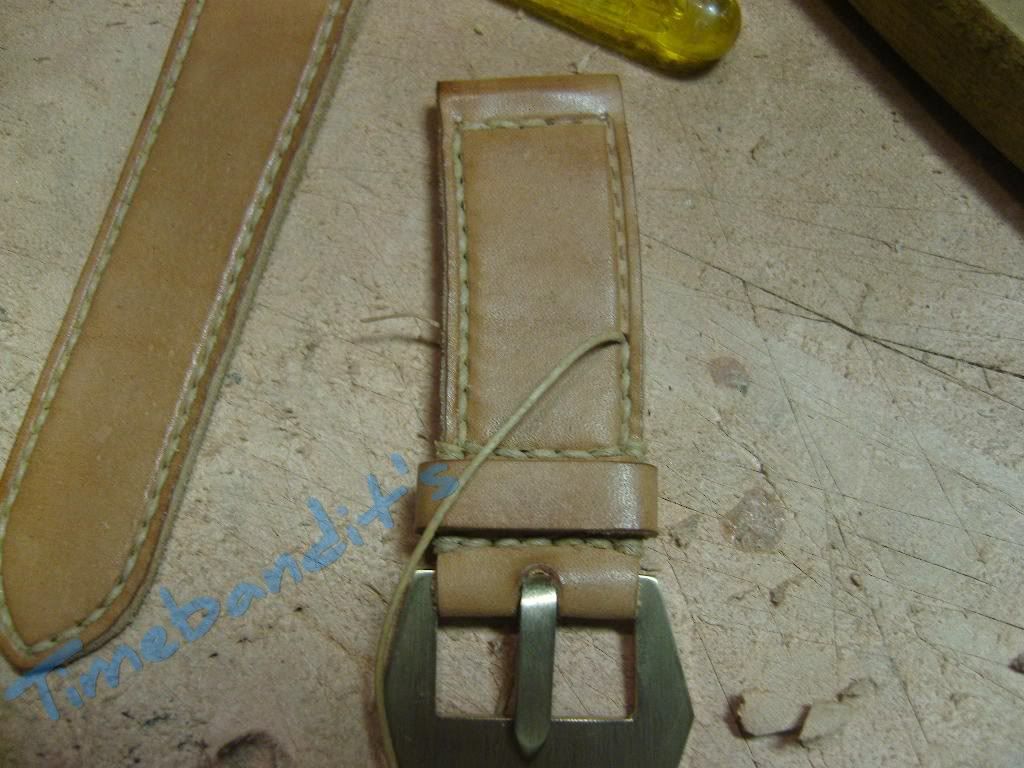
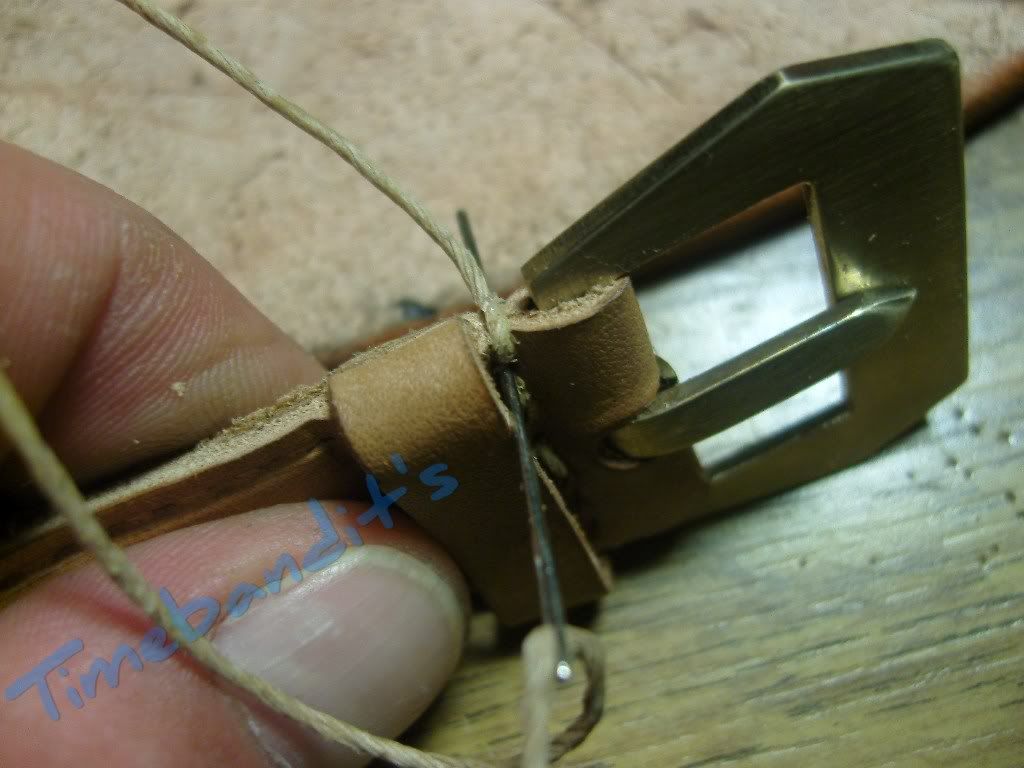
Sew-in the buckle
Now we must mark the holes for the thorn. A distance about 50mm from the lugend side to the middle of the first hole is average, the distance from hole to hole is 10mm.
I use a calliper for it, 12mm adjustment for the distance from the edges to the middle of the strap. Mark it from both sides to be sure.
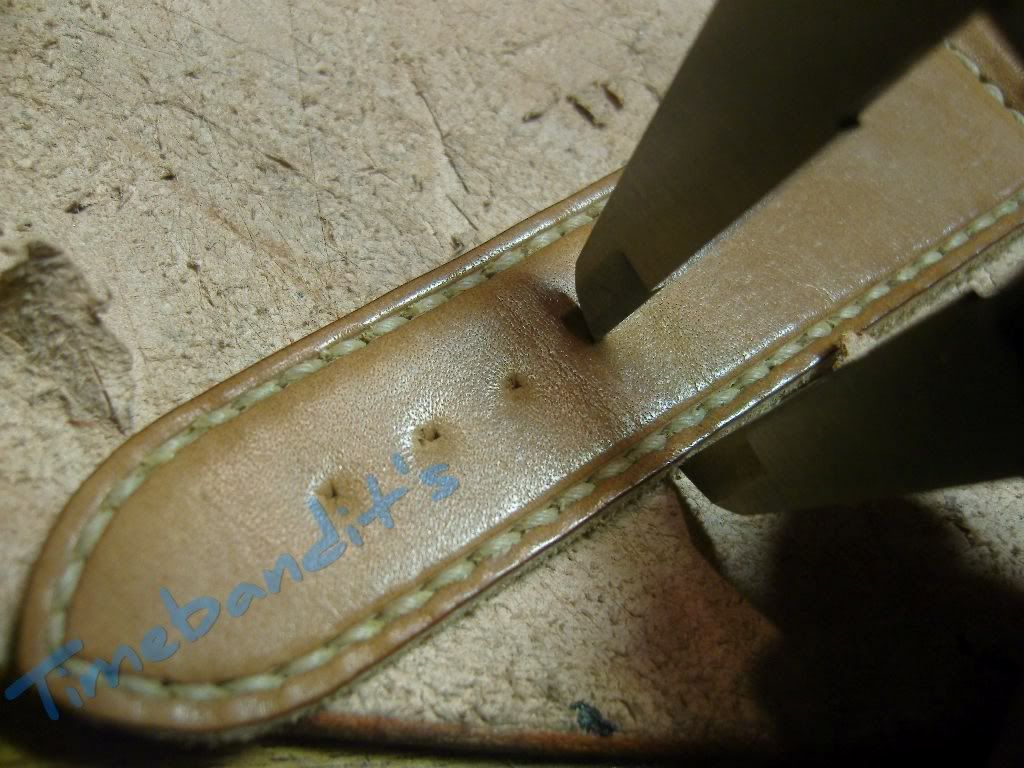
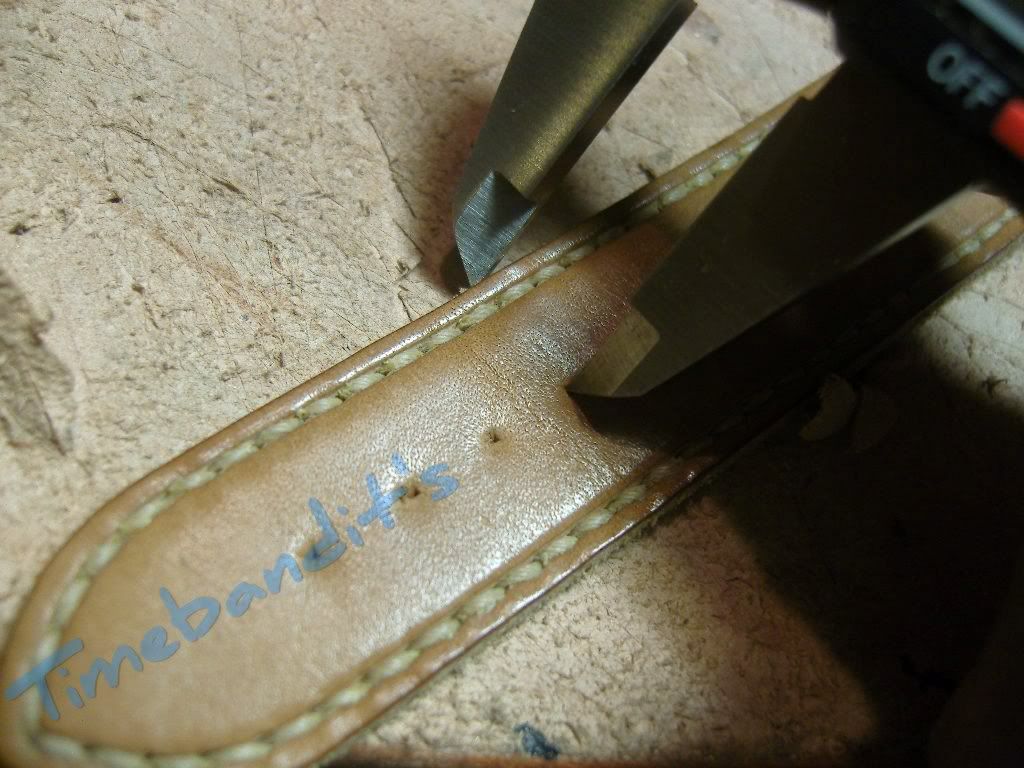
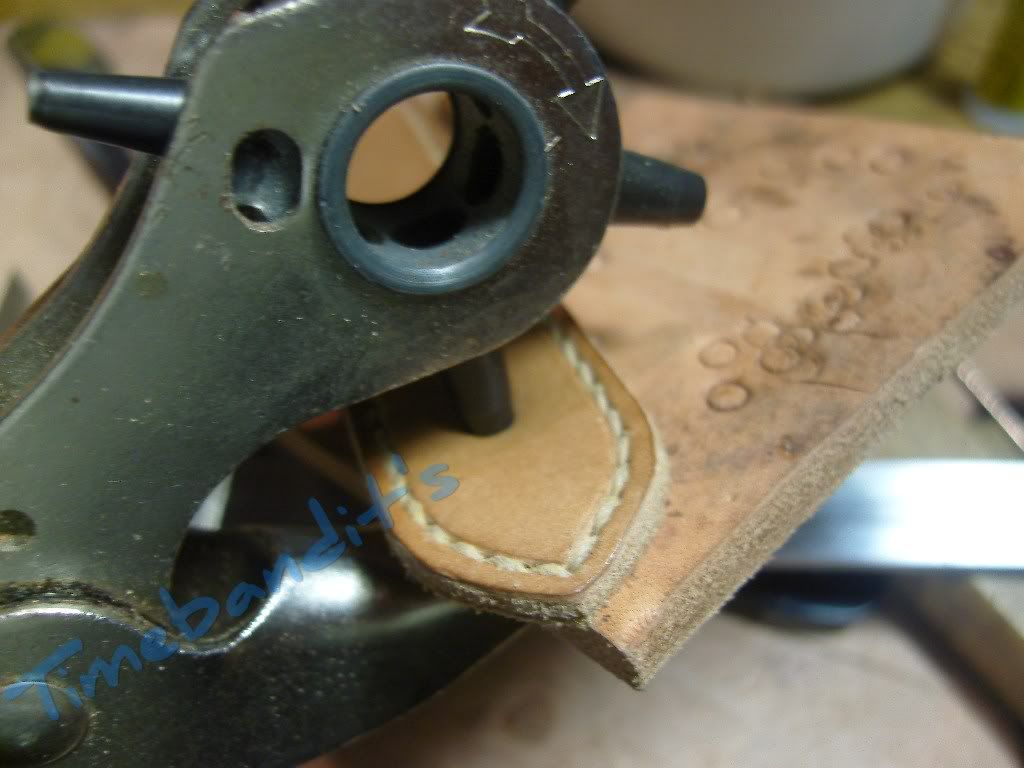
Press the punch with low pressure on the markings, after that, control the holes with a ruler to be sure they are in straight direction
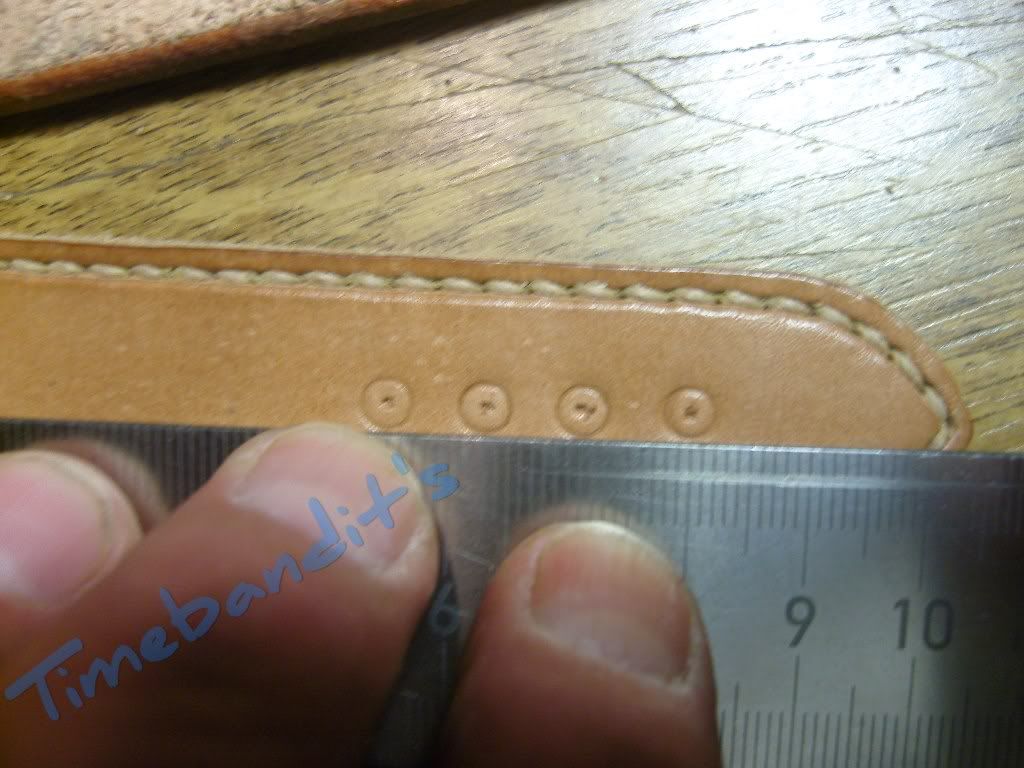
Now we can punch the holes
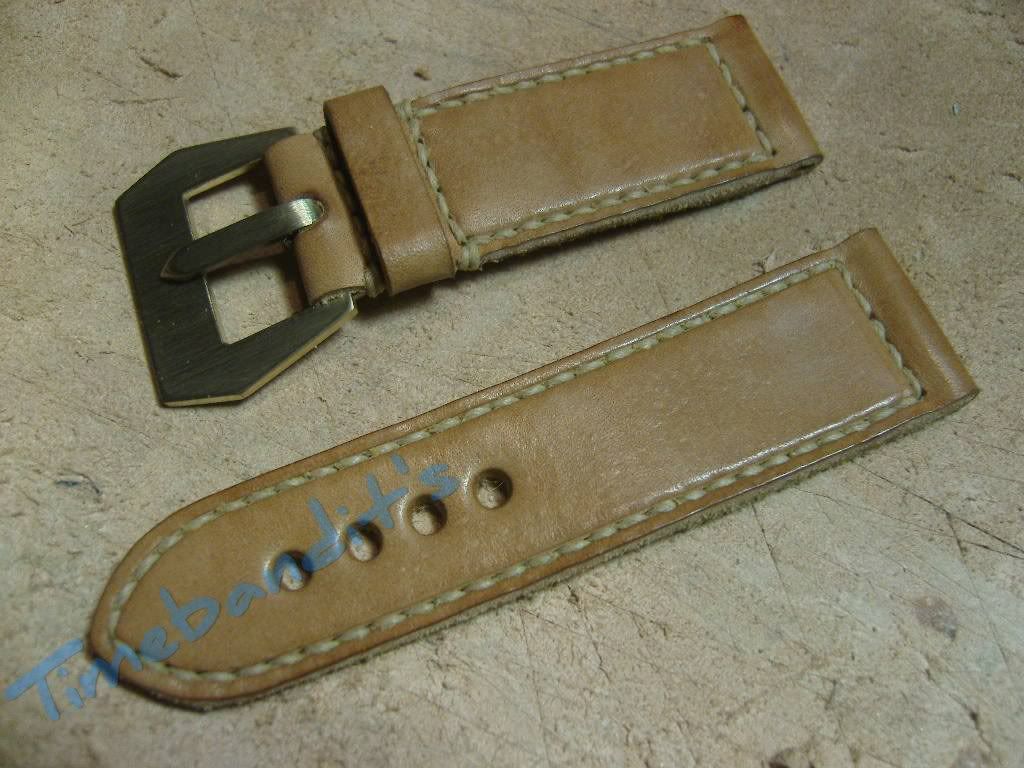
Nearly finished
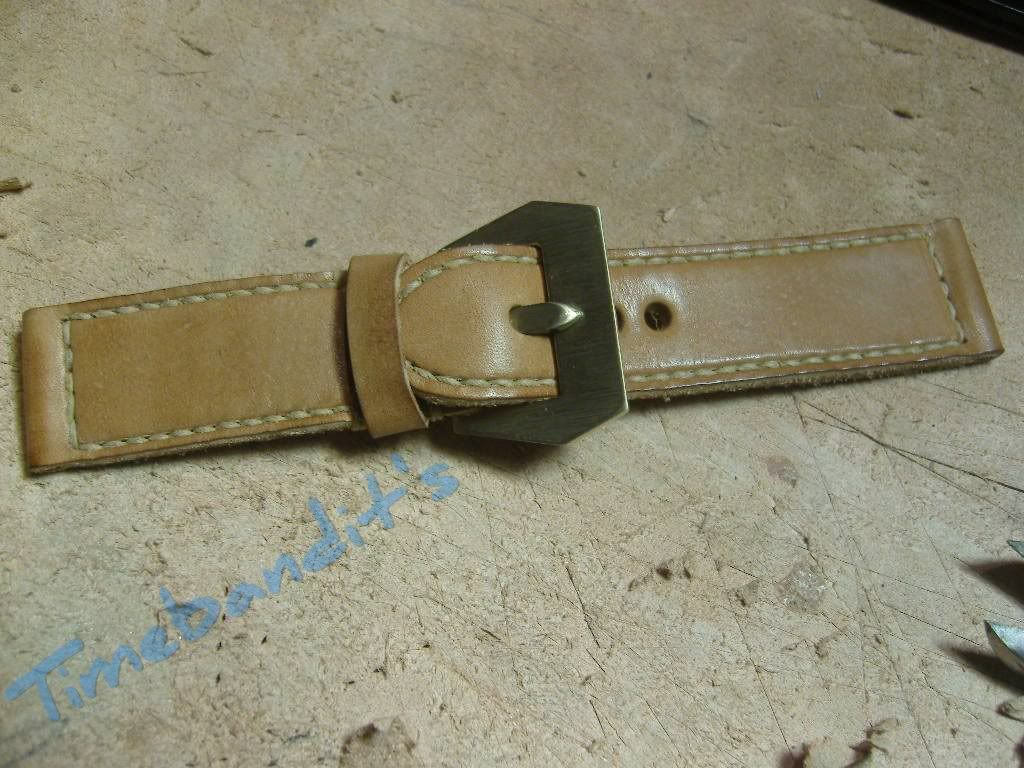
One small thing is left, the sewing of the second keeper
I use a cork to push the keeper over it
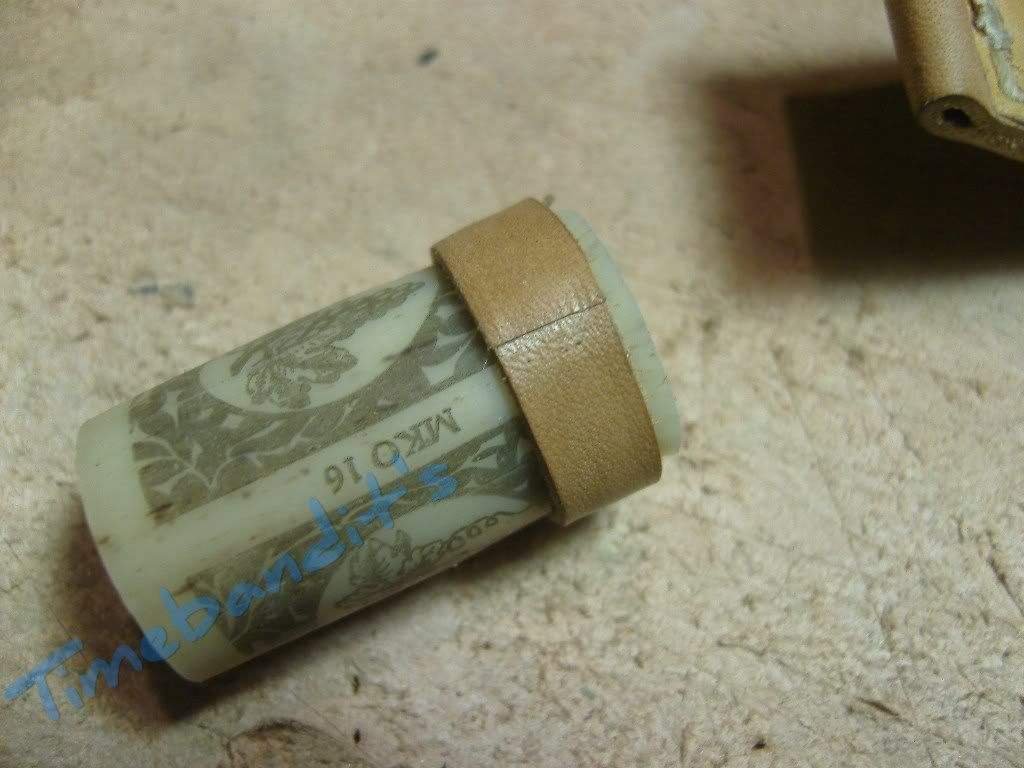
Stich the holes
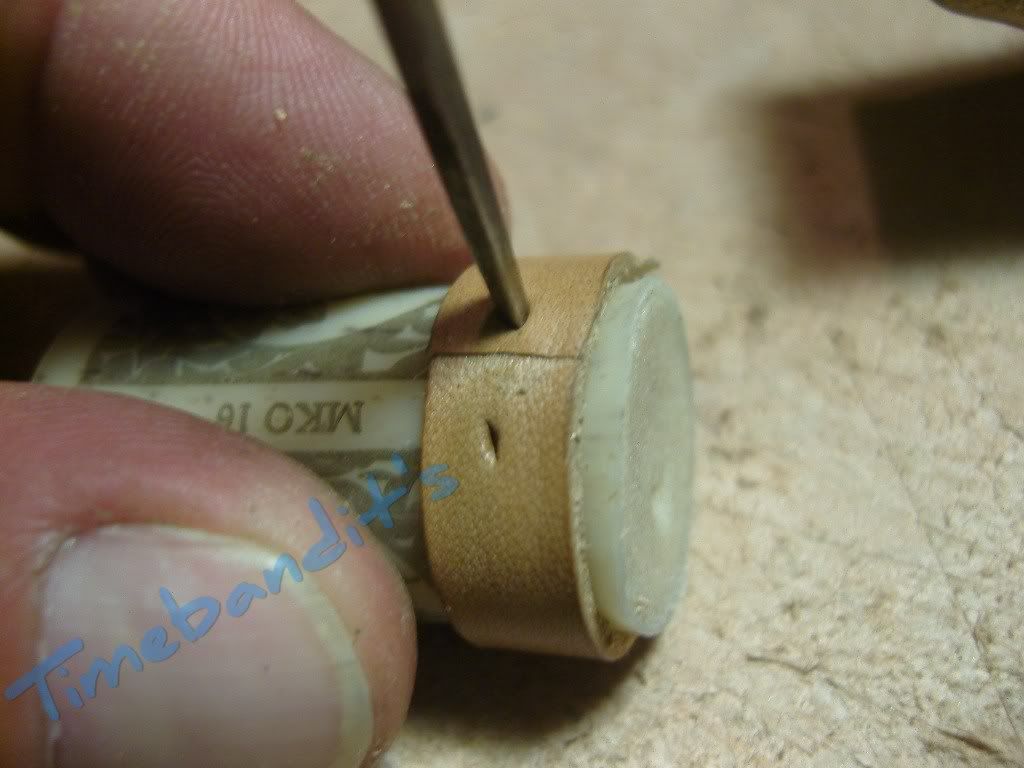
sew and glue it
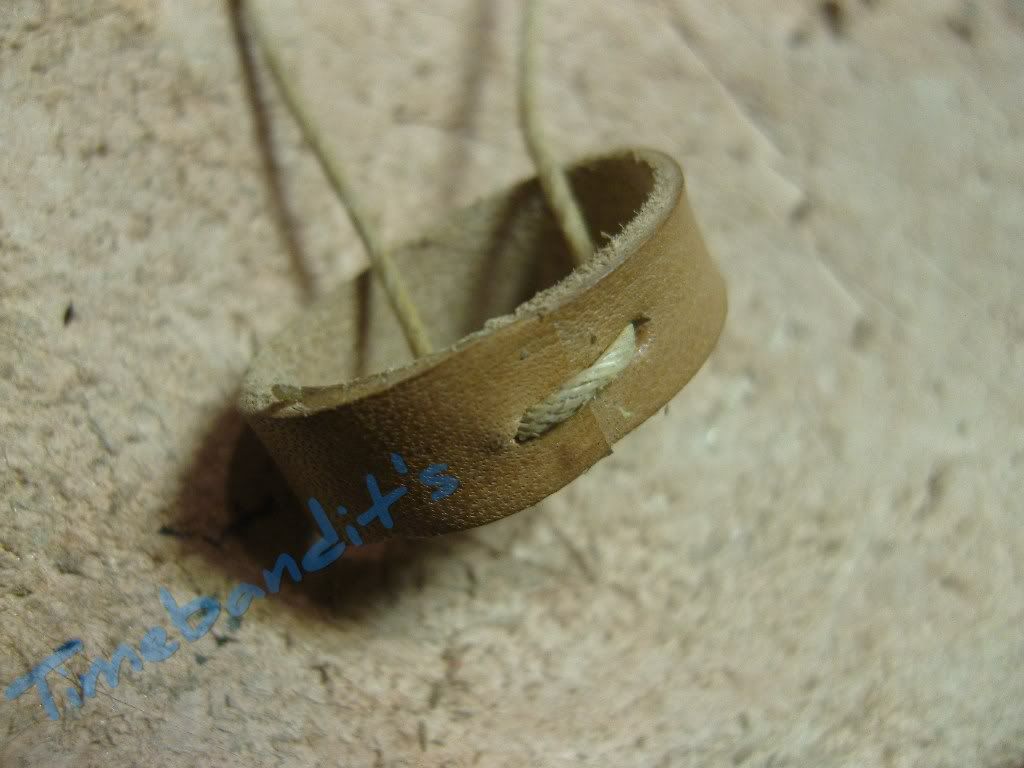
Finished
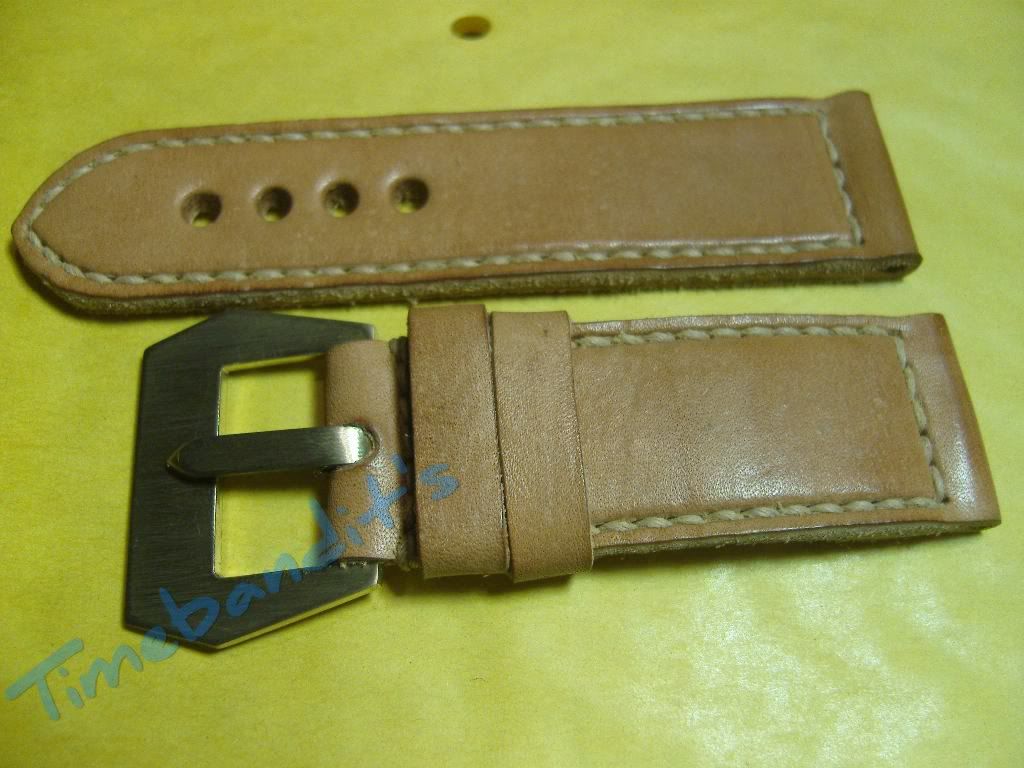
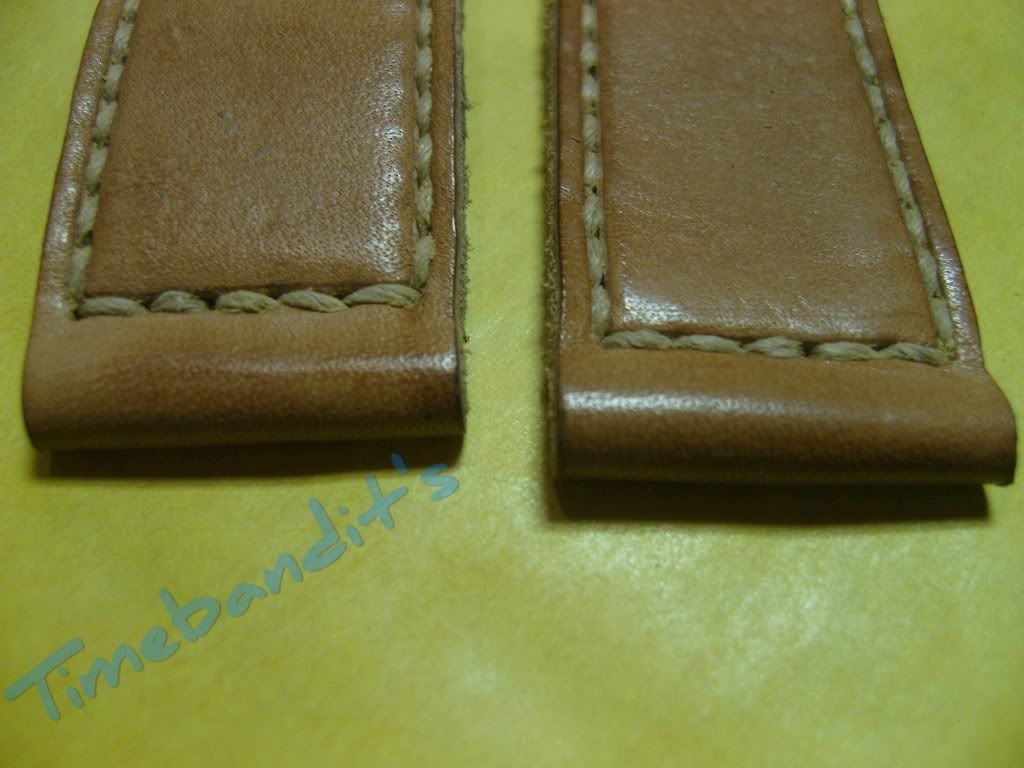
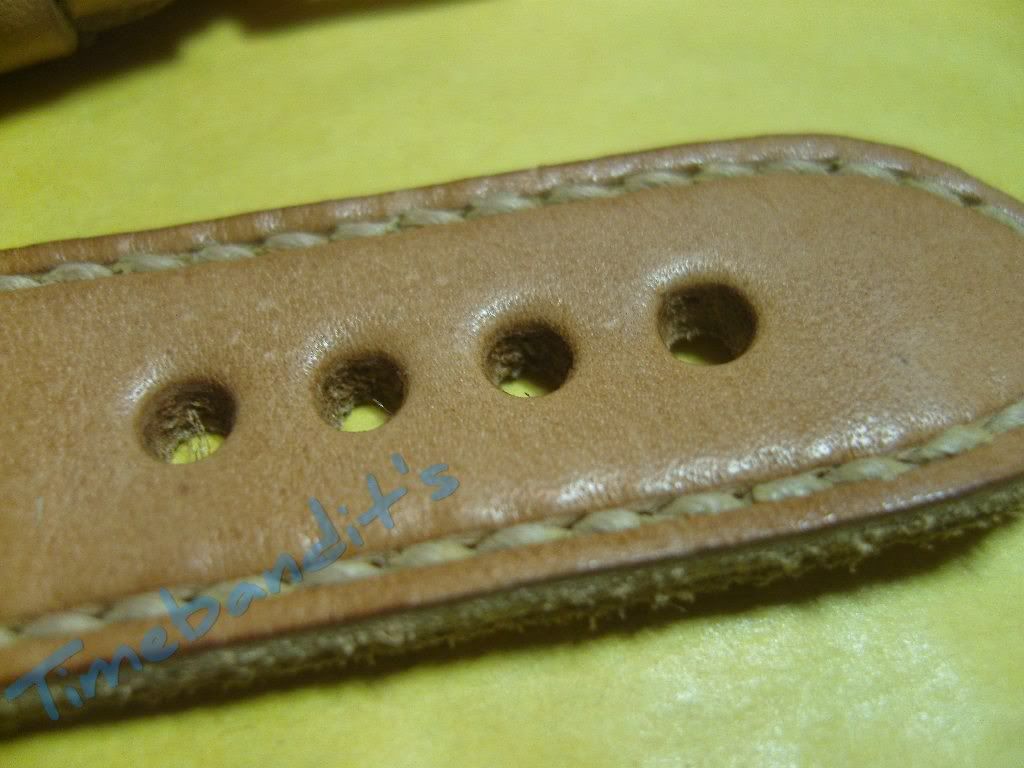
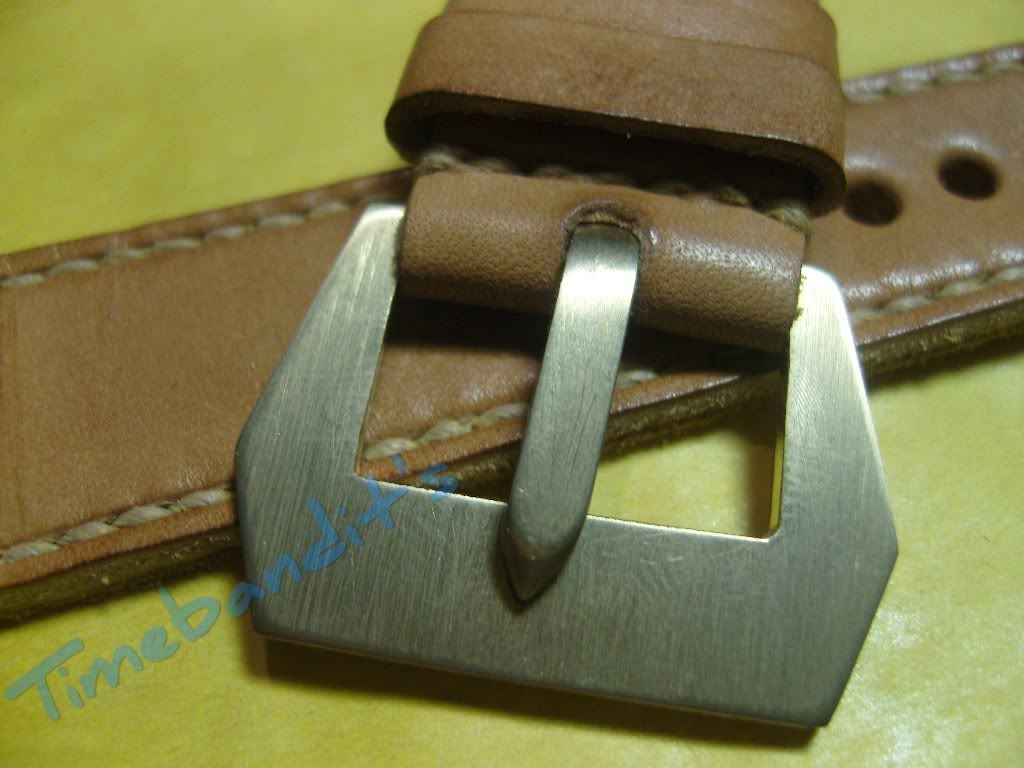
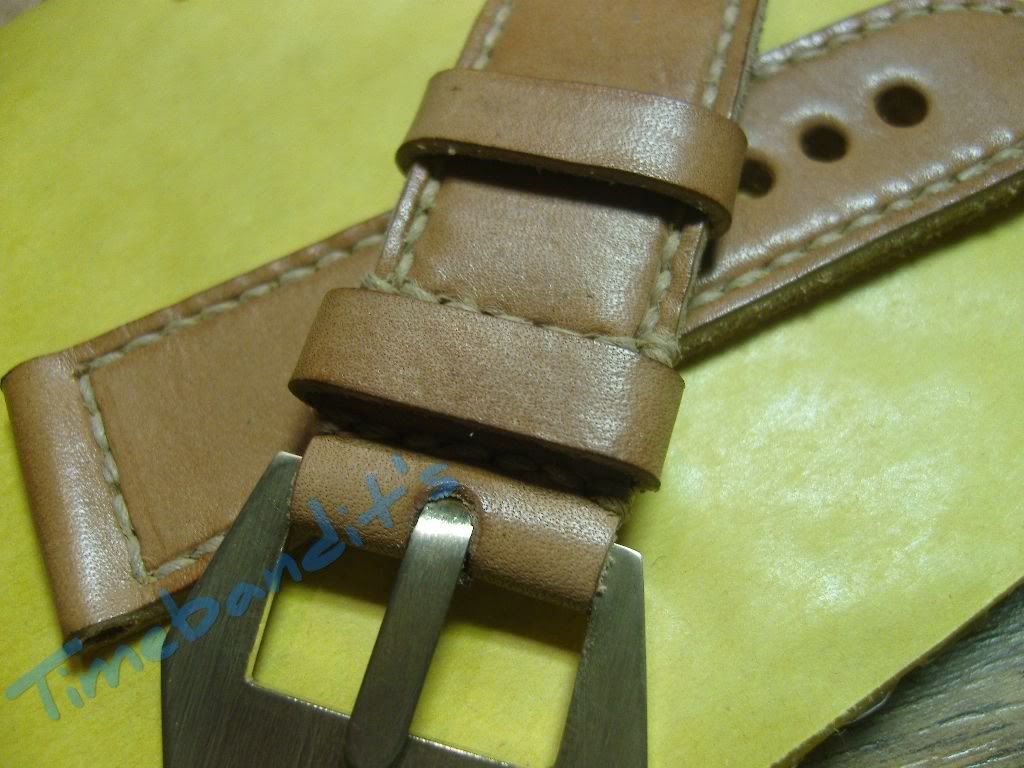
This was the way I make my straps.
There are a lot of steps to add if we want to burnish the edges, dye the leather, mark the underside, whatever. But so far it would help to see some other methods.
Greetz
Uwe
If you can’t do it this way, there are a lot of easier ways to make a strap yourself.
Part 1.
I cut a stripe of leather for the top layer. A little bit wider and longer as nessesary for the long side.

Sometimes the leather is too thick, in this case it was 6,35mm

This needs to get thinner, I slice it down to the wanted thickness.


One end gets sharpened, that is important to get close to the watchcase.
It is for the bottom layer as well, not to get an uneven edge.
I use a modified razorblade for this job.


A good leather glue is as important as a sharp knife. There is nothing more dangerous than a blunt blade, if you work with leather.

The glue is applied to the marked areas, a thin layer, much doesn’t help much. If you apply a too thick layer of glue, it won’t dry,

The sharpened end is turned down and both sides, at the markings, will be pressed together with power.

A 2,4mm thick wire is used as a lugbar substitute .


With a bone folder or a Reiffelholz ( Don’t know the english word for it ) the glued faces are pressed more, due gliding with pressure over the surface against the wire.


Basically are the same steps necessary for the short side. But only for the side that is mounted to the lugs.


Now it is time to choose the leather for the underside. It should be a very soft leather.
The thread must sink into the leather for a high comfort at wearing.

A stripe in the same wide as the strap so far is cutted.


Cut this stripe to almost the length as the strap is

Choose the length long enough to cover the short side as well.

Again the sharpening of the underside, this time with the bottomleather.
This needs to be done exactly.
It is just the underside, but the cutted edge will always be visible.
So, try hard


Now we have to roughen the untreated areas from the underside with sandpaper.
The skived areas are rough enough.


now we have to spread both leather stripes with a thin, smooth layer of glue.


The glue that I use needs about 10 minutes to dry, dry means; you can touch it and the leather won’t stick at your fingers.
Now we have to assemble the two stripes, this also needs to be done exactly.
If we don’t do it evenly, we will regret it.

If this was done fairly evenly, it should have to look like something like this.

No we put this glued stripe between two plain and flat pieces of steel.
I have used aluminium plates.

Again, we have to work exactly. The metalplate must be placed flush with the cutted edge of our bottomside leather. The topside must lay completely on the plate.

OK, now it is time for rough power, the metalplates are positioned between the vicejaws ( also covered with alu ). Wind the jaws together, with most of pressure you can do.
The glue I use doesn’t need time, just pressure.

The both stripes, that are now one strap, got a thickness about 3,6mm.

So, how much time went into the land until here ? Something about 60 minutes ( the making of the pics is not included )
As long as we are making a tutorial, we can also make a tapered strap. Easy levels are for the other ones
This means nothing else than a wider end at the lugs and a smaller end at the hole/buckleside.
In our case we will have 26mm ate the lugside and 24mm at the hole/buckleside.
We mark the distance from 26mm at the lugside with a calliper.

Then we have to mark the wide from 24mm. From the point where our tapering should start until the end ( 40mm from the lugside is enough in every case ).

Now we have to cut along the marks, this ist he final cut, take good care.
It is a kind of tricky, we have to force the strap under the ruler and give pressure to both, leather and ruler to avoid that it slips away.
If we fail here we can use it for a 24 x 22mm strap.


So, if now the guys are separated who are no table to do this, we can make a measurement control. ( it would be fatal if everybody were able to make his own straps )


Now we cut the strap to the wanted length.


You believe, that the strap will have a length from 115mm when it is finished, no, that is wrong.
That would be too easy, later when we sew it, it will shrink.
It is necessary to add some milimeter, depending to leather and thread.
No formula available for that, experience will show.
I have here a big box with straps that are too short or too long, LOL
Let’s have a look if the selfmade buckle fits the strap.


Jepp, it fits.
Now we have to make the tip, at the best is a punch for that available, if not it can also be carved with a sharp knife.


The tip is finished, just some fine tuning is to do. My special tool is necessary here, highest sharpness is asked.


I use a thick leather as a underlay. You can buy a cuttingpad, but it is imho too expensive.
The blade stays also sharper with the thick underlayer from leather.
Looks good so far.
Now we come to the buckleside strap, also a nice challenge
The buckle is a sewn-in one, we also want to have one fixed buckle.
That means we have to work and cut exactly BEFORE we glue.
A little bit more difficult, but a increase it always welcome, isn’t it ?
The lugside was already glued, we remember ?
Now we need to sharpen the other side. At first we need to mark the place where the buckle
is placed at the end.


Now we don’t glue it completely, just a pre-glueing. We need to separate it later.
The pre-glueing makes sure that all parts will stay in position.

Again marking with the caliper, but here is no transition necessary, just straight tapering.


Cutting


Again measure to be safe.


Usually I cut the bottom leather in this step together with the top leather.
No idea why I haven’t done it this time
Not a big deal, I will cut it later.
Let’s have a look at the position of the buckle and the preparing to sew it in.
We have to mark the middle, in a distance about 6-7mm from the end at the buckleside.


Now we have to punch the hole exactly at the marking.
I use always a piece of leather under the strap while punching the holes.
It keeps the punch sharp.


It is far enough to separate the pre-glued ends. There are two holes, connect them with two cuts.


Tadaa, an oblong hole is born
Now it is time to use our selfmade buckle
( This is another tutorial )


The keepers are made from the skived top leather. We can cut them both.


Now it makes sense that we have made the long side first. Lay the both straps together.
Wind the keeper around them and mark the point where we want to cut it.

Cutting, sharpening, roughening as usual. Glueing at the underside of the strap and the keeper


In the meantime, while the glue is drying, don’t be lazy. The underleather for the short side needs to be cutted.

Don’t forget the sharpening

The glue is now dry enough and we can glue the fixed keeper in.
Put both straps together, wind the keeper around them, straight enough that the other strap can slide easily. Press the ends on the glued area.


The underside of the keeper needs roughening with sandpaper.


Time to apply glue inside the marked areas at both sides

When the glue is dry, we can put in the buckle

Put the ends together, take care, that the edges are flush, press them together with your fingers, that is enough so far.


Apply glue to the underside of the short side and also to the bottom leather.

When the glue is dry, put them together, this needs to be made exactly. Press them together between the vicejaws, as shown with the strapside.

Same procedure with the bone folder, as shown with the long side.


Now we can make the second keeper. Some guys like their keepers end to end, connected just with a thread.
Others, like me, like them overlapping.
An overlapping from 10-12mm must be sharpened


The overlapping must be roughened on the topside at one end and the bottom side at the other end

Apply glue on top at one side and on bottom of the other side.

The same procedure as shown at the fixed keeper, put the straps together to get the right wide for the loose keeper


The rudest part is done

OK, measuring and marking is our next Step
Take the measurement from the underside where the bottomleather ends.
Transfer the measure -3mm to the topside of both straps ( Lugside )


We need an adjustable groover, a very helpful tool to make grooves in the same distances from the edges.

With this tool we can make the grooves at both straps


Now we need another tool, an overstitch wheel. This one is necessary to mark the points for the sewing holes in exactly distances.


All holes are marked

Now we need an awl to make the holes for the sewing


When all holes are made, we smooth the grooves with a wood creaser


Now we treat our straps with Tan Kote to give them some protection.


I decided to use a dark thread for the stitching

The length of the thread is 6 times the length of the strap.
We need needles at both ends of it

Stitch them into the hole in opposite to each other


I changed my mind and removed the dark thread. A beige one looked better in my opinion

I also forgot to show the waxing of the the thread, here it is

Let’s go on to the sewing


The strap gets curved by the force of the sewing

That is no problem, if we sew the other side with the same force, the curve gets straightened
and the strap looses some milimeter in length. ( We gave it some additional length before )

It is important to start the sewing at the lugside end. Because it will end where we started.
The most comfortable place for the knot is at the lugside.


Add some glue to the knot, it prevents to open

Let the glue dry and cut the extending ends of the thread close to the surface


Sew the buckleside

Sew-in the buckle

Now we must mark the holes for the thorn. A distance about 50mm from the lugend side to the middle of the first hole is average, the distance from hole to hole is 10mm.
I use a calliper for it, 12mm adjustment for the distance from the edges to the middle of the strap. Mark it from both sides to be sure.


Press the punch with low pressure on the markings, after that, control the holes with a ruler to be sure they are in straight direction

Now we can punch the holes

Nearly finished


One small thing is left, the sewing of the second keeper
I use a cork to push the keeper over it

Stich the holes

sew and glue it

Finished


This was the way I make my straps.
There are a lot of steps to add if we want to burnish the edges, dye the leather, mark the underside, whatever. But so far it would help to see some other methods.
Greetz
Uwe
