Seanf sent me a PM asking me if I would epoxy on a new pearl to his 42MM PO 3rd gen I believe.
He sent me new inserts with pearls. I looked and thought, I know we can do better than that. They were those canal street flat zits. So, what you see here are random photos that I took during the process. I will do my best to explain and answer any questions you may have.")
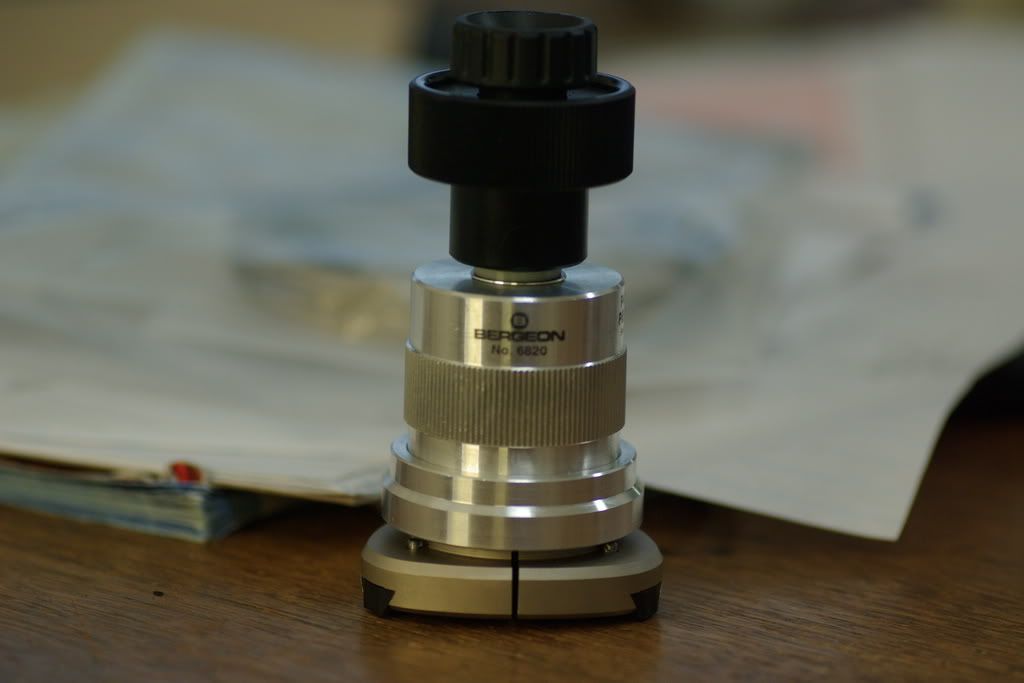
1st I took the bezel off of his watch with one of these:
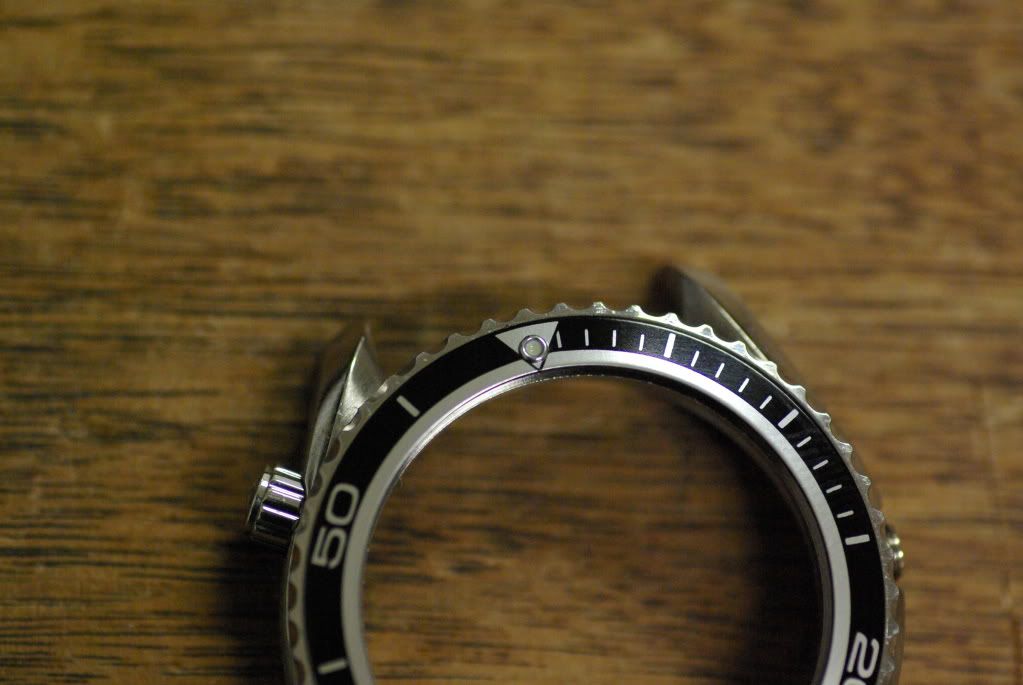
2nd I took the insert out and put away the spring and plunger for the ratcheting of the bezel.
3rd I took the new orange insert and popped out the canal street pearl and sized up what I would need to make sure this fit under the bezel as per the gen.
4th I took some 3MM 304SS rod and chucked it up in the lathe. (My lathe is really to big for this.) That's what she said, bha dha bump tish! :rimshot:
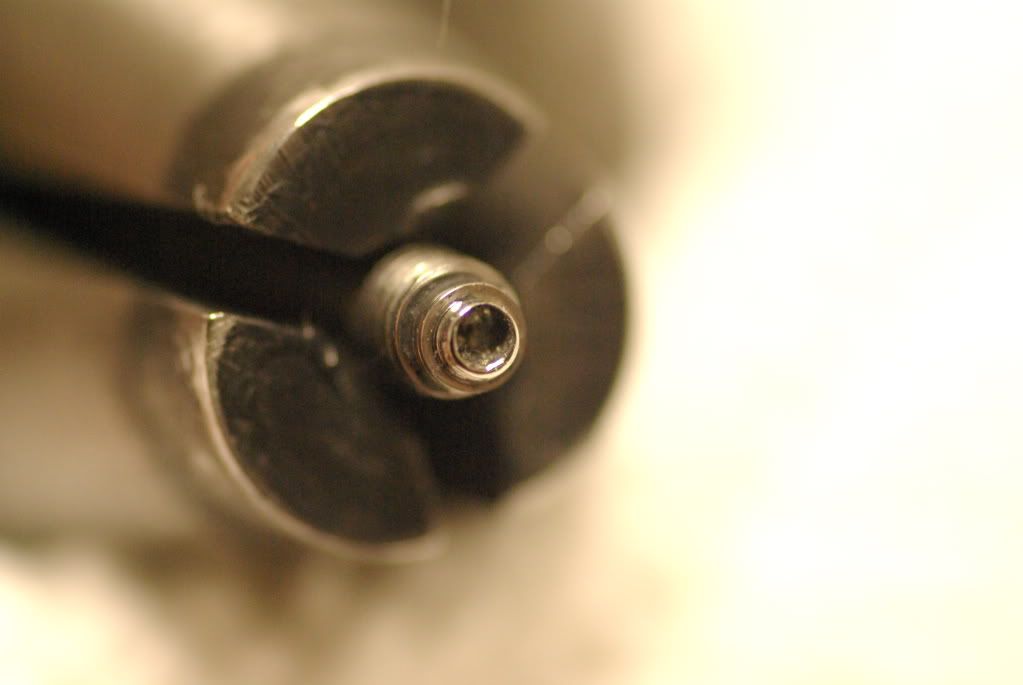
5th I milled down a ledge to about 1.65MM OD to fit into the insert. It was 1.10MM in height. This was due to having enough shoulder to give the pearl height.
6th I milled a 2.5MM OD ledge to act as a stop to prevent the pearl from fall through.
7th I polished and rounded off the edges of the pearl with would be visible.
8th I milled a .047 Inch Flat Flute Mill and made a well for the paint, lume and epoxy.
9th, I filed the insert hole to accept the new pearl with a miniature round file. Carefully removing stock.
10th Paint with white paint, lume mixture, V10 GlowInc. 15/20 Particle, then covered with clear epoxy.
11th I filed out some space on the bezel to all allow for shoulder clearance.
12th I Used GS Cement to glue the insert back in.
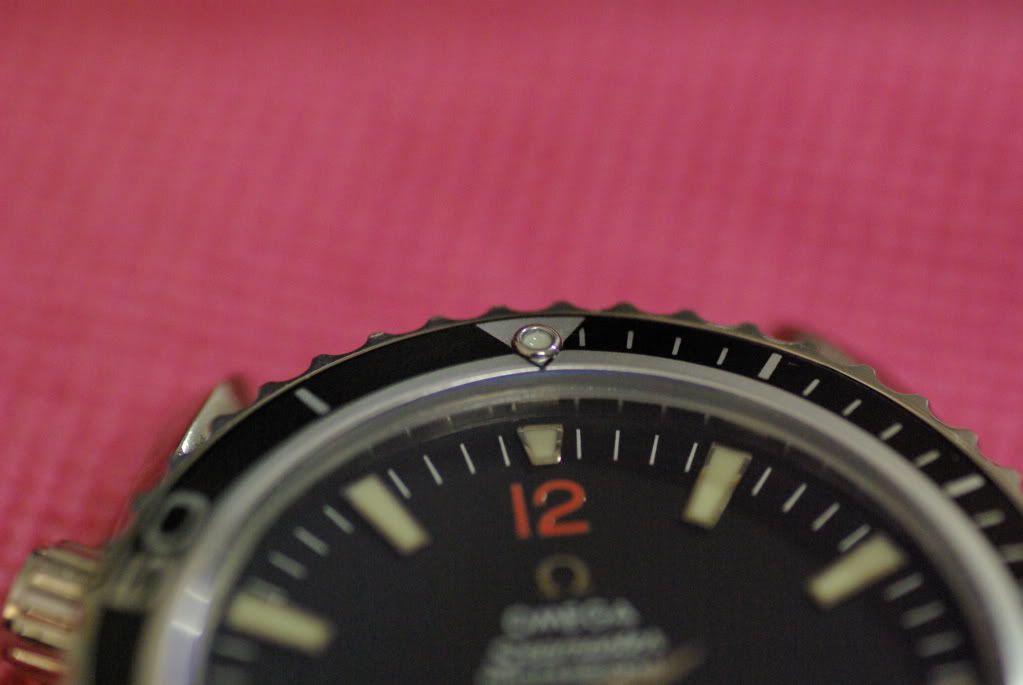
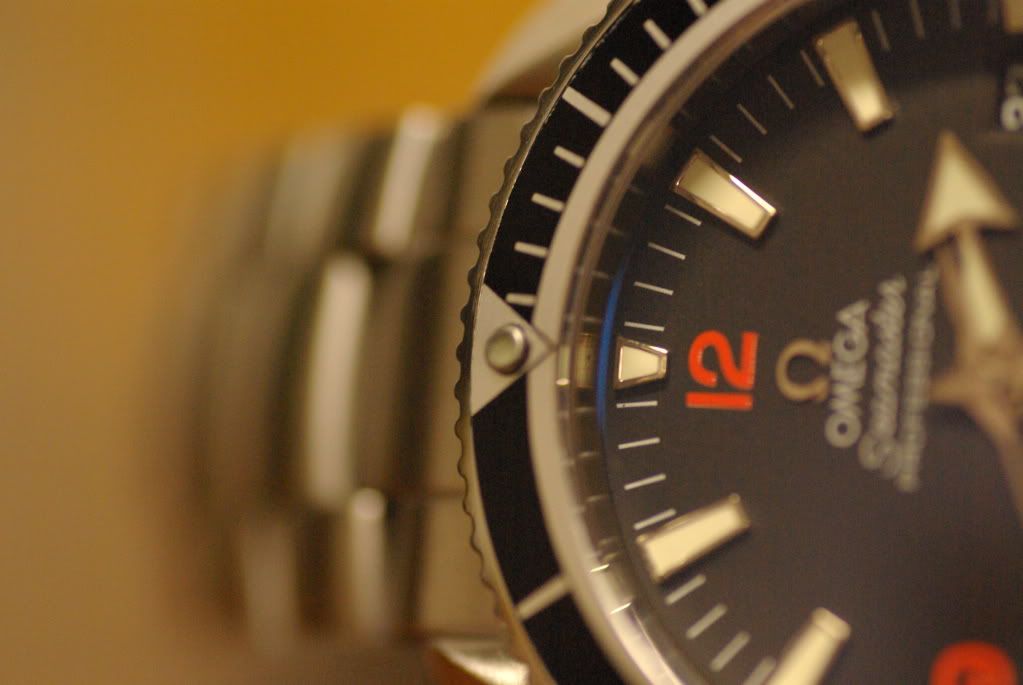
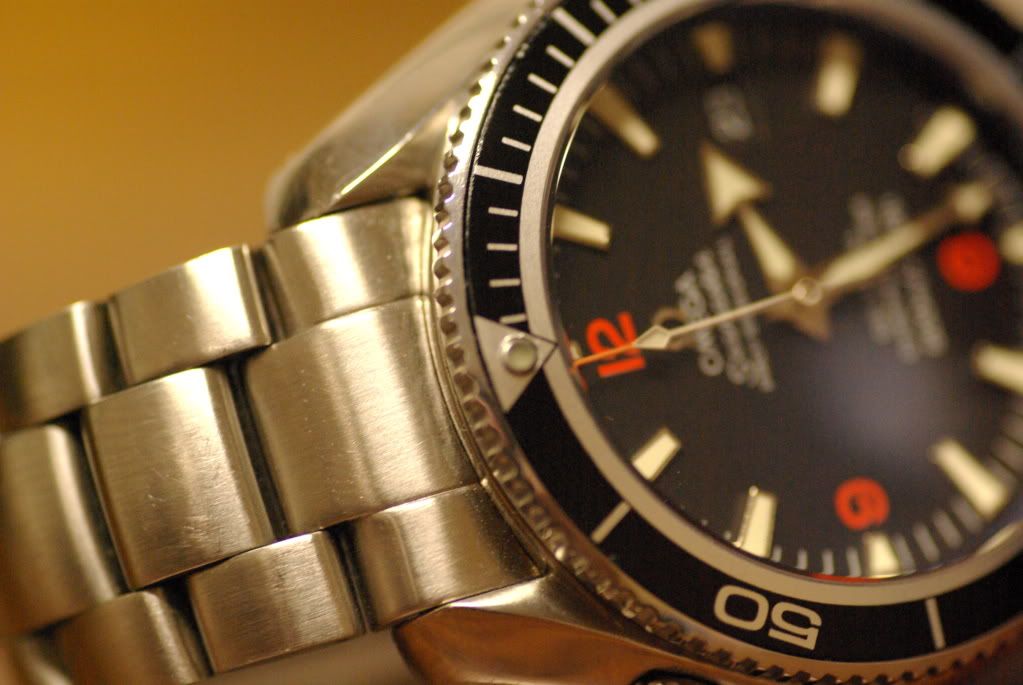
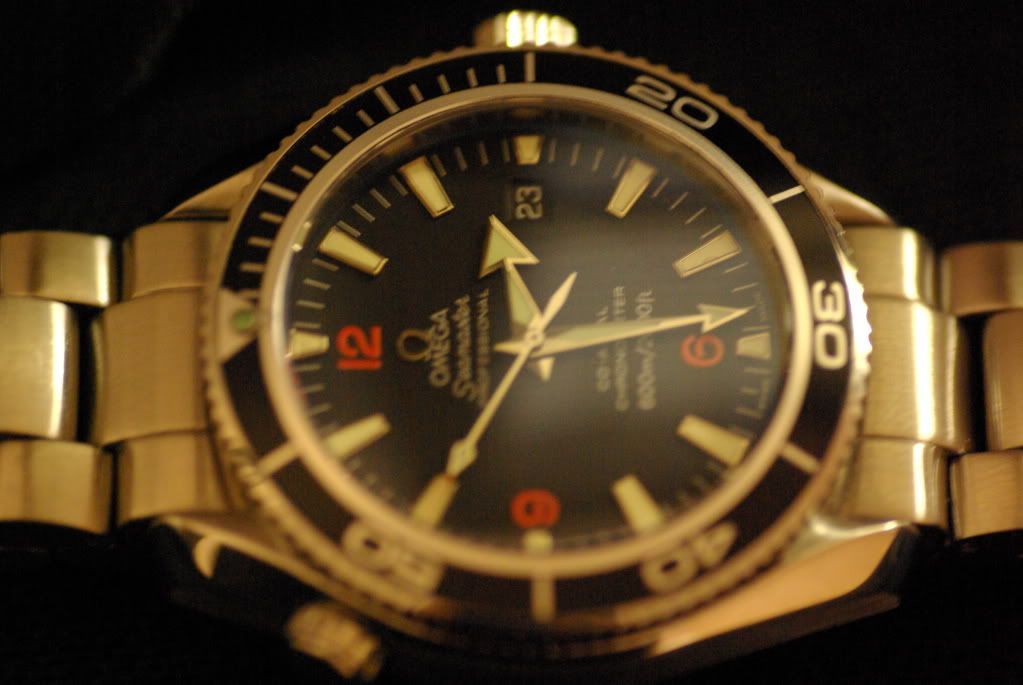
End Result.
He sent me new inserts with pearls. I looked and thought, I know we can do better than that. They were those canal street flat zits. So, what you see here are random photos that I took during the process. I will do my best to explain and answer any questions you may have.
1st I took the bezel off of his watch with one of these:
2nd I took the insert out and put away the spring and plunger for the ratcheting of the bezel.
3rd I took the new orange insert and popped out the canal street pearl and sized up what I would need to make sure this fit under the bezel as per the gen.
4th I took some 3MM 304SS rod and chucked it up in the lathe. (My lathe is really to big for this.) That's what she said, bha dha bump tish! :rimshot:
5th I milled down a ledge to about 1.65MM OD to fit into the insert. It was 1.10MM in height. This was due to having enough shoulder to give the pearl height.
6th I milled a 2.5MM OD ledge to act as a stop to prevent the pearl from fall through.
7th I polished and rounded off the edges of the pearl with would be visible.
8th I milled a .047 Inch Flat Flute Mill and made a well for the paint, lume and epoxy.
9th, I filed the insert hole to accept the new pearl with a miniature round file. Carefully removing stock.
10th Paint with white paint, lume mixture, V10 GlowInc. 15/20 Particle, then covered with clear epoxy.
11th I filed out some space on the bezel to all allow for shoulder clearance.
12th I Used GS Cement to glue the insert back in.
End Result.