- 24/4/24
- 42
- 40
- 18
Hi RWI,
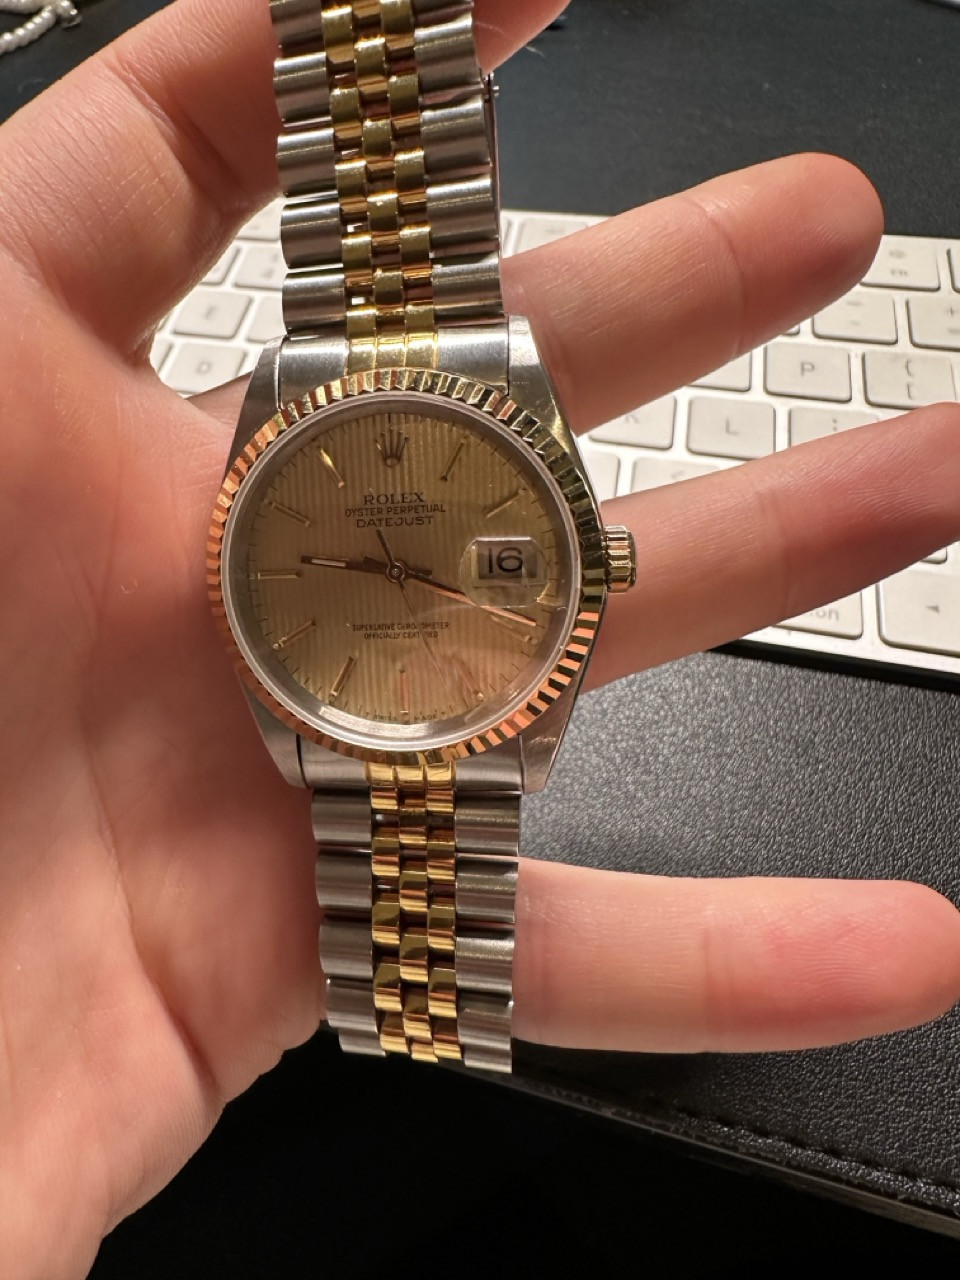
I got inspired by the user @Replicated and his vintage build. I have six Seikos, and my favorite is a two-tone quartz that looks like Patrick Bateman's watch from the movie American Psycho.
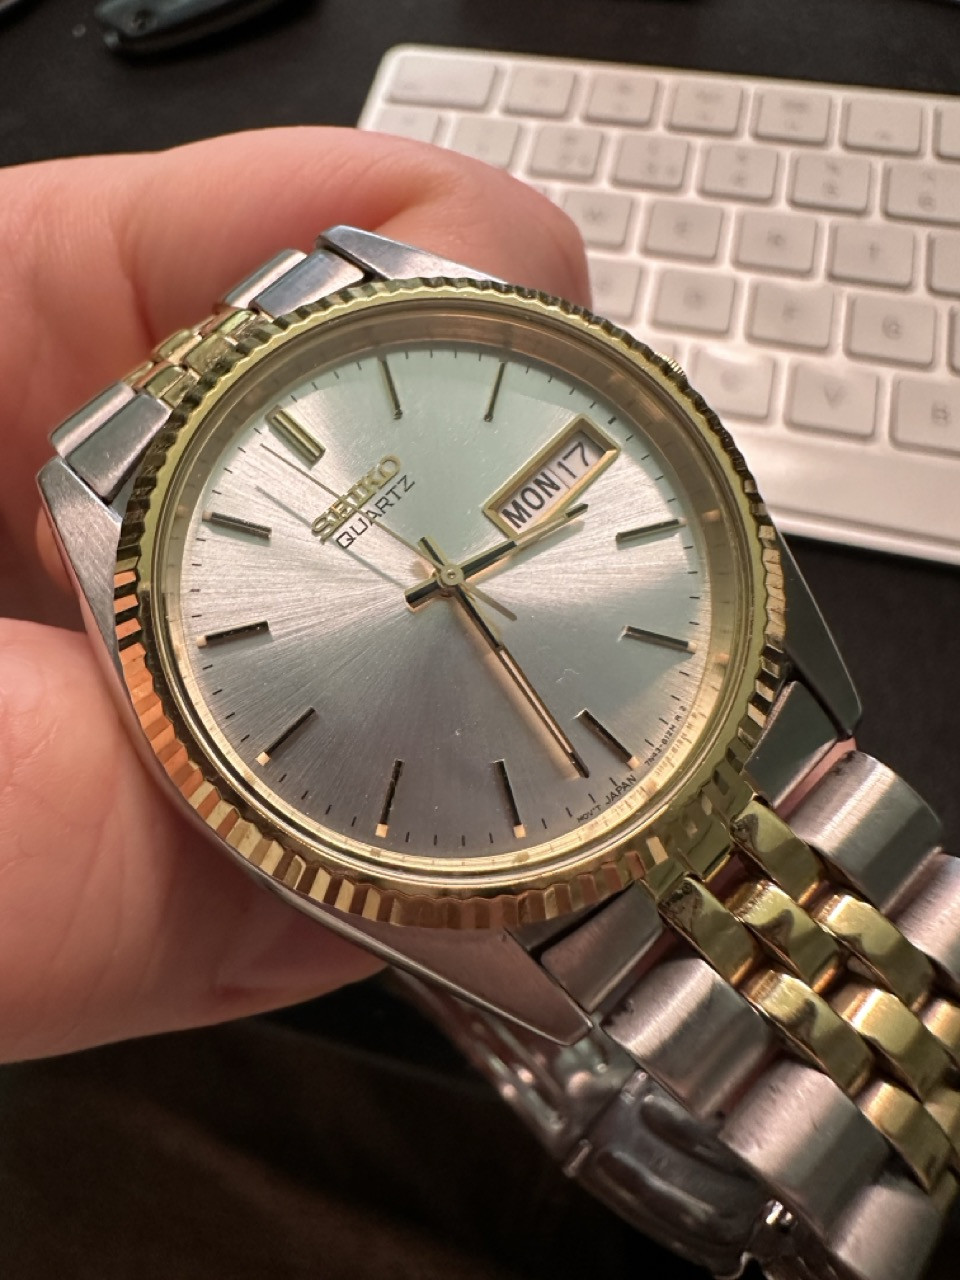
However, I wanted more, specifically the book version of this watch. This is my first build ever, and I messaged @Replicated for advice.
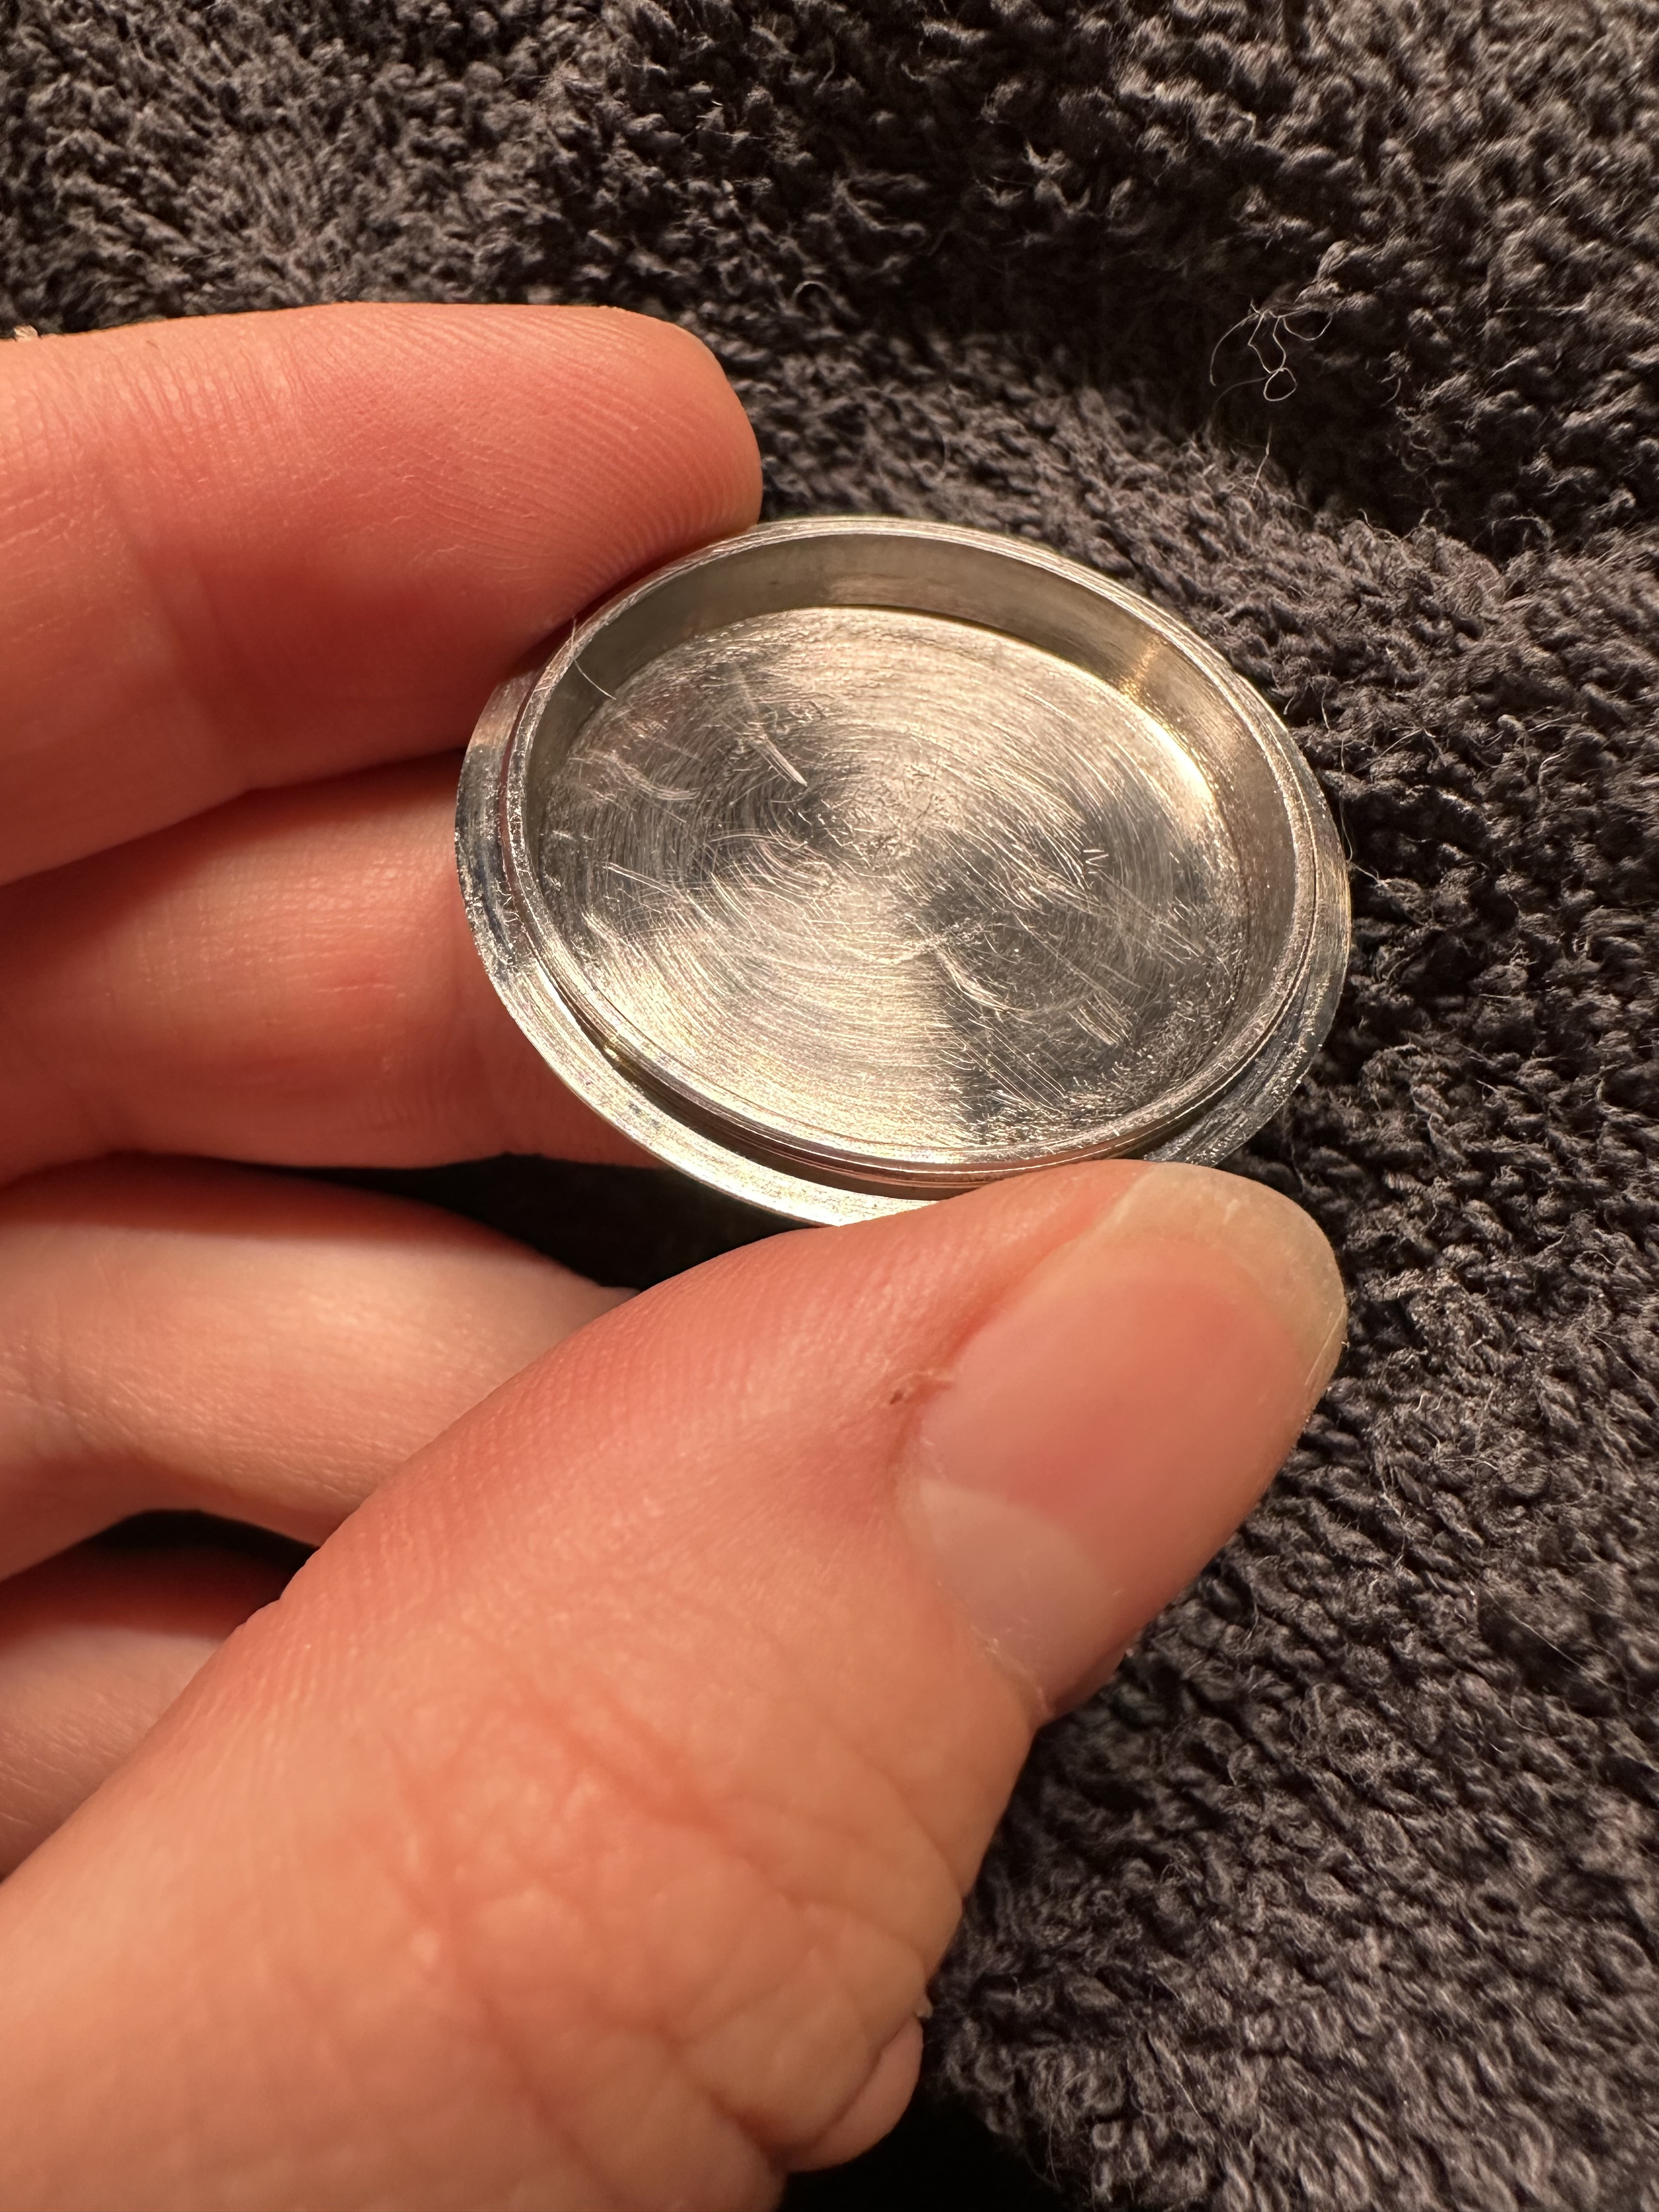
This was the crown jewel of the build
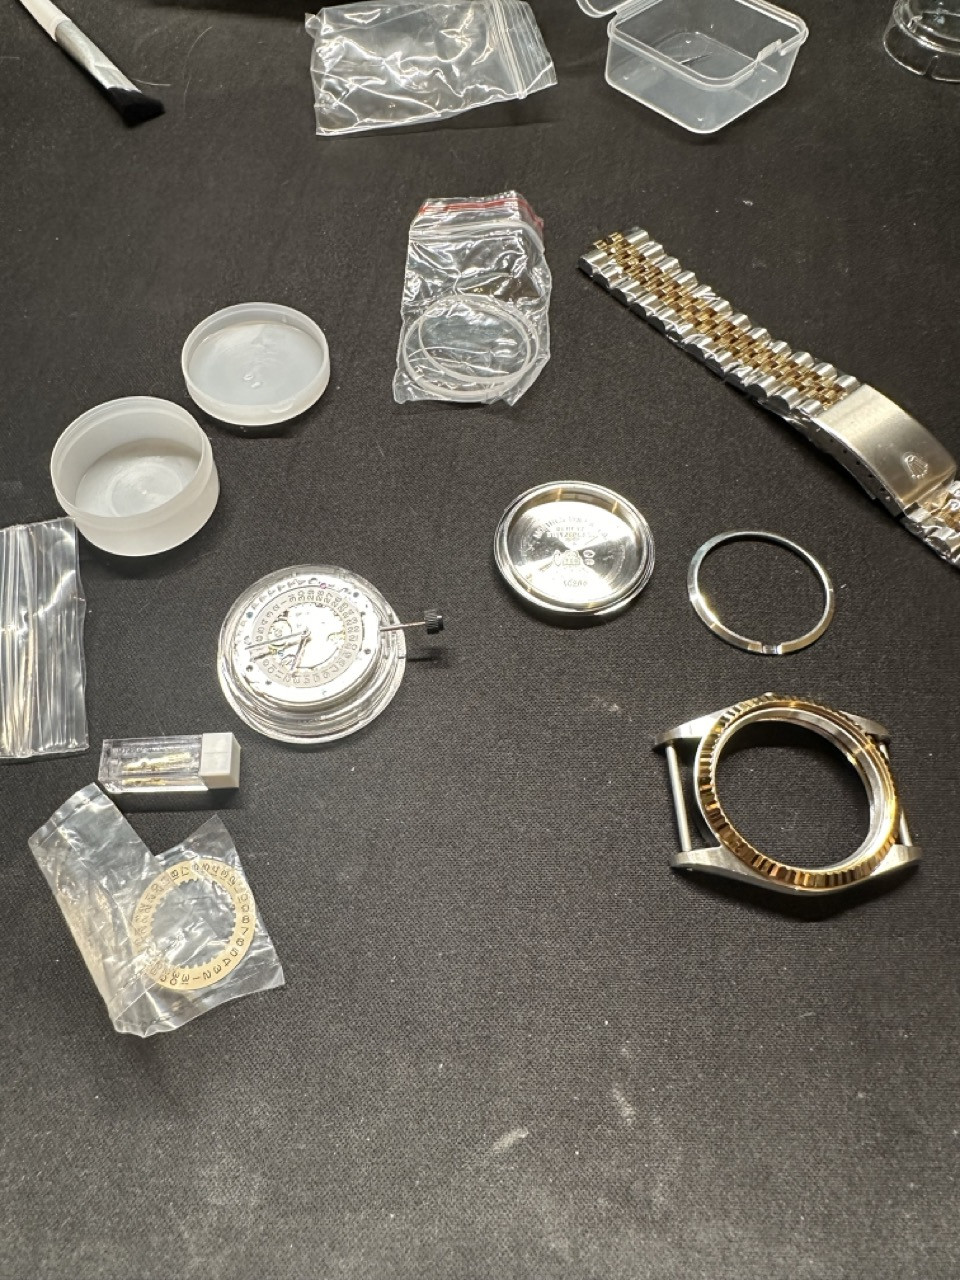
Where to start?
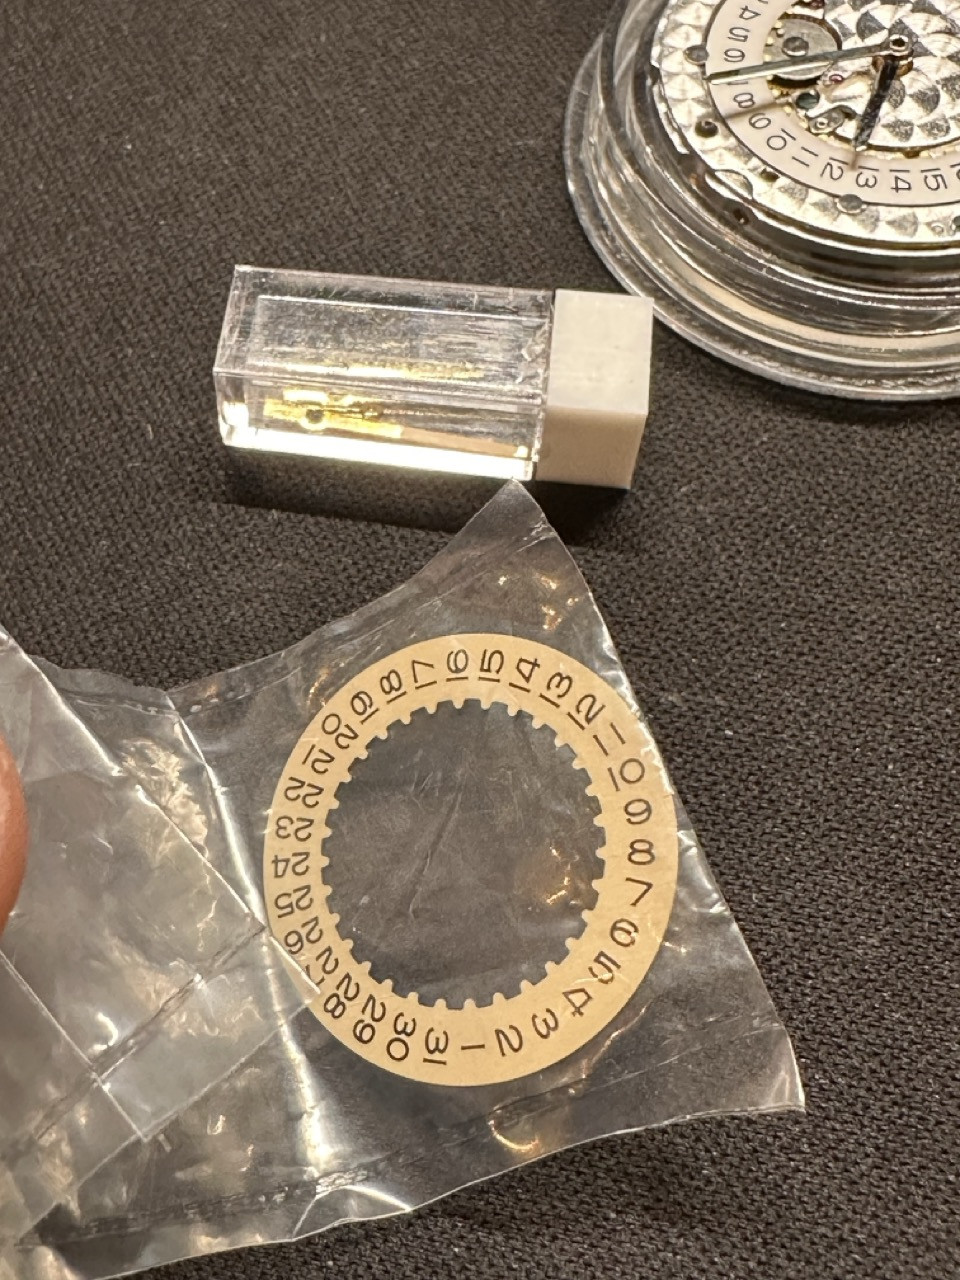
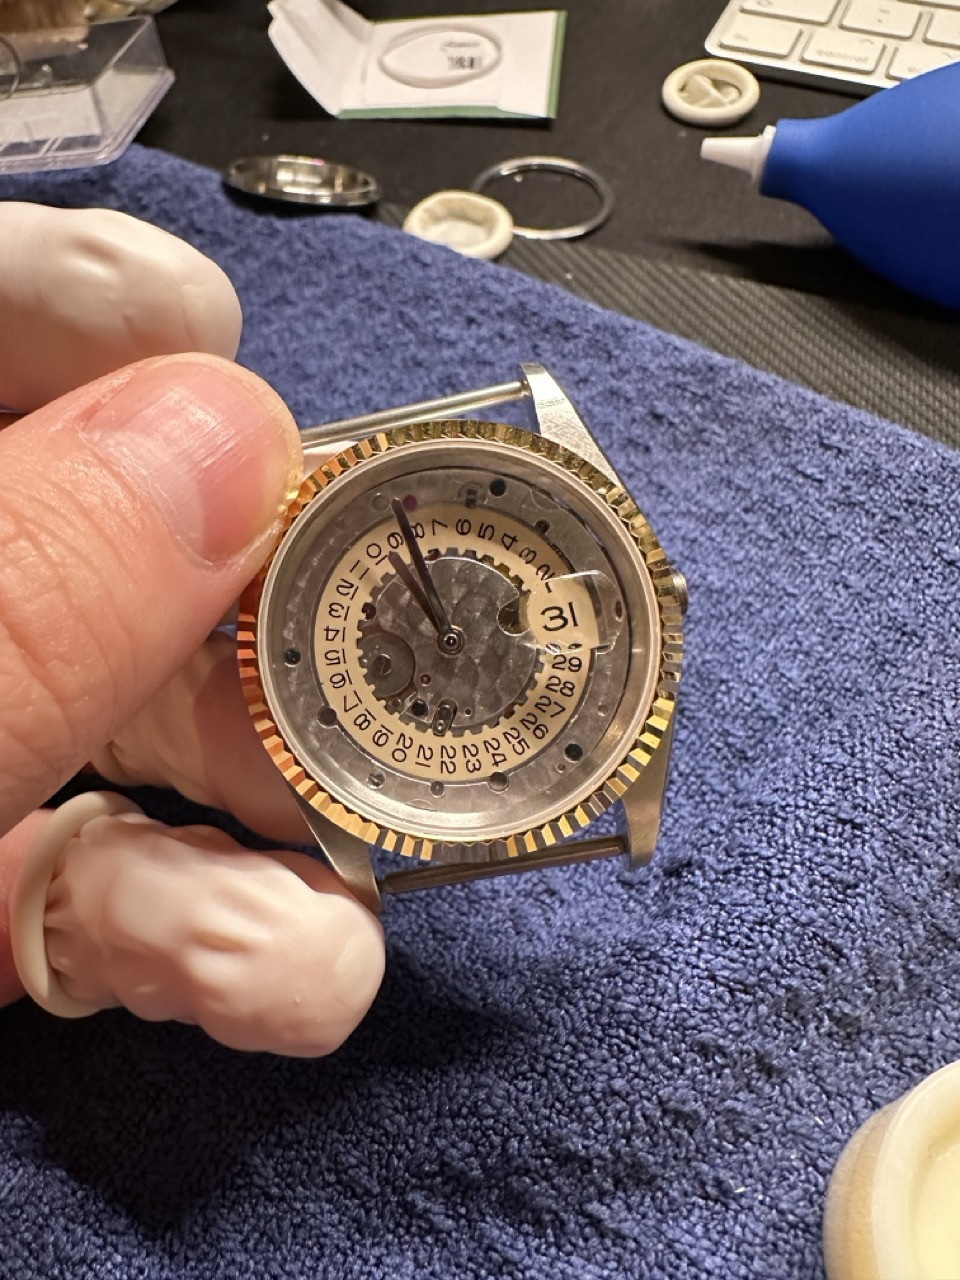
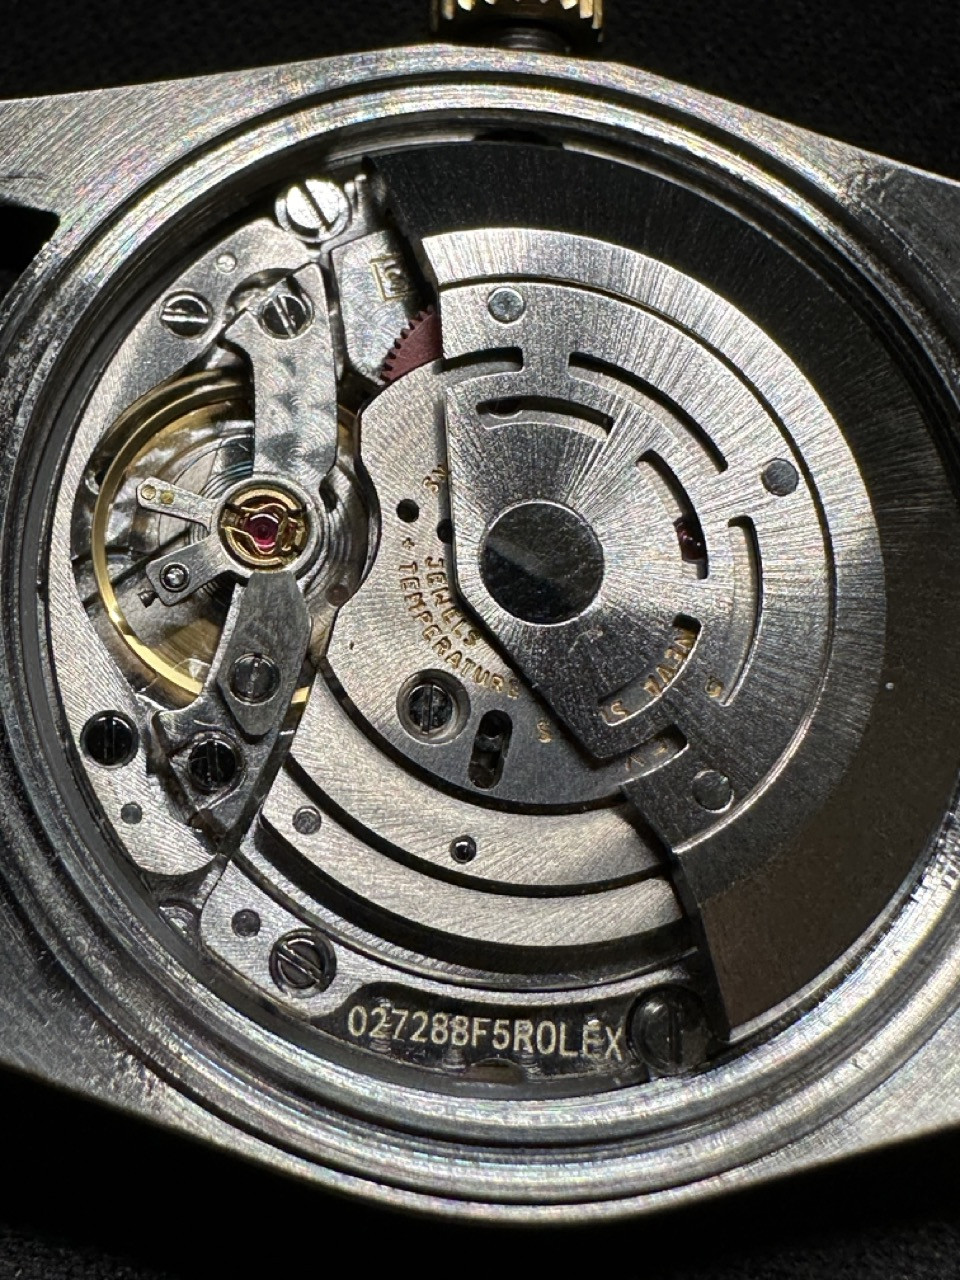
Installing the date wheel on the vs3135:
This was kind of easy but required a few attempts.
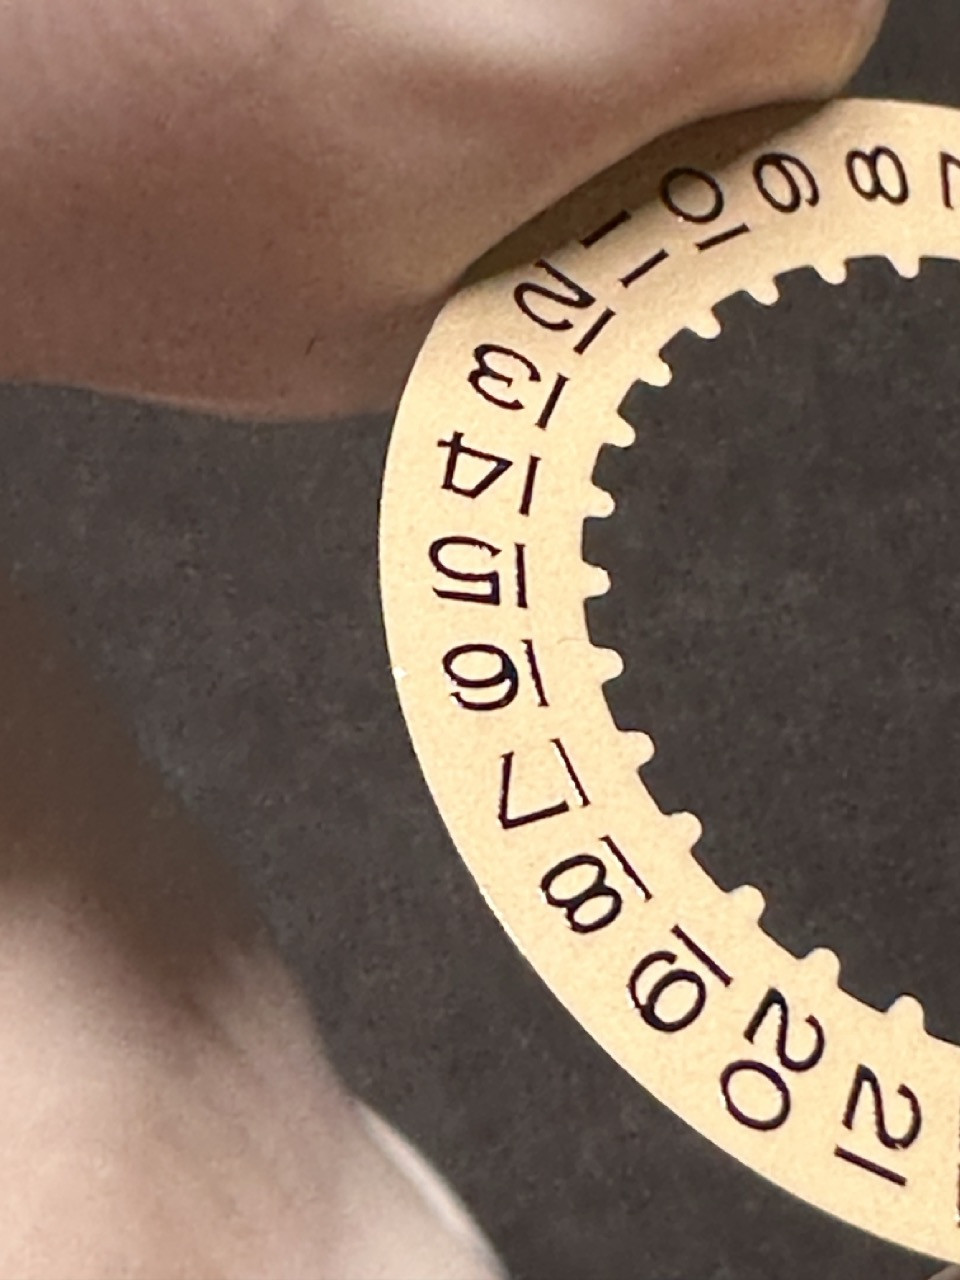
I damaged the wheel a little bit, but it’s not noticeable once in the case. You need to put this wheel under all the round/circle holders.
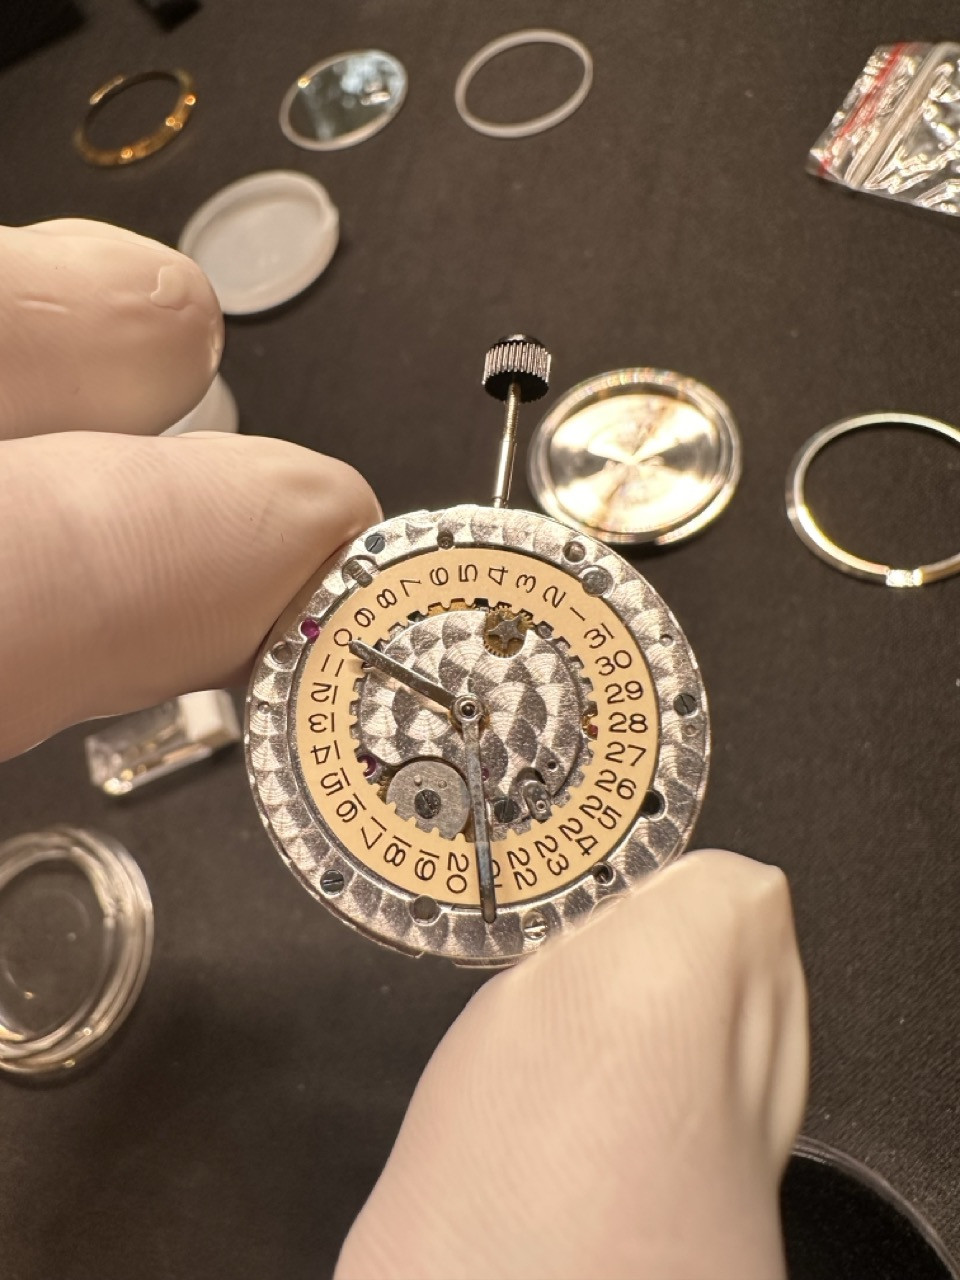
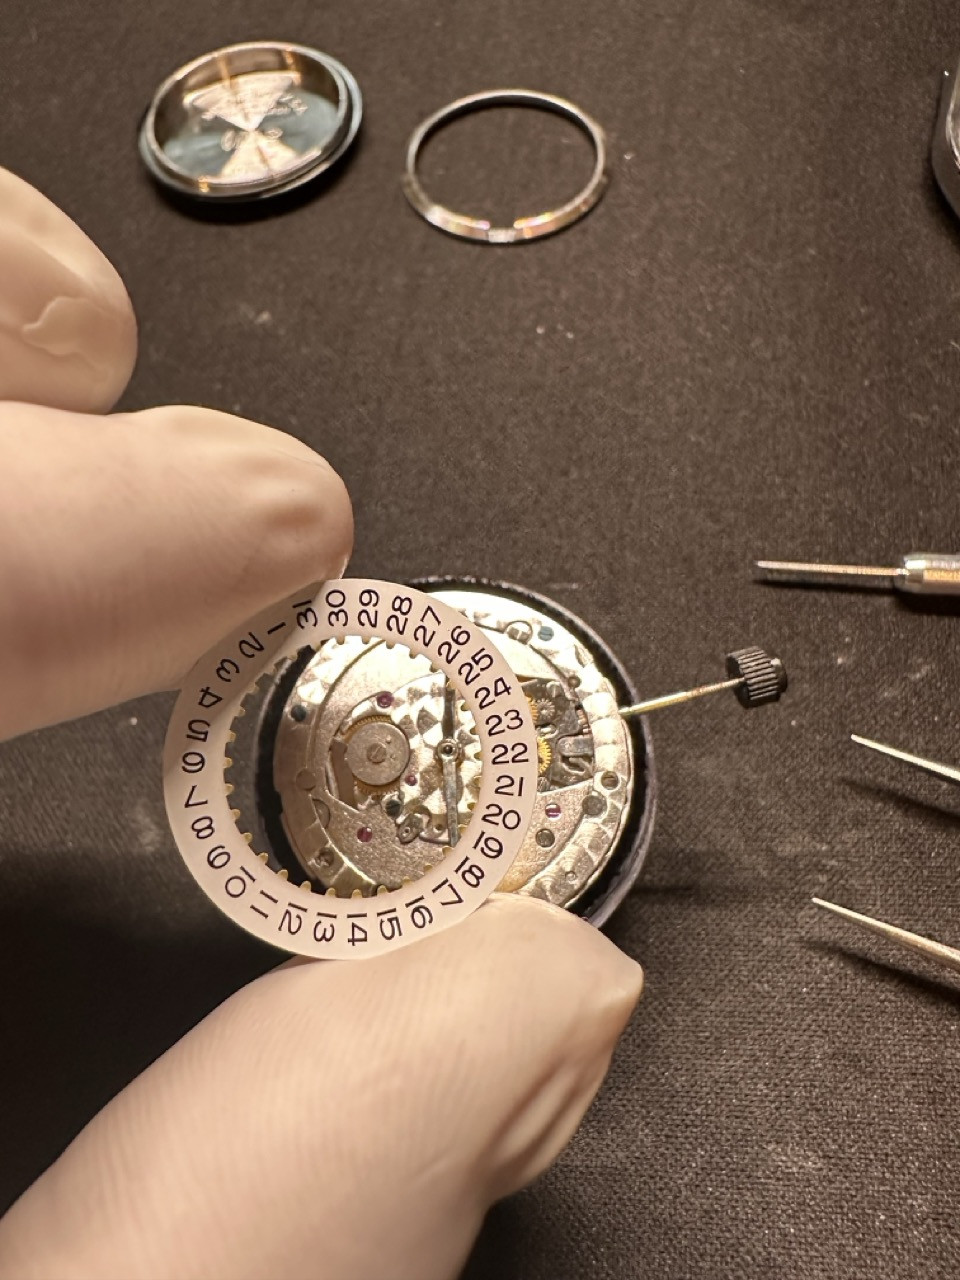
Here you can see it’s not correctly installed. Look at the bottom right. You can test the date wheel in the movement itself.
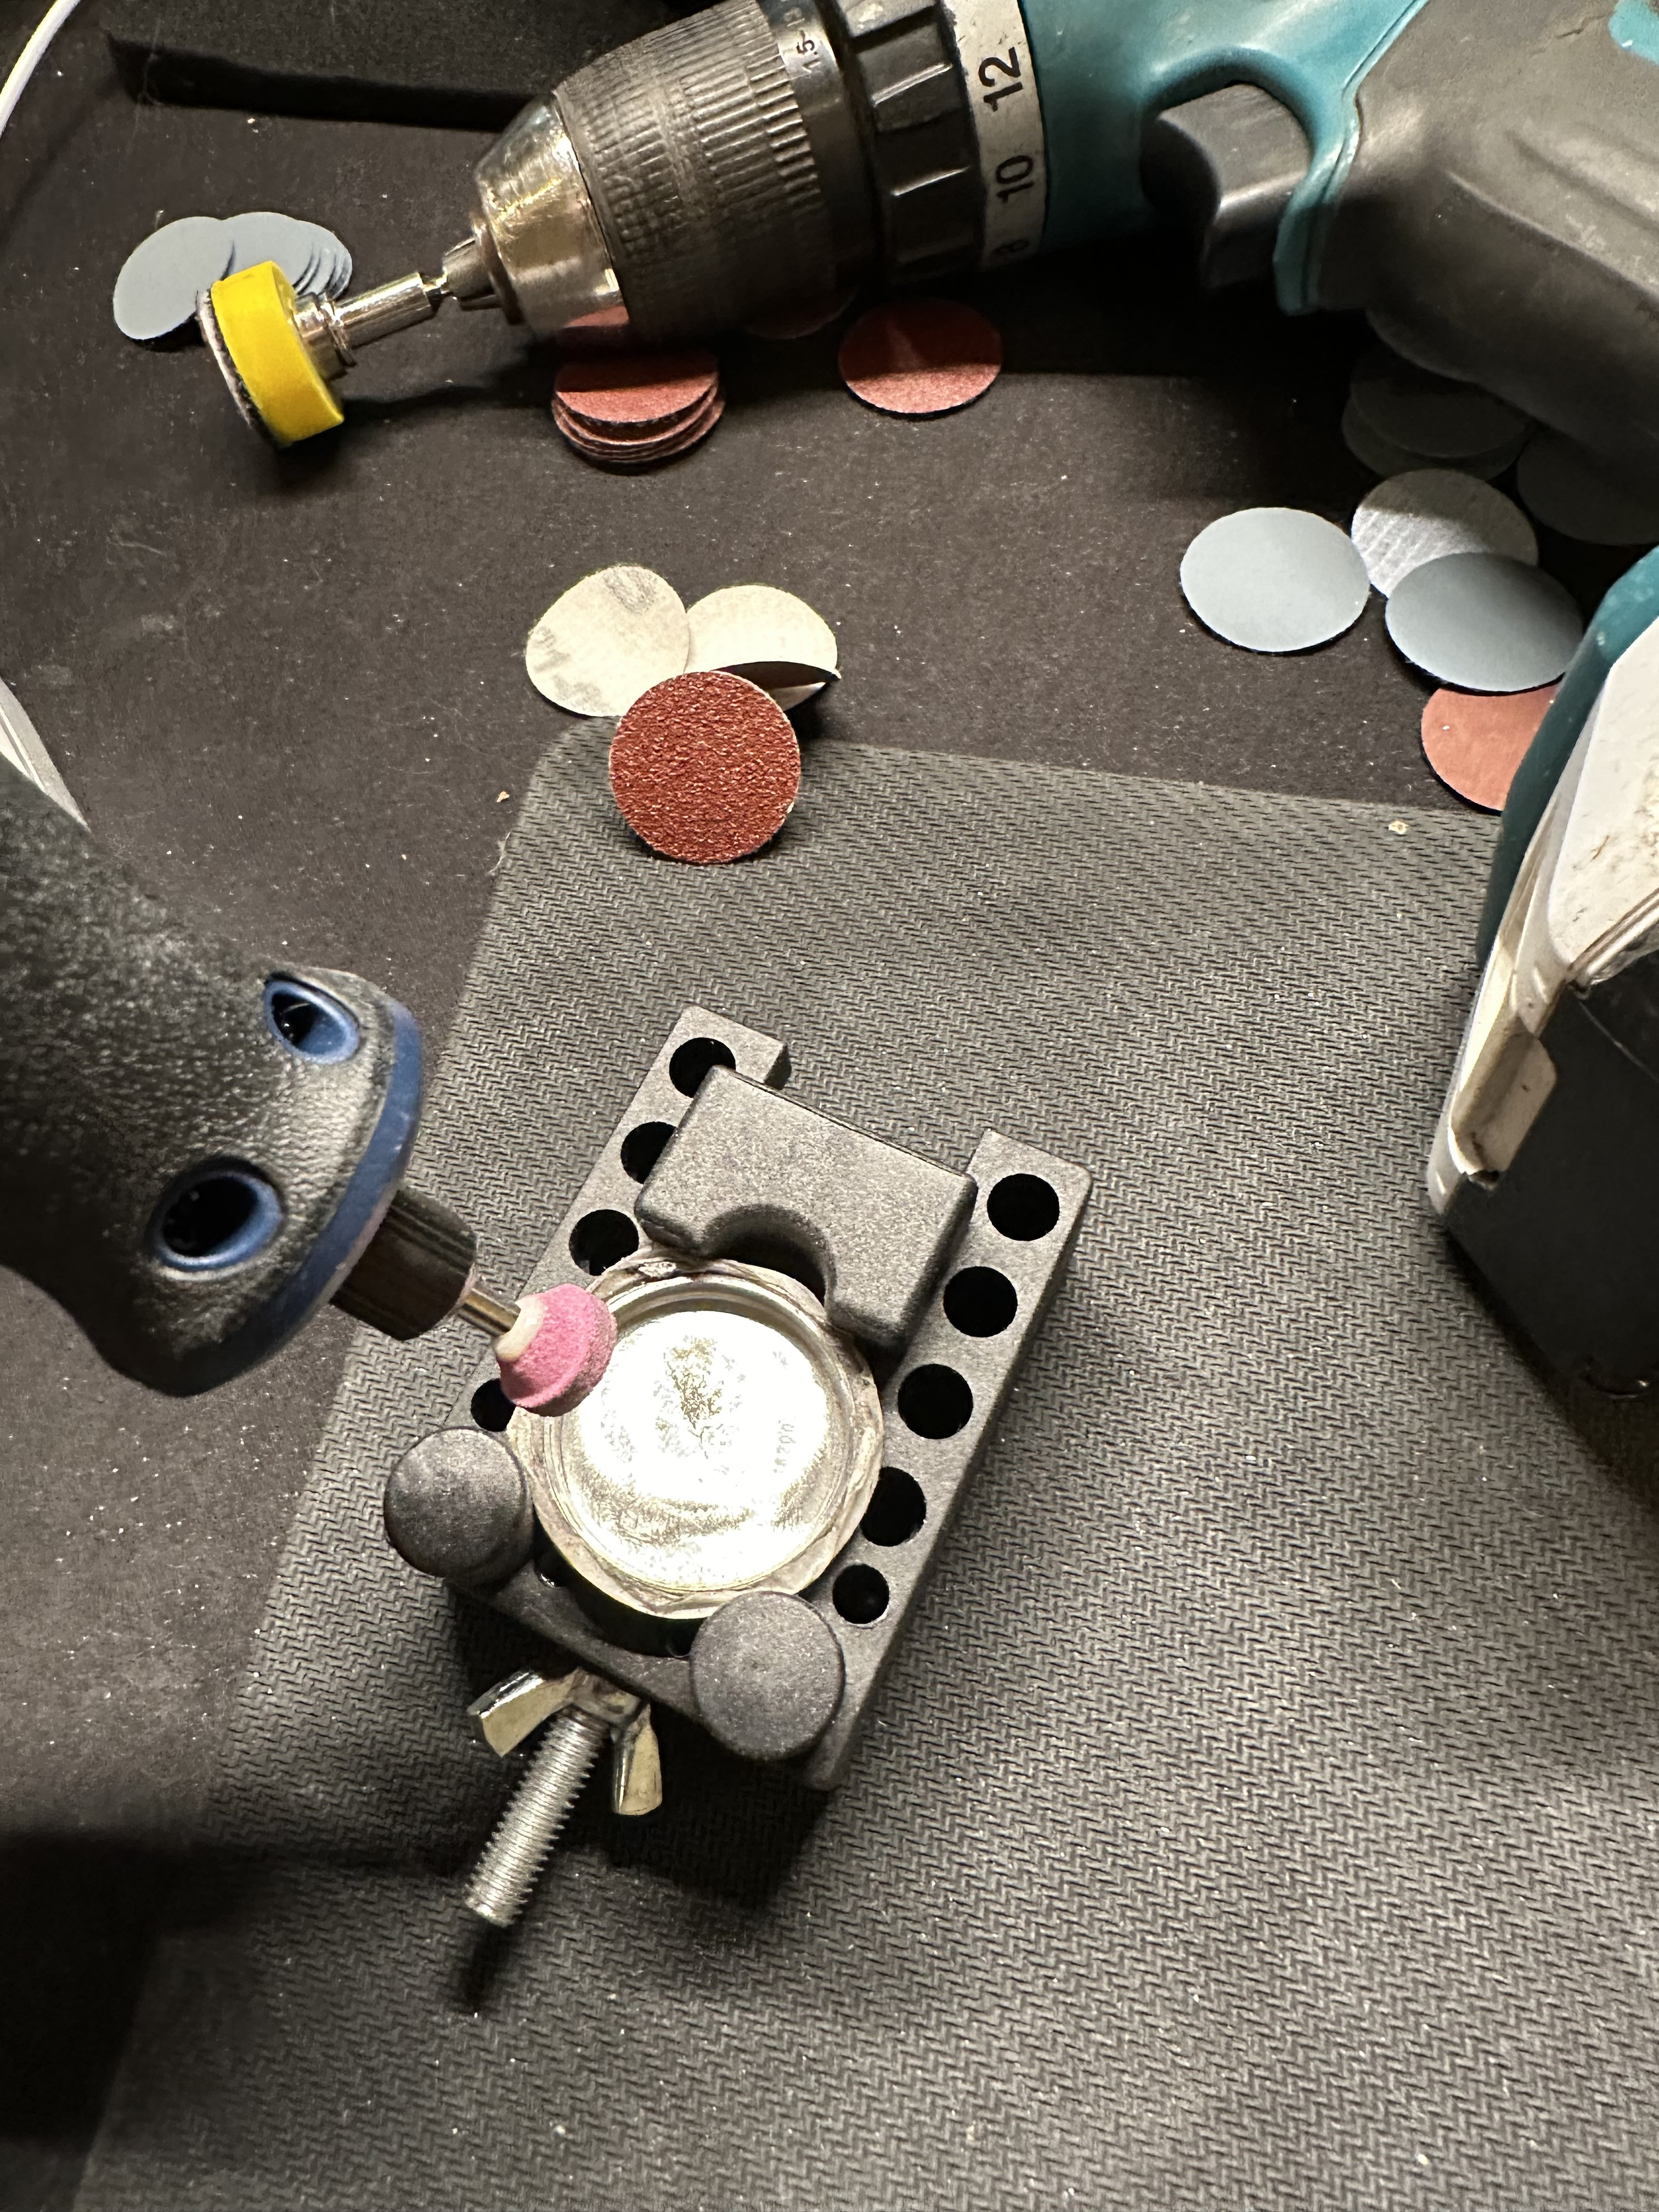
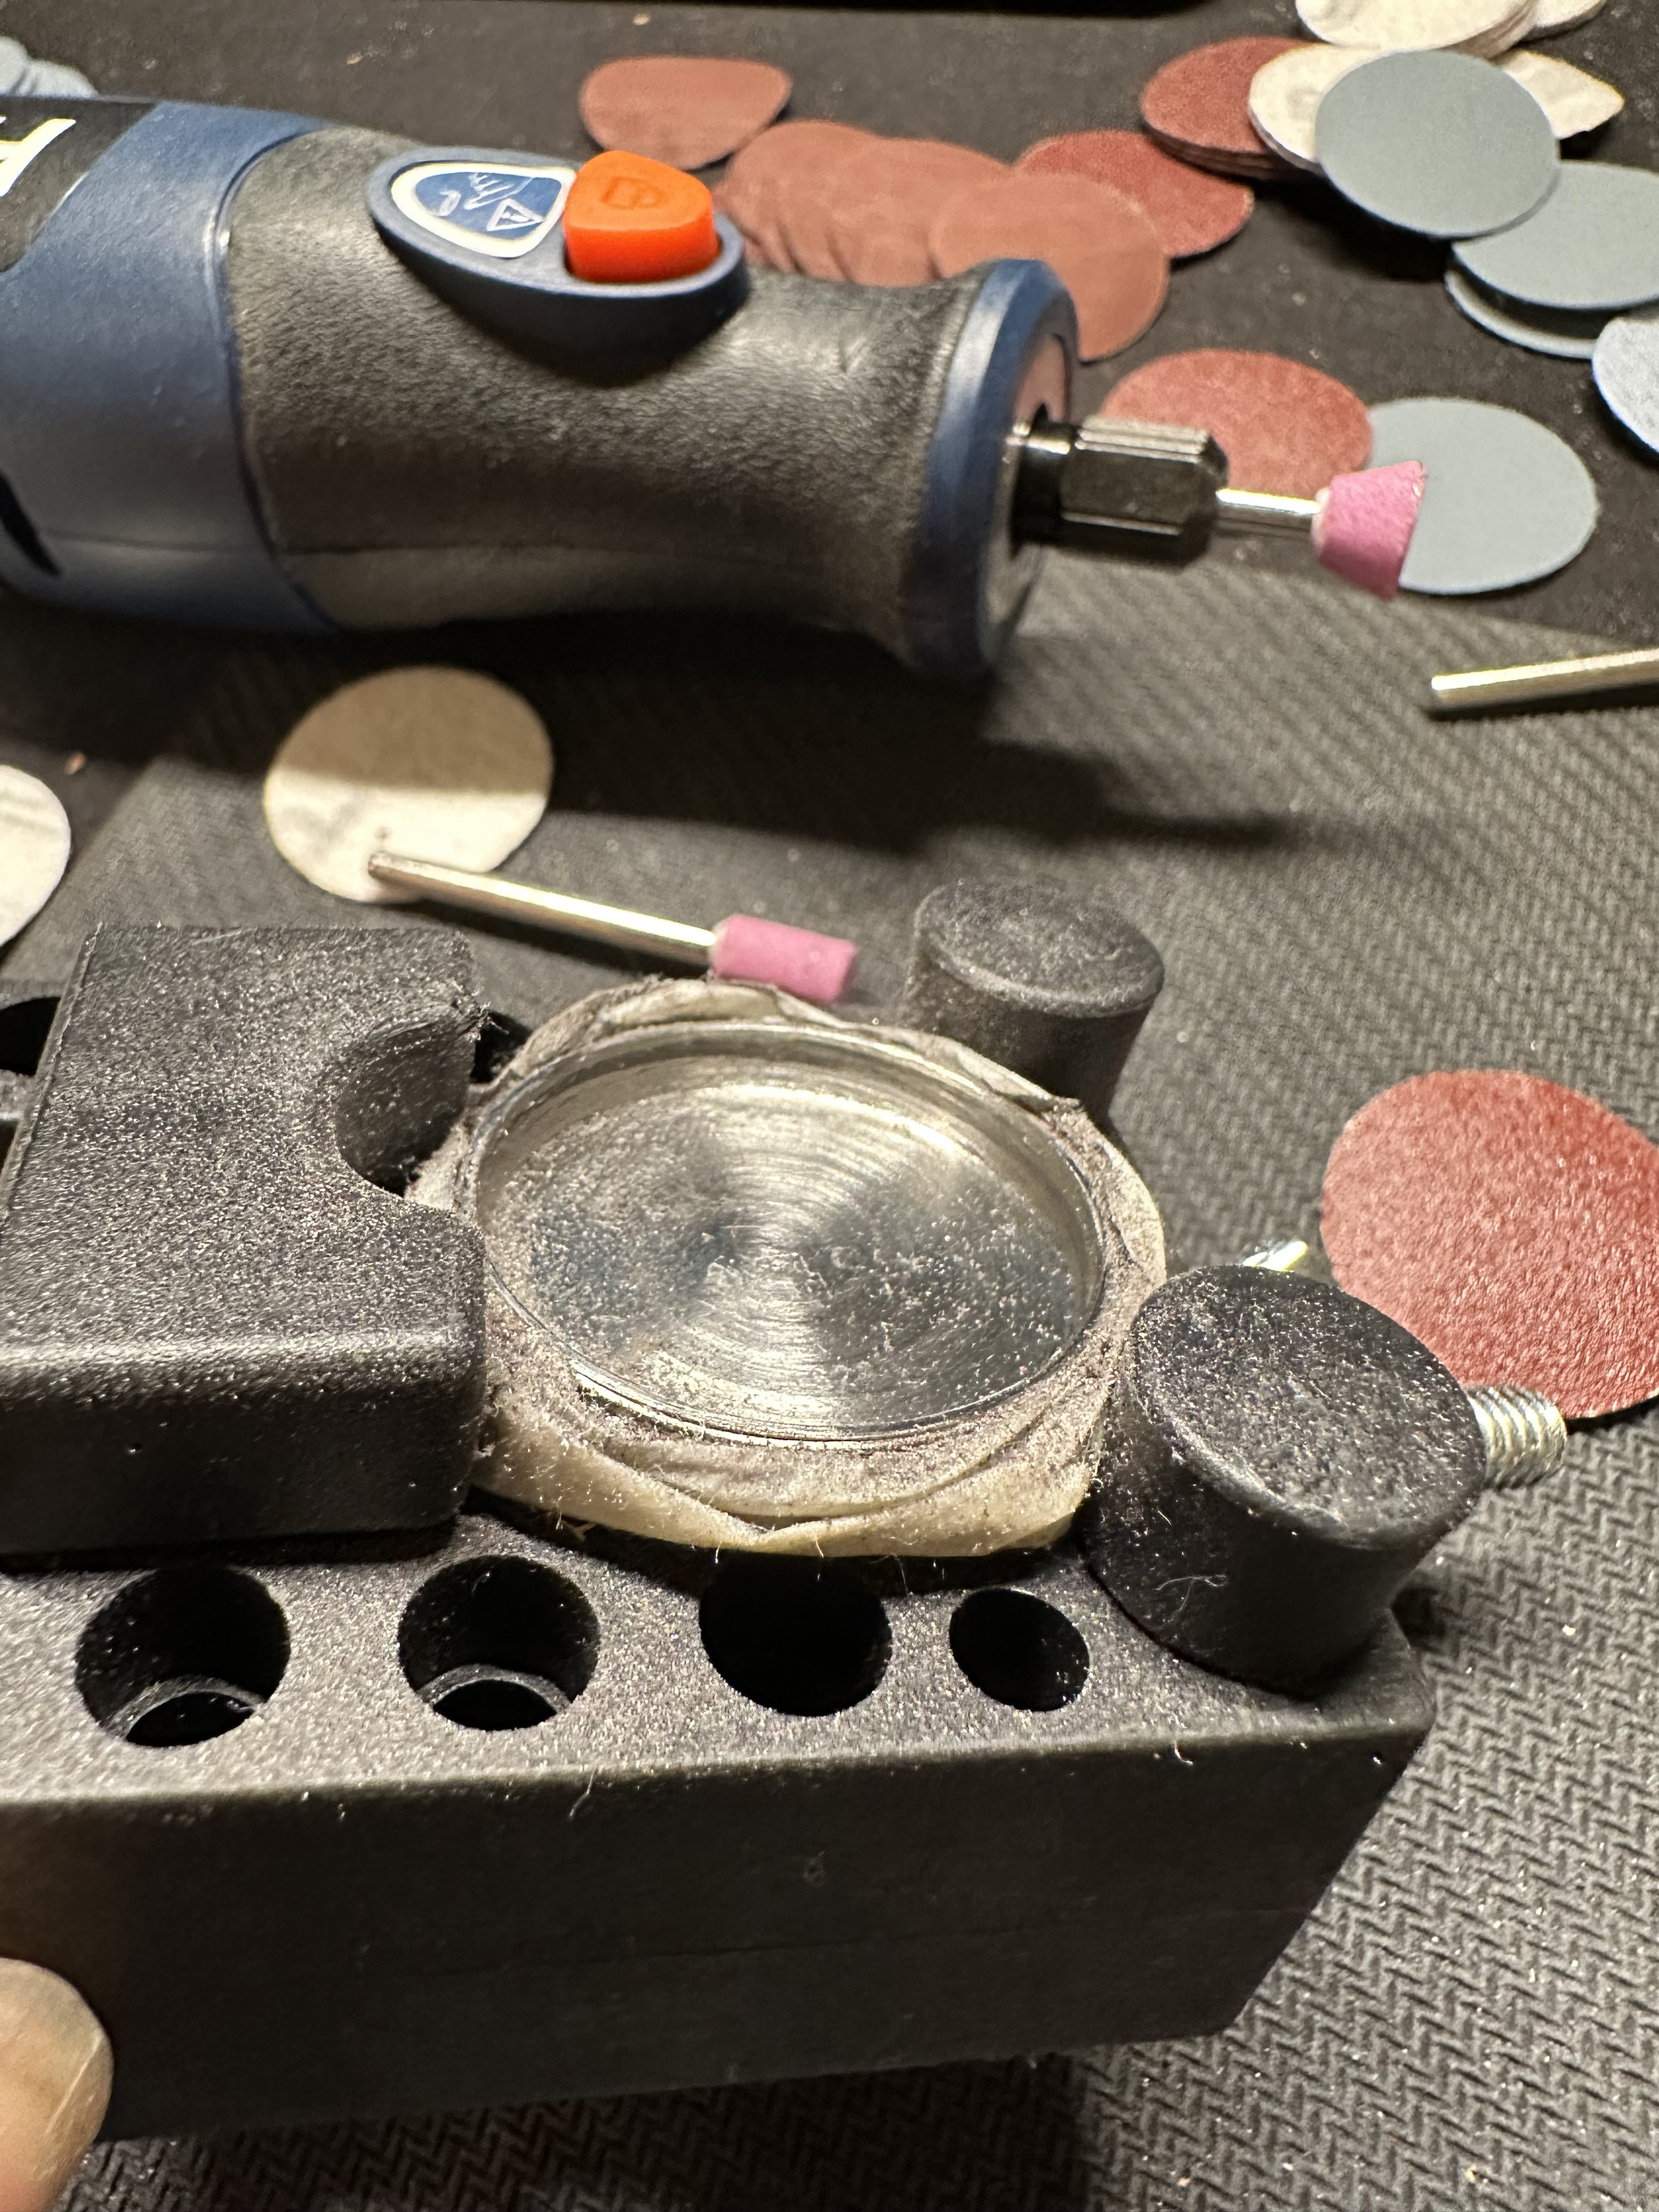
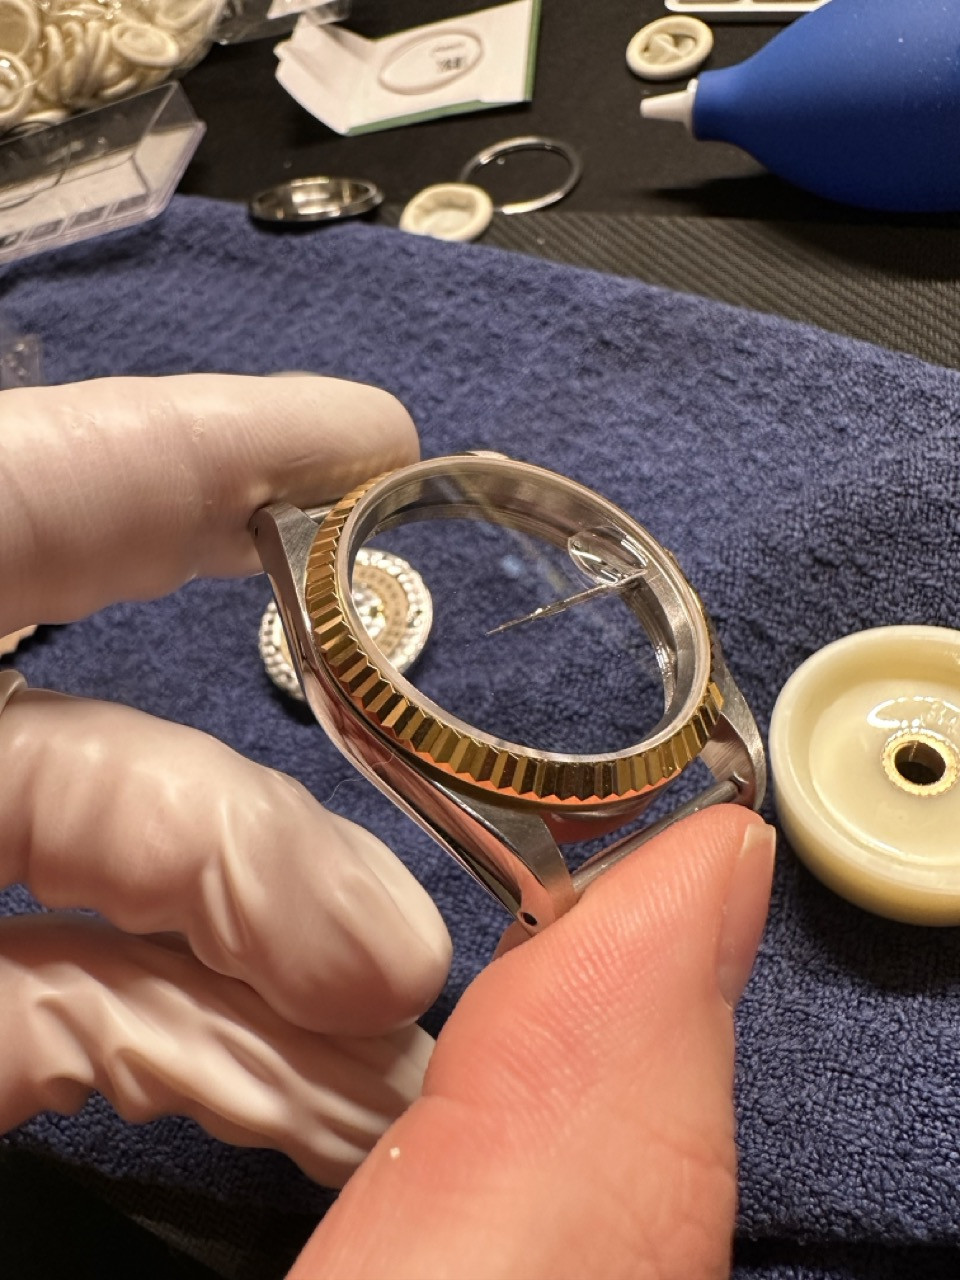
Next up was fitting the glass and bezel. This also went wrong a lot. The white round spacer between the bezel and glass should be bigger at the top than the bottom, otherwise, the glass won't sit evenly.
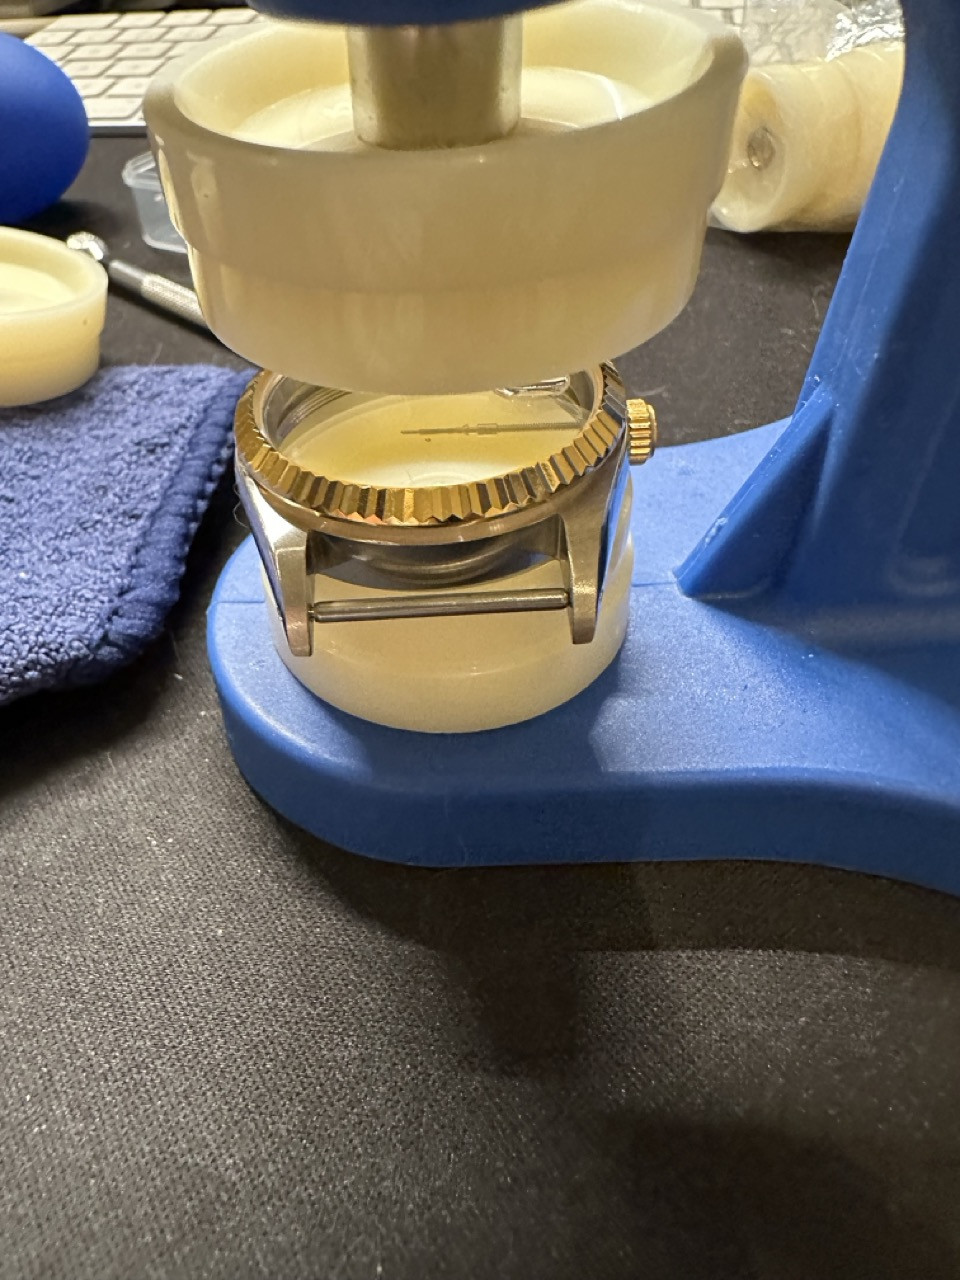
Push the glass first, then the bezel.
Looks quite right.
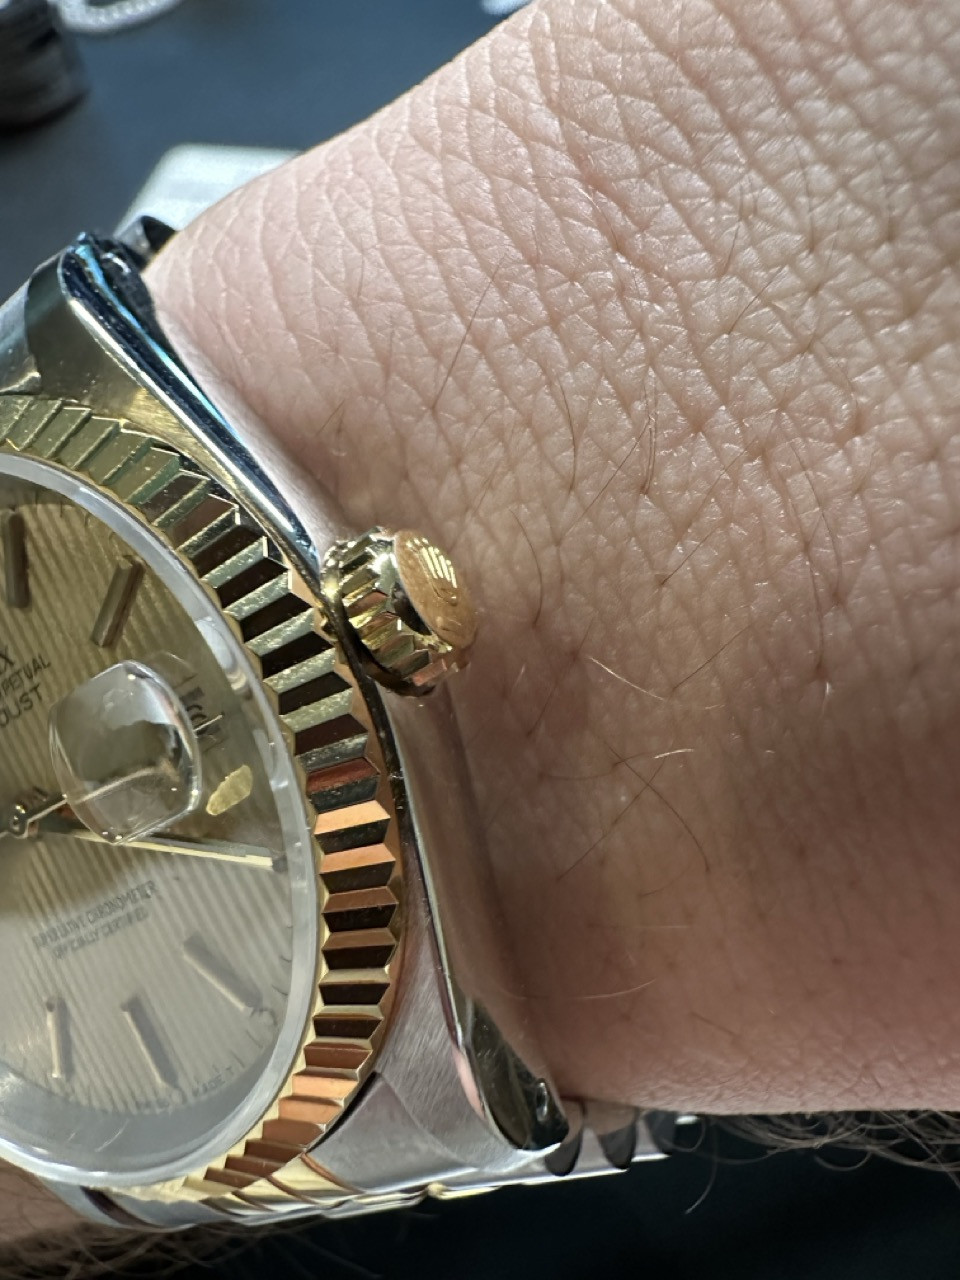
From the side.
Next, i fitted the band. I also removed one of the non-removable links from the short end of the bracelet because I have small wrists. It's pretty tight now, but it will get better over time as it’s worn.
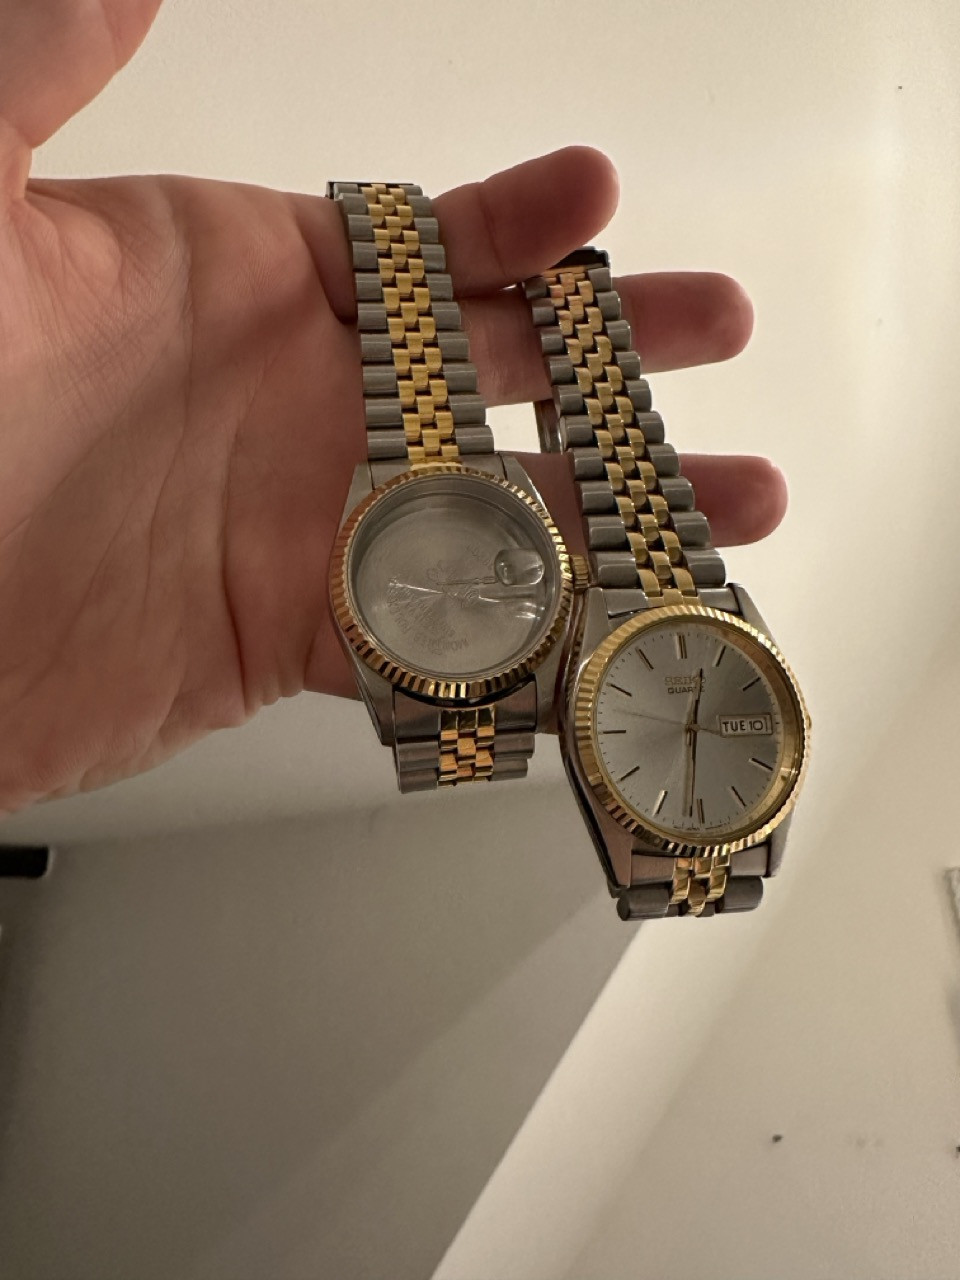
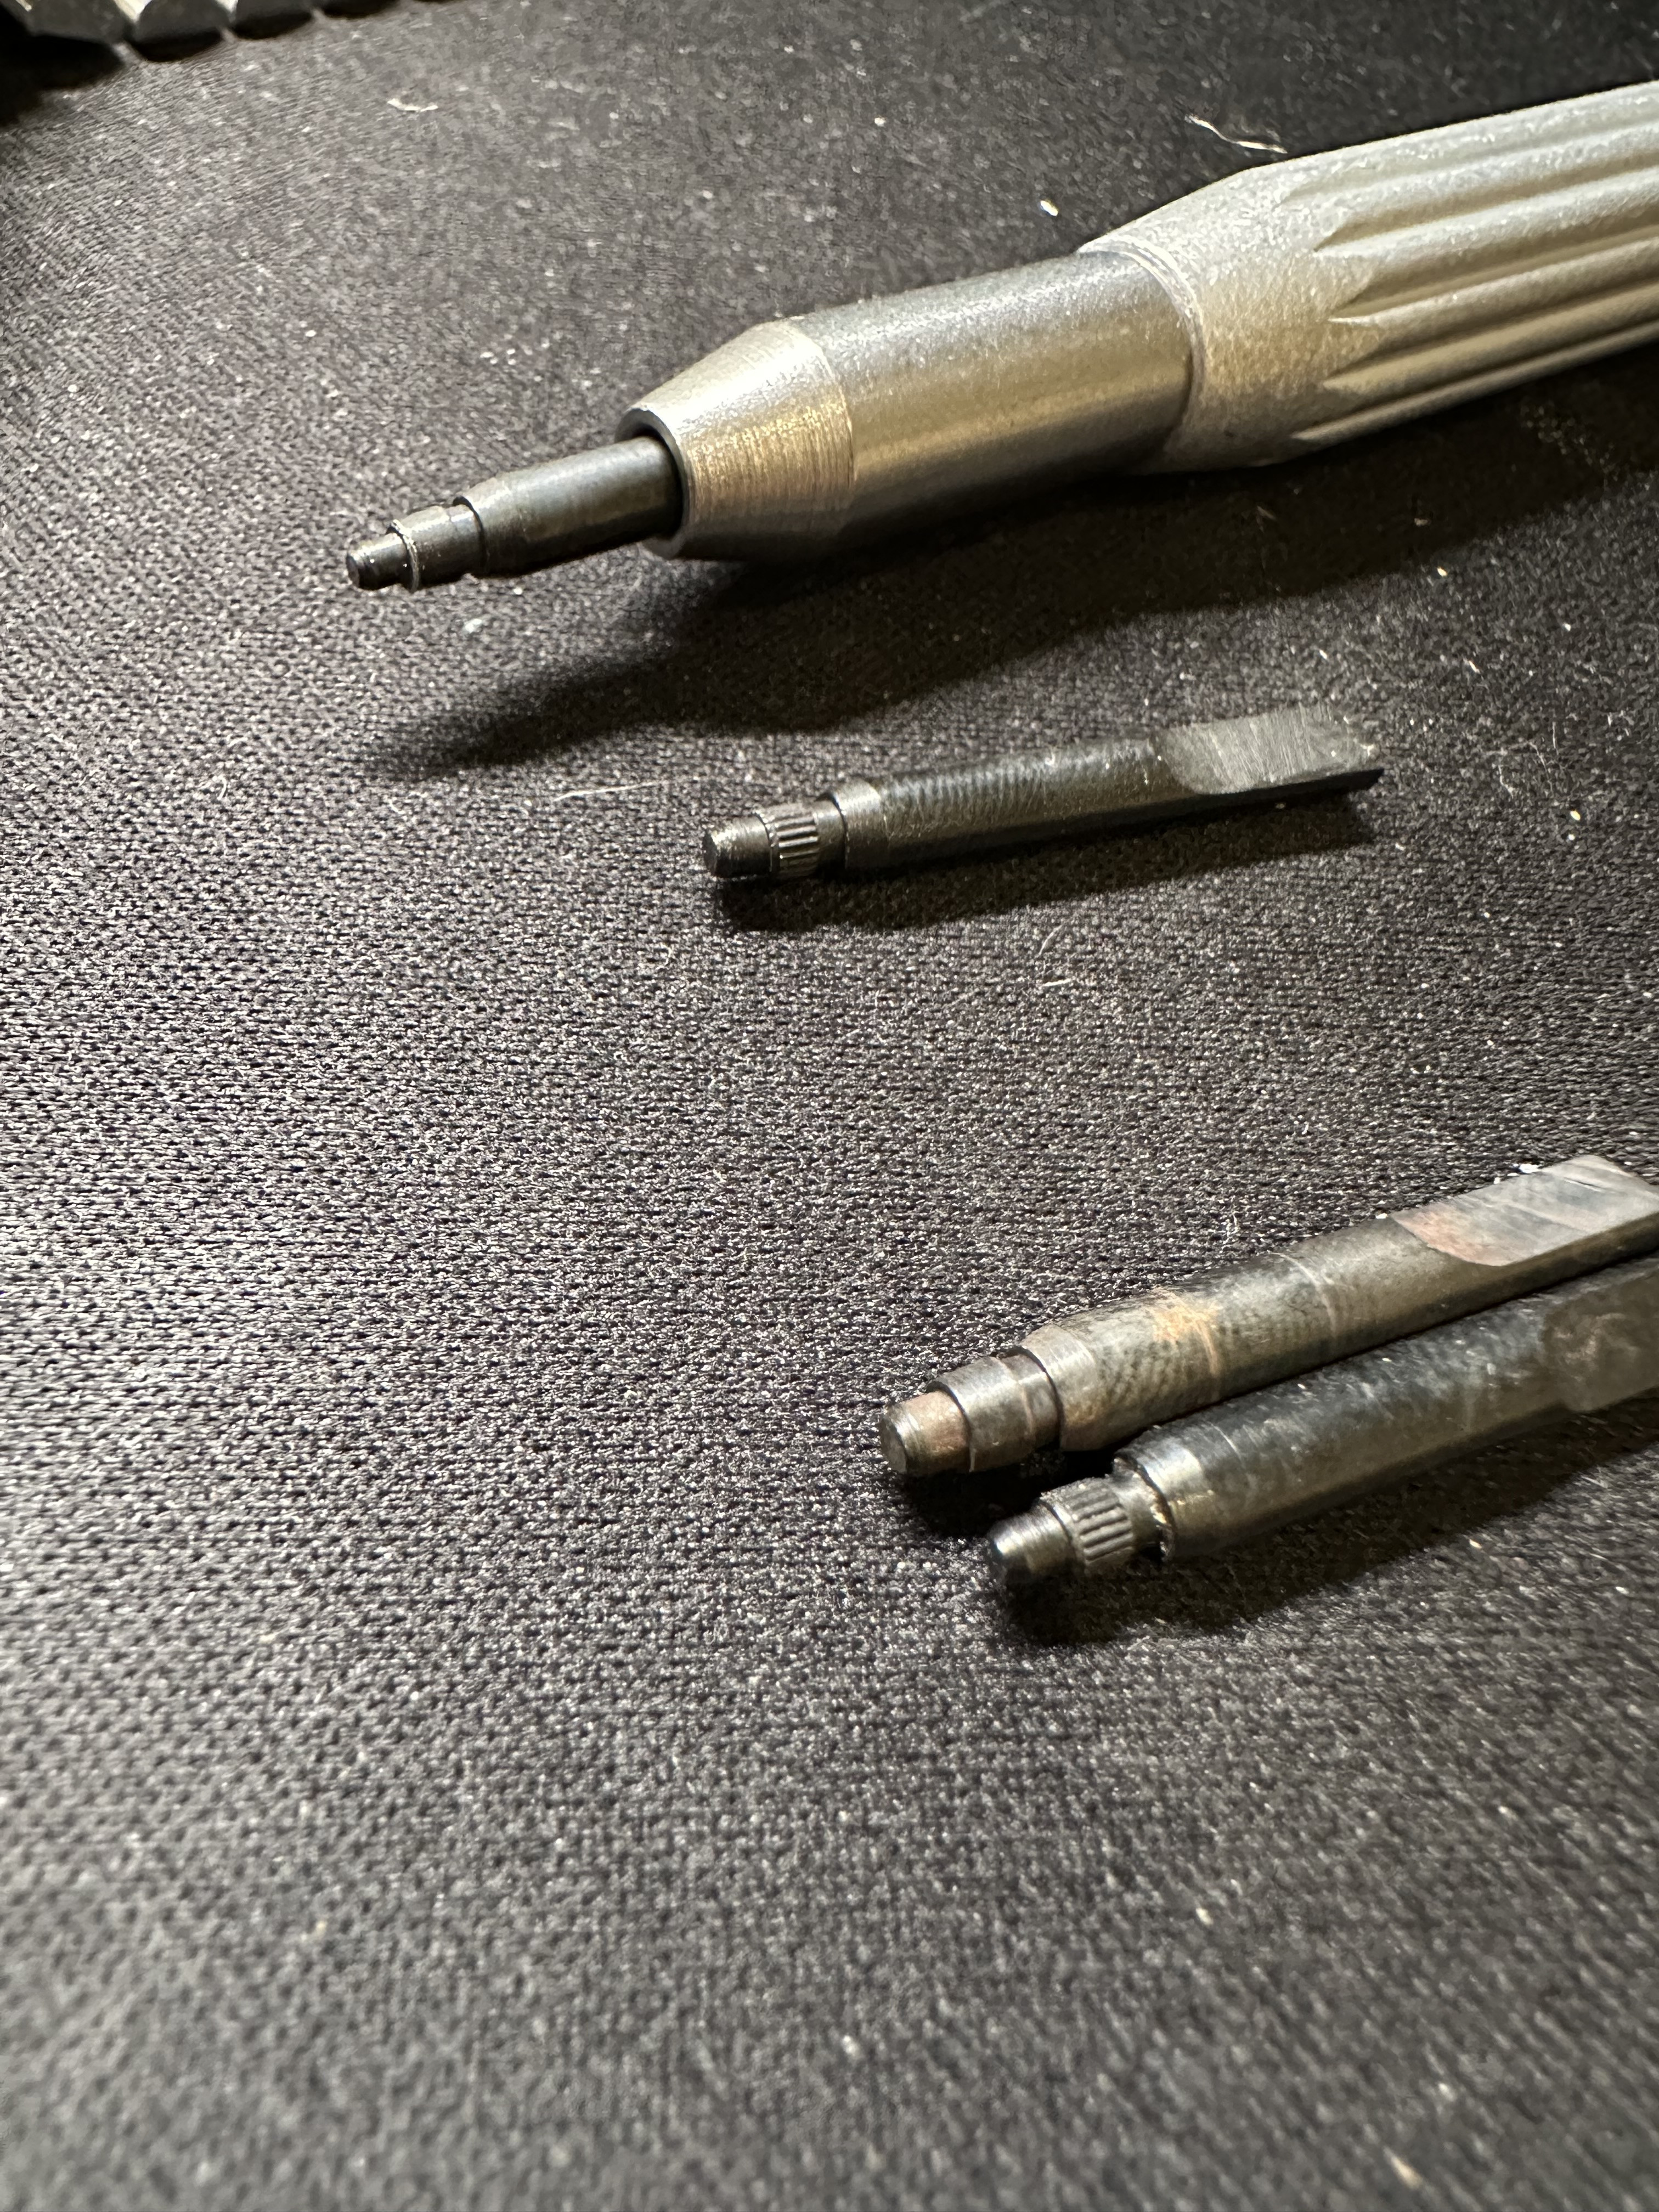
Big vs small boy.

Beginners mistake i did not know how to fit the dial on the movement.
There are two screws on the side that need to be loosened. I also lost one of these screws for about an hour on the ground, which was not fun.
What a beauty! I got the date to jump at almost perfect 12 o'clock. Putting the second hand on took incredibly long. I think it took me almost 3 hours to put the hands on.
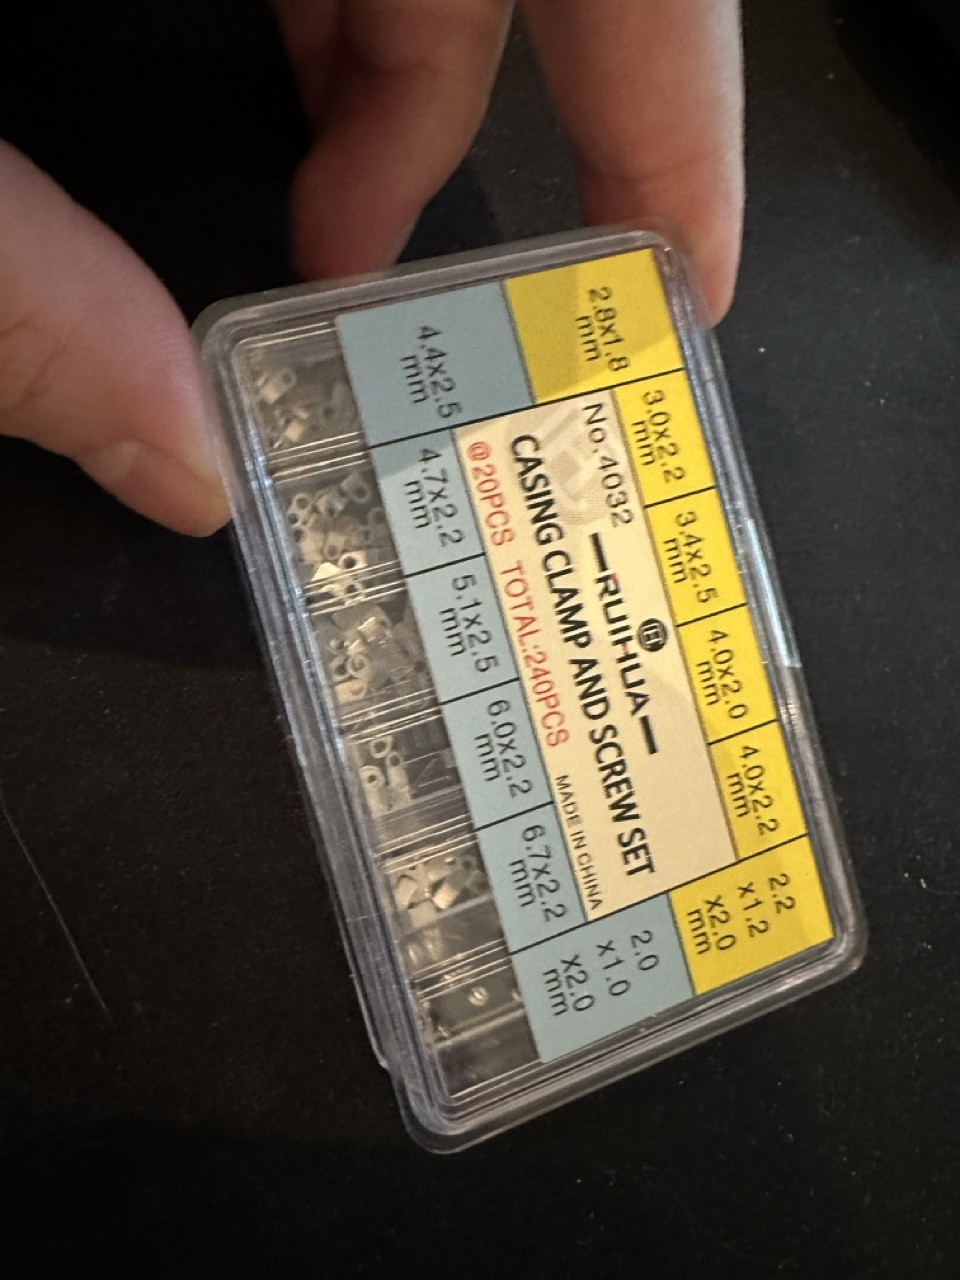
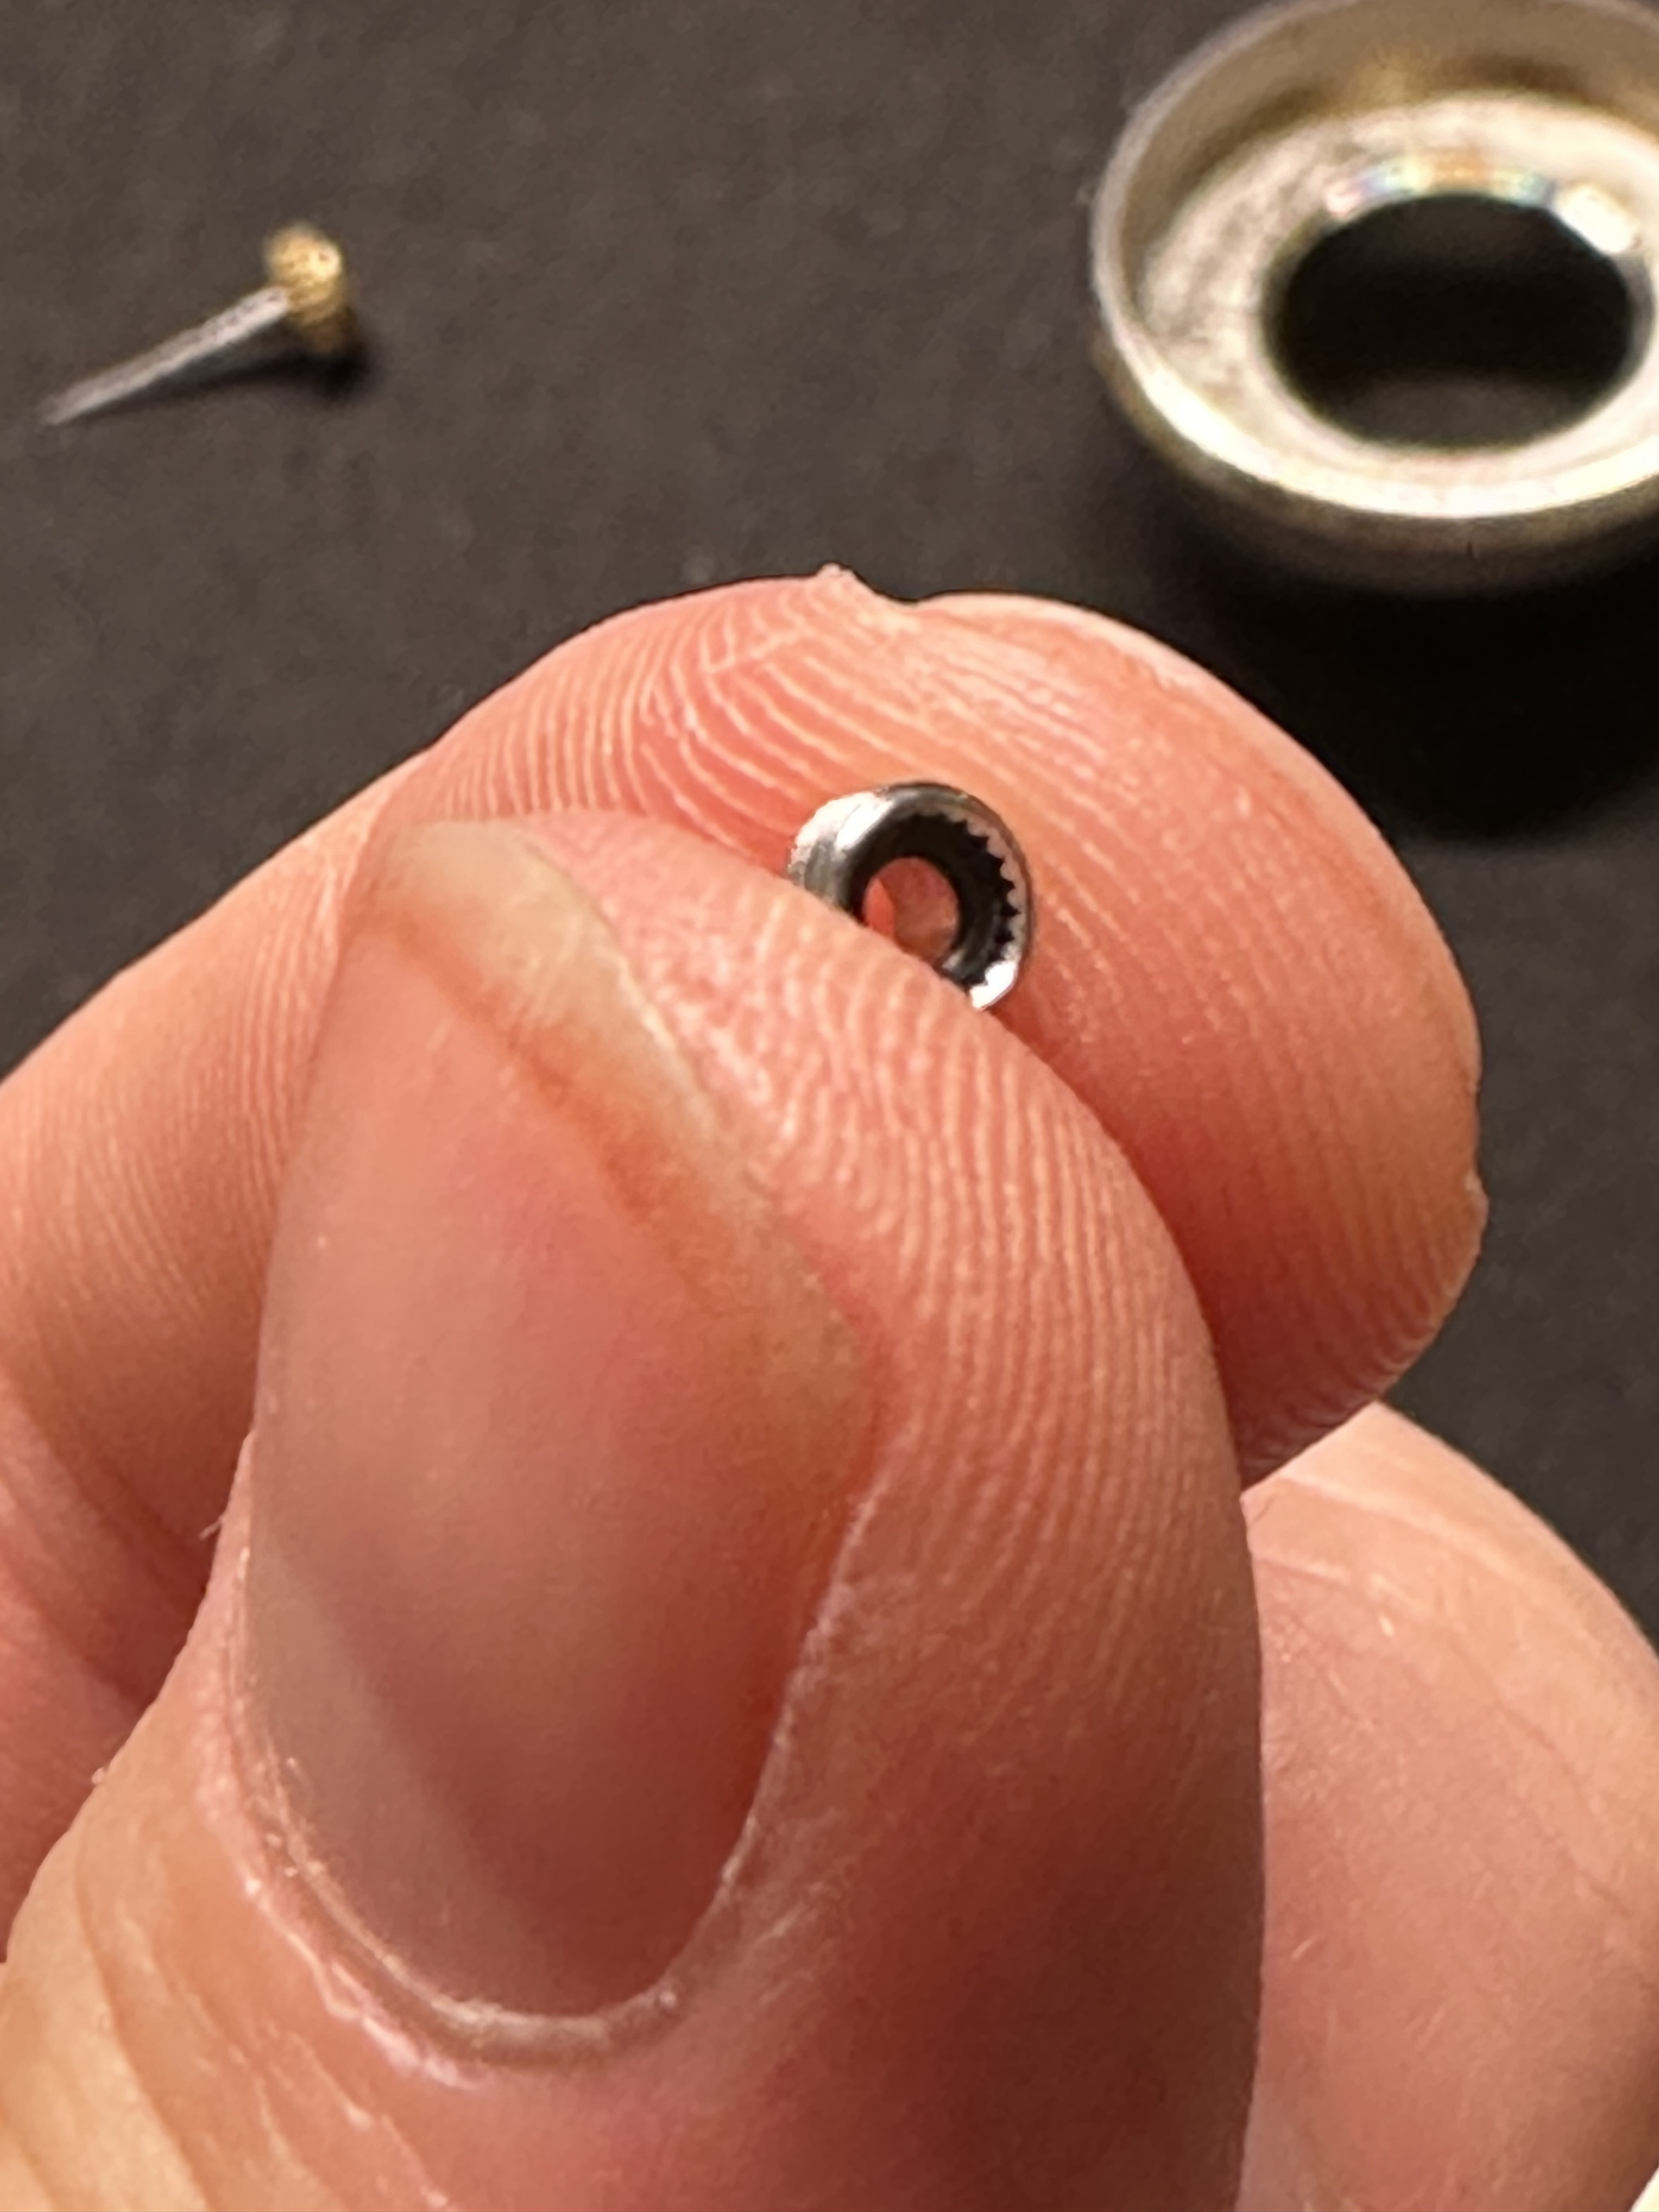
After that, I noticed that I did not have the securing screws. I ordered those and waited for them to arrive.
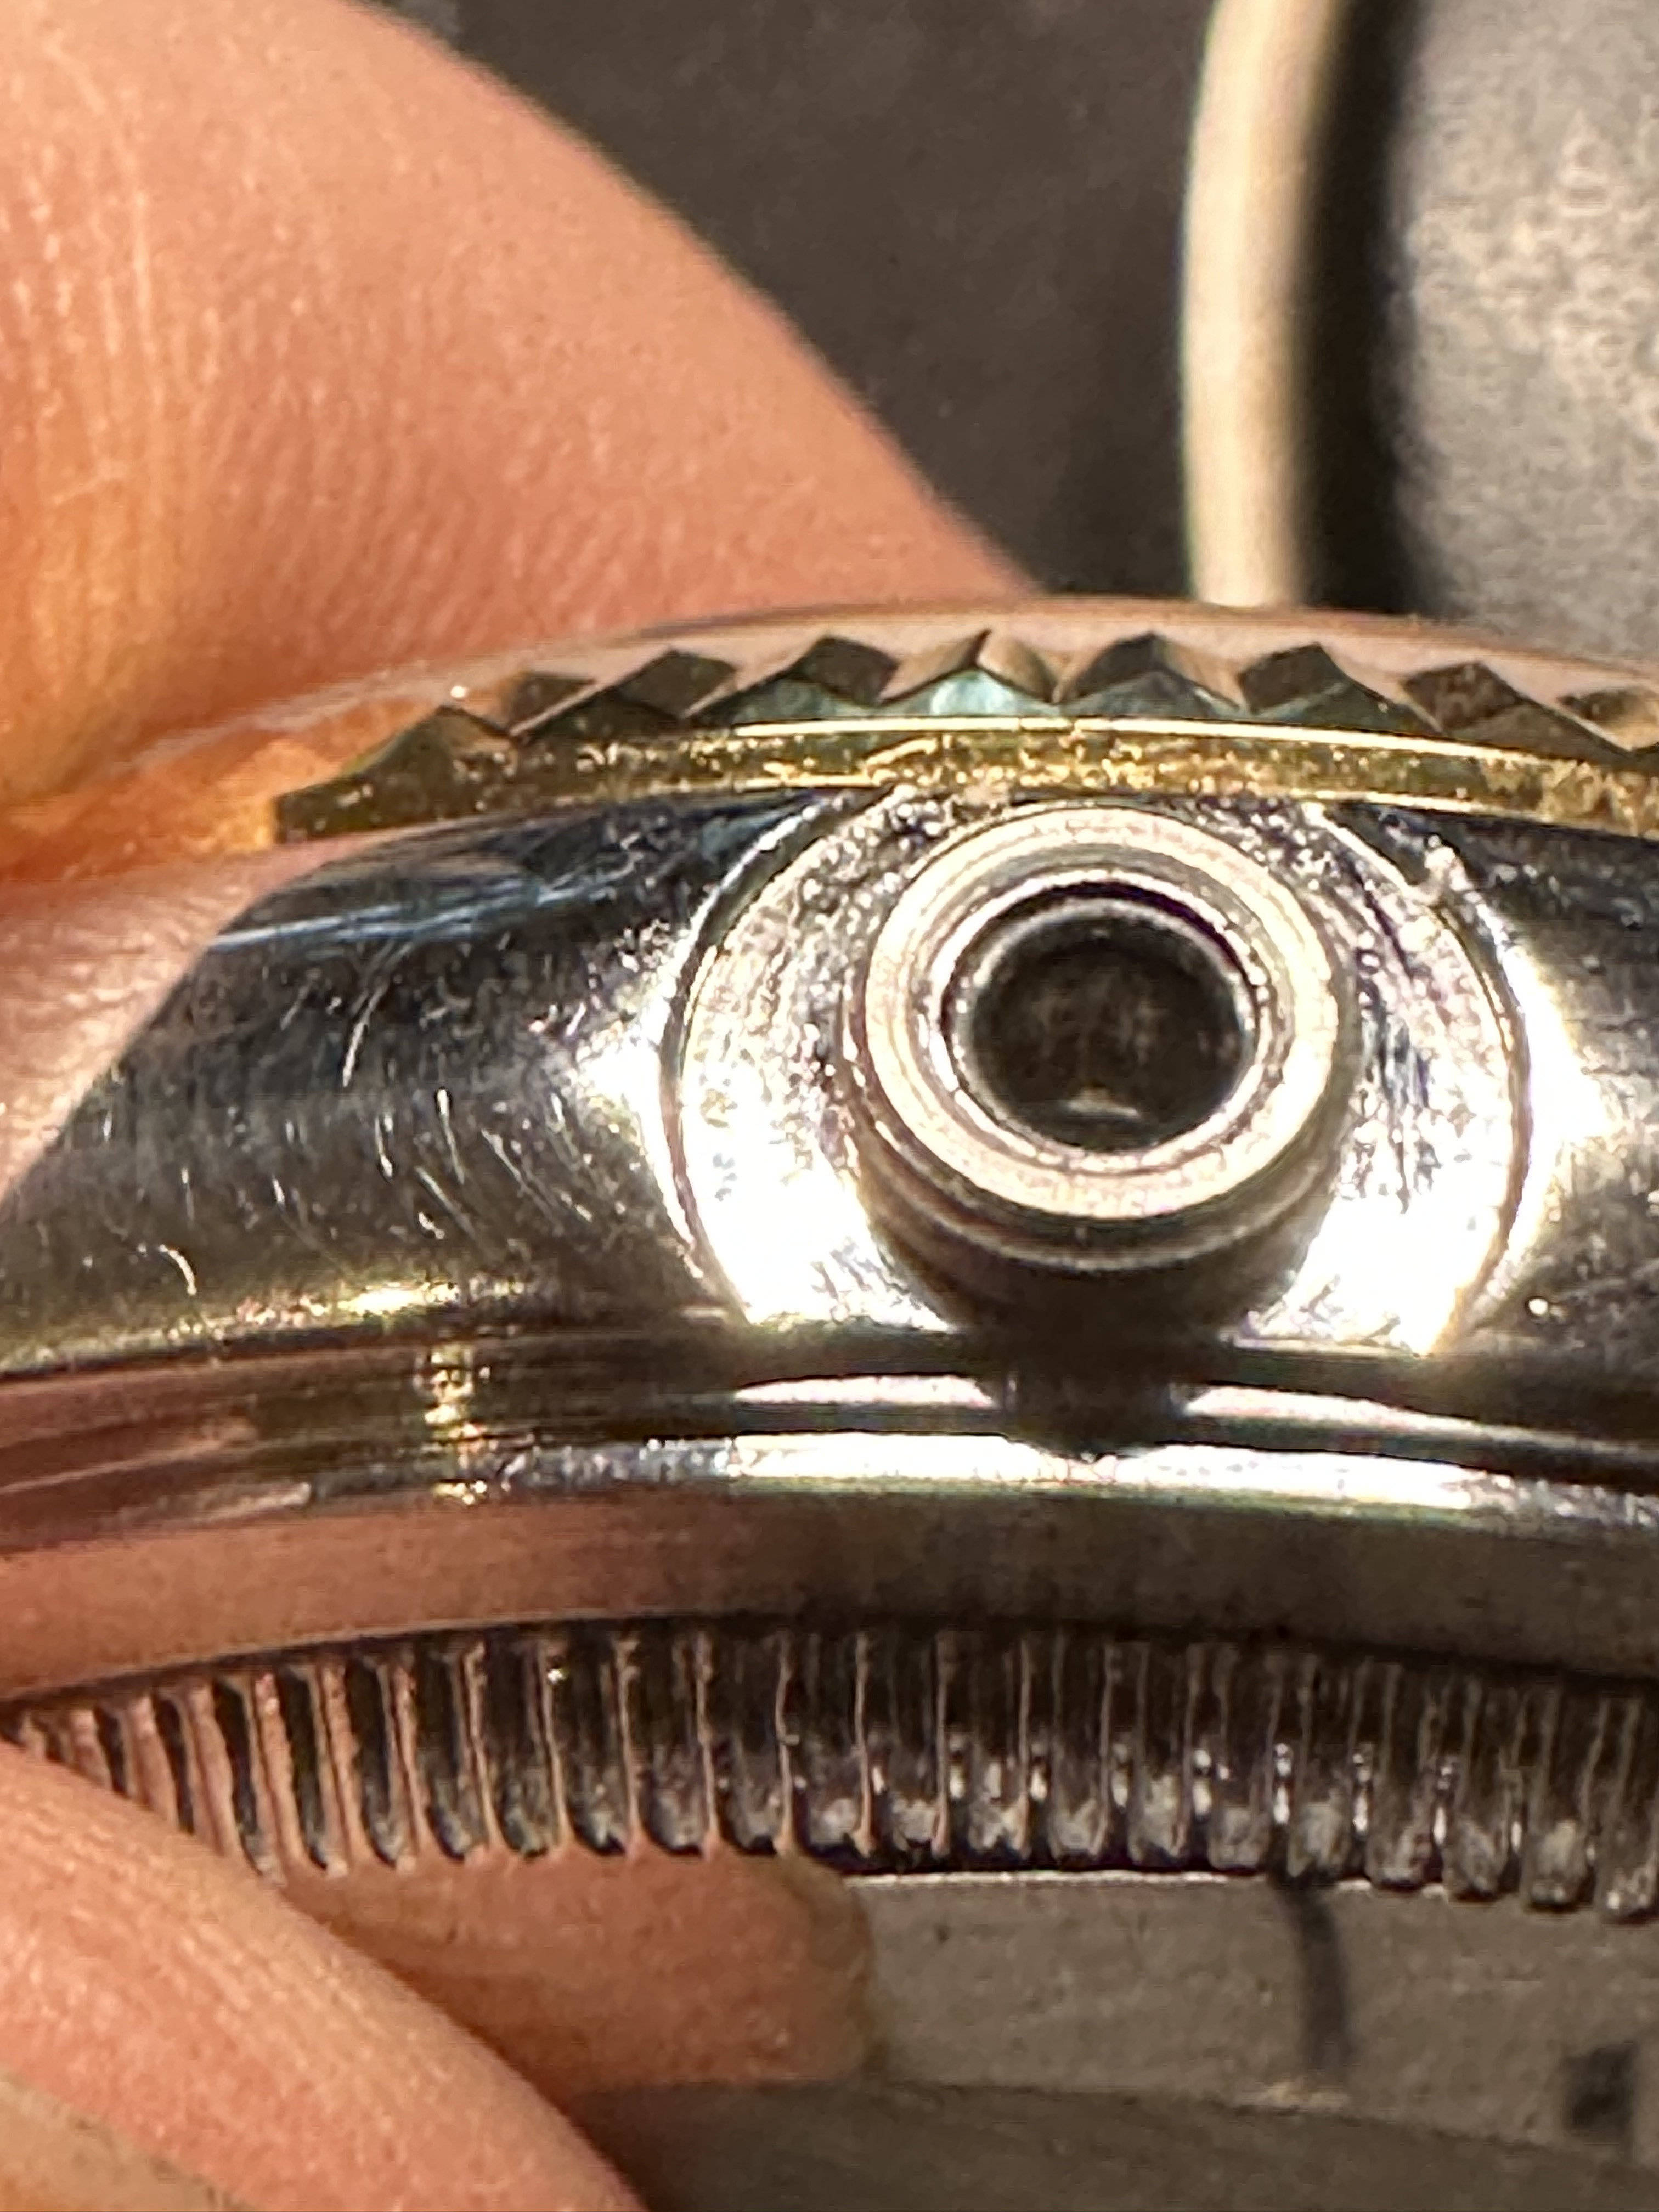
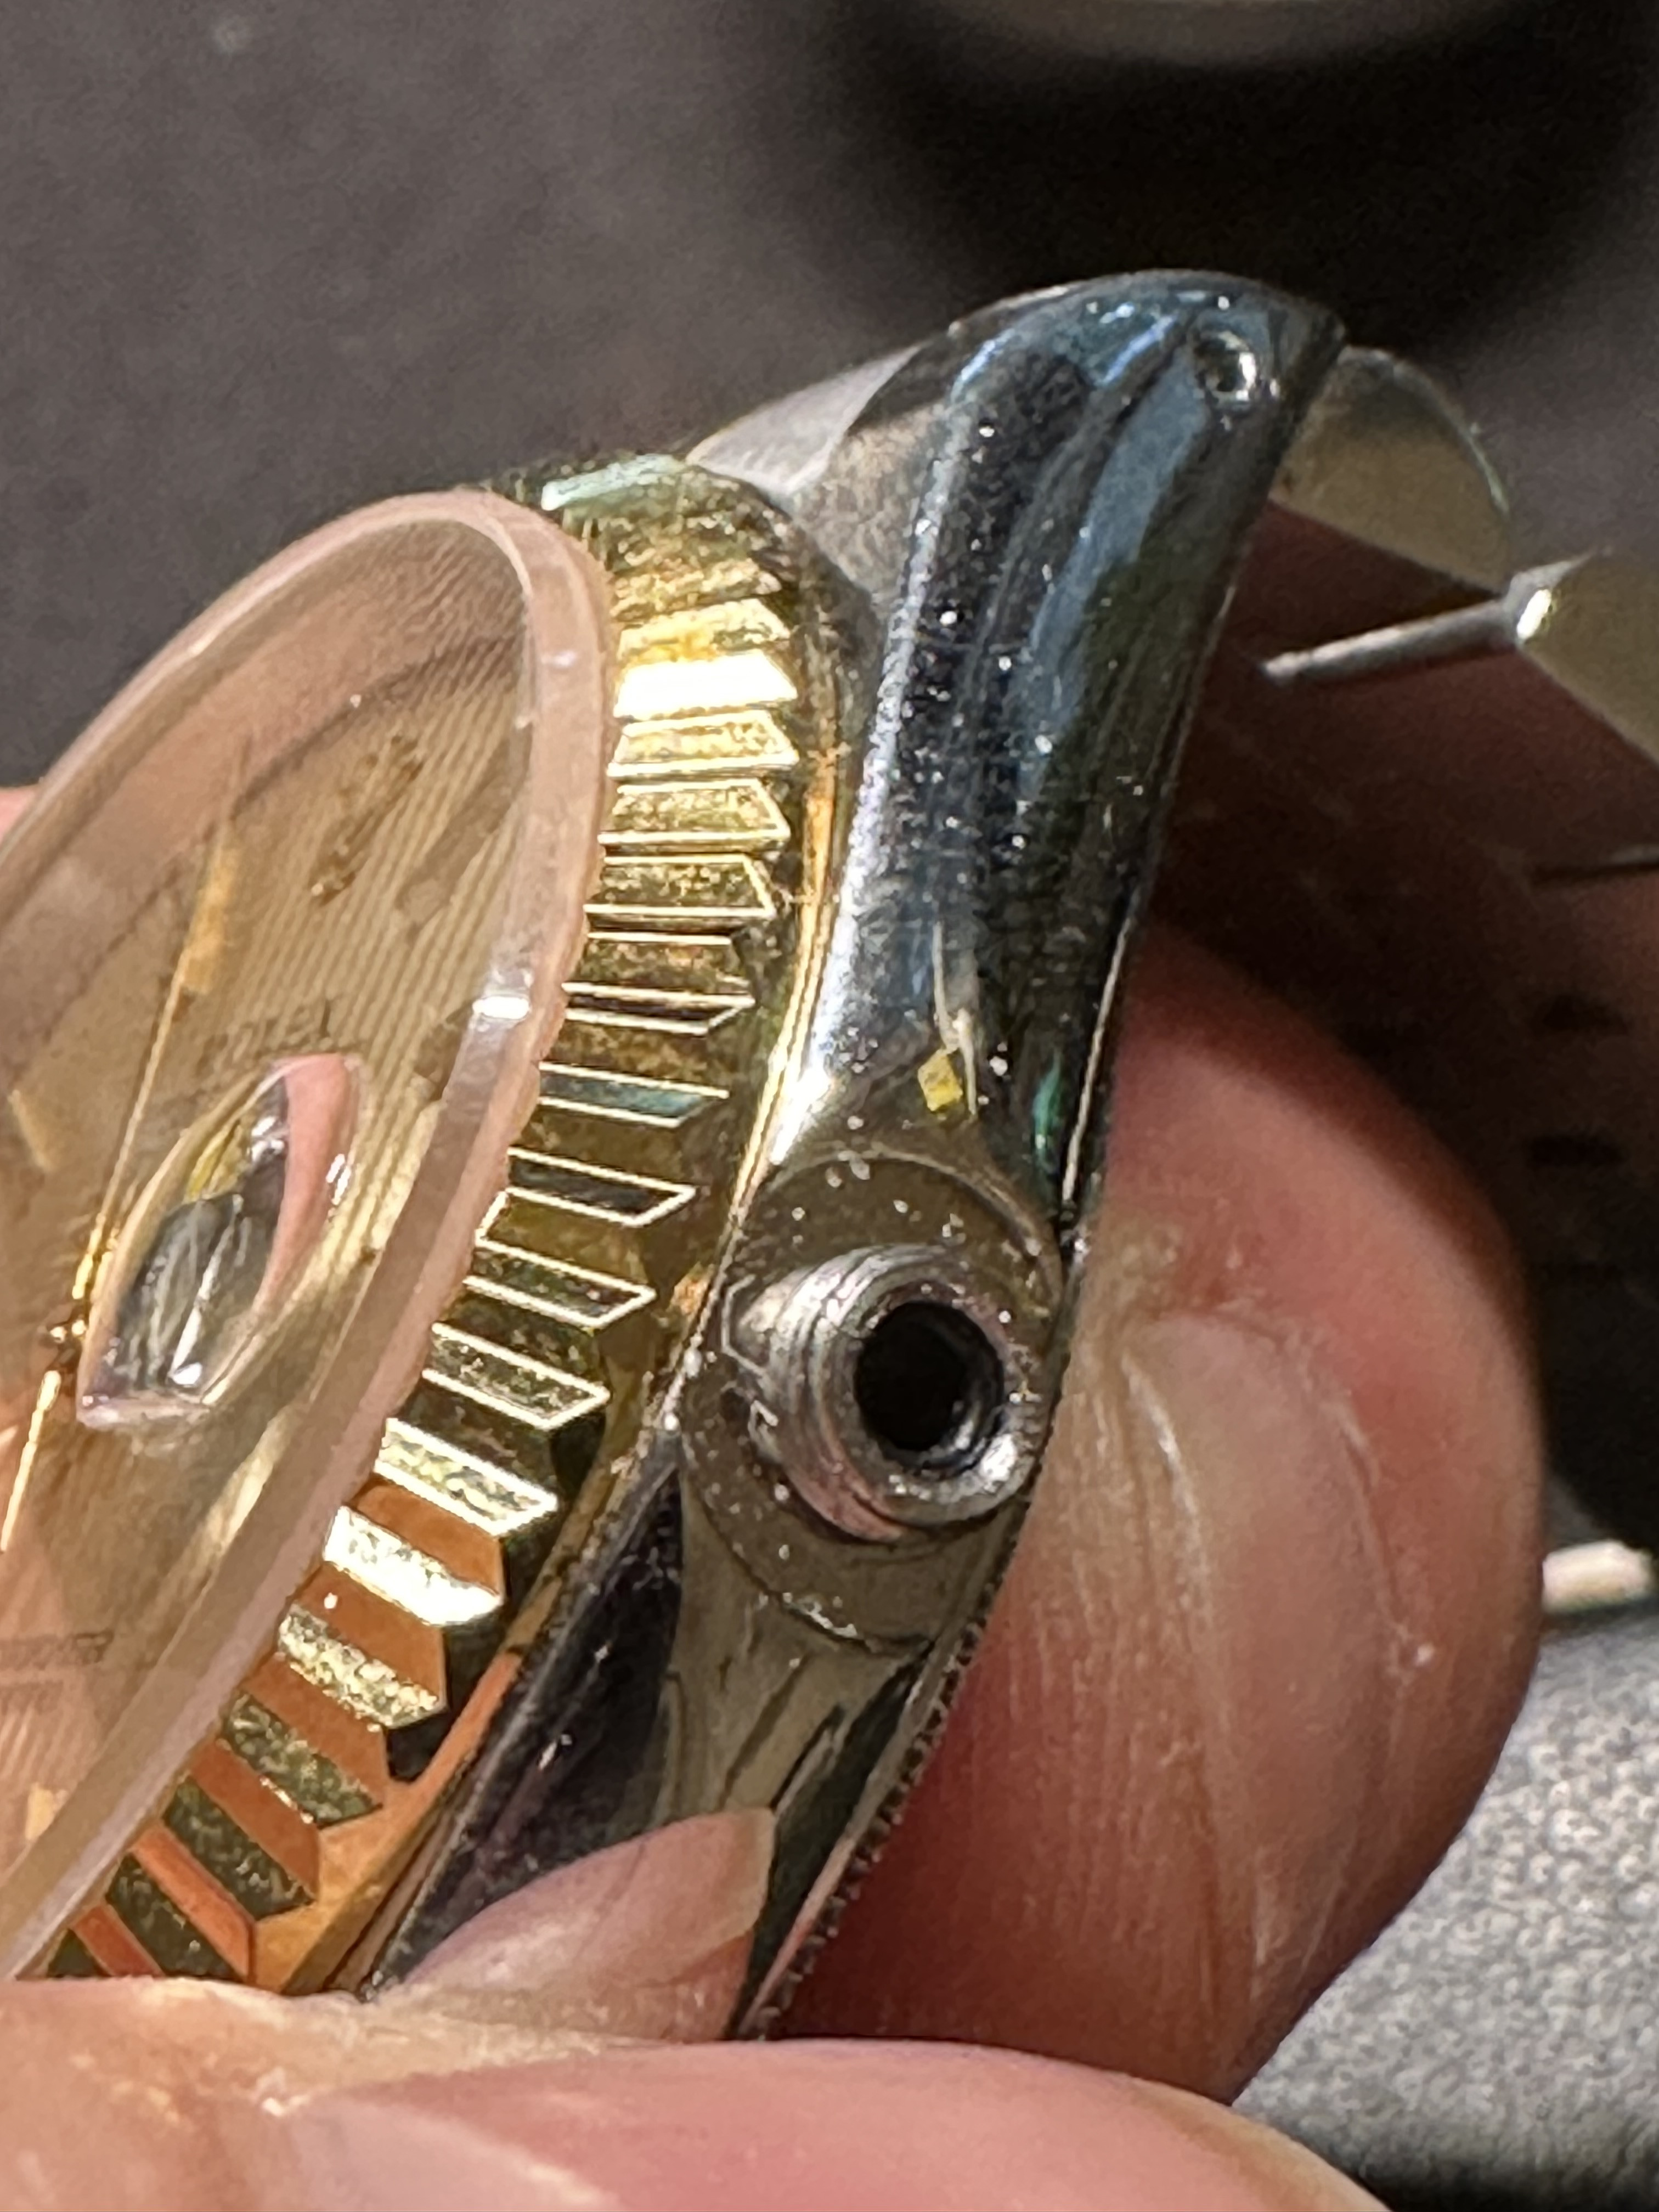
You can see the securing screws fitting into the case at the top and bottom.
I was shaking the watch and putting on the back to ensure everything was correctly installed. I forgot to take pictures of shortening the stem, but you can find many tutorials on YouTube.
Final thoughts.
Putting together this project was not difficult, but it was frustrating and time-consuming at times.
I am considering giving this watch a more vintage look or making some gen upgrades.
It's a bit strange for a vintage watch to look this new, but I think it will make a great daily beater.
What do you guys think?
I got inspired by the user @Replicated and his vintage build. I have six Seikos, and my favorite is a two-tone quartz that looks like Patrick Bateman's watch from the movie American Psycho.
However, I wanted more, specifically the book version of this watch. This is my first build ever, and I messaged @Replicated for advice.
- vs3135
- Raffles case
- Raffles crown
- Raffles crystal
- Raffles dw
- Cousinsuk hands (Refill 11 - 3035/3135 Date Just - GP)
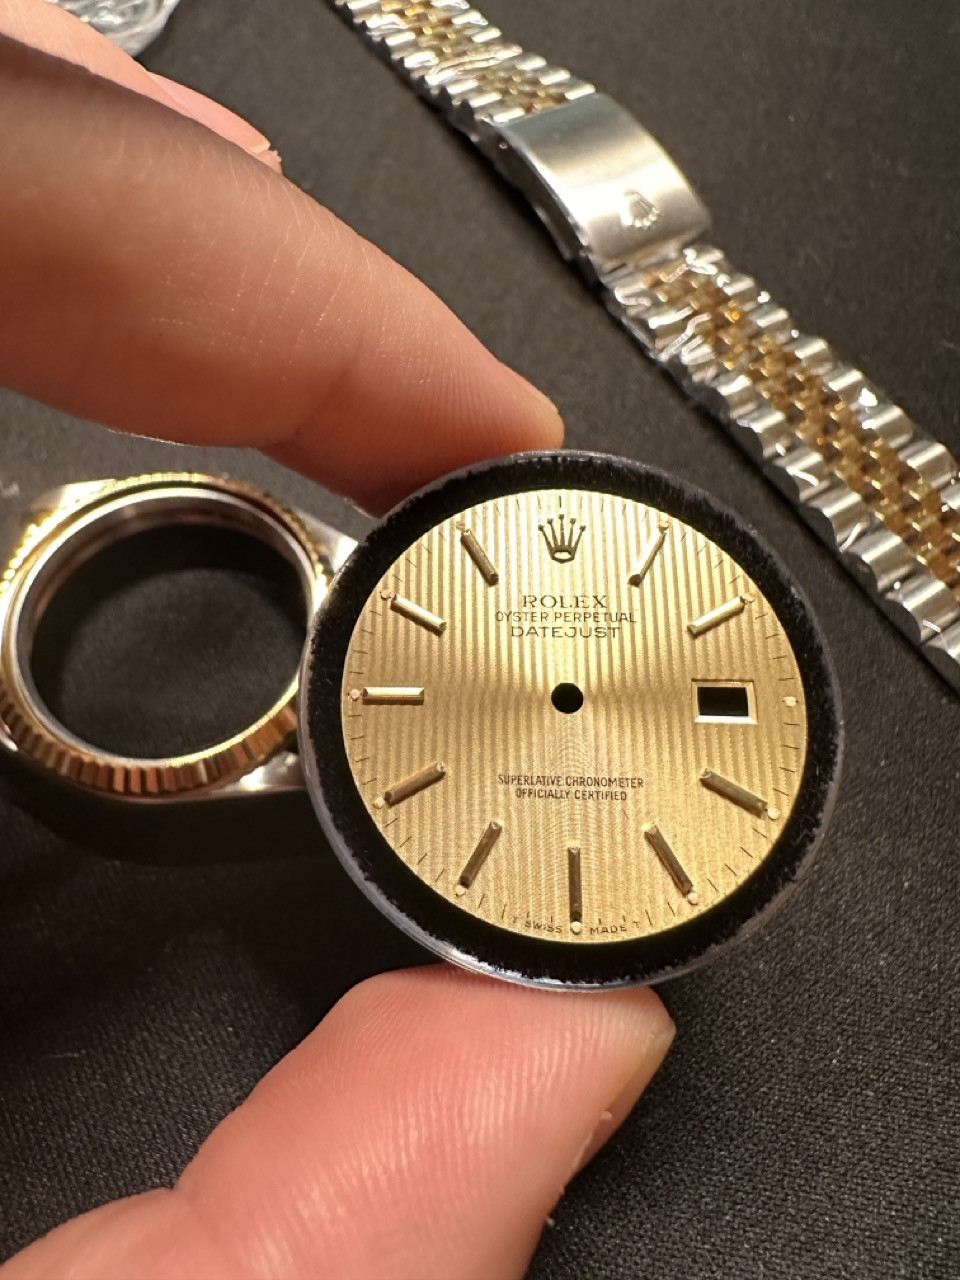
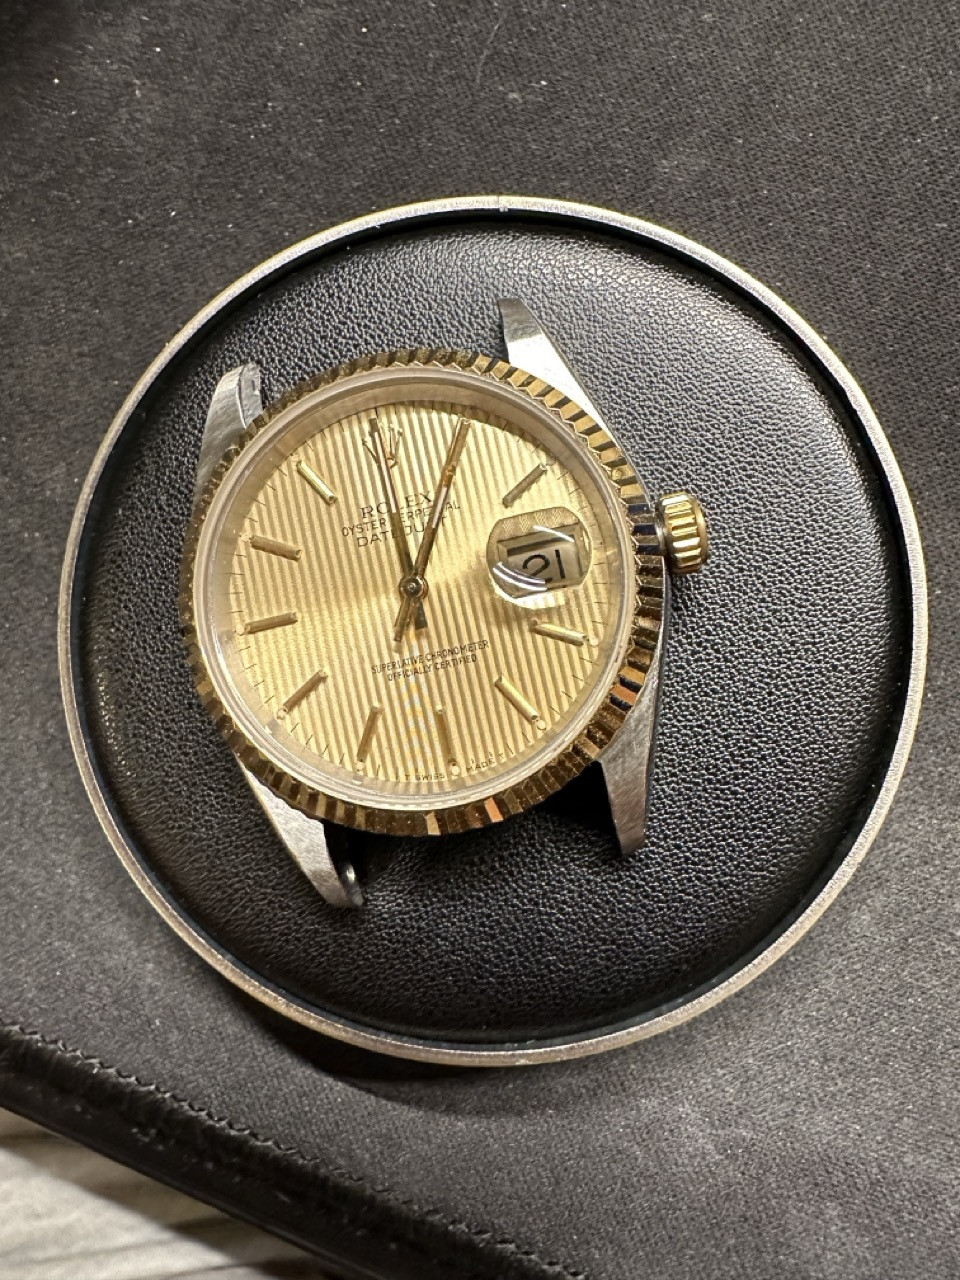
- Gen tapestry dial from state_of_time
This was the crown jewel of the build
Where to start?
Installing the date wheel on the vs3135:
This was kind of easy but required a few attempts.
I damaged the wheel a little bit, but it’s not noticeable once in the case. You need to put this wheel under all the round/circle holders.
Here you can see it’s not correctly installed. Look at the bottom right. You can test the date wheel in the movement itself.
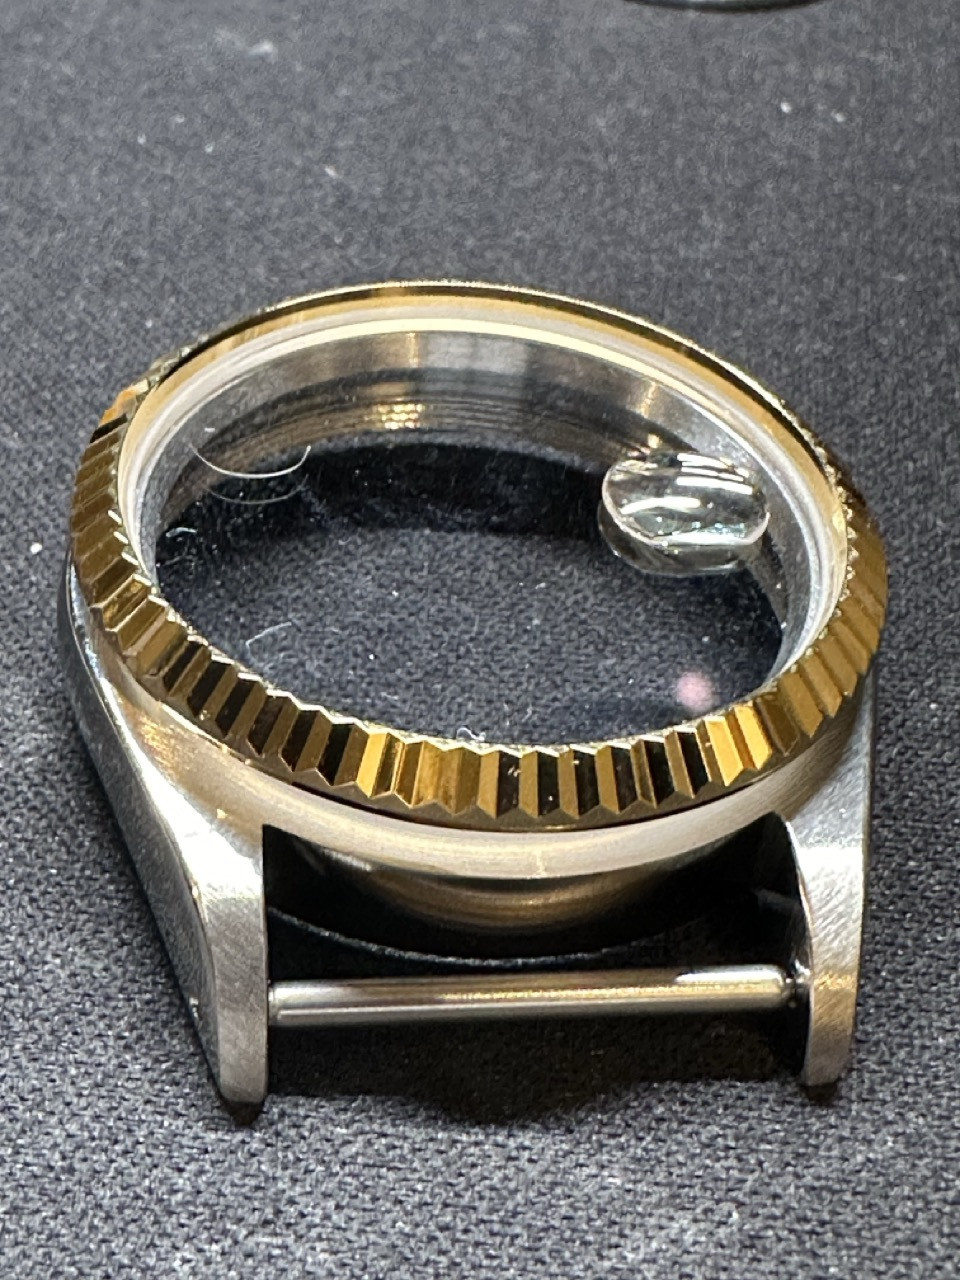
Next up was fitting the glass and bezel. This also went wrong a lot. The white round spacer between the bezel and glass should be bigger at the top than the bottom, otherwise, the glass won't sit evenly.
Push the glass first, then the bezel.
Looks quite right.
From the side.
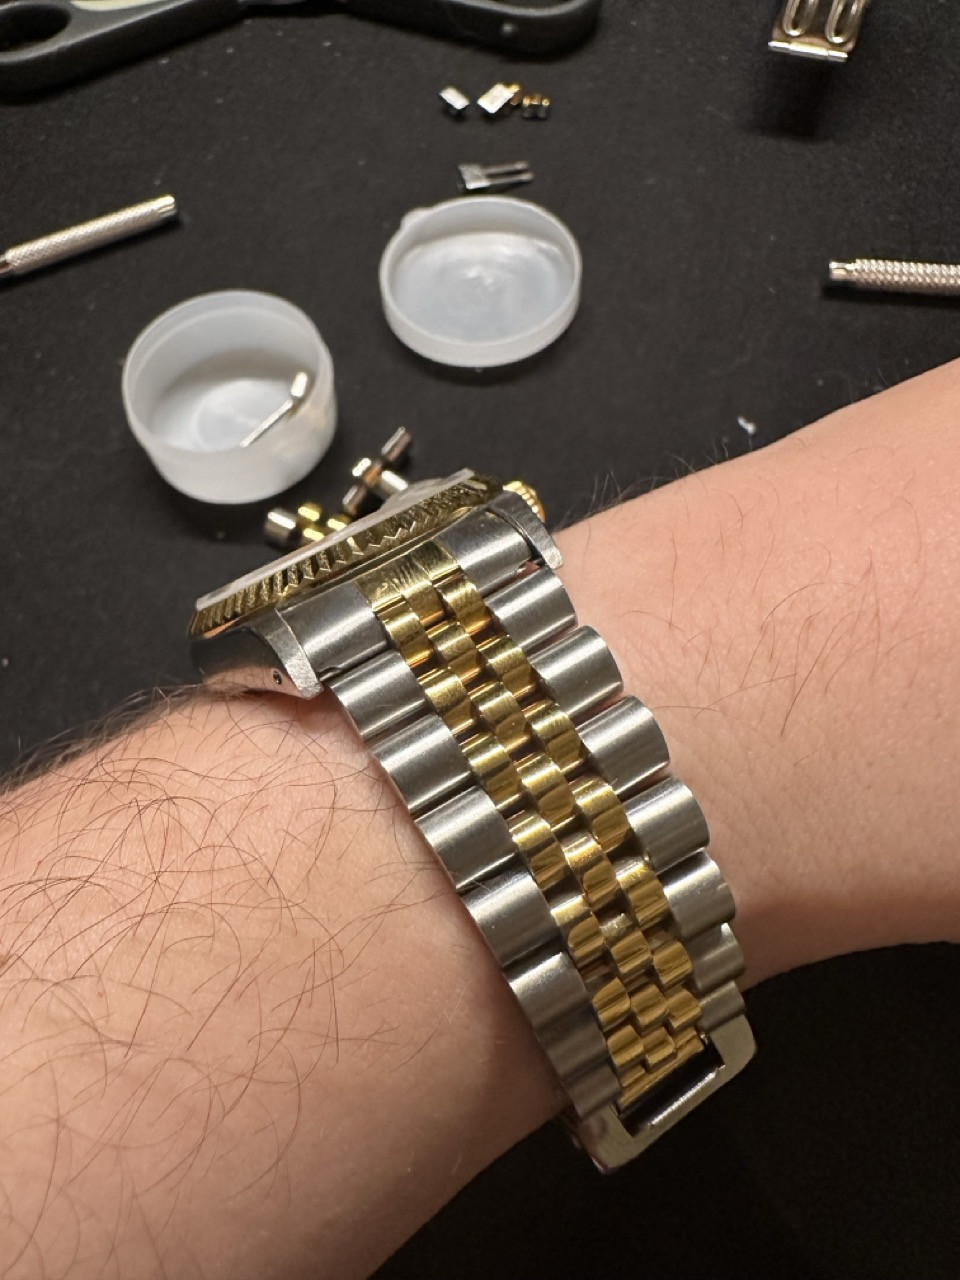
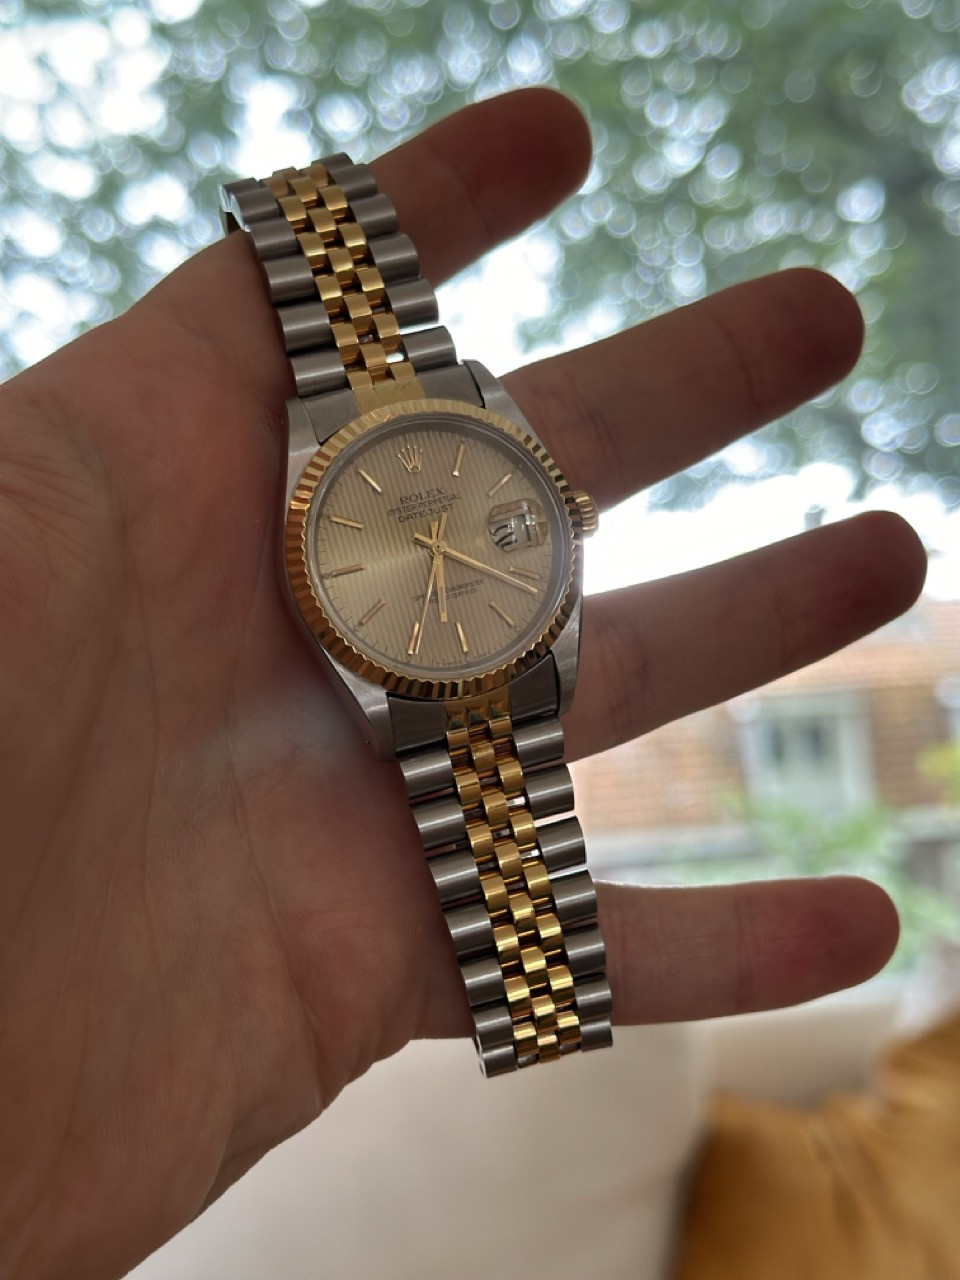
Next, i fitted the band. I also removed one of the non-removable links from the short end of the bracelet because I have small wrists. It's pretty tight now, but it will get better over time as it’s worn.
Big vs small boy.
Beginners mistake i did not know how to fit the dial on the movement.
There are two screws on the side that need to be loosened. I also lost one of these screws for about an hour on the ground, which was not fun.
What a beauty! I got the date to jump at almost perfect 12 o'clock. Putting the second hand on took incredibly long. I think it took me almost 3 hours to put the hands on.
After that, I noticed that I did not have the securing screws. I ordered those and waited for them to arrive.
You can see the securing screws fitting into the case at the top and bottom.
I was shaking the watch and putting on the back to ensure everything was correctly installed. I forgot to take pictures of shortening the stem, but you can find many tutorials on YouTube.
Final thoughts.
Putting together this project was not difficult, but it was frustrating and time-consuming at times.
I am considering giving this watch a more vintage look or making some gen upgrades.
It's a bit strange for a vintage watch to look this new, but I think it will make a great daily beater.
What do you guys think?