- 12/3/18
- 37,543
- 80,257
- 113
Greetings fellow watch bros! Today I present a project I did mainly because I had two 116613 LNs and although one has a leather strap that still wasn’t enough difference to warrant having two of them. So I looked for another variation.
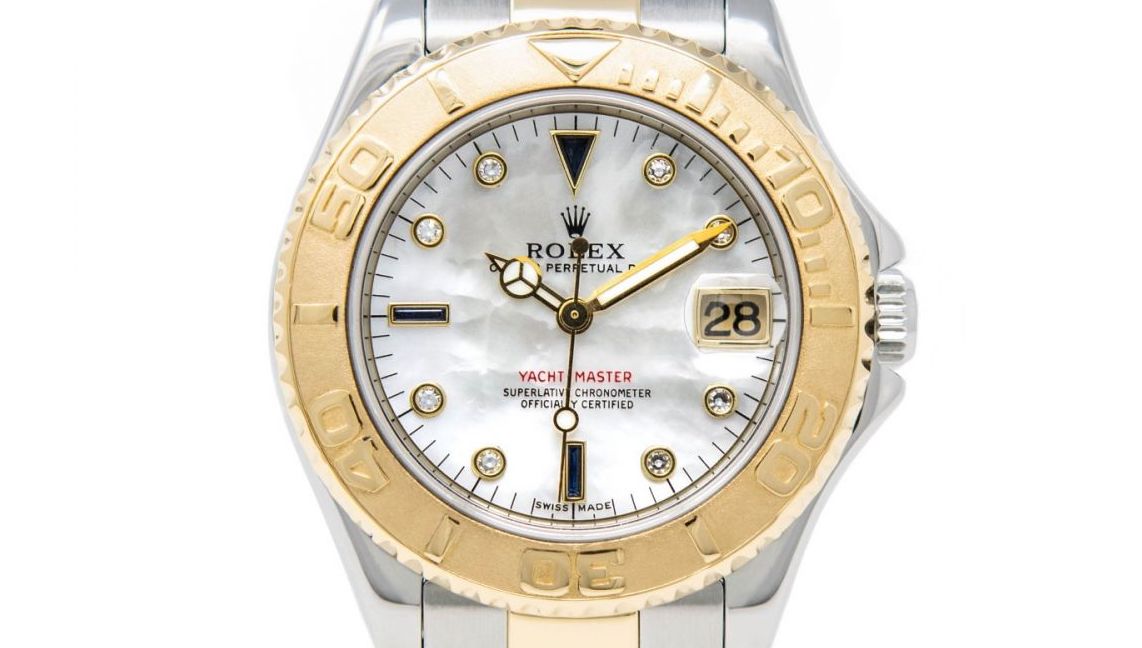
 millenarywatches.com
“The word Serti is taken from the French word “sertissage”, which means gem-setting. In the Rolex context, this doesn’t just include diamonds, but also all other types of gems as well. Now that we know this, a Serti dial is naturally a gem-set Rolex dial.”
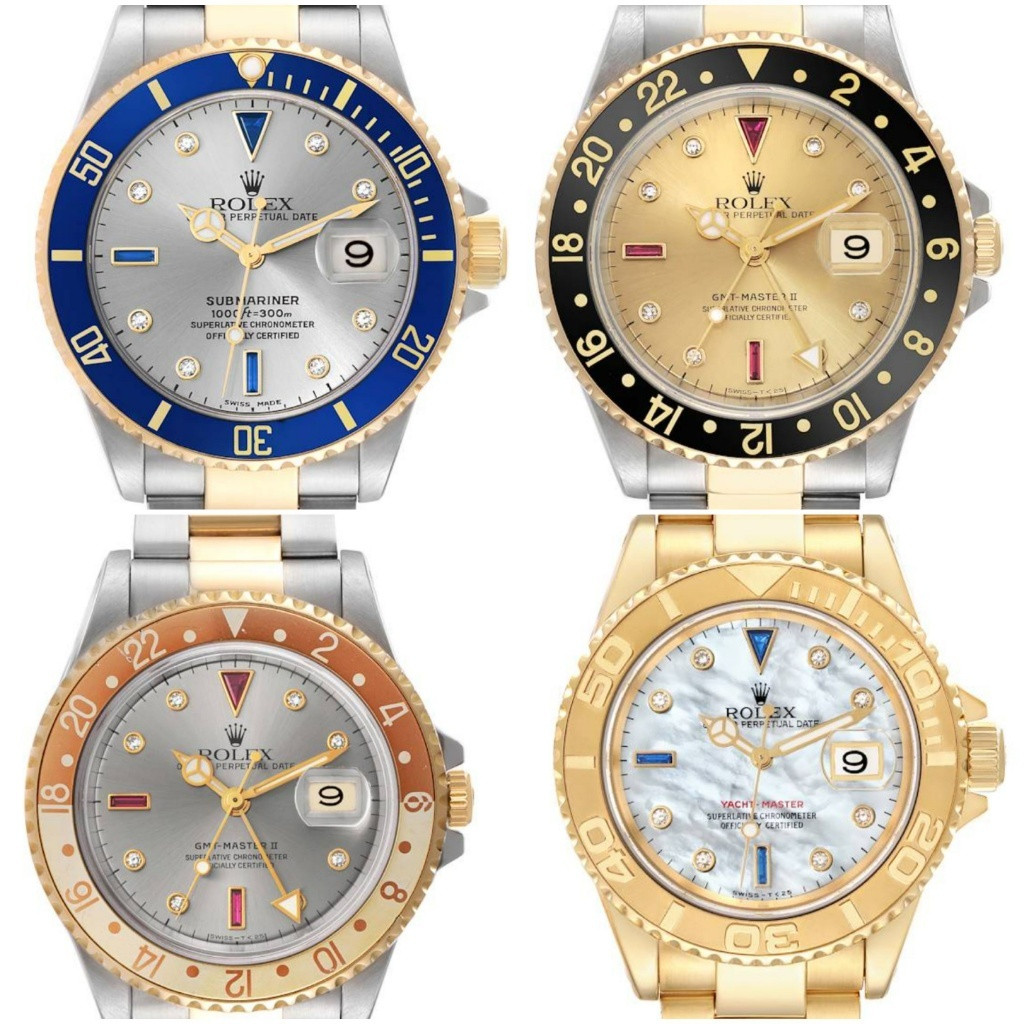
So technically any Rolex model with gems could be called a Serti, but that label has traditionally been used with Subs, GMTs, and to a lesser extent Yacht-Masters. The 5 digit Serti dial models remain very popular today. Here are some examples.
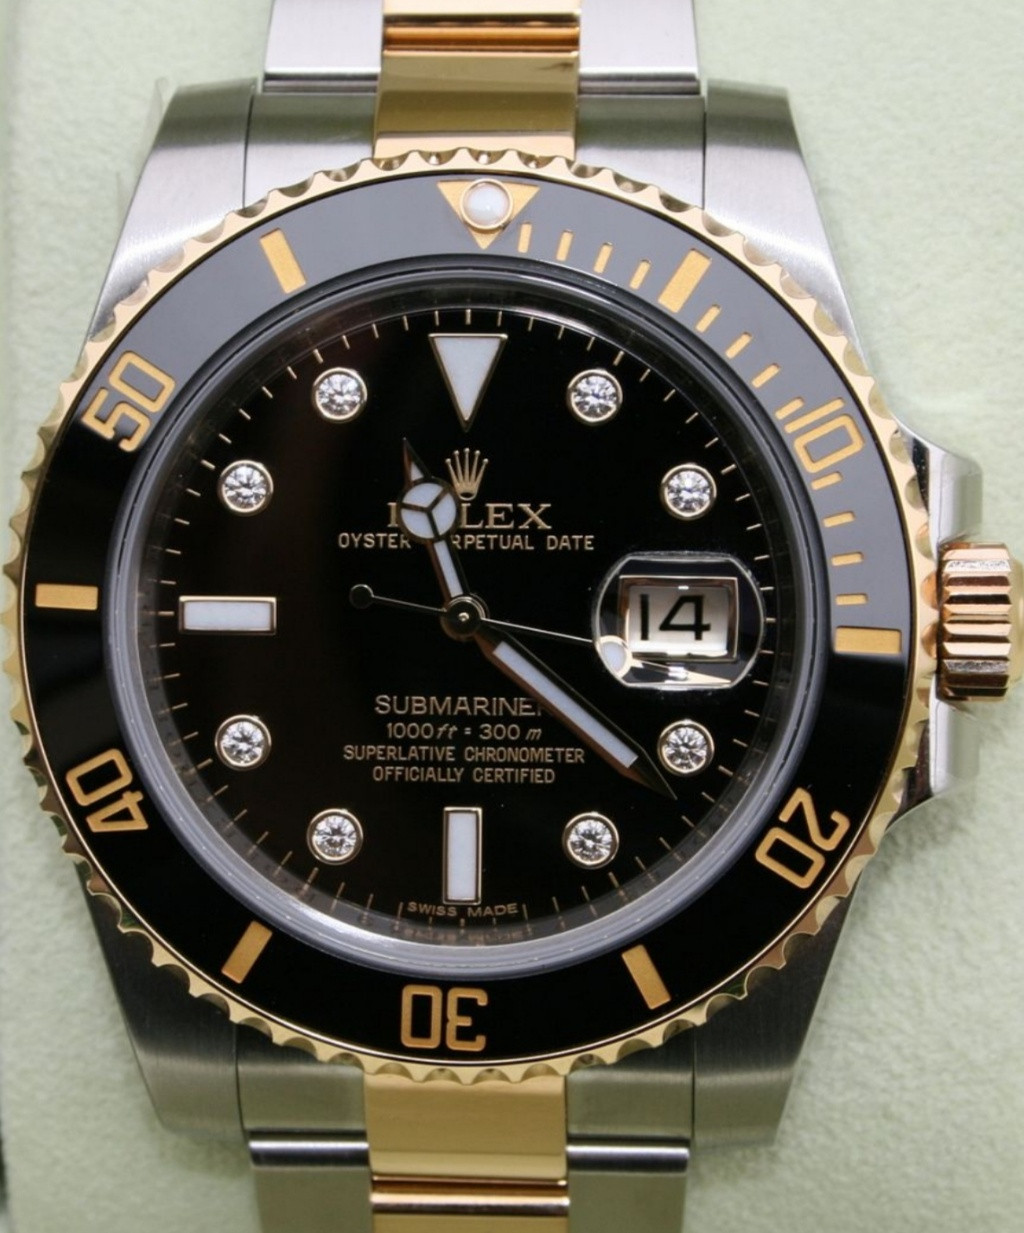
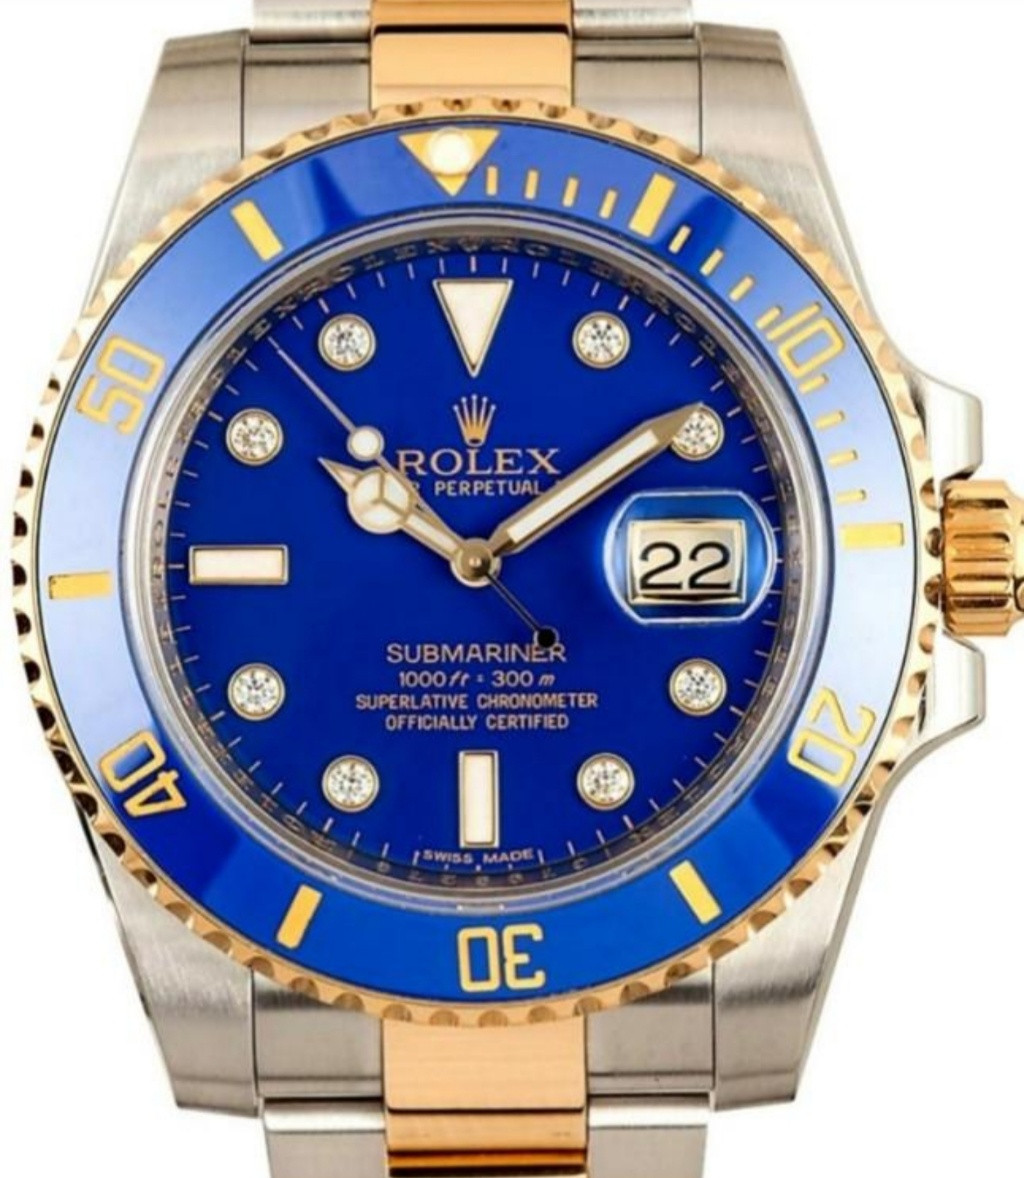
When the 6 digit era began, for whatever reason Rolex only offered Submariner Serti dials. These had larger gems to go along with the maxi case, but the dials also lacked gems at the 6 9 12 markers so they lost a bit of their luster IMO. They also were only offered with black and blue dials, just like their non-Serti counterparts.
So I set about to make a 6 digit gold Serti dial with some larger gems and black 6 9 12 markers to go along with the LN insert. I did look into actually getting some gems for the 6 9 12 but they would have to be custom cut to fit the marker surrounds and no one locally could do that without significant expense. This is not a high dollar project after all.
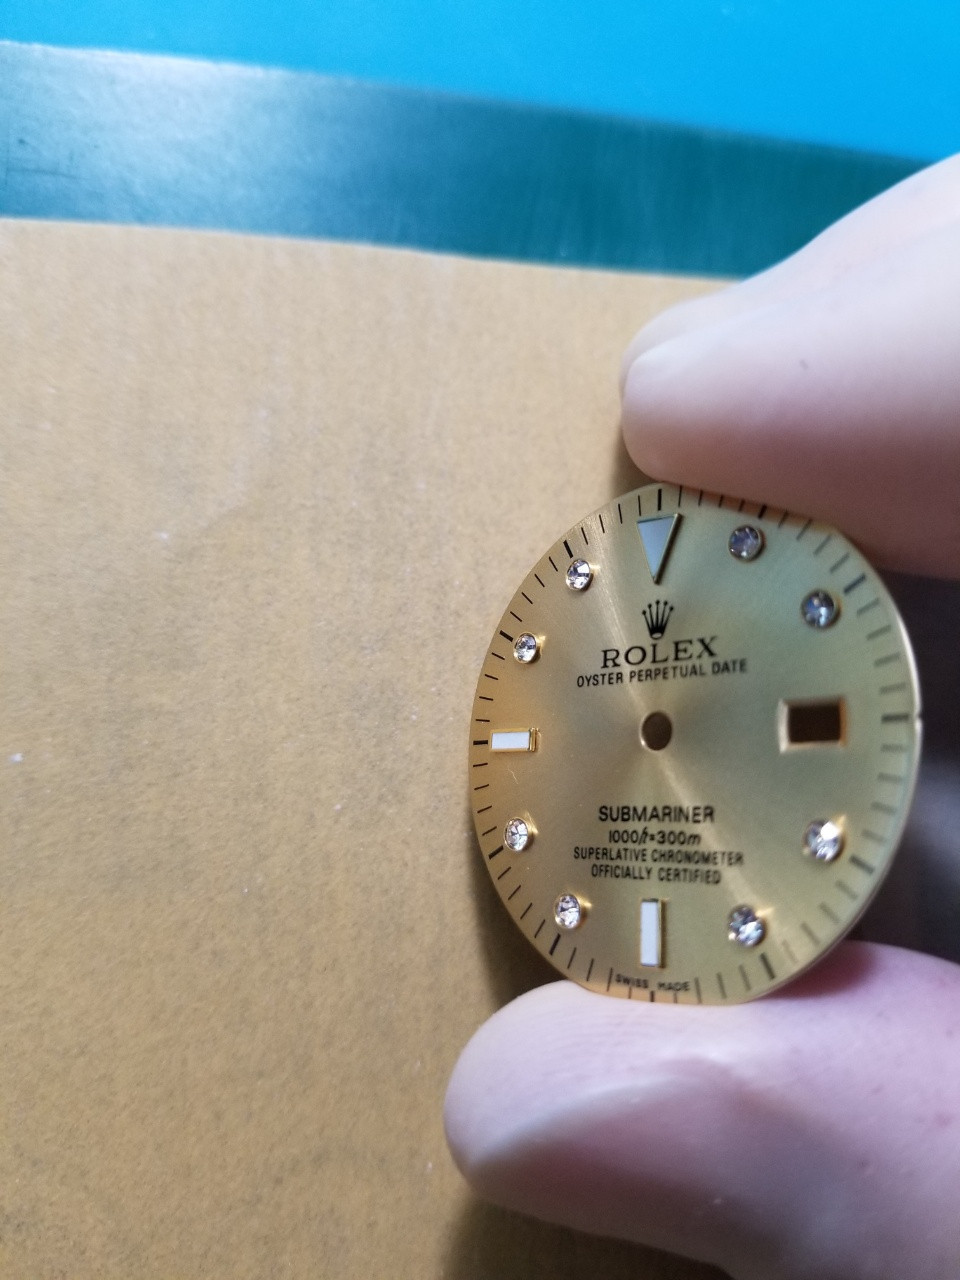
I started with a Raffles 5 digit gold Serti dial.
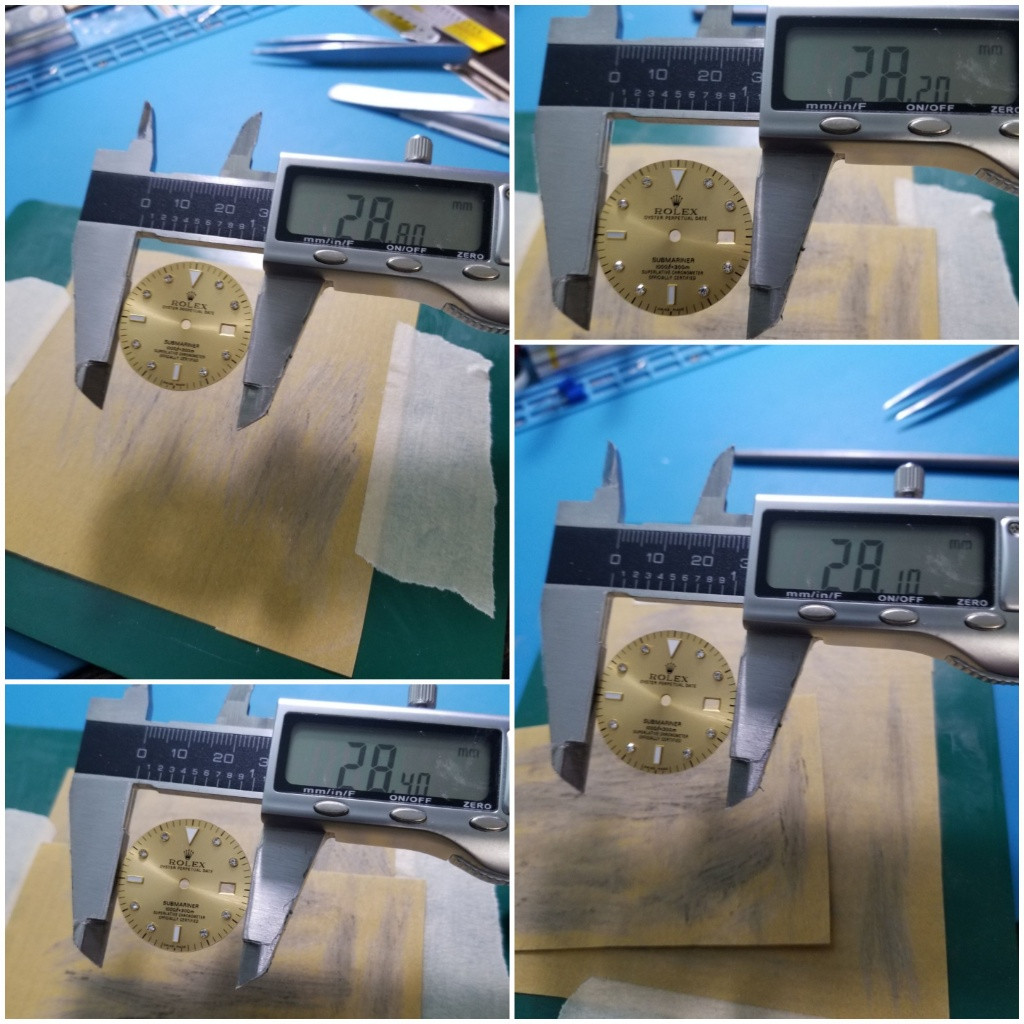
First it needed to be shaved down from 29mm to 28mm to fit the Noob case. This is easily done by hand in about 30 minutes.
After the old markers are removed, the dial gets a wash and blow dry.
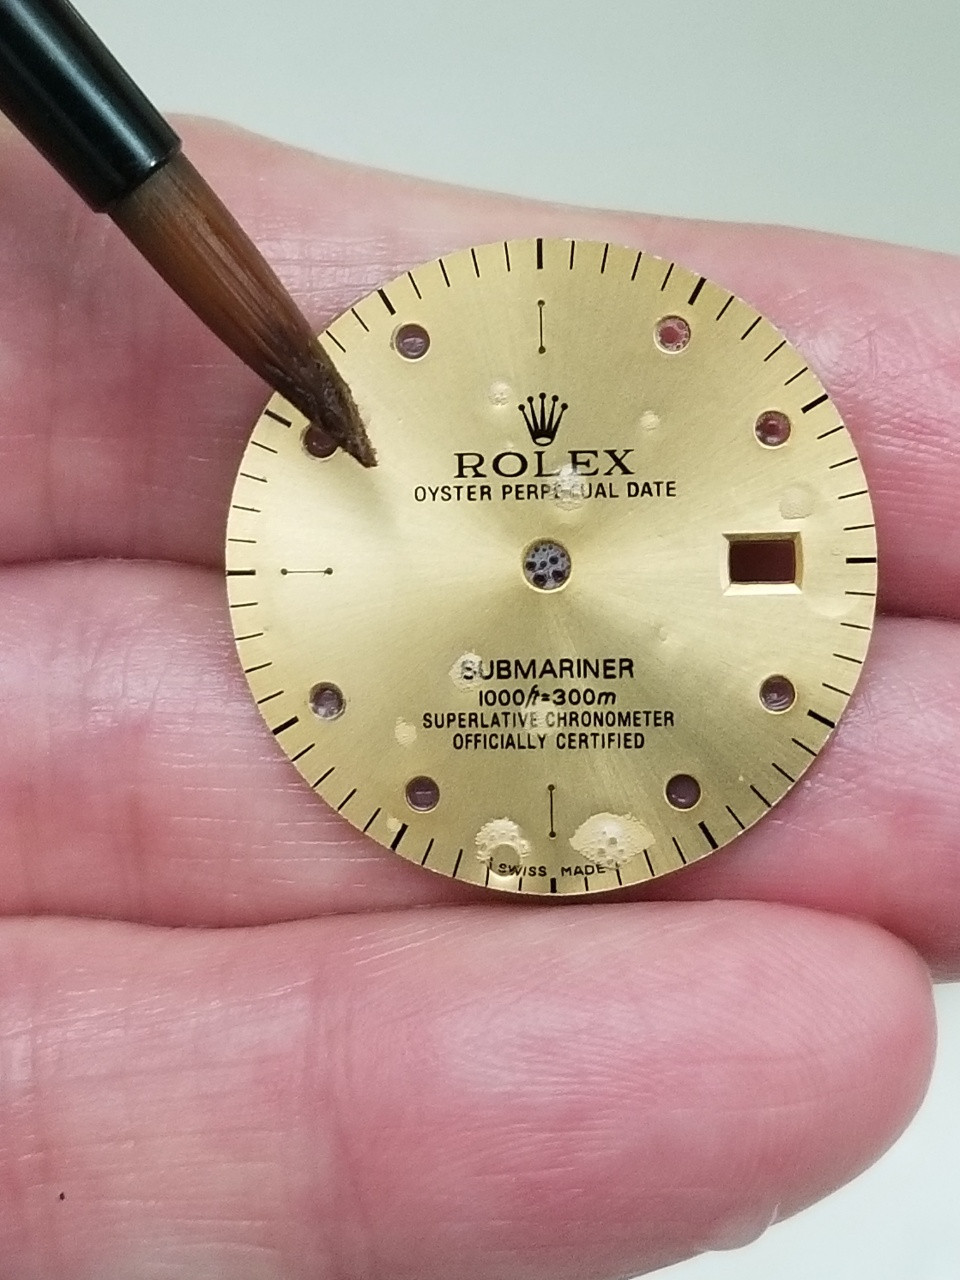
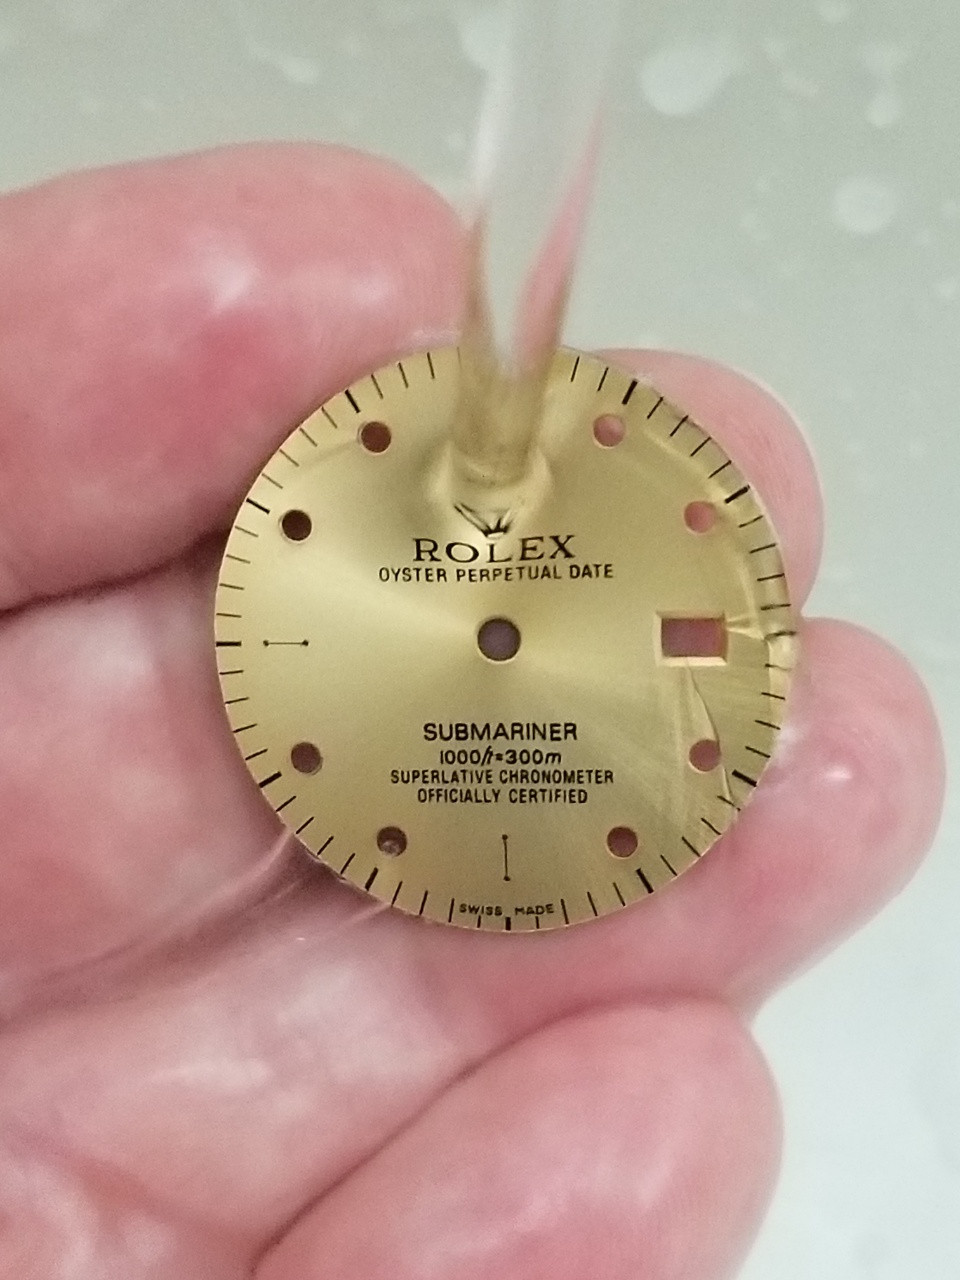
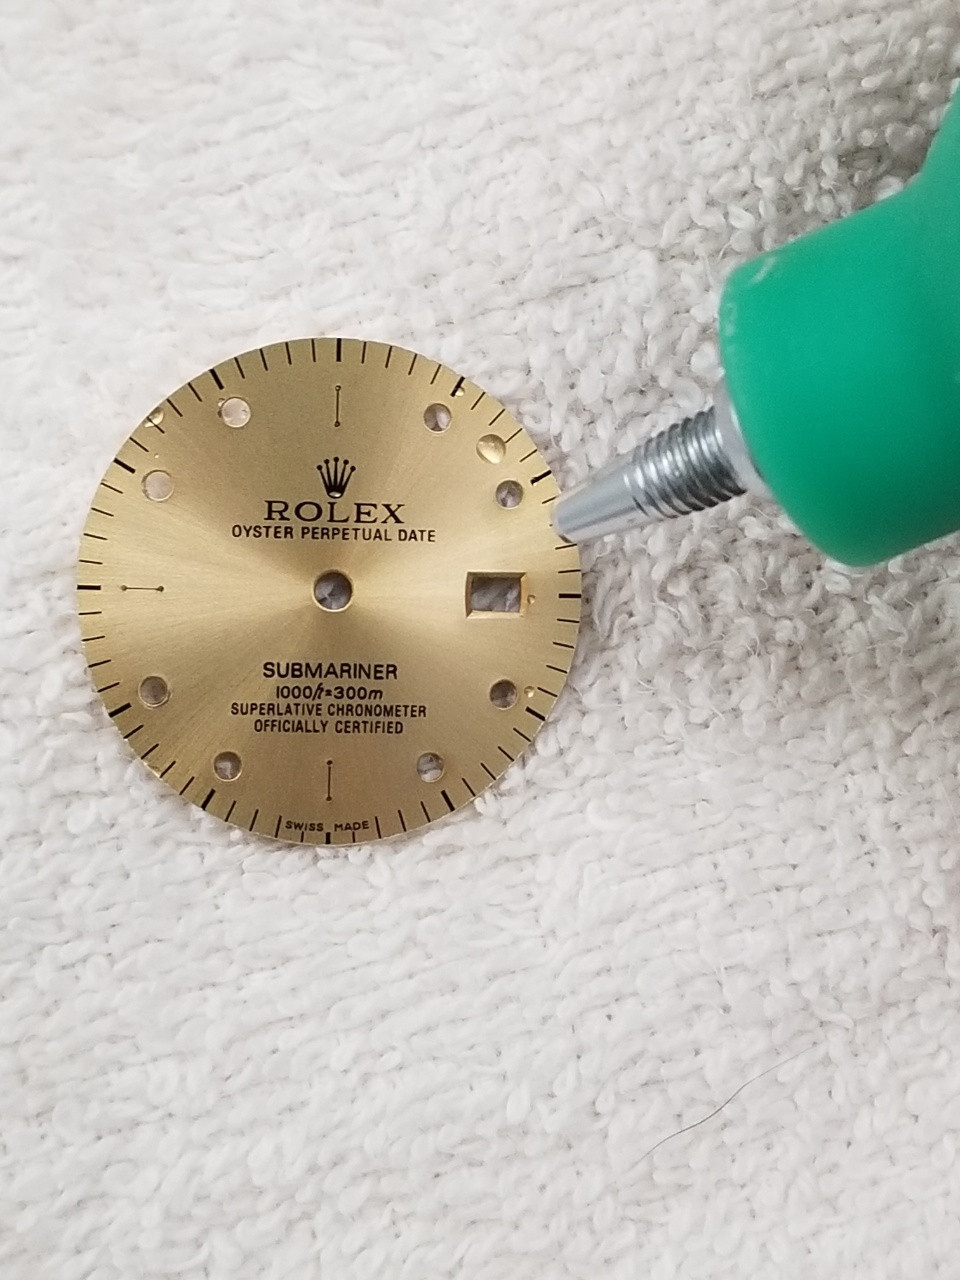
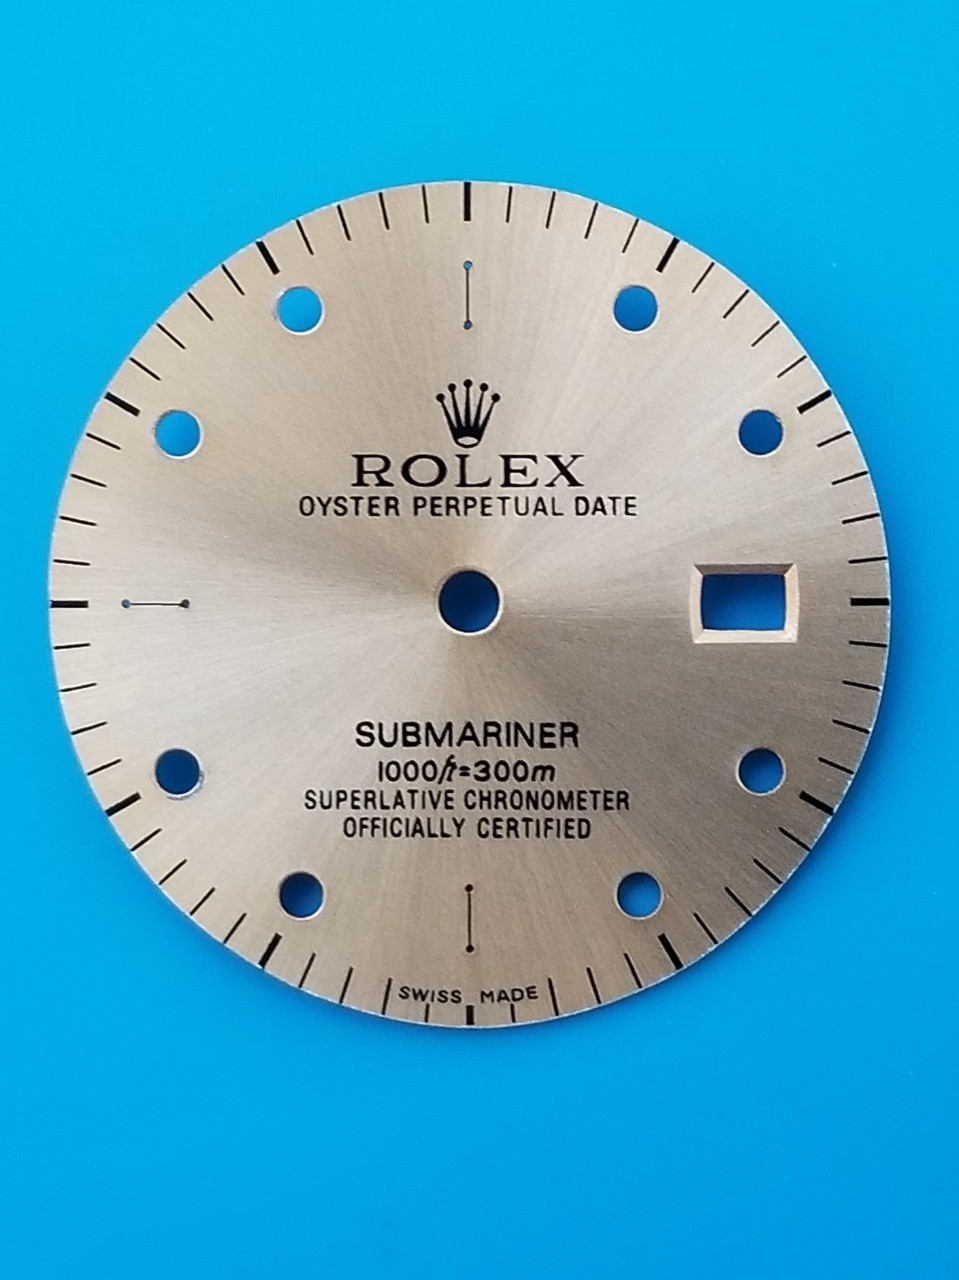
I scavenged some “gold” 6 digit markers from another rep dial and dissolved the lume out of them with acetone.
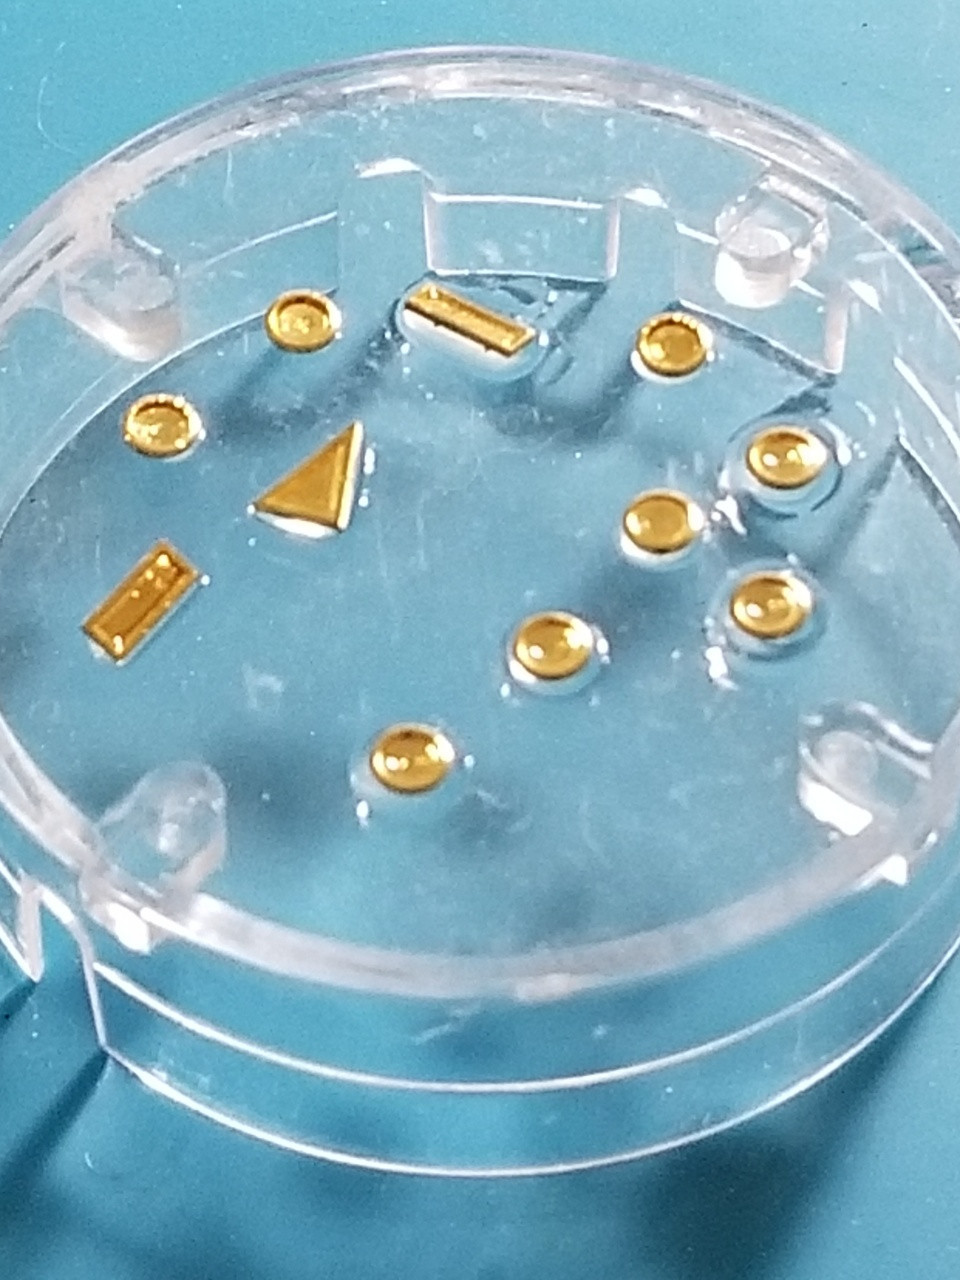
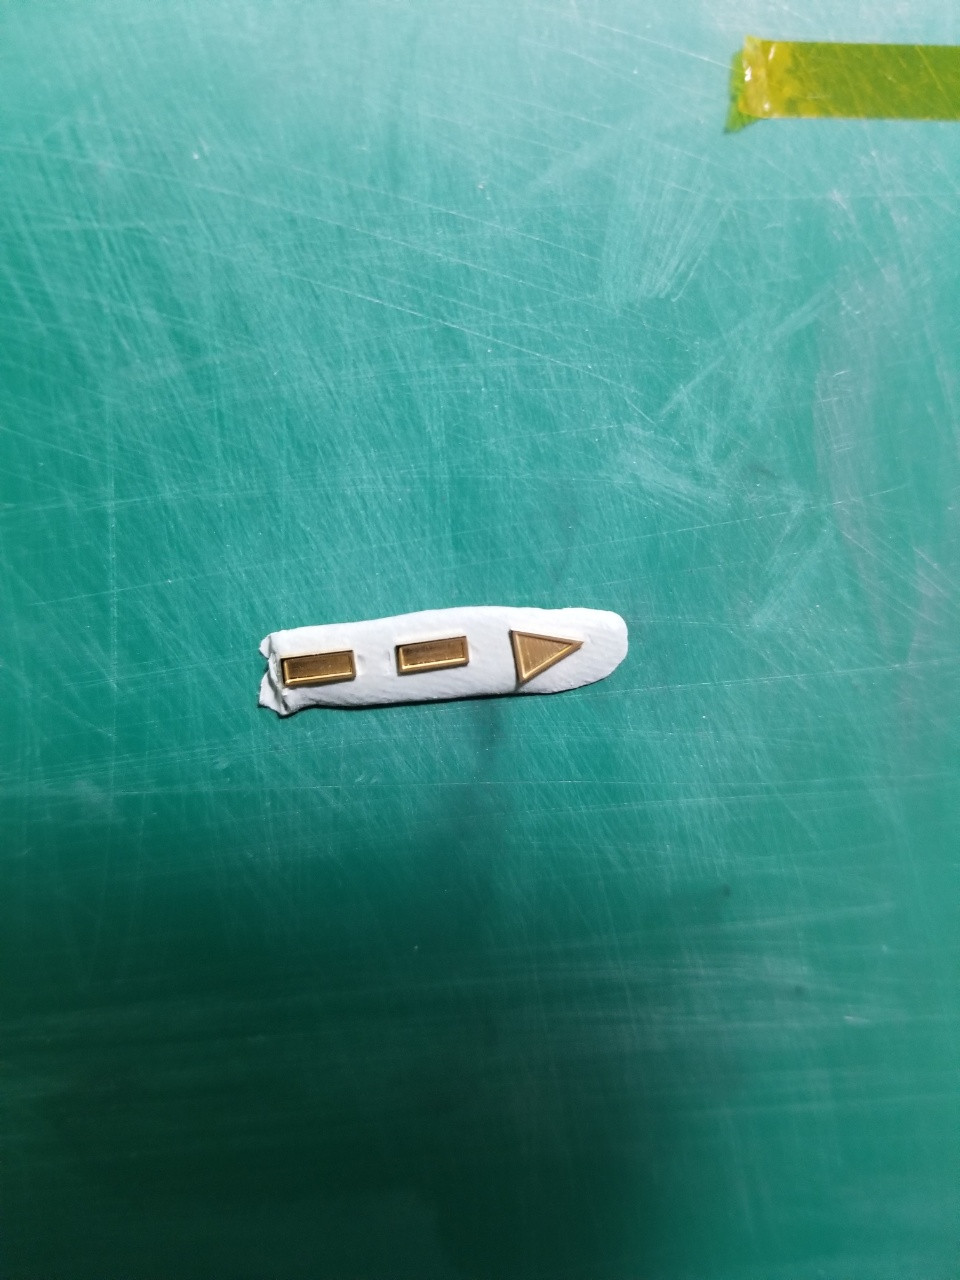
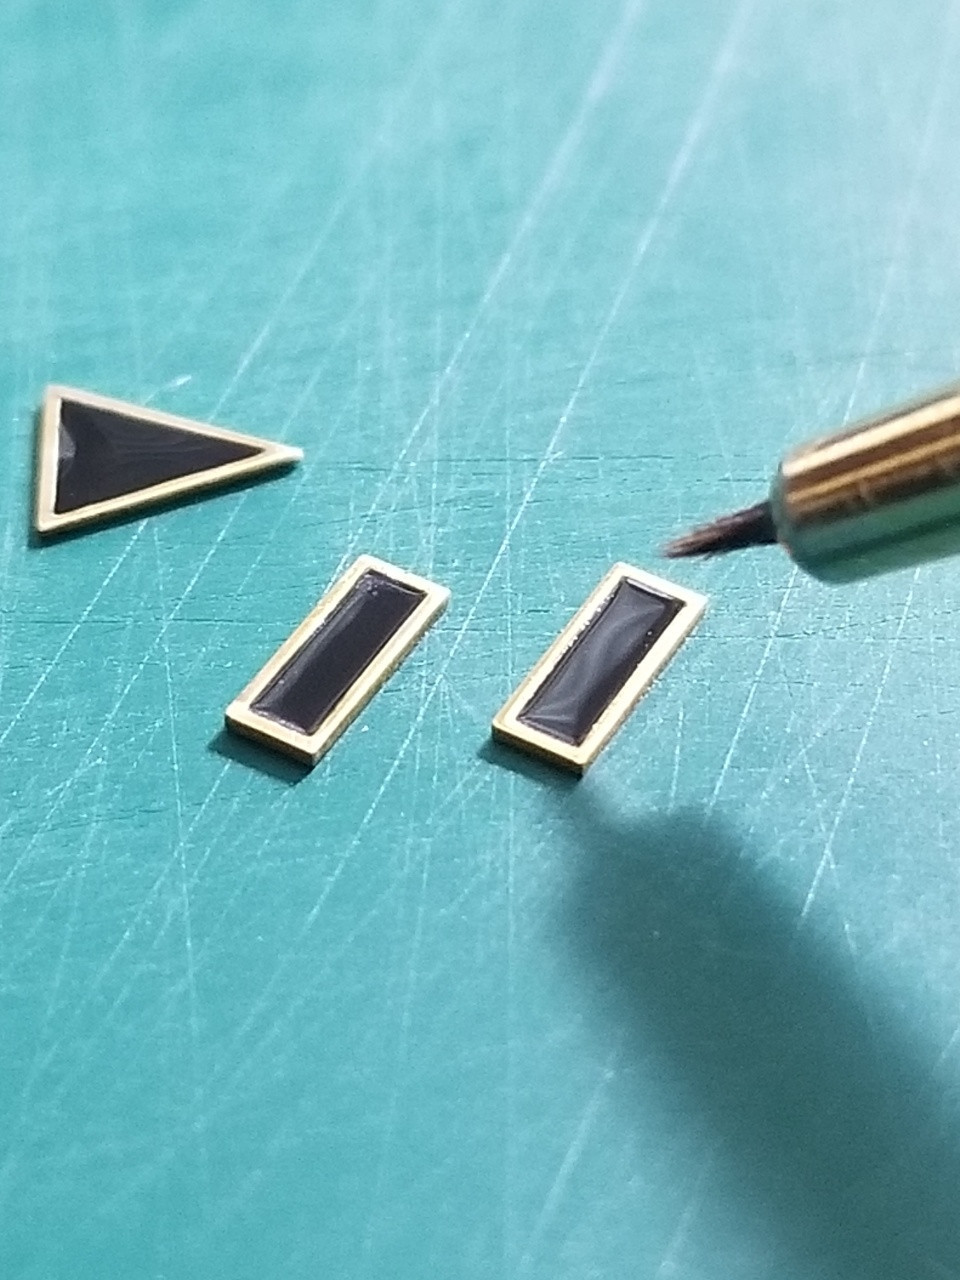
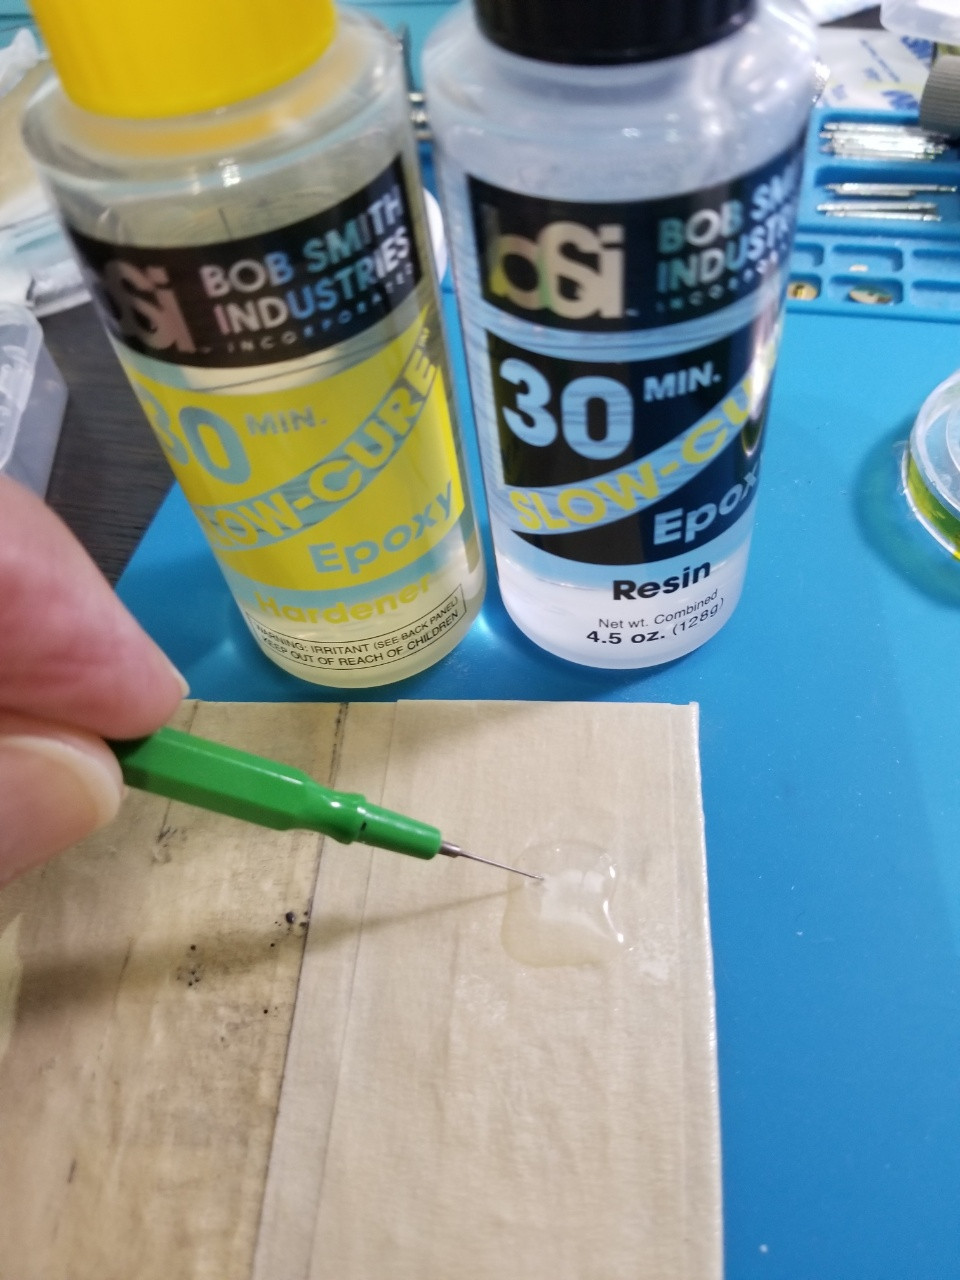
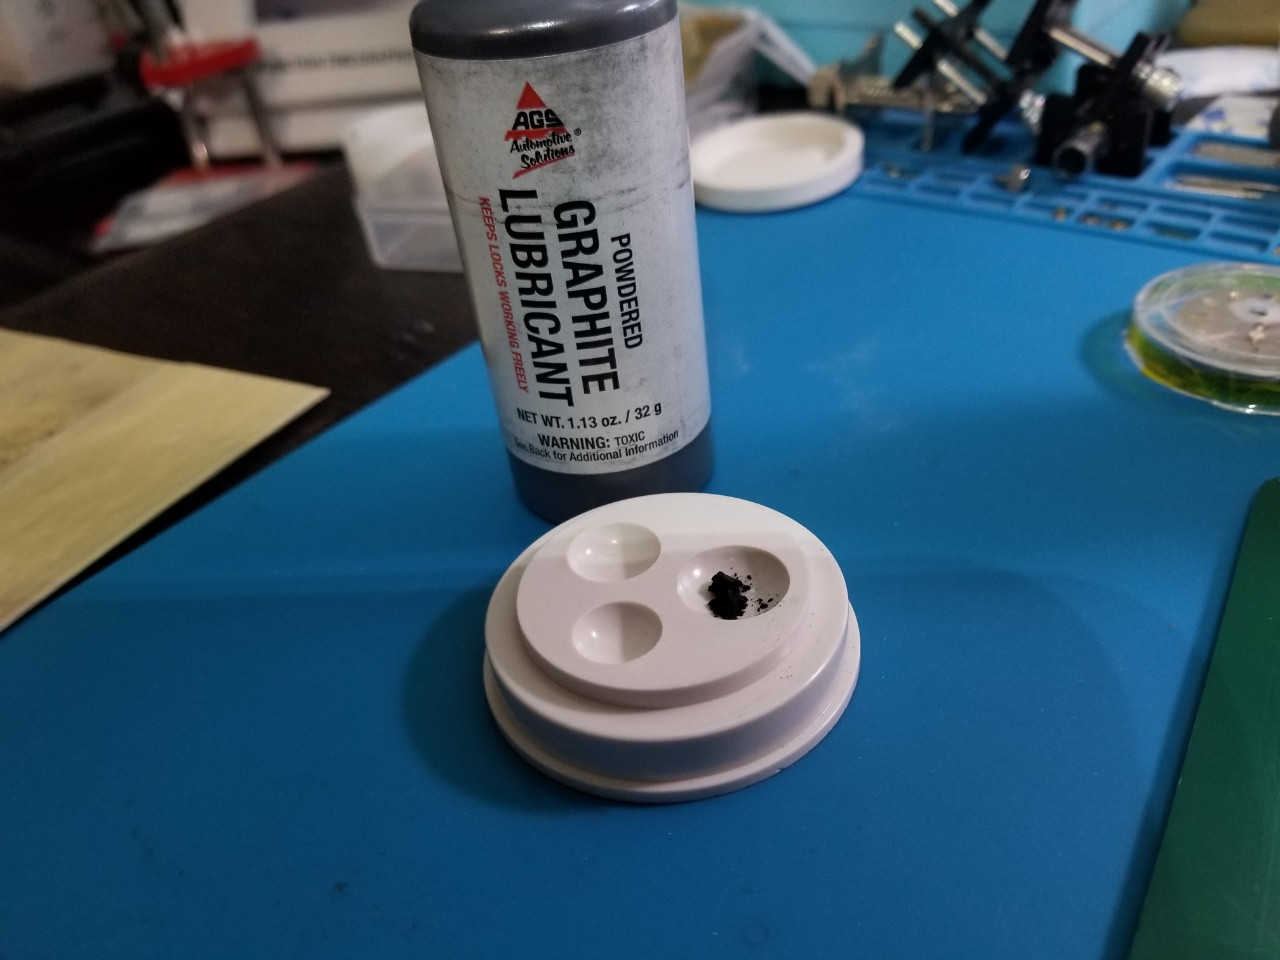
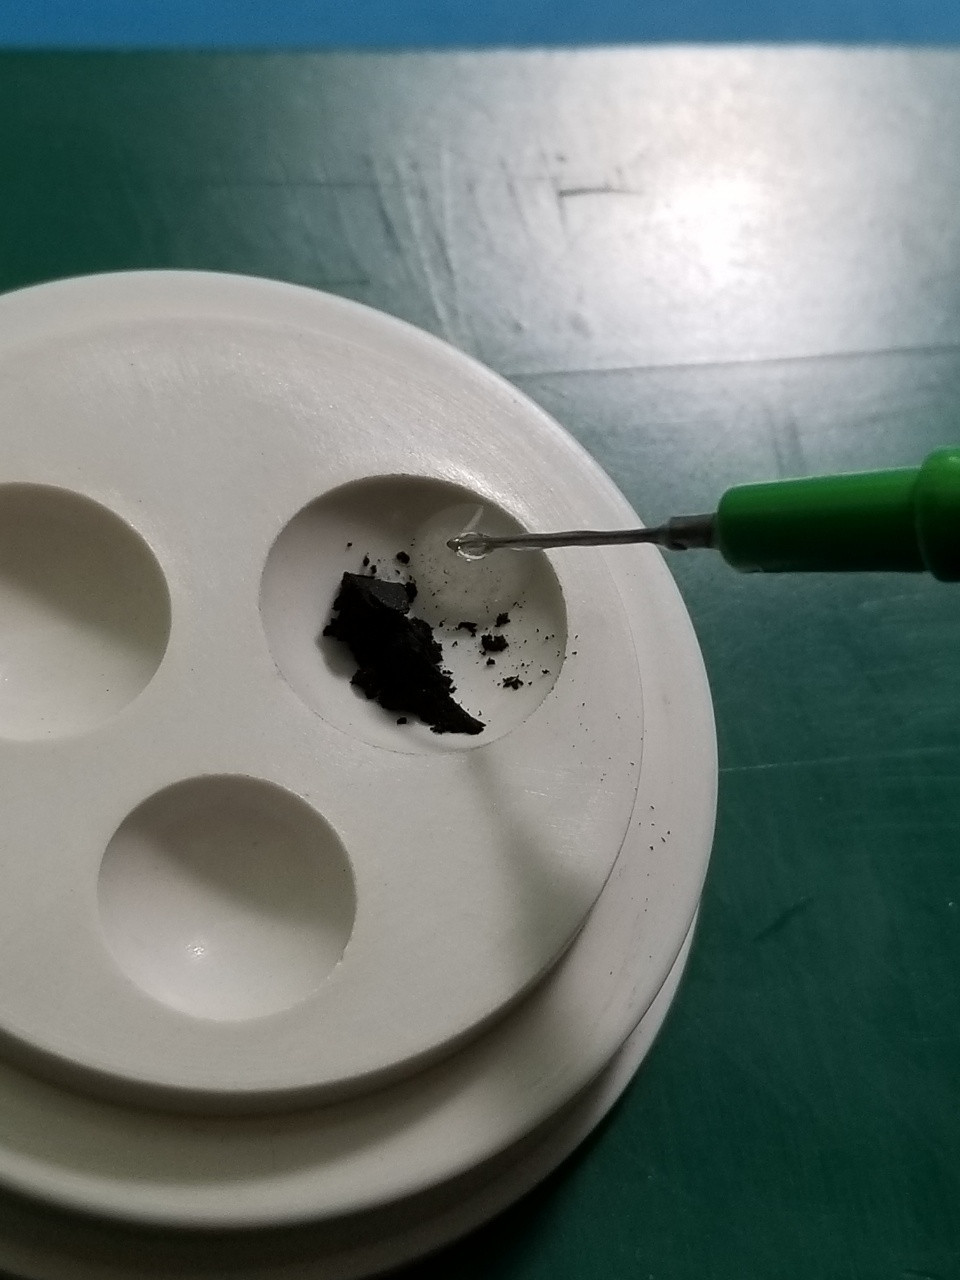
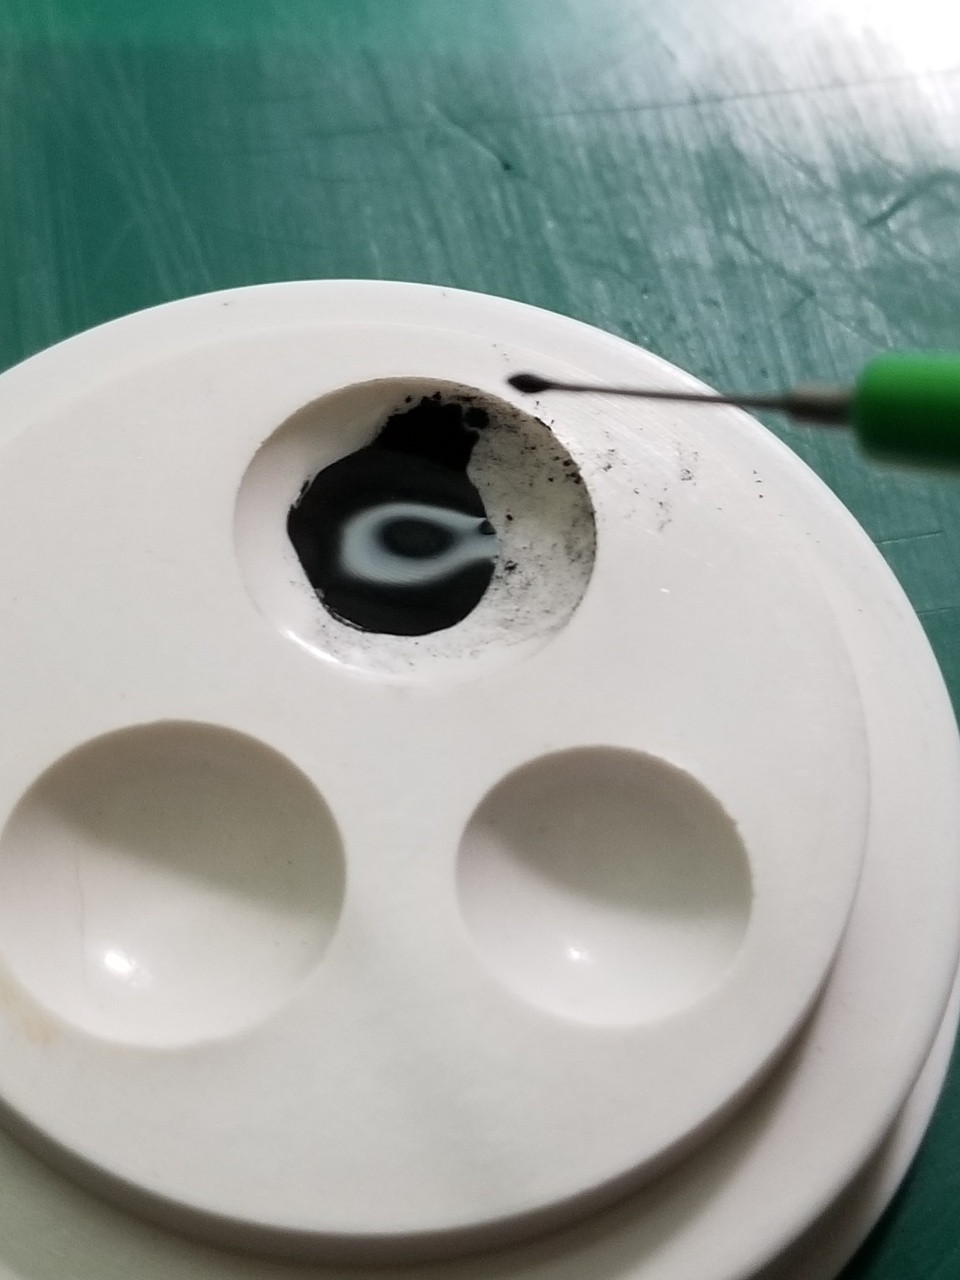
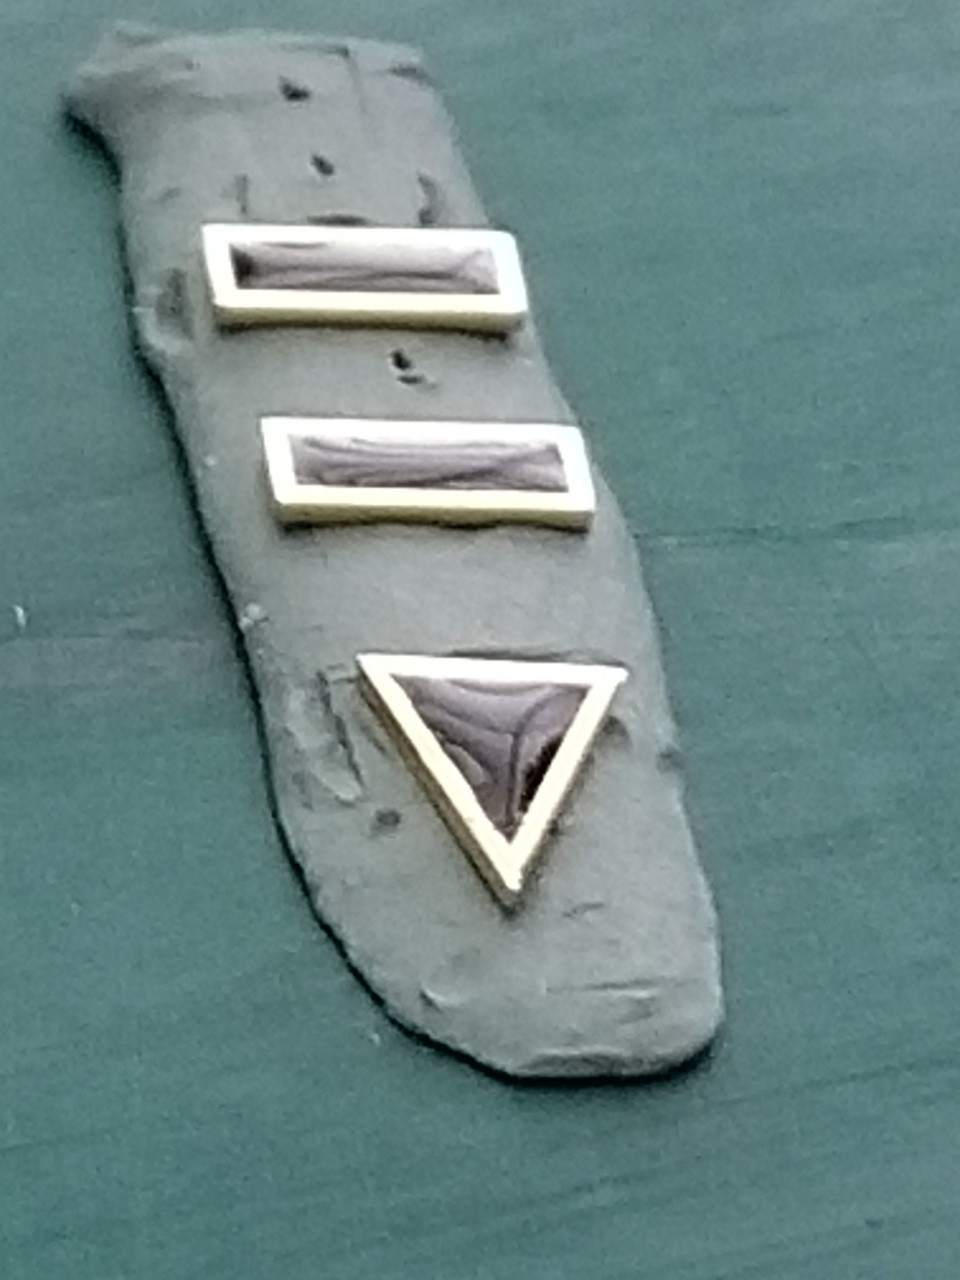
I painted a base coat of Testor’s gloss black into the 6 9 12 markers. After that dried, I mixed some epoxy with black graphite powder and dripped it into the markers. The goal was to create a 3D effect by overfilling the markers without letting it spill over. Easier said than done, I had to re-do it a couple times.
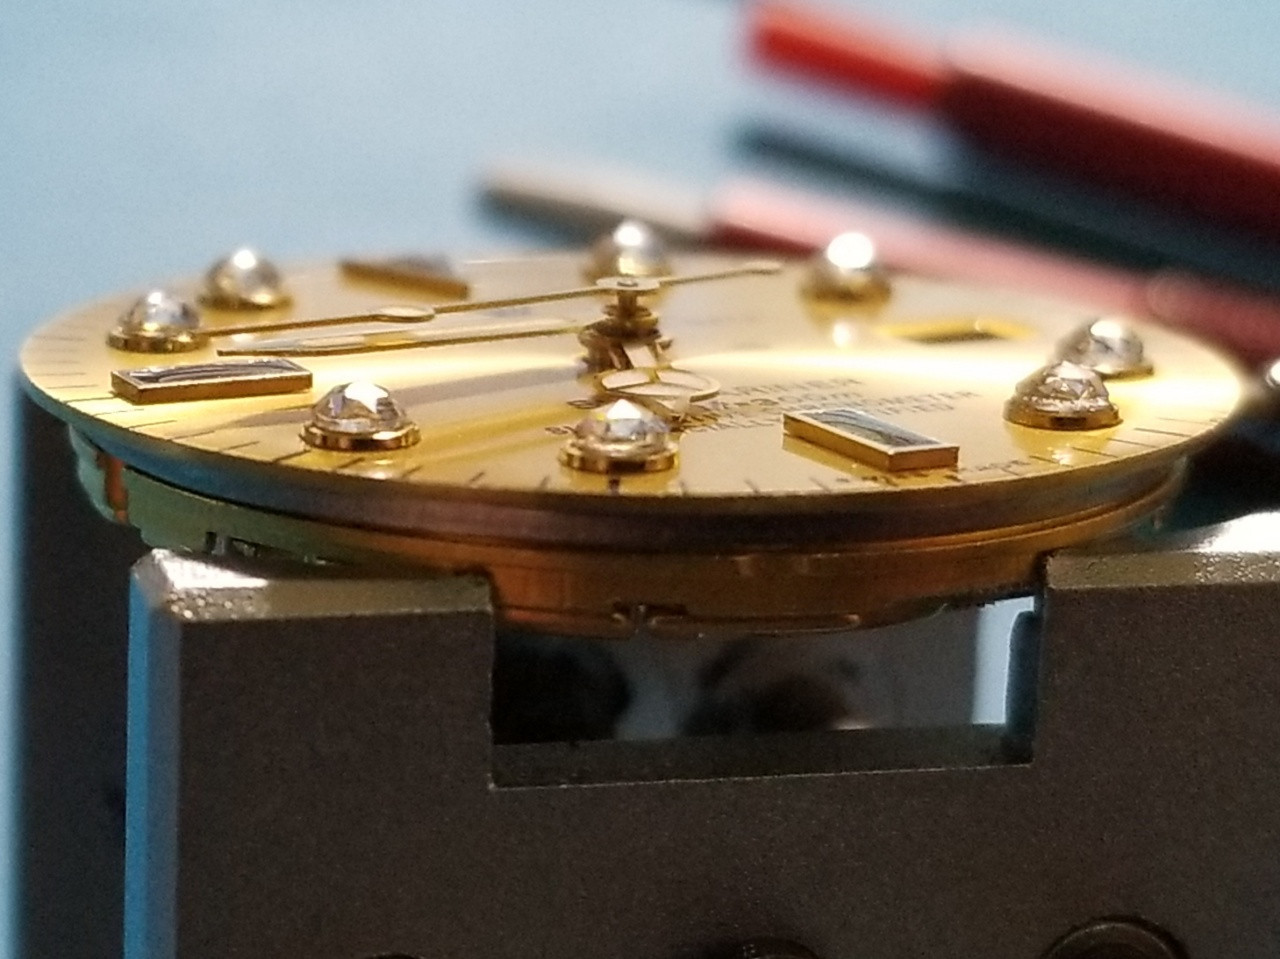
Next up is the “diamond” rounds. I originally thought I would use the normal “brilliant cut” stones and figure out how to make them fit into the round markers as I went but then I discovered that “rose cut” stones had a flat bottom - wow how perfect! A 2mm CZ would fit nicely into the markers and they were available on AliX, BONUS! Plus it was like $12 for 50 of them, I was on a roll, haha.
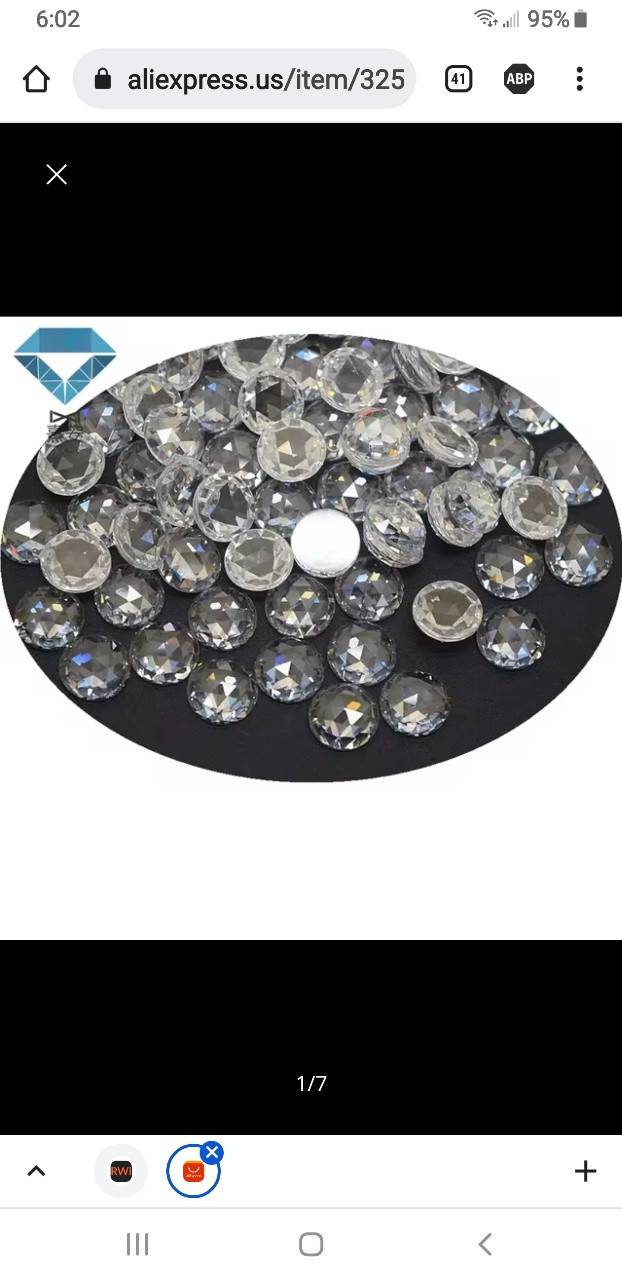
After the CZs arrived I discovered that when used directly with a gold marker, their appearance was noticeably affected. I had suspected this might happen and had a backup plan to try.
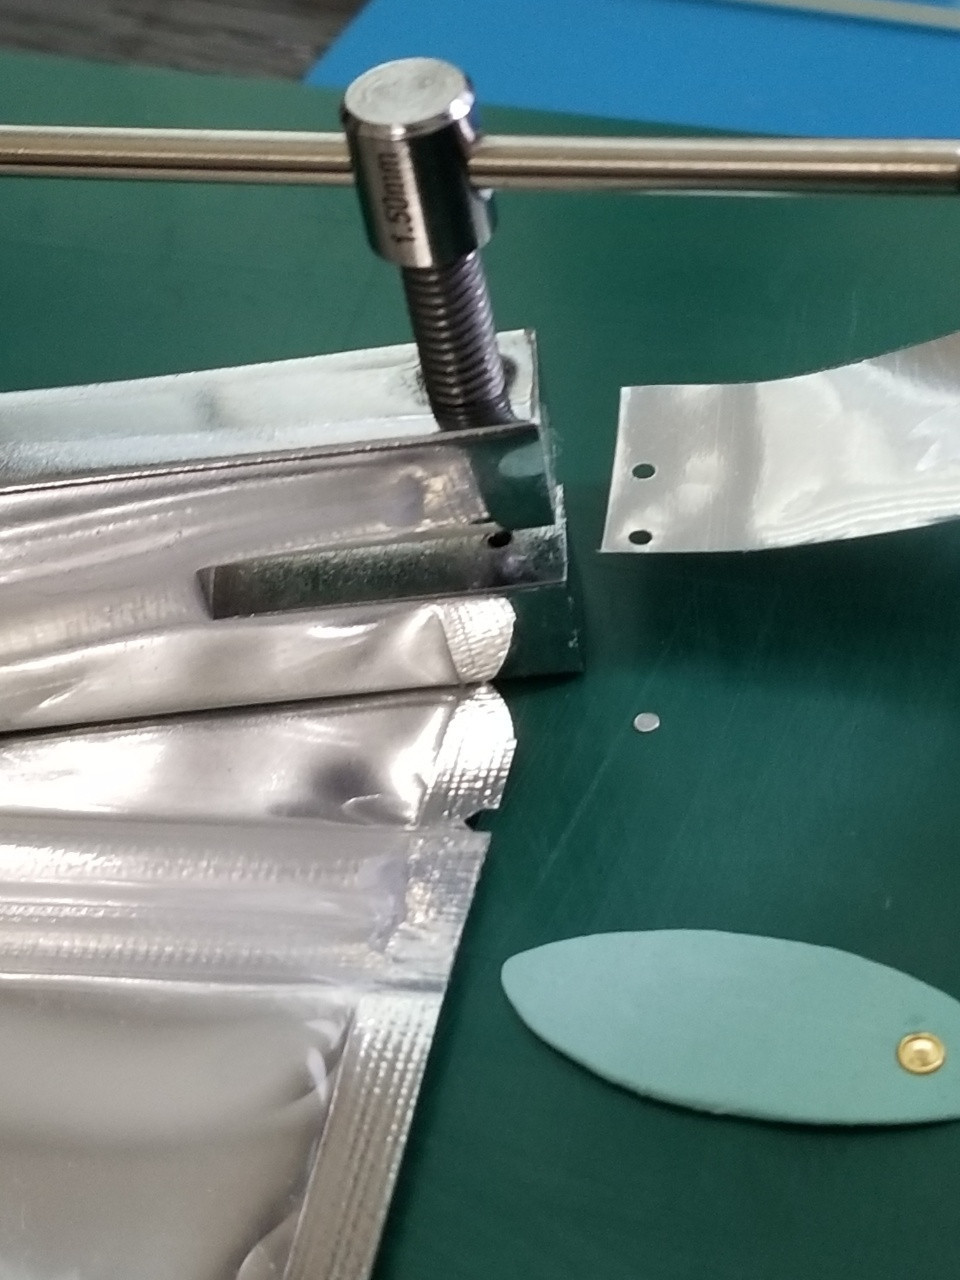
Years ago I had purchased a jeweler’s light metal hole punch that would do both 1.8mm and 2.0mm holes. I thought if I used some thin highly reflective foil I could glue the hole discards behind the CZs to make the gold reflections go away. It worked!
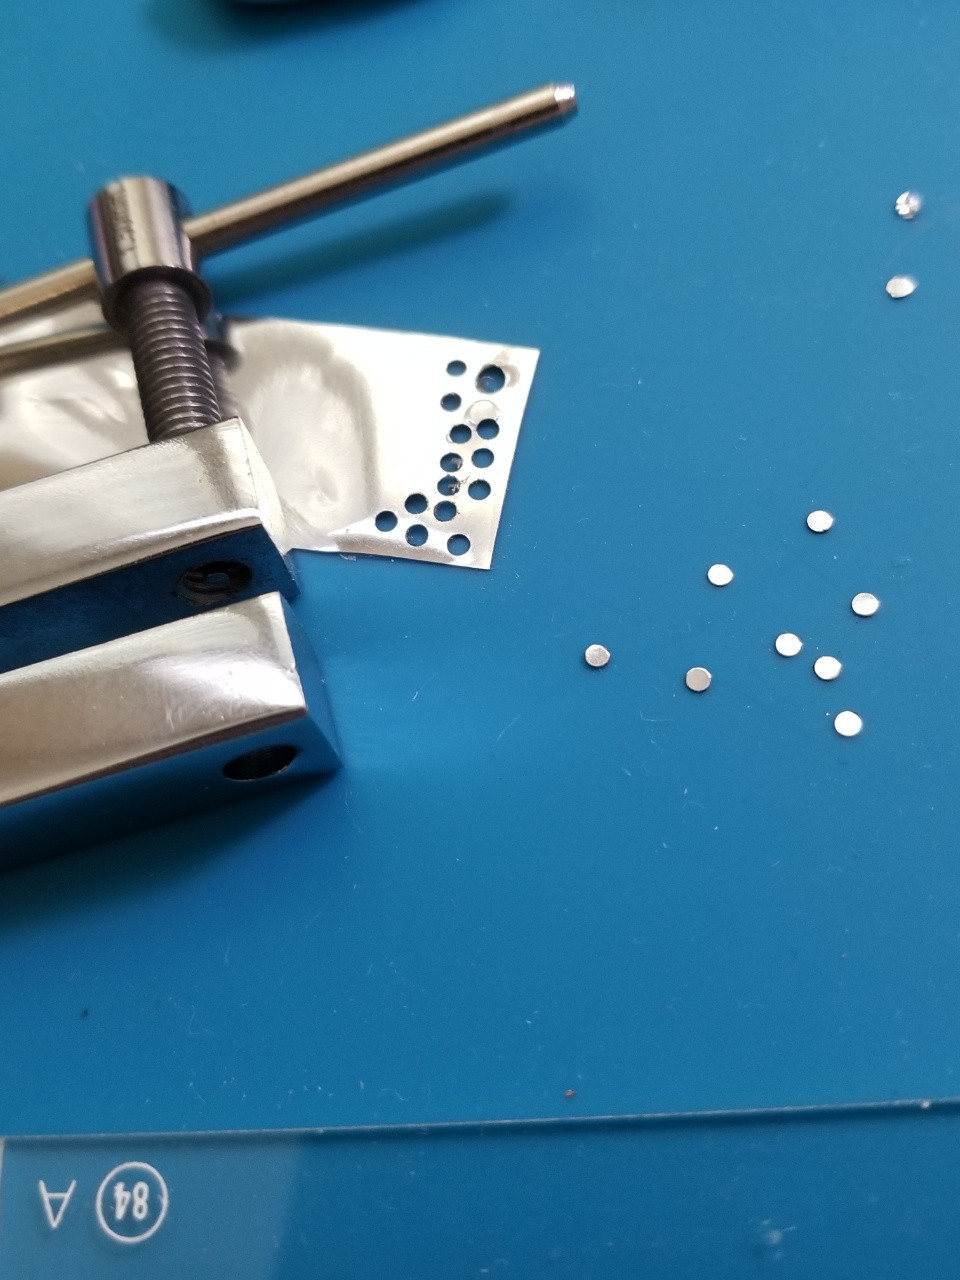
I used one side of a foil packet some parts came in. Regular aluminum foil was too thin.
So I epoxied 1.8mm hole discards into all the round markers, let them cure then epoxied the CZs on top.
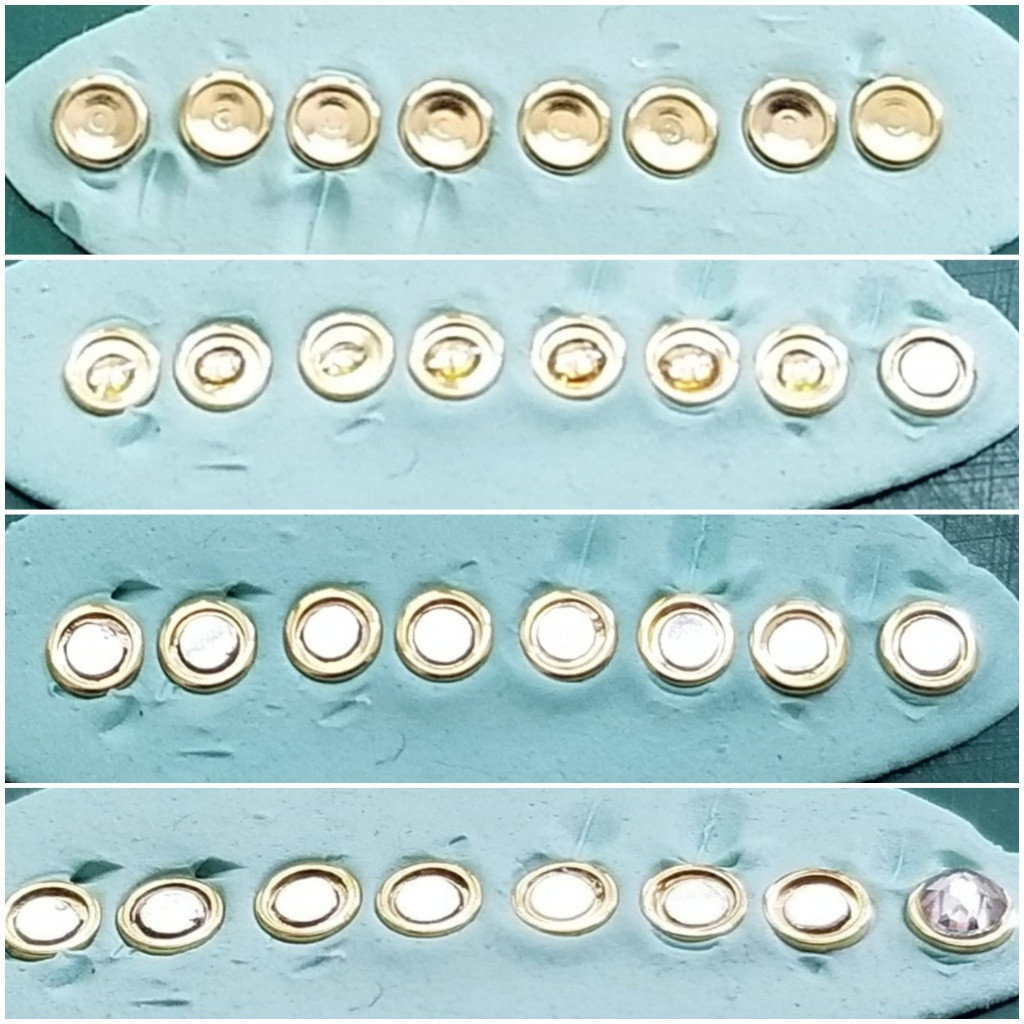
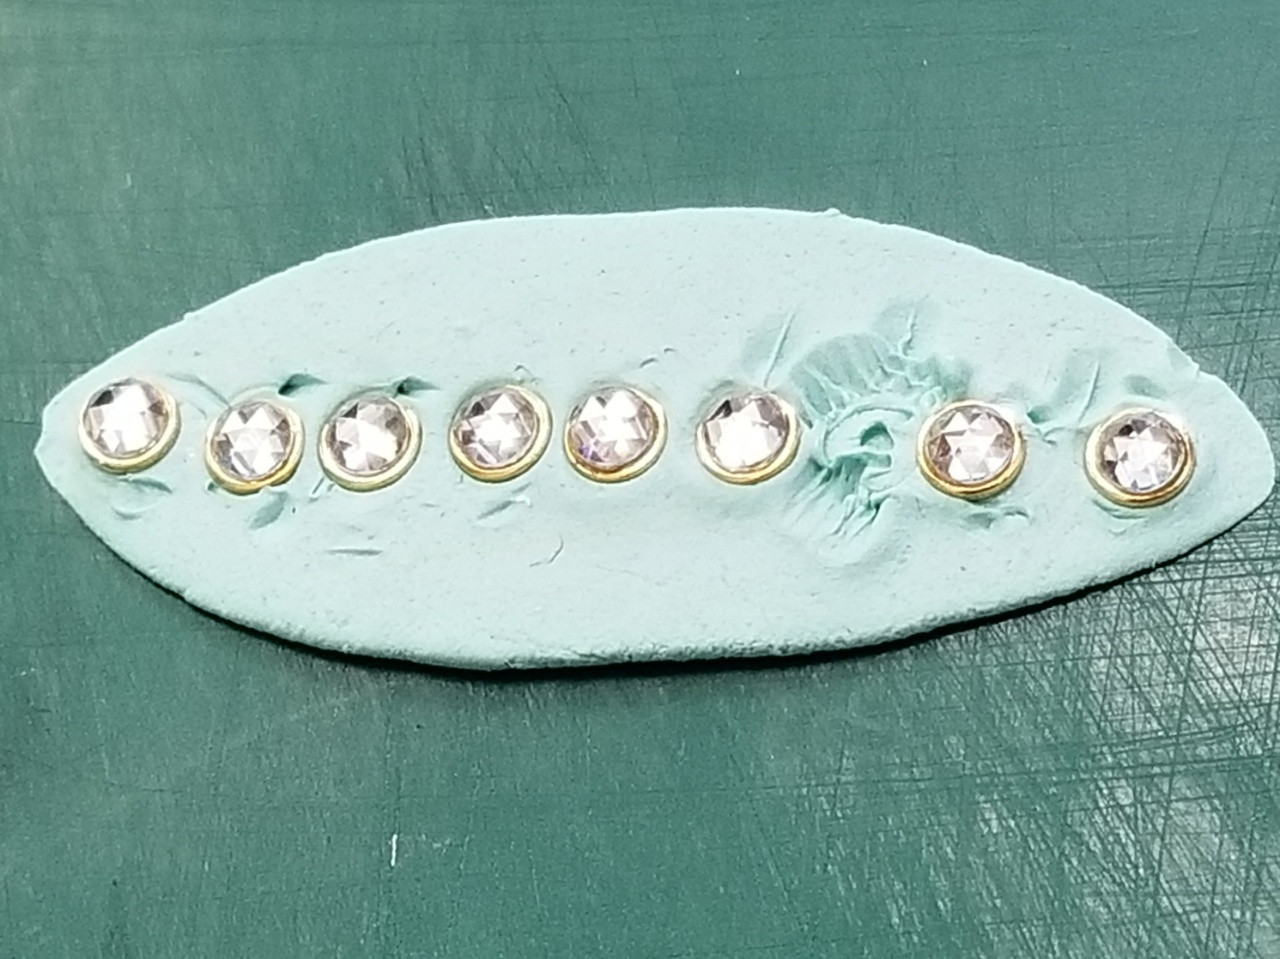
Then the markers get epoxied onto the dial.
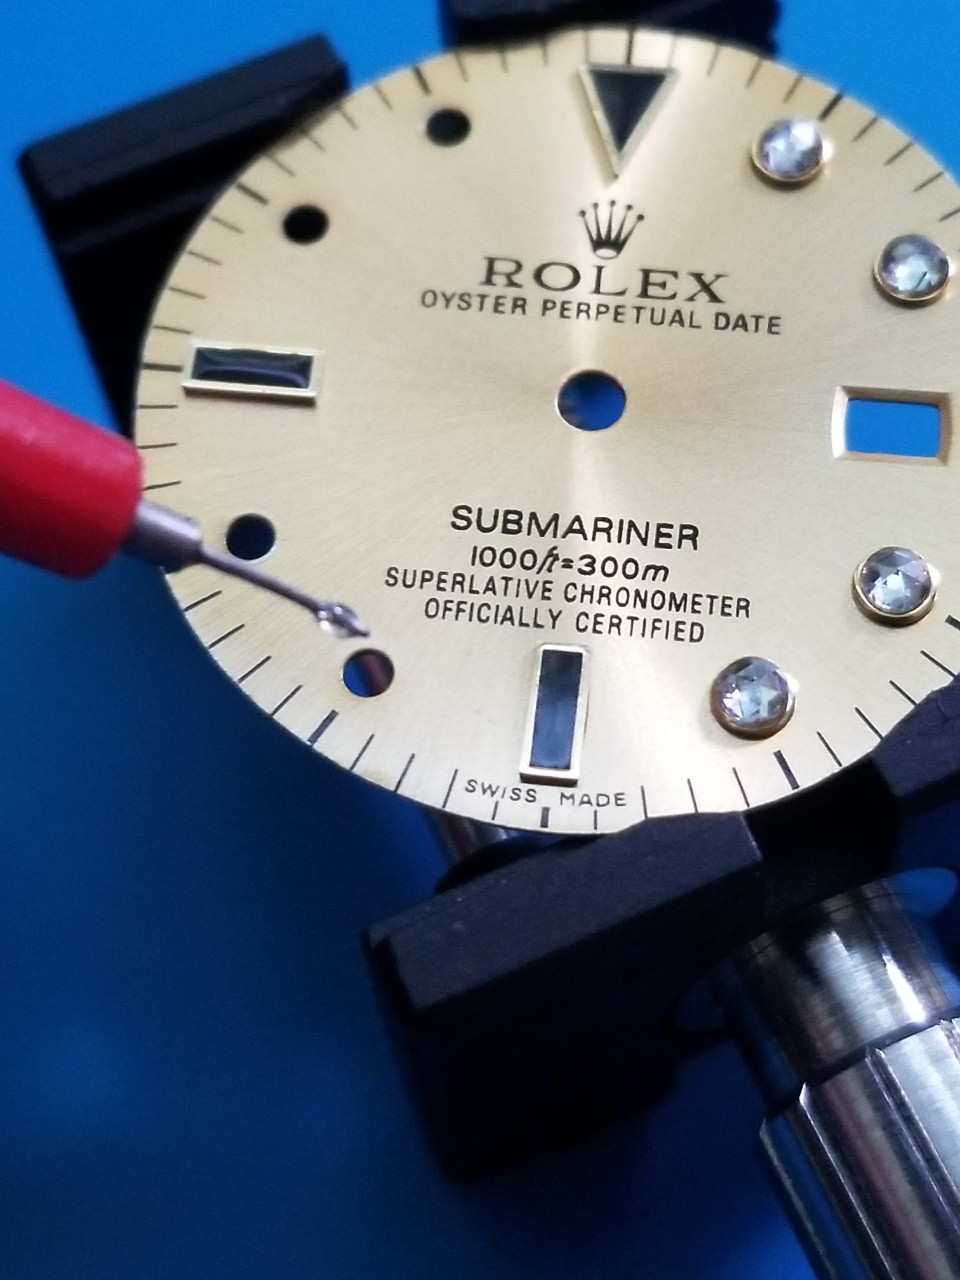
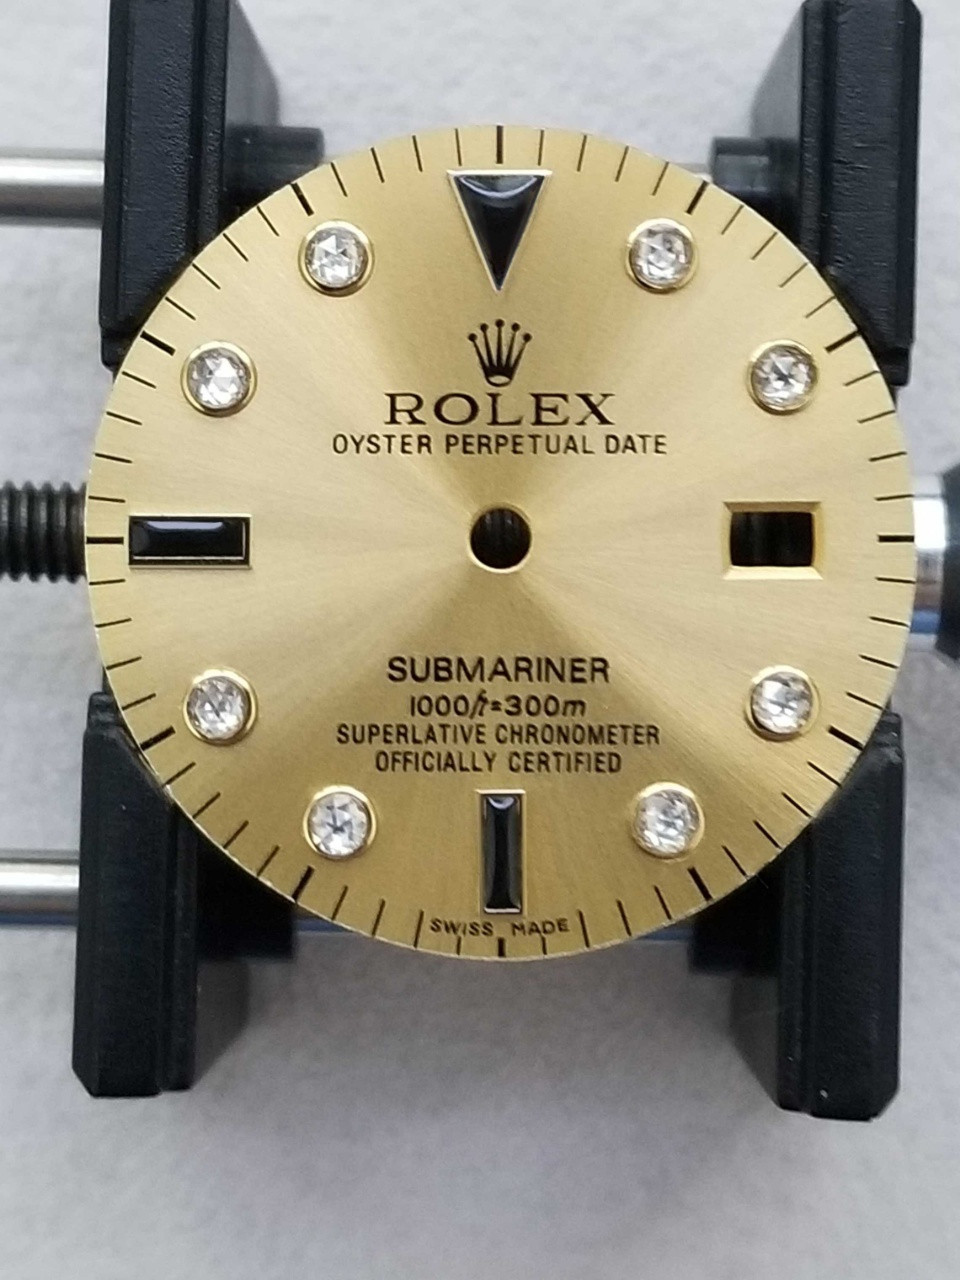
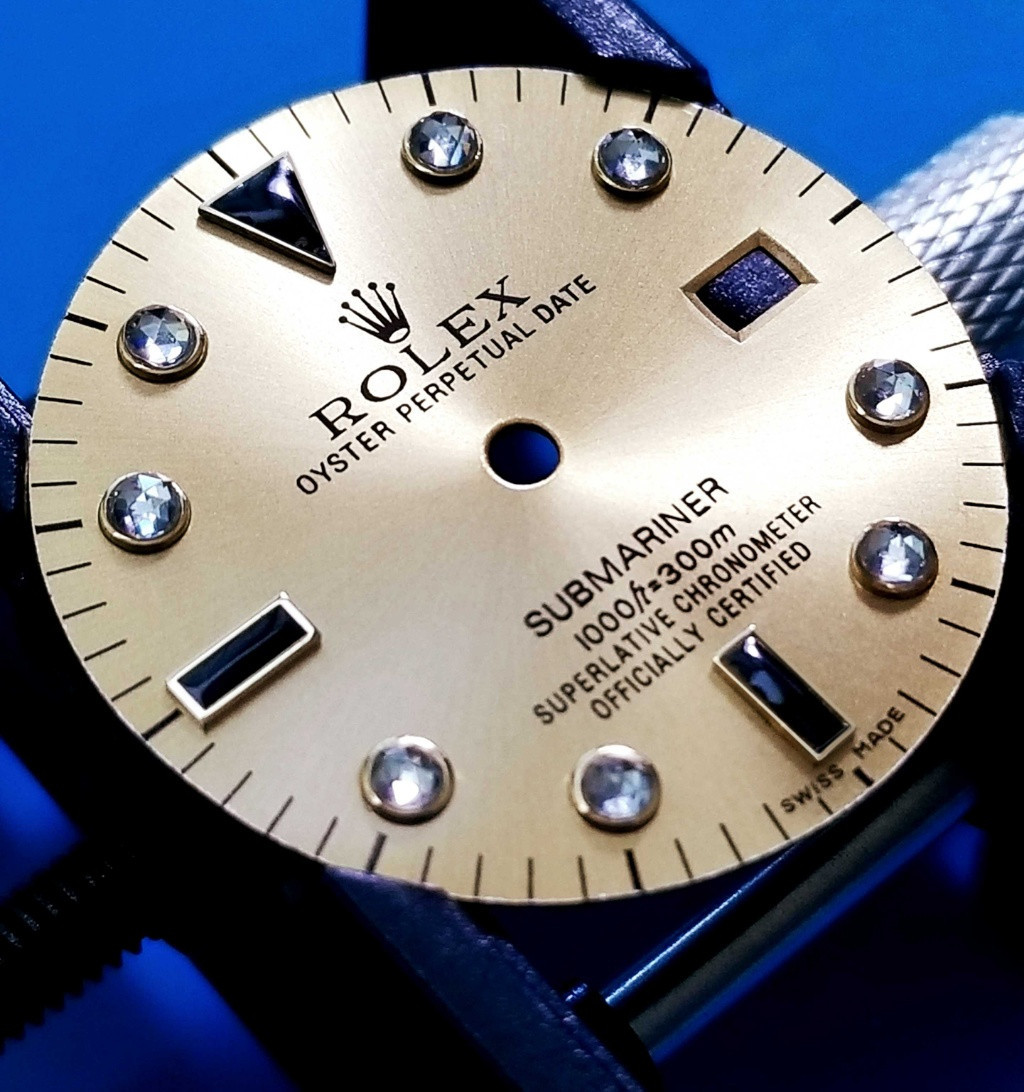
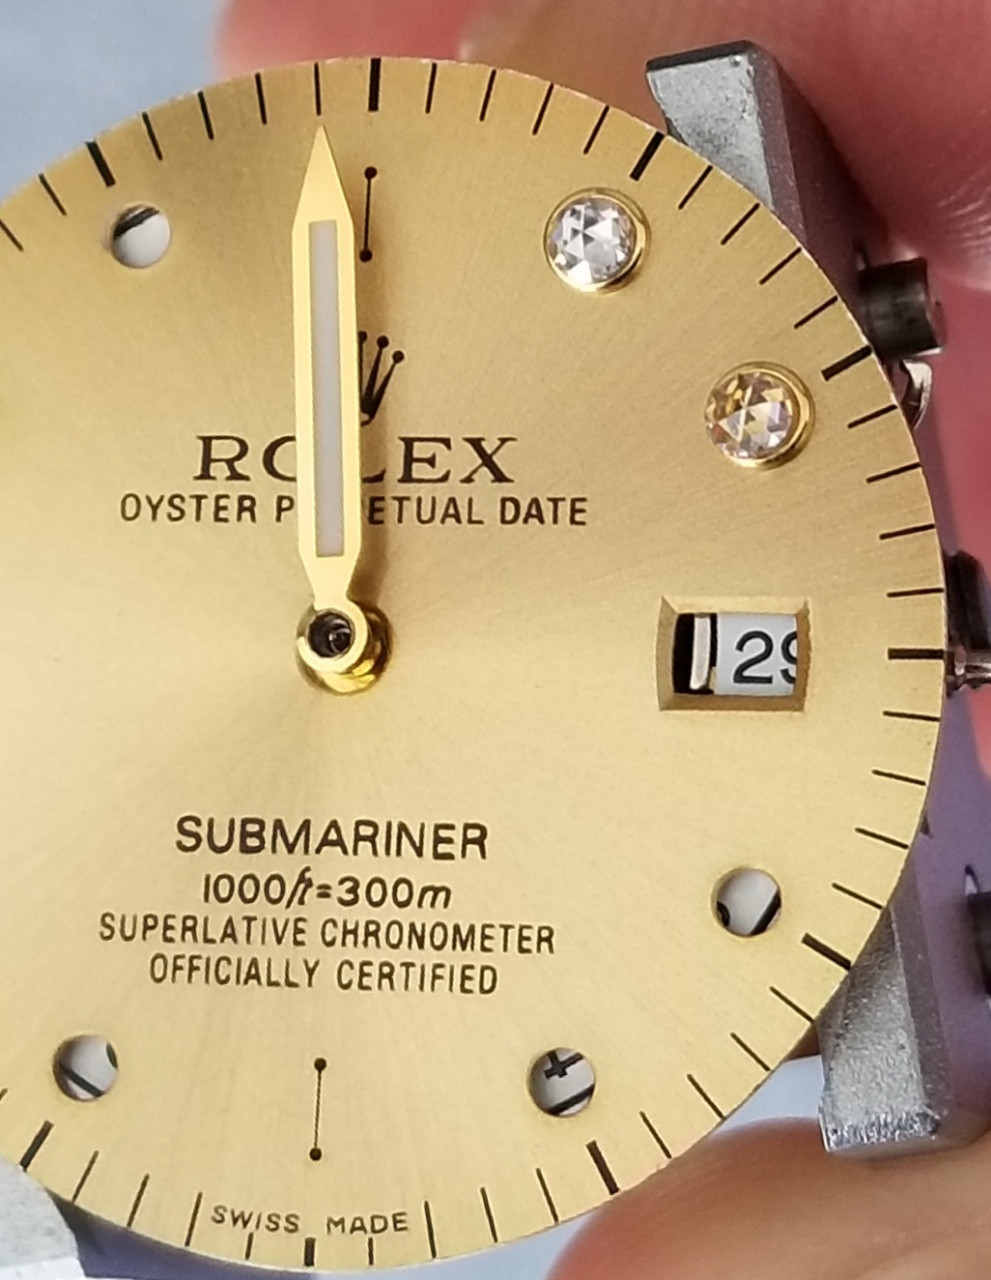
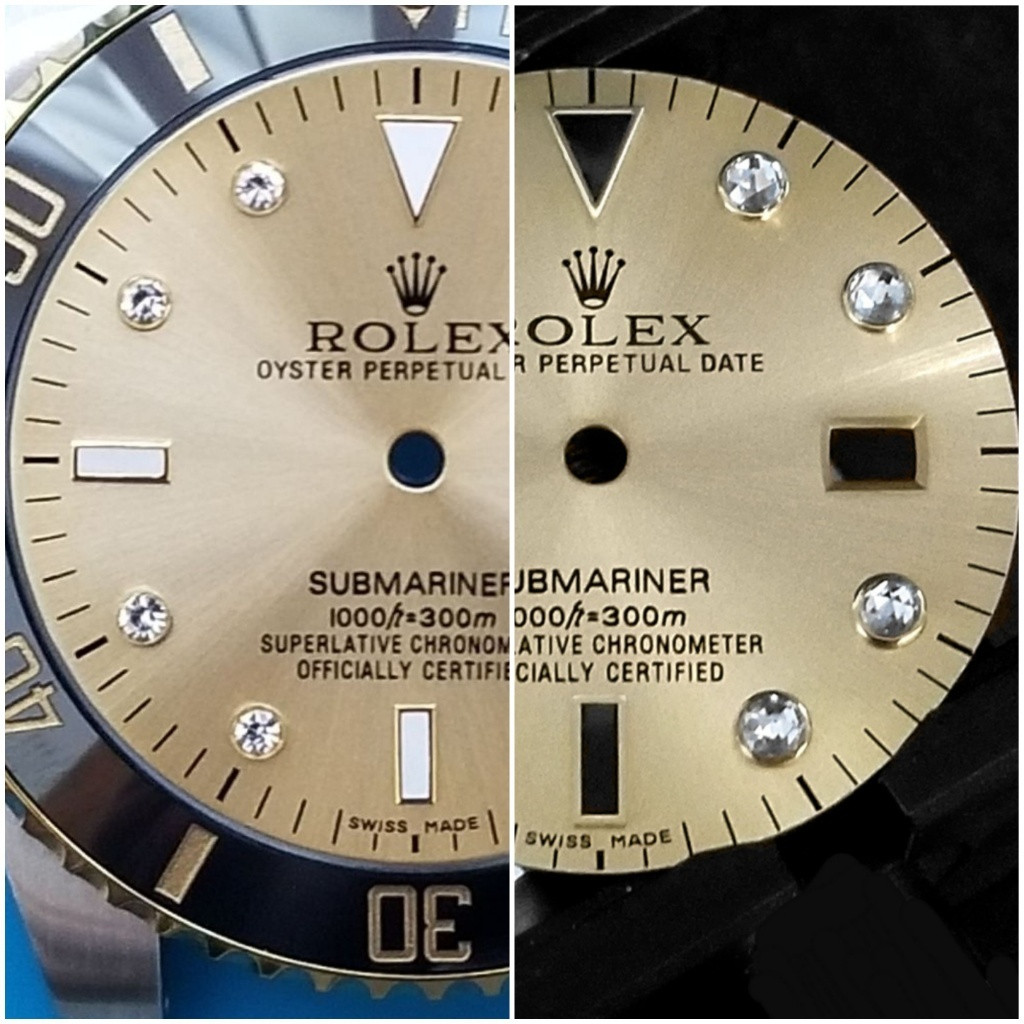
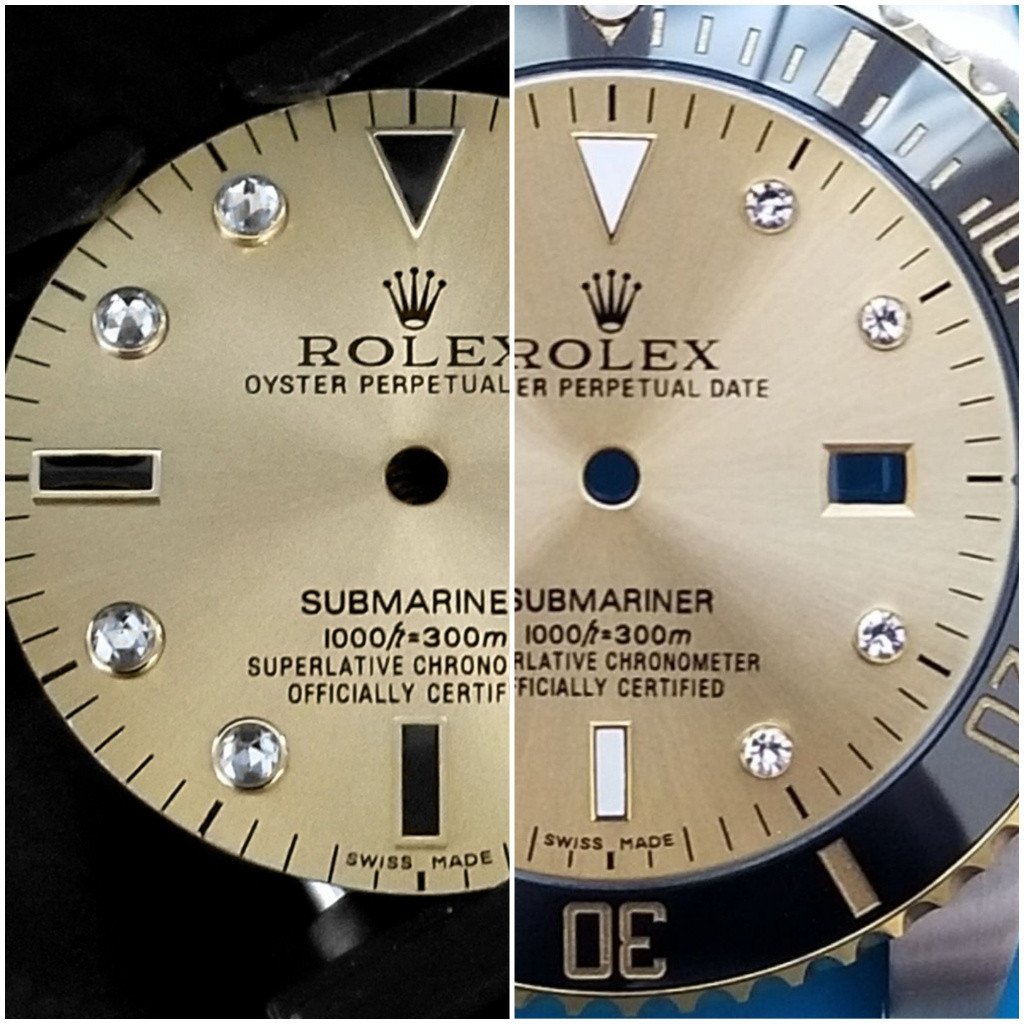
Dial before and after.
I had some concern about the minute hand clearing the CZs as they are a bit tall, but the hands had extended posts for the 2824 (yay!) so the hands fit was OK.
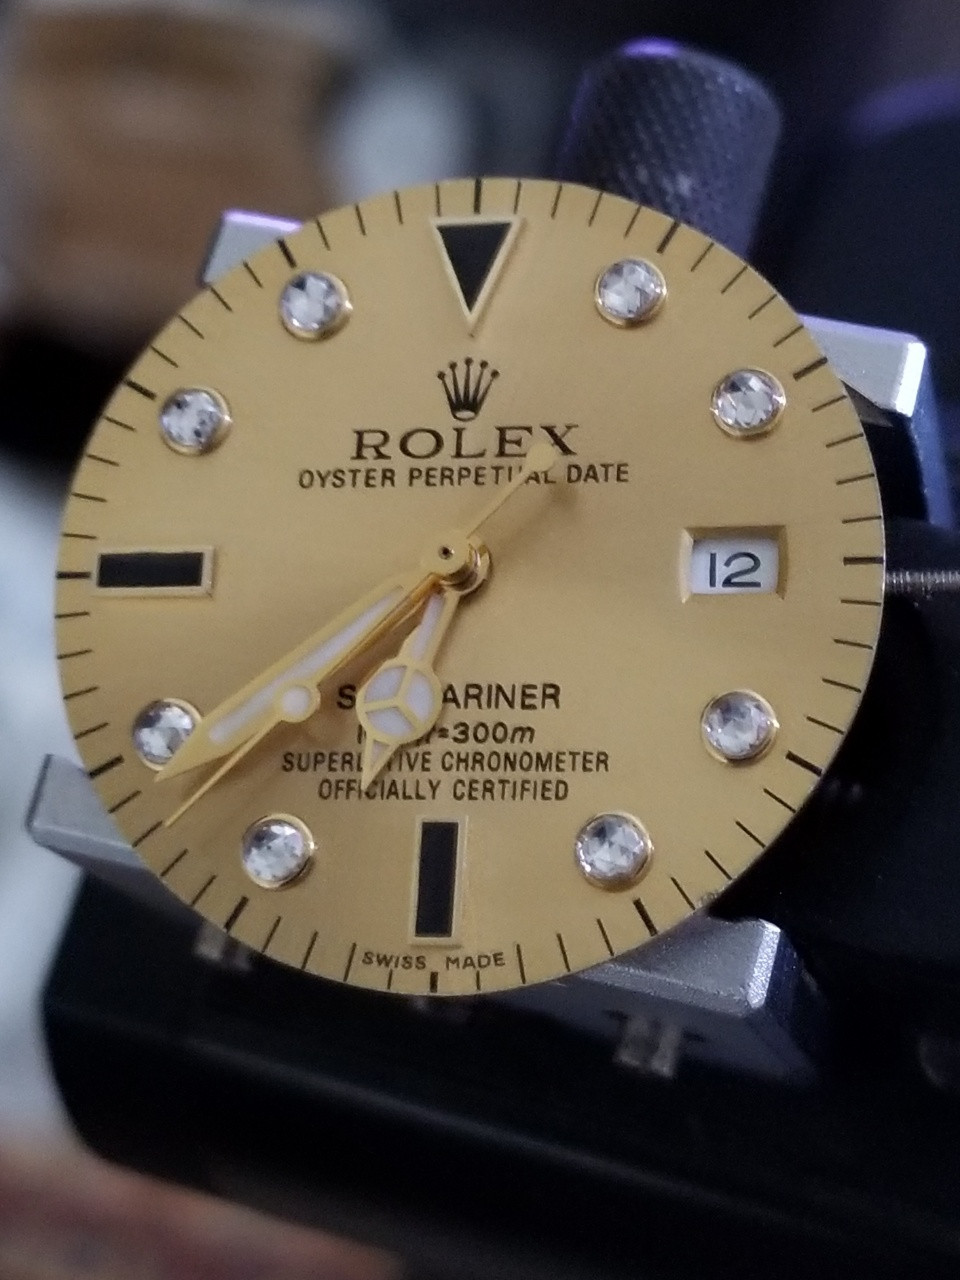
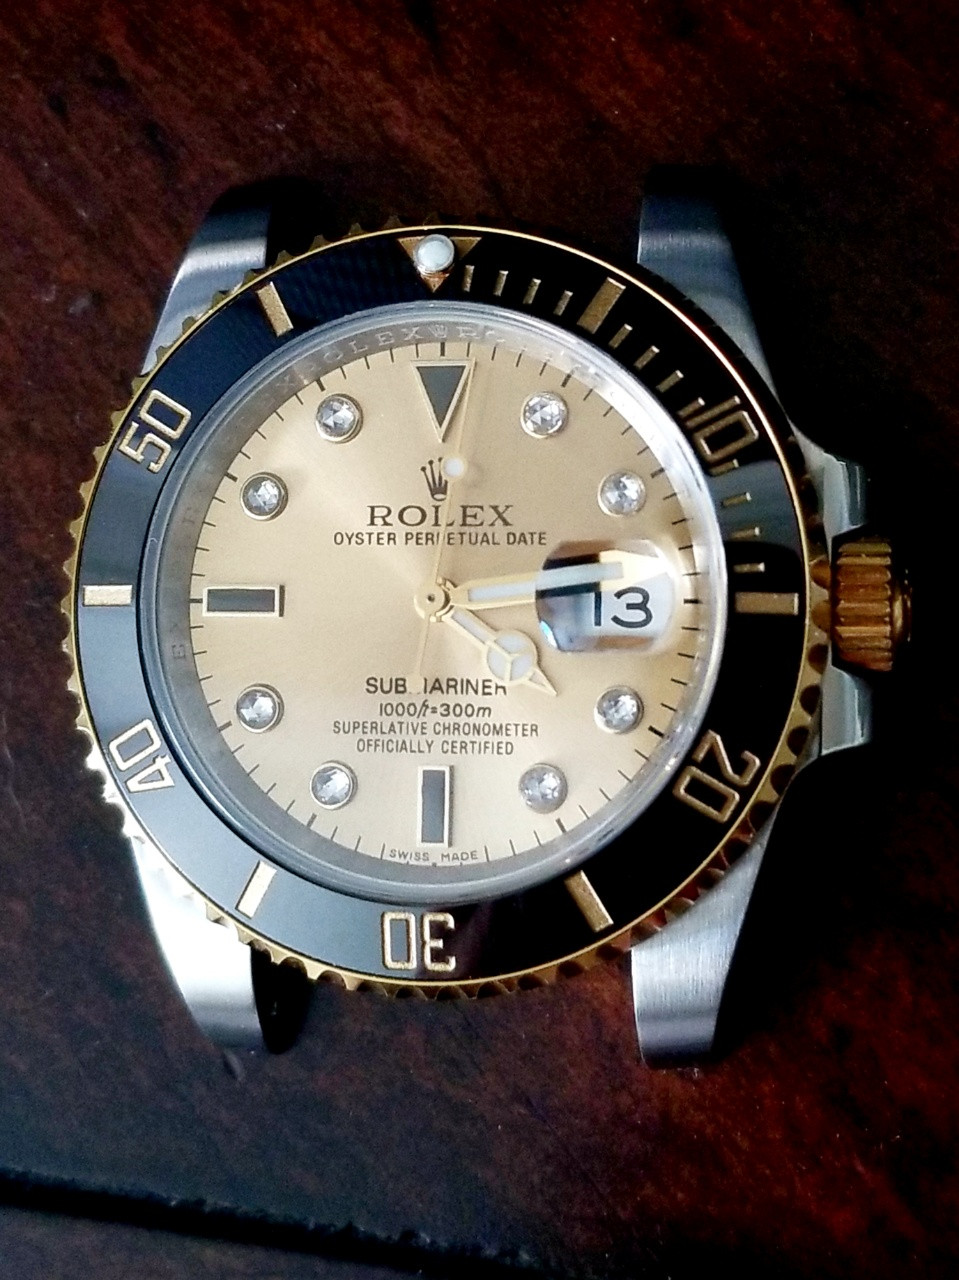
Case it up.
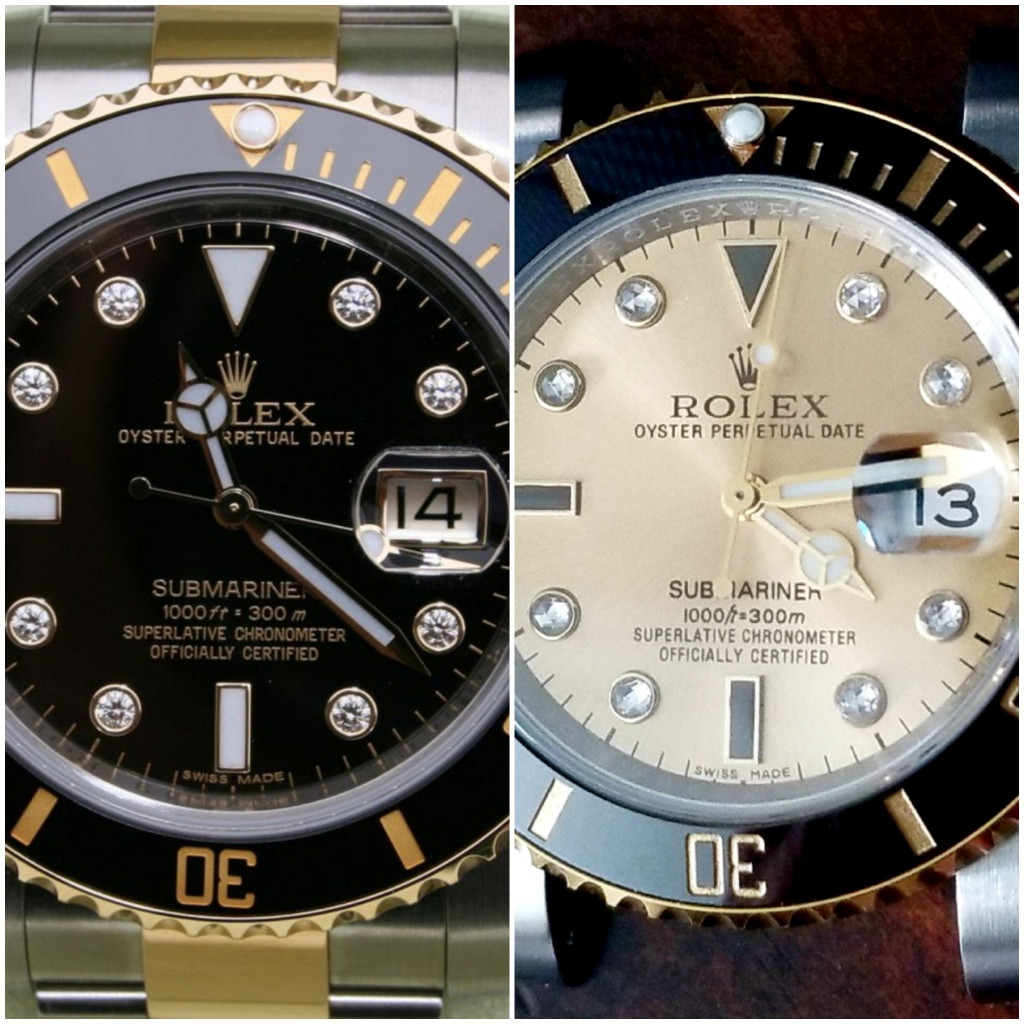
Almost an inverse of the gen.
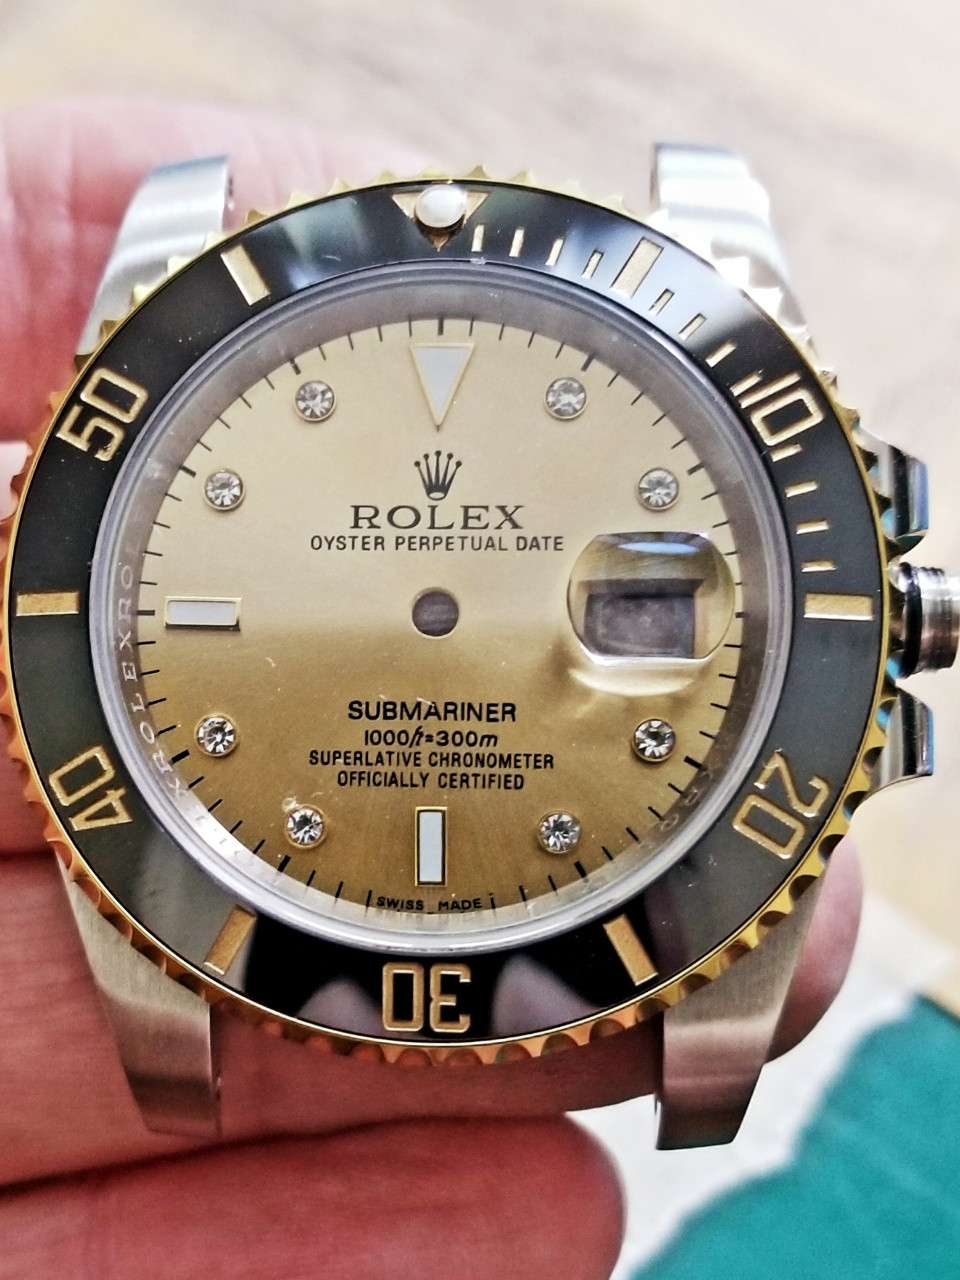
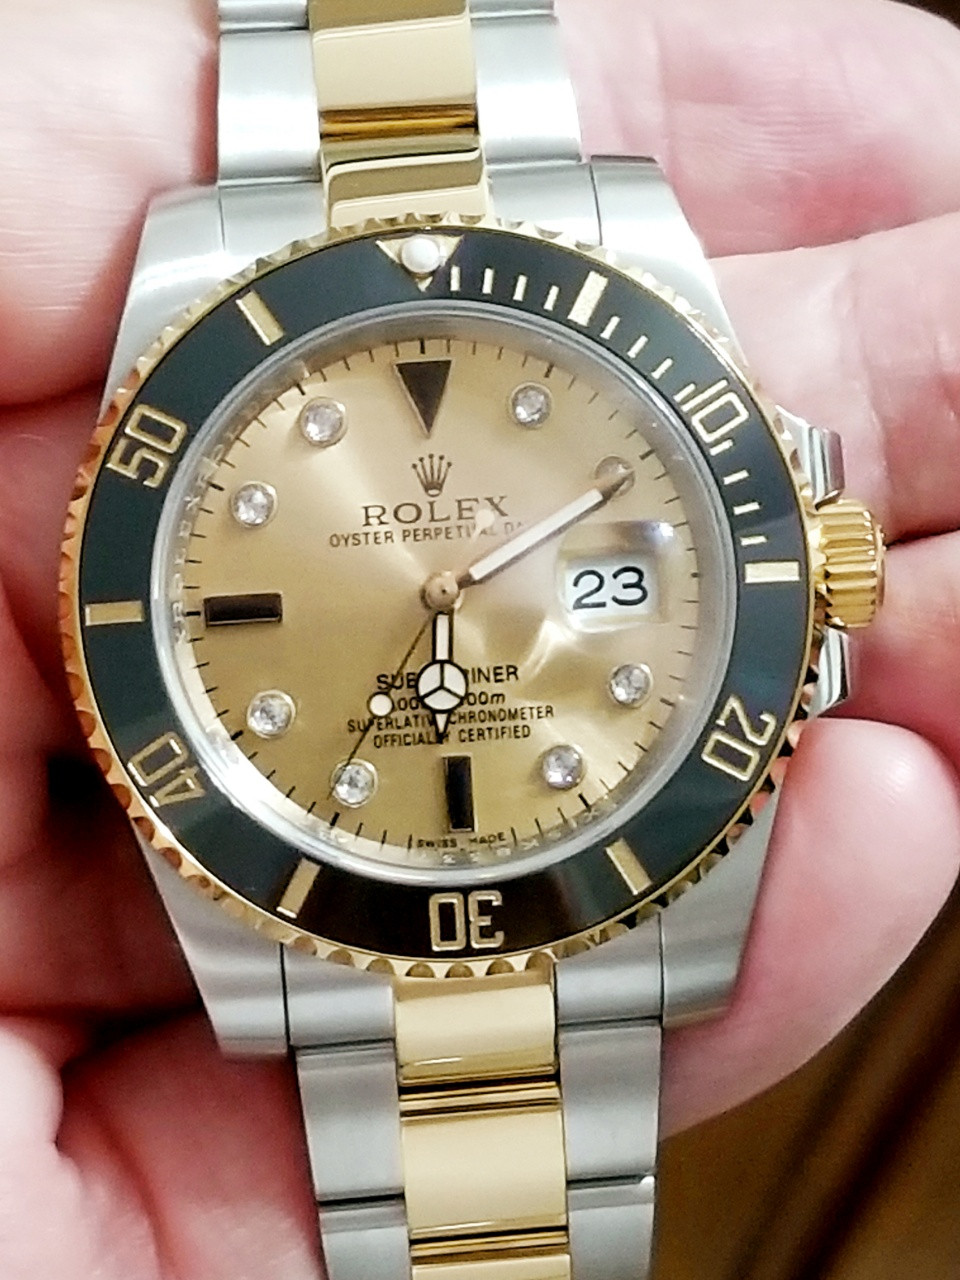
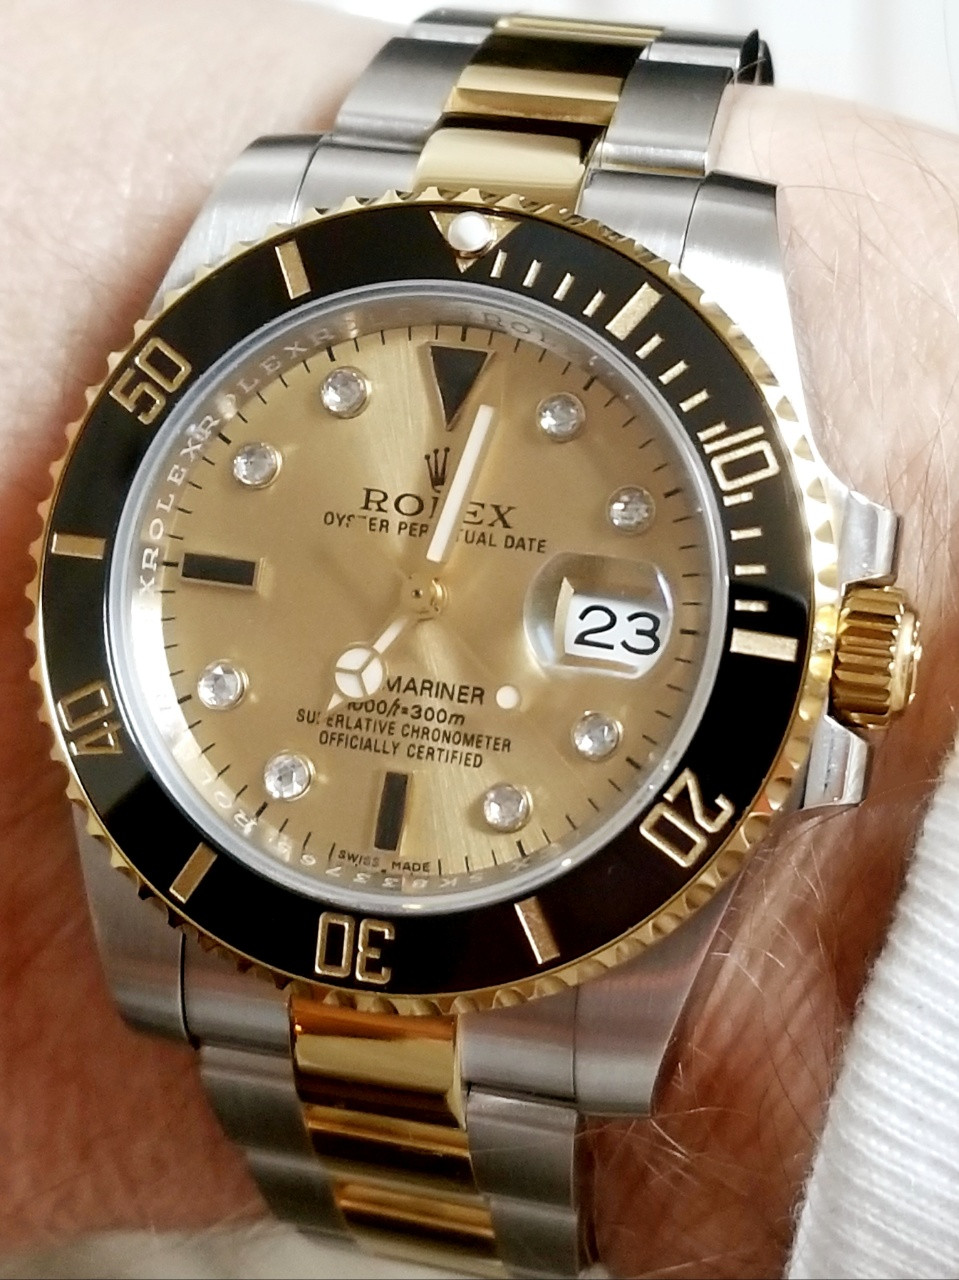
And voila, we have a custom 6 digit Serti. Thanks for looking!

What is a Rolex Serti Dial? Complete Guide - Millenary Watches
What is a Rolex serti dial? Here are the complete details and history of the Rolex Serti Dial and what is means. Click here to learn more.
 millenarywatches.com
“The word Serti is taken from the French word “sertissage”, which means gem-setting. In the Rolex context, this doesn’t just include diamonds, but also all other types of gems as well. Now that we know this, a Serti dial is naturally a gem-set Rolex dial.”
So technically any Rolex model with gems could be called a Serti, but that label has traditionally been used with Subs, GMTs, and to a lesser extent Yacht-Masters. The 5 digit Serti dial models remain very popular today. Here are some examples.

When the 6 digit era began, for whatever reason Rolex only offered Submariner Serti dials. These had larger gems to go along with the maxi case, but the dials also lacked gems at the 6 9 12 markers so they lost a bit of their luster IMO. They also were only offered with black and blue dials, just like their non-Serti counterparts.


So I set about to make a 6 digit gold Serti dial with some larger gems and black 6 9 12 markers to go along with the LN insert. I did look into actually getting some gems for the 6 9 12 but they would have to be custom cut to fit the marker surrounds and no one locally could do that without significant expense. This is not a high dollar project after all.
I started with a Raffles 5 digit gold Serti dial.

First it needed to be shaved down from 29mm to 28mm to fit the Noob case. This is easily done by hand in about 30 minutes.


After the old markers are removed, the dial gets a wash and blow dry.


I scavenged some “gold” 6 digit markers from another rep dial and dissolved the lume out of them with acetone.

I painted a base coat of Testor’s gloss black into the 6 9 12 markers. After that dried, I mixed some epoxy with black graphite powder and dripped it into the markers. The goal was to create a 3D effect by overfilling the markers without letting it spill over. Easier said than done, I had to re-do it a couple times.


Next up is the “diamond” rounds. I originally thought I would use the normal “brilliant cut” stones and figure out how to make them fit into the round markers as I went but then I discovered that “rose cut” stones had a flat bottom - wow how perfect! A 2mm CZ would fit nicely into the markers and they were available on AliX, BONUS! Plus it was like $12 for 50 of them, I was on a roll, haha.

After the CZs arrived I discovered that when used directly with a gold marker, their appearance was noticeably affected. I had suspected this might happen and had a backup plan to try.

Years ago I had purchased a jeweler’s light metal hole punch that would do both 1.8mm and 2.0mm holes. I thought if I used some thin highly reflective foil I could glue the hole discards behind the CZs to make the gold reflections go away. It worked!

I used one side of a foil packet some parts came in. Regular aluminum foil was too thin.

So I epoxied 1.8mm hole discards into all the round markers, let them cure then epoxied the CZs on top.


Then the markers get epoxied onto the dial.


Dial before and after.


I had some concern about the minute hand clearing the CZs as they are a bit tall, but the hands had extended posts for the 2824 (yay!) so the hands fit was OK.


Case it up.

Almost an inverse of the gen.

And voila, we have a custom 6 digit Serti. Thanks for looking!


