- 12/3/18
- 36,995
- 77,261
- 113
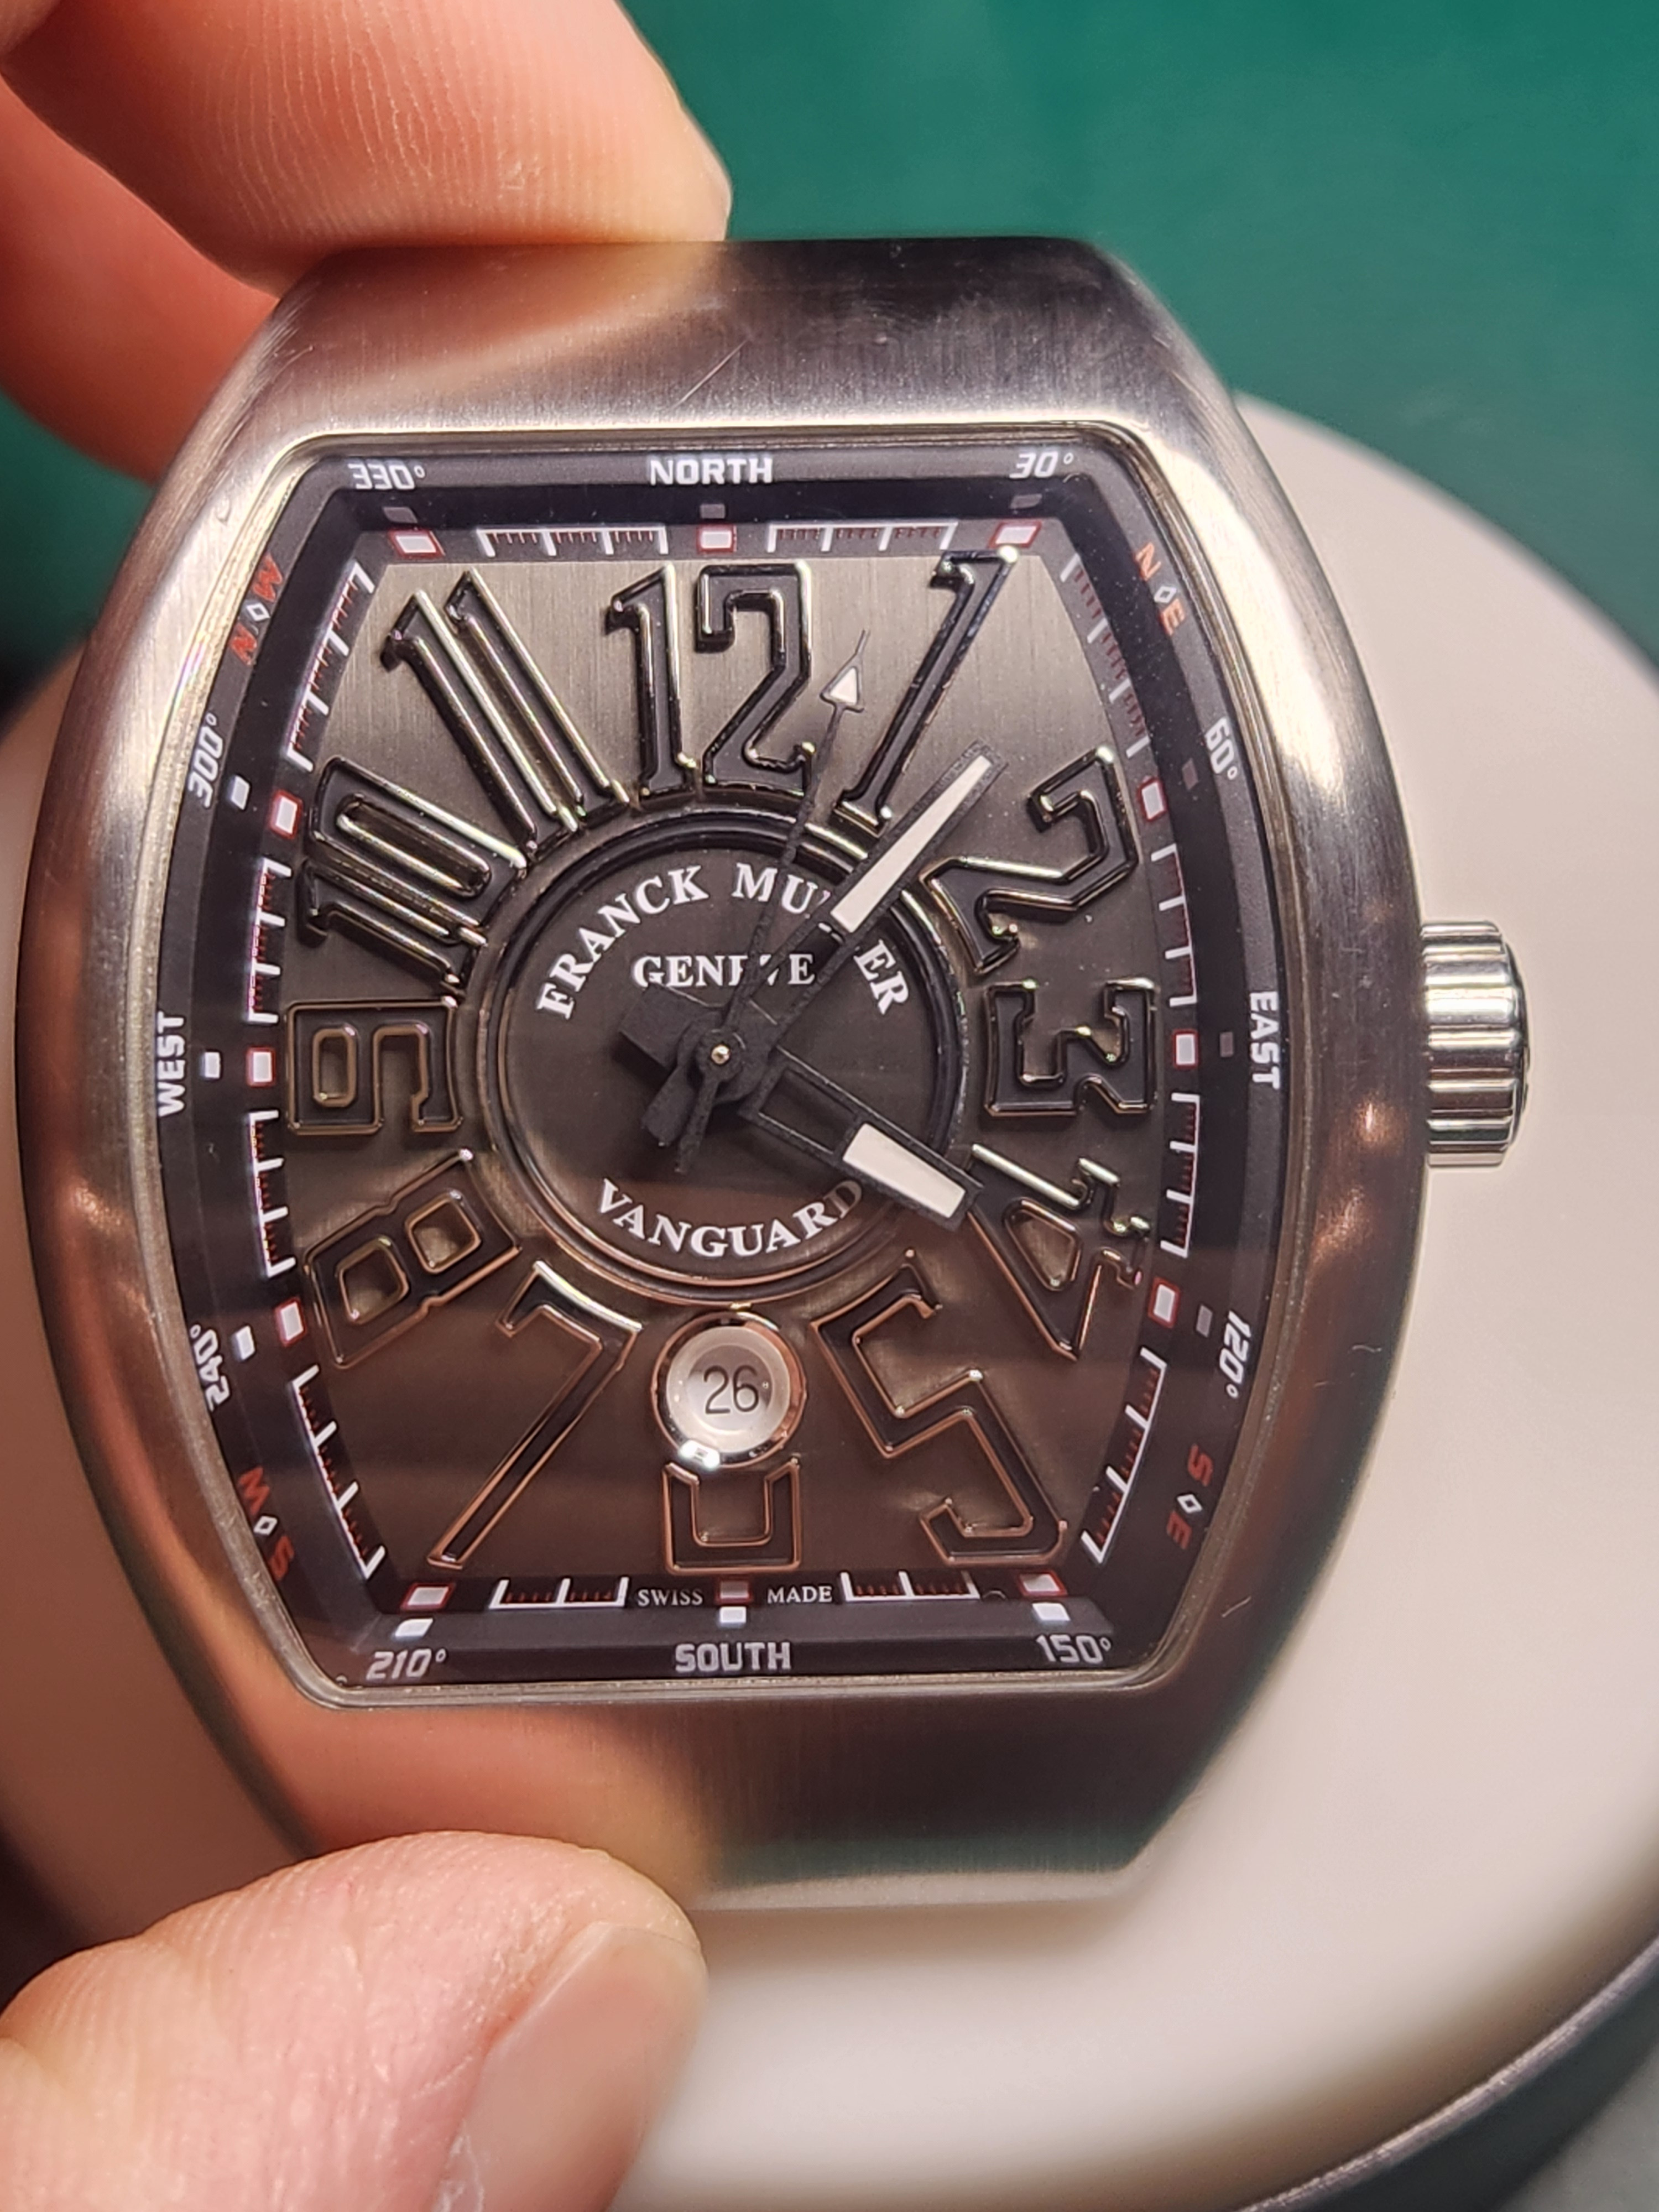
Greetings fellow watch bros! We’ve all had the dreaded ETA keyless works foul-up a time or two. I’ve used a technique for a few years now that can get you back in the game without taking off the dial and hands. I’ve mentioned it once or twice but it happened to me again today so I figured it was time to post some pics and details.
There are two main ways a keyless can get fouled. One way is if the CORRECTOR YOKE slips out of position in the SLIDING PINION detent and gets jammed outside of it. An external reset cannot be done in this scenario, you are stuck with the dial side teardown.
The second way is more common, especially when changing a dial and hands or servicing / working on a movement. There are few things in watchmaking more aggravating than getting everything back in place and mounted in the case only to have the keyless foul up when you go to put the stem back in. You could be looking at a complete hands / dial / datewheel removal AGAIN just to fix it. Or maybe not.
Let’s talk about the parts that can be manipulated externally (with the movement out of the case) and how in many instances they can be positioned to allow for a successful stem insertion.
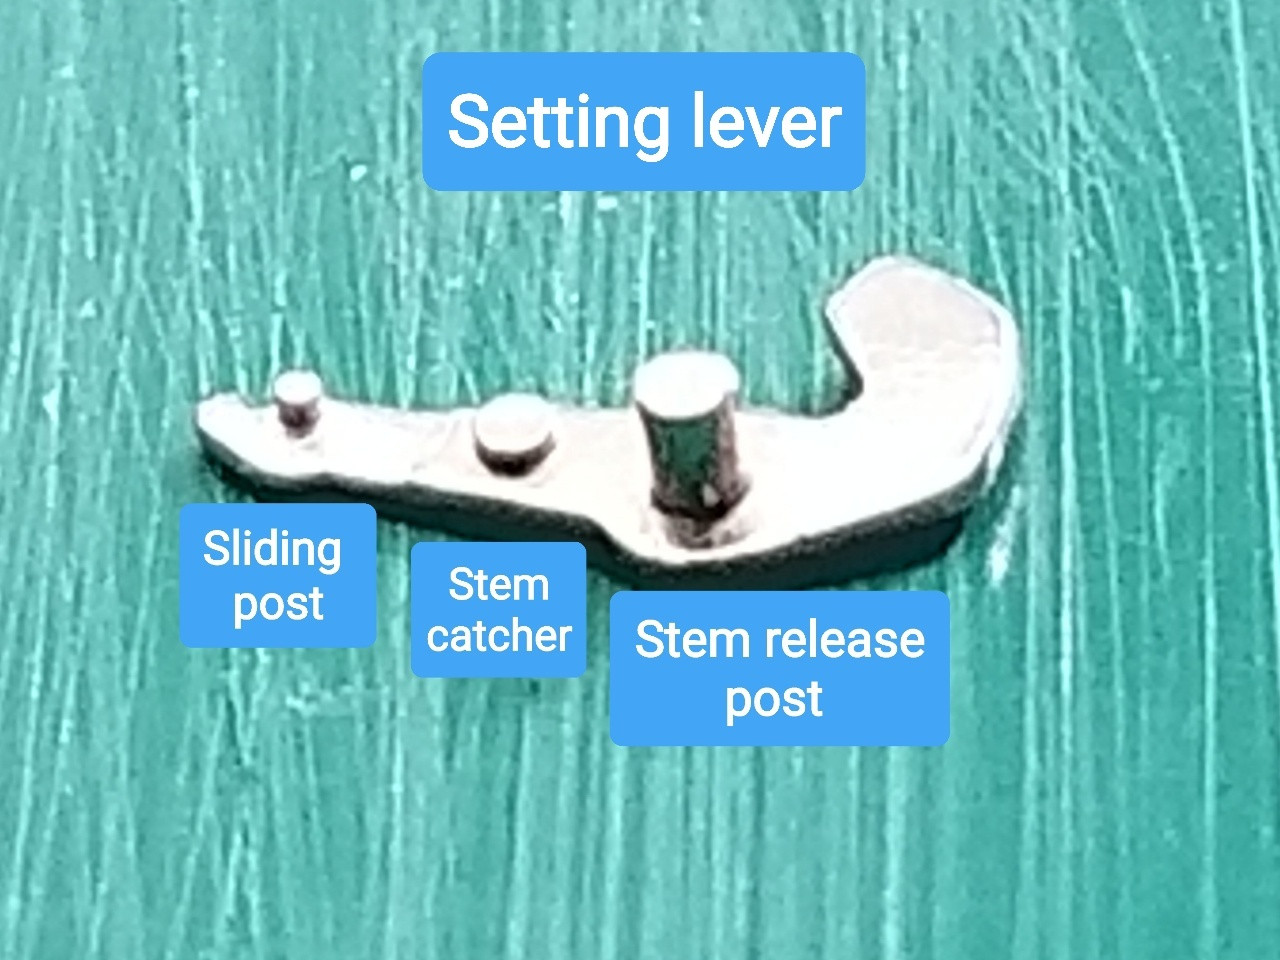
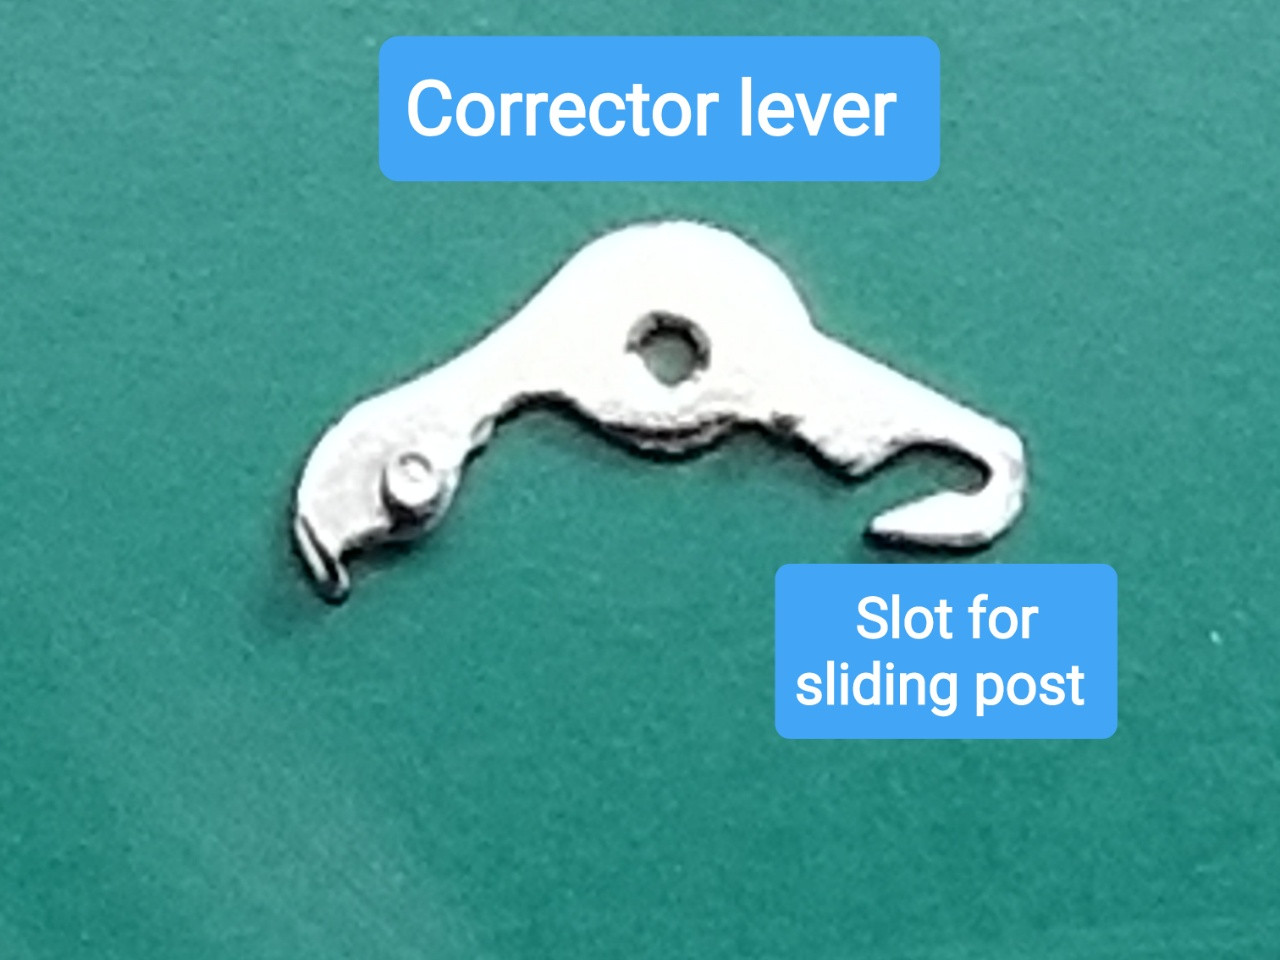
Take a close look at the underside of the SETTING LEVER and visualize how the 3 posts interact with other parts. In particular, the sliding post has to fit inside the slot on the CORRECTOR LEVER.
This picture shows how these two parts interact in the 3 different stem positions.
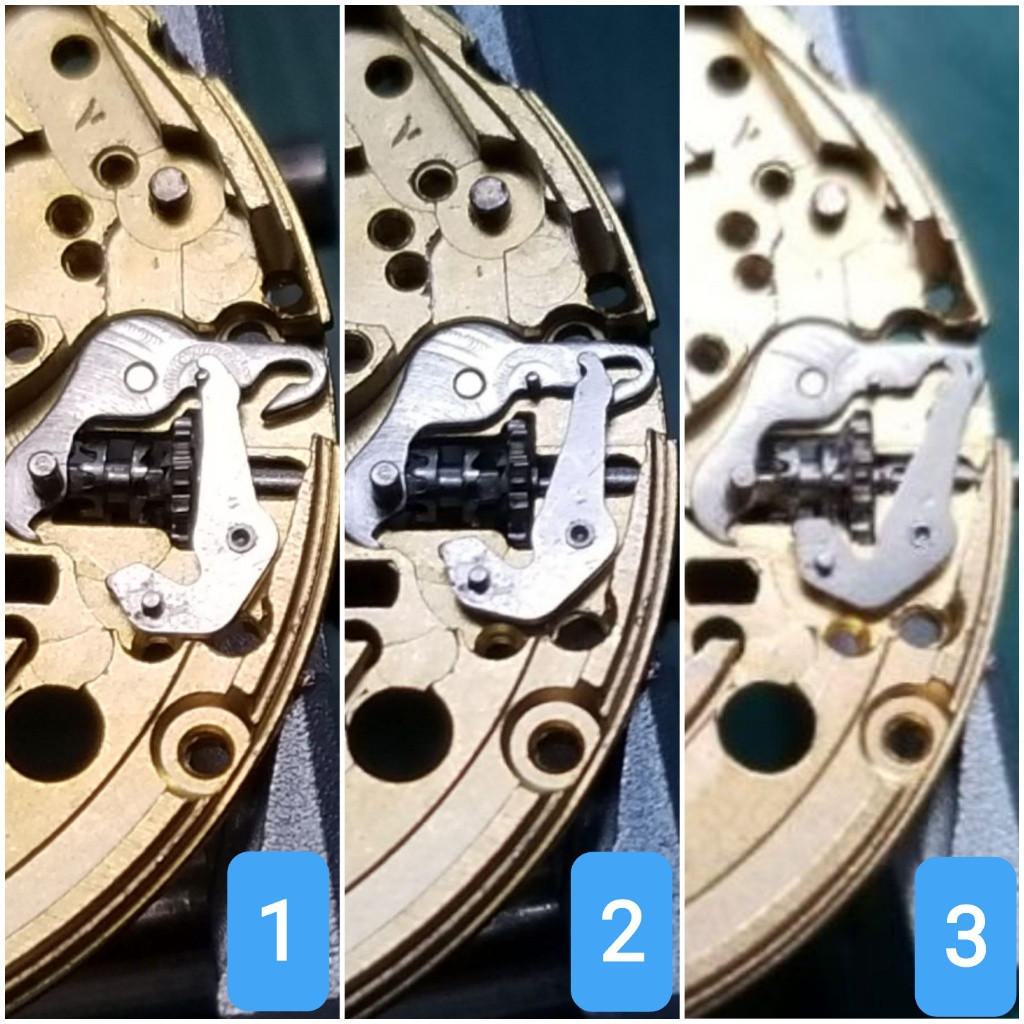
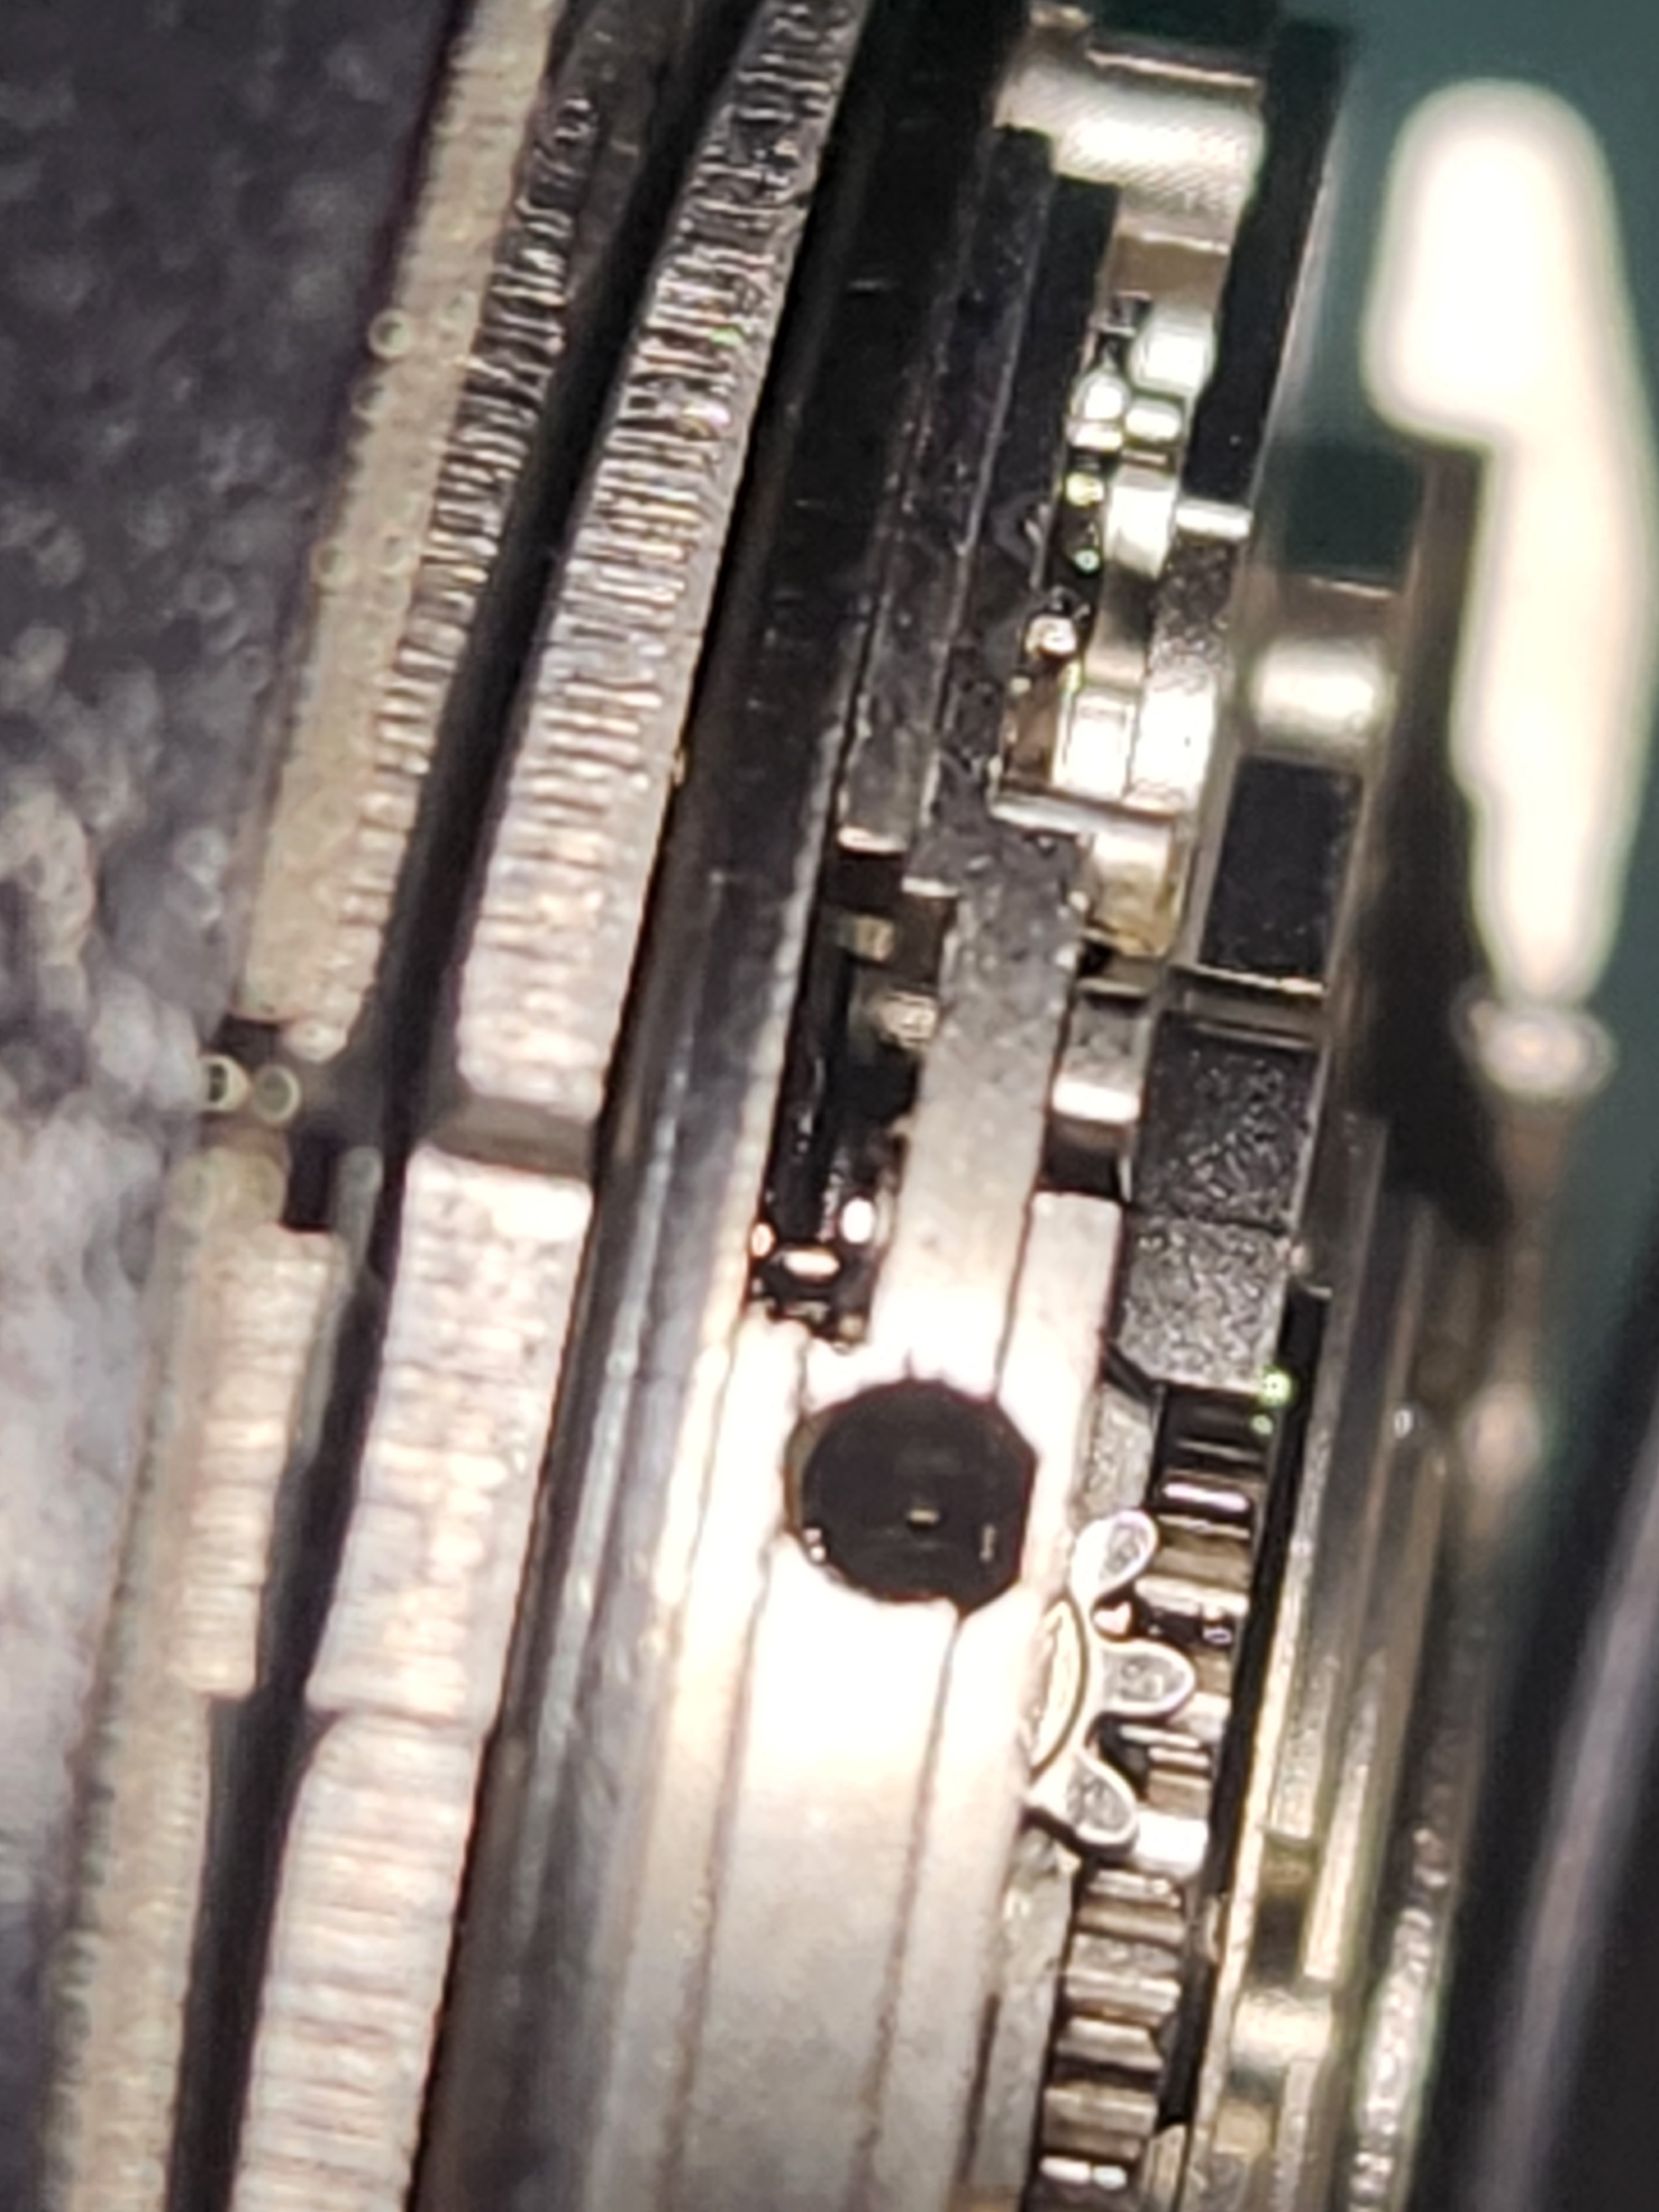
In the next picture you can see the opening where these parts are visible even with the dial and hands installed. Normally the SETTING LEVER sliding post sits inside the CORRECTOR LEVER slot with the stem removed, and the 2 parts are flush. It can happen during a stem removal or insertion that the sliding post gets pushed up and out of the slot and may sit on top of the slot surround, or outside of the surround altogether.
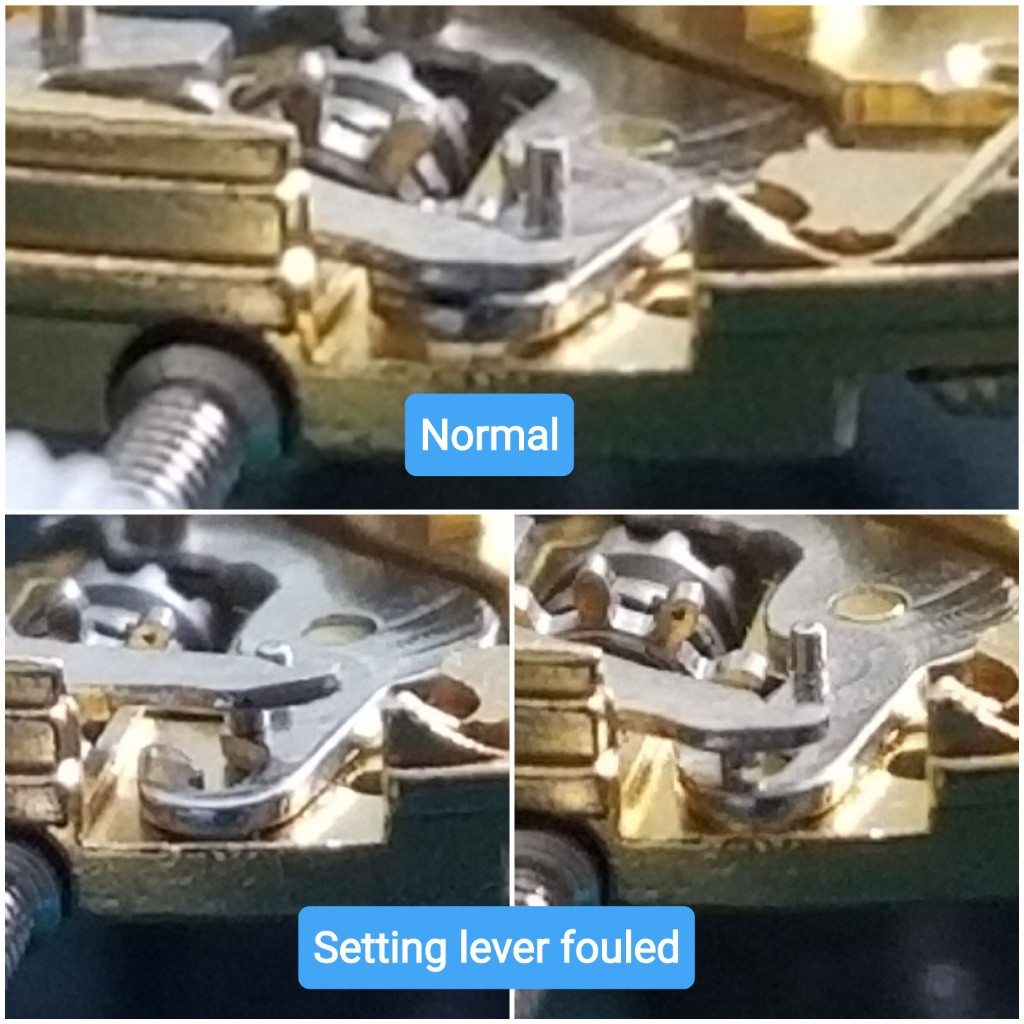
The easy fix for this condition is to assess which part needs to go which way and nudge it in the right direction. In the bottom left picture above, the CORRECTOR LEVER needs to be moved right so the sliding post will snap back down into the slot. In the bottom right picture above, the SETTING LEVER needs to be pushed inward for the same result. You can use a strong pushpin to move the CORRECTOR LEVER, and a narrow (0.80mm) screwdriver on edge to push the SETTING LEVER inward.
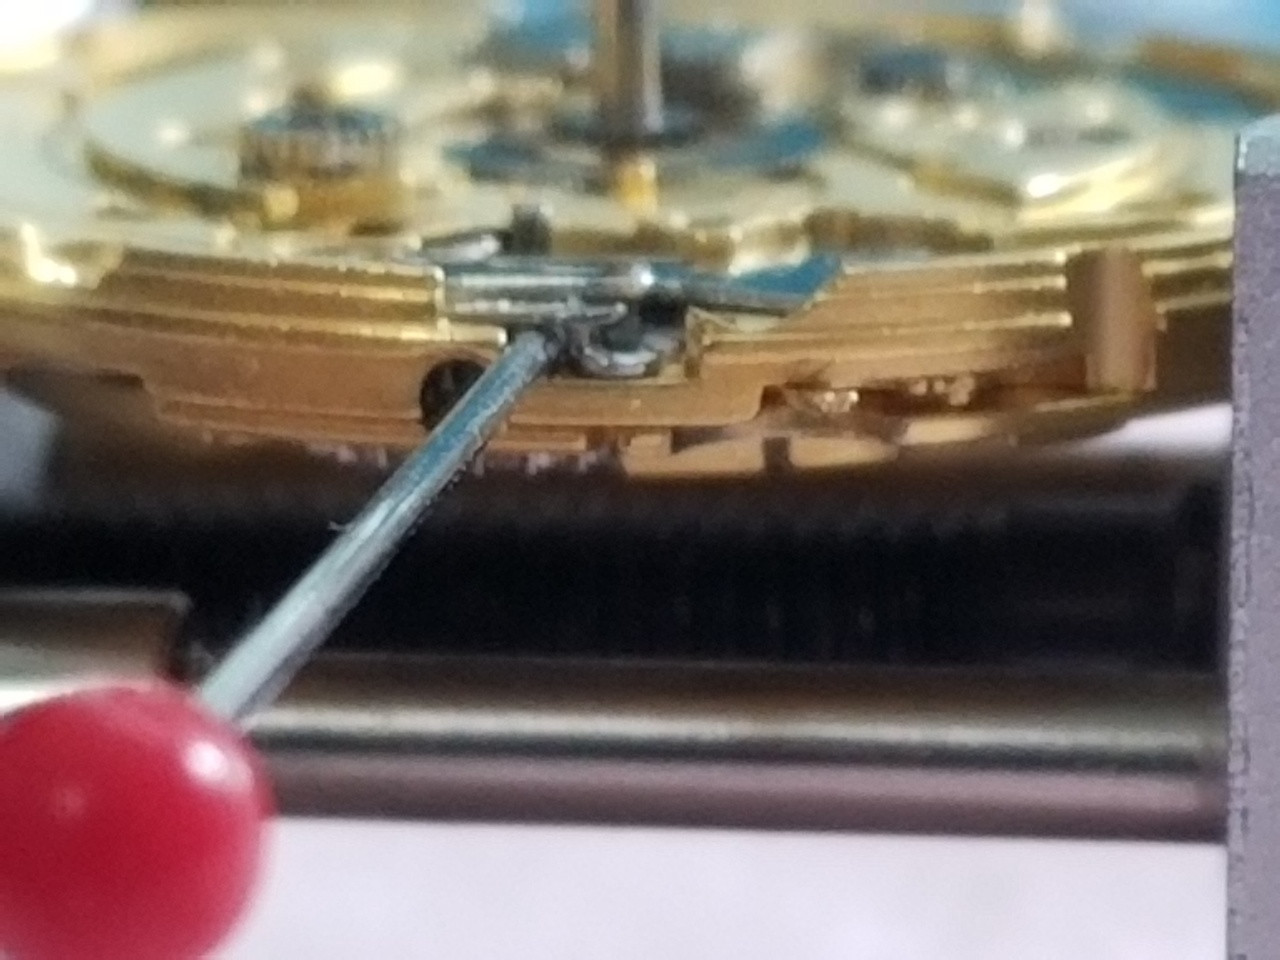
Note that the SETTING LEVER topside pin is showing position 3 before the push inward, and position 2 after the push inward. This is fine, the sliding pin has dropped and the stem catcher post will lock the stem in place when it is inserted. It works even if you push inward to position 1 for the same reason.
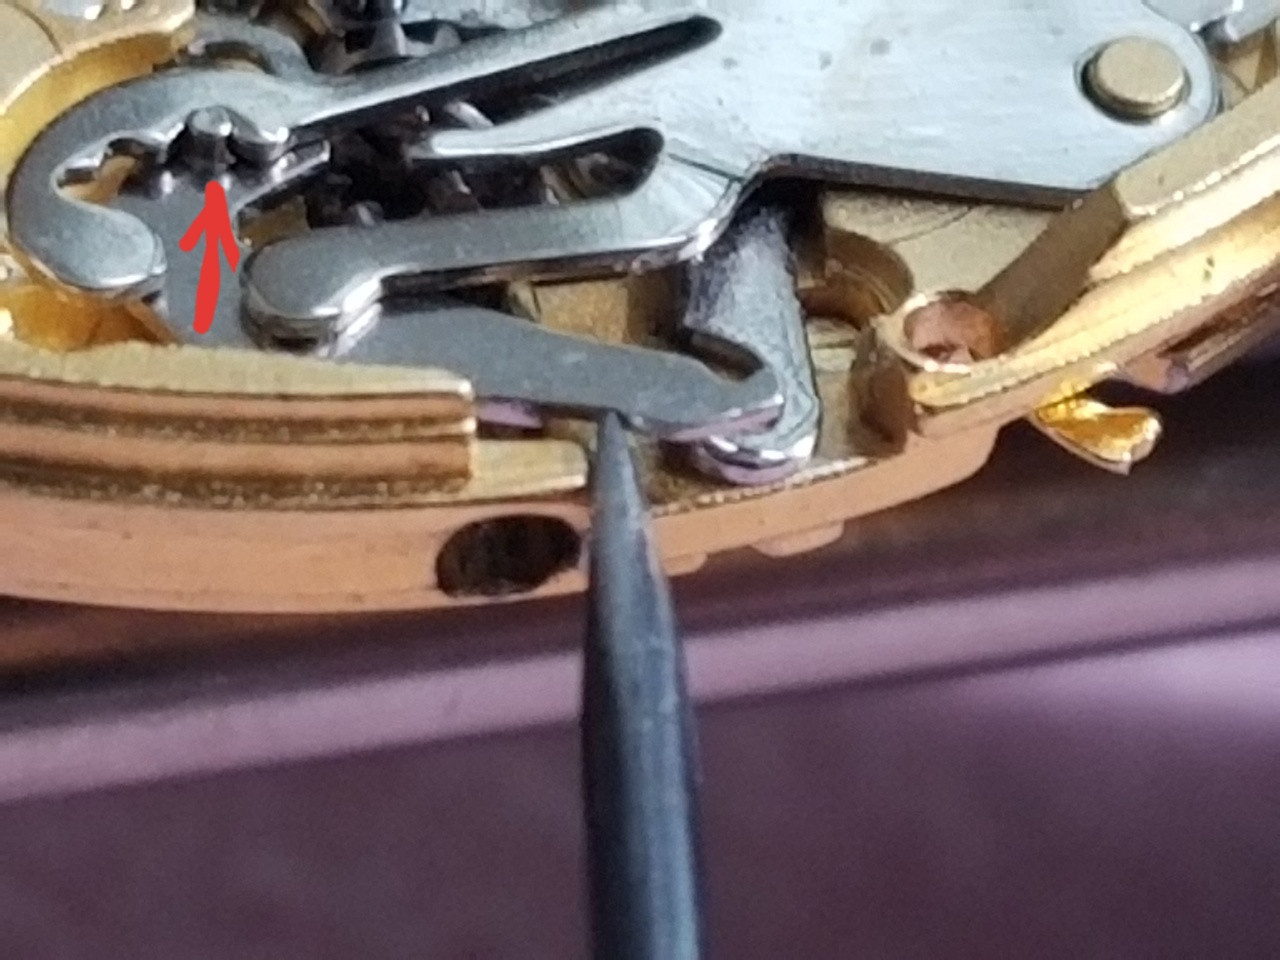
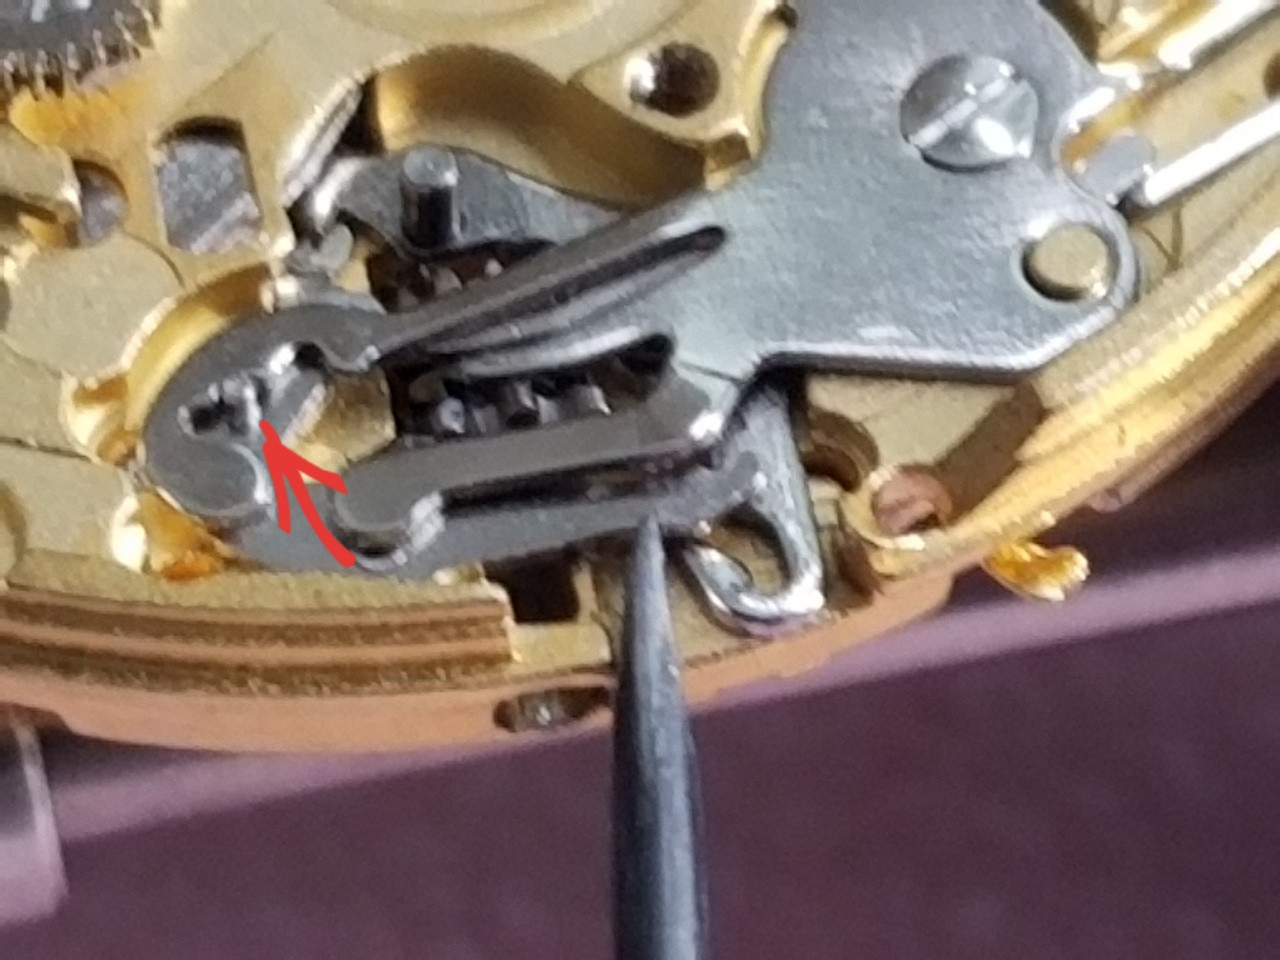
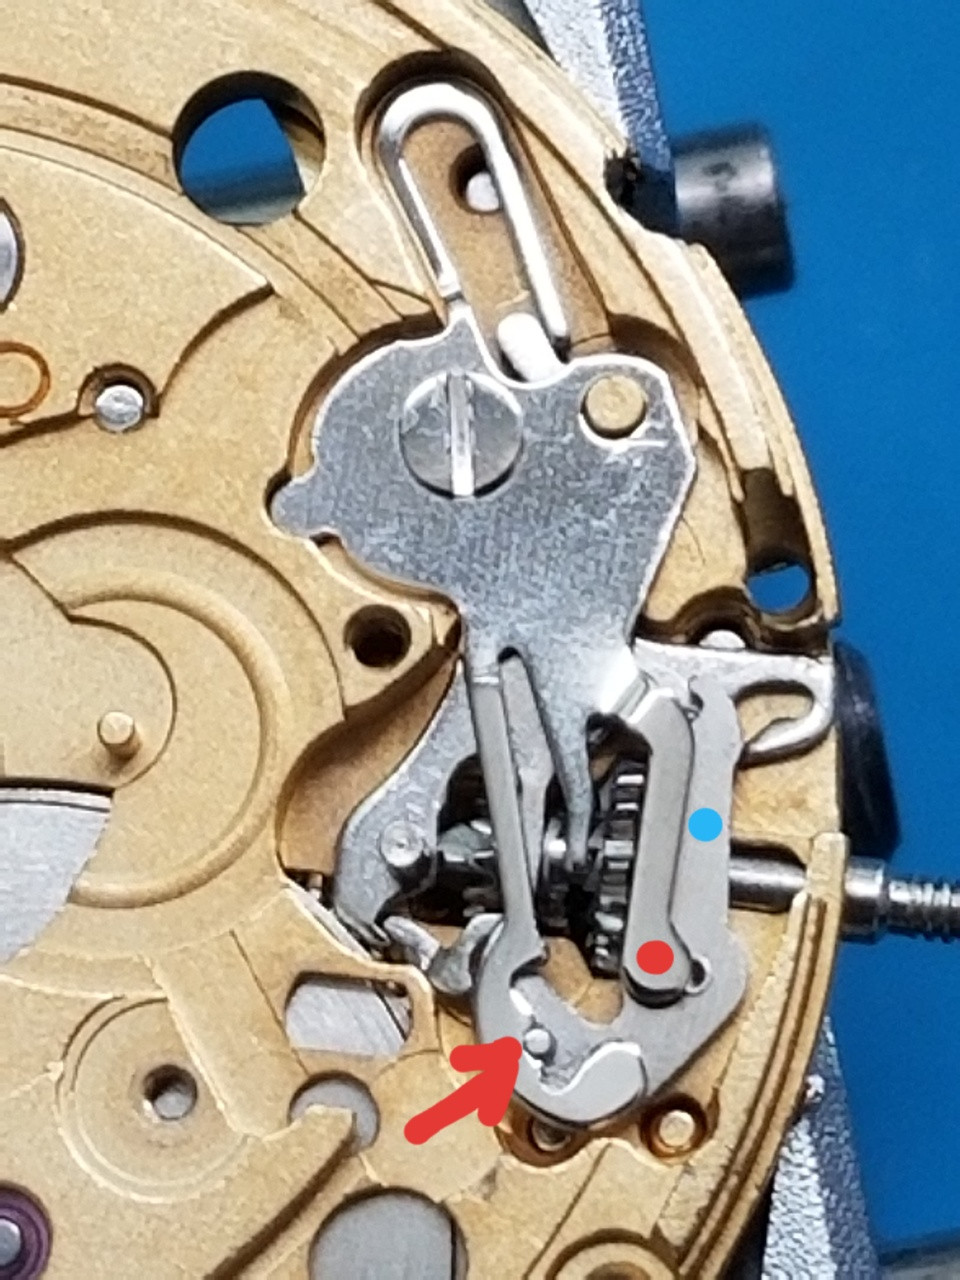
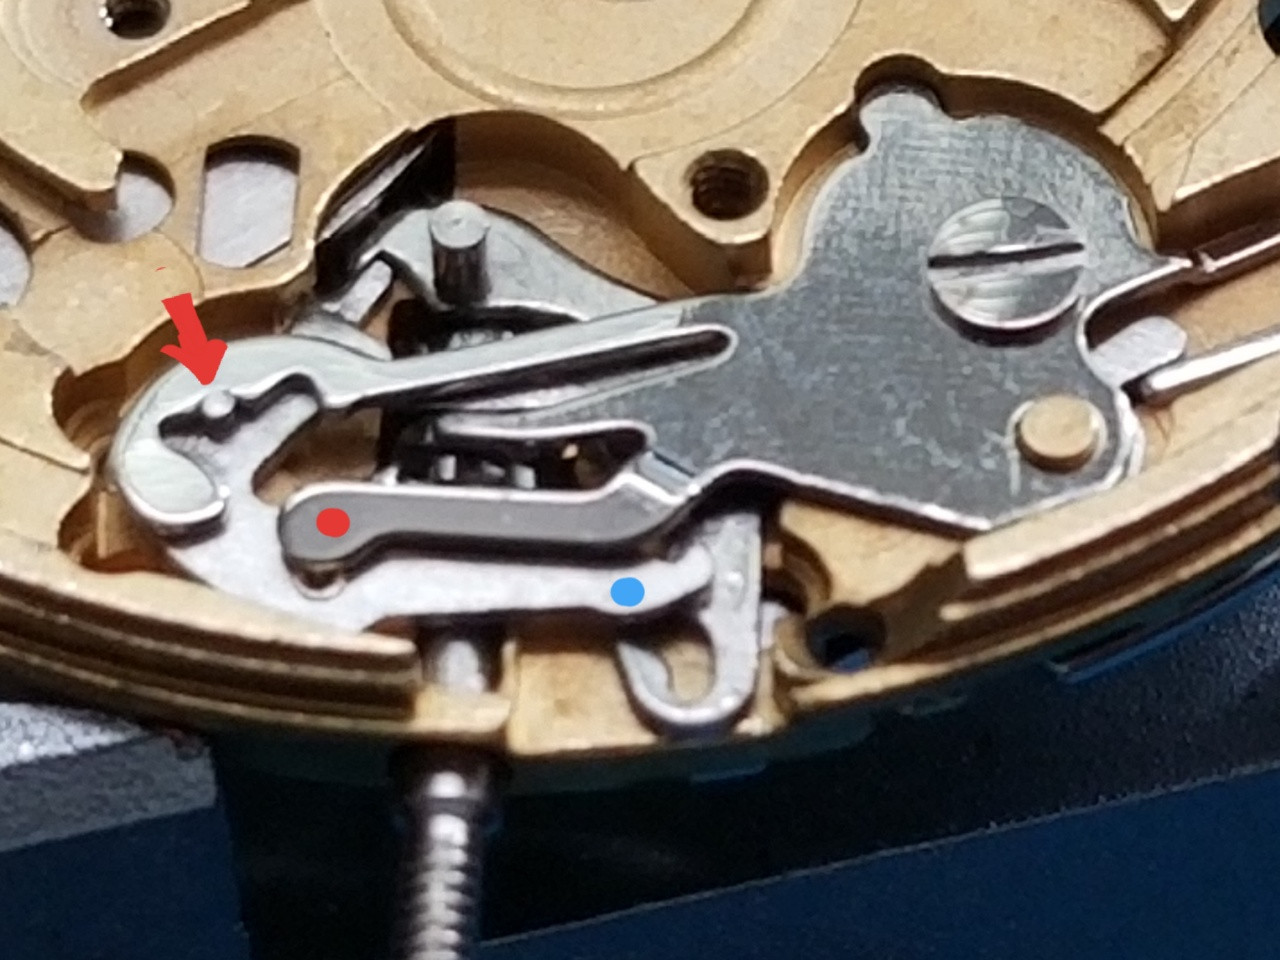
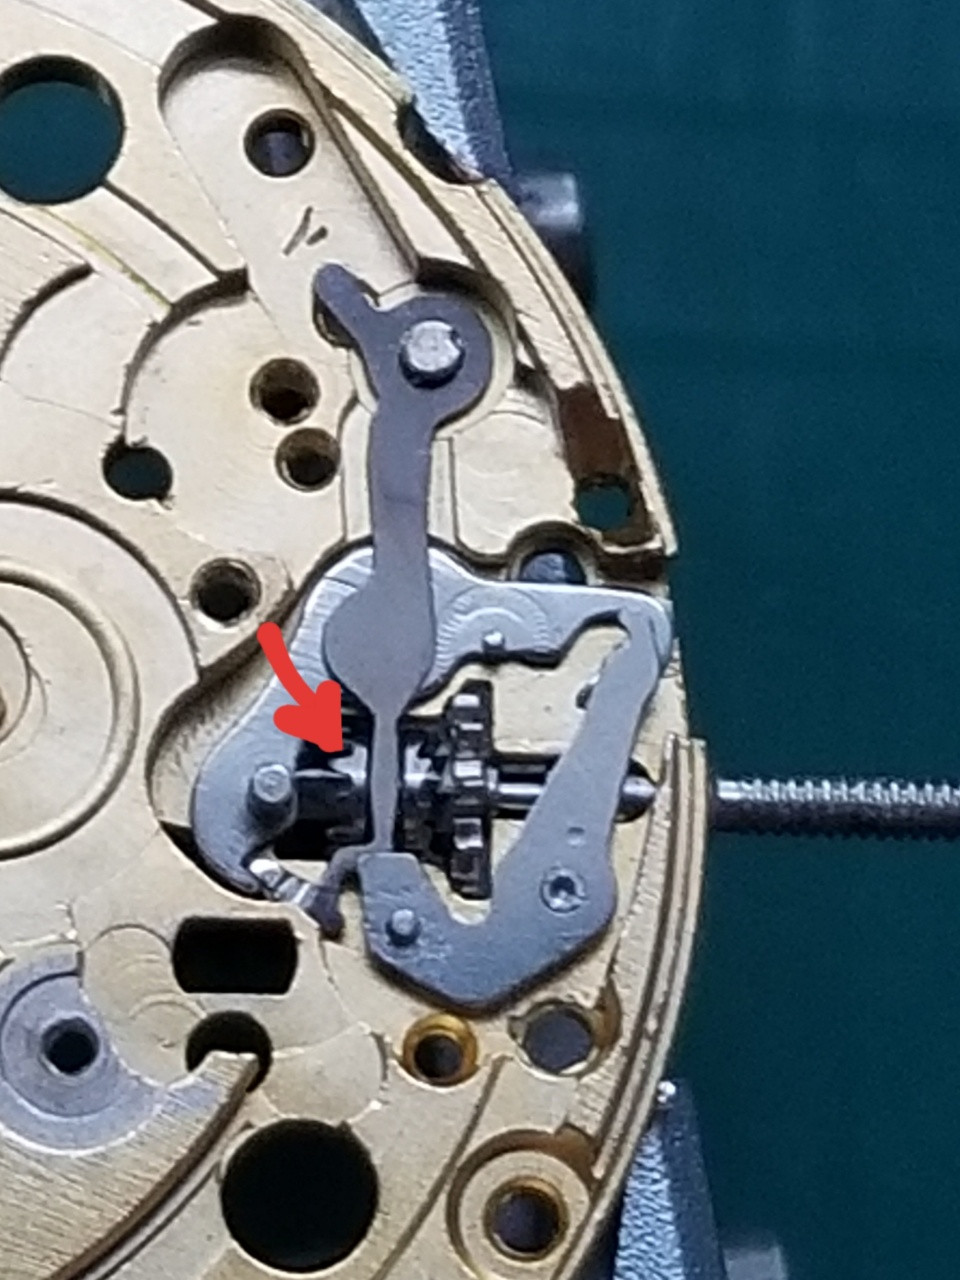
So here was my troublesome keyless today. The SETTING LEVER JUMPER (cover plate and spring) was quite strong. It was pushing down so hard on the fat end of the SETTING LEVER that it was not sitting flush with the CORRECTOR LEVER.
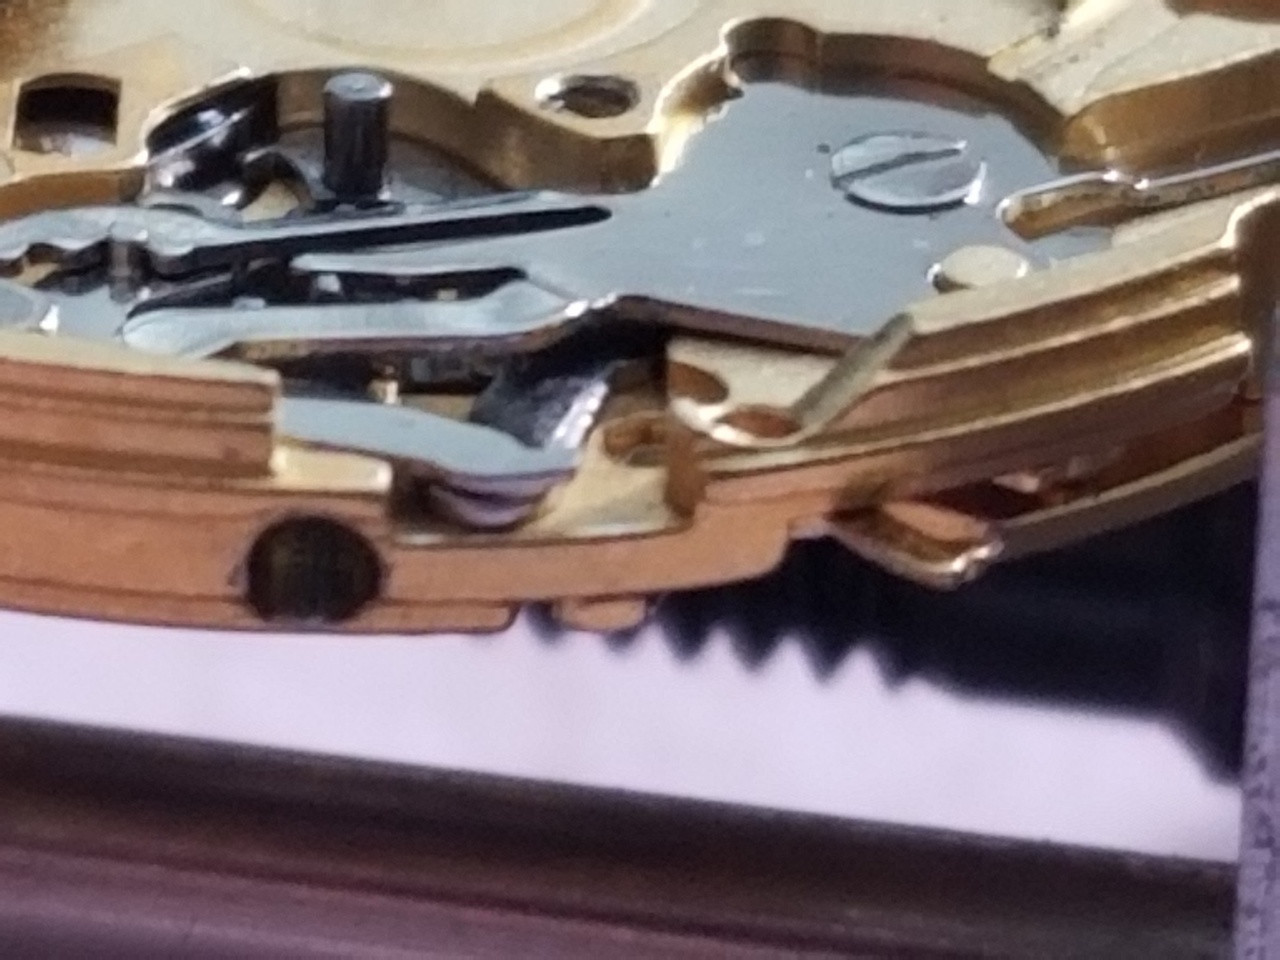
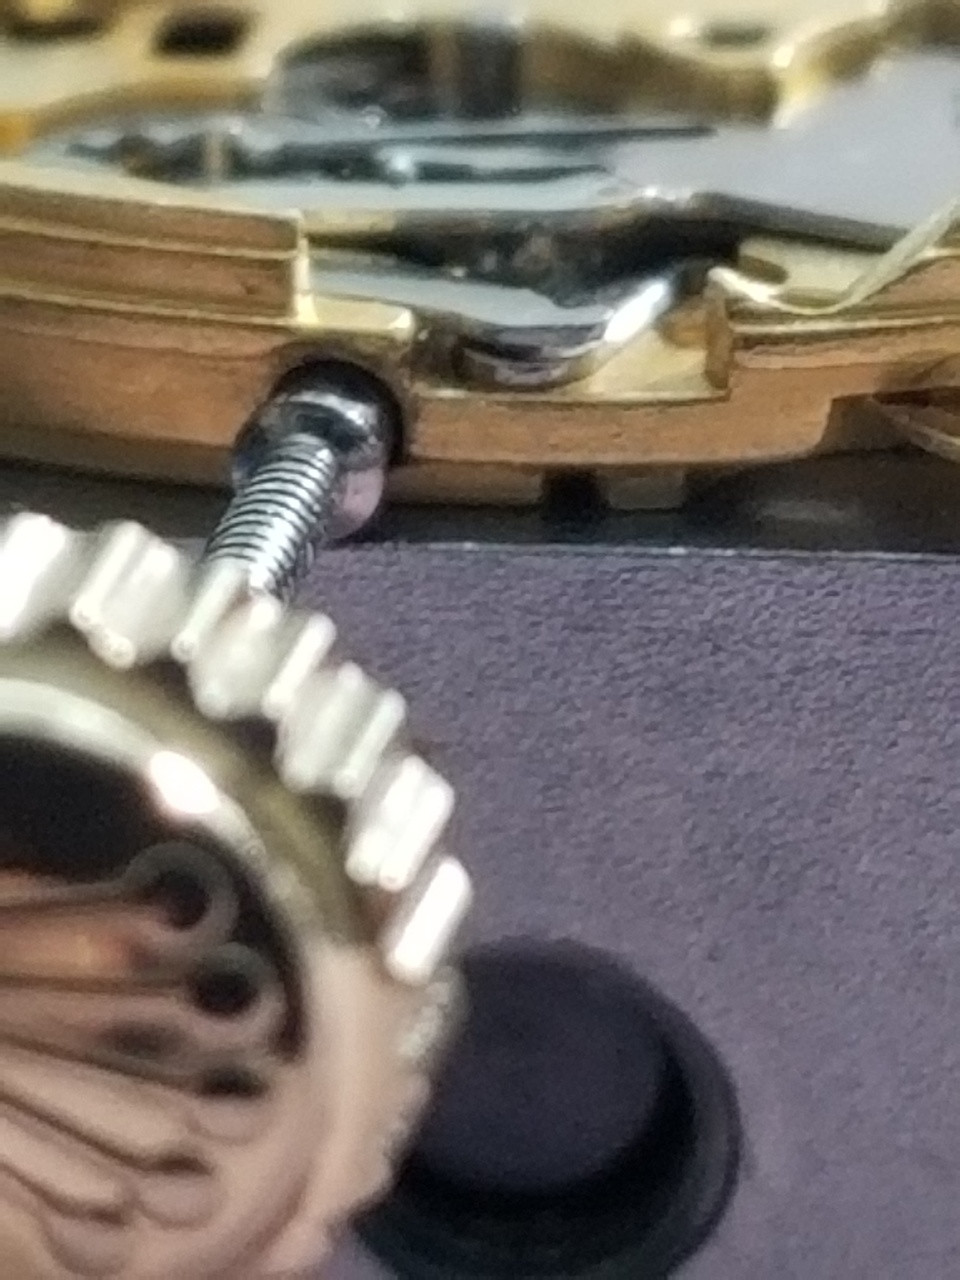
No matter how feather softly I released the stem, on every single re-insertion attempt it ended up like this.
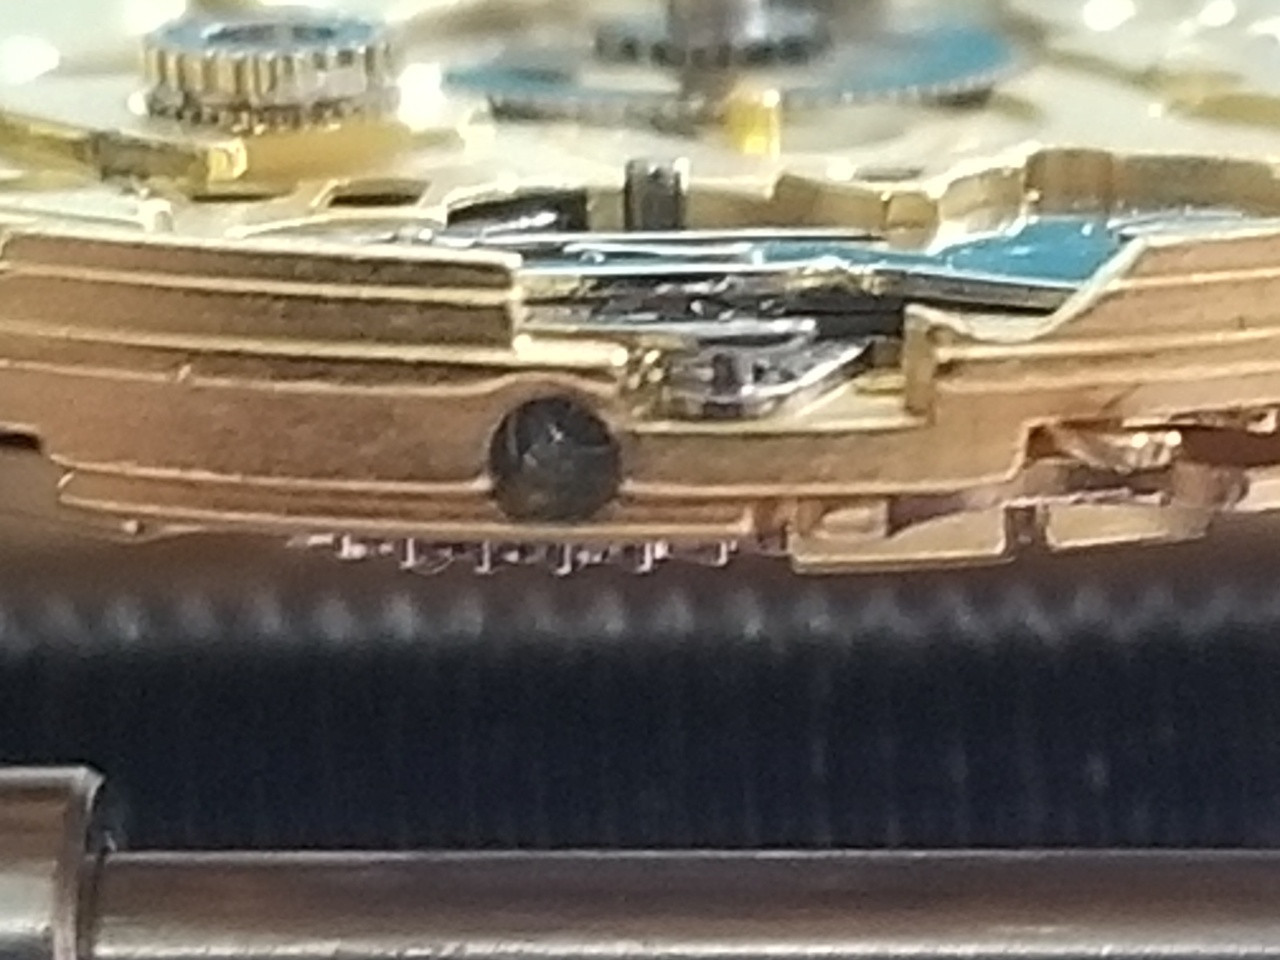
I’ve actually had instances years ago when I first started with reps where I did the partial teardown and reset a keyless multiple times because of this issue. Swapped a part or two out each time, hoping for a better outcome. No more. With a couple quick tool flicks you can be good to go. On this one I fouled it ahead of time, and quick reset it before even putting the movement into the case. No need putting it in if you know it’s going to happen.
Thanks for looking and Happy Modding!
There are two main ways a keyless can get fouled. One way is if the CORRECTOR YOKE slips out of position in the SLIDING PINION detent and gets jammed outside of it. An external reset cannot be done in this scenario, you are stuck with the dial side teardown.

The second way is more common, especially when changing a dial and hands or servicing / working on a movement. There are few things in watchmaking more aggravating than getting everything back in place and mounted in the case only to have the keyless foul up when you go to put the stem back in. You could be looking at a complete hands / dial / datewheel removal AGAIN just to fix it. Or maybe not.
Let’s talk about the parts that can be manipulated externally (with the movement out of the case) and how in many instances they can be positioned to allow for a successful stem insertion.
Take a close look at the underside of the SETTING LEVER and visualize how the 3 posts interact with other parts. In particular, the sliding post has to fit inside the slot on the CORRECTOR LEVER.


This picture shows how these two parts interact in the 3 different stem positions.

In the next picture you can see the opening where these parts are visible even with the dial and hands installed. Normally the SETTING LEVER sliding post sits inside the CORRECTOR LEVER slot with the stem removed, and the 2 parts are flush. It can happen during a stem removal or insertion that the sliding post gets pushed up and out of the slot and may sit on top of the slot surround, or outside of the surround altogether.

The easy fix for this condition is to assess which part needs to go which way and nudge it in the right direction. In the bottom left picture above, the CORRECTOR LEVER needs to be moved right so the sliding post will snap back down into the slot. In the bottom right picture above, the SETTING LEVER needs to be pushed inward for the same result. You can use a strong pushpin to move the CORRECTOR LEVER, and a narrow (0.80mm) screwdriver on edge to push the SETTING LEVER inward.

Note that the SETTING LEVER topside pin is showing position 3 before the push inward, and position 2 after the push inward. This is fine, the sliding pin has dropped and the stem catcher post will lock the stem in place when it is inserted. It works even if you push inward to position 1 for the same reason.


So here was my troublesome keyless today. The SETTING LEVER JUMPER (cover plate and spring) was quite strong. It was pushing down so hard on the fat end of the SETTING LEVER that it was not sitting flush with the CORRECTOR LEVER.


No matter how feather softly I released the stem, on every single re-insertion attempt it ended up like this.

I’ve actually had instances years ago when I first started with reps where I did the partial teardown and reset a keyless multiple times because of this issue. Swapped a part or two out each time, hoping for a better outcome. No more. With a couple quick tool flicks you can be good to go. On this one I fouled it ahead of time, and quick reset it before even putting the movement into the case. No need putting it in if you know it’s going to happen.
Thanks for looking and Happy Modding!
Last edited:

