- 26/1/09
- 3,128
- 10
- 0
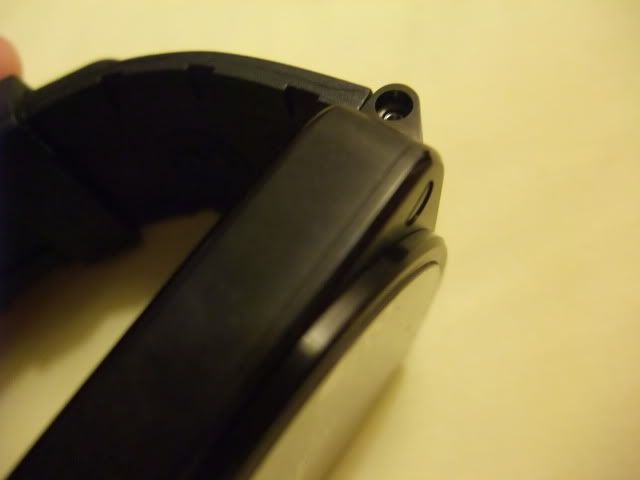
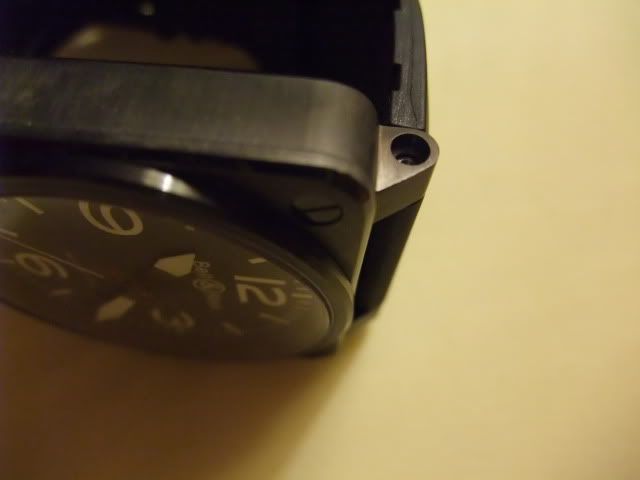
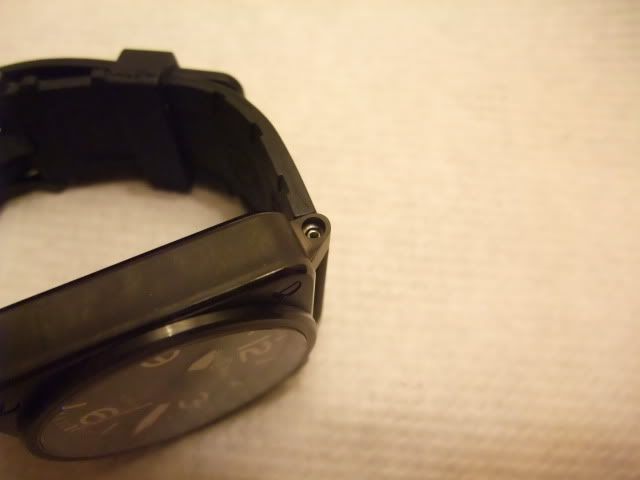
Well, I've been searching high and low with dealers on a replacement hex lug screw that I lost while mountain biking. It just seems that these little baz-turds like to unwind a little and pop out. Here is what mine looked like after I noticed one of them decided to leave the hive.
.
.
.
.
.
.
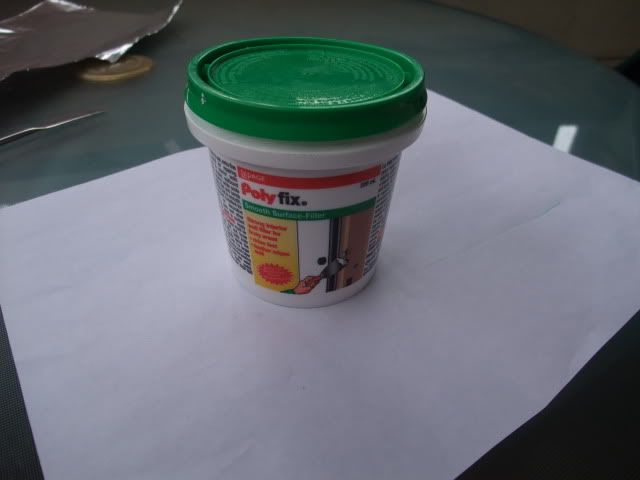
So it got me thinking on how to replace the missing lug screw. It finally donned on me that I can replicate a reasonable facsimile of one out of my existing aresenal of materials I have lying around. You see I do a lot of home renovations and woodwork and one of a woodworkers best friend is, well, putty. My motto is: "ain't nothing what putty can't fix"
.
.
.
.
.
.
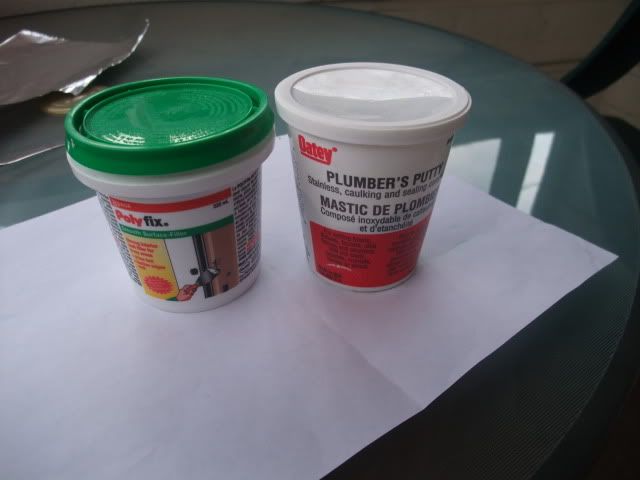
I didn't limit it to wood putty but also tried out plumbers putty.
 .
.
.
.
.
.
.
.
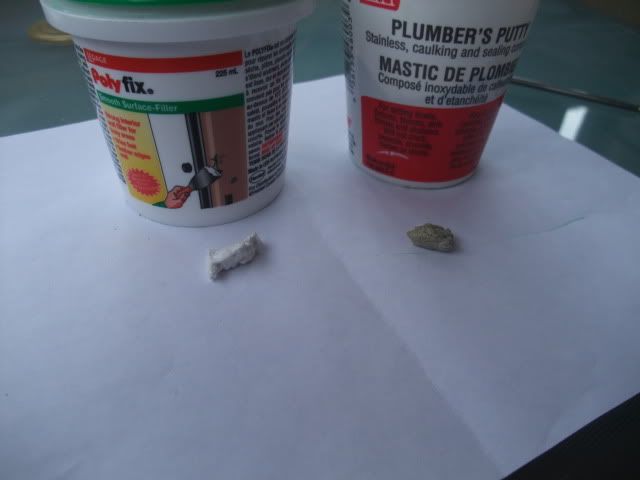
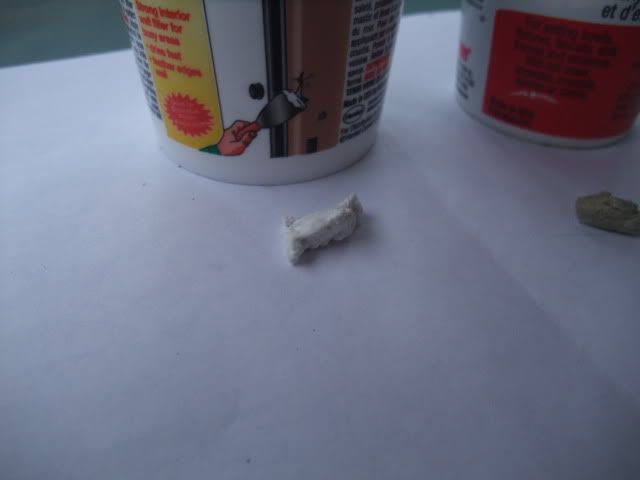
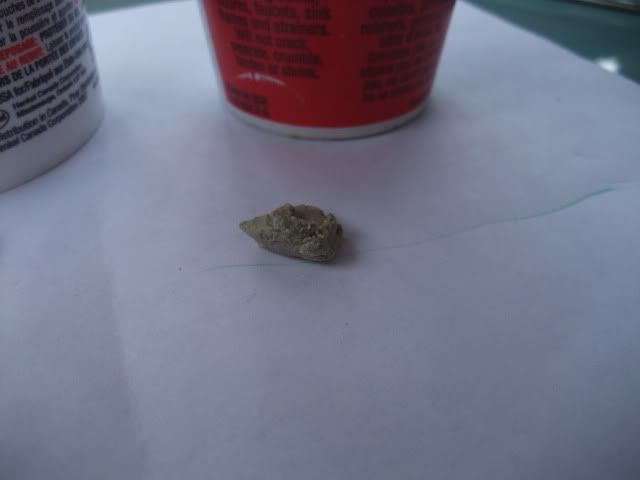
First thing I did was grab a small lump and work it into my hand so it is nice and maleable. I found that the wood putty was a bit to crumbly and too porous, so I quickly switched to the grey plumbers putty. That stuff is much like silly putty.
.
.
.
.
.
.
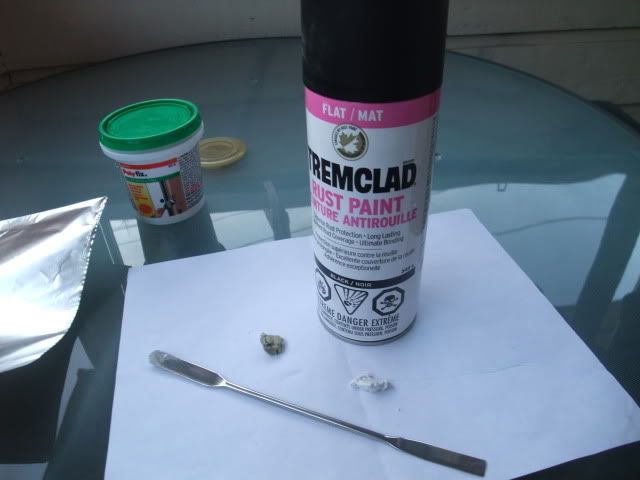
But before I decided to go any farther I decided I needed it black. So I bring out another handy item in my tool box. Black spray paint.
.
.
.
.
.
.
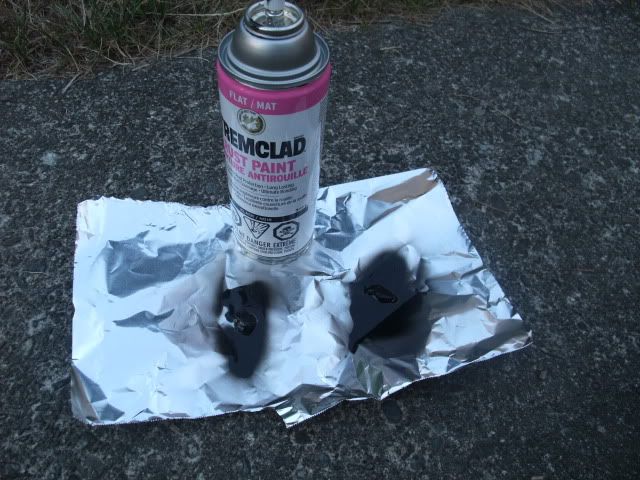
I thoroughly sprayed the lumps of putty black and made sure all of it including the innards of the lump was all black. It got really wet and soupy, so I had to wait a day for the paint to dry and the putty to reform itself again.
.
.
.
.
.
.
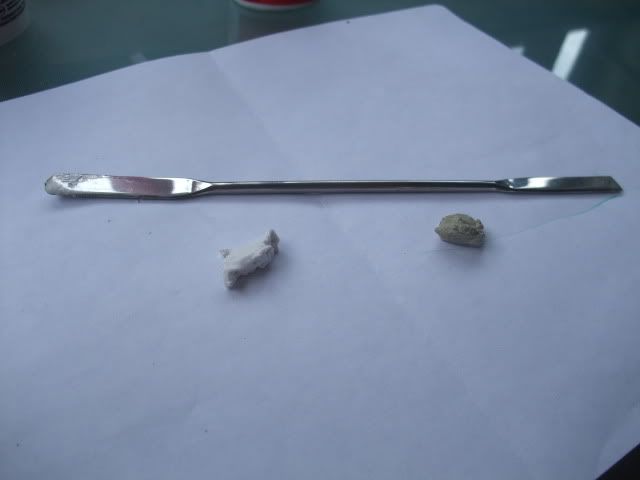
I used this neat chemists' spatula I "borrowed" (shown here before I spray painted the putty) way back when I was in high school mix it all up after it regained part of its massing and maleability.

.
.
.
.
.
.
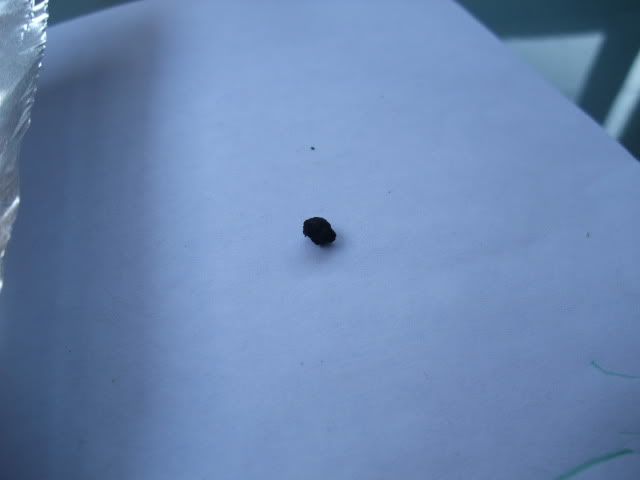
In the end after the putty dried abit, I reformed it back into a ball. It kinda looks like one big mouse turd.
.
.
.
.
.
.
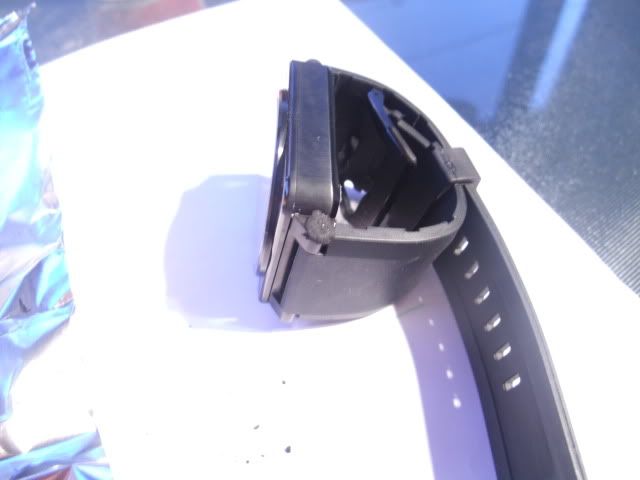
Now, onto the puttying. I formed it into a tinier piece of mouse turd and then forced it into the lug hole.
.
.
.
.
.
.
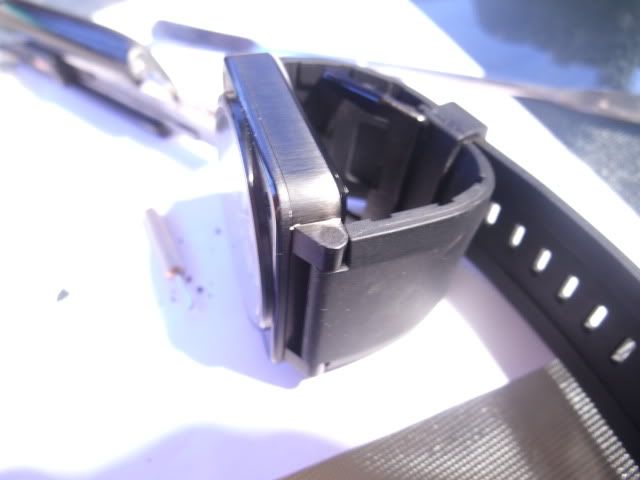
I then used a metal box cutter blade to trim off the excess.
.
.
.
.
.
.
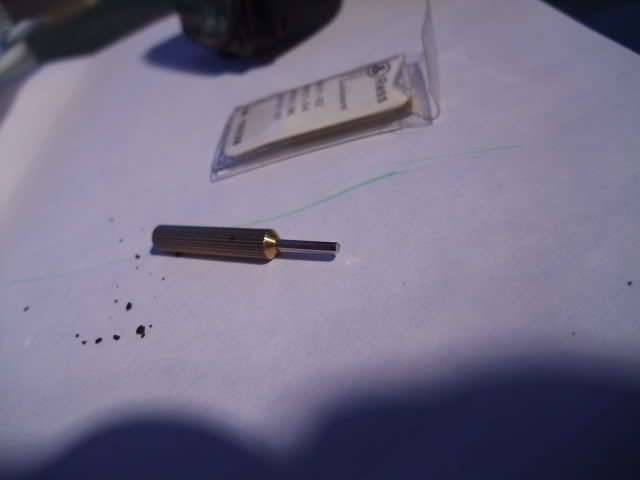
I then used the factory hex allen keys to make an impression in the soft putty.
.
.
.
.
.
.
It took several tries to get it right. Luckily, you can pull out the putty plug and retry again and again till you get it right. One thing I did notice was that when you press in the allan key, a whole bunch of the putty oozes out the sides, so you have to trim it off very gingerly, otherwise you ruin the nice hex shape impression.
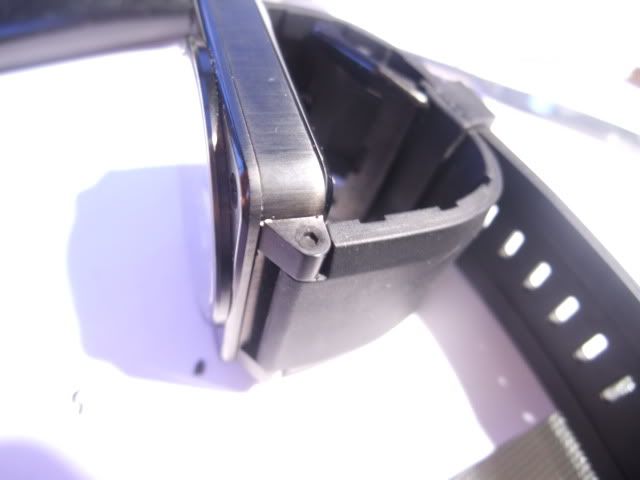
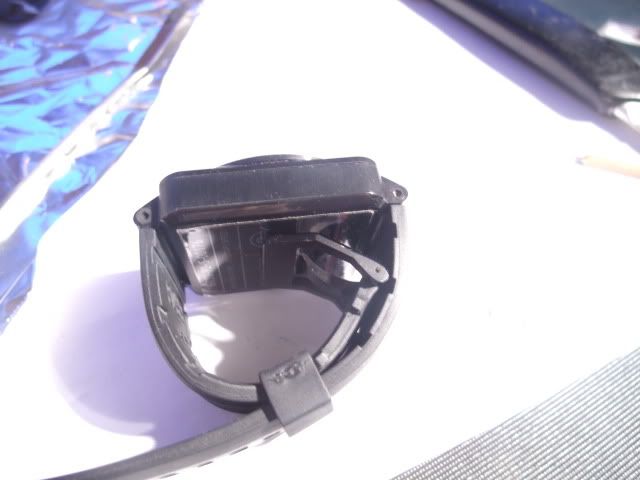
This was the best I could get it. Under the naked eye and under non macro conditions, you can't really tell the difference, under a 5x loupe, it is about a 7/10 pass. Under a 10x loupe, you can start to see the putty texture. Under a 15x loupe you can tell the texture right away. But then again. We are just needing to see it "match " the existing factory hex lug screws under the naked eye. You can be the judge on how it looks via the finished pics.
Here is the first try. (removed, and then repluged and reshaped)
.
.
.
.
.
.
Here is about the 5th or 6th go at it. Plug is the left side.
:
.
.
.
.
.
.
Here is how it looks on a wrist (it is the lug hole next to the 12)
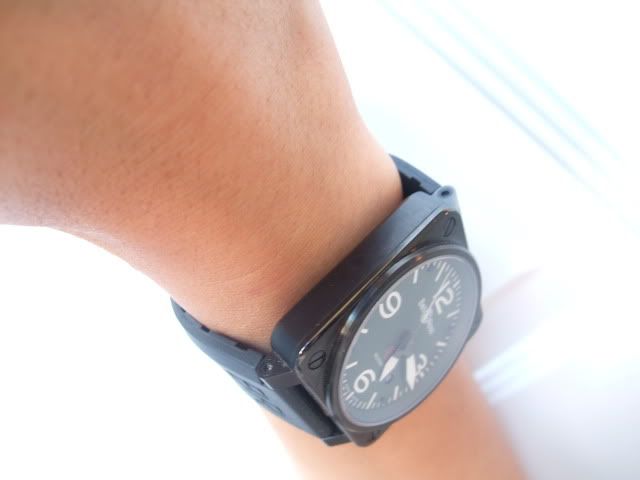
I'd rather see my modded lug screw than a hole in the side of my watch.
I was about to try this with the bezel screws as well, since I lost one of those, but was fortunate enough to get a replacement.
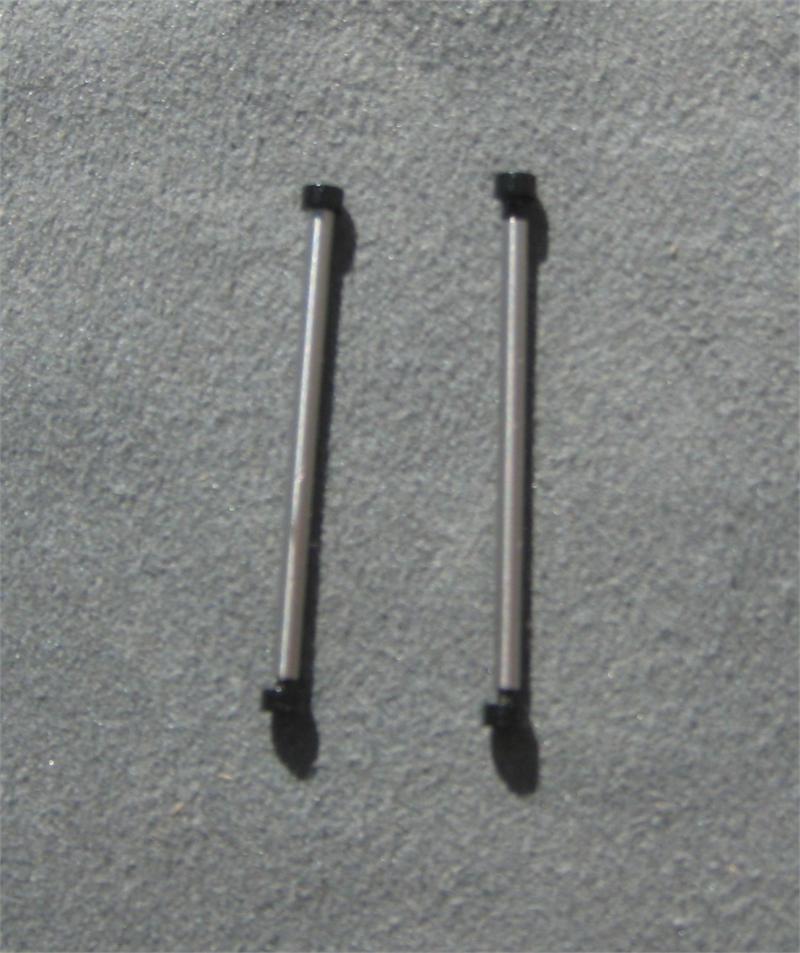
Oh yeah, and by the way, while I had the can of black spray paint out. I decided to mod the dial screws to be more in keeping with the gen. The dial screws are actually not screws, put very tiny pins that are friction fit in. Use a plastic flat bottomed tweezer to pull them out and place them on a piece of masking tape and then spray paint away.

.
.
.
.
.
.
Hope you can use some tips in my tutorial.


.
.
.
.
.
.
So it got me thinking on how to replace the missing lug screw. It finally donned on me that I can replicate a reasonable facsimile of one out of my existing aresenal of materials I have lying around. You see I do a lot of home renovations and woodwork and one of a woodworkers best friend is, well, putty. My motto is: "ain't nothing what putty can't fix"

.
.
.
.
.
.
I didn't limit it to wood putty but also tried out plumbers putty.

.
.
.
.
.
.
First thing I did was grab a small lump and work it into my hand so it is nice and maleable. I found that the wood putty was a bit to crumbly and too porous, so I quickly switched to the grey plumbers putty. That stuff is much like silly putty.


.
.
.
.
.
.
But before I decided to go any farther I decided I needed it black. So I bring out another handy item in my tool box. Black spray paint.

.
.
.
.
.
.
I thoroughly sprayed the lumps of putty black and made sure all of it including the innards of the lump was all black. It got really wet and soupy, so I had to wait a day for the paint to dry and the putty to reform itself again.

.
.
.
.
.
.
I used this neat chemists' spatula I "borrowed" (shown here before I spray painted the putty) way back when I was in high school mix it all up after it regained part of its massing and maleability.


.
.
.
.
.
.
In the end after the putty dried abit, I reformed it back into a ball. It kinda looks like one big mouse turd.

.
.
.
.
.
.
Now, onto the puttying. I formed it into a tinier piece of mouse turd and then forced it into the lug hole.

.
.
.
.
.
.
I then used a metal box cutter blade to trim off the excess.

.
.
.
.
.
.
I then used the factory hex allen keys to make an impression in the soft putty.

.
.
.
.
.
.
It took several tries to get it right. Luckily, you can pull out the putty plug and retry again and again till you get it right. One thing I did notice was that when you press in the allan key, a whole bunch of the putty oozes out the sides, so you have to trim it off very gingerly, otherwise you ruin the nice hex shape impression.
This was the best I could get it. Under the naked eye and under non macro conditions, you can't really tell the difference, under a 5x loupe, it is about a 7/10 pass. Under a 10x loupe, you can start to see the putty texture. Under a 15x loupe you can tell the texture right away. But then again. We are just needing to see it "match " the existing factory hex lug screws under the naked eye. You can be the judge on how it looks via the finished pics.
Here is the first try. (removed, and then repluged and reshaped)

.
.
.
.
.
.
Here is about the 5th or 6th go at it. Plug is the left side.
:

.
.
.
.
.
.
Here is how it looks on a wrist (it is the lug hole next to the 12)

I'd rather see my modded lug screw than a hole in the side of my watch.
I was about to try this with the bezel screws as well, since I lost one of those, but was fortunate enough to get a replacement.
Oh yeah, and by the way, while I had the can of black spray paint out. I decided to mod the dial screws to be more in keeping with the gen. The dial screws are actually not screws, put very tiny pins that are friction fit in. Use a plastic flat bottomed tweezer to pull them out and place them on a piece of masking tape and then spray paint away.

.
.
.
.
.
.
Hope you can use some tips in my tutorial.

