How to: Paint mod for the UPO seconds hand. Colour matched.
Here we go: How to fix everything and save the world:
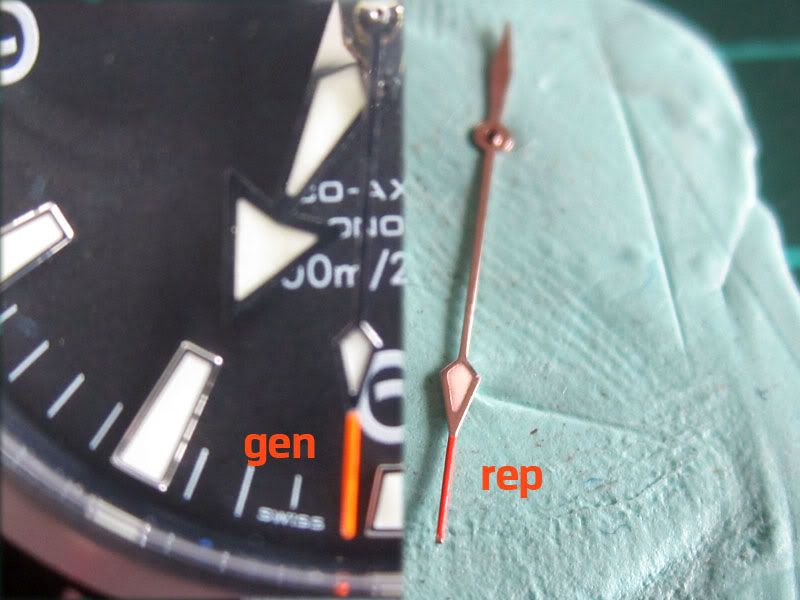
Everyone knows the colour on the seconds hand of the UPO is off on both the pumpkin and the B/W. I didn't know just how off it was until I got this Franken with gen dial and hands.
It dawned on me that I could put my trade skills in print design to good use here, so I colour-matched the reddy/orange of the gen seconds hand with pantone books and set about finding a mixture of colour to suit. I scoured every model supplies shop within 100kms of where I live (two locally within a kilometre or so, and the other one while i was down the beach ). Unfortunately online shopping for the initial matching is not an option here, because sites that do reference colour swatch books aren't using the superior pantone books.
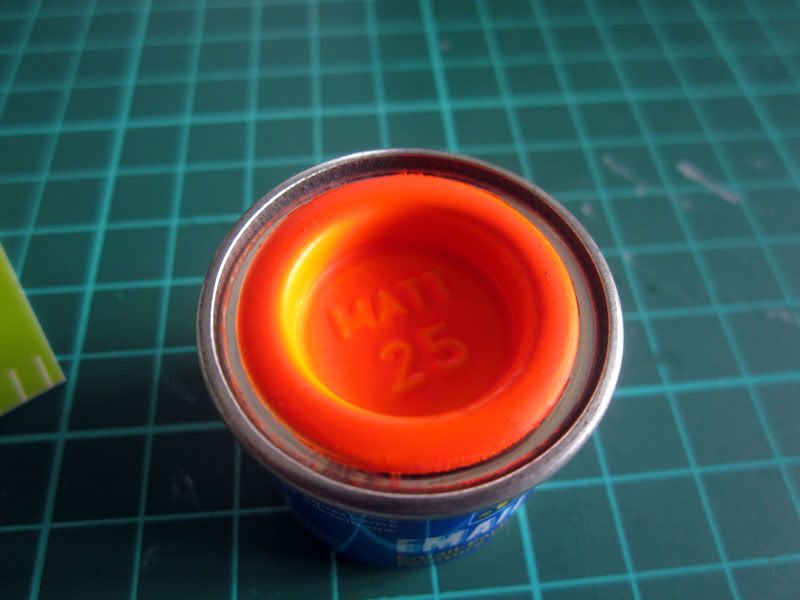
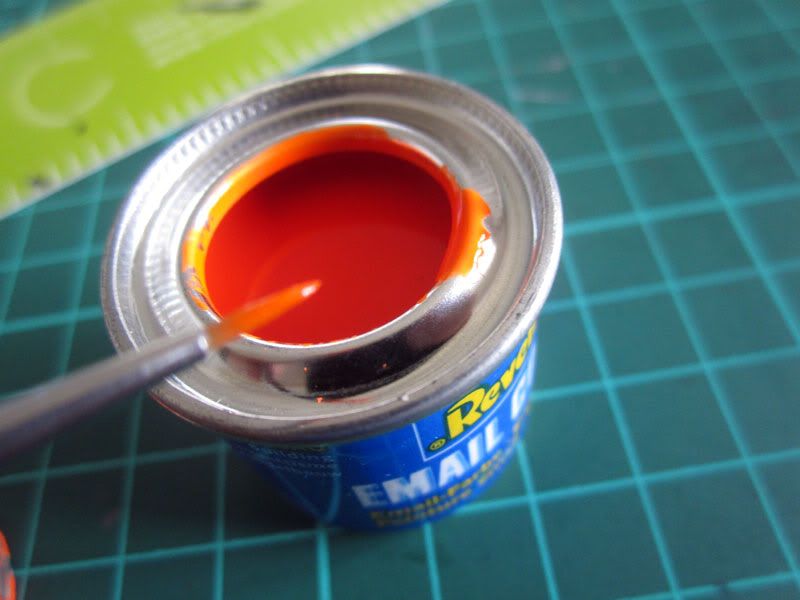
Initially expecting to have to make my own mix I eventually found a paint that is quite spot on for this use off the shelf. Stoked!. It's "Revell (No 25) Enamel Paint 32125 Luminous Orange Matte". The paint must be matt as per the gen.
How to do it?
1. Decase. Remove hands
if you have fine enough hand-eye to paint this in situ, you won't need this tute.
2. Prep
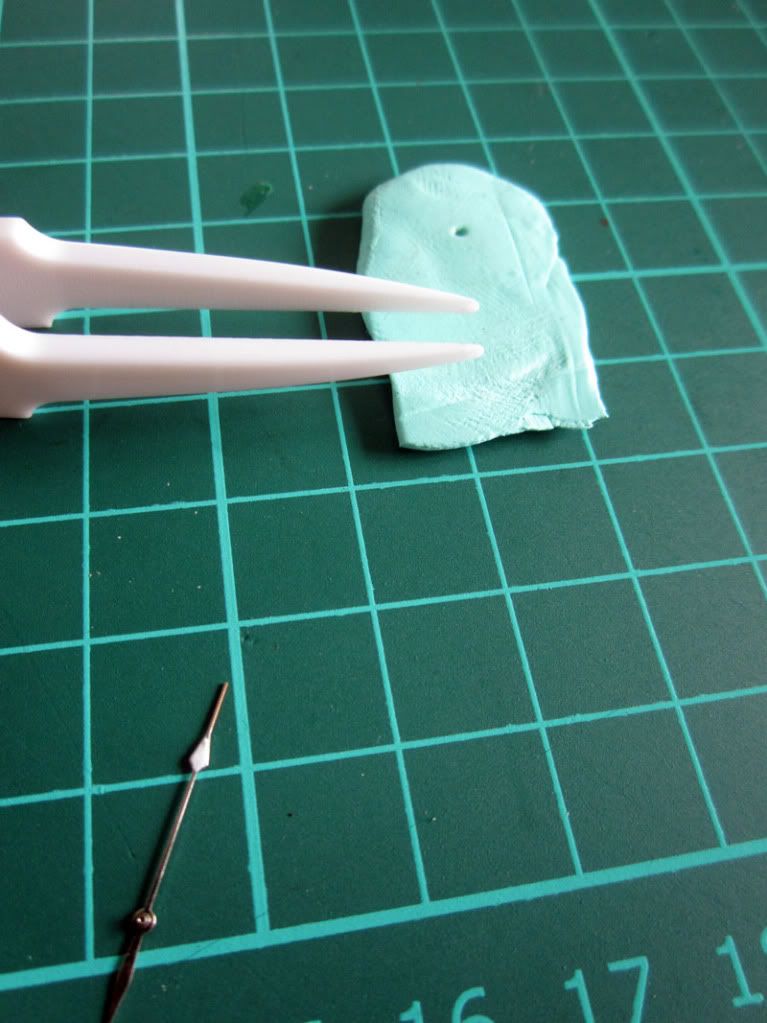
• Flatten a piece of Rodico (abetter option would be balsa/craft wood here).
• Make a tiny divot for the hand post.
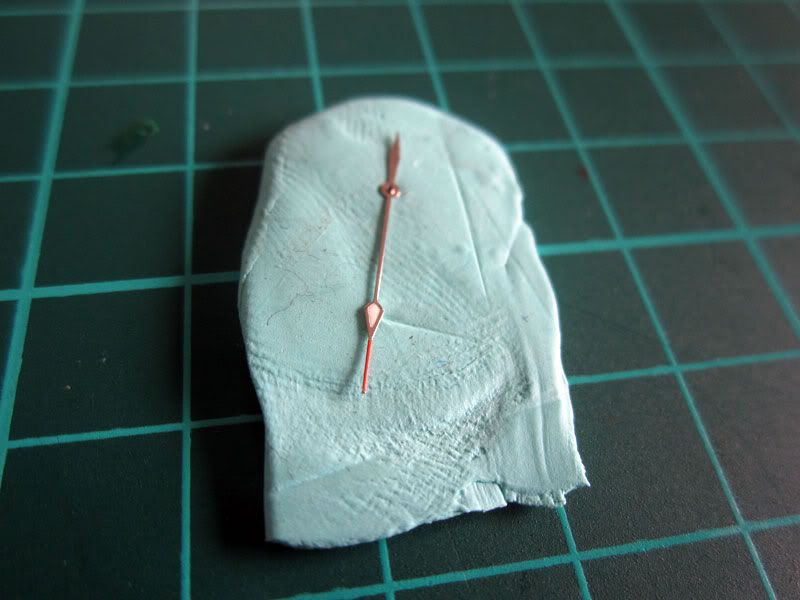
• Place the hand firmly on the rodico - you want it to not move, but you want the paintable part resting off the surface of whatever you use to avoid paint dags.
• Get out your cellotape, not the cheapo dollar shop sticky tape, spend a few extra cents here.
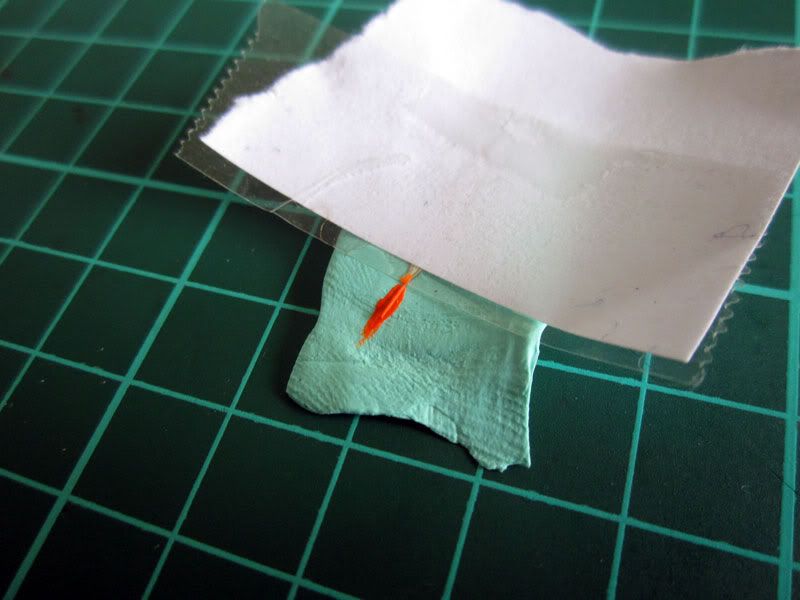
• Get a strip of tape and apply typing paper to the sticky side. You want to cover as much of the tape as you can, leaving only a tiny sticky edge (even the pic below was too much really). The idea here is you want the tape to stick, so you get a nice straight edge, but you want as little sticky applied to hand as possible so you don't damage it on removal - these hands are flimsy. Note: You don't need the tiny pube as below, but it helps.
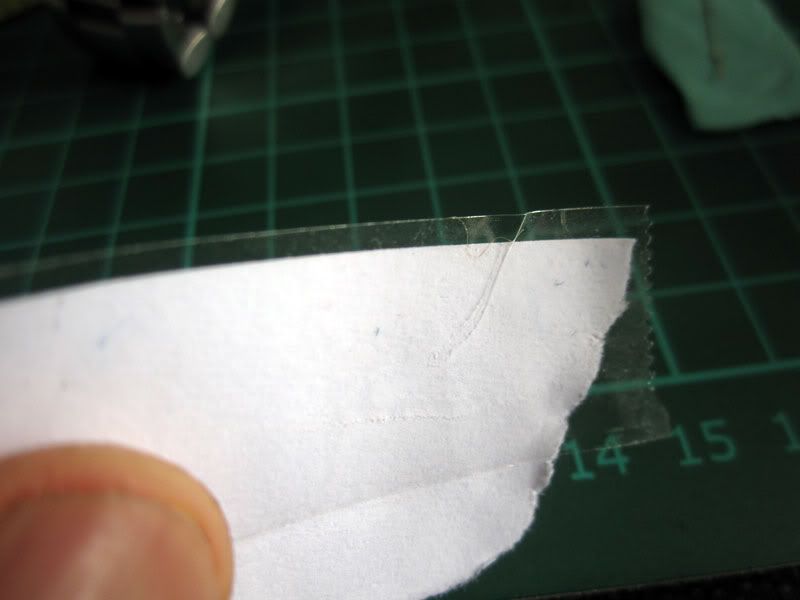
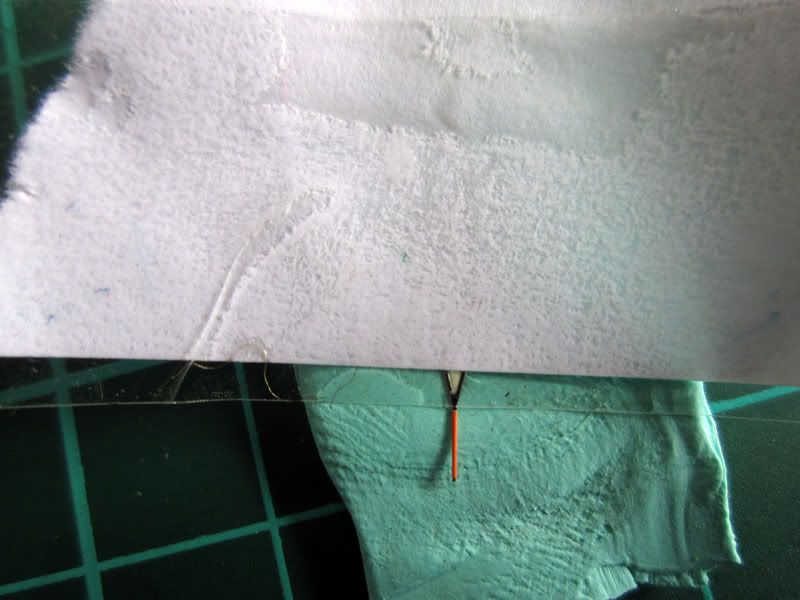
• Apply your paper/tape to the hand like this a fraction below the apex of lume area, just like gen. try to get it as straight as possible:
• Very important: you must prepare the surface to paint. I painted houses while I worked my way through uni, don't underestimate this step or you'll be doing it twice.
Ideally you'd use a light coloured primer for a first coat then two colour coats. Instead, I used Isopropyl and a lint free cloth just to remove any surface oils, dust or etc.
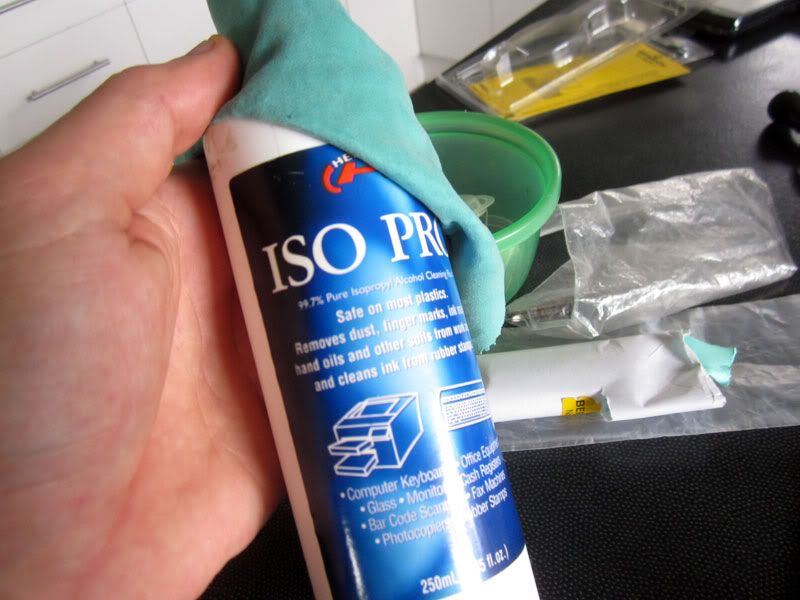
• Wet a nice corner of your cloth with the alcohol
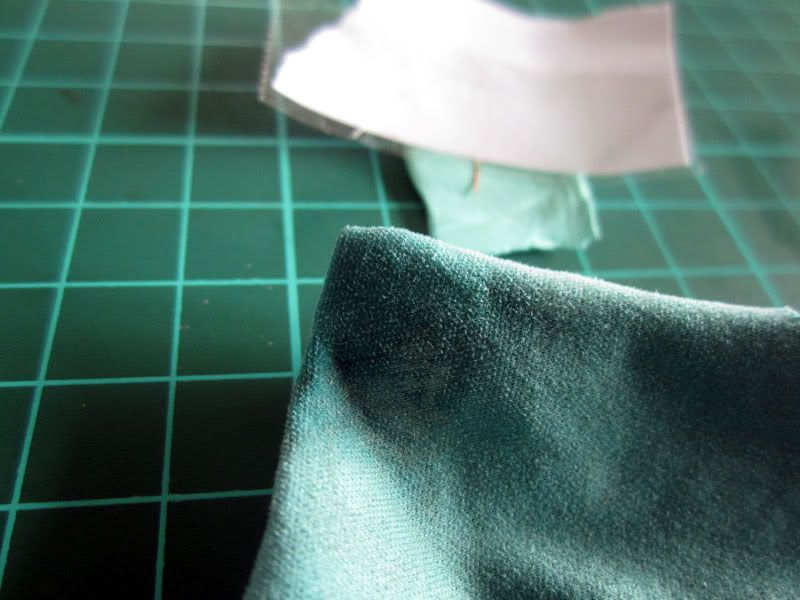
• Gently wipe over the hand in one direction away from the post a few times. Going sideways or towards to post will damage your hand. Remember - be careful.
3. Painting.
• use a fine, top quality, non-synthetic brush. Synthetic brushes leave brush strokes. Shake the paint, don't use the paint from the underside of the lid (there be unmixed paint), use it from the paint pot itself.
note that the painted surface is not resting on the Rodico. If you were using balsa wood, you'd want to make another divot under the painted surface area as well to avoid dags.
• apply the paint 'dry'. it means you don't want to load the brush heavily with paint. We're going to apply two thin coats, not one thick one
• long smooth strokes
• Use full length single strokes for the entire length of painted surface. Don't 'play' with the paint or the finish will be bad. Long single strokes only.
• allow 24 hours to dry between coats - this paint is enamel.
• apply second coat same as before for a nice full finish with good coverage.
• allow to dry, inspect your work:
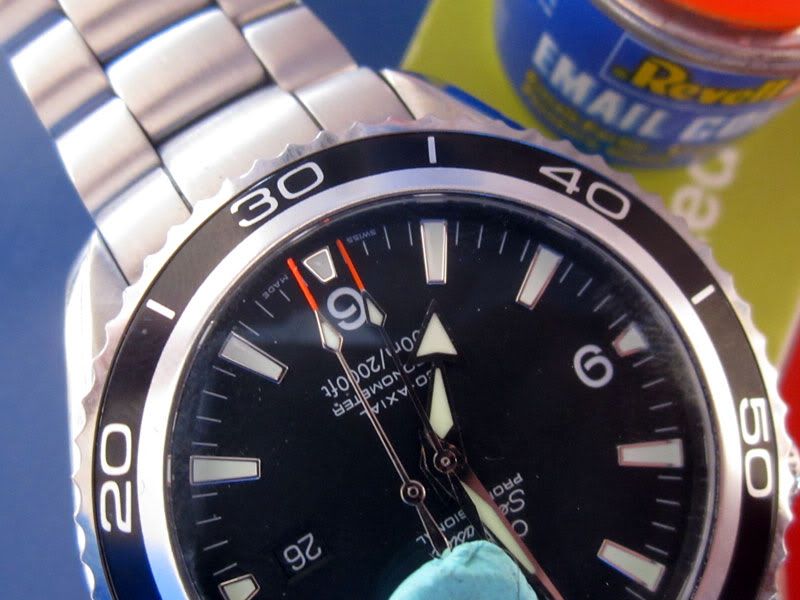
Pretty good match eh?
In sunlight:
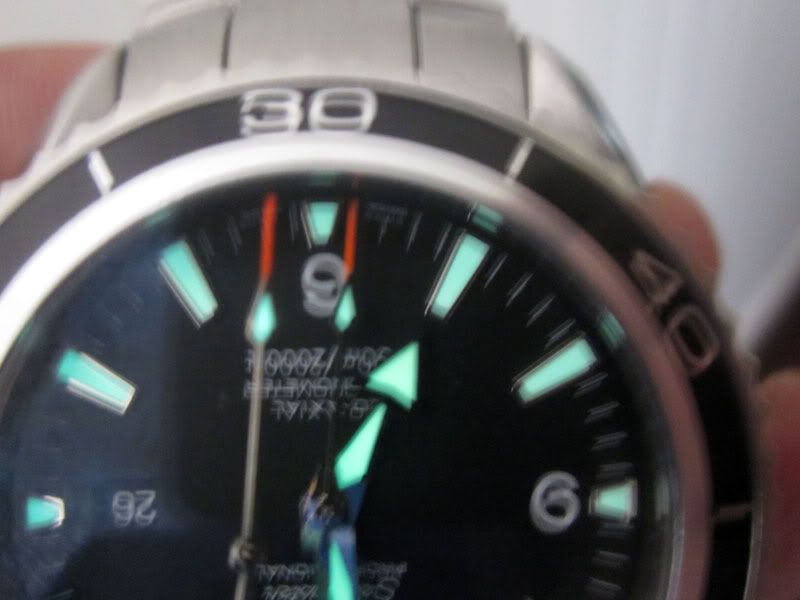
In the dark:
Hope it helps someone. If you do the mod, please post a pic here
Here we go: How to fix everything and save the world:
Everyone knows the colour on the seconds hand of the UPO is off on both the pumpkin and the B/W. I didn't know just how off it was until I got this Franken with gen dial and hands.
It dawned on me that I could put my trade skills in print design to good use here, so I colour-matched the reddy/orange of the gen seconds hand with pantone books and set about finding a mixture of colour to suit. I scoured every model supplies shop within 100kms of where I live (two locally within a kilometre or so, and the other one while i was down the beach
). Unfortunately online shopping for the initial matching is not an option here, because sites that do reference colour swatch books aren't using the superior pantone books.Initially expecting to have to make my own mix I eventually found a paint that is quite spot on for this use off the shelf. Stoked!. It's "Revell (No 25) Enamel Paint 32125 Luminous Orange Matte". The paint must be matt as per the gen.
How to do it?
1. Decase. Remove hands
if you have fine enough hand-eye to paint this in situ, you won't need this tute.
2. Prep
• Flatten a piece of Rodico (abetter option would be balsa/craft wood here).
• Make a tiny divot for the hand post.
• Place the hand firmly on the rodico - you want it to not move, but you want the paintable part resting off the surface of whatever you use to avoid paint dags.
• Get out your cellotape, not the cheapo dollar shop sticky tape, spend a few extra cents here.
• Get a strip of tape and apply typing paper to the sticky side. You want to cover as much of the tape as you can, leaving only a tiny sticky edge (even the pic below was too much really). The idea here is you want the tape to stick, so you get a nice straight edge, but you want as little sticky applied to hand as possible so you don't damage it on removal - these hands are flimsy. Note: You don't need the tiny pube as below, but it helps.
• Apply your paper/tape to the hand like this a fraction below the apex of lume area, just like gen. try to get it as straight as possible:
• Very important: you must prepare the surface to paint. I painted houses while I worked my way through uni, don't underestimate this step or you'll be doing it twice.
Ideally you'd use a light coloured primer for a first coat then two colour coats. Instead, I used Isopropyl and a lint free cloth just to remove any surface oils, dust or etc.
• Wet a nice corner of your cloth with the alcohol
• Gently wipe over the hand in one direction away from the post a few times. Going sideways or towards to post will damage your hand. Remember - be careful.
3. Painting.
• use a fine, top quality, non-synthetic brush. Synthetic brushes leave brush strokes. Shake the paint, don't use the paint from the underside of the lid (there be unmixed paint), use it from the paint pot itself.
note that the painted surface is not resting on the Rodico. If you were using balsa wood, you'd want to make another divot under the painted surface area as well to avoid dags.
• apply the paint 'dry'. it means you don't want to load the brush heavily with paint. We're going to apply two thin coats, not one thick one
• long smooth strokes
• Use full length single strokes for the entire length of painted surface. Don't 'play' with the paint or the finish will be bad. Long single strokes only.
• allow 24 hours to dry between coats - this paint is enamel.
• apply second coat same as before for a nice full finish with good coverage.
• allow to dry, inspect your work:
Pretty good match eh?
In sunlight:
In the dark:
Hope it helps someone. If you do the mod, please post a pic here