- 12/3/18
- 37,502
- 80,059
- 113
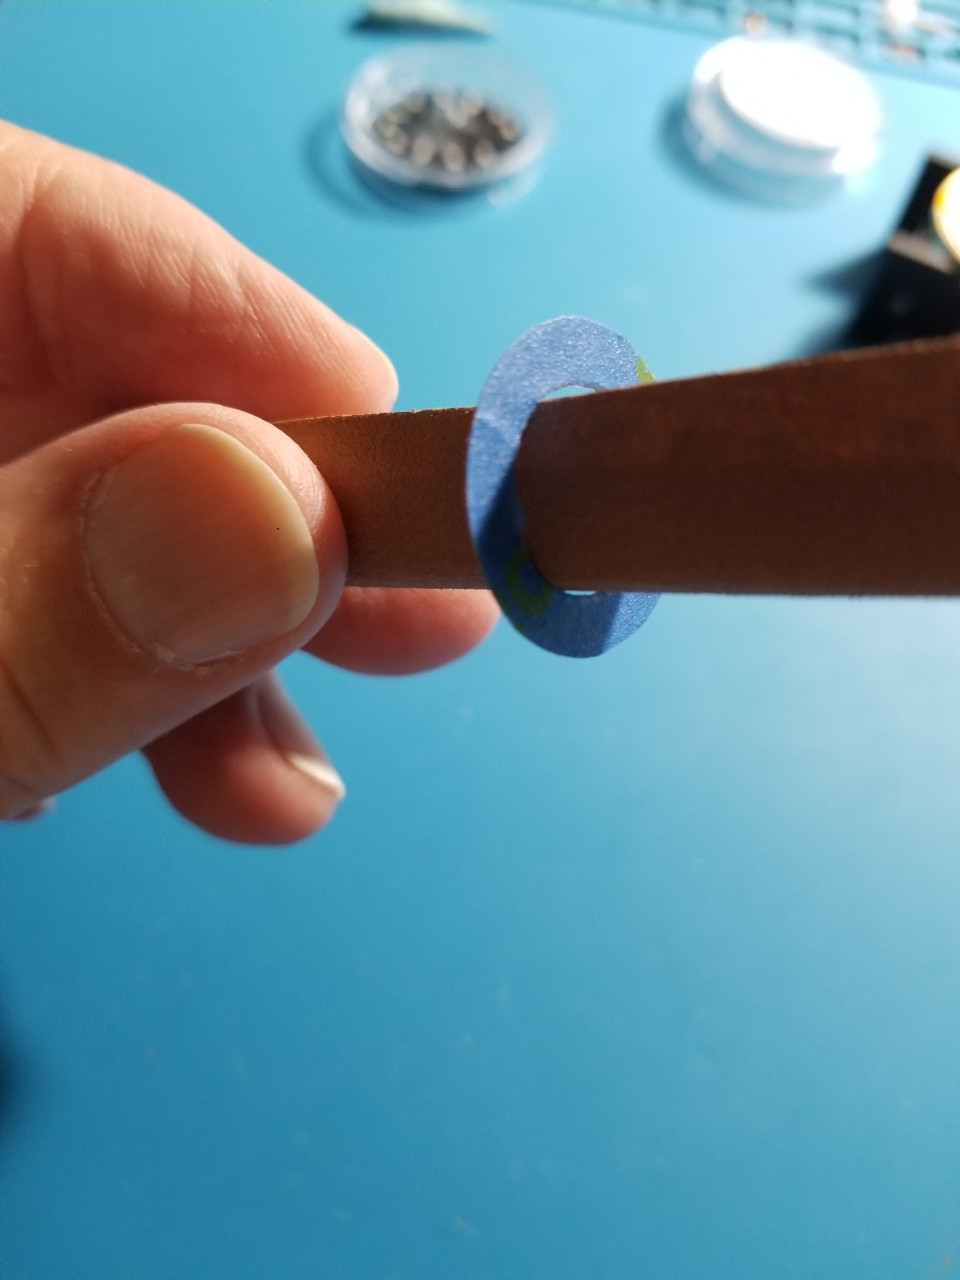
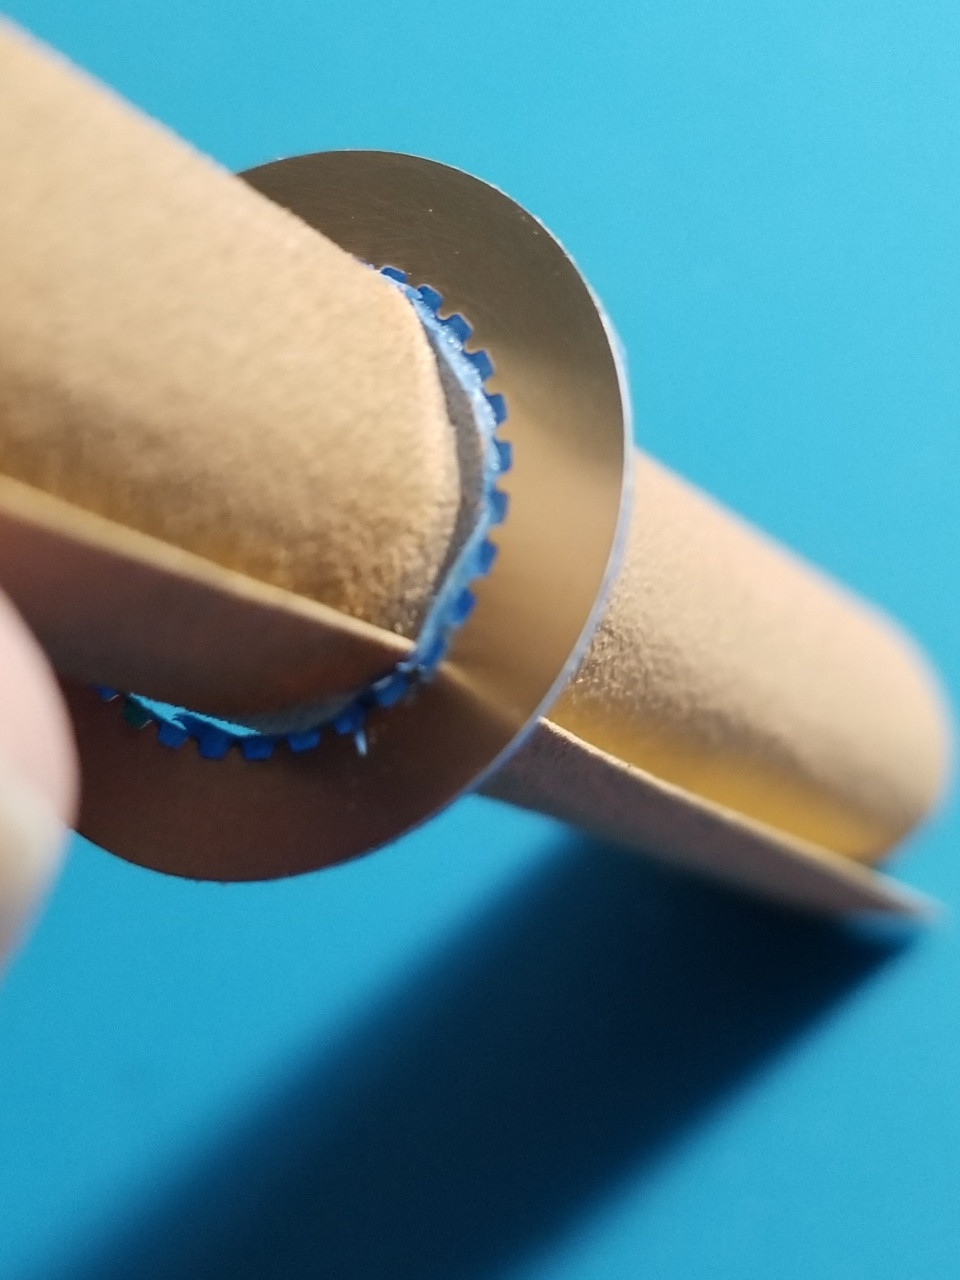
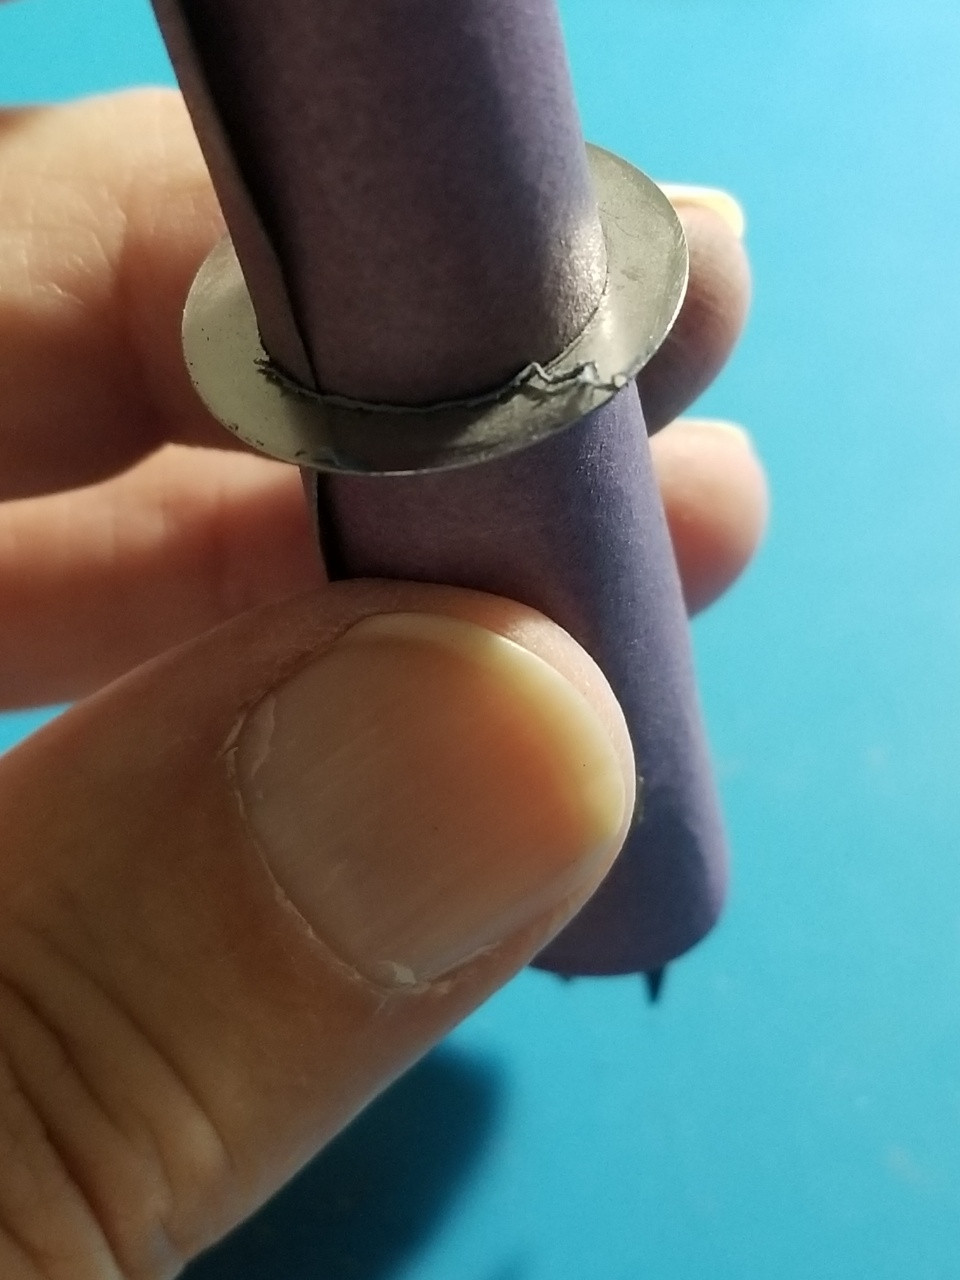
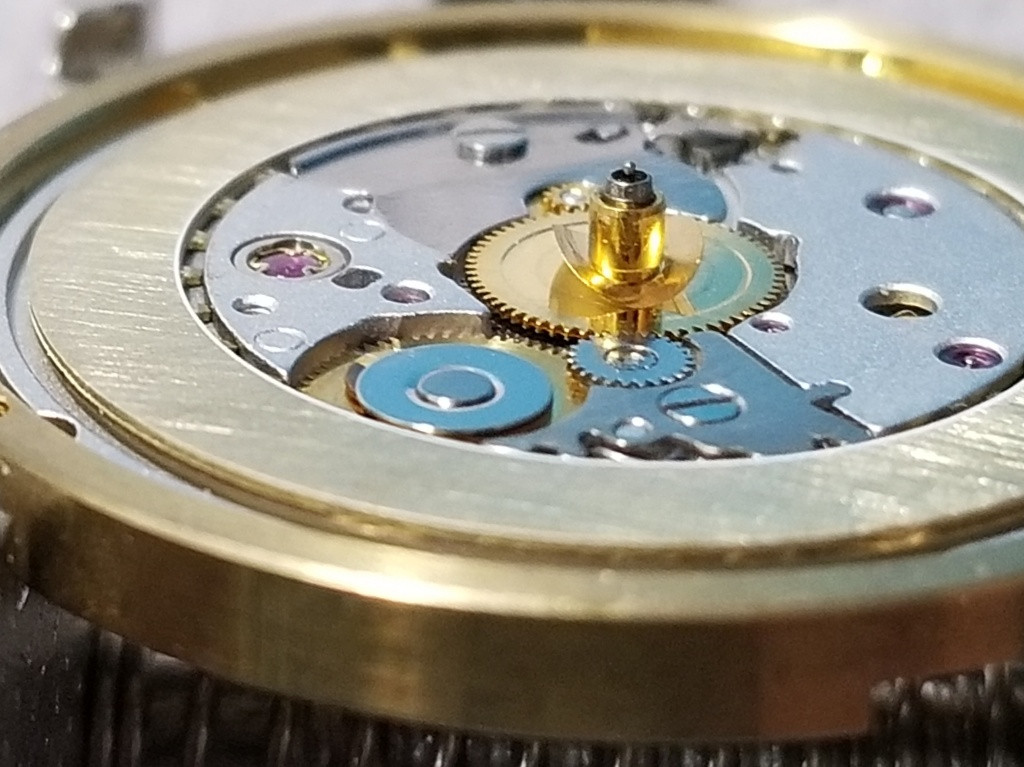
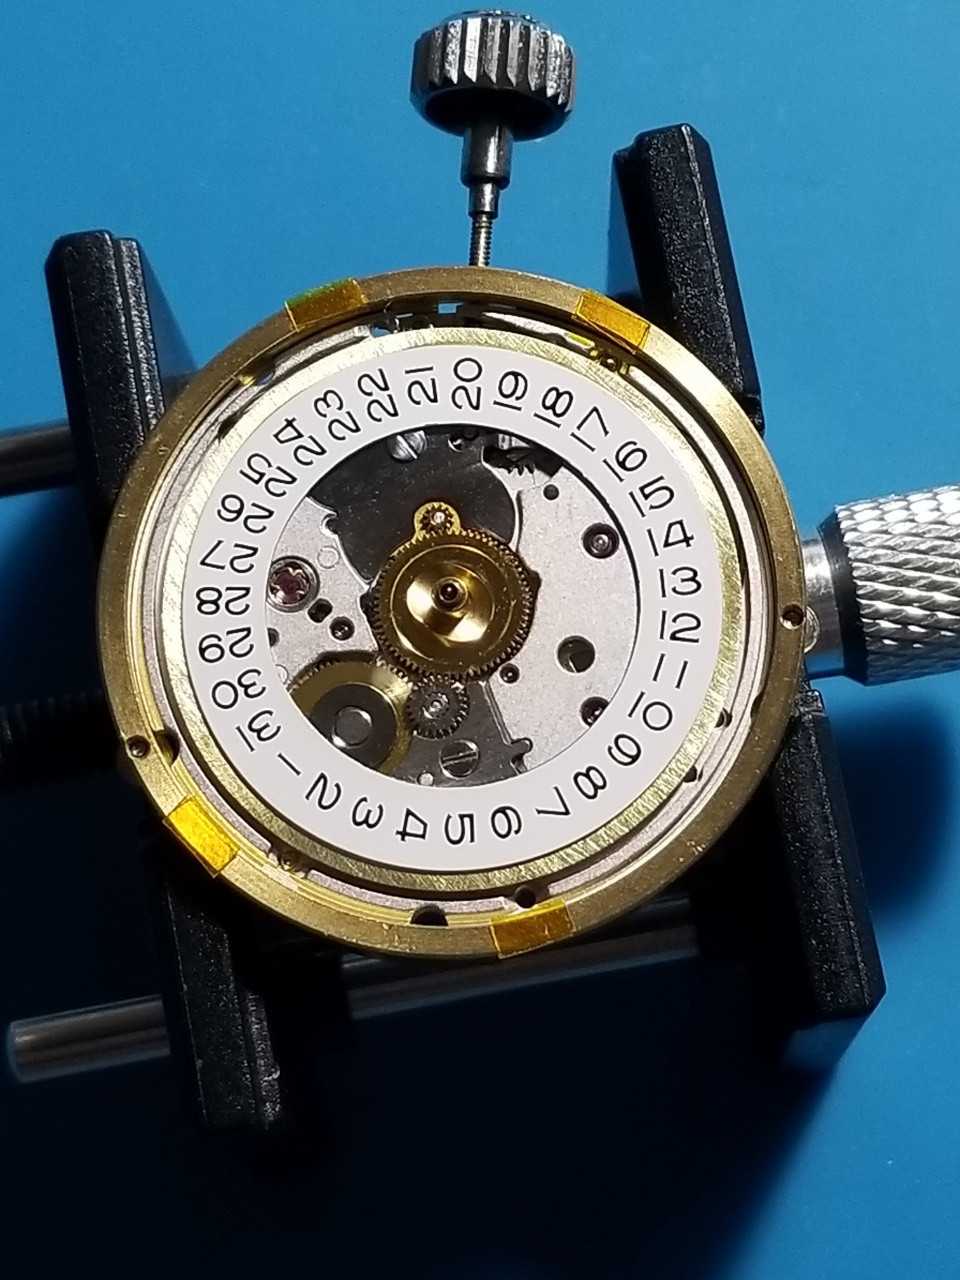
I just did this on a TC using a very nice VR 3135 DW, but the process would be identical using a gen DW. On a 2824 you most likely will have to grind off the teeth from the DW, they get in the way of the movement calendar parts and the minute wheel cover plate screw and extension arm. On a 2836 there should be room to leave the teeth intact. Painter's tape works perfectly to protect the DW while grinding the teeth away, it comes off cleanly.
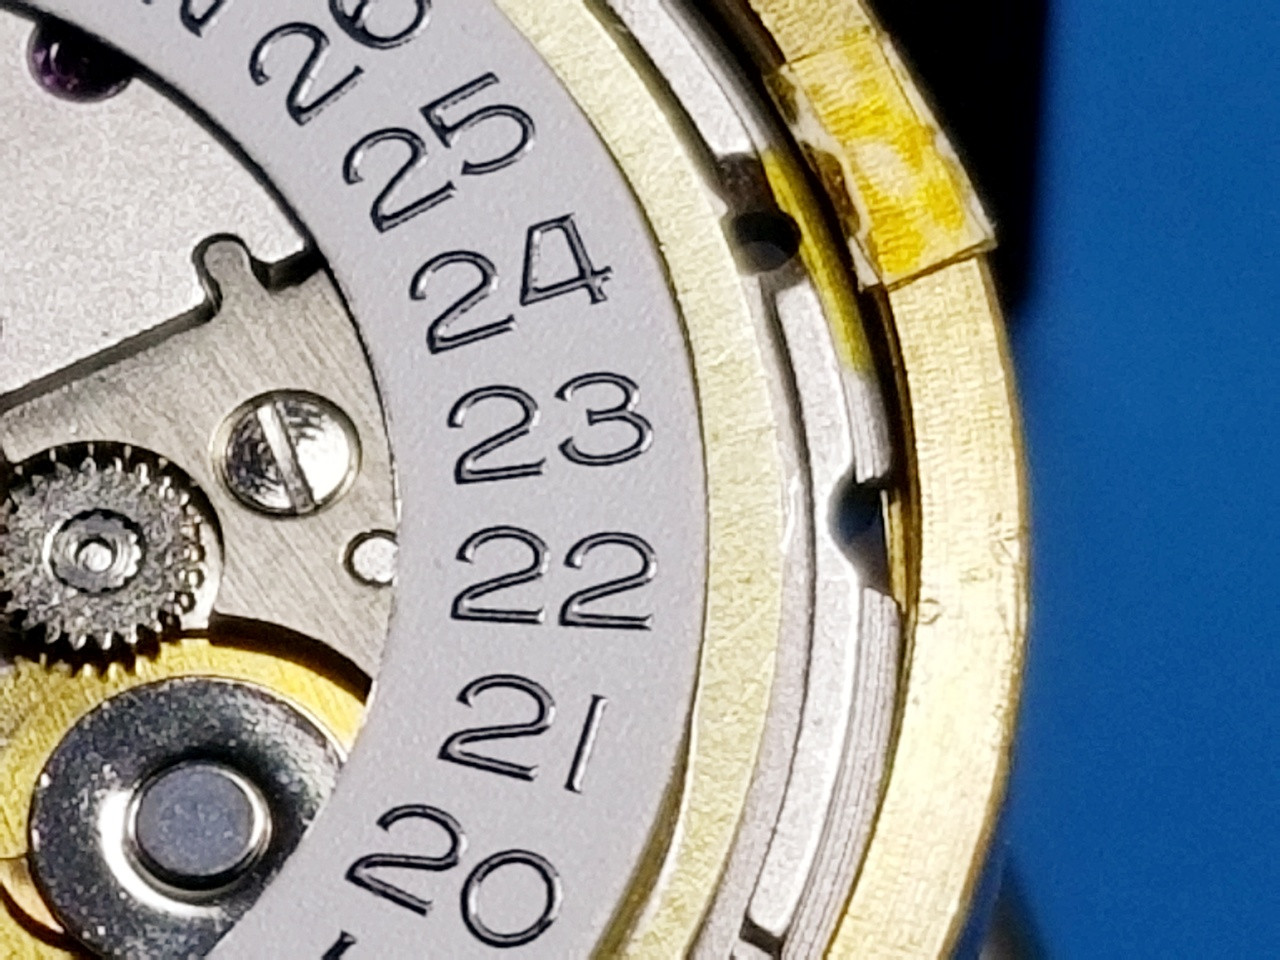
Height tolerances are close, but sanding down the existing DW and/or DWO to start with a bare metal base should work in most cases. Use 30 min slow cure epoxy, you will need a lot of time to get the DWO oriented perfectly. I always use the actual dial when doing this kind of work, there is no better substitute. The dial has to go on, check all dates, dial comes off, adjust DWO, dial goes on, repeat as necessary. It might take 12 - 15 iterations. Check your fingers (or glove/finger cot) after every adjustment to make sure you didn't pick up glue on them that then would get transferred back to the DW.
It's worth the effort.
Some added comments
I highly recommend practicing both teeth grinding and DWO gluing on a junk movement with expendable parts.
Placing the DWO perfectly requires a series of tiny nudges to achieve the right vertical, horizontal, and rotational alignment. After each adjustment, I fit the actual dial and cycle through all dates. Fixing one date nearly always ruins a other one. It requires great patience and care handling the parts this much while glue is present.
Some useful things to make this easier:
Anchor the dial spacer to the movement with edge tape. Few things are more aggravating than it coming off every iteration.
Tape or temp glue (GS Hypo) a couple short thin spacers (thin plastic, metal, cardboard) on top of the dial spacer to keep the dial from seating fully each time. This keeps the dial feet from getting hung up in the holes and makes it much easier to get it off each time due to a gap for a thin plastic pry tool if needed.
Wear a glove or finger cots at least on the hand working the dial. I wear one glove, I like having one hand free and make sure it is clean and dry.
Check the glove and your fingers each time before handling the DW again. A glue smudge from a previous adjustment can totally ruin the whole project.
Keep your glue streams narrow to minimize the amount that escapes from underneath the DW.
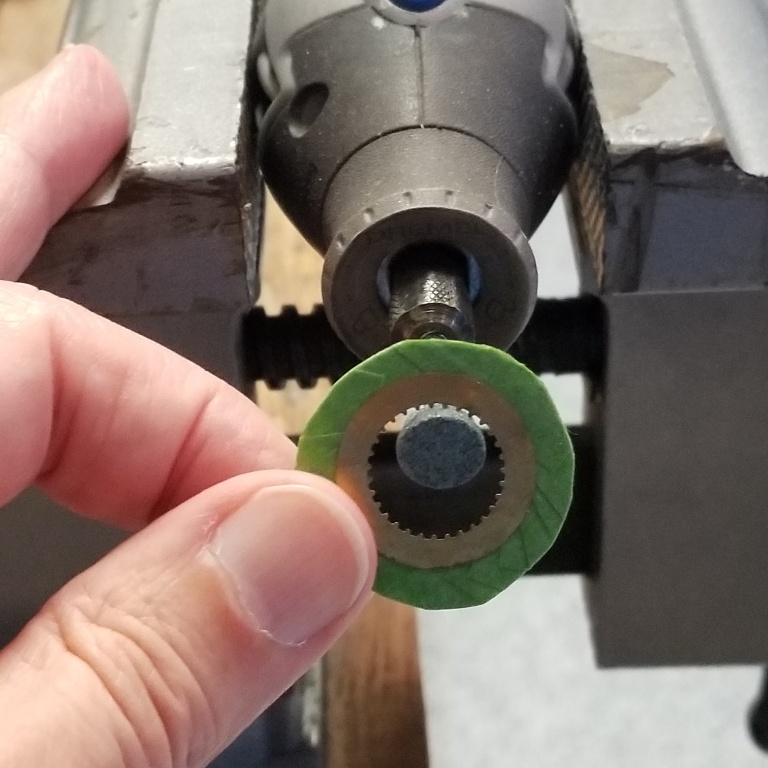
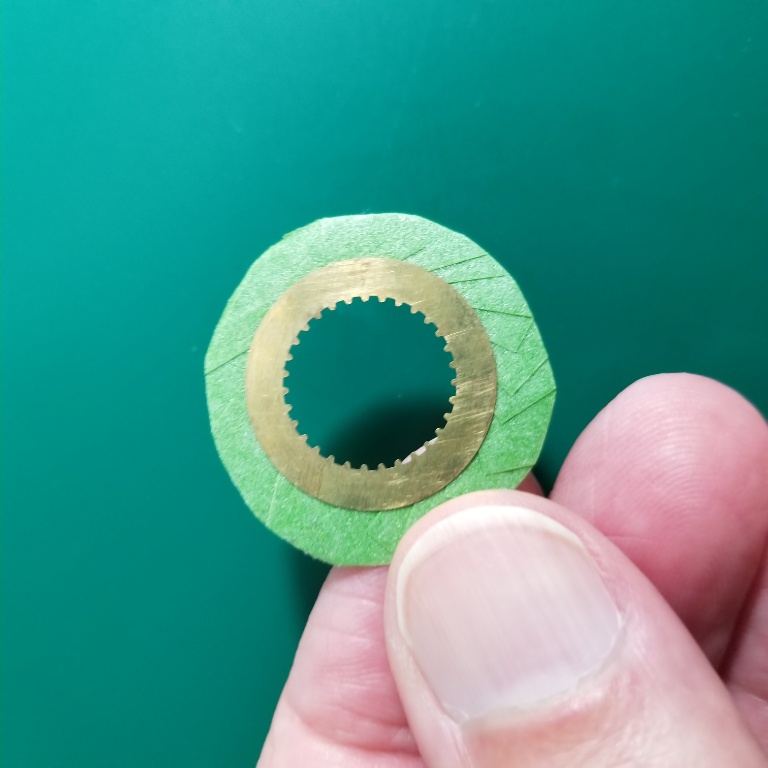
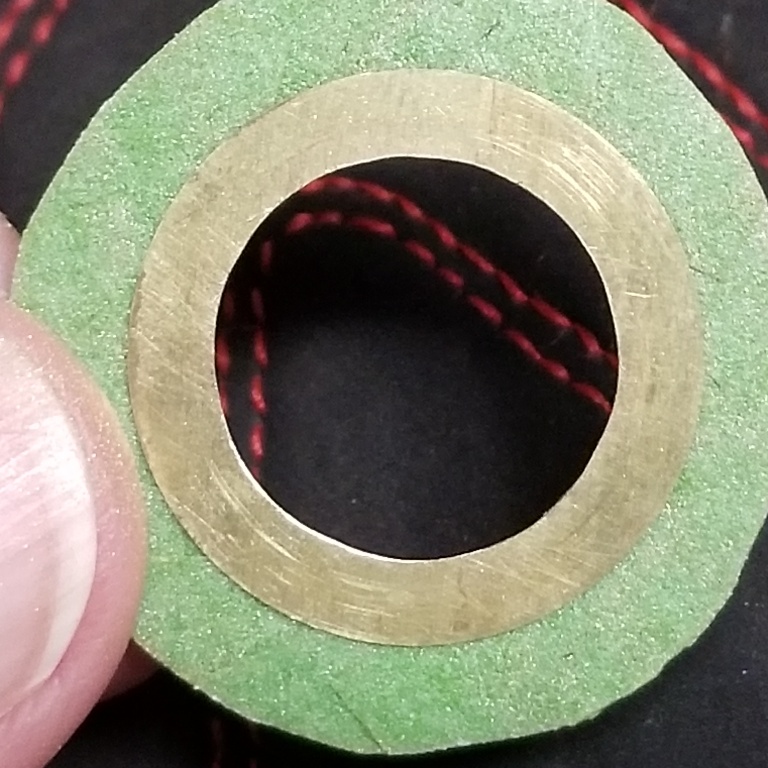
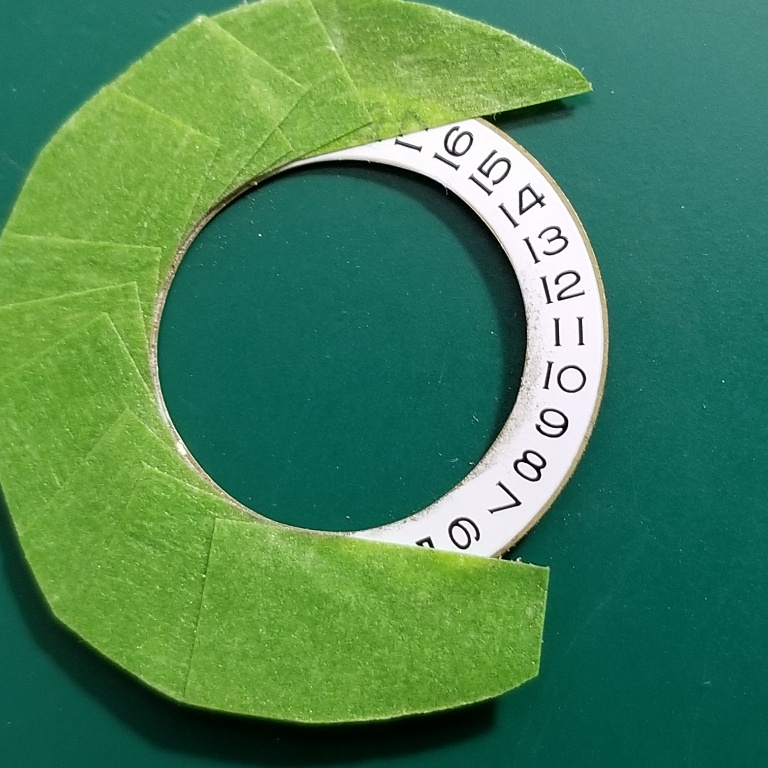
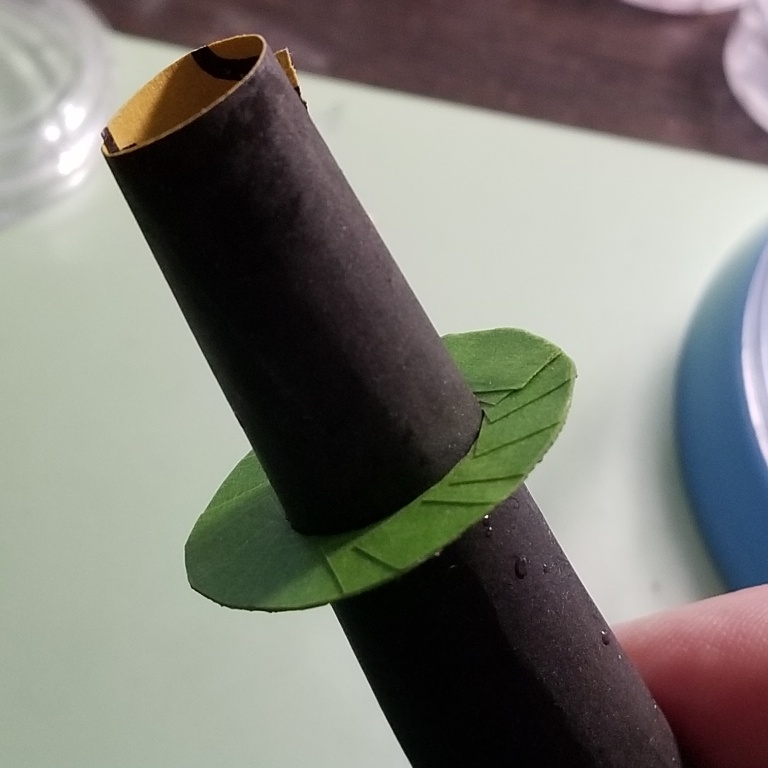
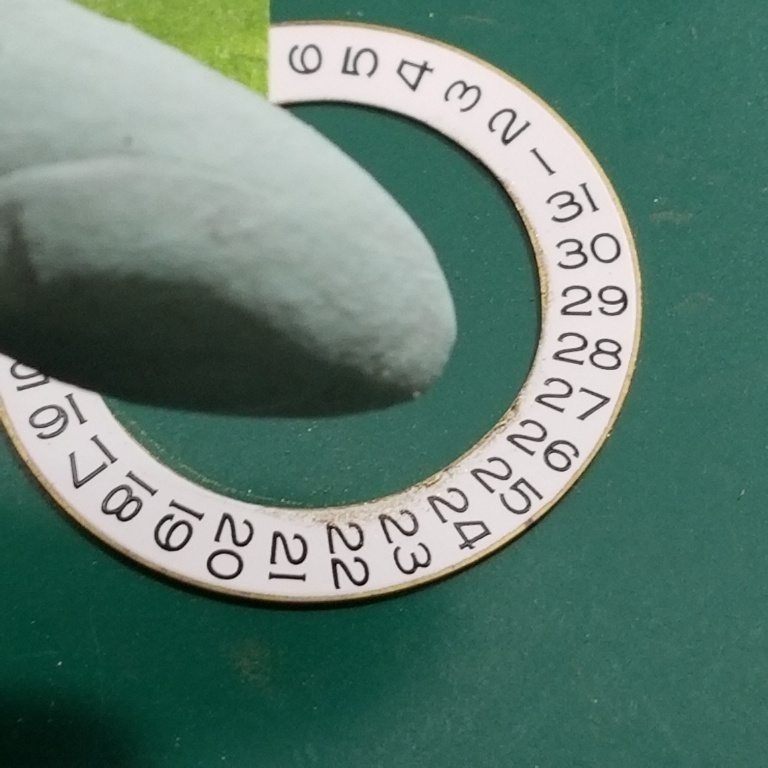
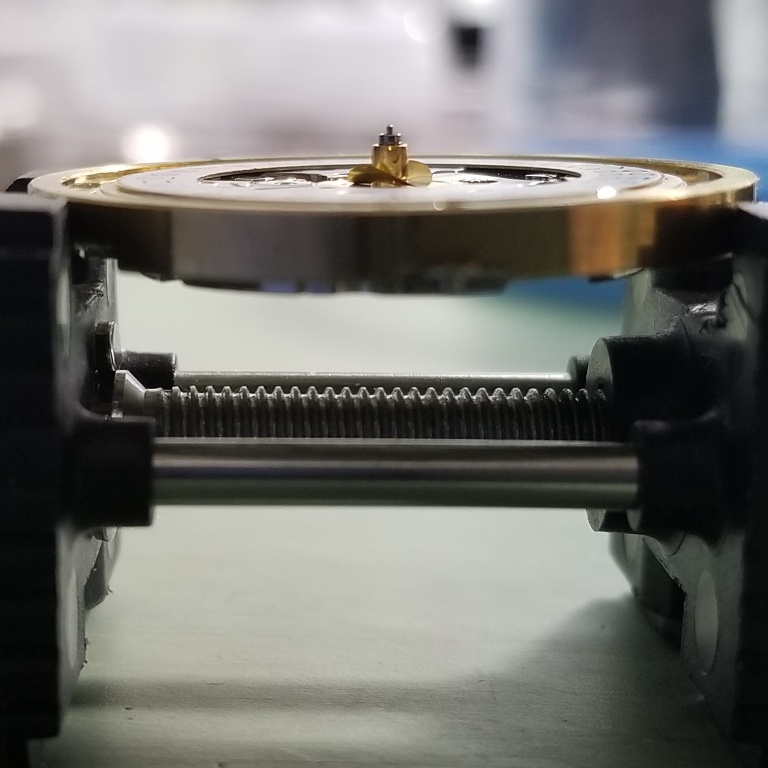
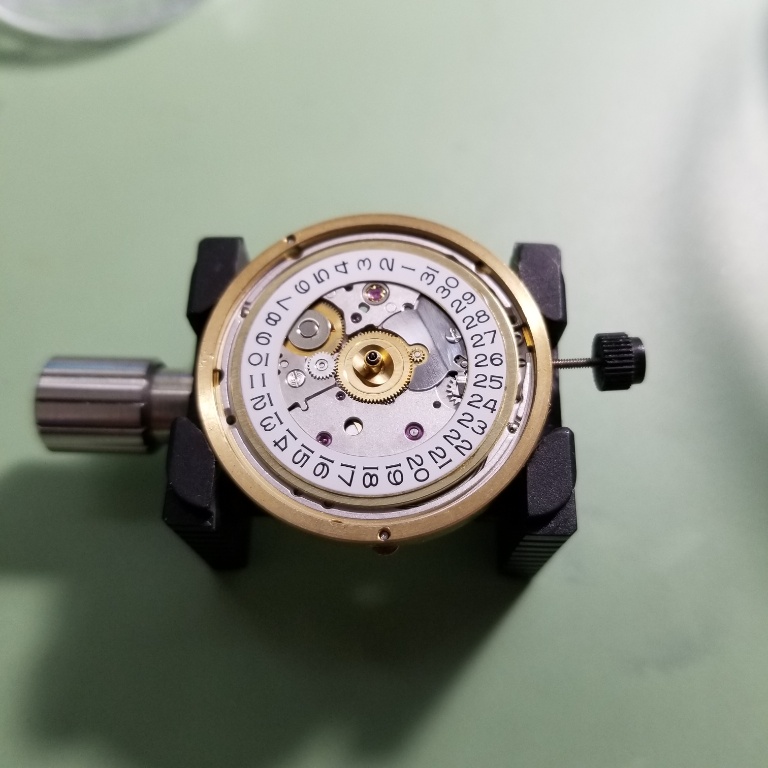
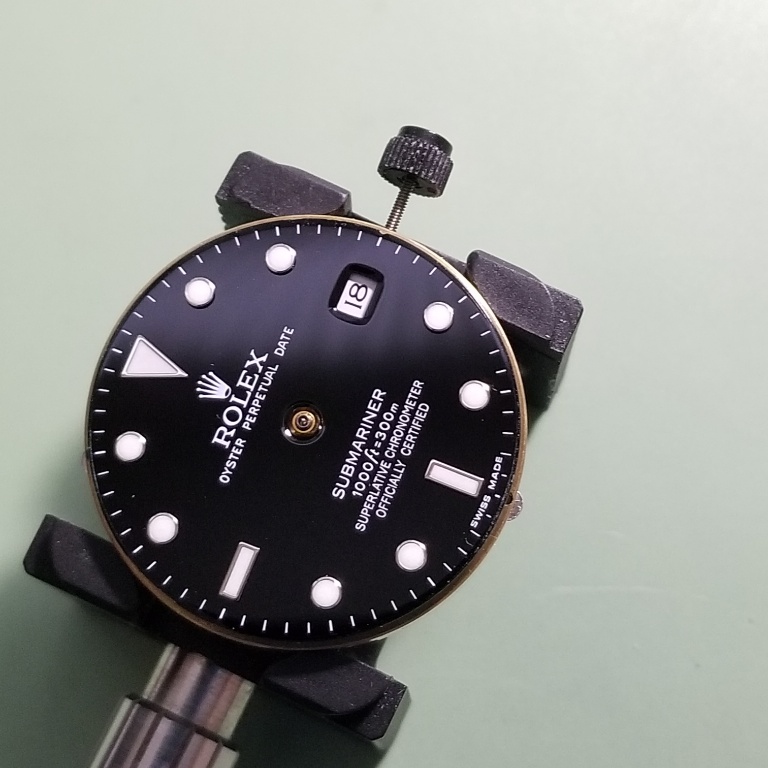
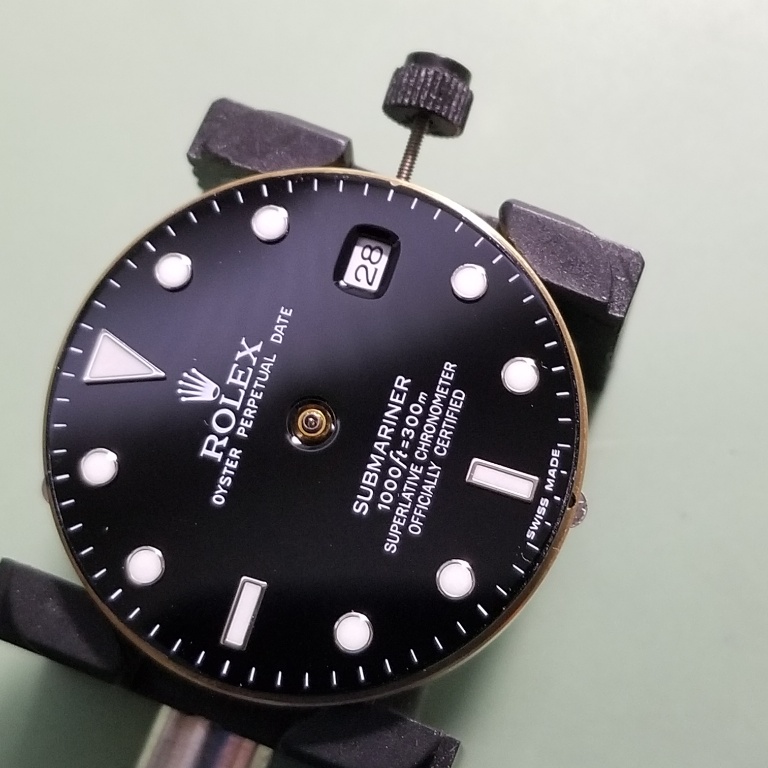
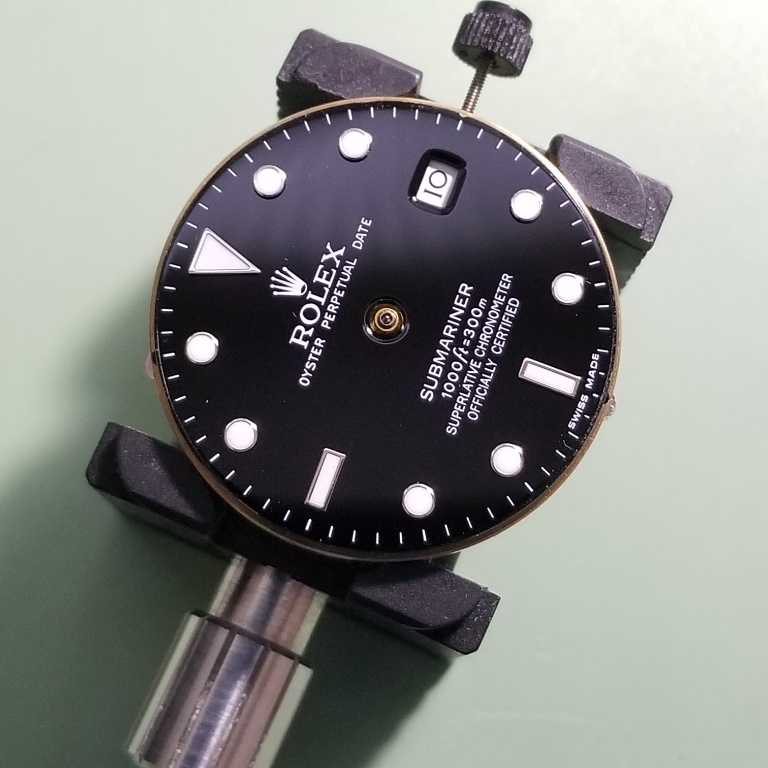
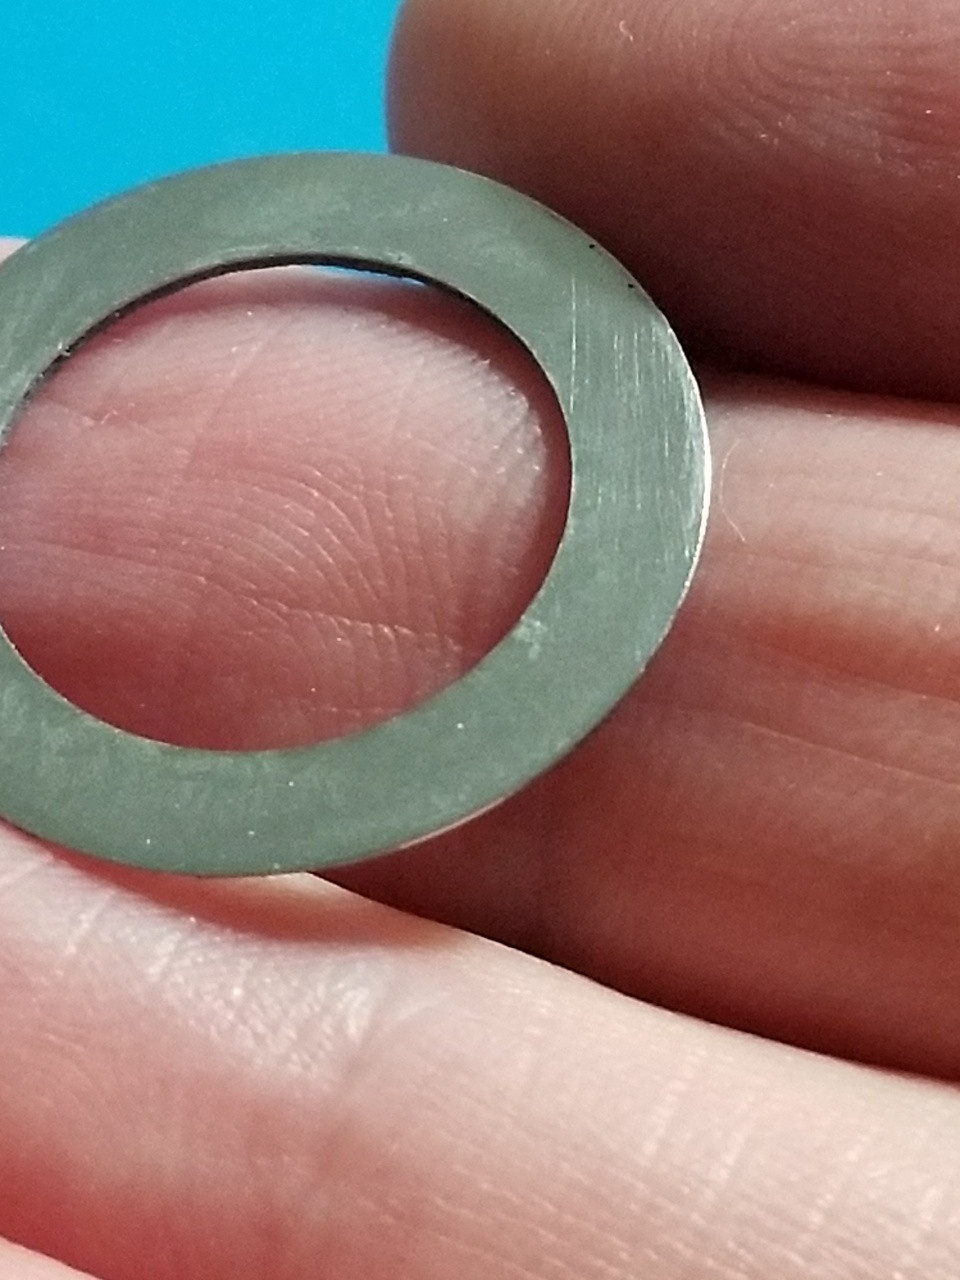
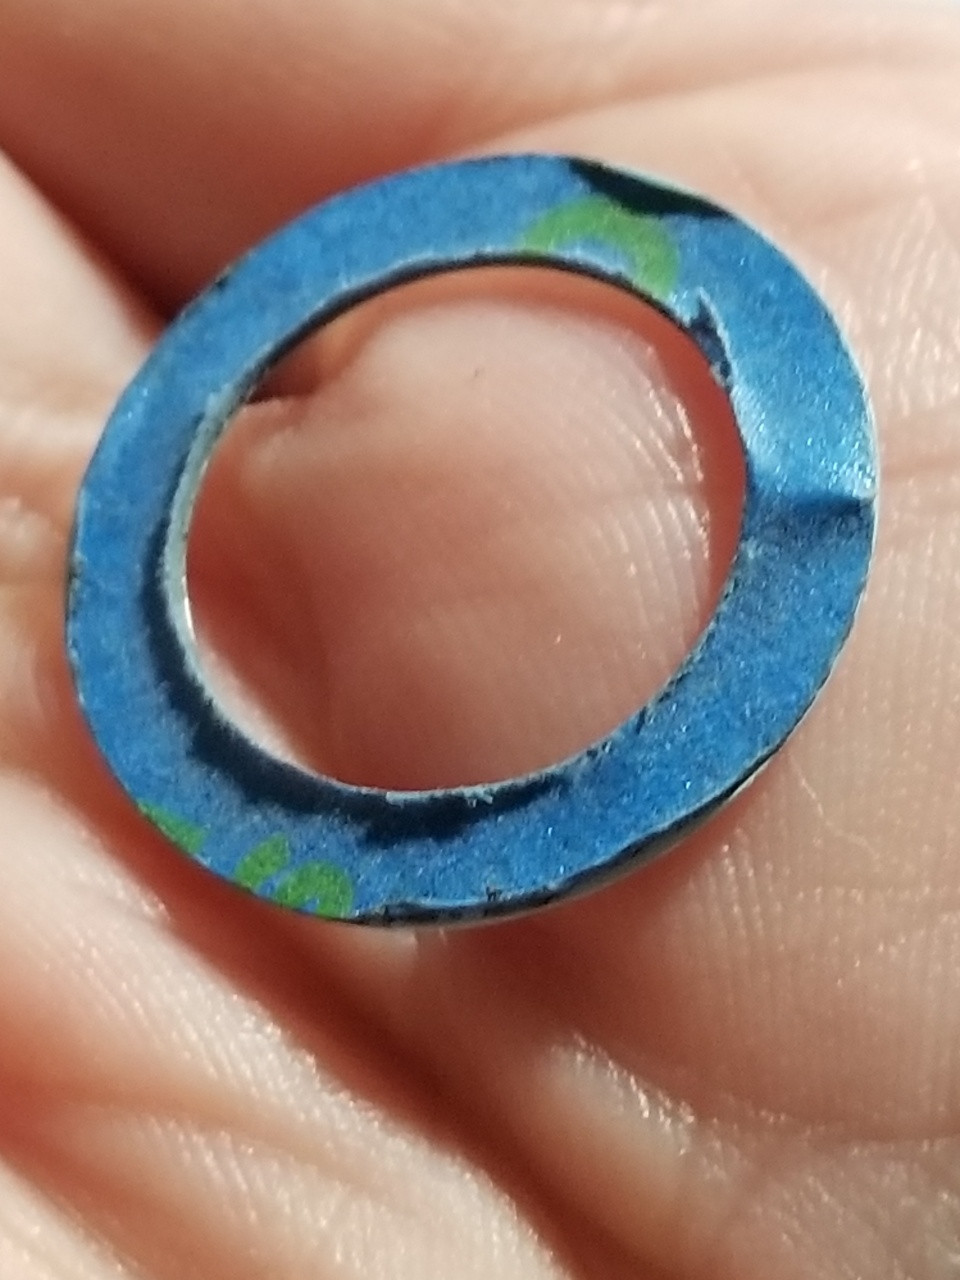
IDK what keeps happening to my pics in this thread. I've uploaded them again. There were more pics but this should get the idea across.
Height tolerances are close, but sanding down the existing DW and/or DWO to start with a bare metal base should work in most cases. Use 30 min slow cure epoxy, you will need a lot of time to get the DWO oriented perfectly. I always use the actual dial when doing this kind of work, there is no better substitute. The dial has to go on, check all dates, dial comes off, adjust DWO, dial goes on, repeat as necessary. It might take 12 - 15 iterations. Check your fingers (or glove/finger cot) after every adjustment to make sure you didn't pick up glue on them that then would get transferred back to the DW.
It's worth the effort.
Some added comments
I highly recommend practicing both teeth grinding and DWO gluing on a junk movement with expendable parts.
Placing the DWO perfectly requires a series of tiny nudges to achieve the right vertical, horizontal, and rotational alignment. After each adjustment, I fit the actual dial and cycle through all dates. Fixing one date nearly always ruins a other one. It requires great patience and care handling the parts this much while glue is present.
Some useful things to make this easier:
Anchor the dial spacer to the movement with edge tape. Few things are more aggravating than it coming off every iteration.
Tape or temp glue (GS Hypo) a couple short thin spacers (thin plastic, metal, cardboard) on top of the dial spacer to keep the dial from seating fully each time. This keeps the dial feet from getting hung up in the holes and makes it much easier to get it off each time due to a gap for a thin plastic pry tool if needed.
Wear a glove or finger cots at least on the hand working the dial. I wear one glove, I like having one hand free and make sure it is clean and dry.
Check the glove and your fingers each time before handling the DW again. A glue smudge from a previous adjustment can totally ruin the whole project.
Keep your glue streams narrow to minimize the amount that escapes from underneath the DW.


IDK what keeps happening to my pics in this thread. I've uploaded them again. There were more pics but this should get the idea across.
Last edited:


