Dear All
Use this as a reference or a tutorial. My wife is out of town and the boys are sleeping so i have a little bit of free time. On the agenda the complete process of modding a panerai. The speciman a new asian h series swan neck movement.
Before Shots
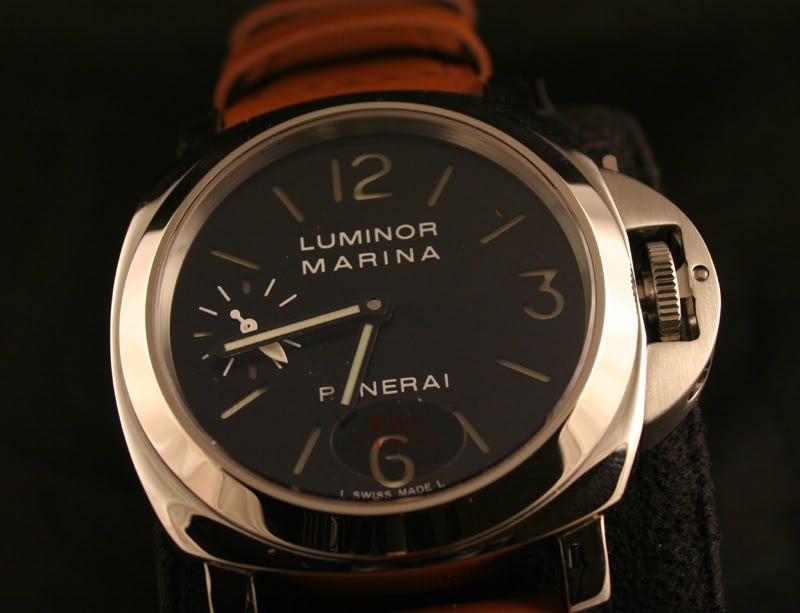
Where is the freakin lume. You will see shortly an unlumed dial and that might give you guys some ideas
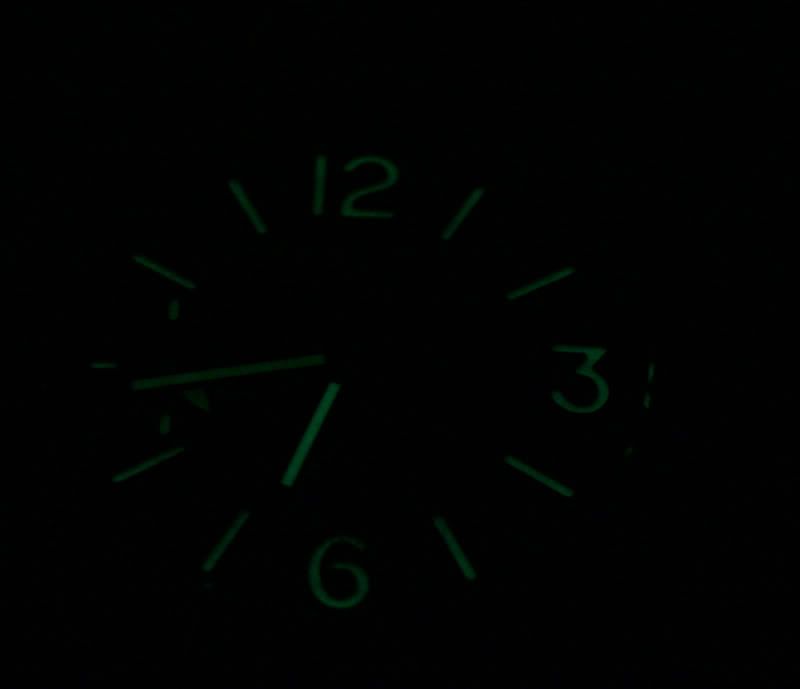
The most important thing is to have proper instruments. Personally, i use about seven; forceps, two screwdrivers, cannon pinion pull and crimper, caseback remover, and hand setter.
Below the most important. Angus sells these on a regular basis. If you do not want to use a caseback remover than you can buy a sticky ball from ofrei or use some duct tape.
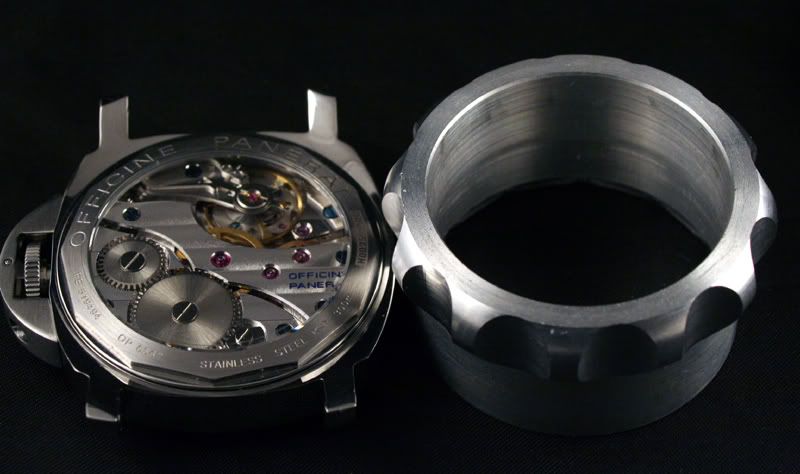
Everyone does this differently, and I guess mine is just habit. Once the caseback is removed and remove the crown guard
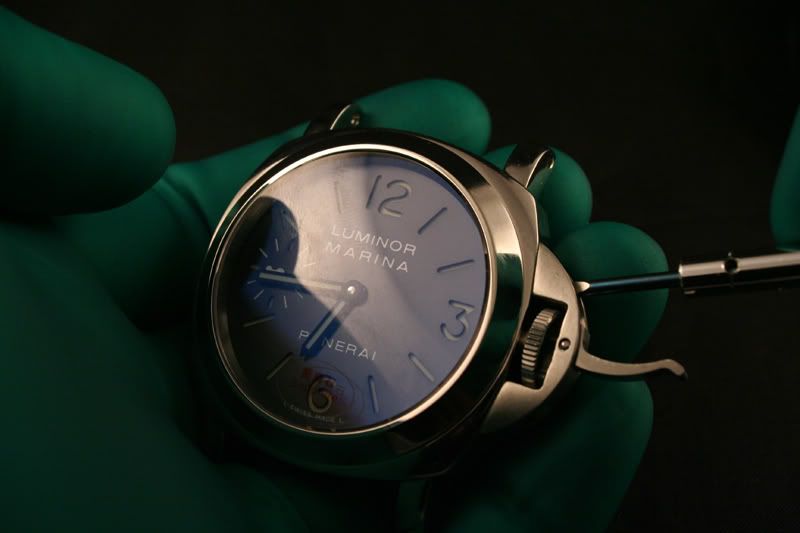
Once the crown guard is removed the movement should look like this. Notice the two movement holders. I remove both of these and then proceed to the crown. The crown is captured by a tiny screw that you must turn counterclockwise about one and 1/2 turns. Be very careful not to turn the screw to much as this will result in messing up the keyless works on the lever. Just 1 1/2 turn.
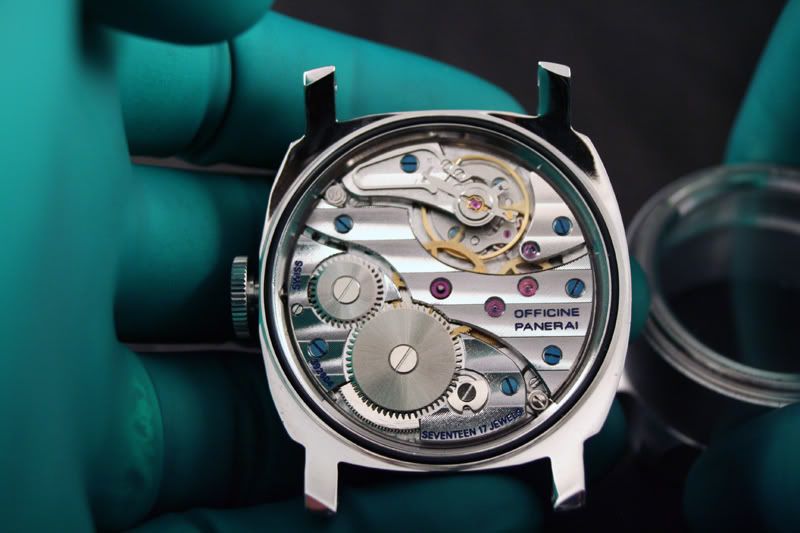
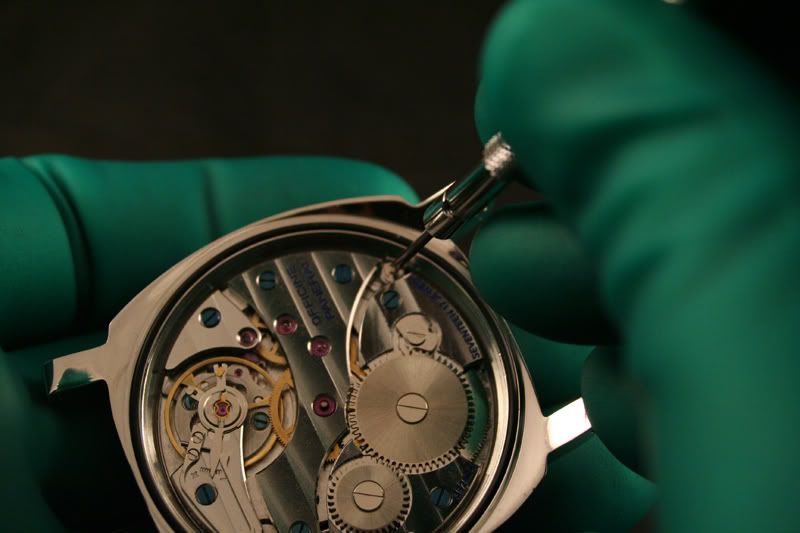
Once the crown is removed I lay the dial out on a piece of paper, or movement holder . I also take the o-ring out of the case and the crown and put in oil
You can see the recessed cannon pinion
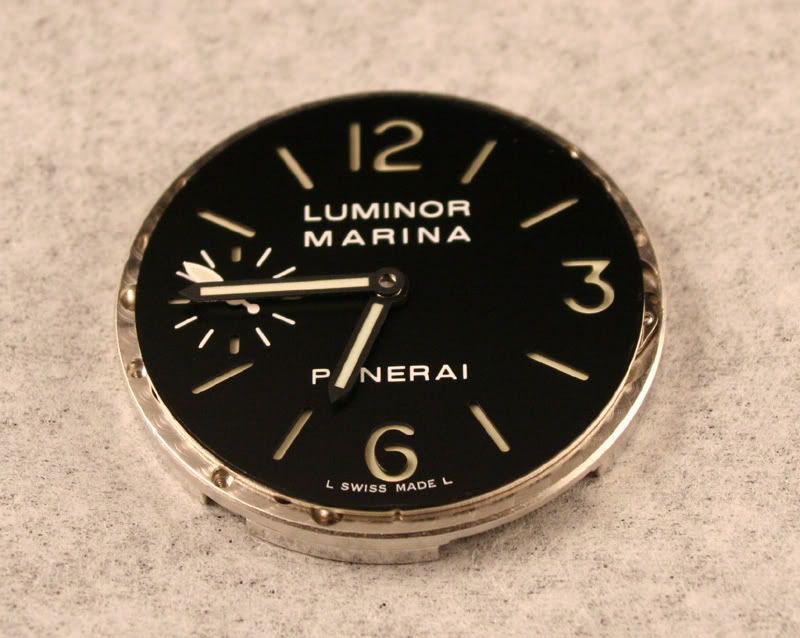
Using a cannon pinion and hand tool I remove all three hands. Be very gently when you remove the hands as you do not want to damage the dial. Notice the nice finish on the asian movement
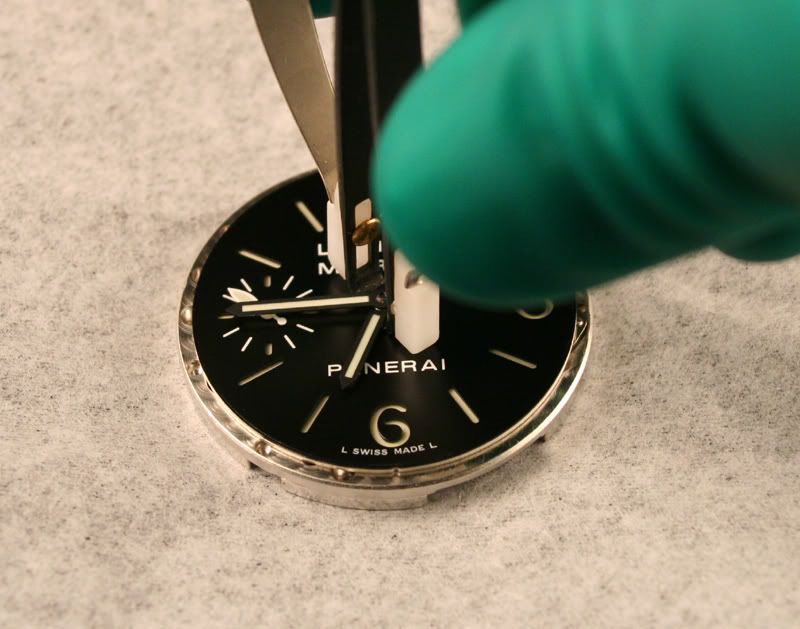
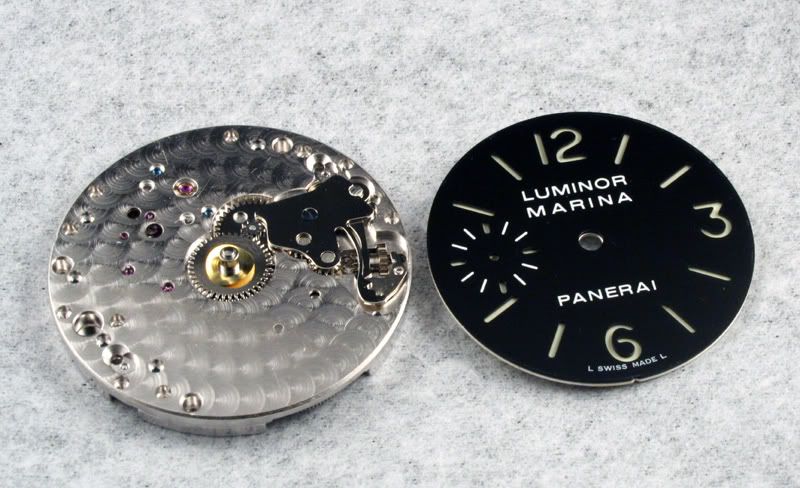
After seperating the dials with a #11 surgical blade this is what you have. On the left the unlumed dial, and on the right the C9/C3/C1 mixture of superluminova
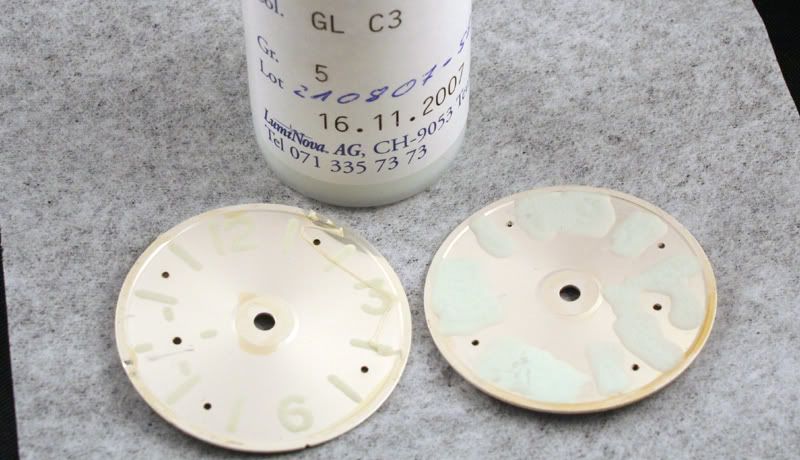
Now it is time to remove the insufficient cannon pinion. Notice that the keyless module has been taken apart. This is crucial when pulling and reinserting the new eta H3 cannon pinion. Be very careful not to loose the spring . If you do this then the crown lever will not work
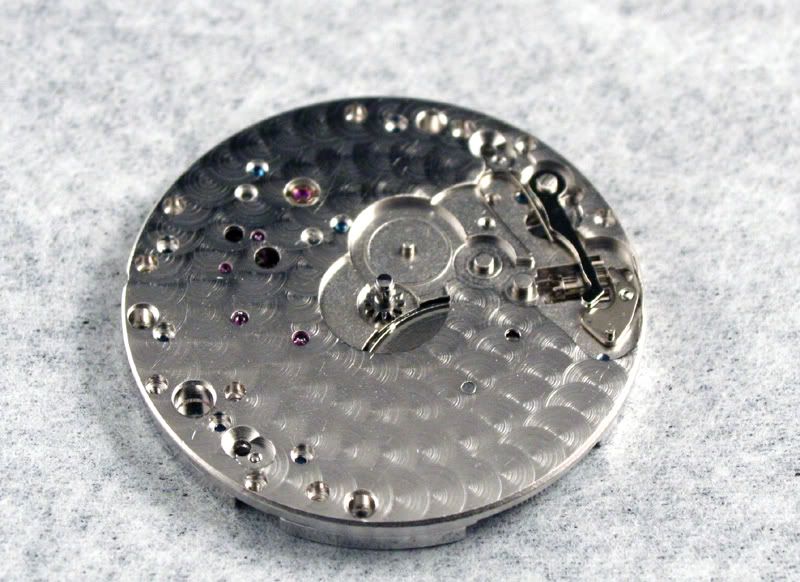
The new cannon pinion installed and the keyless reassembled. When pushing on the new cannon pinion you should hear a click when it is seated
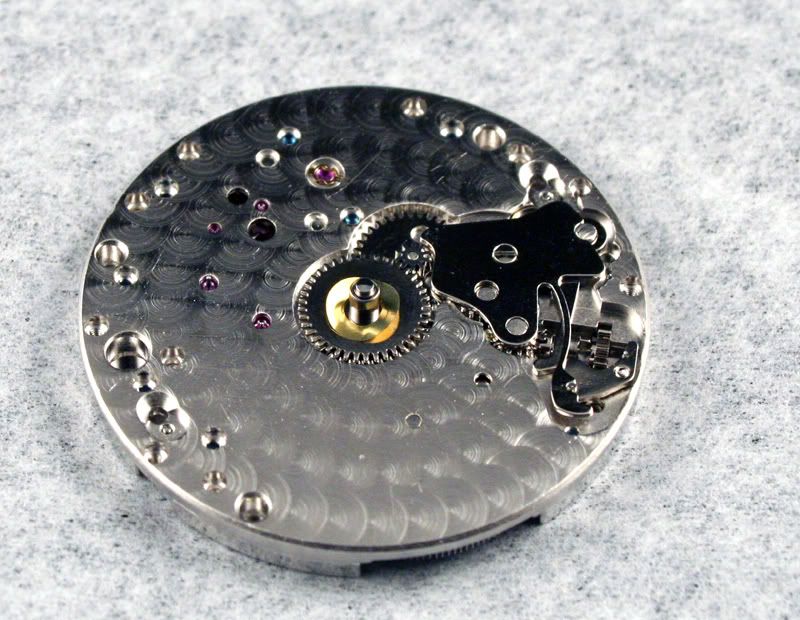
The next step may seem simple but this is another crucial part of the process. When putting the two plates back together the holes must line up perfect. Below pay close attention to the running seconds stem. You will notice that it is not centered in the hole of the plate. I did this to illustrate. In this position you will find it impossible to properly put the seconds hand on securely. Also you will run the risk of damaging the dial
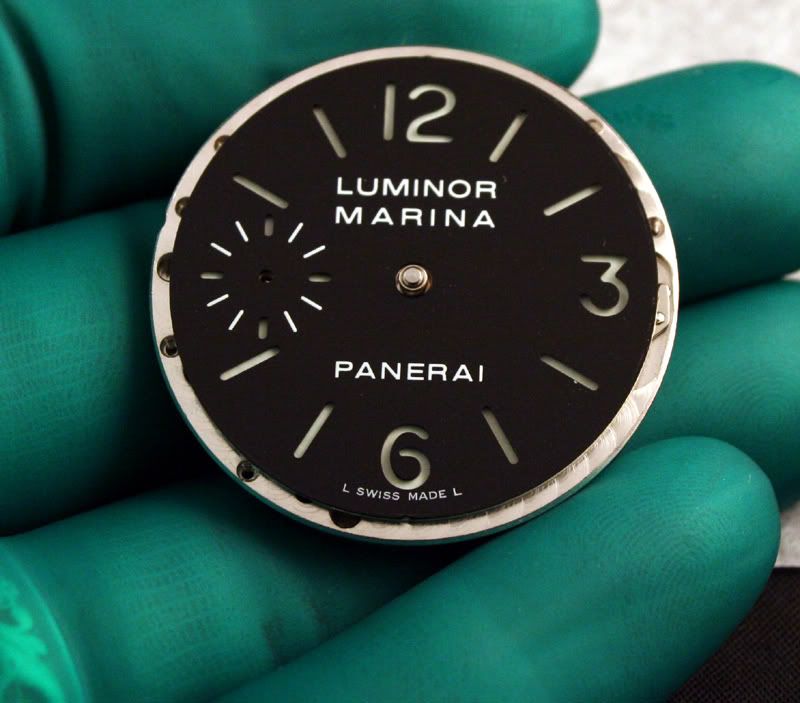
After installing the hands and checking the movement, work your way backwords. Here is the finished product on a strap culture limited edition croc stap
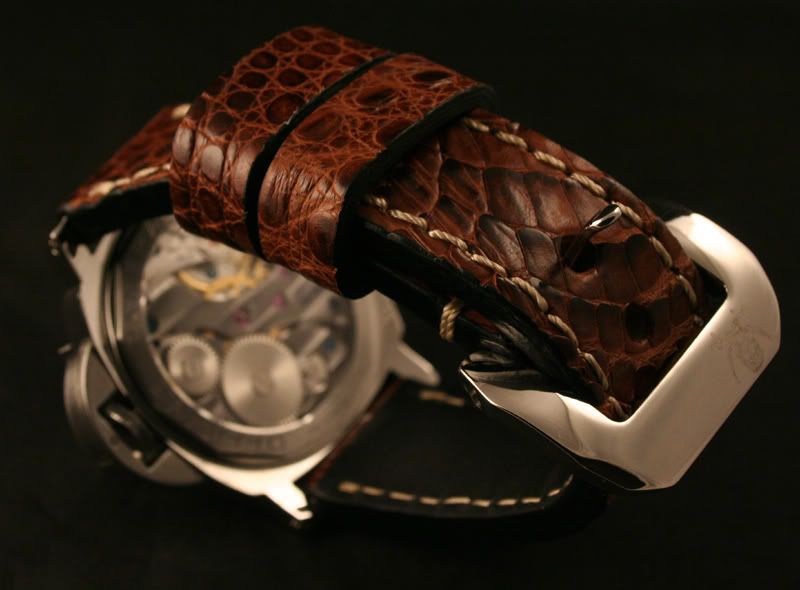
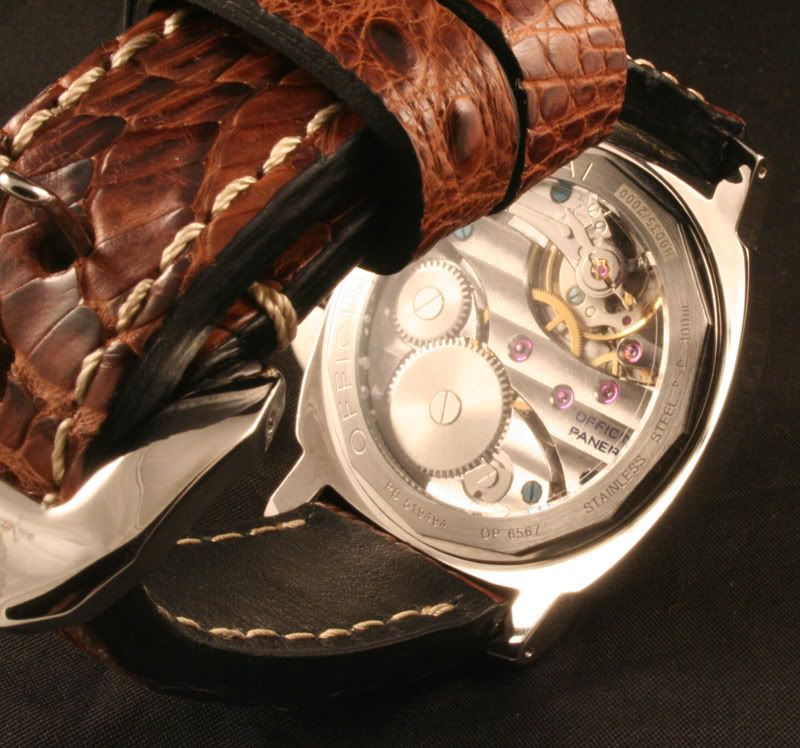
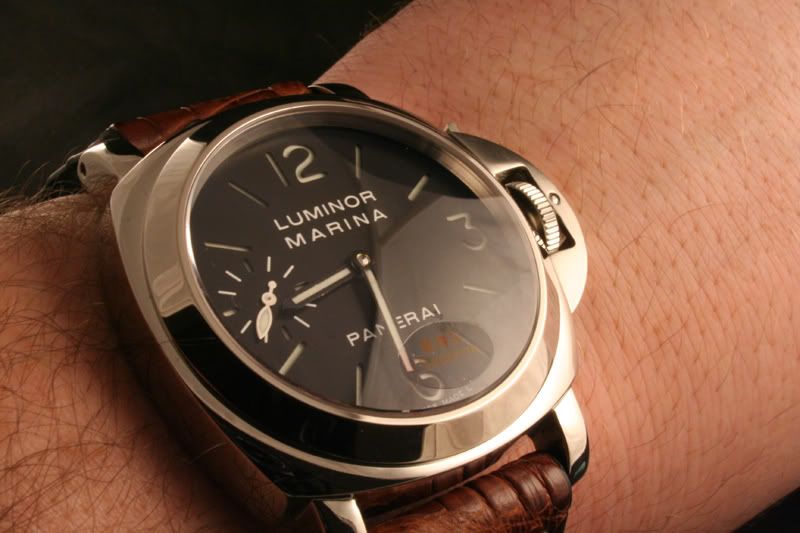
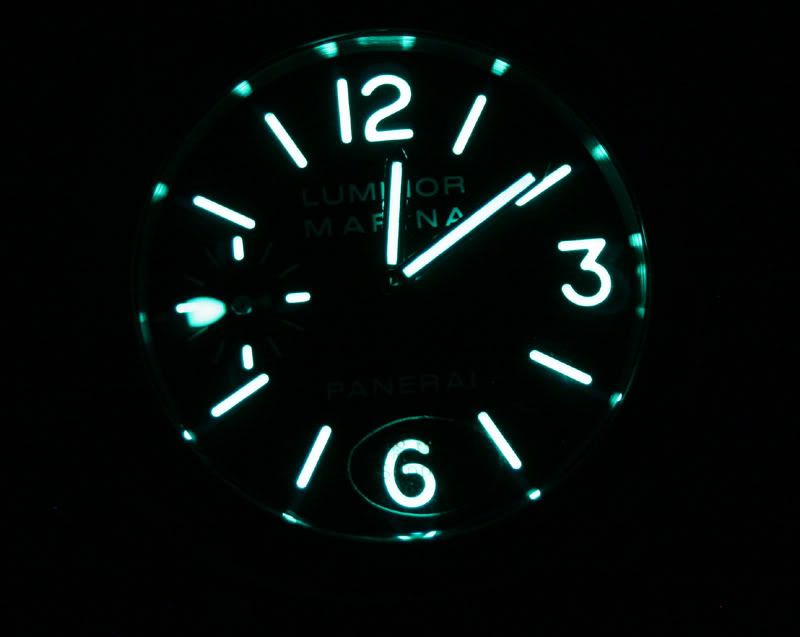
My favorite part is the lume
Use this as a reference or a tutorial. My wife is out of town and the boys are sleeping so i have a little bit of free time. On the agenda the complete process of modding a panerai. The speciman a new asian h series swan neck movement.
Before Shots

Where is the freakin lume. You will see shortly an unlumed dial and that might give you guys some ideas

The most important thing is to have proper instruments. Personally, i use about seven; forceps, two screwdrivers, cannon pinion pull and crimper, caseback remover, and hand setter.
Below the most important. Angus sells these on a regular basis. If you do not want to use a caseback remover than you can buy a sticky ball from ofrei or use some duct tape.

Everyone does this differently, and I guess mine is just habit. Once the caseback is removed and remove the crown guard

Once the crown guard is removed the movement should look like this. Notice the two movement holders. I remove both of these and then proceed to the crown. The crown is captured by a tiny screw that you must turn counterclockwise about one and 1/2 turns. Be very careful not to turn the screw to much as this will result in messing up the keyless works on the lever. Just 1 1/2 turn.


Once the crown is removed I lay the dial out on a piece of paper, or movement holder . I also take the o-ring out of the case and the crown and put in oil
You can see the recessed cannon pinion

Using a cannon pinion and hand tool I remove all three hands. Be very gently when you remove the hands as you do not want to damage the dial. Notice the nice finish on the asian movement


After seperating the dials with a #11 surgical blade this is what you have. On the left the unlumed dial, and on the right the C9/C3/C1 mixture of superluminova

Now it is time to remove the insufficient cannon pinion. Notice that the keyless module has been taken apart. This is crucial when pulling and reinserting the new eta H3 cannon pinion. Be very careful not to loose the spring . If you do this then the crown lever will not work

The new cannon pinion installed and the keyless reassembled. When pushing on the new cannon pinion you should hear a click when it is seated

The next step may seem simple but this is another crucial part of the process. When putting the two plates back together the holes must line up perfect. Below pay close attention to the running seconds stem. You will notice that it is not centered in the hole of the plate. I did this to illustrate. In this position you will find it impossible to properly put the seconds hand on securely. Also you will run the risk of damaging the dial

After installing the hands and checking the movement, work your way backwords. Here is the finished product on a strap culture limited edition croc stap


My favorite part is the lume

