- 9/12/18
- 2,210
- 8,183
- 113
As I continue to become more adventurous with performing modifications and minor repairs to my hoard of reps (mostly Panerai), I have realized that as long as you don't step outside of your capabilities for re-assembly you can get a lot done on your own.
I have invested in some nice basic equipment over the past few years such as Bergeron tools, a good adjustable magnifier light, dremel/attachments, bezel tool, xtal press, proper AP screw tools etc.
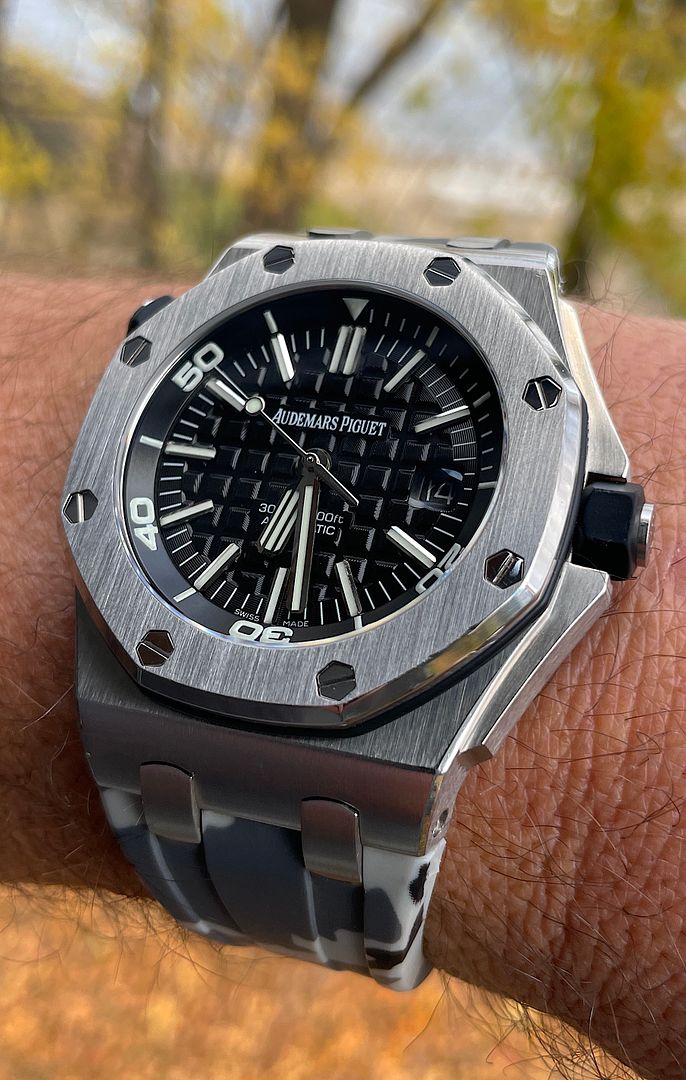
Today I had some free time and decided that I would spend a little time figuring out how to make the bezel of my diver look a little more presentable. I really don't remember where I got this diver from but for some reason I've always liked it - runs great, nice dial, inner bezel works.... So it's been worn and the bezel was showing some scars.
I researched and found the GREAT ALE's tutorial on bezel brushing and constructed a simple brushing jig similar to his instructions. I used 220 grit paper which I think achieved nice uniformed brush lines.
It was fun discovering how everything is compiled - I was particularly happy that I was able to reinstall the inner dive bezel and it still functioned.
Considering that I have never disassembled an AP ROO or removed/installed a crystal I'm quite happy with the result. I didn't think to take any 'before' pics, but here's the after.
I have invested in some nice basic equipment over the past few years such as Bergeron tools, a good adjustable magnifier light, dremel/attachments, bezel tool, xtal press, proper AP screw tools etc.
Today I had some free time and decided that I would spend a little time figuring out how to make the bezel of my diver look a little more presentable. I really don't remember where I got this diver from but for some reason I've always liked it - runs great, nice dial, inner bezel works.... So it's been worn and the bezel was showing some scars.
I researched and found the GREAT ALE's tutorial on bezel brushing and constructed a simple brushing jig similar to his instructions. I used 220 grit paper which I think achieved nice uniformed brush lines.
It was fun discovering how everything is compiled - I was particularly happy that I was able to reinstall the inner dive bezel and it still functioned.
Considering that I have never disassembled an AP ROO or removed/installed a crystal I'm quite happy with the result. I didn't think to take any 'before' pics, but here's the after.
Last edited:


