• Tired of adverts on RWI? - Subscribe by clicking HERE and PMing Trailboss for instructions and they will magically go away!

Another 6538 build

Jip7645

Active Member
18/9/24
210
344
63
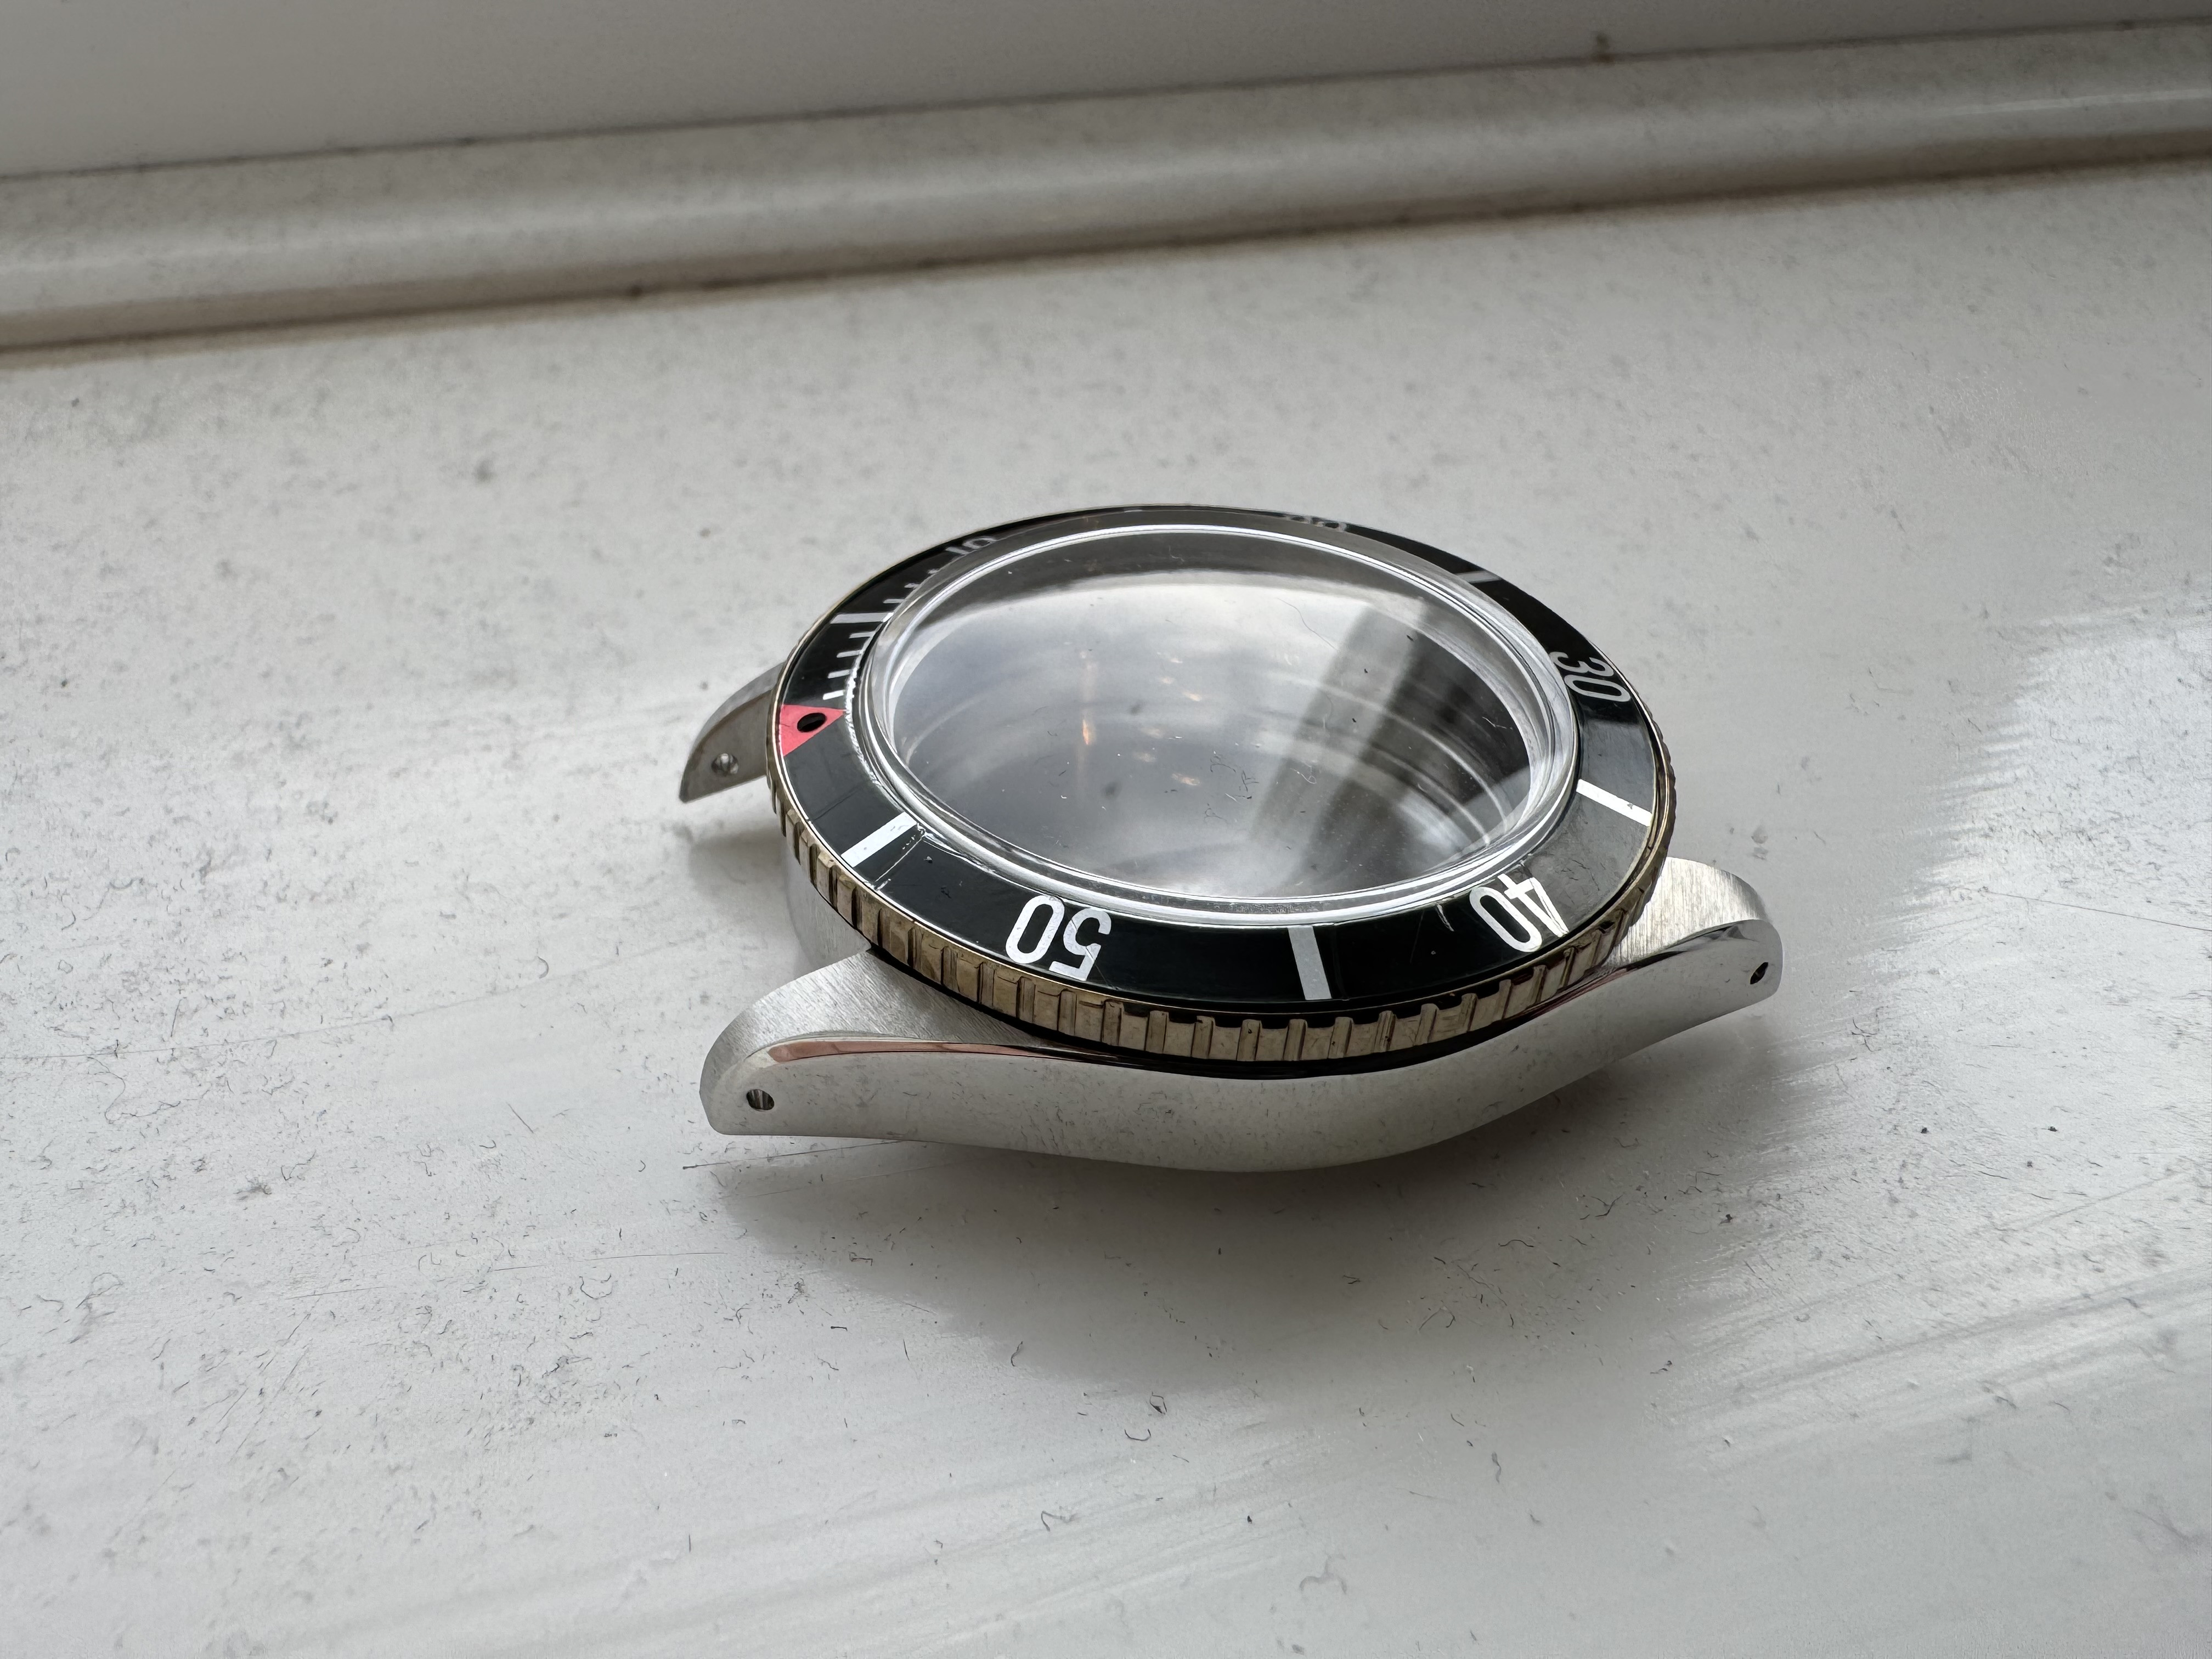
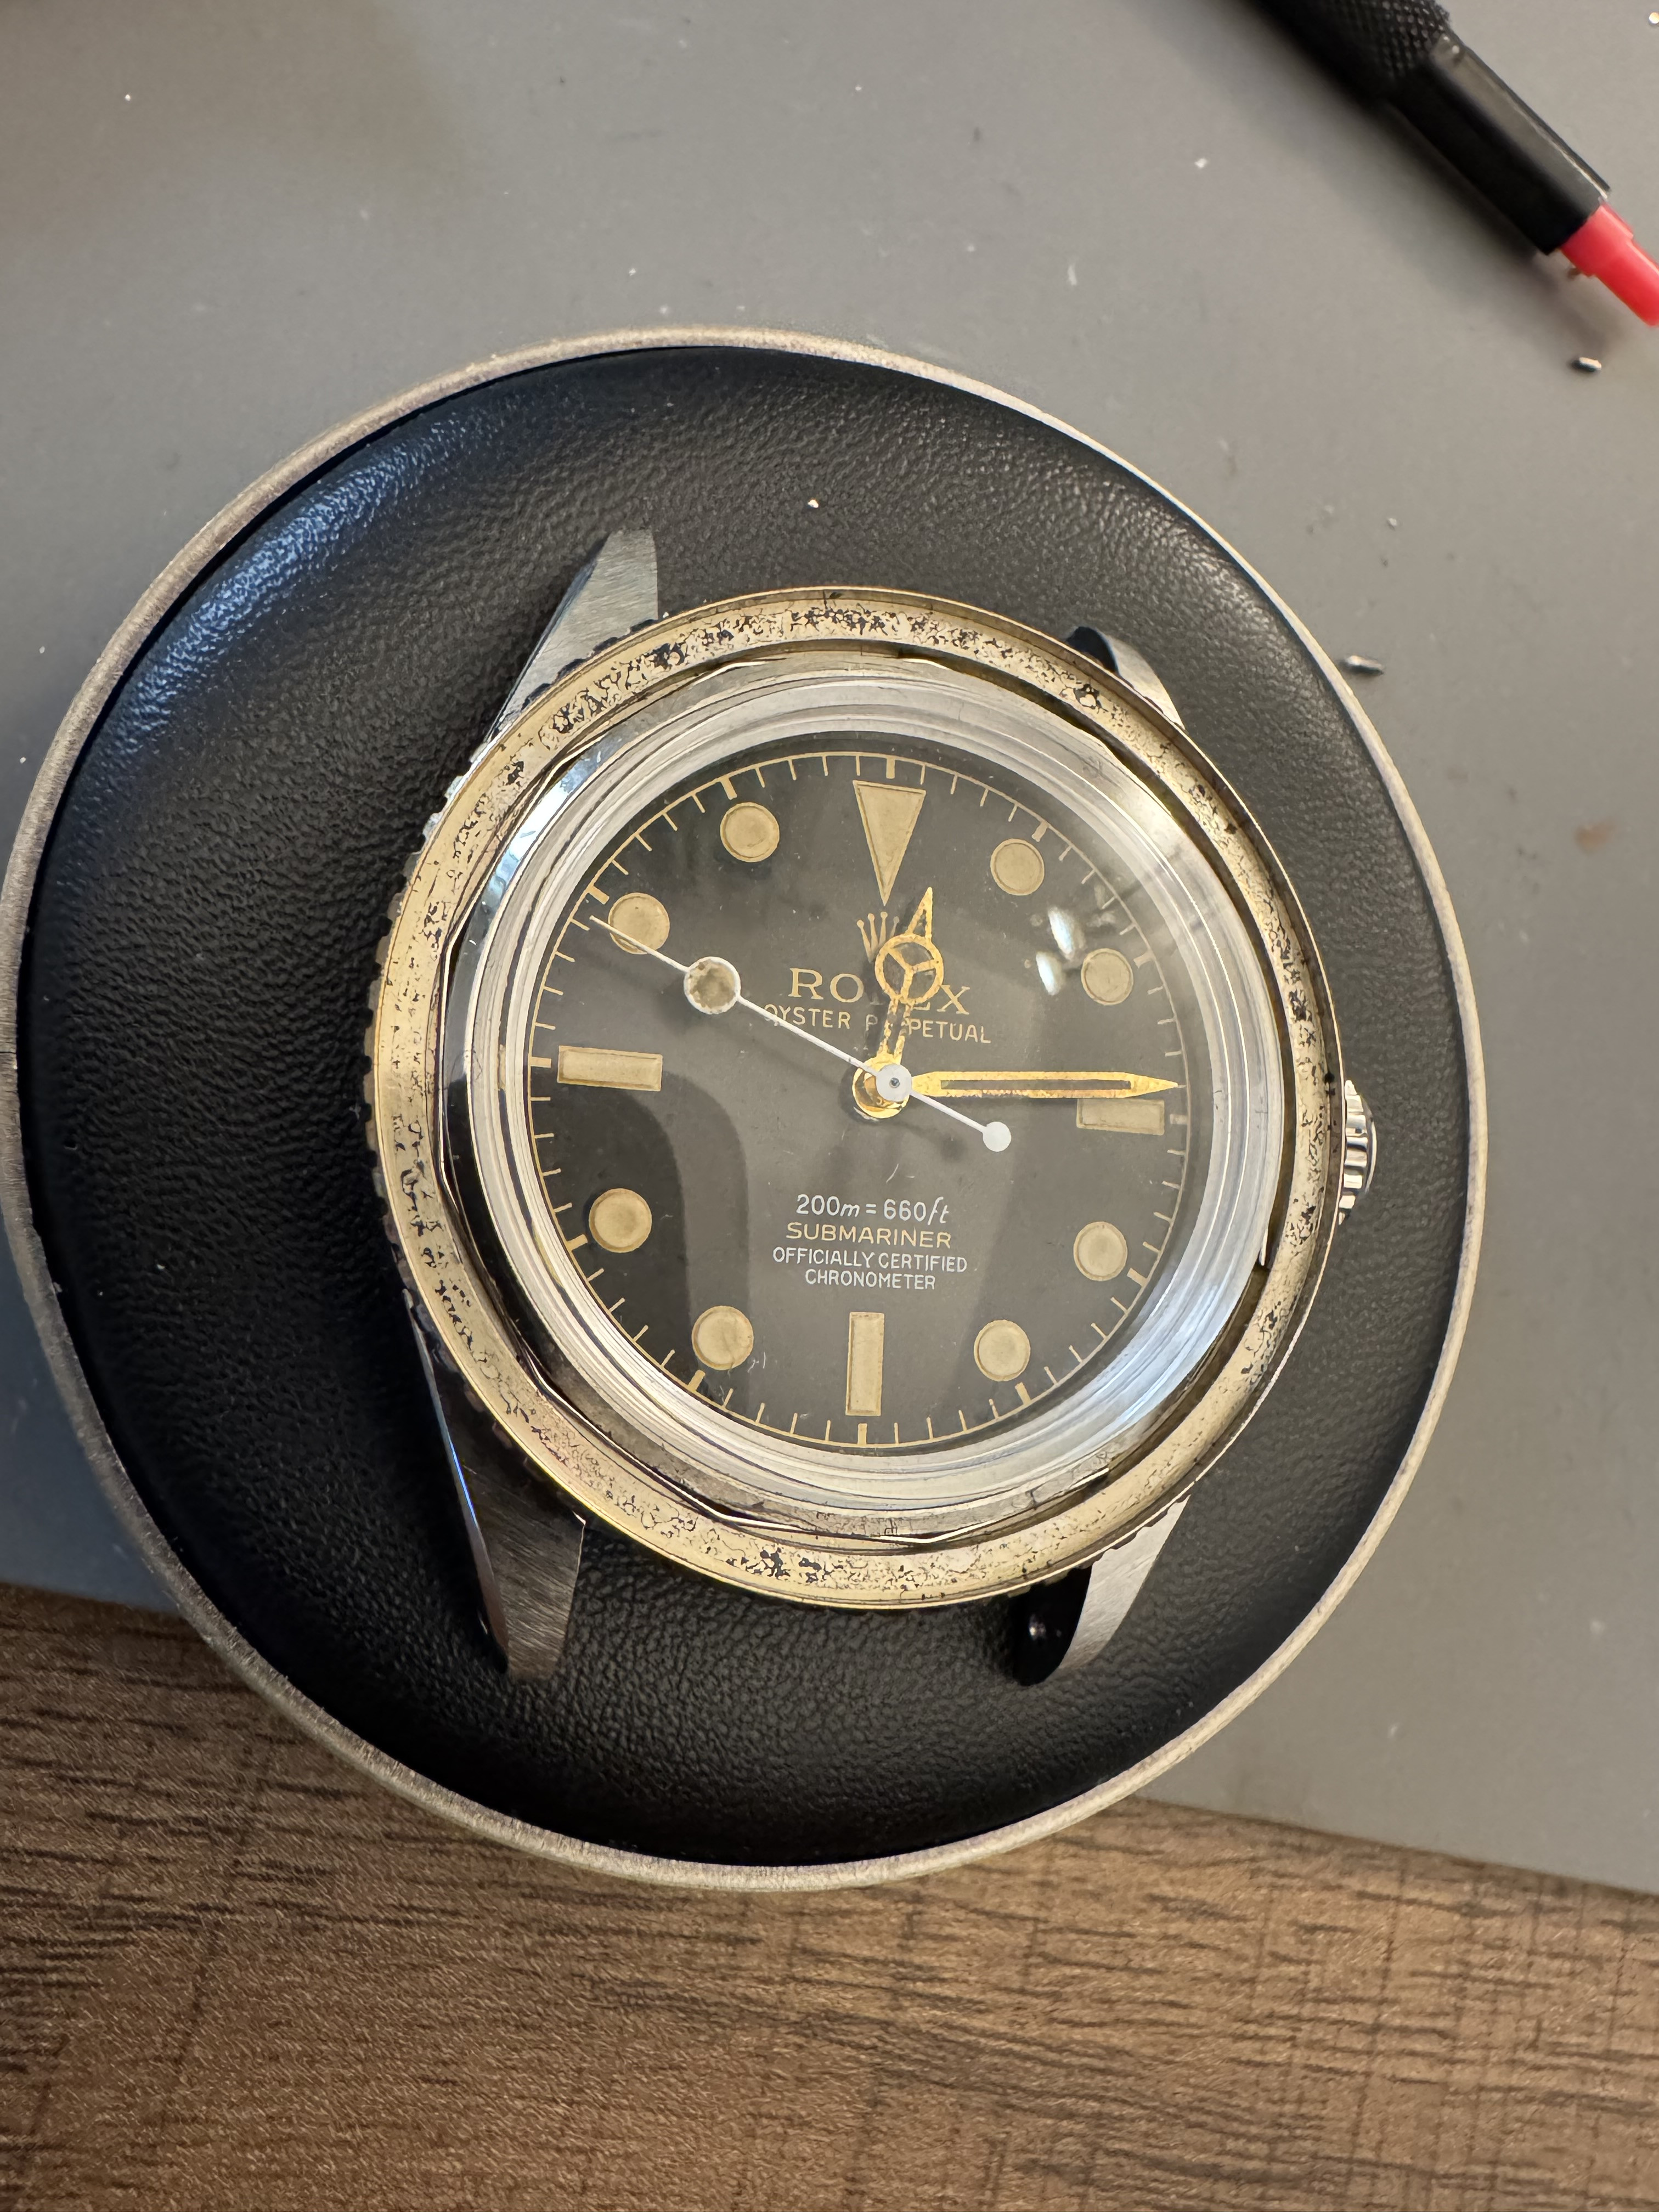
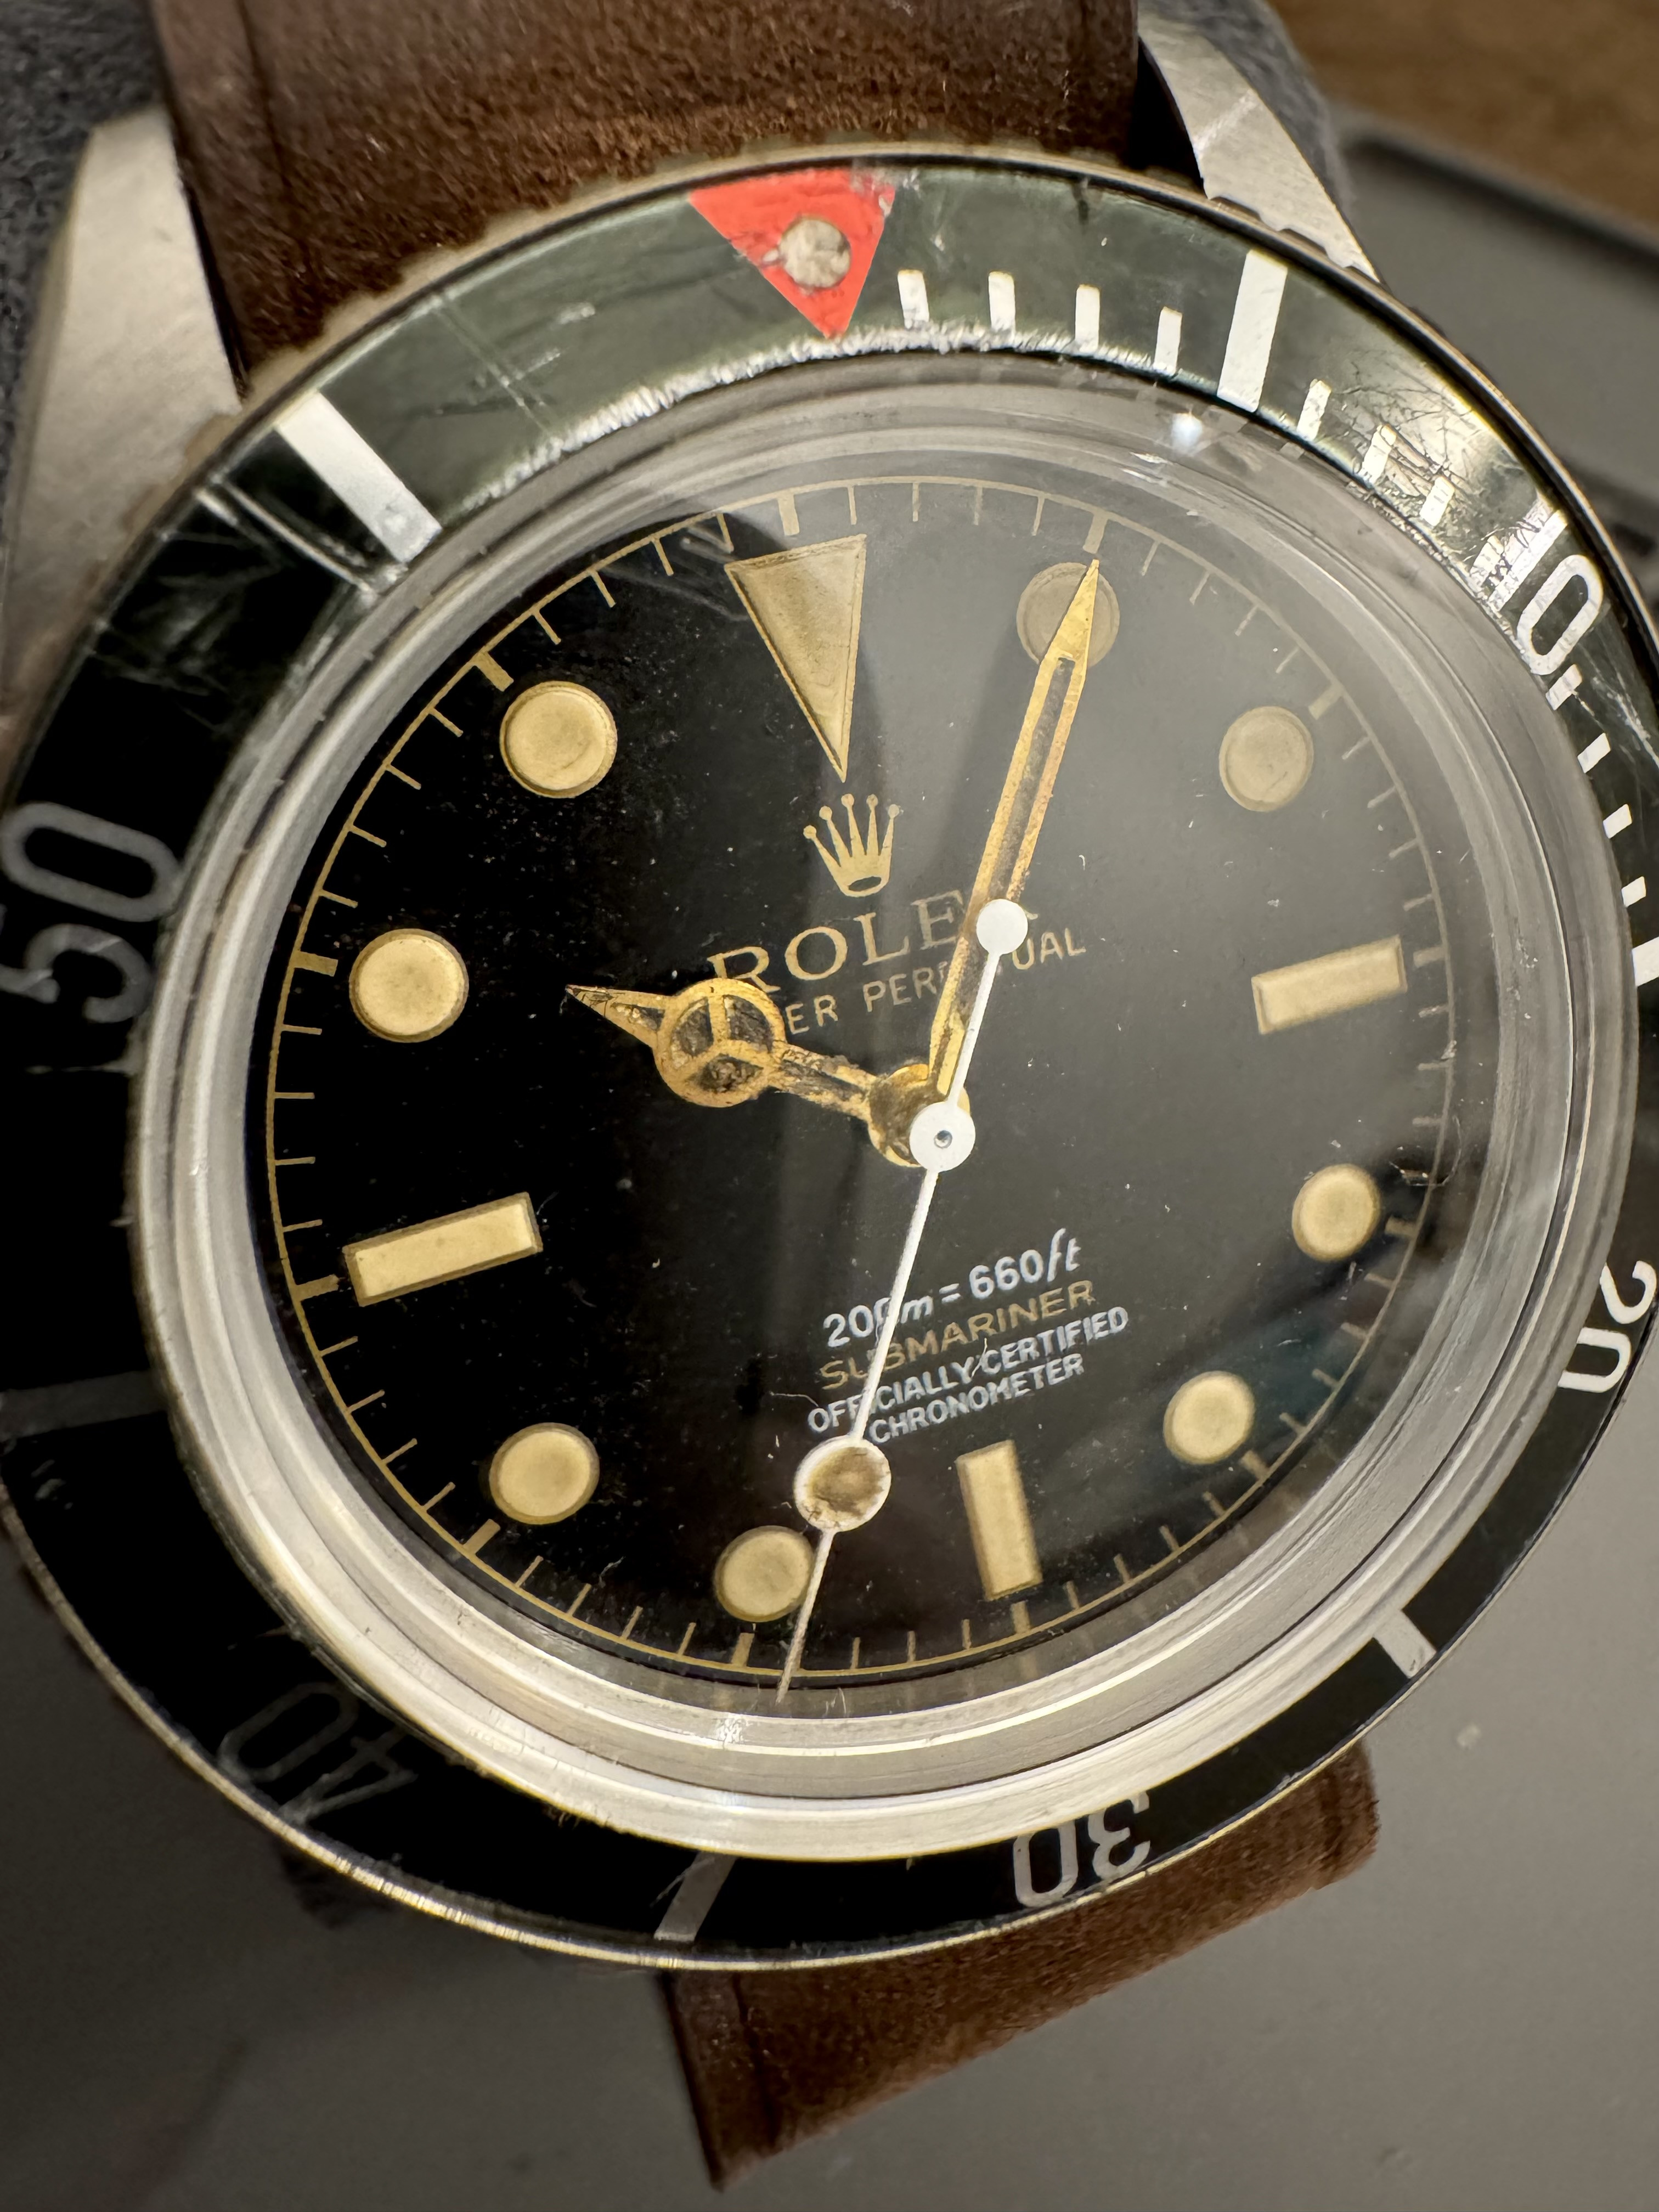
So this will now be my third 6538 build after a mix up where raffles sent a 6538 case rather then the 5513, I can’t complain as they made it right and sent me the correct one. But it left me with this case and I thought, why the hell not. So I start by removing the bezel and stock plexi
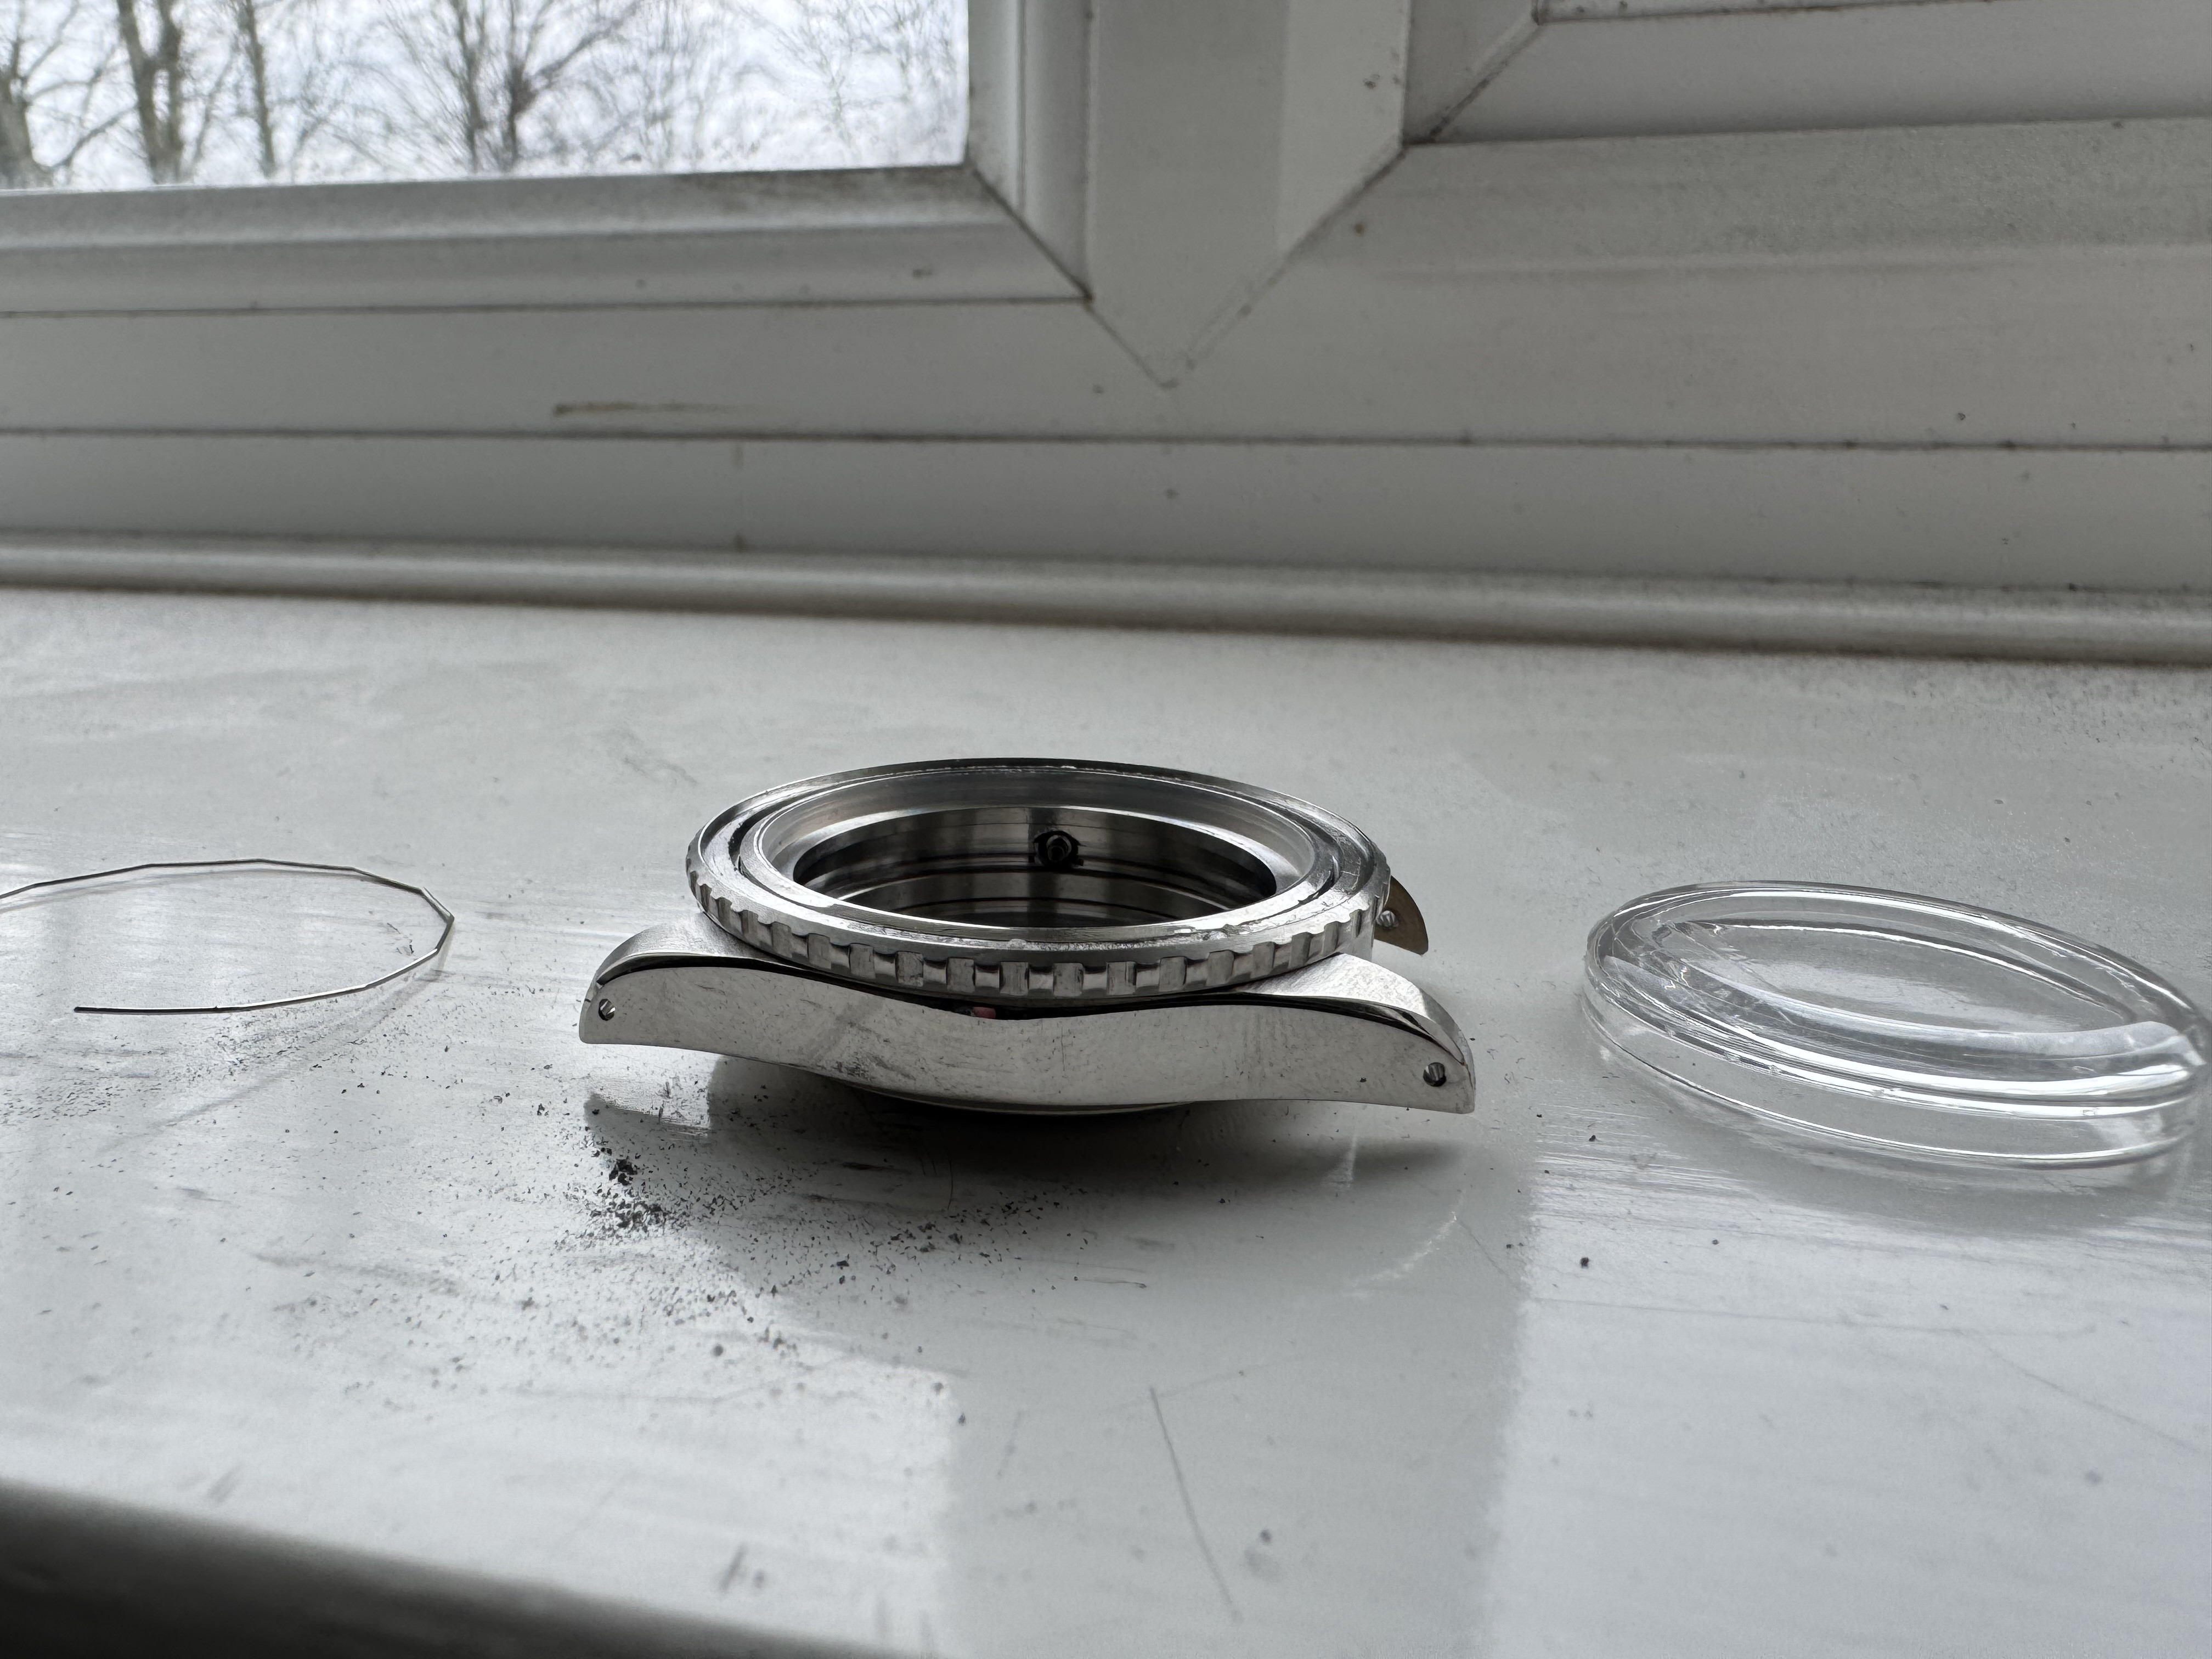


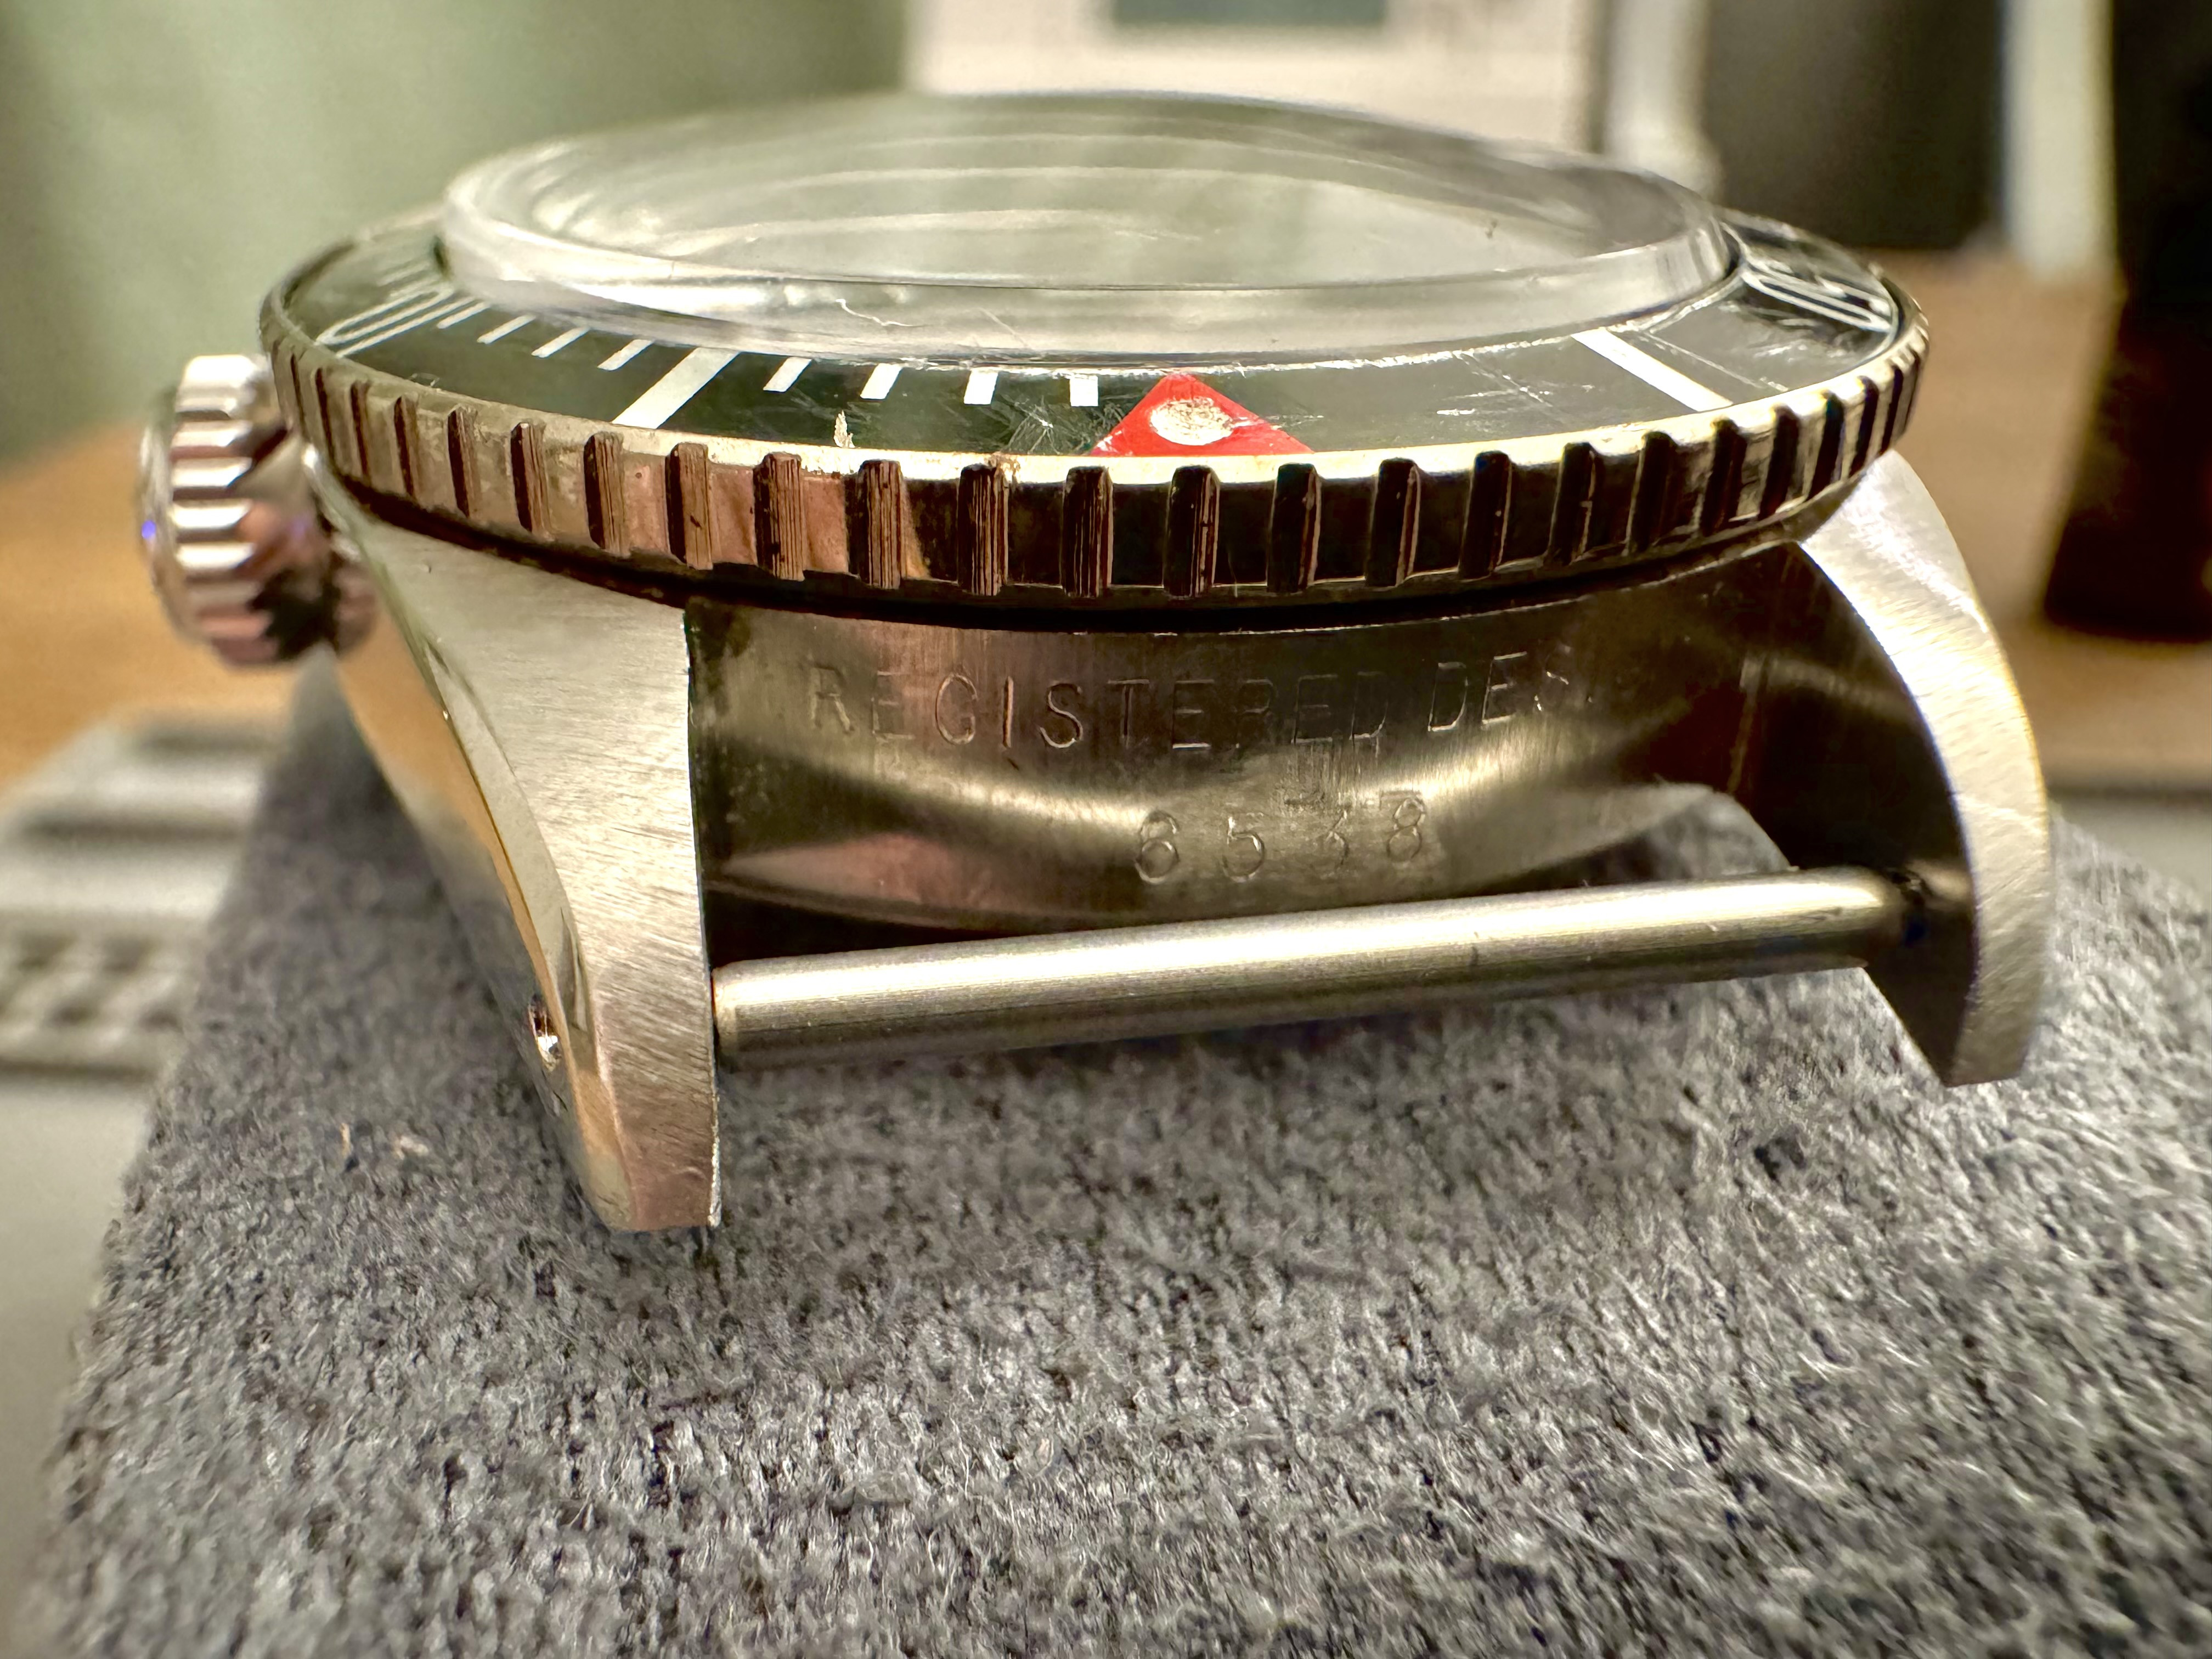
Inspired by this thread I purchased another case from Ali with a nicer bezel and got to work


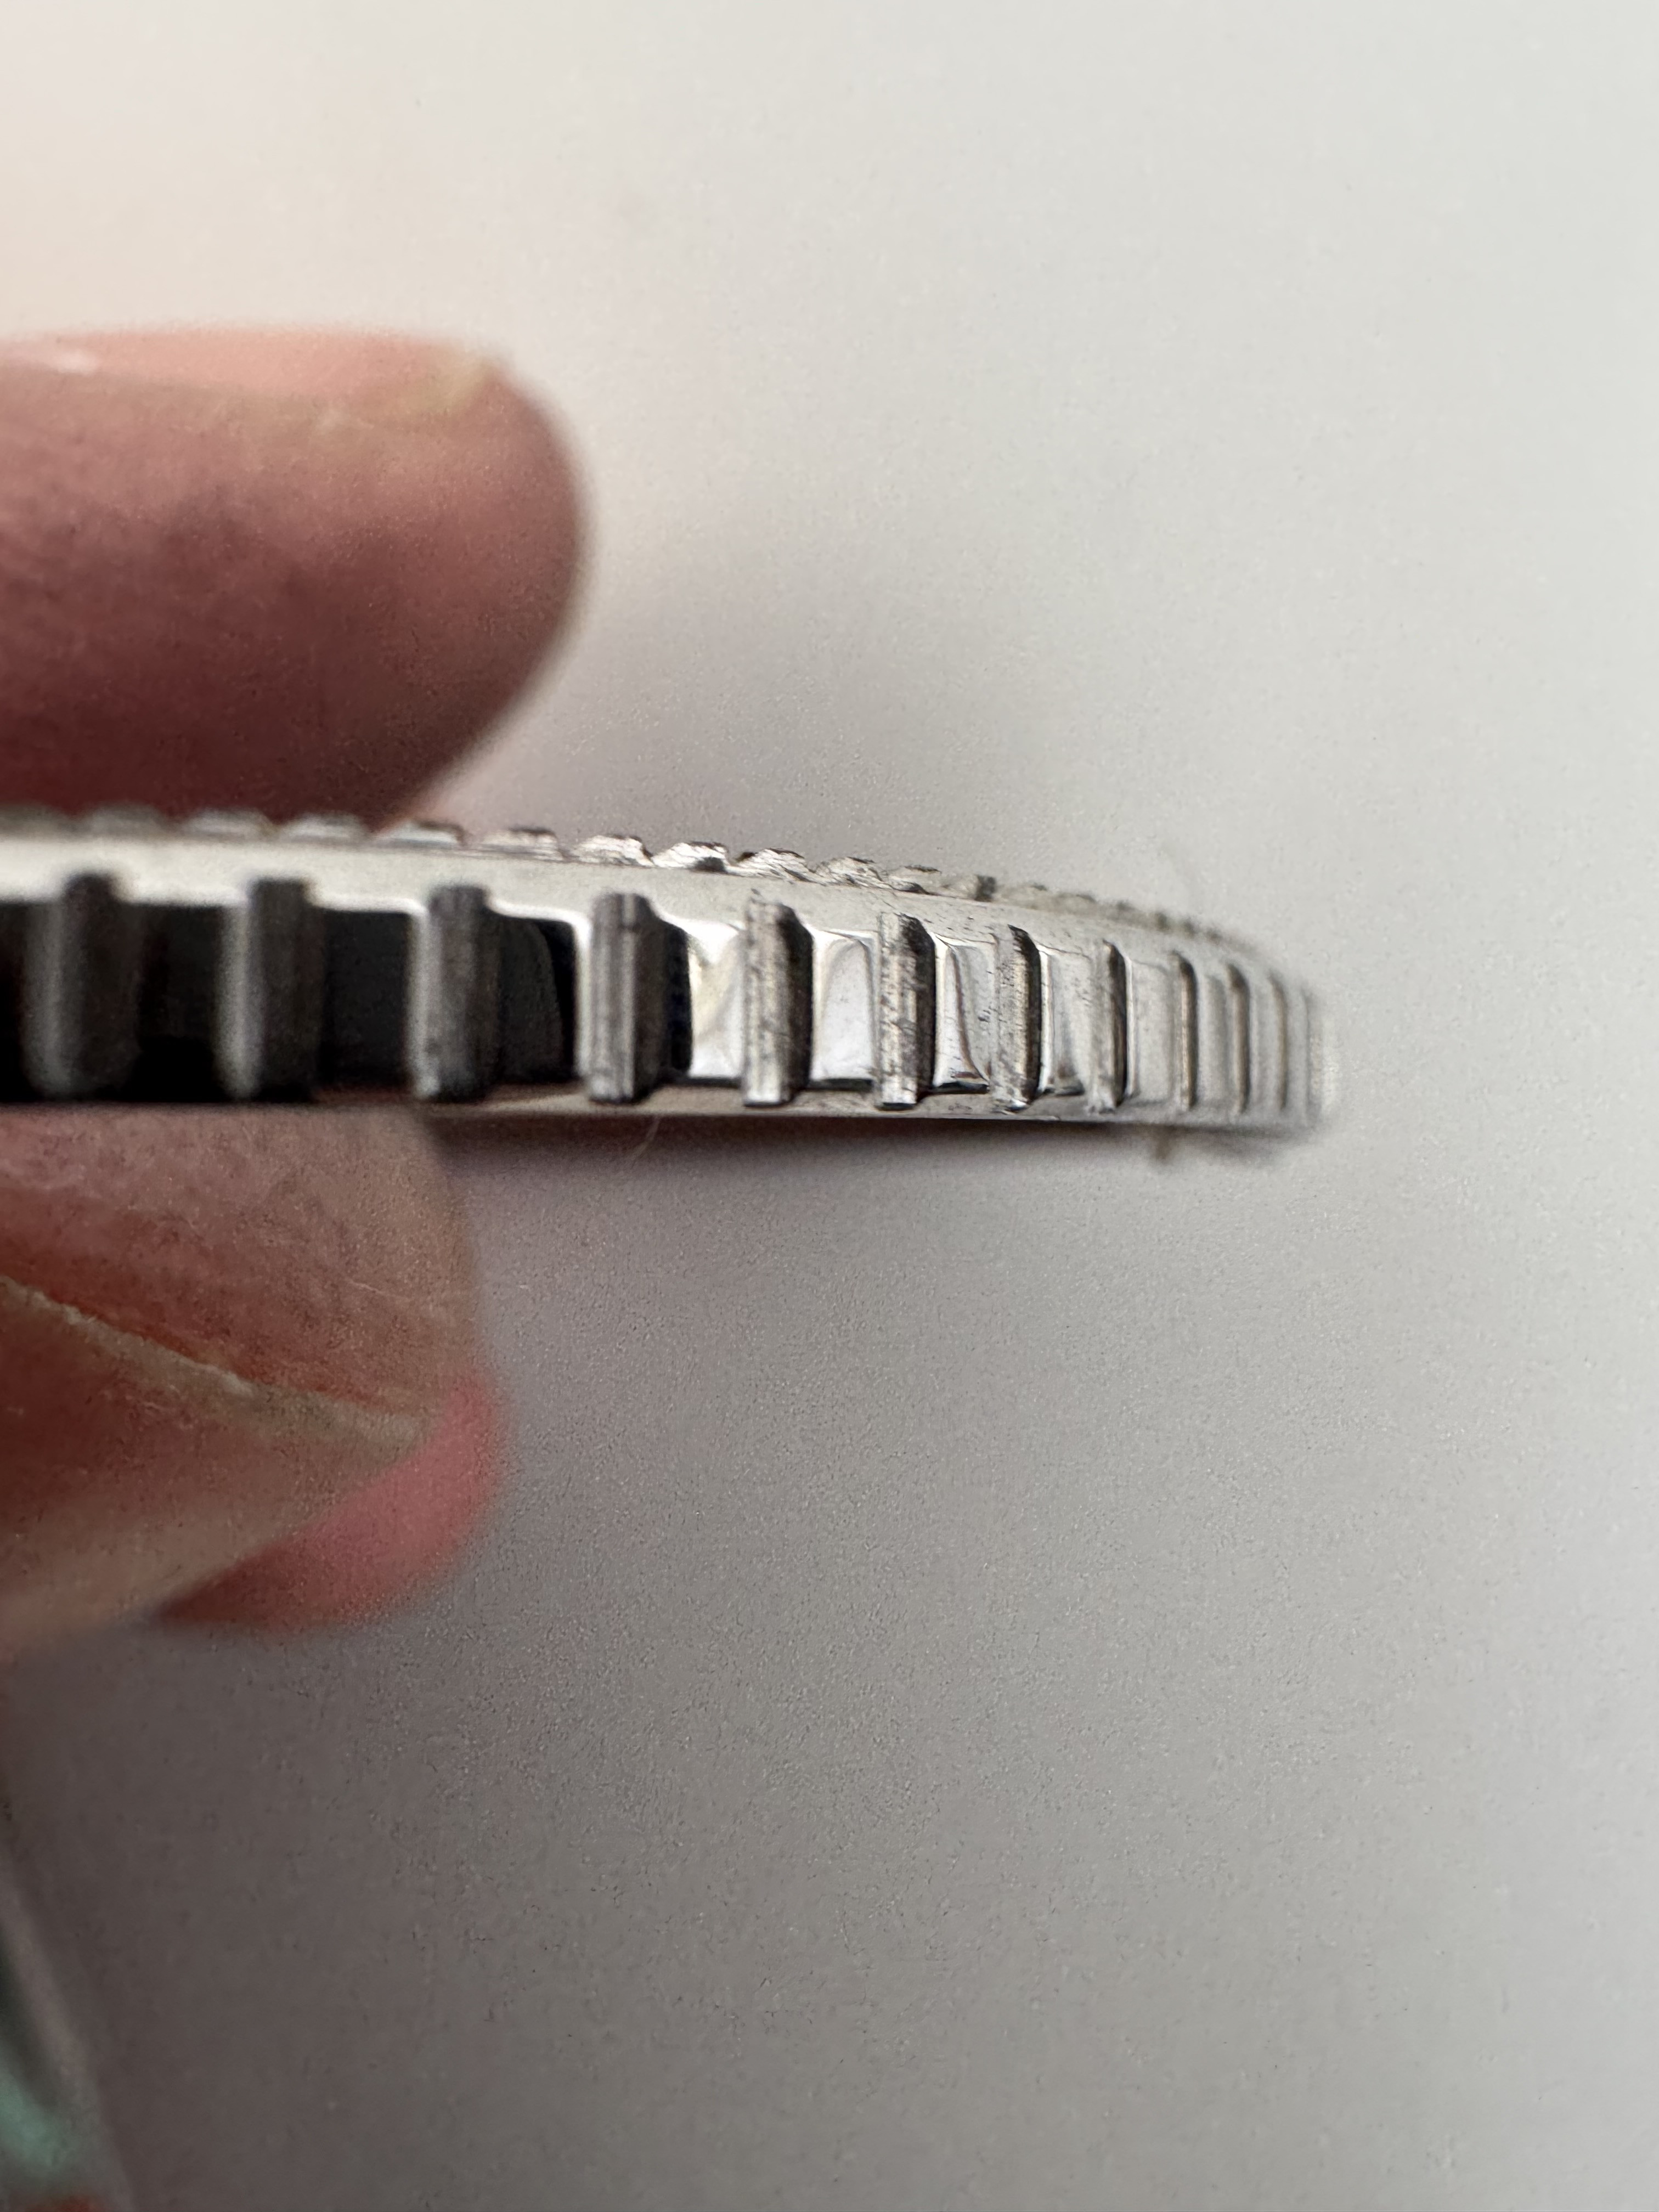
As you can see it has teeth, and we don’t want that, problem time as I have no sanding tools, so hit by sudden inspiration I went with a very cheap approach of utilising the stone floor outside. Perfect!
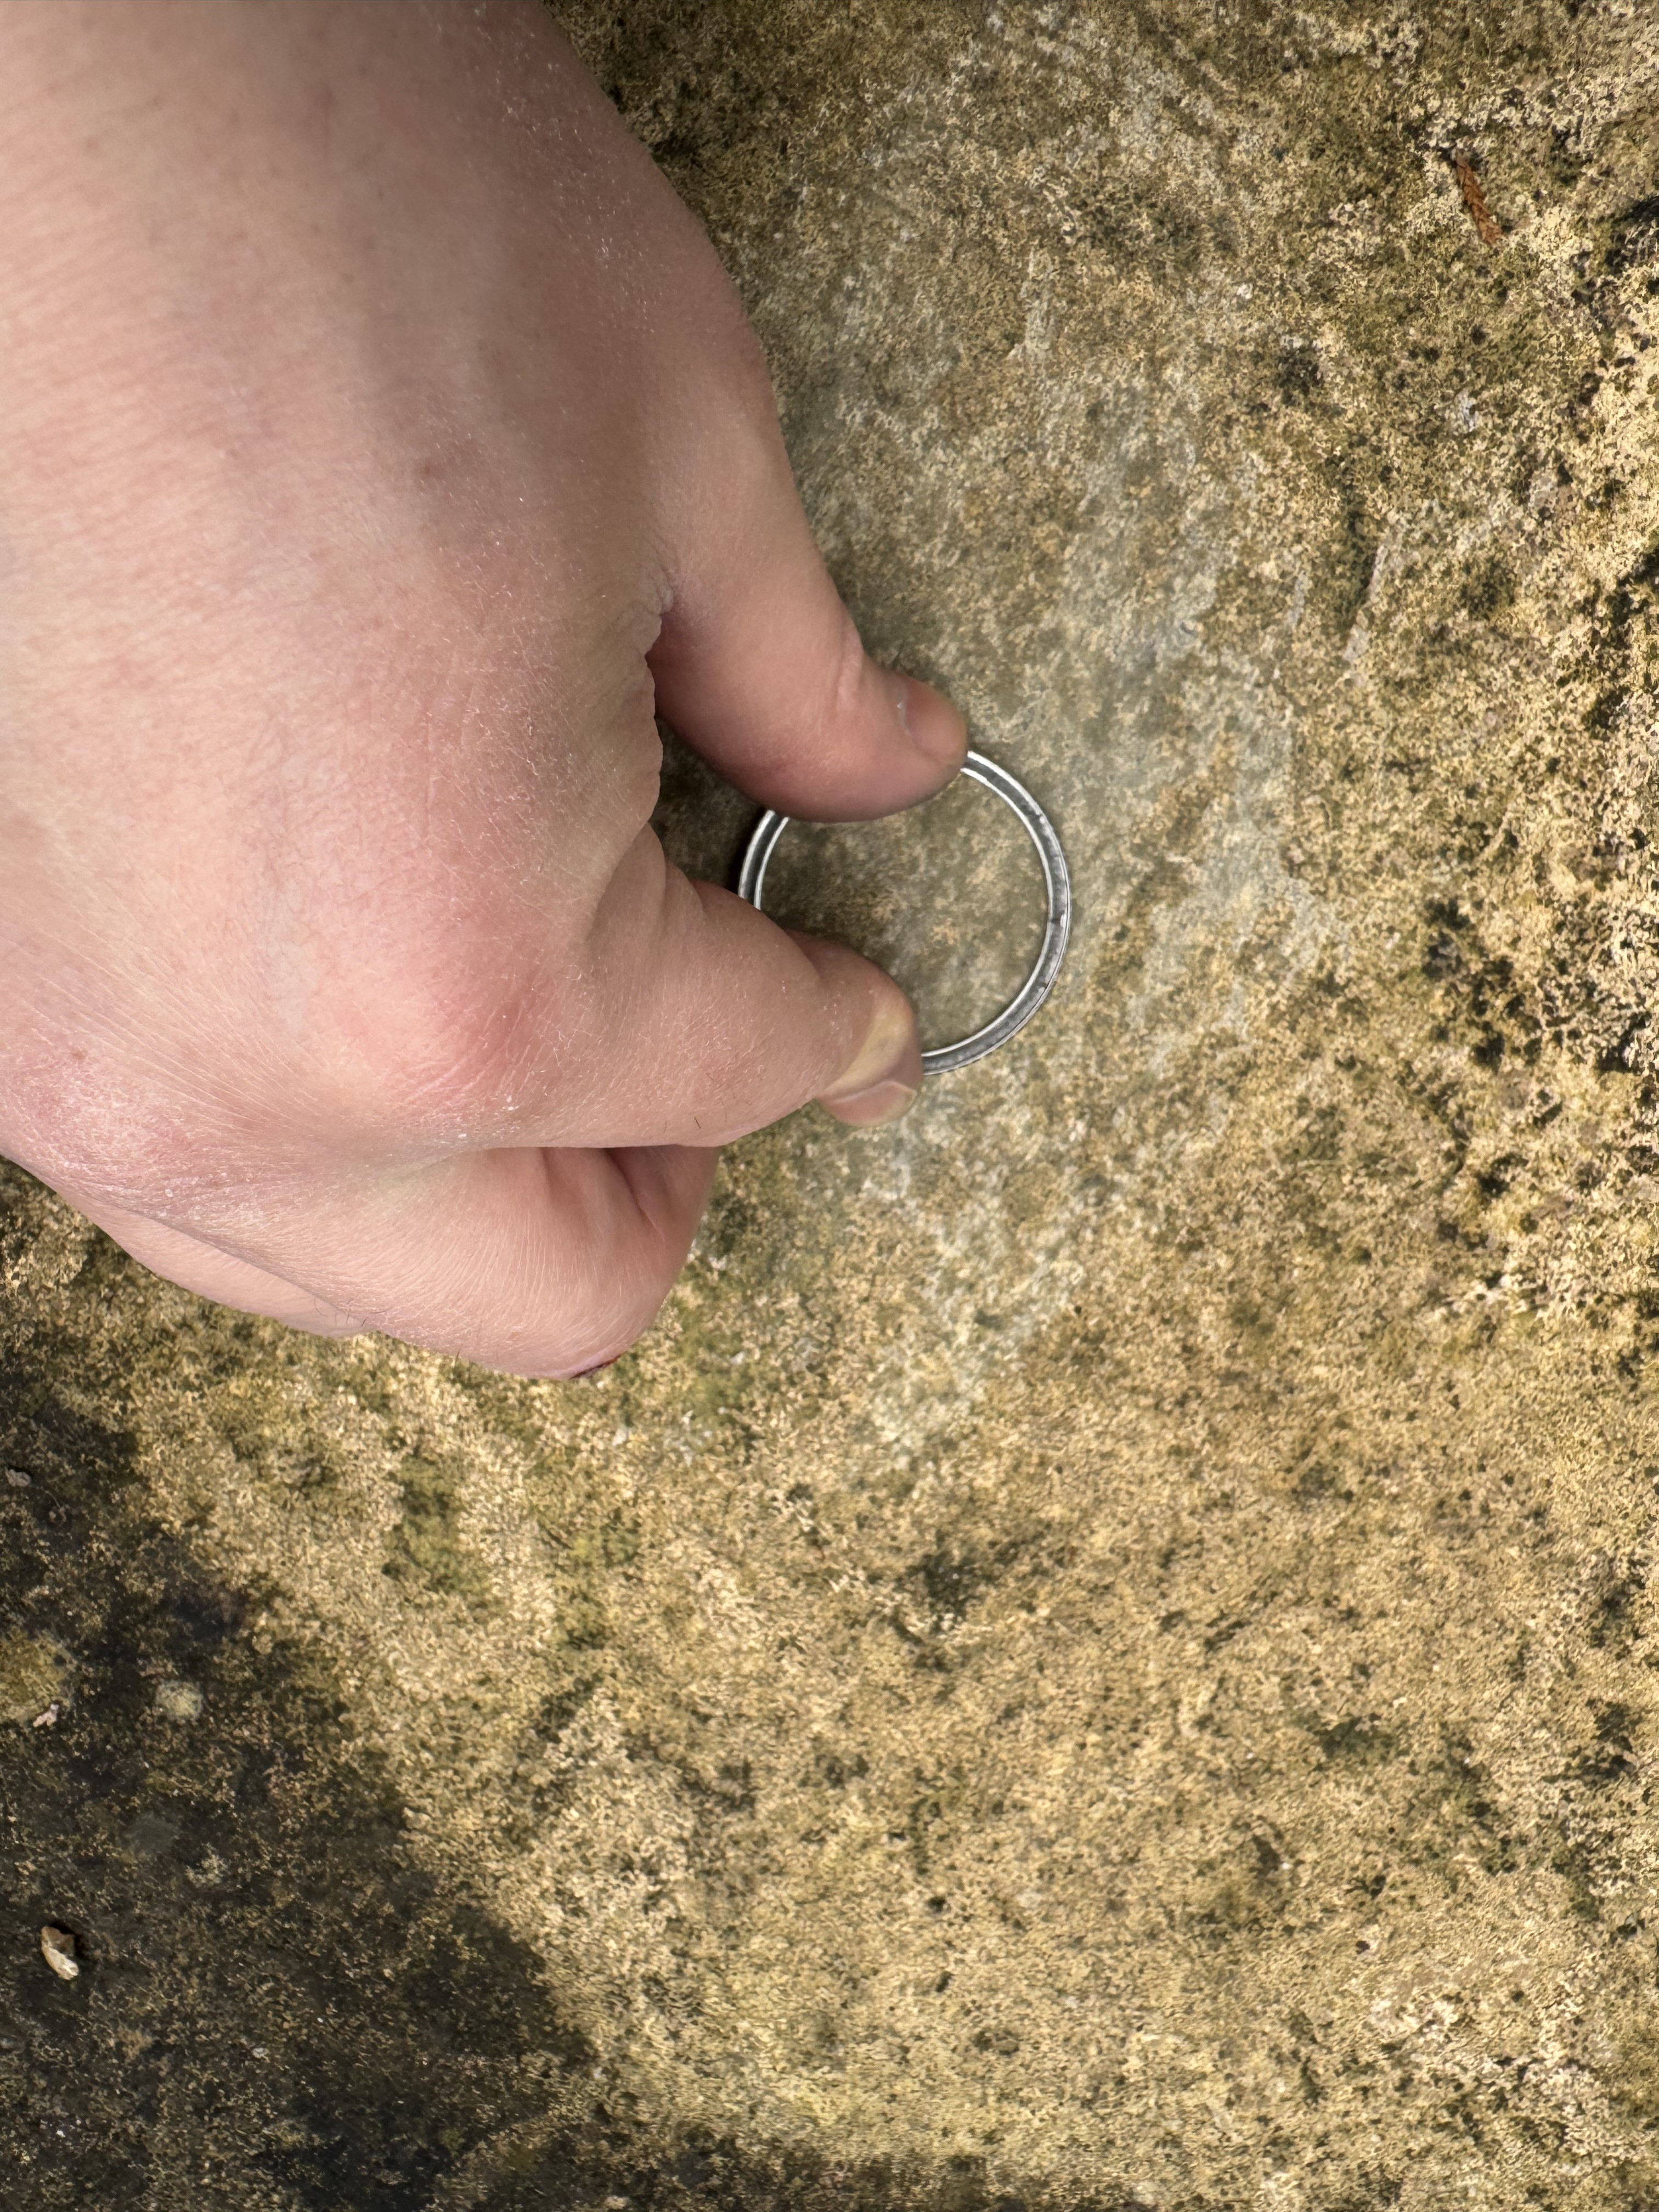
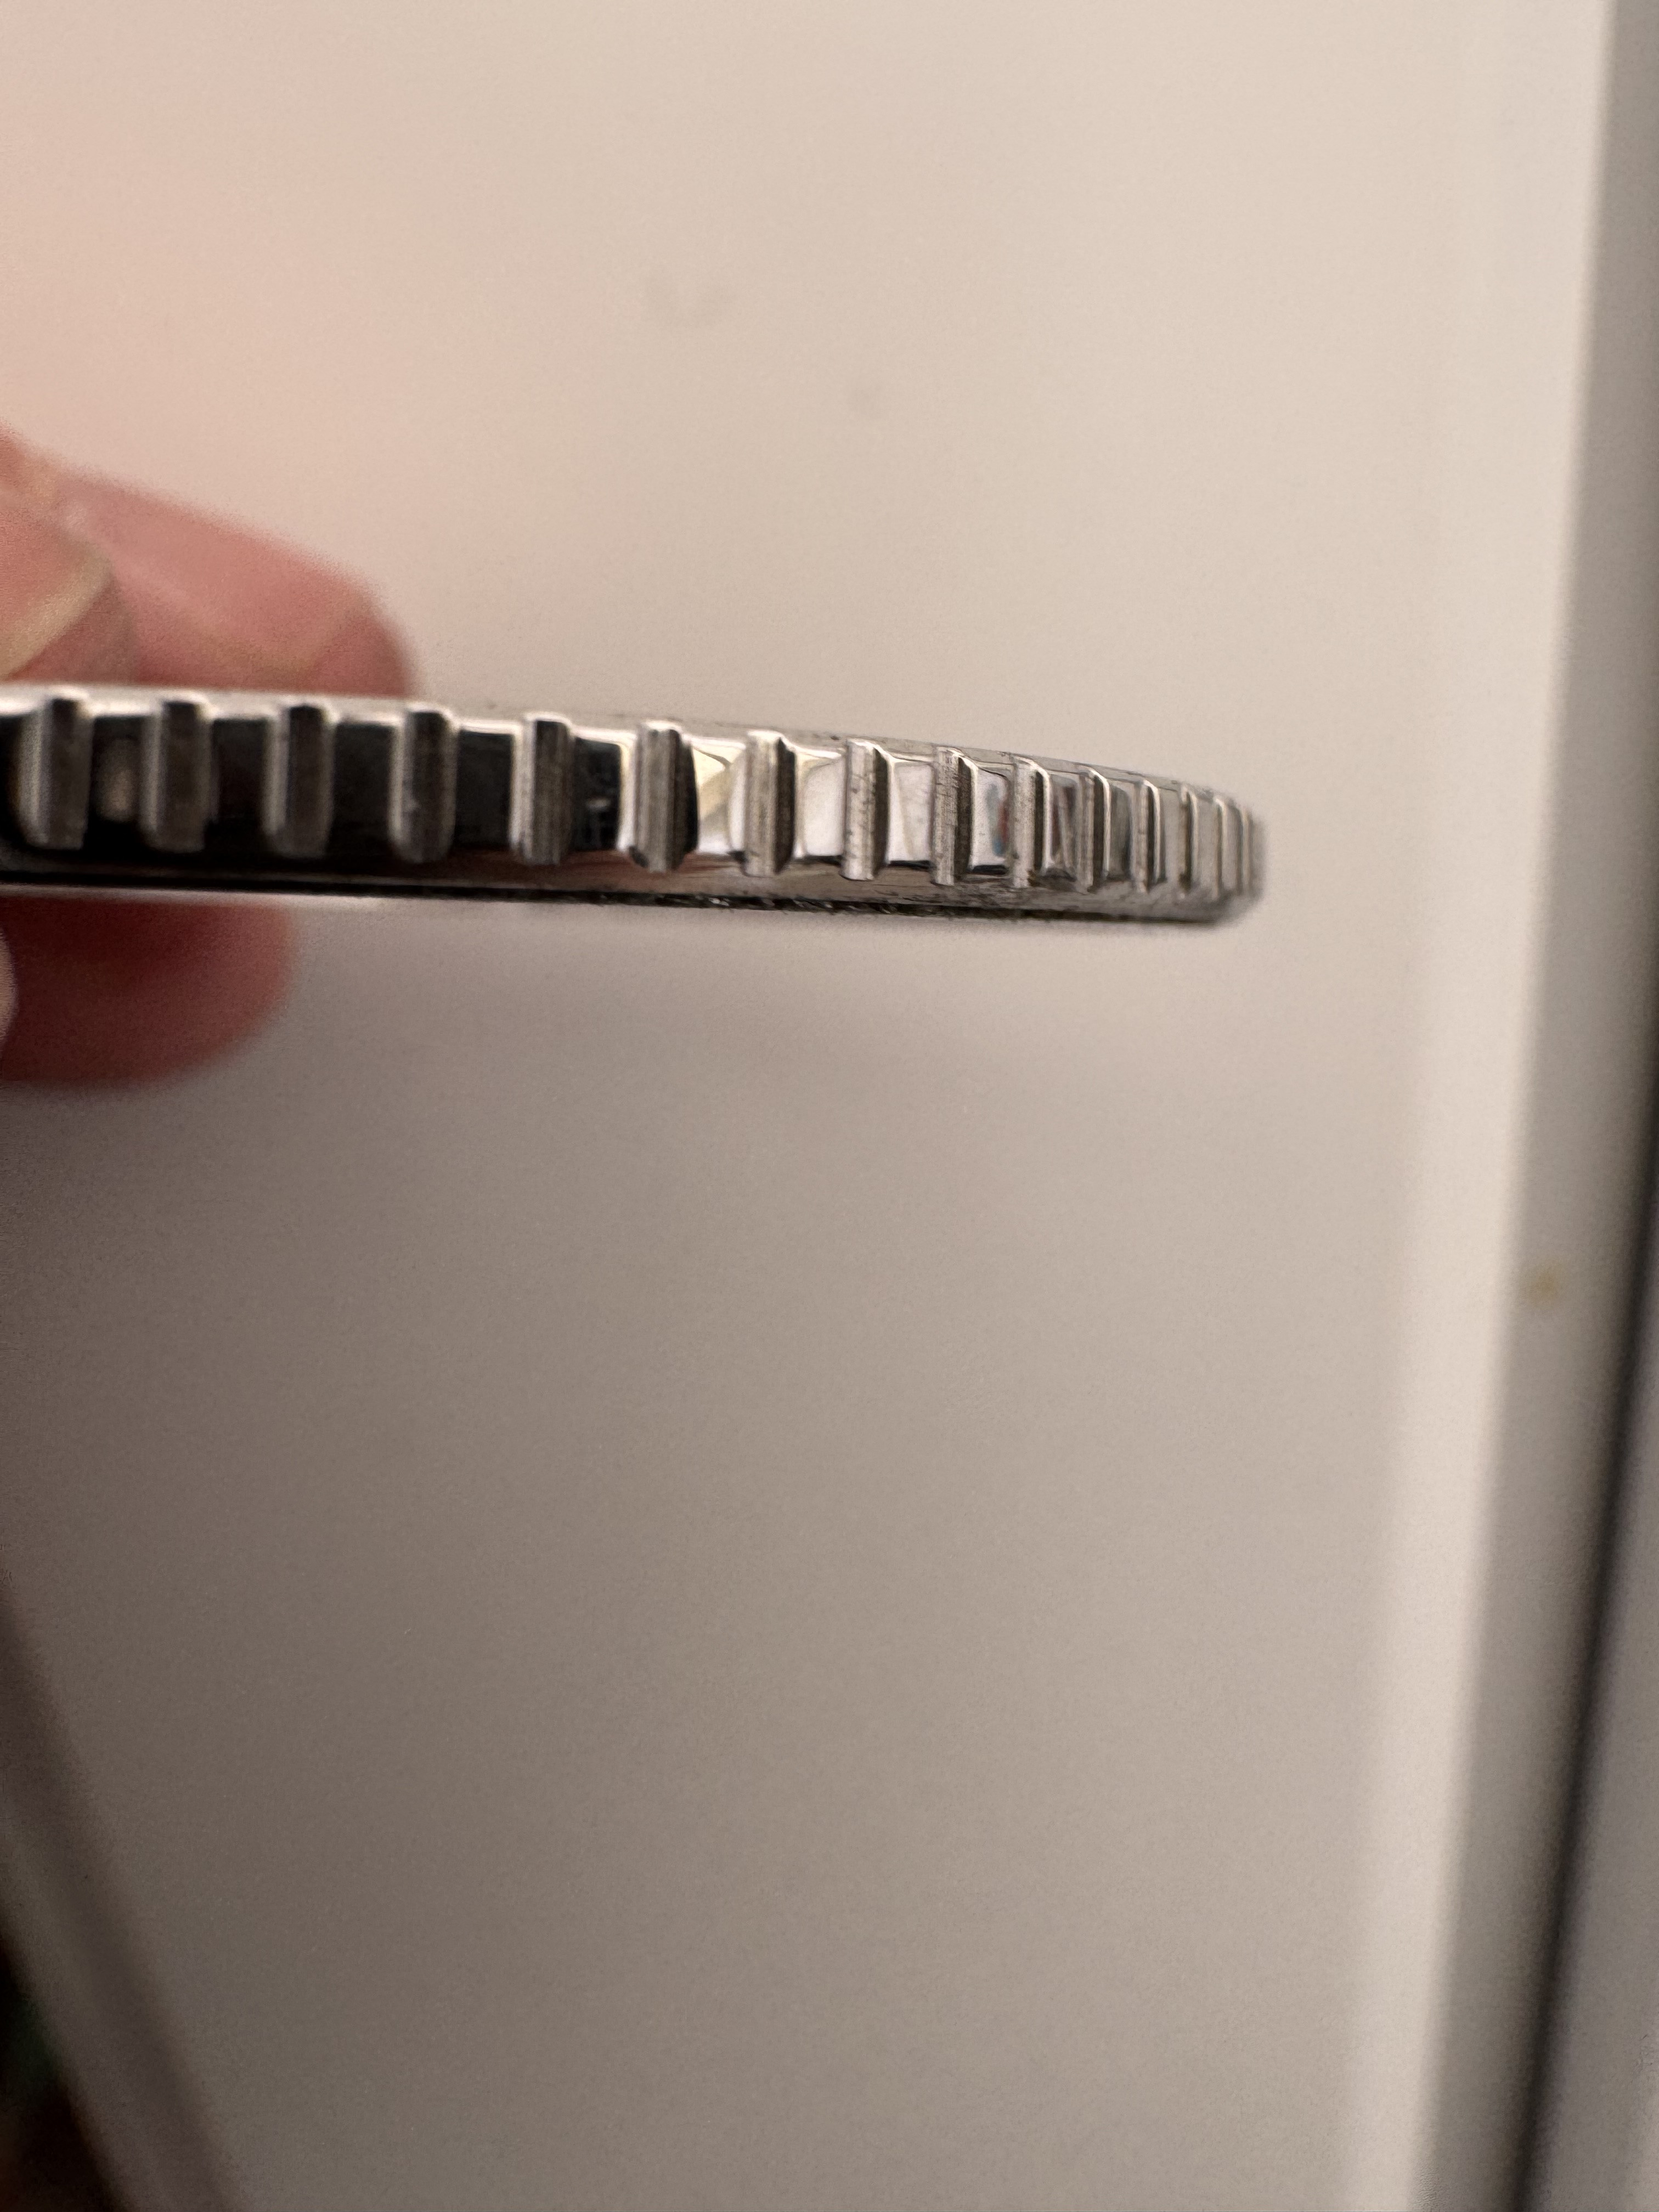

Seems to fit well and I add a new T19 plexi
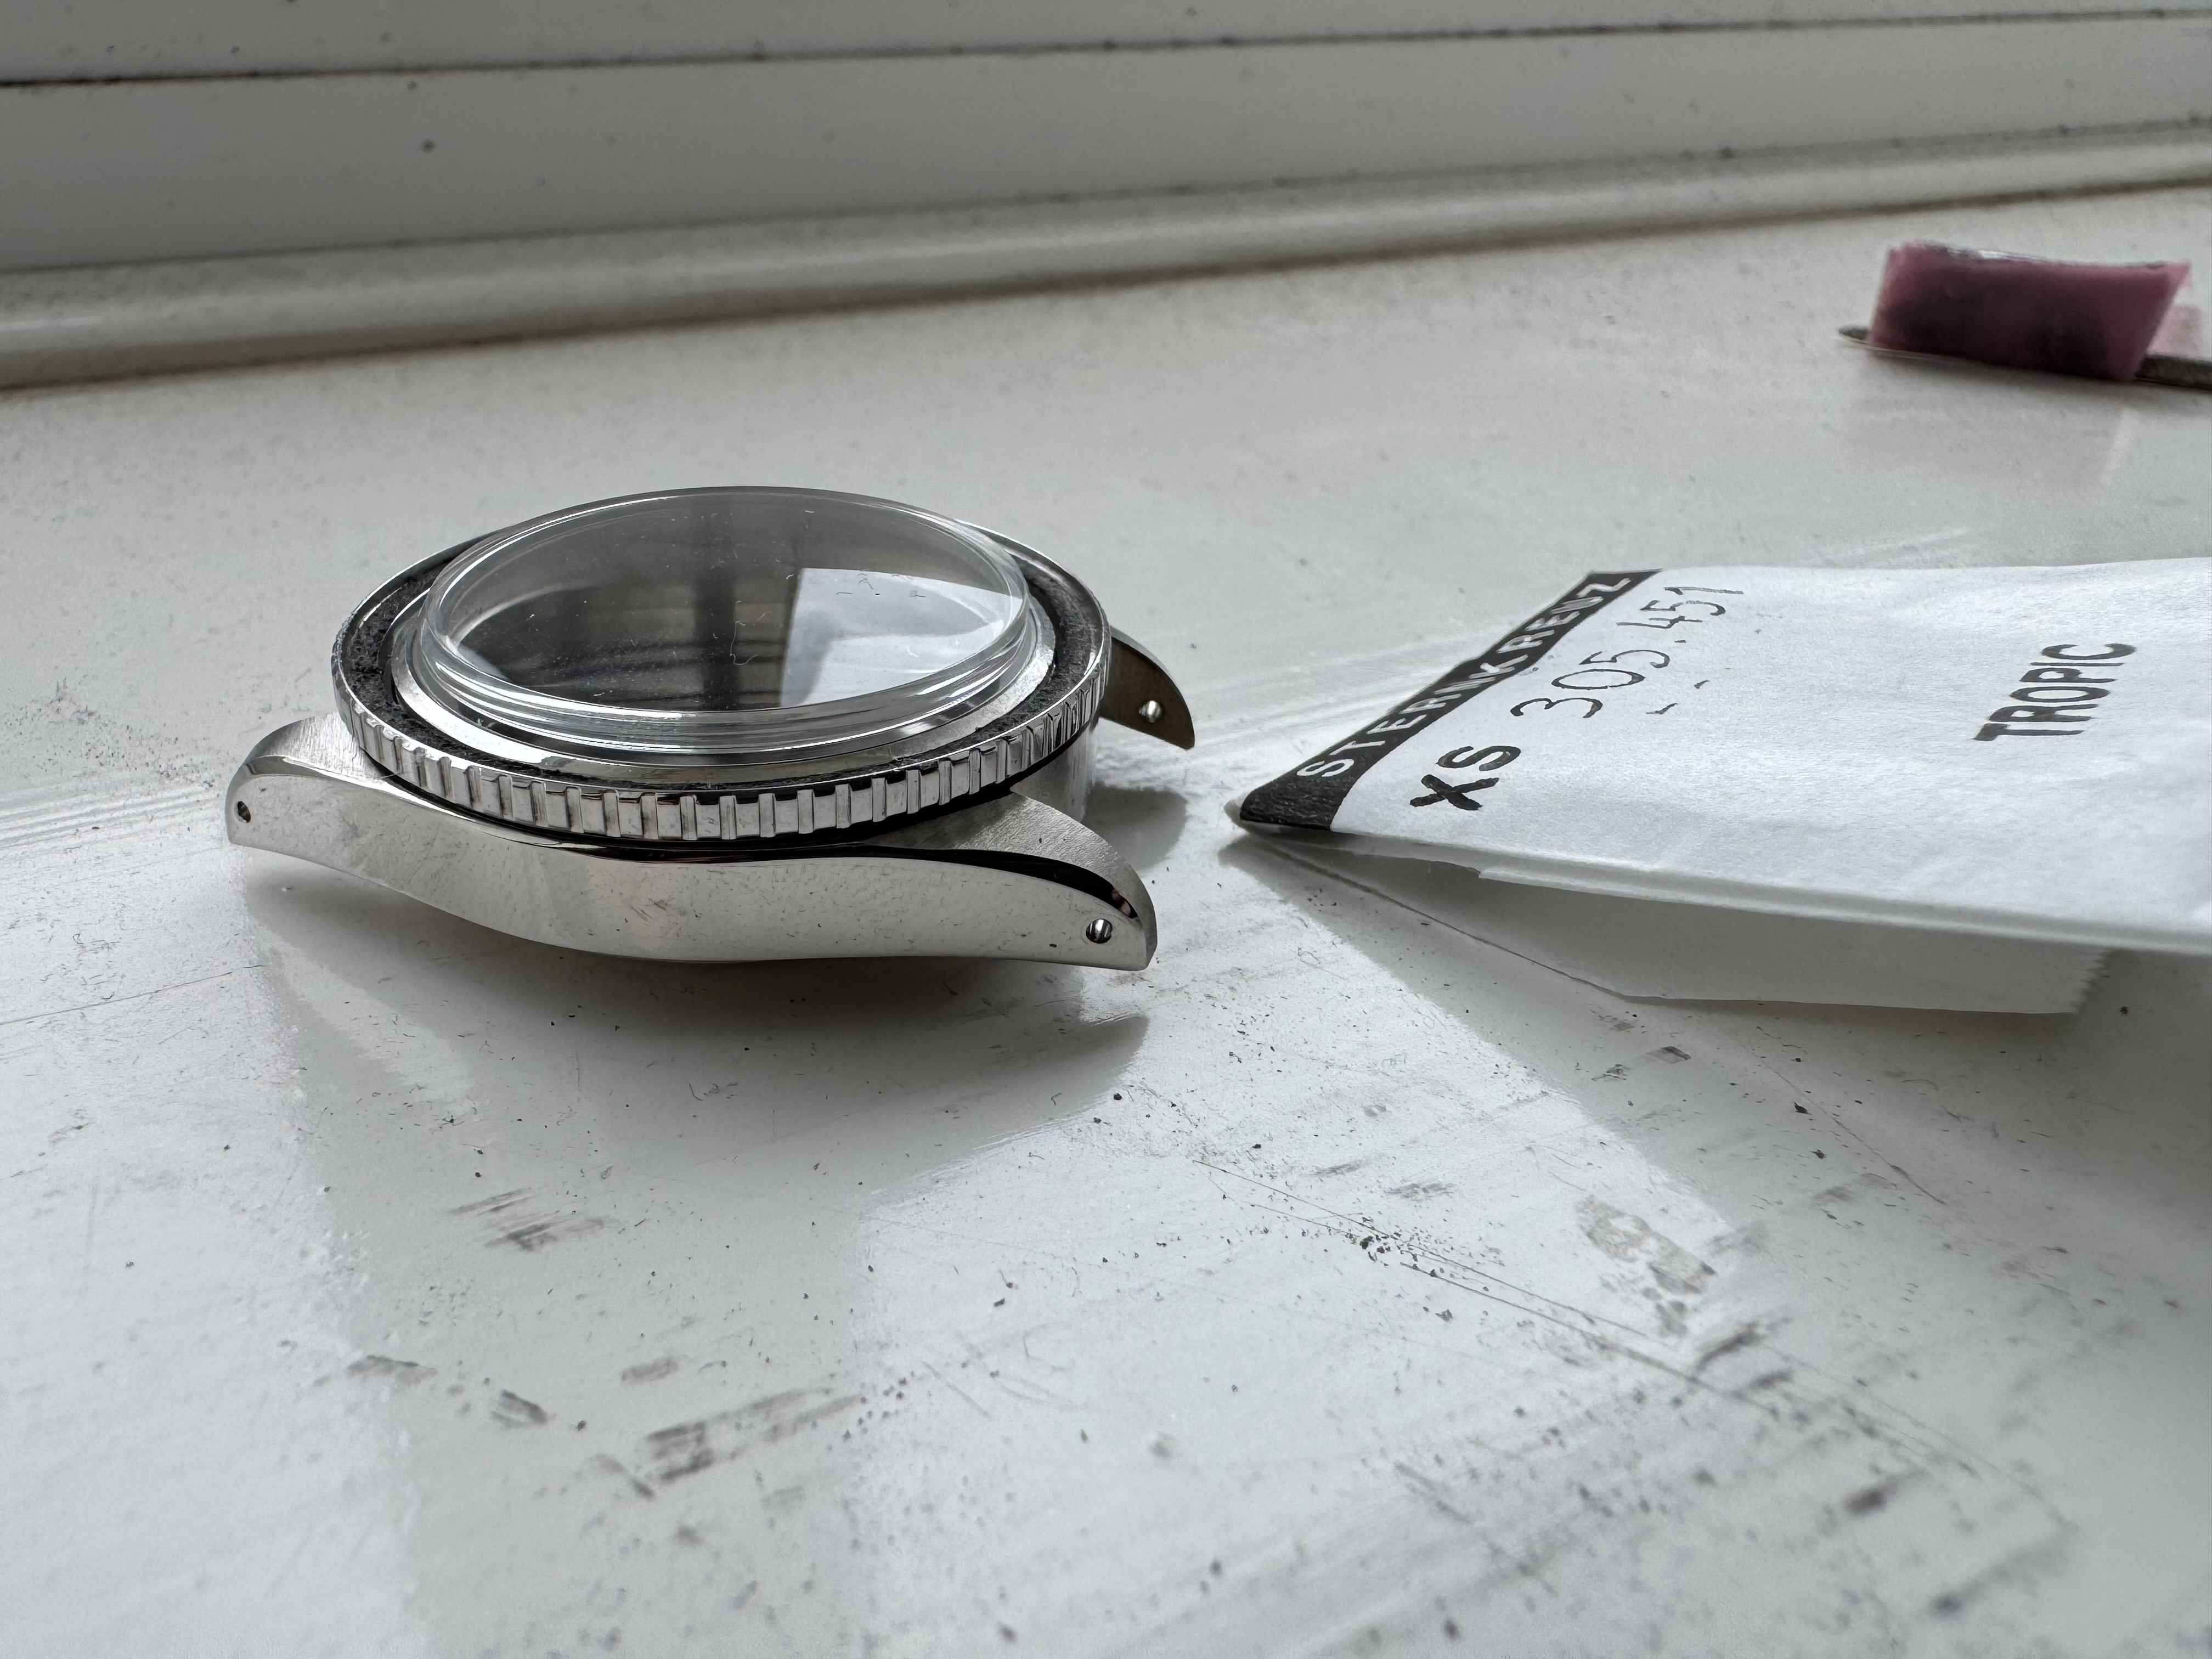


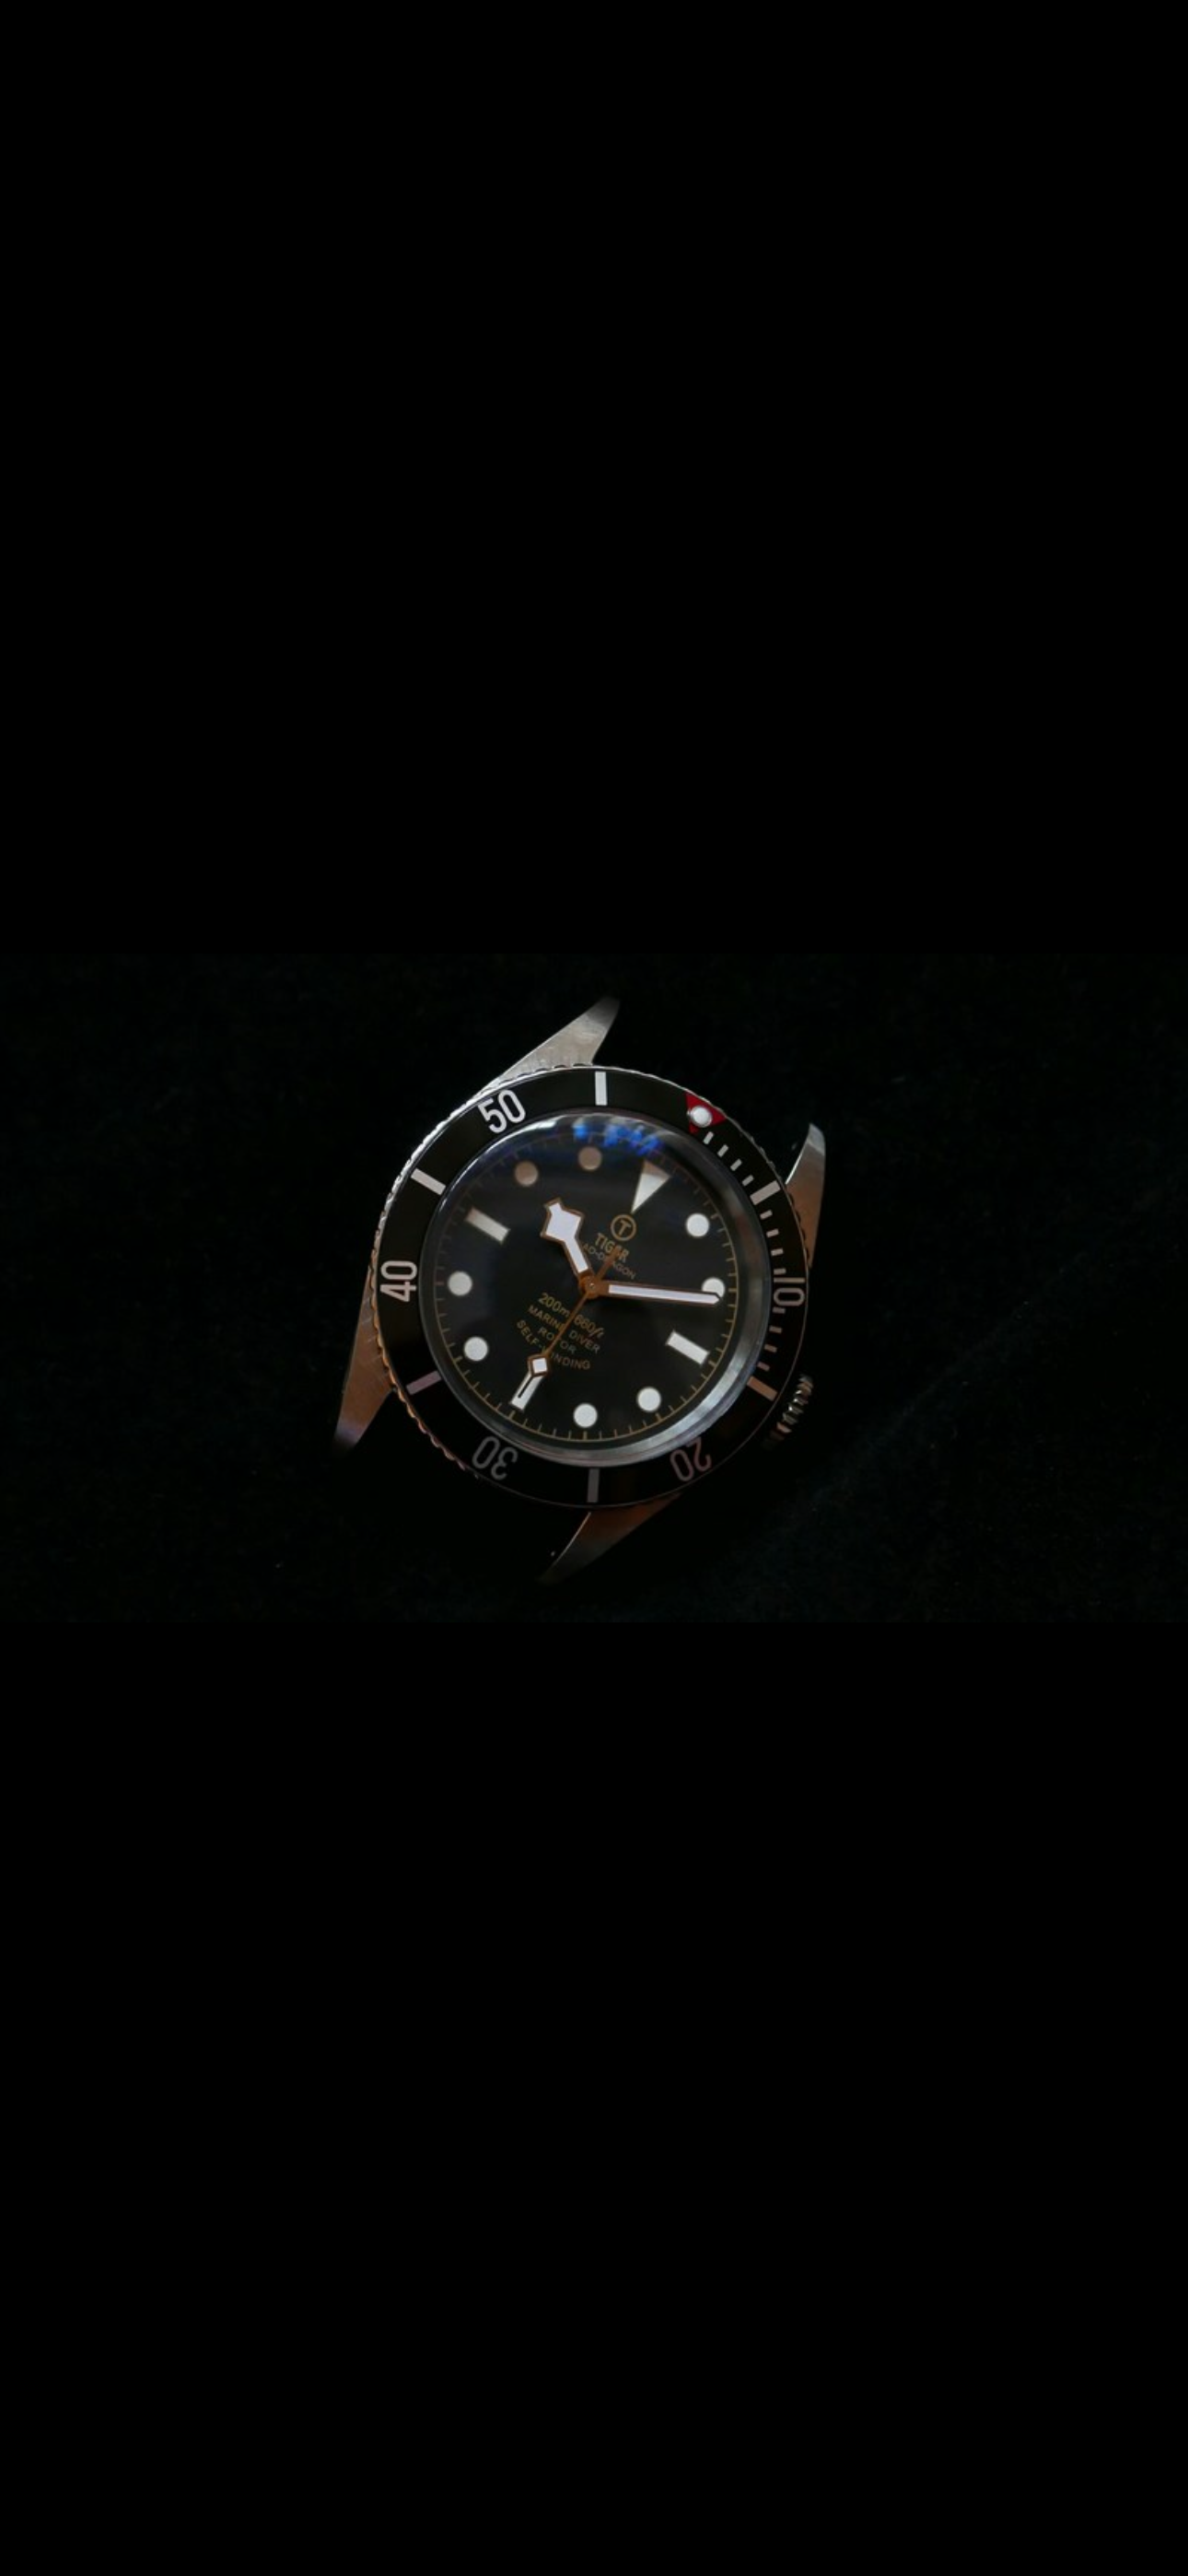
Now I go rummaging through my spare parts and stumble across this TC build I bought around 5 years ago, love the insert so yep il take that thanks very much.


Next up I want to age the bezel, under the grill it goes, 180 degrees for about half hour
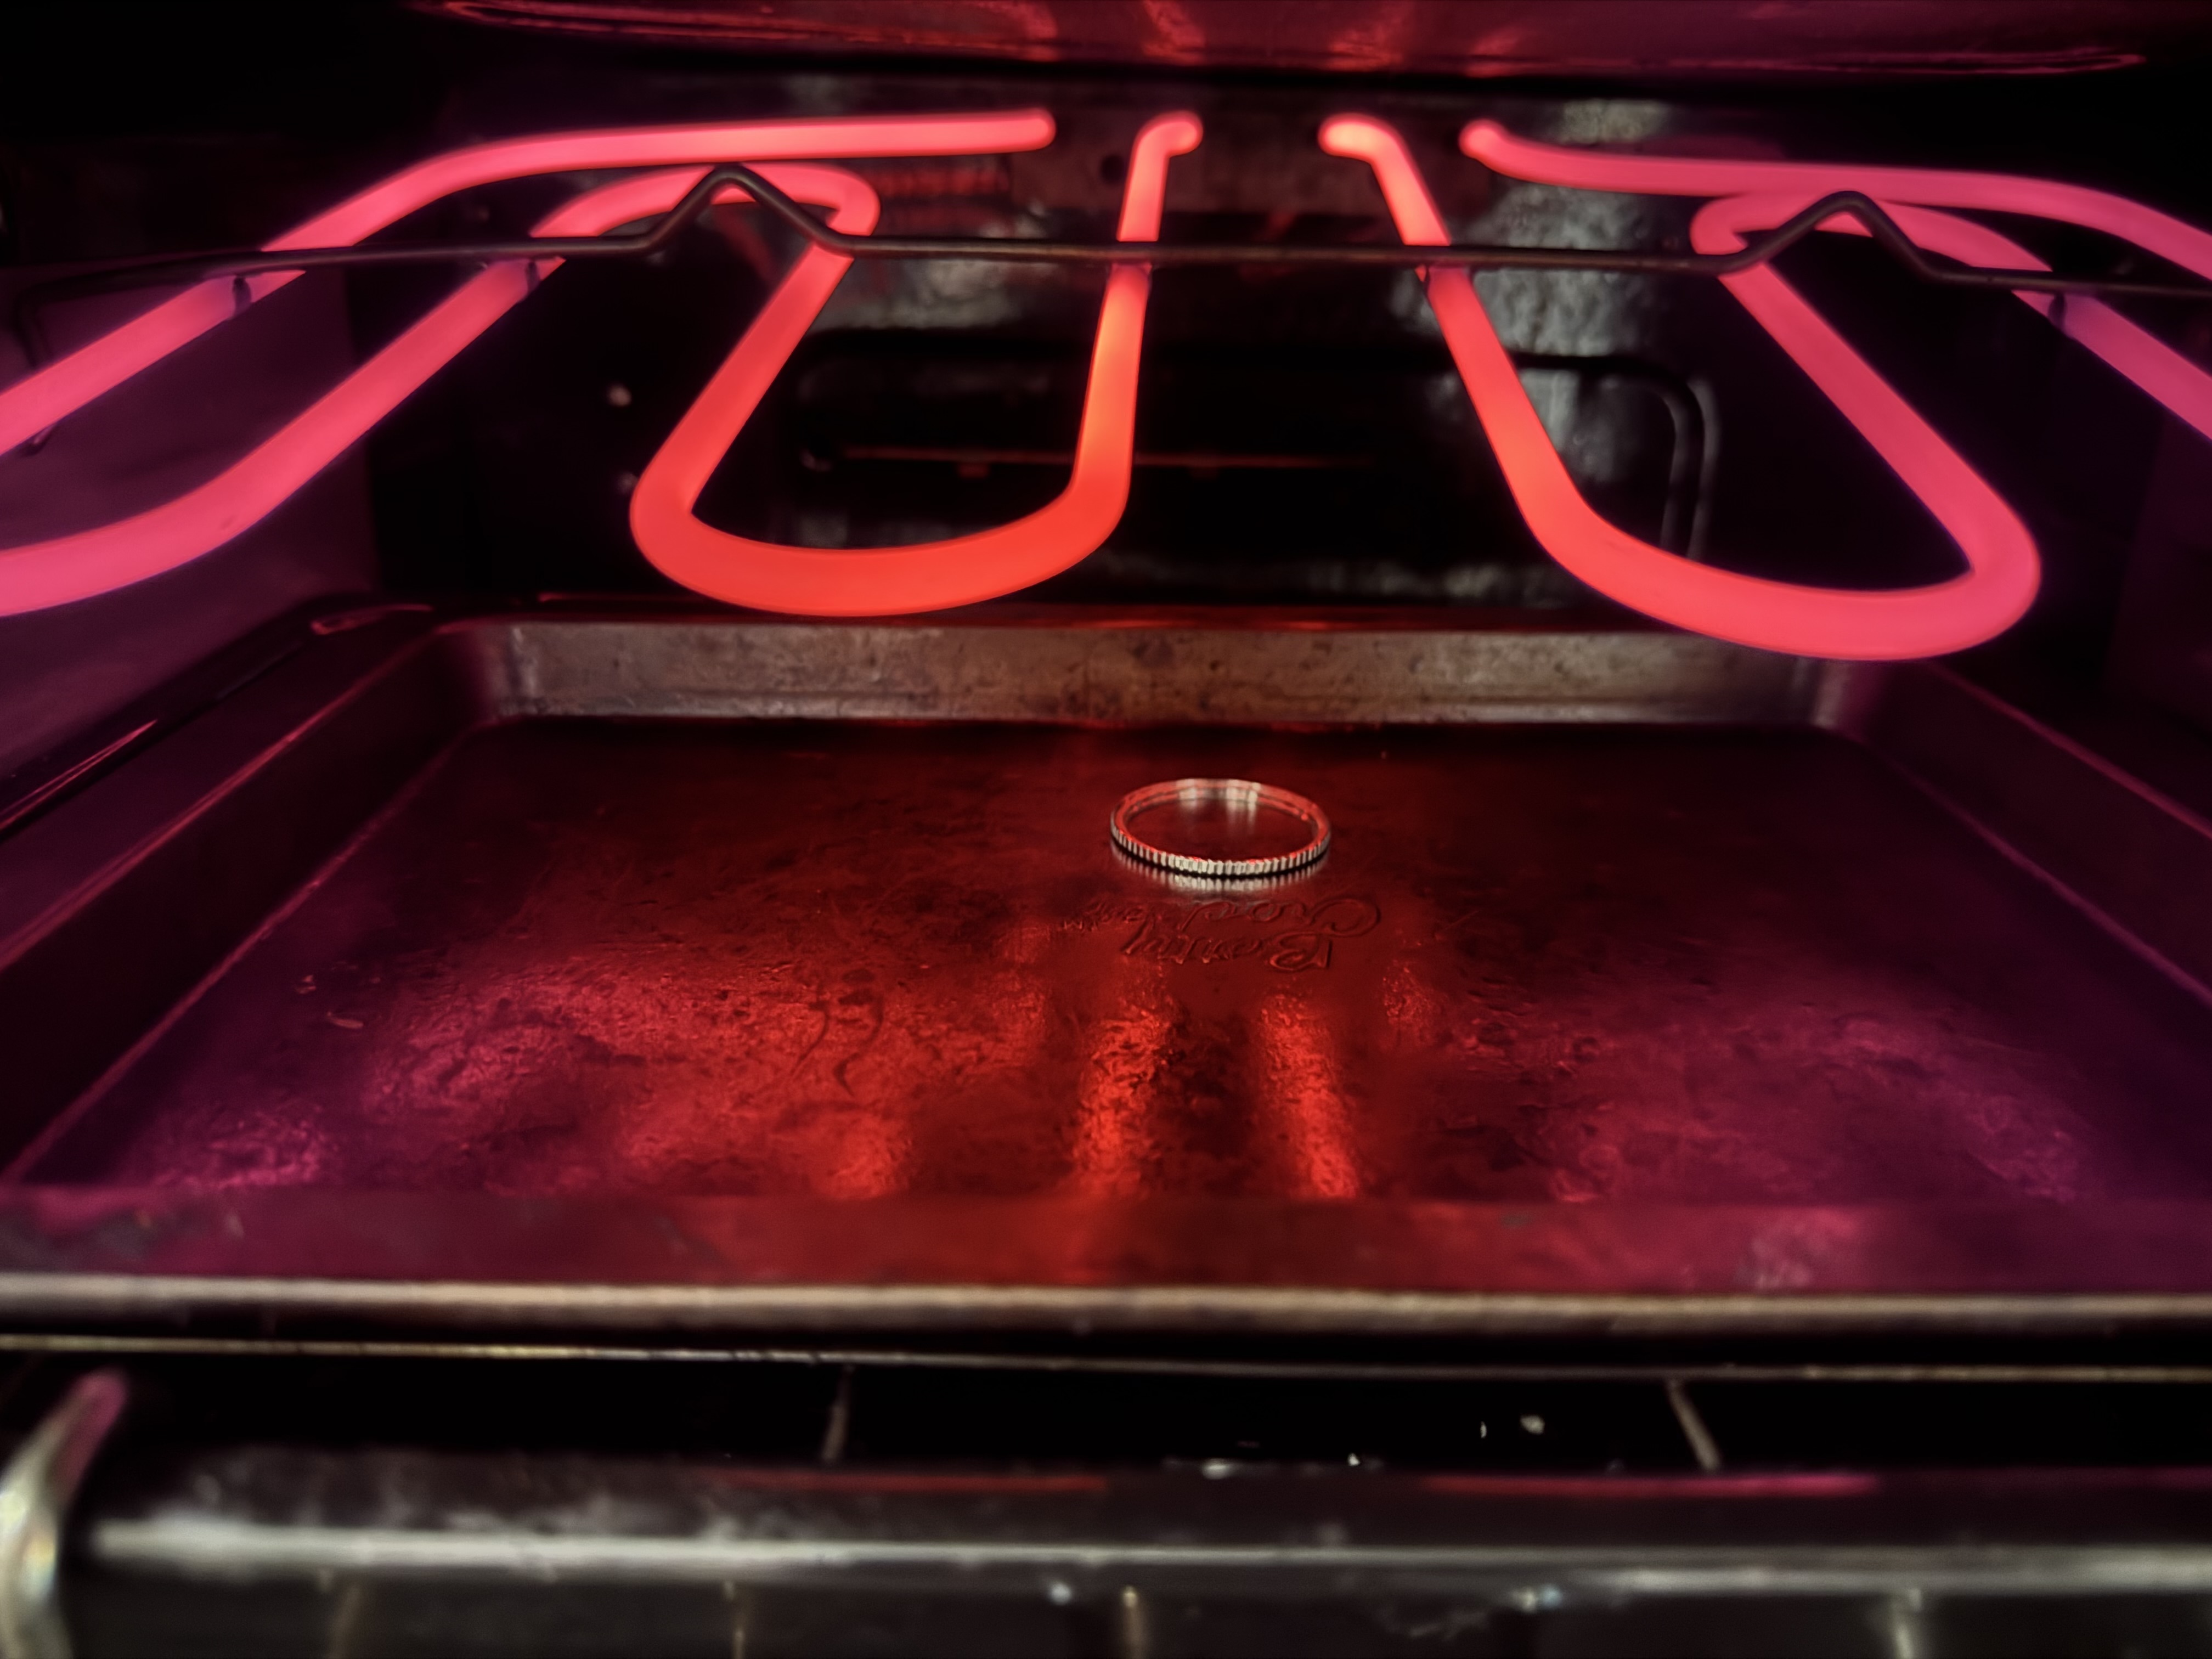


Now we’re cooking!
I already reached out to a very nice member of this community who does some outstanding engraving work. I won’t add the name here as I don’t want them to be flooded with requests for help, however those who have been here a while will recognise the work and I will give the credit here if he wants to claim it, probably wise to see how this build turns out first though!
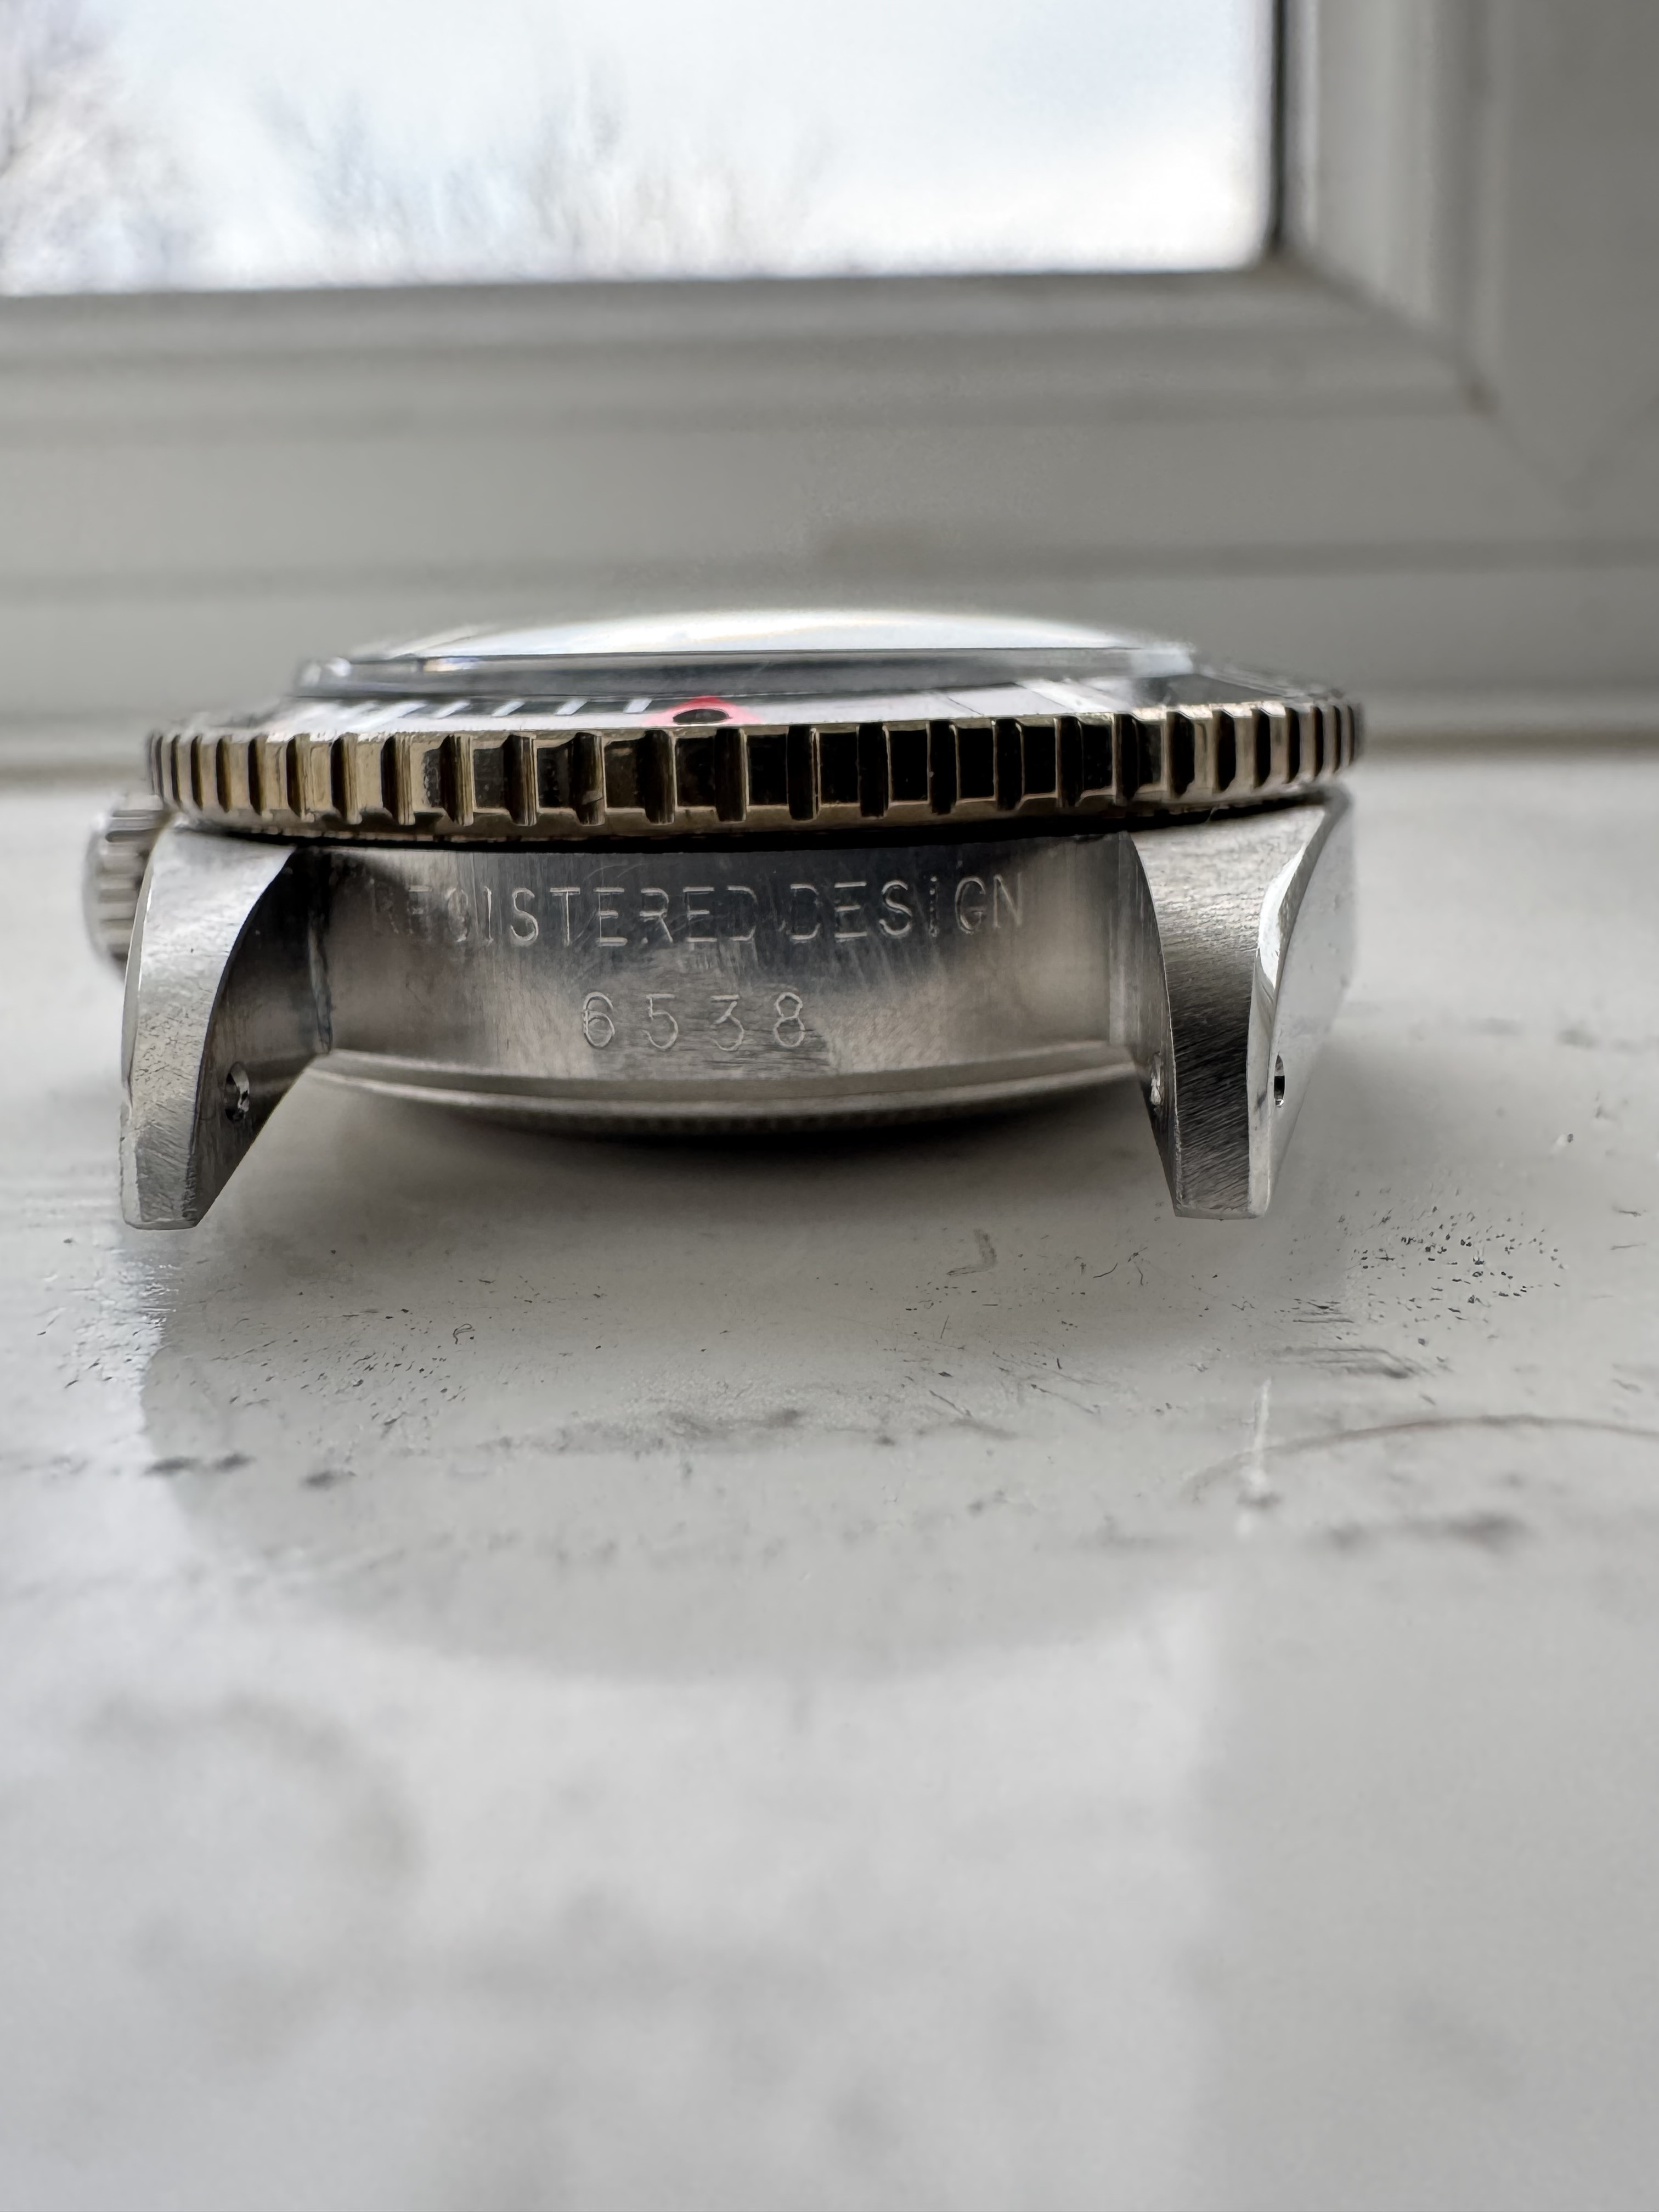


Looking good! At this point I realise I still have this leftover TC watch, the case and bezel actually look pretty good, so obviously I take it to pieces, age the bezel and decide to do a 2nd build alongside this one
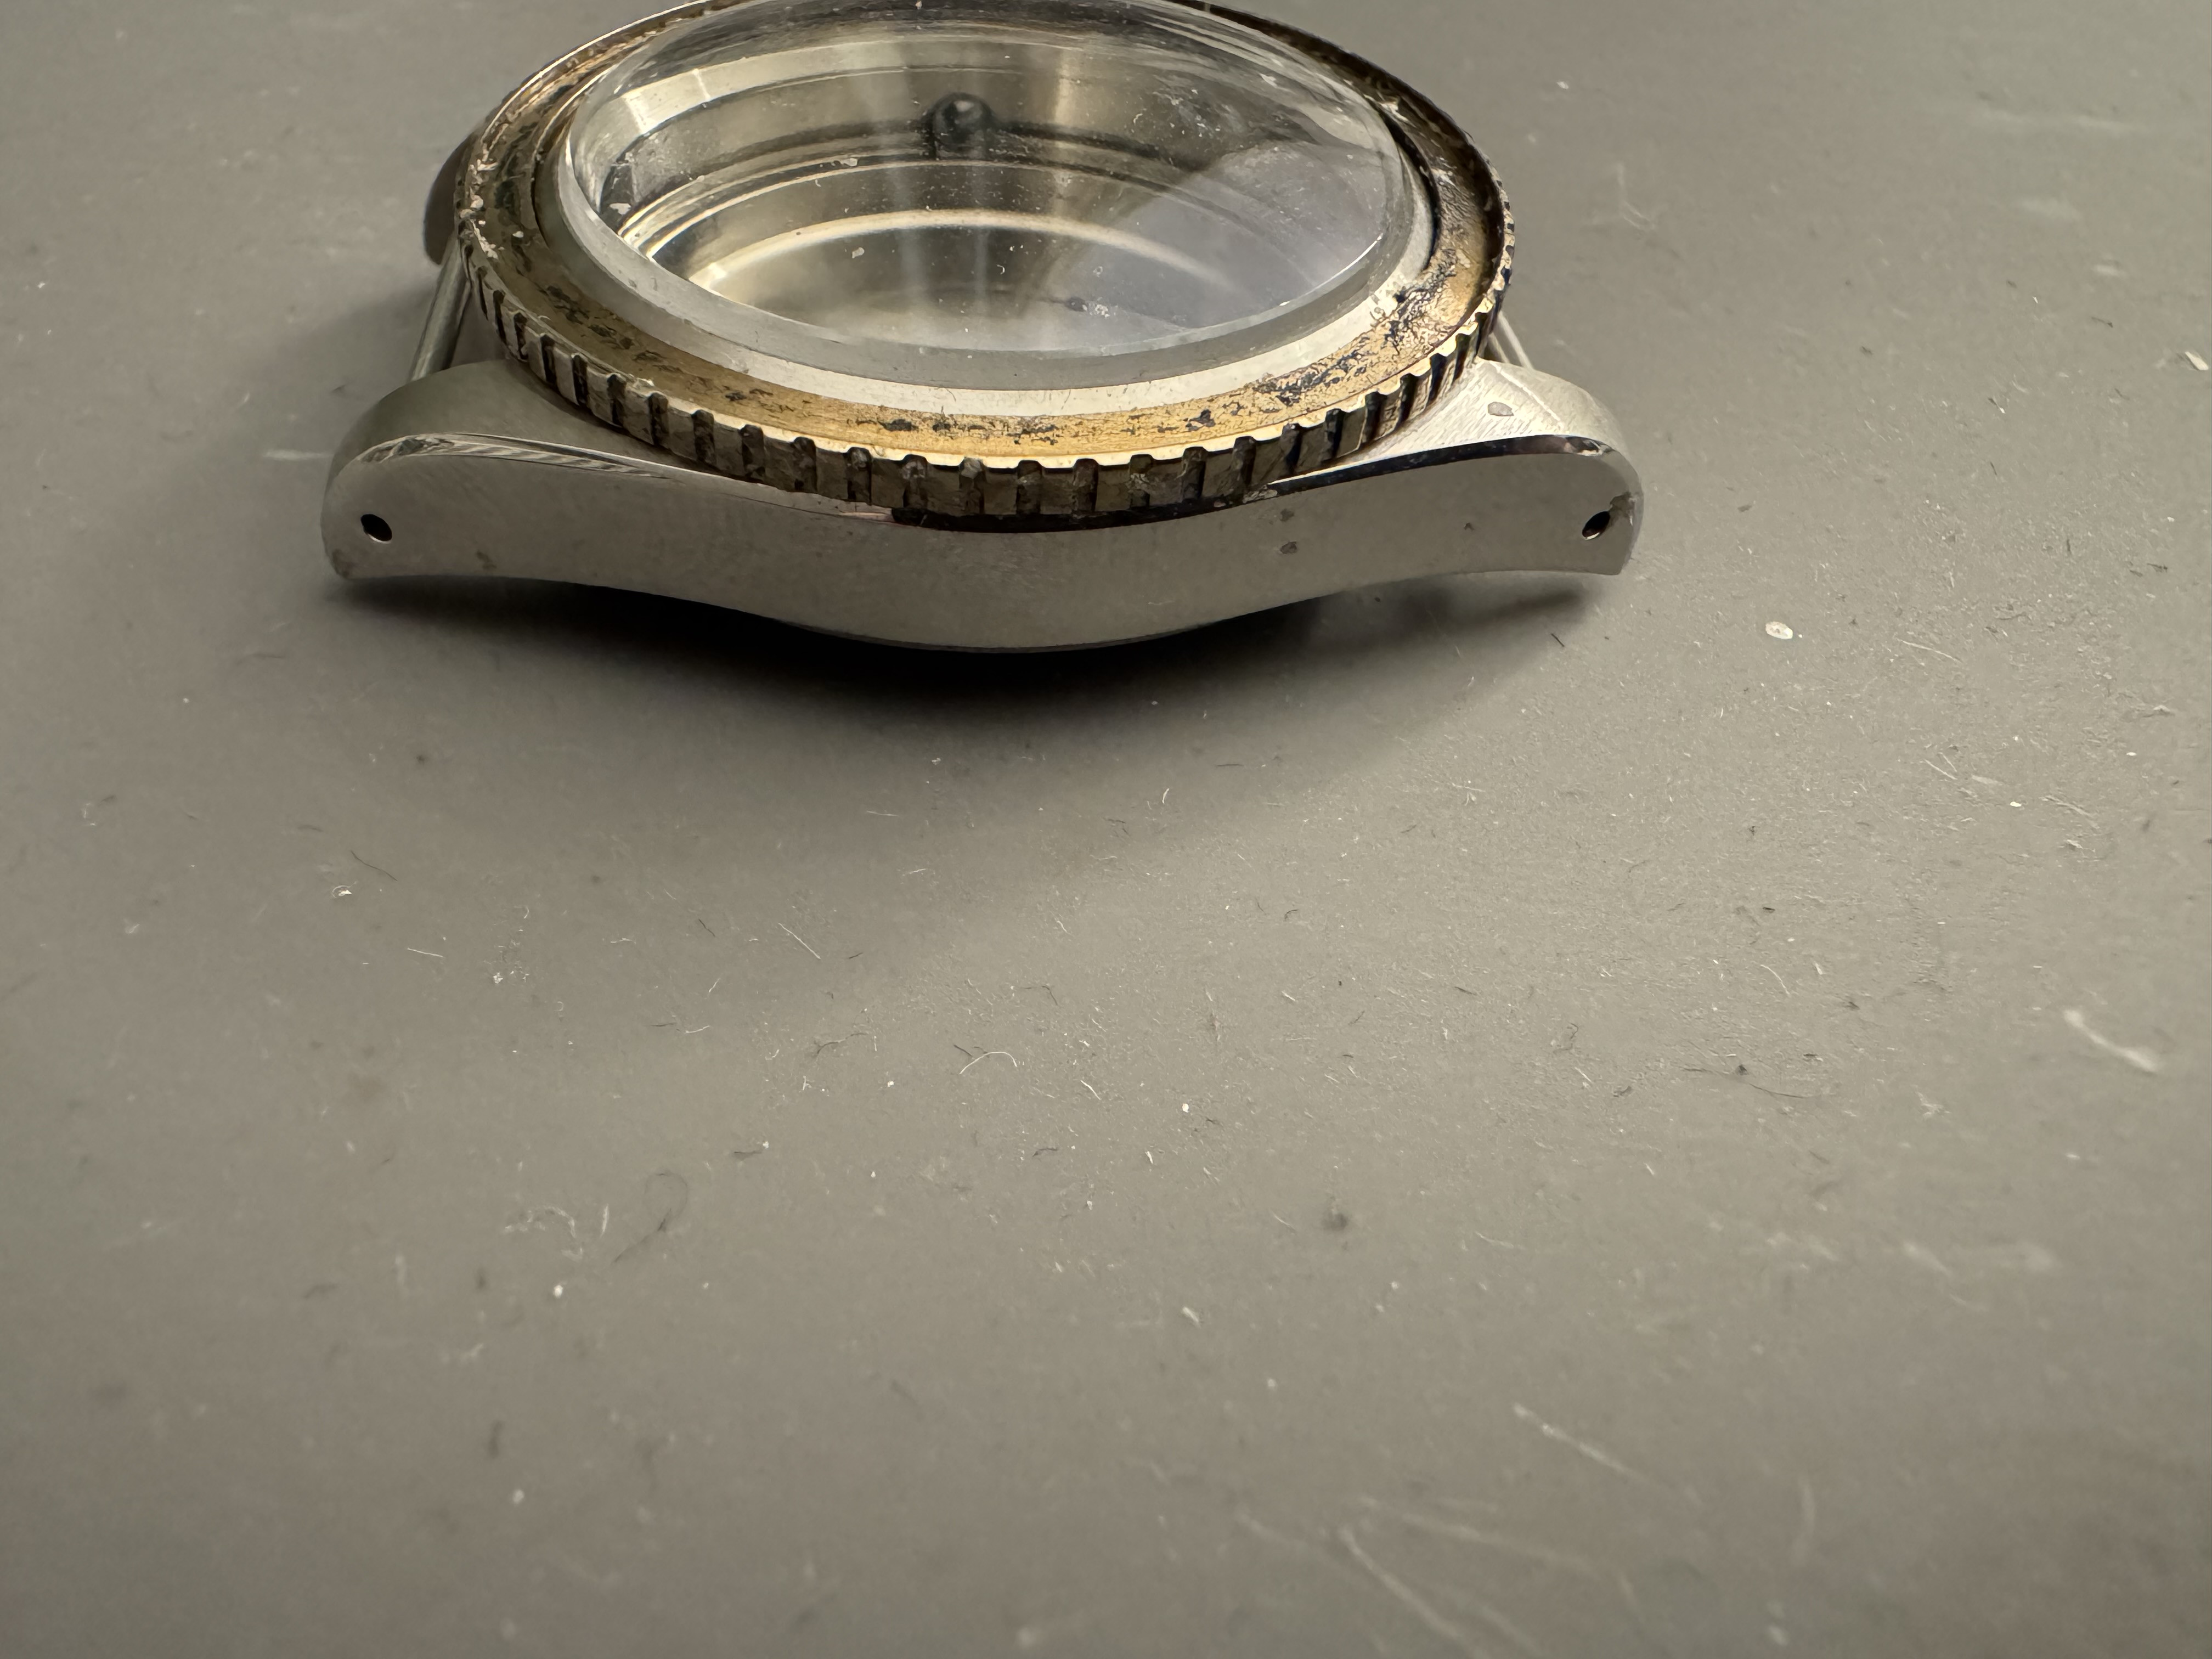
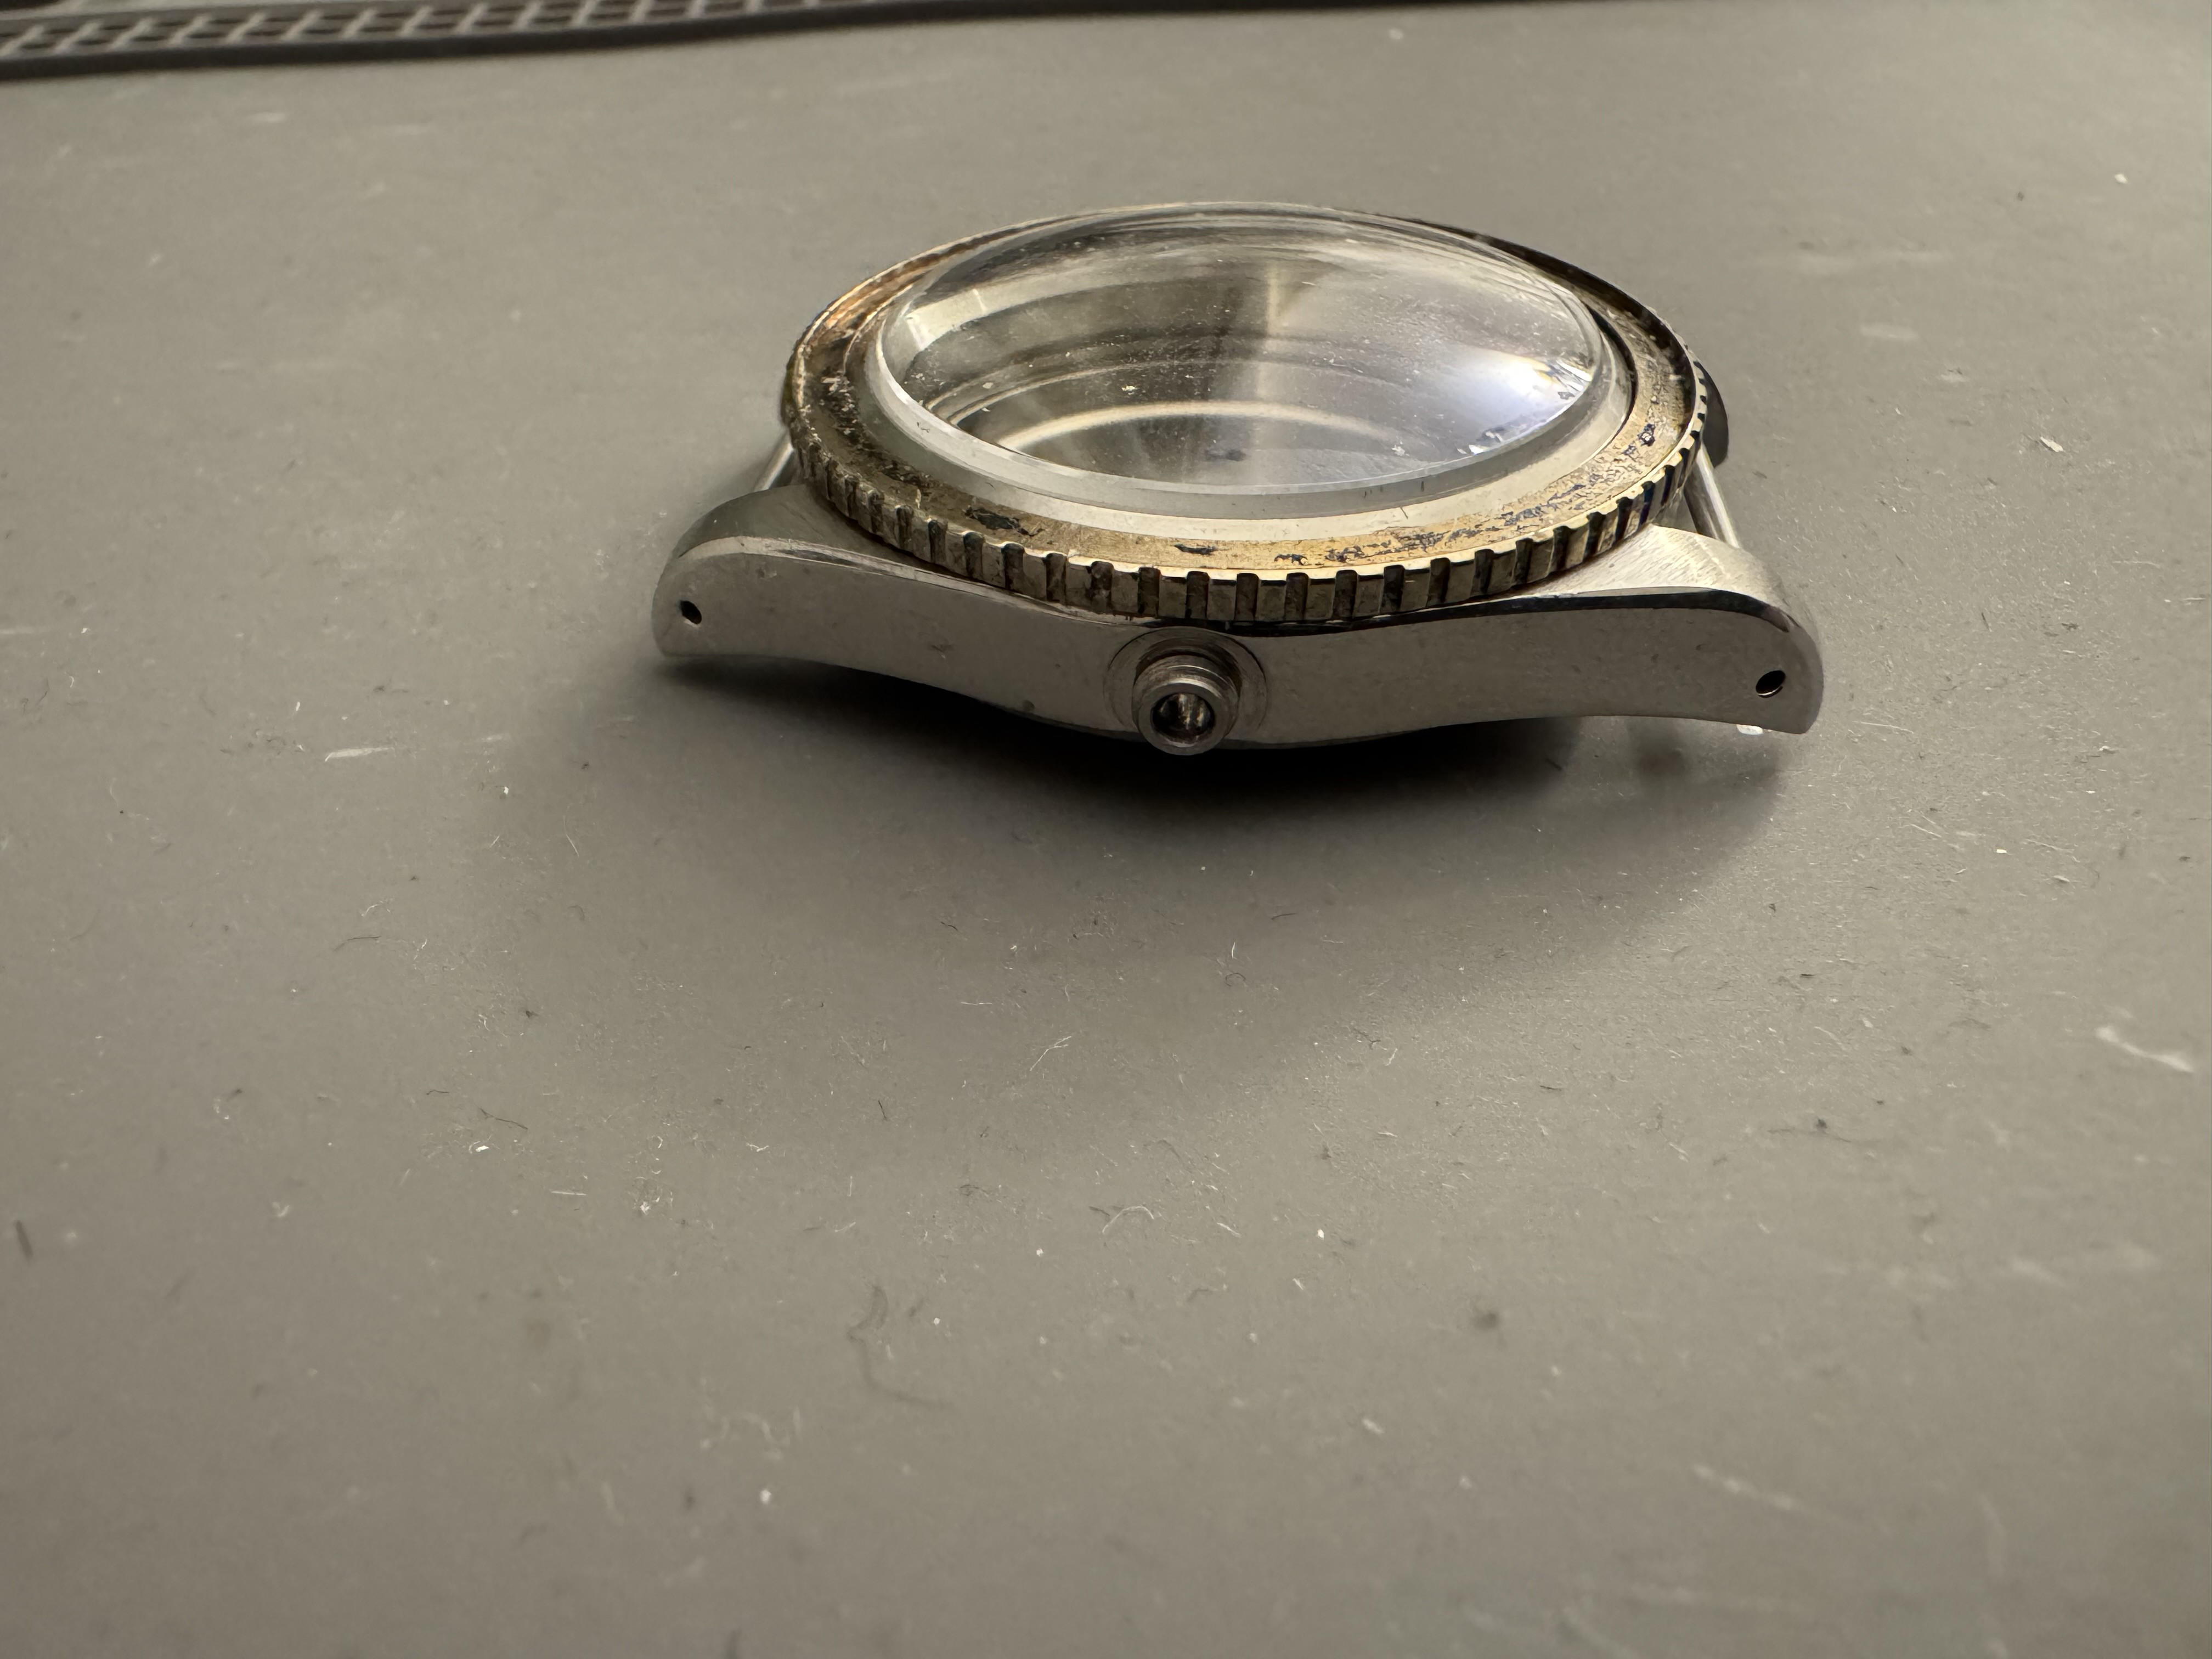

Now I start to look at replacing the tube to fit the spare raffles crown, the TC tube is slightly too thin, as it’ll get messed up while I remove it I decide to jam a round tip diamond file in there instead and open it up a little, to my surprise the raffles crown now fits and the thread is a perfect fit! Awesome, that’s a bit less work to do!
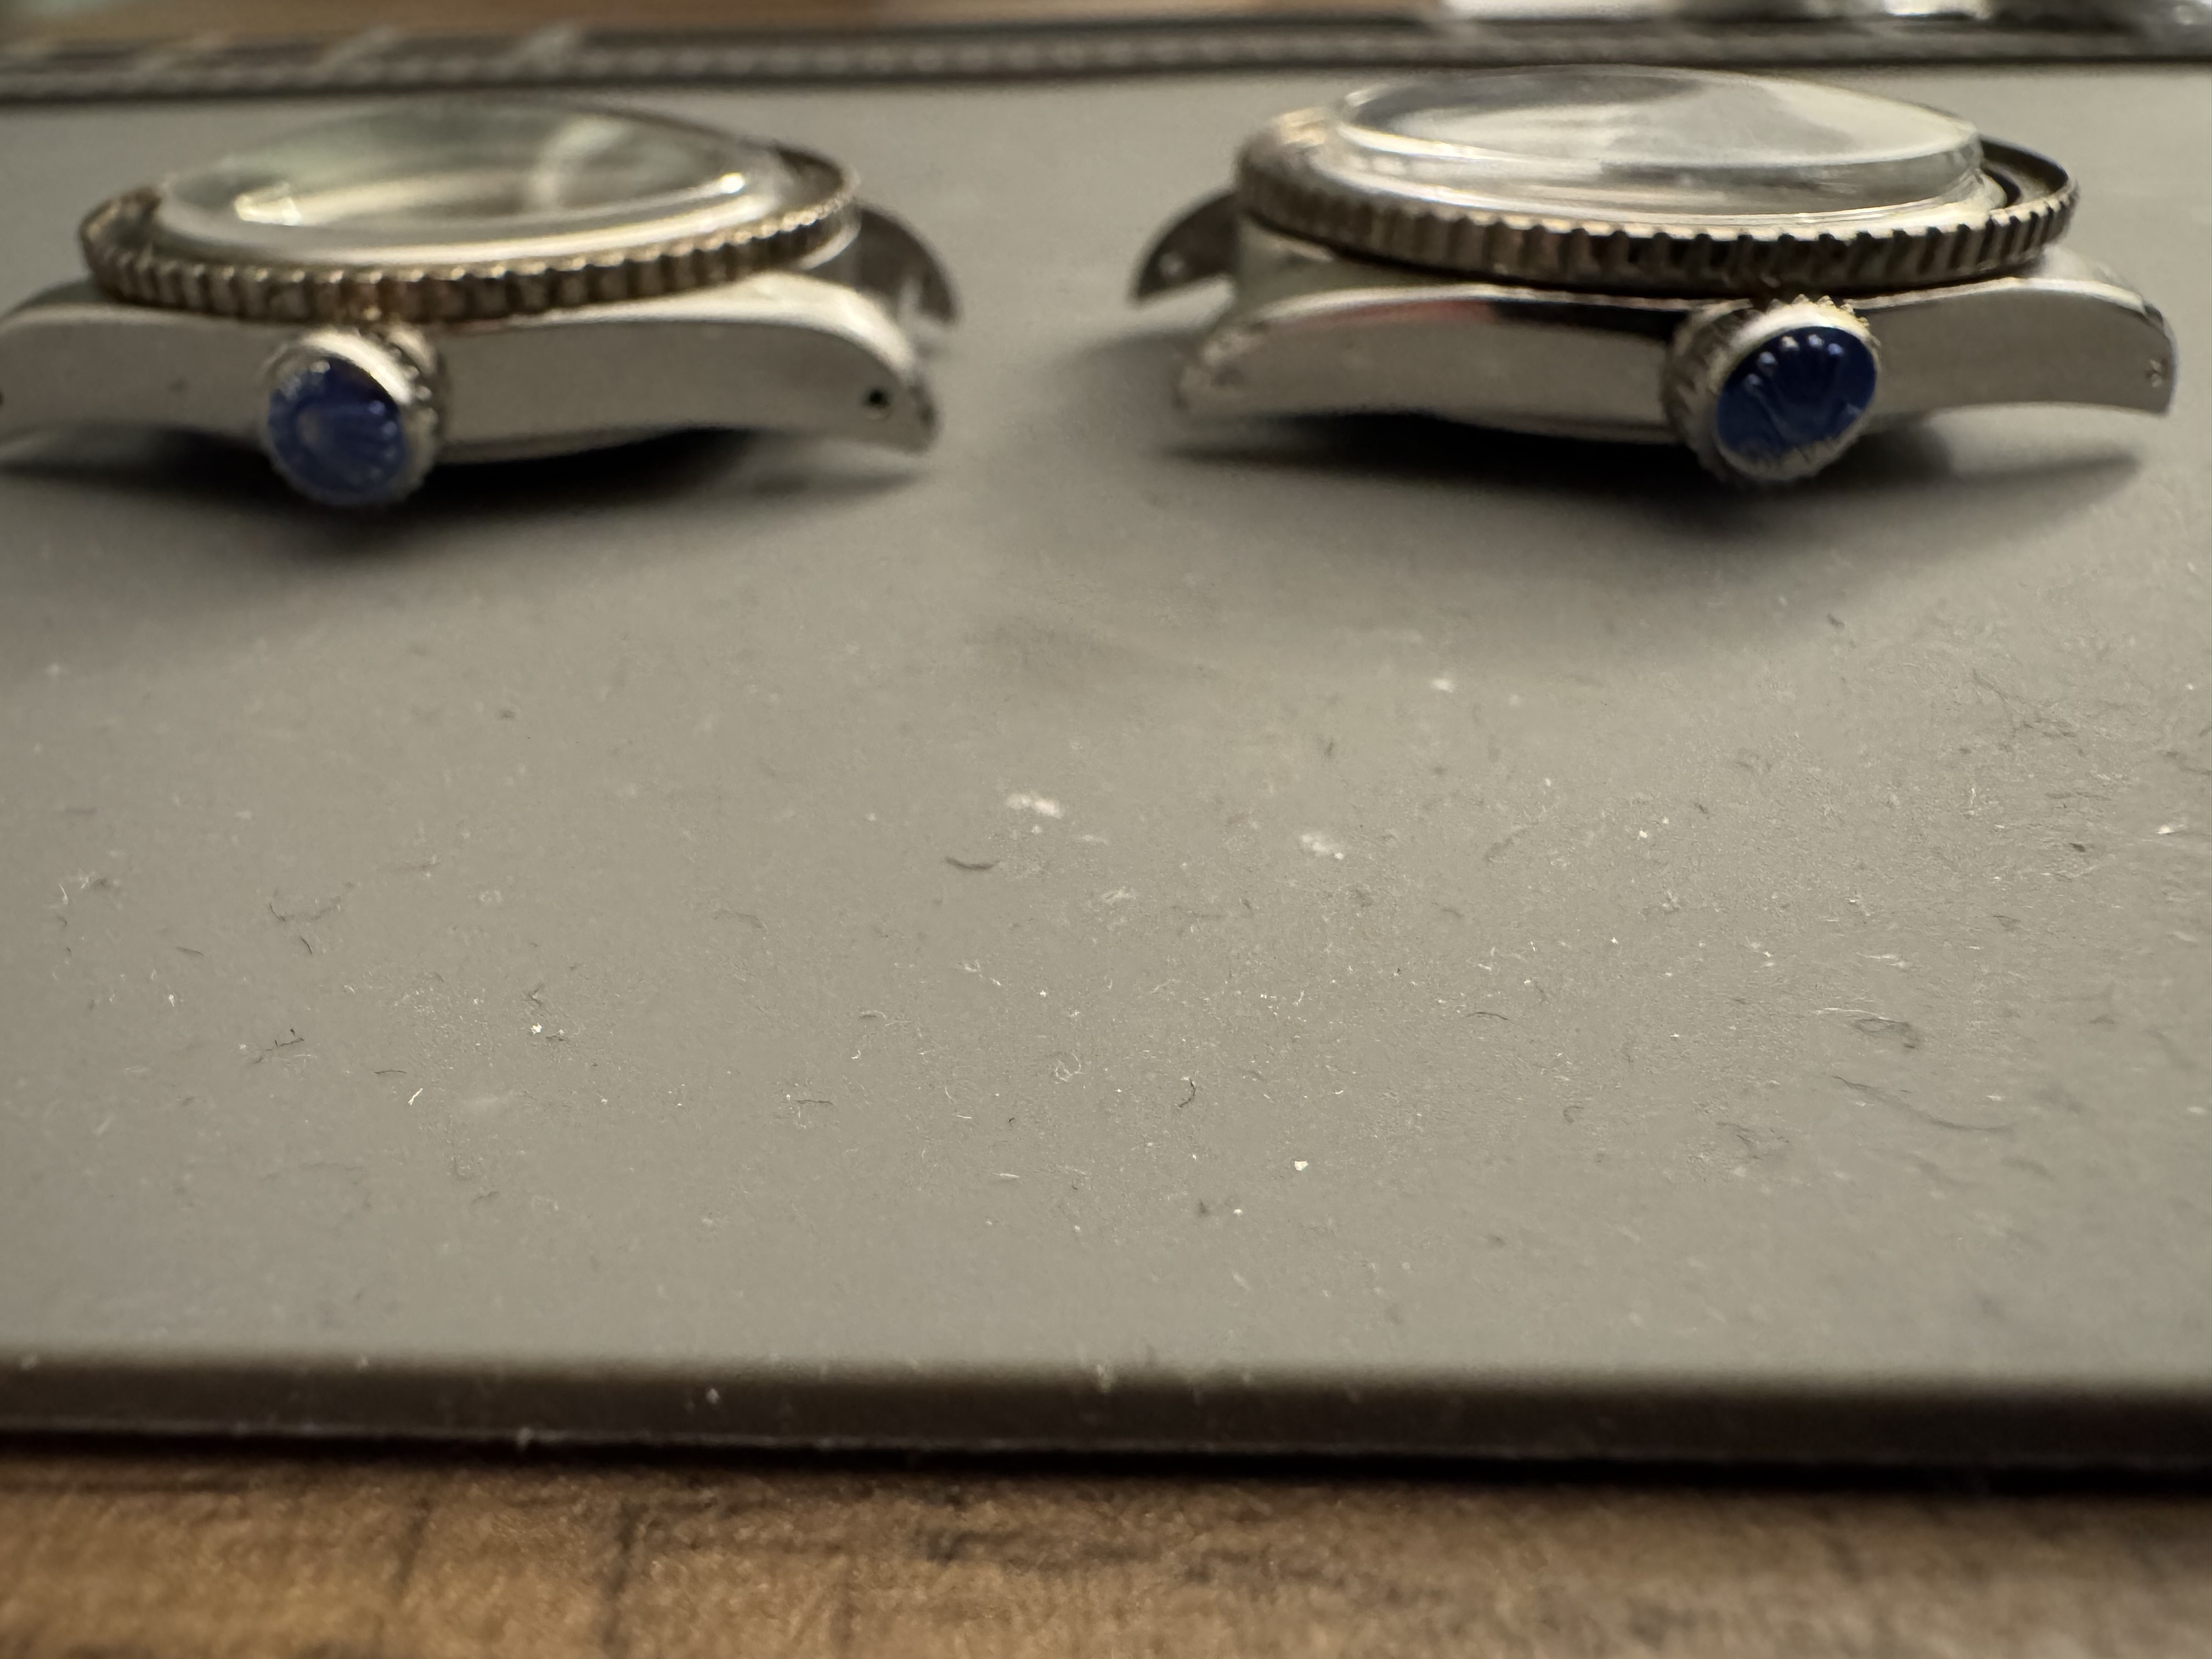


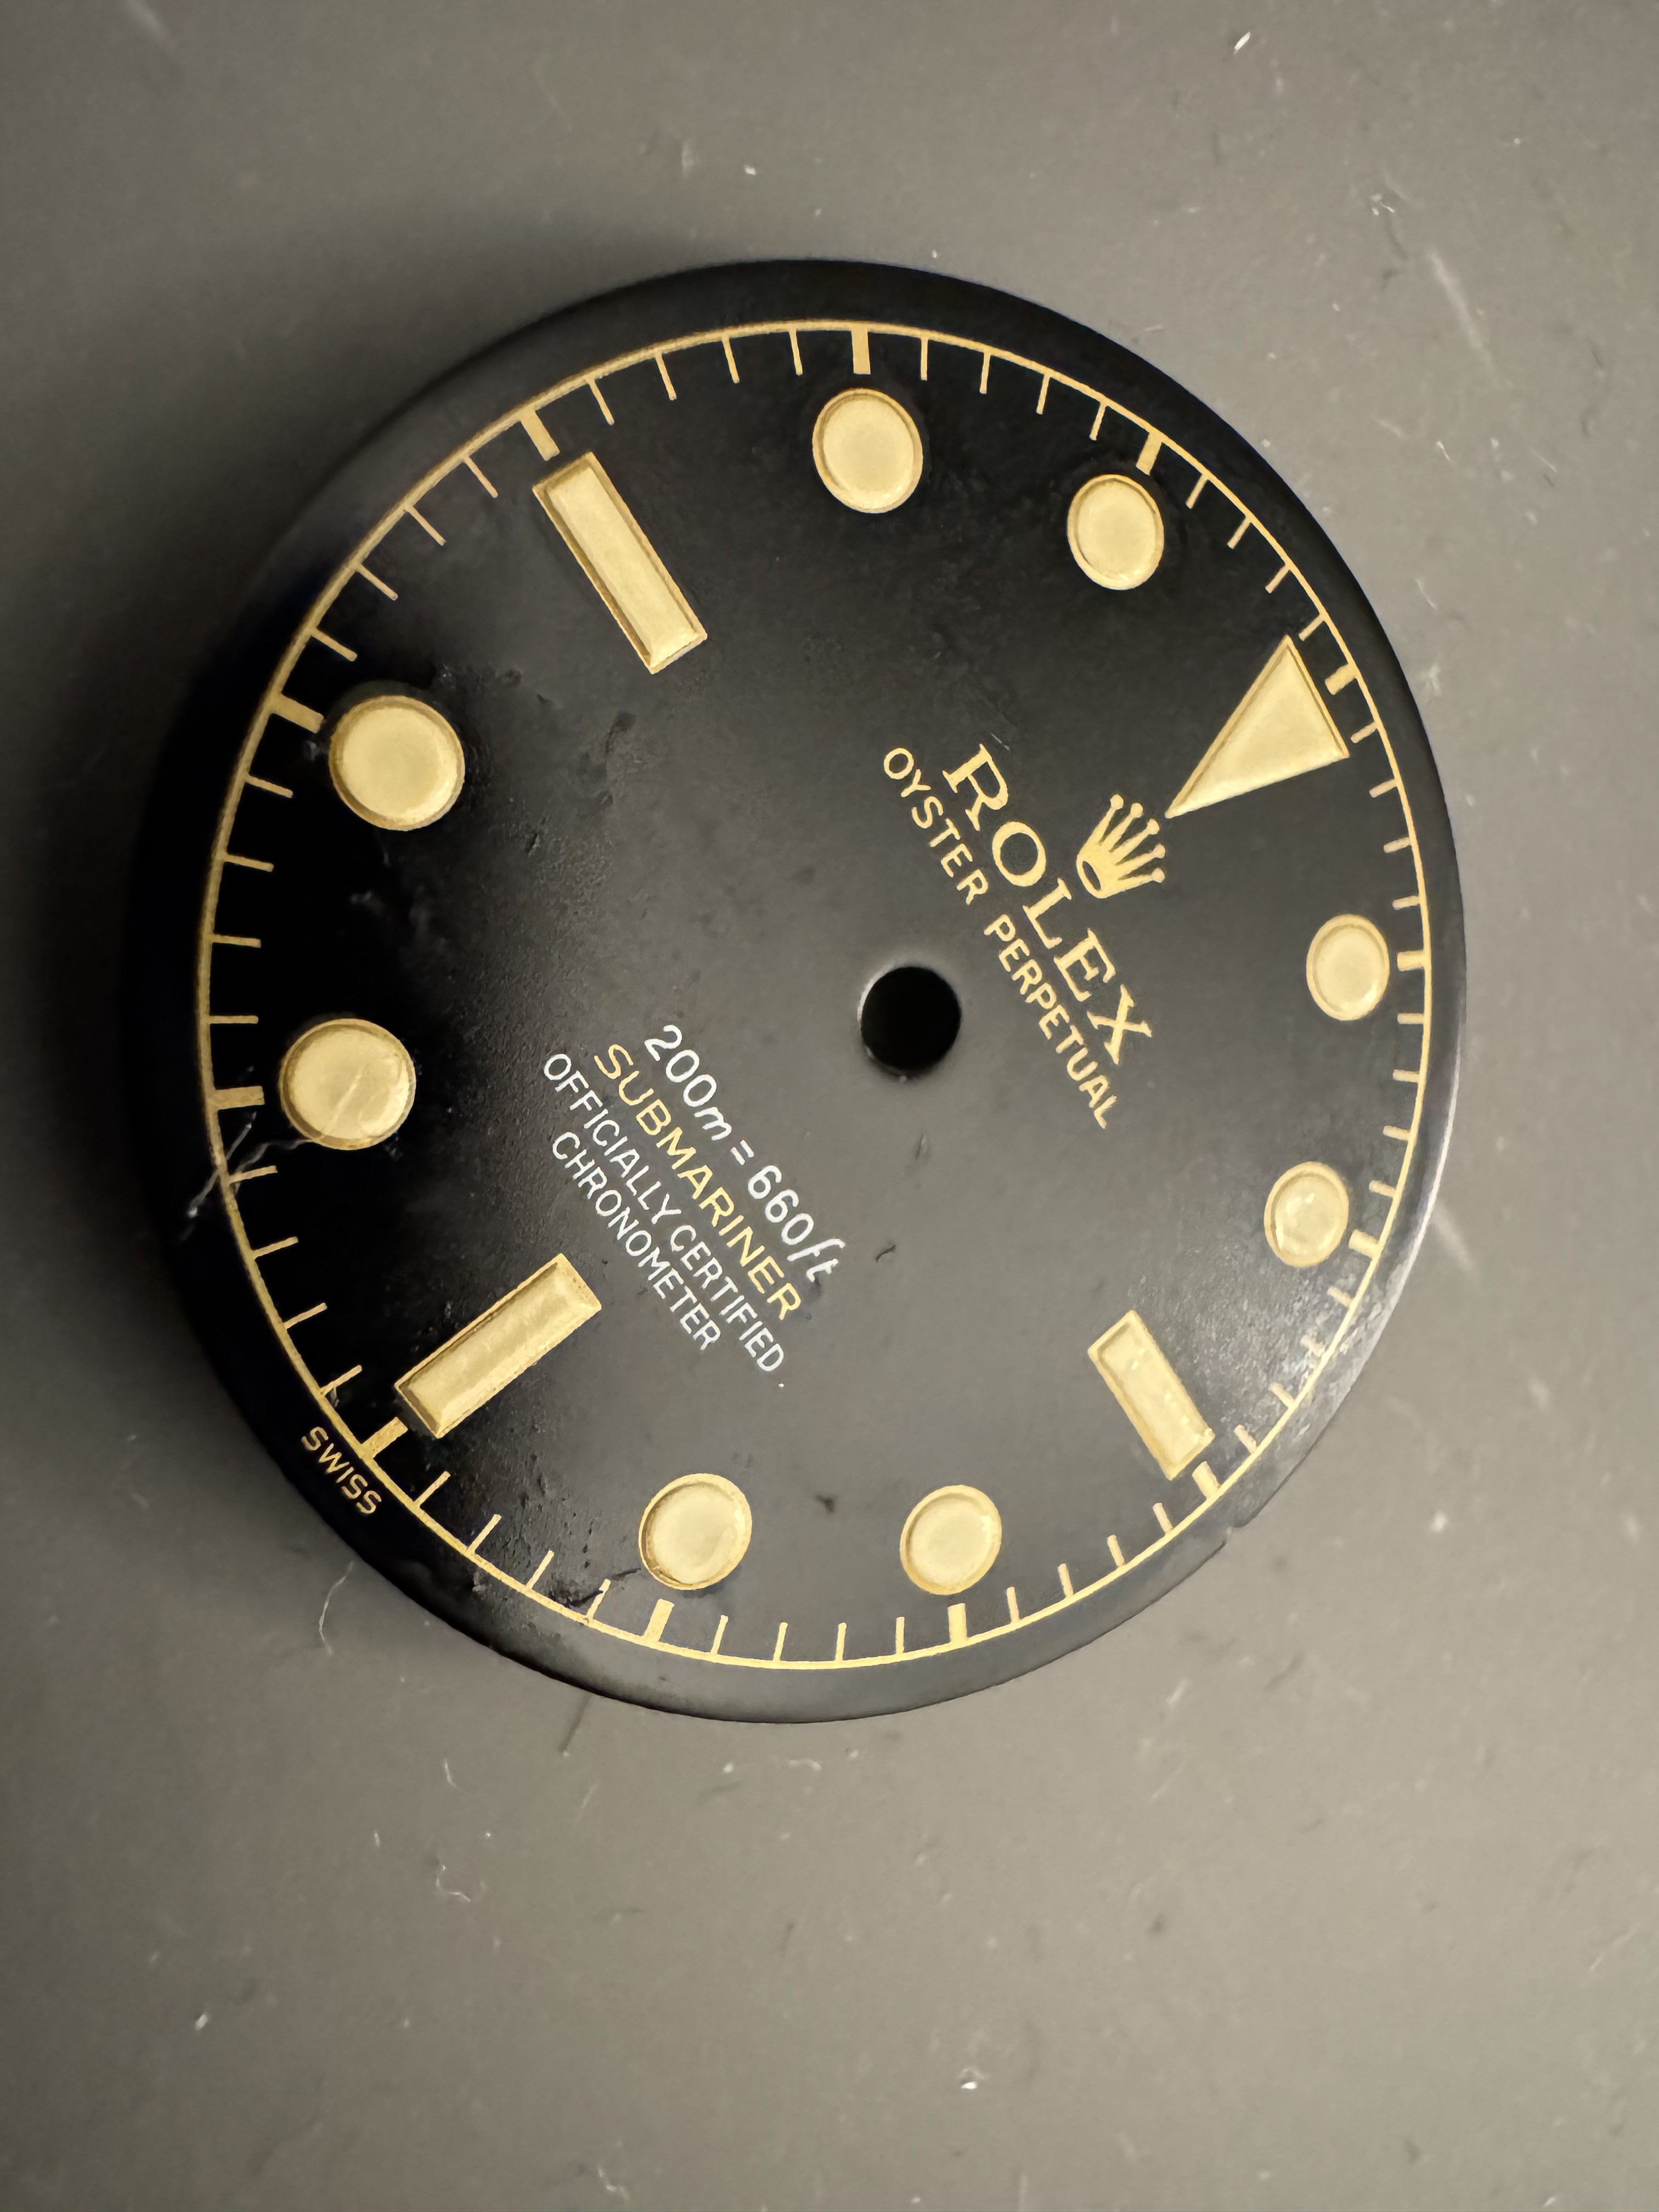
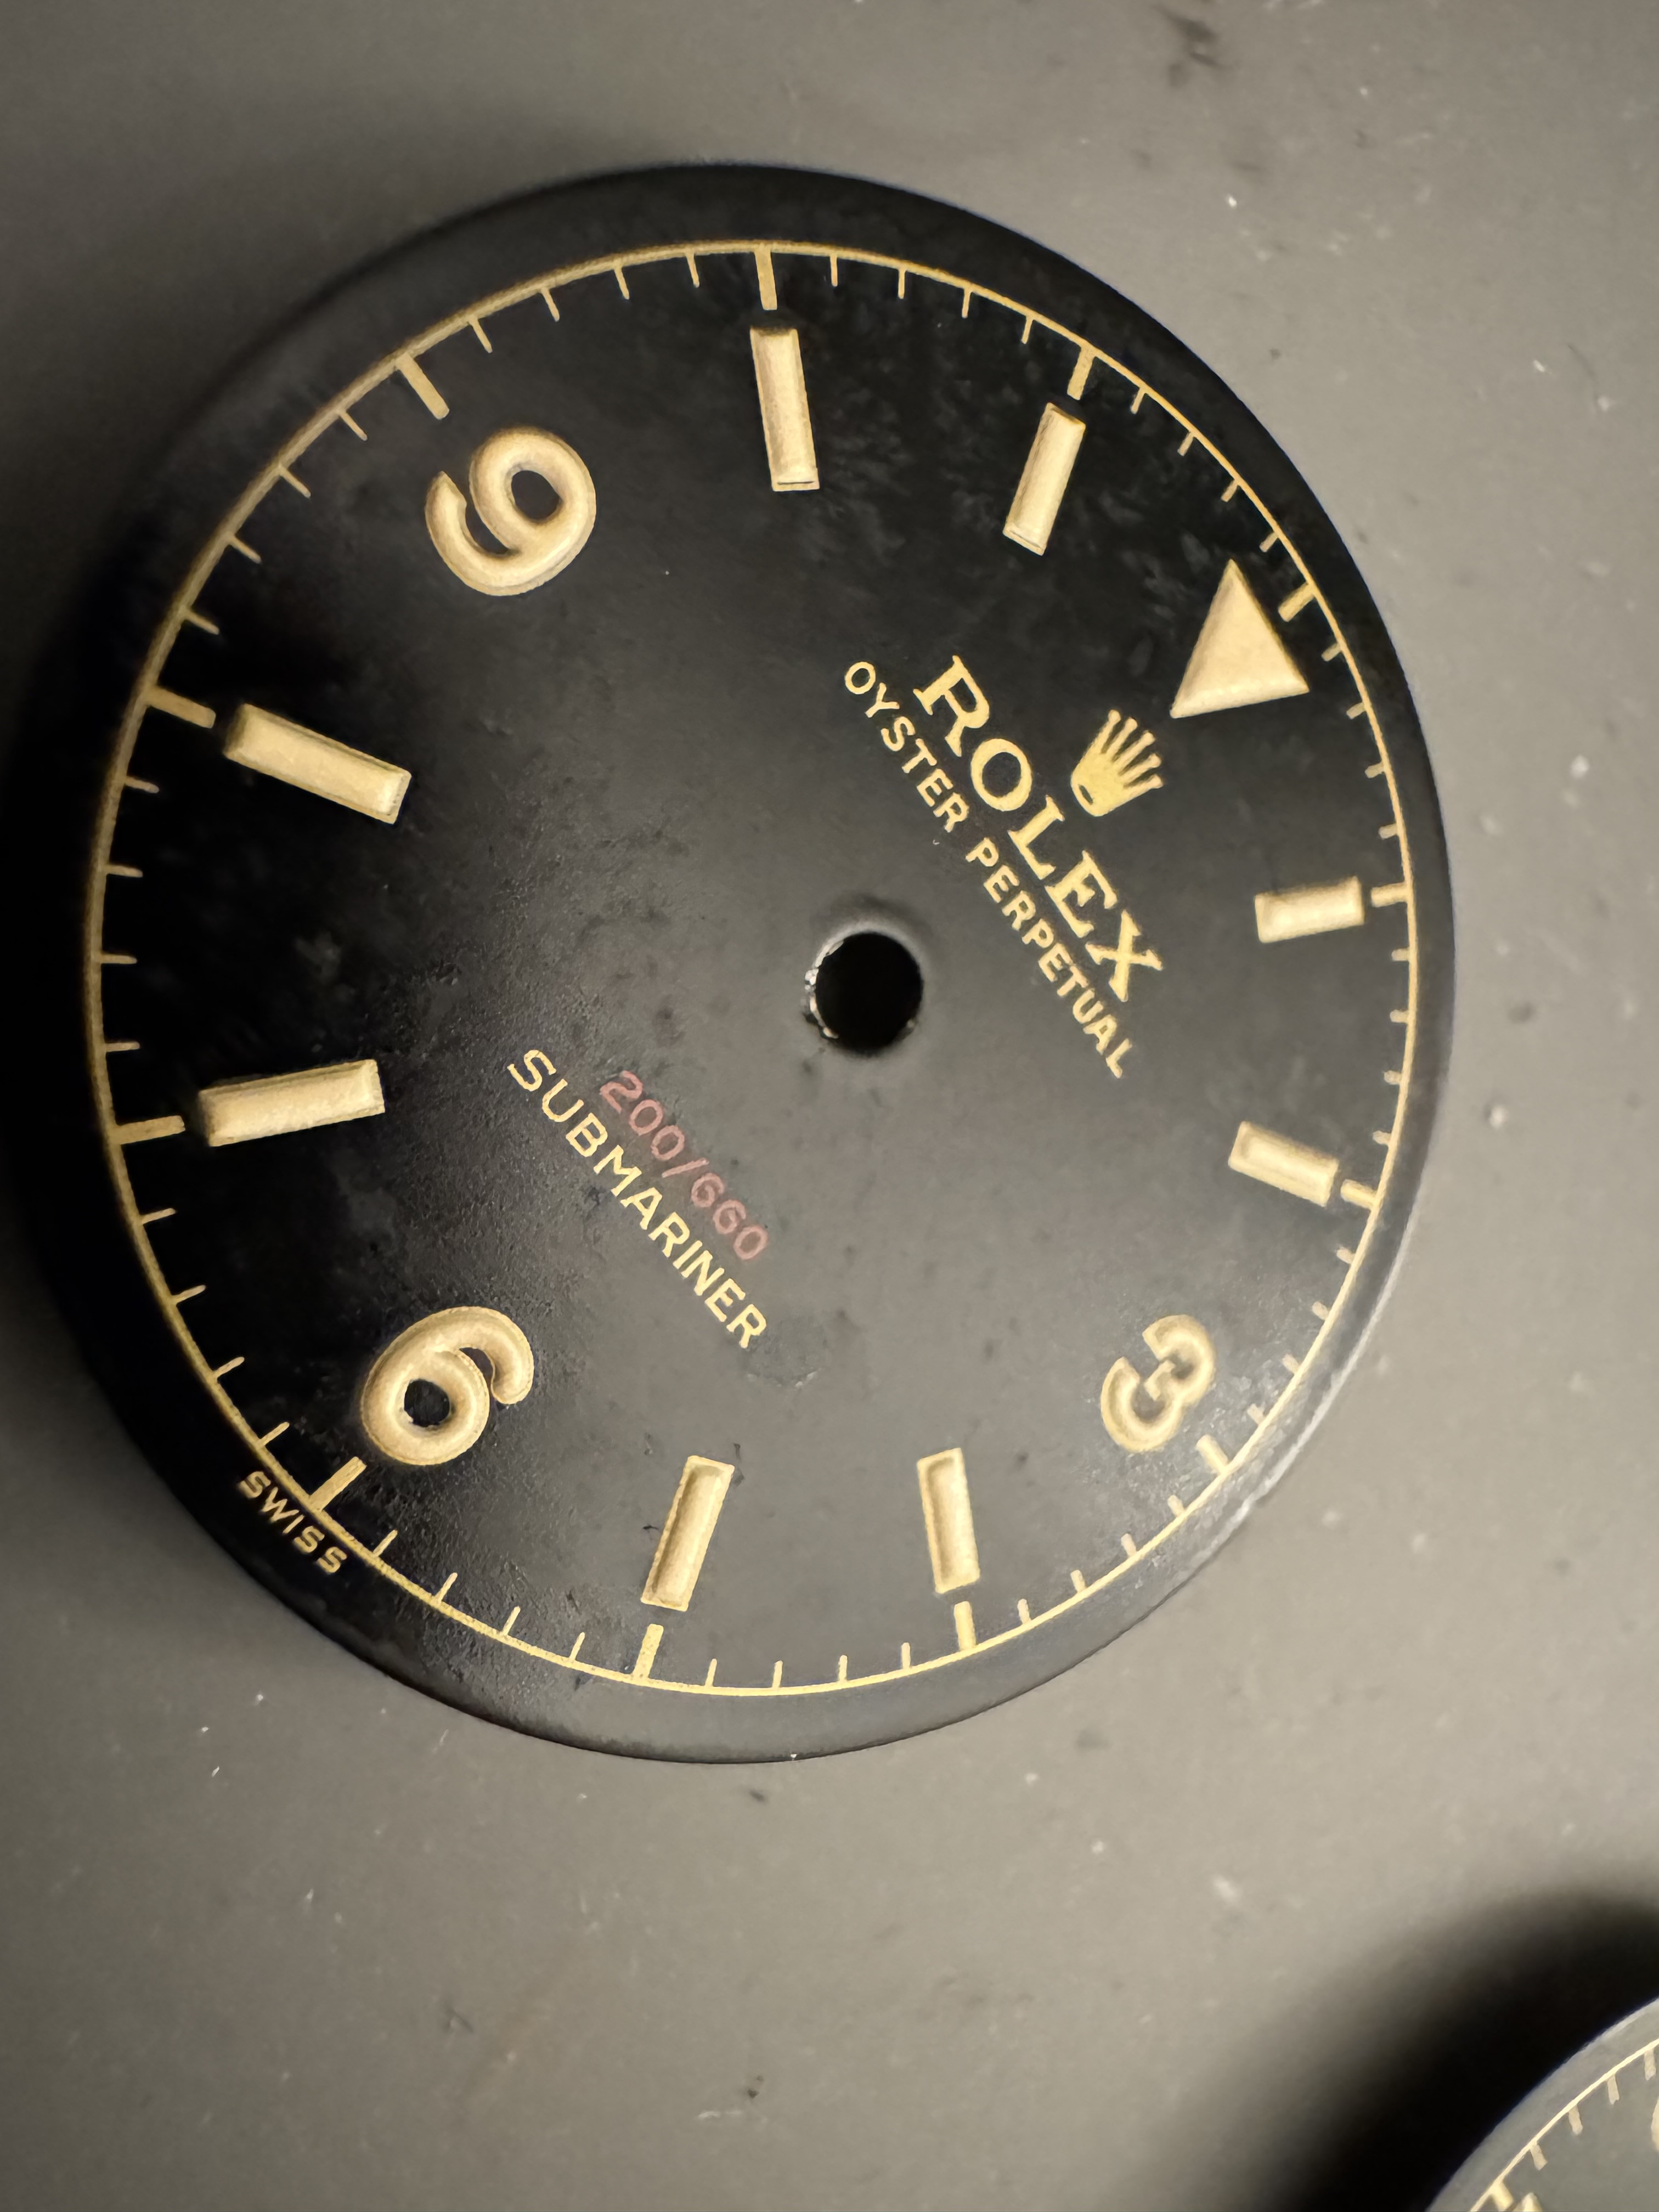
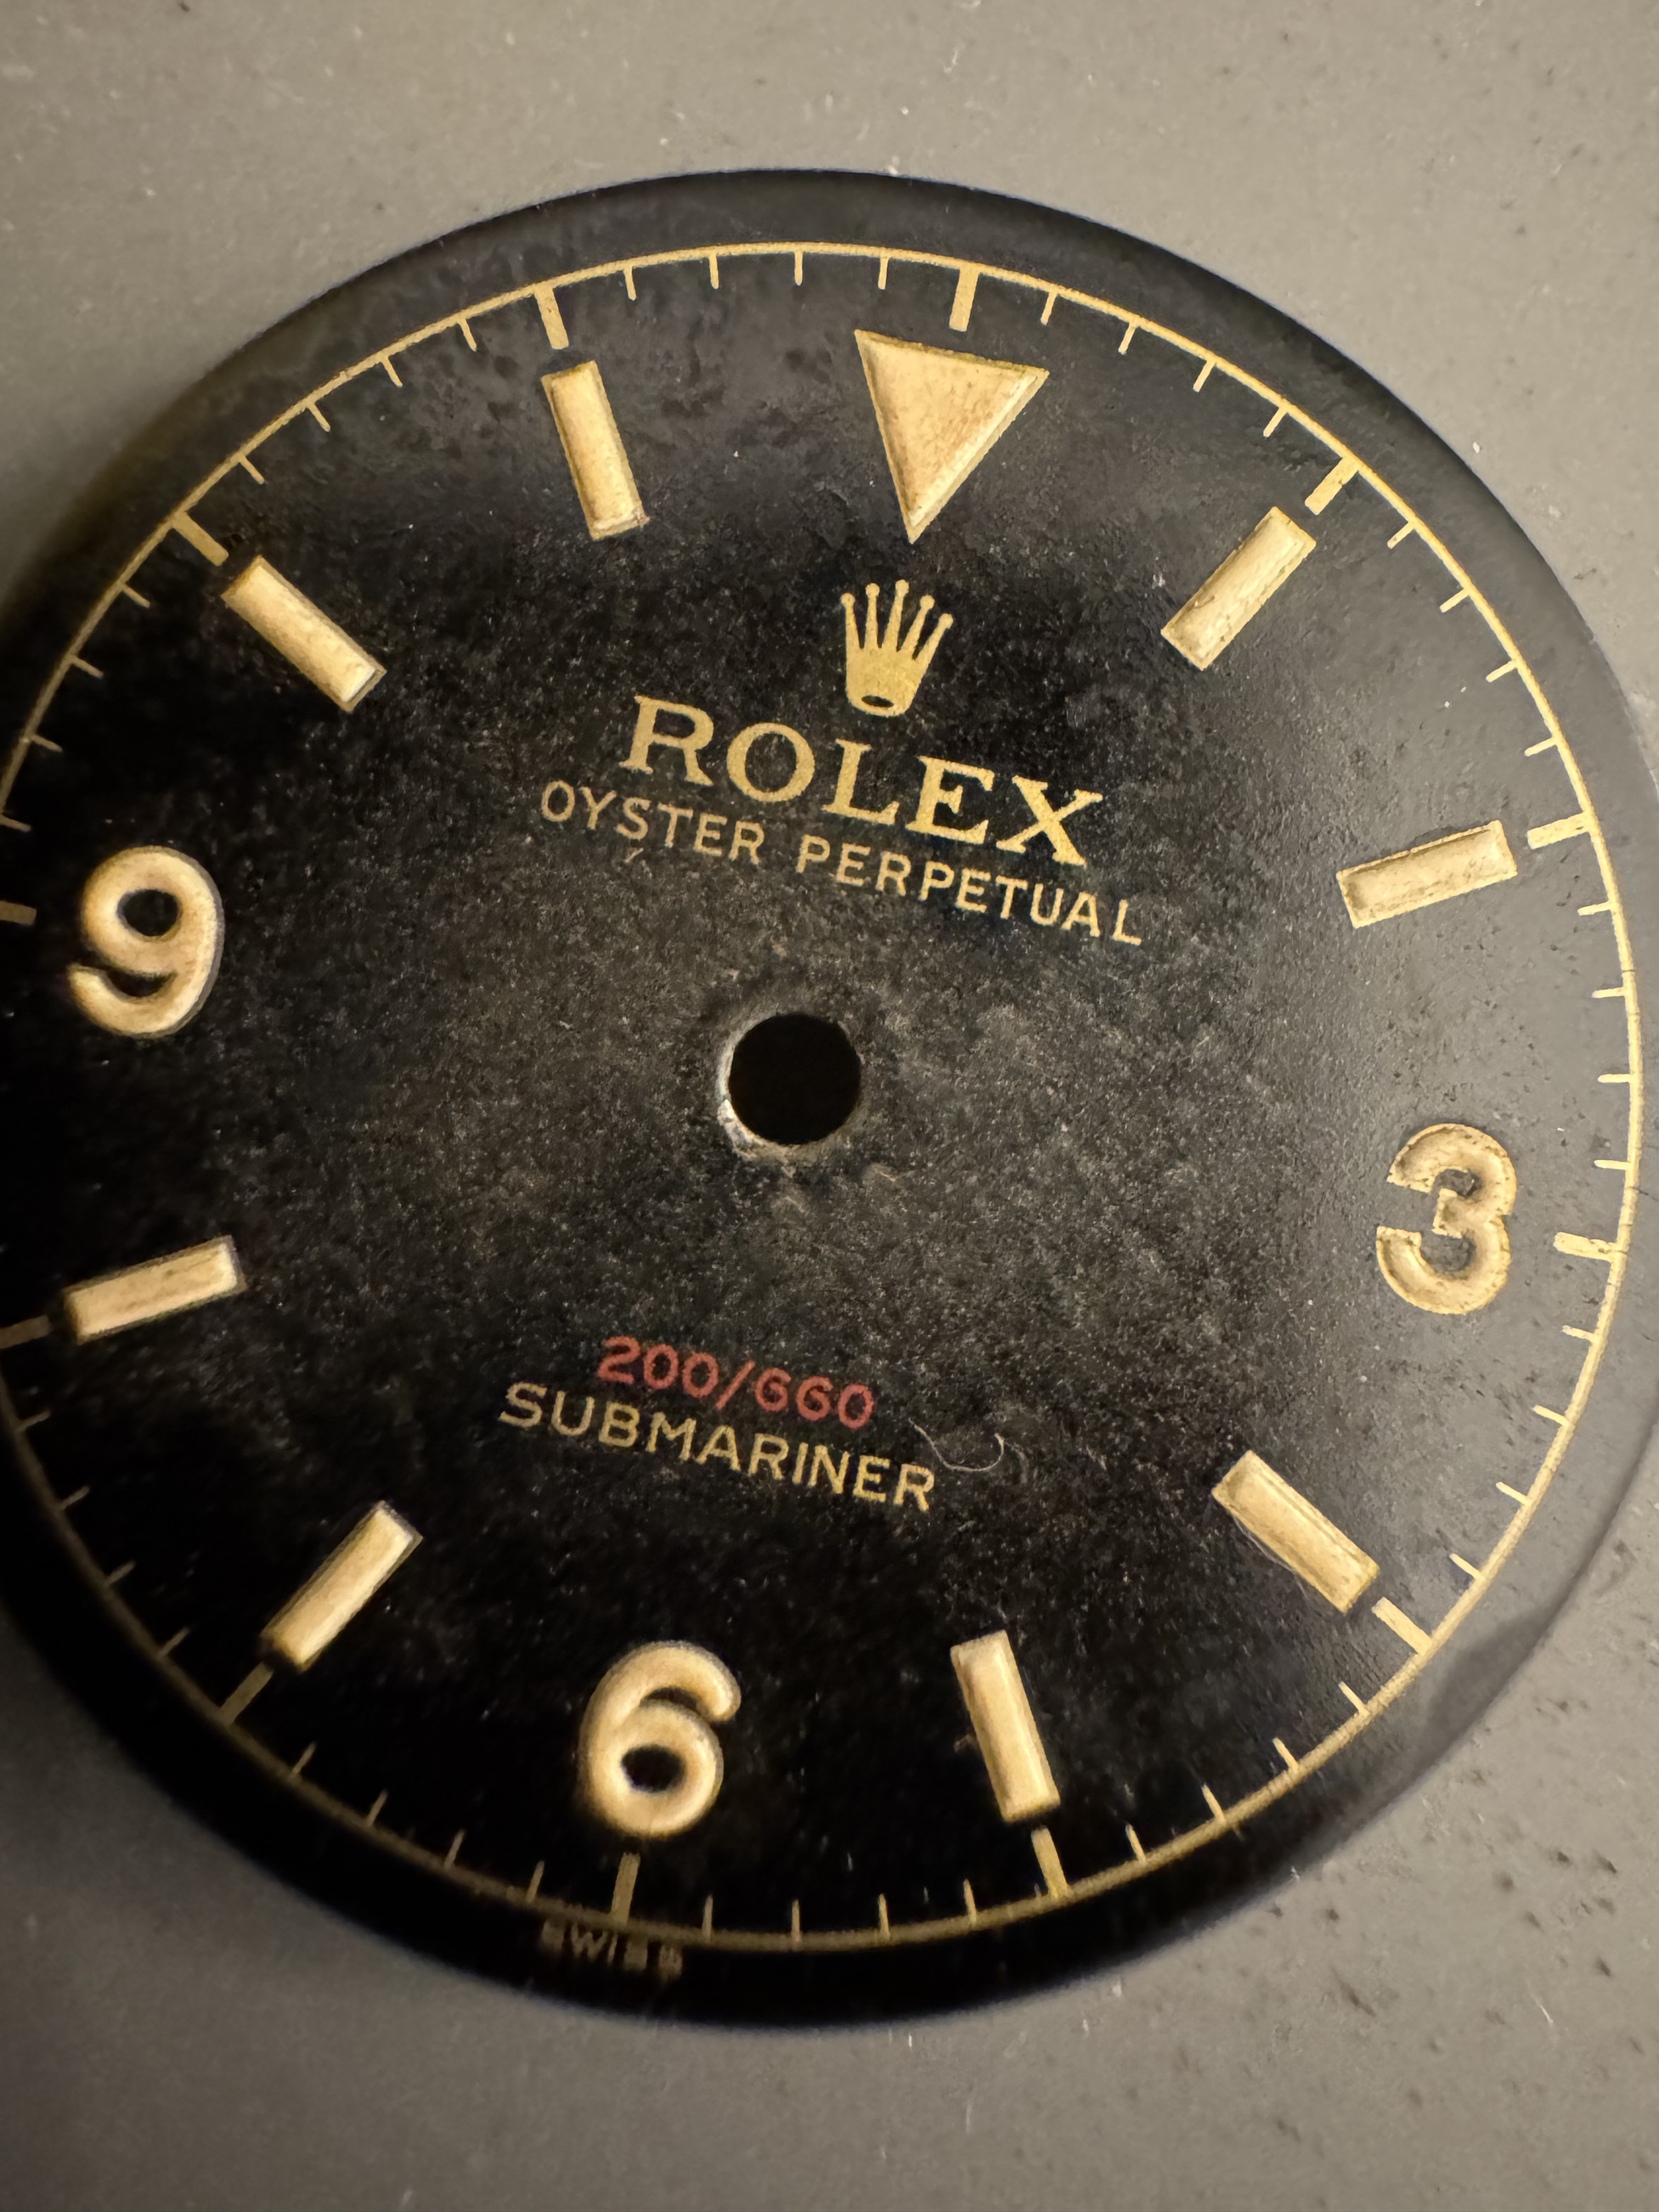
Now have the two cases it time to start work on the two dials iv chosen. This thread is awesome and gives some great techniques


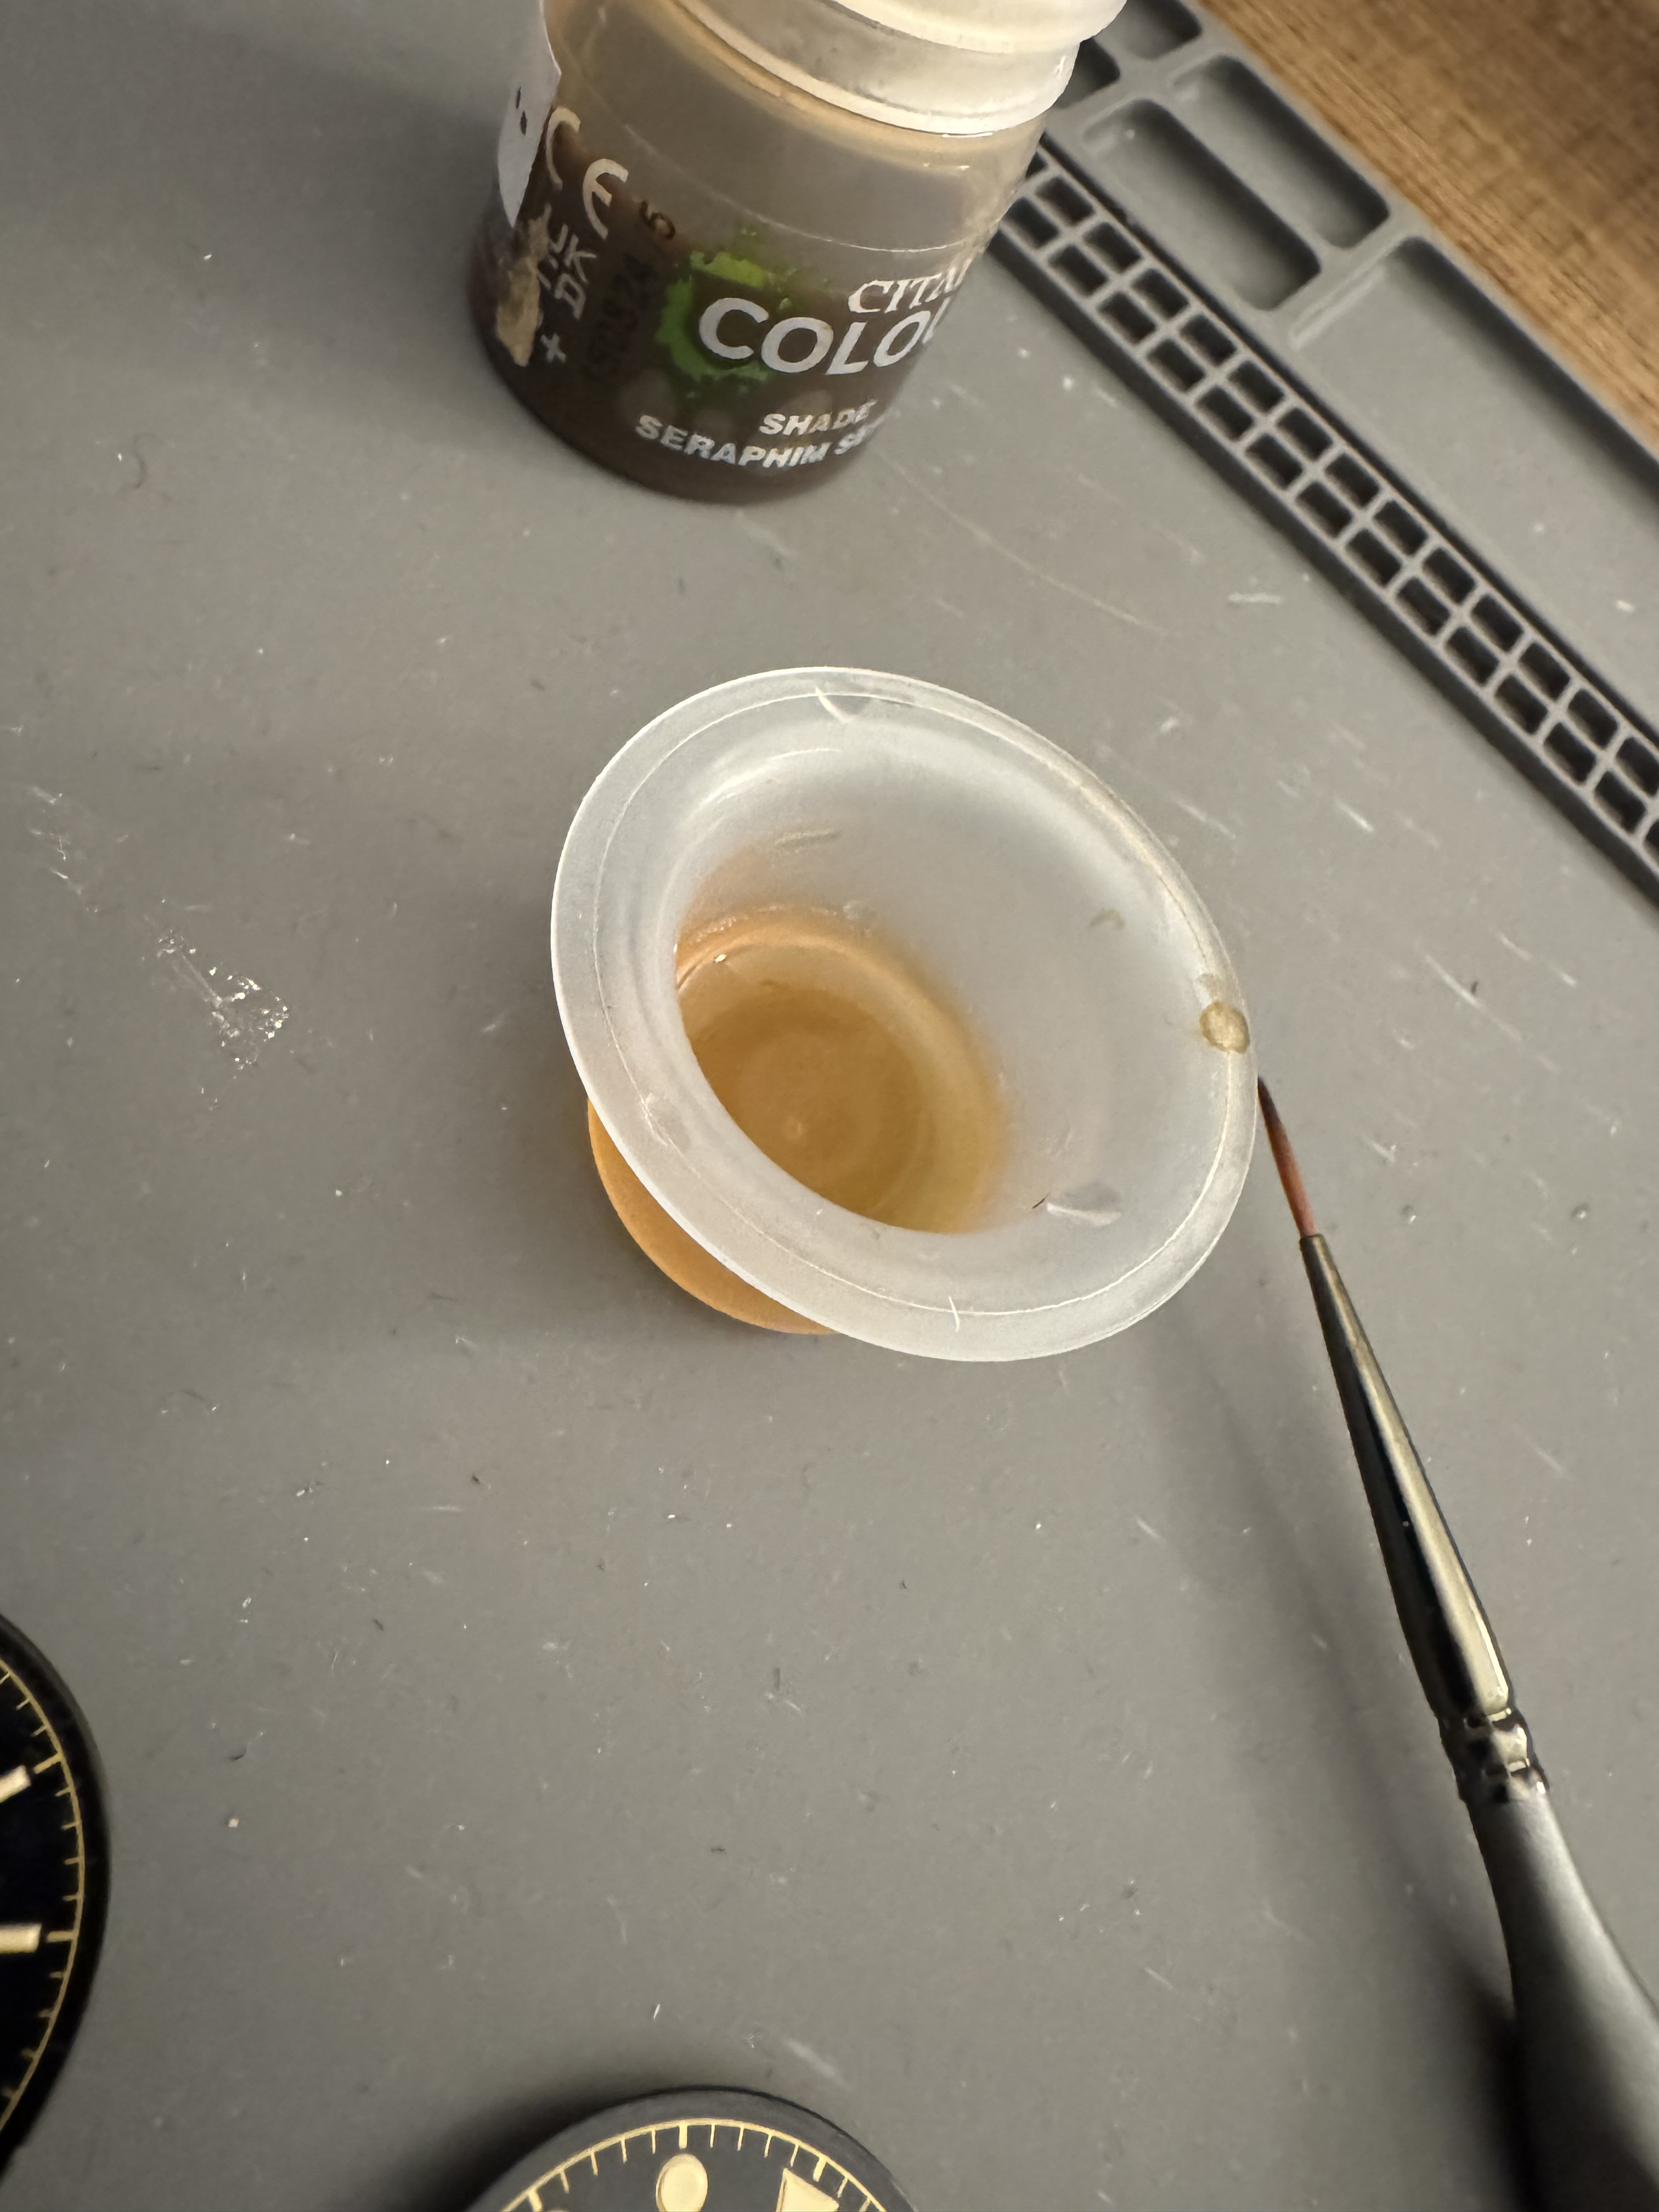
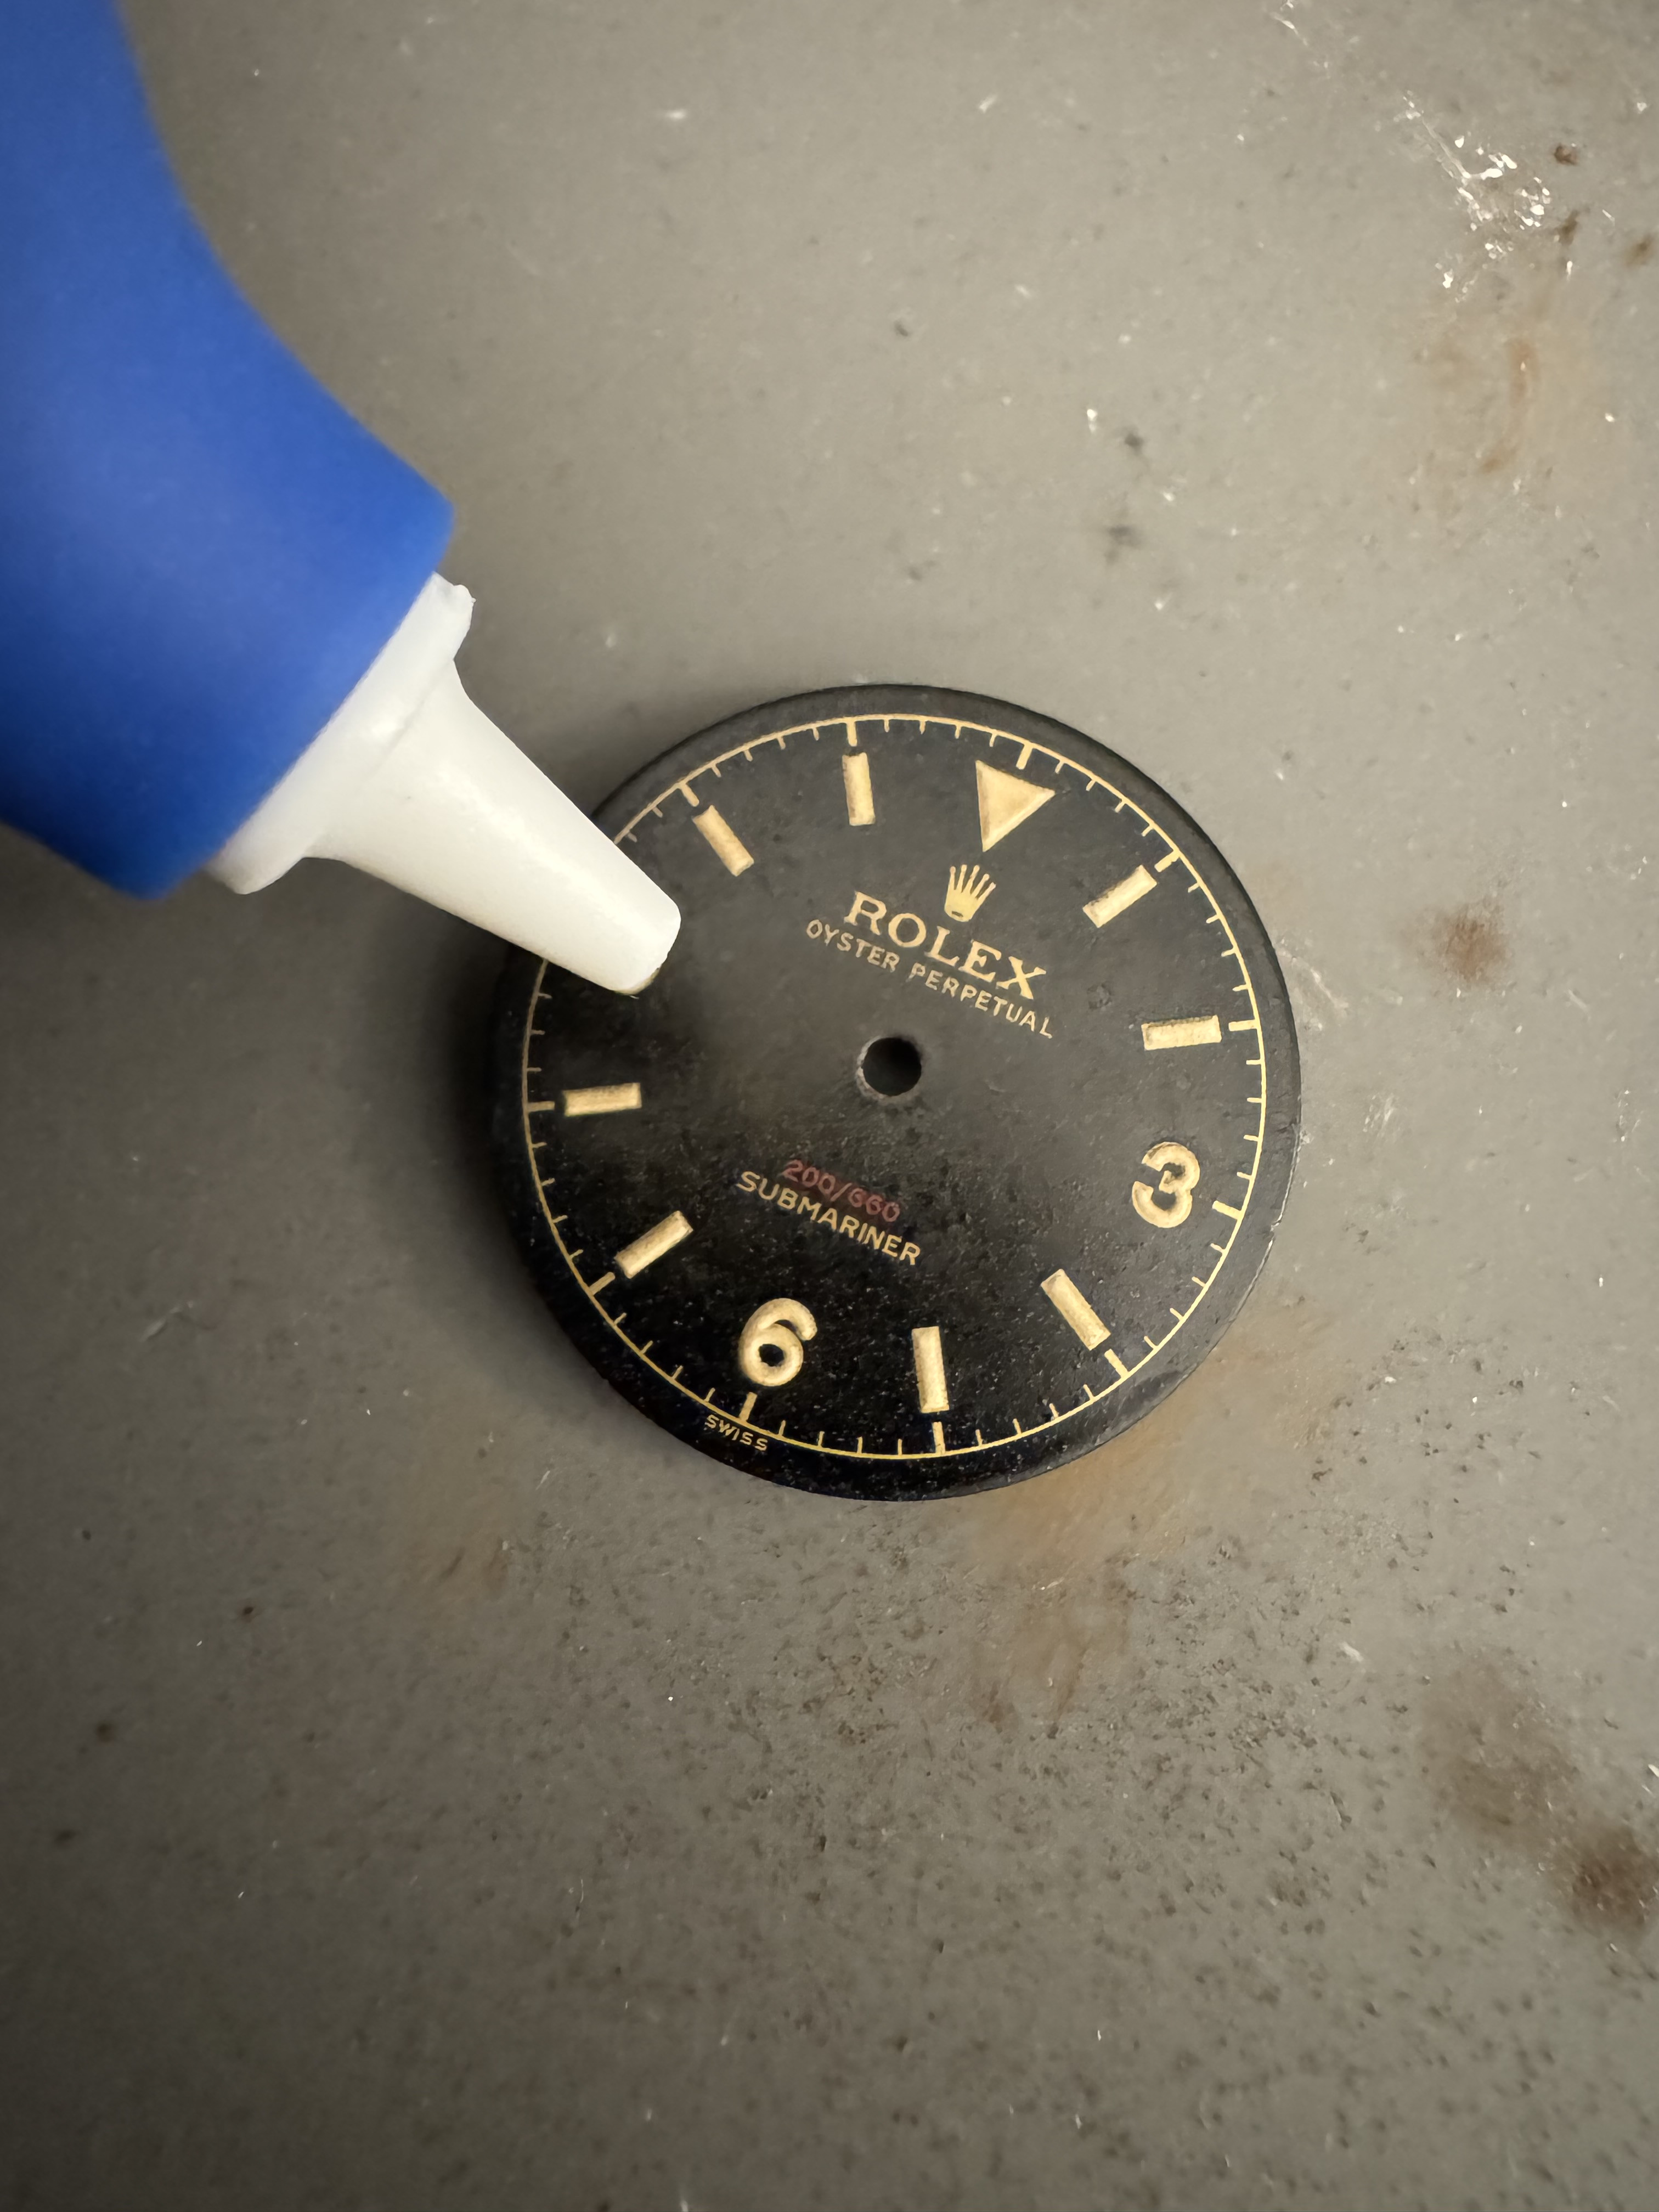
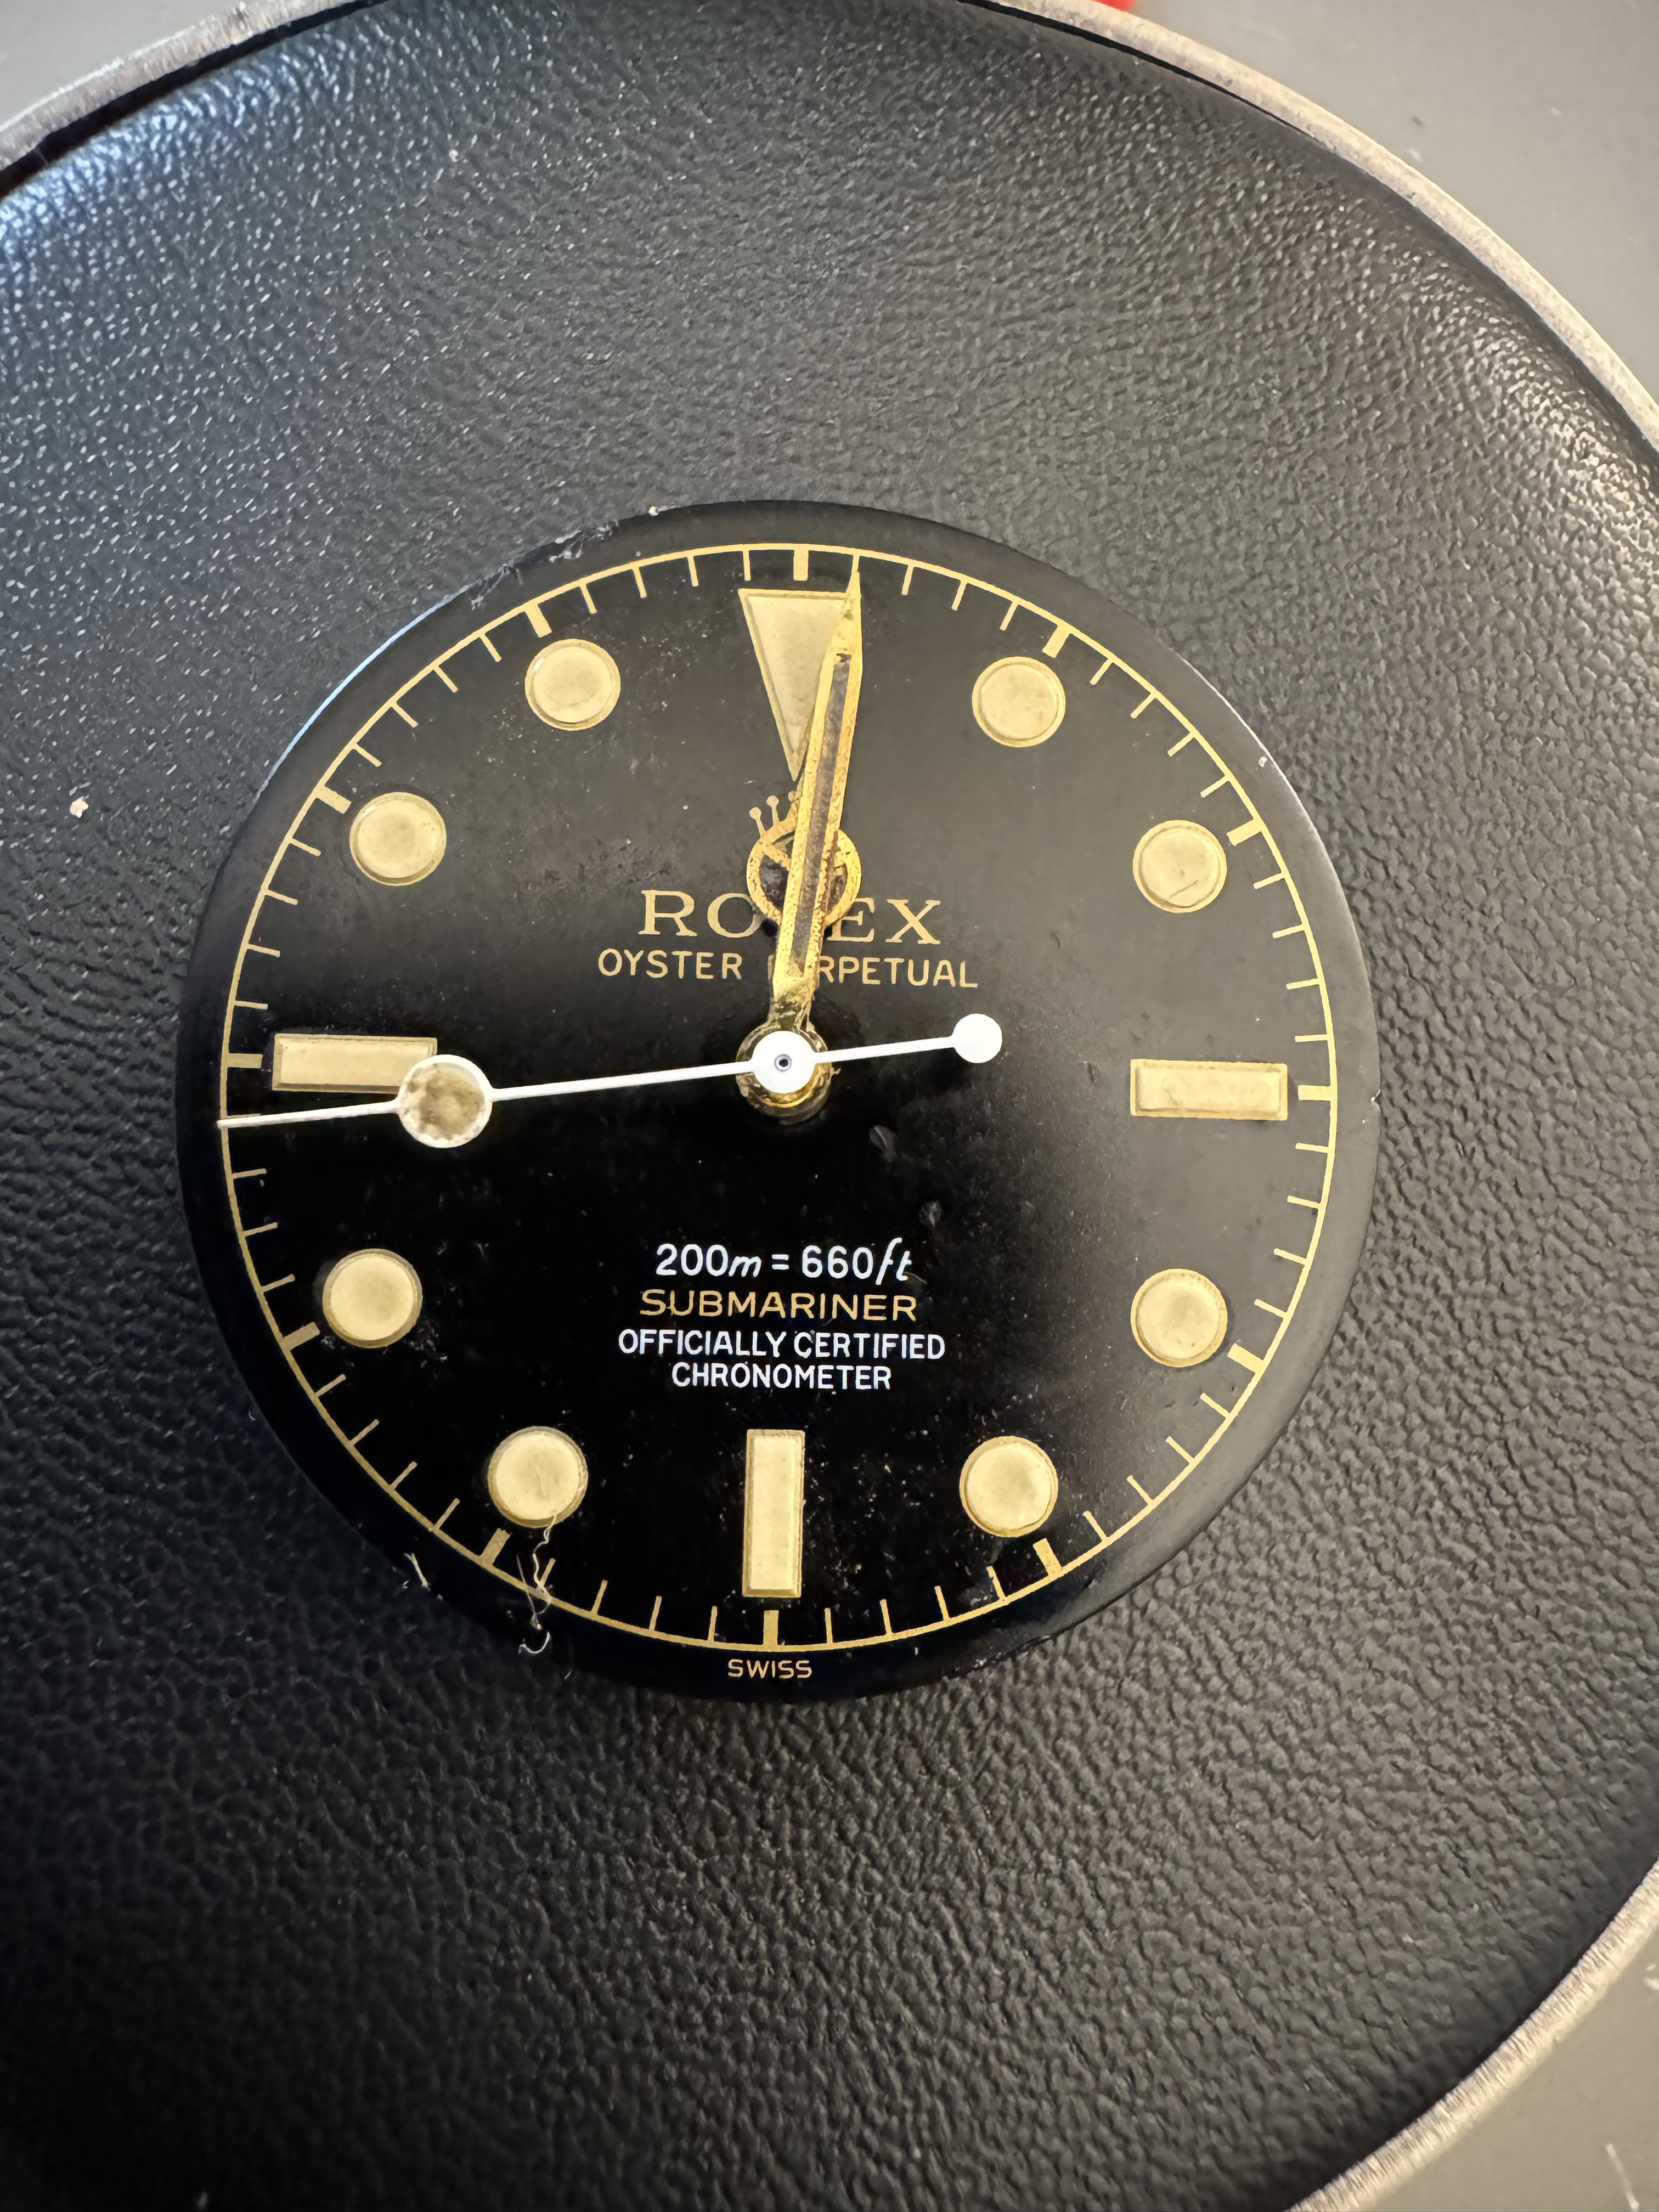
I’m starting off with some watered down citadel varnish, very thin coat and leave to dry, I’m not going mad here I just want a slightly glossy finish with some small imperfections
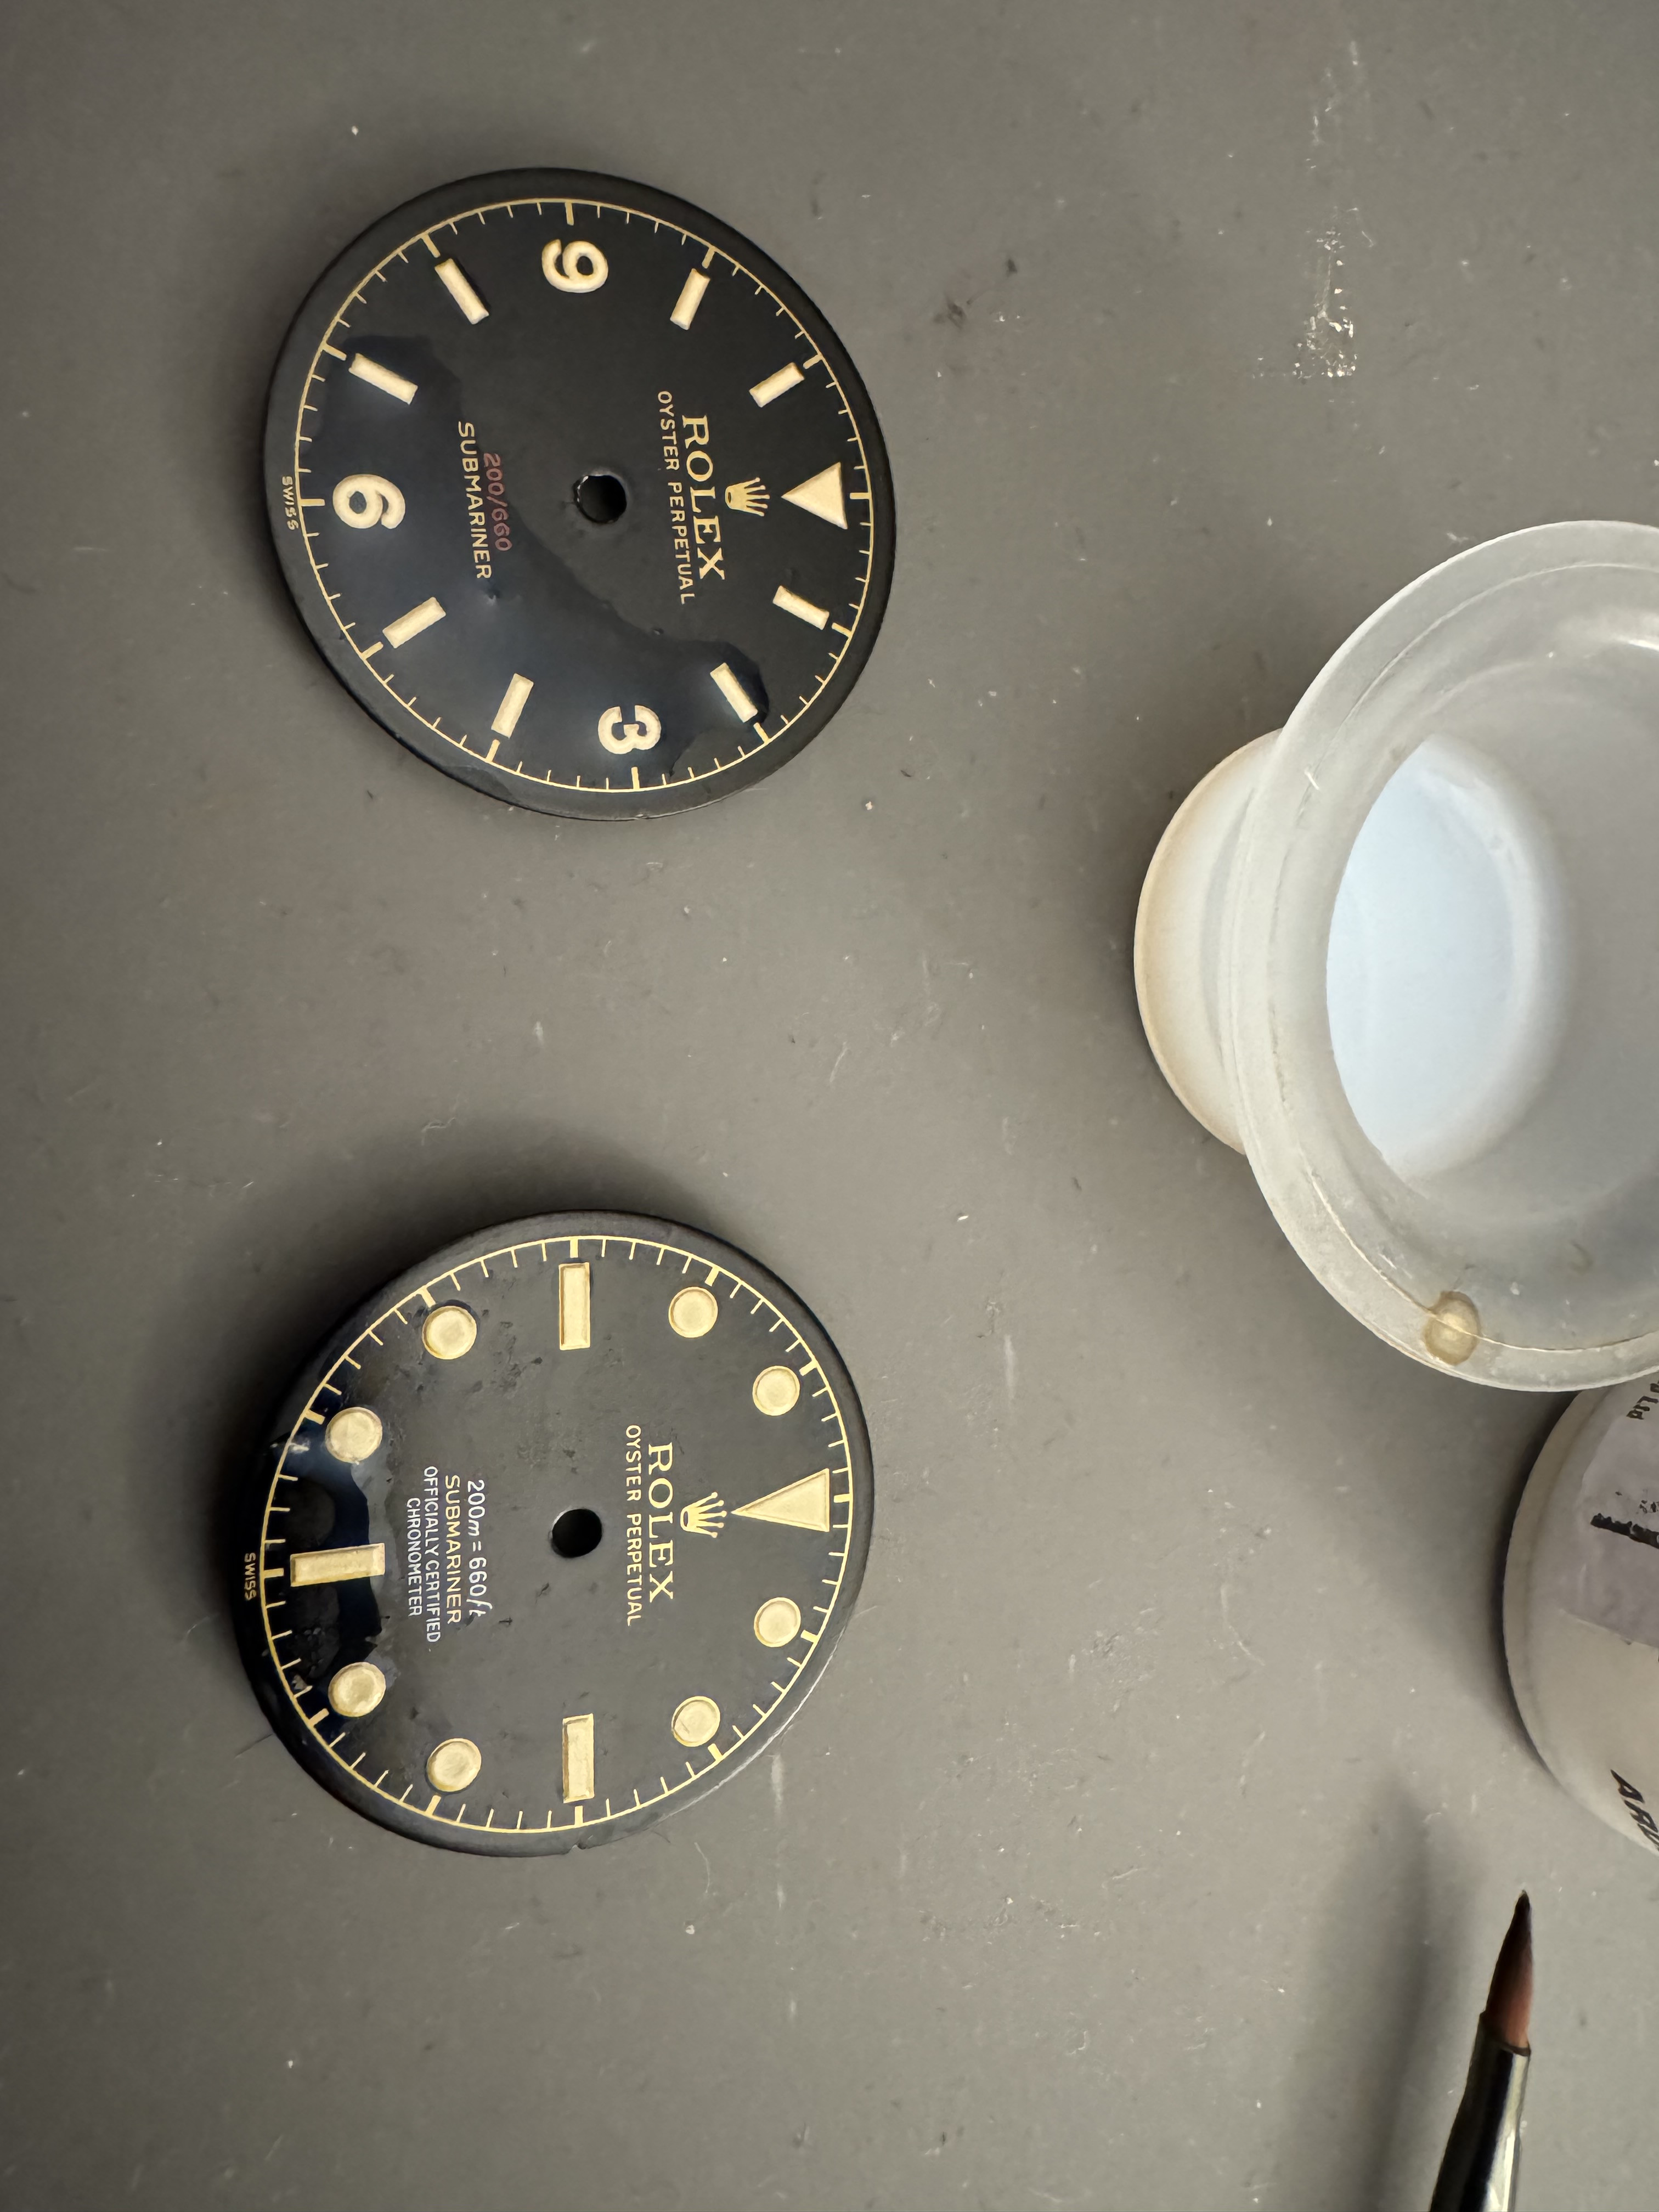


That’s where I’m up to for now. If anyone shows an interest then il continue this thread. If not, then balls to it :ROFLMAO:
 

dpd3672

Putting the "whore" in "horology" since 2023
Patron
Certified
29/5/23
1,850
3,024
113
USA
Love following these builds.

I think every builder takes a little bit from every build they follow and incorporates it into their own, which kind of makes each of our watches "cousins" in an odd way. They're also unique, as we each interpret and apply the techniques we learn differently.

These will inspire dozens to follow, in every part of the world, which is kind of awesome.
 

Jip7645

Active Member
18/9/24
210
344
63
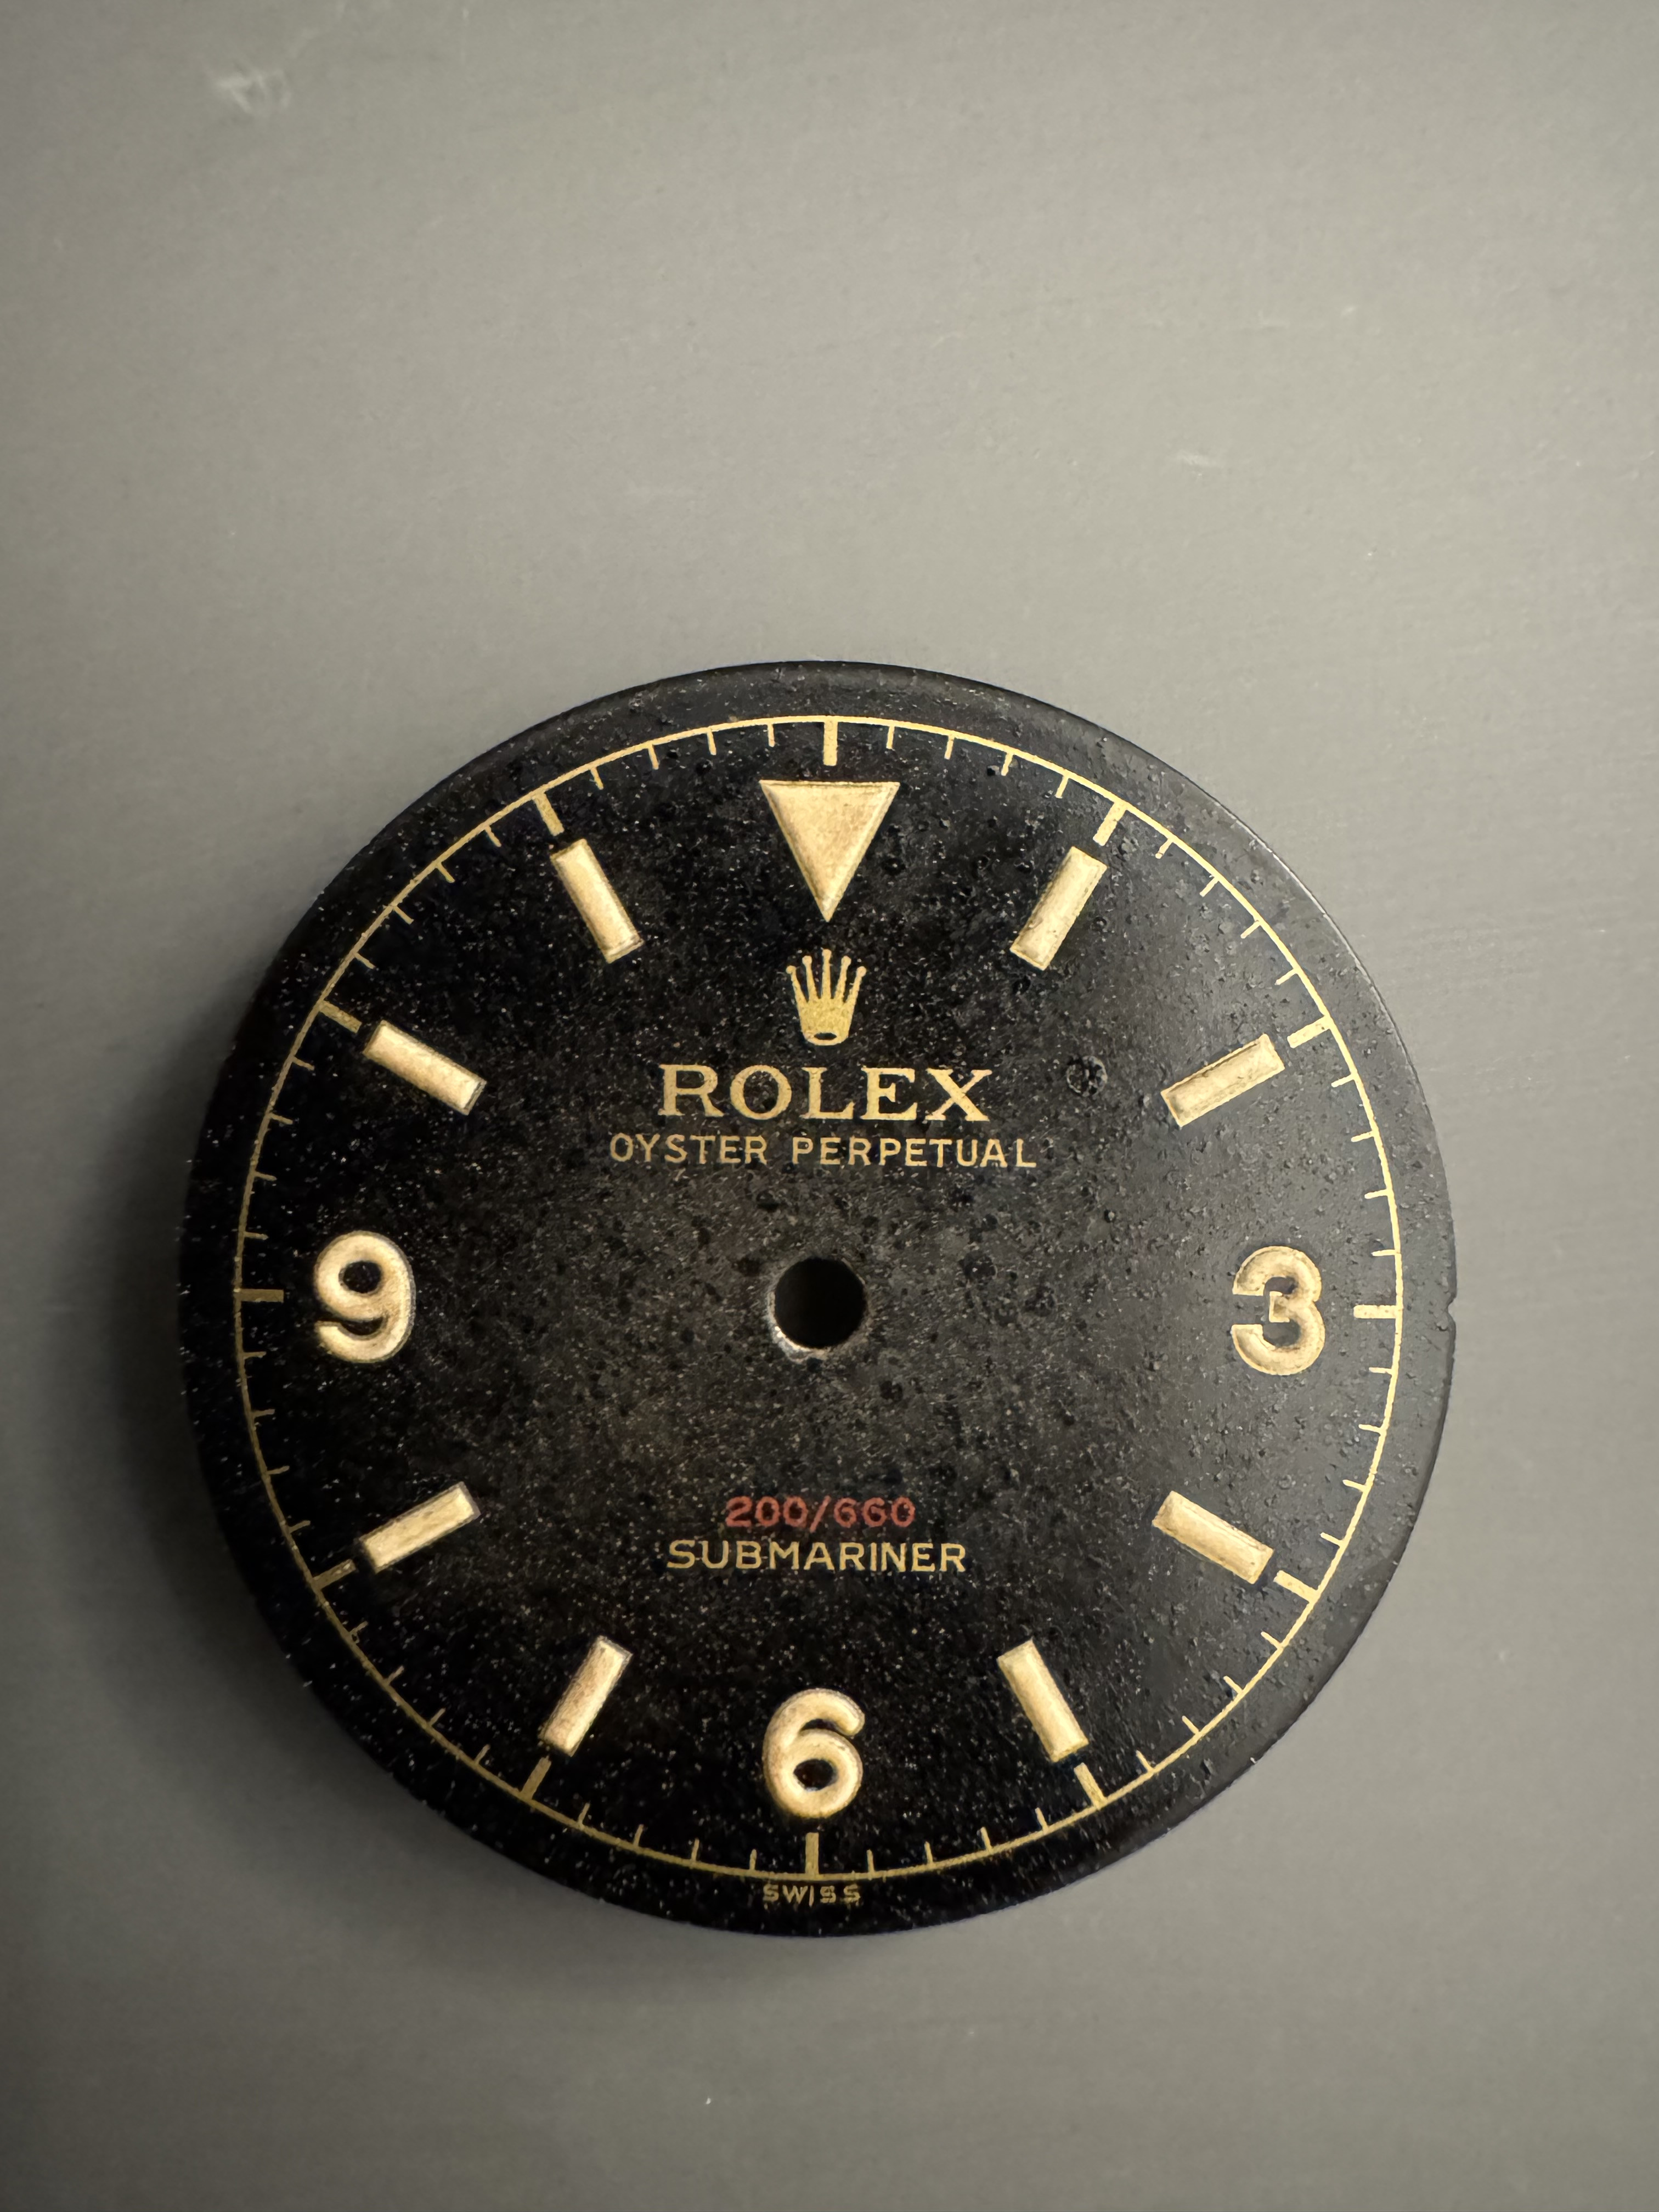
The dials are dry


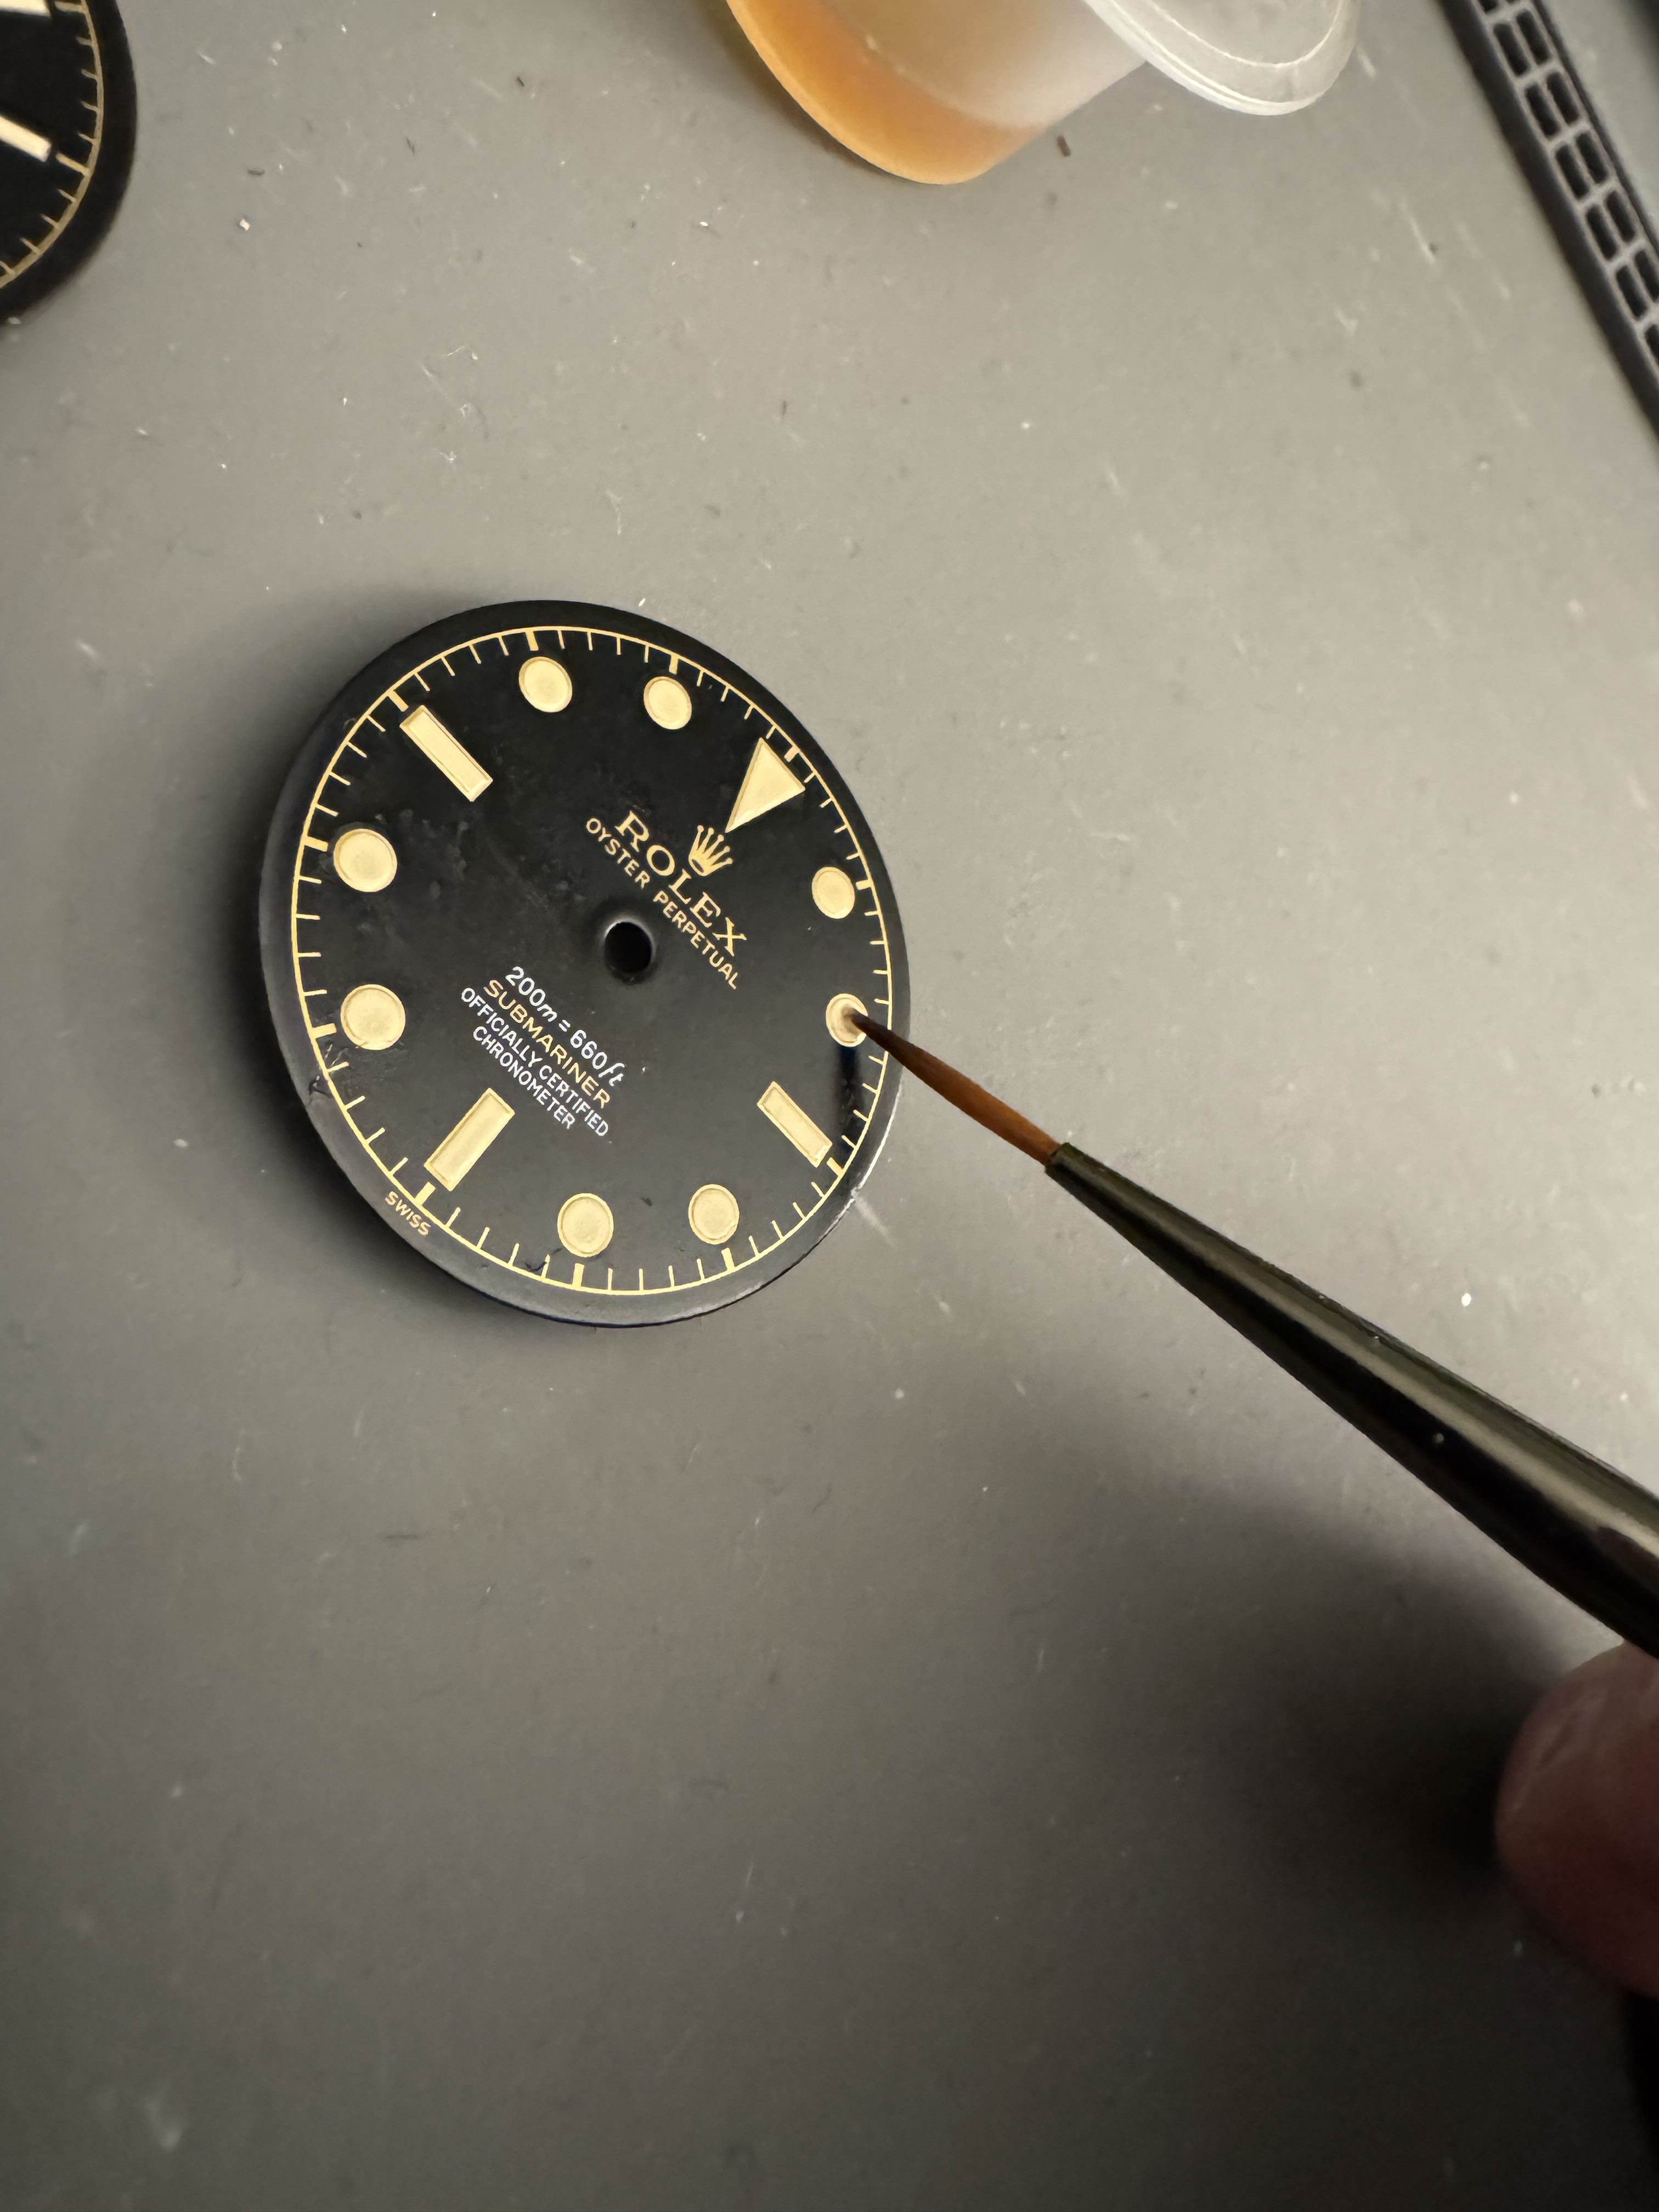
Going to add a slight tint to the lume markers now, I considered reluming, but it’s a fair bit of work and I admit I don’t have the patience for it right now. The good thing is I can always come back and do this at a later date if I’m so inclined.
Here I’m using a citadel dark wash mixed with water, again very thin and subtle. It will leave the current lume intact


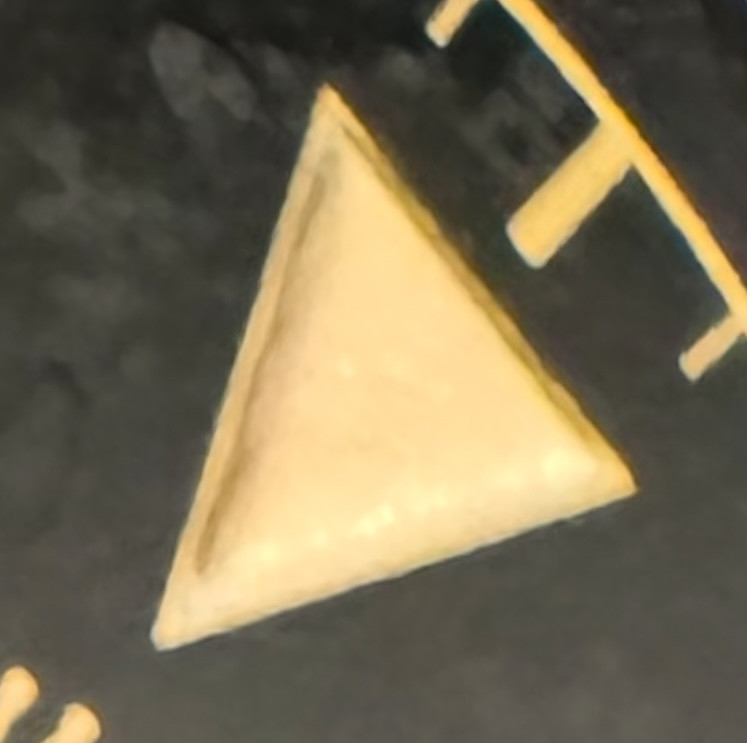
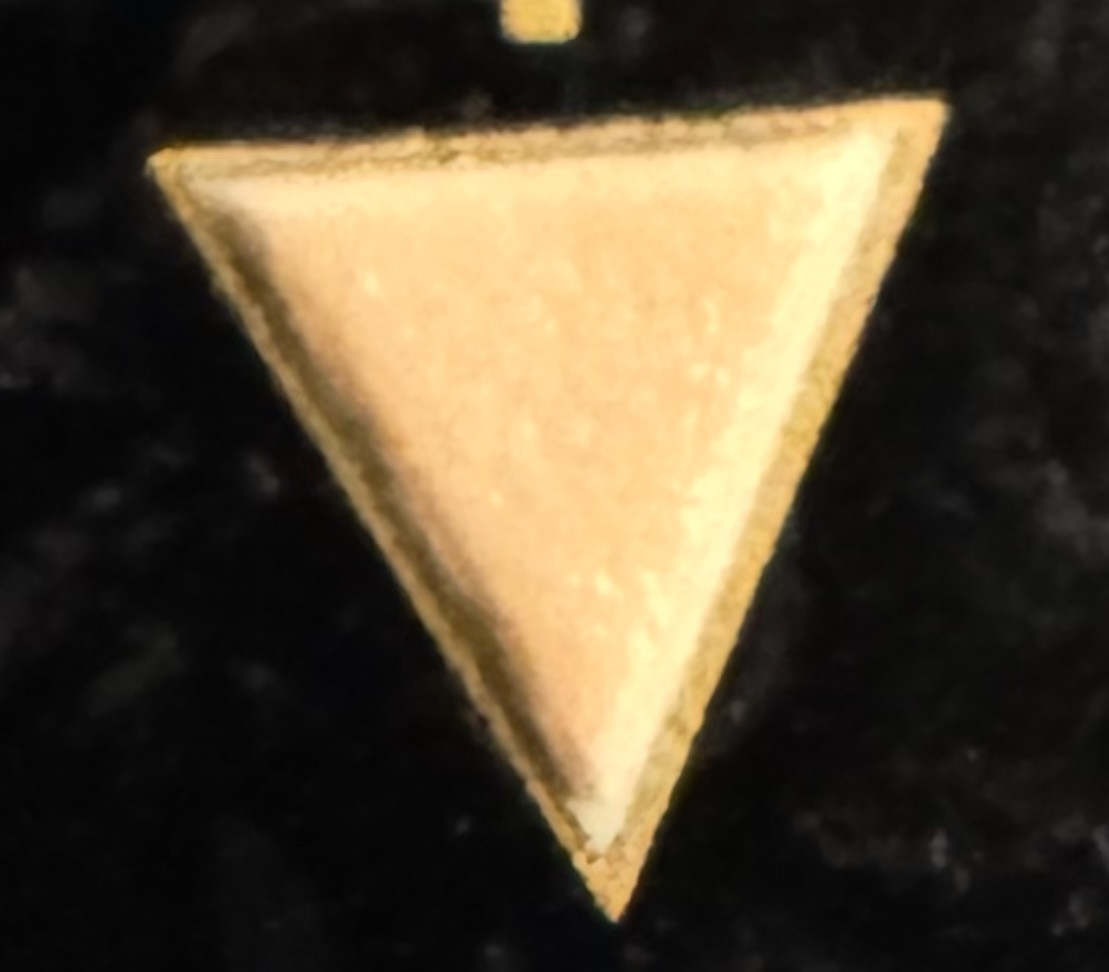
You can see the very very subtle difference close up


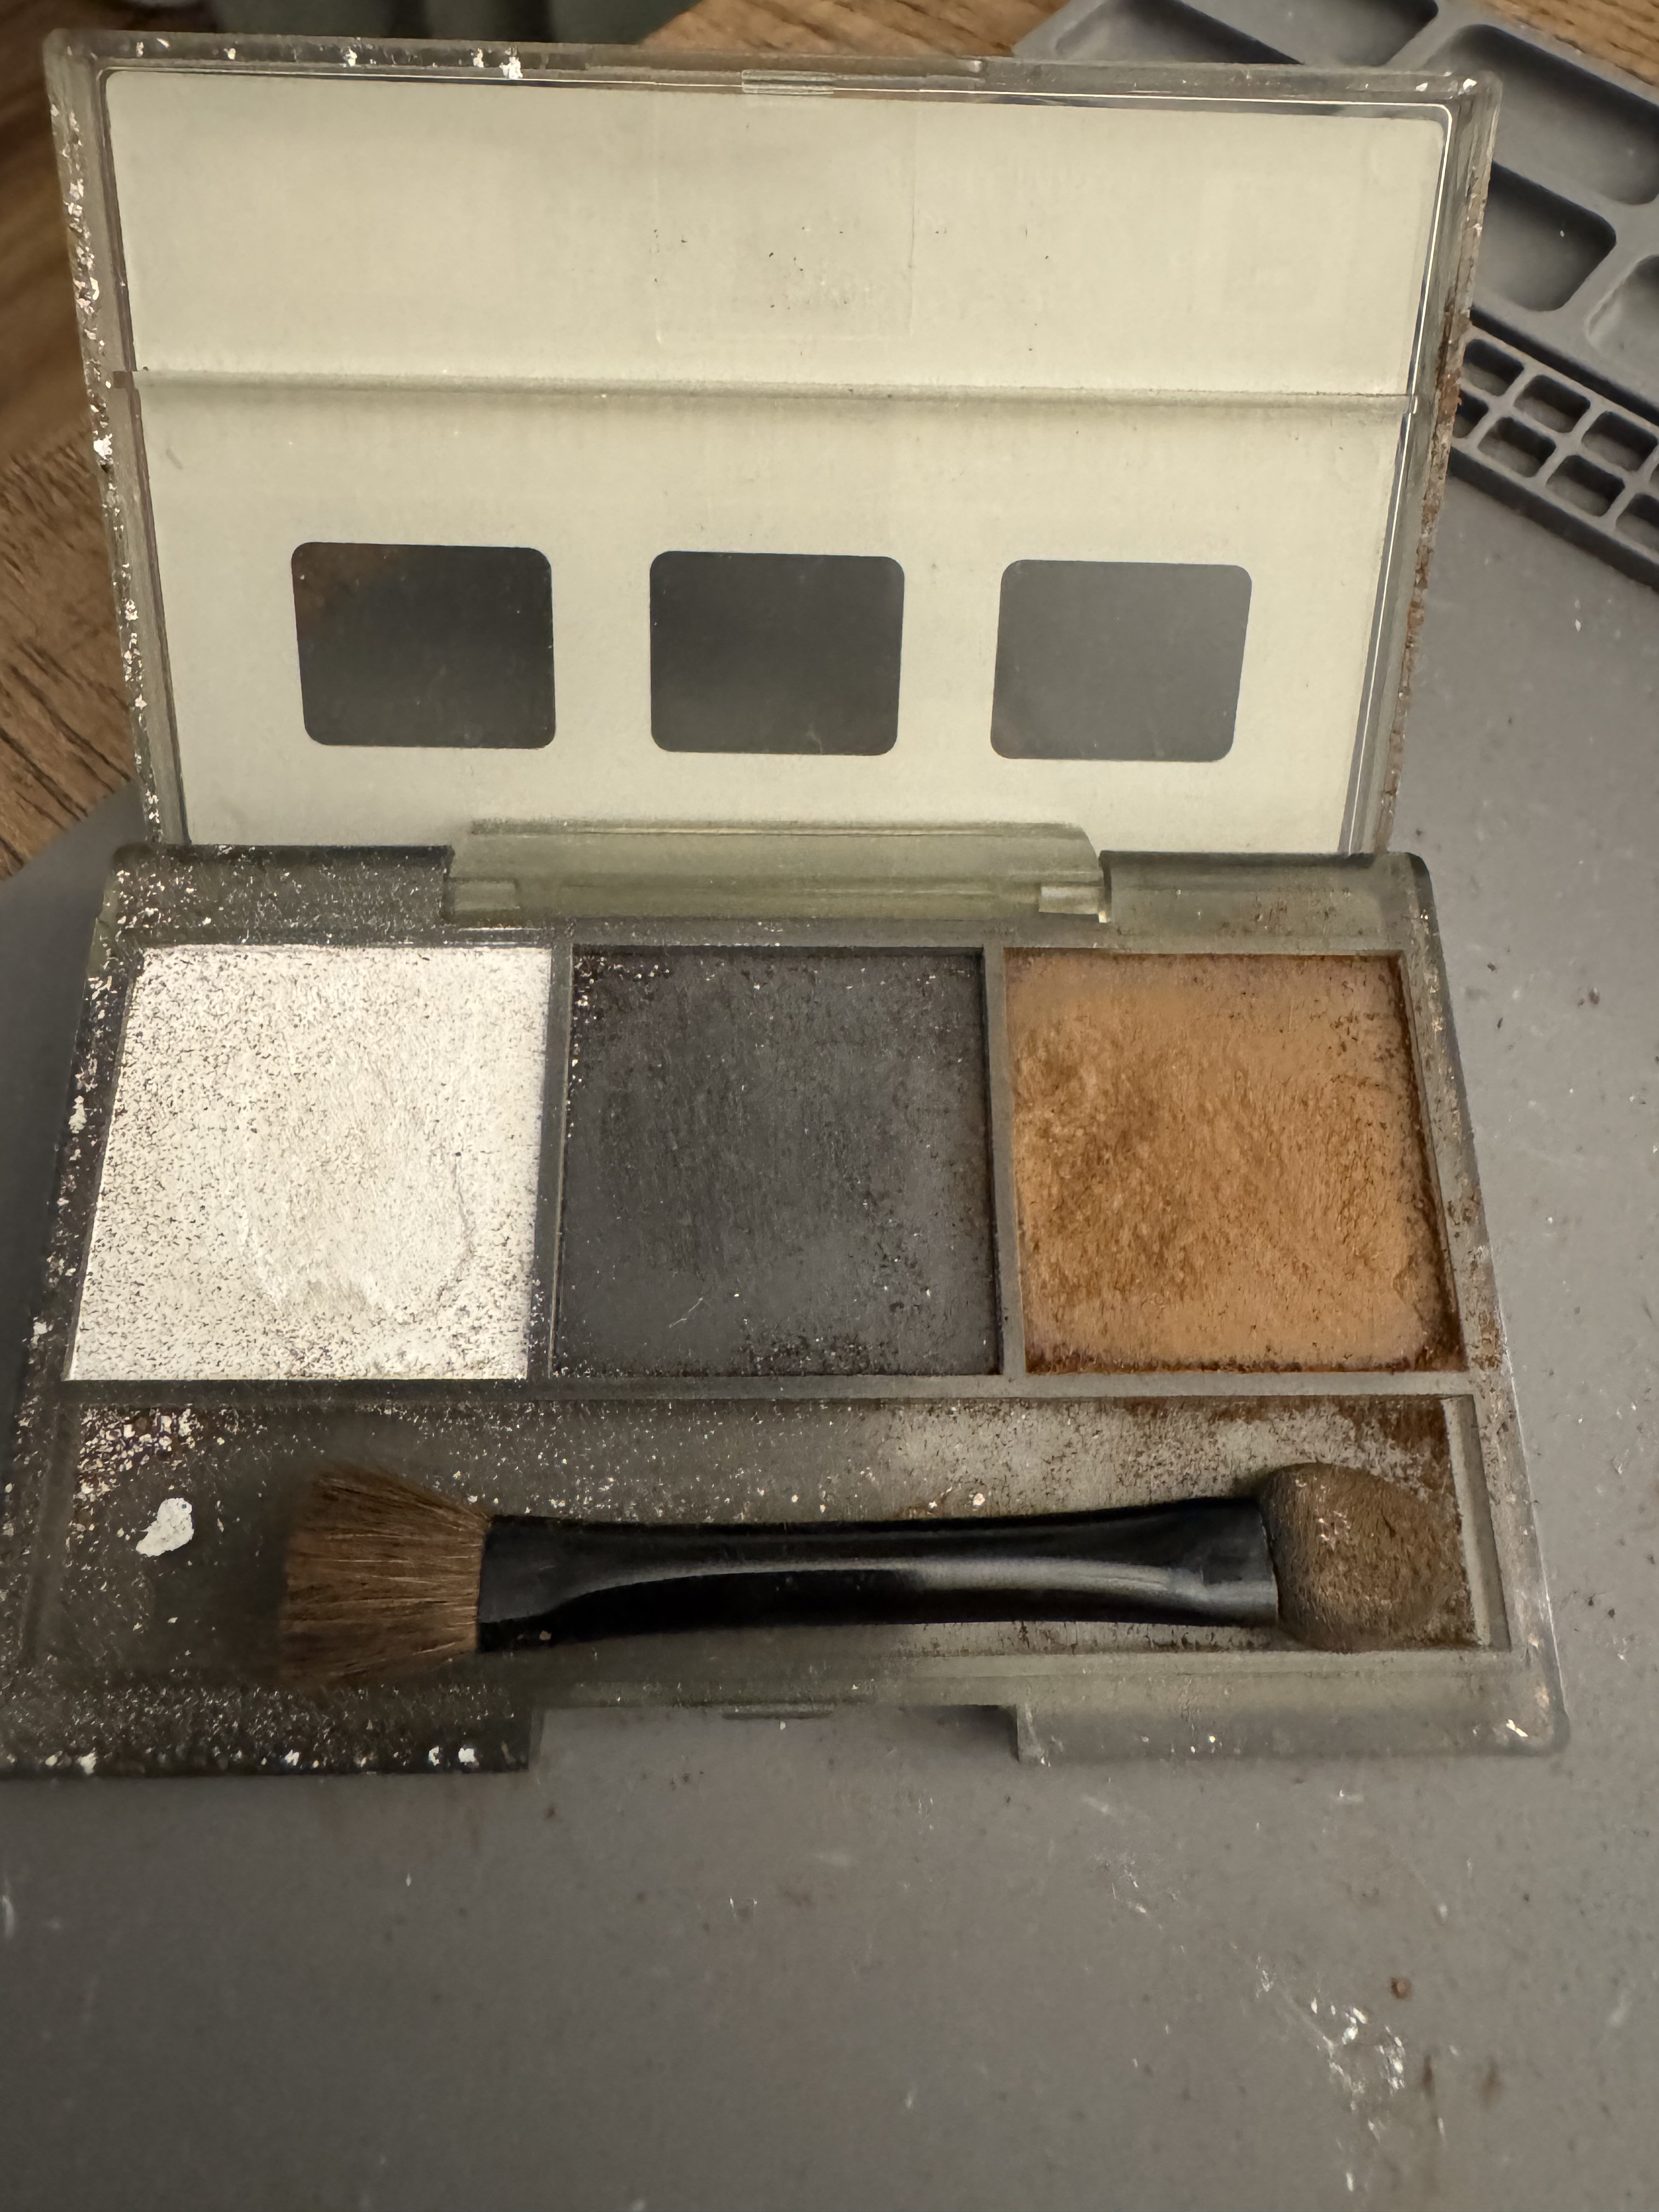
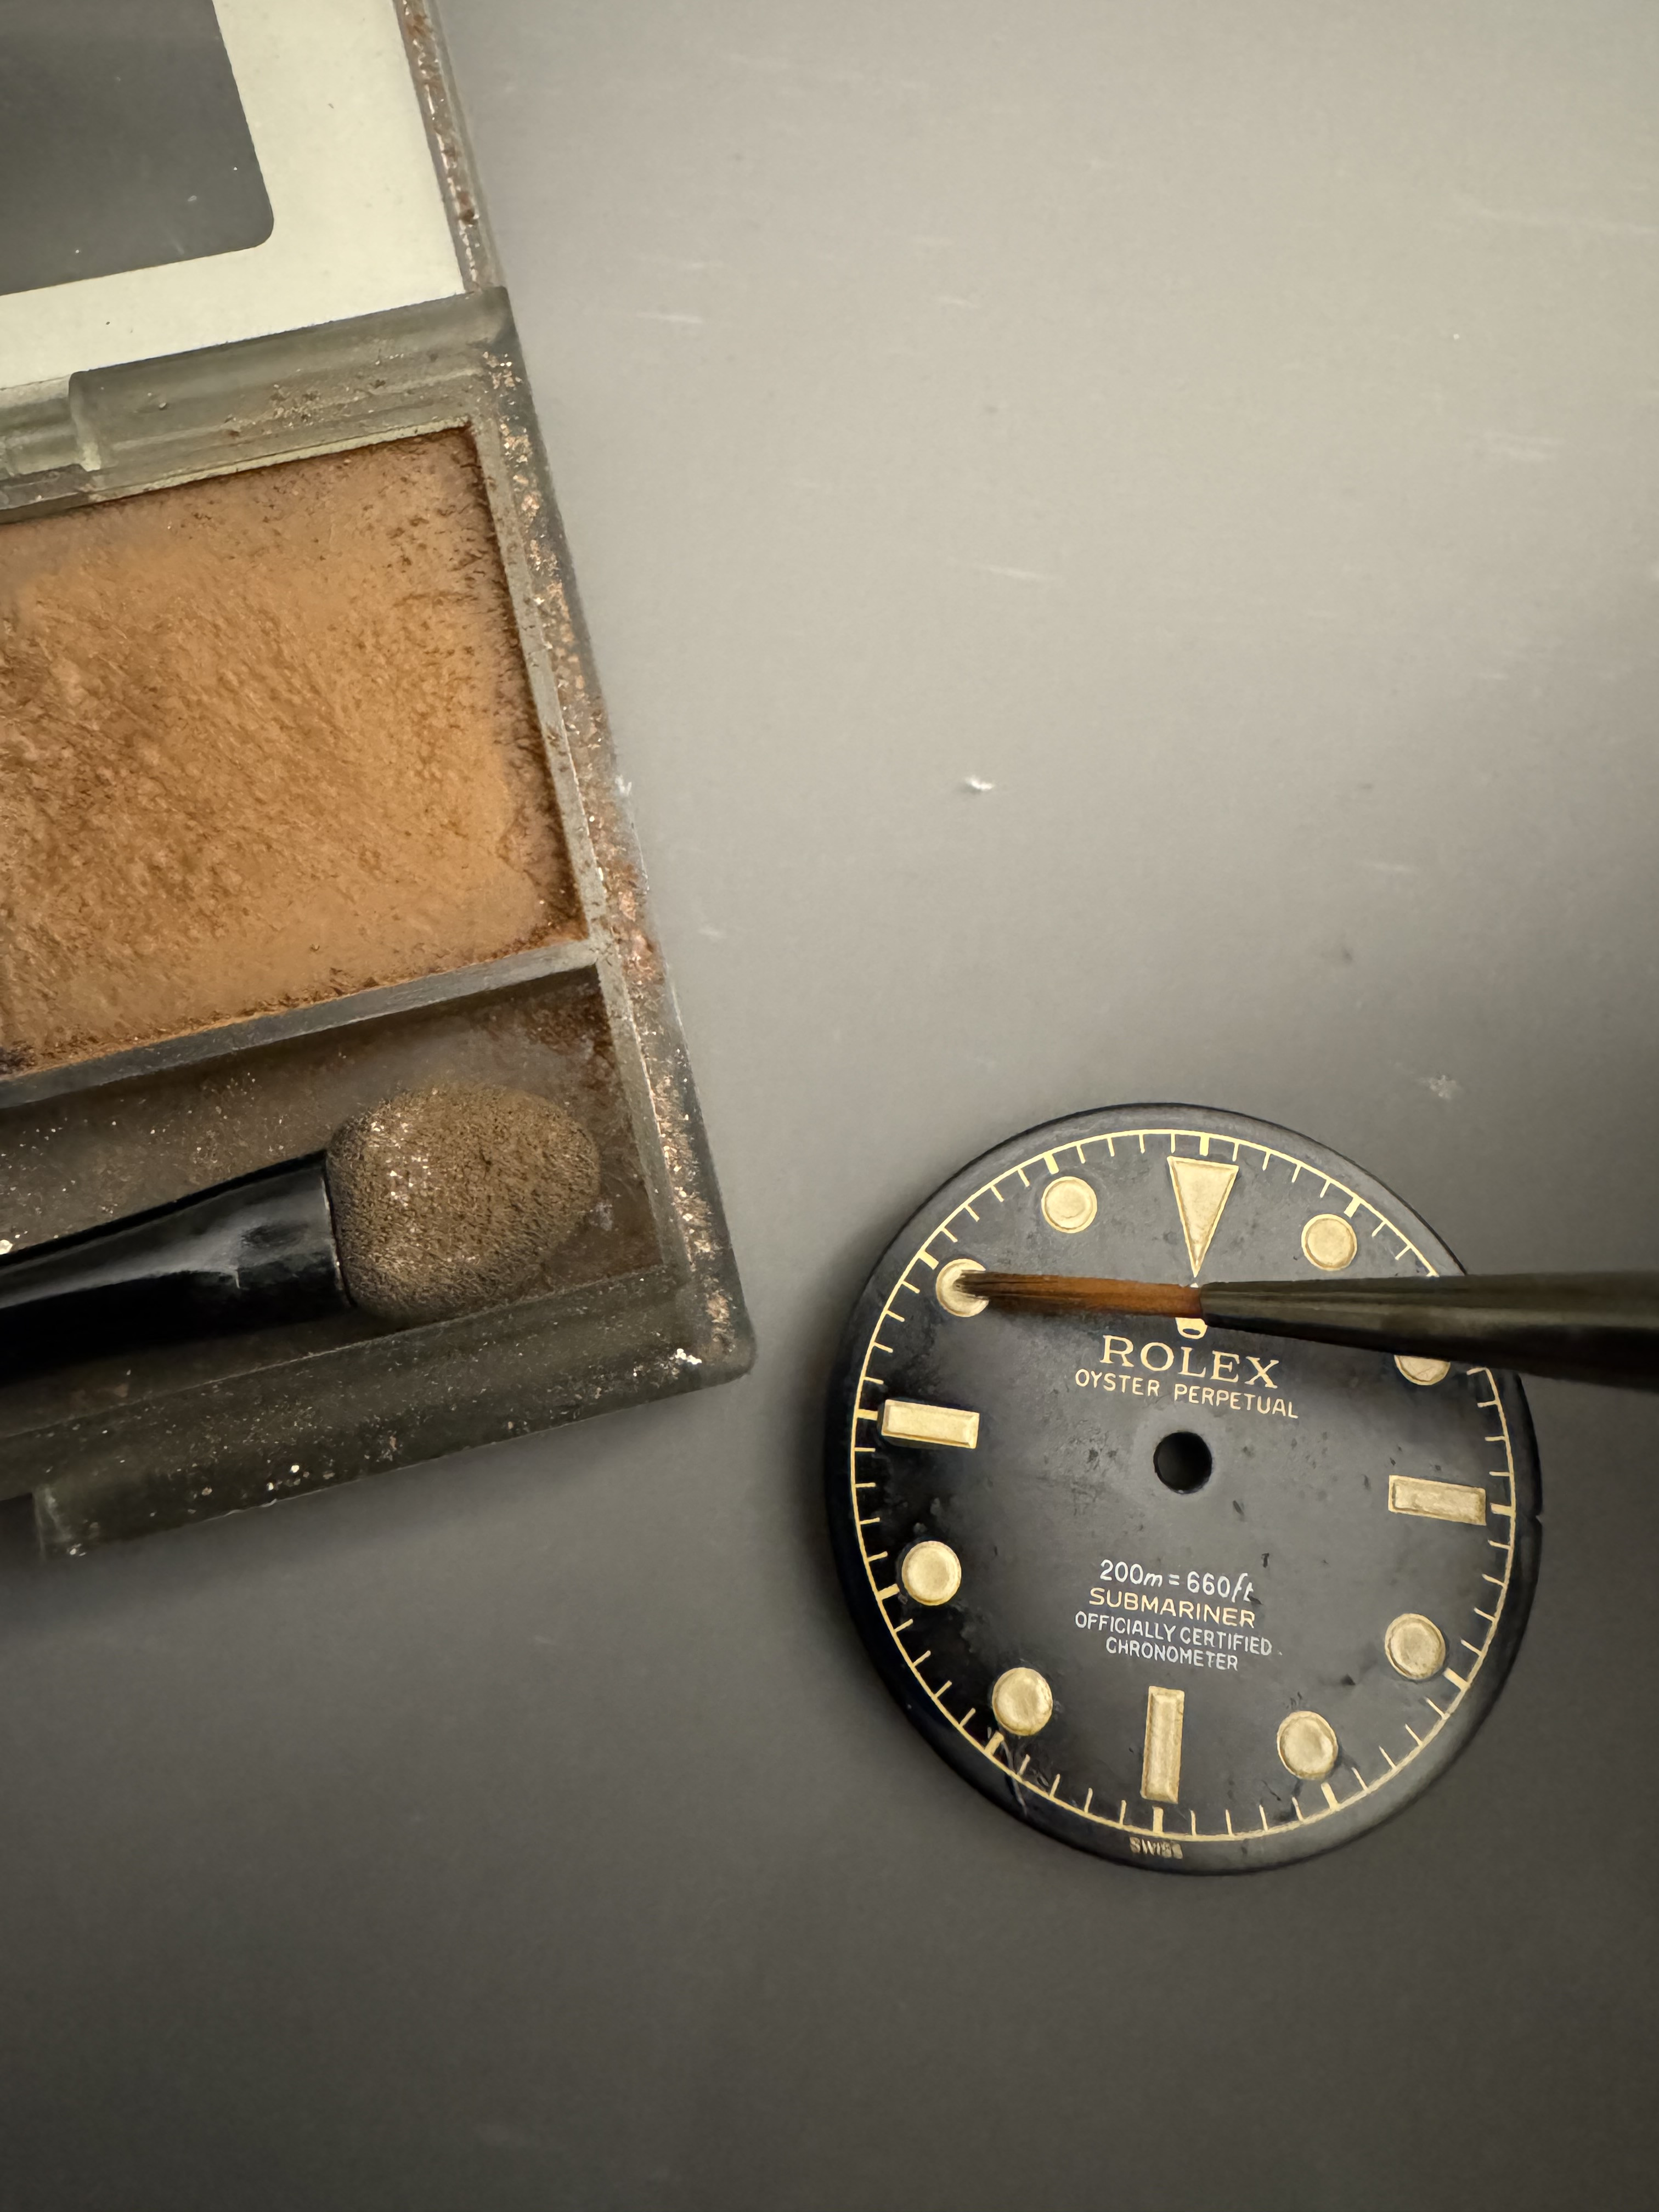
Now I’m going to use some rust and ash colour tamiya weathering paint on the markers, again, less is sometimes more


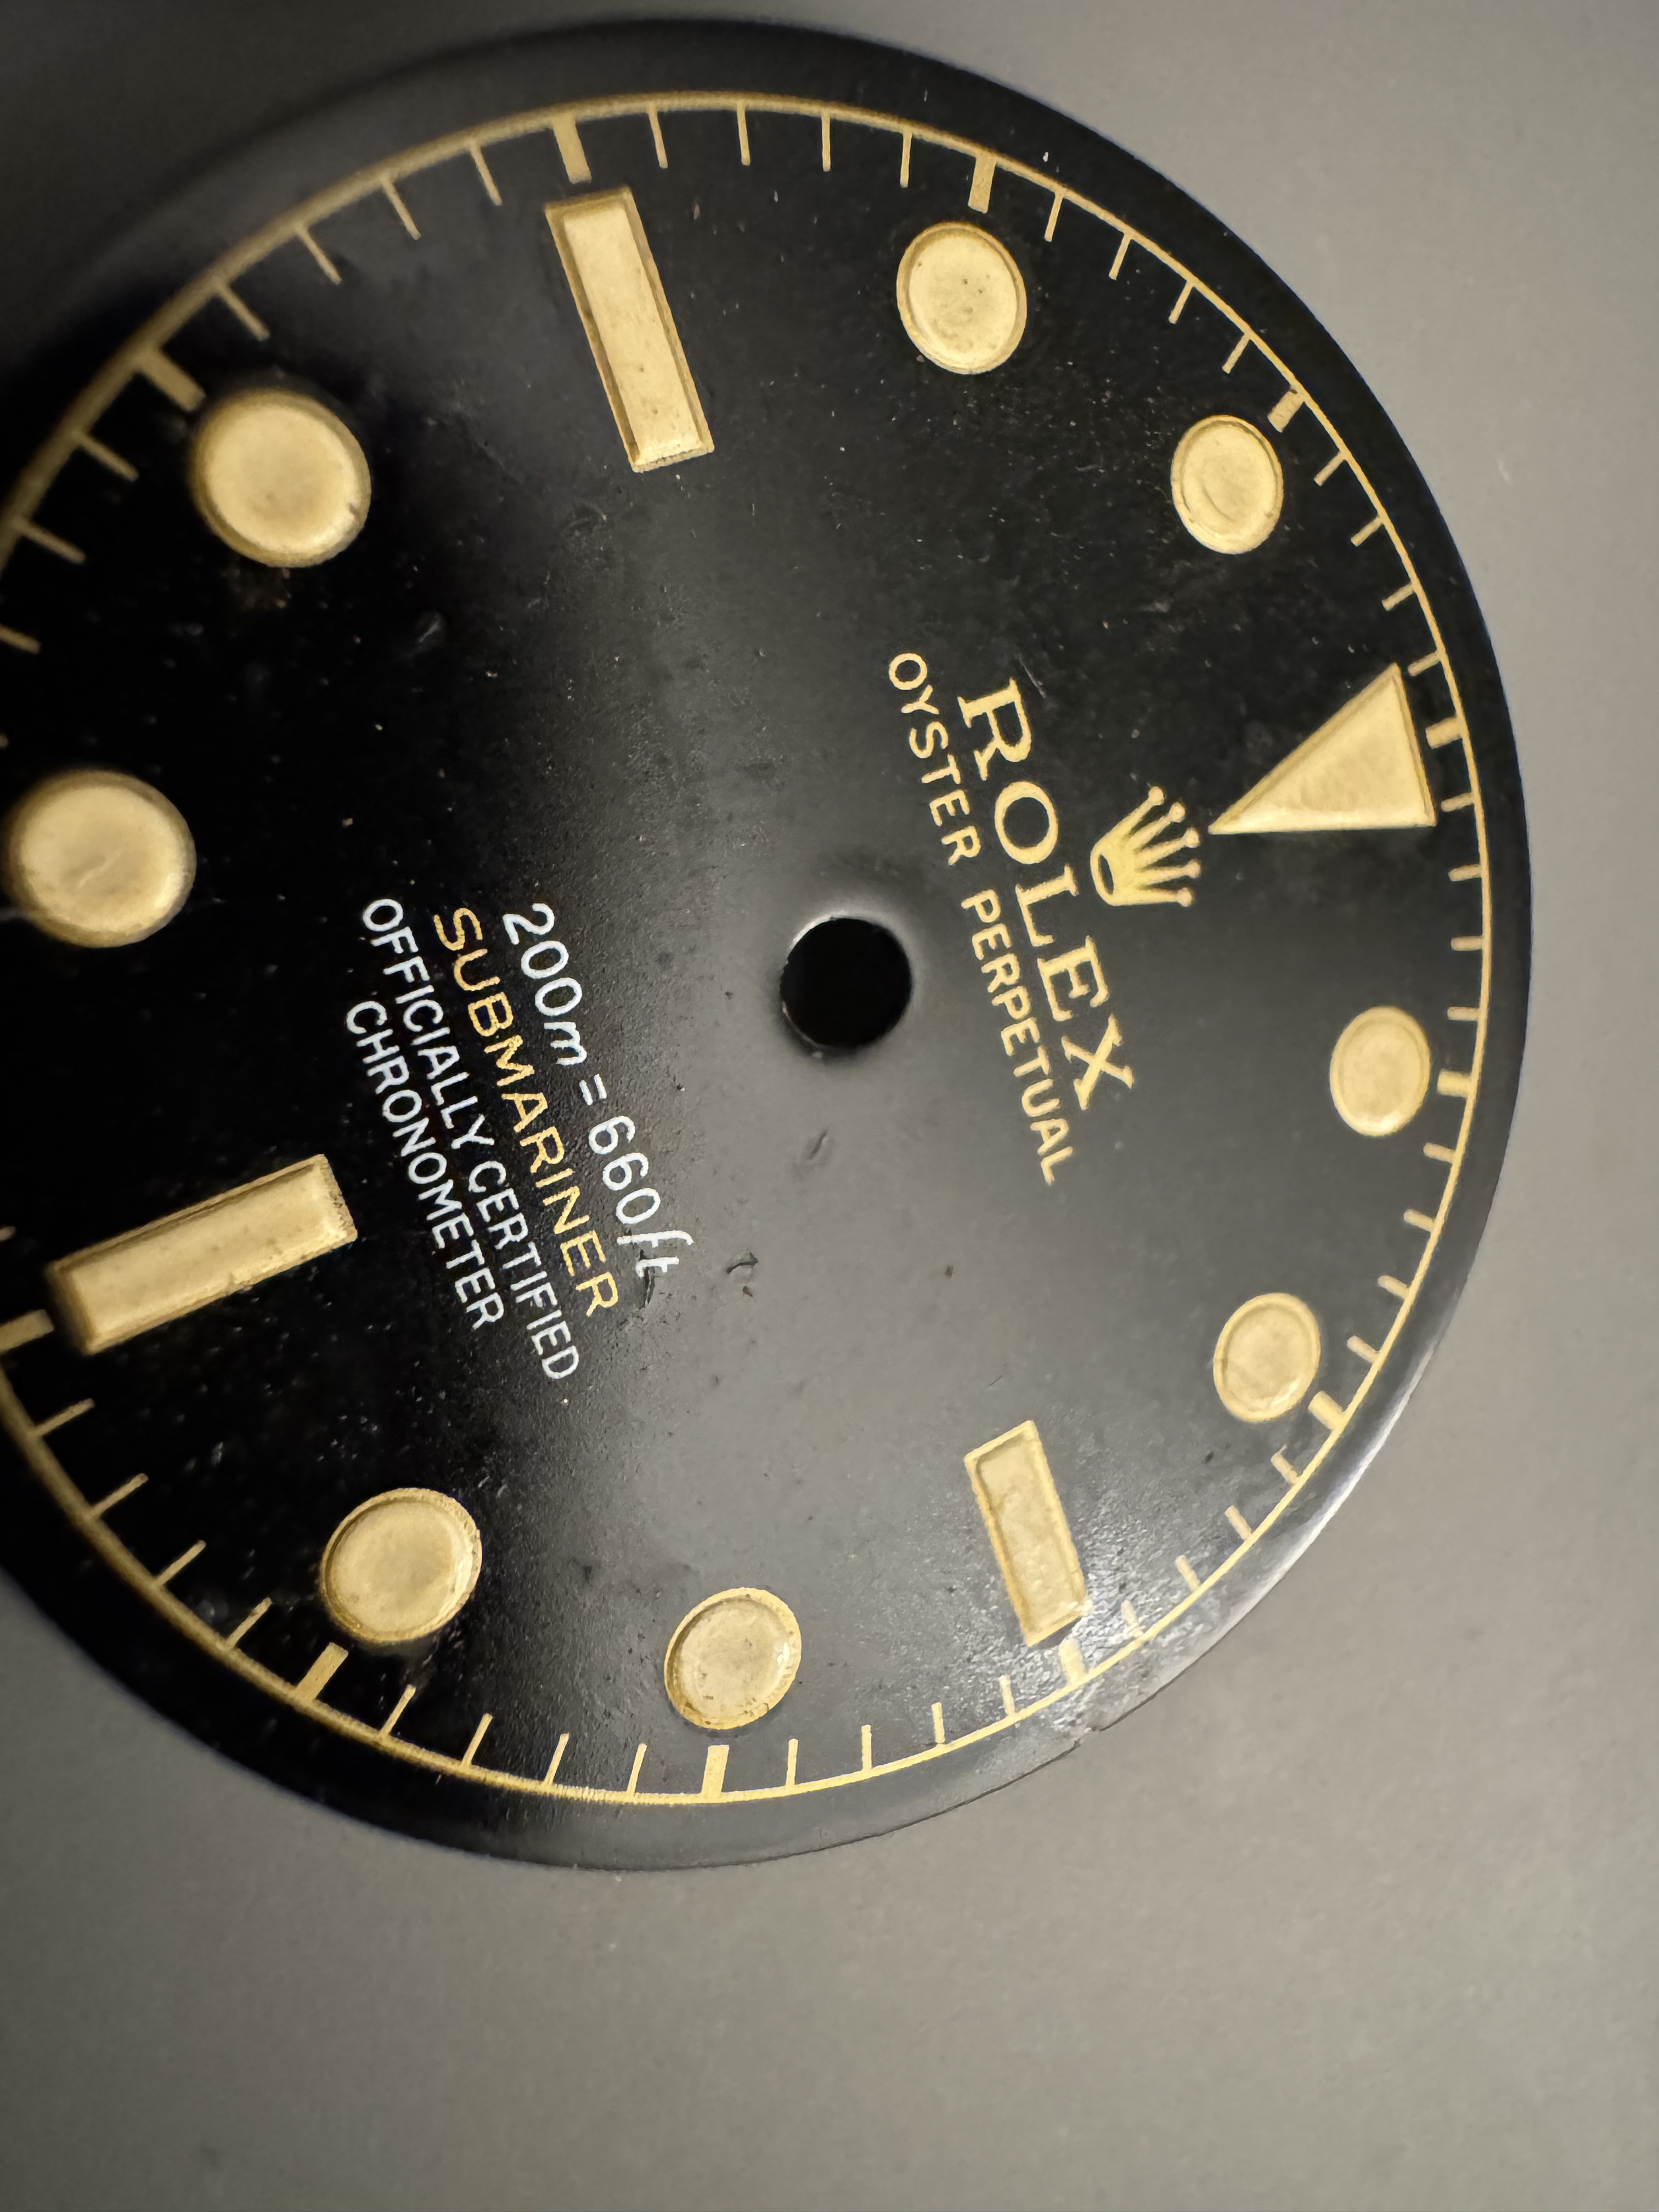
I’m now happy with this dial and I’m going to leave it looking quite clean


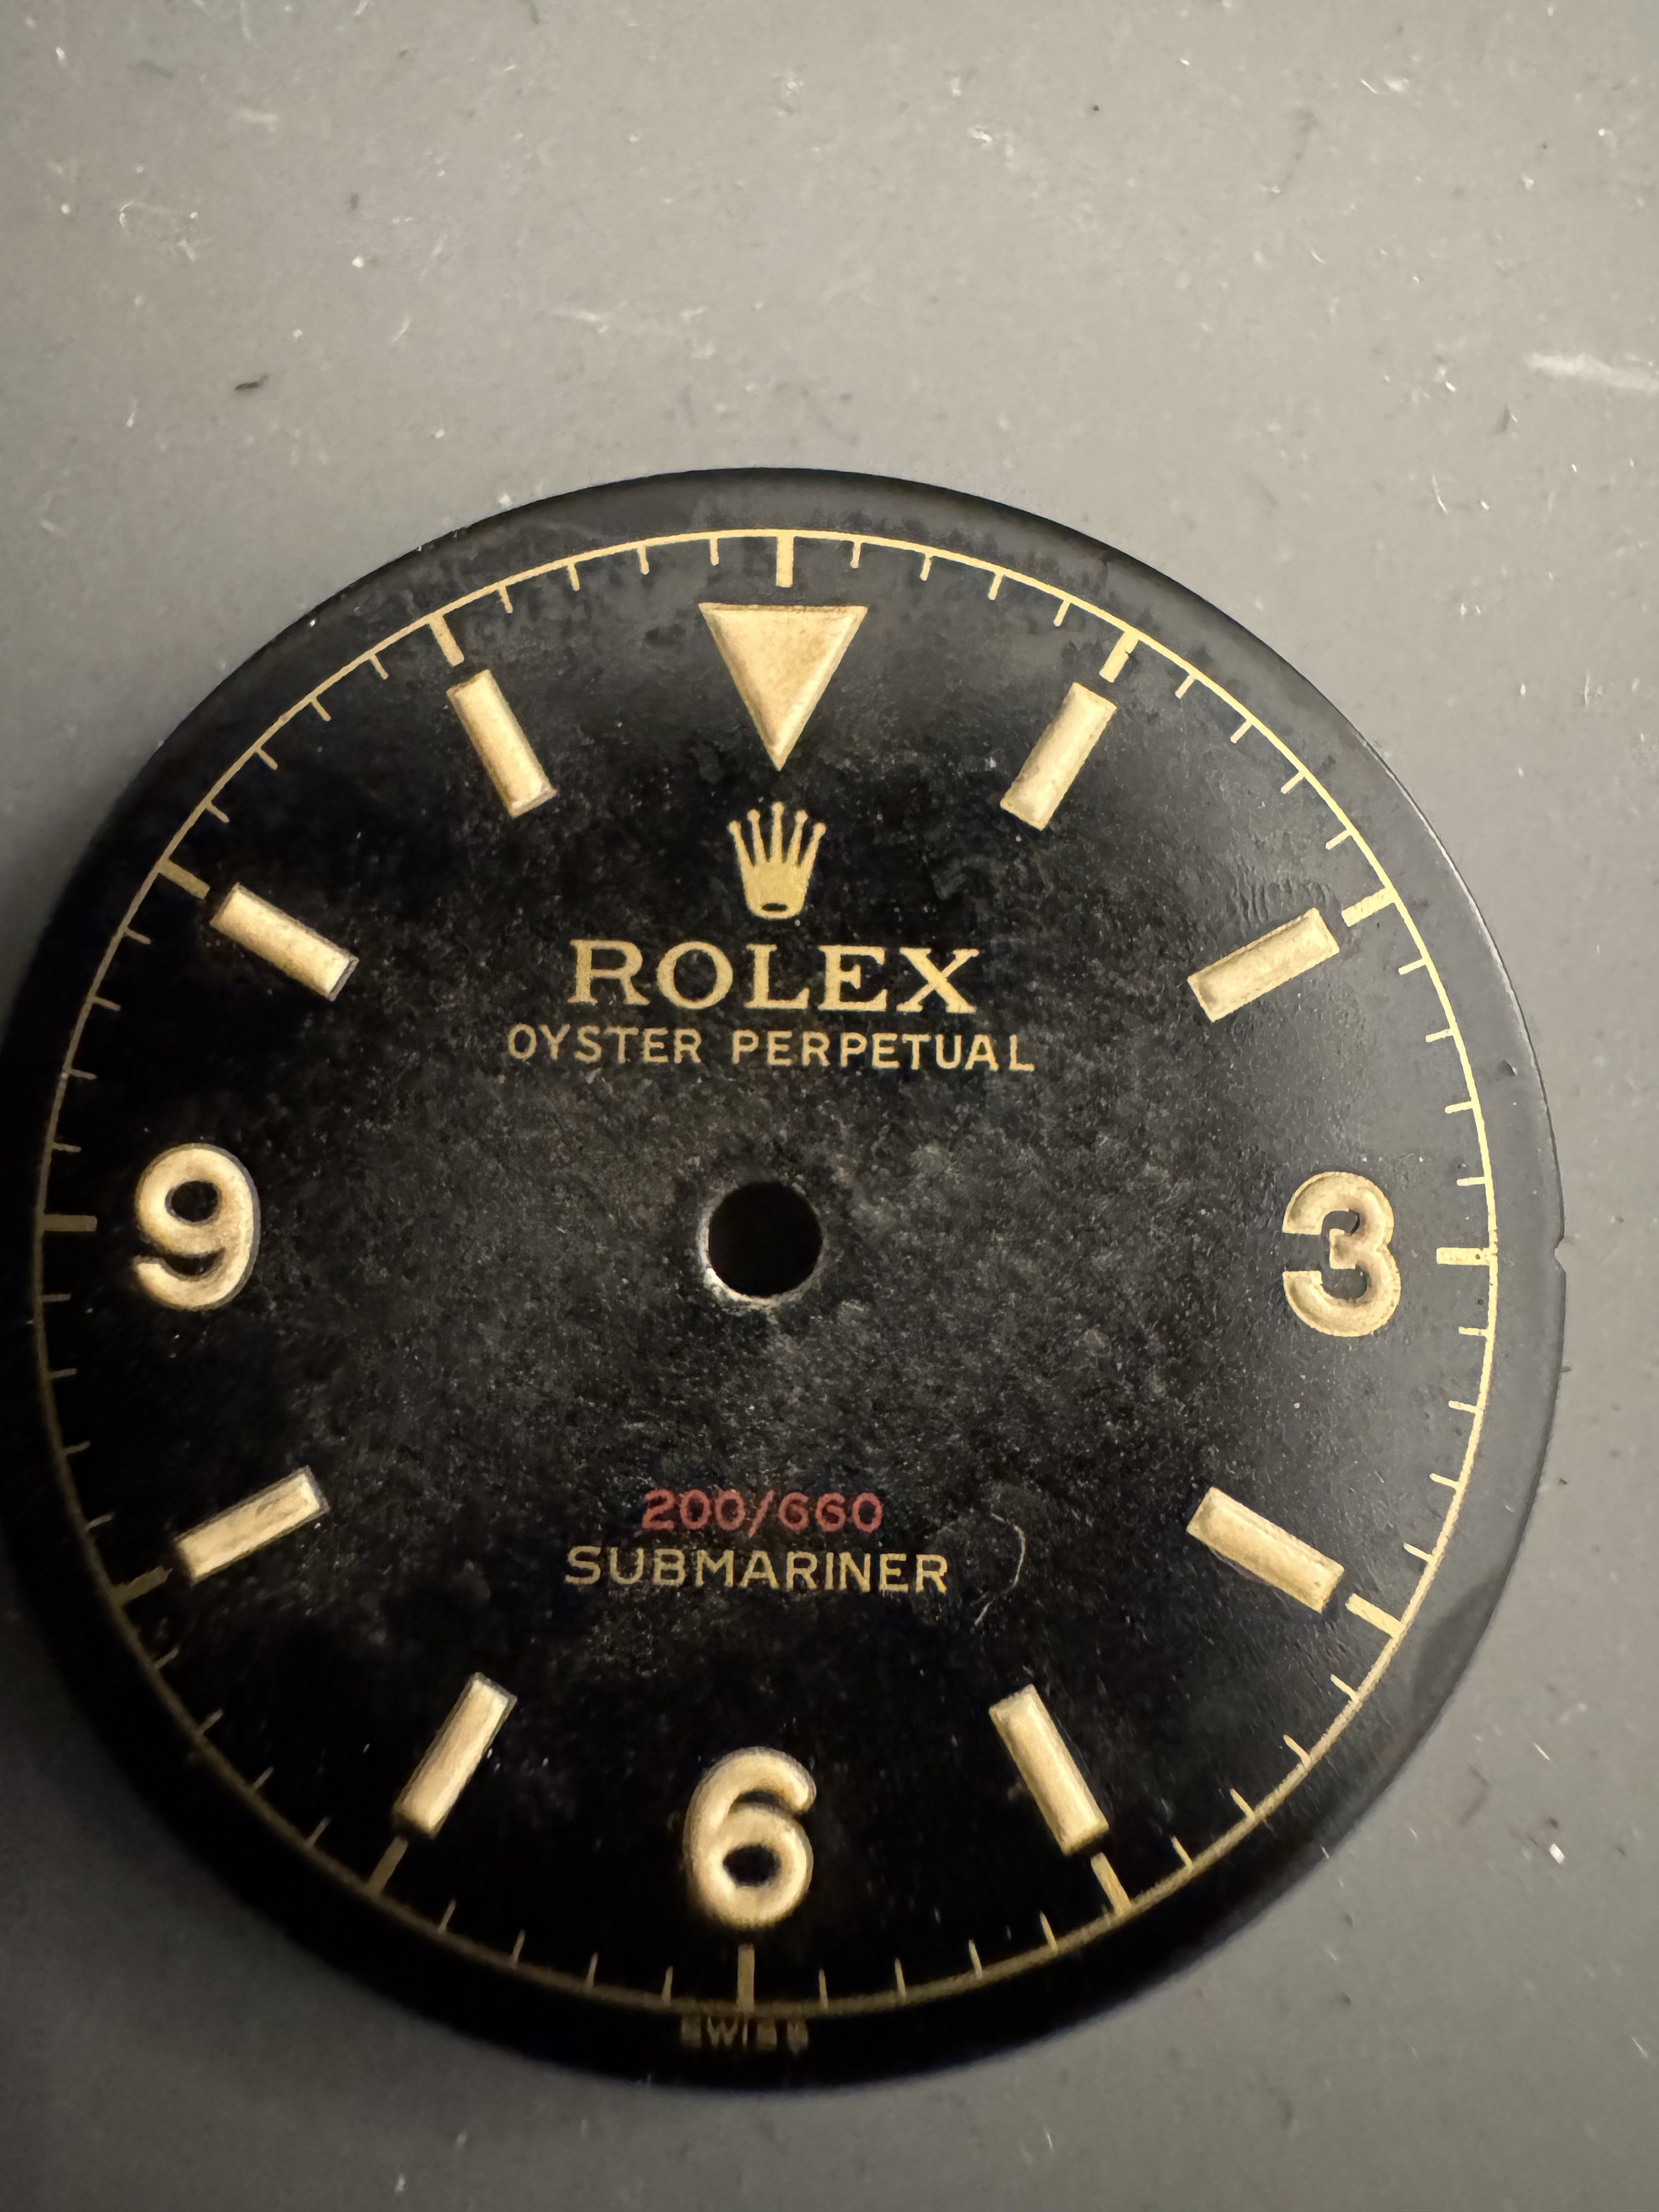
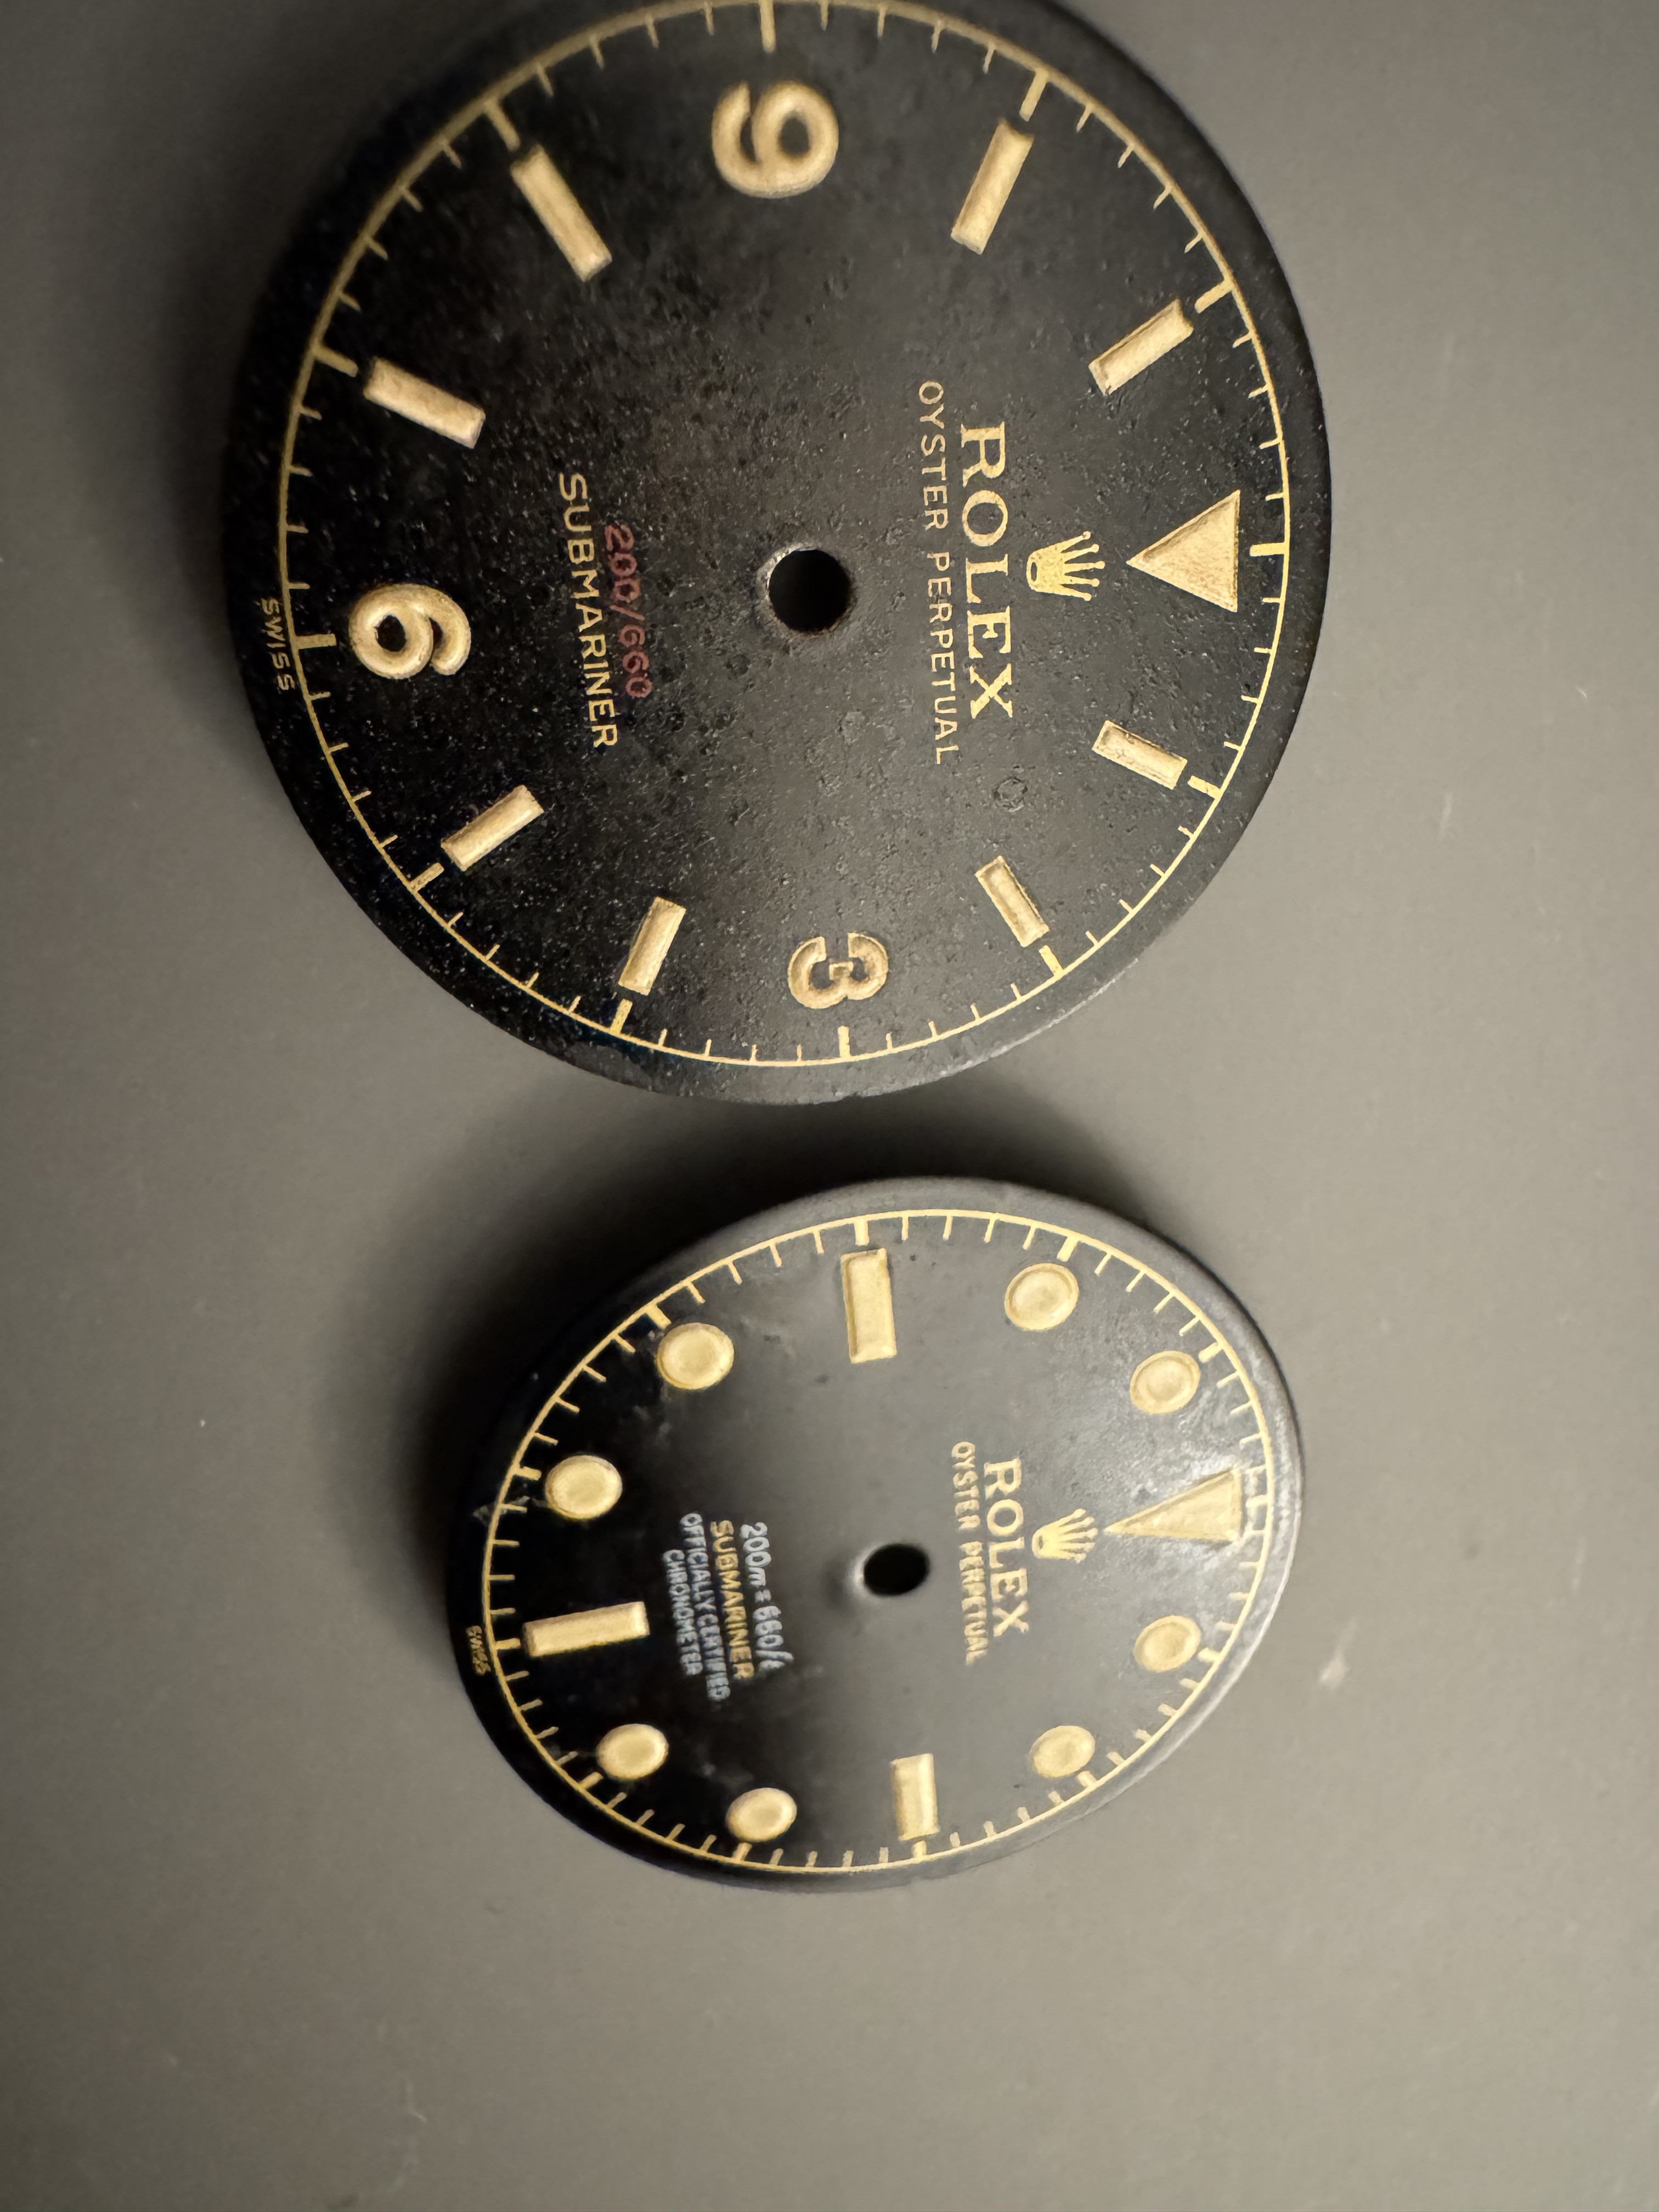
The explorer dial however I want to go a bit further, so I’m applying some tamiya ash and rust colours to the dial, brushing it on and blowing excess away as I go


Trying to keep the majority towards the centre of the dial, I tend to like keeping some of it dark and only going heavy on one part of the dial, just my preference as I believe the sun hitting the dial wouldn’t leave a uniformed colour all over. Now the tamiya is applied I give it a couple of blasts of Matt spray from a distance to seal it and slightly add to the aging effect


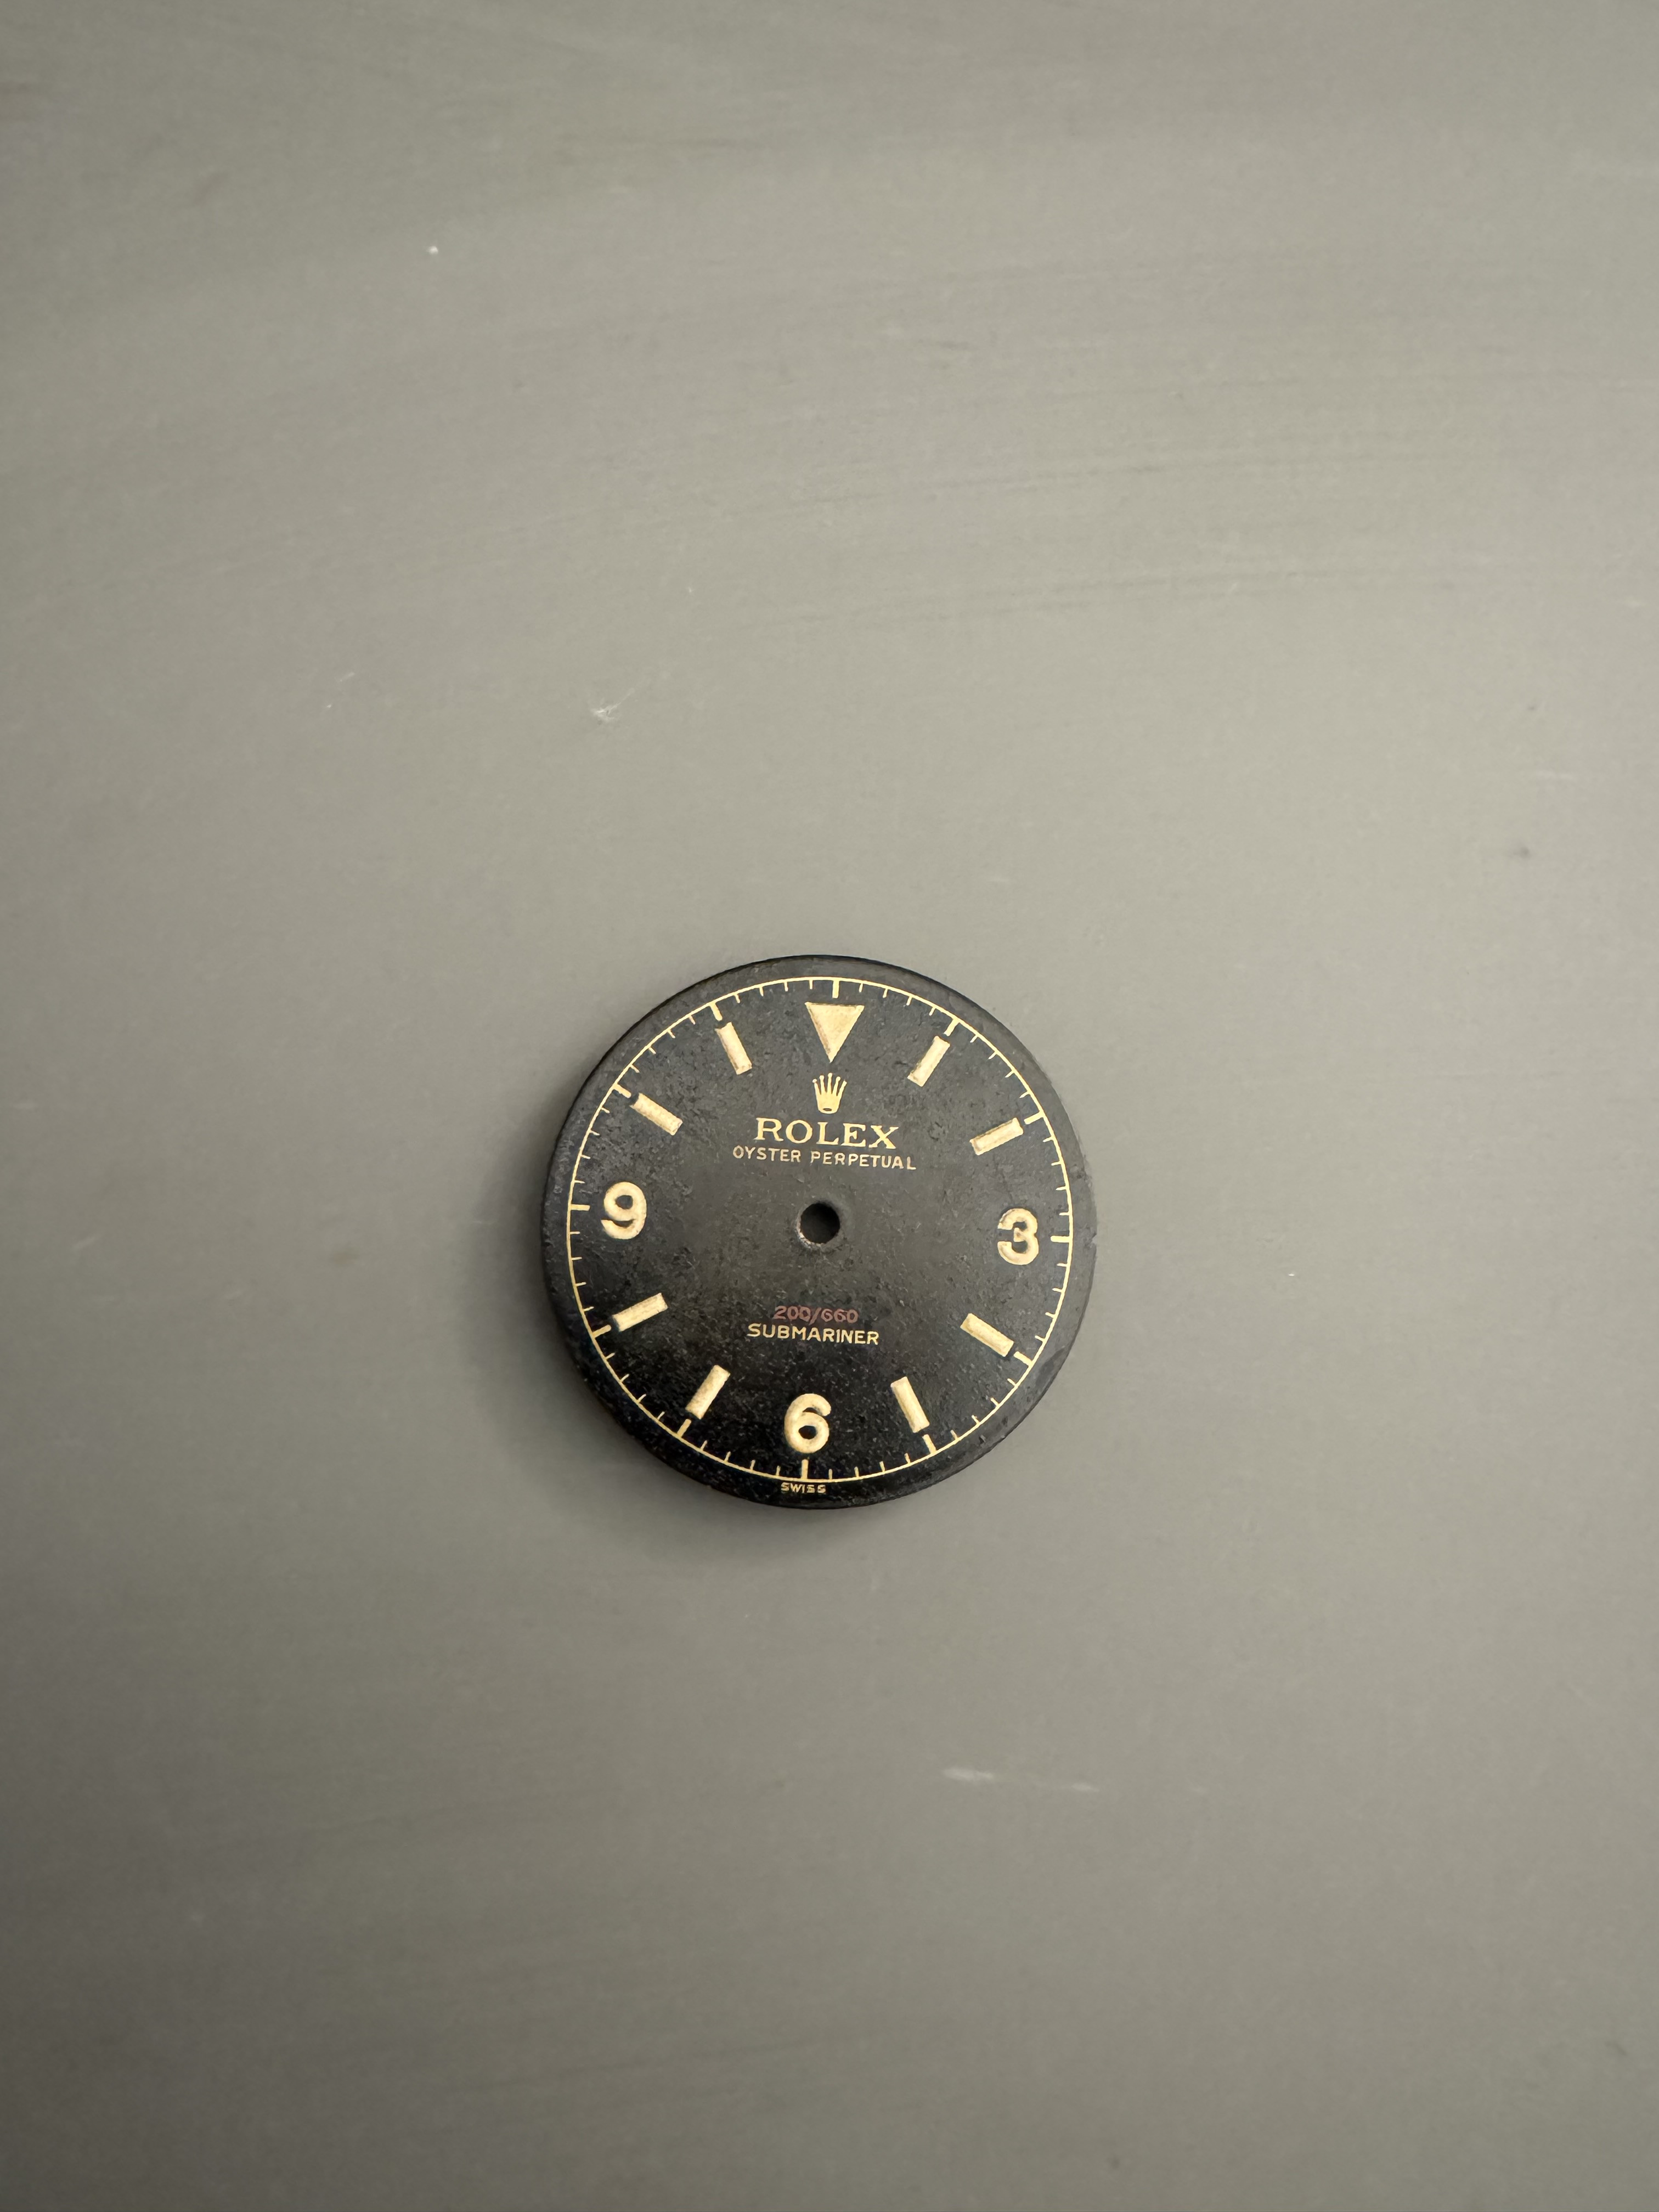
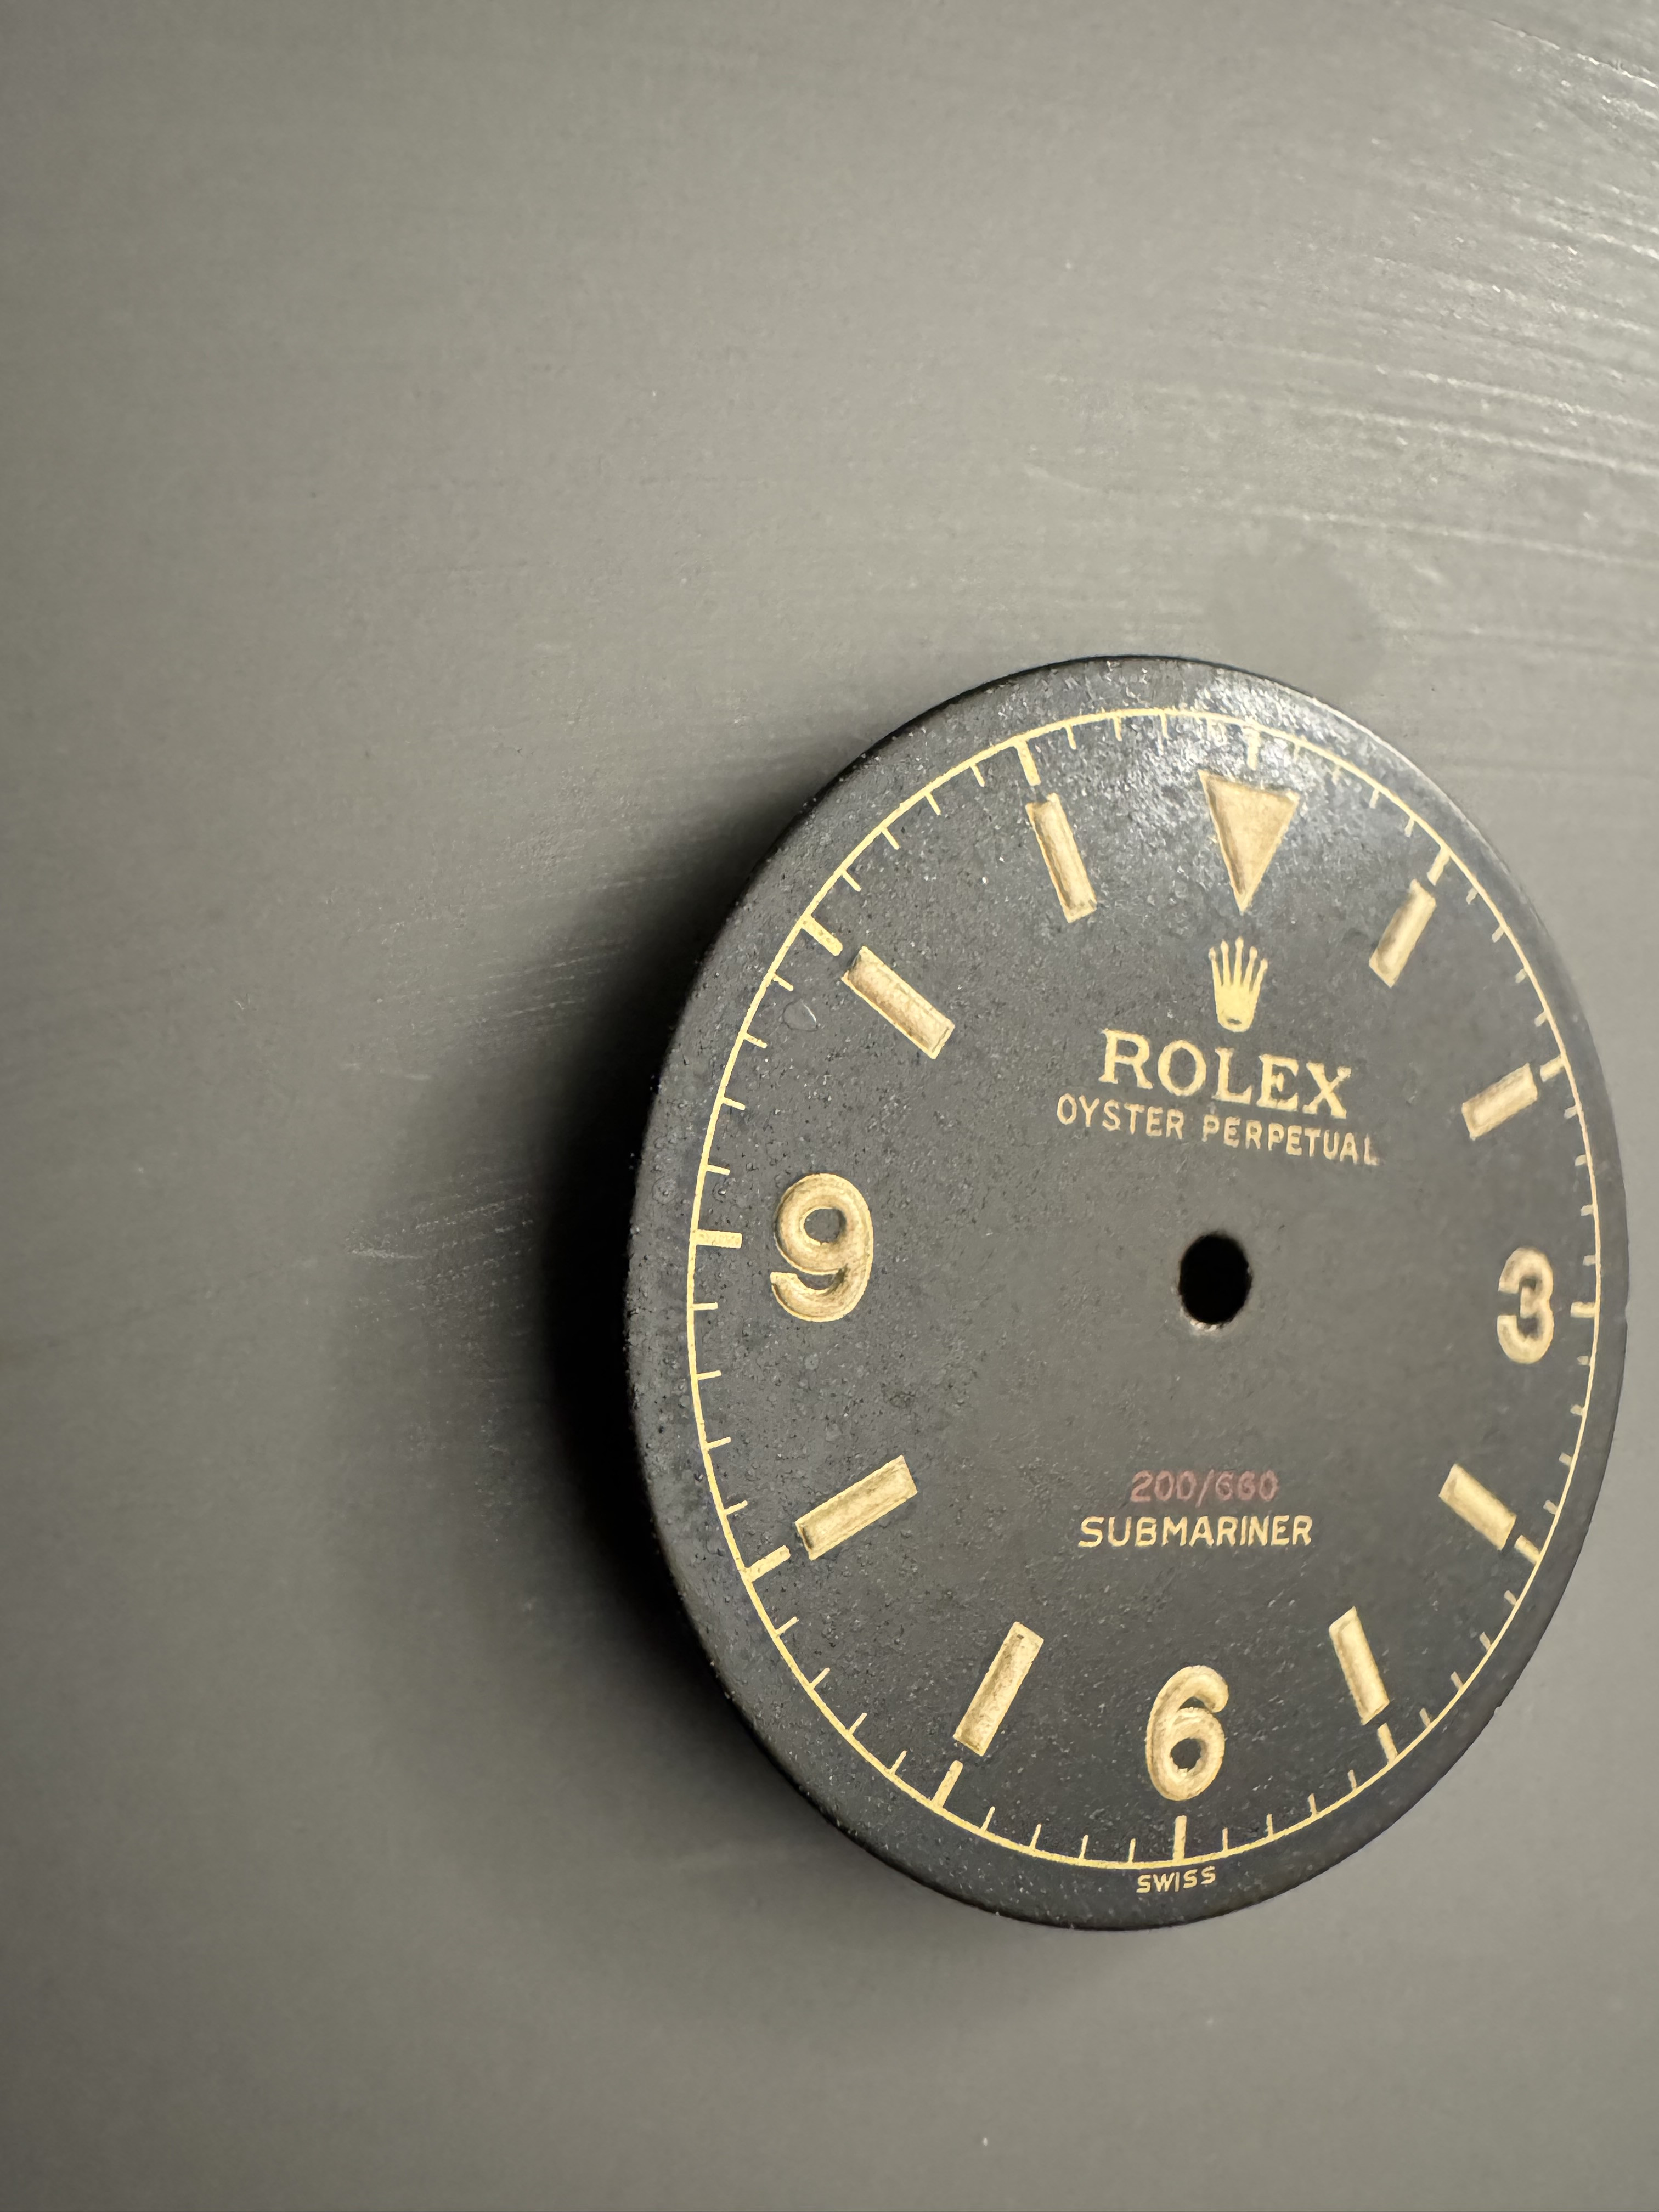
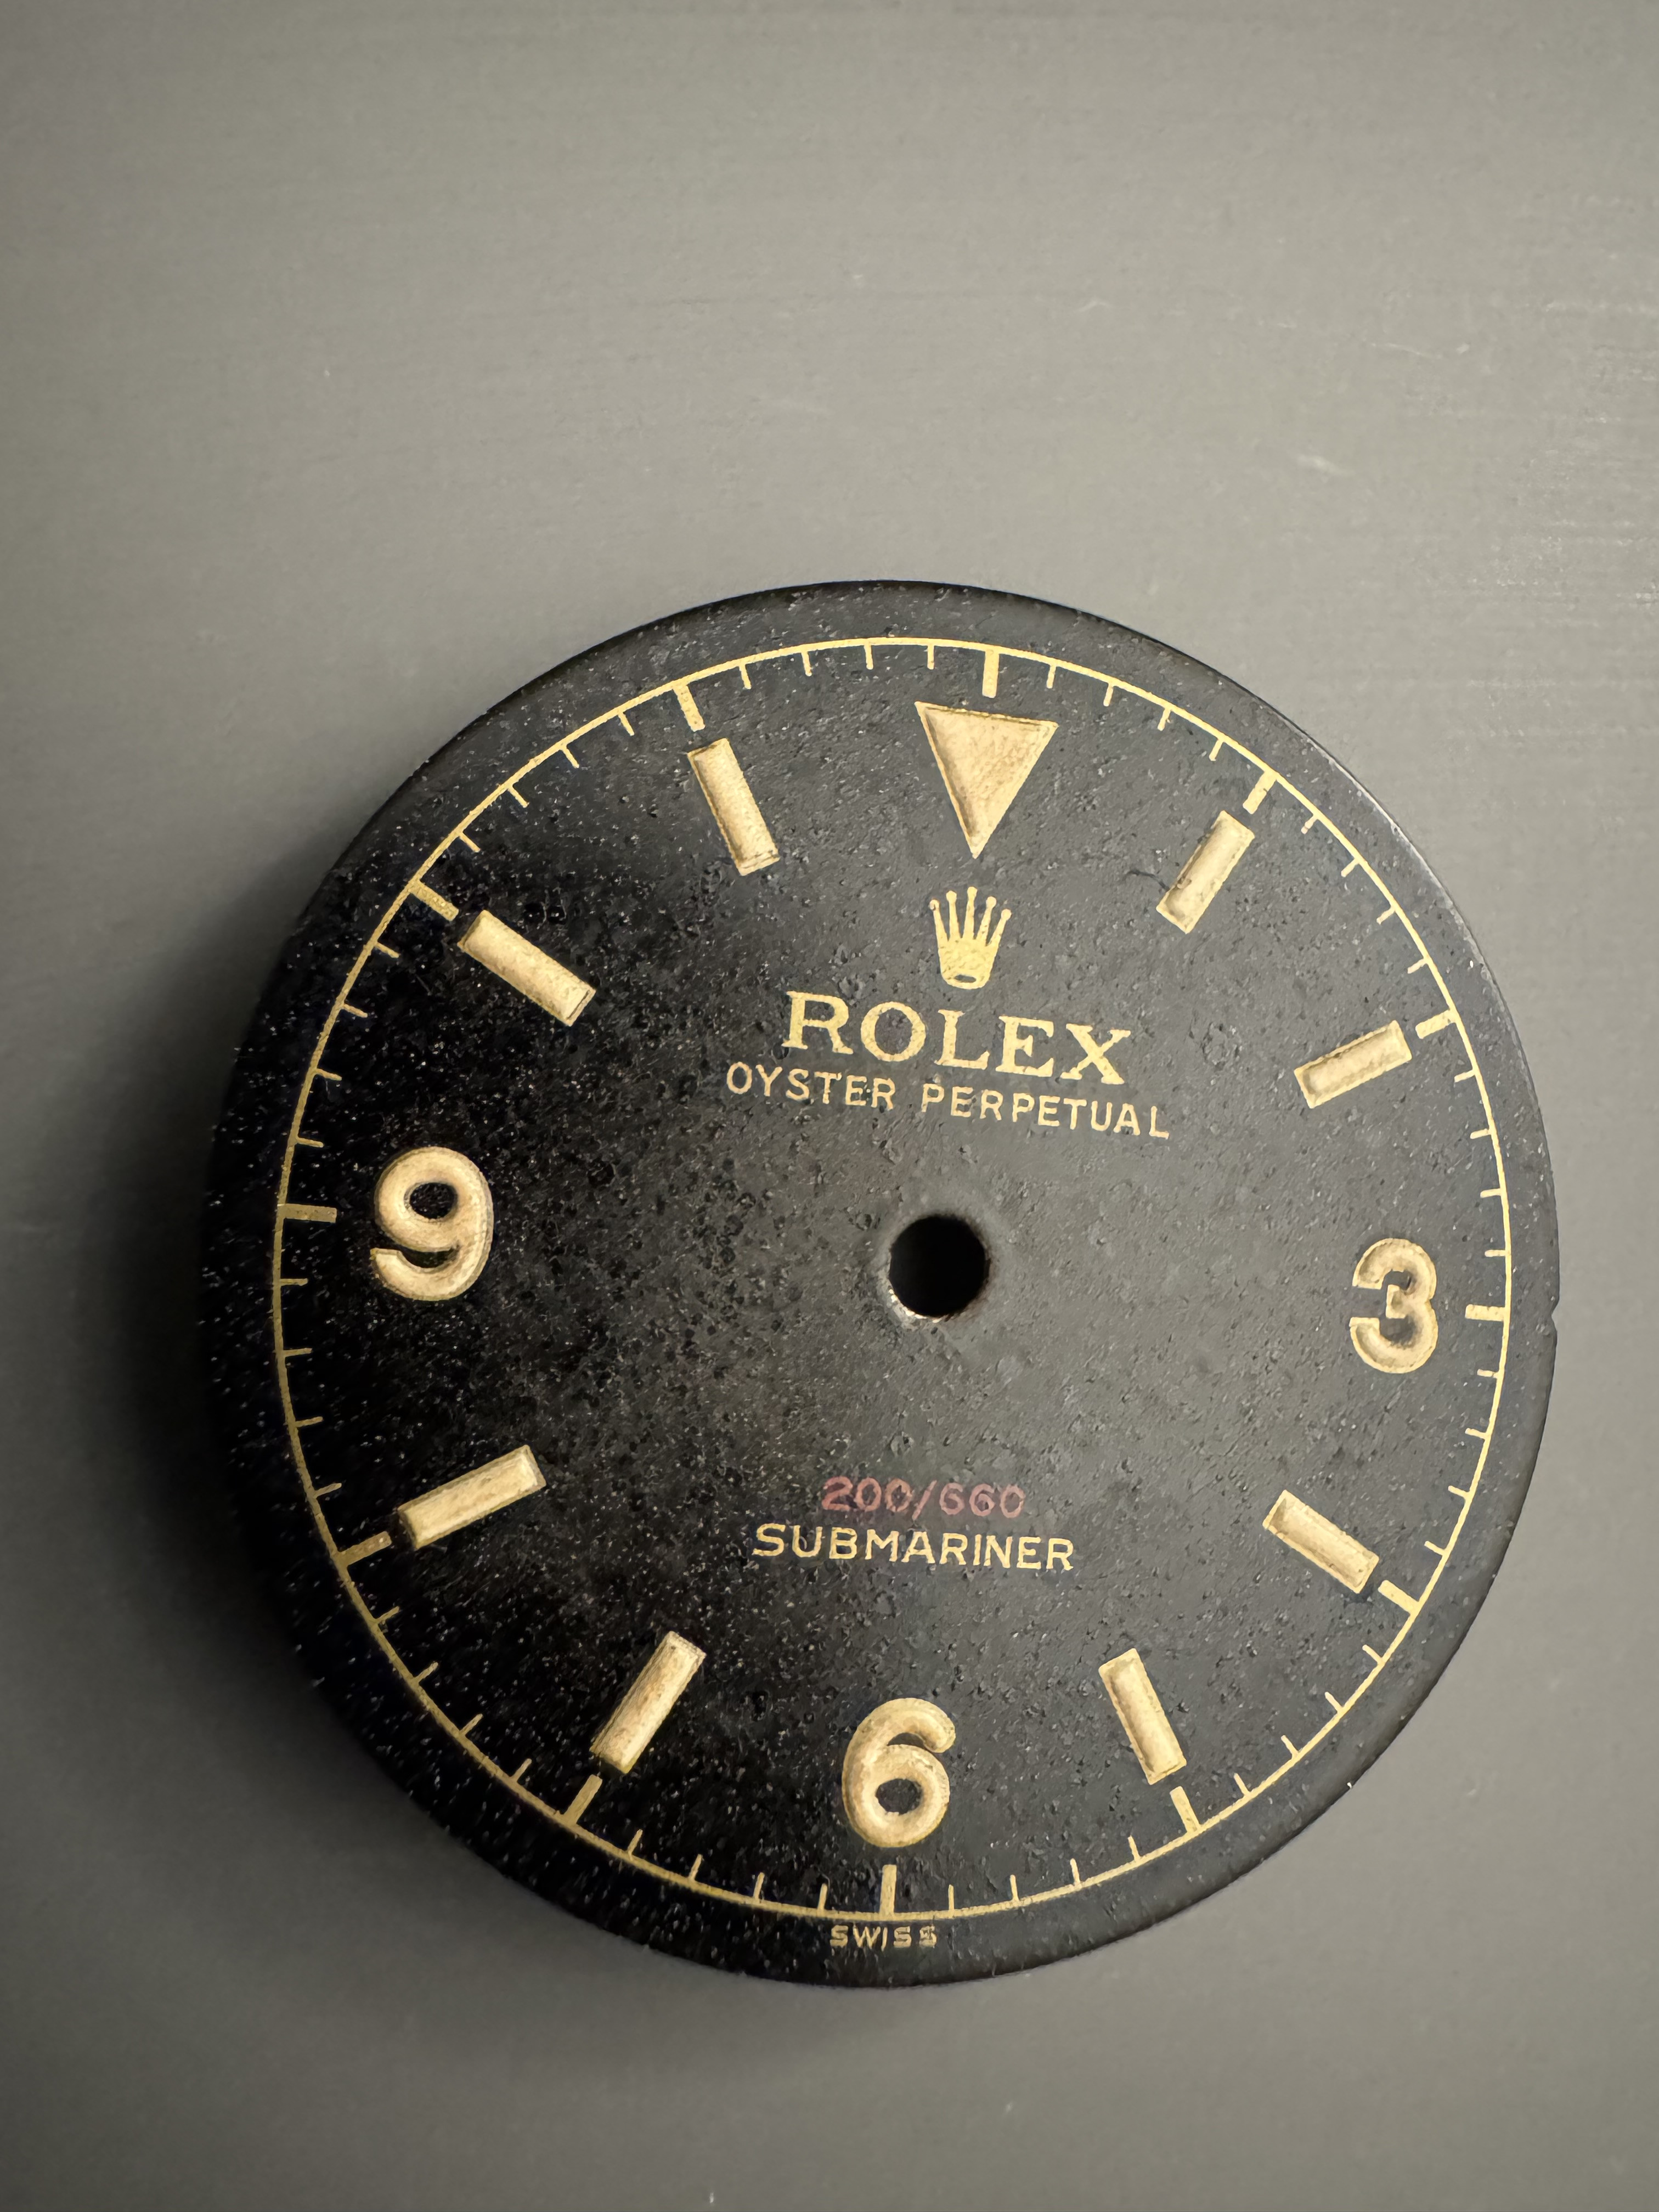
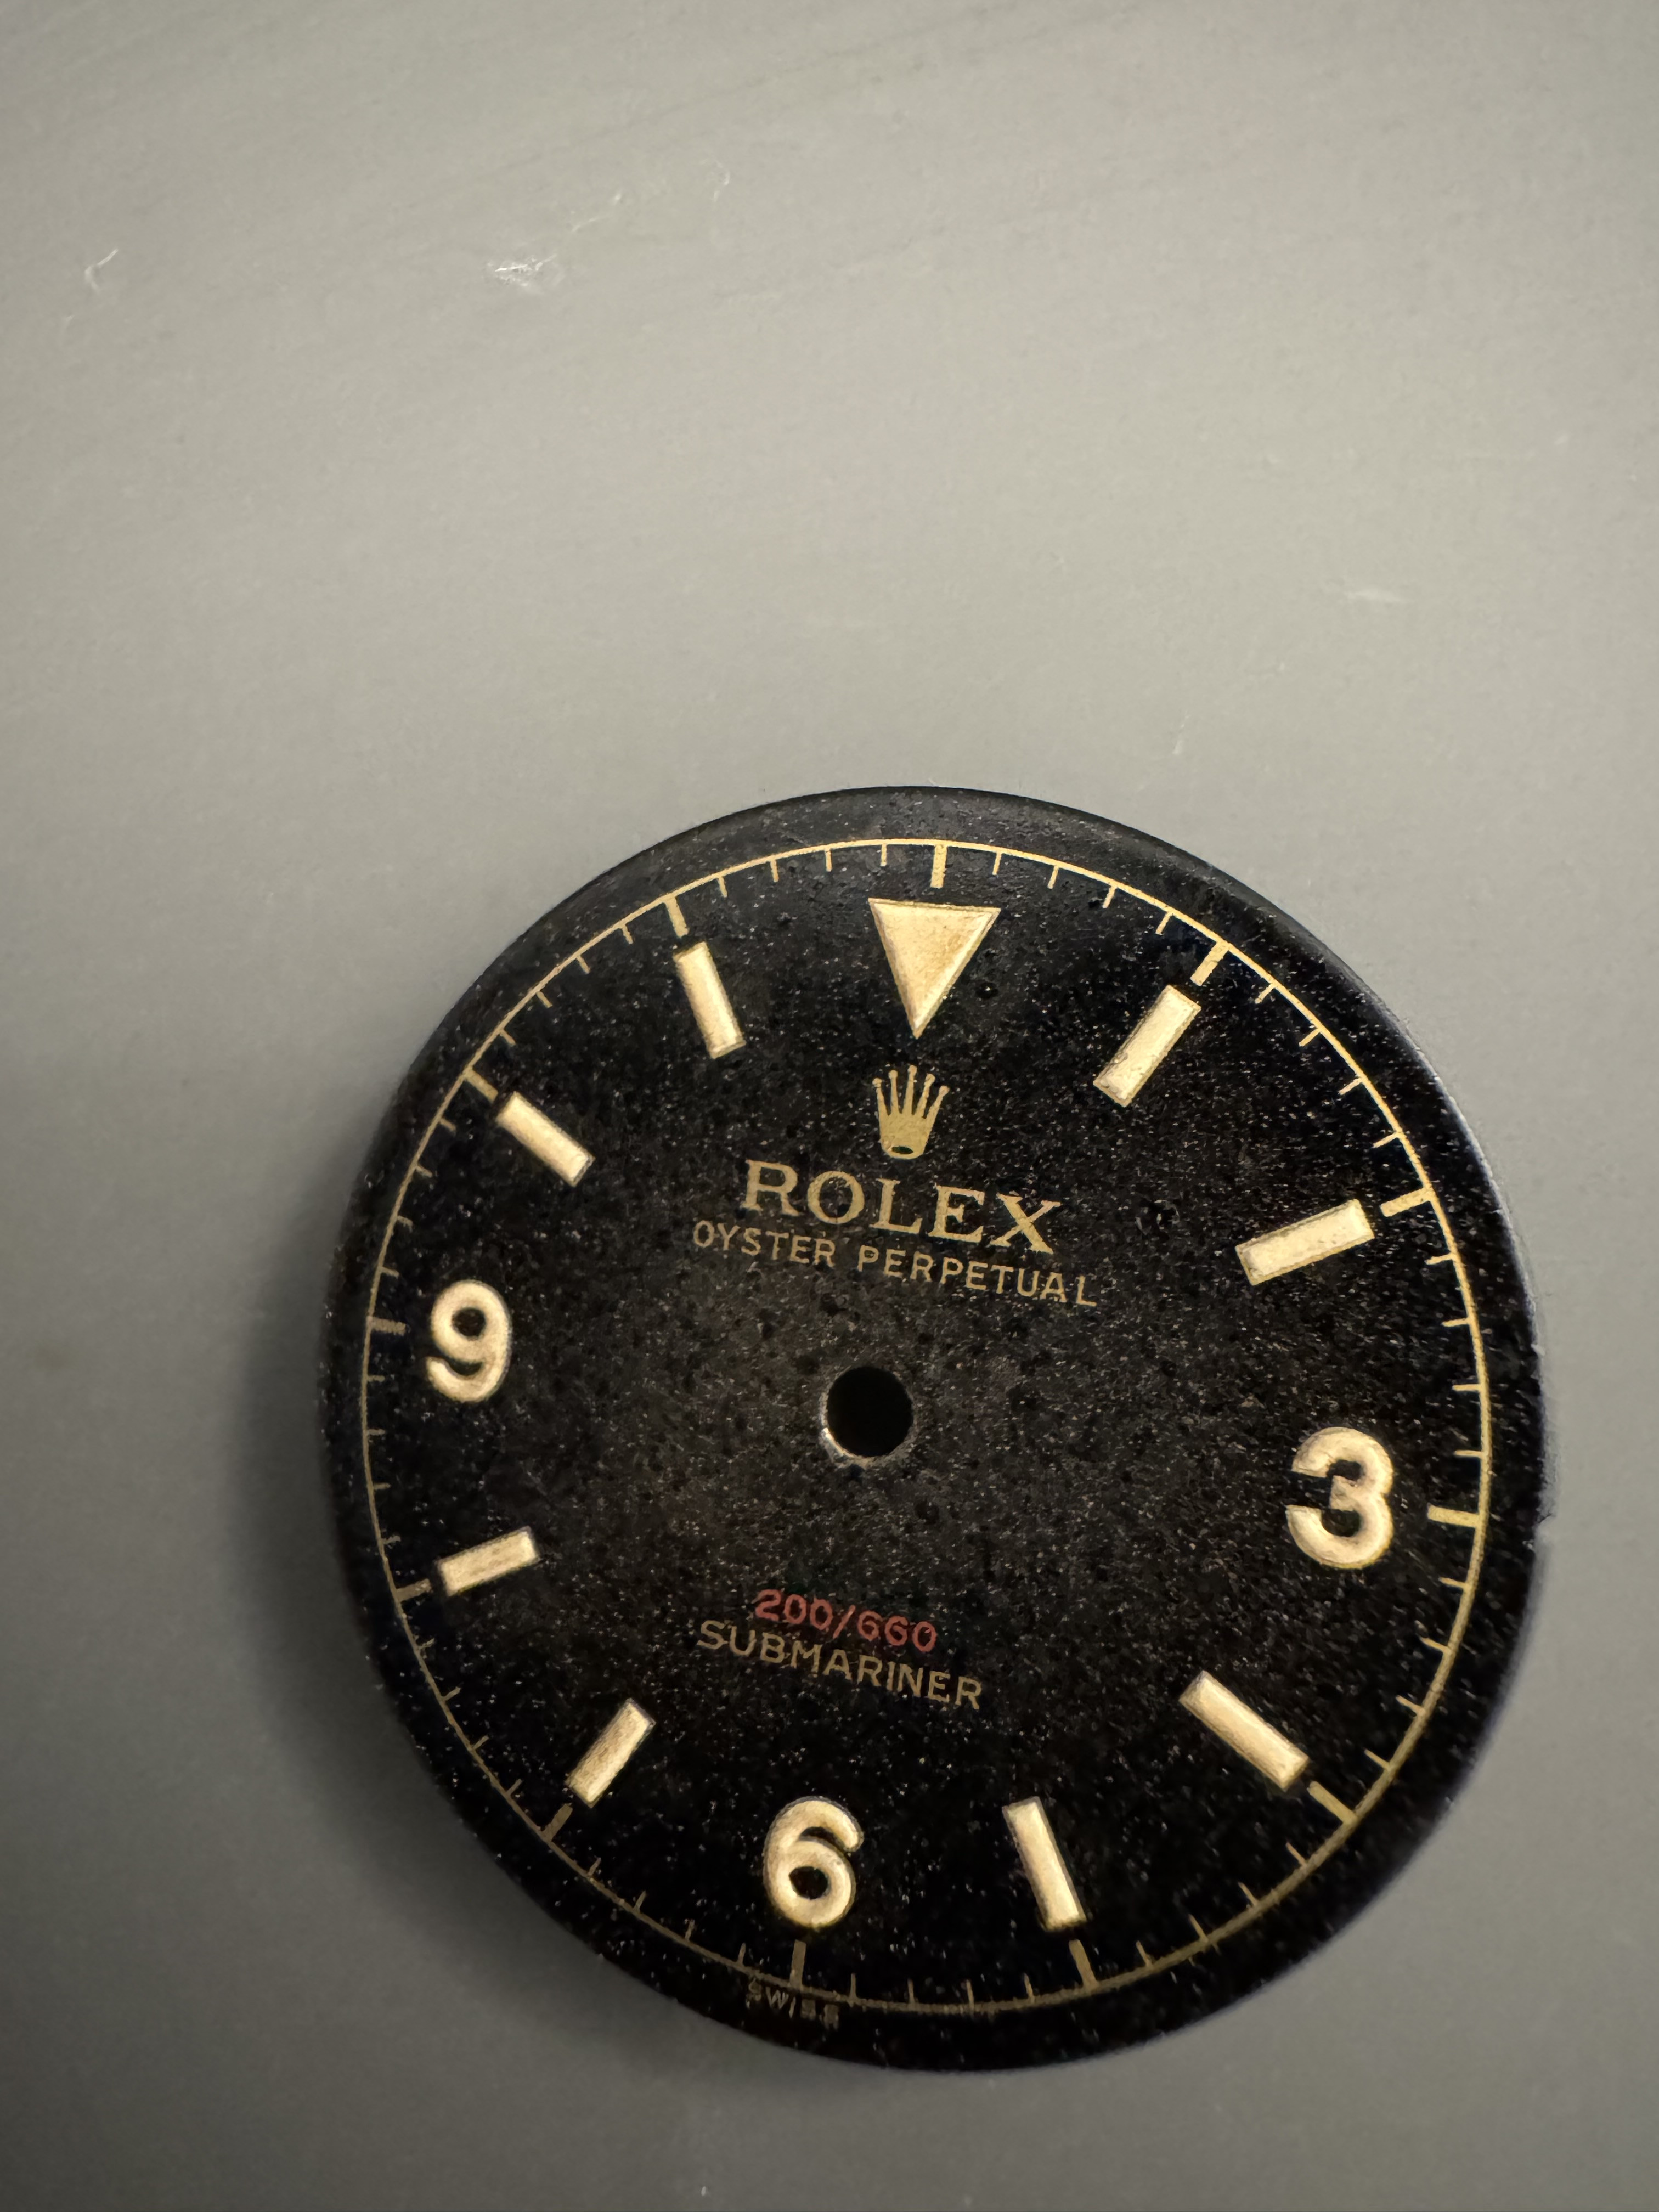
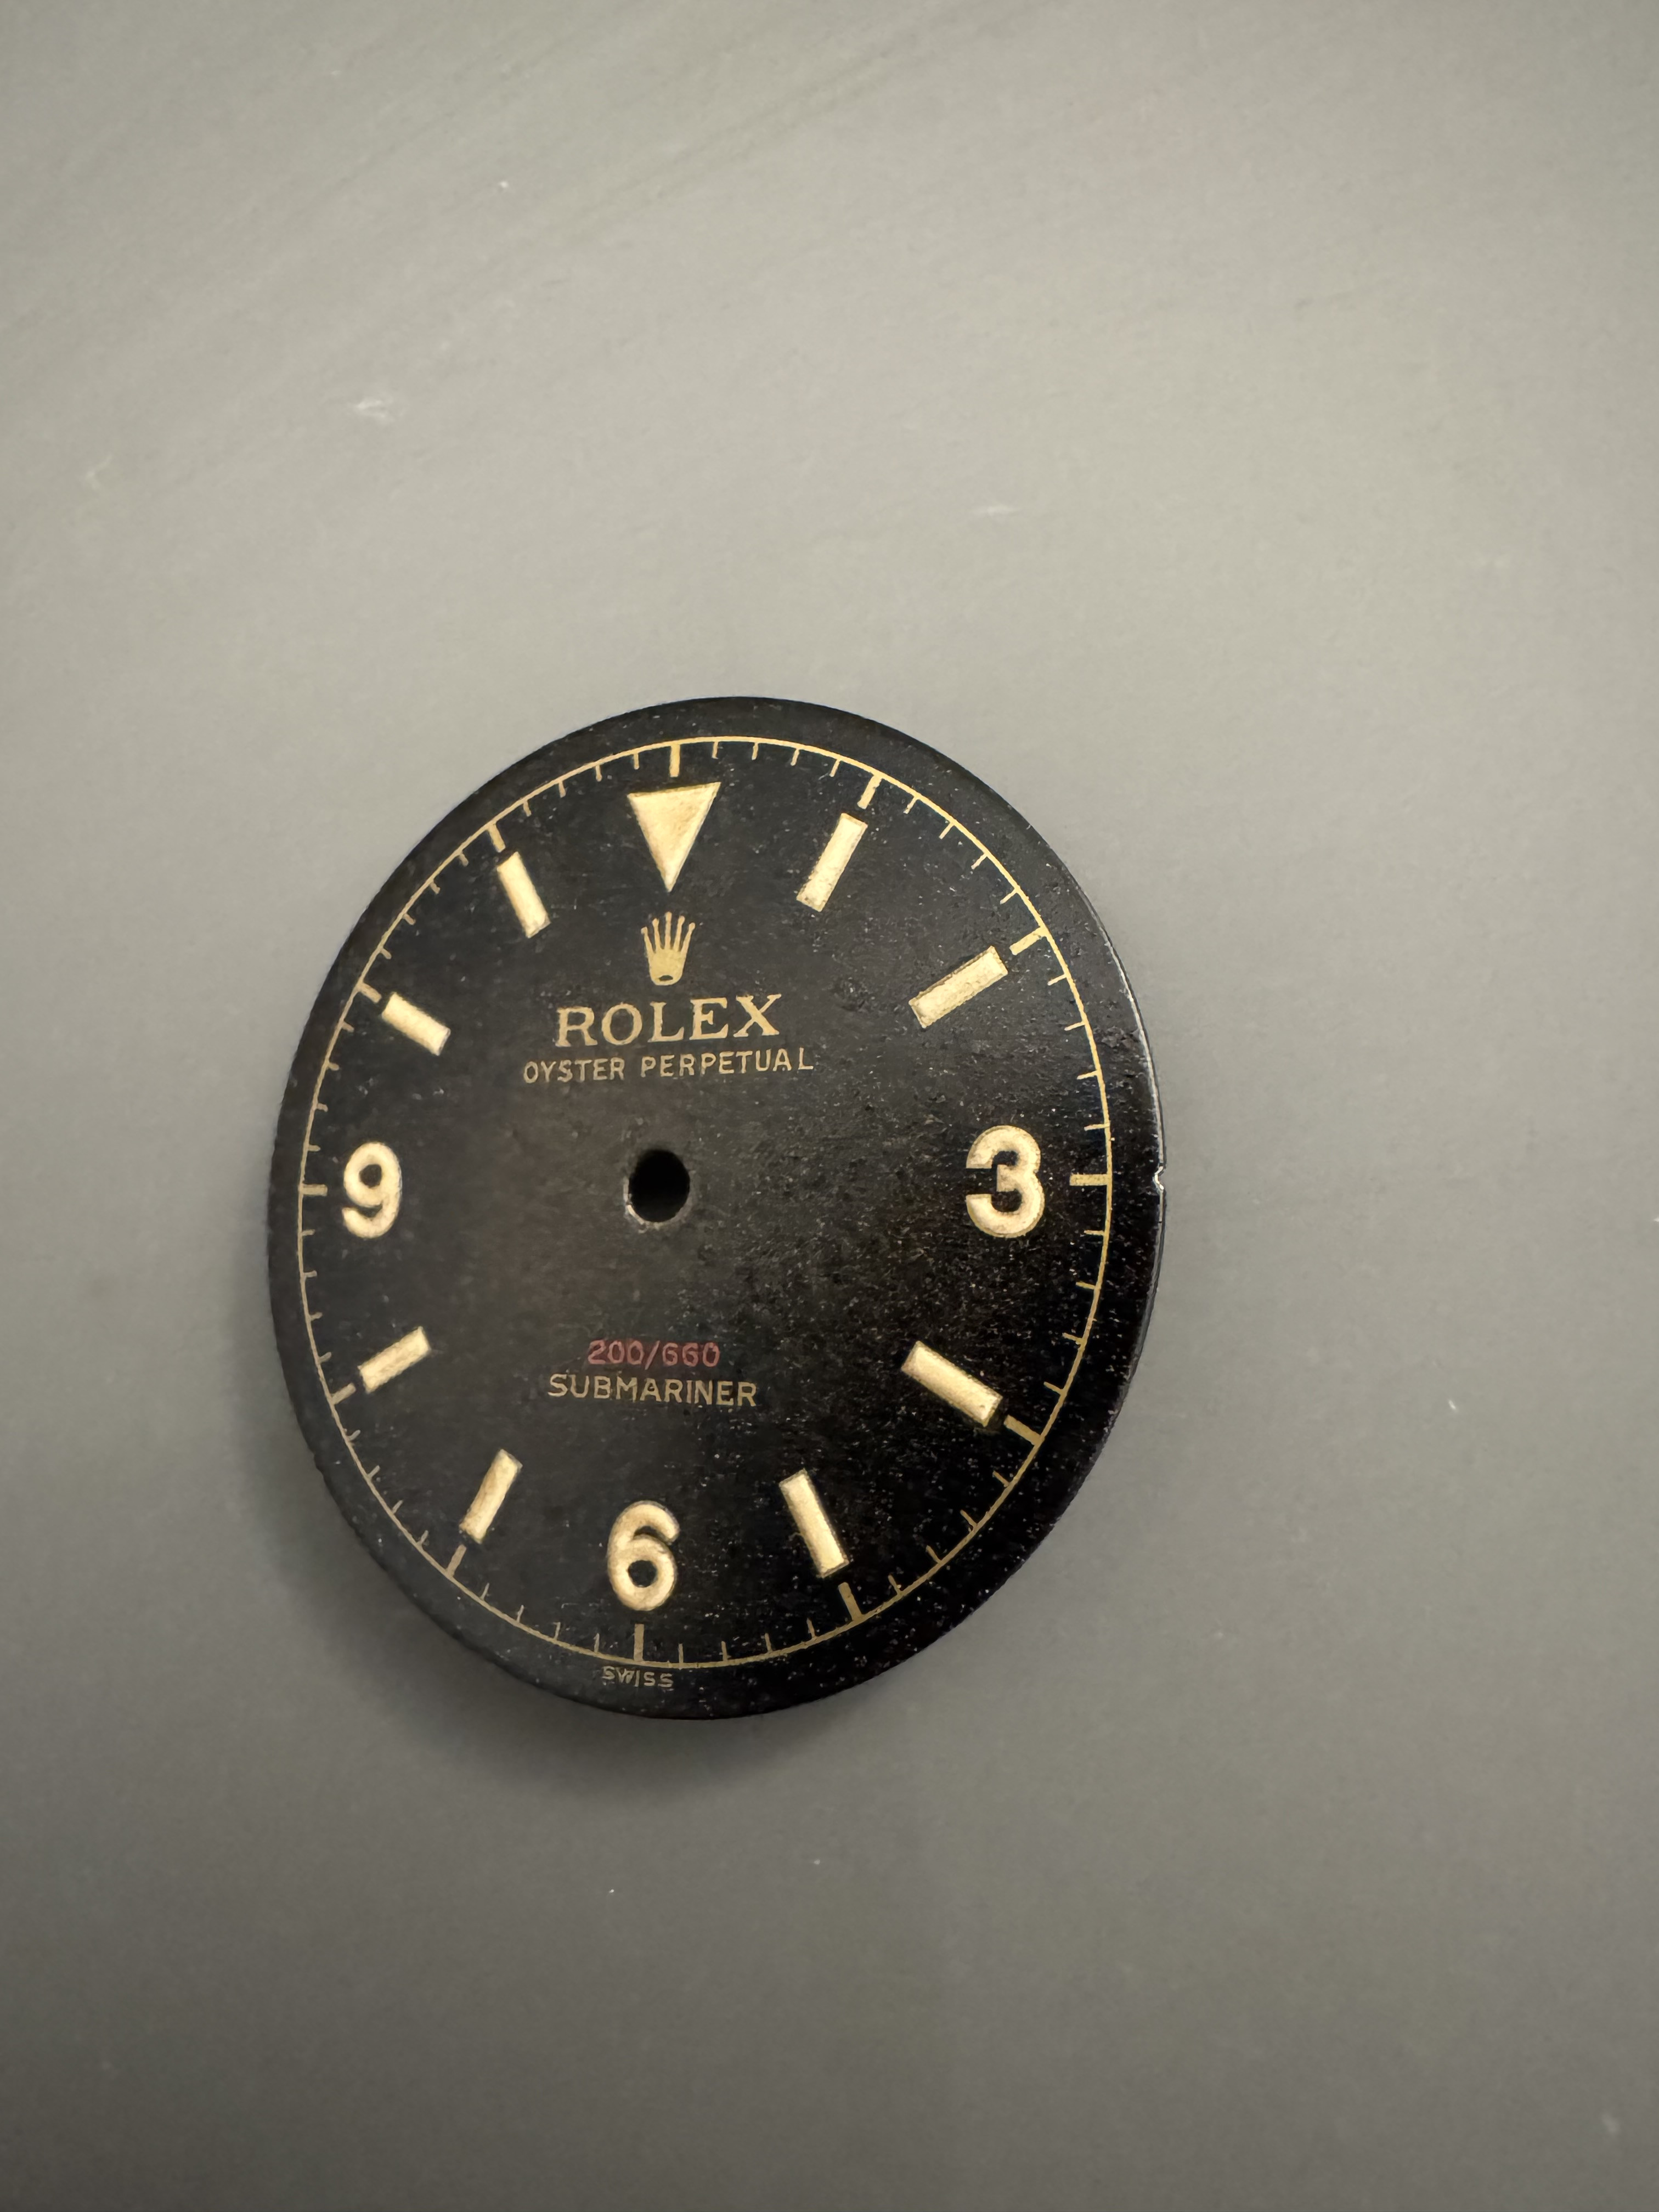
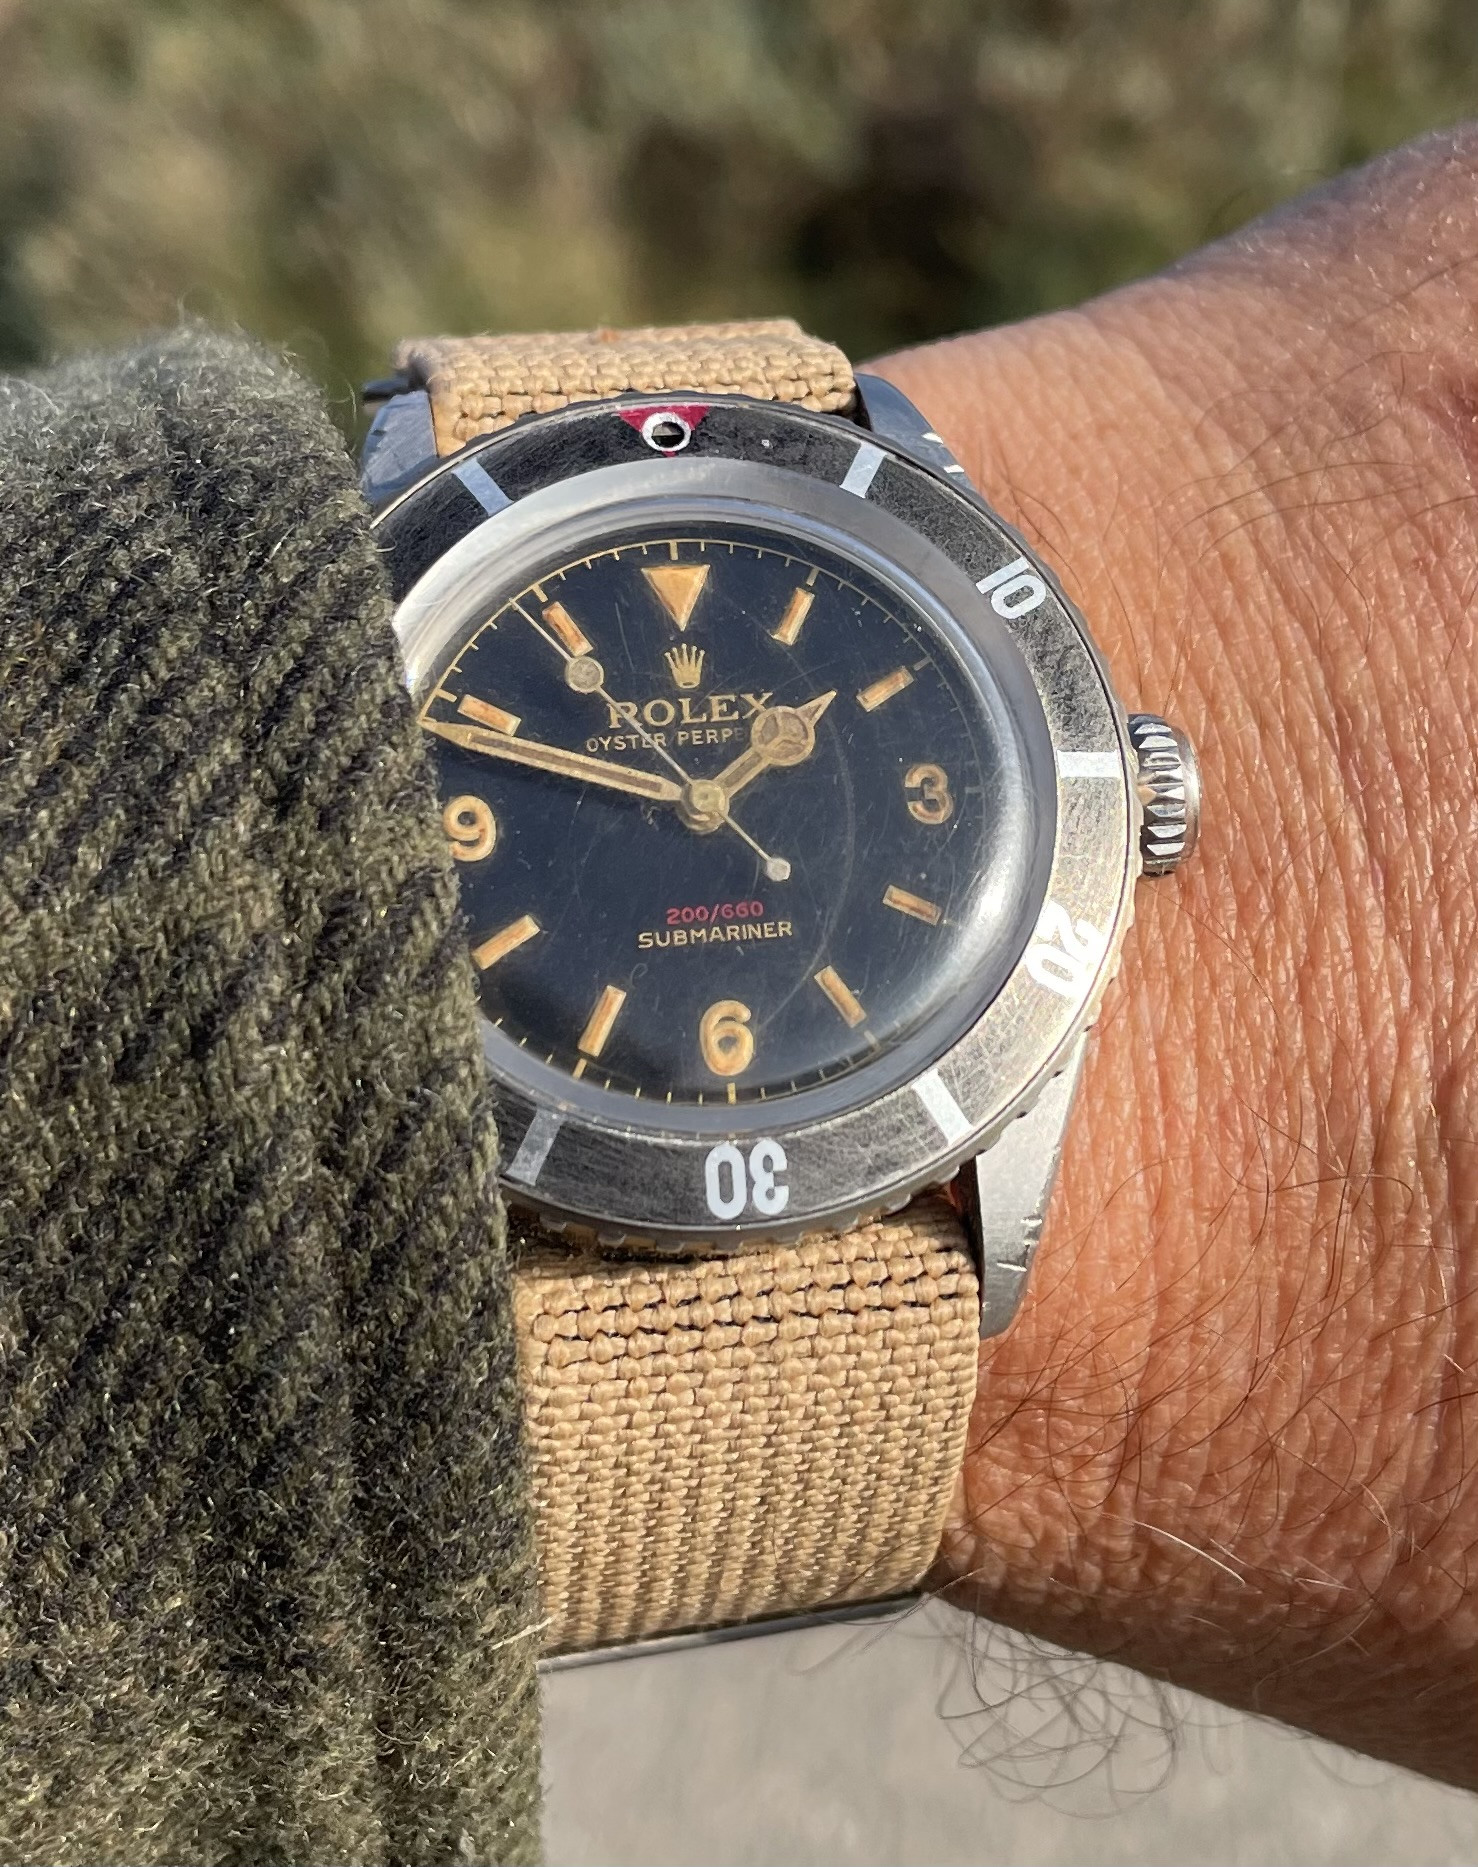
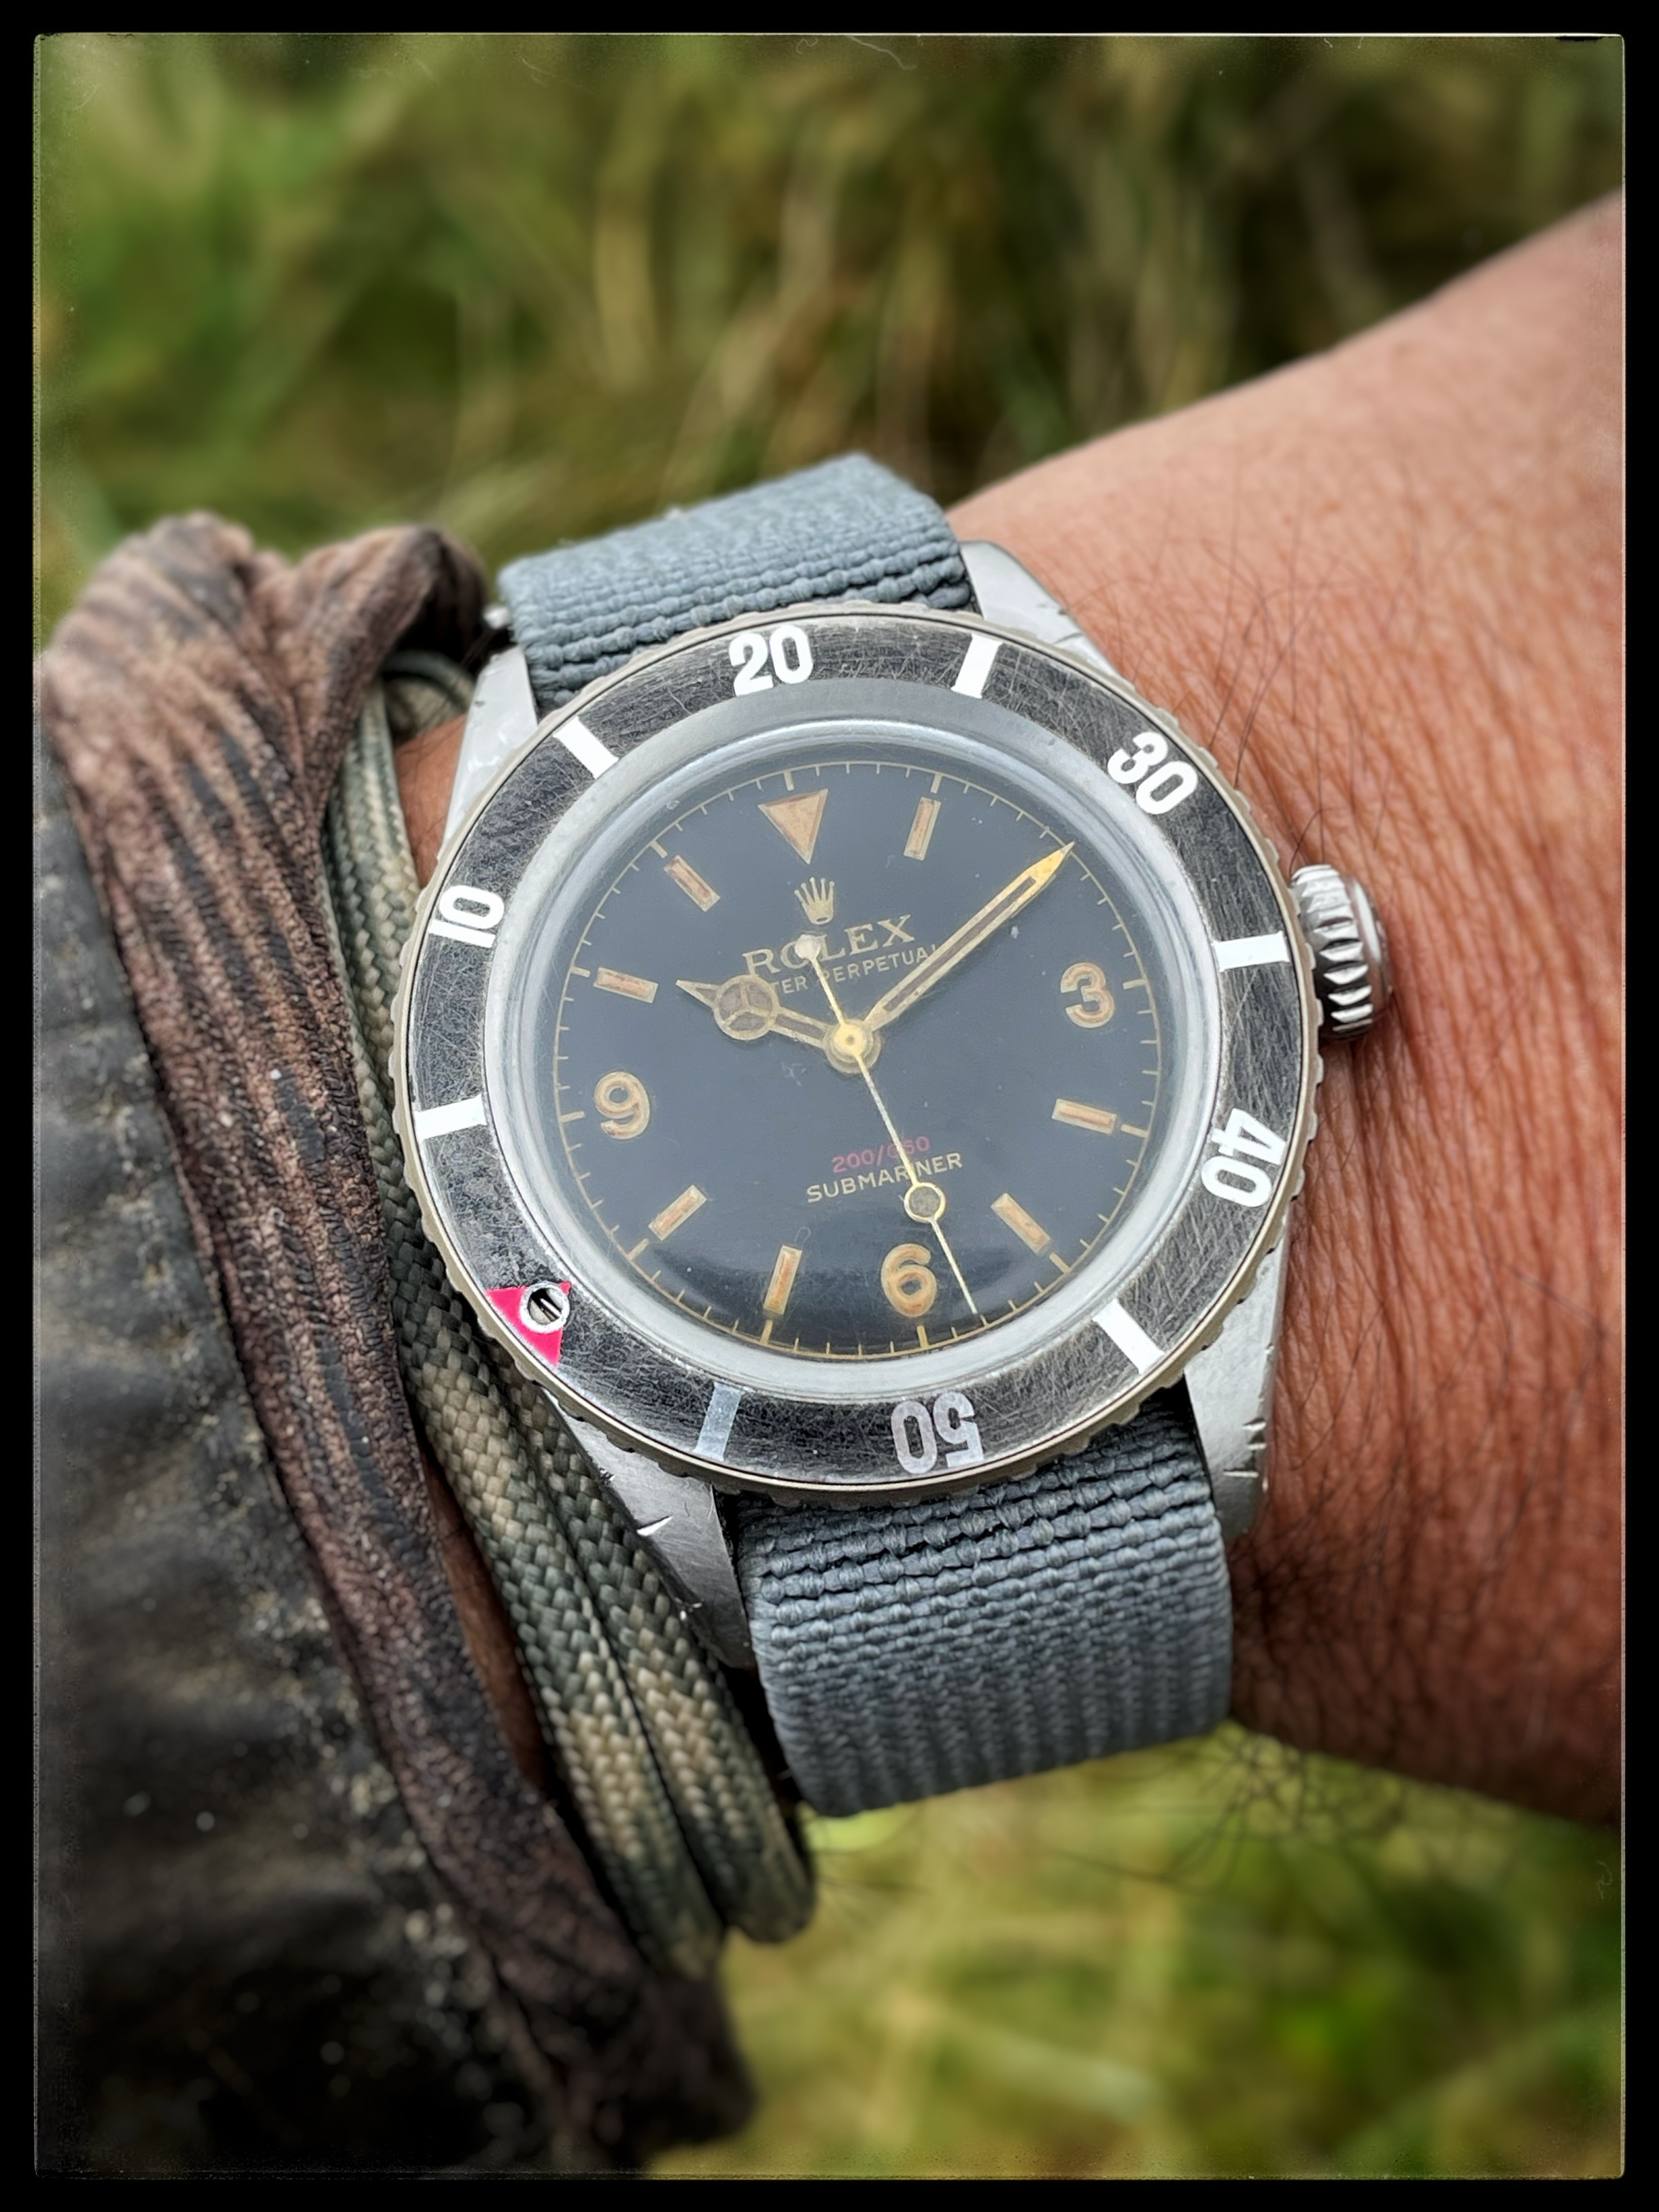
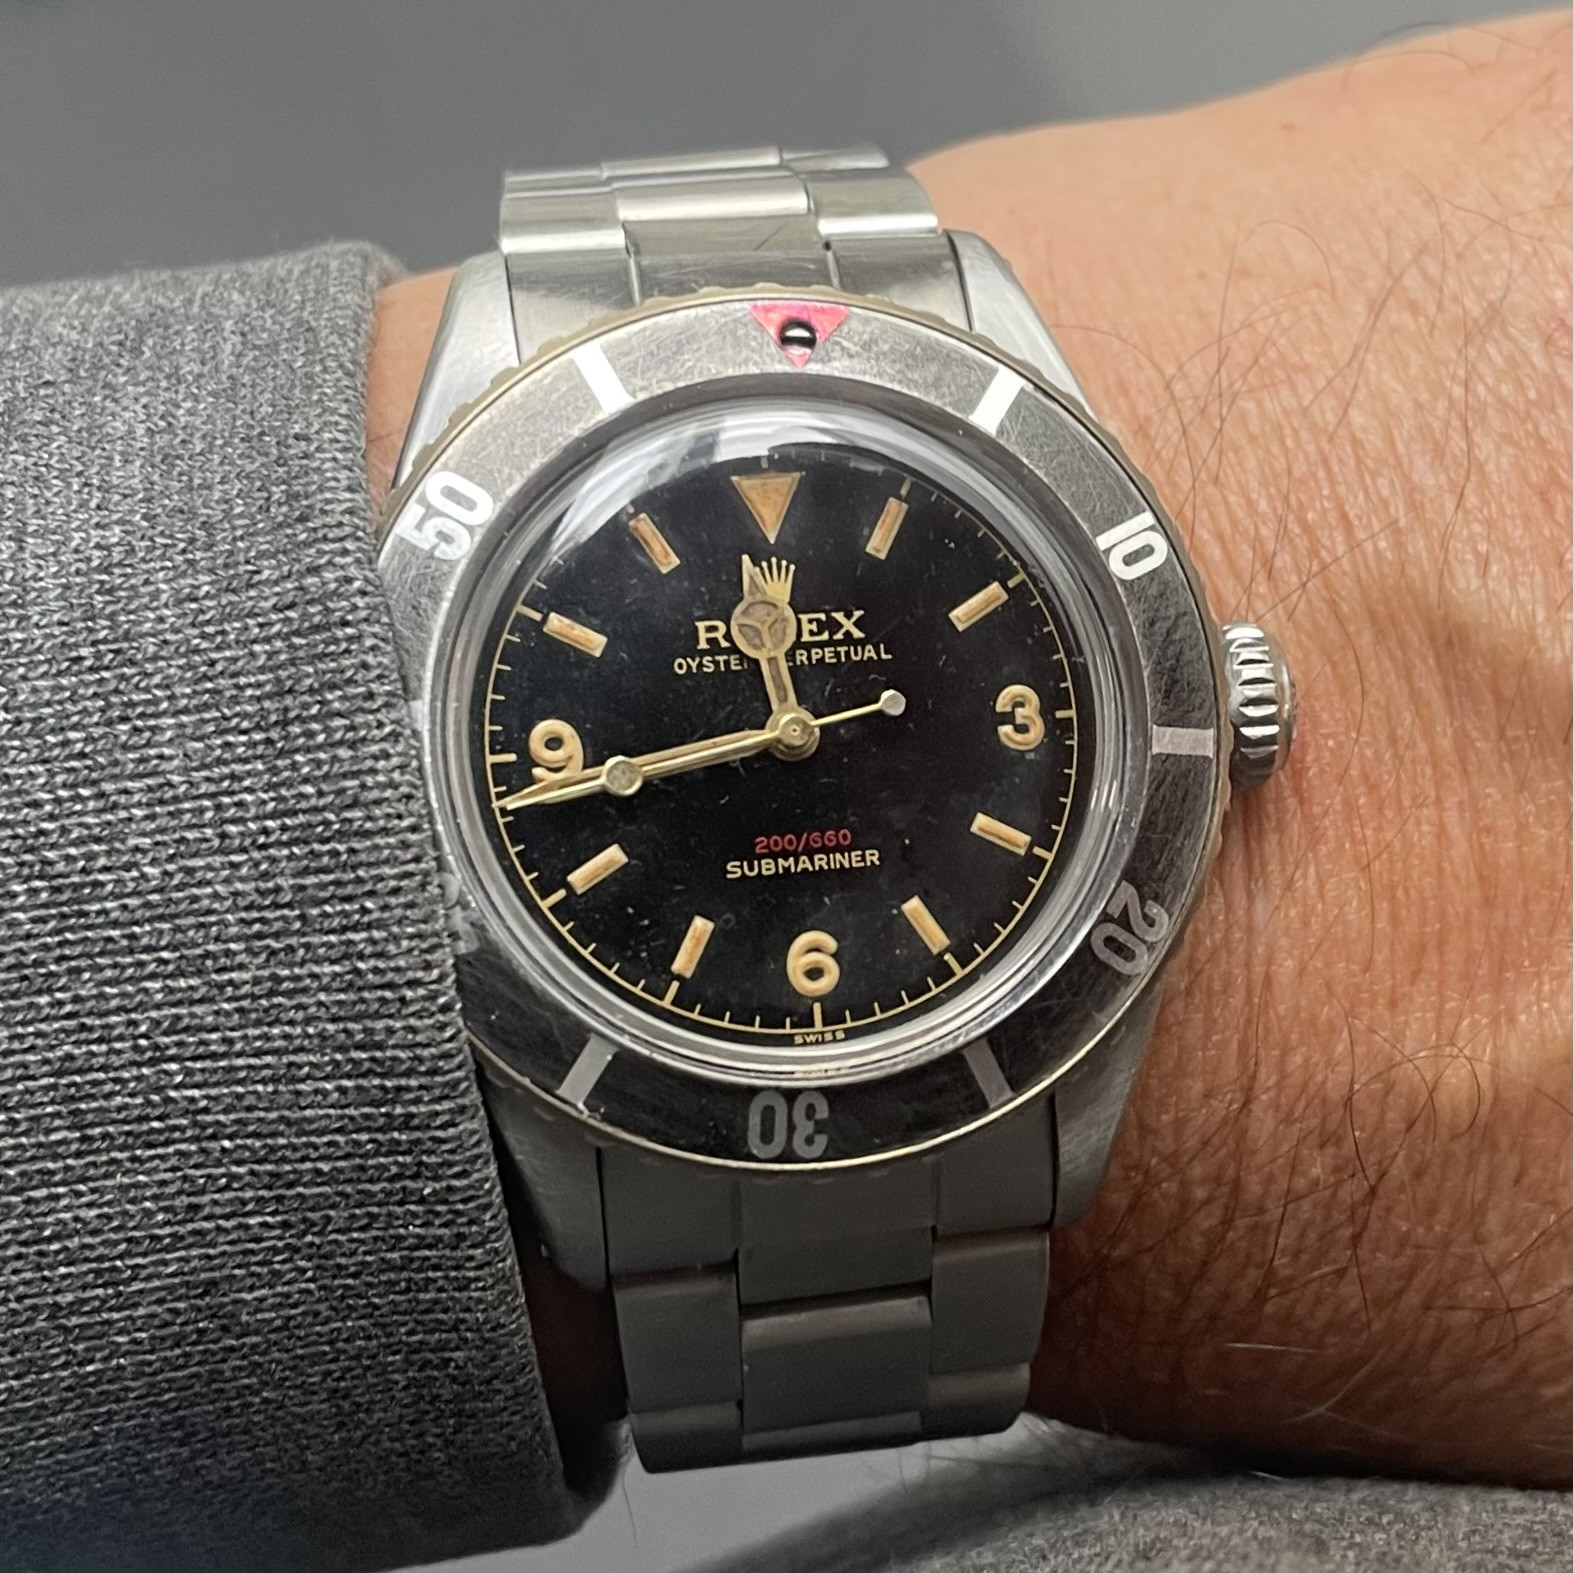
Not everyone’s cup of tea but I quite like the effect, I don’t think pictures do it justice to be honest but here I’ll try to capture from different angles so you can see how it changes in the light


Happy with how both dials are looking now, time for a side by side shot


That’s the dials, and my free time for this morning, done for now. That’s a good thing though, I find doing this in stages rather than an entire build in one go gives you a rest and sometimes leads to a bit of inspiration before you carry on.
 

Ado2436

Do not accept unsolicited offers
14/7/24
1
0
1
Nice work will follow….could you only let me know where find the right plexy for raffles case? Thx
 

369mafia

Resident Explorer Expert
Patron
Certified
7/7/15
3,644
6,771
113
Canada
Looks great.

I have never tried the oven to brass a bezel I have used a propane torch and applied flame directly. a bit of a time saver too!.

Thank you for documenting your process. I get asked frequently to do these, but I am usually in the zone and forget to stop and take pics, while " Im in the moment. :"

Hey @316lad Here is the tutorial you requested from me, The new kid beat me to it lol
 

Jip7645

Active Member
18/9/24
210
344
63
Looks great.

I have never tried the oven to brass a bezel I have used a propane torch and applied flame directly. a bit of a time saver too!.

Thank you for documenting your process. I get asked frequently to do these, but I am usually in the zone and forget to stop and take pics, while " Im in the moment. :"

Hey @316lad Here is the tutorial you requested from me, The new kid beat me to it lol
If I had a propane torch I’d use that method. The missus goes mad whenever I use the oven but she seemed even less thrilled with the idea of me fucking around with propane and an open flame :ROFLMAO:
 

Caboose

I'm Pretty Popular
Patron
Certified
27/2/15
1,634
2,365
113
CONUS
Looks great.

I have never tried the oven to brass a bezel I have used a propane torch and applied flame directly. a bit of a time saver too!.

Thank you for documenting your process. I get asked frequently to do these, but I am usually in the zone and forget to stop and take pics, while " Im in the moment. :"

Hey @316lad Here is the tutorial you requested from me, The new kid beat me to it lol
I was waiting for the brass brush to come out, but the oven method worked great!

The dials are dry


Going to add a slight tint to the lume markers now, I considered reluming, but it’s a fair bit of work and I admit I don’t have the patience for it right now. The good thing is I can always come back and do this at a later date if I’m so inclined.
Here I’m using a citadel dark wash mixed with water, again very thin and subtle. It will leave the current lume intact


You can see the very very subtle difference close up


Now I’m going to use some rust and ash colour tamiya weathering paint on the markers, again, less is sometimes more


I’m now happy with this dial and I’m going to leave it looking quite clean


The explorer dial however I want to go a bit further, so I’m applying some tamiya ash and rust colours to the dial, brushing it on and blowing excess away as I go


Trying to keep the majority towards the centre of the dial, I tend to like keeping some of it dark and only going heavy on one part of the dial, just my preference as I believe the sun hitting the dial wouldn’t leave a uniformed colour all over. Now the tamiya is applied I give it a couple of blasts of Matt spray from a distance to seal it and slightly add to the aging effect


Not everyone’s cup of tea but I quite like the effect, I don’t think pictures do it justice to be honest but here I’ll try to capture from different angles so you can see how it changes in the light


Happy with how both dials are looking now, time for a side by side shot


That’s the dials, and my free time for this morning, done for now. That’s a good thing though, I find doing this in stages rather than an entire build in one go gives you a rest and sometimes leads to a bit of inspiration before you carry on.

Your aging with the tamiya weathering and matte spray is exactly how I do my dials and I always love the result. Plus, you can keep redoing that weathering until you get it right and spray it!
 

Jip7645

Active Member
18/9/24
210
344
63
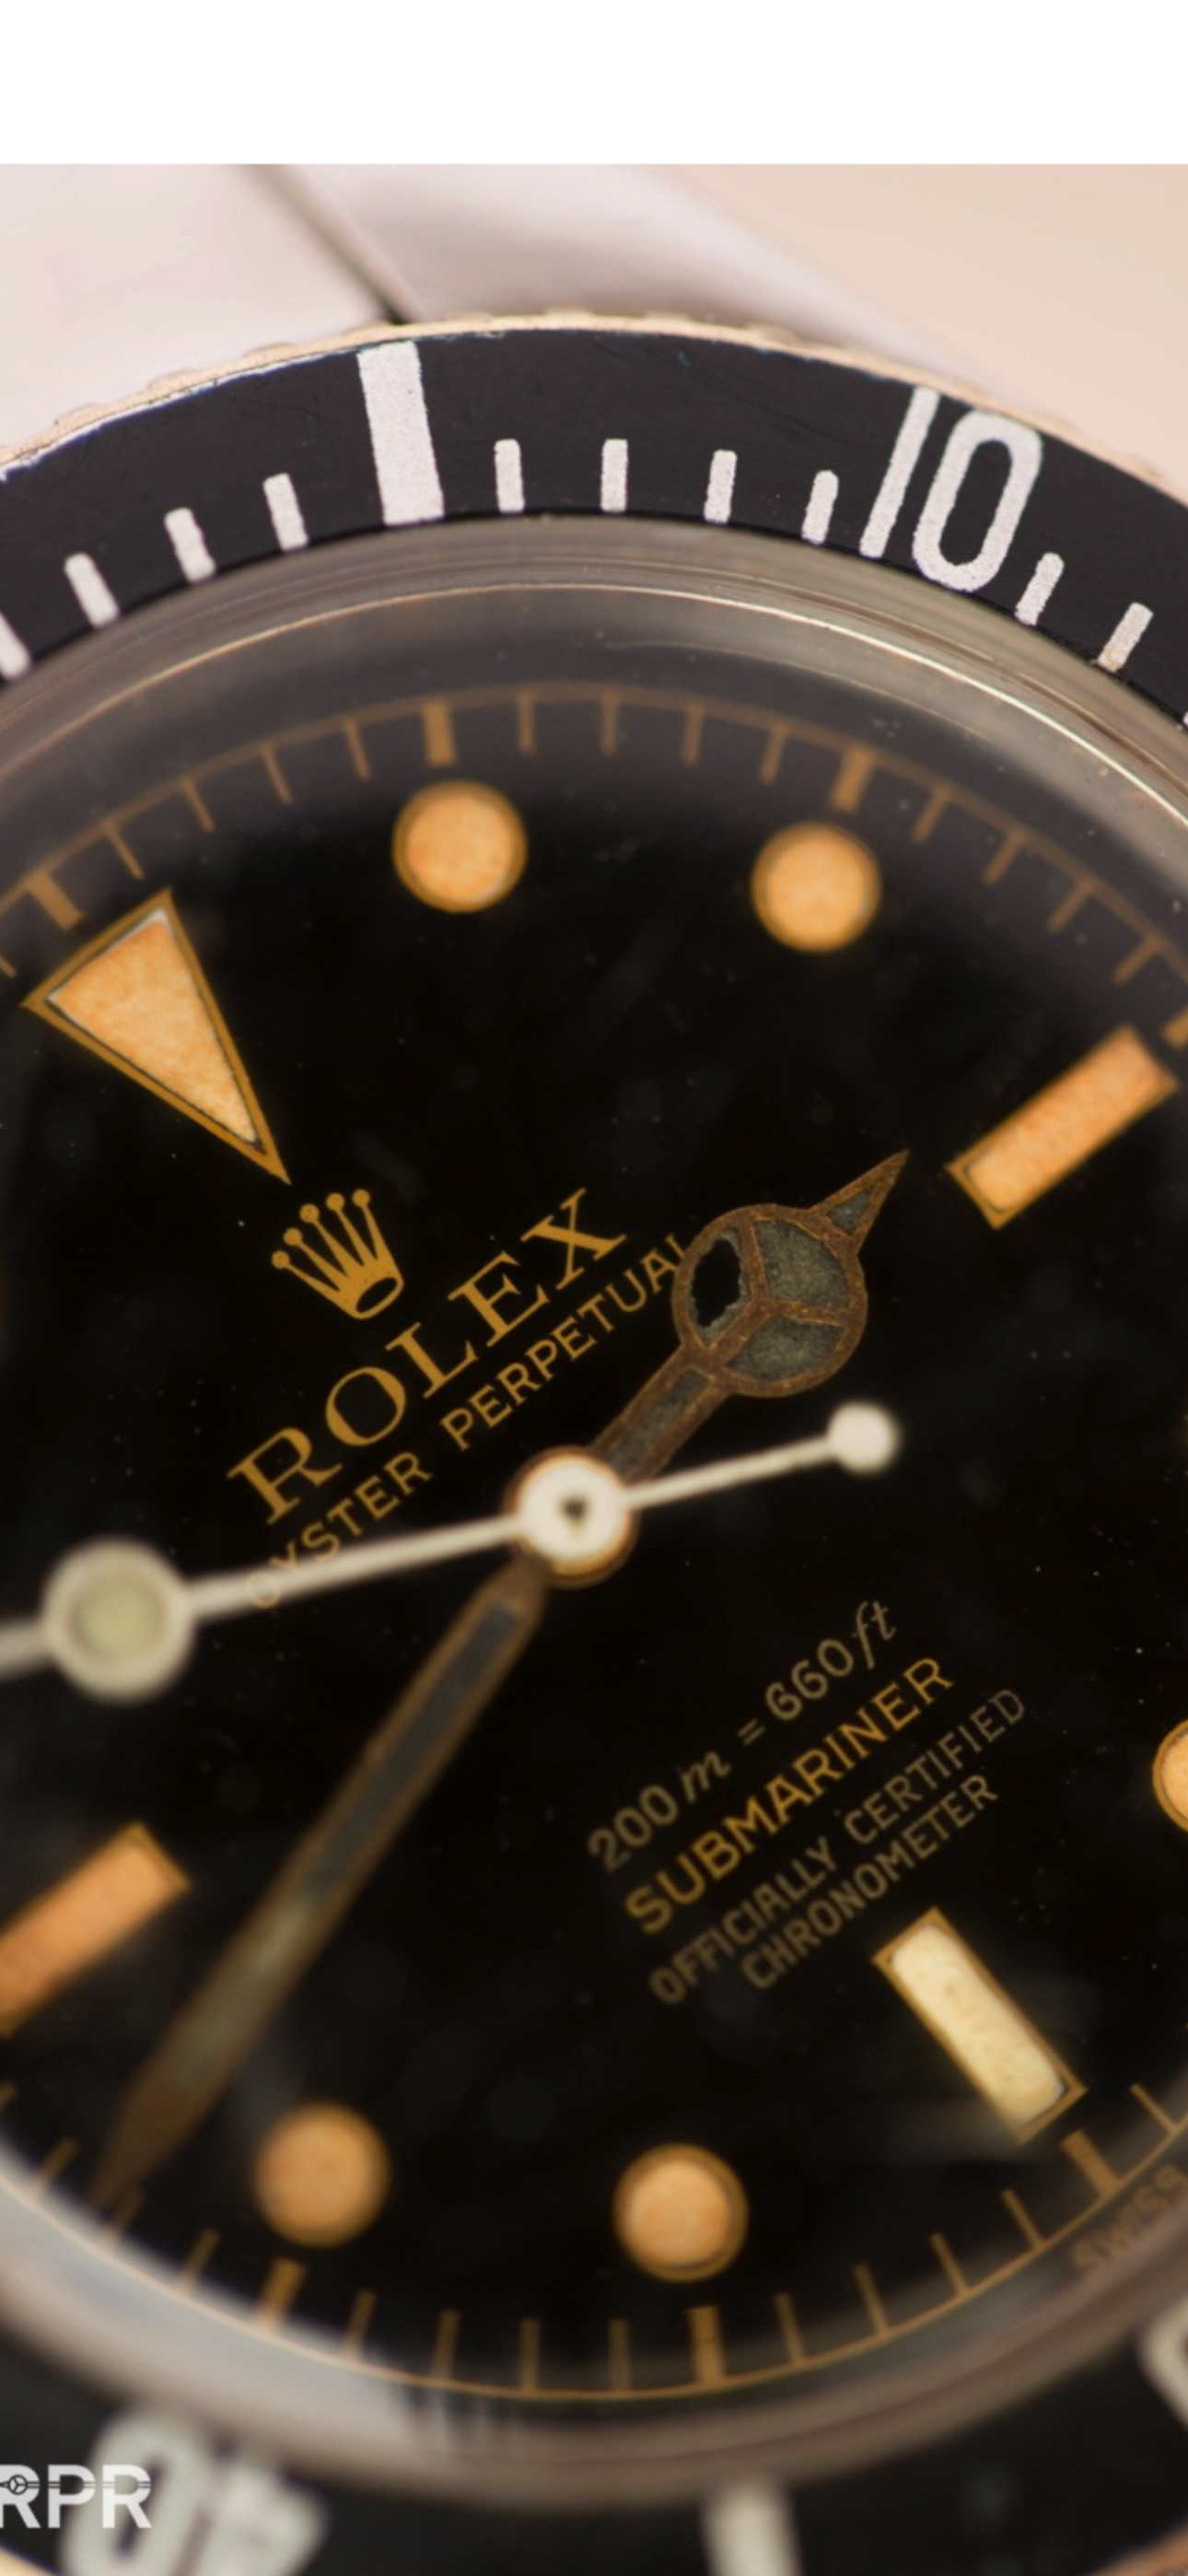
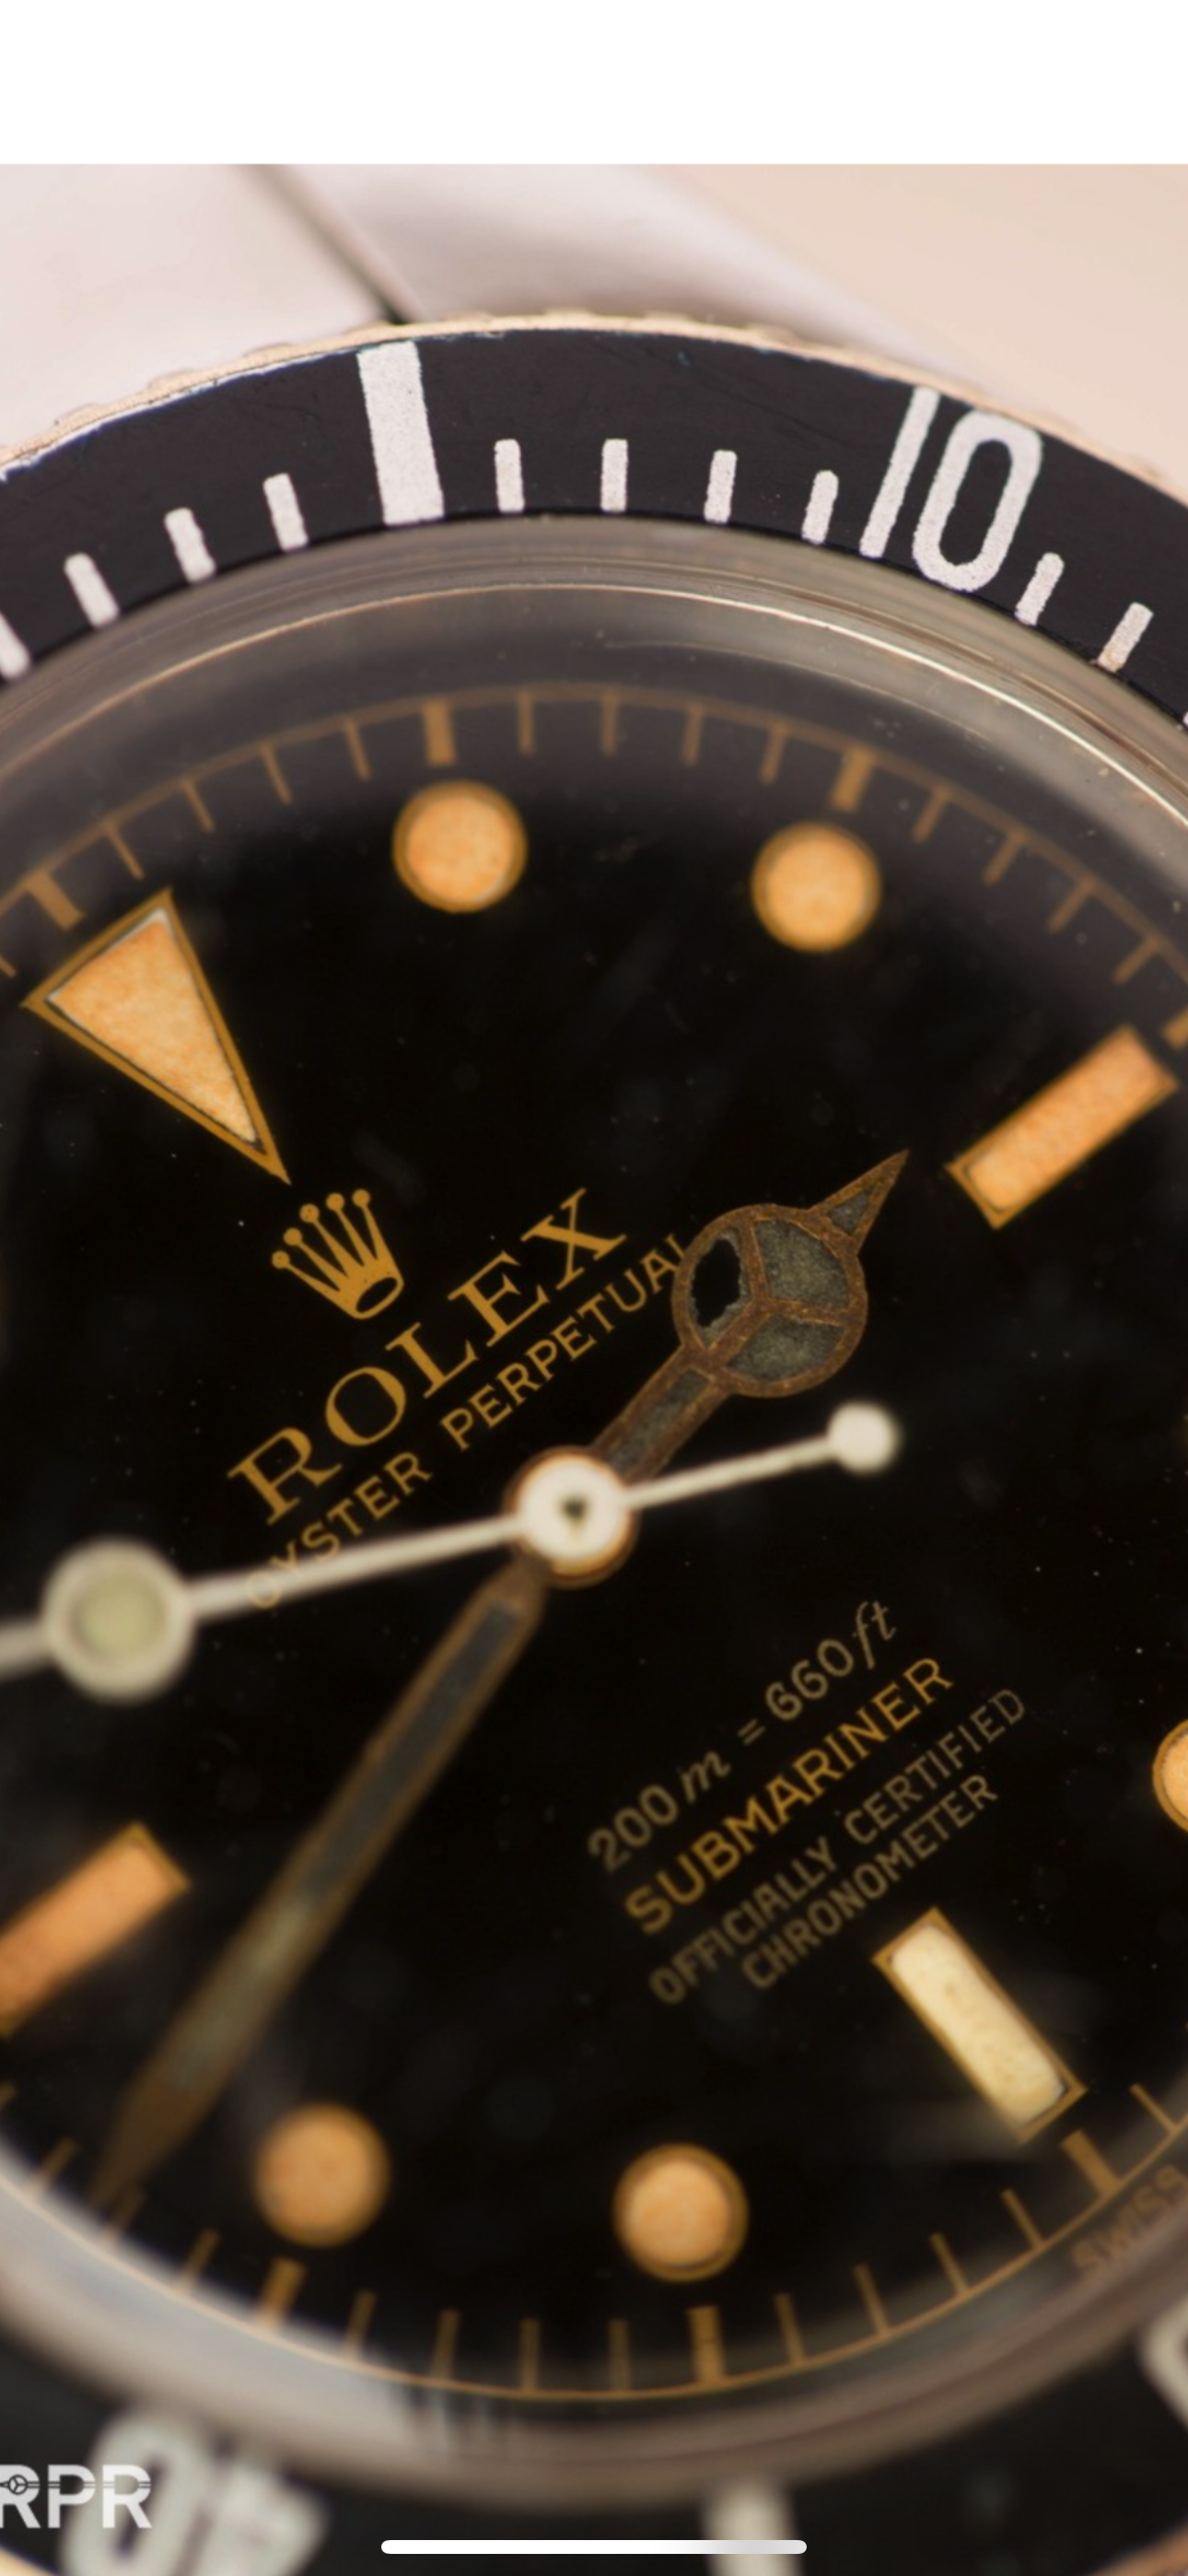
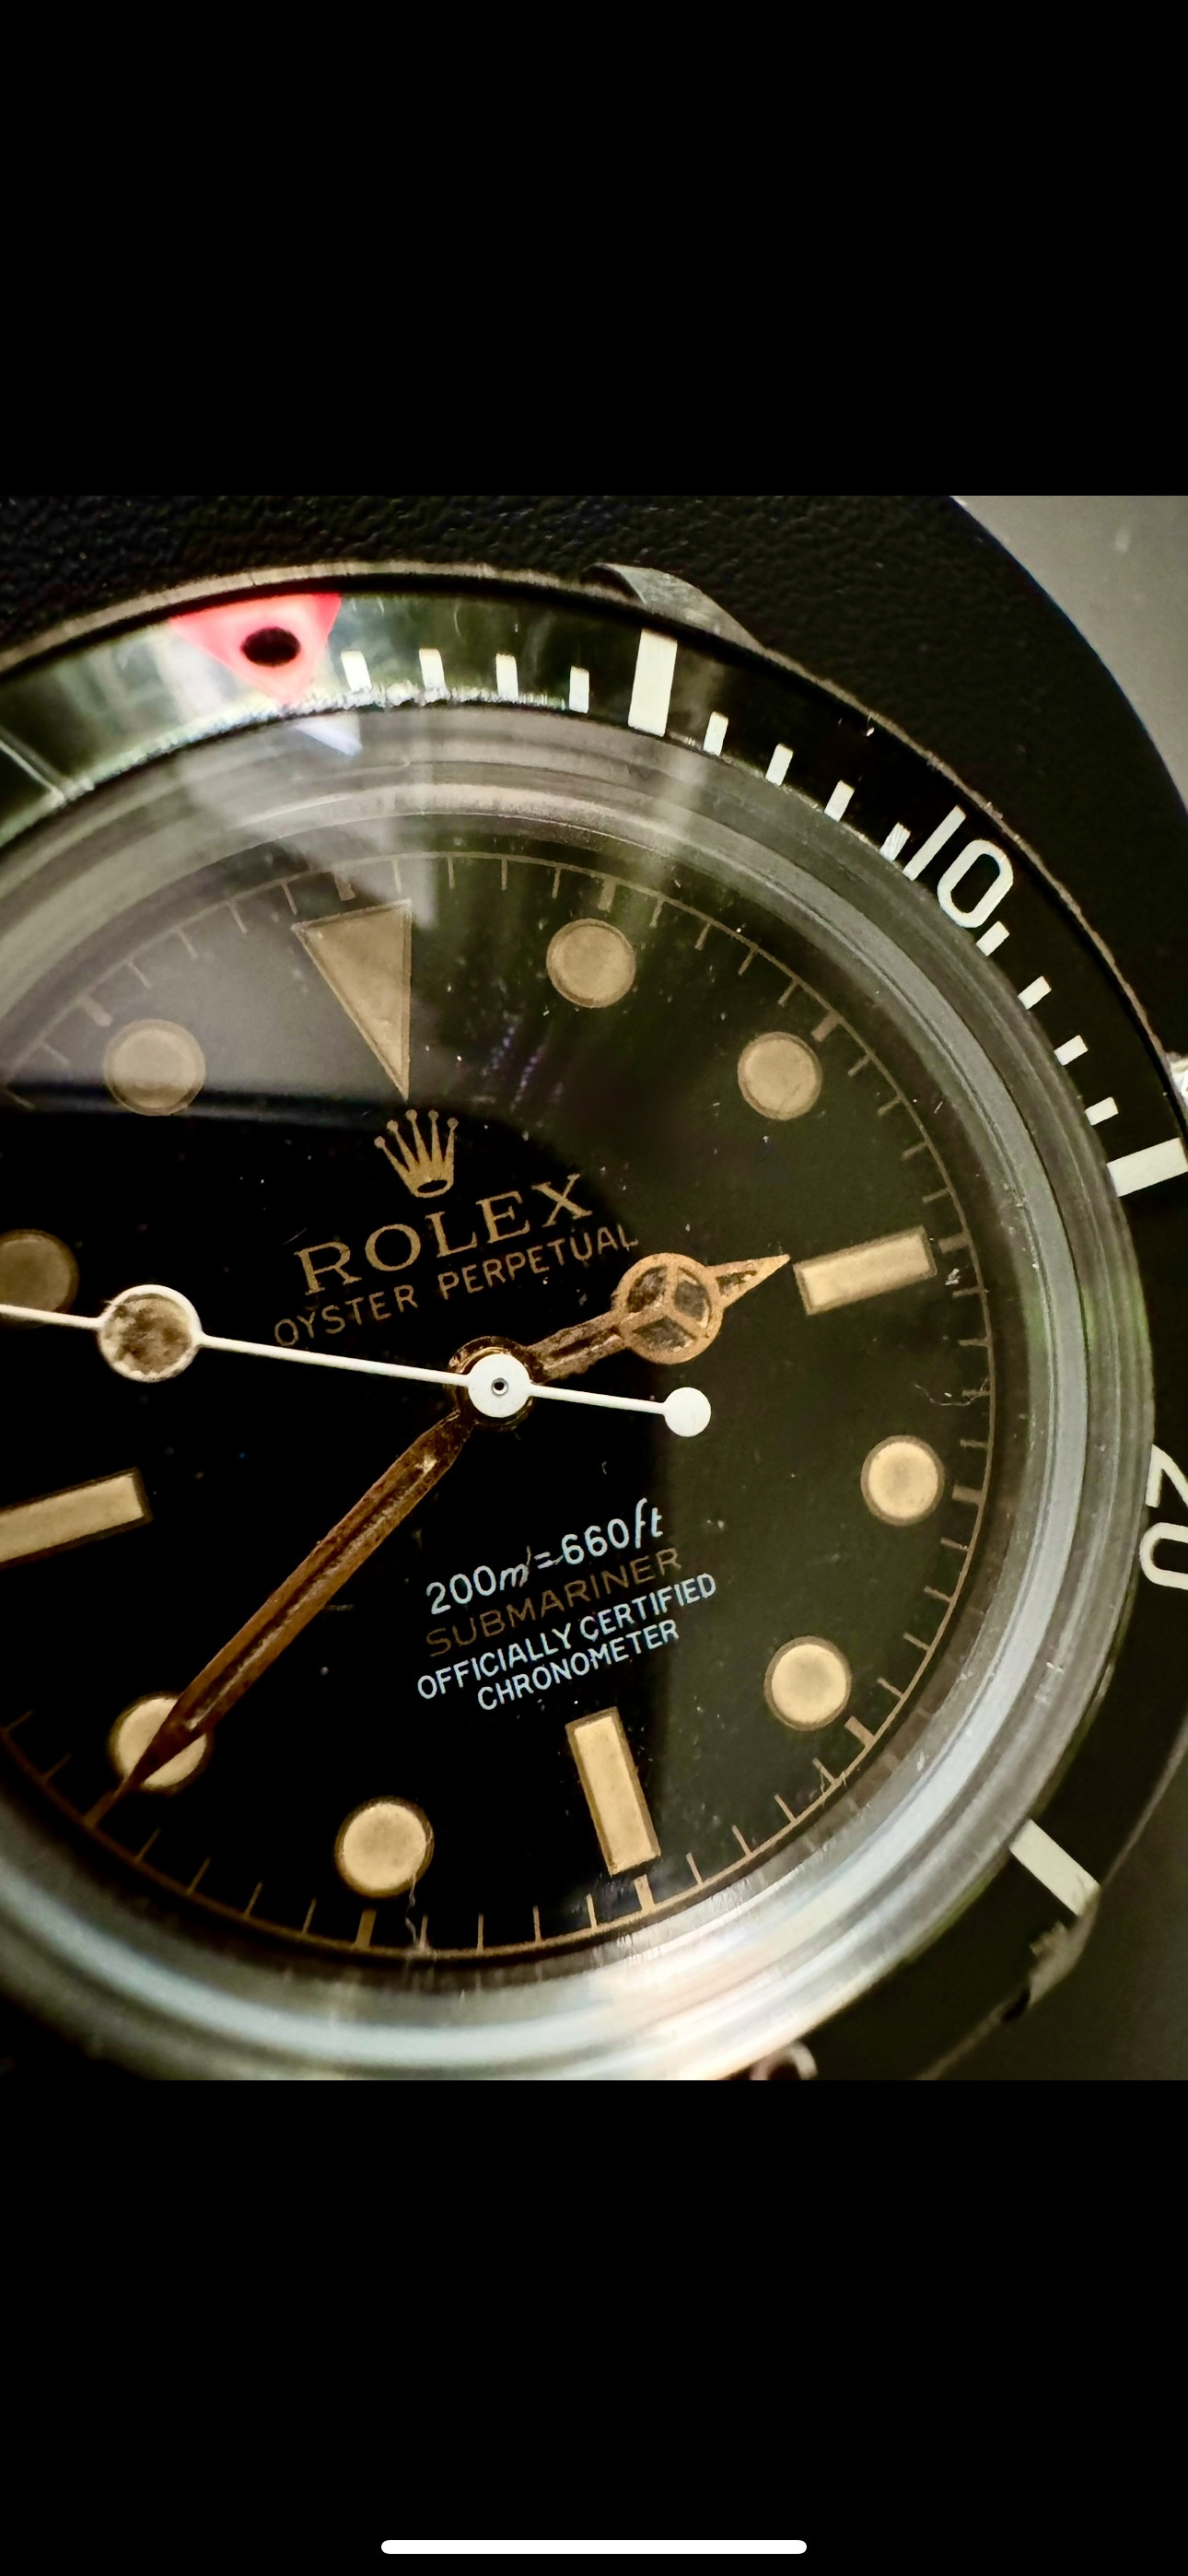
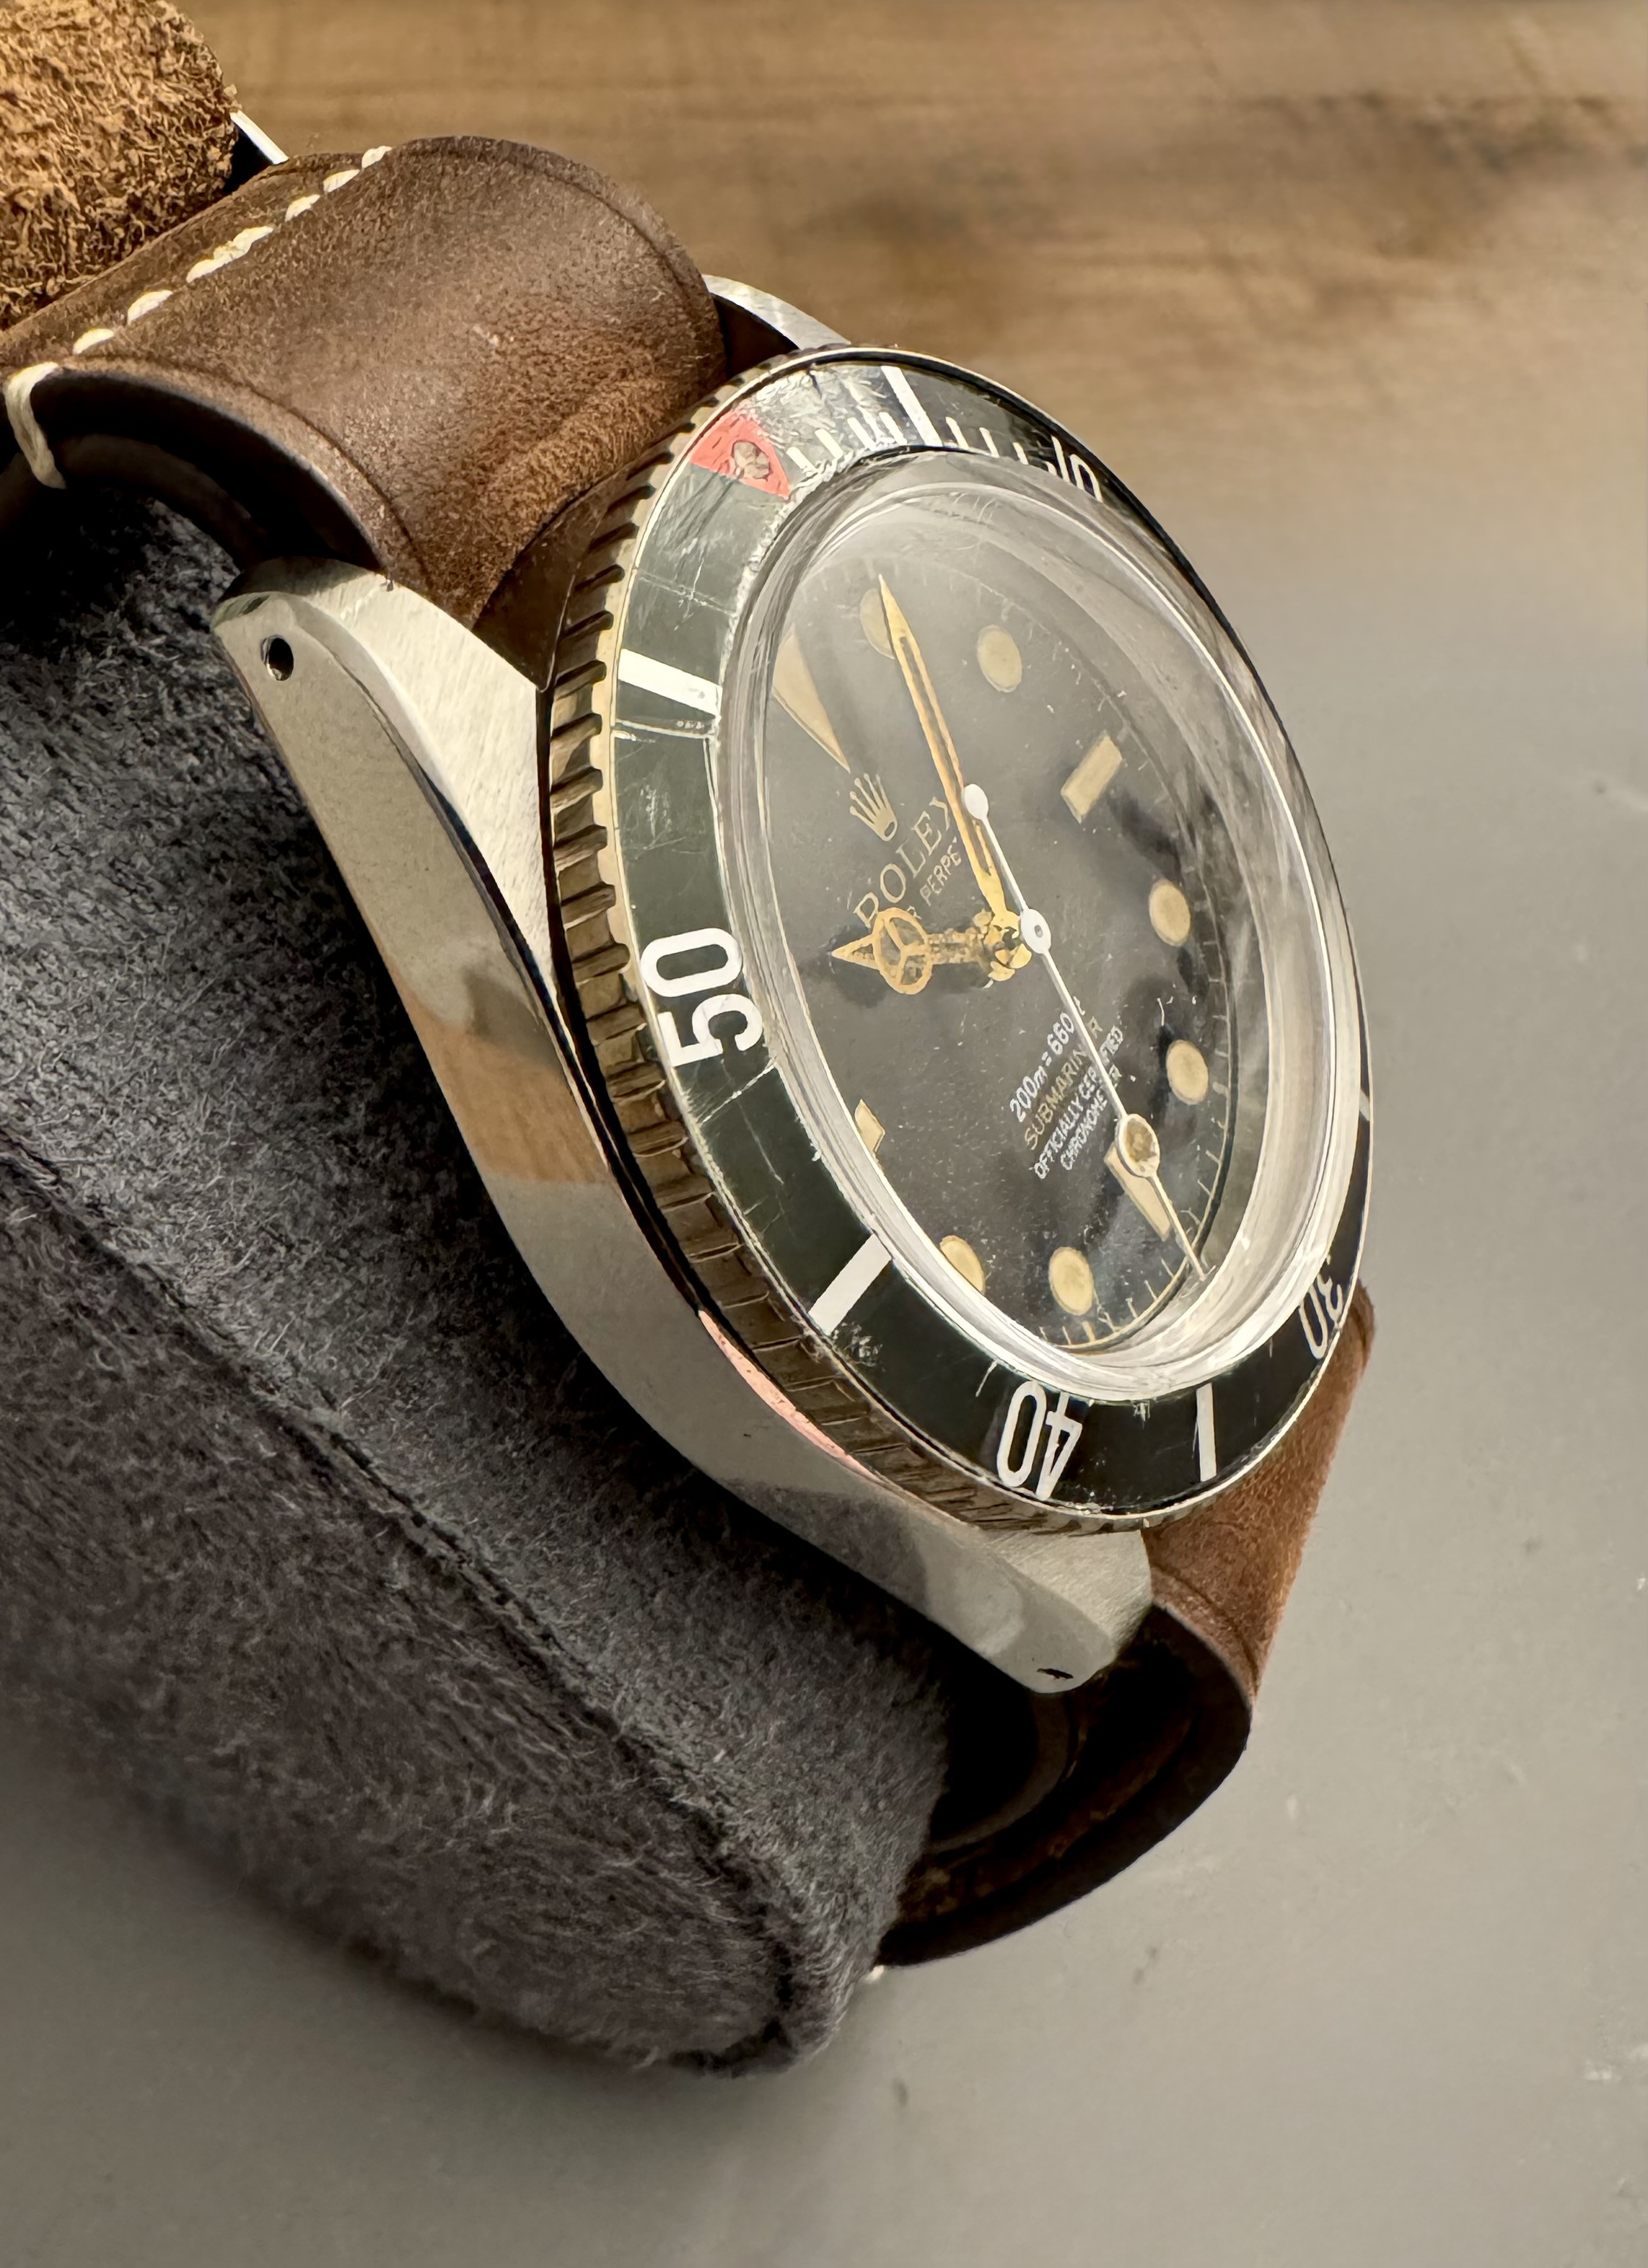
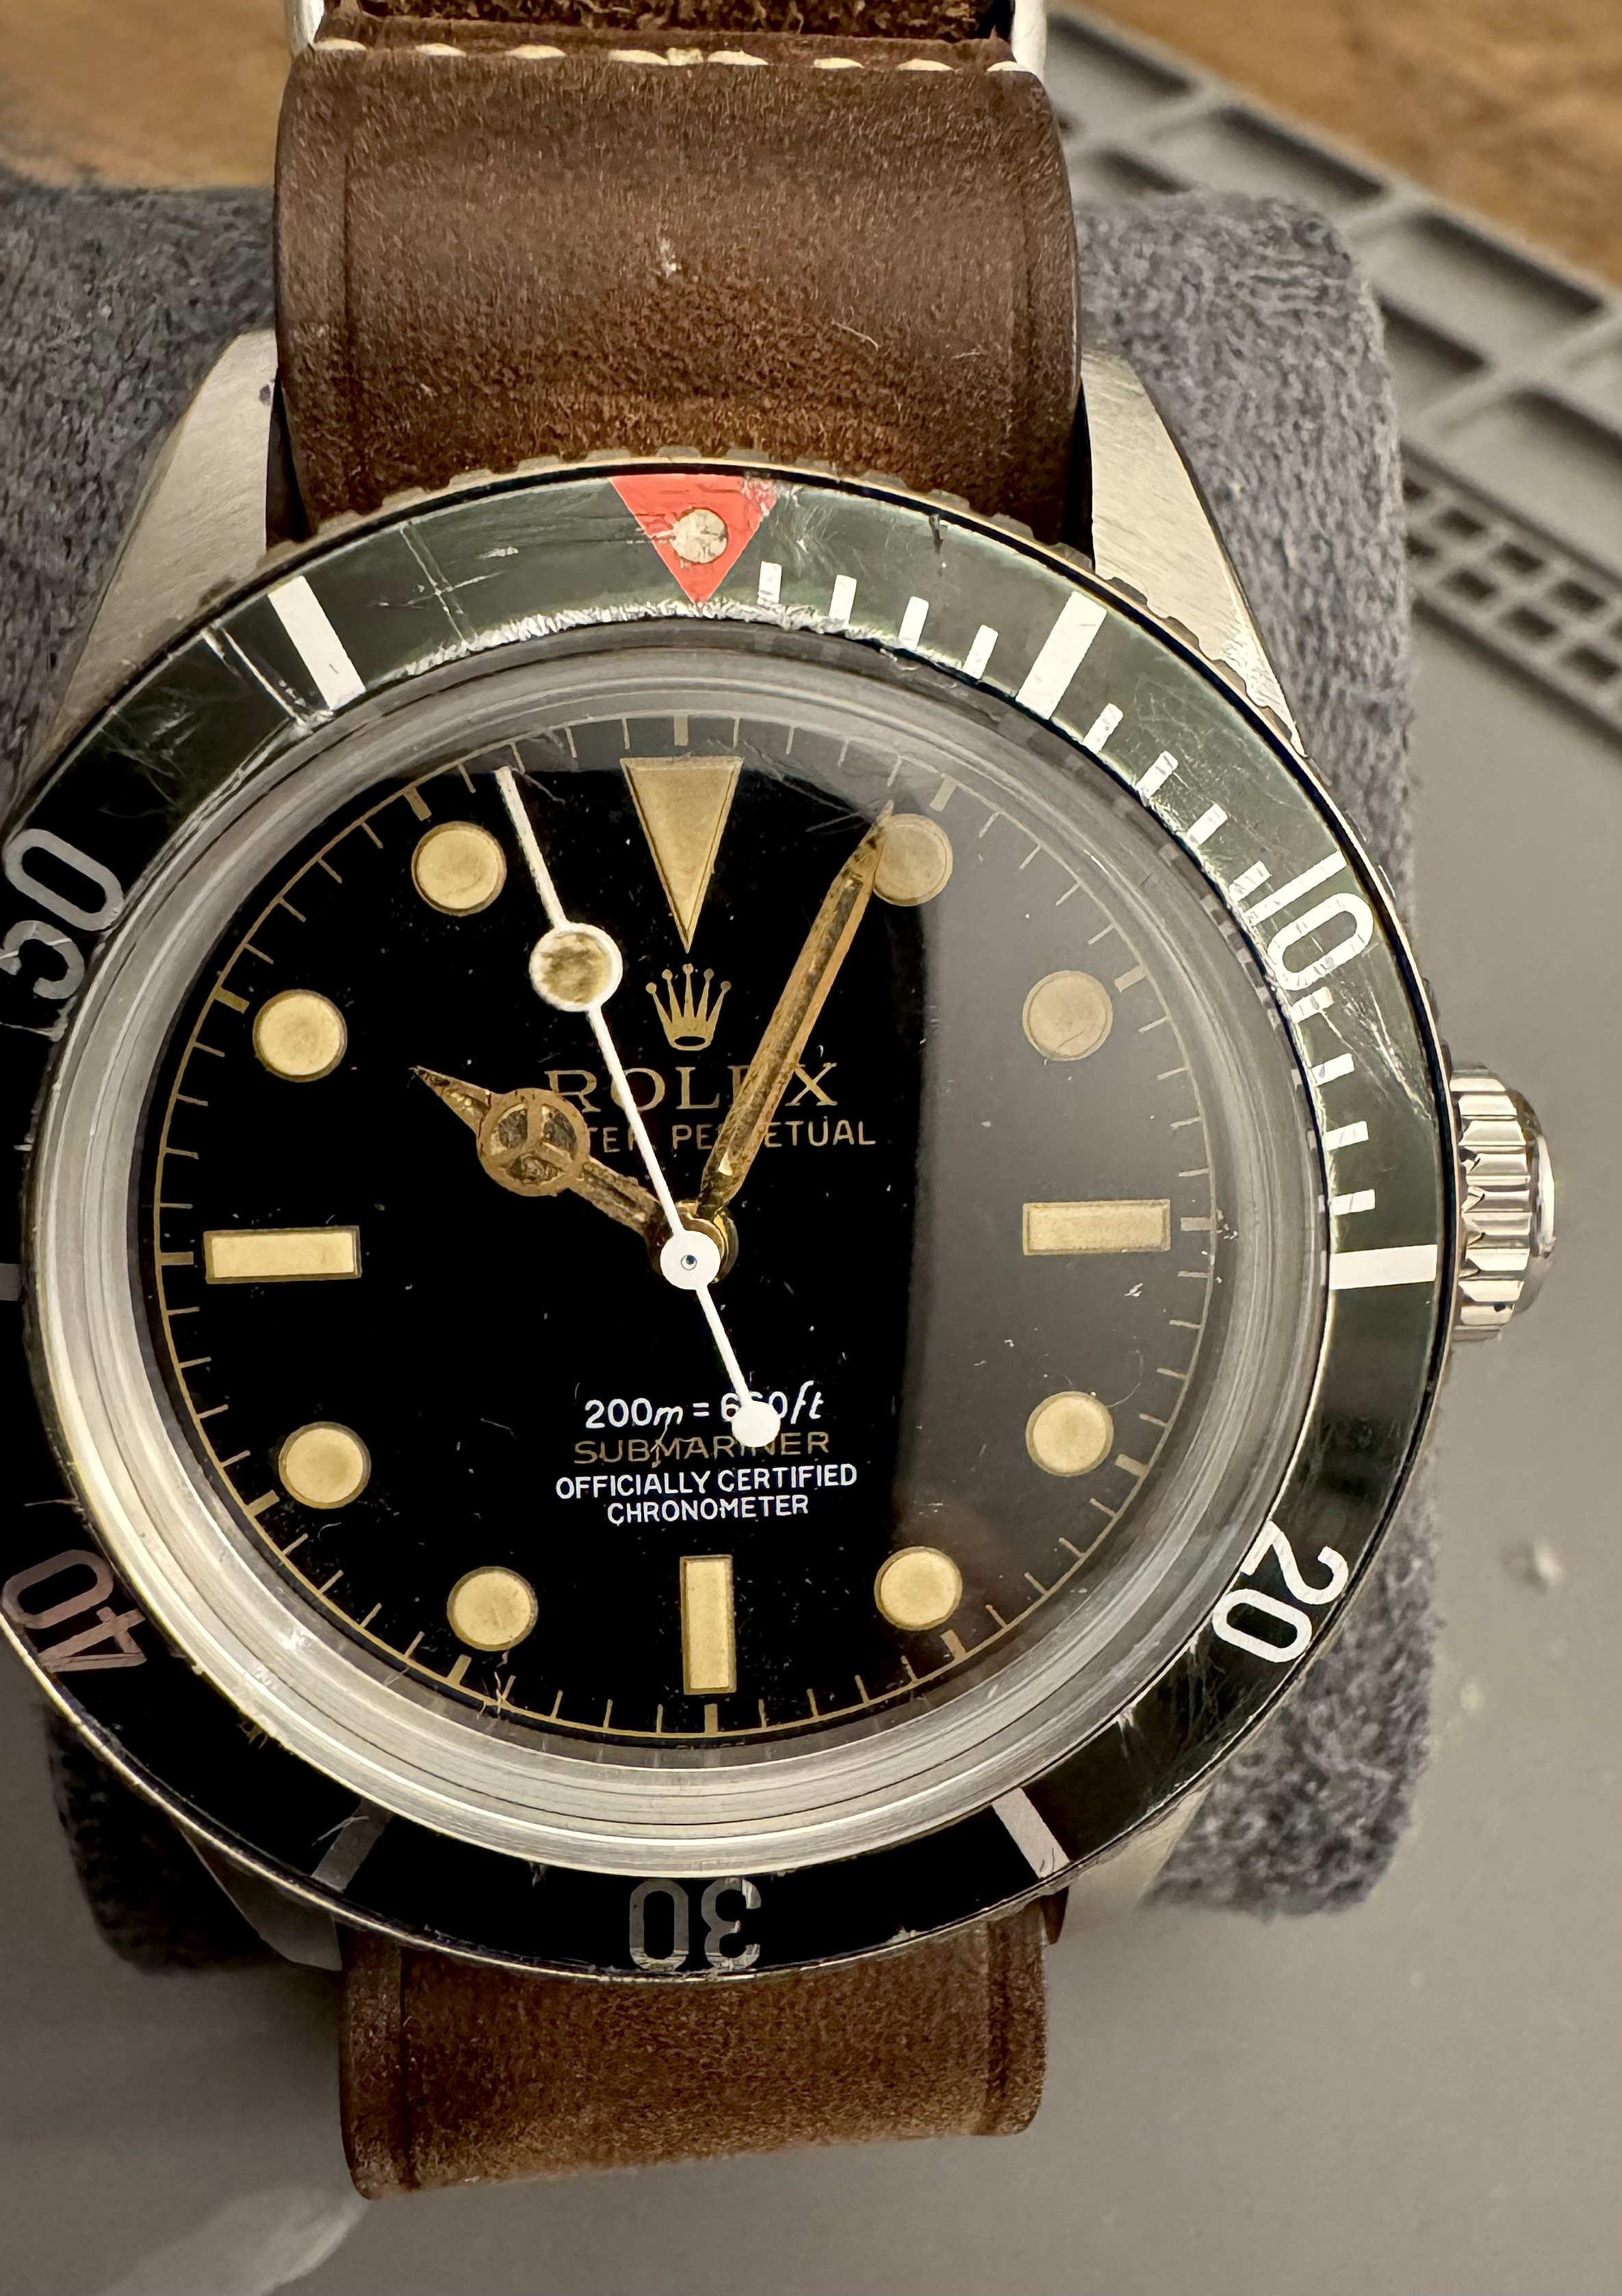
Ok so now onto the hands, I started doing the usual thing, looking to match the dial lume and again etc, but then I saw this and went completely off script


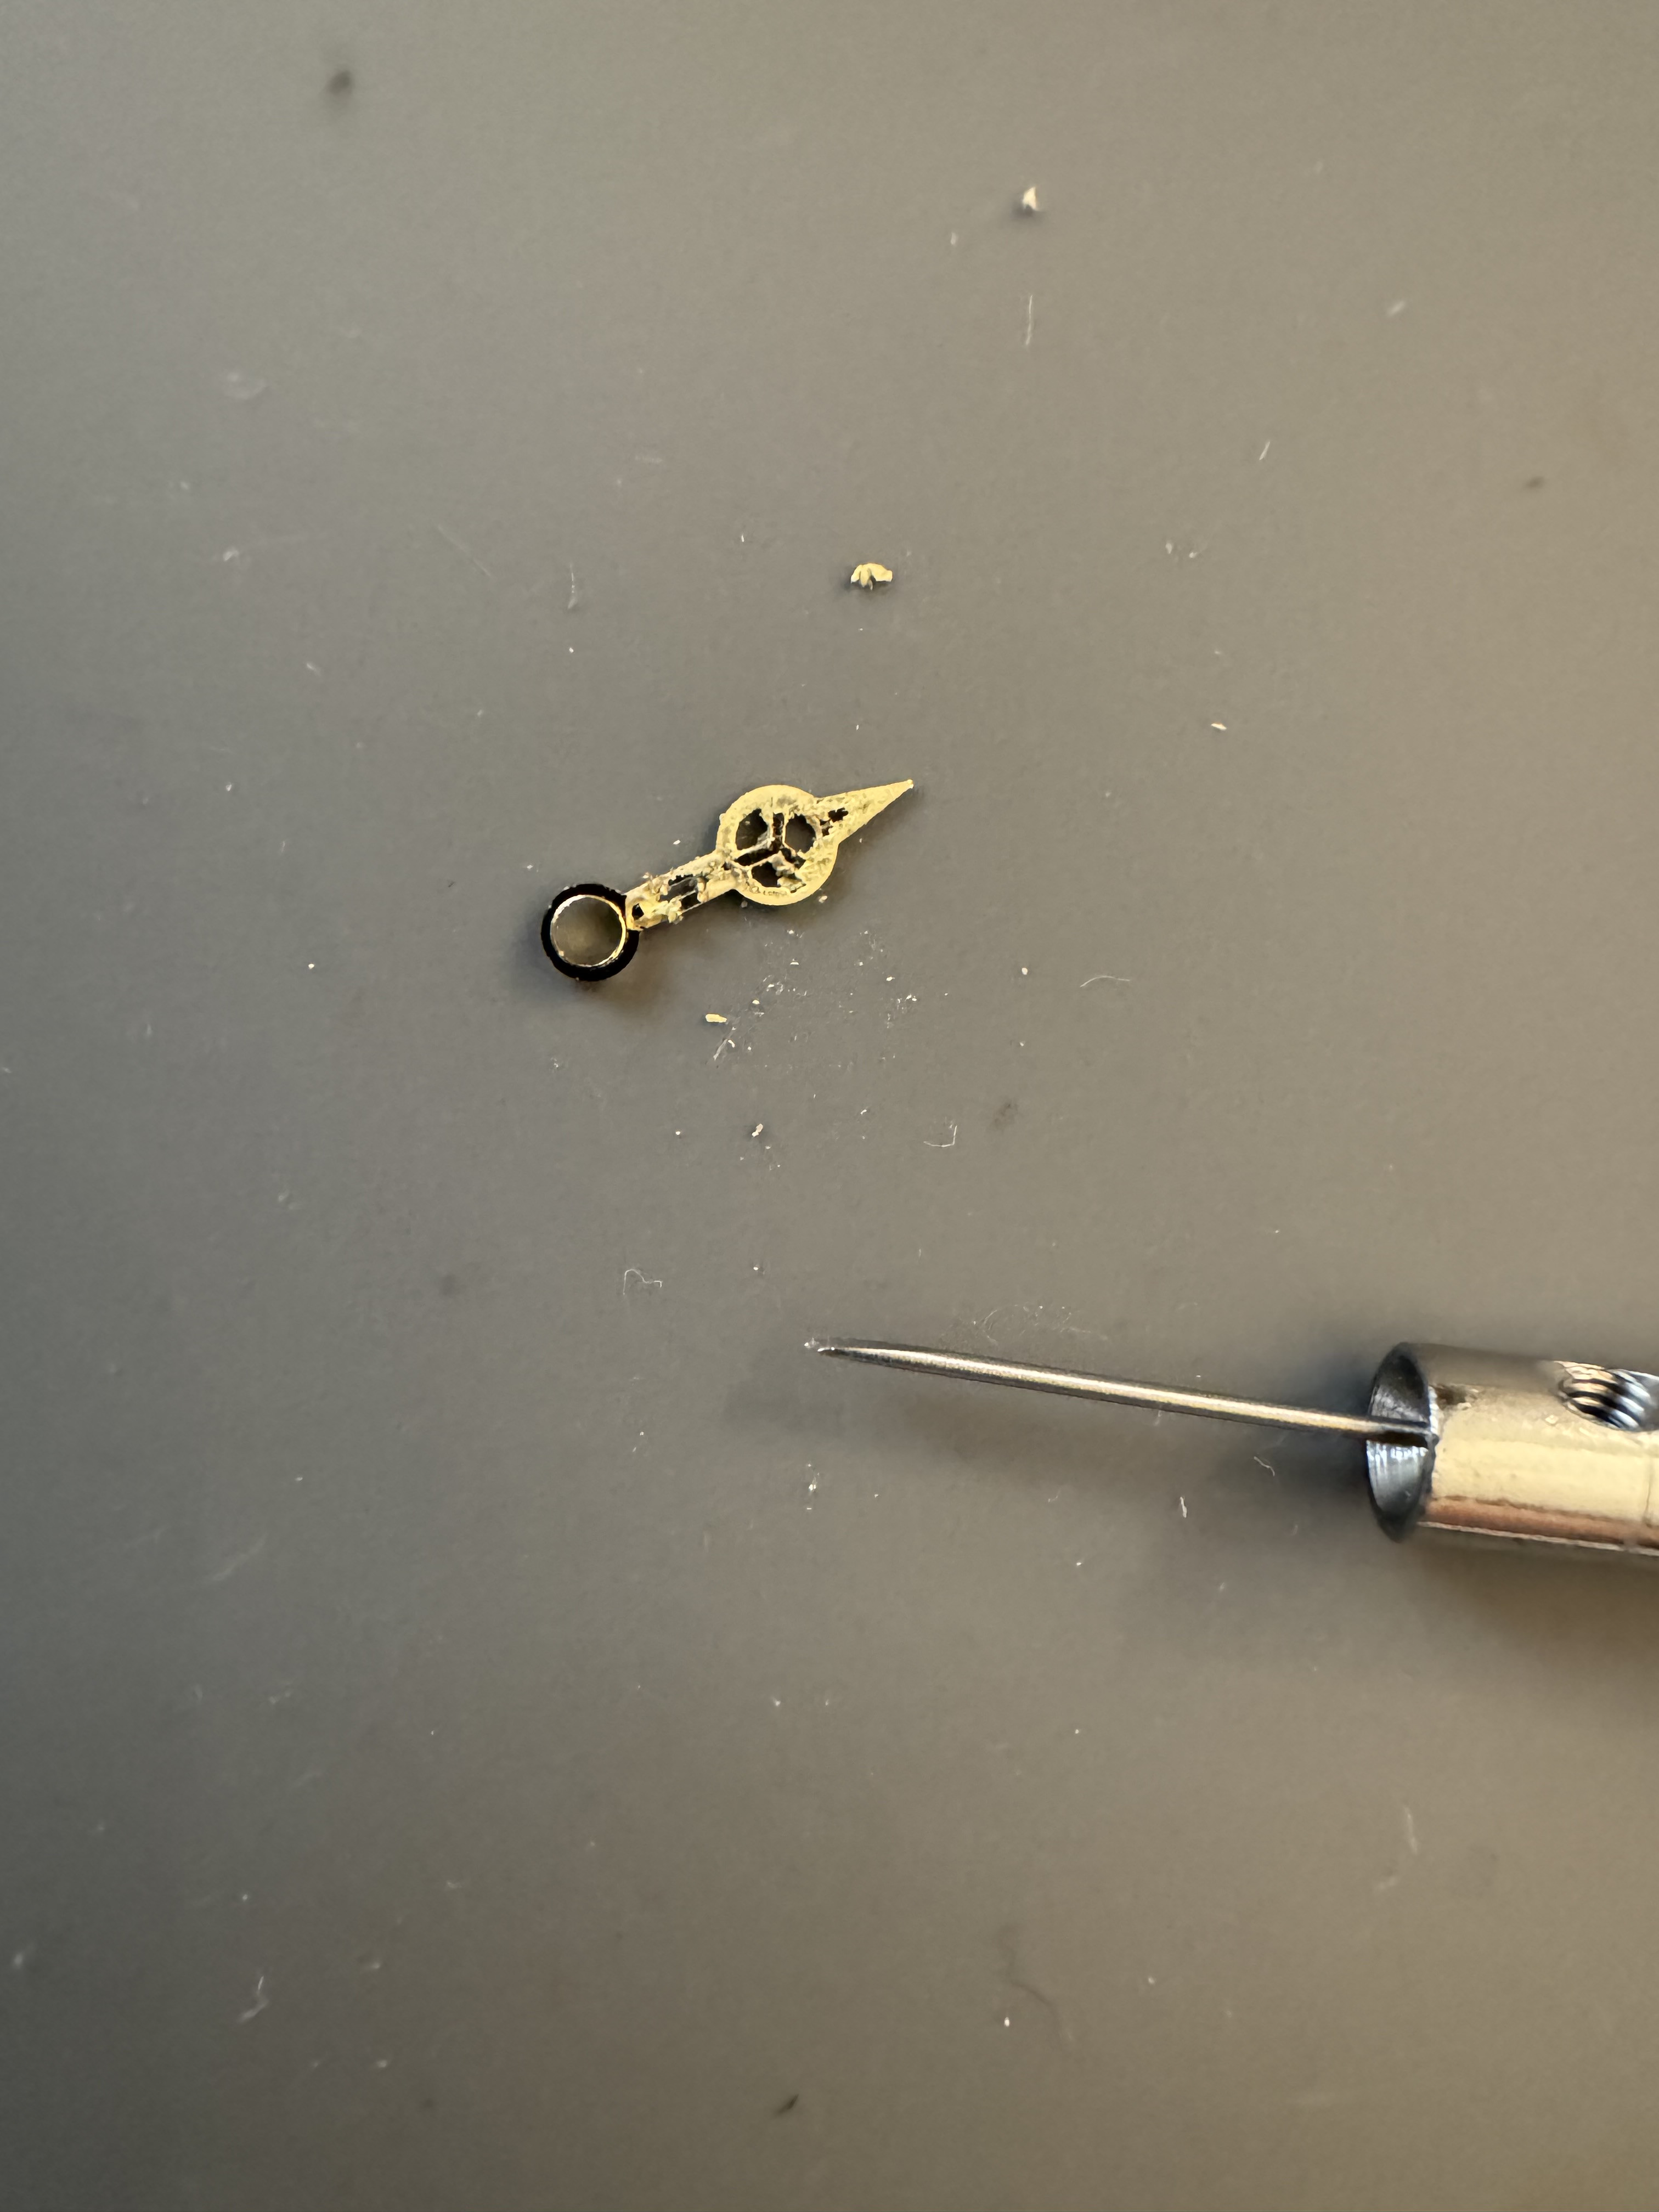
I instantly fell in love with the hands, and the lume on them appears to be significantly fucked compared to the relatively clean dial. I likey, so until I get this out of my system nothing else is continuing. So I remove the old stock lume with a teeny tiny screwdriver


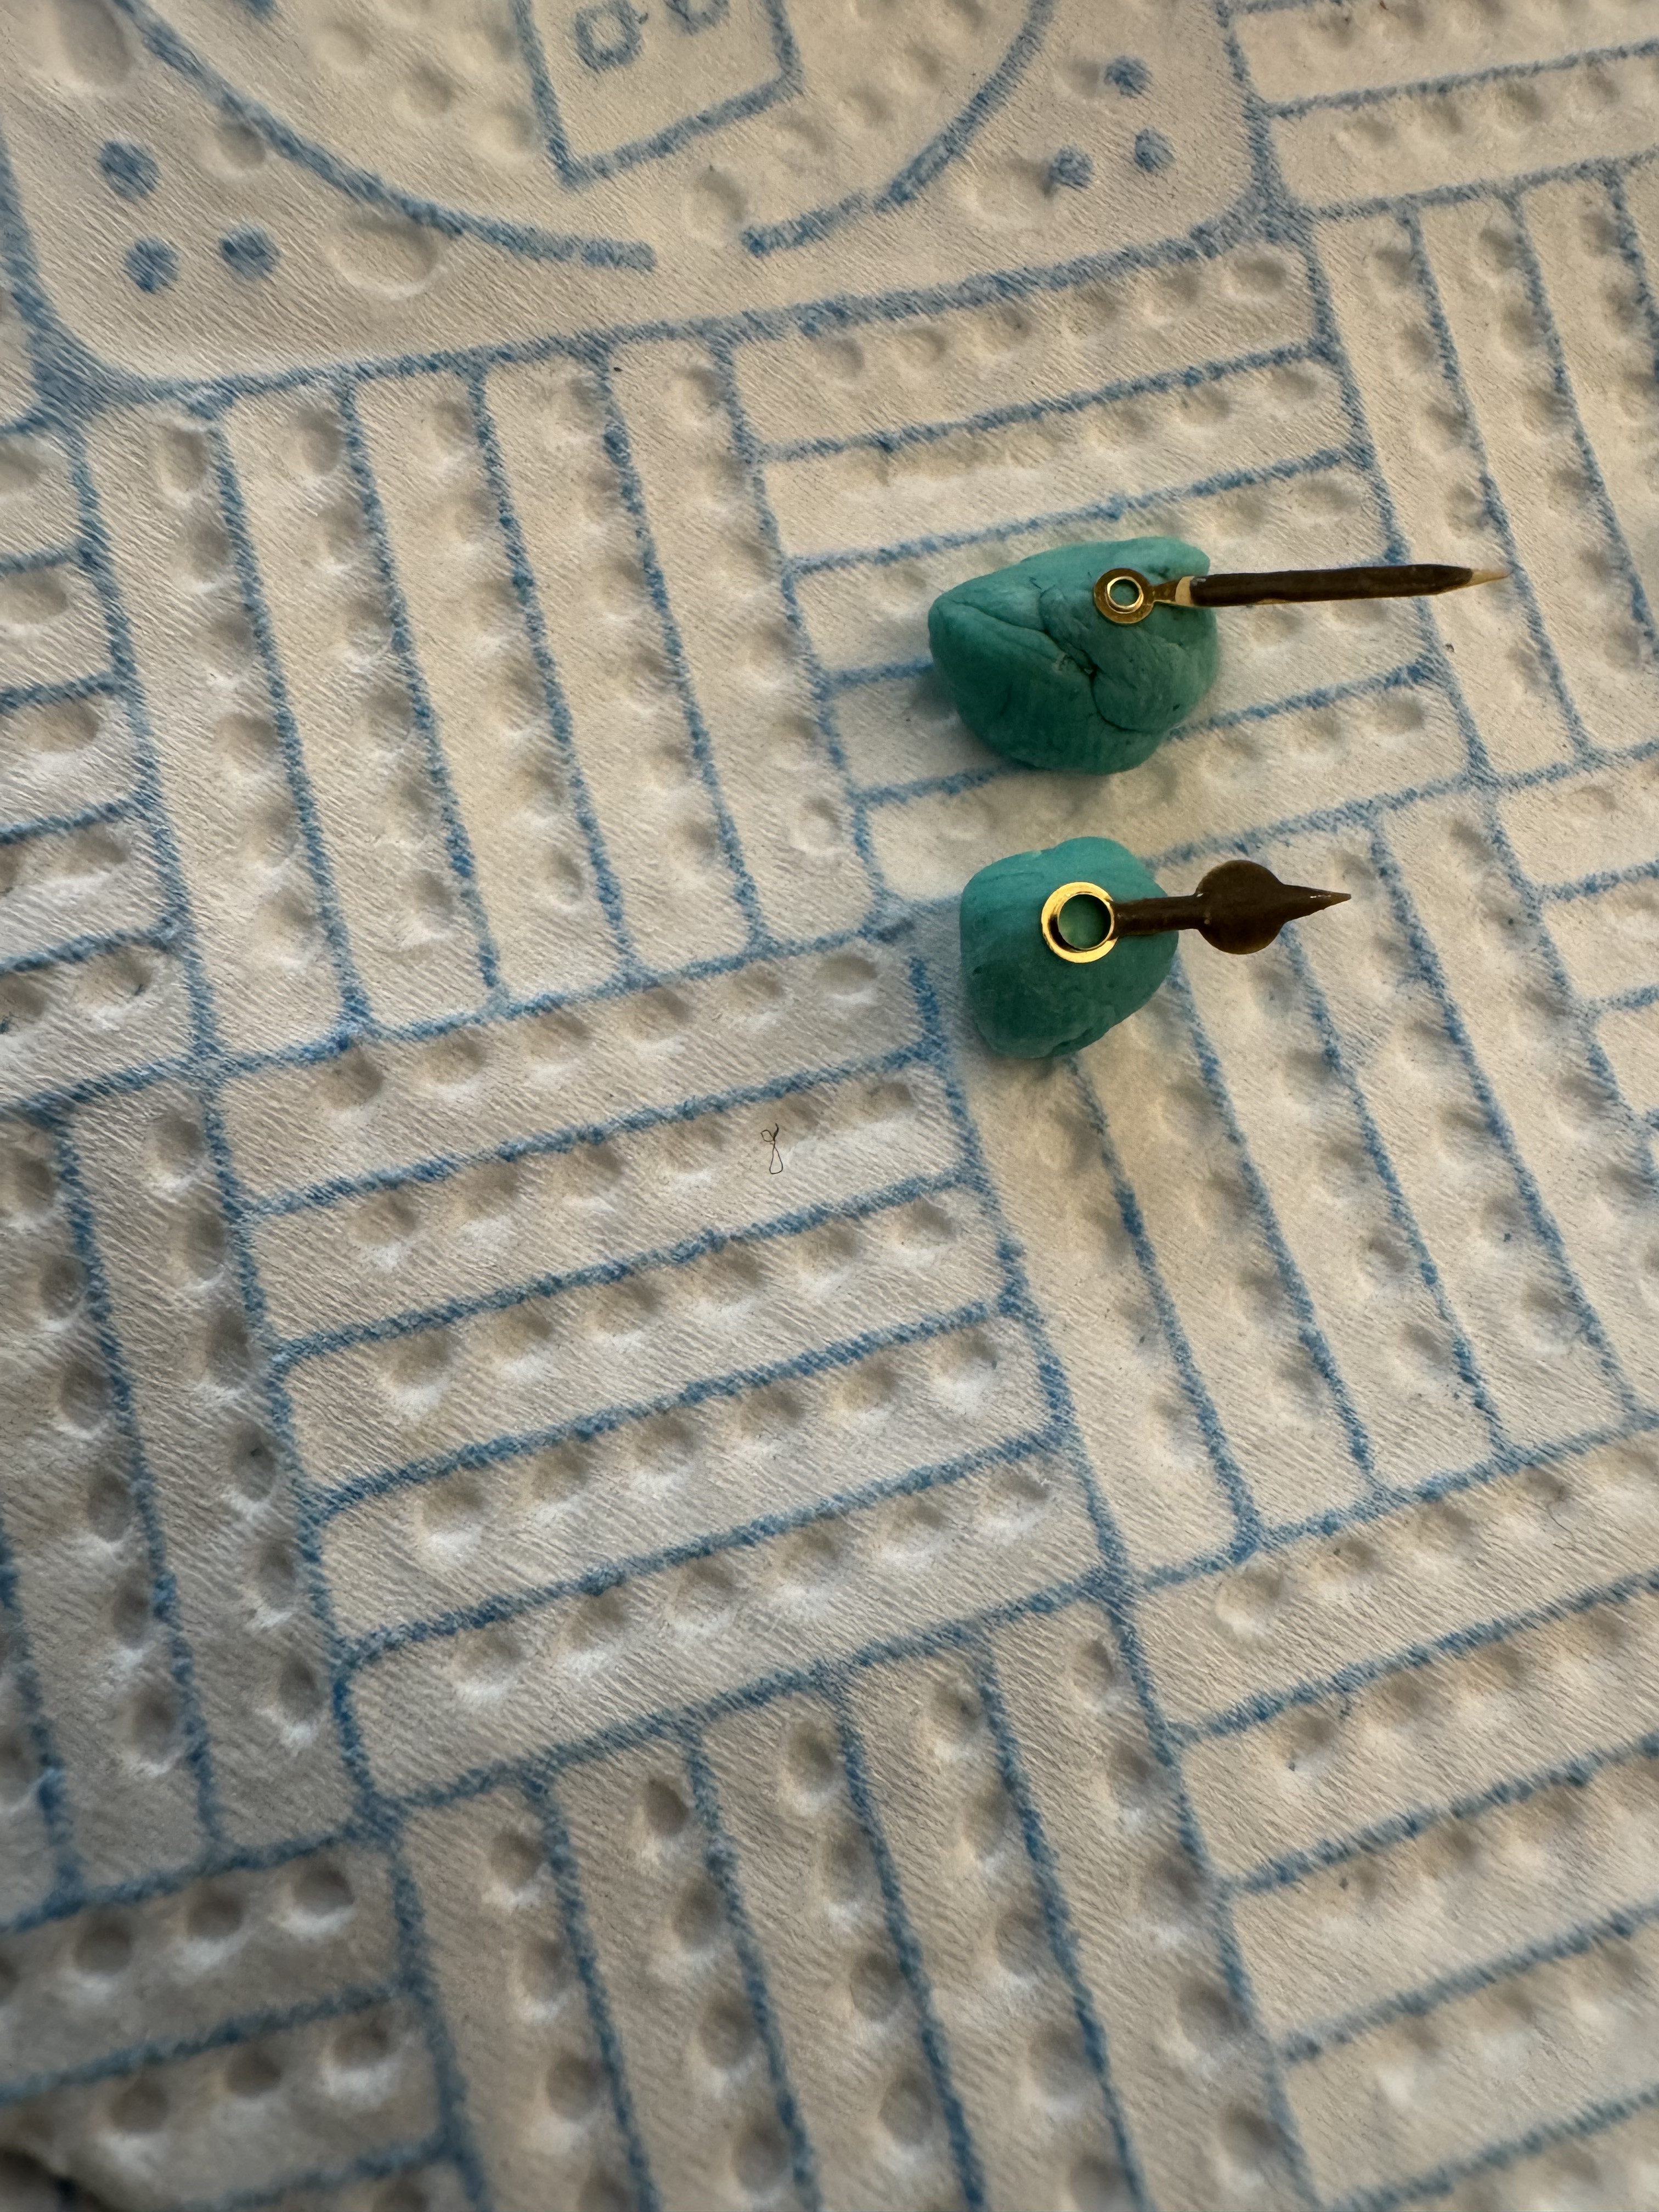
Then mix up what I’m officially naming ‘super gunk 3000’ comprised of a few brown, green and dark washes with some powder and binder


I have literally no idea how this will dry or what’s going to happen, now let’s all try not to fall off the edge of our seats for 24 hours!
 

Jip7645

Active Member
18/9/24
210
344
63
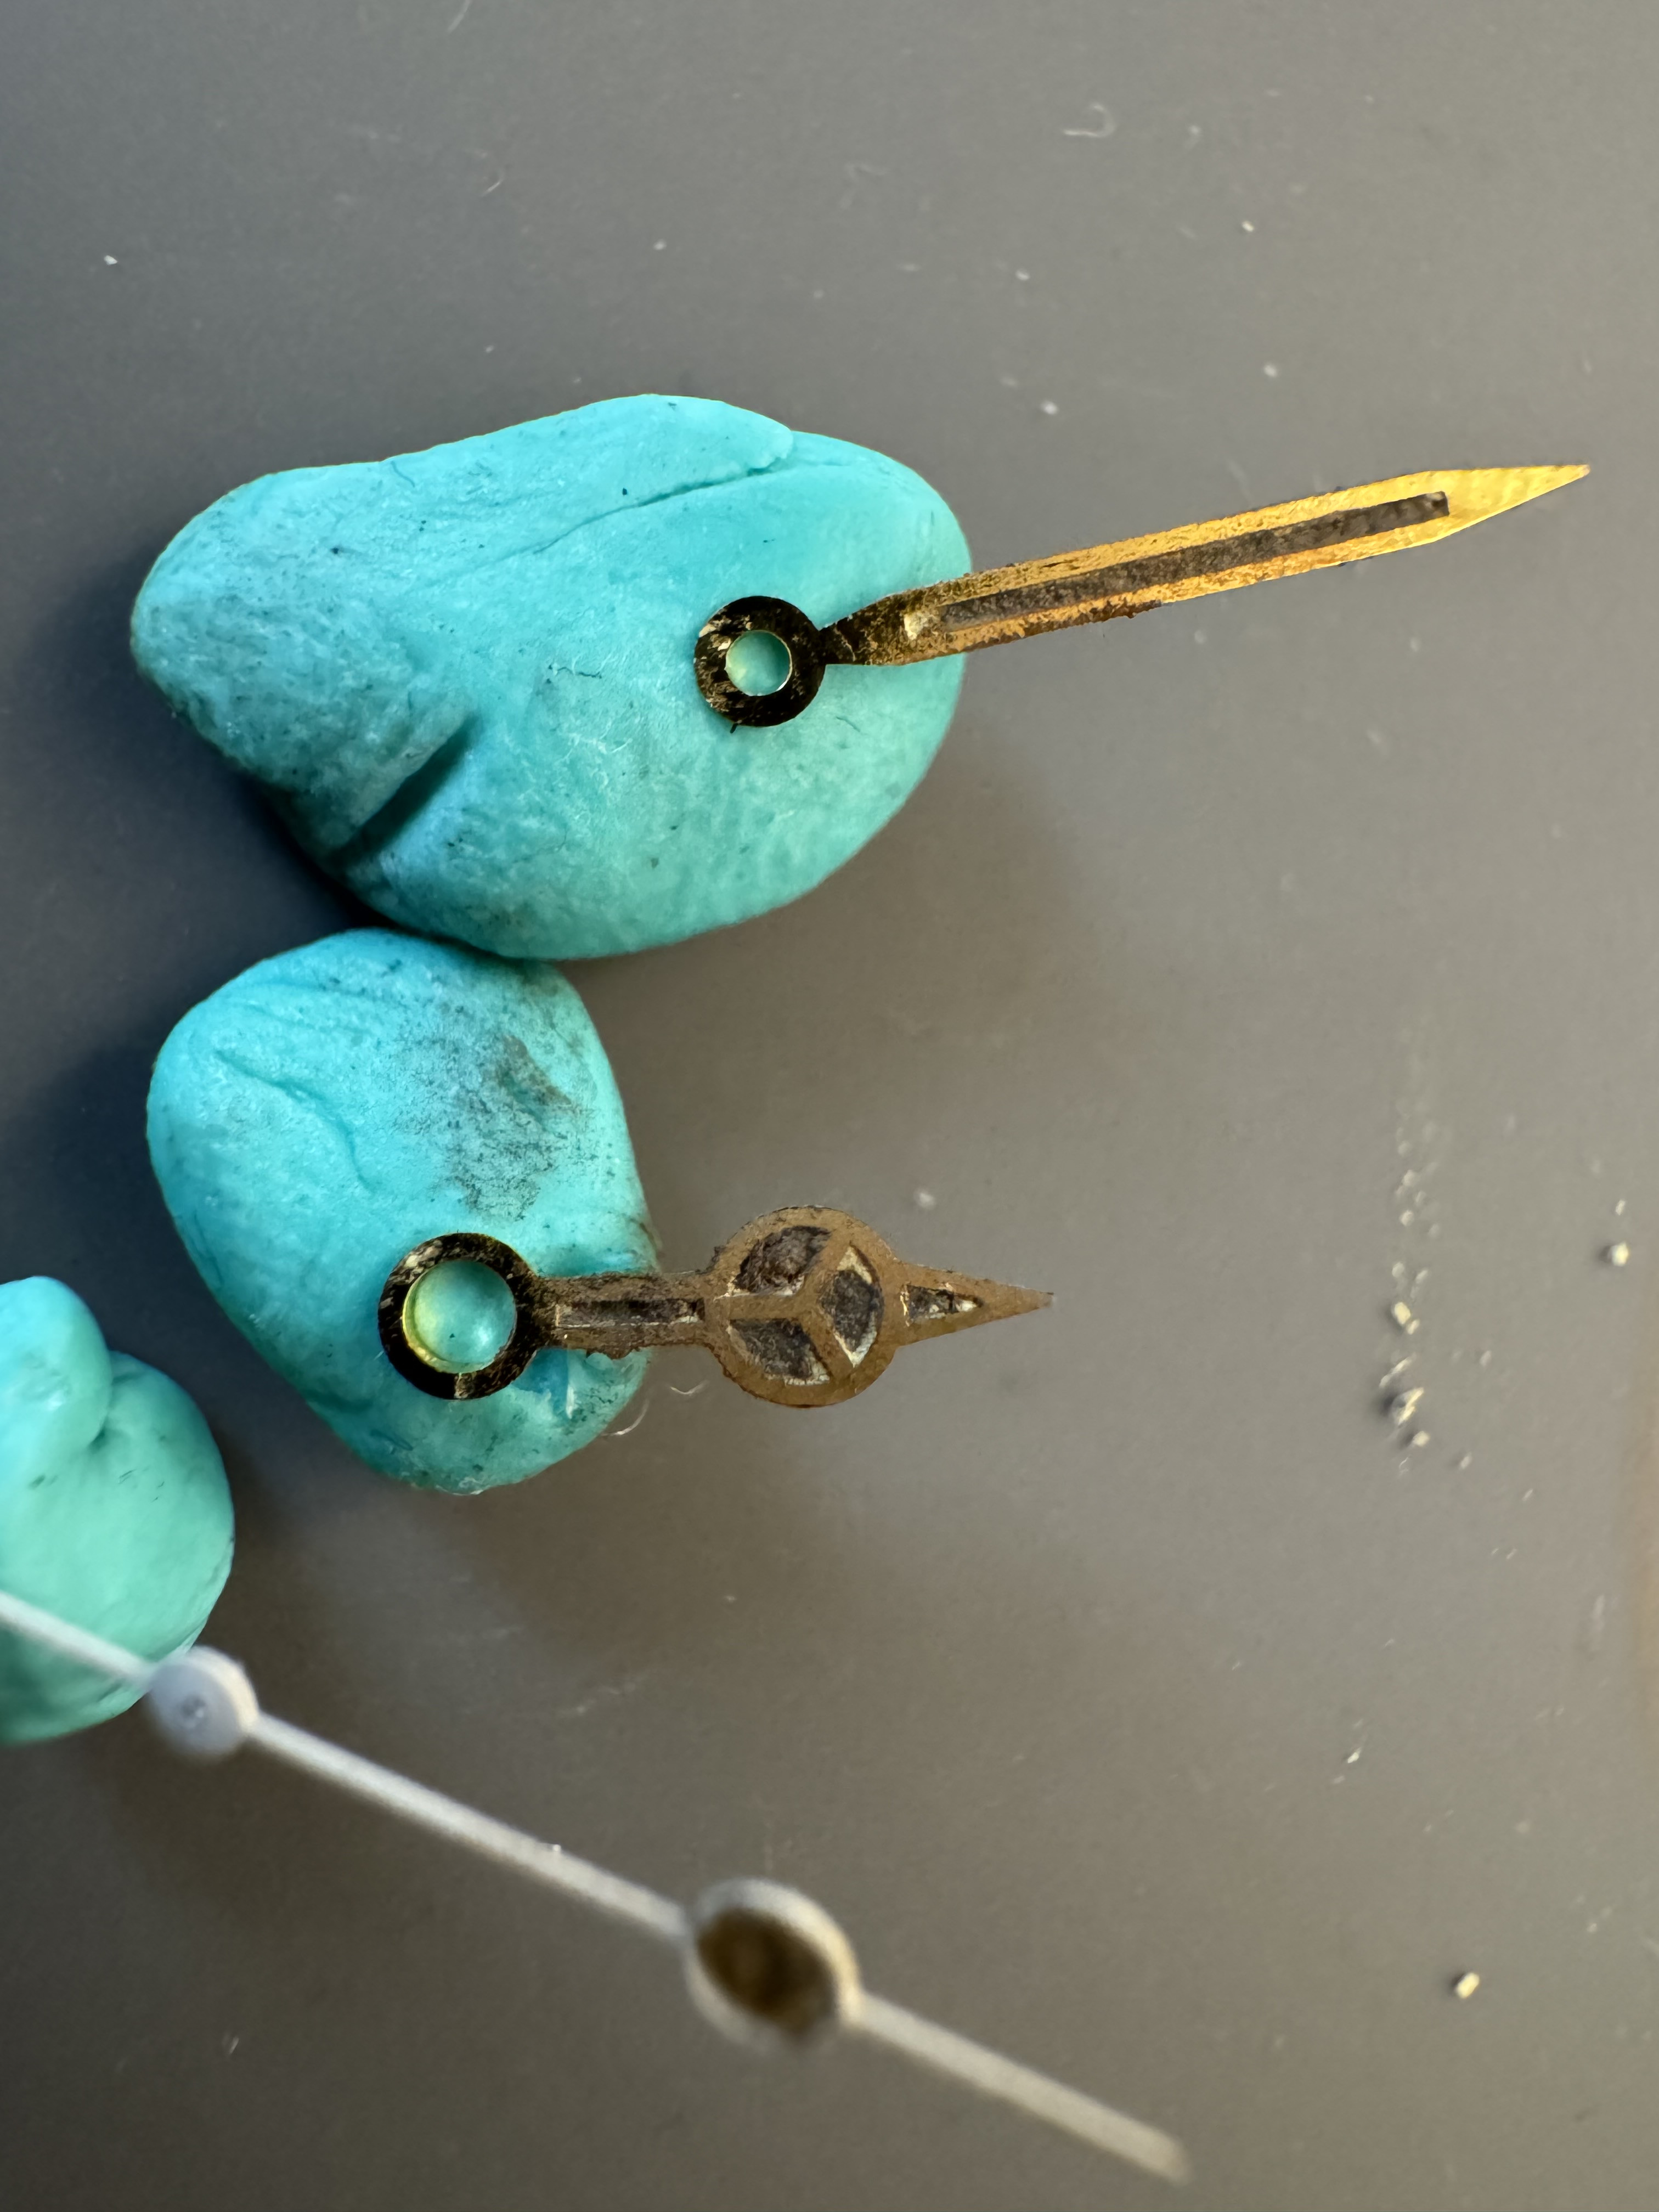
Ok I’m getting impatient, and it’s about dry and the results are pretty good I think. Dusted over the hands with some rust tamiya paint to lose a bit of the shine


I’m not going into details about putting together the dial and hands on the movement, there’s plenty of info on this already all over this forum and YouTube. But it’s an NH38 so I cut the dial feet off and glue the dial to the plastic movement holder. Hands going on to see how it looks.


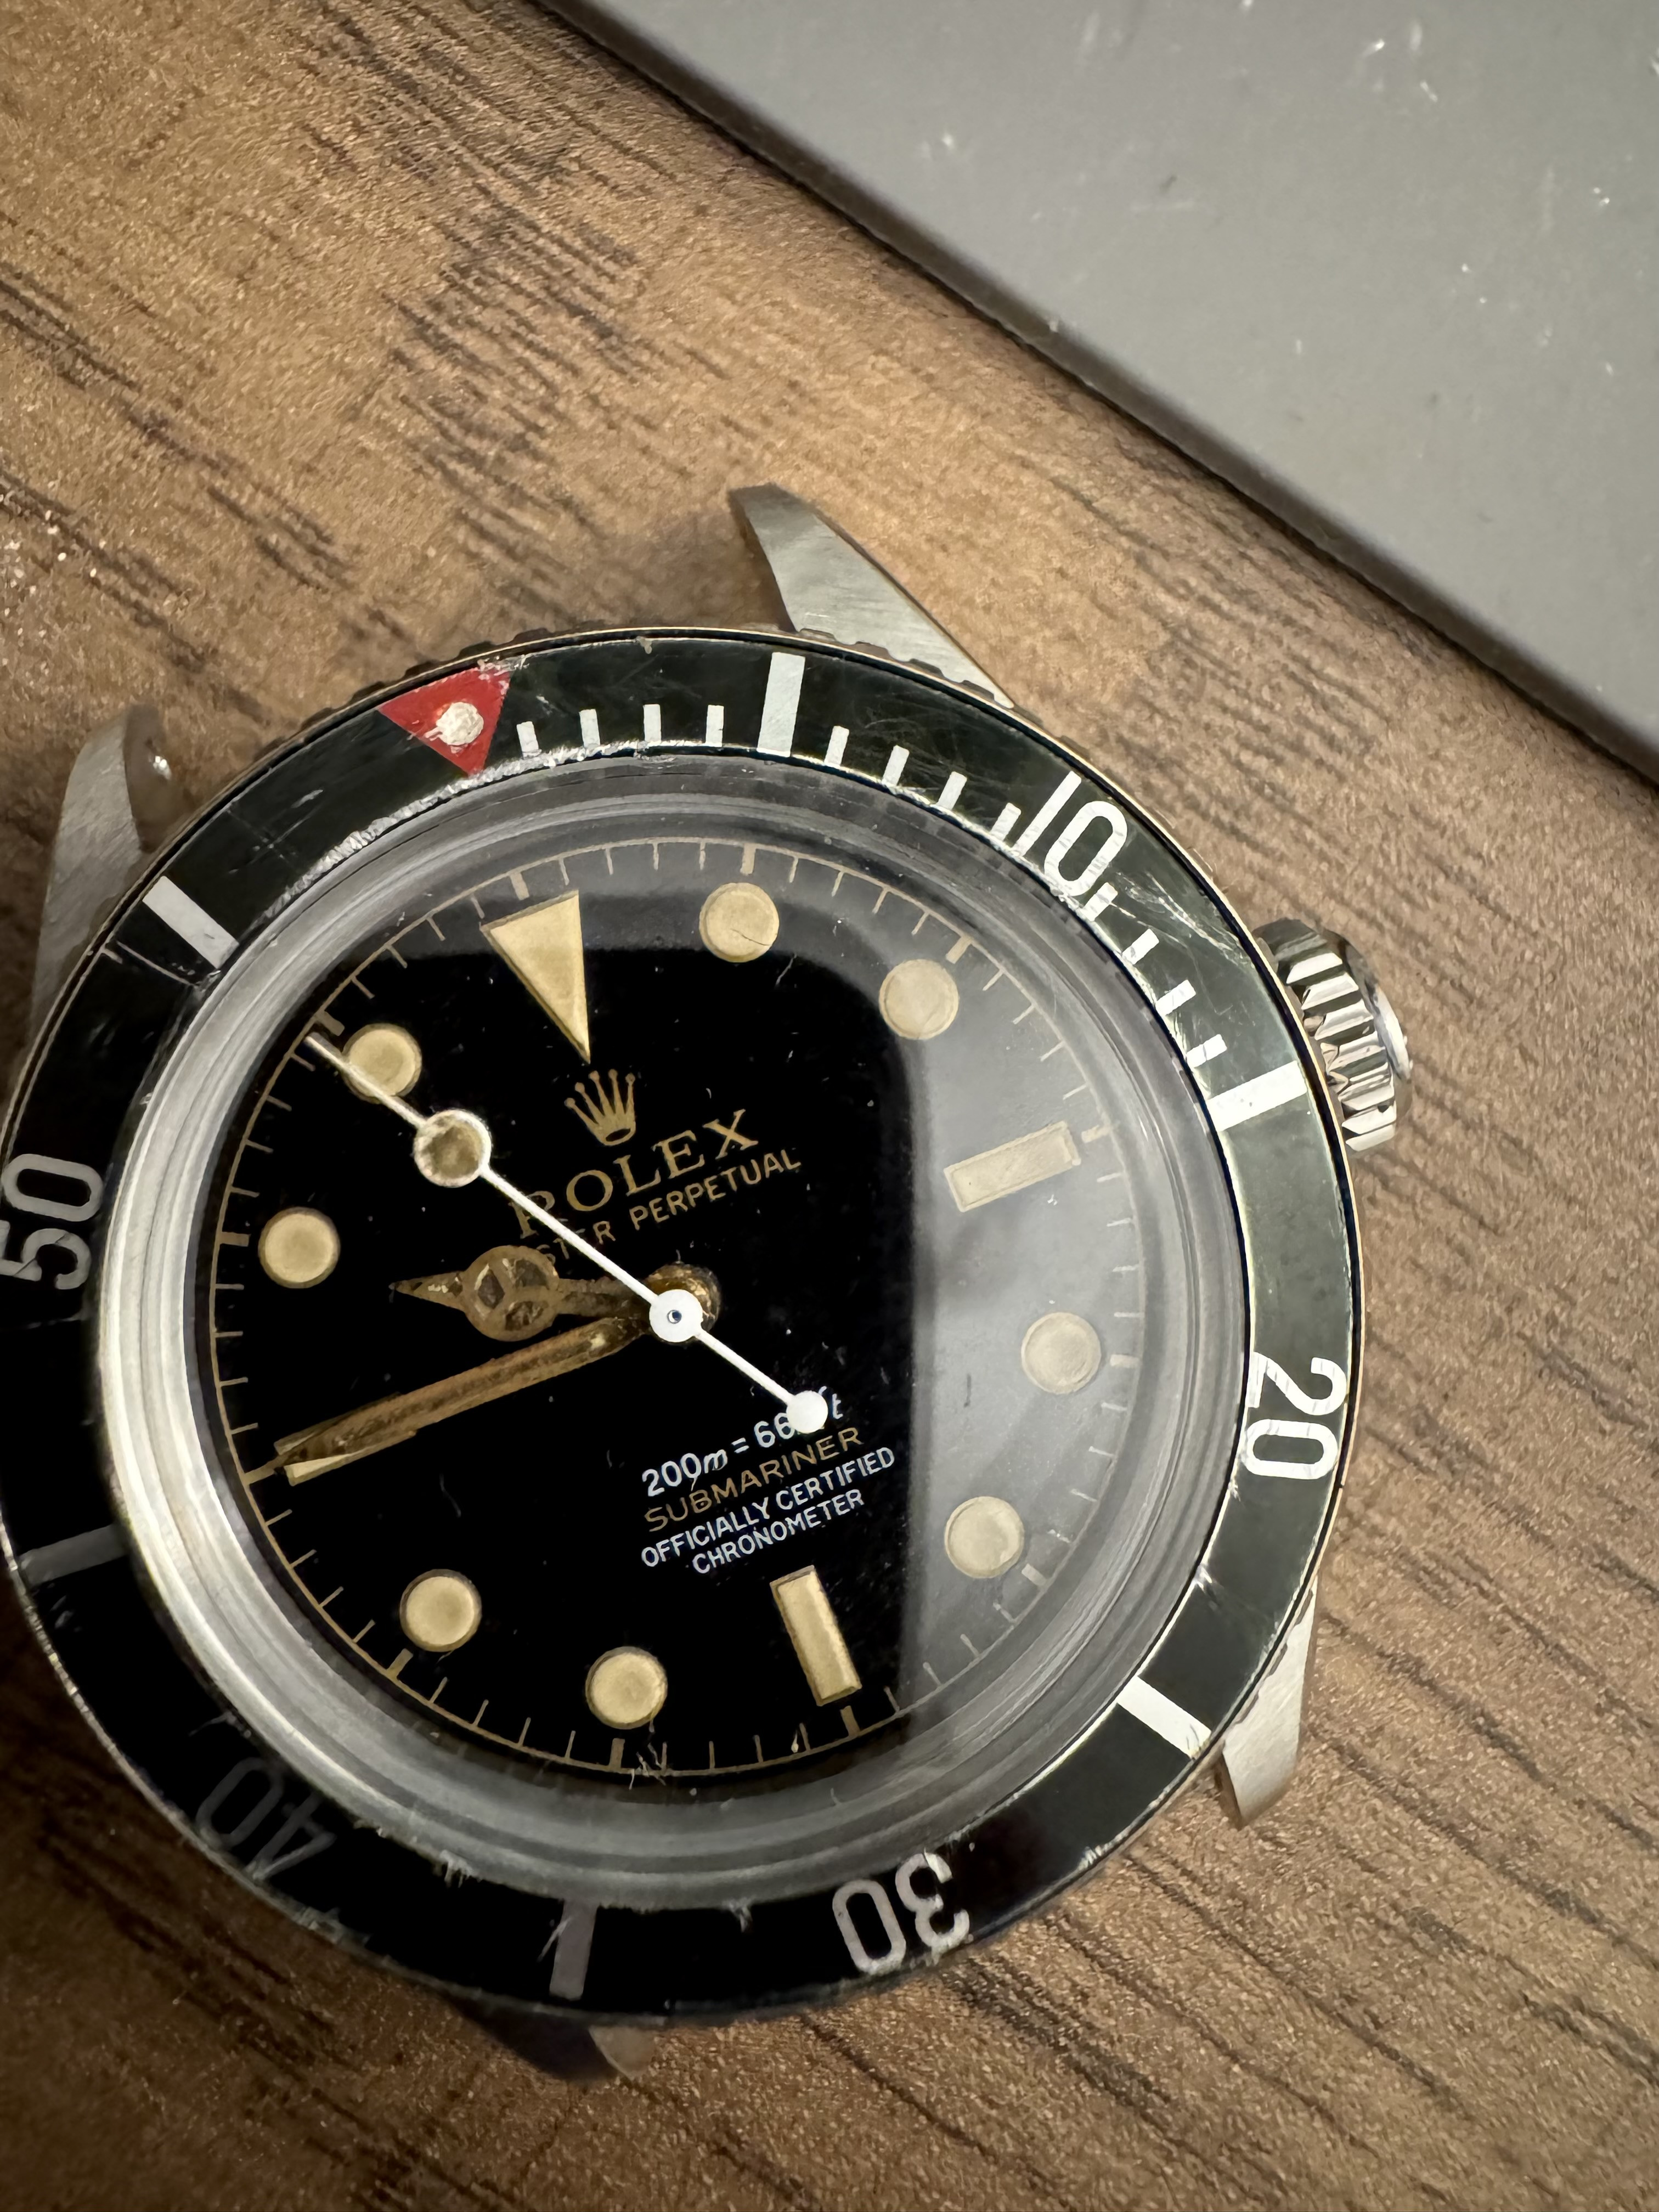
I’m pretty happy, apologies for the hands being on a wonk, was just testing the look at this point. I lined up correctly afterward.
Let’s get it in the case


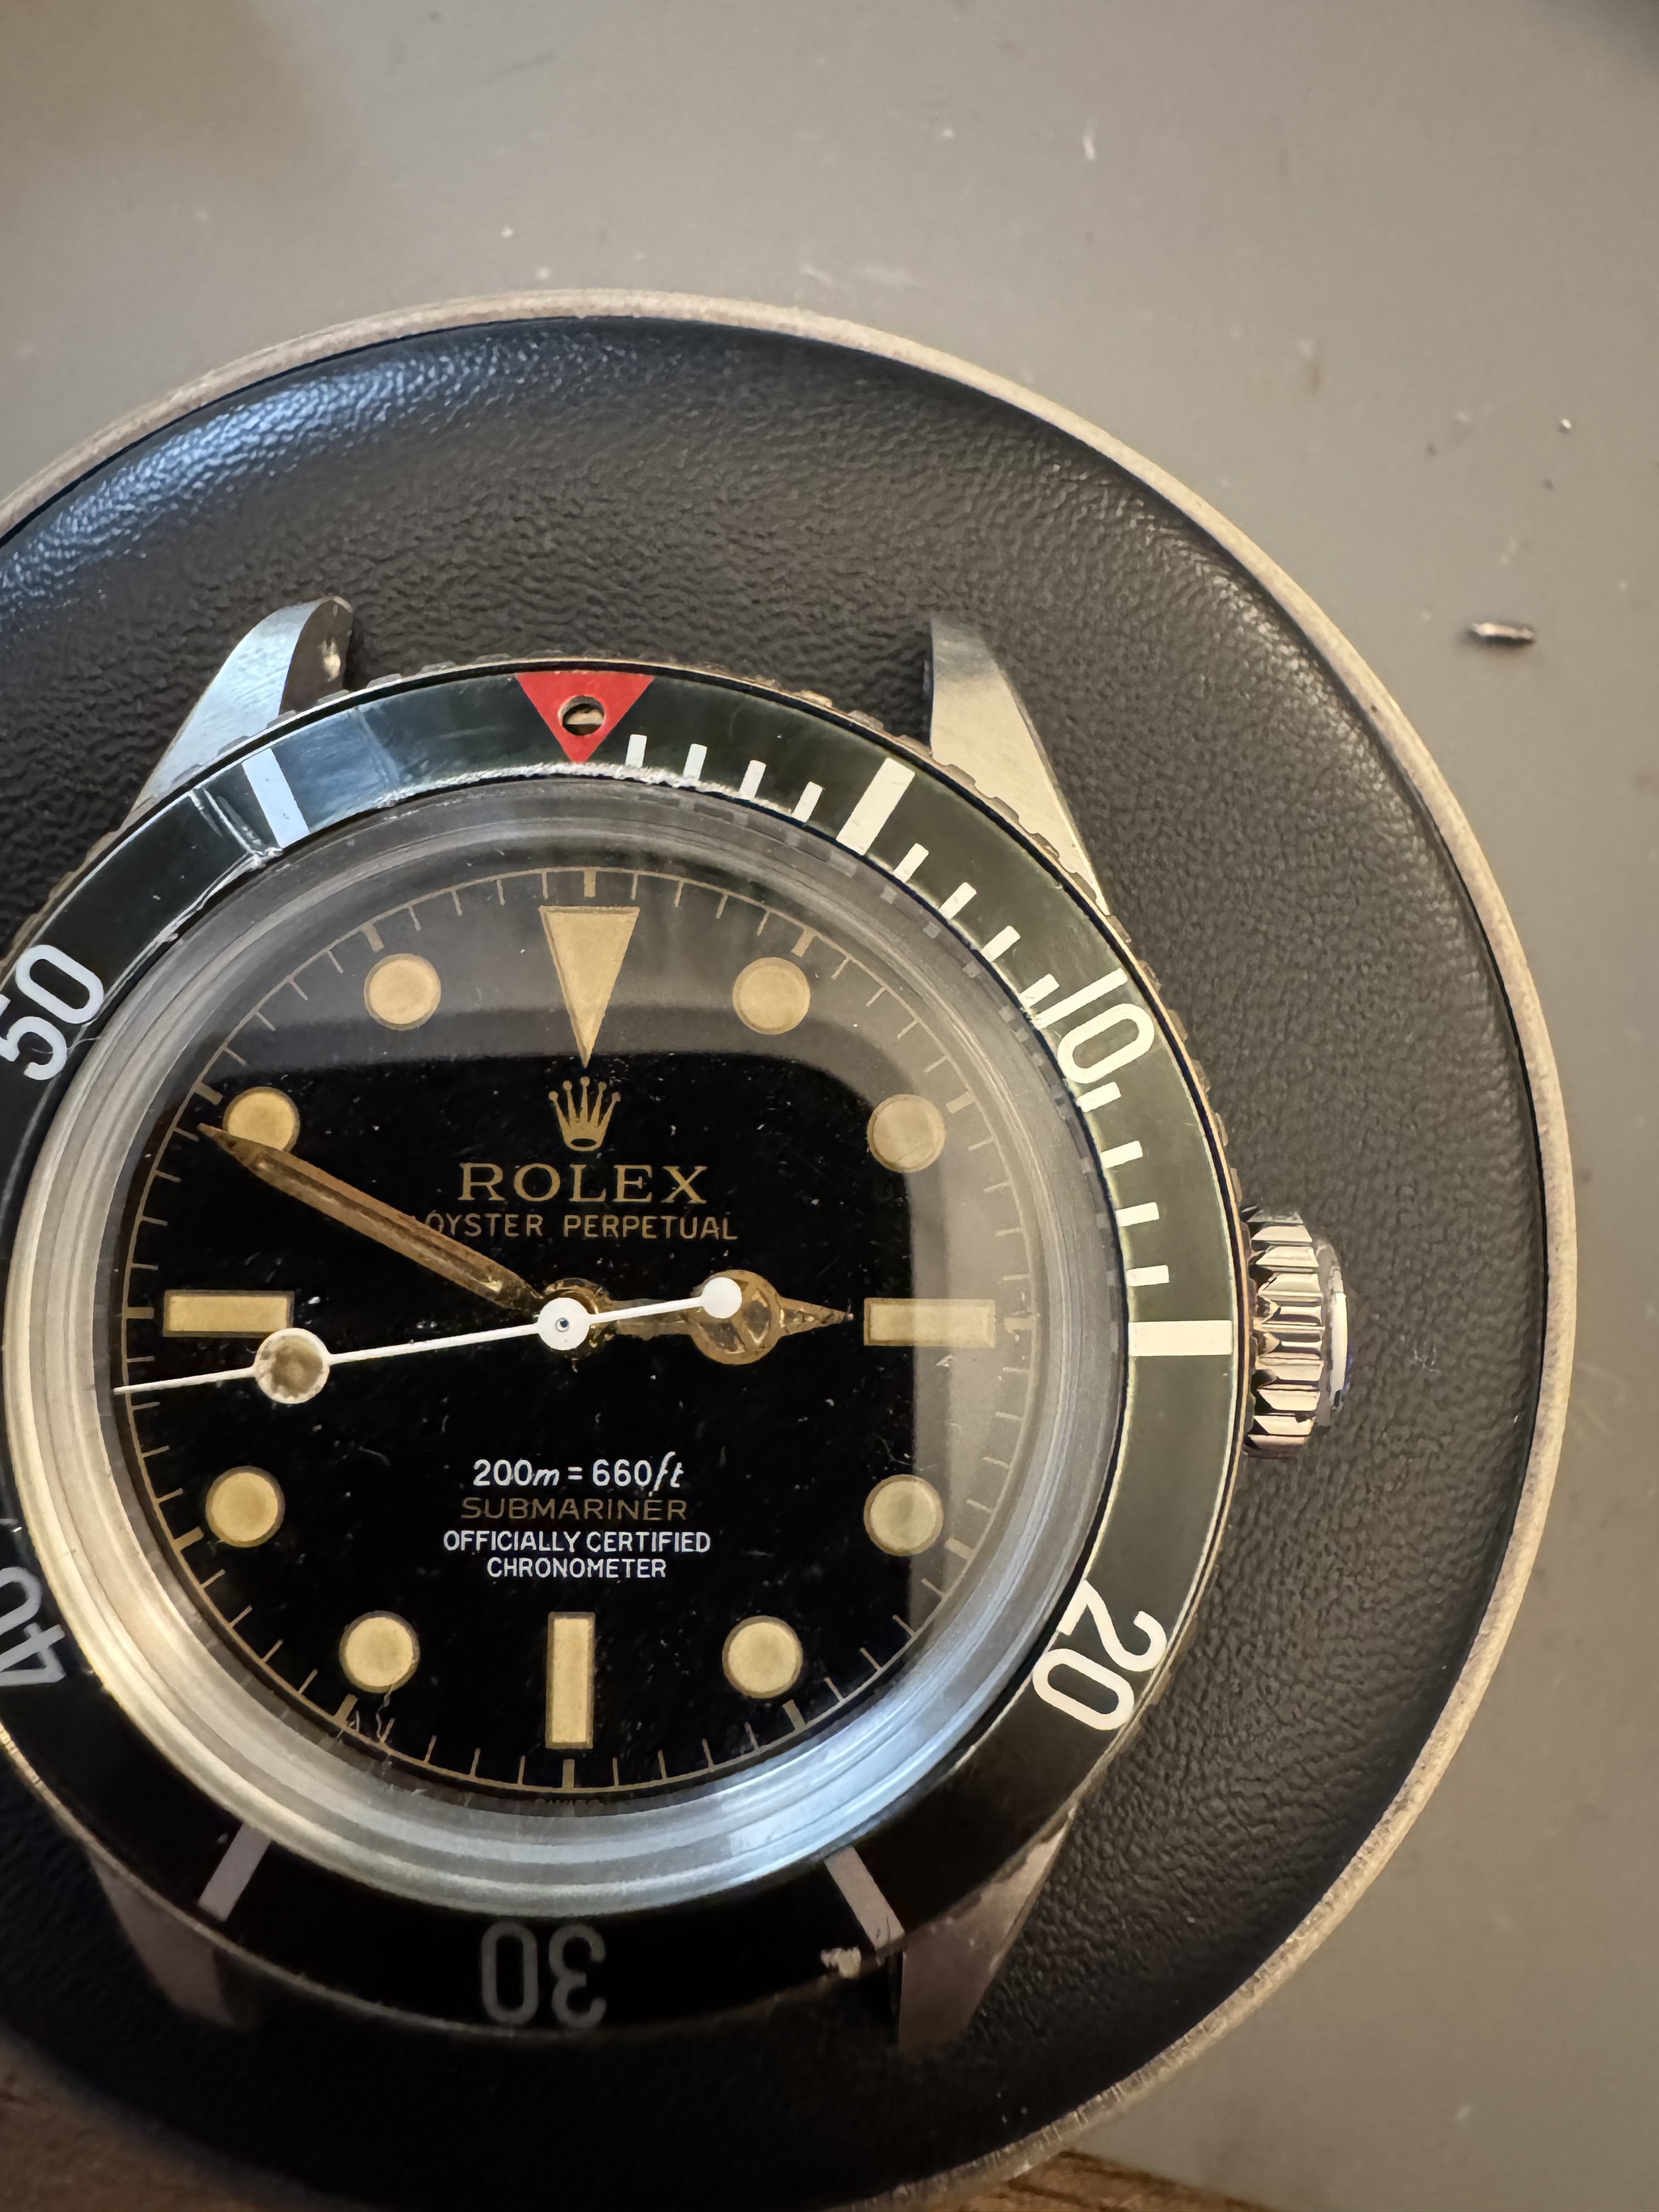
How it will look with the insert, which still needs some aging, I’ll do this later


So back to those original hands with a close up of how it’s turned out, not a bad experiment and an ok result I reckon


Jip7645

Active Member
18/9/24
210
344
63
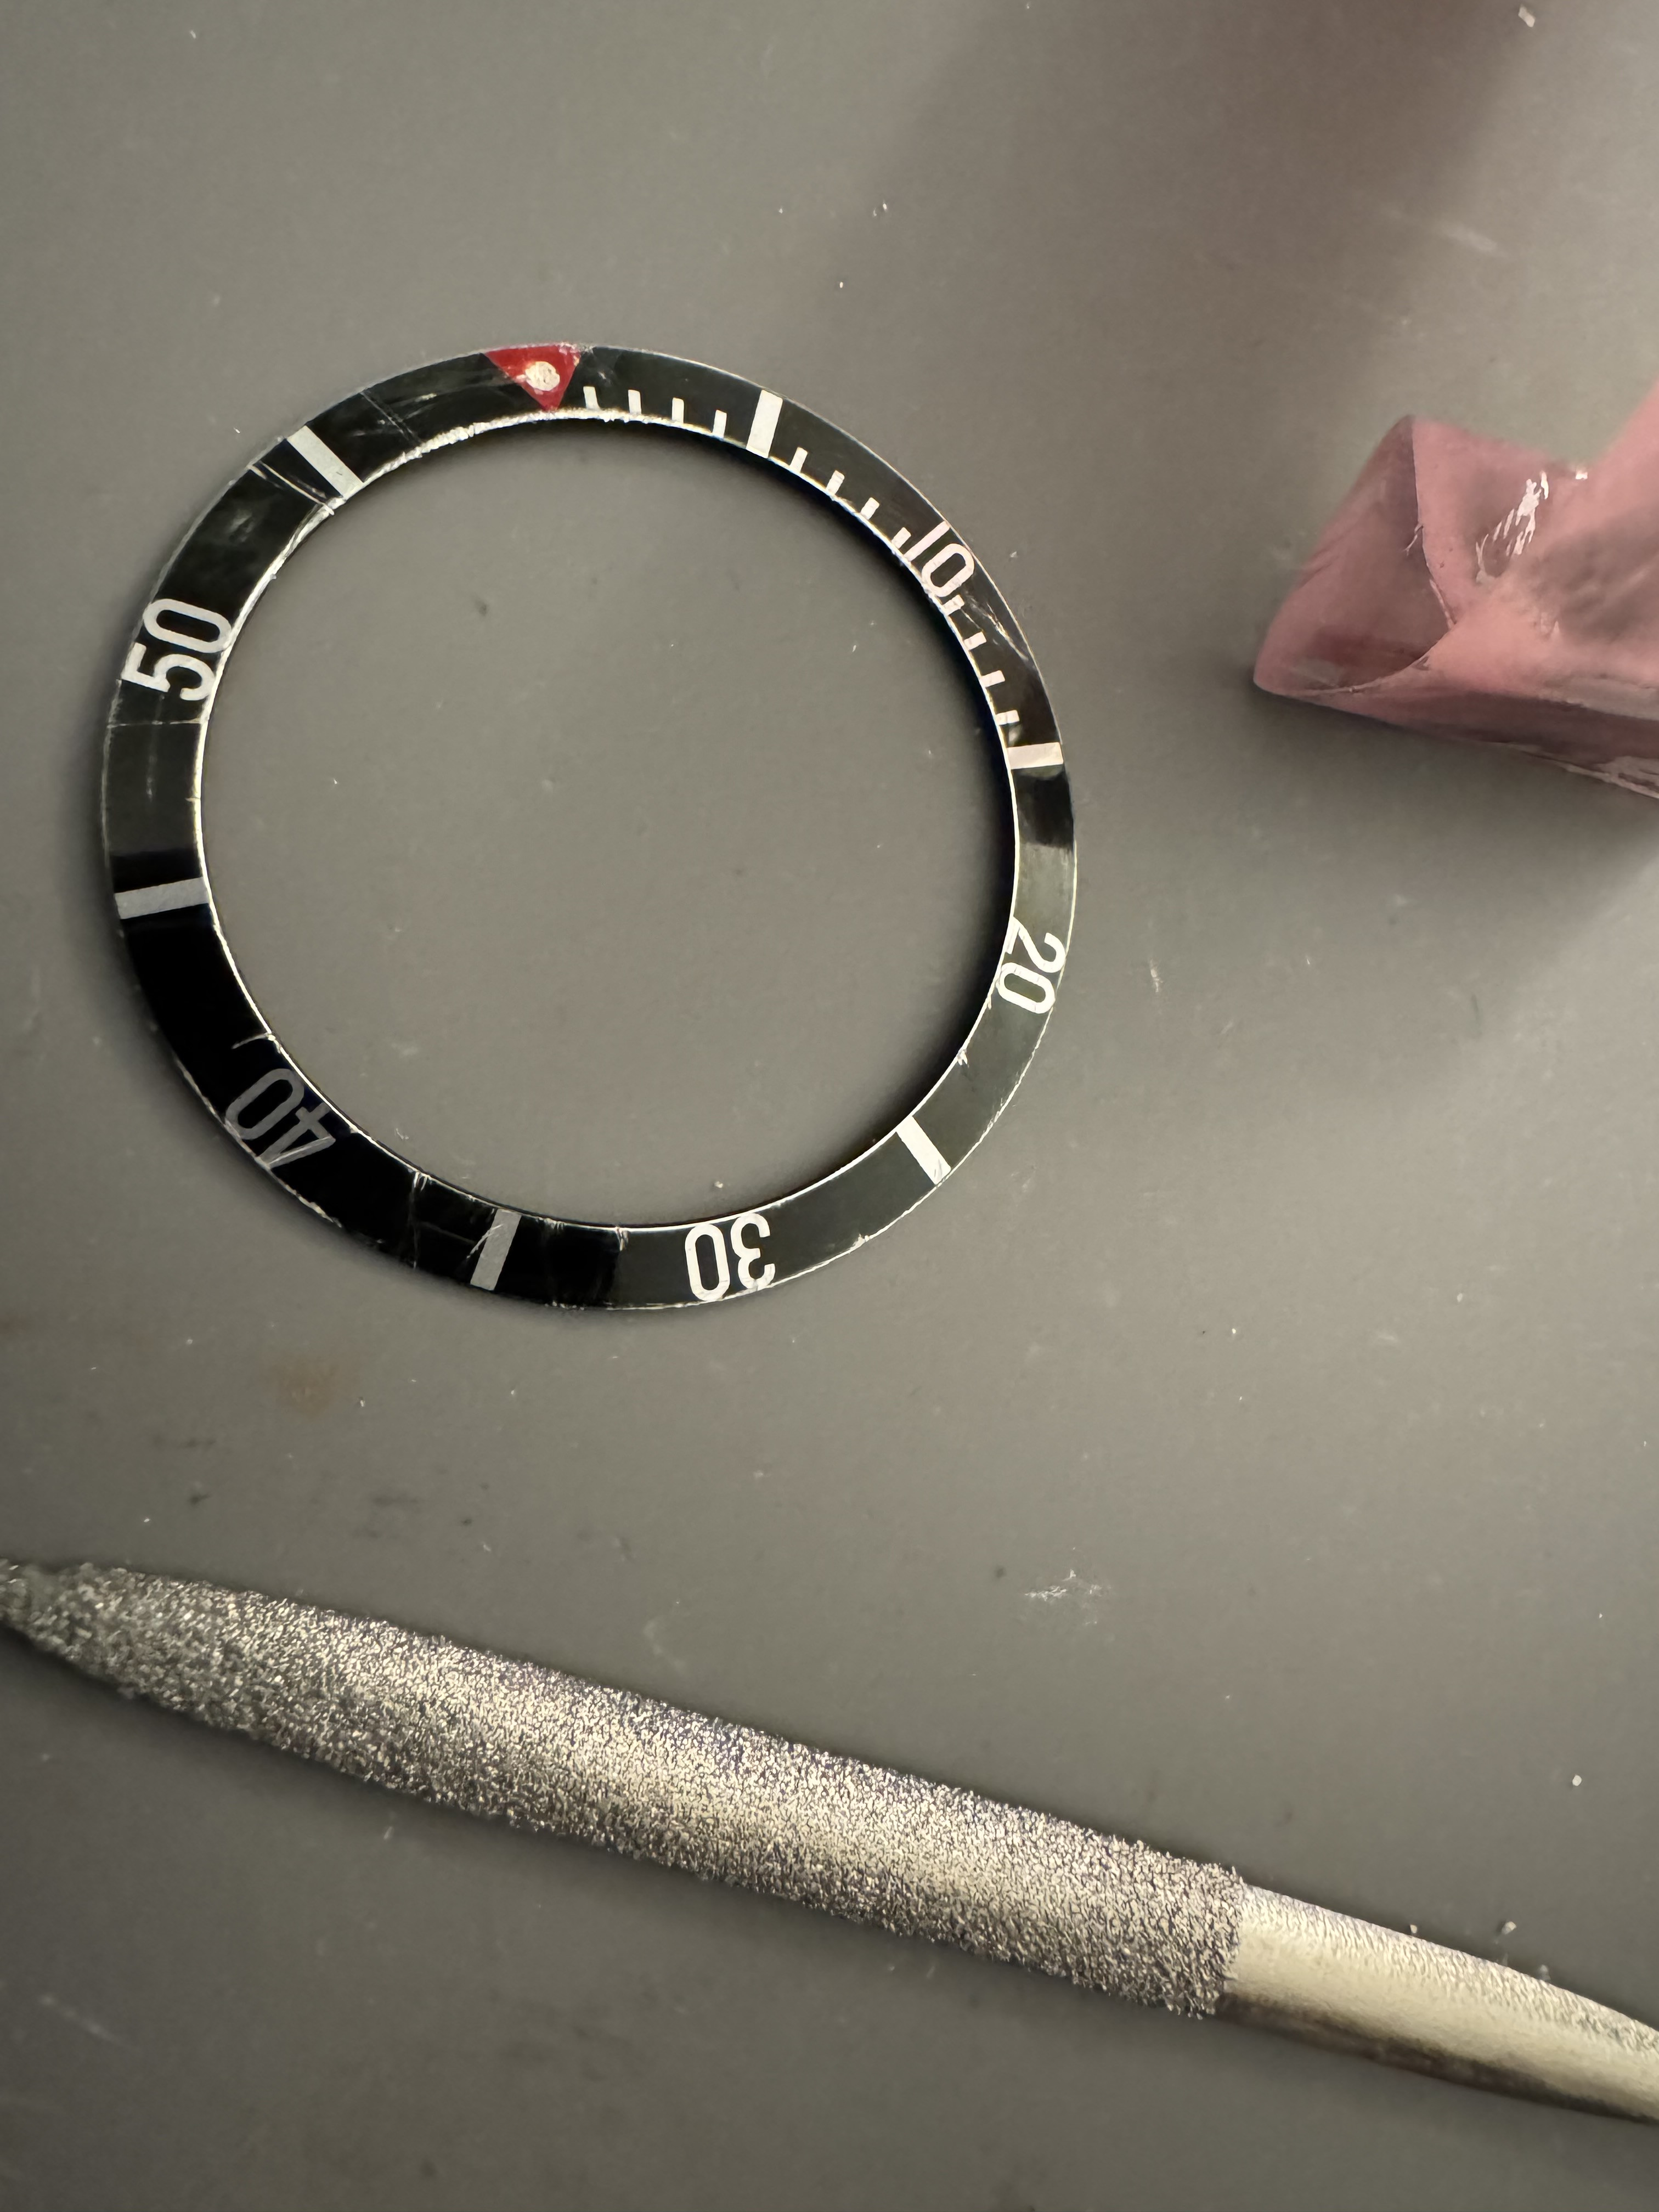
Insert is done, few scratches with the files and sanding with lapping paper to take the shine off, dipped in bleach for about 20 seconds for just a slight fade, don’t want to lose any colour on this. I don’t want a pip so filled the hole in with hypo and white tamiya powder