• Tired of adverts on RWI? - Subscribe by clicking HERE and PMing Trailboss for instructions and they will magically go away!

217H Destro Teardown and Lume

Rick914

I'm Pretty Popular
18/9/11
2,016
5
0
Texas
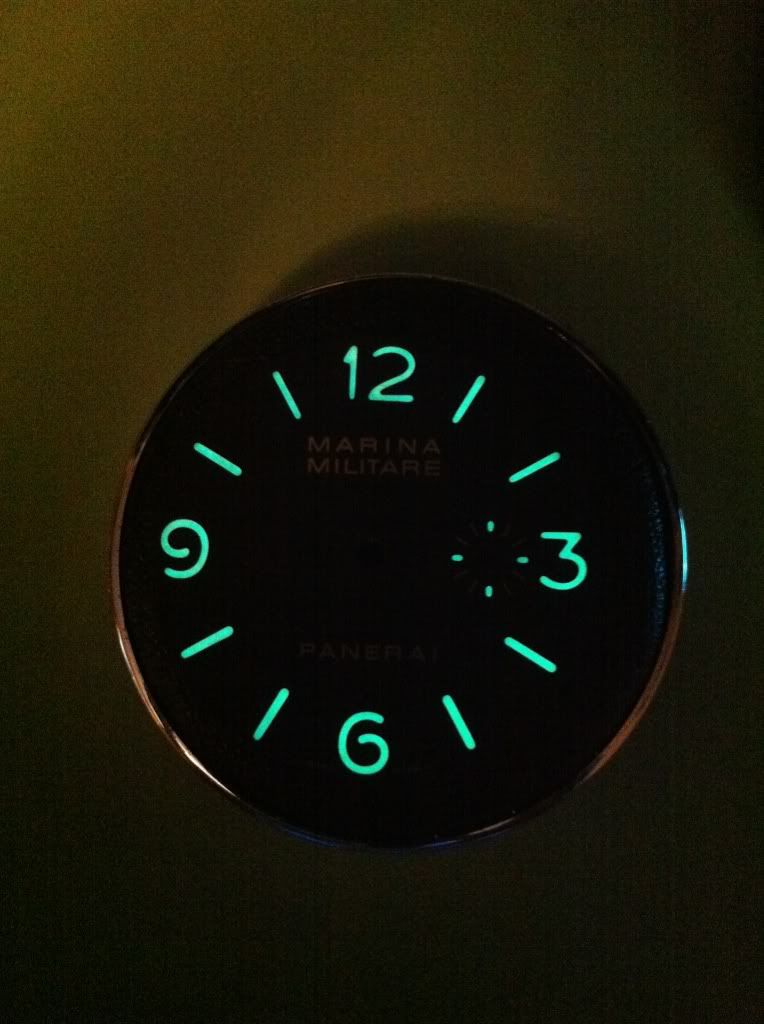
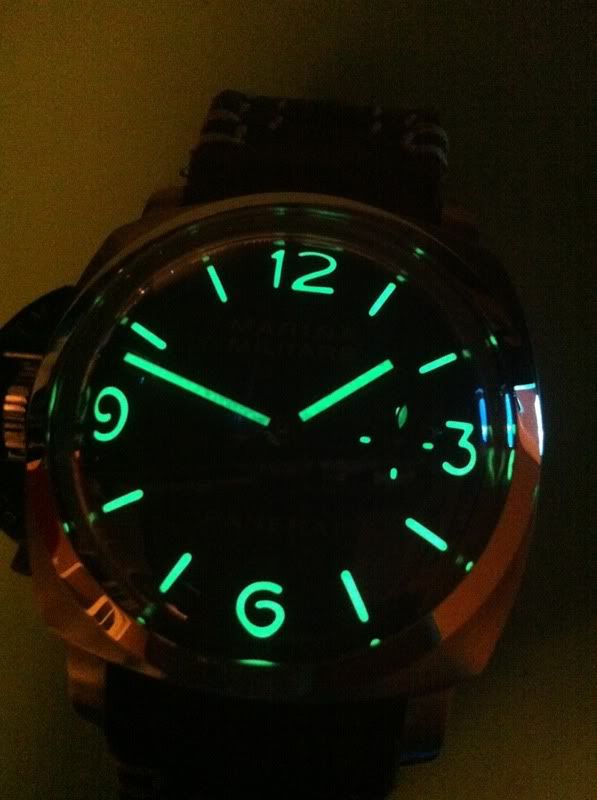
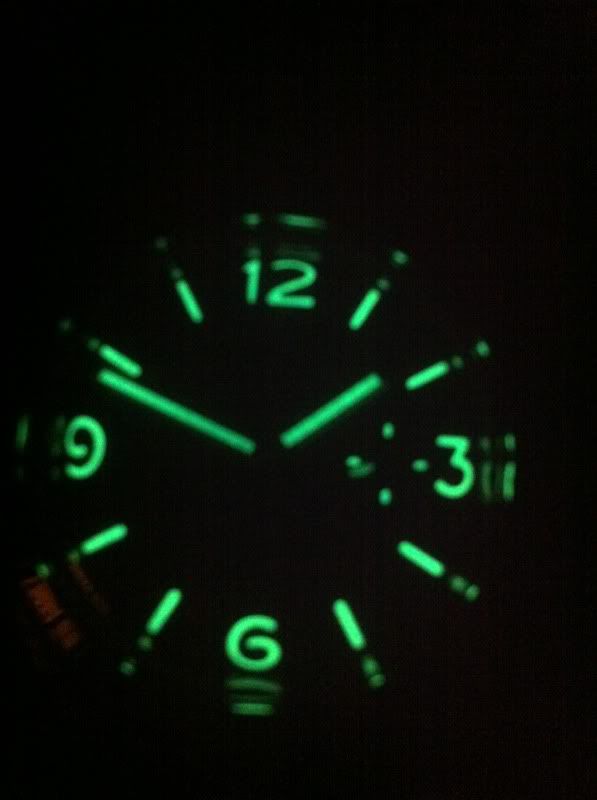
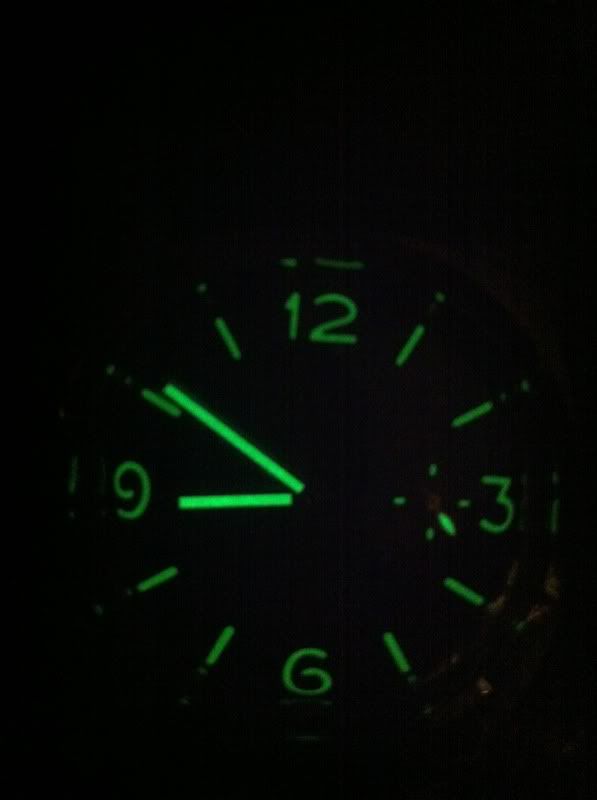
Ok guy go easy on me, I'm not a PAMpert by any stretch. To be completely honest I bought my 217H to see what all the fuss was about and liked it but it just never got wrist time. Maybe cause it's a noob and it's flawed some, maybe cause its huge, maybe cause I can't wear it to work, but I think mainly it's cause the Lume sucks! And I'm a lume junkie. I just had this feeling I should take this with me to holiday last week to Pensacola Beach. I'm really glad I did. I fell in love with this watch. All it lacked was some bright lume, so here were go. I'm not sure how accurate the color is but I decided to mix a couple different types to get a vintage ivory with a hint of yellow tint. Well see I guess.
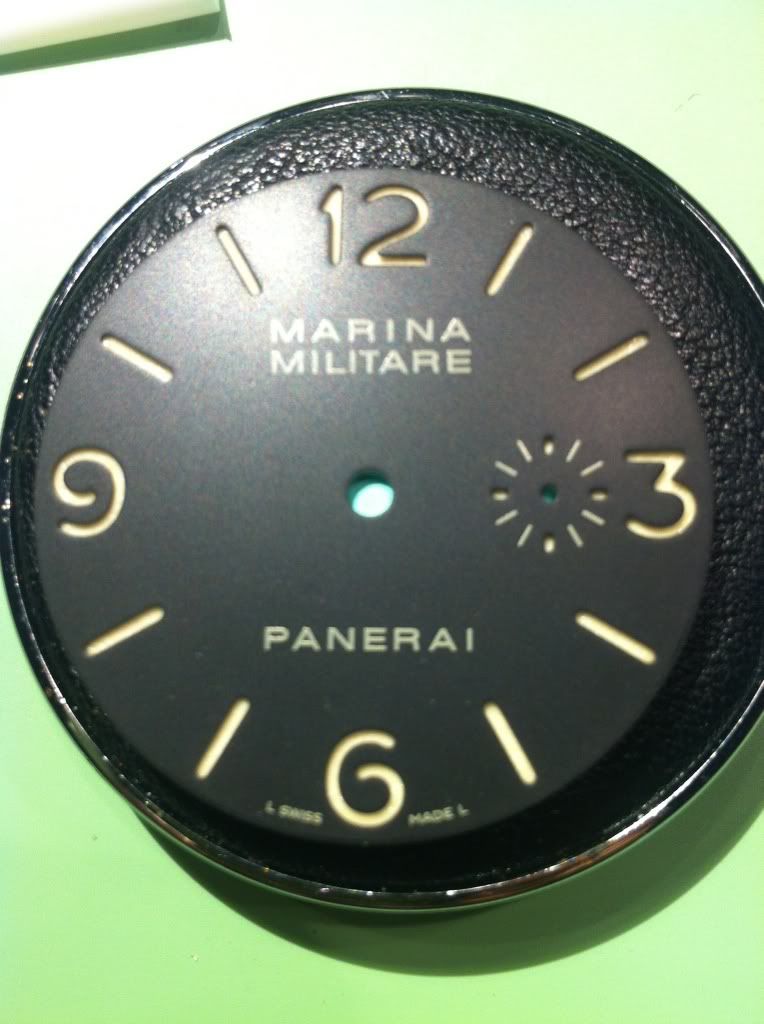
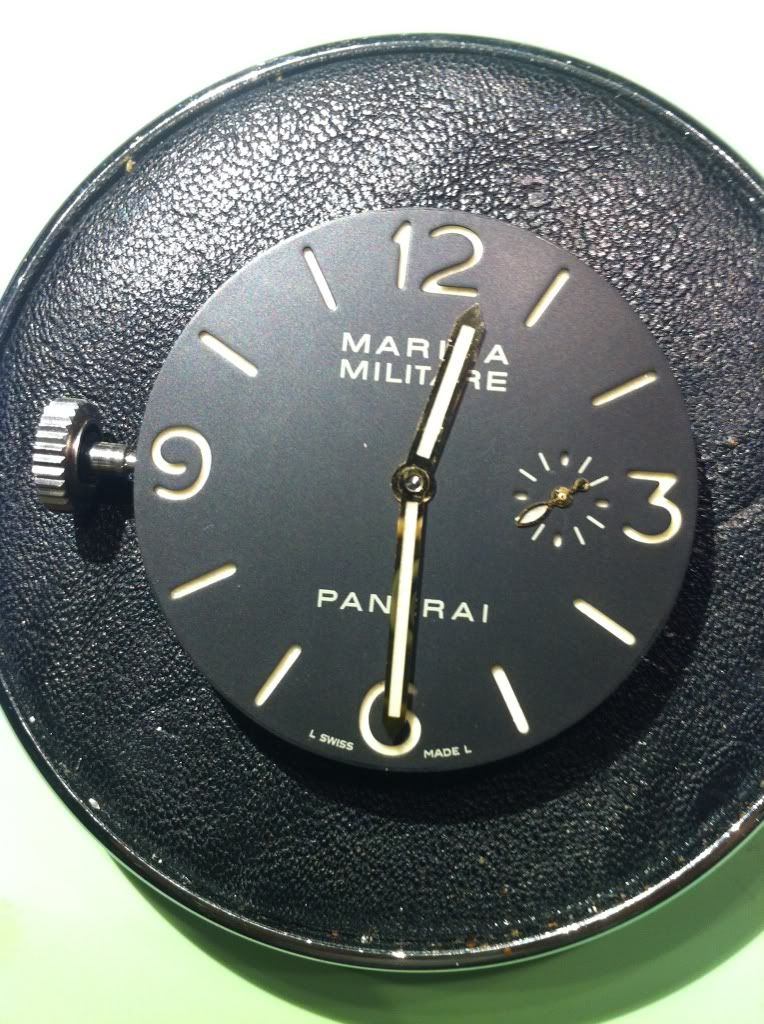
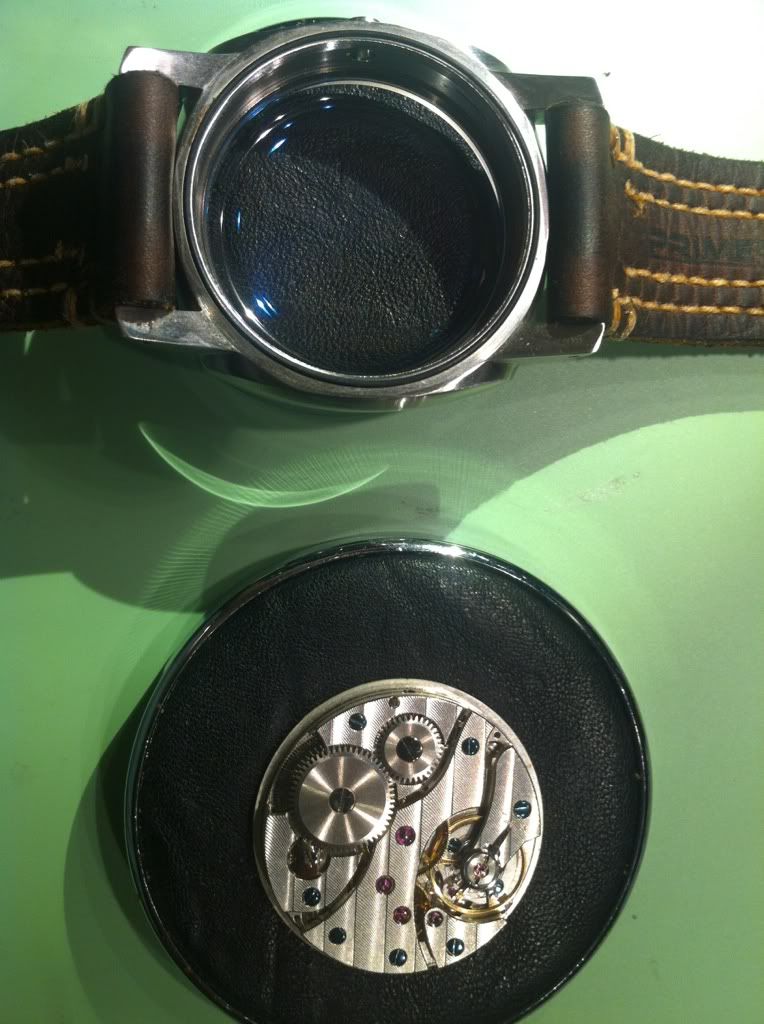
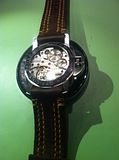
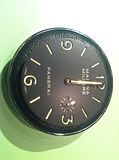
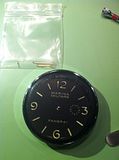
Starting off with a stock Noob Pam 217H
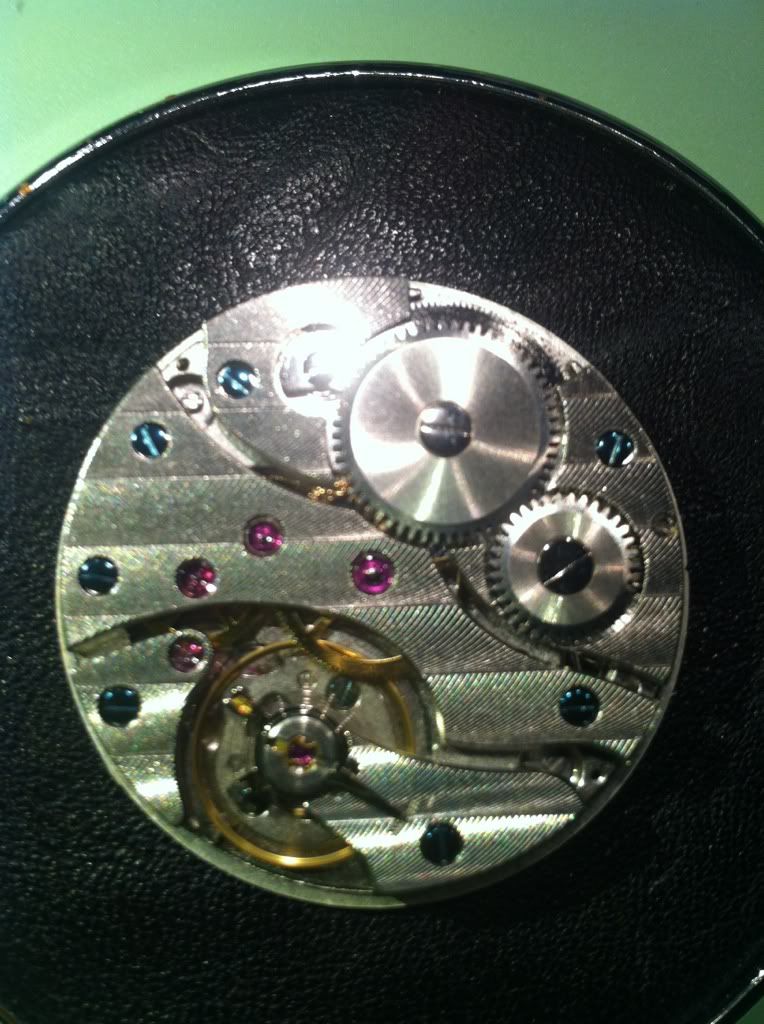
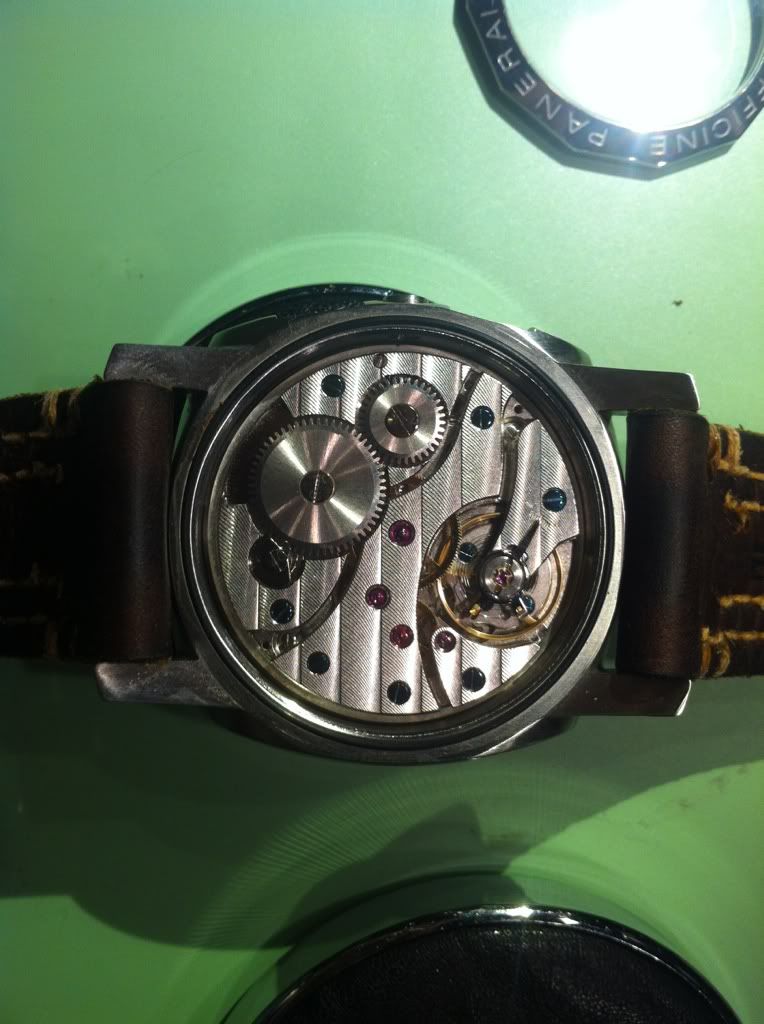
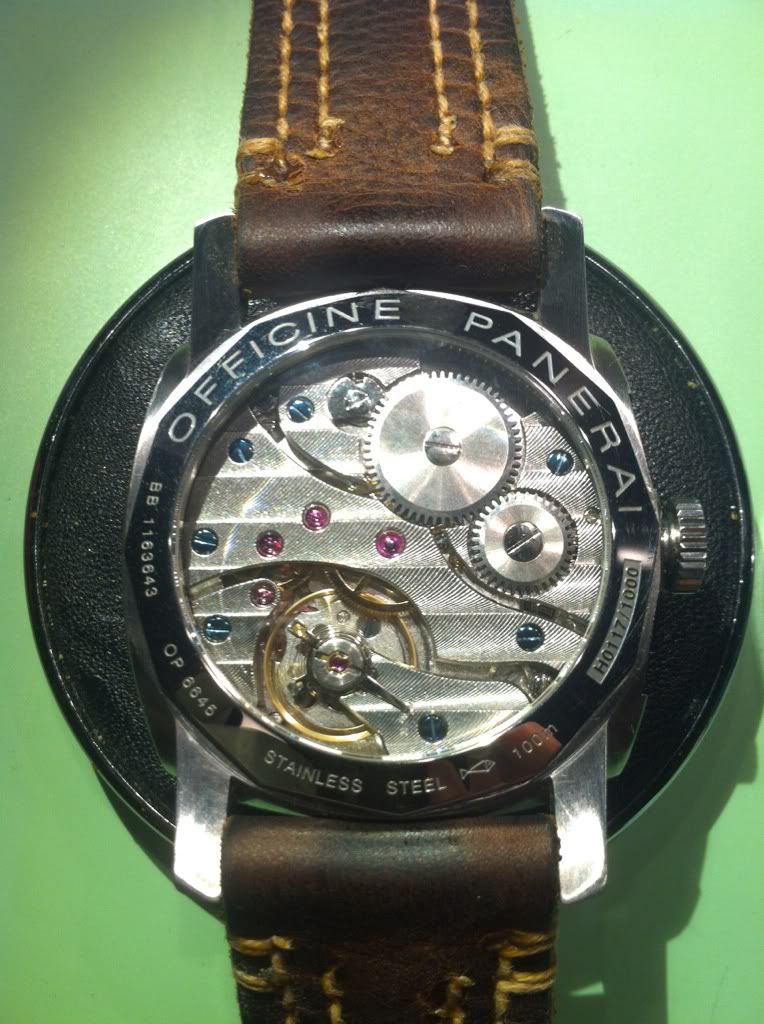
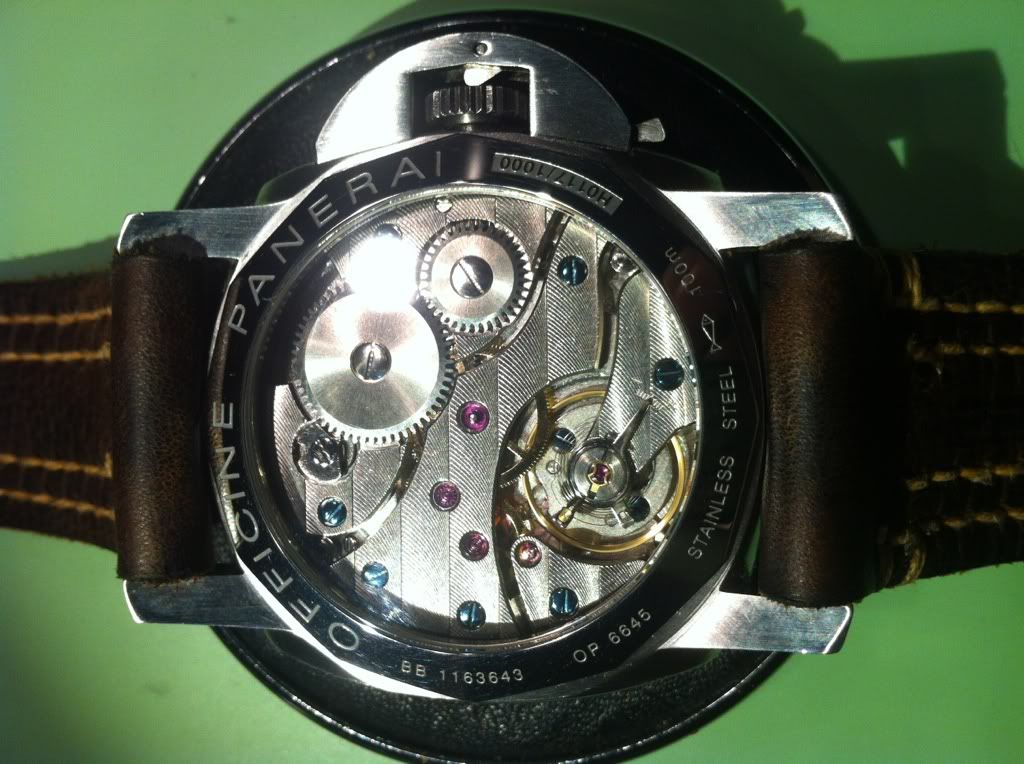
Backside

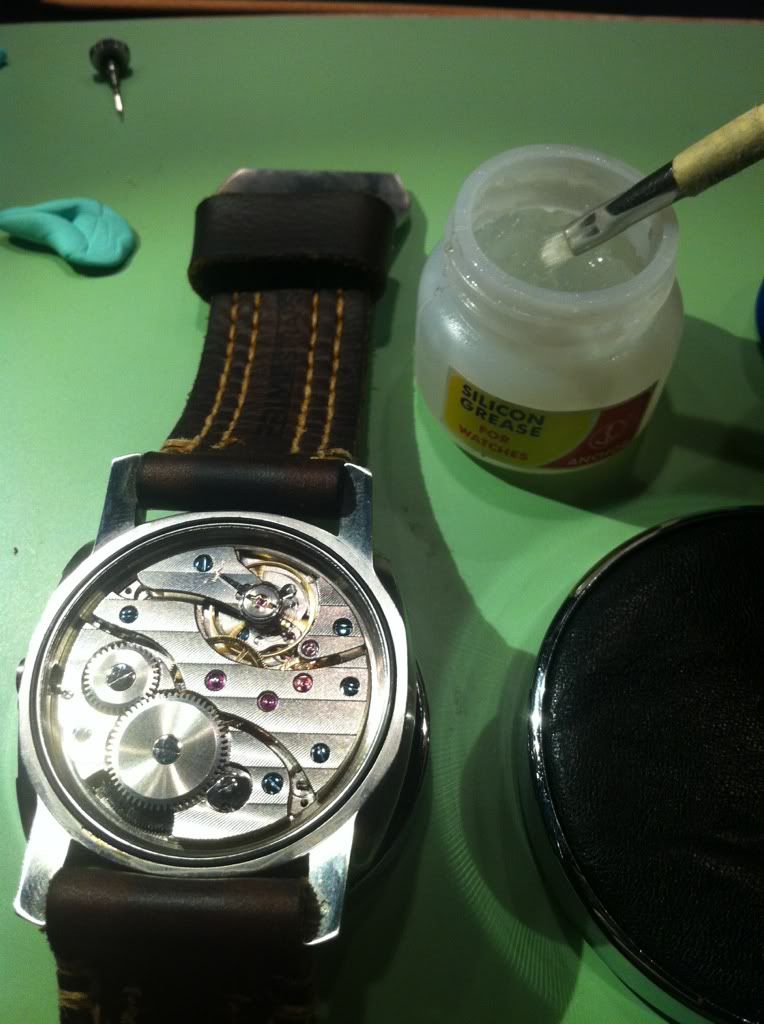
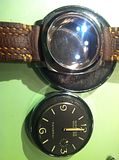
I started by unscrewing the CG(guess that's what you guys call it)

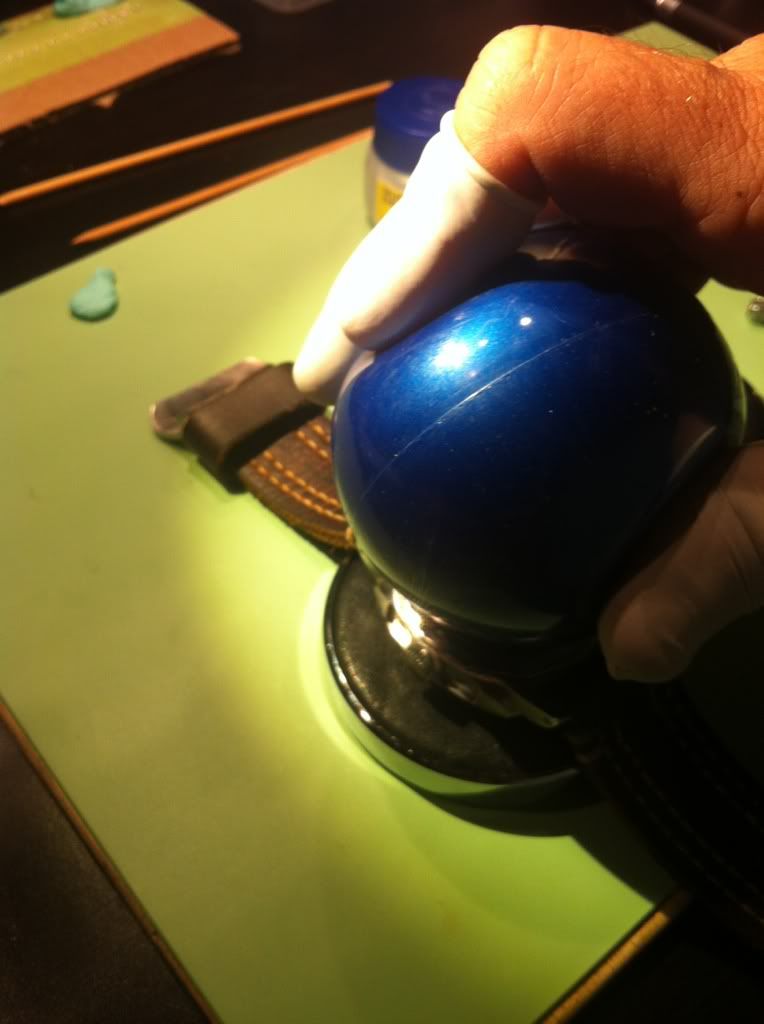
Next I used my case back ball to take the back off. Was really on there.

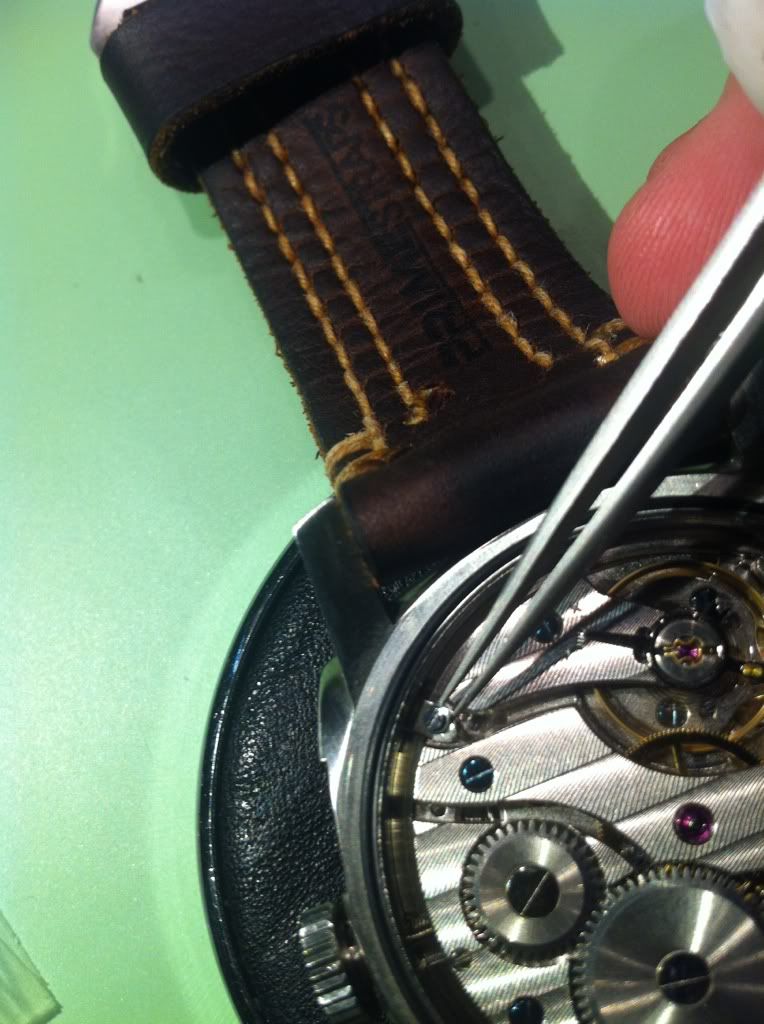
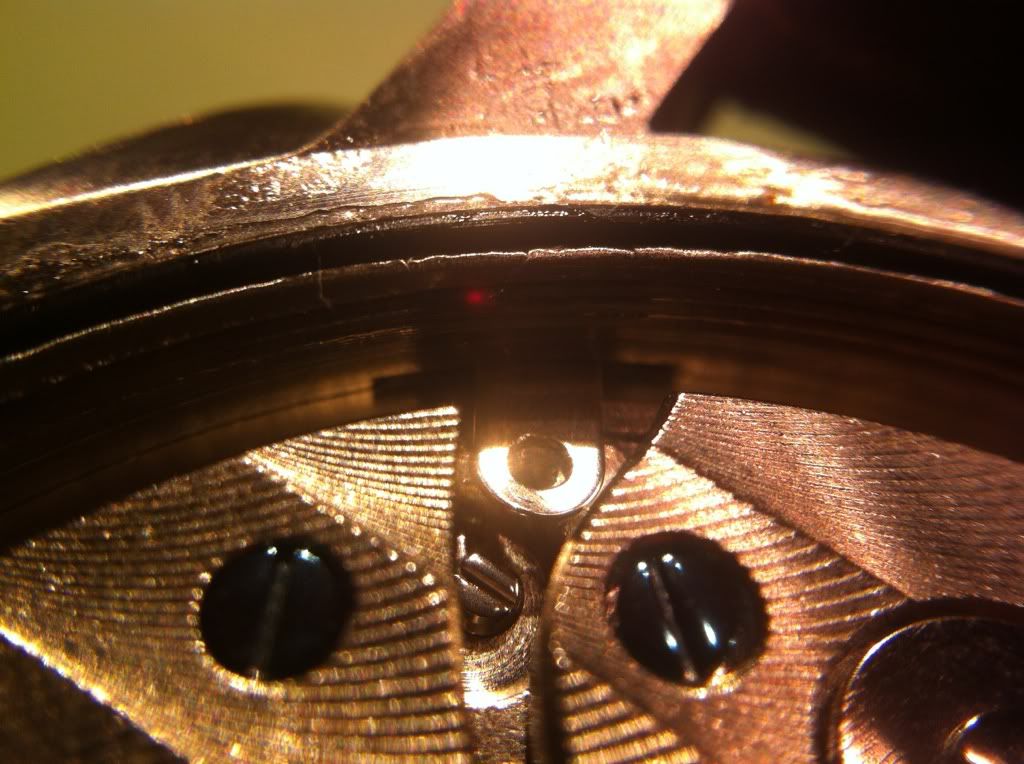
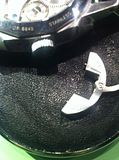
Used a smaller screwdriver and put it on the screw here. I pulled slightly the crown and turned the screwdriver CCW until the crown stem came loose and then stopped.

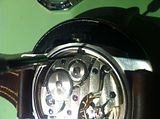
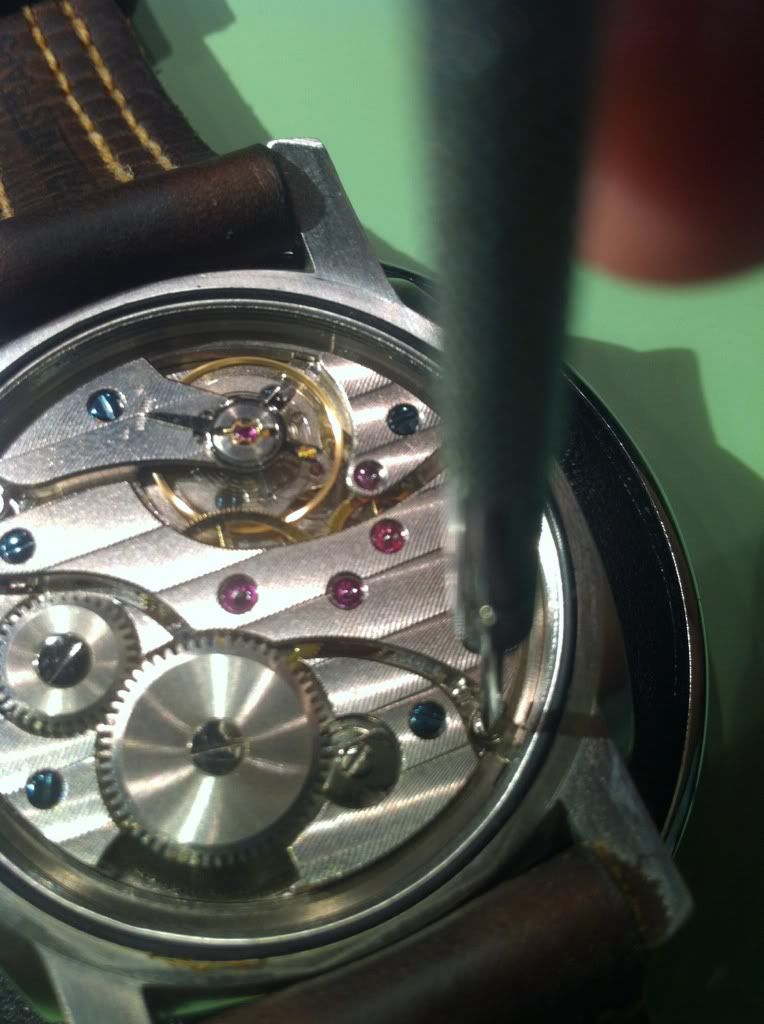
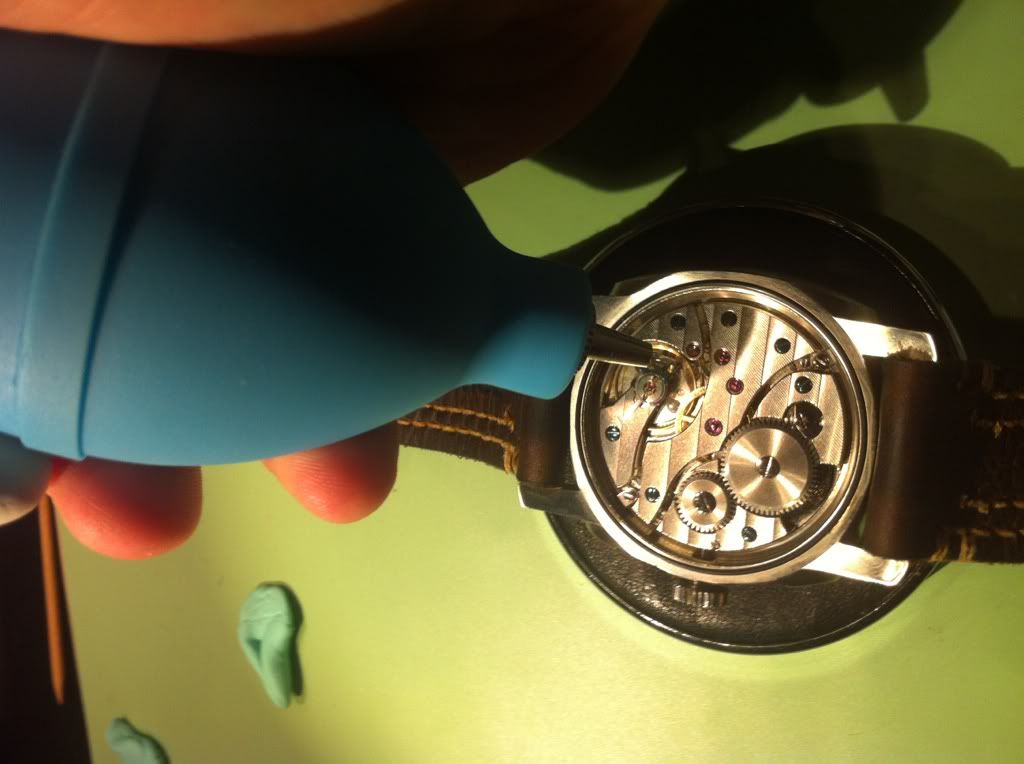
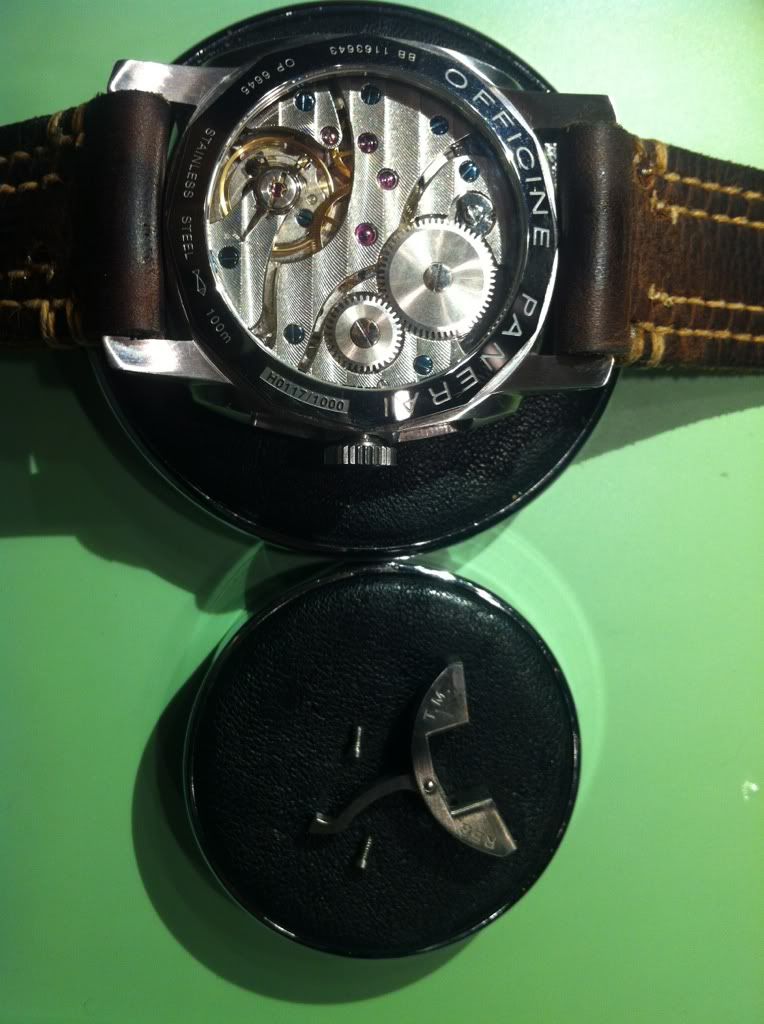
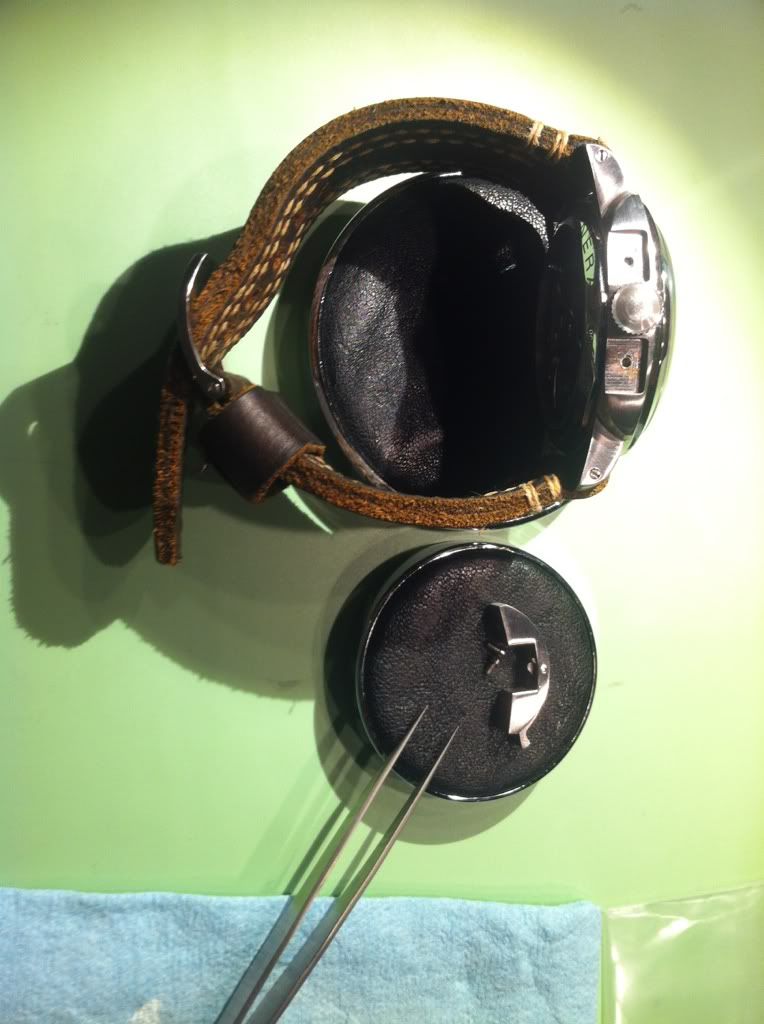
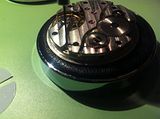
Next I removed the movement tabs and screws.

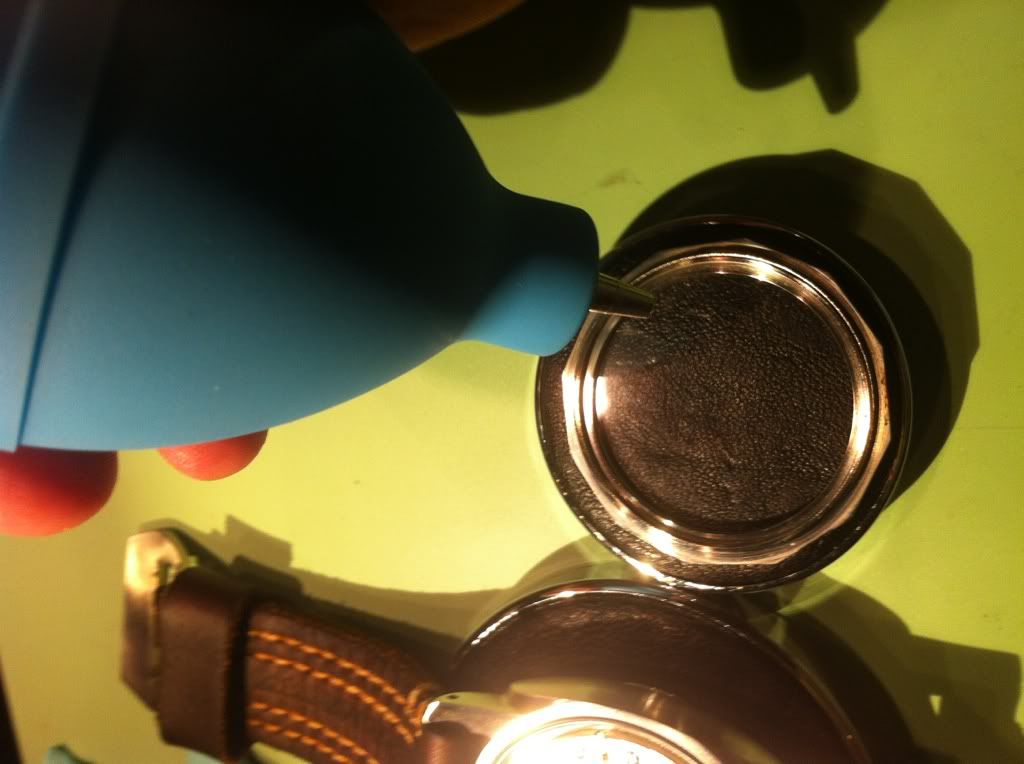
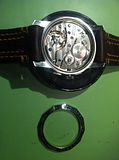
Guts removed from the case


Removed the hands just like normal. Nothing special here. They are bagged here but the lume will be stripped for new lume

I was going to get a close up shot but you couldn't tell where on the movement it was. Here I turned the dial lock screws about 1/2 turn to release the dial from the movement

Used the utility knife to separate the sandwich dial, FYI I removed the glue from dial lugs on the backside of the dial before this step.

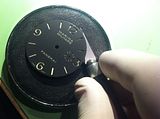
Removed the old lume from the bottom of the dial

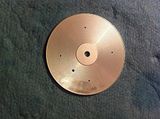
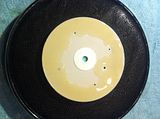
Painted a thin coat of white on the dial bottom, it's white I promise :) I also removed the paint from the raised center and the outer edges where the dial top seats.

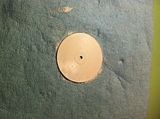
Wasn't really sure how to properly draw the markers or numbers so I painted most of the dial, lot of waste here, but at least it gets covered.


Is was as far as I got tonight. I did get the hands lumed but not finished. I plan on putting her back together this weekend. I'll finish up the thread. Hope you guys like my first attempt at a PAM
Rick
 

marlin2284

Supporting Vendor
Supporting Vendor
1/2/12
833
27
28
I don't think that's a Noob, the new Noobs come with excellent lume right out of the factory. That looks like an older cartel, good luck with you project...
 

ichi

Active Member
25/4/12
287
0
0
Awesome brother, she was a beauty to begin with and i am sure this will look great.

I don't think that's a Noob, the new Noobs come with excellent lume right out of the factory. That looks like an older cartel, good luck with you project...

ahh good call, didnt notice it at first but you can tell by the movement.
blue engraving isnt engraving and theres no swan neck around the regulator

It is still a wonderful watch mate can't wait to see your lume job!
 

Rick914

I'm Pretty Popular
18/9/11
2,016
5
0
Texas
Oh cool, thanks for tell me that!
This was the second rep I ever bought once here. It was a cheapy just to see if I liked the PAM. Would it be worth sourcing a better rep MV for this?
I didn't even know what Swan neck was when I got it. Lol
 

jmgentry

Known Member
5/7/09
101
0
0
Good luck with your project - I am new to PAM's as well - my first PAM will be here in days - excited to see what all the fuss is about - I hope I fall in love with it like all the other forum members :)

Signed

Potential PAM Junkie
 

the_don_robinson

Active Member
20/4/12
325
6
18
I love posts like this! Even so... I'm too scared to do that much hands on stuff with my watches!
 

Rick914

I'm Pretty Popular
18/9/11
2,016
5
0
Texas
Started putting this back together this afternoon. Didn't get it cases back up but I'm really happy with the Lume now.
I'm not sure I'm sure I happy with the hands but there is no room between these hands! This might just be this movements fail, I'm not sure. Anyways. Here the pics.

Sandwich dial together
22cfa96f.jpg

Hands put on
259d774a.jpg

Lume shot
ba7d37fe.jpg

Just realized I did get one with the hands! I'll get once I get home....

I did take the Panerai sticker off the back of the movement, that always bothered me being crooked.
 

Rick914

I'm Pretty Popular
18/9/11
2,016
5
0
Texas
Finished this up tonight. Just couldn't wait to get it done
Removed the cheap Panerai sticker off the back
159afae3.jpg

Got the movement ready to install
94afb671.jpg

Dropped the movement in the case
2595bf06.jpg

Installed the movement spacer ring
087e5abc.jpg

Greased the crown stem and the o-ring for the stem in the case before installing the crown. I do this so that it centers the movement before I tighten the movement to the case. Tends to keep the stem out of any bind.
fdd2ab1b.jpg

23e6e50f.jpg

Install stem
00ea2c1a.jpg

00ea2c1a.jpg

Screw to lock the crown in, the tiny silver one
8da922fd.jpg

Then put the movement tabs in place
dc625c4b.jpg

Make sure they are in the grooves
e81f37e2.jpg

Tighten down
e0278106.jpg

Blow the dust out of the movement and case back
77b87221.jpg

92e99b43.jpg

Grease the case back o-ring and screw on the case back. Used my ball to get on and off. Worked pretty good
50104b55.jpg

ec0faf71.jpg

Ready for the CG
4800fb28.jpg

a2e6ca02.jpg

CG installed. Used a tiny bit of thread lock on the screws
ab72da1b.jpg

6ddb44bc.jpg

Then I noticed this POS under the crystal, a speck of dust. So I went back in and pulled it and did all the steps over again. Didn't take that long since I didn't have to stop and take pictures again :)
289790c1.jpg

And a few Lume shots.
One with a little back lighting
f32857ca.jpg

And one in dark
9b35c6d4.jpg

My iPhone takes terrible focused dark shots but this thing is a torch now. I'm not super pleased with the second hand Lume. I couldn't layer it on as thick for clearance issues so it's not super bright, but it seemed to burn awhile.
All in all I'm happy with the outcome. I know it's not the closest to gen piece, but I think this mod will have it on my wrist more often and really to me, that's what it's all about, enjoying them :)

Btw: Hope this wasn't too step by step, if so let me know and I'll go back to less in depth.
Thanks for looking
Rick

Found an old Lume shot for comparison
cfe89f74.jpg
 

Timefelix

Do not accept unsolicited offers
16/5/12
3
0
0
What a great job Rick. Really good man. I like the idea that you mixed the lumes and added the yellow paint on it (great final color). What lume do you use and what yellow paint. I will try something like this soon just to get that yellow vintage look. Keep the good work. Congrats!!!1
 

Rick914

I'm Pretty Popular
18/9/11
2,016
5
0
Texas
What a great job Rick. Really good man. I like the idea that you mixed the lumes and added the yellow paint on it (great final color). What lume do you use and what yellow paint. I will try something like this soon just to get that yellow vintage look. Keep the good work. Congrats!!!1

Thank you glad you like it.

The base is Testors Flat White, just lighting that makes it look yellow. The lume is a custom mix of G-102 and some Ivory lume from WL and a little secret ingredient ;)
 

Strodda

Supporter 'smith
Supporter
21/1/11
4,440
42
0
TX/USA
Thats an awesome job Rick!

How long did it take you to get bit by the bug? I have sold off most of my watches because Im blindly in love with my 127, the twin to your 217.

My favorite pic right here...
f32857ca.jpg


I too love lume, and lume shots... especially when its got a slight curve from a big fat crystal :)


BTW, I saw your lume application, in case you relume more PAM's in the future. What I have done to guide along where the lume goes, is to strip clean the backplate, sandwich them together and with a fine needle scratch in where the openings are... like using the top dial piece as a stencil. Then at the right angle, you can see where the dial was scratched, then do your paint and lume.