“How its made†at home – pictorial of end-end assembly of PAM201a <modem burner!!!>
A quick pre-face:
I have an old friend who is a fellow watch enthusiast but with little discretionary funds due to a recent divorce and change of careers so he mostly collects Russian watches and has a few Seikos. He really likes my custom self-build PAM 201a and always complements it when he sees me wearing it. Last week I learned that he was diagnosed with a fairly serious condition which means he will only be able to work part-time for at least a year and most likely will need to go for a surgery in a few months’ time. Talk about a rough patch here.
Anyways, I have been lucky in life and I feel very sad for my friend. I offered him to help with hospital bills or living expenses (we live on different continents BTW and he is in Australia while I am currently in Europe) but he is too proud to accept this.So I decided to build him a high-spec 201A as a token of my appreciation of years of friendship. Last night I went through my parts watch-box and got all my parts ready for the build...and ta-da, I've gone on a building spree this afternoon and this is how this beauty was born after a couple of hours of work.
I decided to photograph the whole process as detailed as possible so I can share the journey with my friend…and then I figured why not to share it with all of your guys as well, who knows, may be some of you will find it educational and it will encourage you to take first steps towards learning about basic watchmaking and tinkering with your watches. As a full disclosure, I must say that I am no watchmaker and started in this hobby two years back and all my knowledge comes from the various watch fora where I learn from threads just like this one. I invested in semi decent tools, got myself a book or two and this become one of my favorite past times.
So take this pictorial as a guide but follow it on your risk if you choose to.
Well, without further ado, let’s get started:
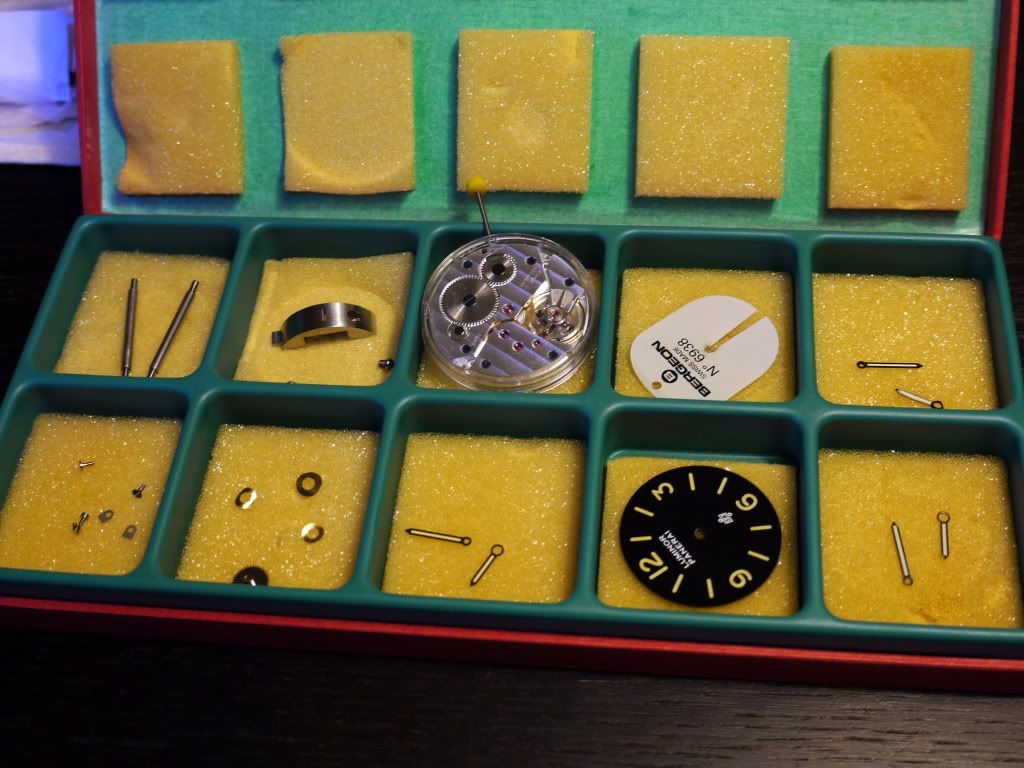
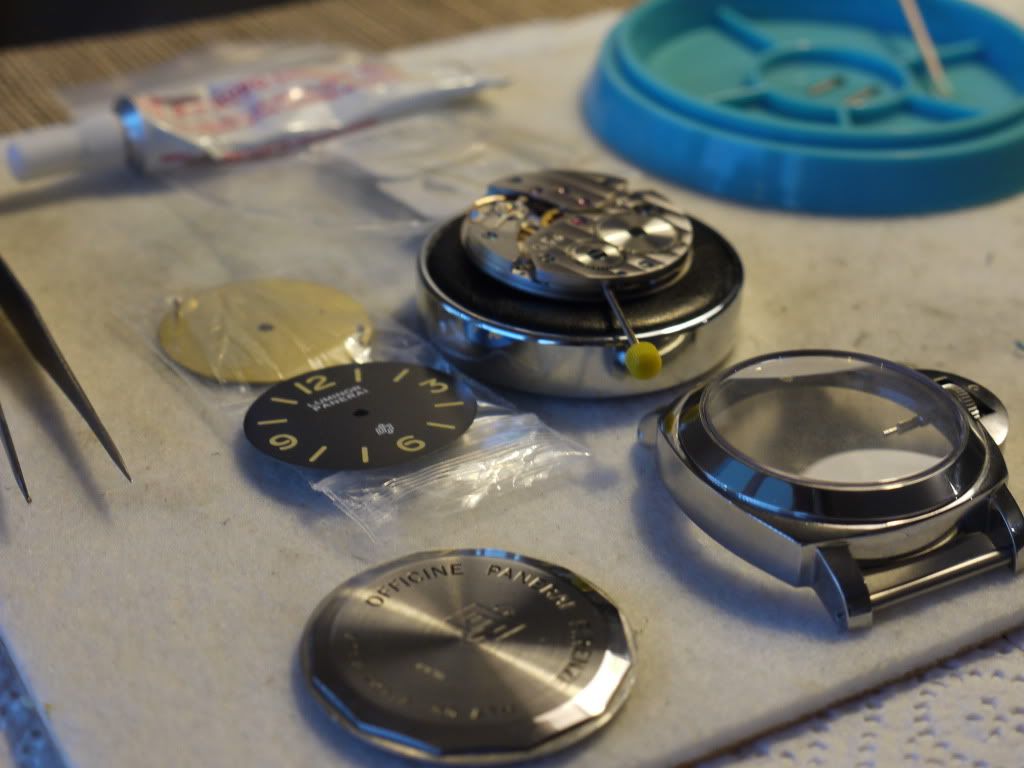
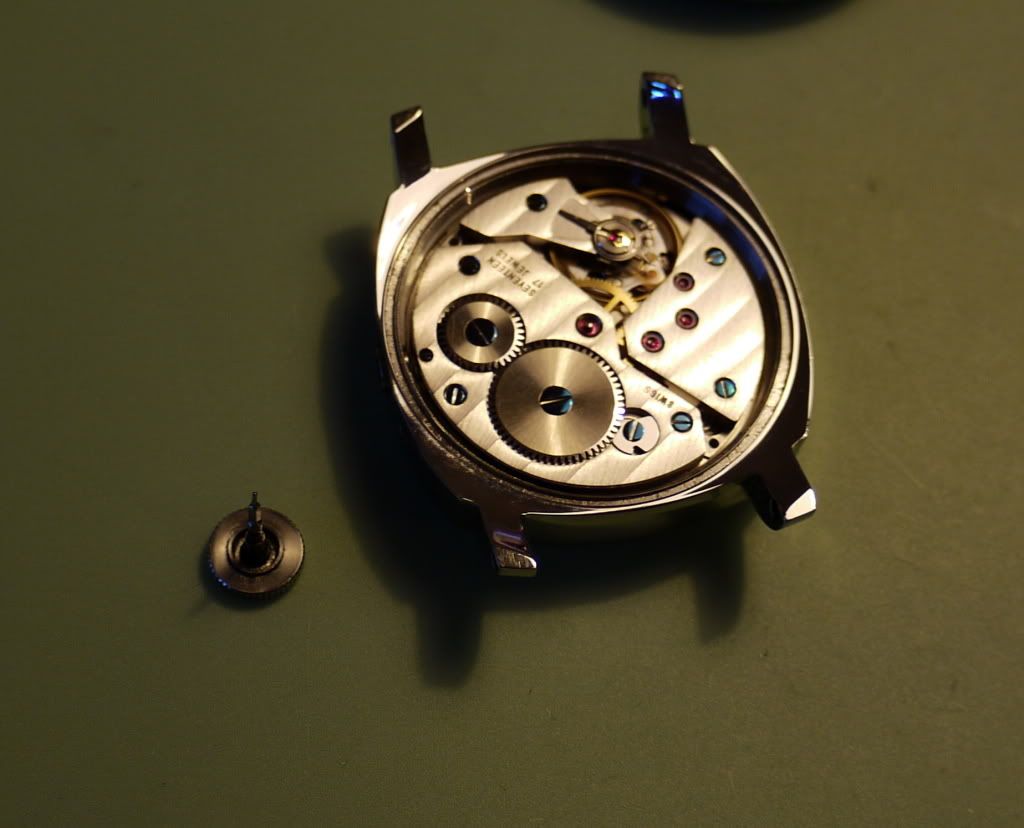
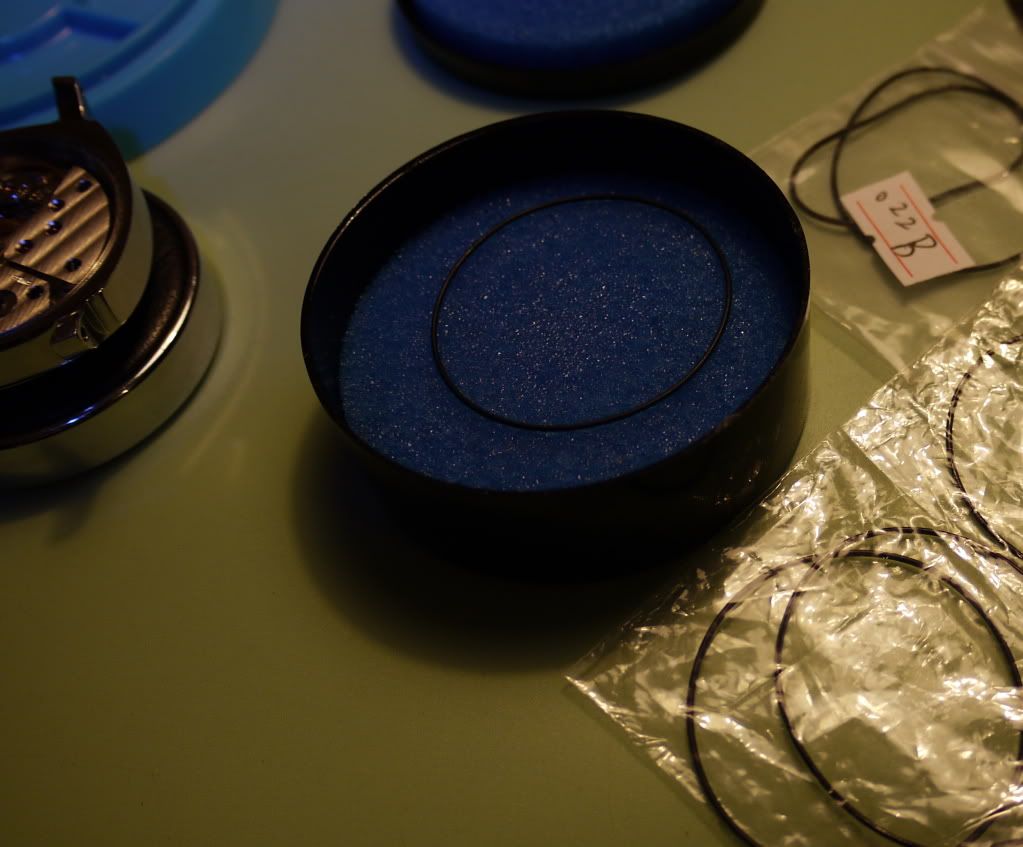
Here are all the parts needs for this build:
- Decorated Swiss 6497 low beat
- Modded 111J case with re-shaped lugs drilled for pre-V screw-in bars and C3 crystal
- DSN pre-V CG, modded to fit the case
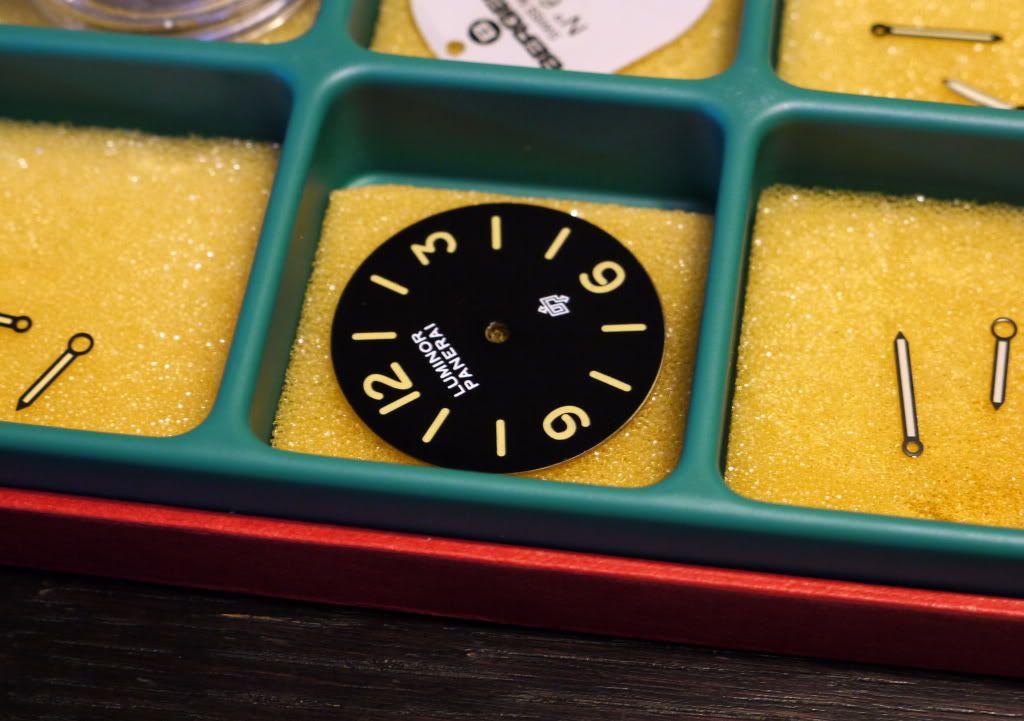
- FDG dial and hands, lumed in tritium color to look slightly non-matching
- DSN caseback
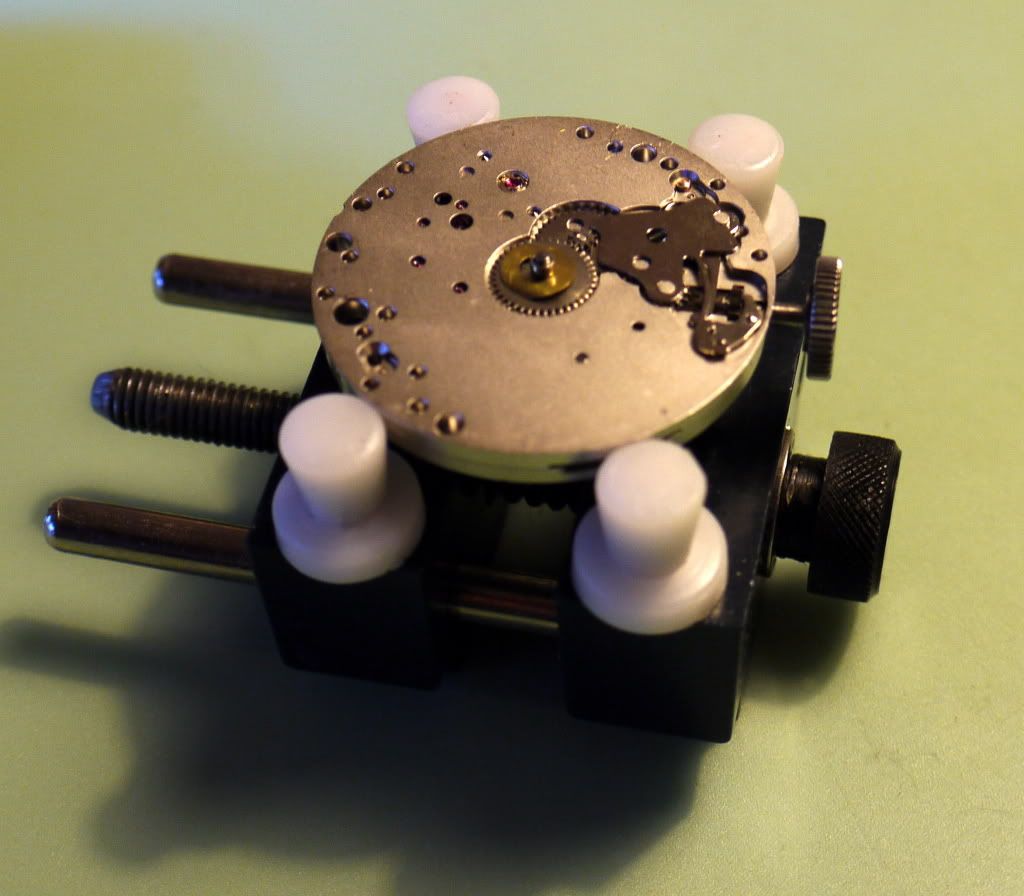
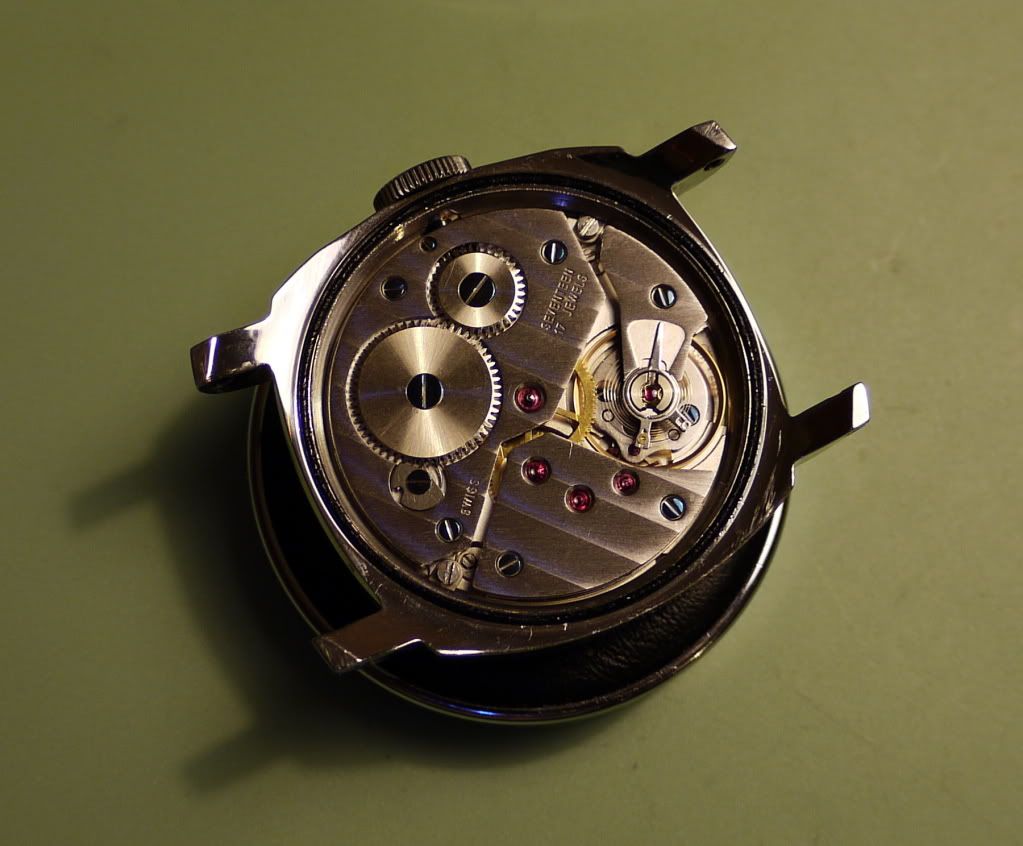
Starting on the movement – install hour wheel and washer
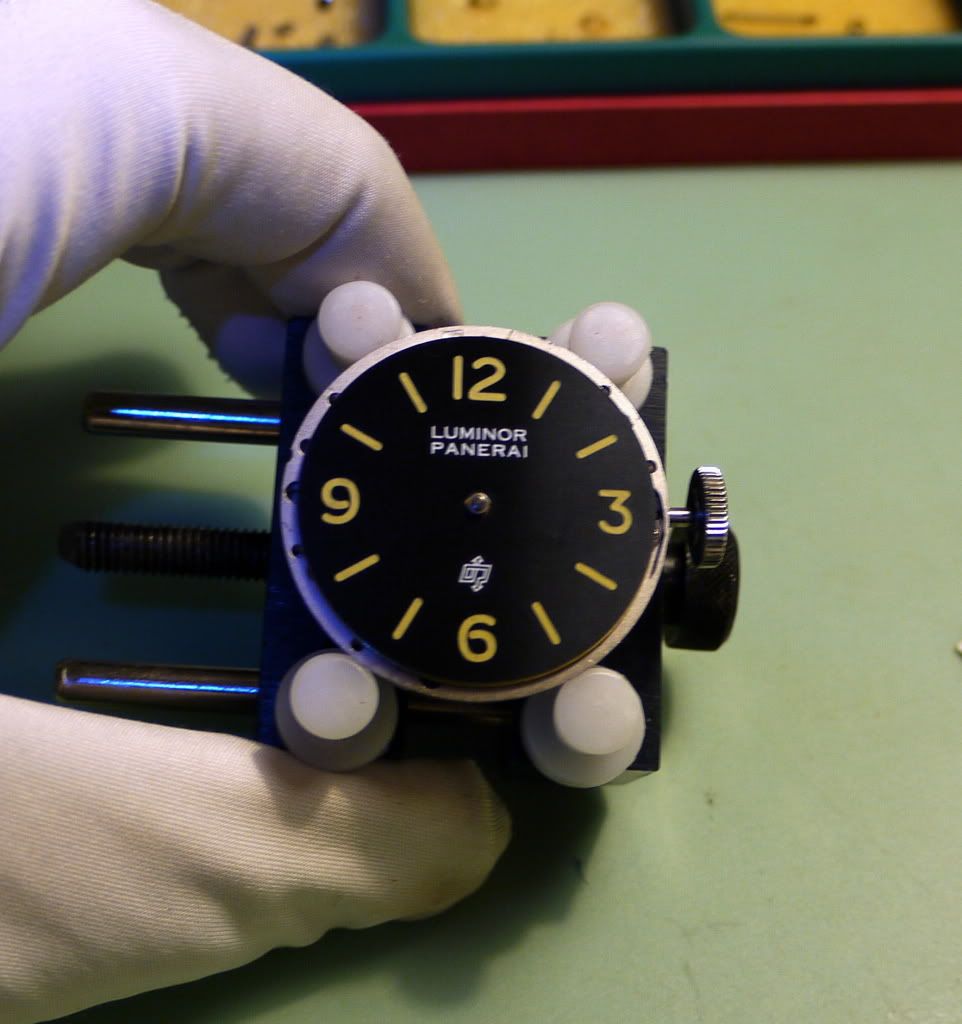
Next I install the dial – don’t forget to tighten the screws on the back side of the movement to fix the dial feet in place
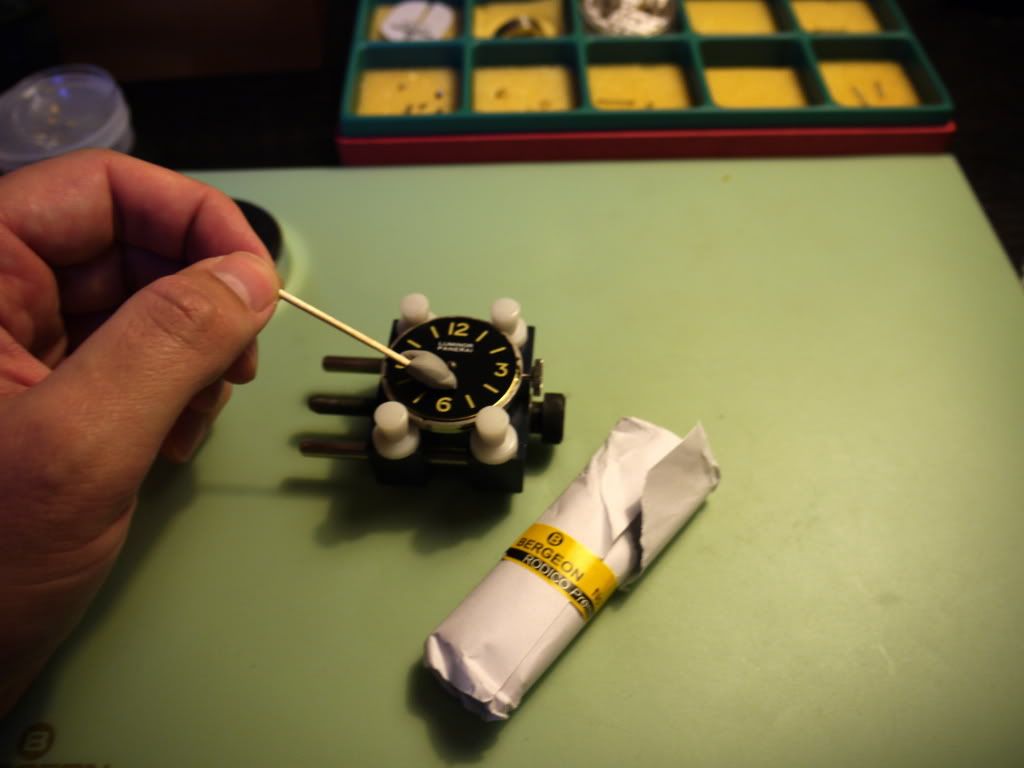
However hard you try, you will leave fingerprints all over the dial, so make sre to clean it with a decent chunk of Rodico – I use the premium version of it and it is a must have!
Now off to installing hands – I use proper Swiss-made AF hand pressers, they are extremely well made and don’t leave scratches on even most delicate hands (such as rep stuff") :
:
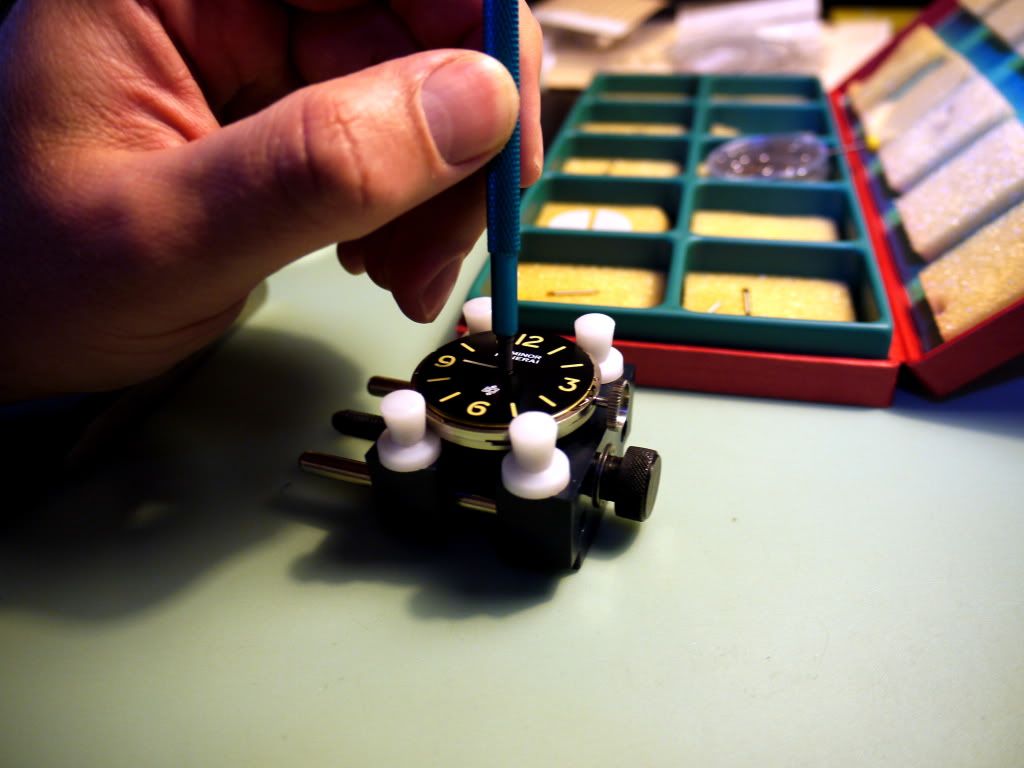
With both hands installed, make sure they align against the markers – I use a toothpick to adjust if need be. Give it a few turns back and forth and watch for clearance between the hands to make sure they move freely and don’t touch when overlapping.
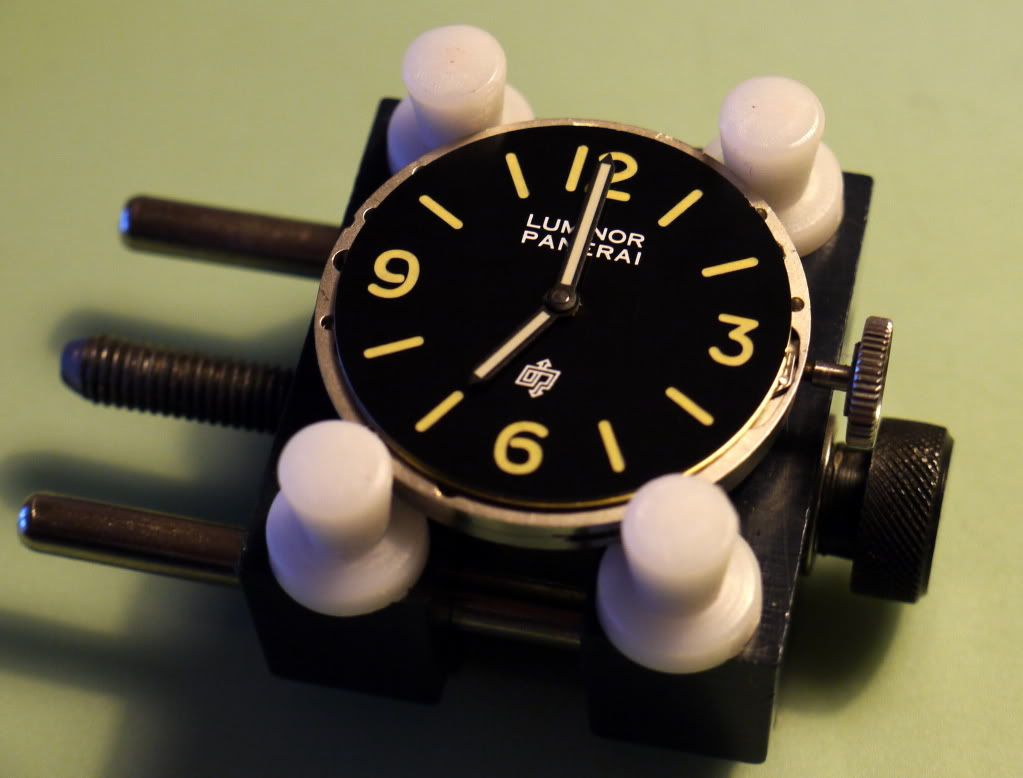
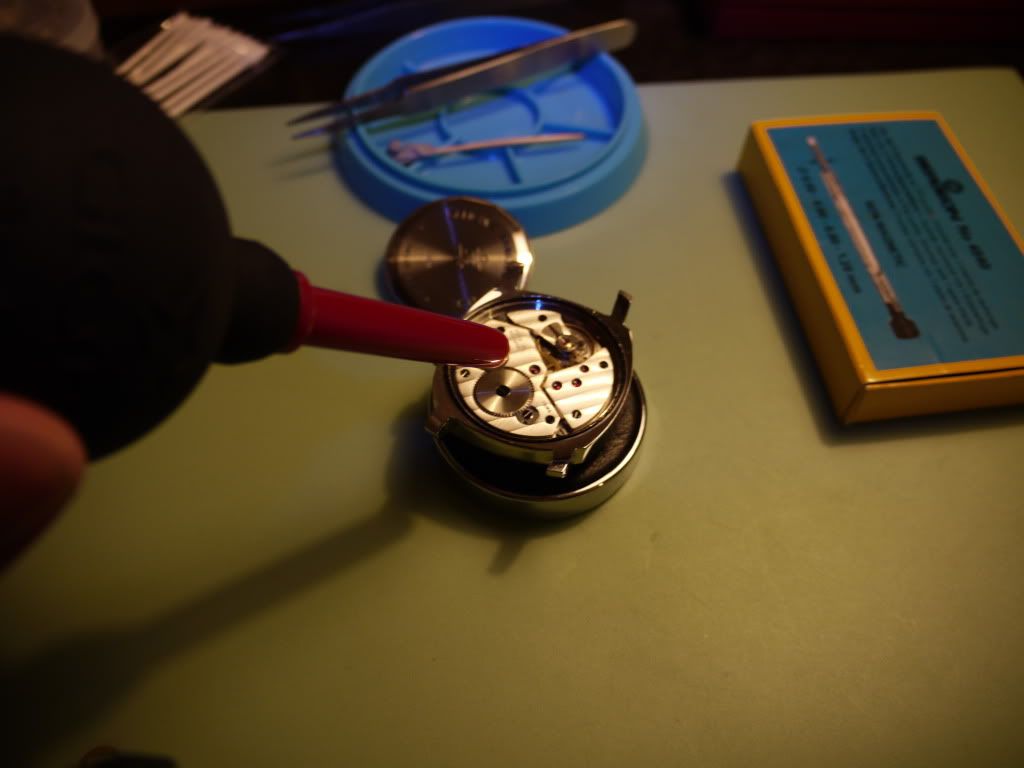
Once I am happy with the hands, I give a few puffs of air pump to remove dust particles from the dial and hands, cover and put it away.
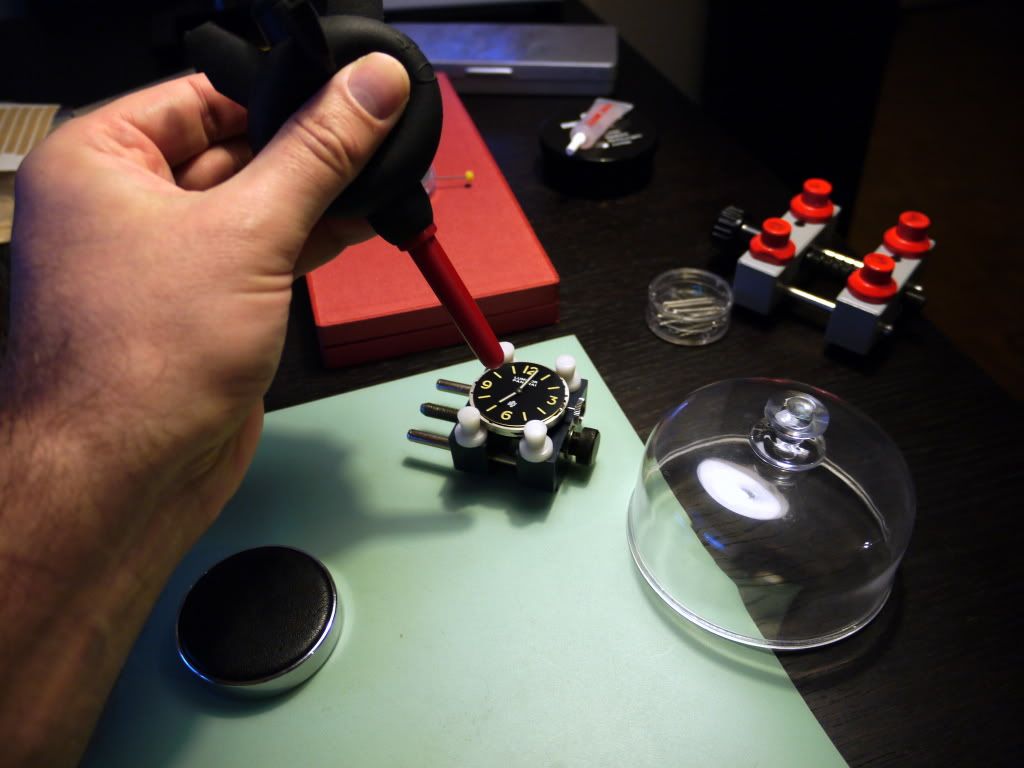
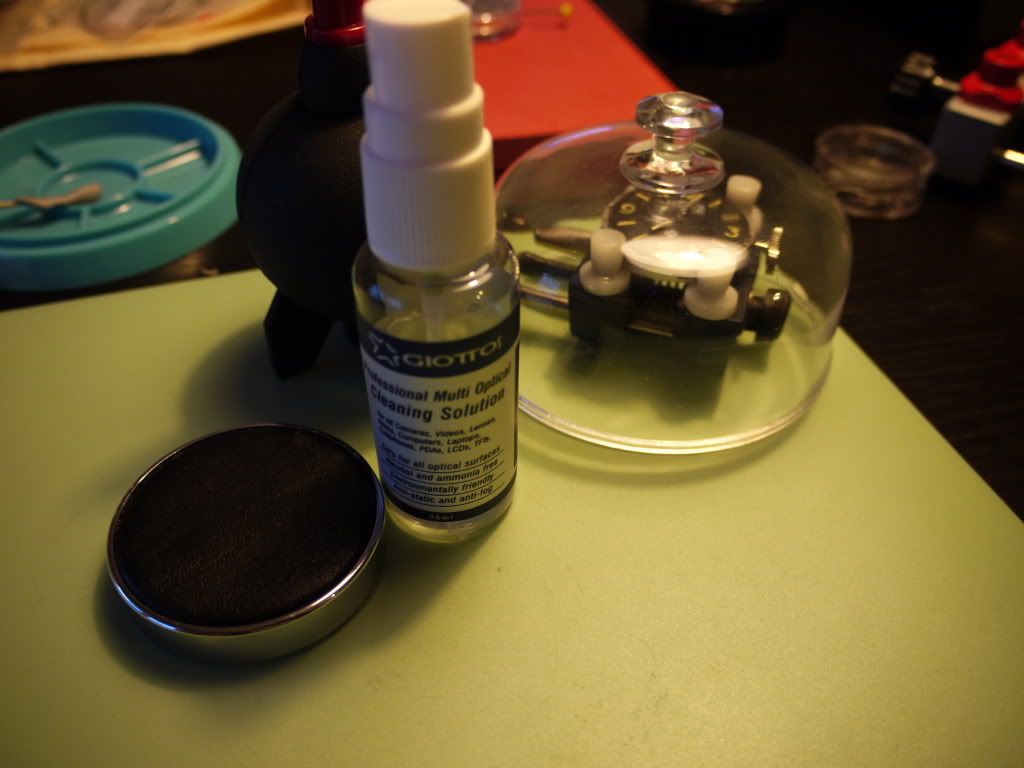
Now it is time to get the case out. Next step is to make sure the crystal is clean from fingerprints and dust. I use a set of products for cleaning camera lenses etc. and it works great on any glass surfaces:
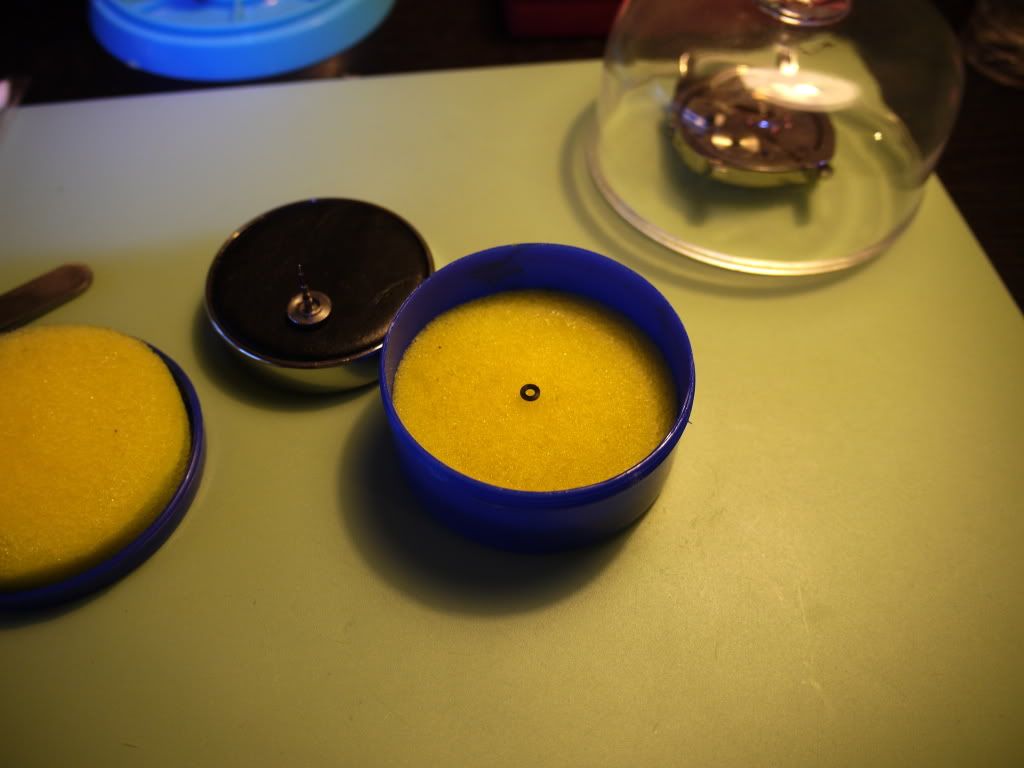
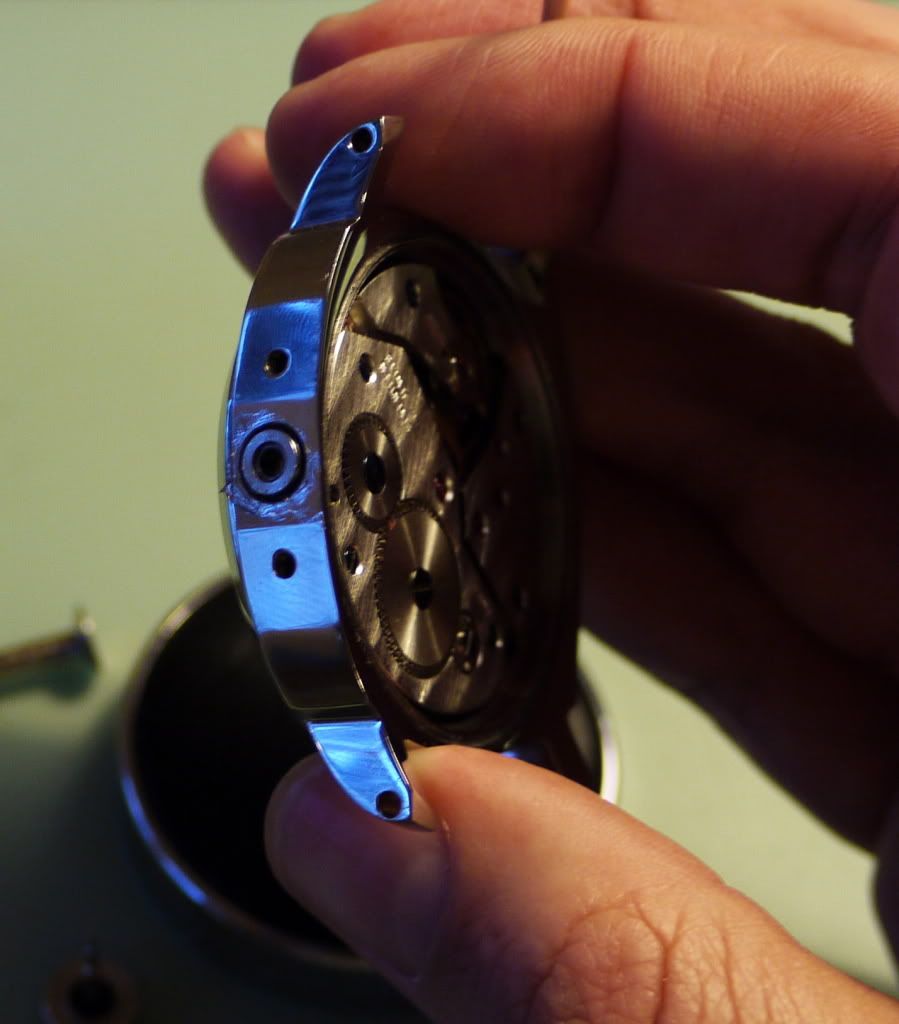
Now case is ready and I put it over the movement, then carefully flip it over, put it on a watch cushion and align the case and movement for stem installation.
Before I do that, I grease the gaskets on the crown and stem by using watch grease. Apply small amount to the tube as well (remove any excess with Rodico).
These are super important for waterproofing the case and knowing that my friend is an avid surfer, I am aiming at making this watch waterproof to at least 50meters... I will test it at my watchmakers studio on dry test equipment on Monday but I have assembled enough PAMs to know that if you follow these instructions and use good quality grease, you will get to 50meters without any issue :
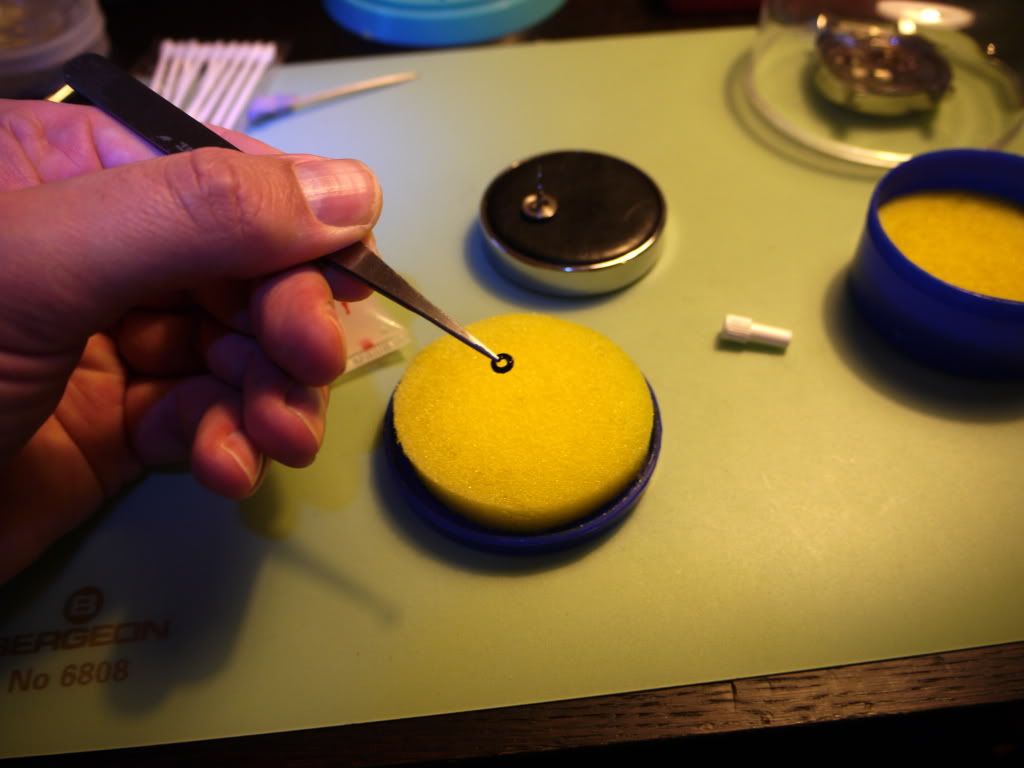
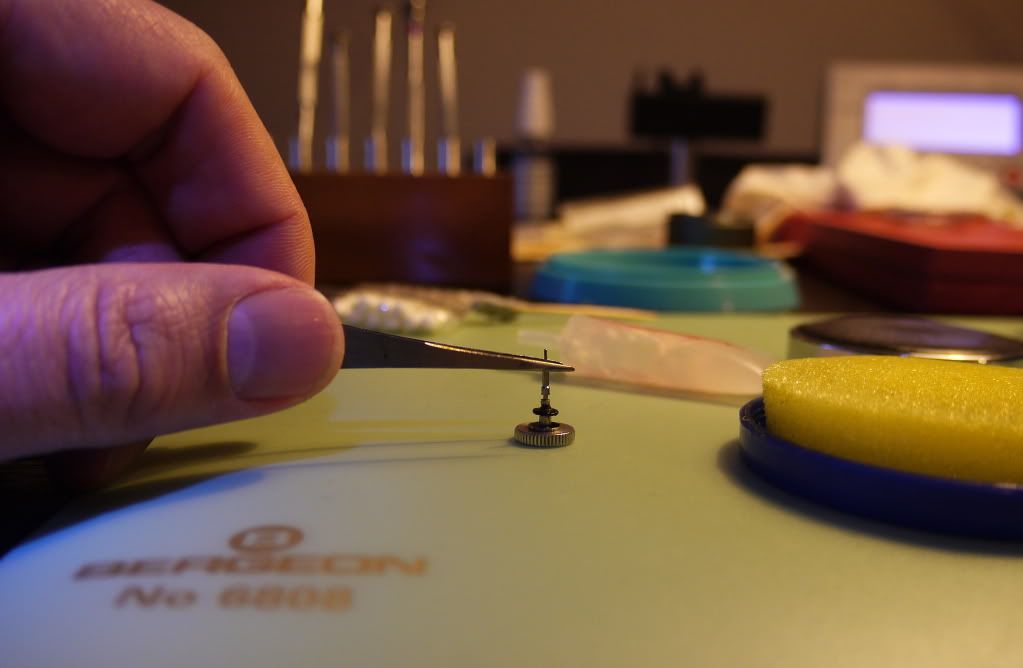
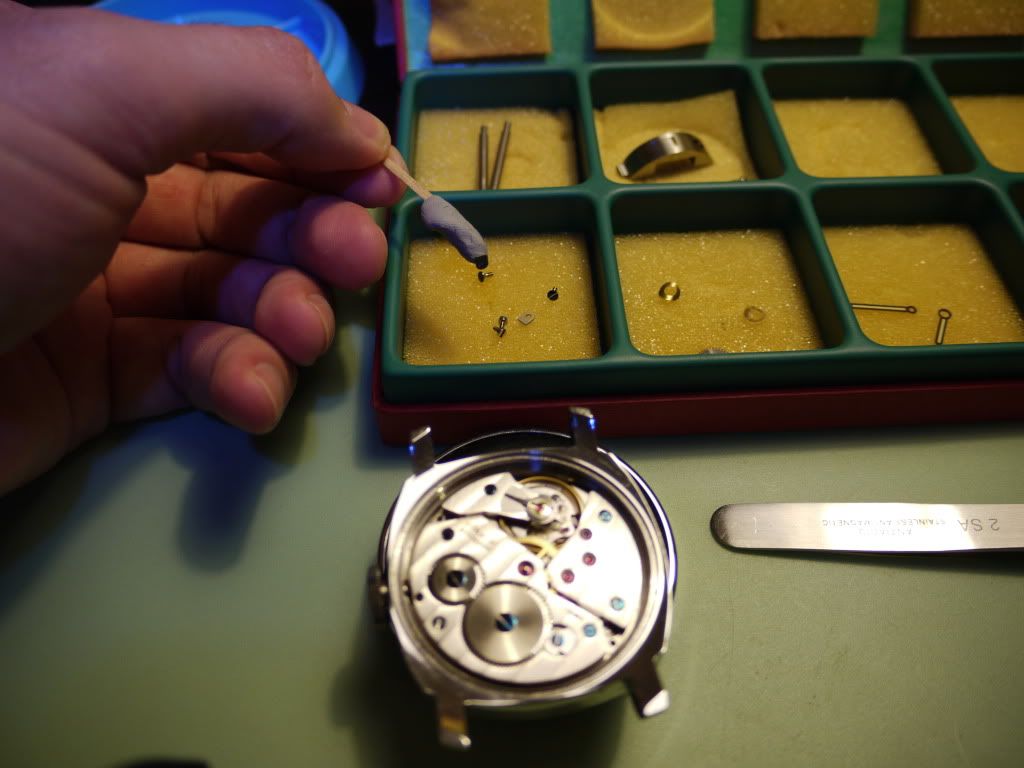
Now with the stem and tube greased, I install the stem and tighten the stem screw carefully to make sure it stays in place. I am now ready to secure the movement with the tabs and screws and this is a little fiddly and requires a bit of practice. I normally use Rodico on a toothpick to pick up and put tabs and screws in place and then secure the screws with a nice anti-magnetic screw driver.

I am now ready to test the watch on my timing machine and adjust the timekeeping if need be:
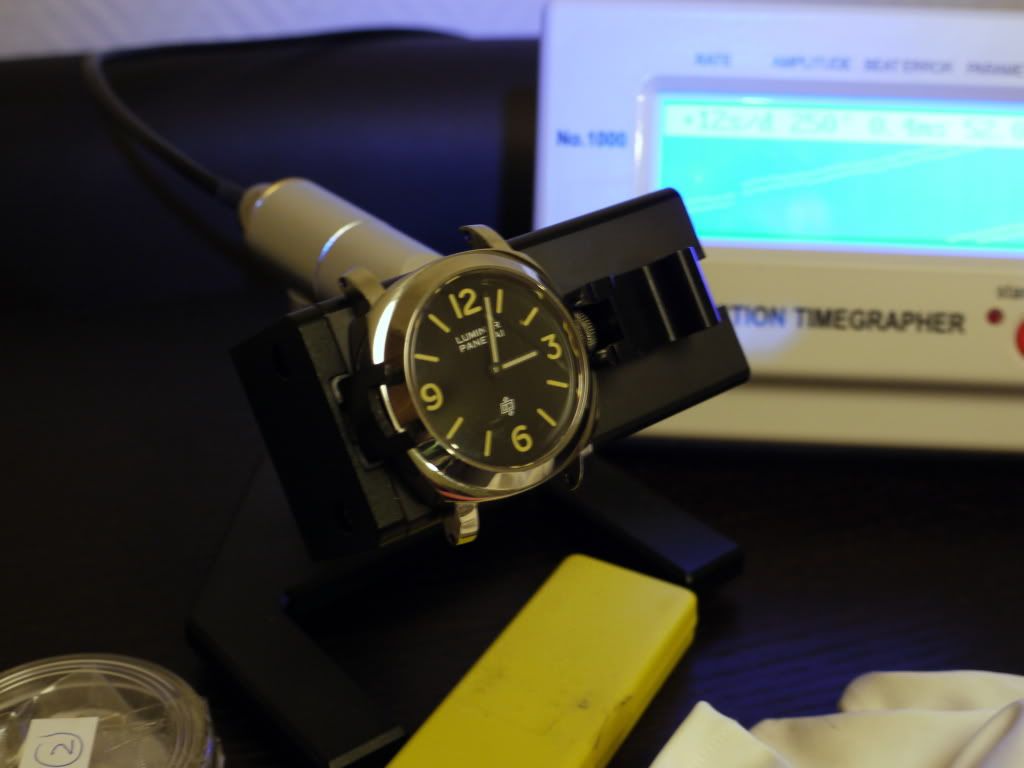
On first attempt, the movement reads as +12 sec. This is a mid-range version of the Unitas so while it is not COSC-graded, I am sure I can do a little better.
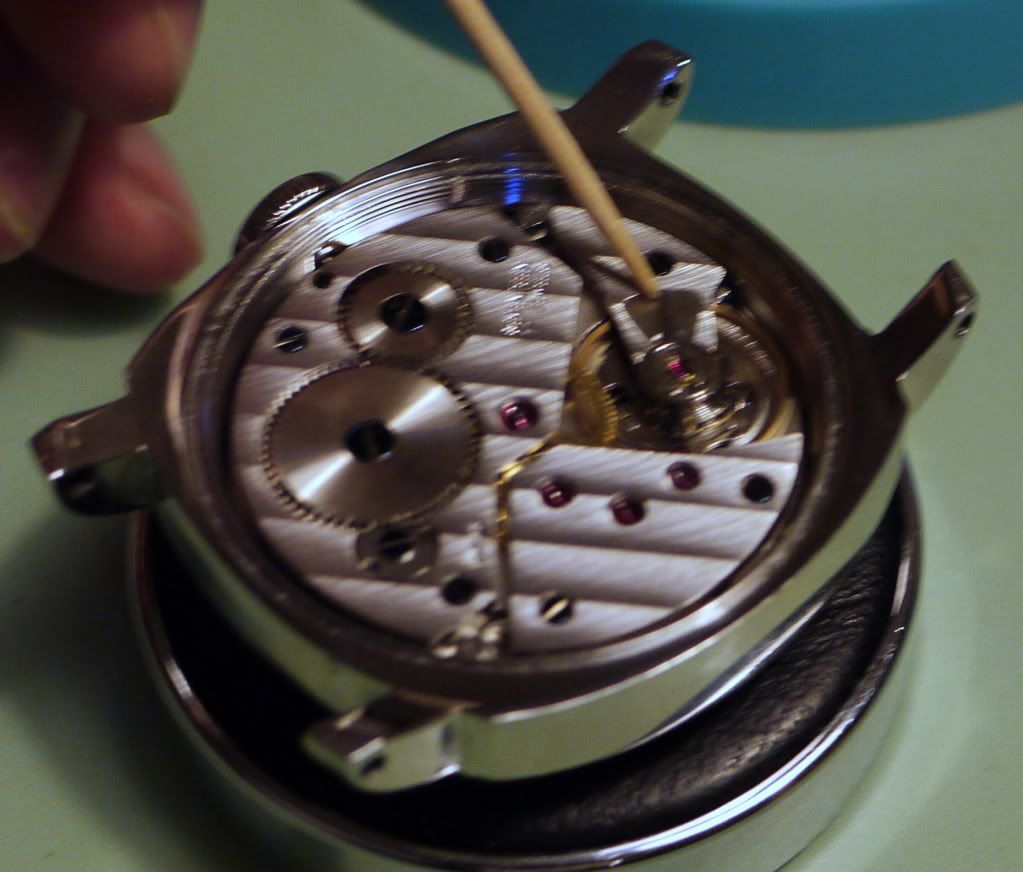
I adjust the regulator with a toothpick and after several attempts I achieve a very acceptable -1 sec a day.

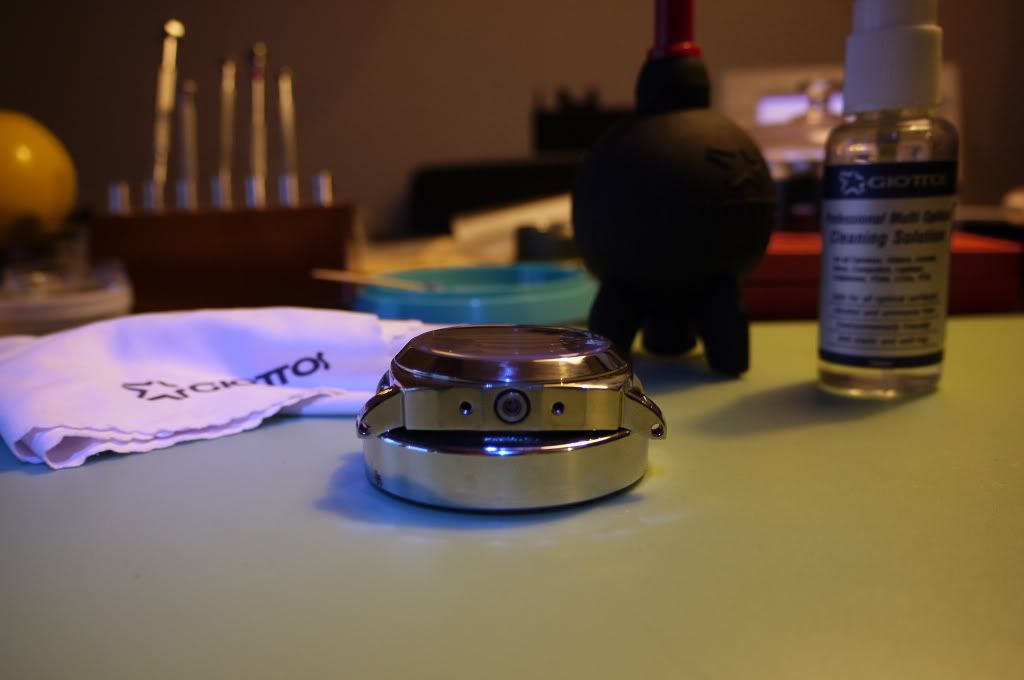
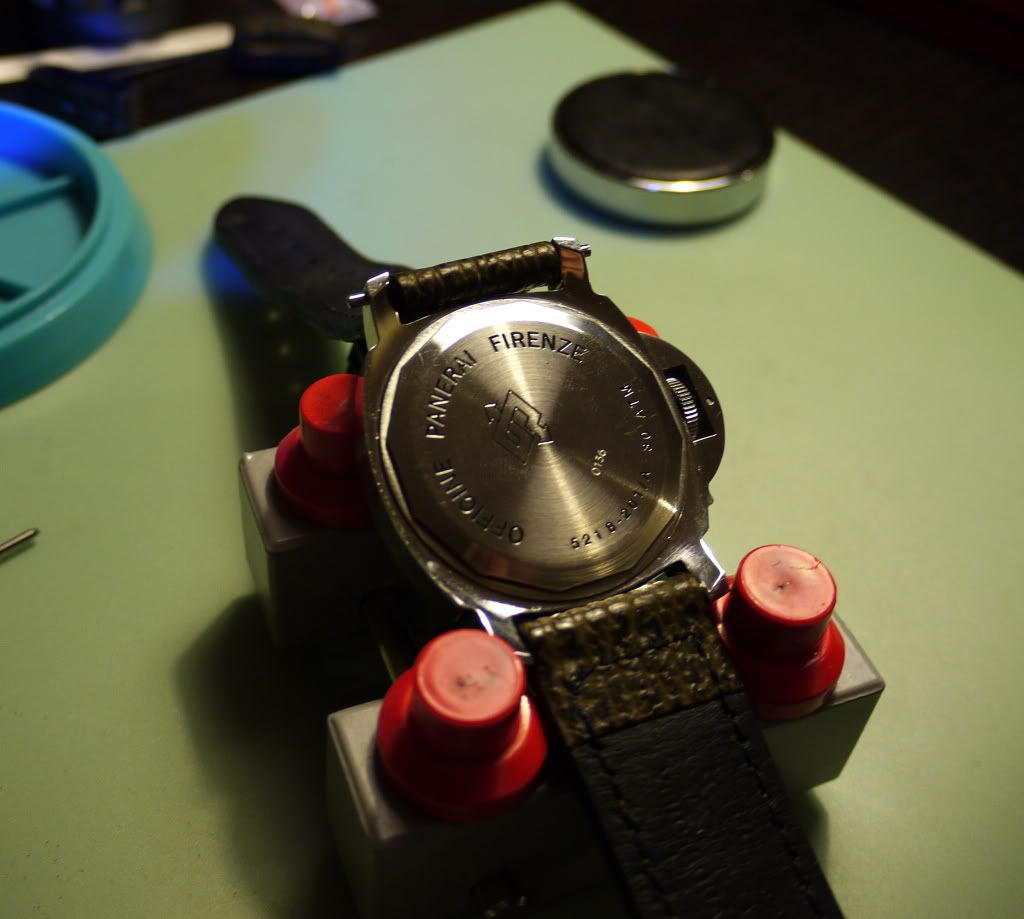
With that out of the way, I am now ready to seal the case by installing the nicely greased fat gasket and case-back:
A few puffs of air to remove any remaining dust particles and the case back goes in.
I tighten it with the tool just enough – just over do it, just go as far as you feel comfortable with:
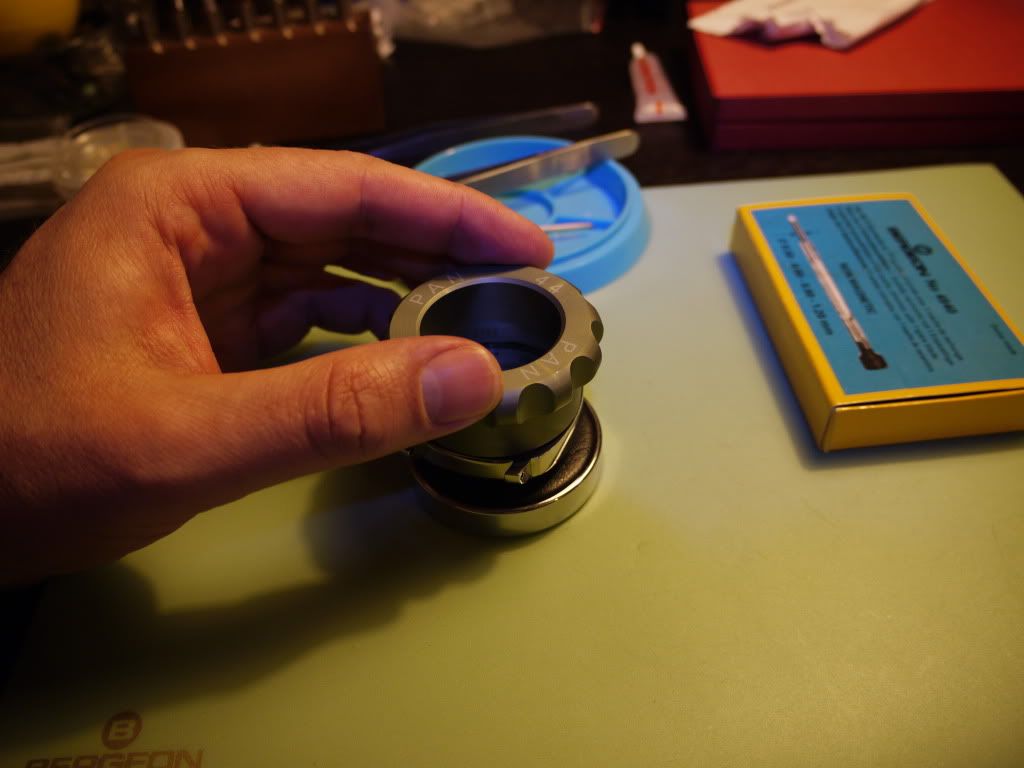
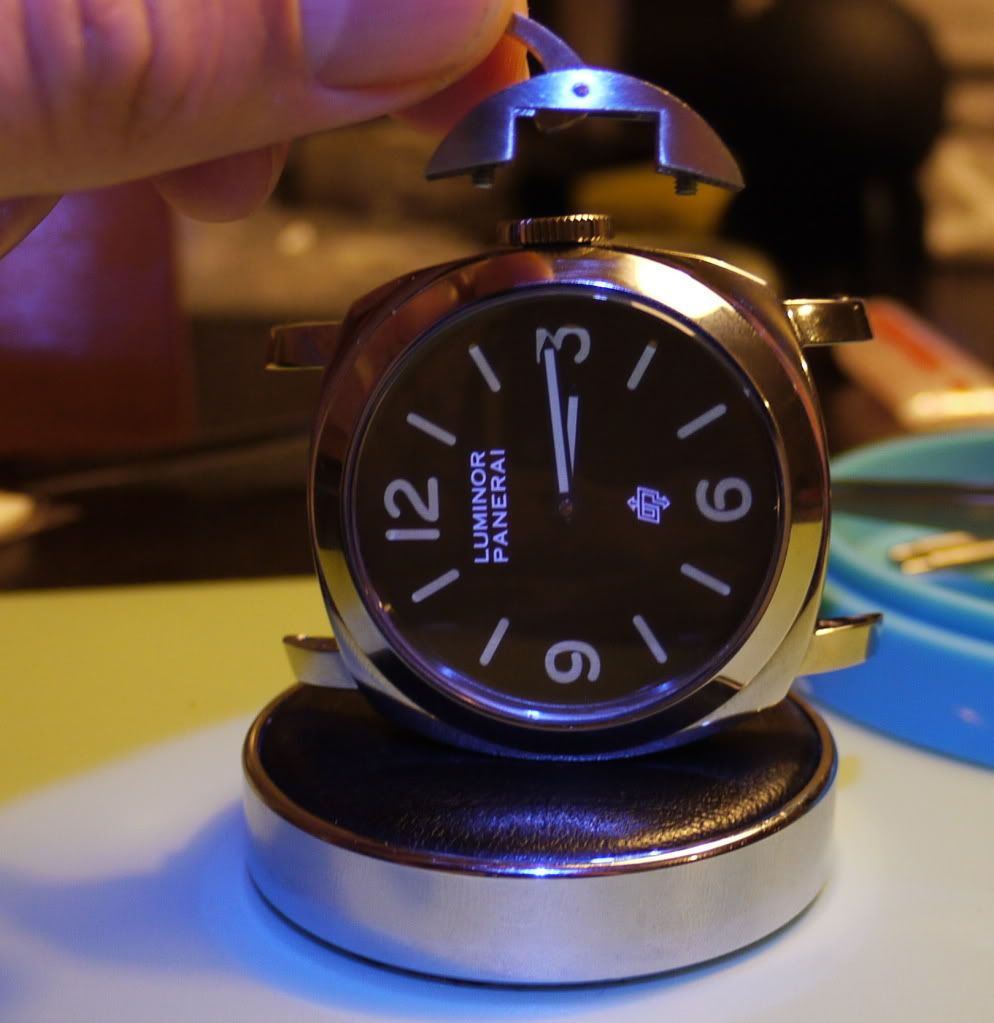
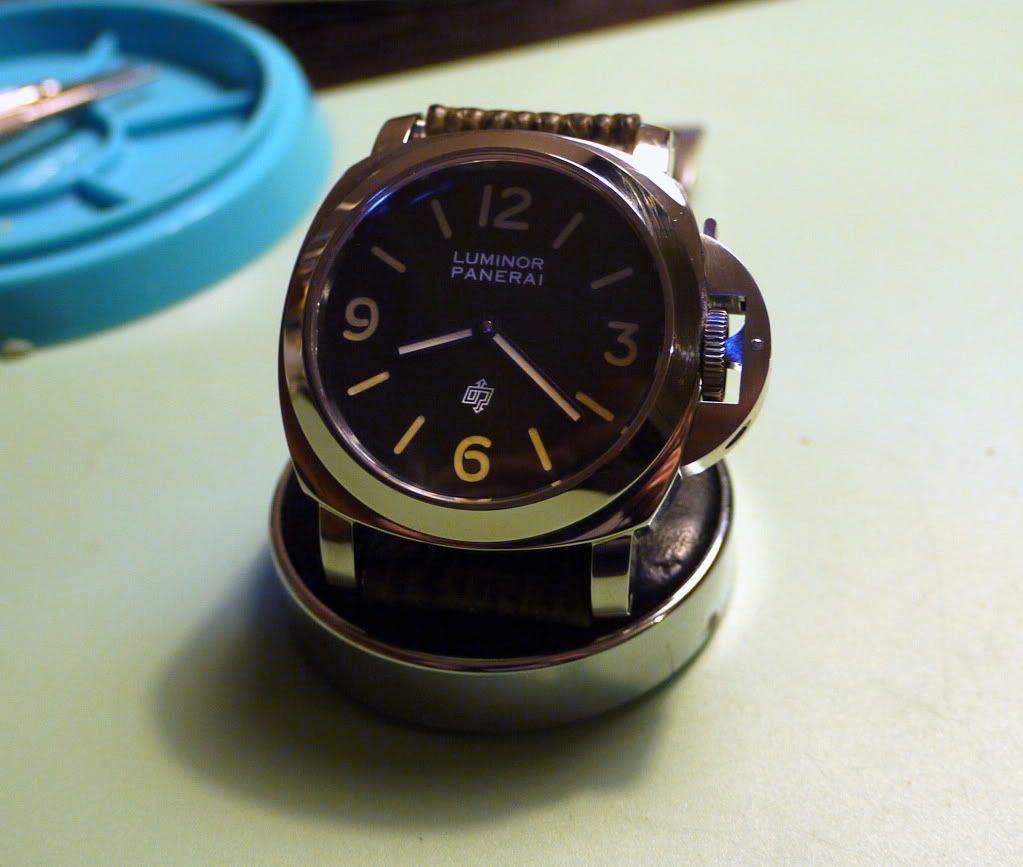
Next comes the CG, I worked the lever a bit to make it closing nice and tight. I applied a few drops of blue Loctite on the CG screws beforehand but forgot to take a photo of this step…I simply feel better knowing that Loctite will prevent the CG from getting loose, especially after exposing the watch to water and other elements:
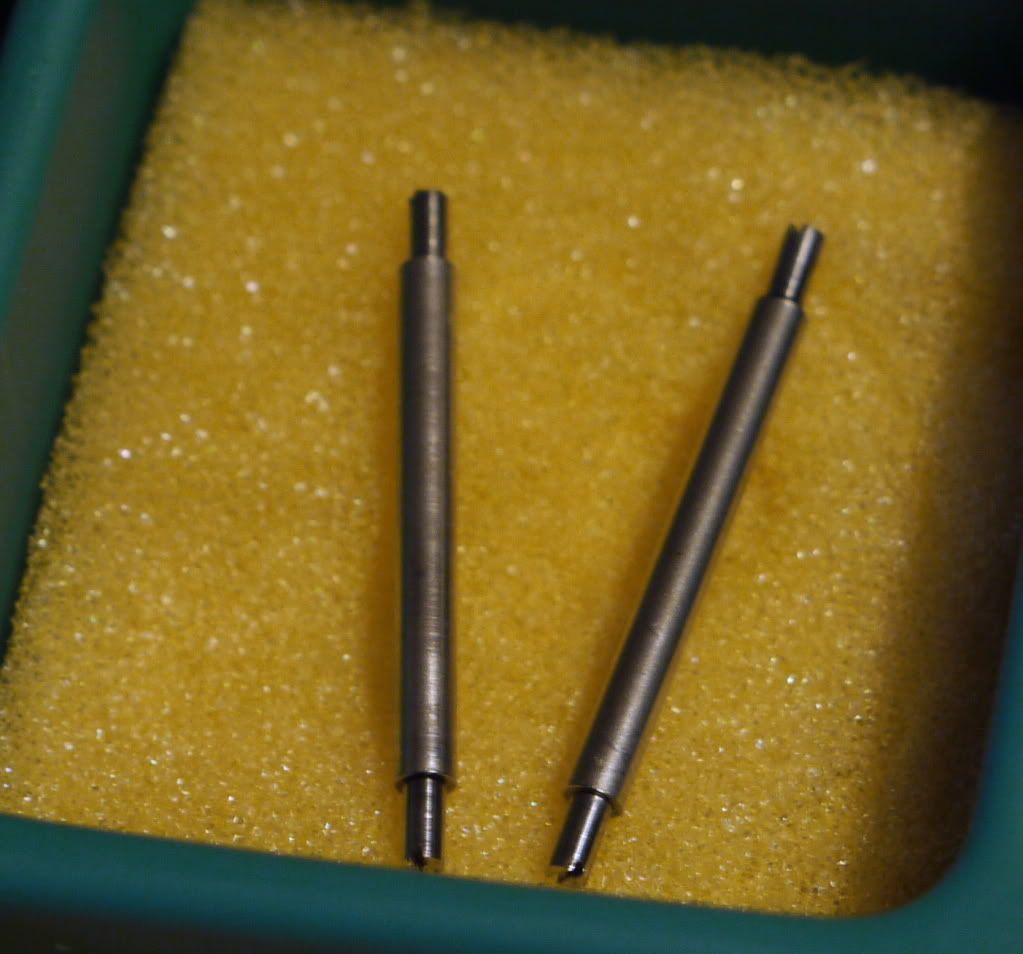
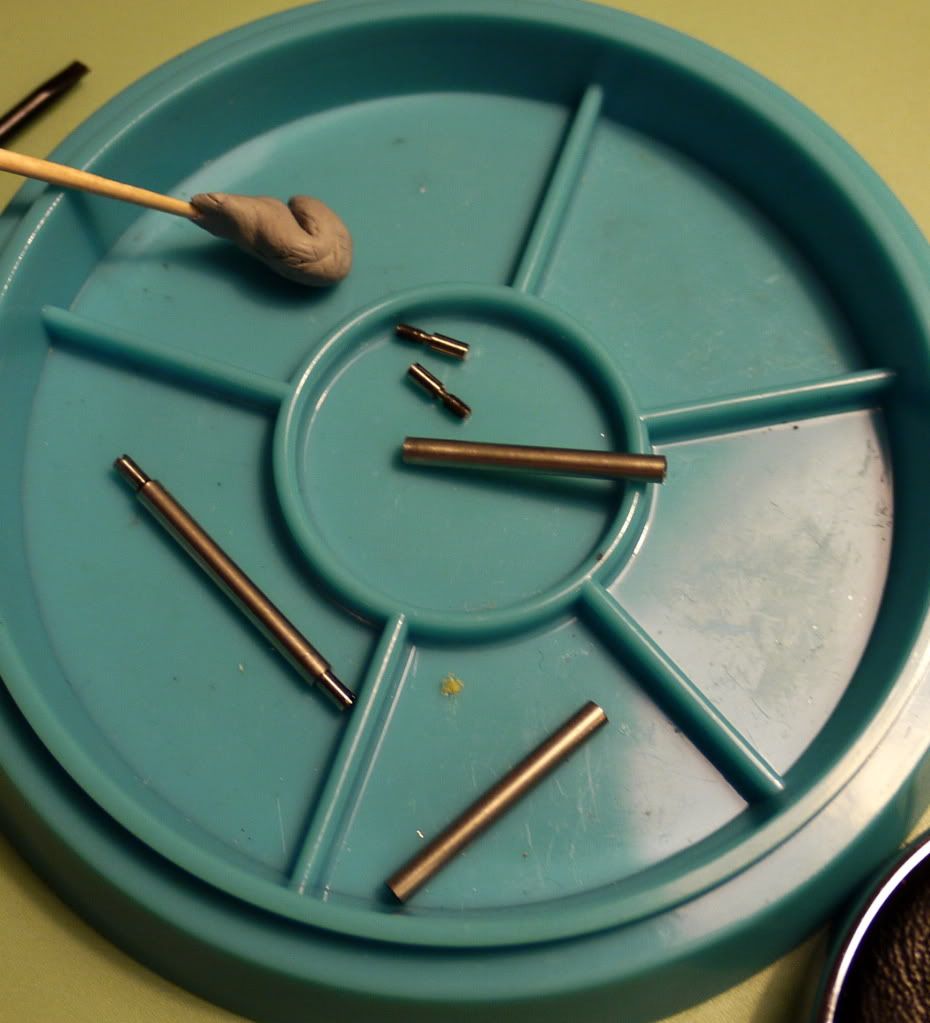
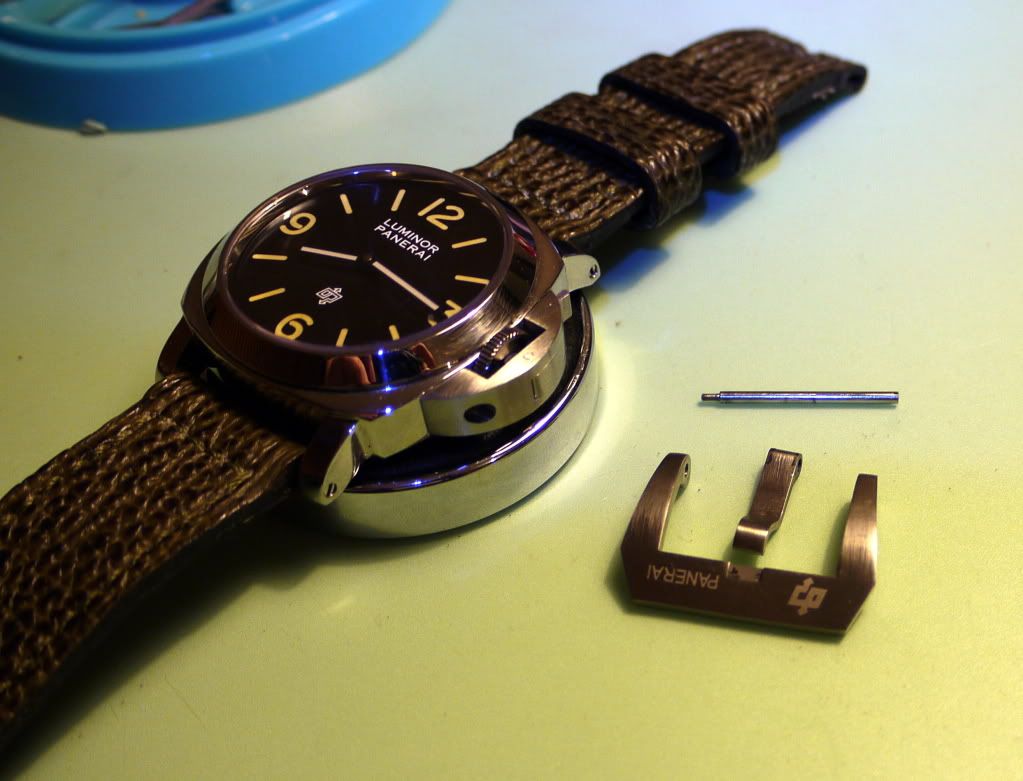
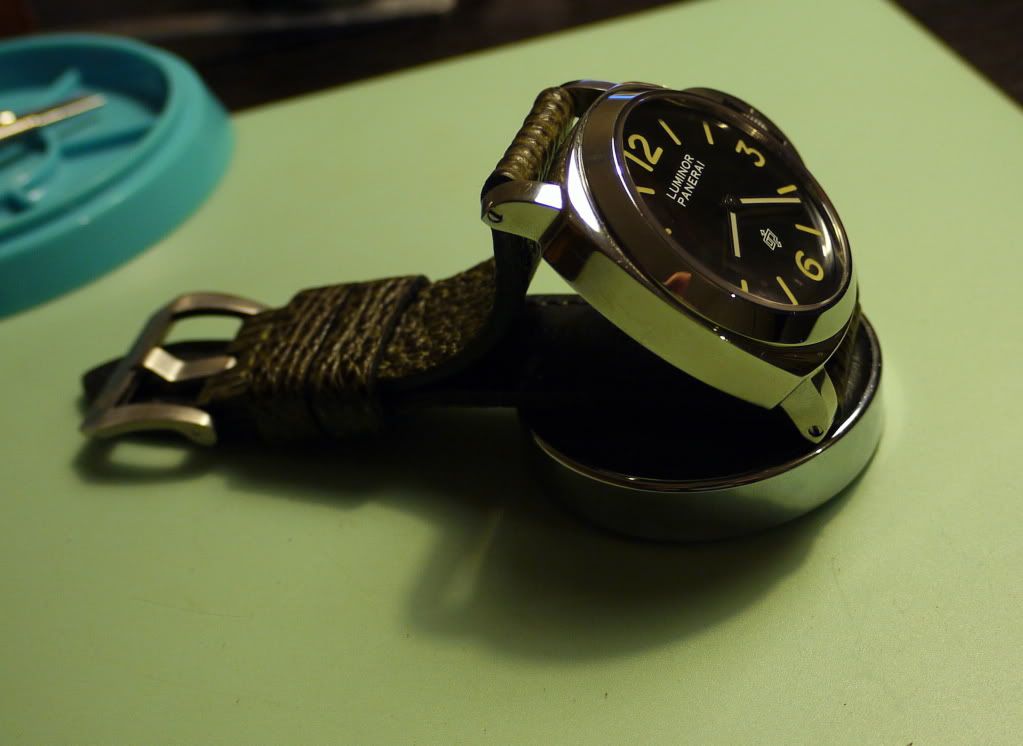
Now the last, and also somewhat tricky step – installing the strap. Pre-V screw bards are a royal pain in the bum to deal with and you need either a third-hand tool or a large caseholder and lot of patience. I don’t have the tool and prepare to use the caseholder and my patience to the full extend.
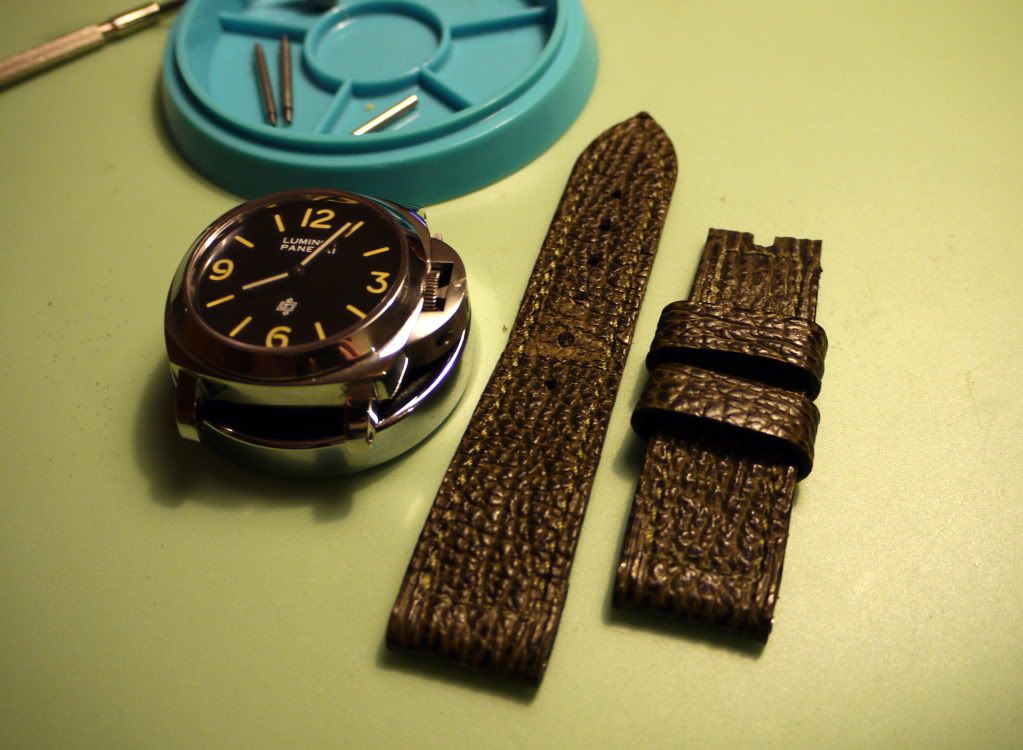
The strap is very lightly used, custom-made Dirk sharkskin made in Toscany by same supplier who used to work for Panerai in the early dayys before the Richemond takeover...and is of correct khaki color and very similar to those used on the original 201a:
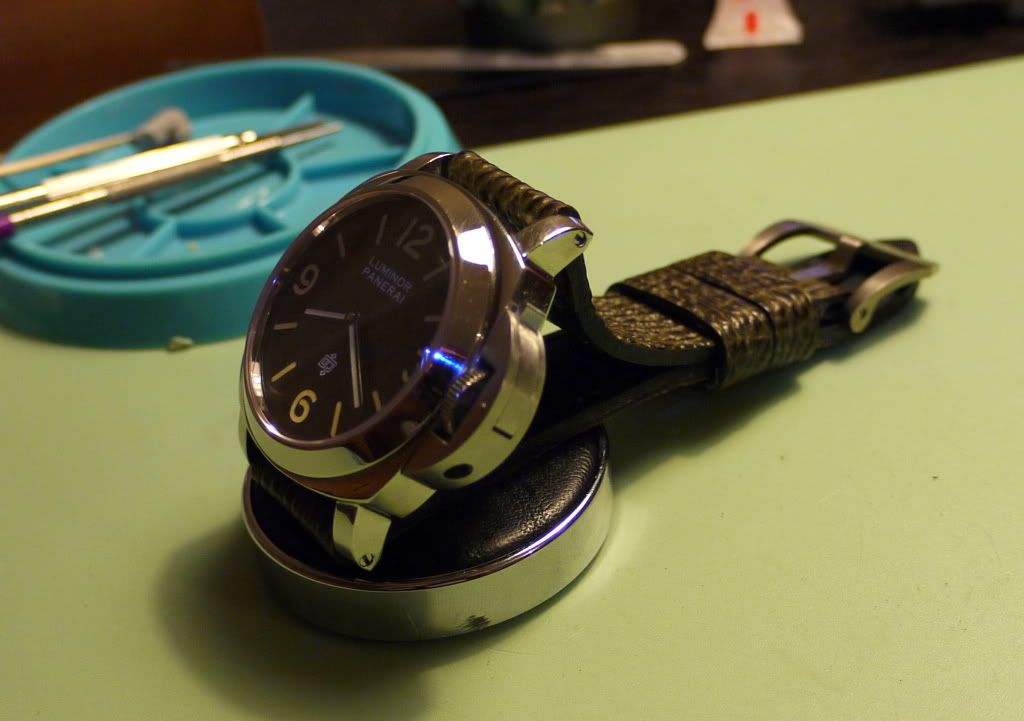
A few minutes later, the strap is on and I install a buckle:
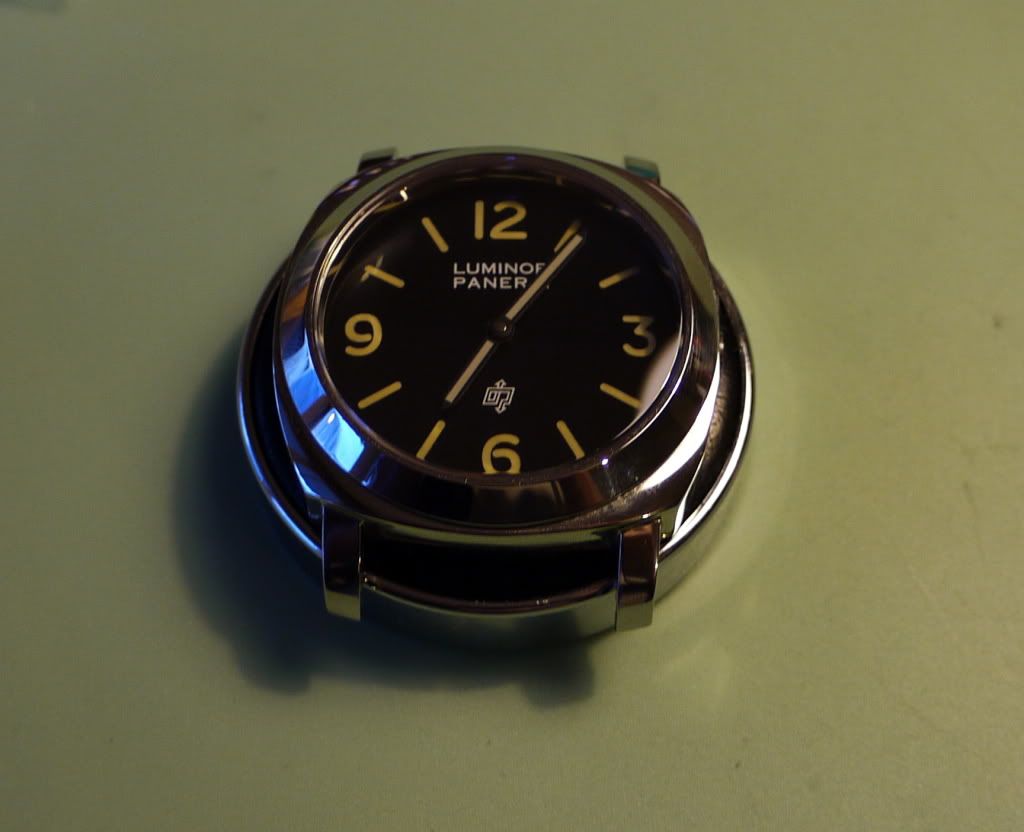
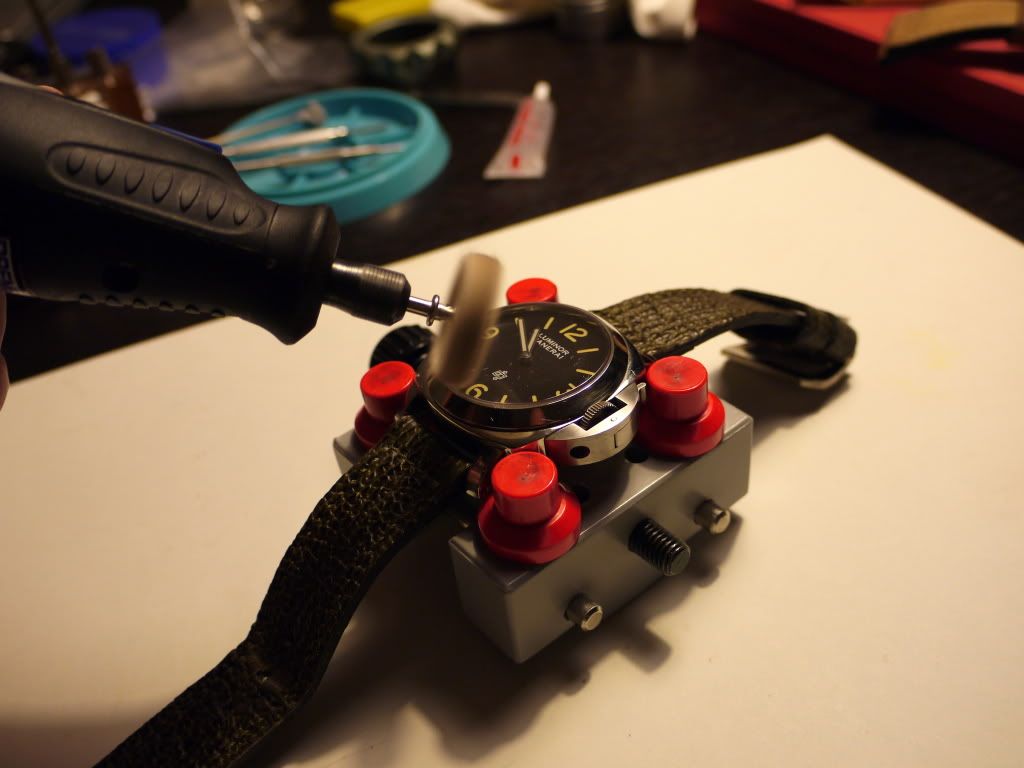
Upon final QC inspection, I am very happy with the result. I give the watch a quick polish with my Dremmel, just to remove the fingerprints and tiny nicks and scratches that I put on the case during the assembly.
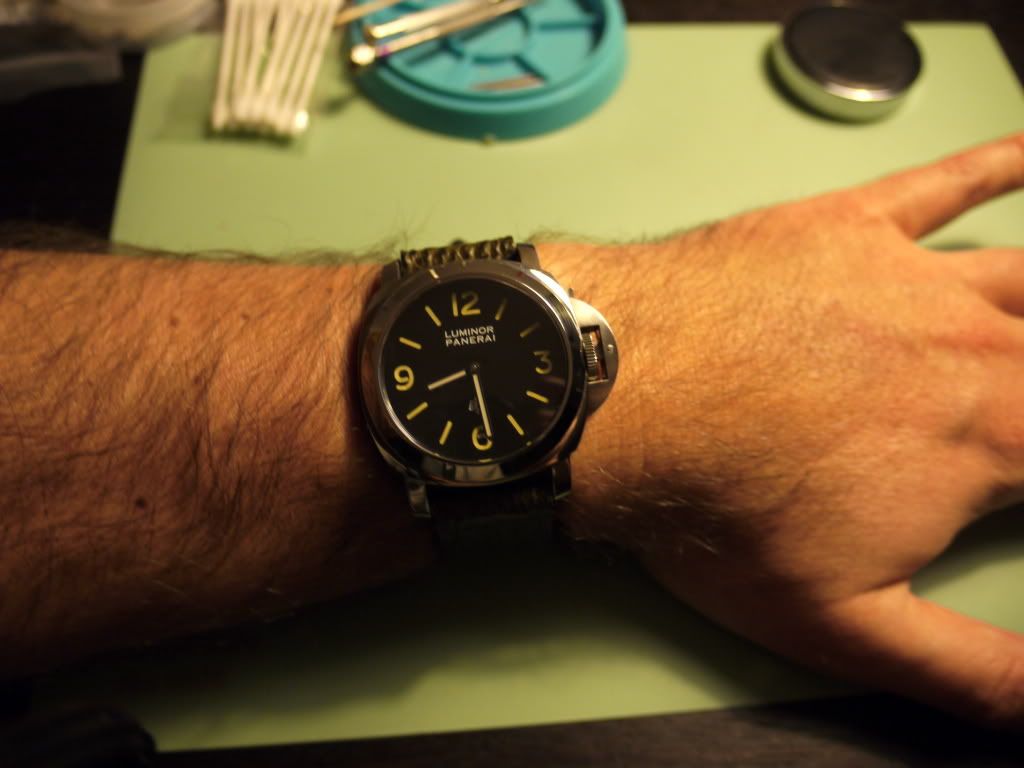
A quick wristie:
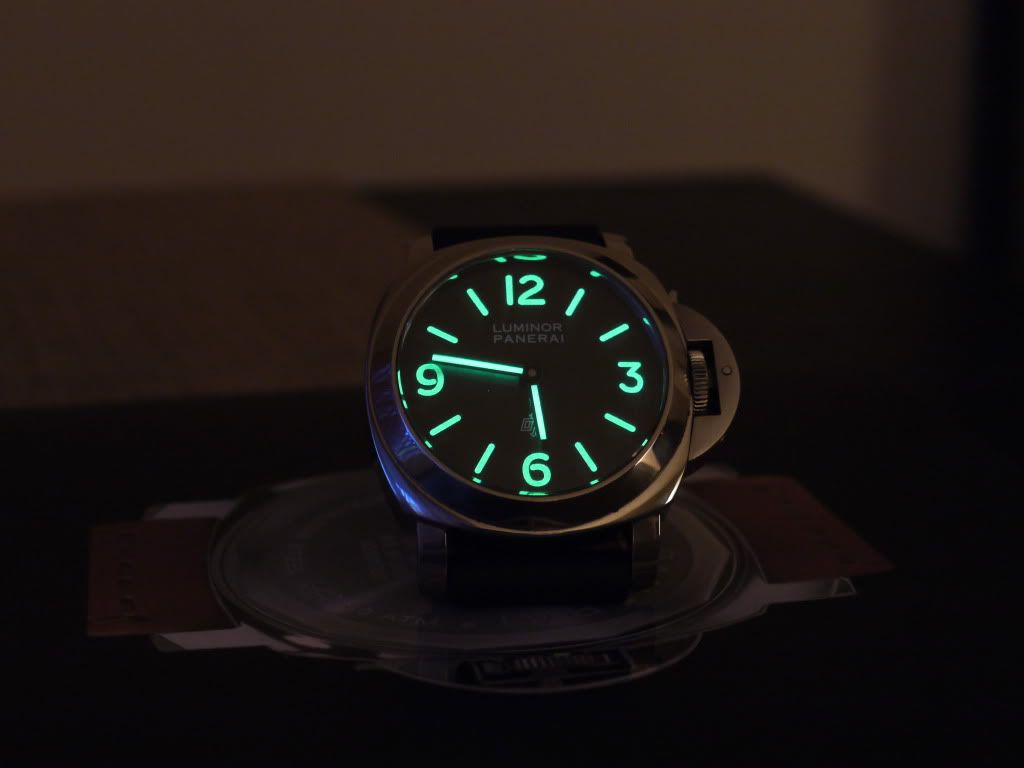
And a lume shot after 20 sec exposure– it glows fairly well in the begging, receding ever so slightly, correct to the tritium glow of a 20+ year old watch:
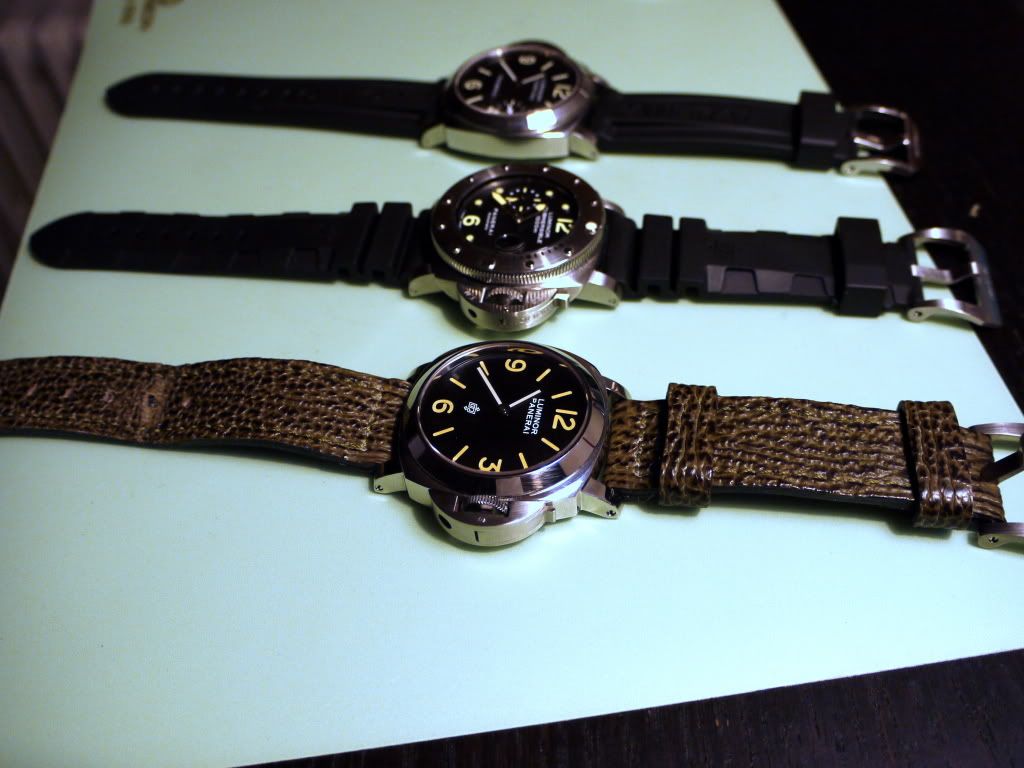
Group shot with my humble PAM collection (115 and 243):
I hope you enjoyed the pictorial…in a few days’ time, the watch will be on its way to Melbourne and I hope it will bring a smile on my friend's face and he will enjoy it for years to come.
korn
A quick pre-face:
I have an old friend who is a fellow watch enthusiast but with little discretionary funds due to a recent divorce and change of careers so he mostly collects Russian watches and has a few Seikos. He really likes my custom self-build PAM 201a and always complements it when he sees me wearing it. Last week I learned that he was diagnosed with a fairly serious condition which means he will only be able to work part-time for at least a year and most likely will need to go for a surgery in a few months’ time. Talk about a rough patch here.
Anyways, I have been lucky in life and I feel very sad for my friend. I offered him to help with hospital bills or living expenses (we live on different continents BTW and he is in Australia while I am currently in Europe) but he is too proud to accept this.So I decided to build him a high-spec 201A as a token of my appreciation of years of friendship. Last night I went through my parts watch-box and got all my parts ready for the build...and ta-da, I've gone on a building spree this afternoon and this is how this beauty was born after a couple of hours of work.
I decided to photograph the whole process as detailed as possible so I can share the journey with my friend…and then I figured why not to share it with all of your guys as well, who knows, may be some of you will find it educational and it will encourage you to take first steps towards learning about basic watchmaking and tinkering with your watches. As a full disclosure, I must say that I am no watchmaker and started in this hobby two years back and all my knowledge comes from the various watch fora where I learn from threads just like this one. I invested in semi decent tools, got myself a book or two and this become one of my favorite past times.
So take this pictorial as a guide but follow it on your risk if you choose to.
Well, without further ado, let’s get started:
Here are all the parts needs for this build:
- Decorated Swiss 6497 low beat
- Modded 111J case with re-shaped lugs drilled for pre-V screw-in bars and C3 crystal
- DSN pre-V CG, modded to fit the case
- FDG dial and hands, lumed in tritium color to look slightly non-matching
- DSN caseback
Starting on the movement – install hour wheel and washer
Next I install the dial – don’t forget to tighten the screws on the back side of the movement to fix the dial feet in place
However hard you try, you will leave fingerprints all over the dial, so make sre to clean it with a decent chunk of Rodico – I use the premium version of it and it is a must have!
Now off to installing hands – I use proper Swiss-made AF hand pressers, they are extremely well made and don’t leave scratches on even most delicate hands (such as rep stuff
:
With both hands installed, make sure they align against the markers – I use a toothpick to adjust if need be. Give it a few turns back and forth and watch for clearance between the hands to make sure they move freely and don’t touch when overlapping.
Once I am happy with the hands, I give a few puffs of air pump to remove dust particles from the dial and hands, cover and put it away.
Now it is time to get the case out. Next step is to make sure the crystal is clean from fingerprints and dust. I use a set of products for cleaning camera lenses etc. and it works great on any glass surfaces:
Now case is ready and I put it over the movement, then carefully flip it over, put it on a watch cushion and align the case and movement for stem installation.
Before I do that, I grease the gaskets on the crown and stem by using watch grease. Apply small amount to the tube as well (remove any excess with Rodico).
These are super important for waterproofing the case and knowing that my friend is an avid surfer, I am aiming at making this watch waterproof to at least 50meters... I will test it at my watchmakers studio on dry test equipment on Monday but I have assembled enough PAMs to know that if you follow these instructions and use good quality grease, you will get to 50meters without any issue :
Now with the stem and tube greased, I install the stem and tighten the stem screw carefully to make sure it stays in place. I am now ready to secure the movement with the tabs and screws and this is a little fiddly and requires a bit of practice. I normally use Rodico on a toothpick to pick up and put tabs and screws in place and then secure the screws with a nice anti-magnetic screw driver.
I am now ready to test the watch on my timing machine and adjust the timekeeping if need be:
On first attempt, the movement reads as +12 sec. This is a mid-range version of the Unitas so while it is not COSC-graded, I am sure I can do a little better.
I adjust the regulator with a toothpick and after several attempts I achieve a very acceptable -1 sec a day.
With that out of the way, I am now ready to seal the case by installing the nicely greased fat gasket and case-back:
A few puffs of air to remove any remaining dust particles and the case back goes in.
I tighten it with the tool just enough – just over do it, just go as far as you feel comfortable with:
Next comes the CG, I worked the lever a bit to make it closing nice and tight. I applied a few drops of blue Loctite on the CG screws beforehand but forgot to take a photo of this step…I simply feel better knowing that Loctite will prevent the CG from getting loose, especially after exposing the watch to water and other elements:
Now the last, and also somewhat tricky step – installing the strap. Pre-V screw bards are a royal pain in the bum to deal with and you need either a third-hand tool or a large caseholder and lot of patience. I don’t have the tool and prepare to use the caseholder and my patience to the full extend.
The strap is very lightly used, custom-made Dirk sharkskin made in Toscany by same supplier who used to work for Panerai in the early dayys before the Richemond takeover...and is of correct khaki color and very similar to those used on the original 201a:
A few minutes later, the strap is on and I install a buckle:
Upon final QC inspection, I am very happy with the result. I give the watch a quick polish with my Dremmel, just to remove the fingerprints and tiny nicks and scratches that I put on the case during the assembly.
A quick wristie:
And a lume shot after 20 sec exposure– it glows fairly well in the begging, receding ever so slightly, correct to the tritium glow of a 20+ year old watch:
Group shot with my humble PAM collection (115 and 243):
I hope you enjoyed the pictorial…in a few days’ time, the watch will be on its way to Melbourne and I hope it will bring a smile on my friend's face and he will enjoy it for years to come.
korn