- 15/9/17
- 42
- 34
- 18
Hi folks,
This is a repost from RWG. I would have posted it here earlier but my account was just restored. Anyway -
I would like to offer a special thanks toBart CordellandNCRichor providing me with all the measurements and moral support that I needed to complete this project.
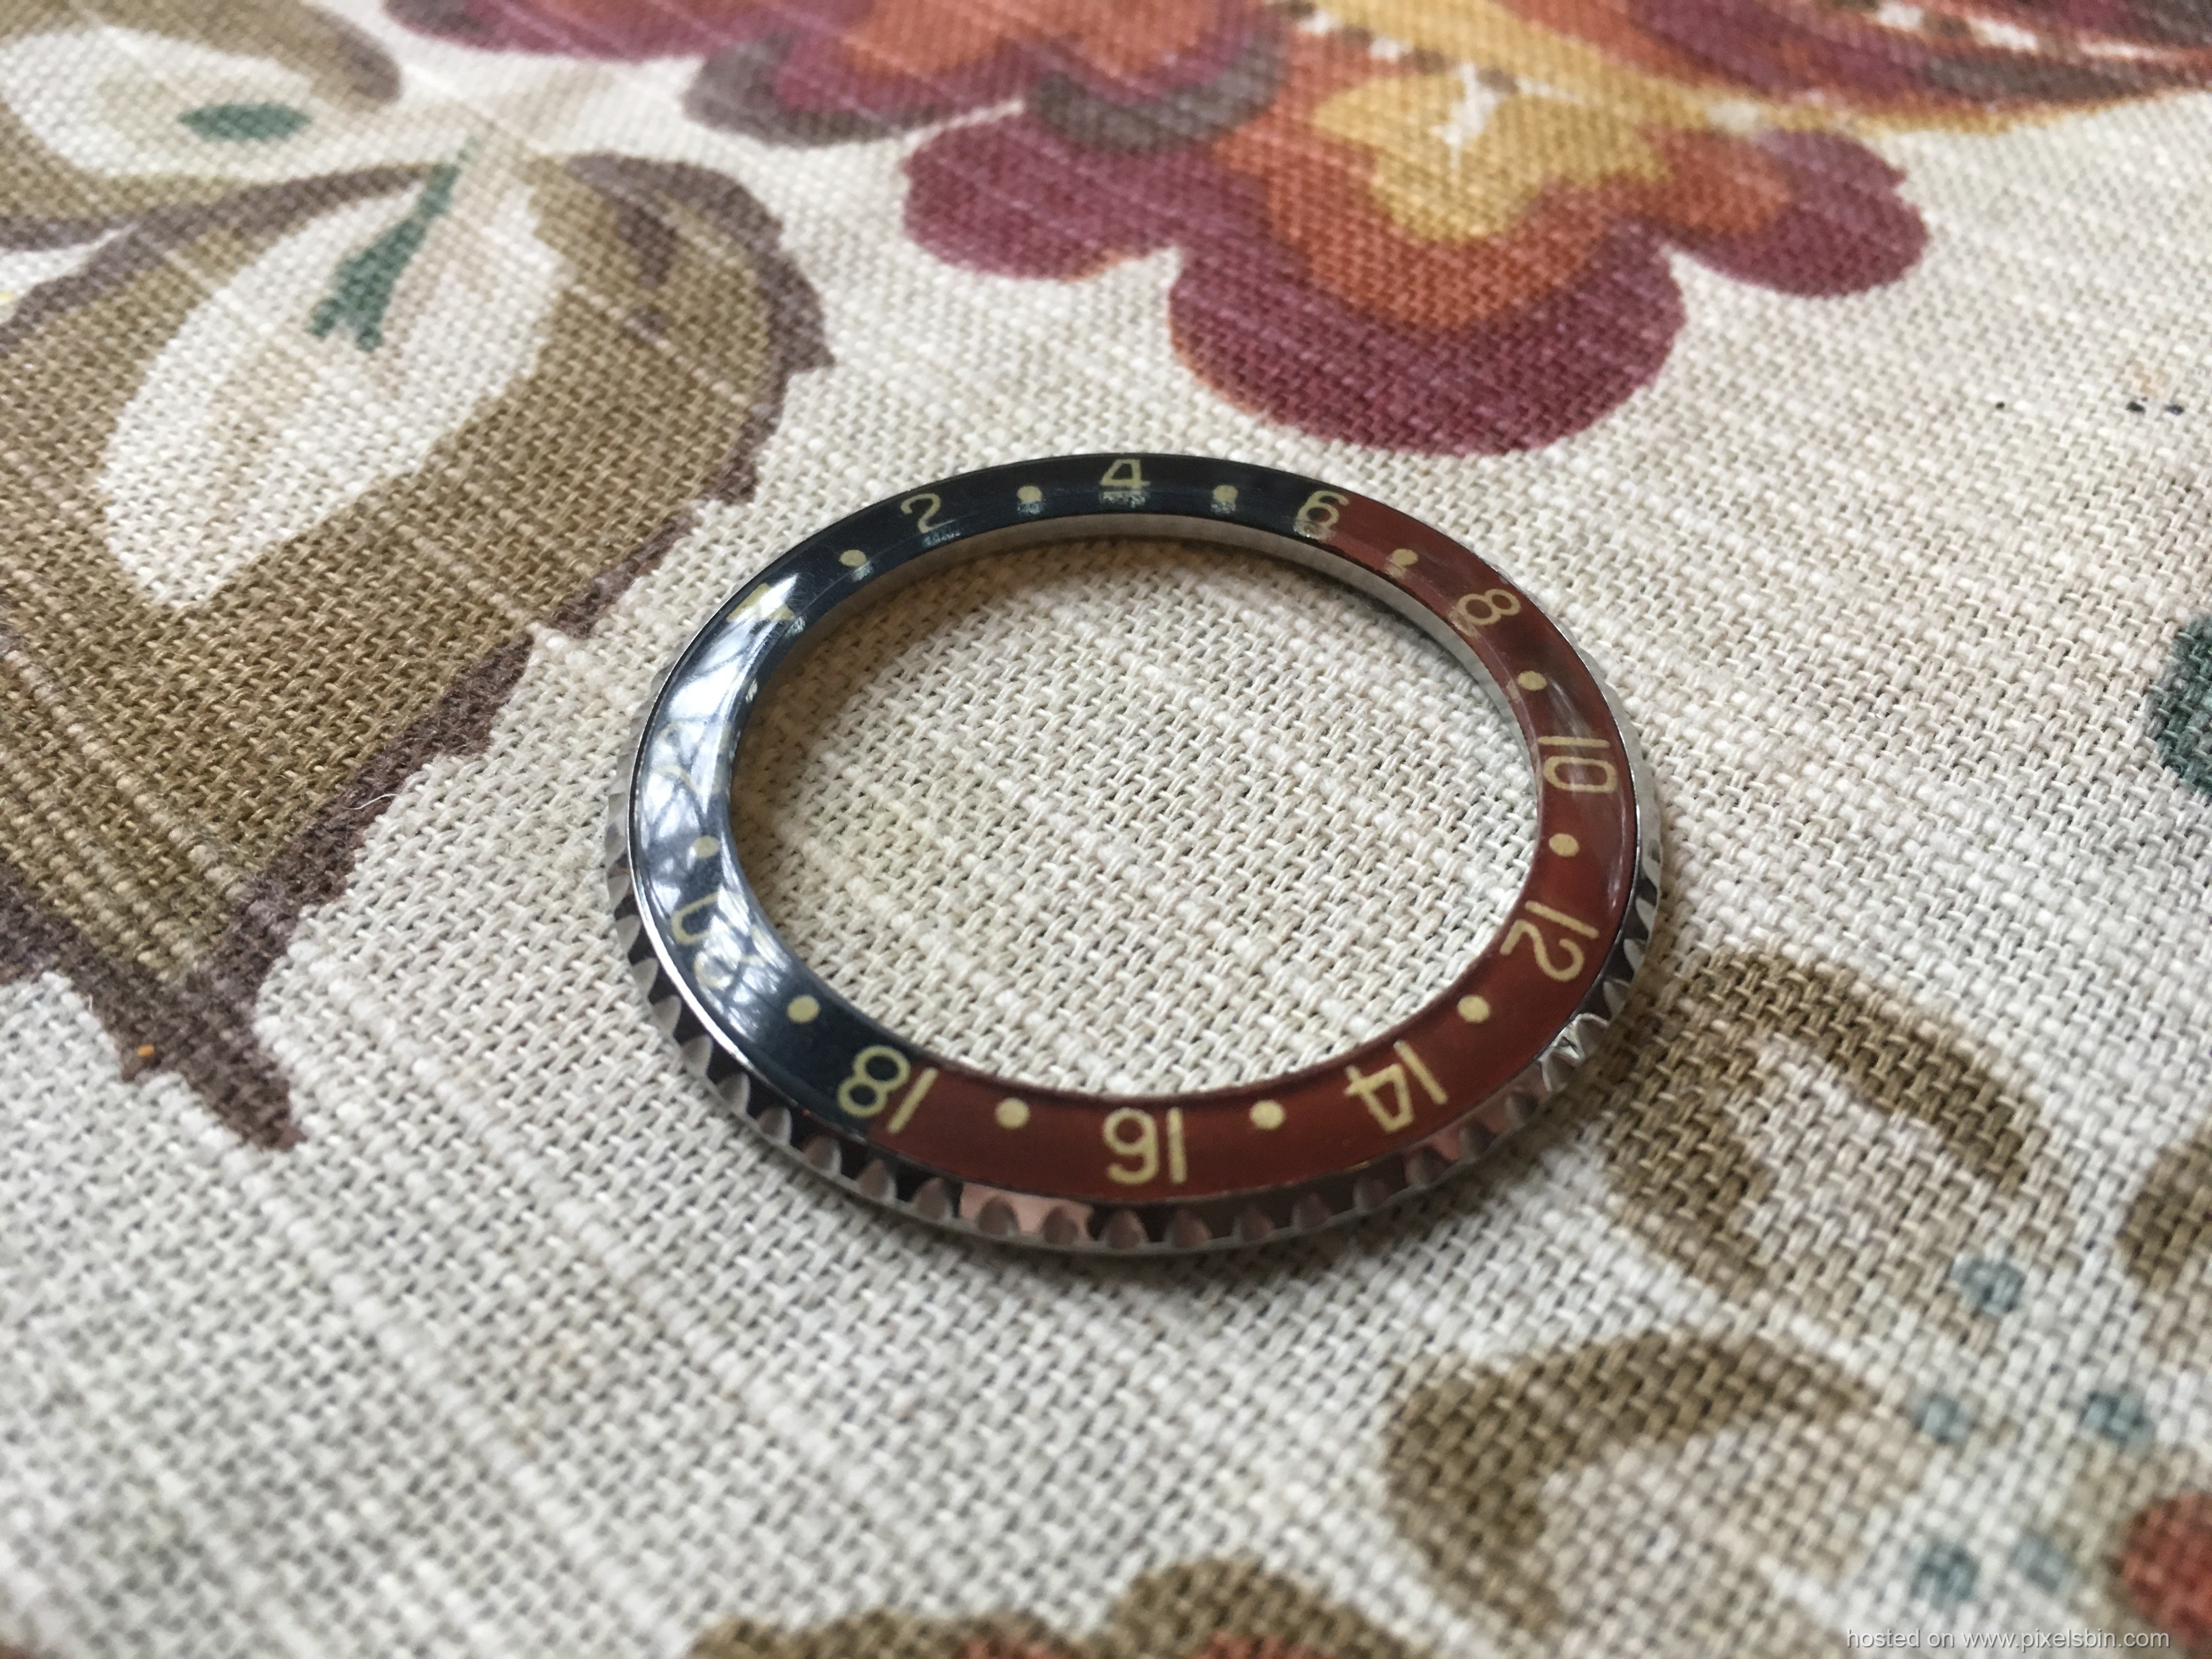
For the past few months I've been working on a project that I'm sure many vintage watch enthusiasts have considered embarking on themselves - creating a bakelite bezel insert for the 6542. This all started off because A) I thought these inserts were beautiful and B) I wanted to create an affordable alternative to the $250-500 Vietnam inserts. After many months of struggling with seemingly every little task, I finally managed to get a decent end product. So, before I spoil you with pictures....how did I do it?
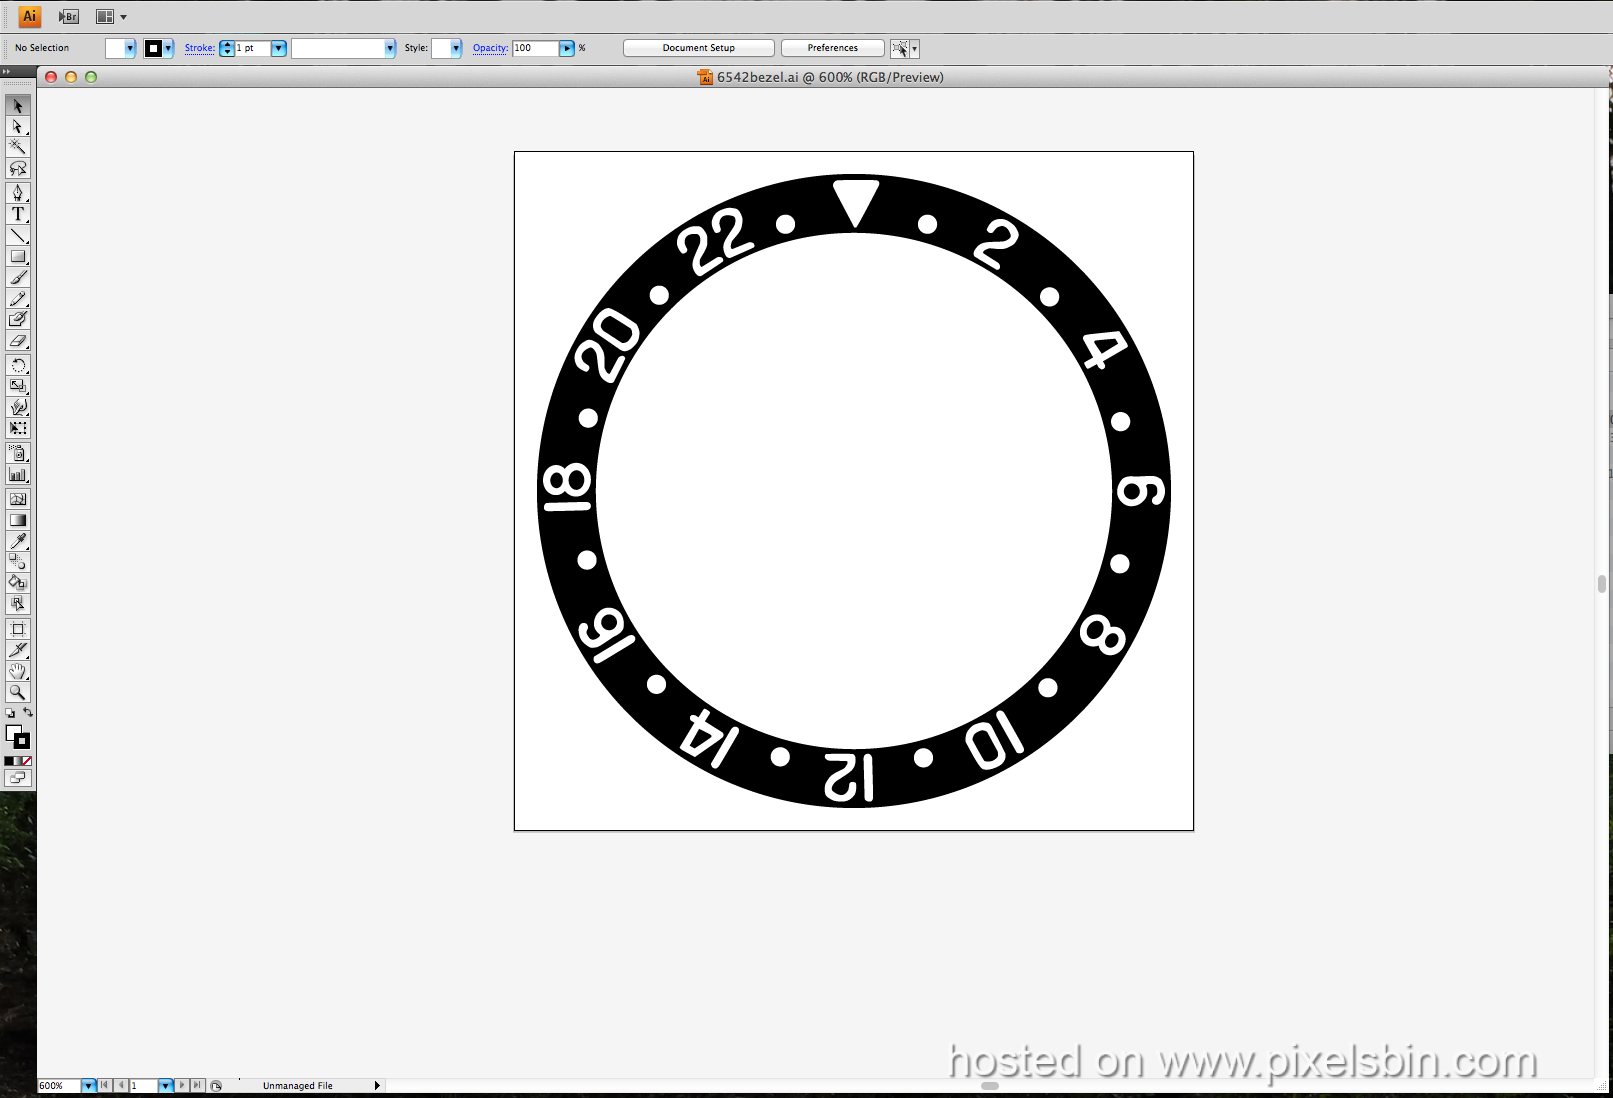
Well, first off I decided that the easiest way to do this damn thing would be with 3D printing, as I am familiar with AutoCAD. So I downloaded as many reference photos I could find of original bakelite inserts, threw them into Adobe Illustrator and began making a pattern that I would later import into CAD.
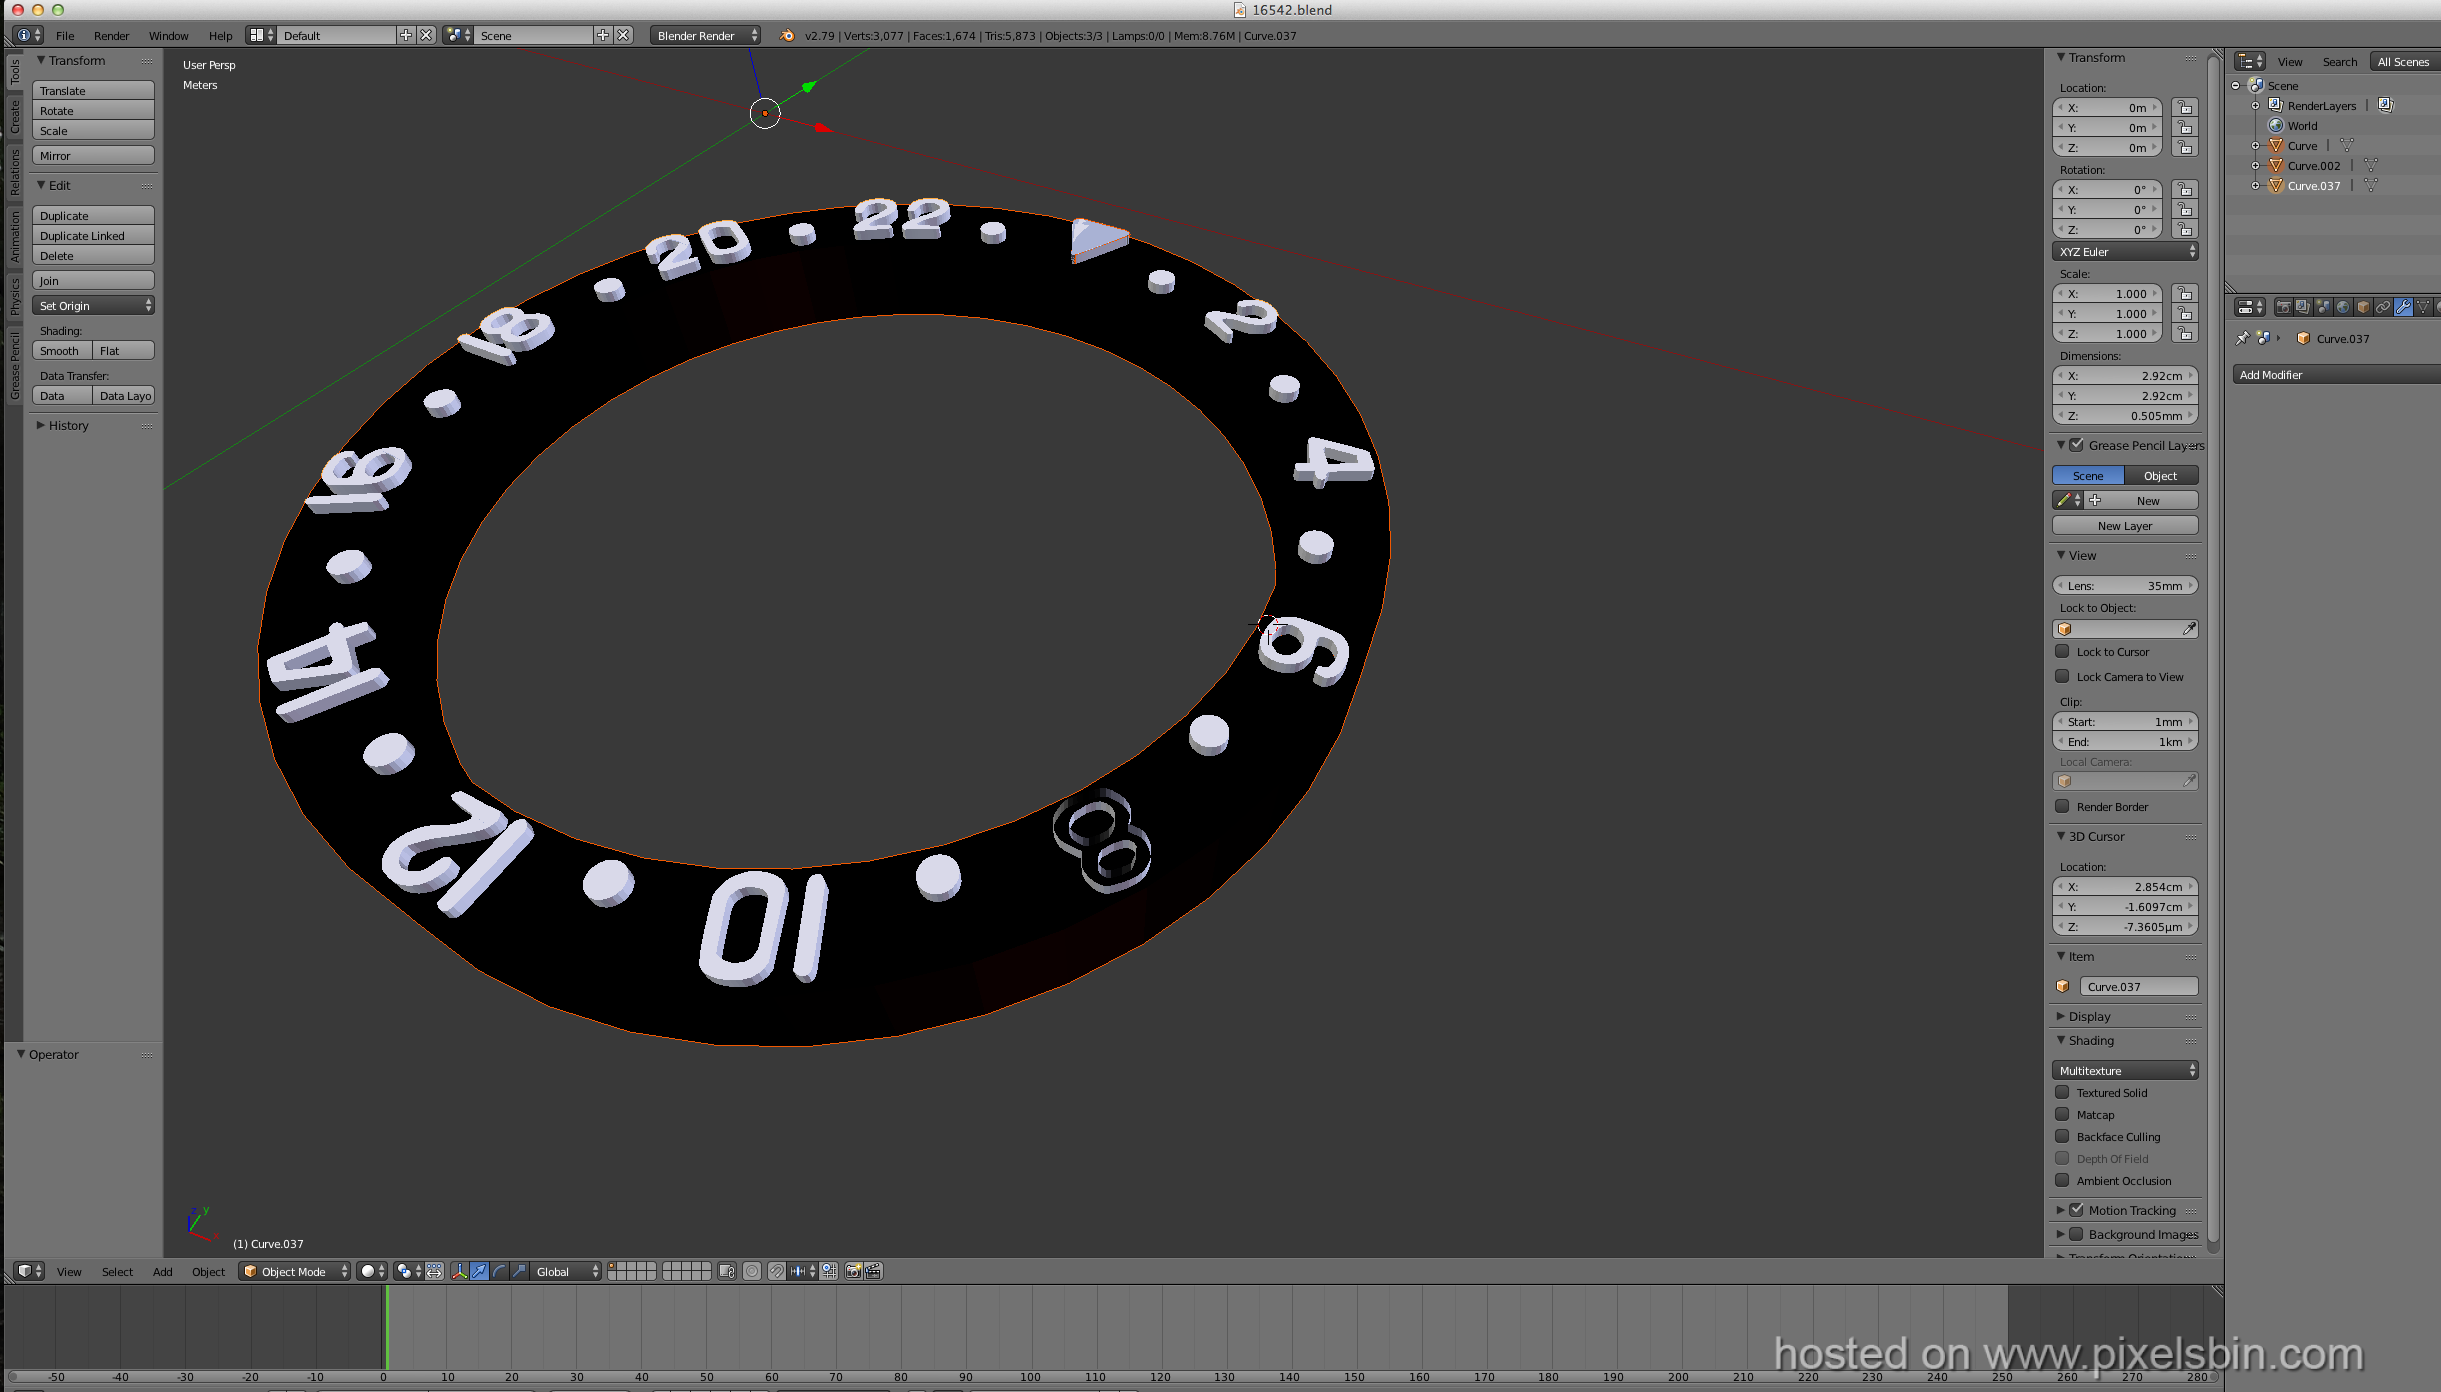
There were many iterations of this drawing. Some of the earlier ones I experimented on with Blender, a free 3D modeling program. These attempts were very crude, and I ditched this program eventually as it was causing many headaches.
After weeks of tinkering around, I was satisfied with the drawing I had created, and I found an excellent alternative to Blender that was much more intuitive to use - so I imported the pattern and got to modeling. At the beginning, I figured it would be smart to make a 3D model of amoldfor a bezel so I could pour in clear plastic andÂ*create as many as I needed to - makes sense right? Well apparently plastic bonds to plastic, so this idea - and the many 3D models that came with it - were tossed out the window.
Bye!
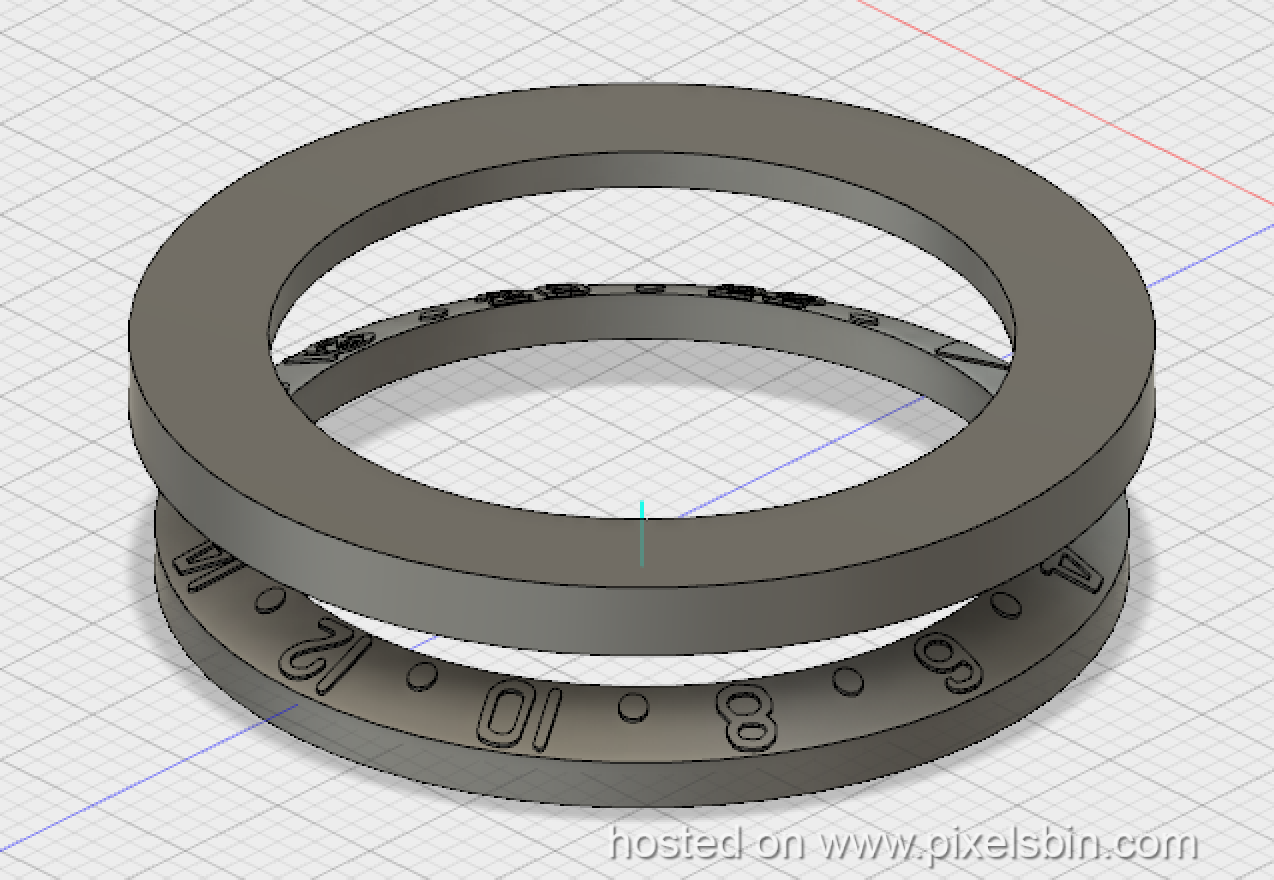
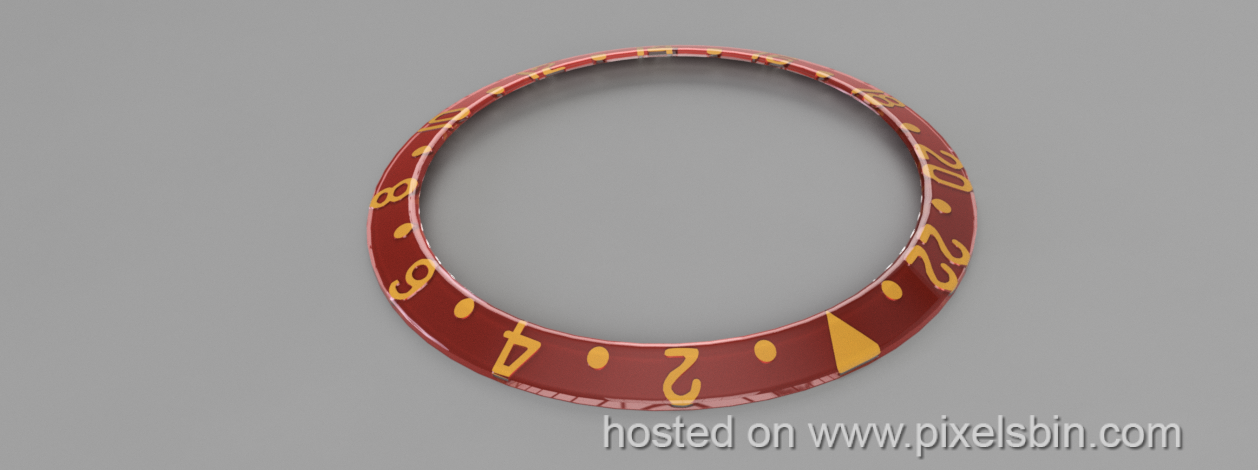
Now my only option was to model the bezel itself, which was actually less annoying than trying to model a mold for one. Here are renderings I created from my first effort, not too bad but still a lot to improve clearly.
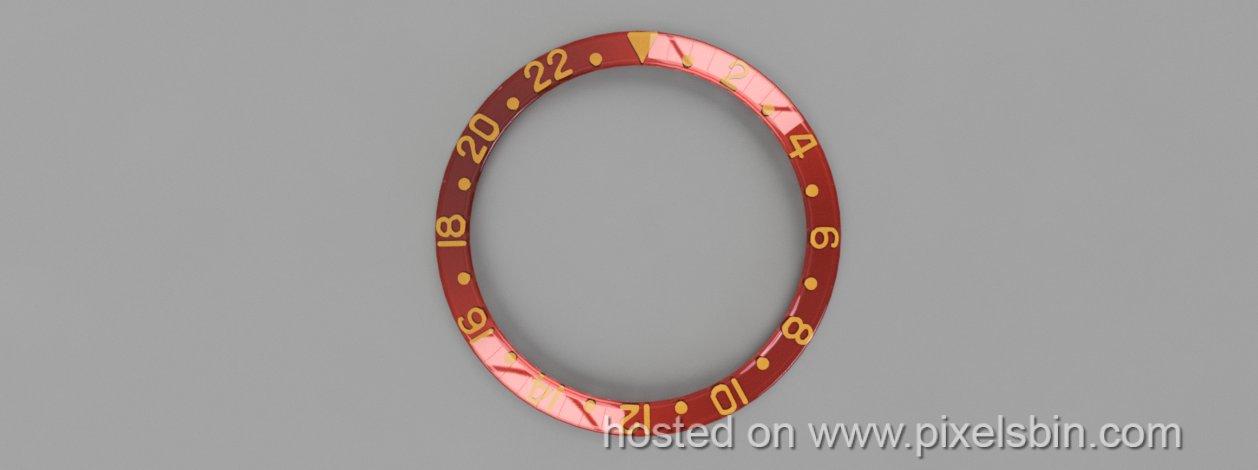
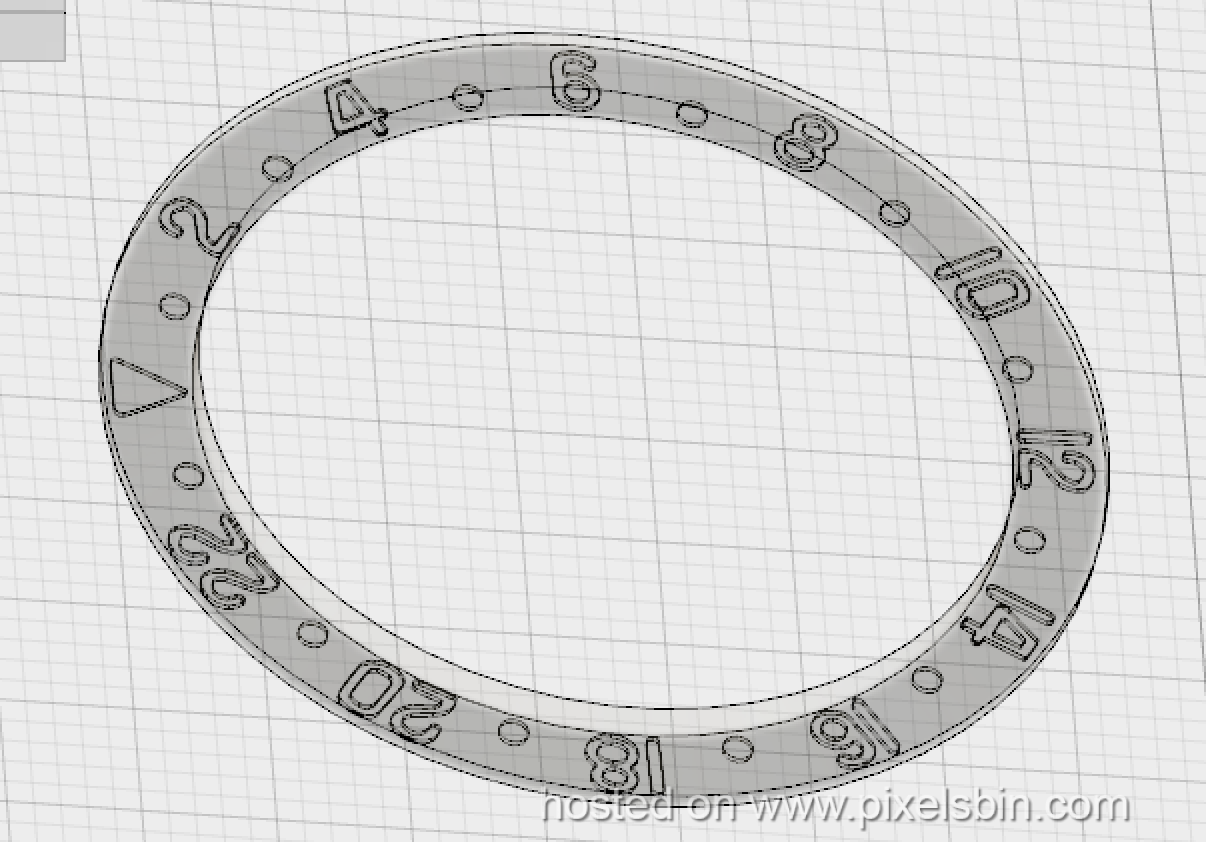
After much refining, I came up with something that I thought was reasonably accurate enough to print.
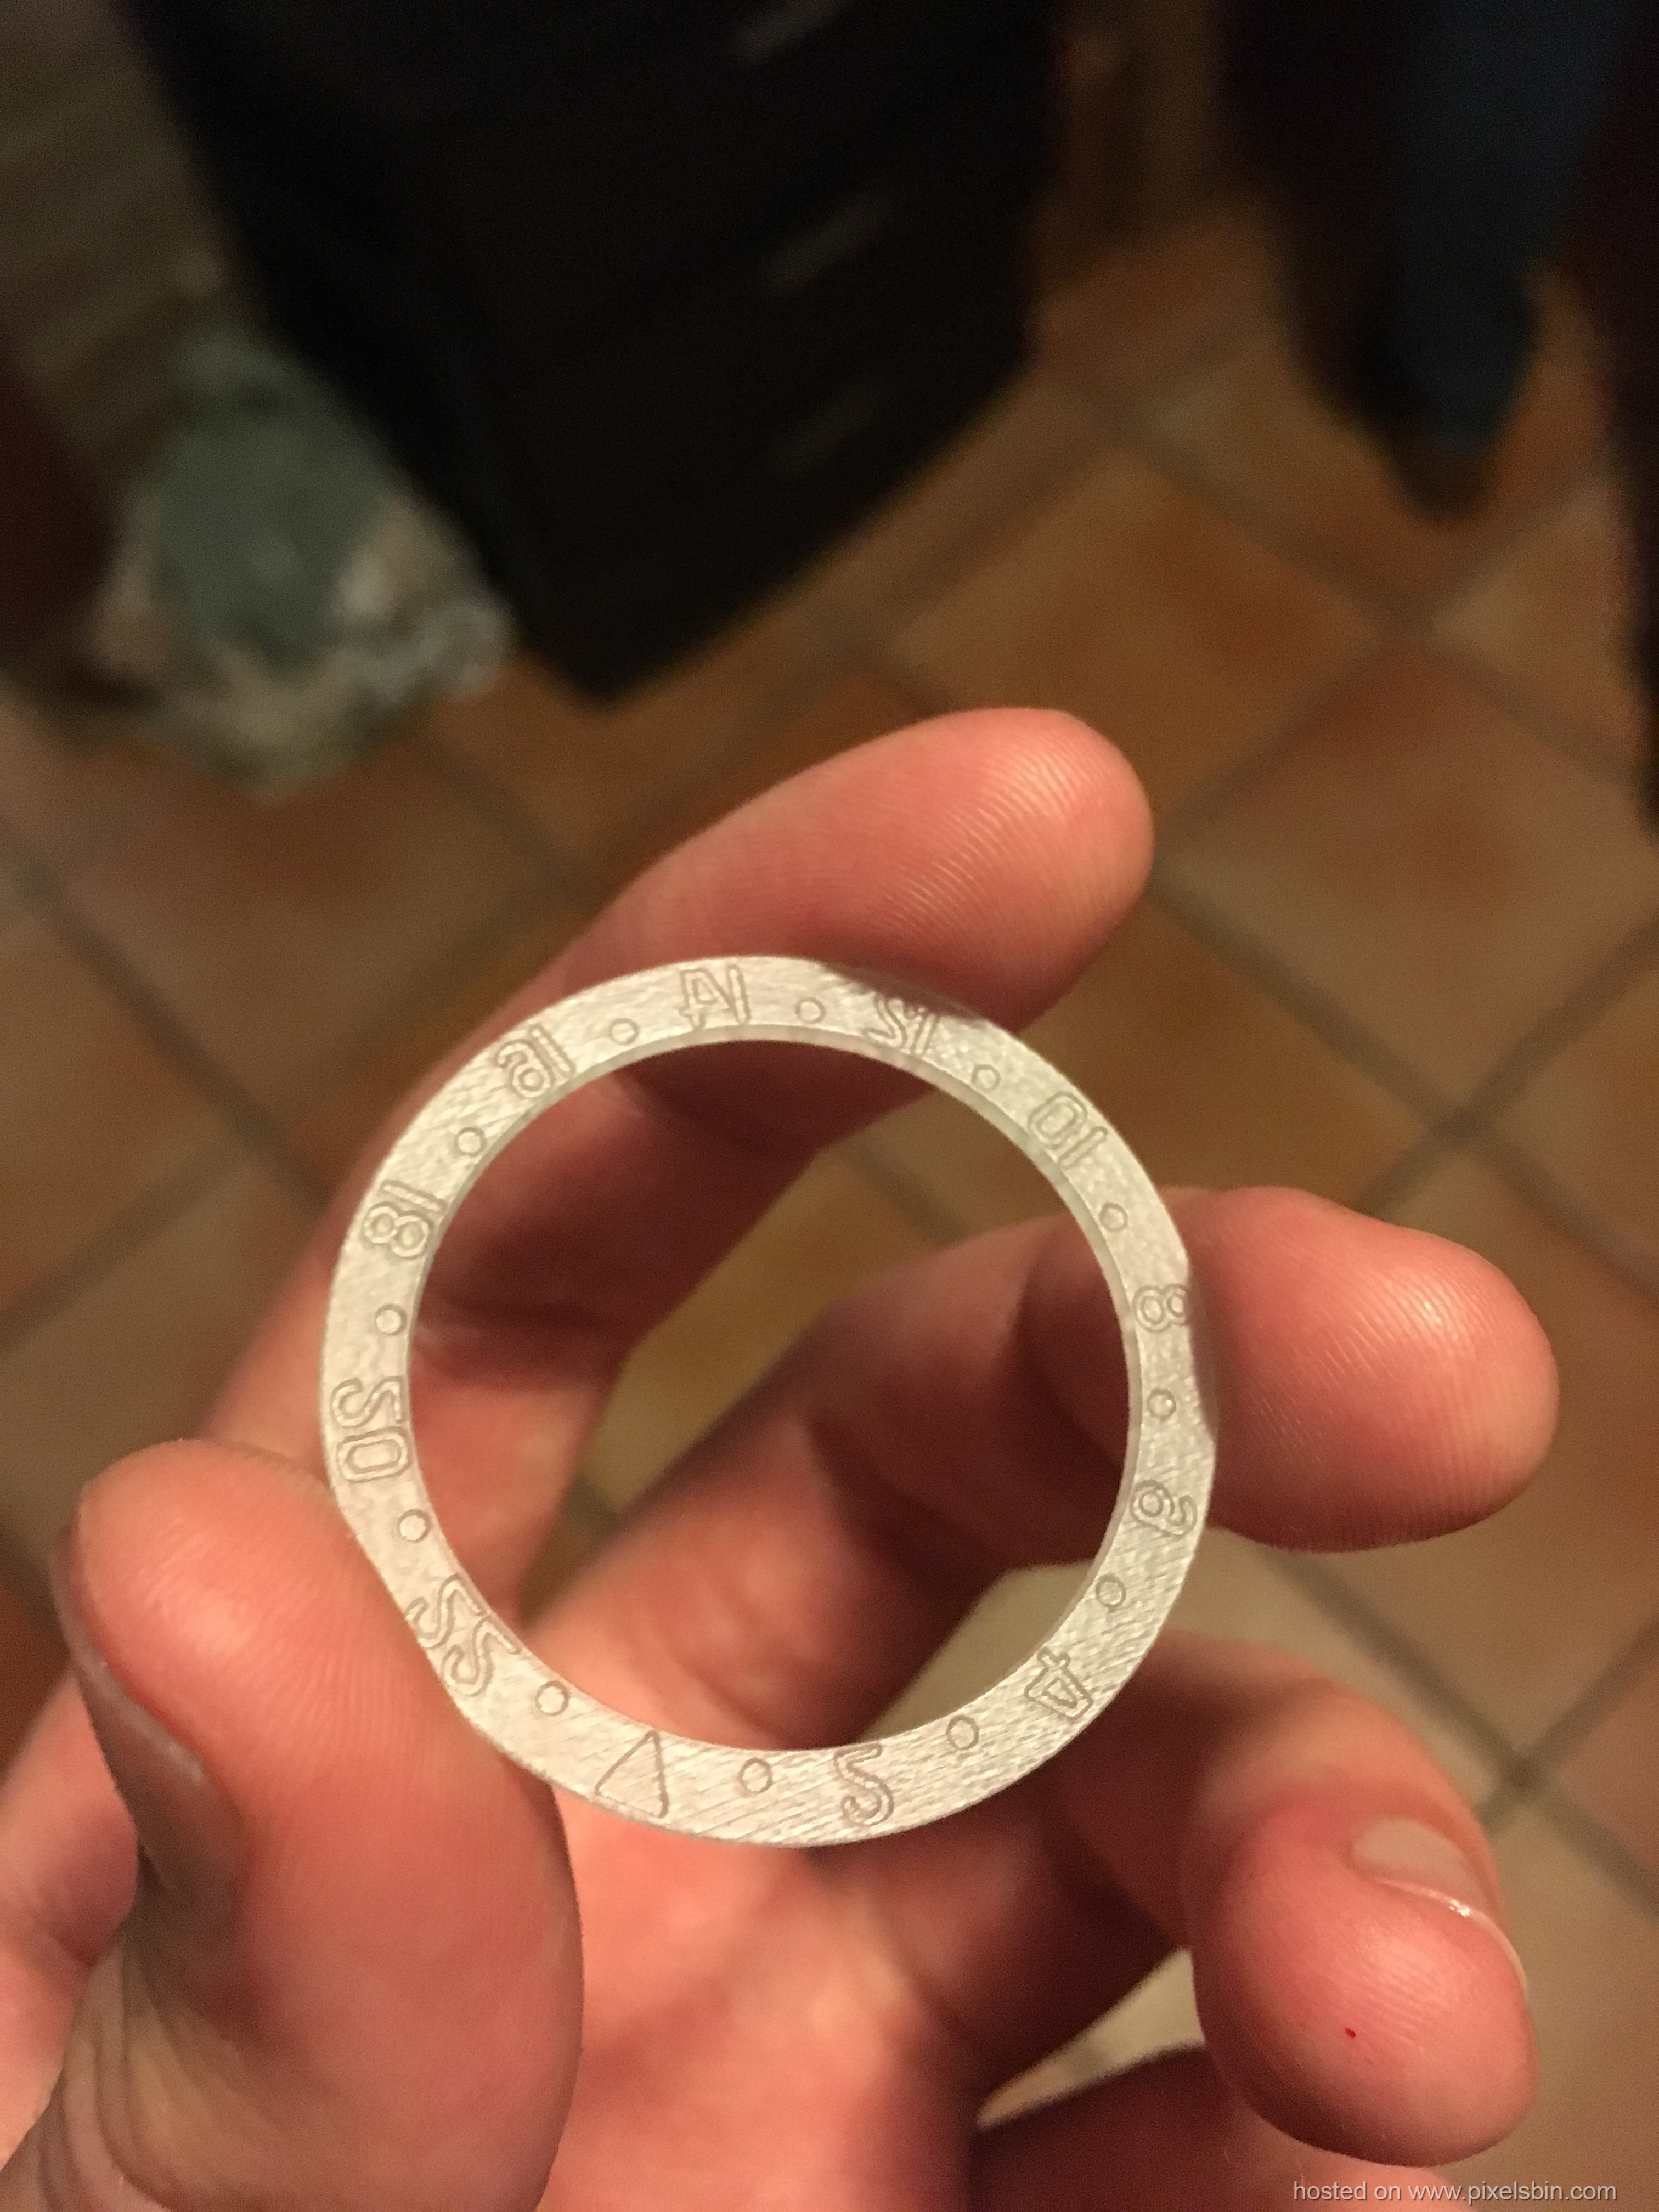
So I did. I received my baby in the mail after waiting for two looonnng weeks.
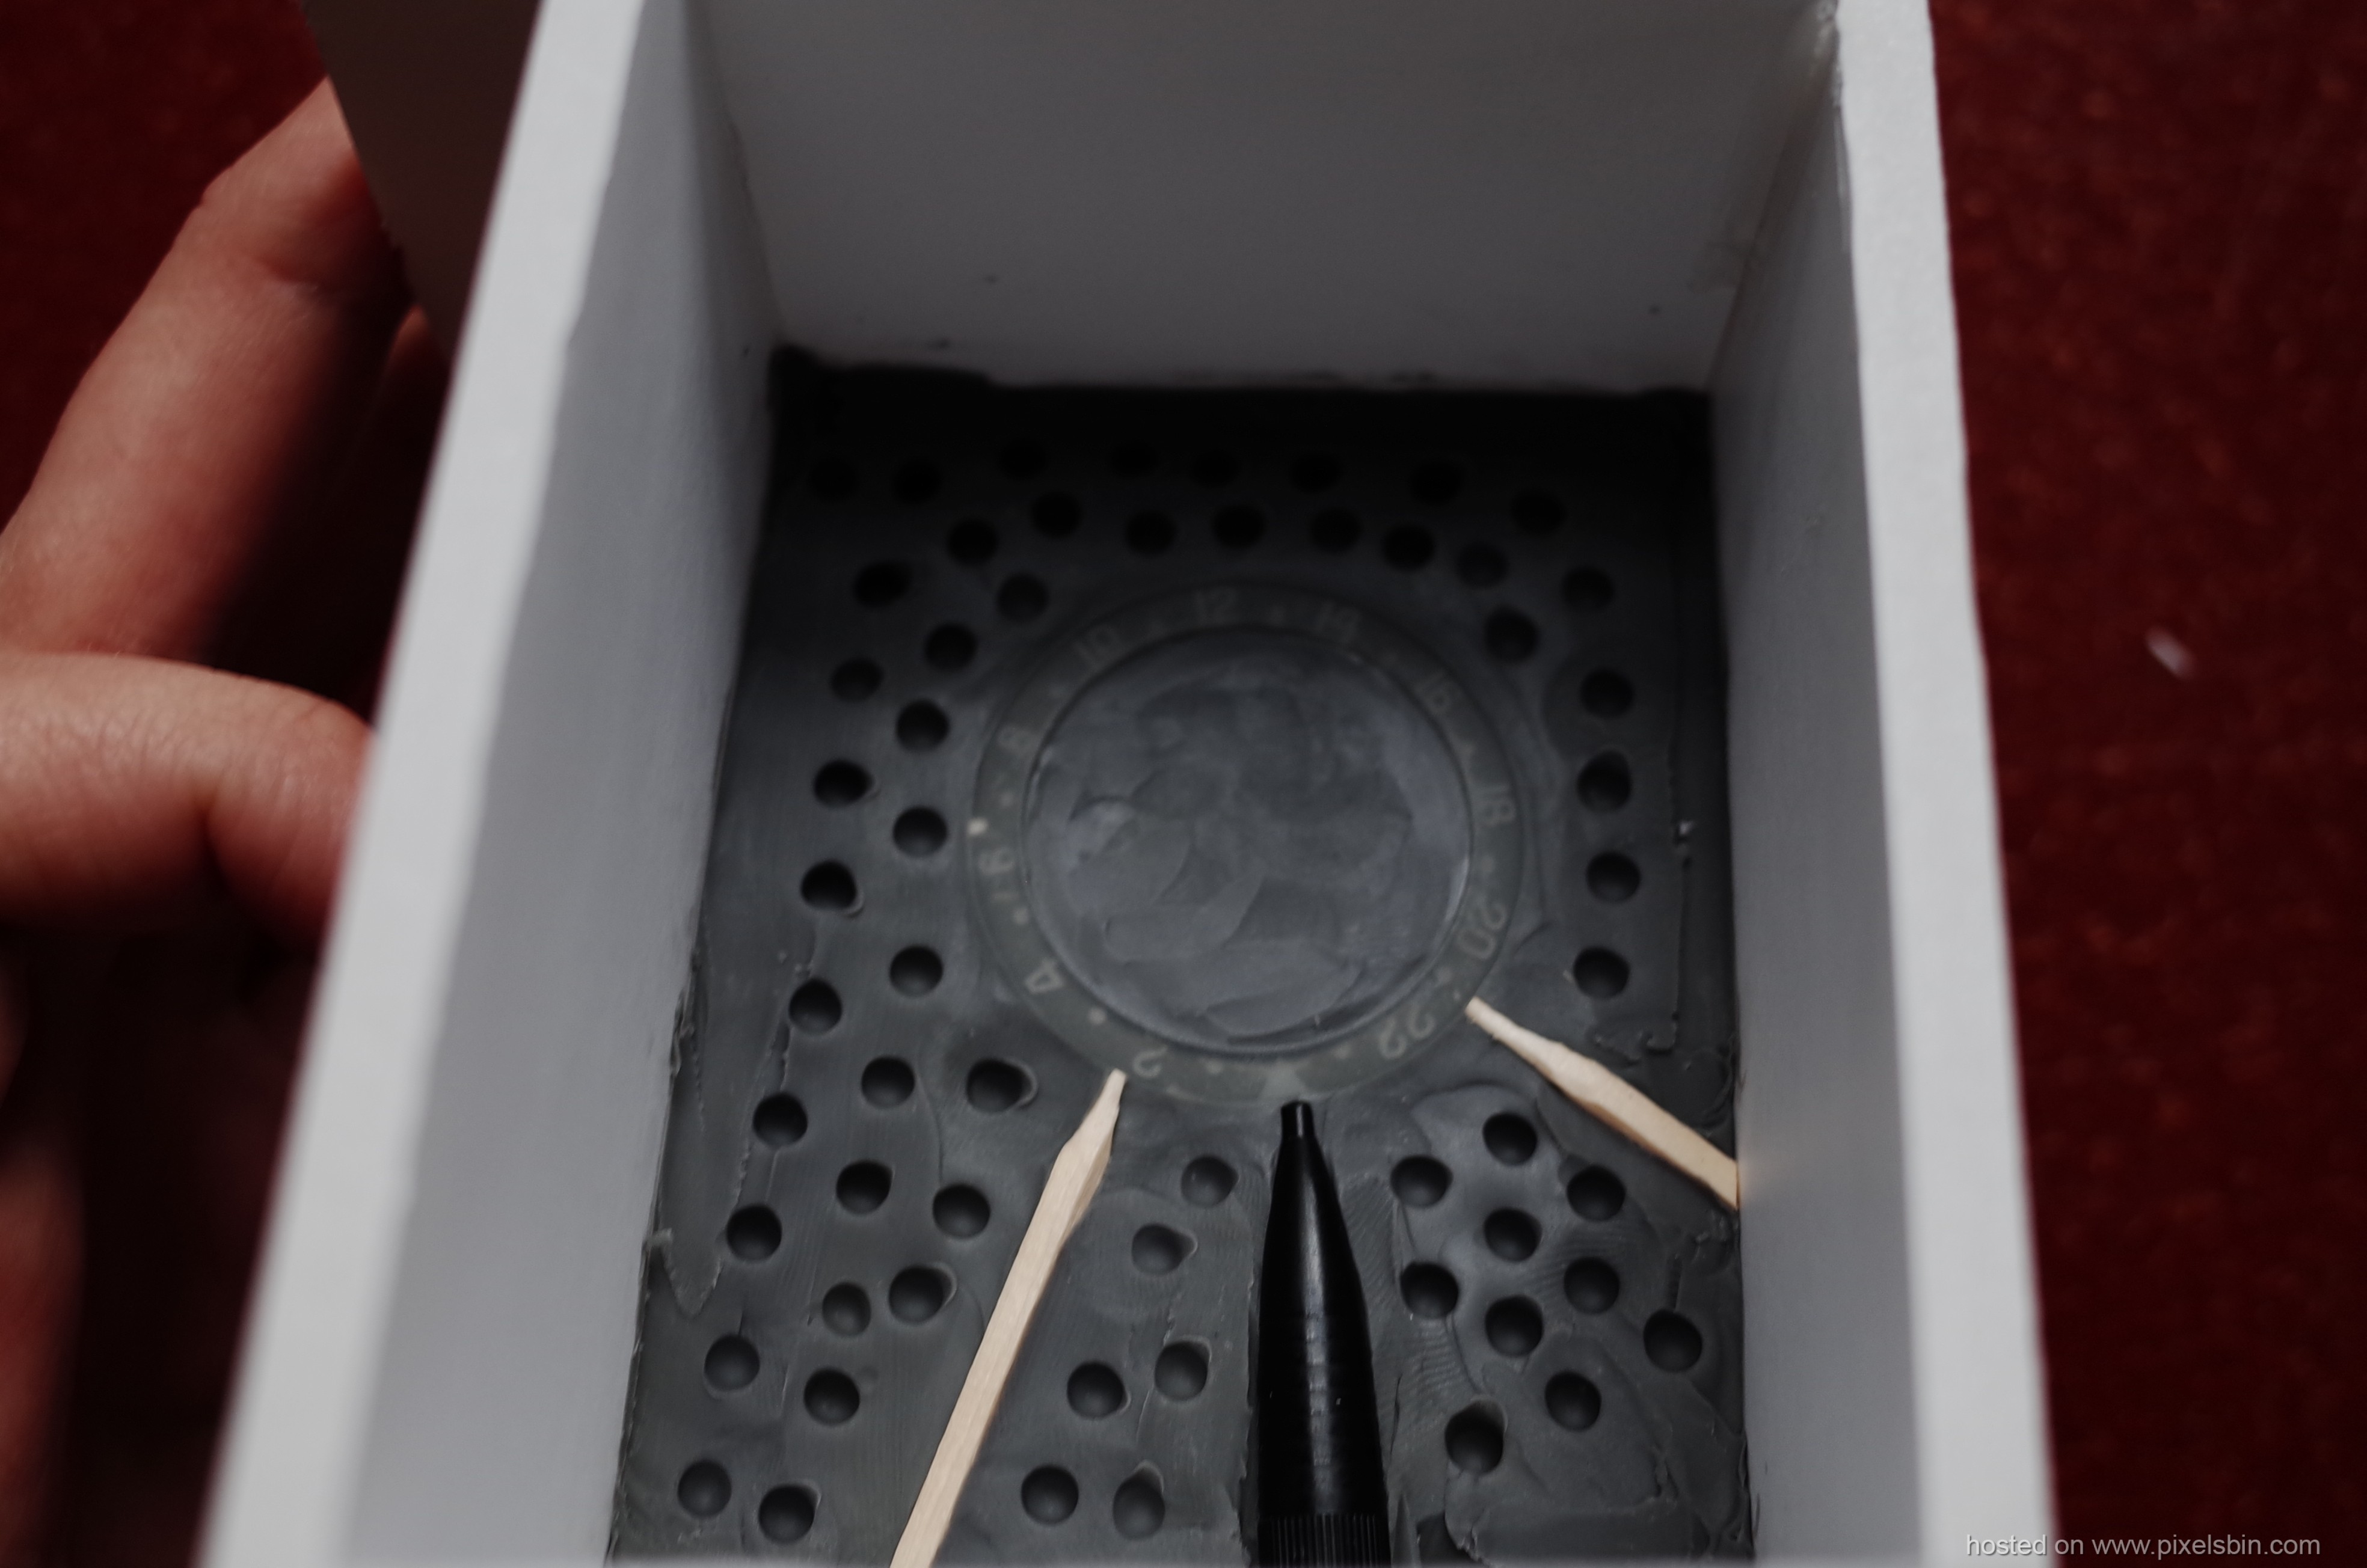
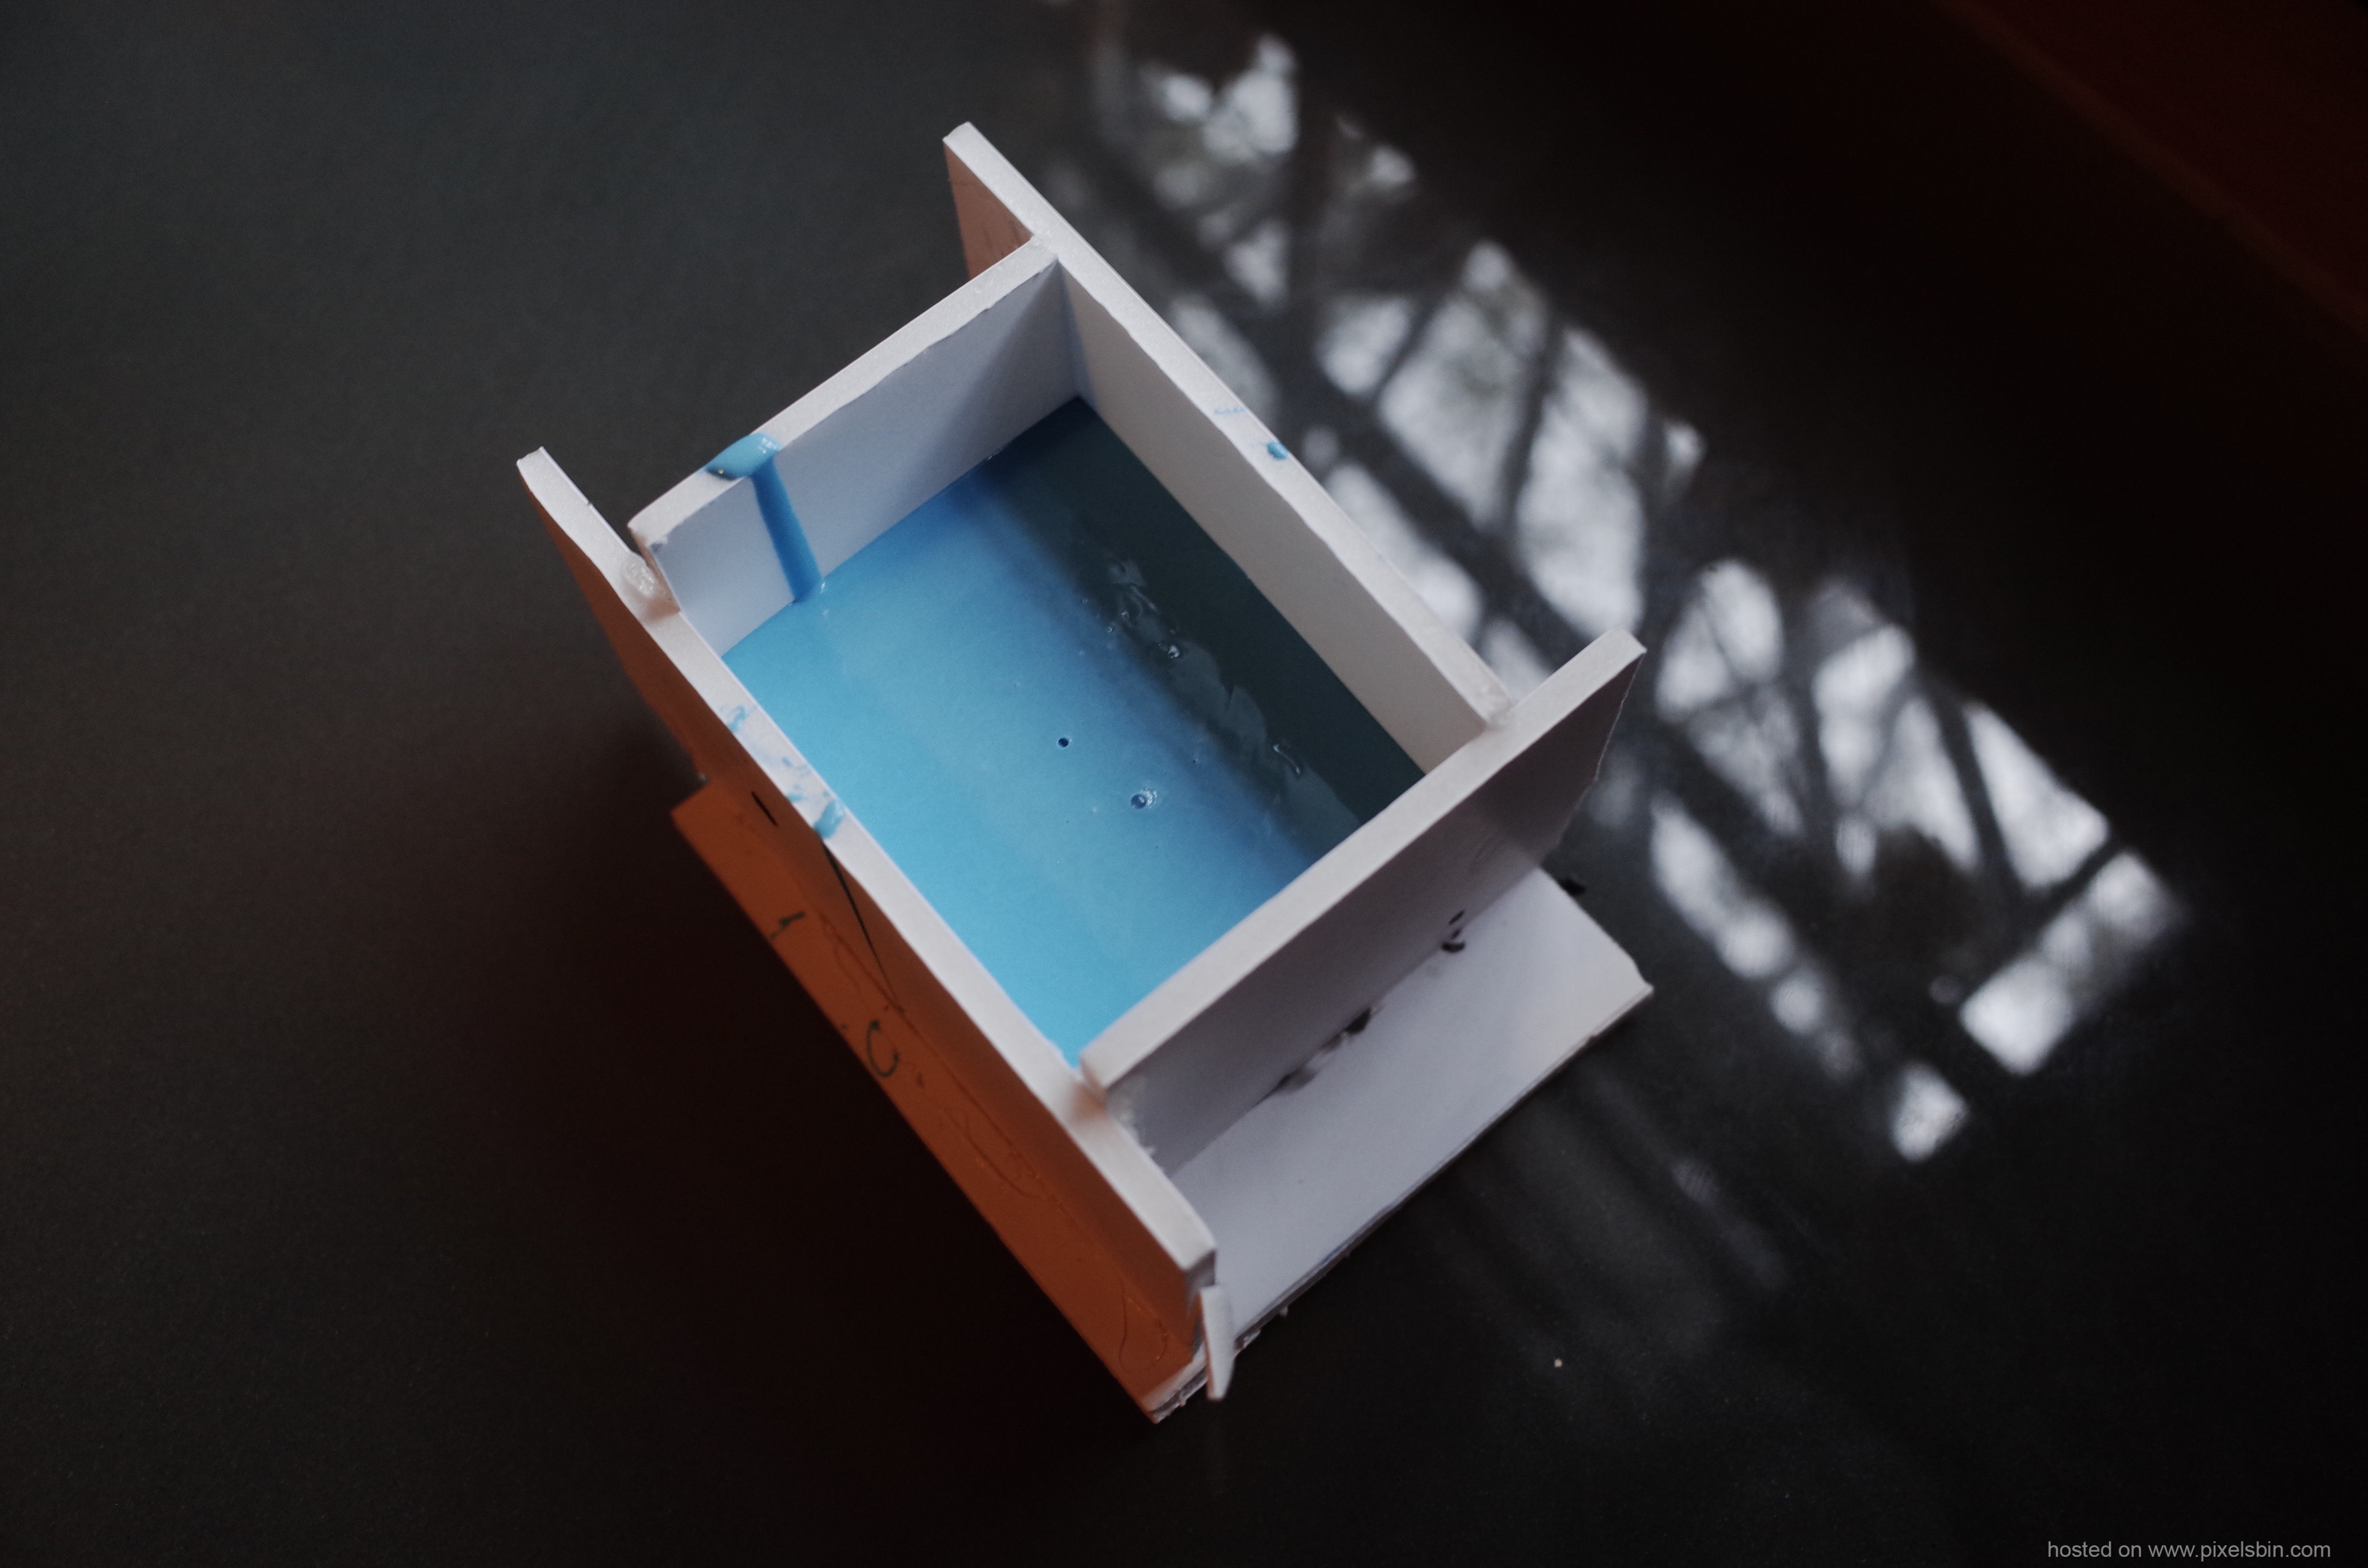
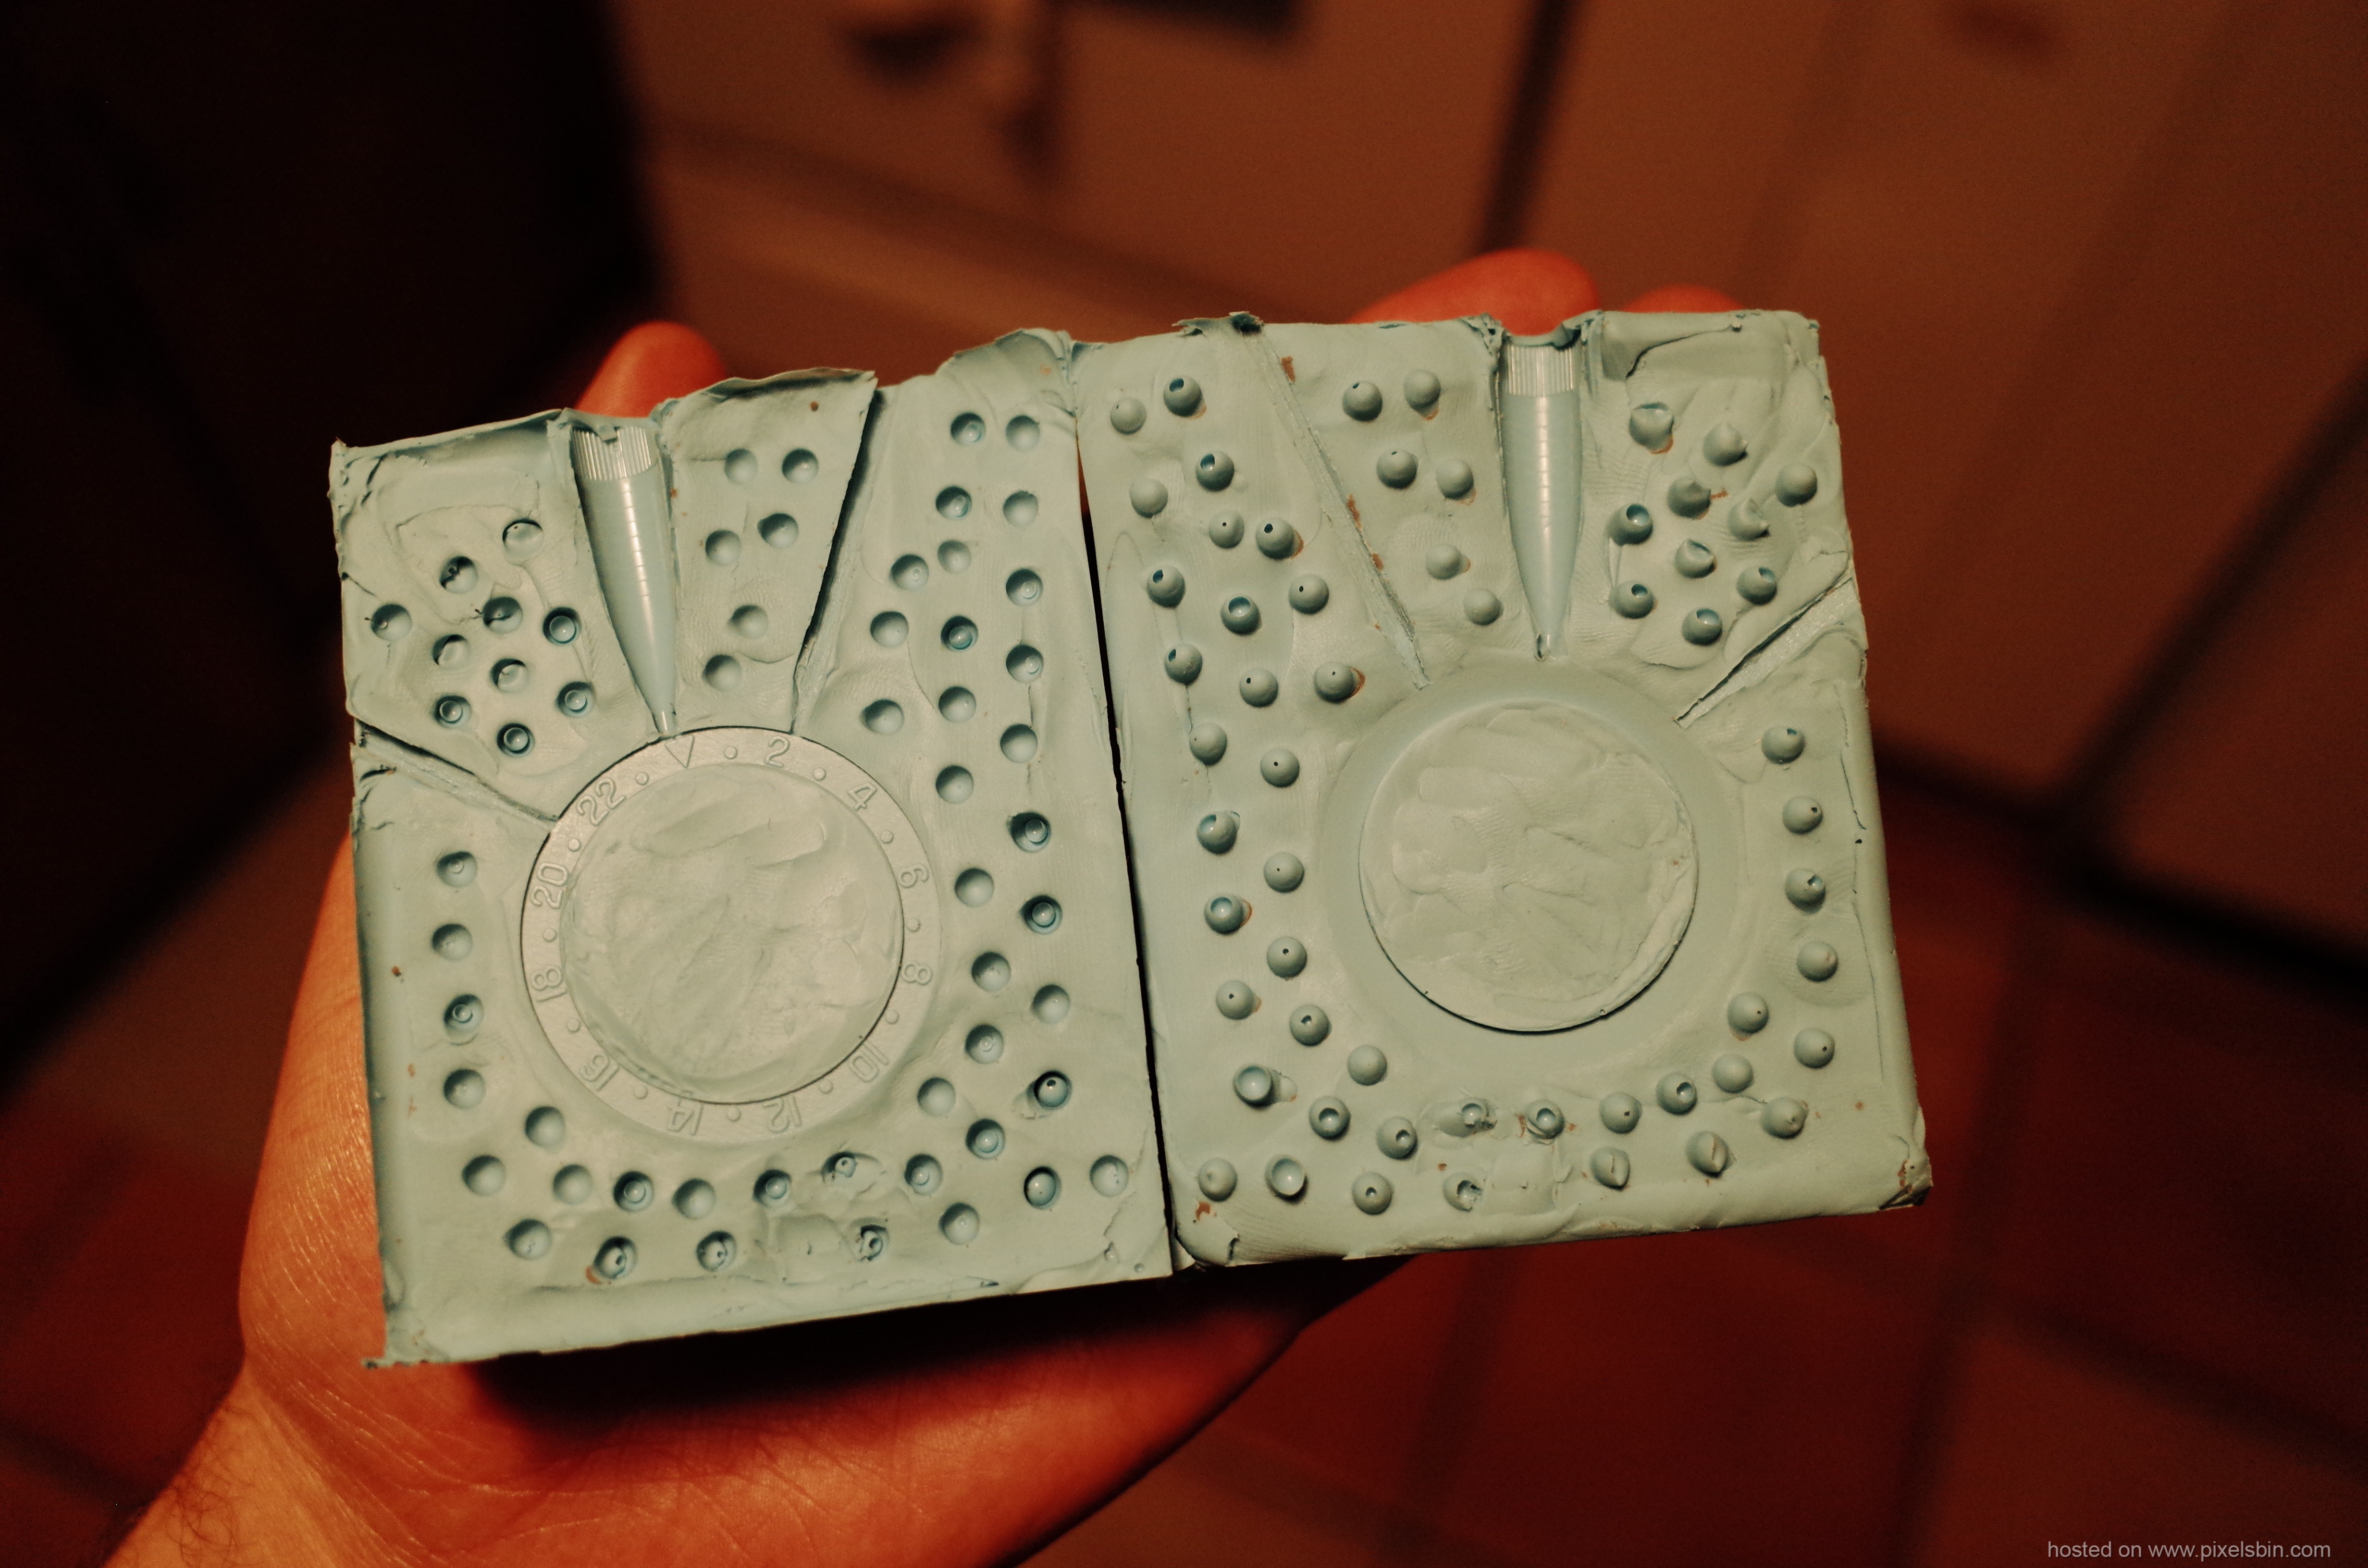
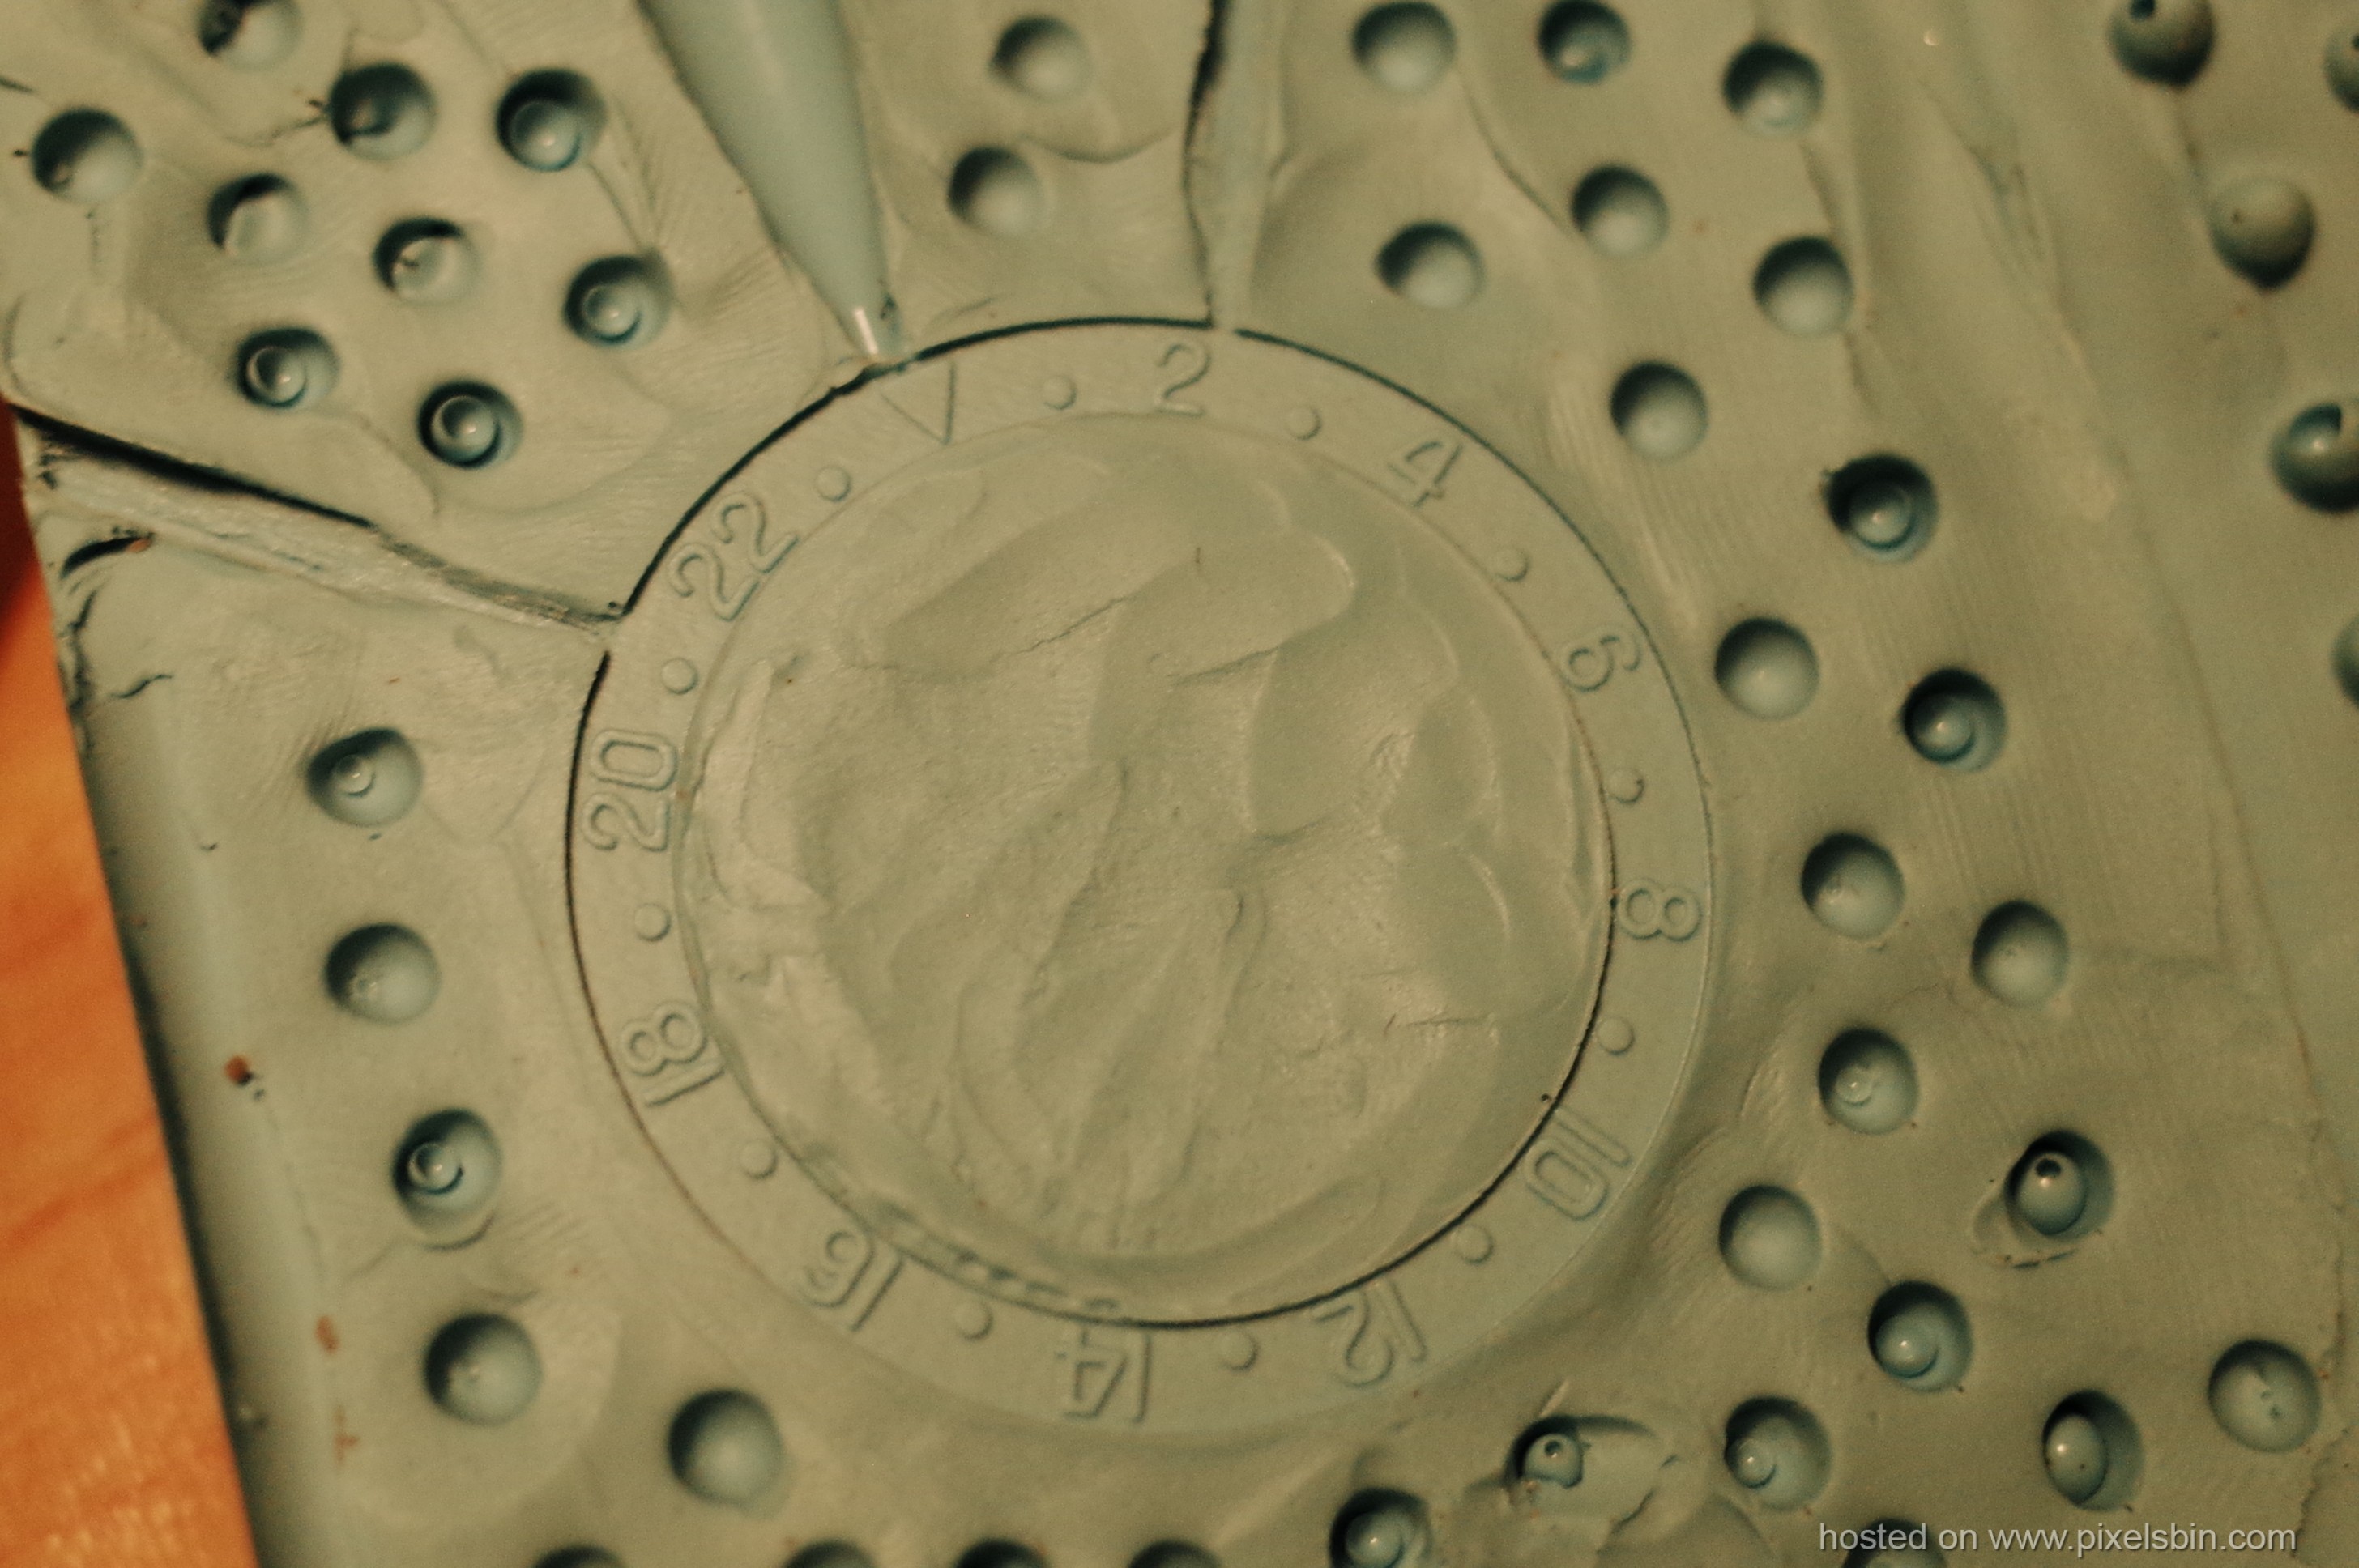
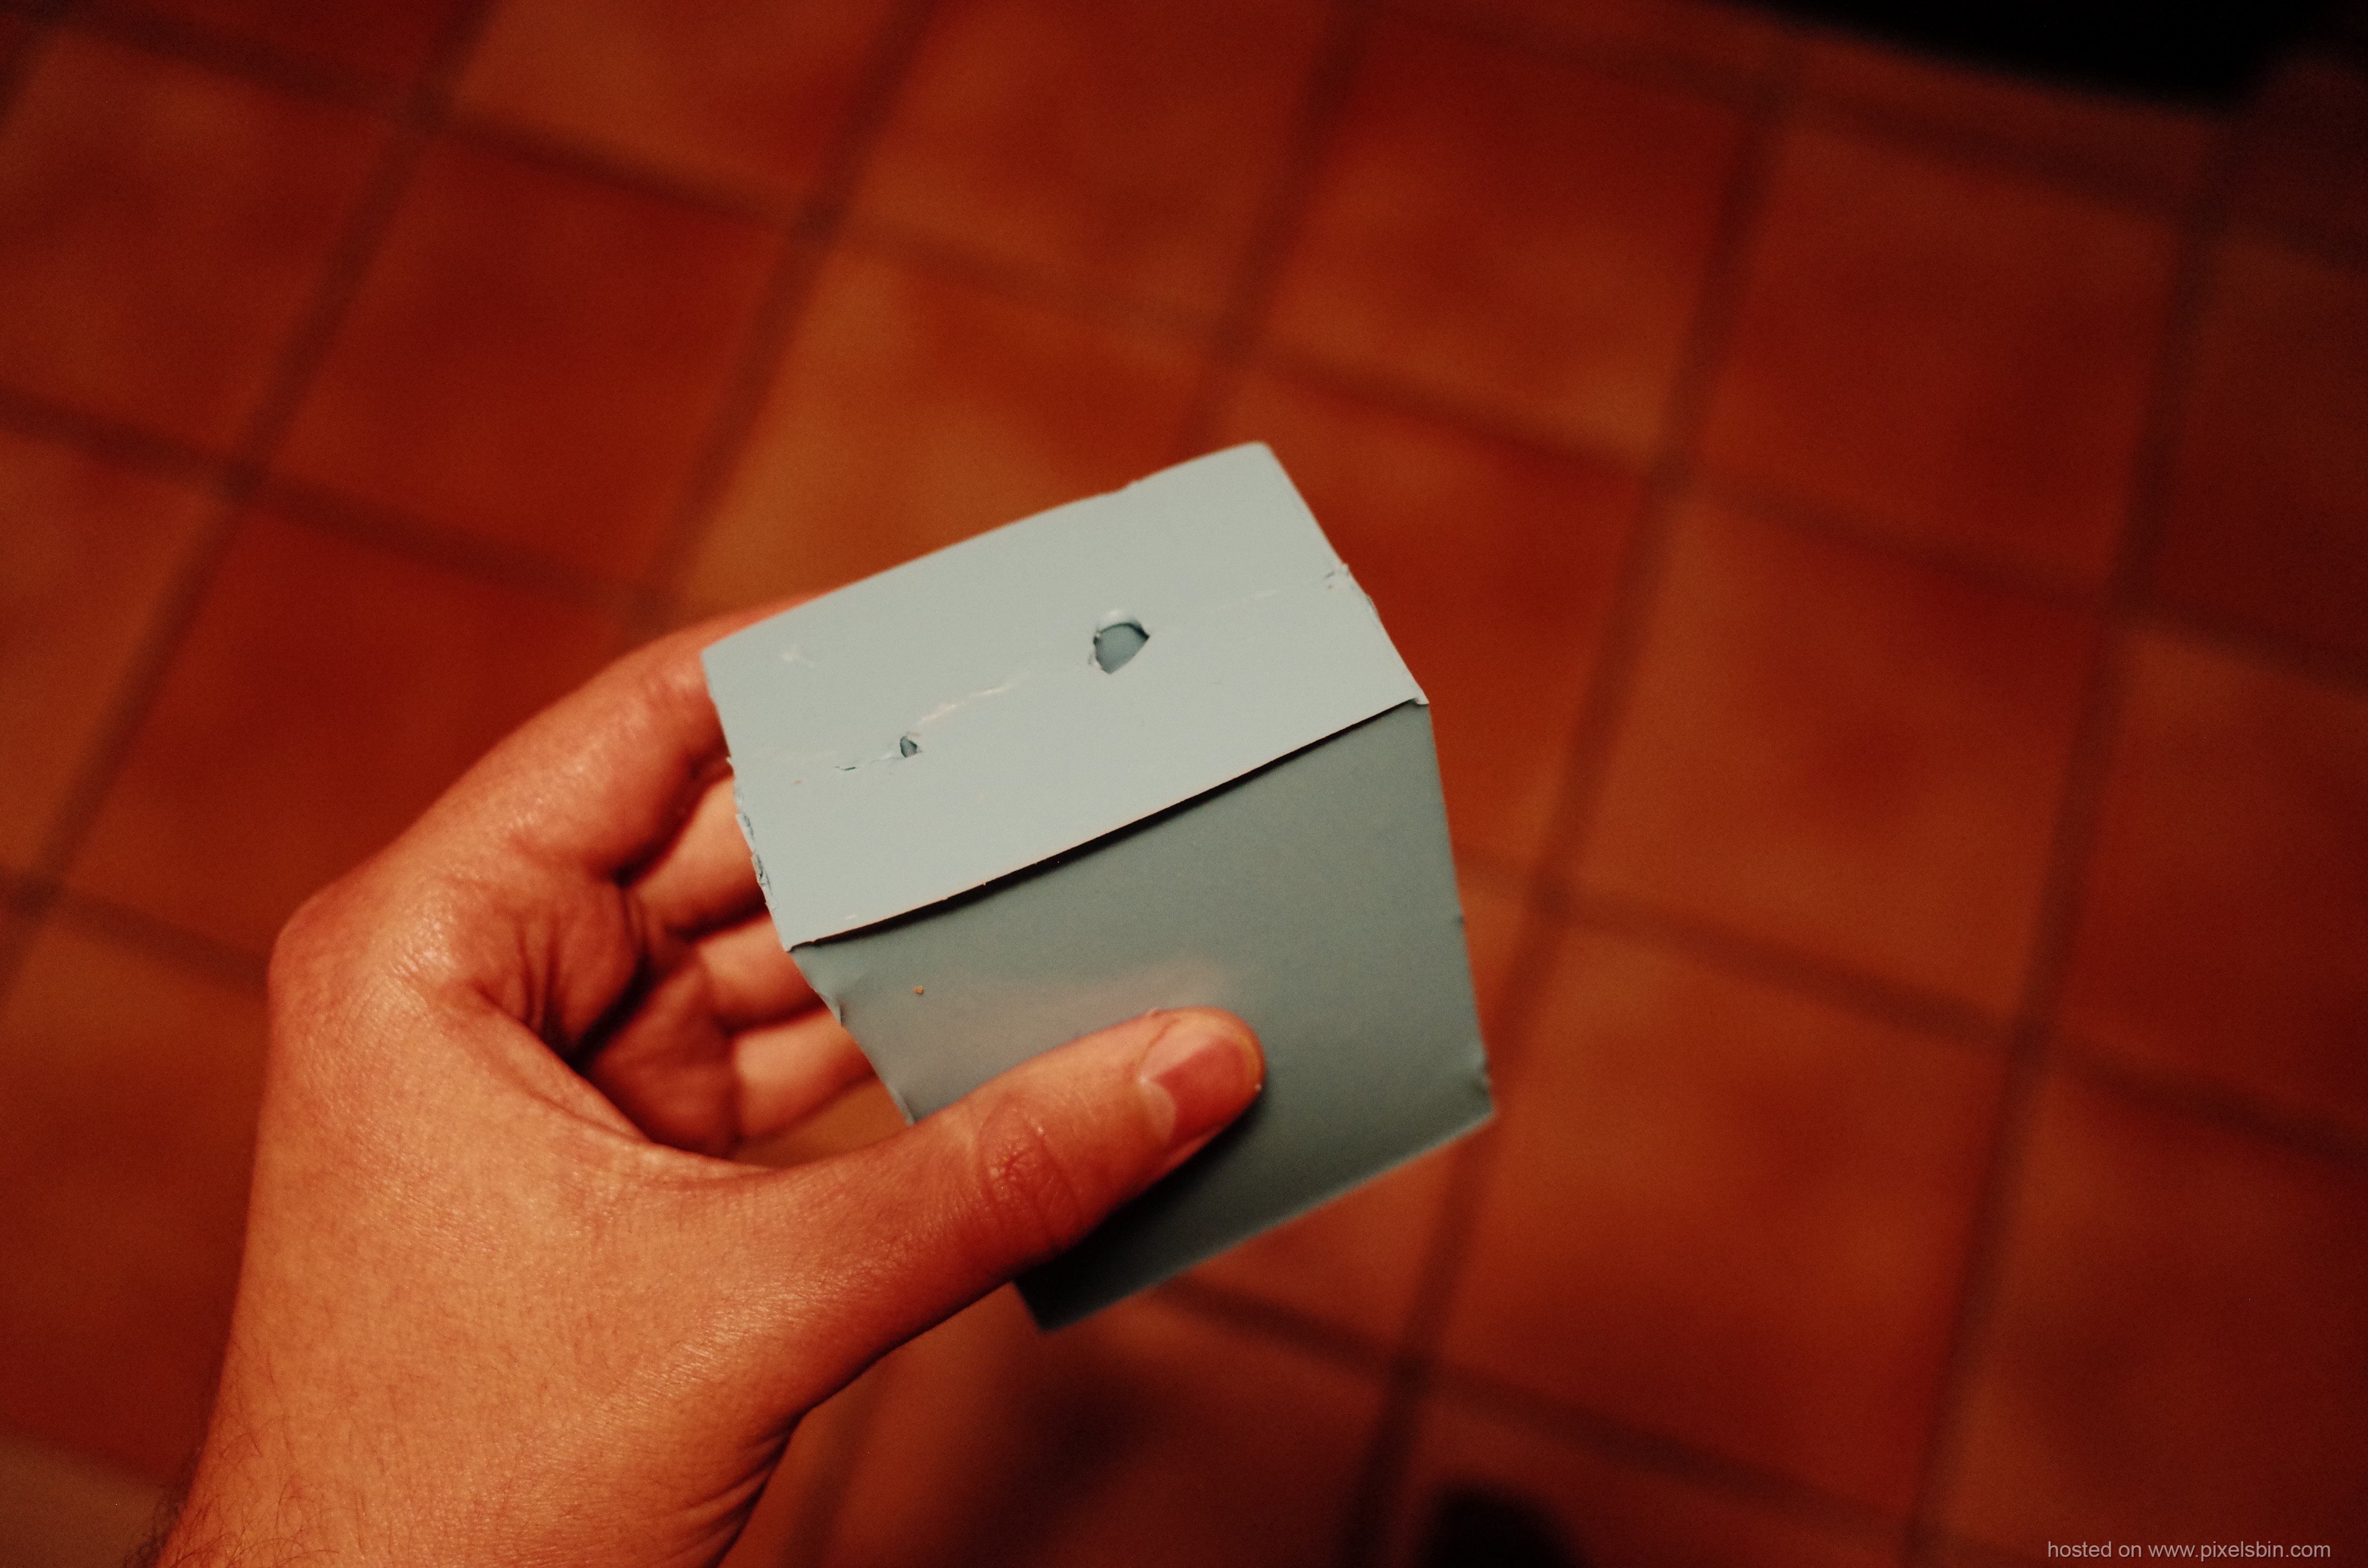
I was overjoyed! Now all I needed was a mold. I did much research, and came to the conclusion that a silicon mold was my best option to produce clear resin castings. Here's what I came up with. The pencil became the pour spout and the toothpicks are to allow trapped air bubbles to escape. This is when I started to realize why these things are so damn expensive.
Now all I had to do was pour in the resin, produce a bunch of really shitty reproductions because I have no idea what I'm doingÂ*(seriously, so shitty), until I finally managed to create this:
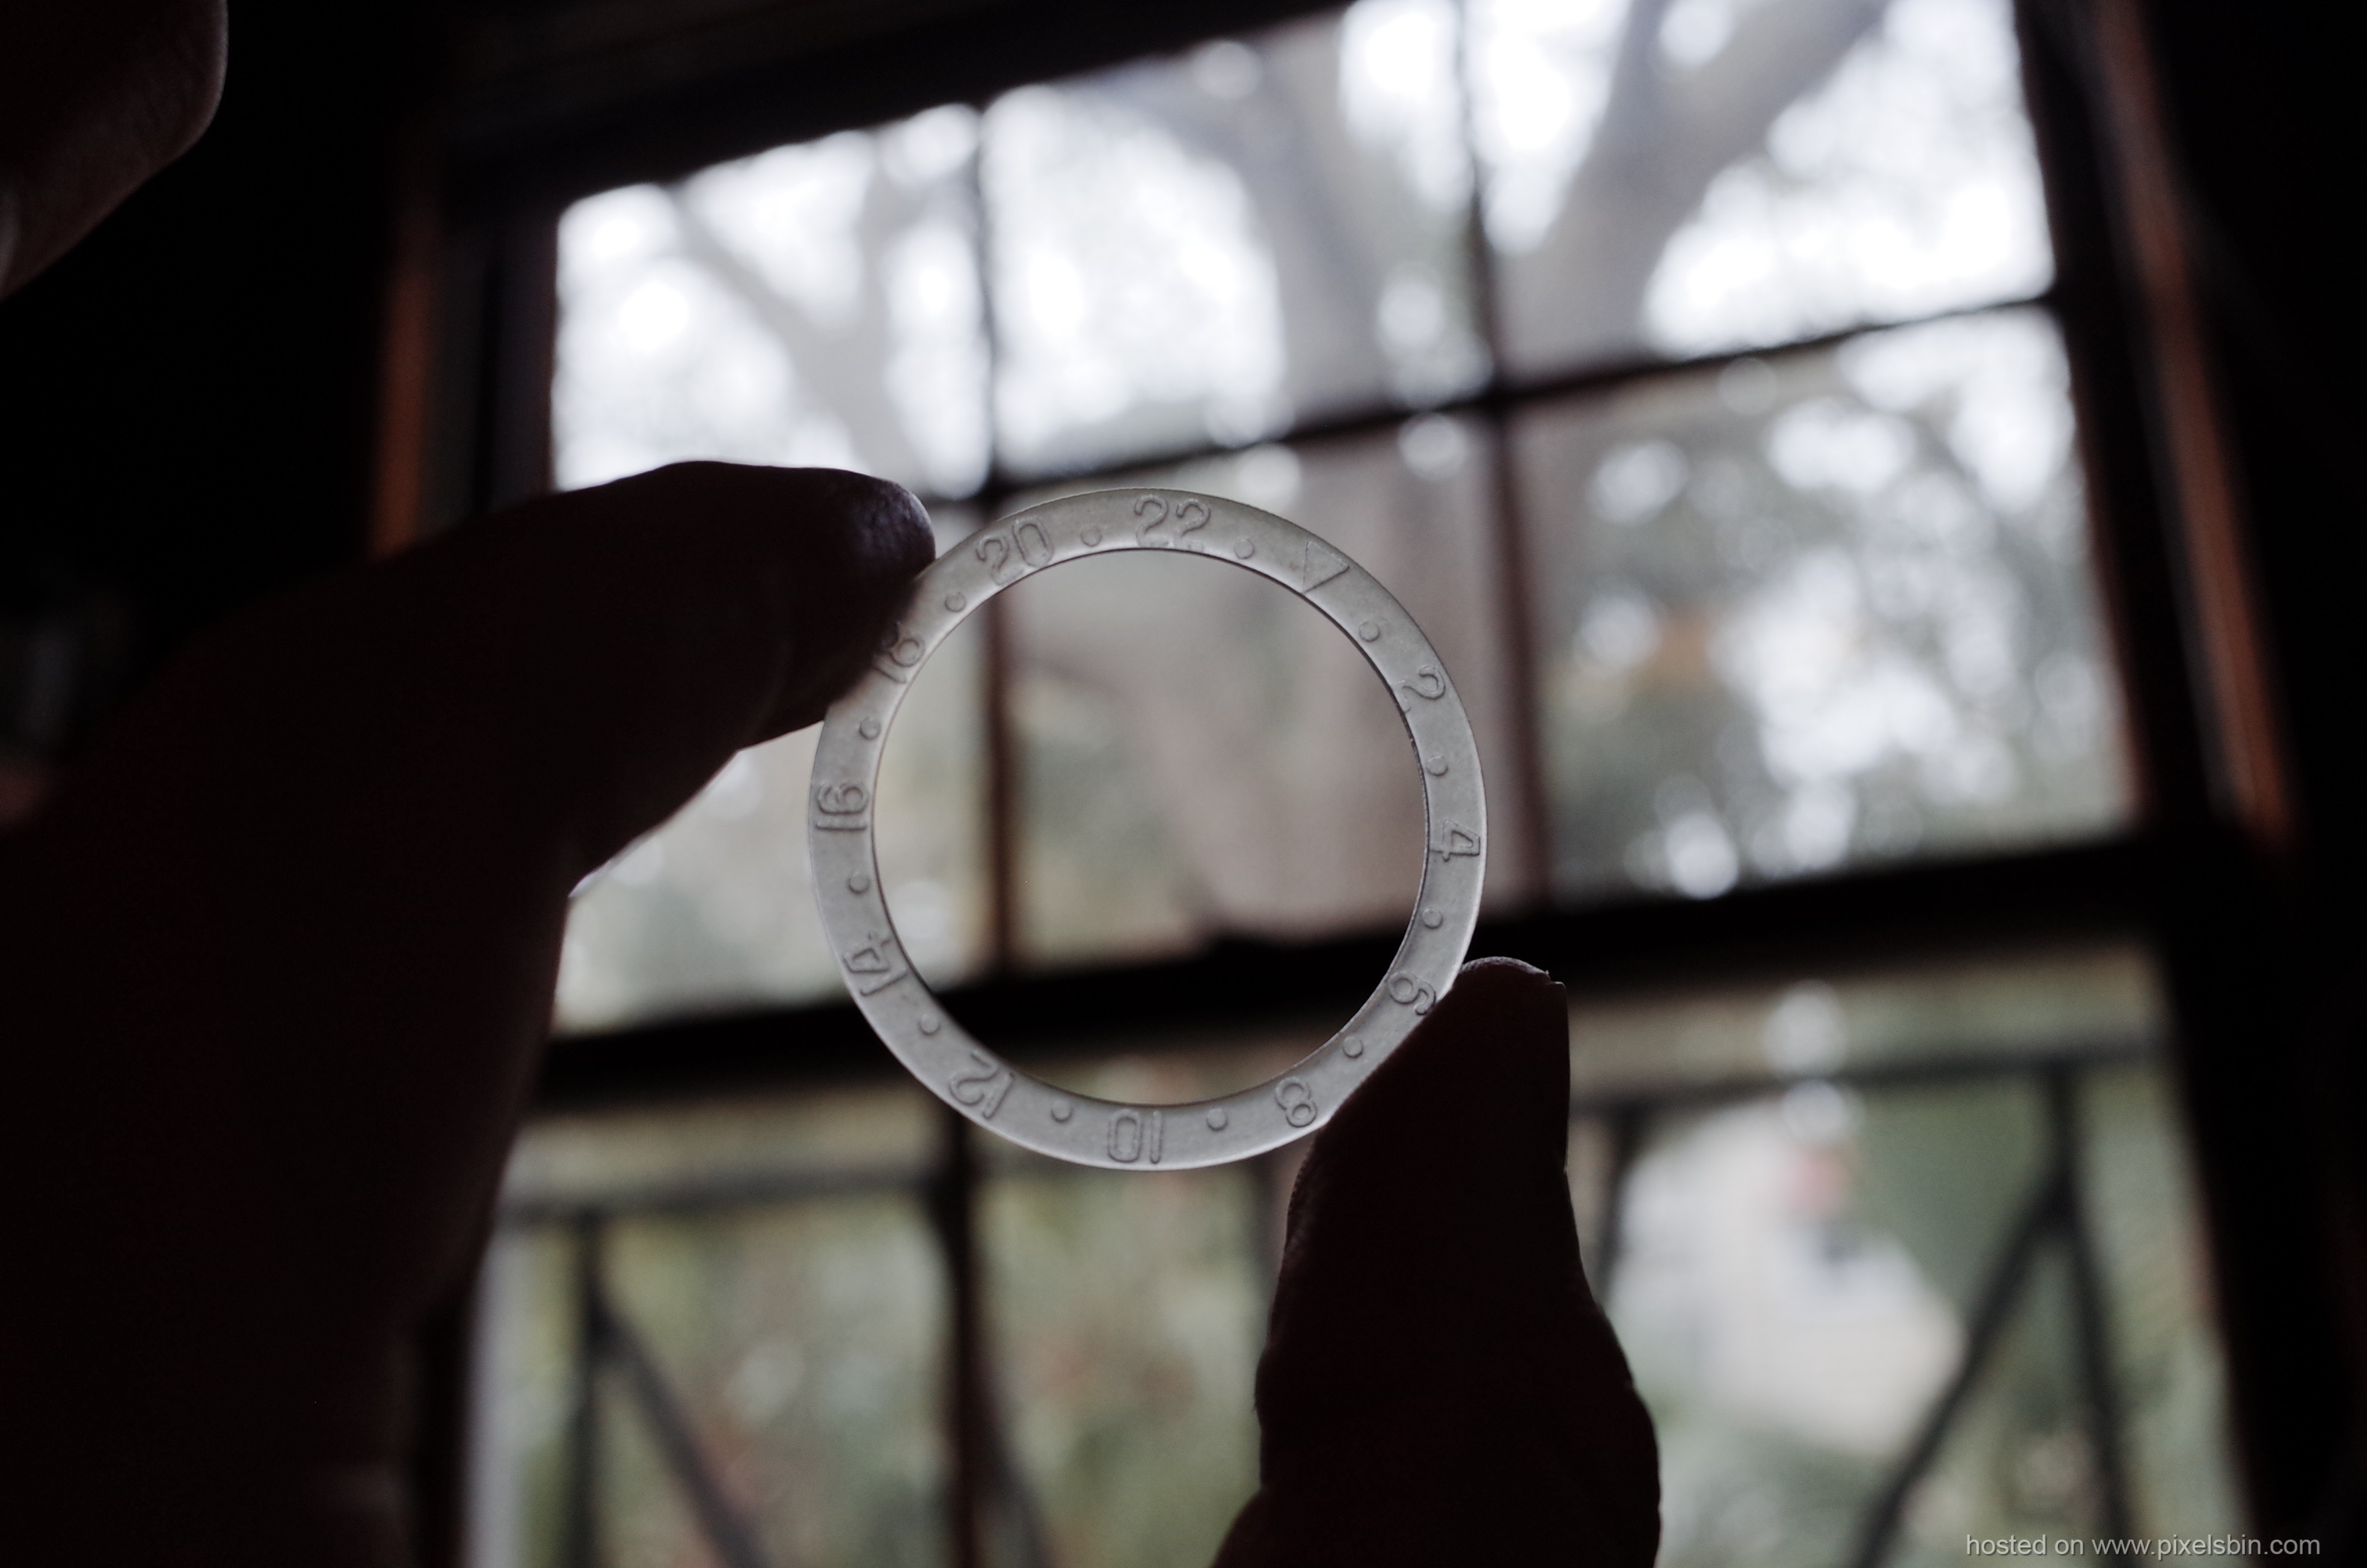
A crystal clear "bakelite" insert. I decided that I wanted the lume to actually function as per the original, so I bought some powder and delicately painted it into the numerals. I then hand painted both the red and the blue halves. Here it is halfway finished andÂ*with only one coat of paint.
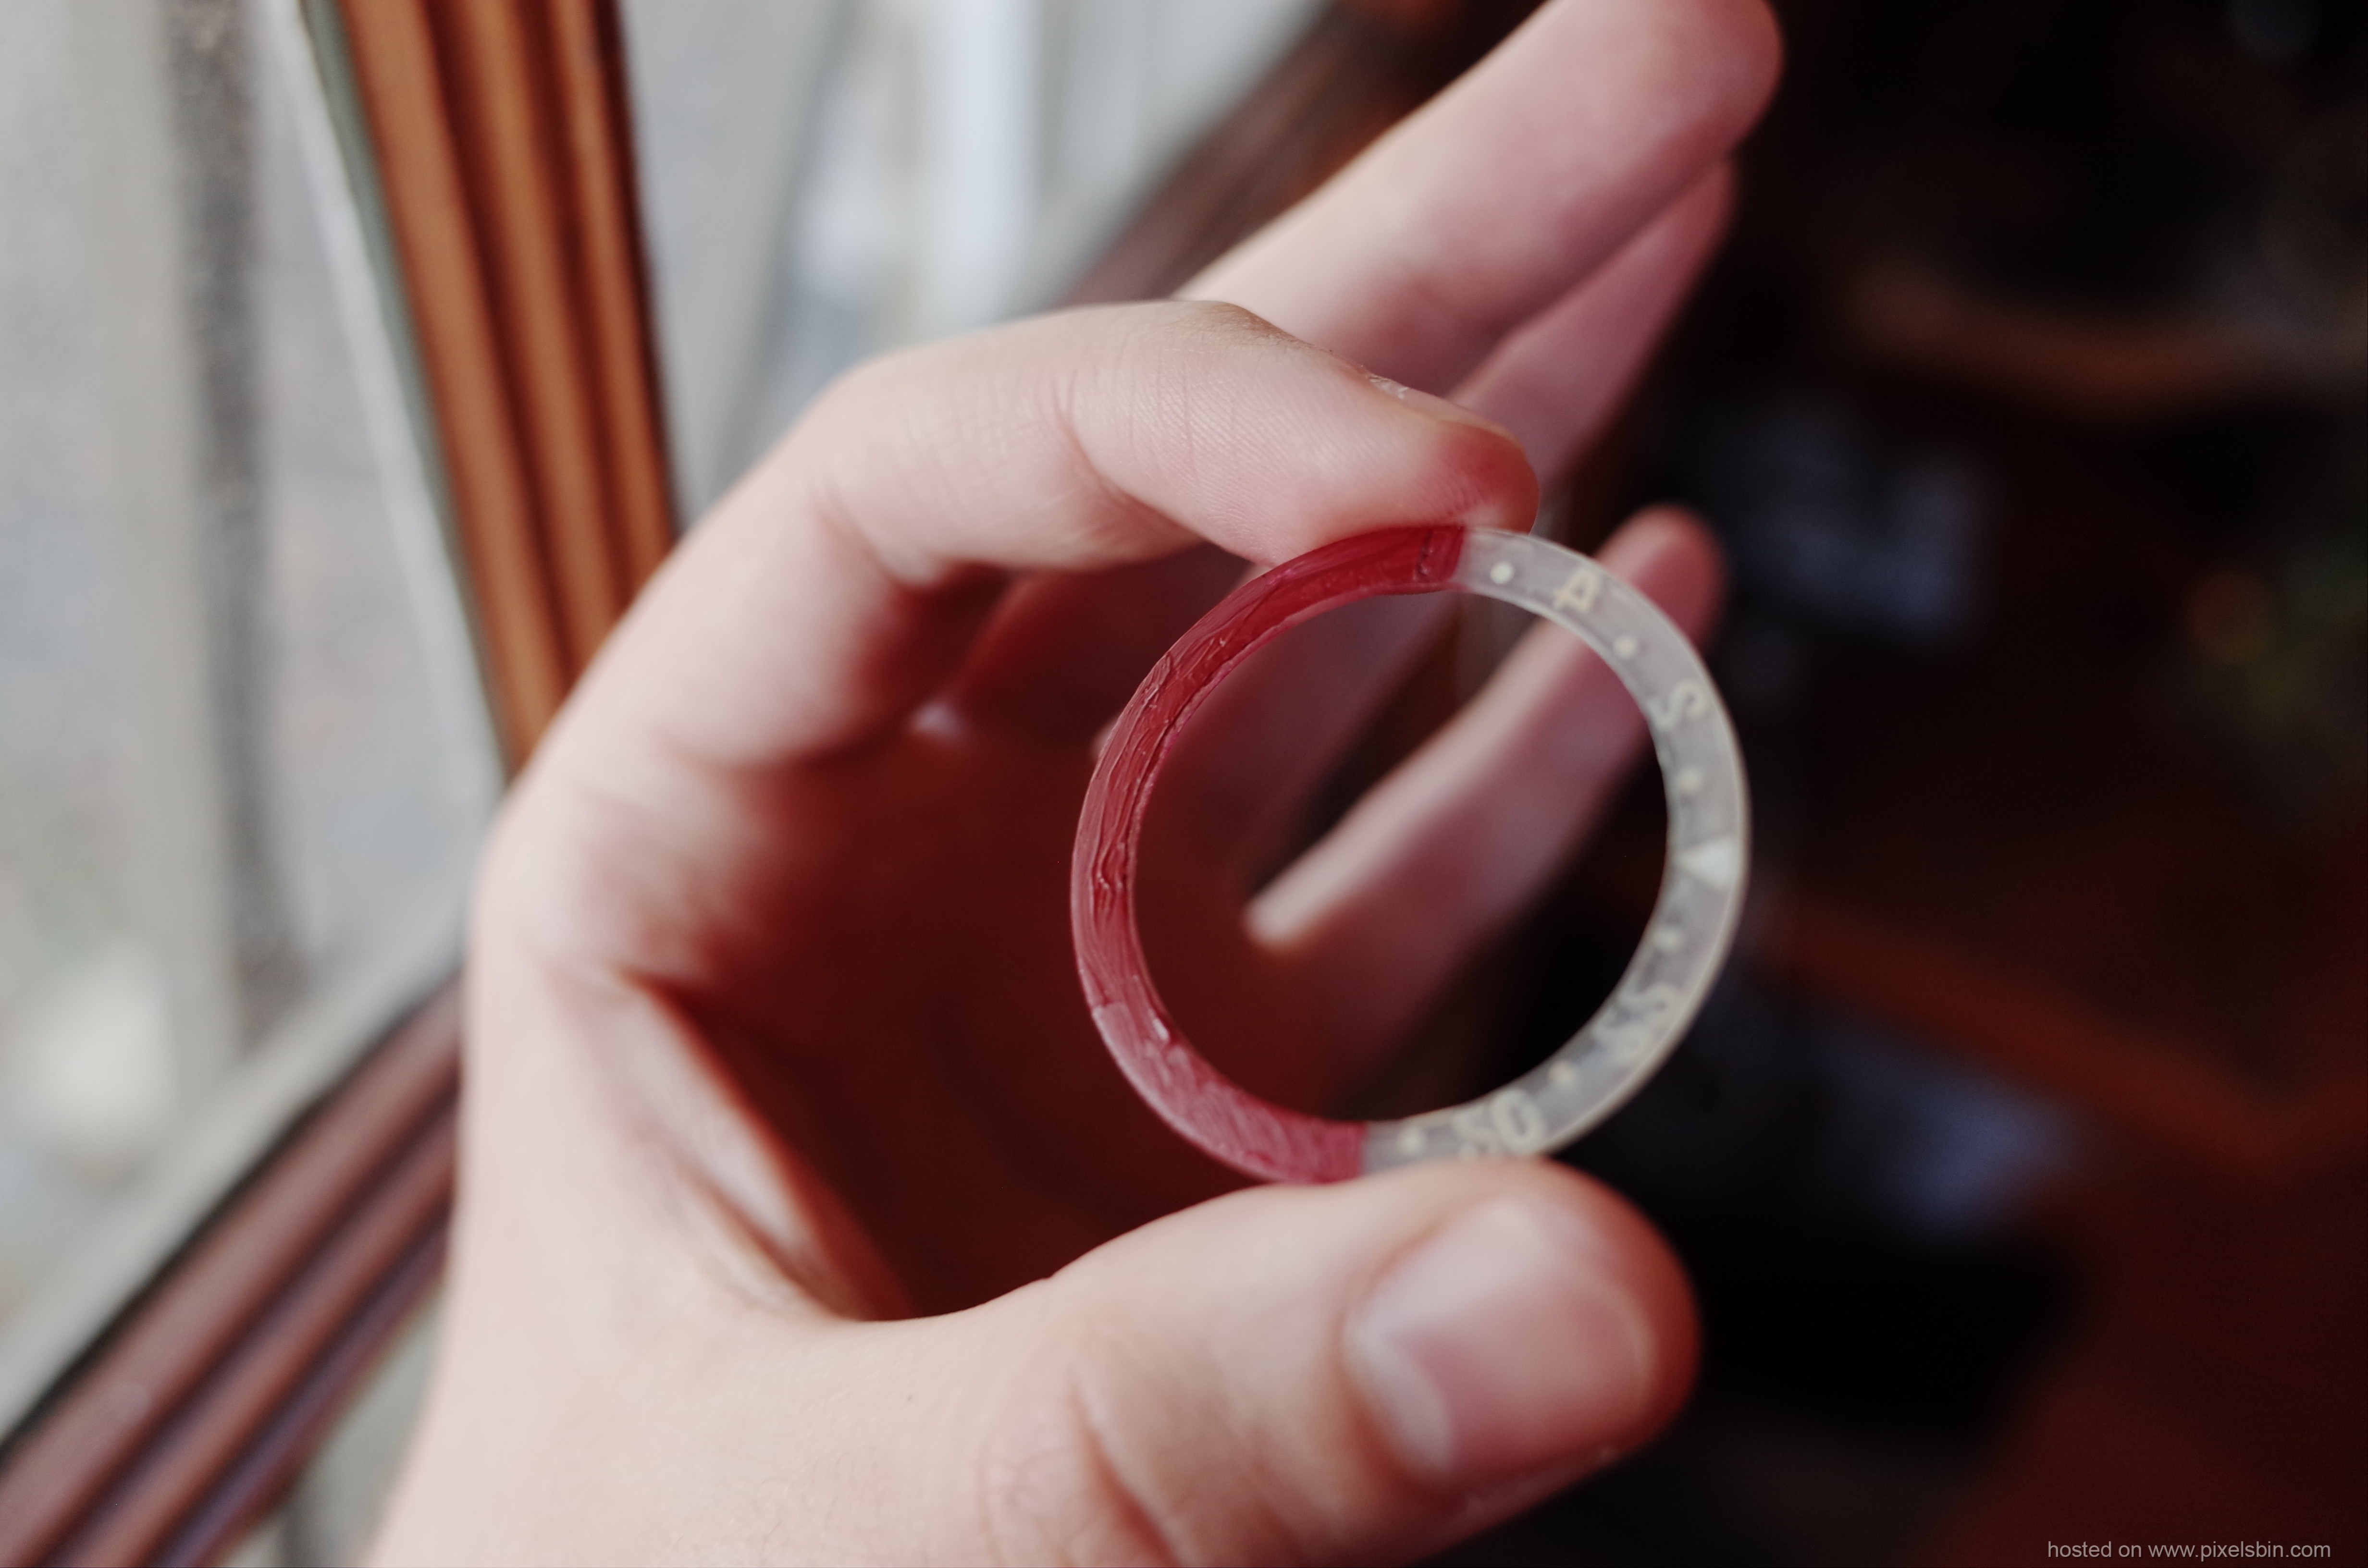
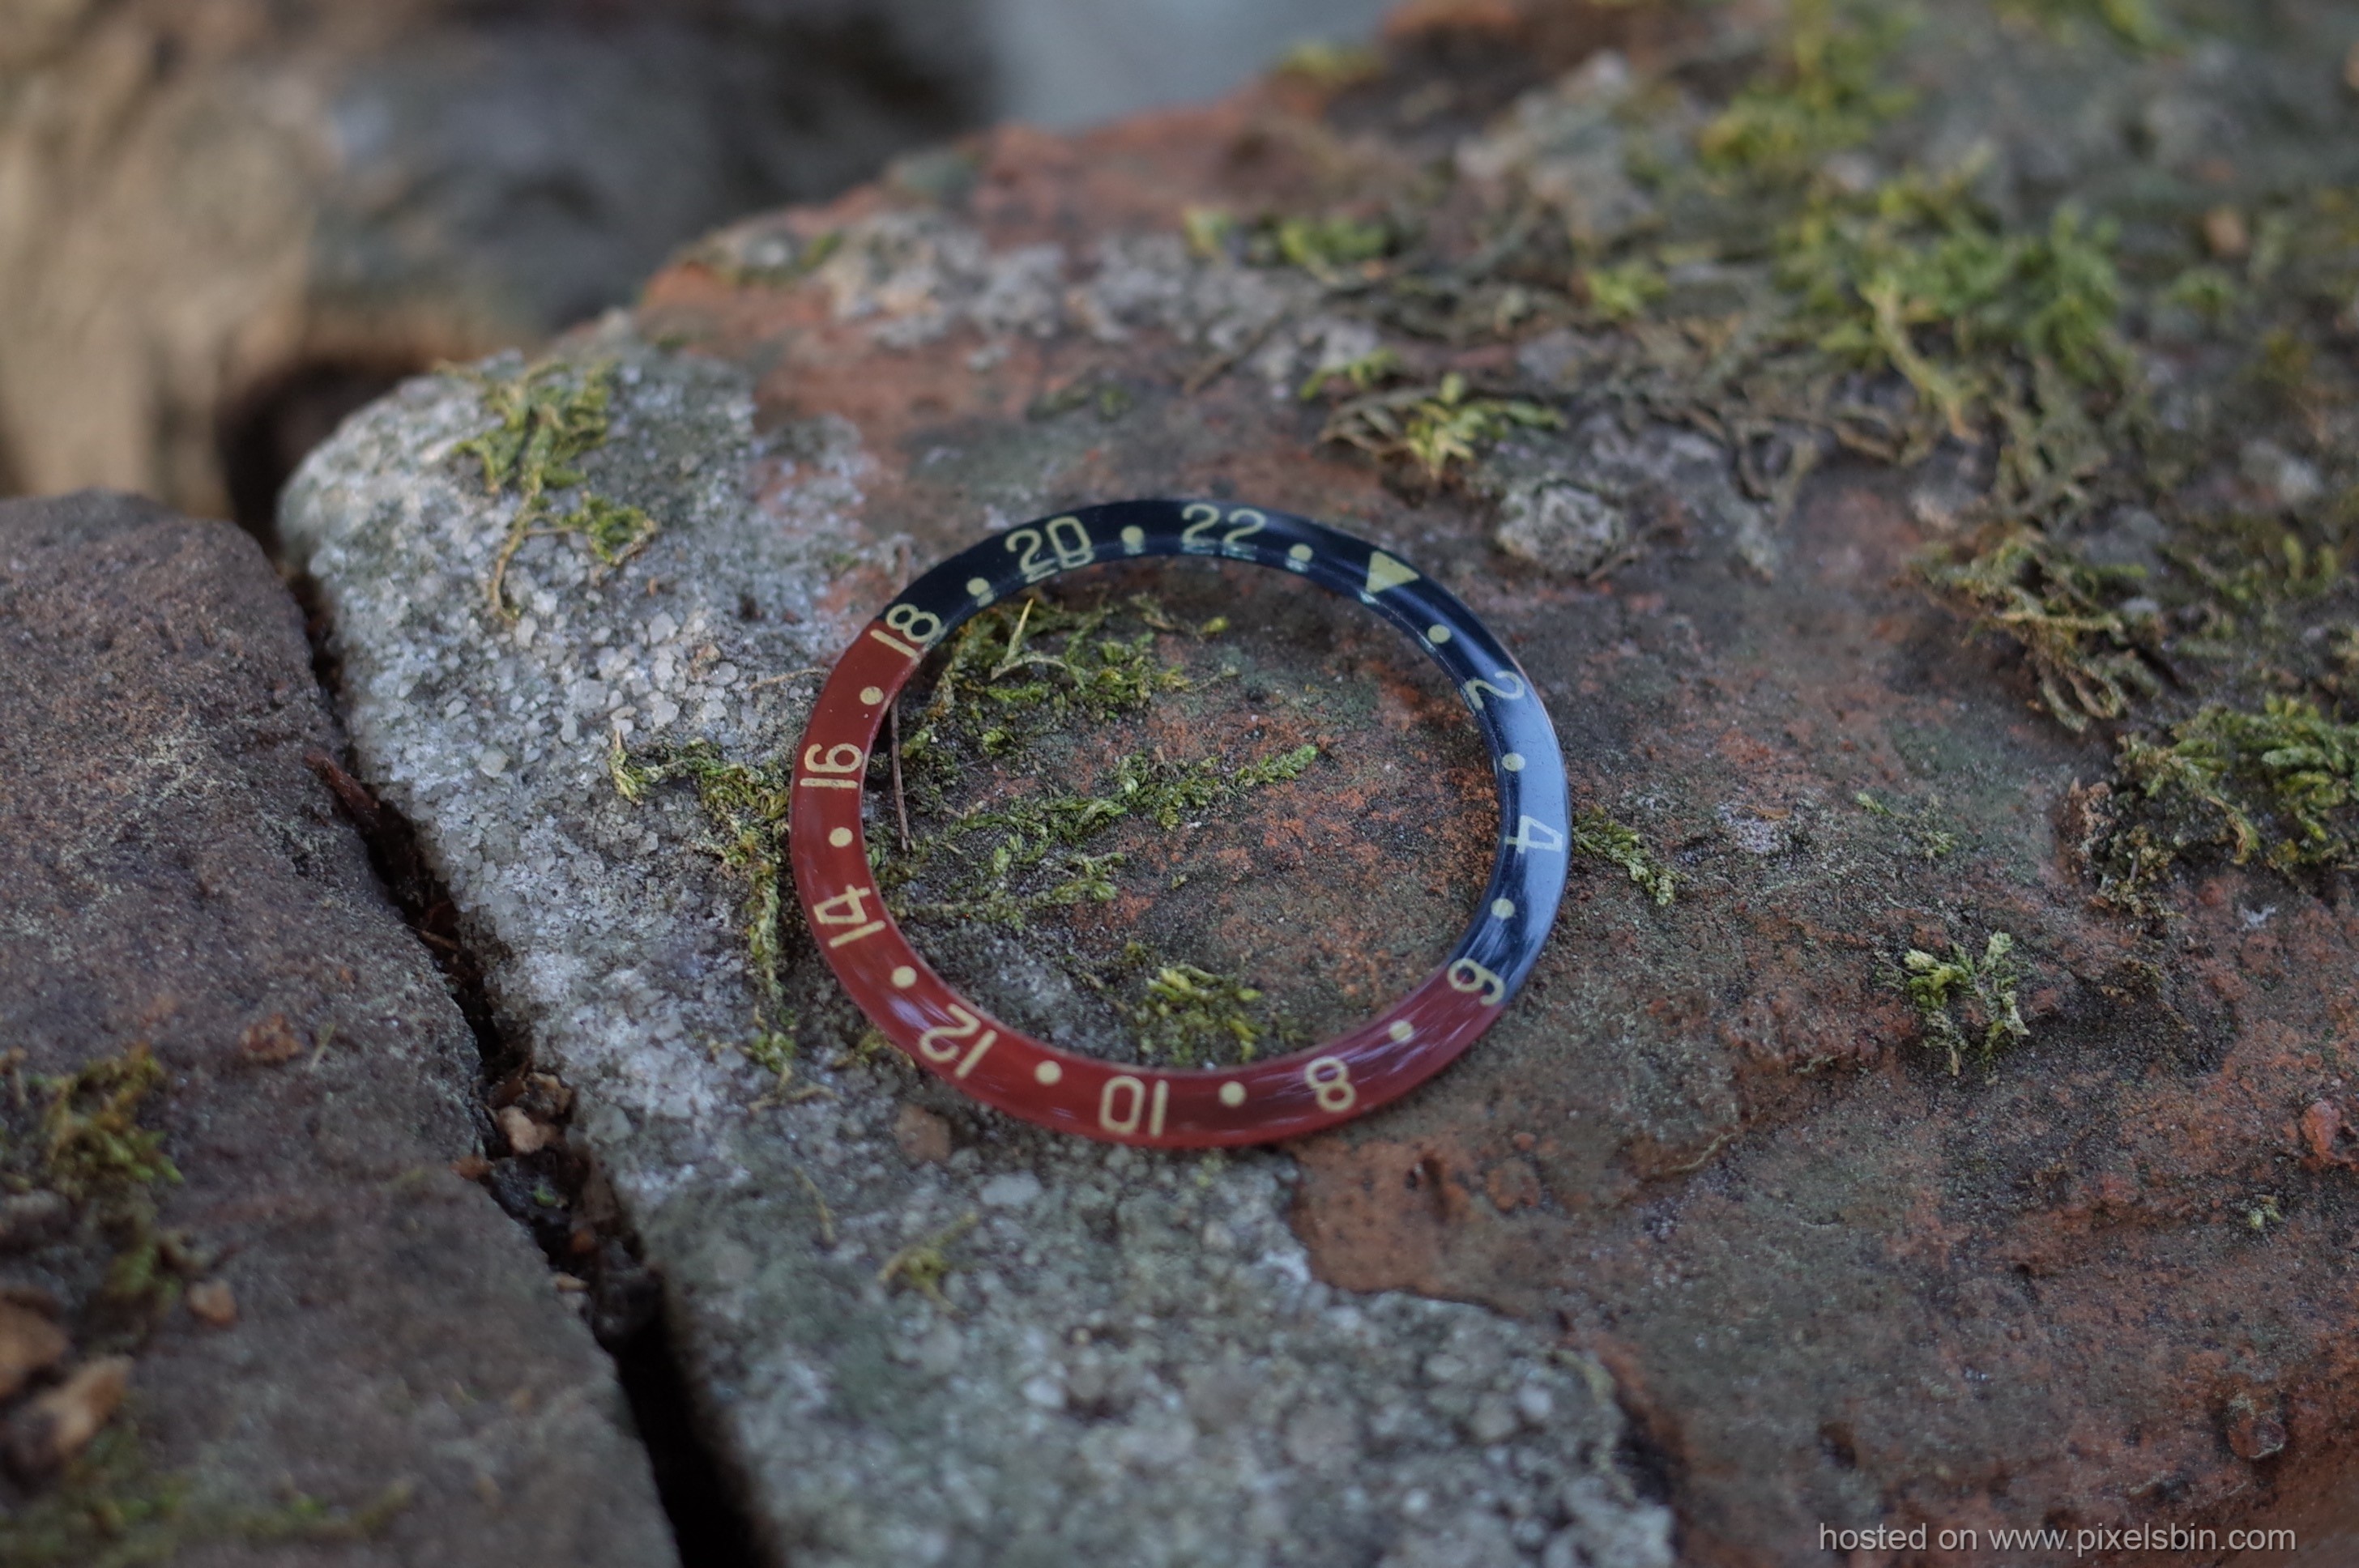
A finished insert

Another one
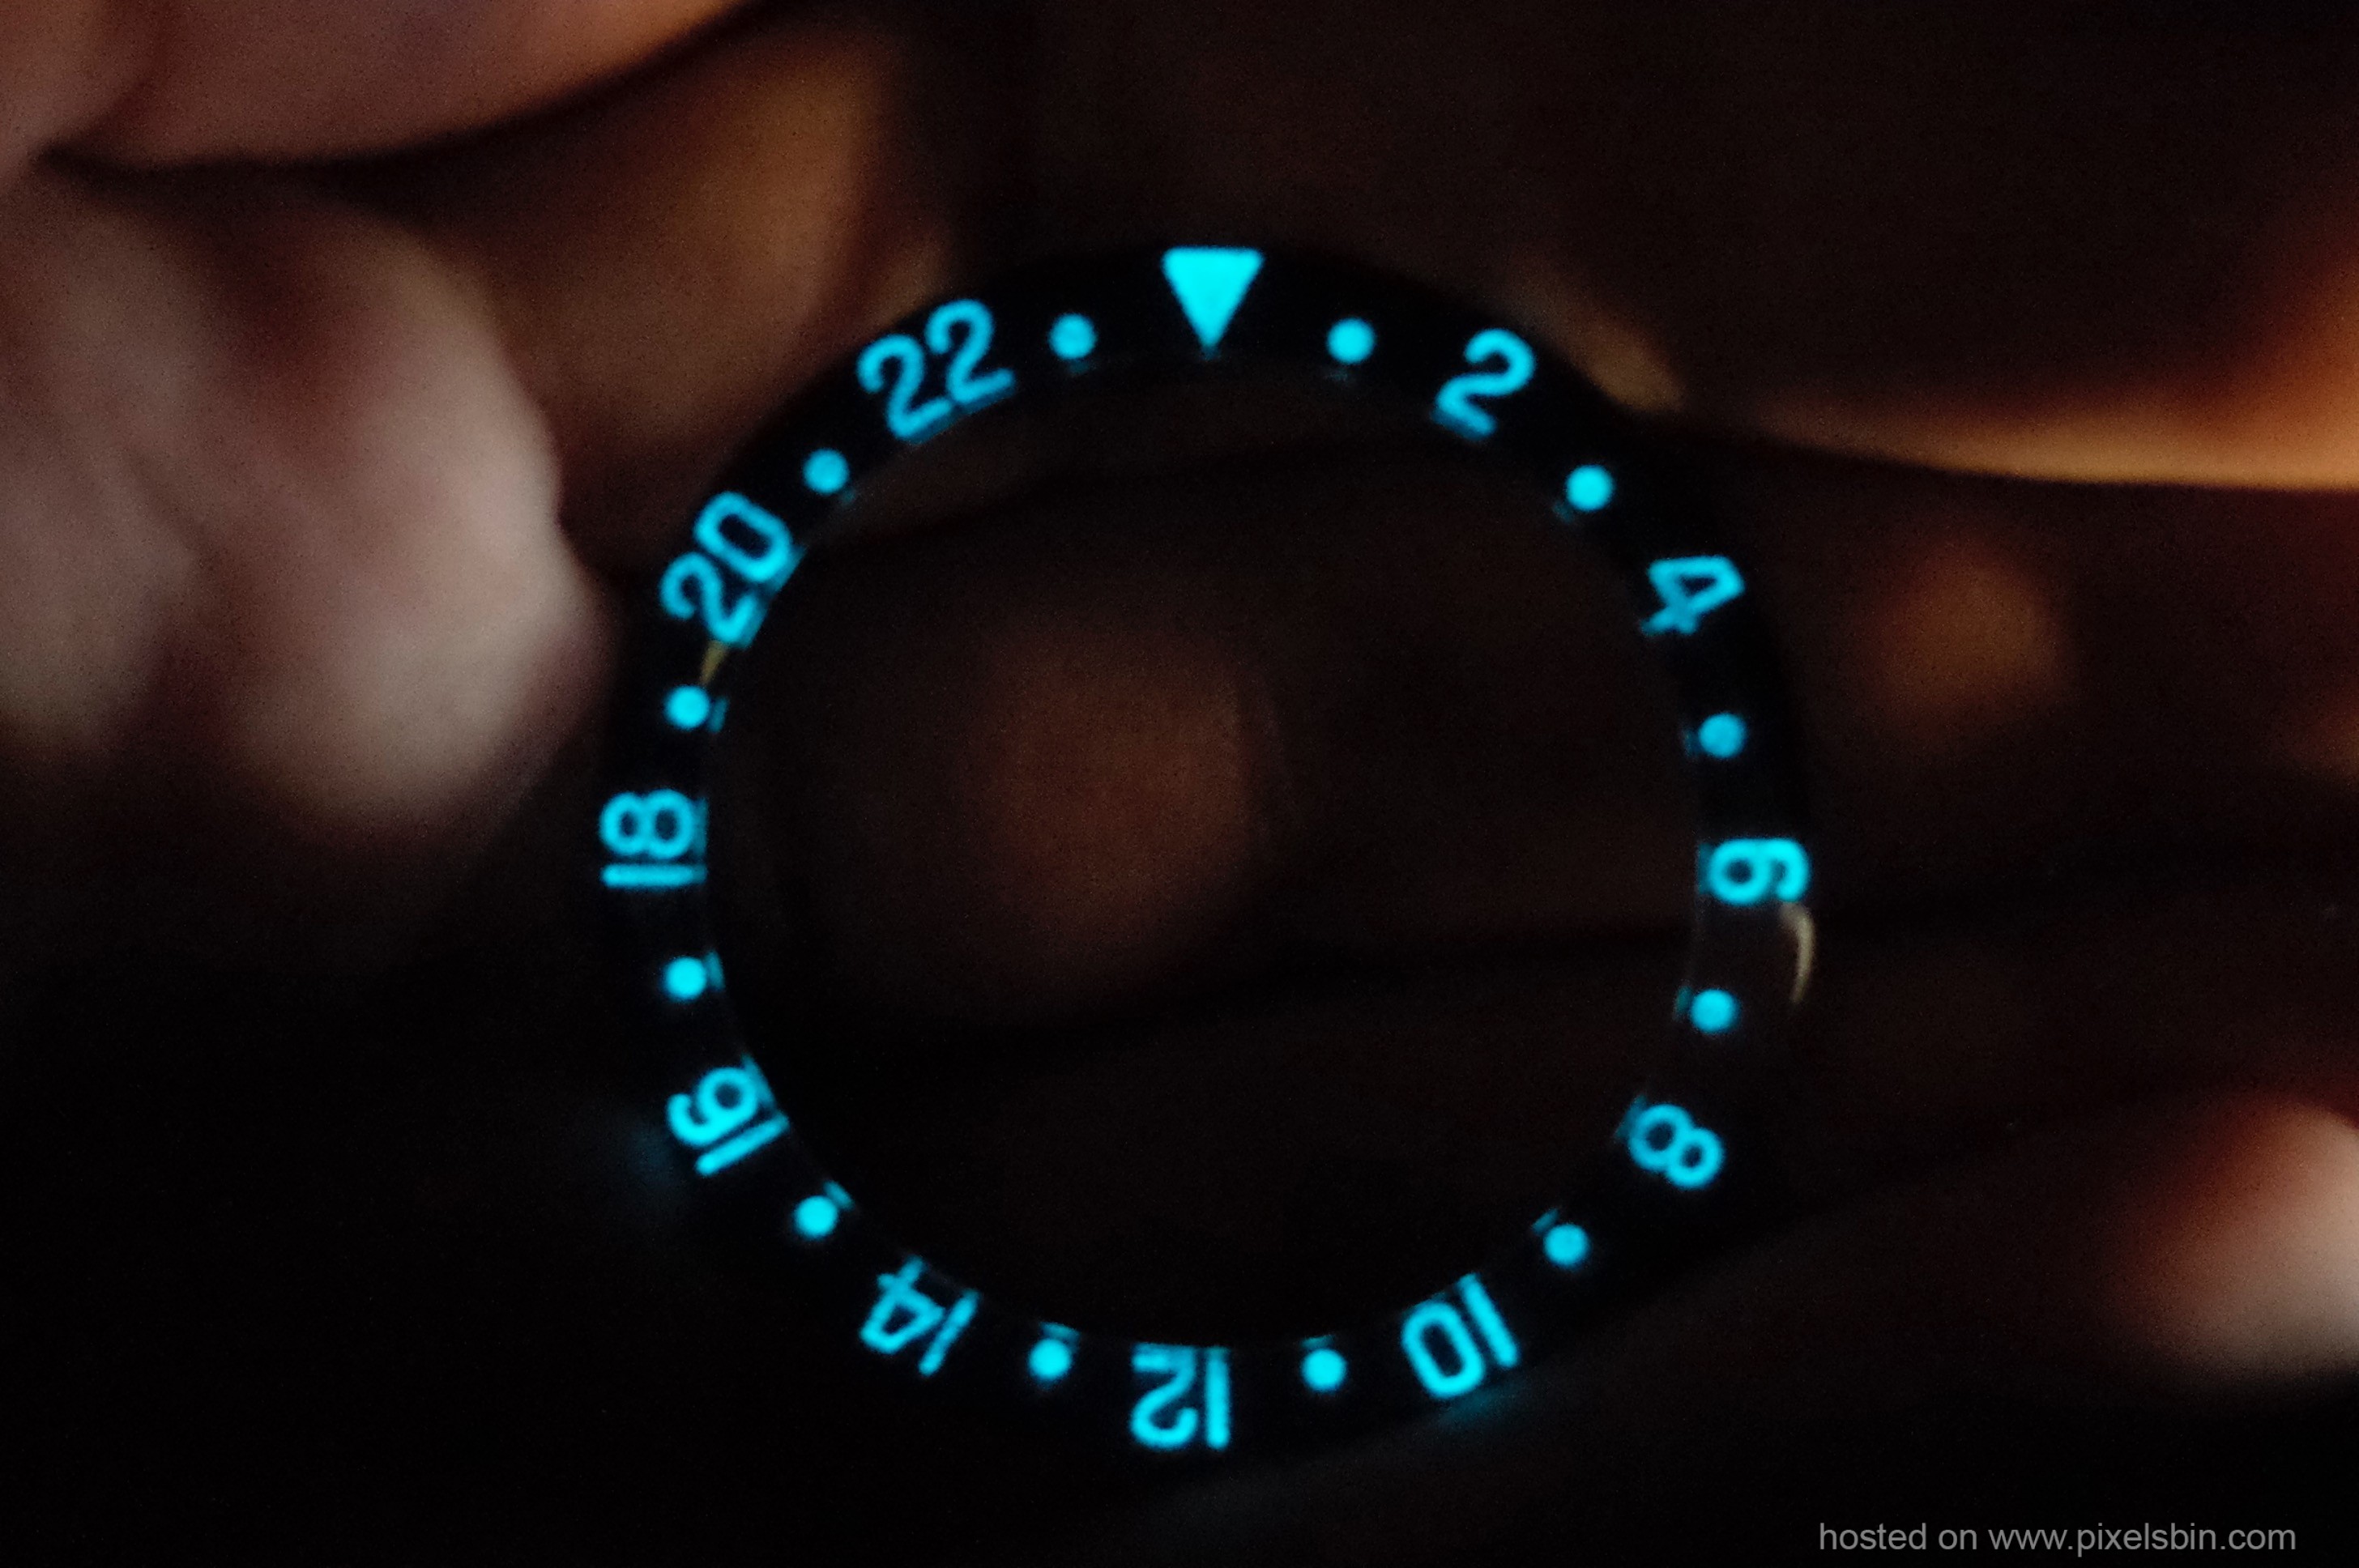
A lume shot
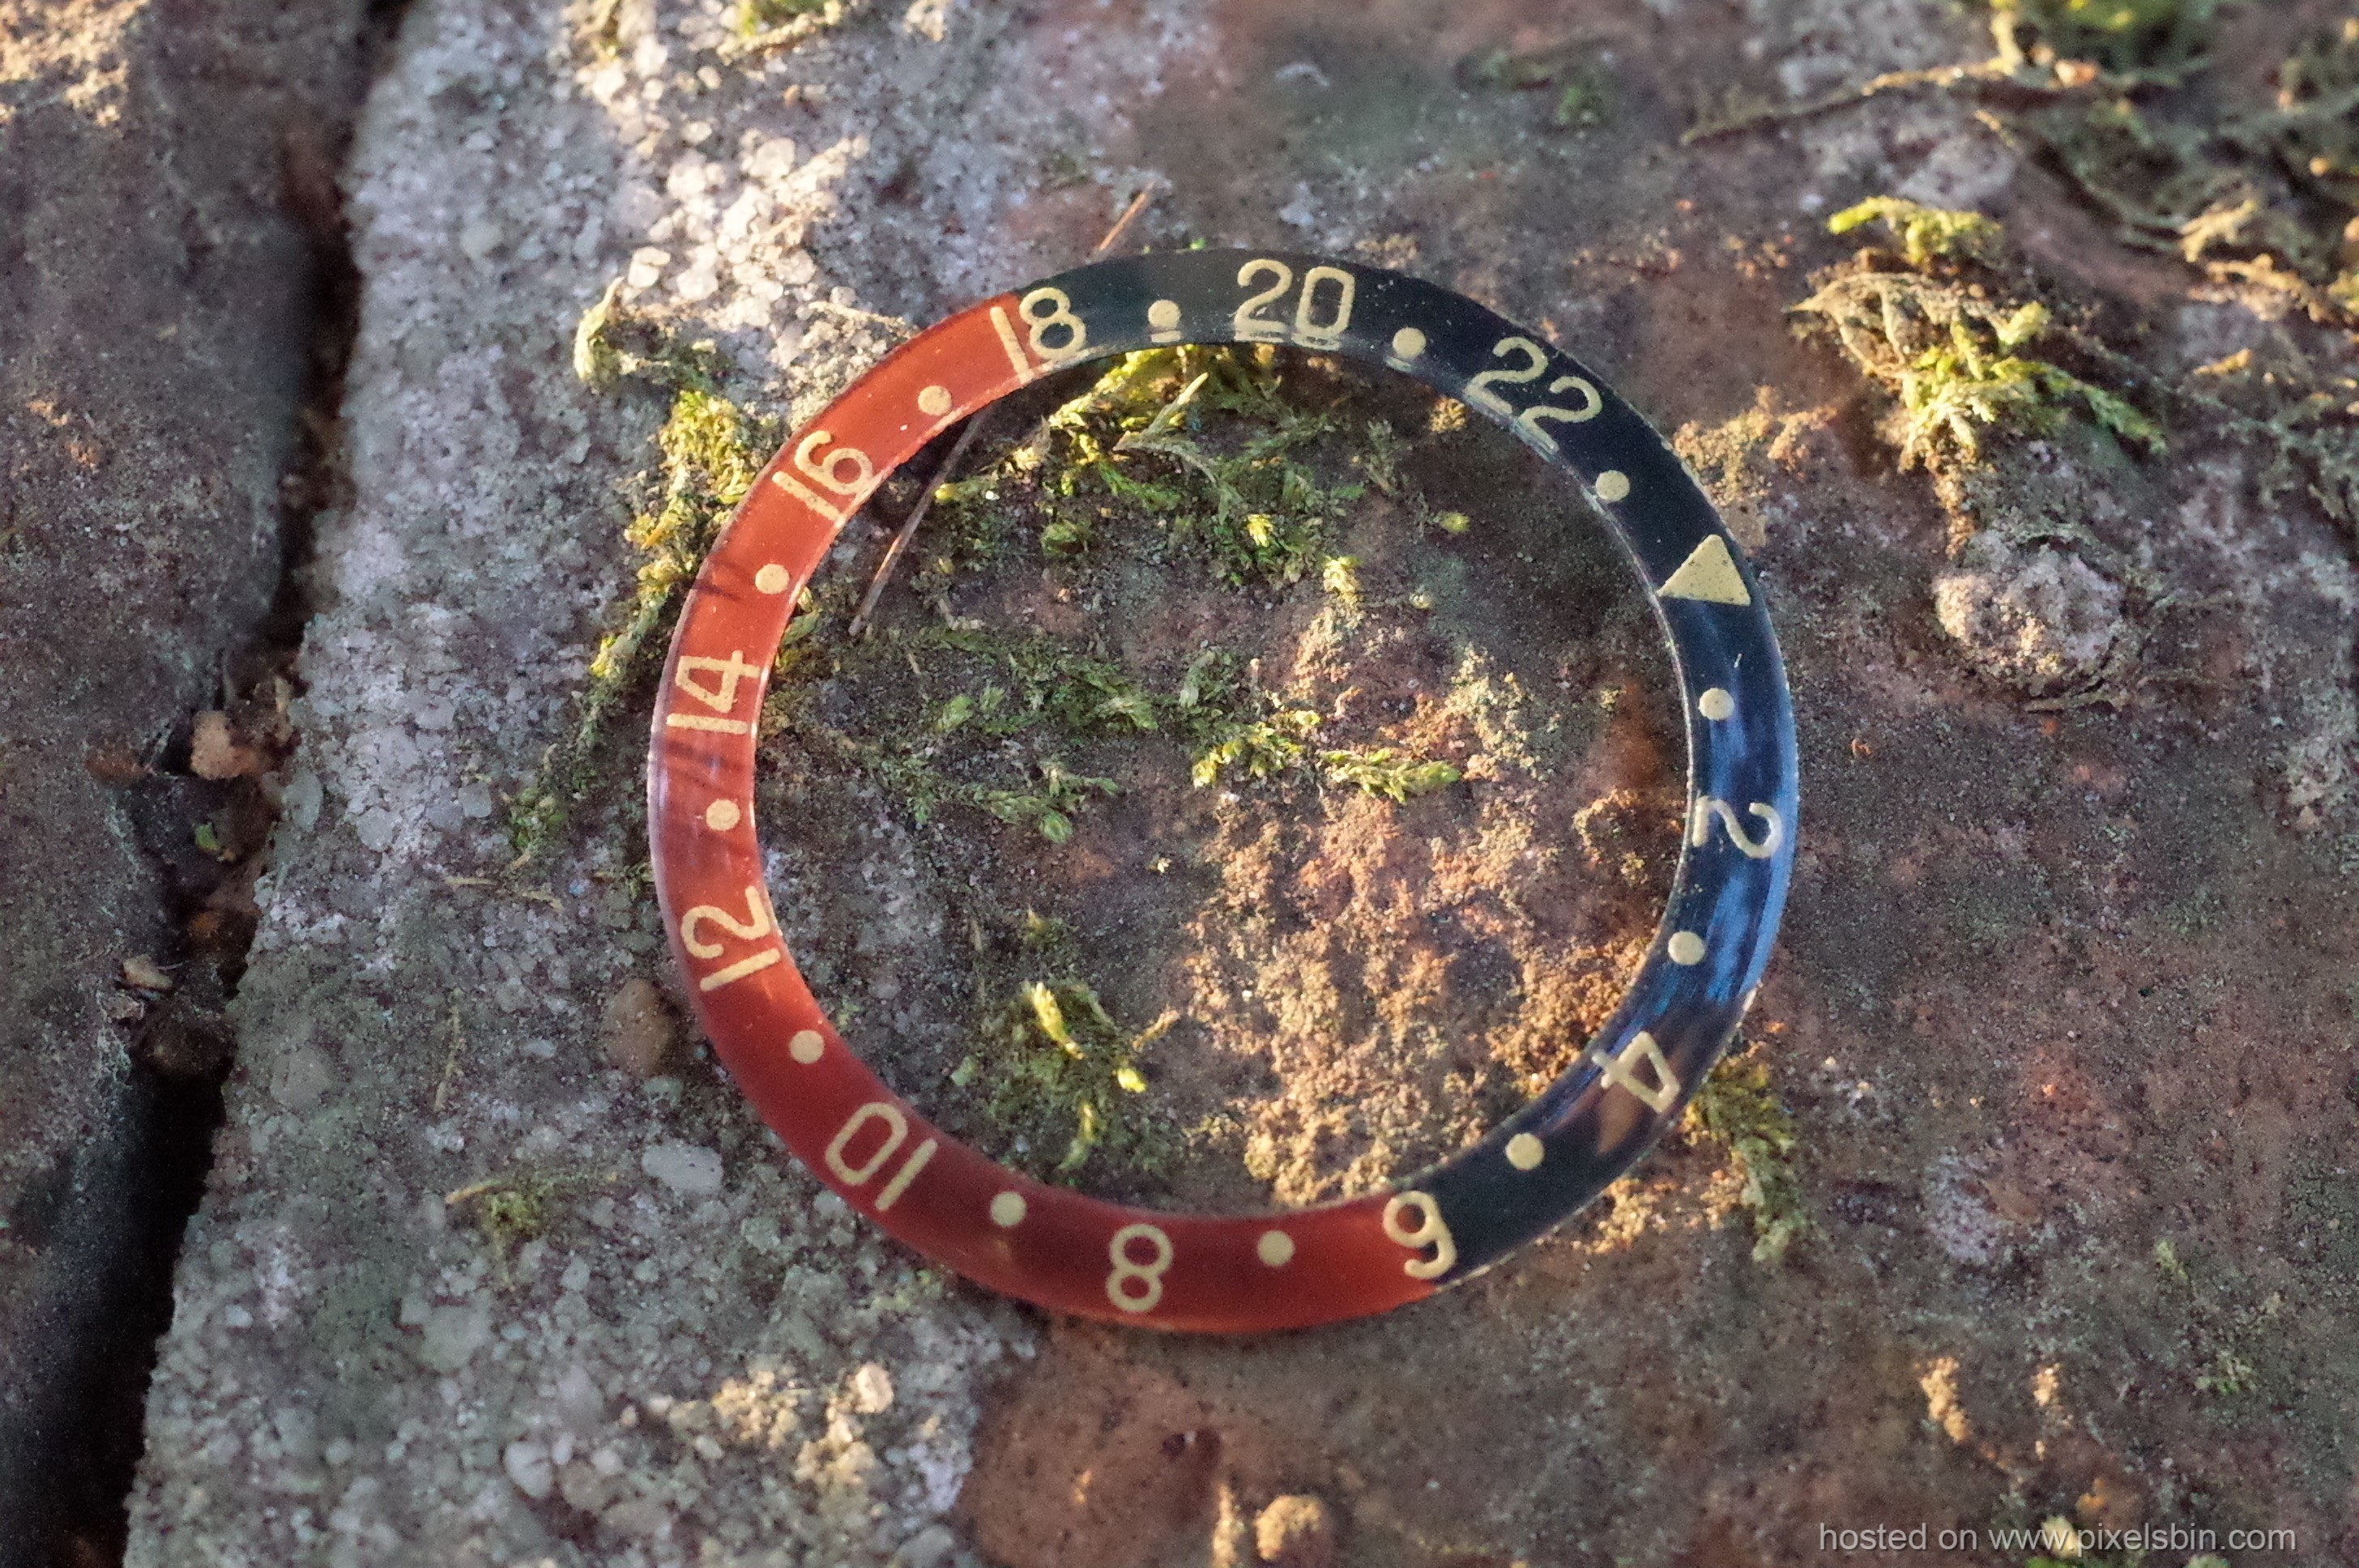
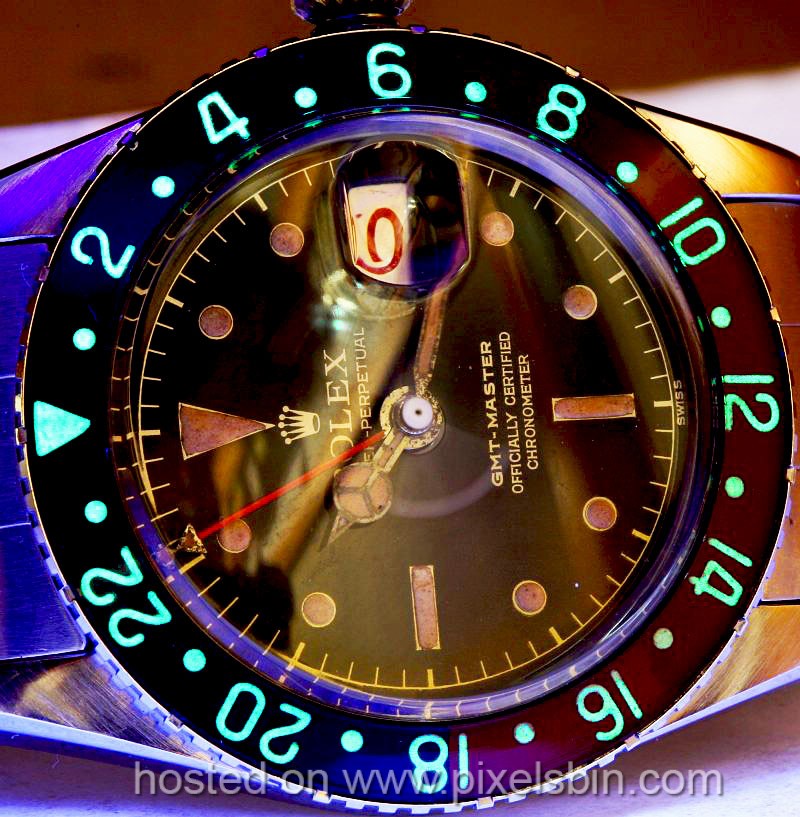
VS the real deal
Thanks for reading.
Â*
This is a repost from RWG. I would have posted it here earlier but my account was just restored. Anyway -
I would like to offer a special thanks toBart CordellandNCRichor providing me with all the measurements and moral support that I needed to complete this project.
For the past few months I've been working on a project that I'm sure many vintage watch enthusiasts have considered embarking on themselves - creating a bakelite bezel insert for the 6542. This all started off because A) I thought these inserts were beautiful and B) I wanted to create an affordable alternative to the $250-500 Vietnam inserts. After many months of struggling with seemingly every little task, I finally managed to get a decent end product. So, before I spoil you with pictures....how did I do it?
Well, first off I decided that the easiest way to do this damn thing would be with 3D printing, as I am familiar with AutoCAD. So I downloaded as many reference photos I could find of original bakelite inserts, threw them into Adobe Illustrator and began making a pattern that I would later import into CAD.
There were many iterations of this drawing. Some of the earlier ones I experimented on with Blender, a free 3D modeling program. These attempts were very crude, and I ditched this program eventually as it was causing many headaches.
After weeks of tinkering around, I was satisfied with the drawing I had created, and I found an excellent alternative to Blender that was much more intuitive to use - so I imported the pattern and got to modeling. At the beginning, I figured it would be smart to make a 3D model of amoldfor a bezel so I could pour in clear plastic andÂ*create as many as I needed to - makes sense right? Well apparently plastic bonds to plastic, so this idea - and the many 3D models that came with it - were tossed out the window.
Bye!
Now my only option was to model the bezel itself, which was actually less annoying than trying to model a mold for one. Here are renderings I created from my first effort, not too bad but still a lot to improve clearly.
After much refining, I came up with something that I thought was reasonably accurate enough to print.
So I did. I received my baby in the mail after waiting for two looonnng weeks.
I was overjoyed! Now all I needed was a mold. I did much research, and came to the conclusion that a silicon mold was my best option to produce clear resin castings. Here's what I came up with. The pencil became the pour spout and the toothpicks are to allow trapped air bubbles to escape. This is when I started to realize why these things are so damn expensive.
Now all I had to do was pour in the resin, produce a bunch of really shitty reproductions because I have no idea what I'm doingÂ*(seriously, so shitty), until I finally managed to create this:
A crystal clear "bakelite" insert. I decided that I wanted the lume to actually function as per the original, so I bought some powder and delicately painted it into the numerals. I then hand painted both the red and the blue halves. Here it is halfway finished andÂ*with only one coat of paint.
A finished insert
Another one
A lume shot
VS the real deal
Thanks for reading.
Â*