Recently had a few members ask about pressing ceramic inserts that are gen construction so took a few pics and I’ll explain my process.
I’ve done a few gen assemblies this way. Cross my fingers I haven’t cracked one yet. A bit of a pucker factor at first but each time went smoothly.
I’ve as well done some ARF as they are gen construction. One of the DSSD inserts I’ve removed and pressed was glued to the metal base ring.
The sd43 I’m picturing here was not glued to the ring. I pressed a full gen sd43 bezel assembly and it is the same as ARF.
I used a razor exacto style knife to separate the metal ring from the bezel. It is important that you wedge the blade between the ring and the base of the bezel rather than between the ceramic insert and bezel ring as it will crack it. The metal base ring acts as a support for the ceramic insert.
https://uploads.tapatalk-cdn.com/20190926/920f99a245dc1cf8795c6387df12202c.jpg
https://uploads.tapatalk-cdn.com/20190926/94b4027e0f16867cf97777be73a7840b.jpg
Once separated you will have the bezel support ring and insert.
https://uploads.tapatalk-cdn.com/20190926/50358a38c18bd374e2b56e462f6f5b18.jpg
Installing the insert the base metal ring will sit in the bezel without pressing.
https://uploads.tapatalk-cdn.com/20190926/2495c4949562f7d6aba9f75f346d4d9b.jpg
I used a junk die and notched out where the pearl is on the insert. Putting pressure on the pearl will instantly crack the insert.
https://uploads.tapatalk-cdn.com/20190926/c84413b62e1c26a96462cd2e0e43d969.jpg
When pressing I used a screw down style press. This allows you to press slowly and evenly. You will hear a snap when it seats. I crapped my pants the first time cause I thought I snapped the insert but no crack nicely seated insert.
https://uploads.tapatalk-cdn.com/20190926/673d5ae04c60a595bb380d074e9843a7.jpg
Complete
https://uploads.tapatalk-cdn.com/20190926/2e882748ab7a050167e53bbab97e78ce.jpg
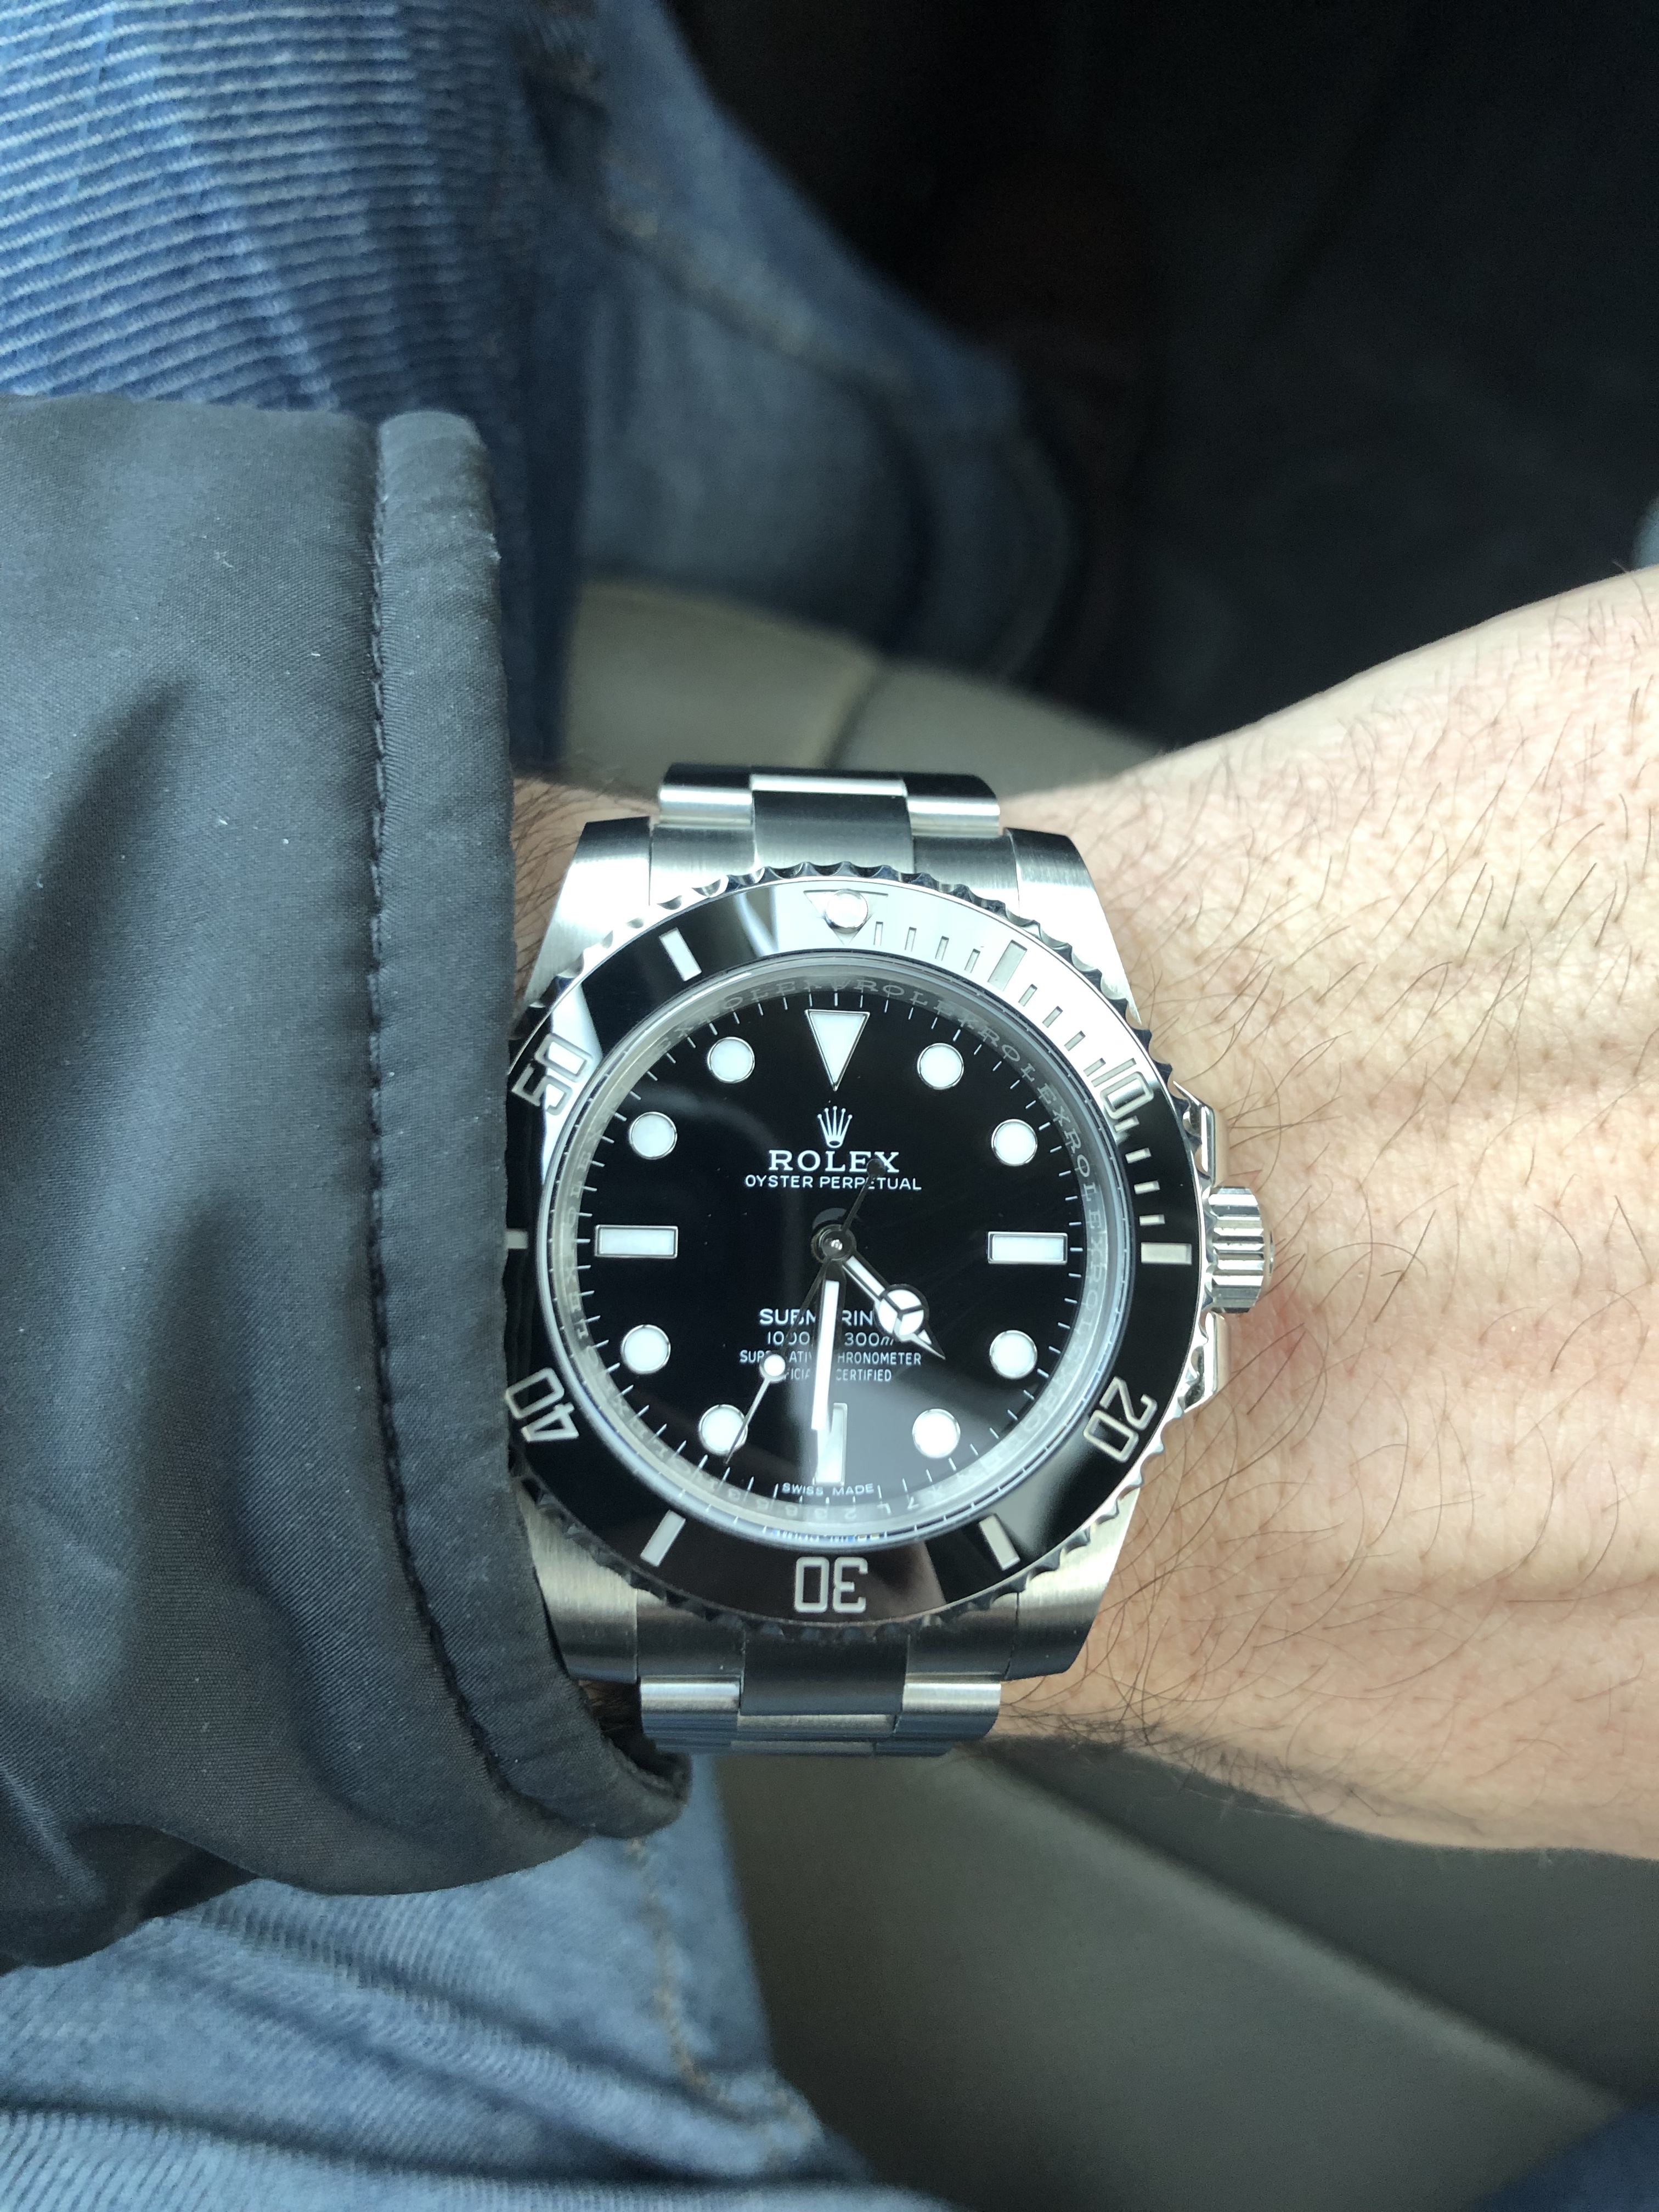
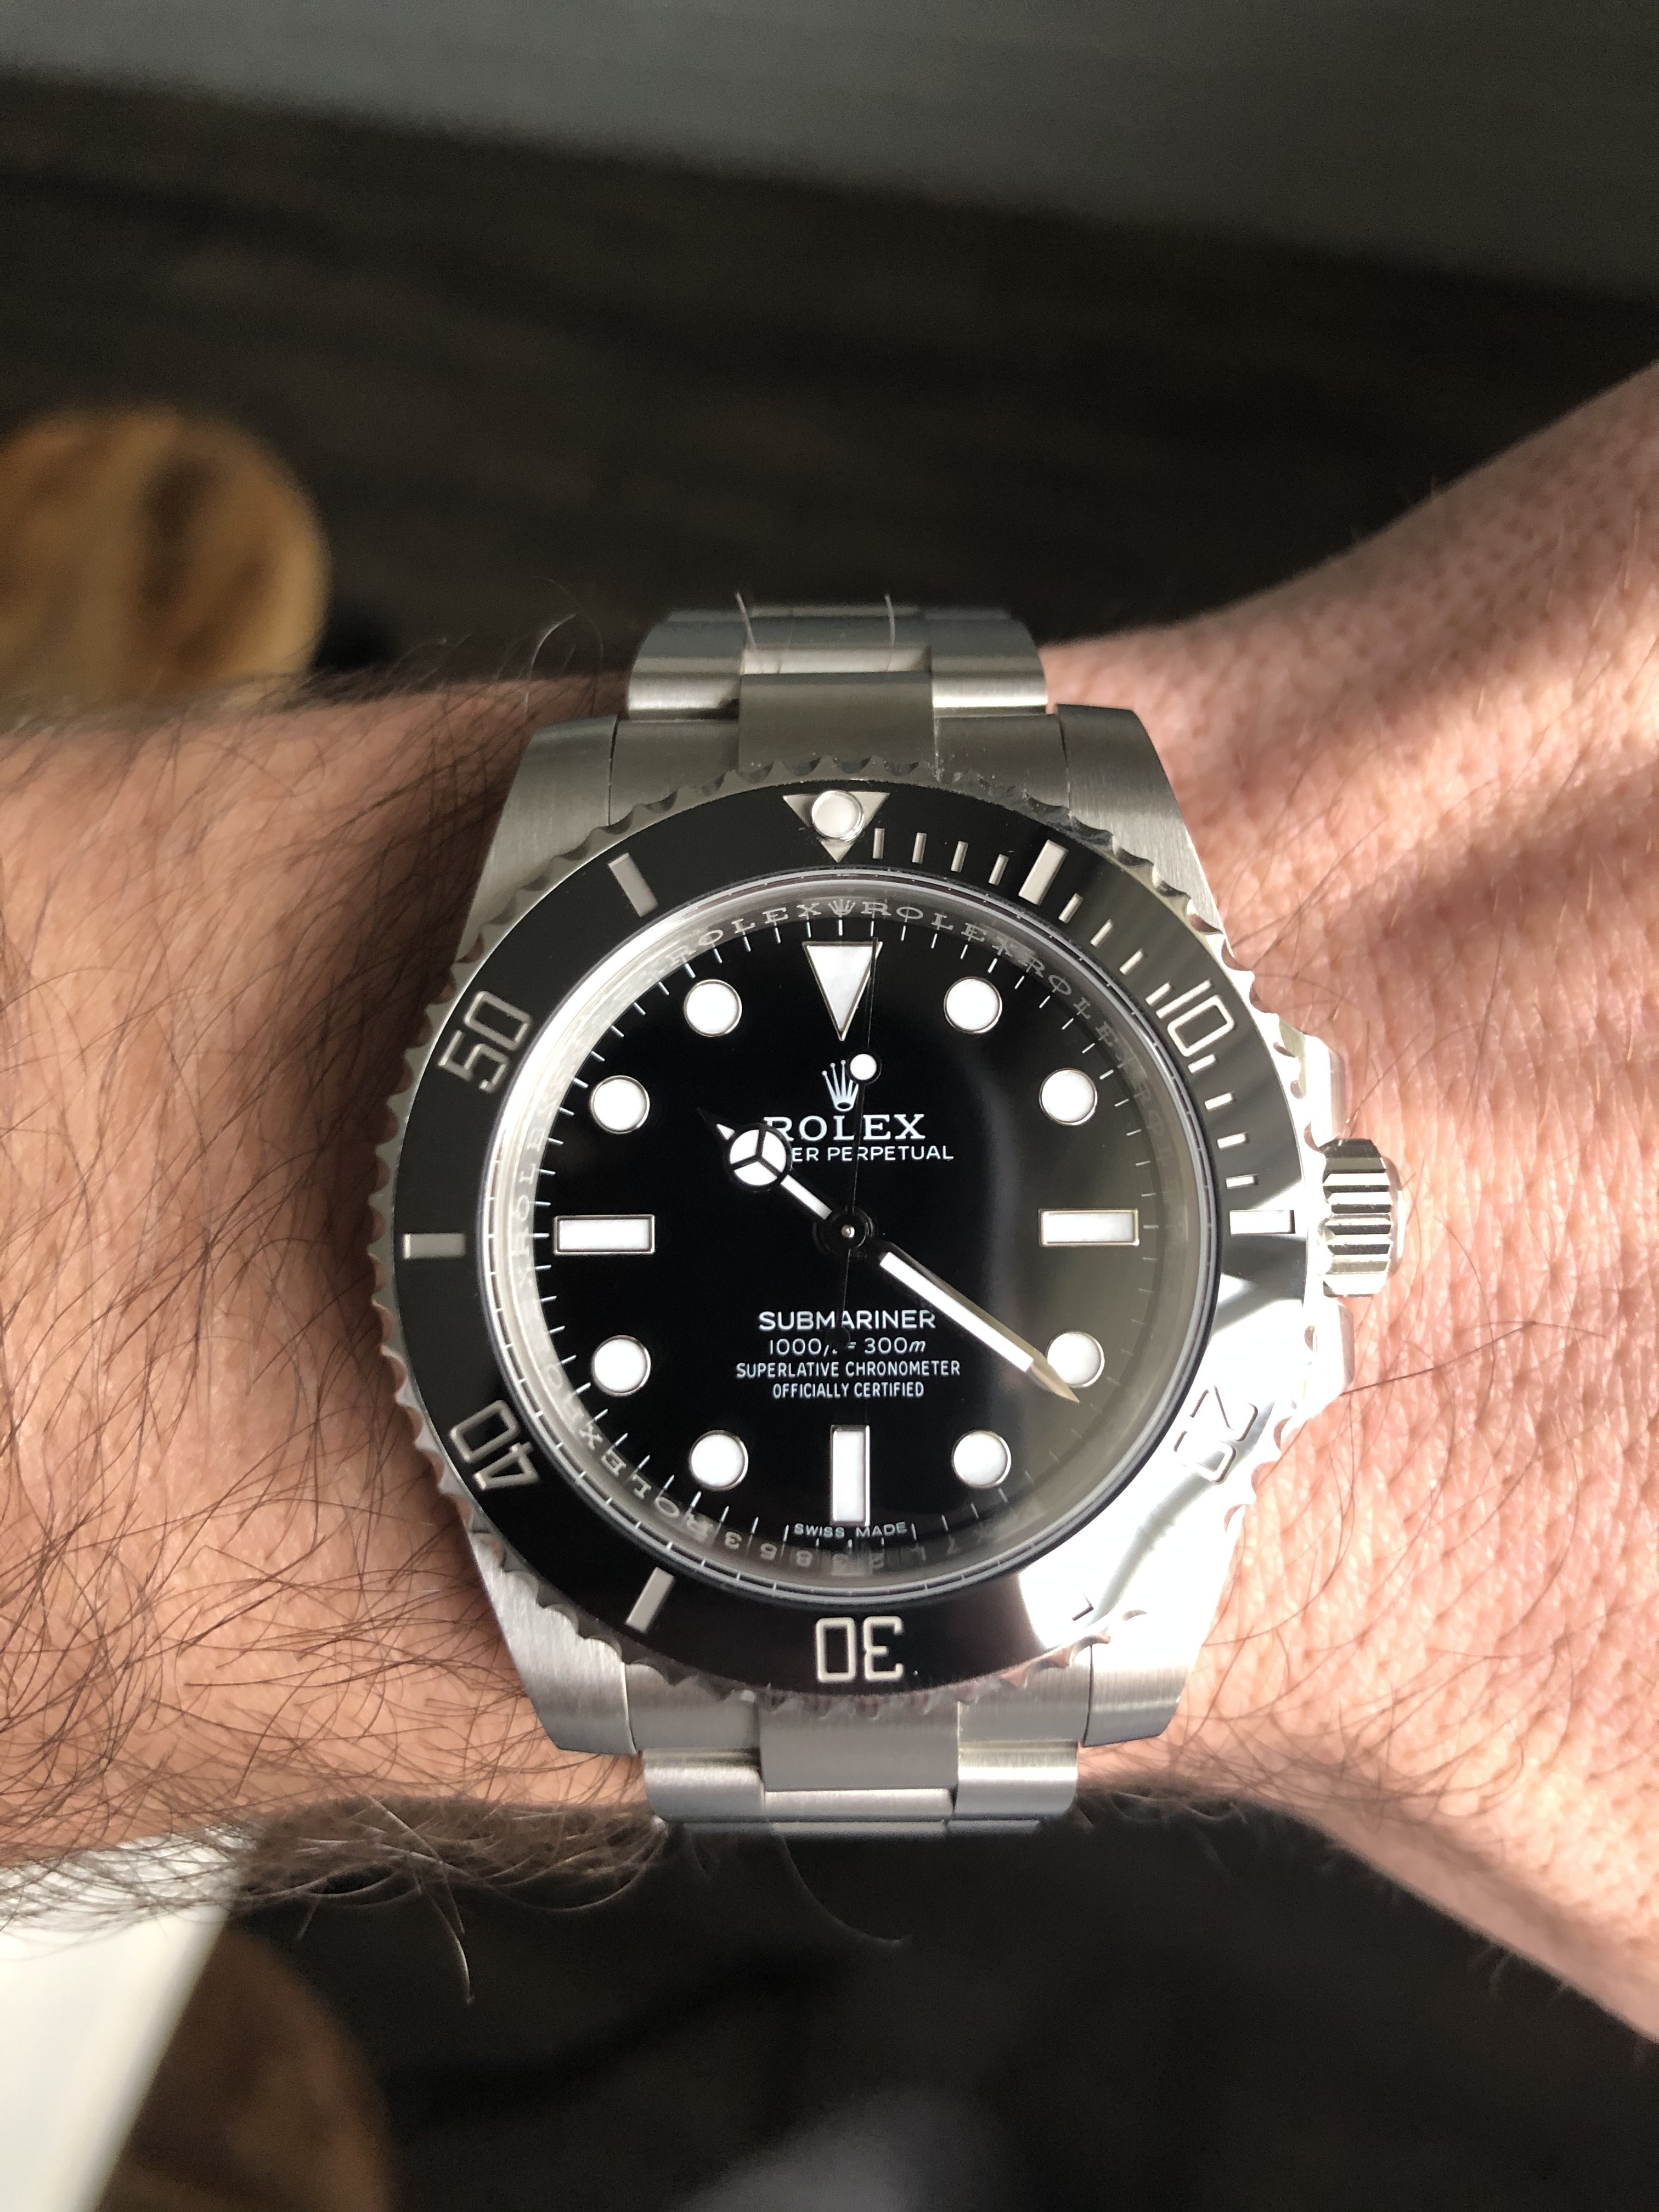
Here is some pics when I built a franken sd43. I suggest installing just the bezel first so you can align the pearl at 12.
https://uploads.tapatalk-cdn.com/20190926/ddd704c3d9d8567c7cd9a2dd069eabb5.jpg
https://uploads.tapatalk-cdn.com/20190926/de406c554458178d47614a4337e91caf.jpg


