- 3/11/06
- 795
- 0
- 0
Allllllllriiiiiighty then.
I started off with an amazing watch from my friend - Mr. Davidsen. A BEAUTIFUL 112 that I dreamt about and wanted for oh so long. FINALLY, I pulled the trigger and she made her way, half way across the world, to my door. You don't know the excitement I felt. This specimen was flawless and I couldn't be happier...... except..... the damn CG pin. UGH!
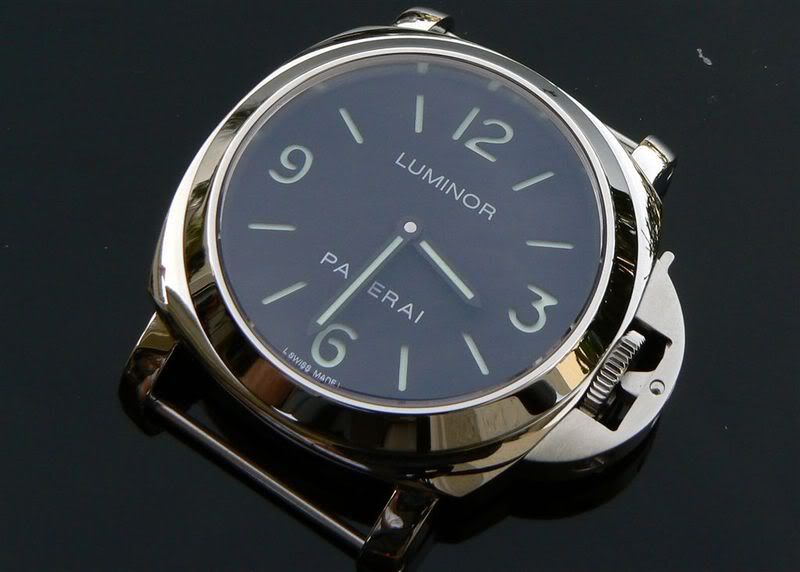
So I decided to mod it (NOTICE, mod was completed before I took pictures for tutorial - so use a little imagination and work with me here!).
1. Take off CG
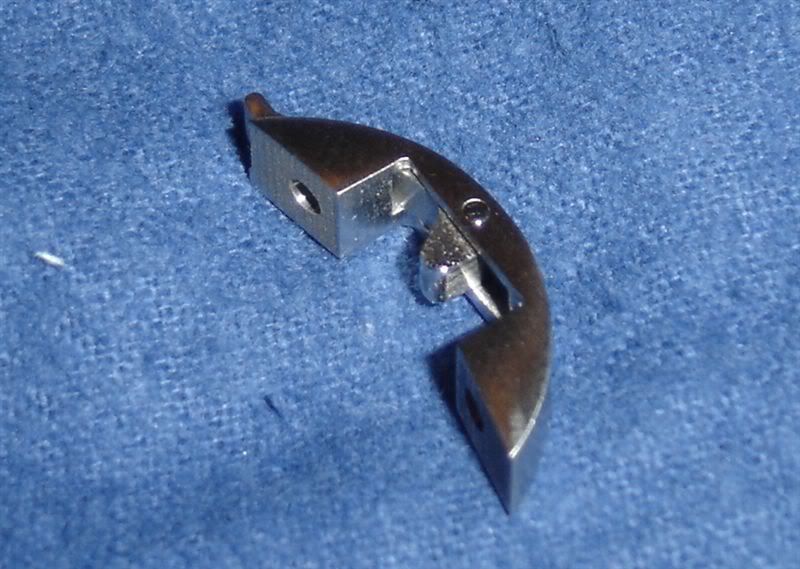
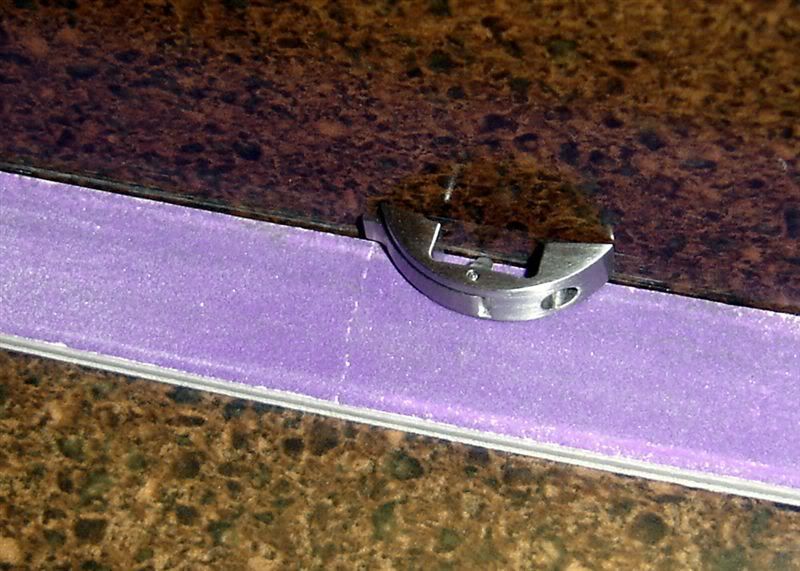
2. Push pin up from bottom so it protrudes through the top of the CG my literally a hair, just so your fingernail catches it when you drag it across the top of it. Use the pointy part of a springbar tool or a small (very small) screwdriver. If you push it up too far, turn over and push it back a hair using a flat surface.
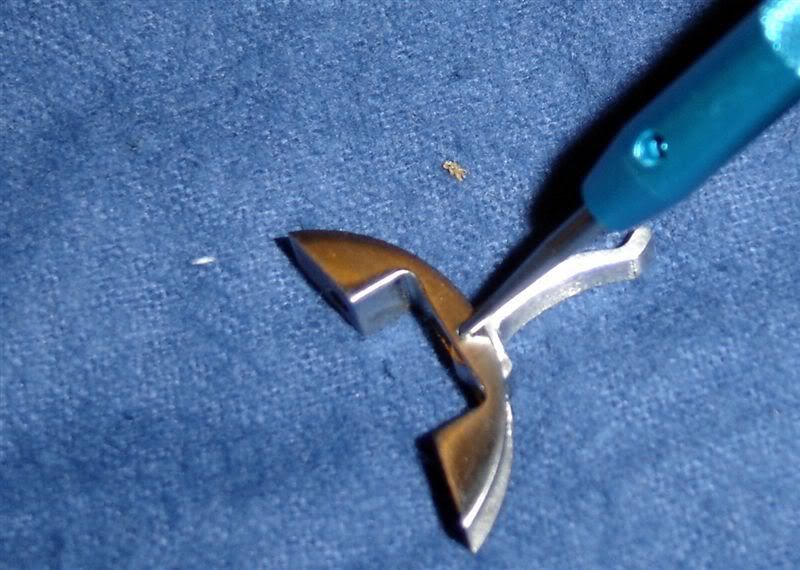
A bit too much here, but you get the idea on how much to push it up:
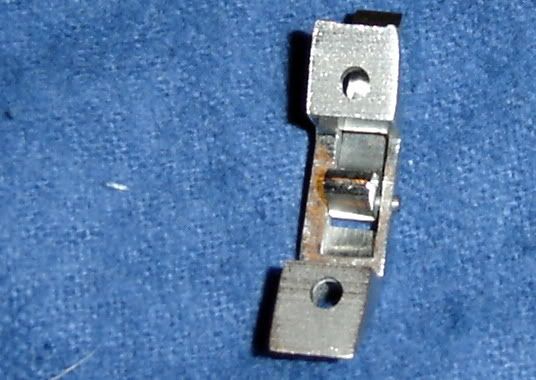
3. File down using a disposable finger nail file. Purple is the preference (LMAO!). It should be flush. Best way to do it is put file on flat surface, turn CG over and stroke back and forth (I know what you are thinking…. you dirty dog!). I actually placed the file against a perpendicular object (put it on my work bench and held a block up to the edge of it), so the brushing/scratches ran the correct way.
Result is:
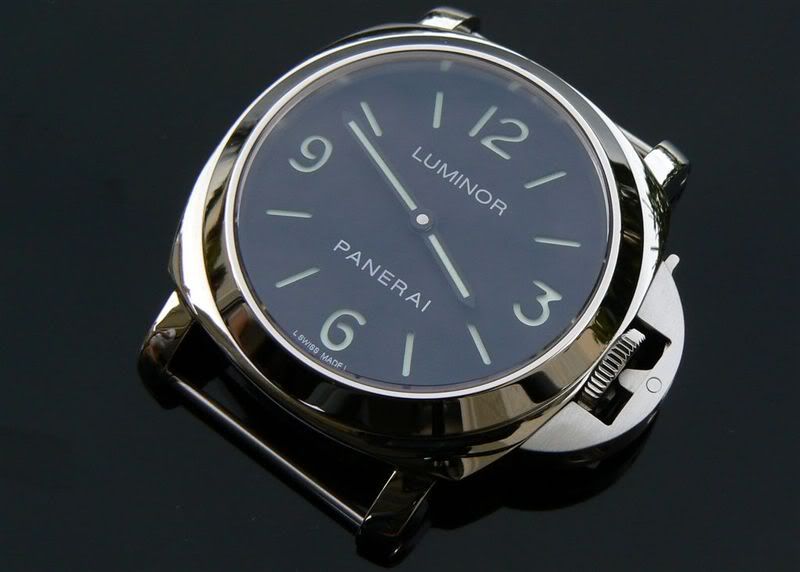
Better already, huh?
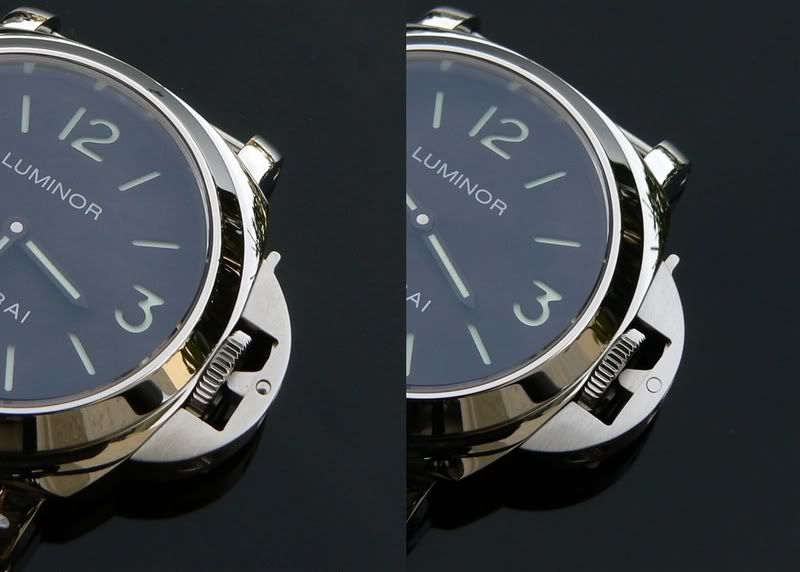
4. After flush, push the pin from the bottom so it falls out.
5. Using a Sunshine cloth, hold pin tip against taught Sunshine cloth and get end polished to a mirror finish.
(Yep, my hands are bone dry and I need lotion. BACK OFF!)
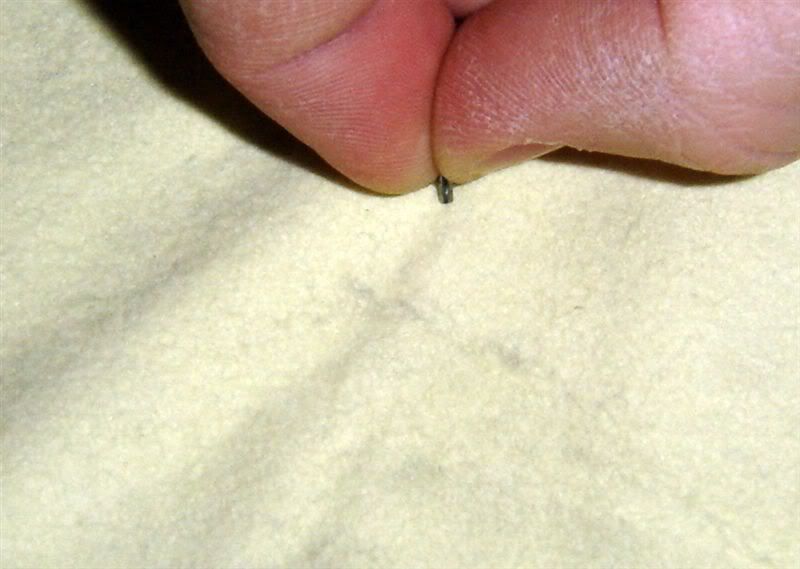
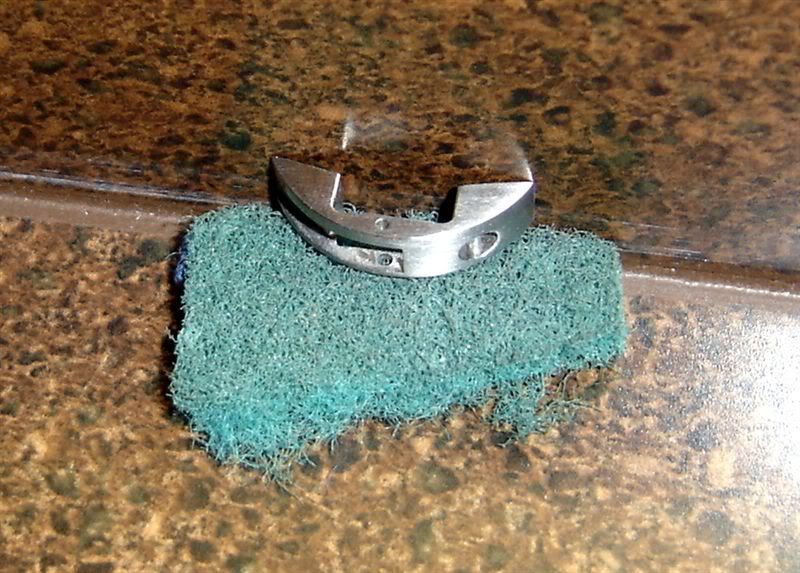
6. Use synthetic steel wool or Scothbrite on CG to get proper brushed look. Again, I put it up against a perpendicular surface so ‘brushing’ was perfectly straight and not ‘messy’.
(You can use a bigger piece than this):
7. Push pin back down from the top through the CG and lever until it is almost flush. Turn over and finish pushing til flush against a flat surface.
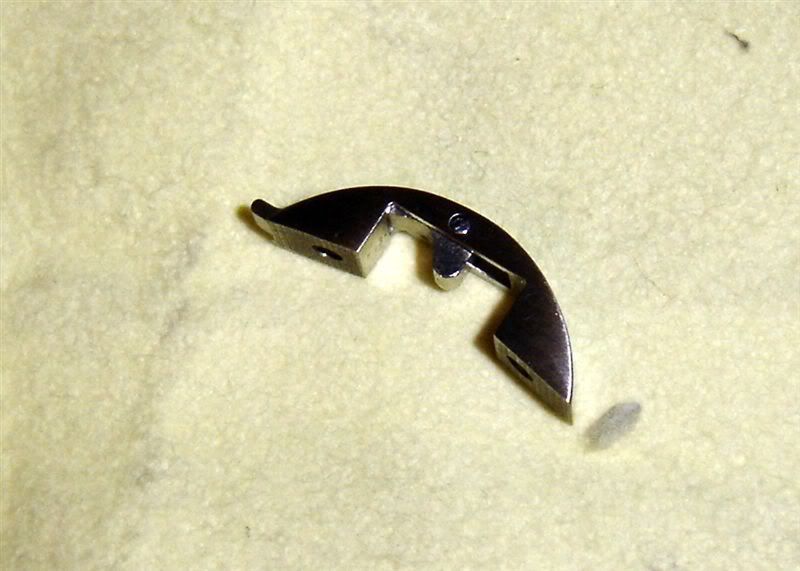
8. Put CG back on.
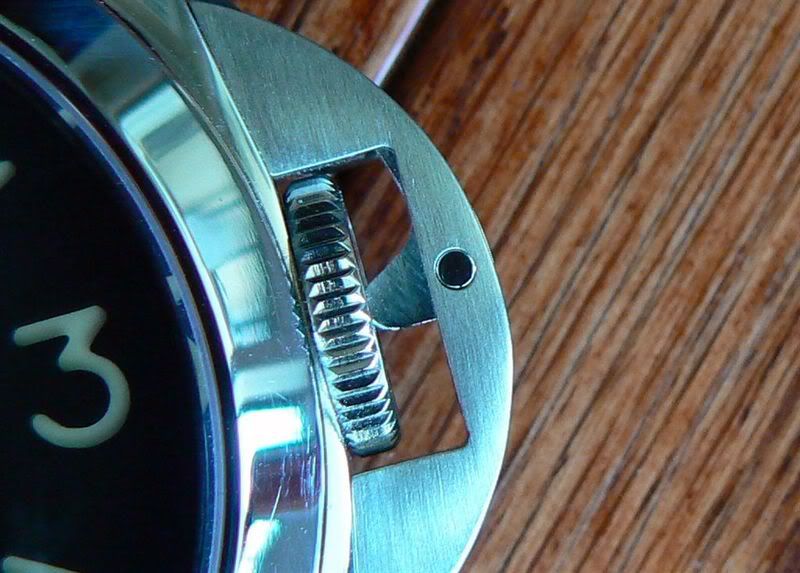
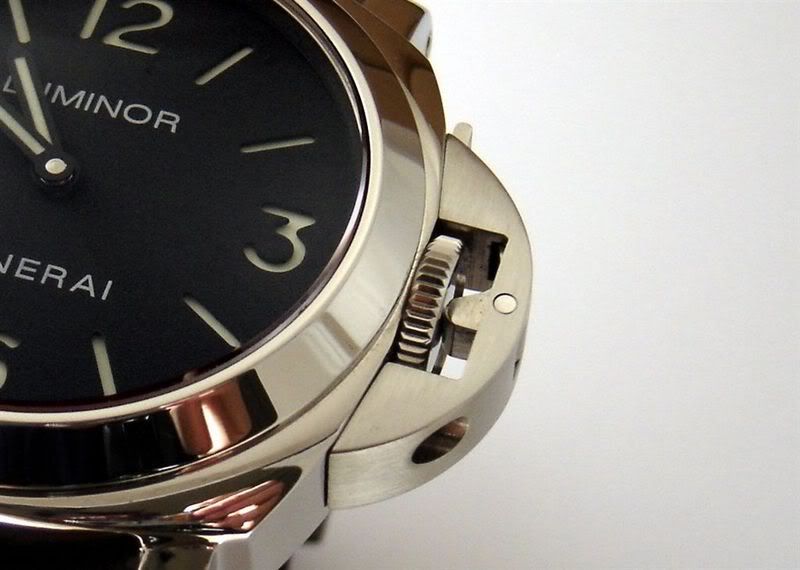
9. Enjoy your PERFECT CG PIN MOD!
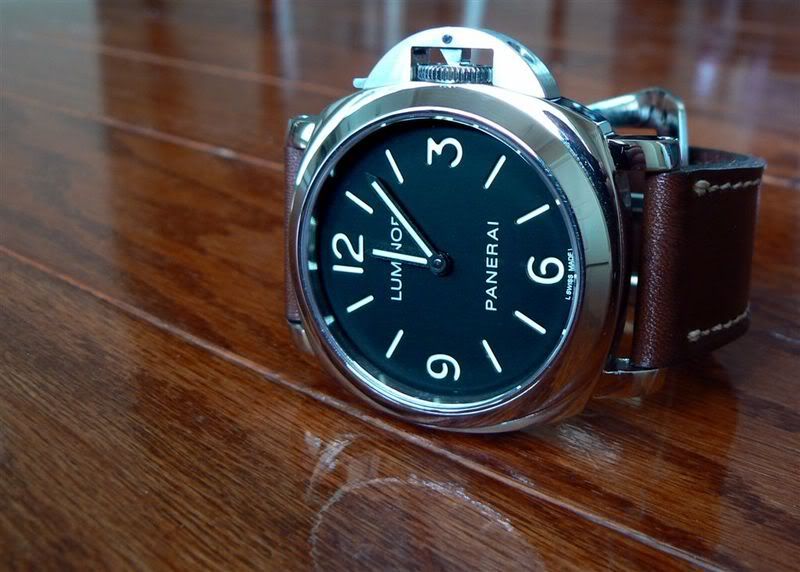
I started off with an amazing watch from my friend - Mr. Davidsen. A BEAUTIFUL 112 that I dreamt about and wanted for oh so long. FINALLY, I pulled the trigger and she made her way, half way across the world, to my door. You don't know the excitement I felt. This specimen was flawless and I couldn't be happier...... except..... the damn CG pin. UGH!

So I decided to mod it (NOTICE, mod was completed before I took pictures for tutorial - so use a little imagination and work with me here!).
1. Take off CG

2. Push pin up from bottom so it protrudes through the top of the CG my literally a hair, just so your fingernail catches it when you drag it across the top of it. Use the pointy part of a springbar tool or a small (very small) screwdriver. If you push it up too far, turn over and push it back a hair using a flat surface.

A bit too much here, but you get the idea on how much to push it up:

3. File down using a disposable finger nail file. Purple is the preference (LMAO!). It should be flush. Best way to do it is put file on flat surface, turn CG over and stroke back and forth (I know what you are thinking…. you dirty dog!). I actually placed the file against a perpendicular object (put it on my work bench and held a block up to the edge of it), so the brushing/scratches ran the correct way.

Result is:

Better already, huh?

4. After flush, push the pin from the bottom so it falls out.
5. Using a Sunshine cloth, hold pin tip against taught Sunshine cloth and get end polished to a mirror finish.
(Yep, my hands are bone dry and I need lotion. BACK OFF!)

6. Use synthetic steel wool or Scothbrite on CG to get proper brushed look. Again, I put it up against a perpendicular surface so ‘brushing’ was perfectly straight and not ‘messy’.
(You can use a bigger piece than this):

7. Push pin back down from the top through the CG and lever until it is almost flush. Turn over and finish pushing til flush against a flat surface.

8. Put CG back on.
9. Enjoy your PERFECT CG PIN MOD!


