This mod is extremely simple, effective and very durable:
I read about different methods of modding the PAM lever
in order to make it nice and tight. There are two techniques
around. One requires cable insulation to fill the gap between
pin and lever, another one employs silicone for the same
purpose. The more sophisticated solution is the cable
insulation, the quick fix is the silicone variant.
I did not have cable in the right diameter and I was not to
crazy about the silicone option either. So while agreeing
on the general principle of filling the space around the pin
to tightn it, I did not like the means. So based on the
general idea of the existing techniques I thought about
alternatives that
I think I came up with a perfect solution. It is based on
hot glue adhesive, which is readily available in most households.
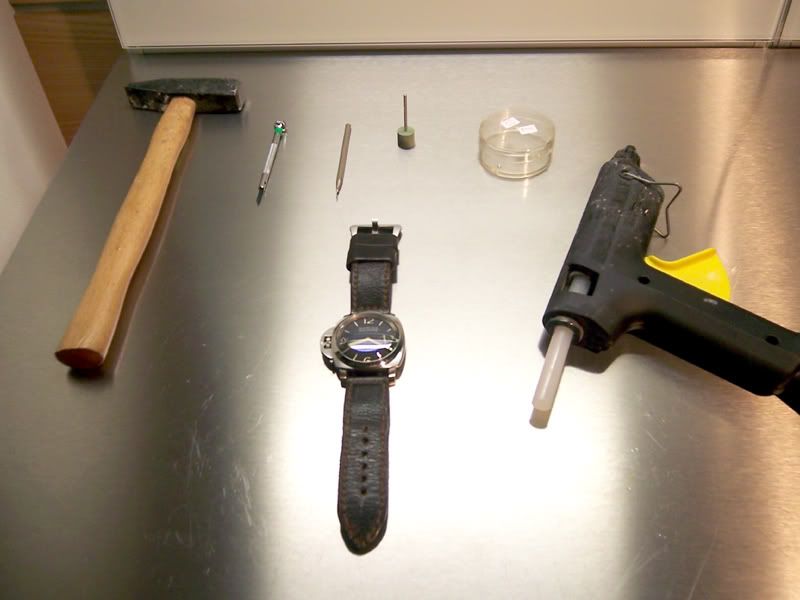
Tools required:
Step one:
Fire up the glue pistol.
Step two:
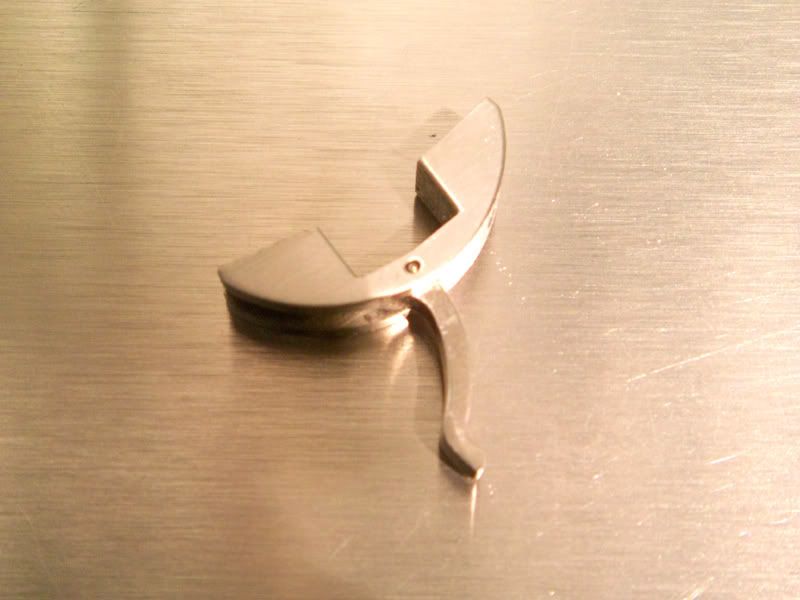
Detach crownguard from your pam and safely store the screws away.
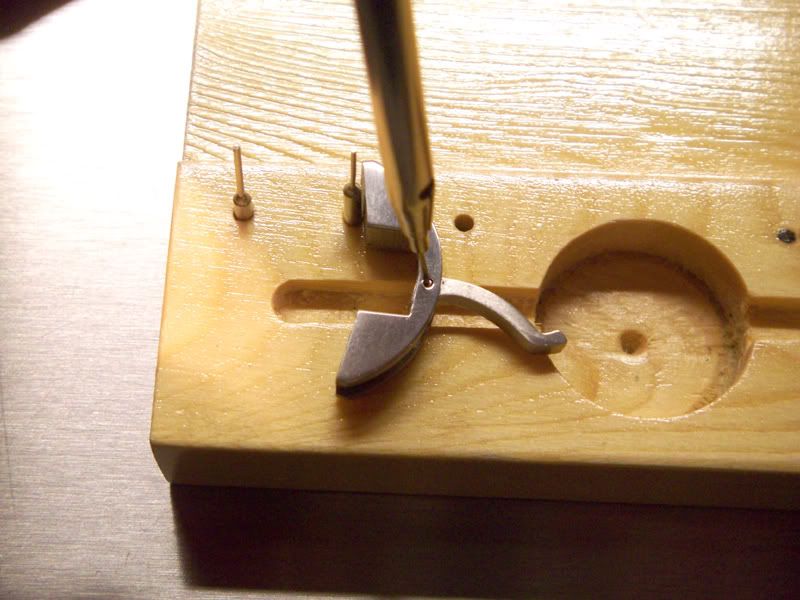
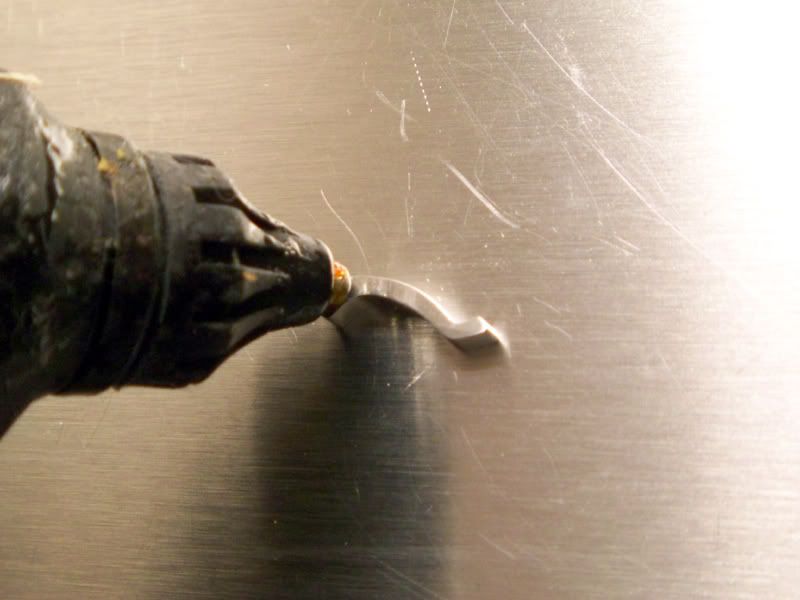
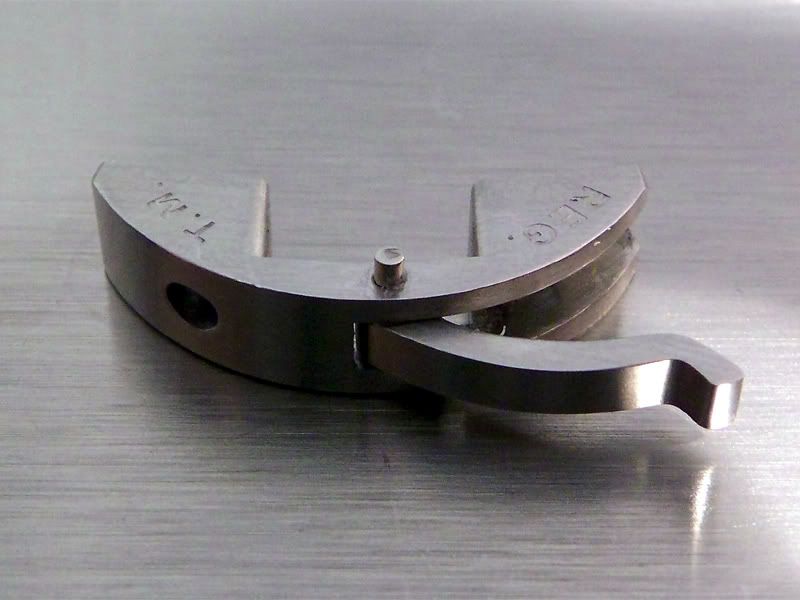
Step three:
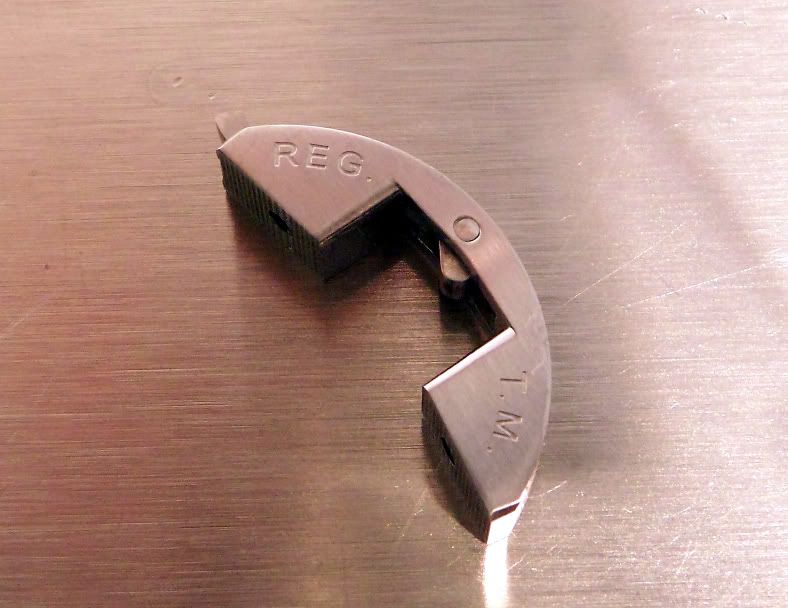
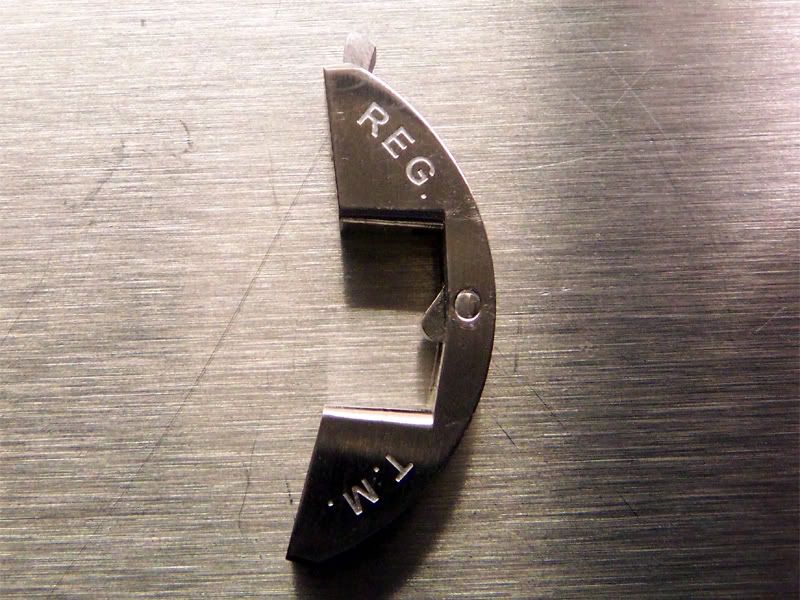
Put the crownguard bottom up on a piece of soft wood. Use the pin removal tool or small drill
to dislodge the pin from the crownguard. Be careful not to loose it once you pushed it out.
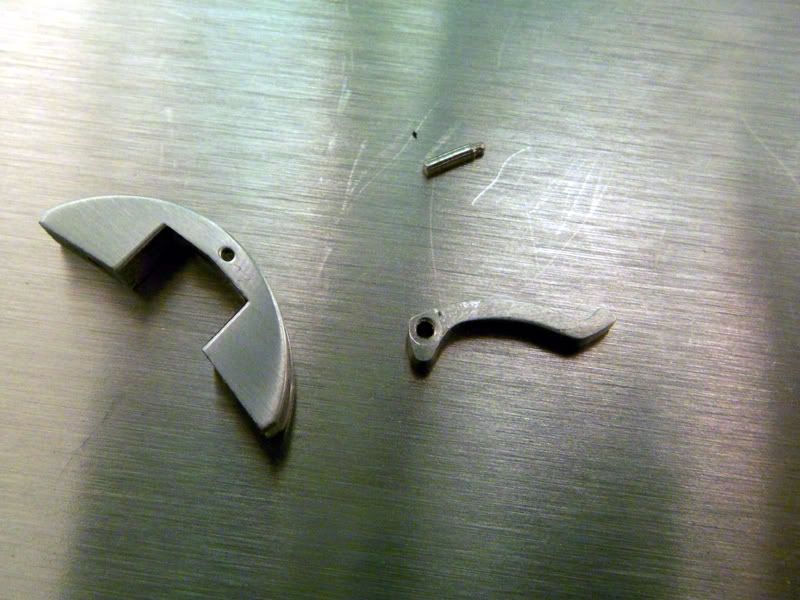
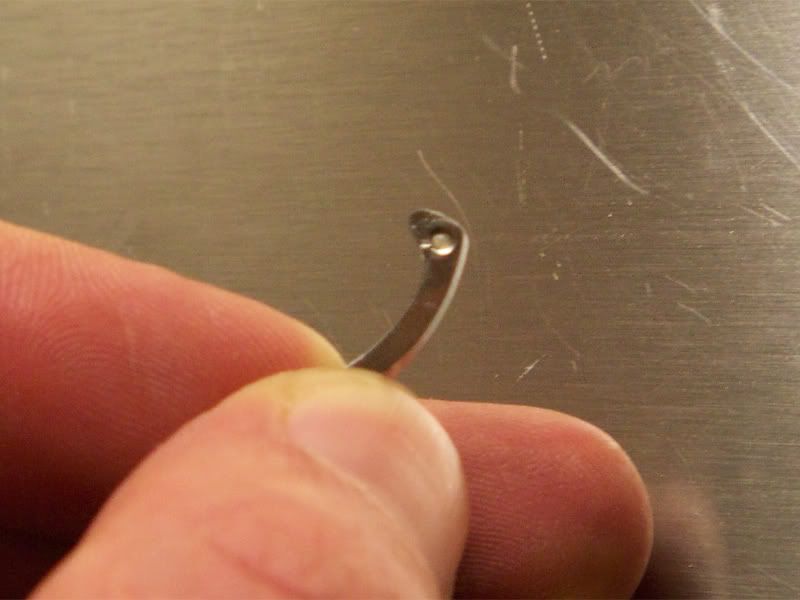
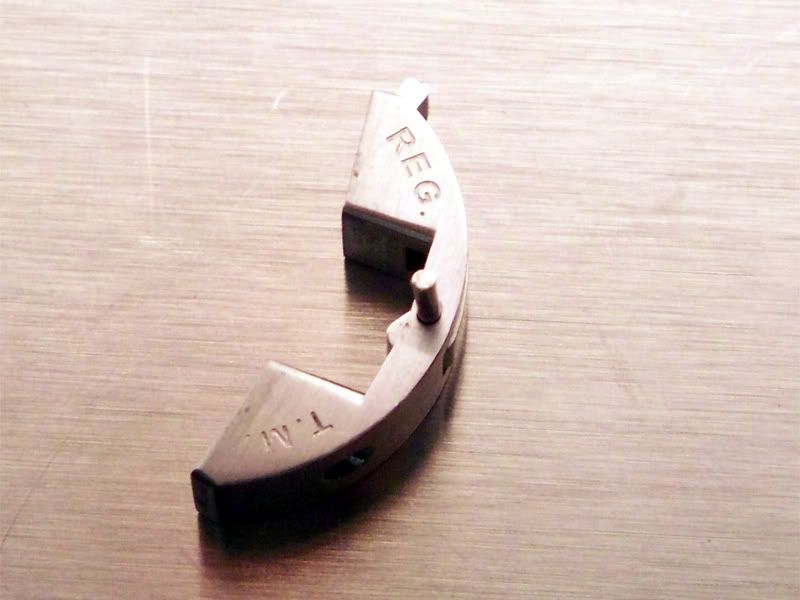
The result should look like this.
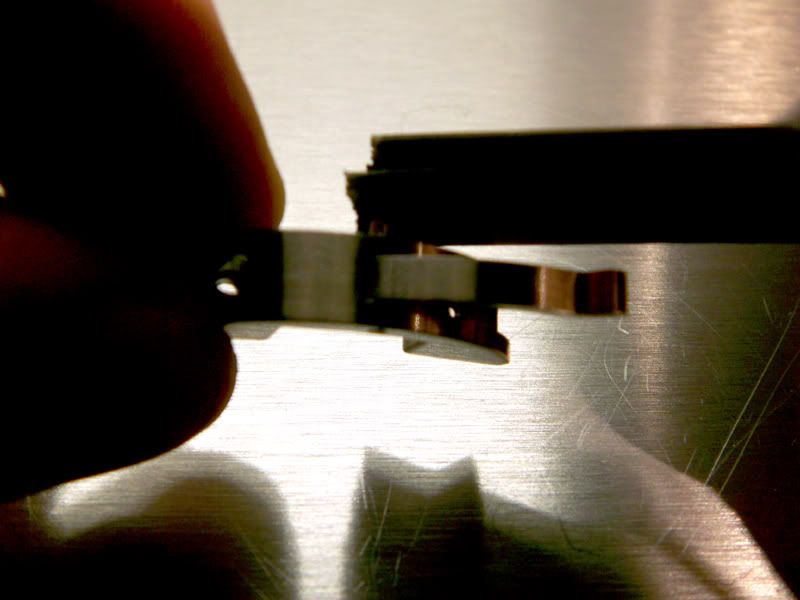
Step four:
Place the lever on a table. The hole for the pin needs to be vertical. Then place the tip of the glue pistol
on top of the lever without squeezing out any glue. Now the lever is slowly heated up by the glue pistol.
Step five:
Once the lever is really hot apply glue to the pin hole in the lever until it comes
out on the opposite side of the lever. Then let the lever cool for 5 minutes.
Step six:
Remove excess glue, your fingernails should do the trick.
Step seven
Place the lever back in the crown guard and reinsert the pin just a tiny bit (1mm).
Step eight:
Put the glue pistol on top of the pin and wait until it picks up the heat. After a while, it will
just sink into the crownguard until it is all the way through the lever.
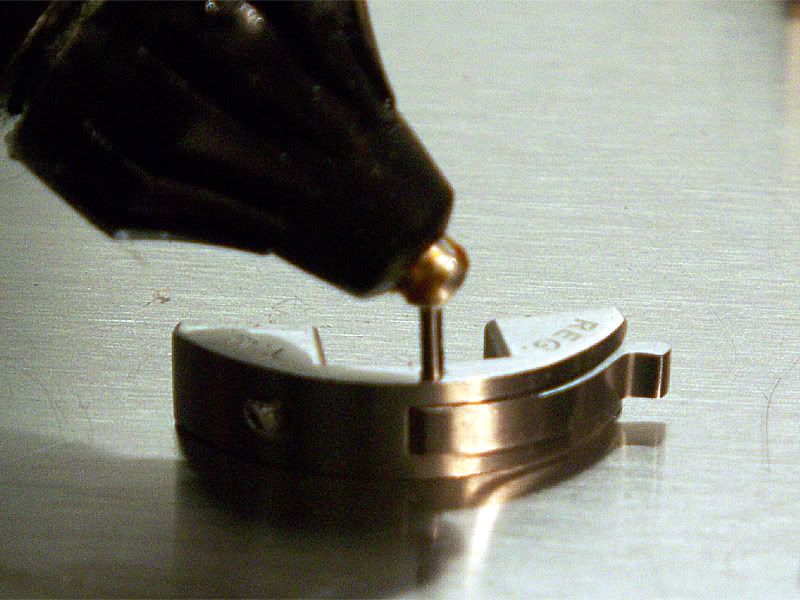
Stop pushing when the pin is still sticking out 2mm.
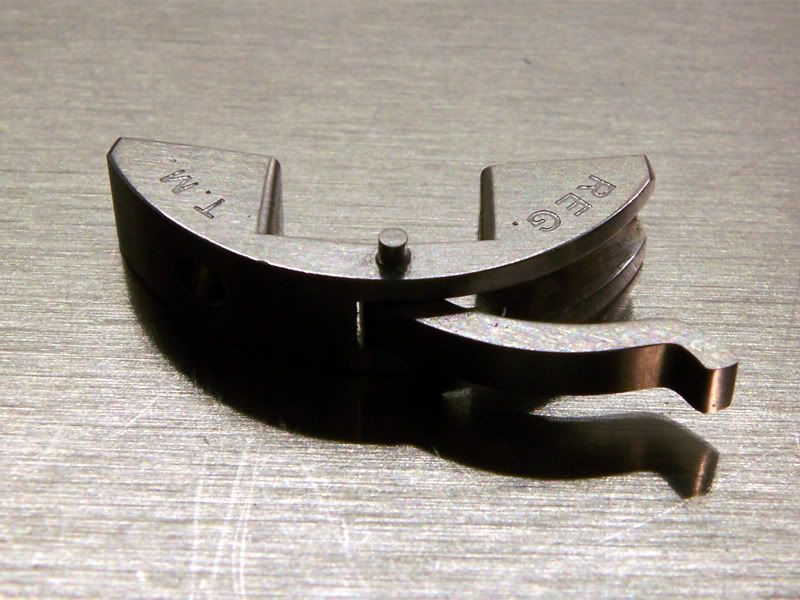
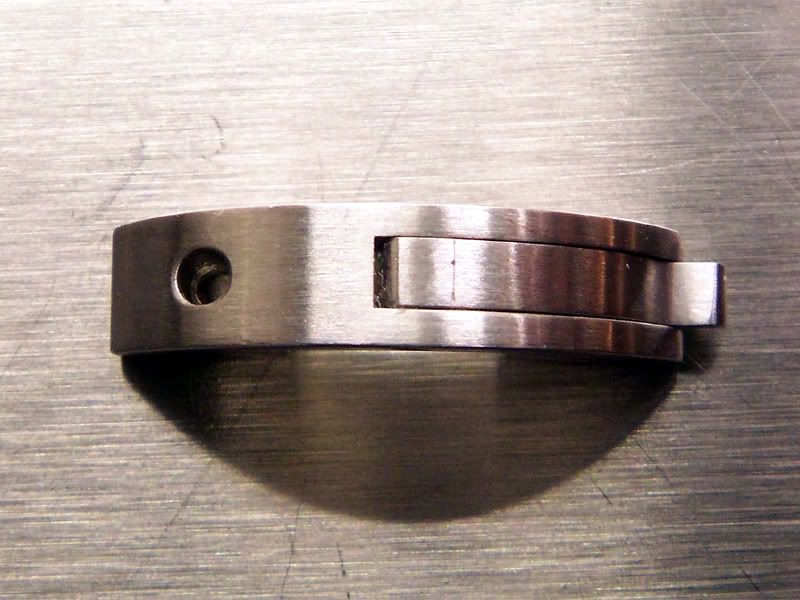
Step nine (optional):
If you want the pin to sit flush with the surface of the crownguard, now is a
good moment to file or sand the top of the pin to a smooth flat finish.
Flat surface after filing and sanding.
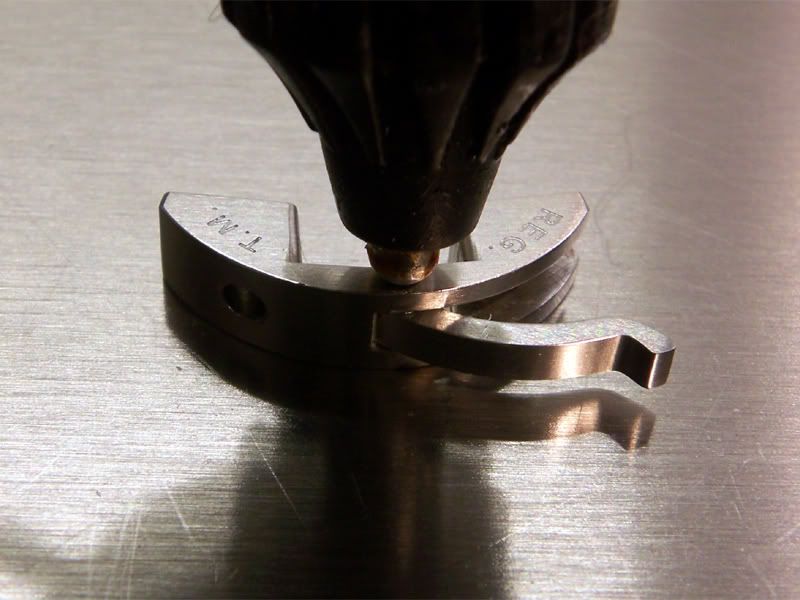
Step ten:
Place the tip of the glue pistol over the pin and heat up both pin and crownguard.
This takes a couple of minutes.
Step eleven:
Gently push the pin down. If you want it to sit flush with the surface a hard piece of wood will do.
If the pin is supposed to be sunken, the pin removal tool or small drill will do.
Step twelve:
Remove excess glue with your fingernails or with some solvent.
Step thirteen:
Re-attach the crownguard to the watch and enjoy the great new experience of opening and closing a tight lever.
And now the best thing for last.
Should the lever ever become loose again after (the glue will definitely outlast any silicone),
just use the glue gun again to reheat the lever. You don't even need to disassemble the crownguard
this time around. Just press the pistol on the crownguard for 2 minutes. The glue will melt again
and settle tightly around the pin. Once it has cooled off, you're good to go for another couple of months.
You can repeat this indefinitely, one application should last the lifetime of the watch.
.
I read about different methods of modding the PAM lever
in order to make it nice and tight. There are two techniques
around. One requires cable insulation to fill the gap between
pin and lever, another one employs silicone for the same
purpose. The more sophisticated solution is the cable
insulation, the quick fix is the silicone variant.
I did not have cable in the right diameter and I was not to
crazy about the silicone option either. So while agreeing
on the general principle of filling the space around the pin
to tightn it, I did not like the means. So based on the
general idea of the existing techniques I thought about
alternatives that
- do not require materials with a certain diameter[/*:m:3qnxjdlo]
- require as little fumbling around witht the lever pin
as possible in order to keep it from disappearing in the
carped or some other place that small things disappear to[/*:m:3qnxjdlo] - don't require any wait (like the silicone overnight option)
cutting down on time in which screw an pin can get lost[/*:m:3qnxjdlo] - is very easy to apply and does not require special skills[/*:m:3qnxjdlo]
- can easyly renewed after wear and tear has loosened the lever again[/*:m:3qnxjdlo]
I think I came up with a perfect solution. It is based on
hot glue adhesive, which is readily available in most households.
Tools required:
- a pistol for hot glue adhesive[/*:m:3qnxjdlo]
- a screw driver to loosen the crown screws[/*:m:3qnxjdlo]
- a pin removal tool or small drill[/*:m:3qnxjdlo]
- a small hammer[/*:m:3qnxjdlo]
Step one:
Fire up the glue pistol.
Step two:
Detach crownguard from your pam and safely store the screws away.
Step three:
Put the crownguard bottom up on a piece of soft wood. Use the pin removal tool or small drill
to dislodge the pin from the crownguard. Be careful not to loose it once you pushed it out.
The result should look like this.
Step four:
Place the lever on a table. The hole for the pin needs to be vertical. Then place the tip of the glue pistol
on top of the lever without squeezing out any glue. Now the lever is slowly heated up by the glue pistol.
Step five:
Once the lever is really hot apply glue to the pin hole in the lever until it comes
out on the opposite side of the lever. Then let the lever cool for 5 minutes.
Step six:
Remove excess glue, your fingernails should do the trick.
Step seven
Place the lever back in the crown guard and reinsert the pin just a tiny bit (1mm).
Step eight:
Put the glue pistol on top of the pin and wait until it picks up the heat. After a while, it will
just sink into the crownguard until it is all the way through the lever.
Stop pushing when the pin is still sticking out 2mm.
Step nine (optional):
If you want the pin to sit flush with the surface of the crownguard, now is a
good moment to file or sand the top of the pin to a smooth flat finish.
Flat surface after filing and sanding.
Step ten:
Place the tip of the glue pistol over the pin and heat up both pin and crownguard.
This takes a couple of minutes.
Step eleven:
Gently push the pin down. If you want it to sit flush with the surface a hard piece of wood will do.
If the pin is supposed to be sunken, the pin removal tool or small drill will do.
Step twelve:
Remove excess glue with your fingernails or with some solvent.
Step thirteen:
Re-attach the crownguard to the watch and enjoy the great new experience of opening and closing a tight lever.
And now the best thing for last.
Should the lever ever become loose again after (the glue will definitely outlast any silicone),
just use the glue gun again to reheat the lever. You don't even need to disassemble the crownguard
this time around. Just press the pistol on the crownguard for 2 minutes. The glue will melt again
and settle tightly around the pin. Once it has cooled off, you're good to go for another couple of months.
You can repeat this indefinitely, one application should last the lifetime of the watch.
.
")