I truly don’t know if there is a post describing in detail how to adjust the rubber strap on the lovely Patek Philippe Aquanaut Jumbo or not. I have seen few new comers ask on how to do that as the watch arrives from a TD with the longest strap to be adjusted to preference. Most noobs do not know that with this particular watch, gen and rep, the adjustment happen with literally cutting out the extra links, unlike most watches, you adjust the hole for smaller wrist, or take out few links which could be put back if needed. In this case you have to realize that you will need basic equipment to literally slash the extra rubber off the strap, and when you do that, you need to also realize there is no turning back. That means if you do a bad job, or if you don’t take your time with cutting the rubber strap, you might end up with a tight strap that is too small or a useless strap that you have to throw away, there is no way to reverse the process afterwards.
So my advice to you is to take your time with the process. Cut one link at a time, and put the watch on your wrist and measure, then if you still need to cut more, then only cut one more link from the opposite side, and so on until you get the perfect fit. DO NOT think you have a small wrist, so you cut three or found rubber links at once, this could be disastrous later when realizing you cut one side more than the other, and end up with the tilted clasp that you again won’t be able to reverse the process. Take your time.. Until you perfect the measurement of the strap on your wrist.
Now let’s start.. What you need is the following:
1- Spring bar tool or your nail if you have a strong nail
2- Pair of scissors to cut the rubber links
3- A mat to put on it the watch so it doesn’t get banged or scratched.
Optional, a piece of cloth to wipe the watch after finishing.
Now we go with the pictorial tutorial.. (did that just rhyme? Hahaha)
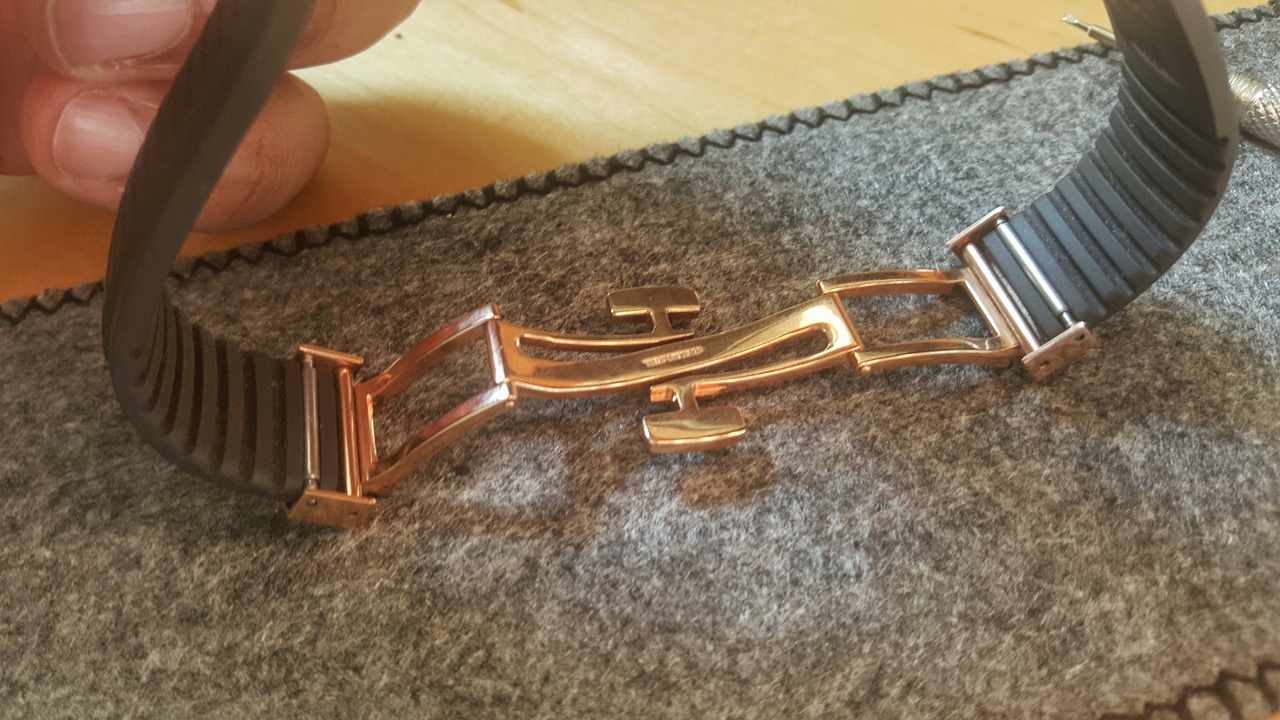
 First identify the spring bars that you will need to take out. In the pic above you see them clearly on the right and the left of the clasp
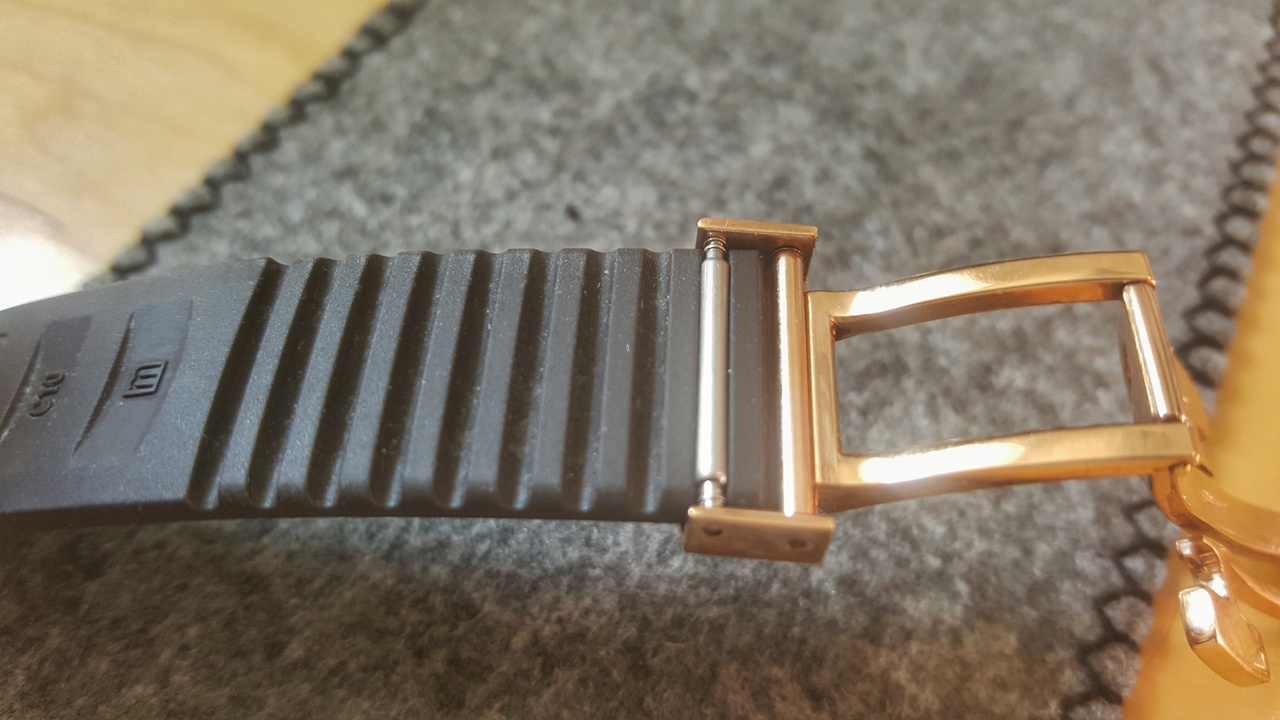
Open the first one, and second one with the spring bar tool, or by using your nail. Do not forget the correct face of the clasp, how it will be facing when done with the process, so you don’t install it backwards.
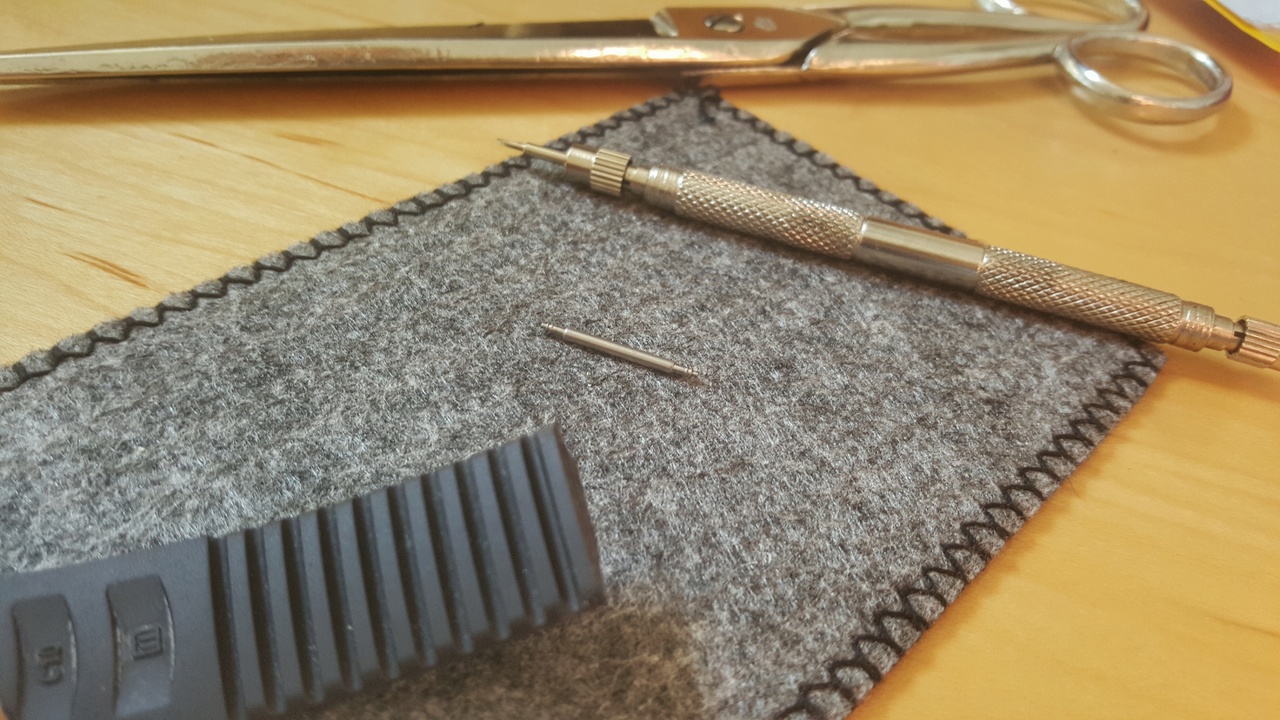
Leave the spring bar in a visible place, do not lose it.
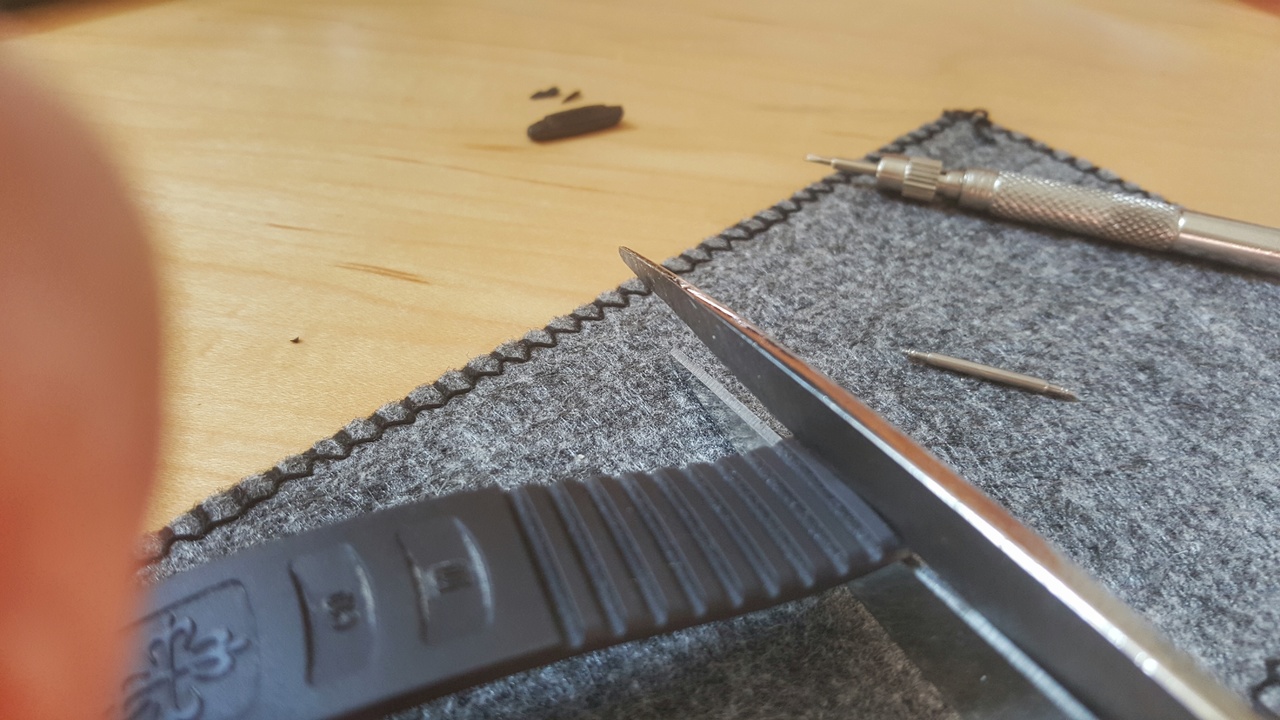
Cut one rubber link at a time and put it on your wrist and see if you need to cut more, if you need more cut the opposite side and repeat the process each side at a time until you get to your preferred size.
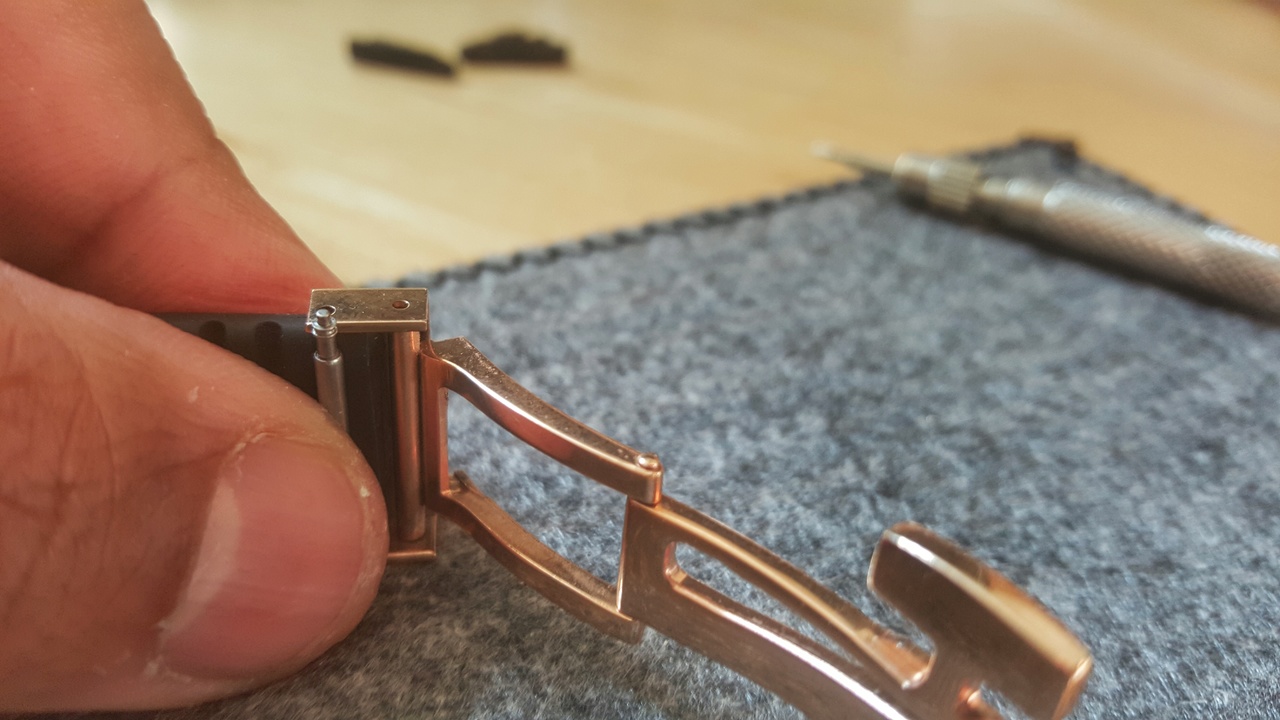
Bring back the spring bar and install it back while having the rubber strap inserted all the way in the clasp for each side.
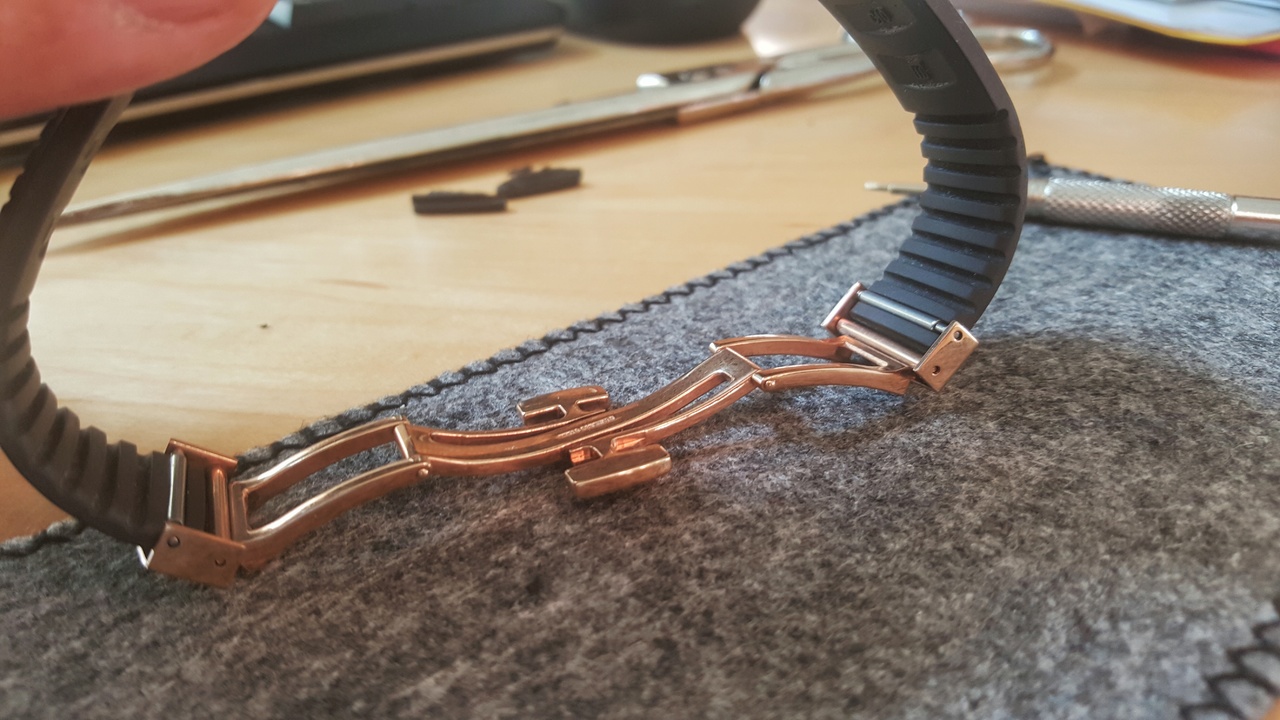
Make sure you install the clasp the right way, and not upside down.
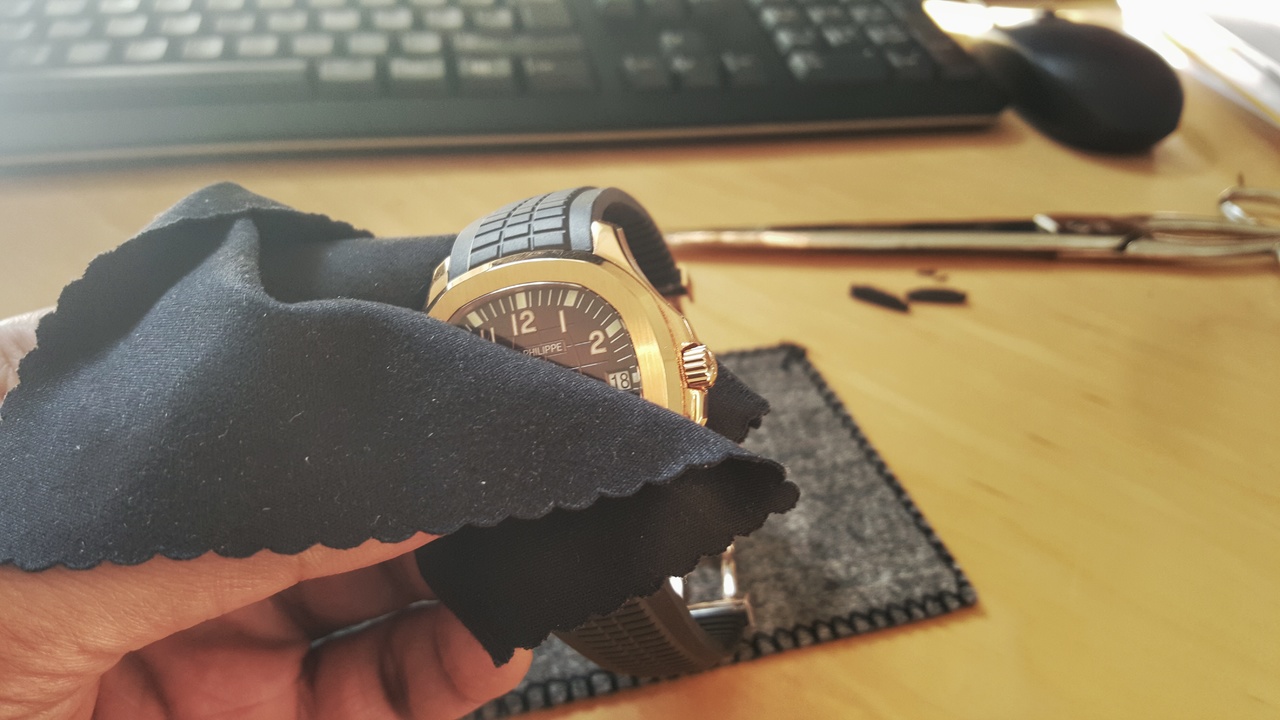
Wipe up the whole watch after all the finger prints that would accumulate on it.
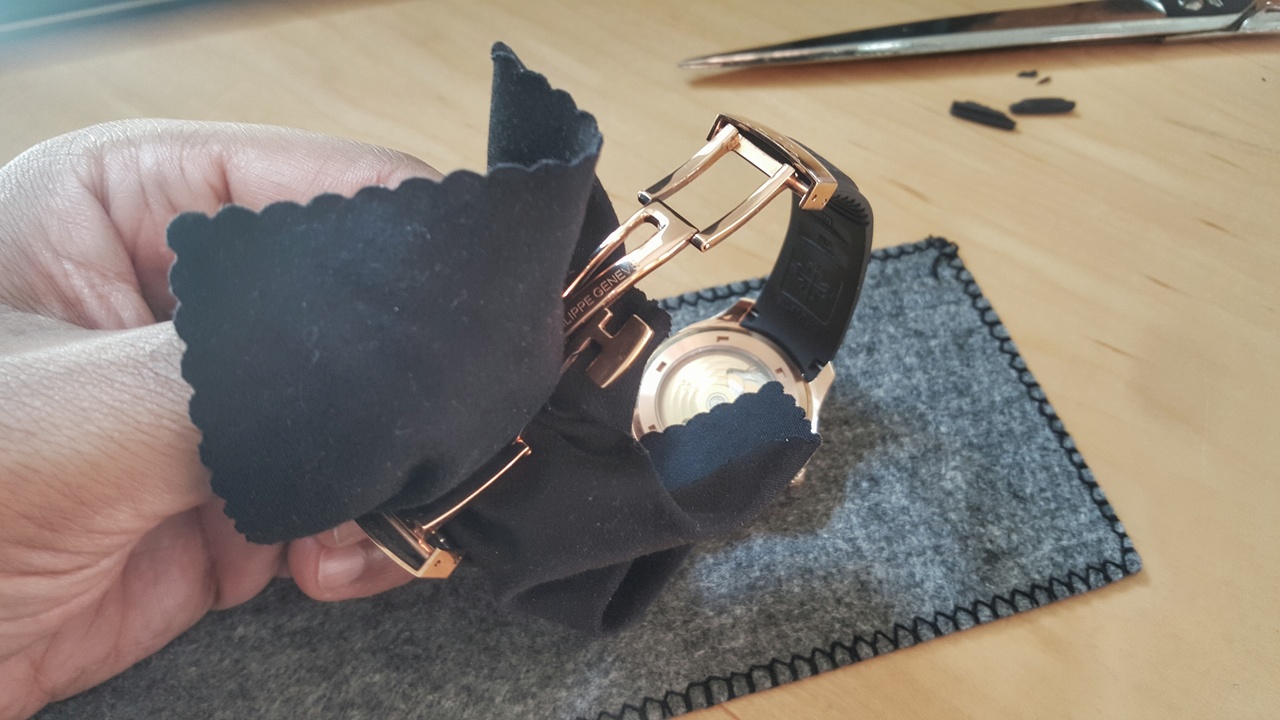
Especially wiping the clasp as the job was done on it.
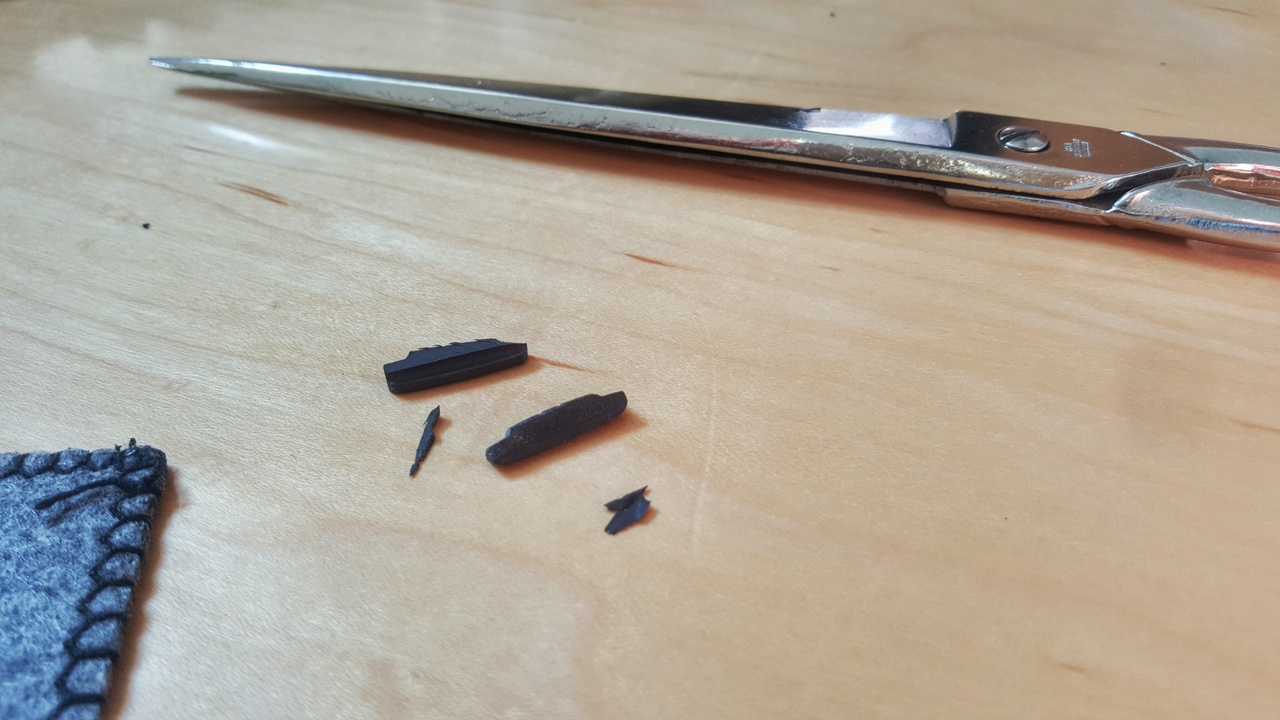
As I have adjusted this strap before, I have only one link from each side to adjust today, if your watch is new, most likely you will have many of these to discard.
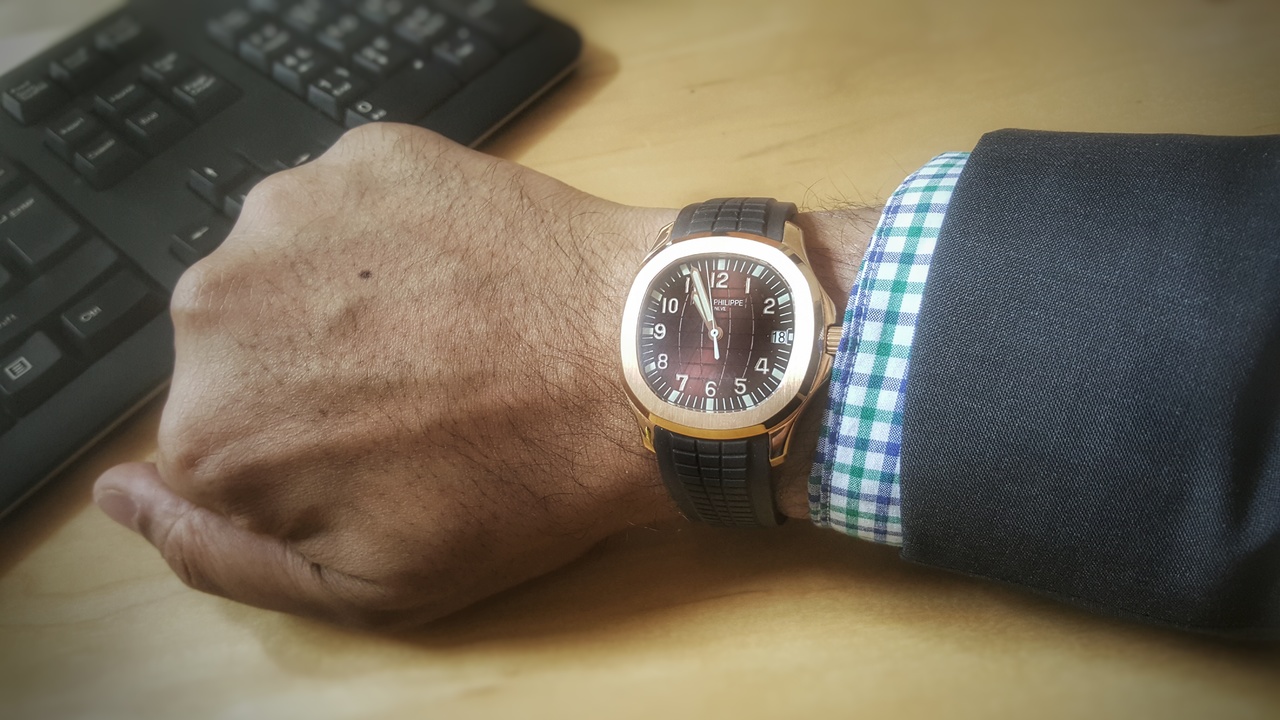
Better fitting watch
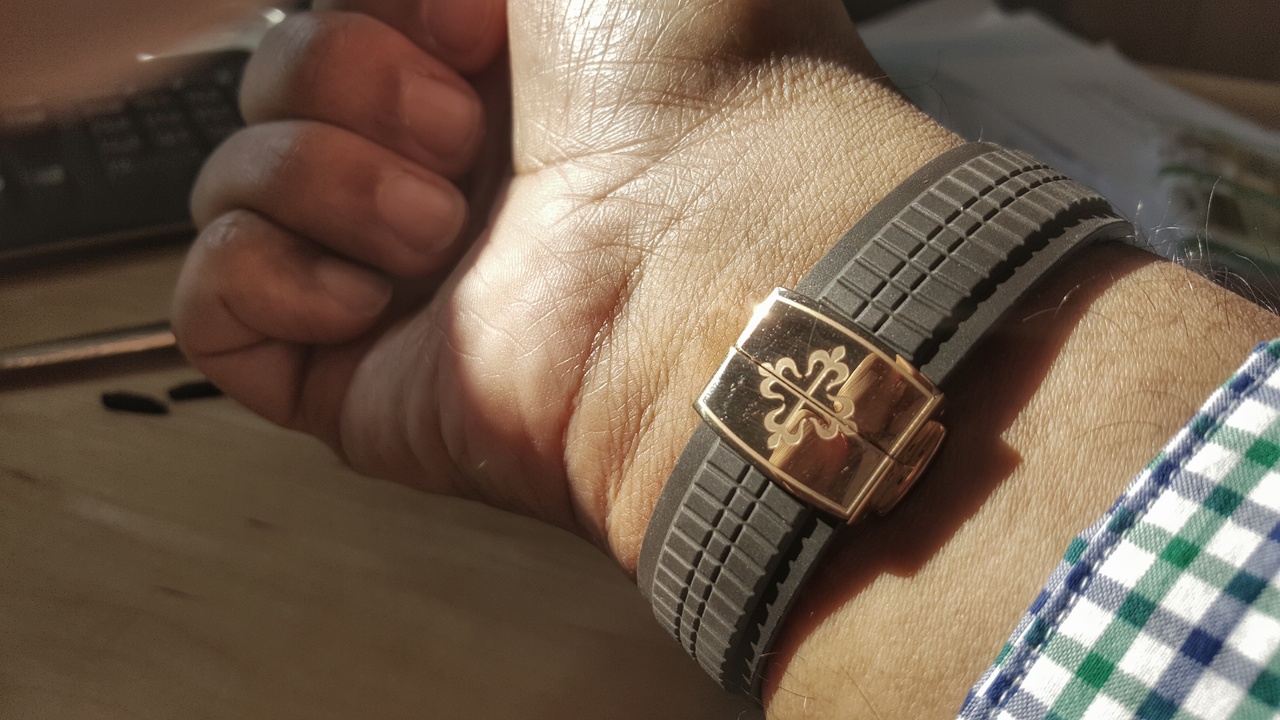
Lovely looking clasp after adjustment and wipe
I hope this is useful for the new comers.. I have seen many come here not knowing what to do when they receive their new Aquanaut Jumbo, as they would not realize that there would be such an invasive process to the watch’s strap. But unfortunately, cutting the strap is the only way to adjust it, and that also goes for the gen Aquanaut. This is why it is very very important to be careful in the process not to destroy the strap, or you will have to source a new one.
So my advice to you is to take your time with the process. Cut one link at a time, and put the watch on your wrist and measure, then if you still need to cut more, then only cut one more link from the opposite side, and so on until you get the perfect fit. DO NOT think you have a small wrist, so you cut three or found rubber links at once, this could be disastrous later when realizing you cut one side more than the other, and end up with the tilted clasp that you again won’t be able to reverse the process. Take your time.. Until you perfect the measurement of the strap on your wrist.
Now let’s start.. What you need is the following:
1- Spring bar tool or your nail if you have a strong nail
2- Pair of scissors to cut the rubber links
3- A mat to put on it the watch so it doesn’t get banged or scratched.
Optional, a piece of cloth to wipe the watch after finishing.
Now we go with the pictorial tutorial.. (did that just rhyme? Hahaha)


Open the first one, and second one with the spring bar tool, or by using your nail. Do not forget the correct face of the clasp, how it will be facing when done with the process, so you don’t install it backwards.

Leave the spring bar in a visible place, do not lose it.

Cut one rubber link at a time and put it on your wrist and see if you need to cut more, if you need more cut the opposite side and repeat the process each side at a time until you get to your preferred size.

Bring back the spring bar and install it back while having the rubber strap inserted all the way in the clasp for each side.

Make sure you install the clasp the right way, and not upside down.

Wipe up the whole watch after all the finger prints that would accumulate on it.

Especially wiping the clasp as the job was done on it.

As I have adjusted this strap before, I have only one link from each side to adjust today, if your watch is new, most likely you will have many of these to discard.

Better fitting watch

Lovely looking clasp after adjustment and wipe
I hope this is useful for the new comers.. I have seen many come here not knowing what to do when they receive their new Aquanaut Jumbo, as they would not realize that there would be such an invasive process to the watch’s strap. But unfortunately, cutting the strap is the only way to adjust it, and that also goes for the gen Aquanaut. This is why it is very very important to be careful in the process not to destroy the strap, or you will have to source a new one.
Last edited:

