- 26/4/17
- 1,274
- 2,639
- 113
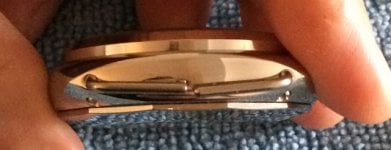
This Panerai rep ...

... came without a collar between the wire lugs.
Due to constant wear the wire lugs start to bend down.

A fix has been proposed here:
http://www.network54.com/Forum/3533...t+fiddly+little+collar-++How+about+a+fix-Page
Also, I remember reading somewhere a member using the insulation of an electric cable.
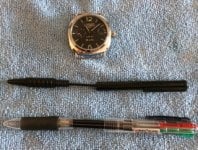
Without further ado, here is my experience.
Any ballpoint pen with an ink reservoir will do.

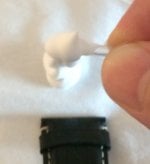
Cut the end of the plastic tube with a scissors.

(Don't bother trying to get the pieces longer by cutting into the ink,
thinking you can clean the ink out, I even tried it in the ultrasonic cleaner)
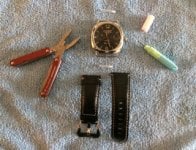
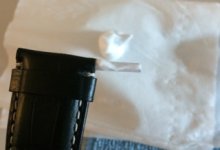
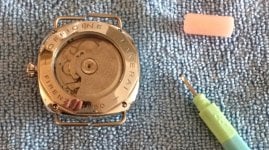
Now, you'll need some pliers, some lubrication (sewing machine oil, shaving cream, etc.)
and later a screwdriver (a eyeglass screwdriver will suffice) to unscrew the lugs in the back.

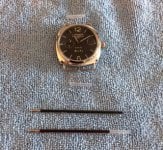
Take the plastic tube piece ...
(make sure you use some form of lubrication - it's going to be very tide)

... and stuff it it the strap.

If it is too tide - use the pliers

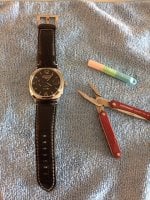
Now, unscrew the wire lugs,

and stick them from the side into the pieces which are in the strap,
screw the wire lugs back,
and voila


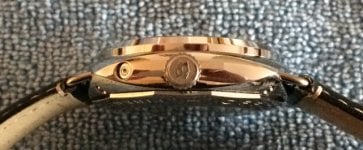
The whole watch now actually feels much stronger, exuding the impression of higher quality.
It is noticeable how such a tiny mod makes such a big difference.
Attachments
-
 1. IMG_7793.jpg161.5 KB · Views: 1
 -
 2. IMG_7794.jpg135.3 KB · Views: 1
 -
 3. IMG_7797.jpg164.6 KB · Views: 1
 -
 5. IMG_7808.jpg135.1 KB · Views: 1
 -
 6. IMG_7811.jpg121.7 KB · Views: 1
 -
 6.jpg78.1 KB · Views: 1
 -
 7. IMG_7812.jpg68.6 KB · Views: 1
 -
 8. IMG_7813.jpg455.8 KB · Views: 1
 -
 9. IMG_7822.jpg194.8 KB · Views: 1
 -
 4. IMG_7798.jpg301.4 KB · Views: 1
") ). This should be included in
). This should be included in