- 28/2/17
- 2,396
- 1,971
- 113
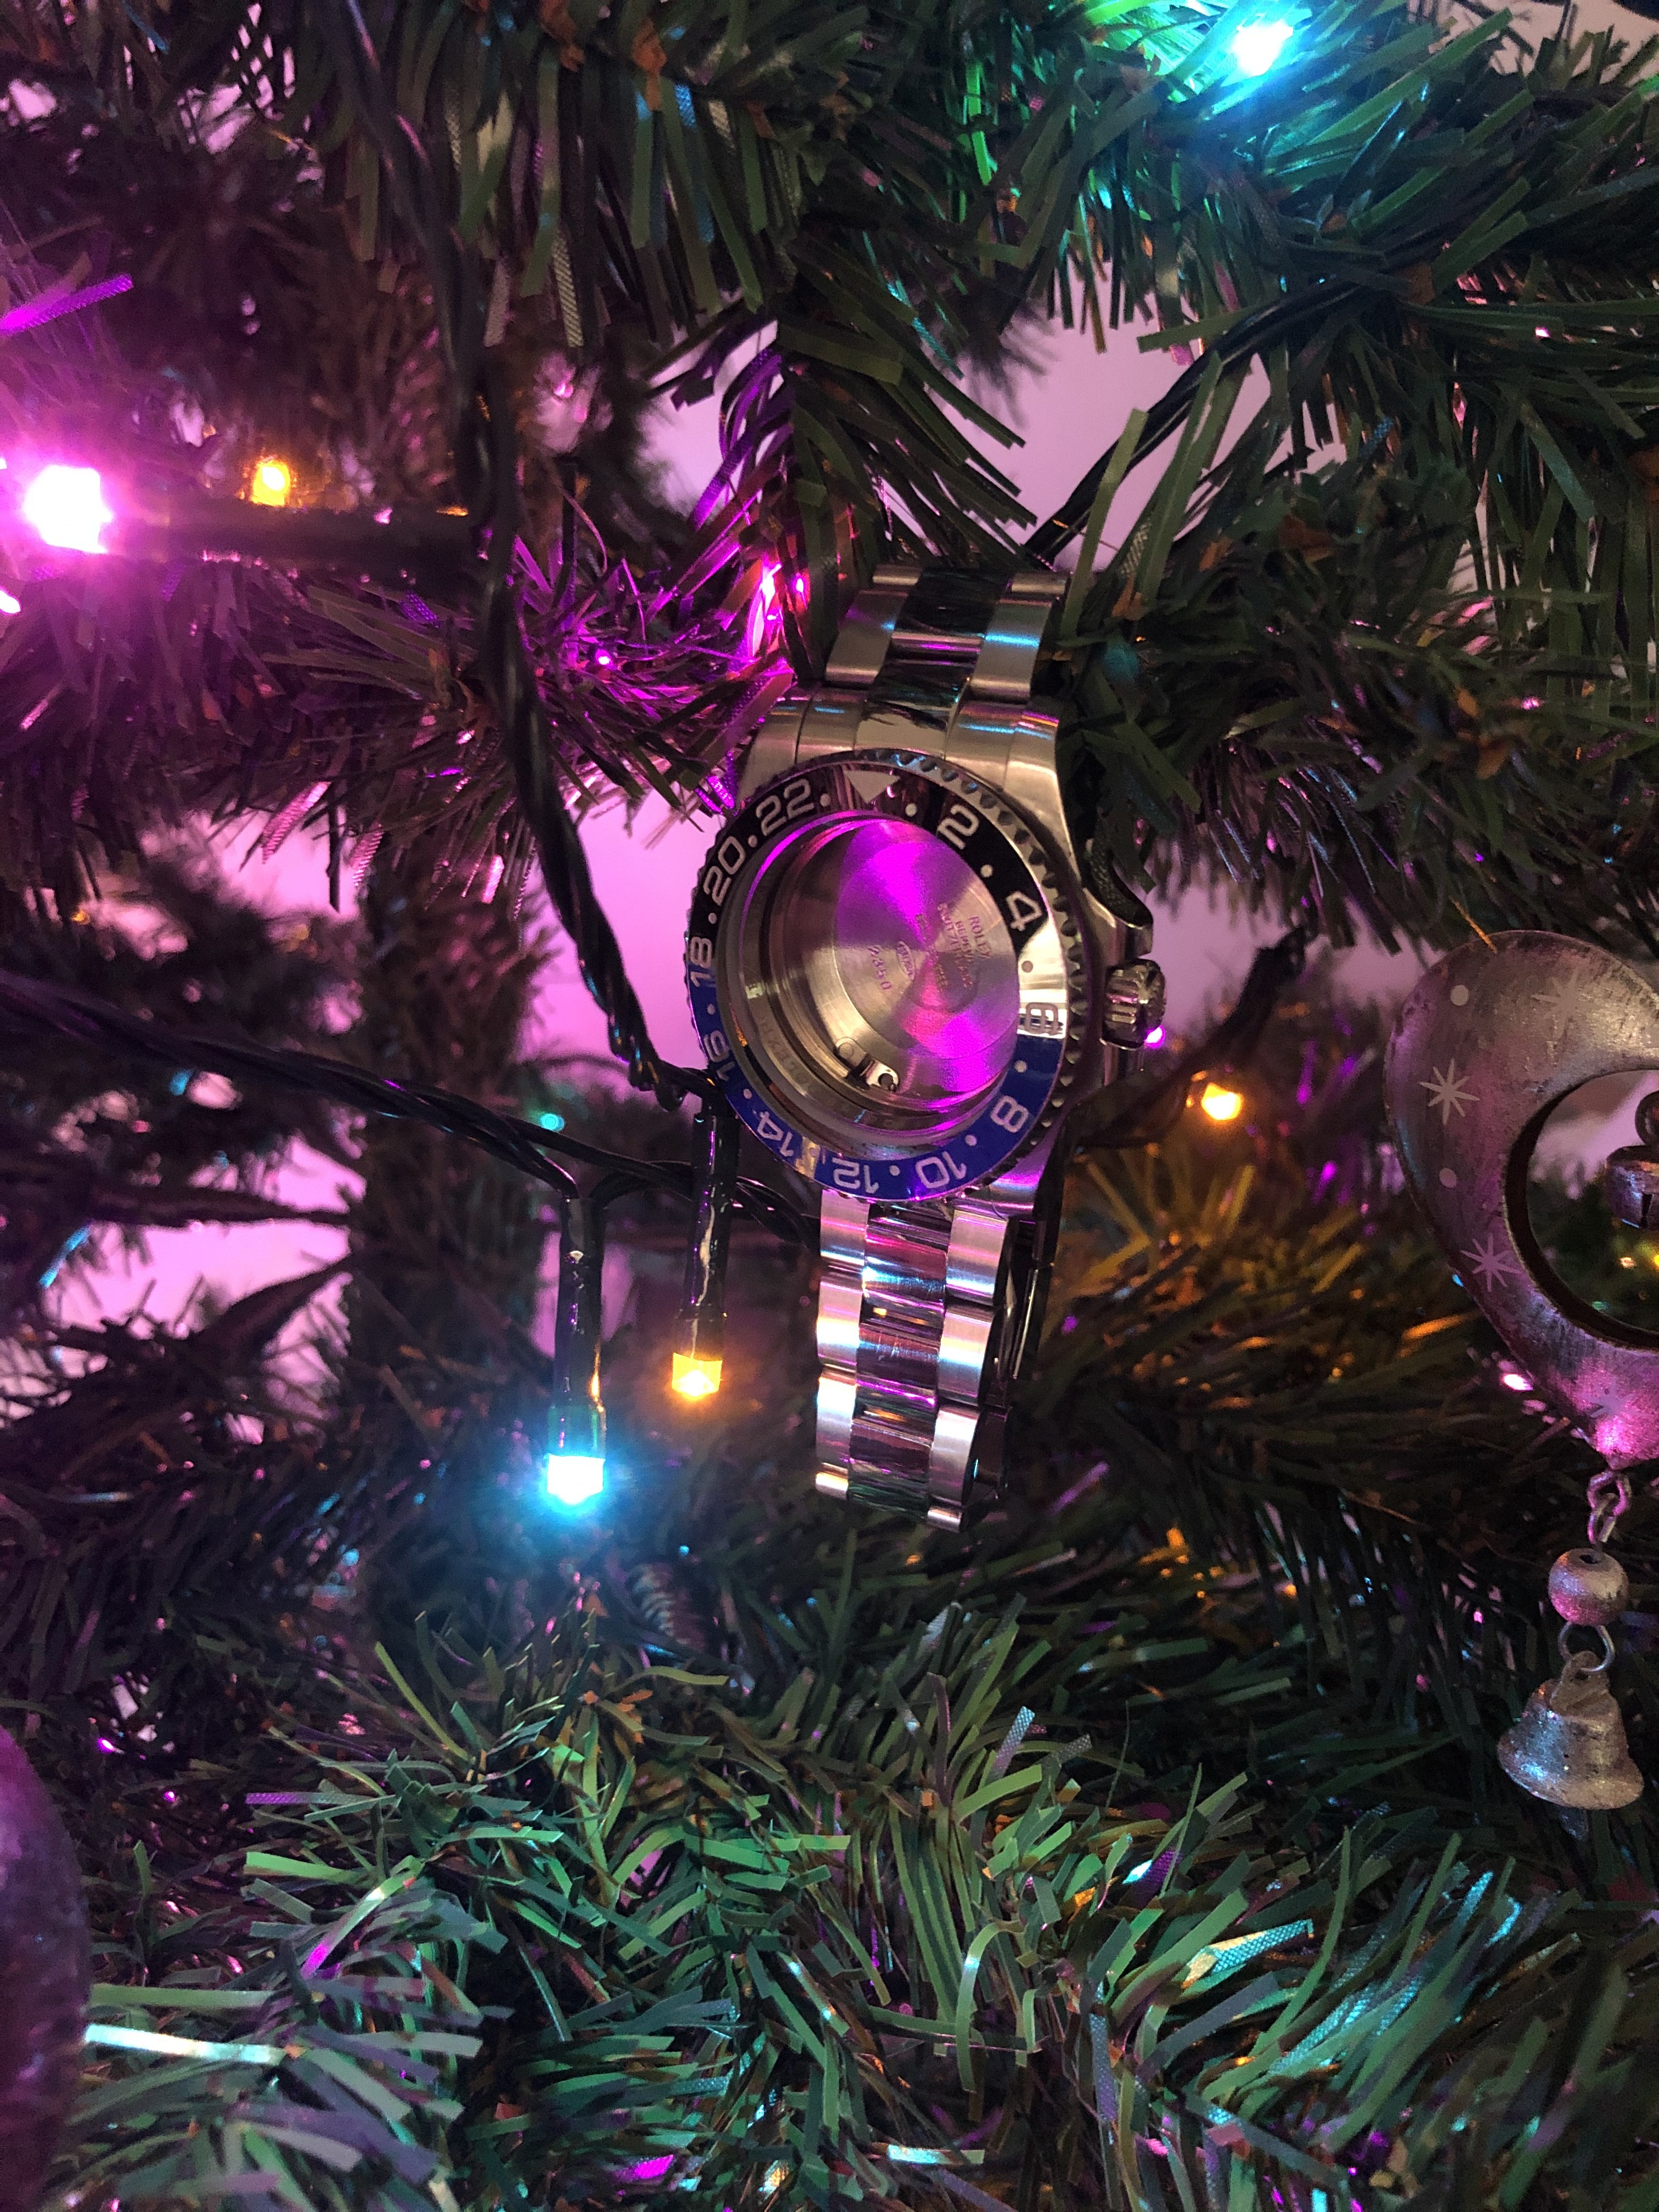
Here is my small guide on how to refinish your rolex. I used a batman with polished center links on the bracelet, its not really any different to do it on a regular sub bracelet, just ignore the part about polishing the center links and brush them with the same method. I wouldn’t say this is a particularly hard job, its just pretty time consuming. You should be able to pick up all the tools below for less than it will cost to get one watch refinished by a modder and you will be able to do as many watches as you have time for. This watch didn’t really need the brushing but i did it anyway for the purpose of the guide.
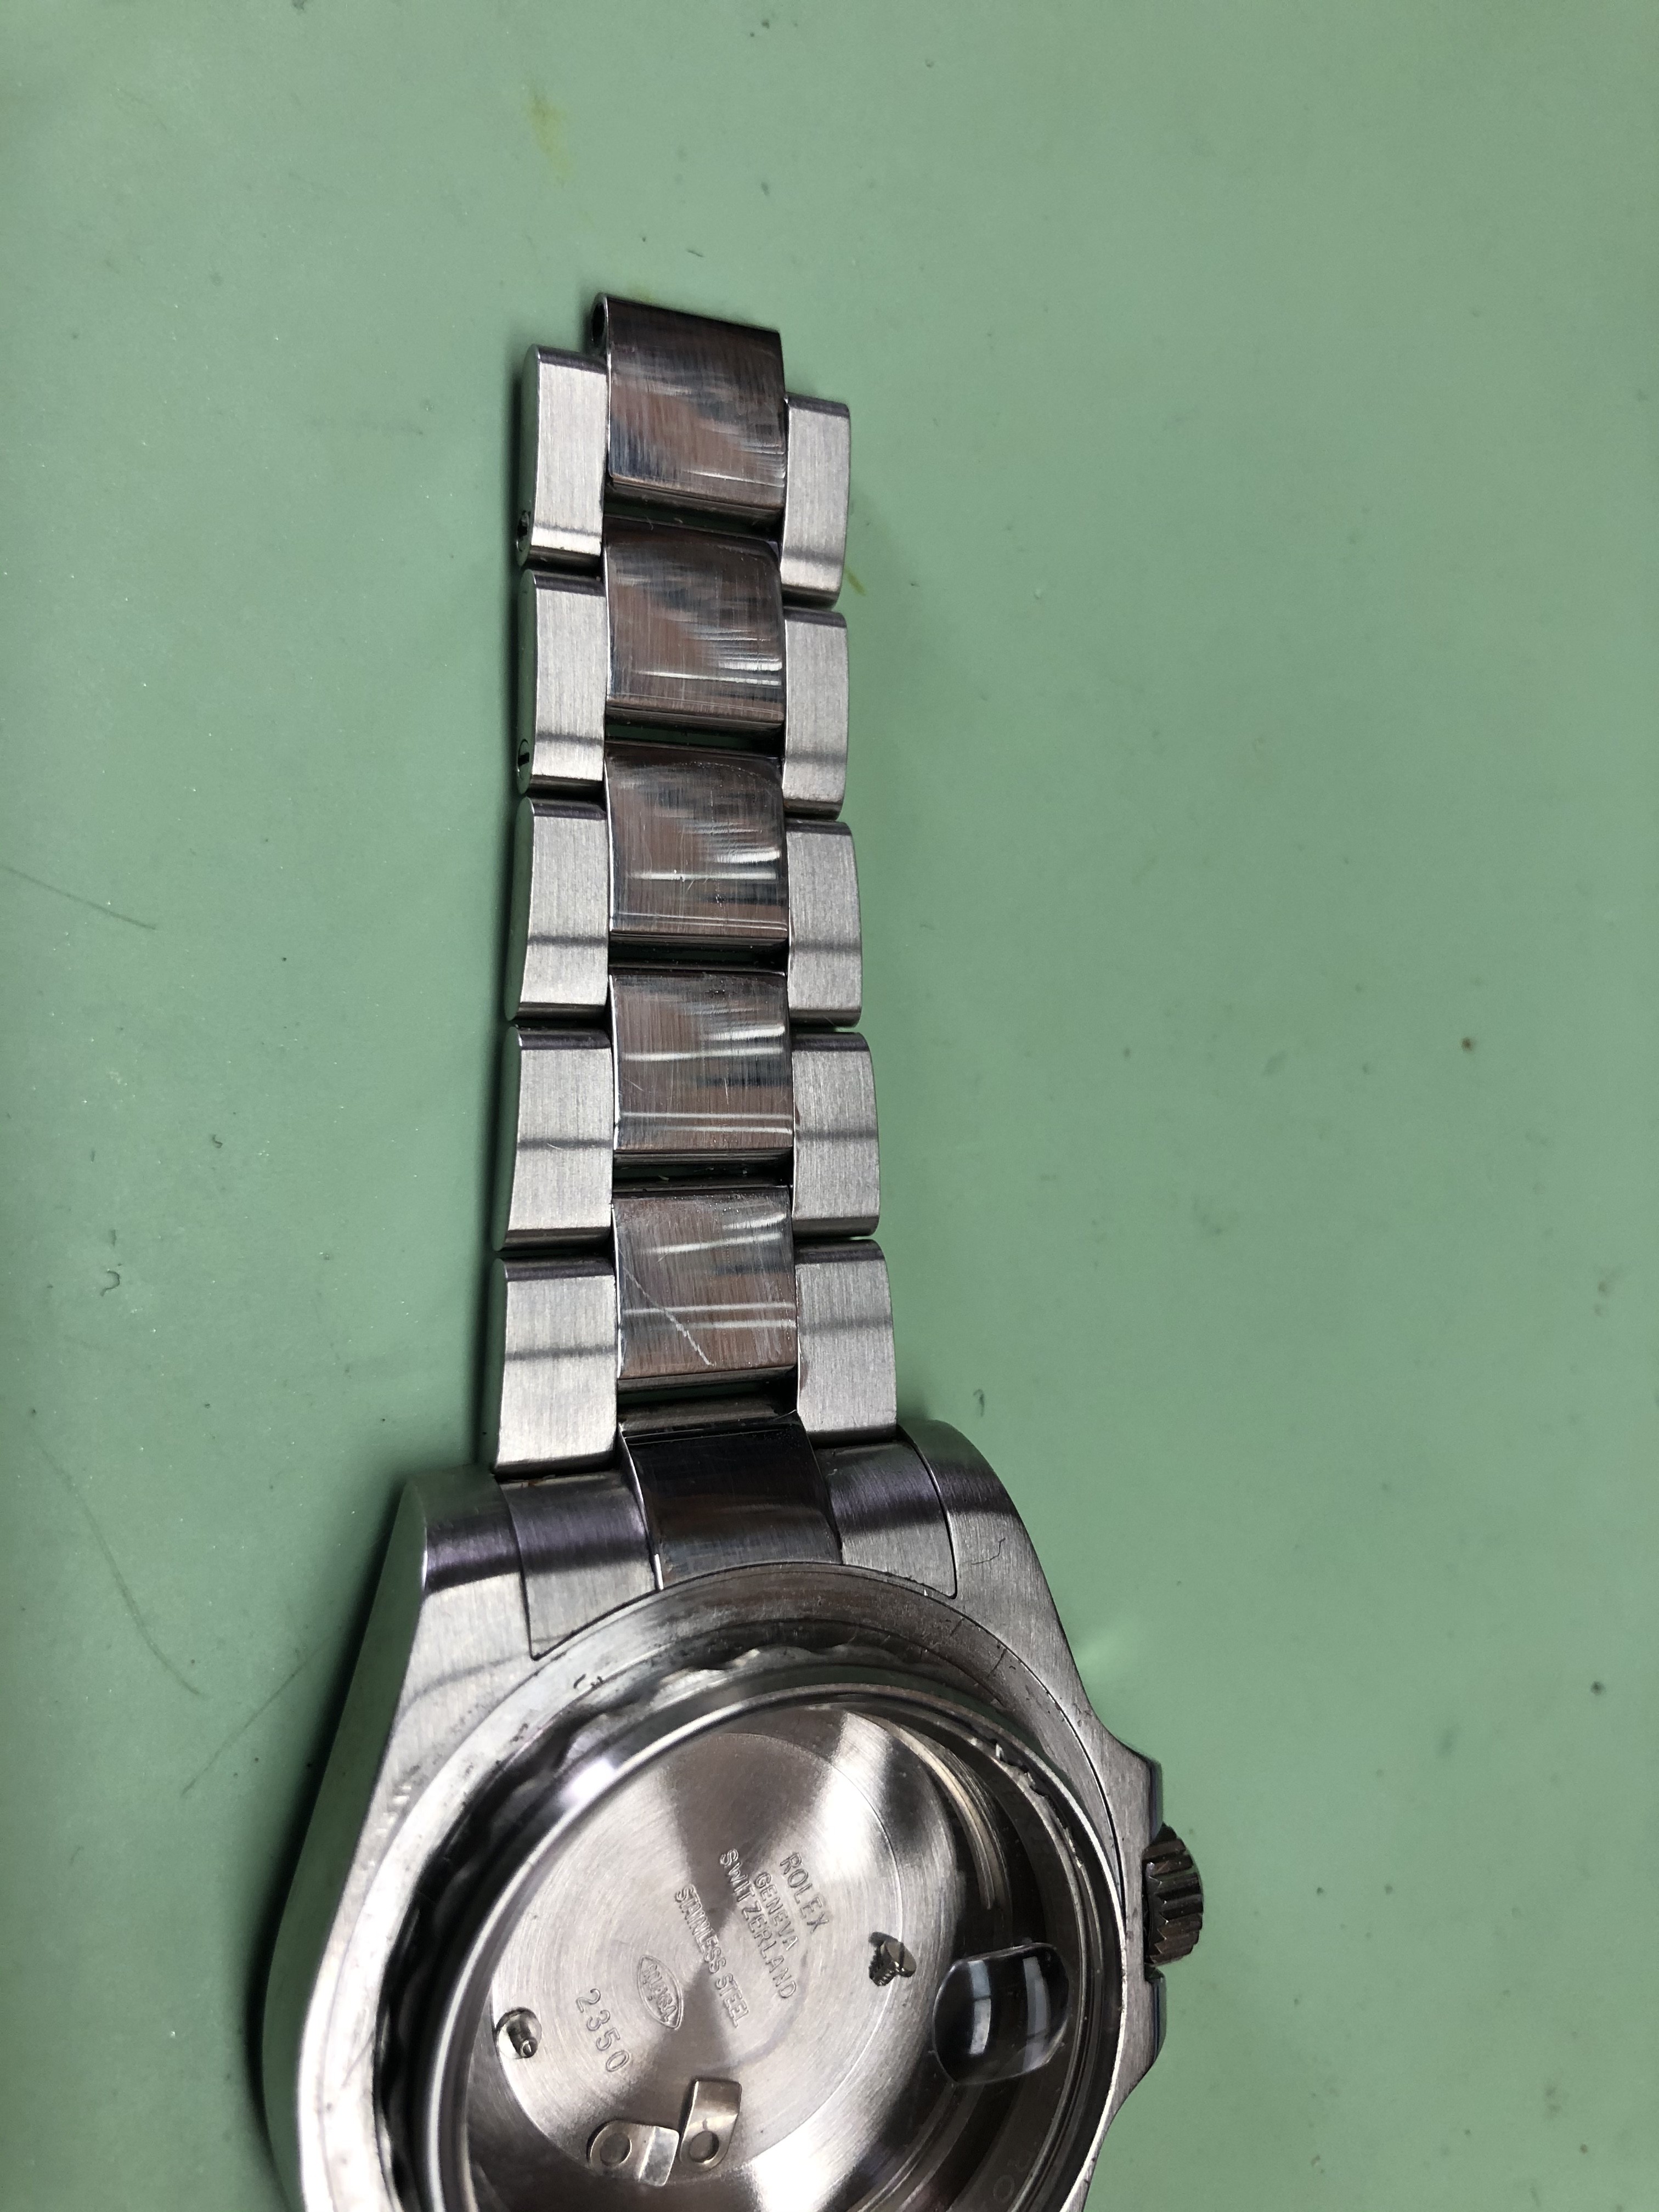
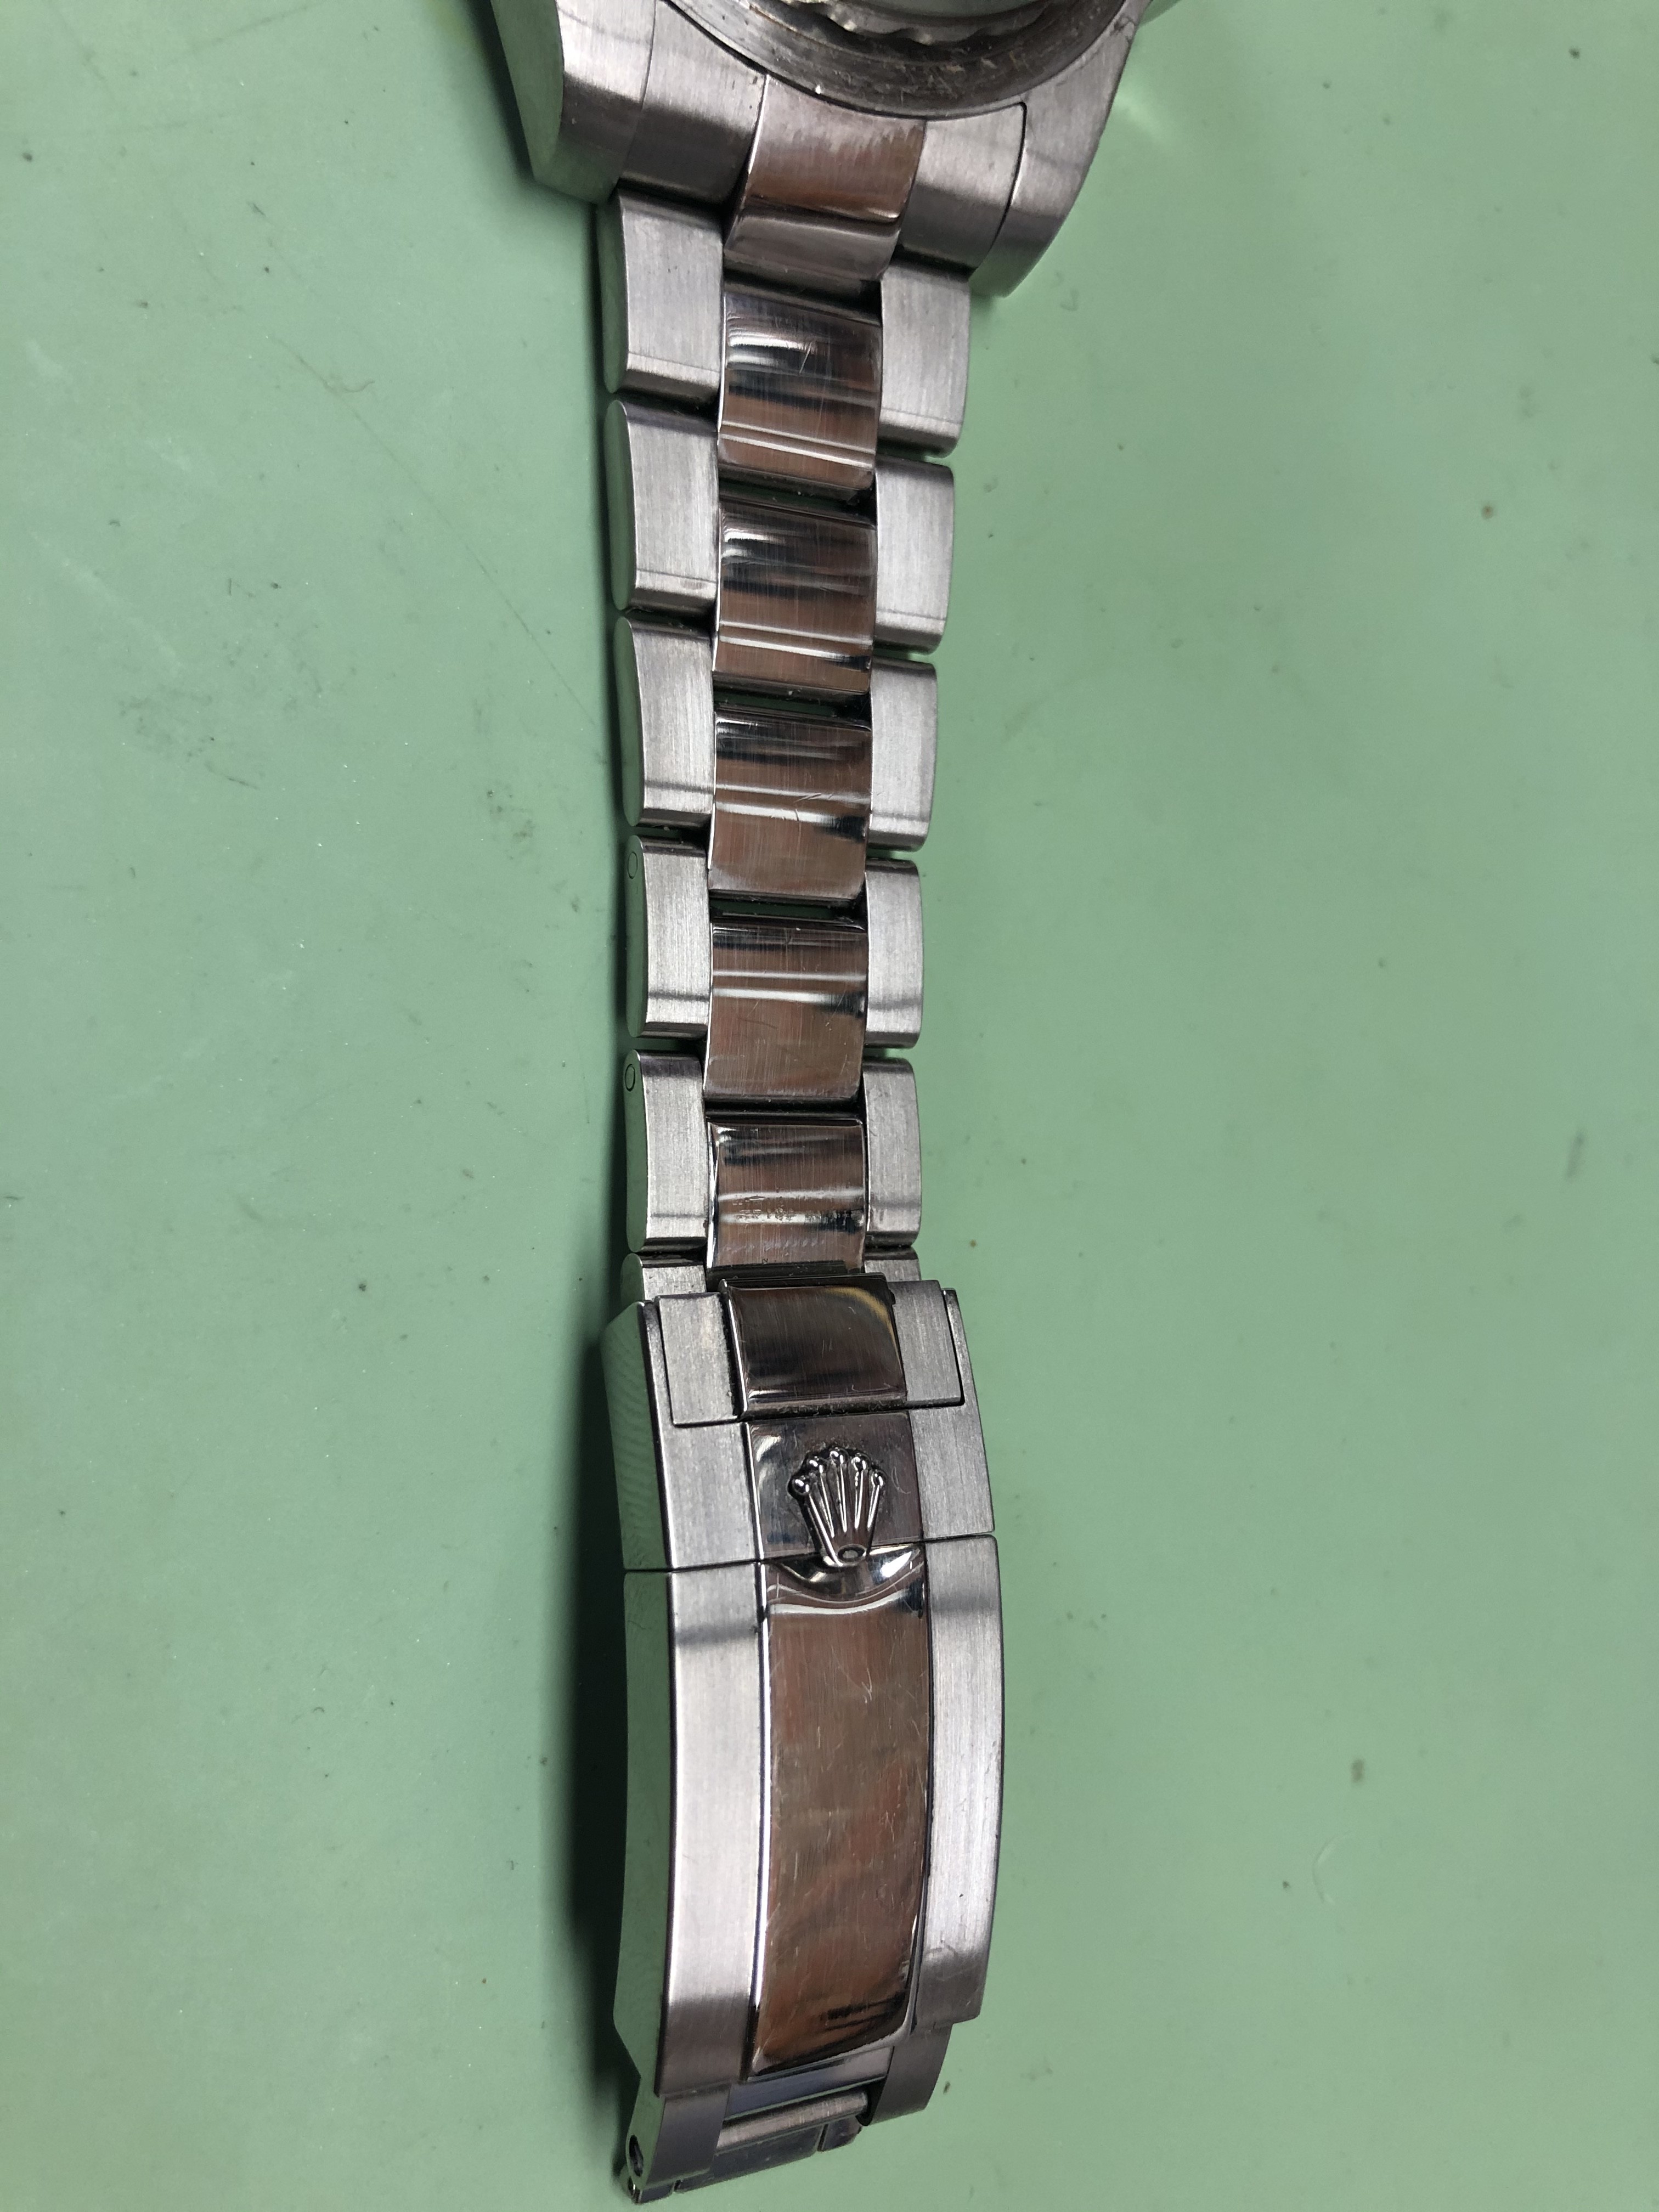
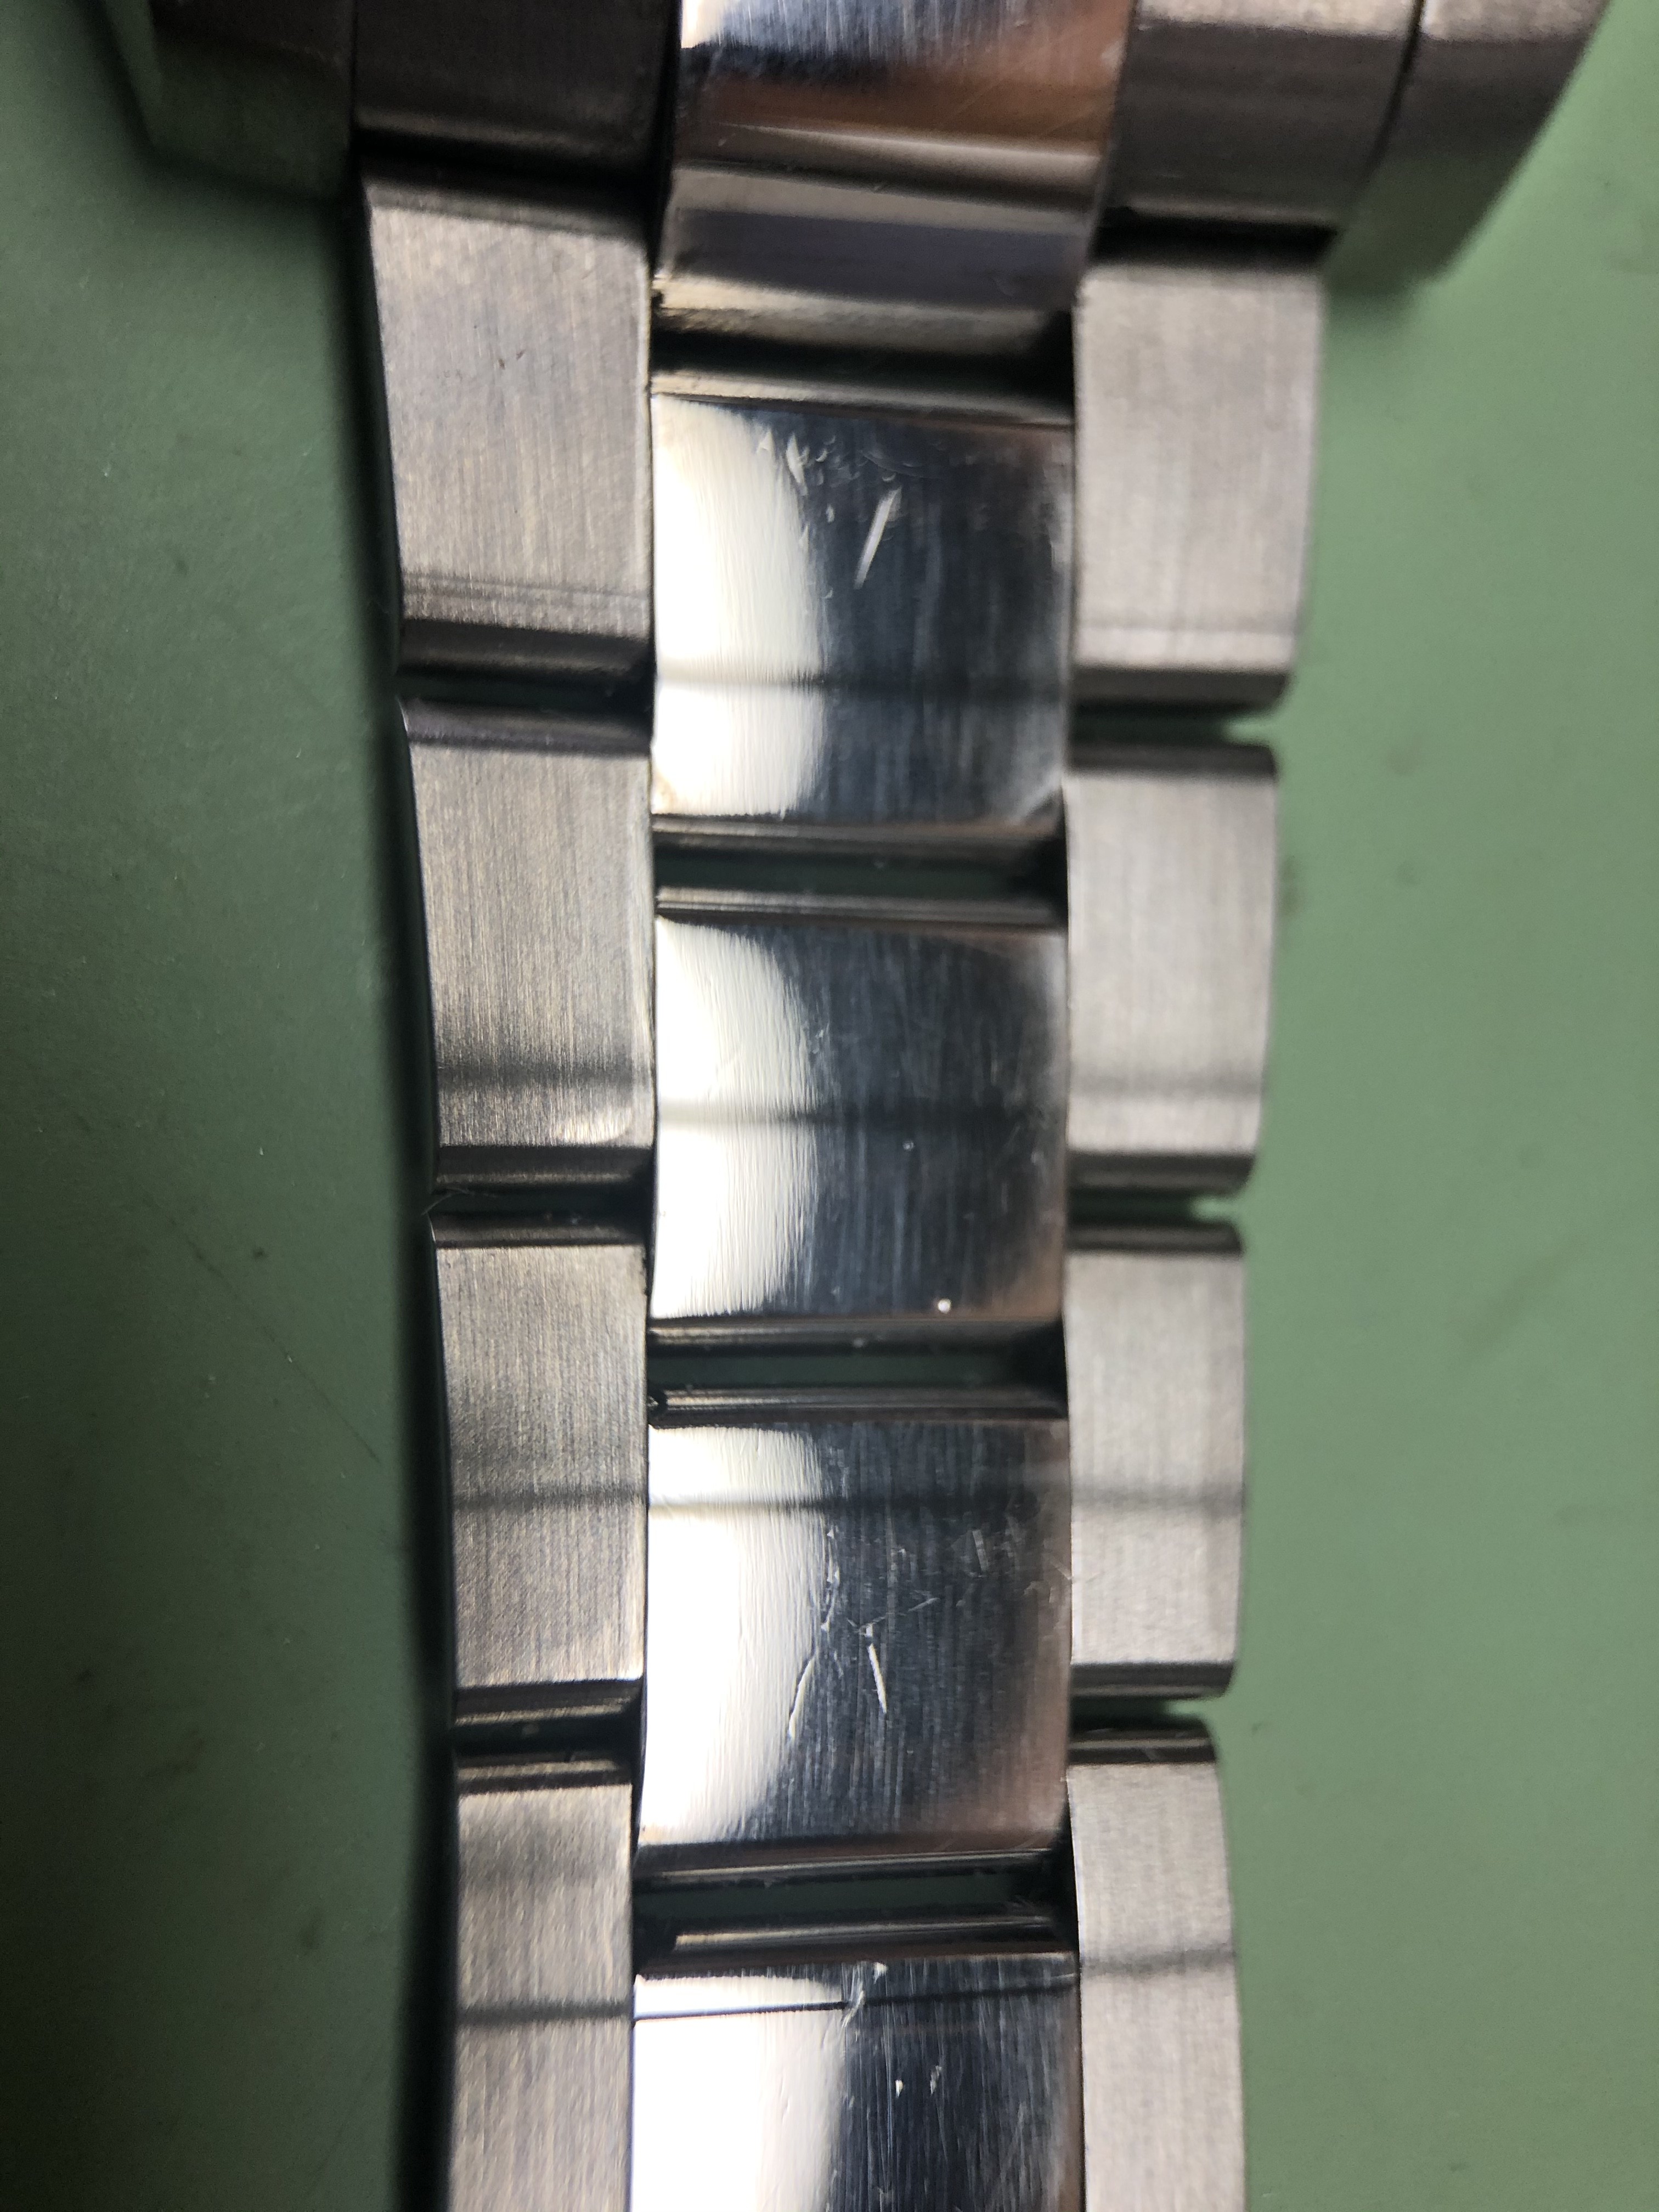
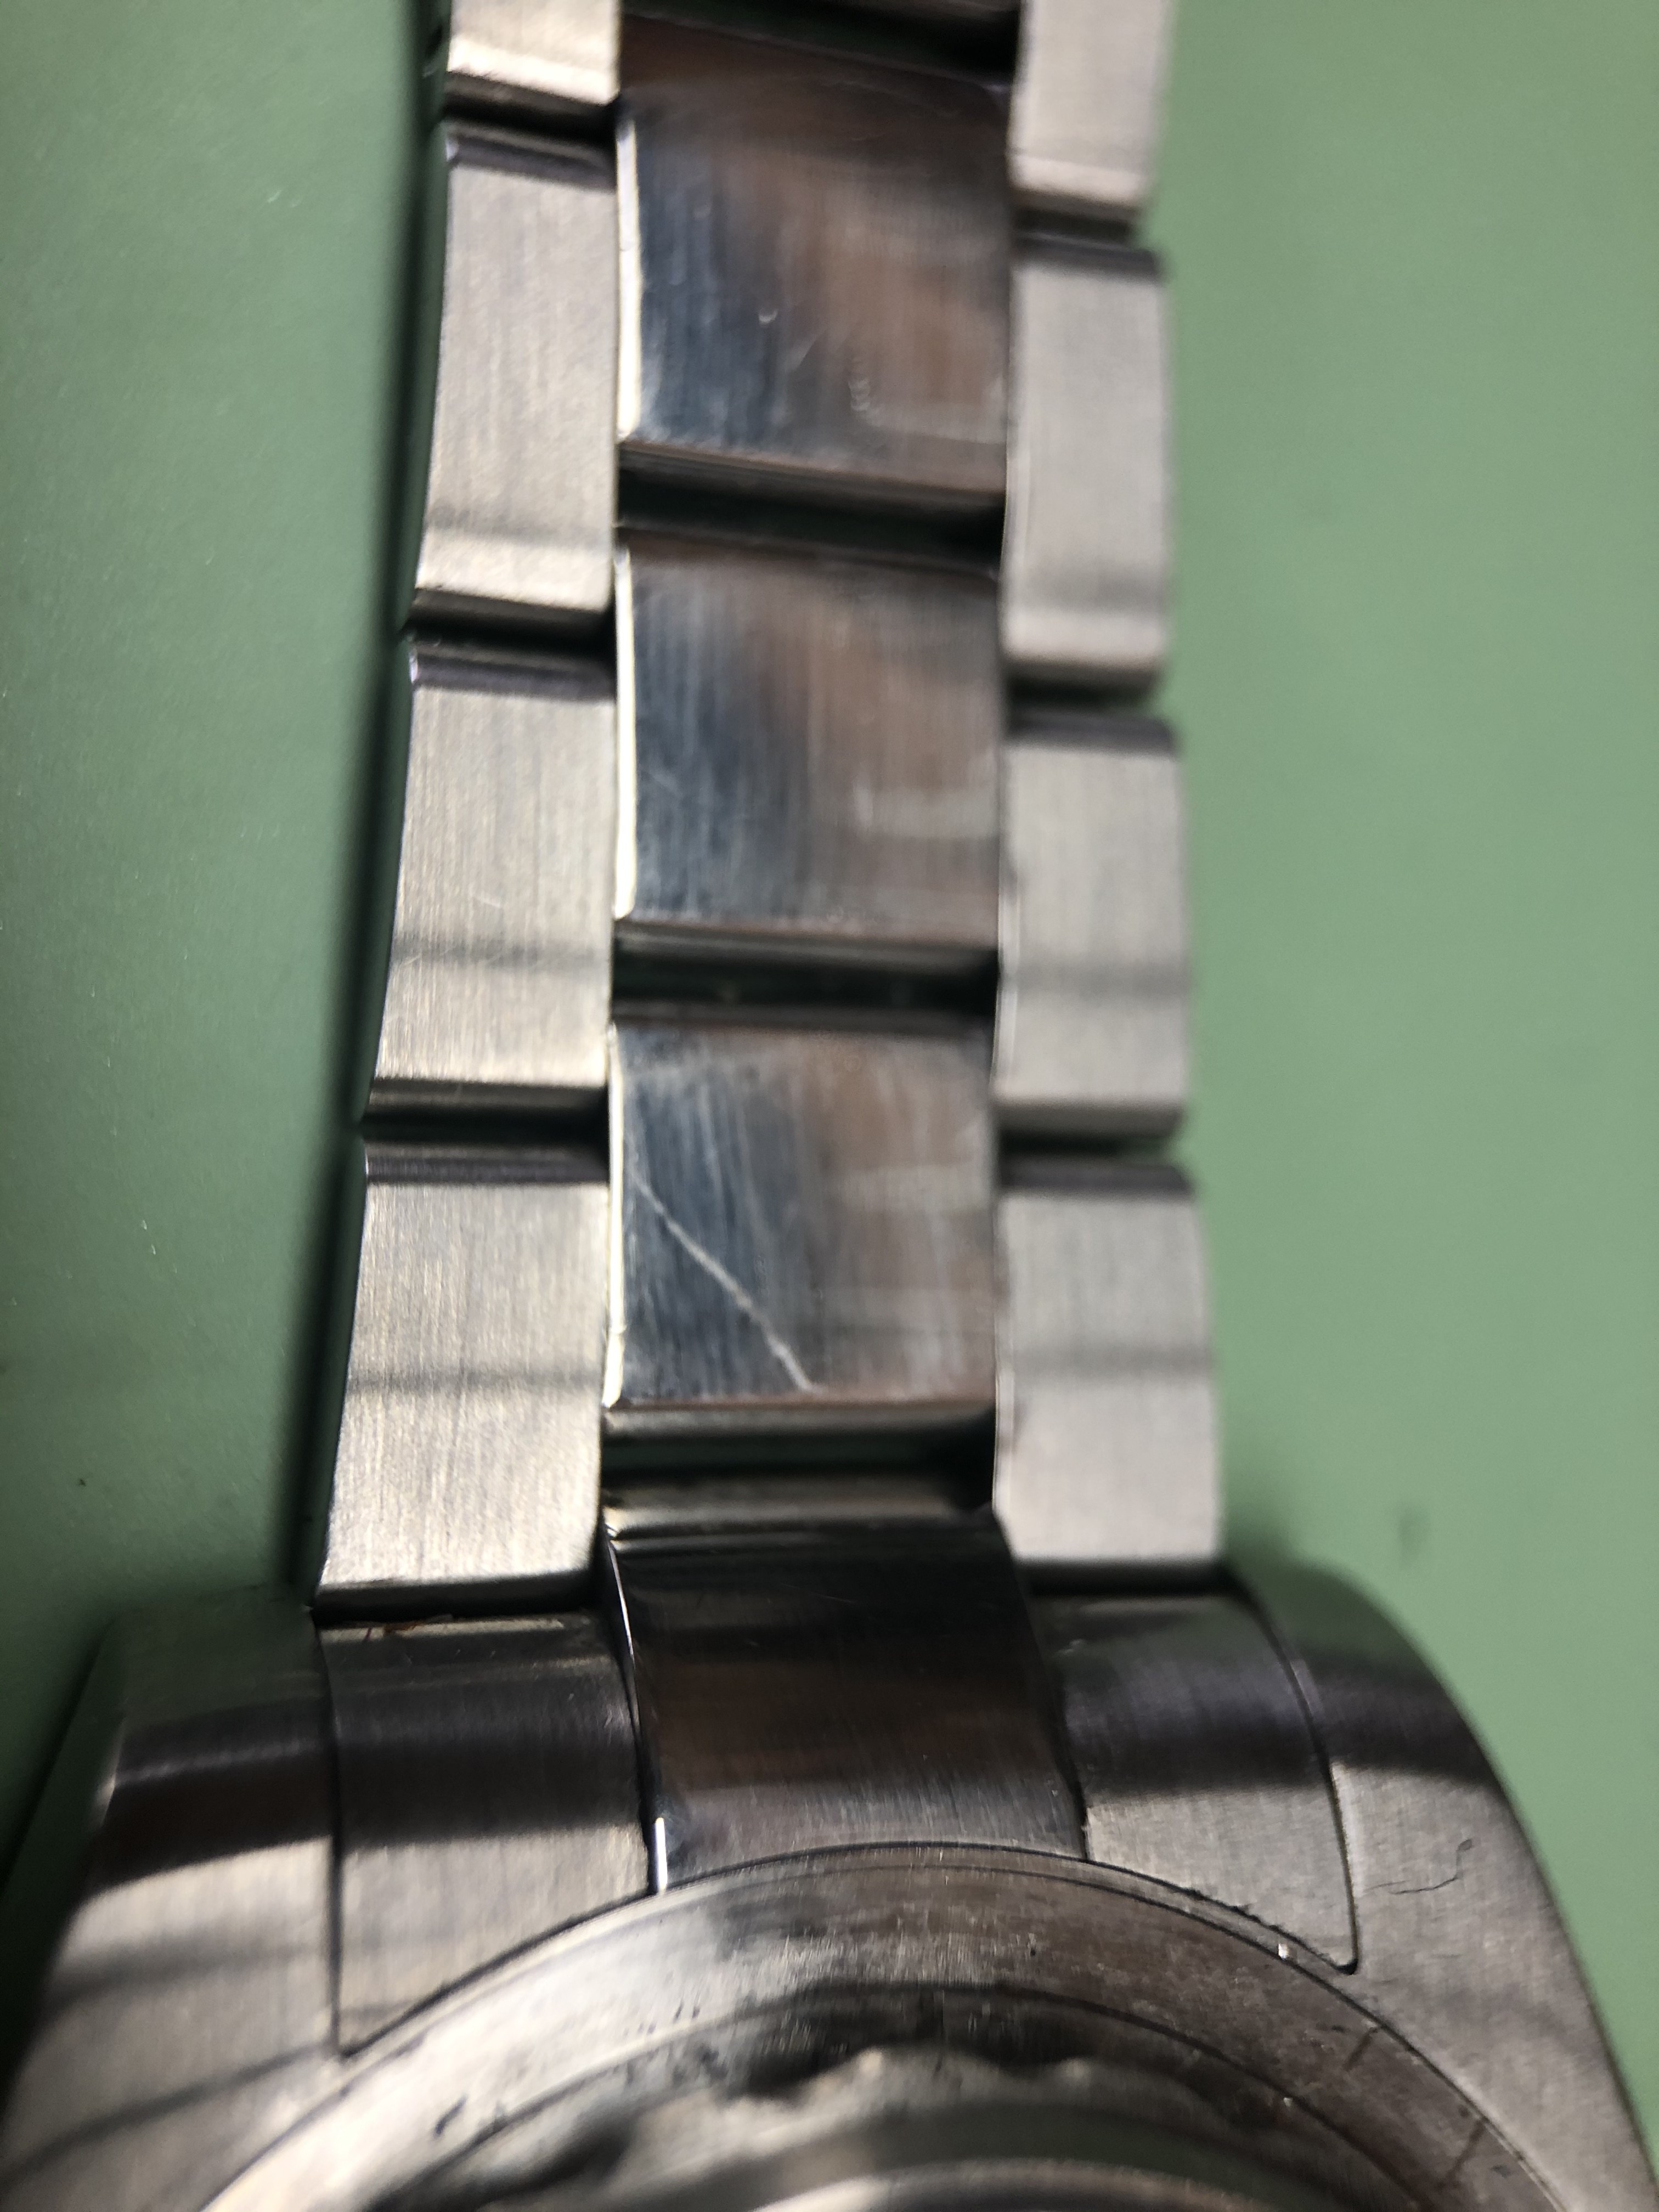
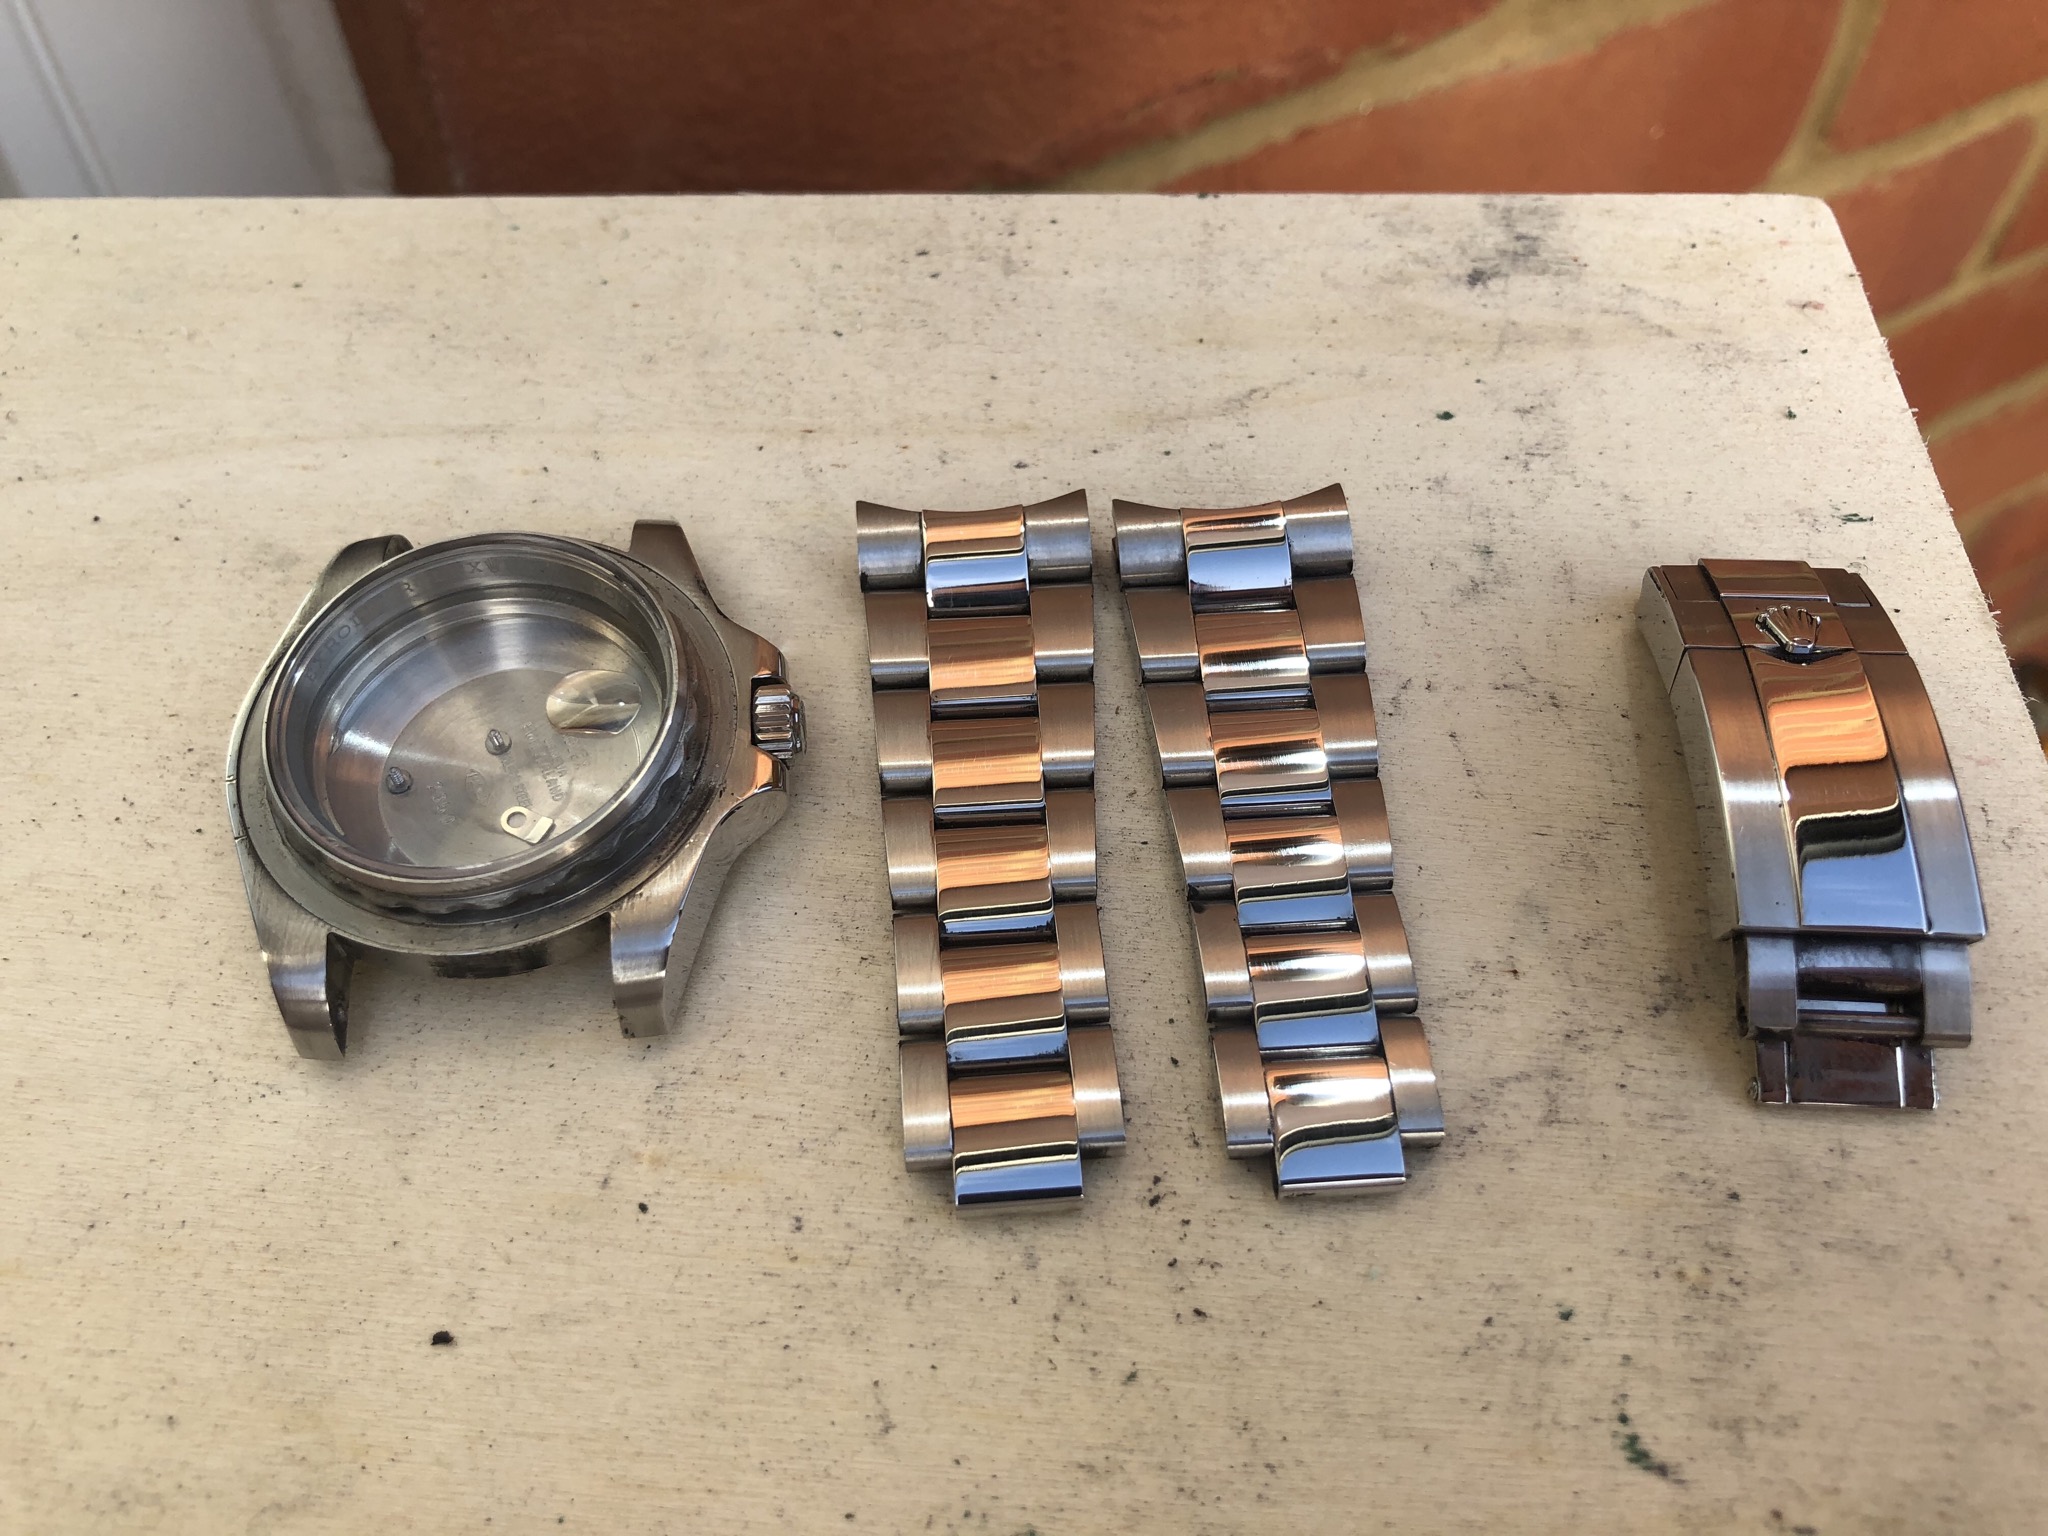
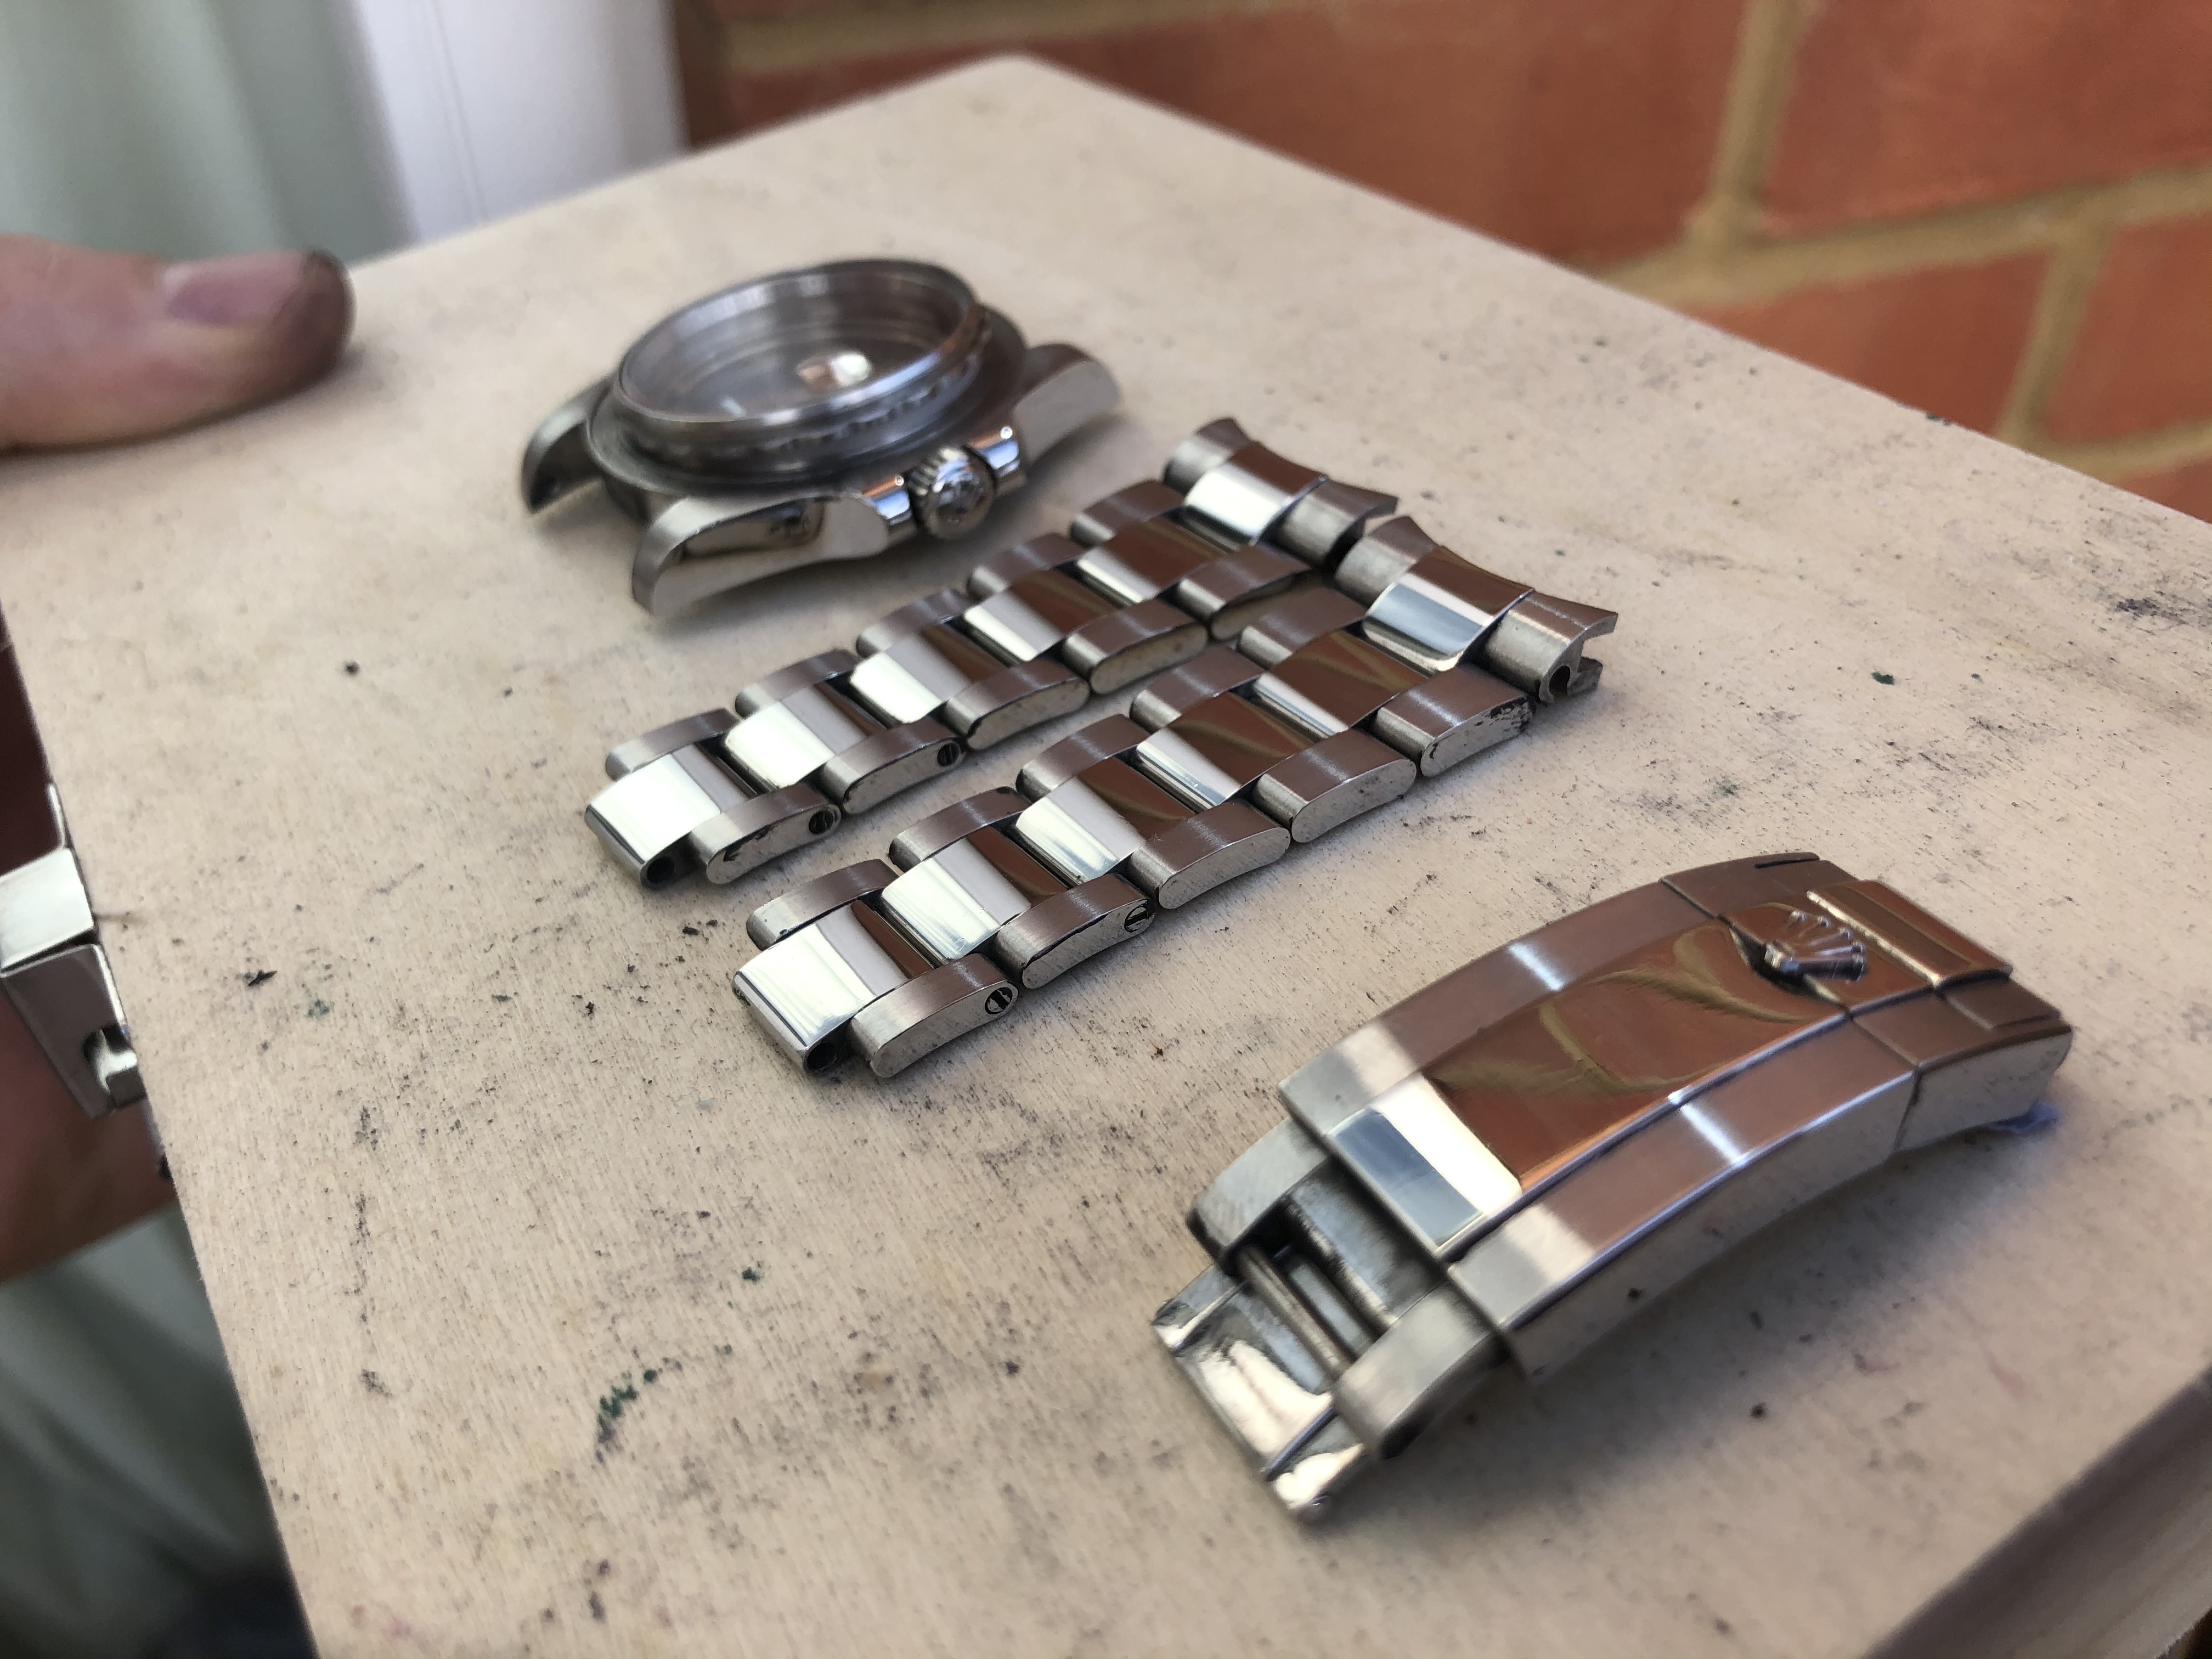
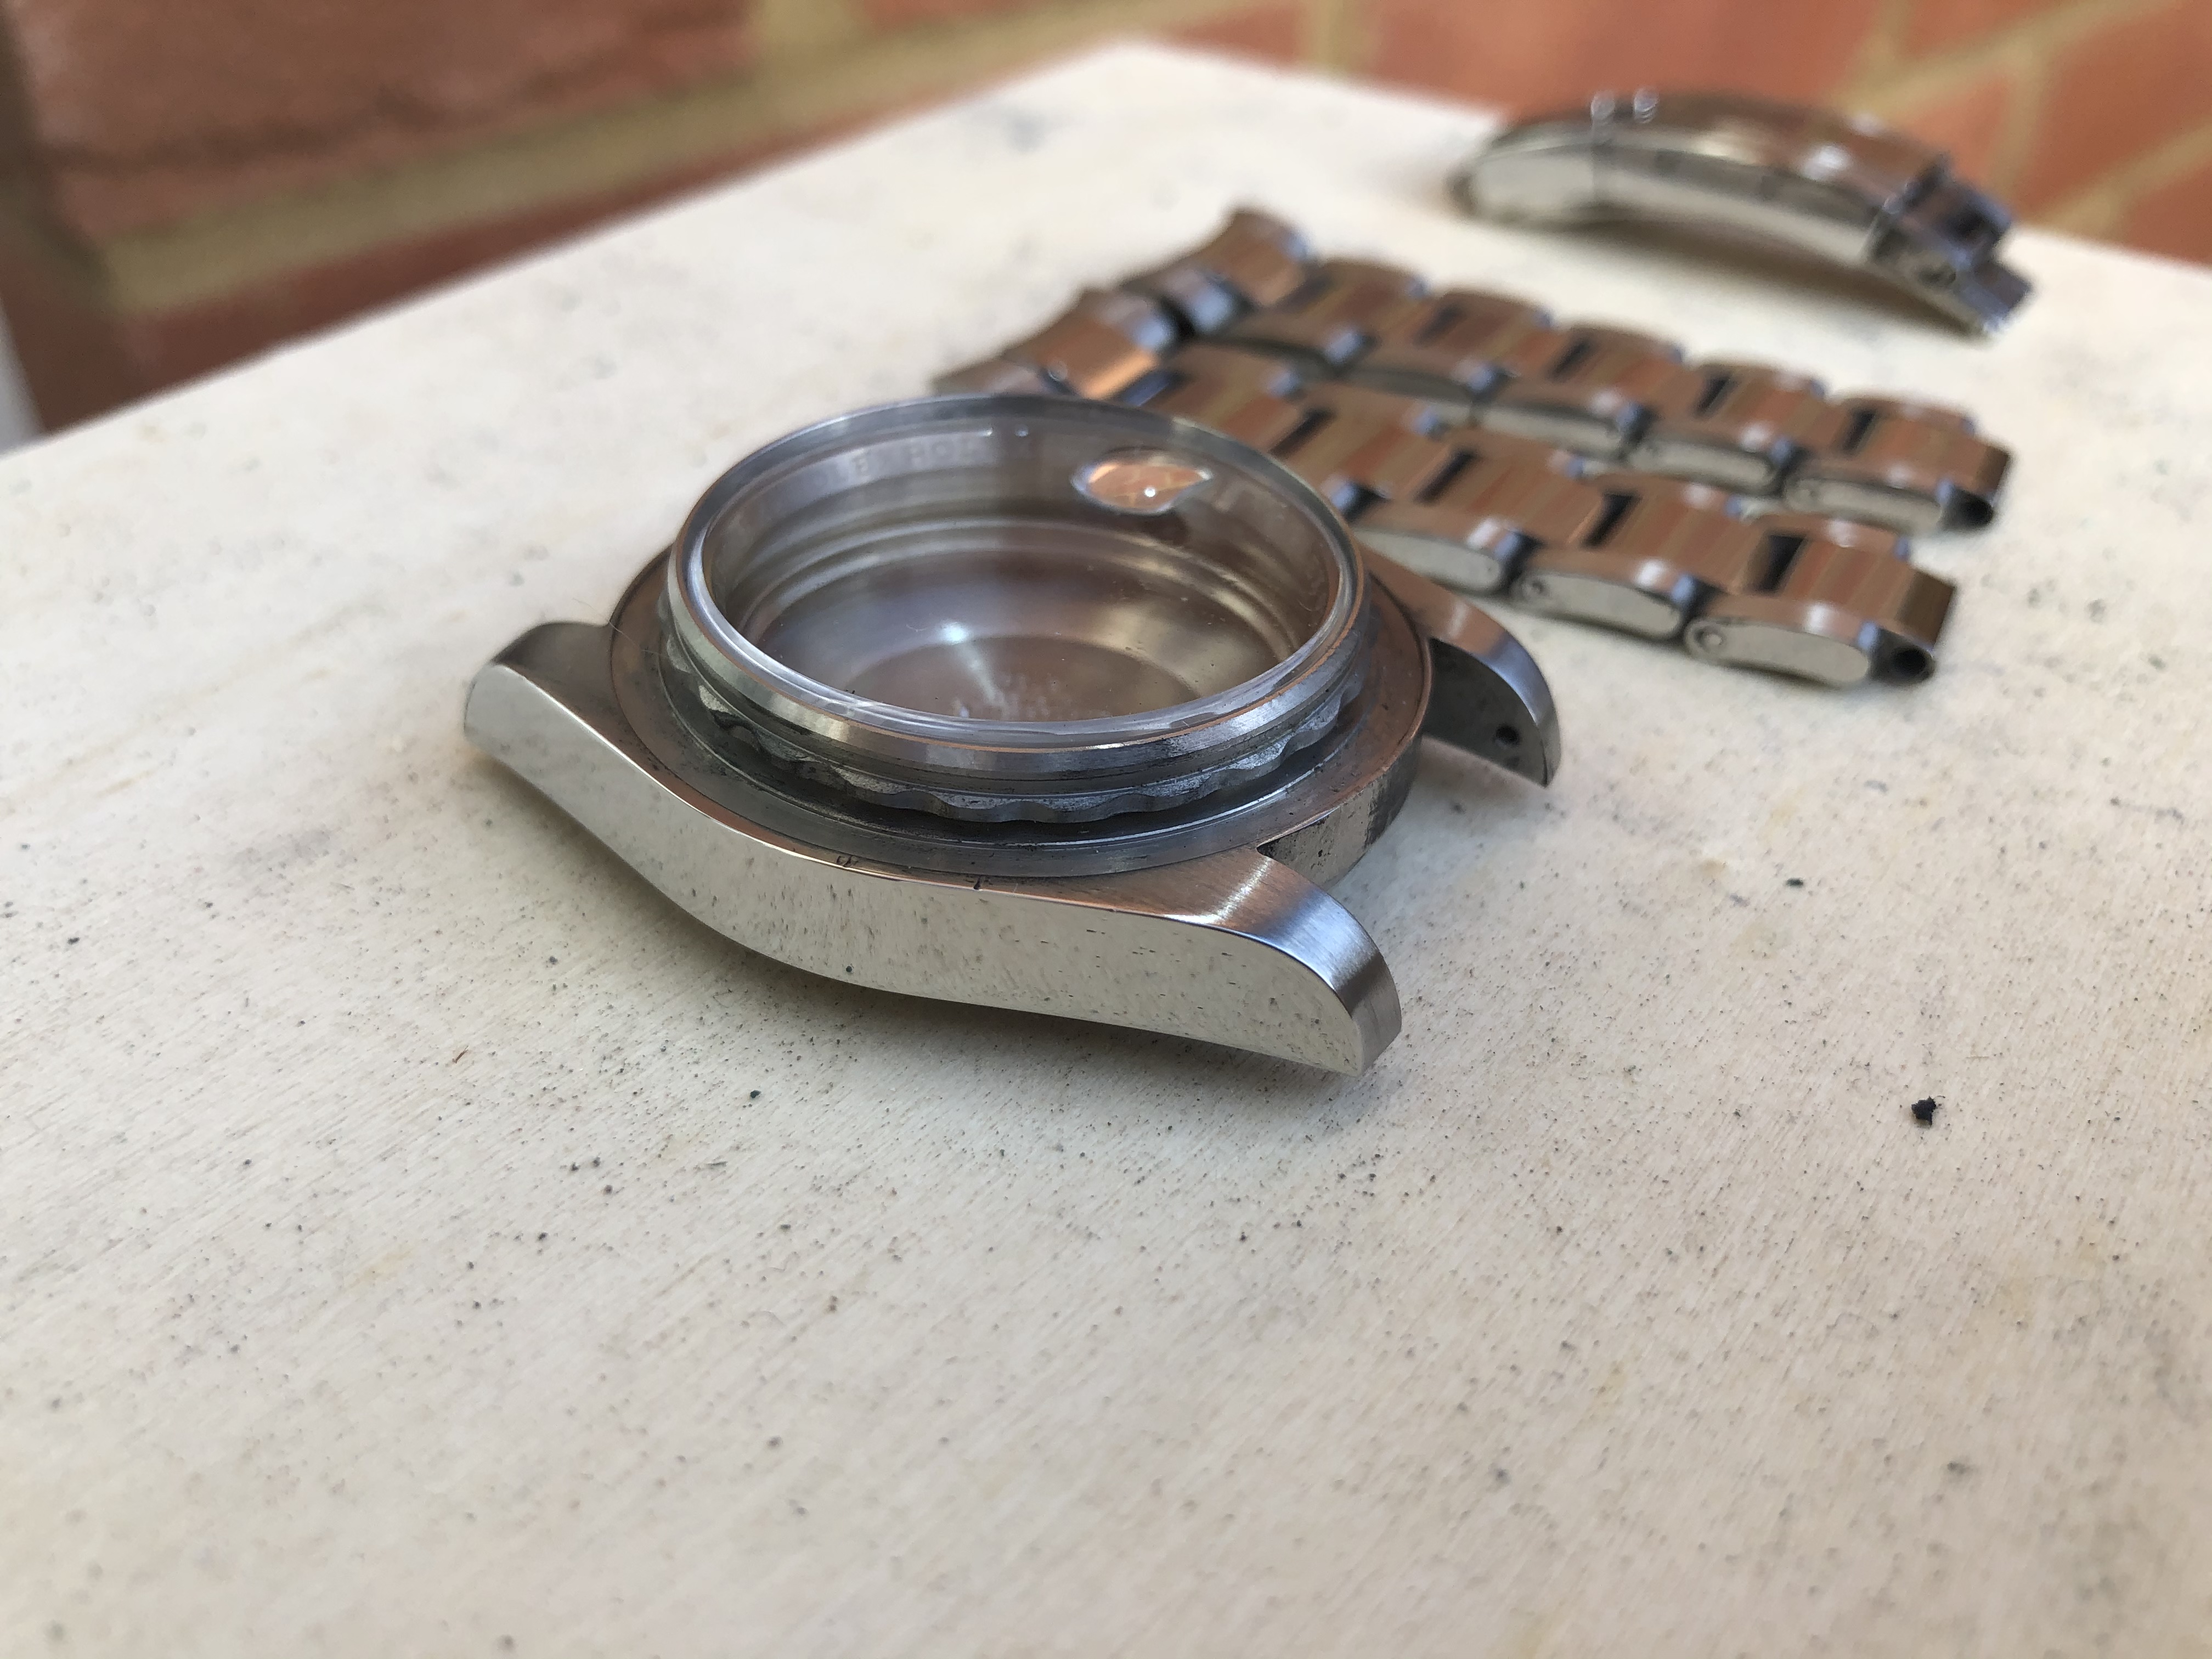
As you can see, there are a few scratches on the polished parts of the links.
Polishing tool list:
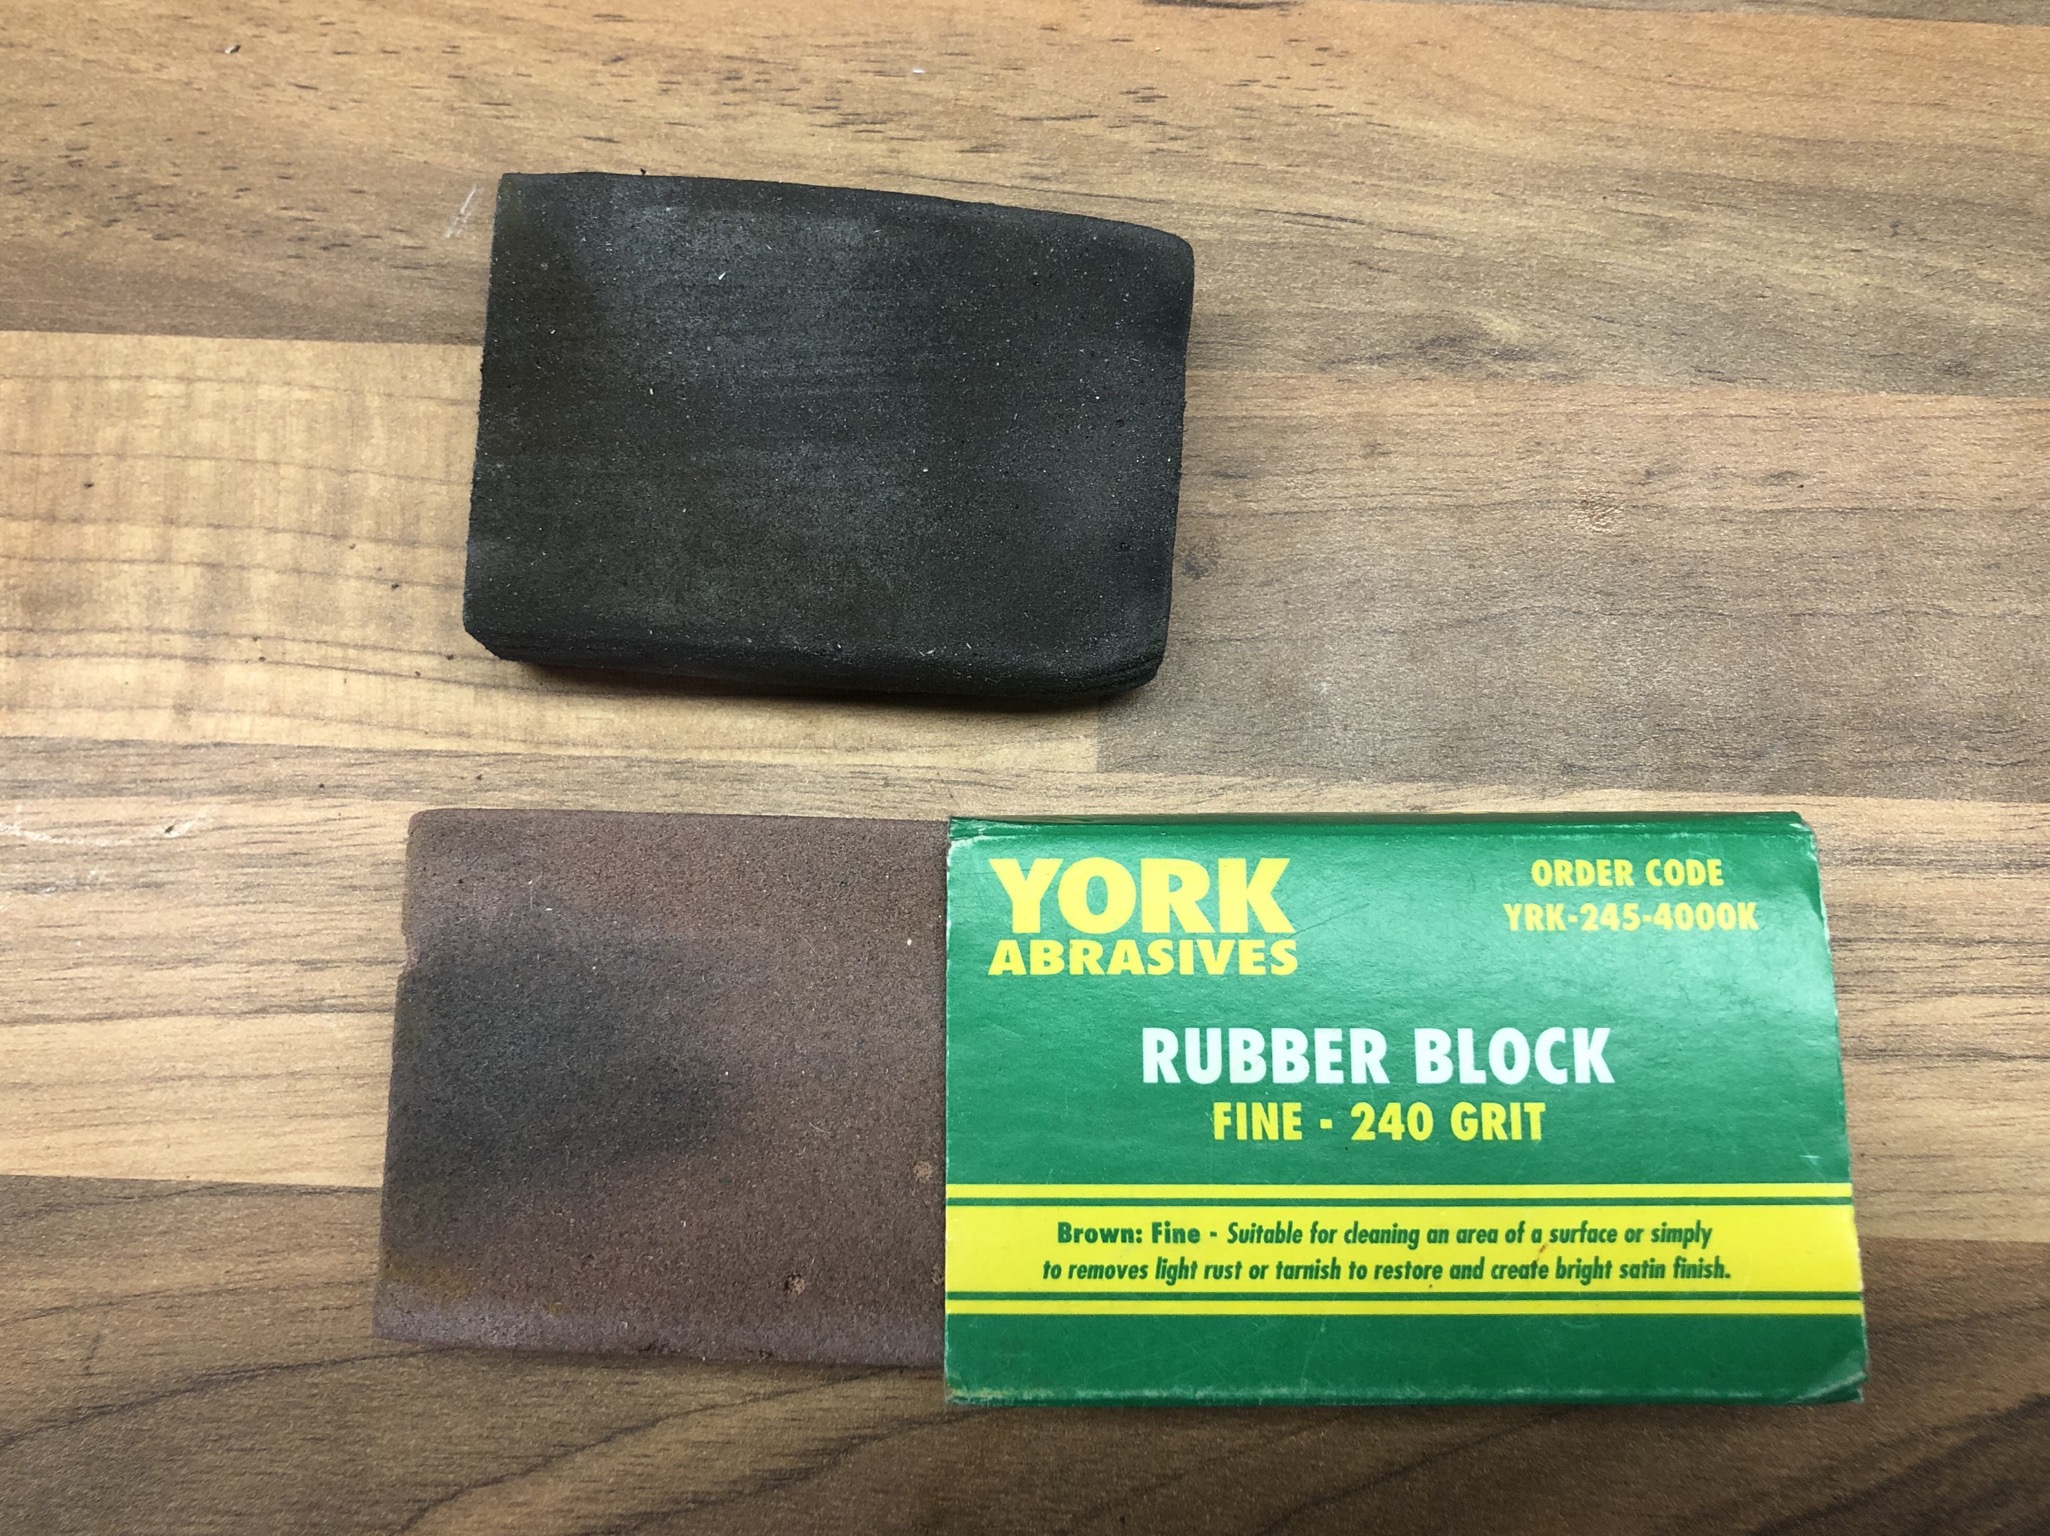
Abrasive rubber blocks- 120 grit and 240 grit (mine are made by york, but there are loads by garyflex on ebay)
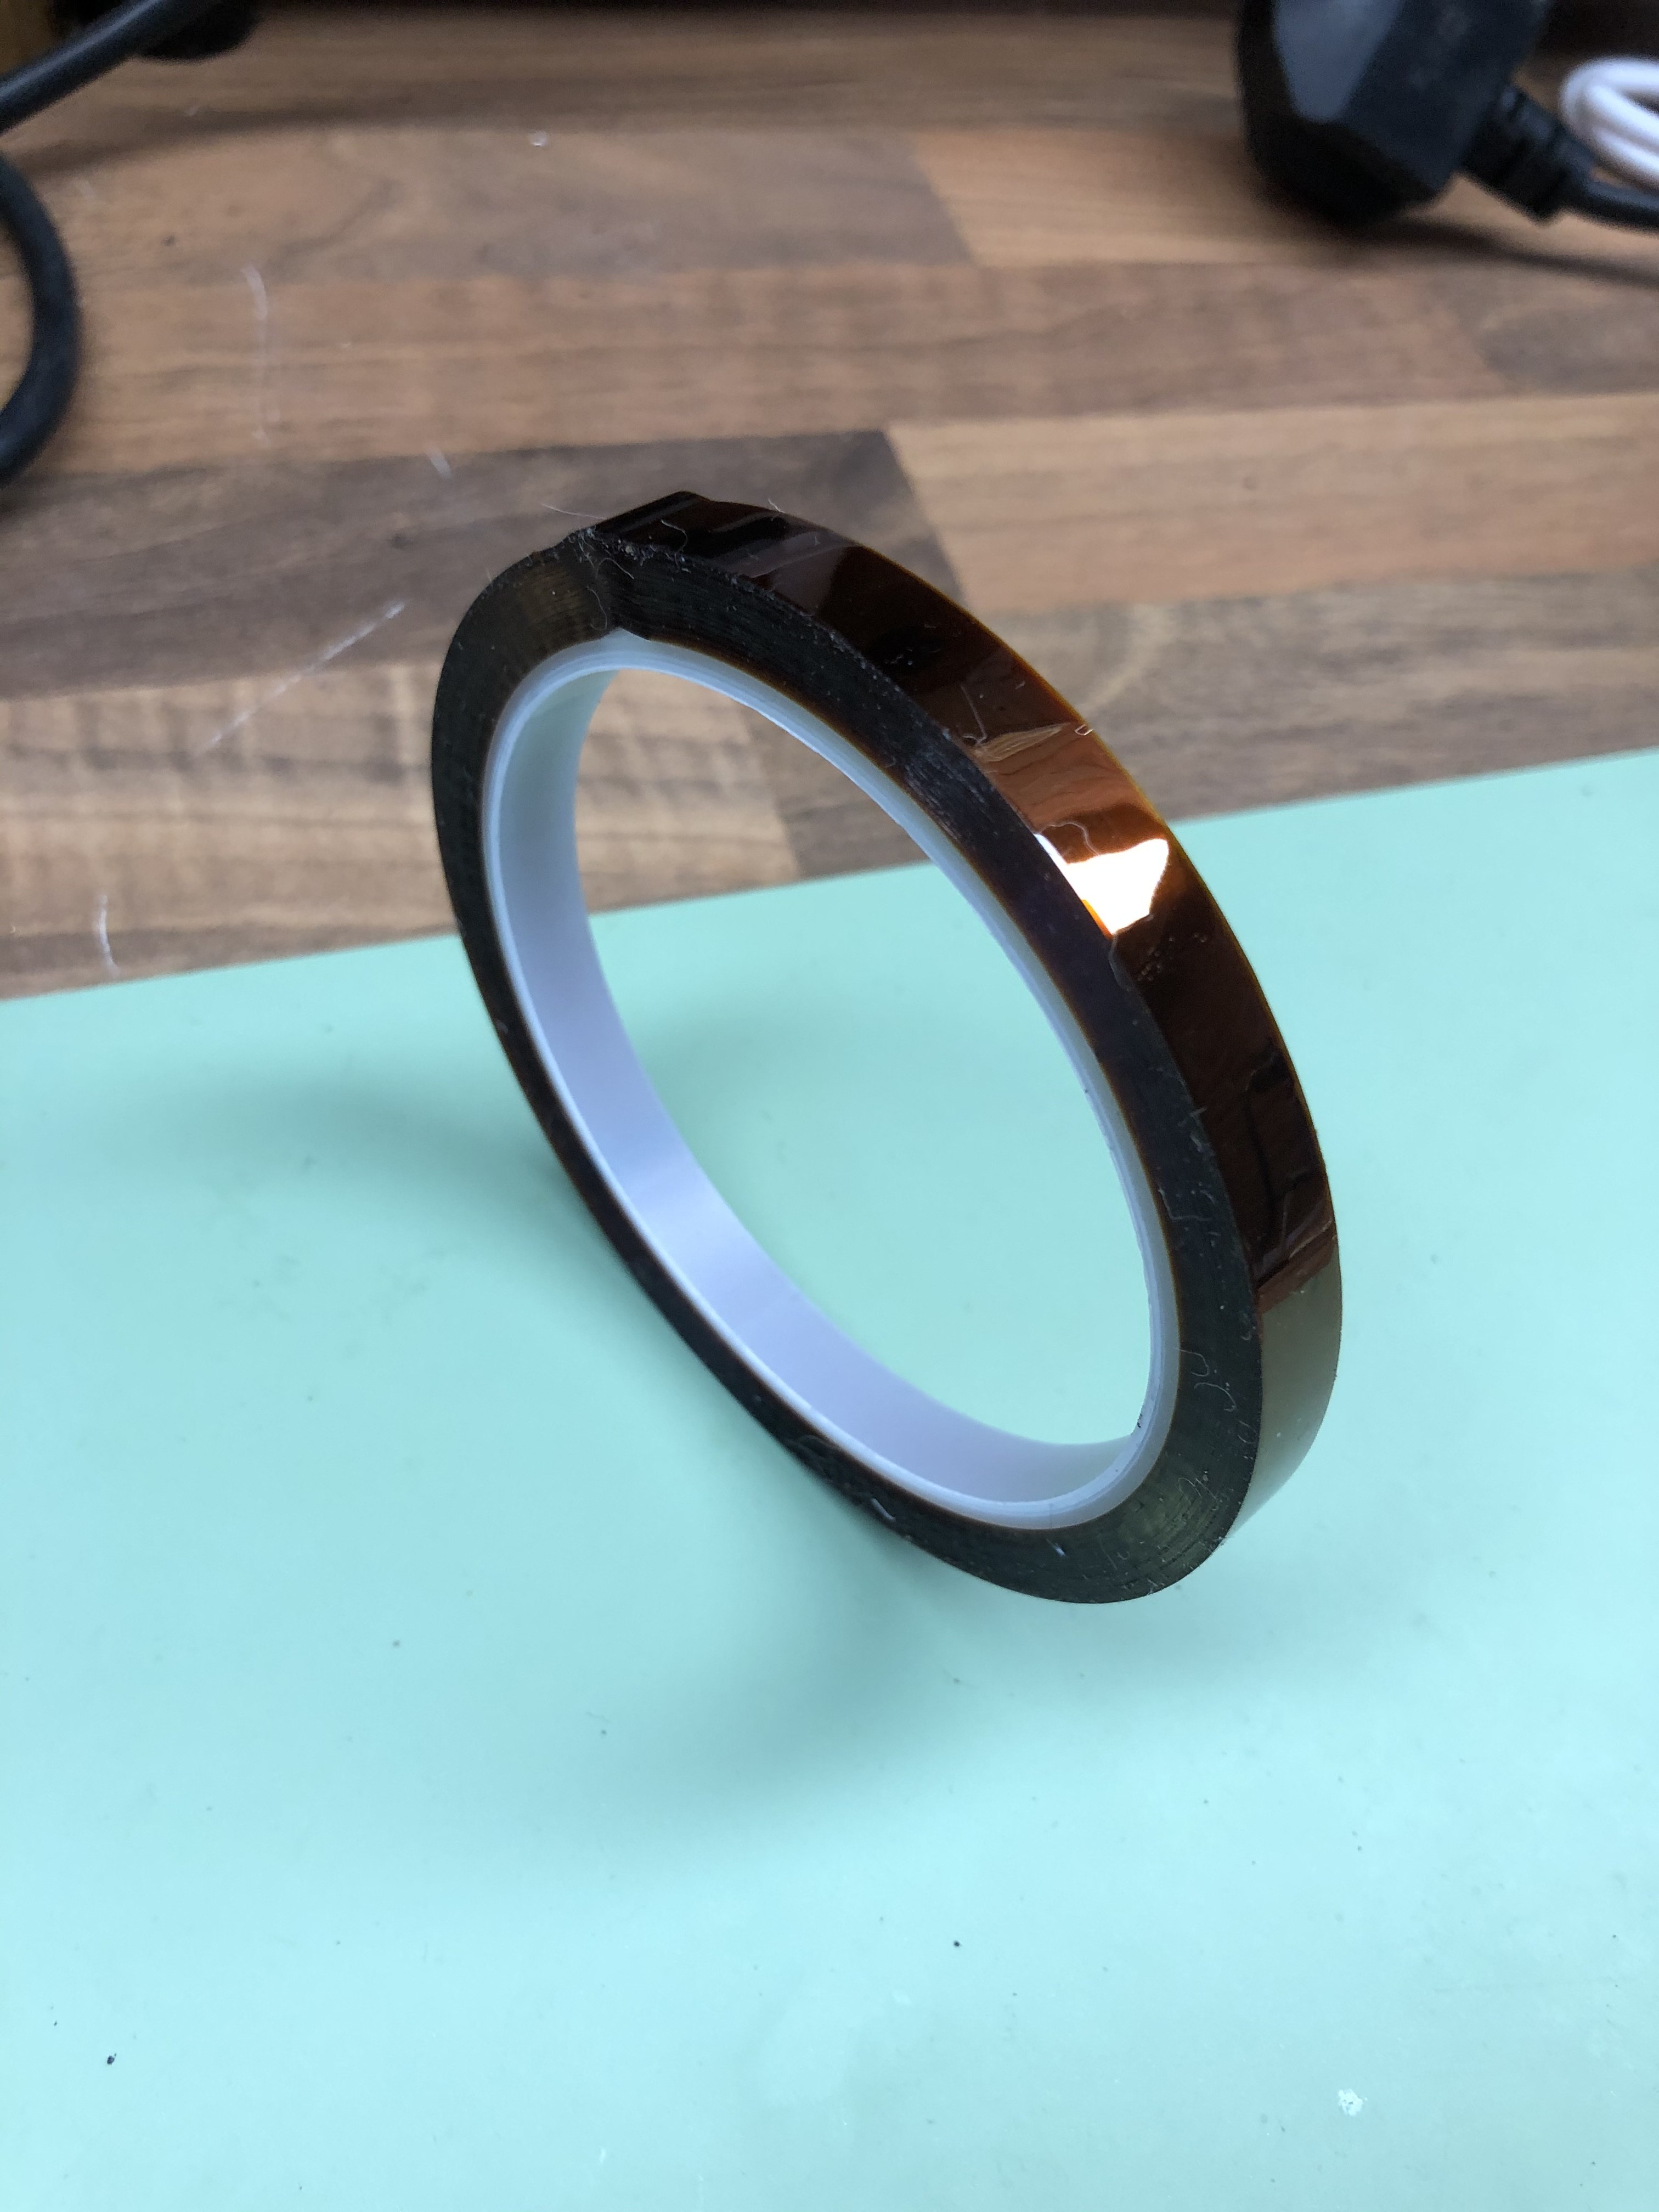
8.5mm brown protective tape (cousins uk, could be available elsewhere.
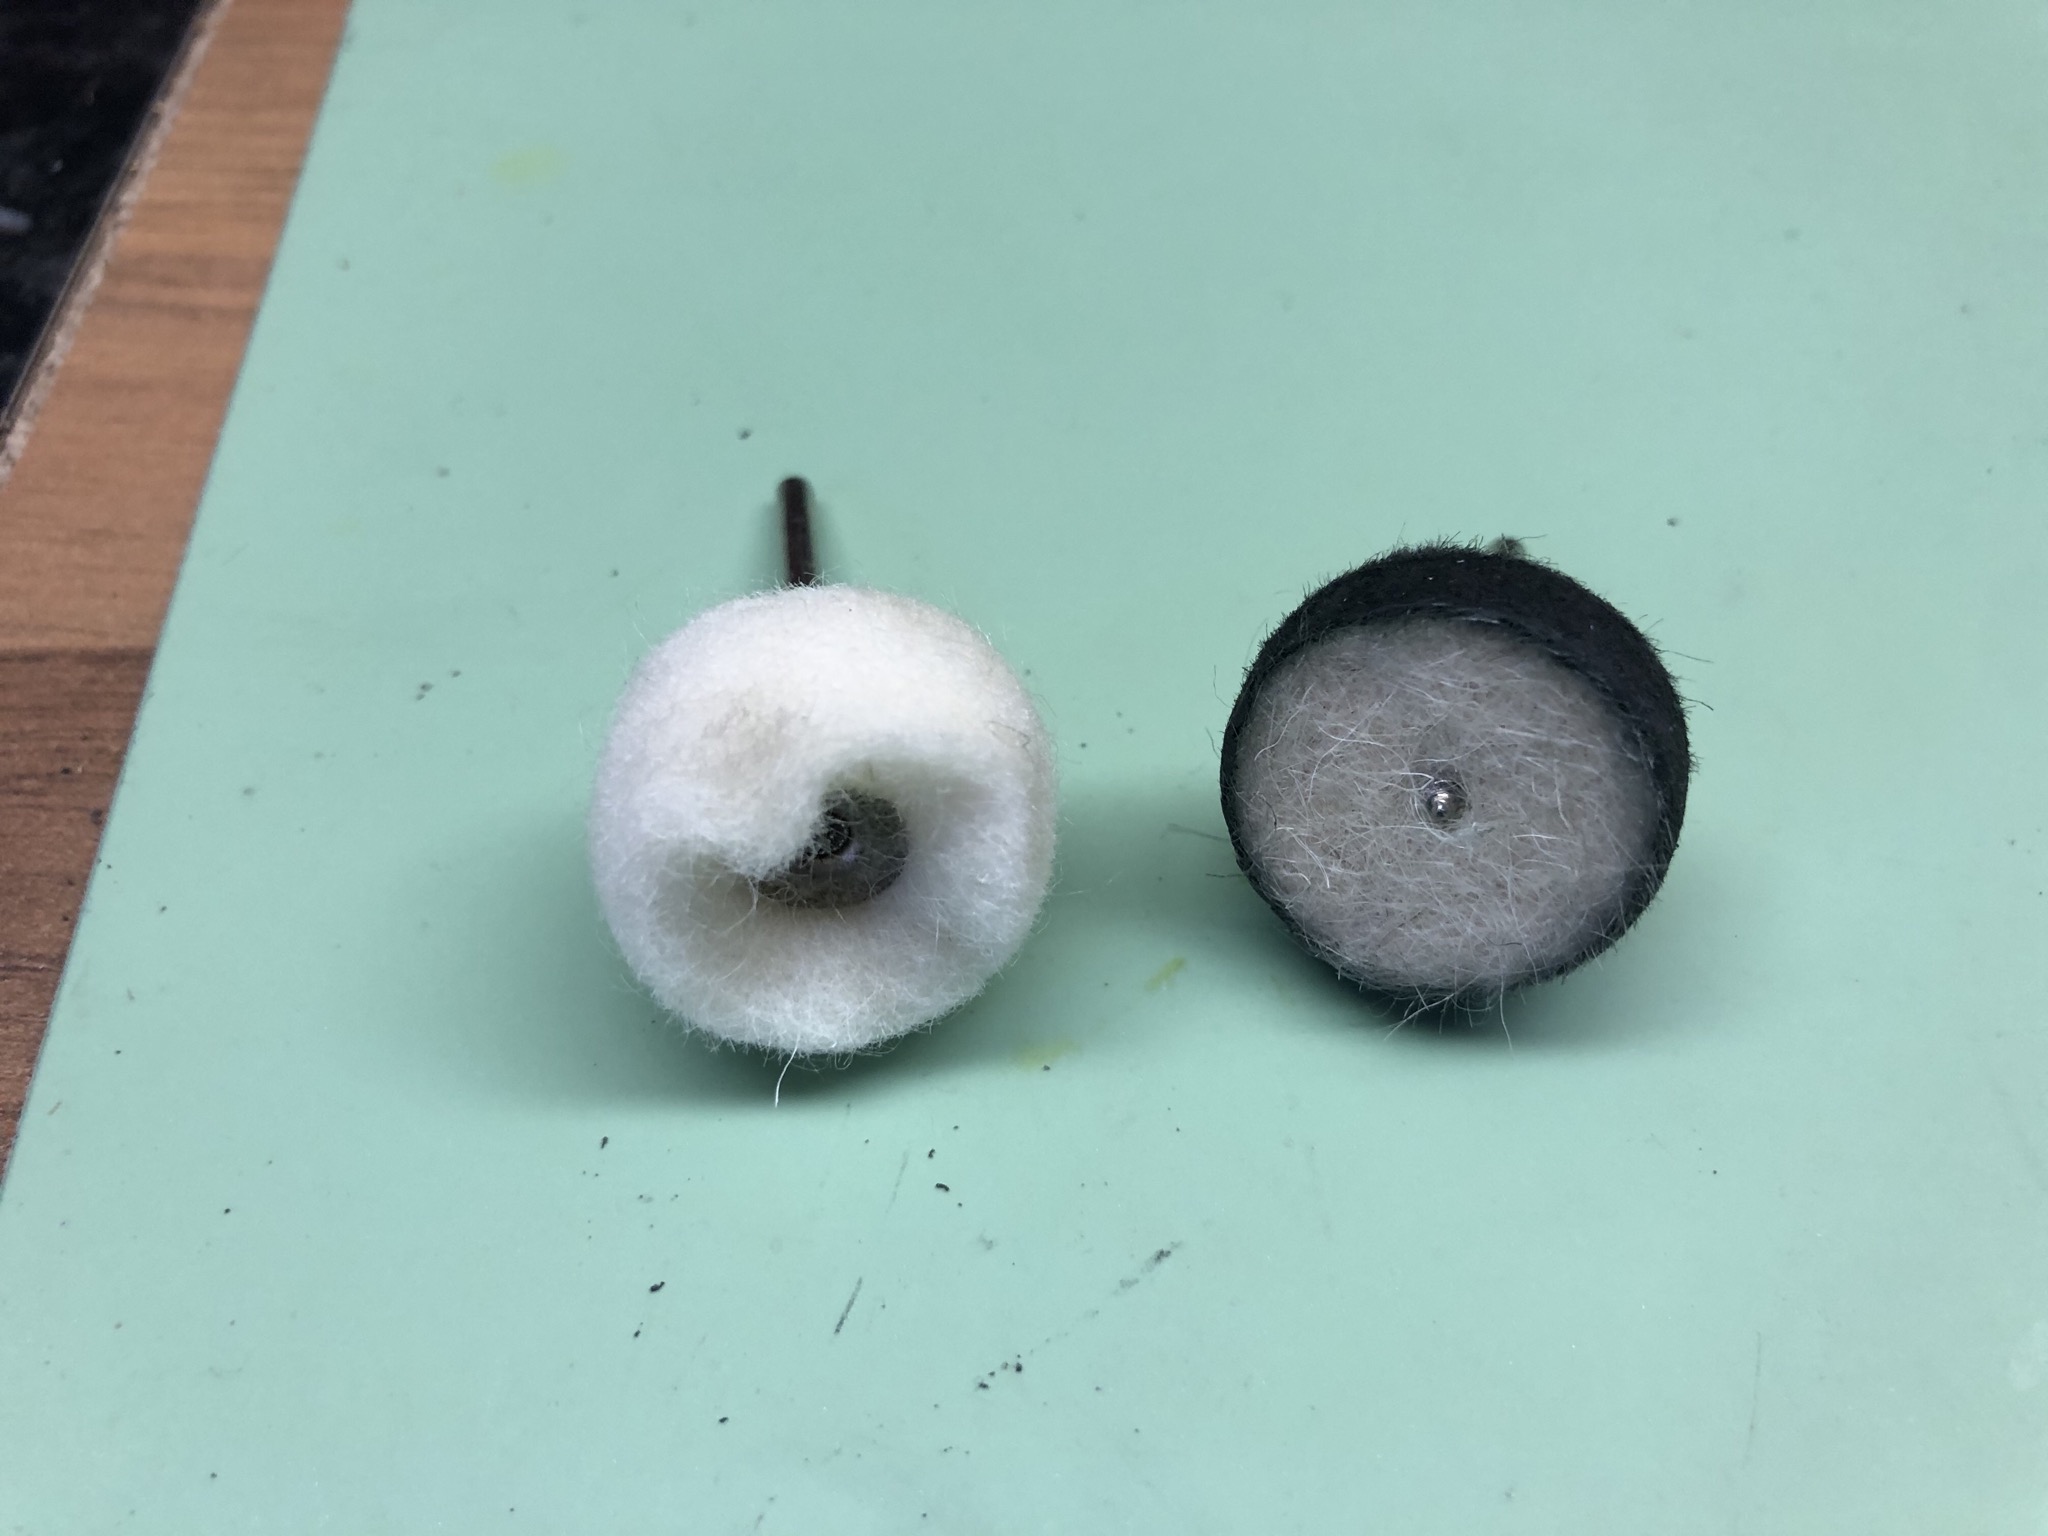
Either a dremel with both felt and loose cotton wheels.
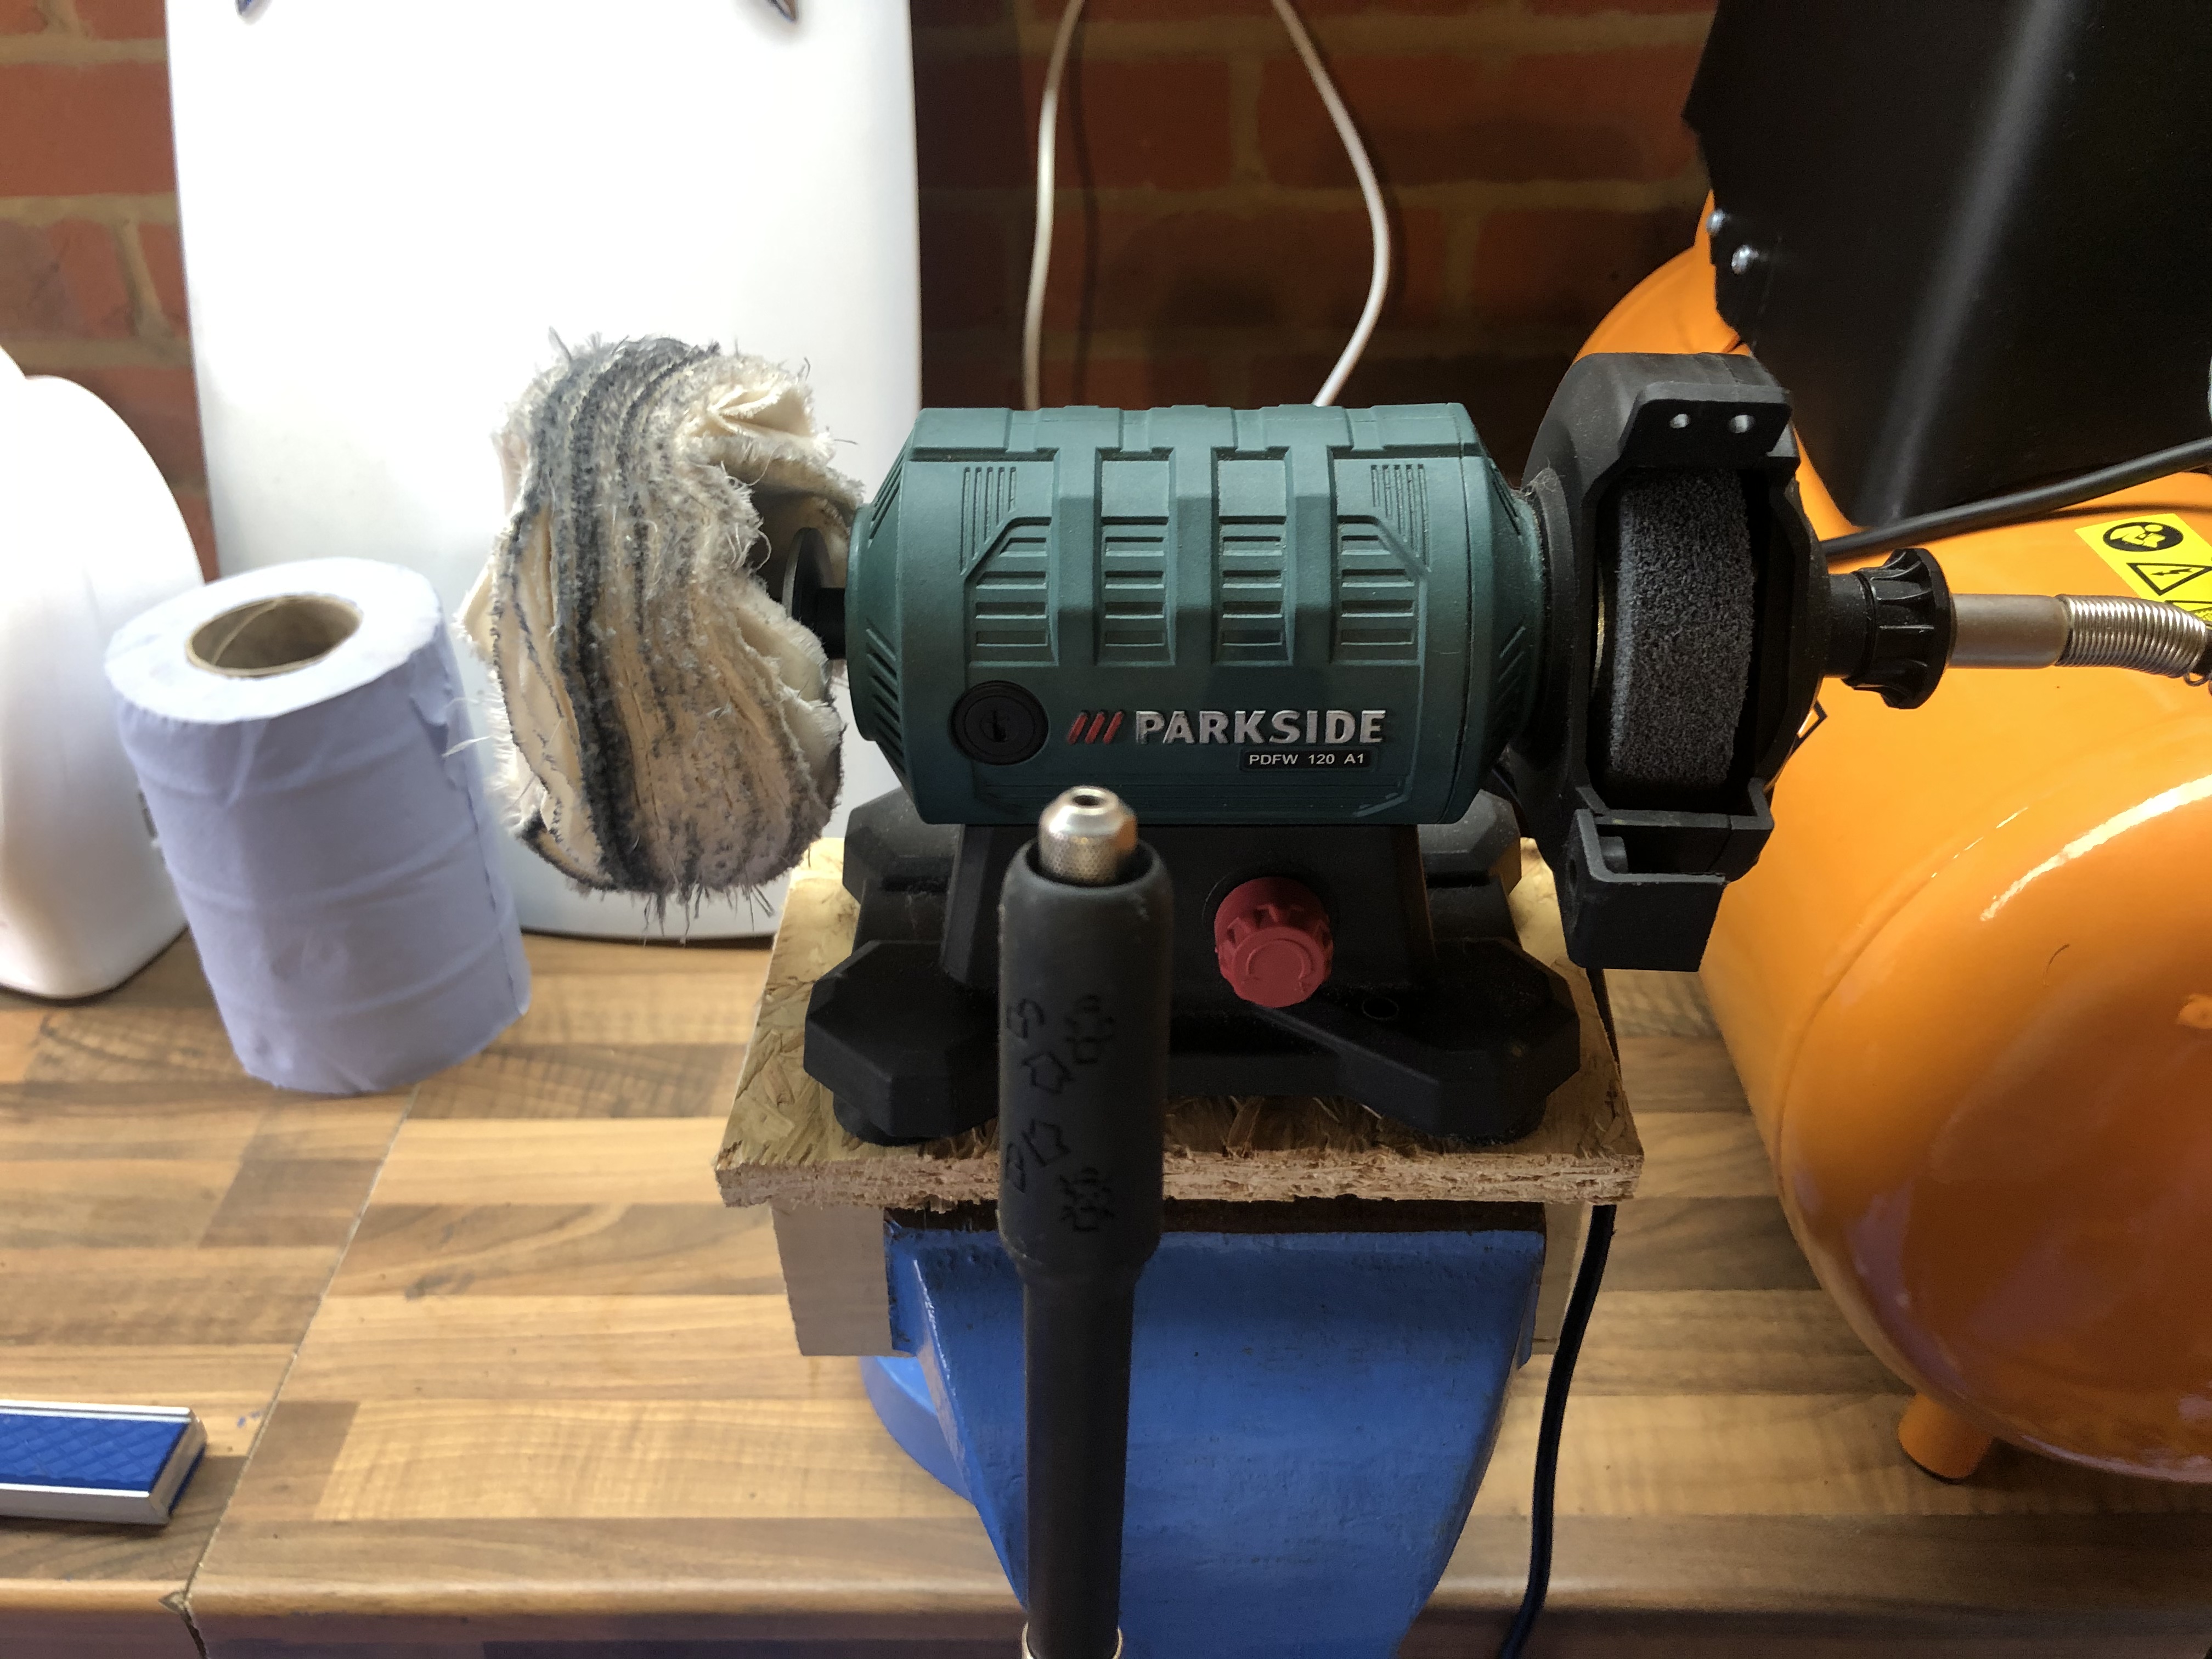
Or a bench grinder (mine has a dremel built in, was only £25 from lidl) with a loose leaf wheel (maybe a few to stop contamination between compounds)
Polishing compounds - green, white, jewellers rouge.
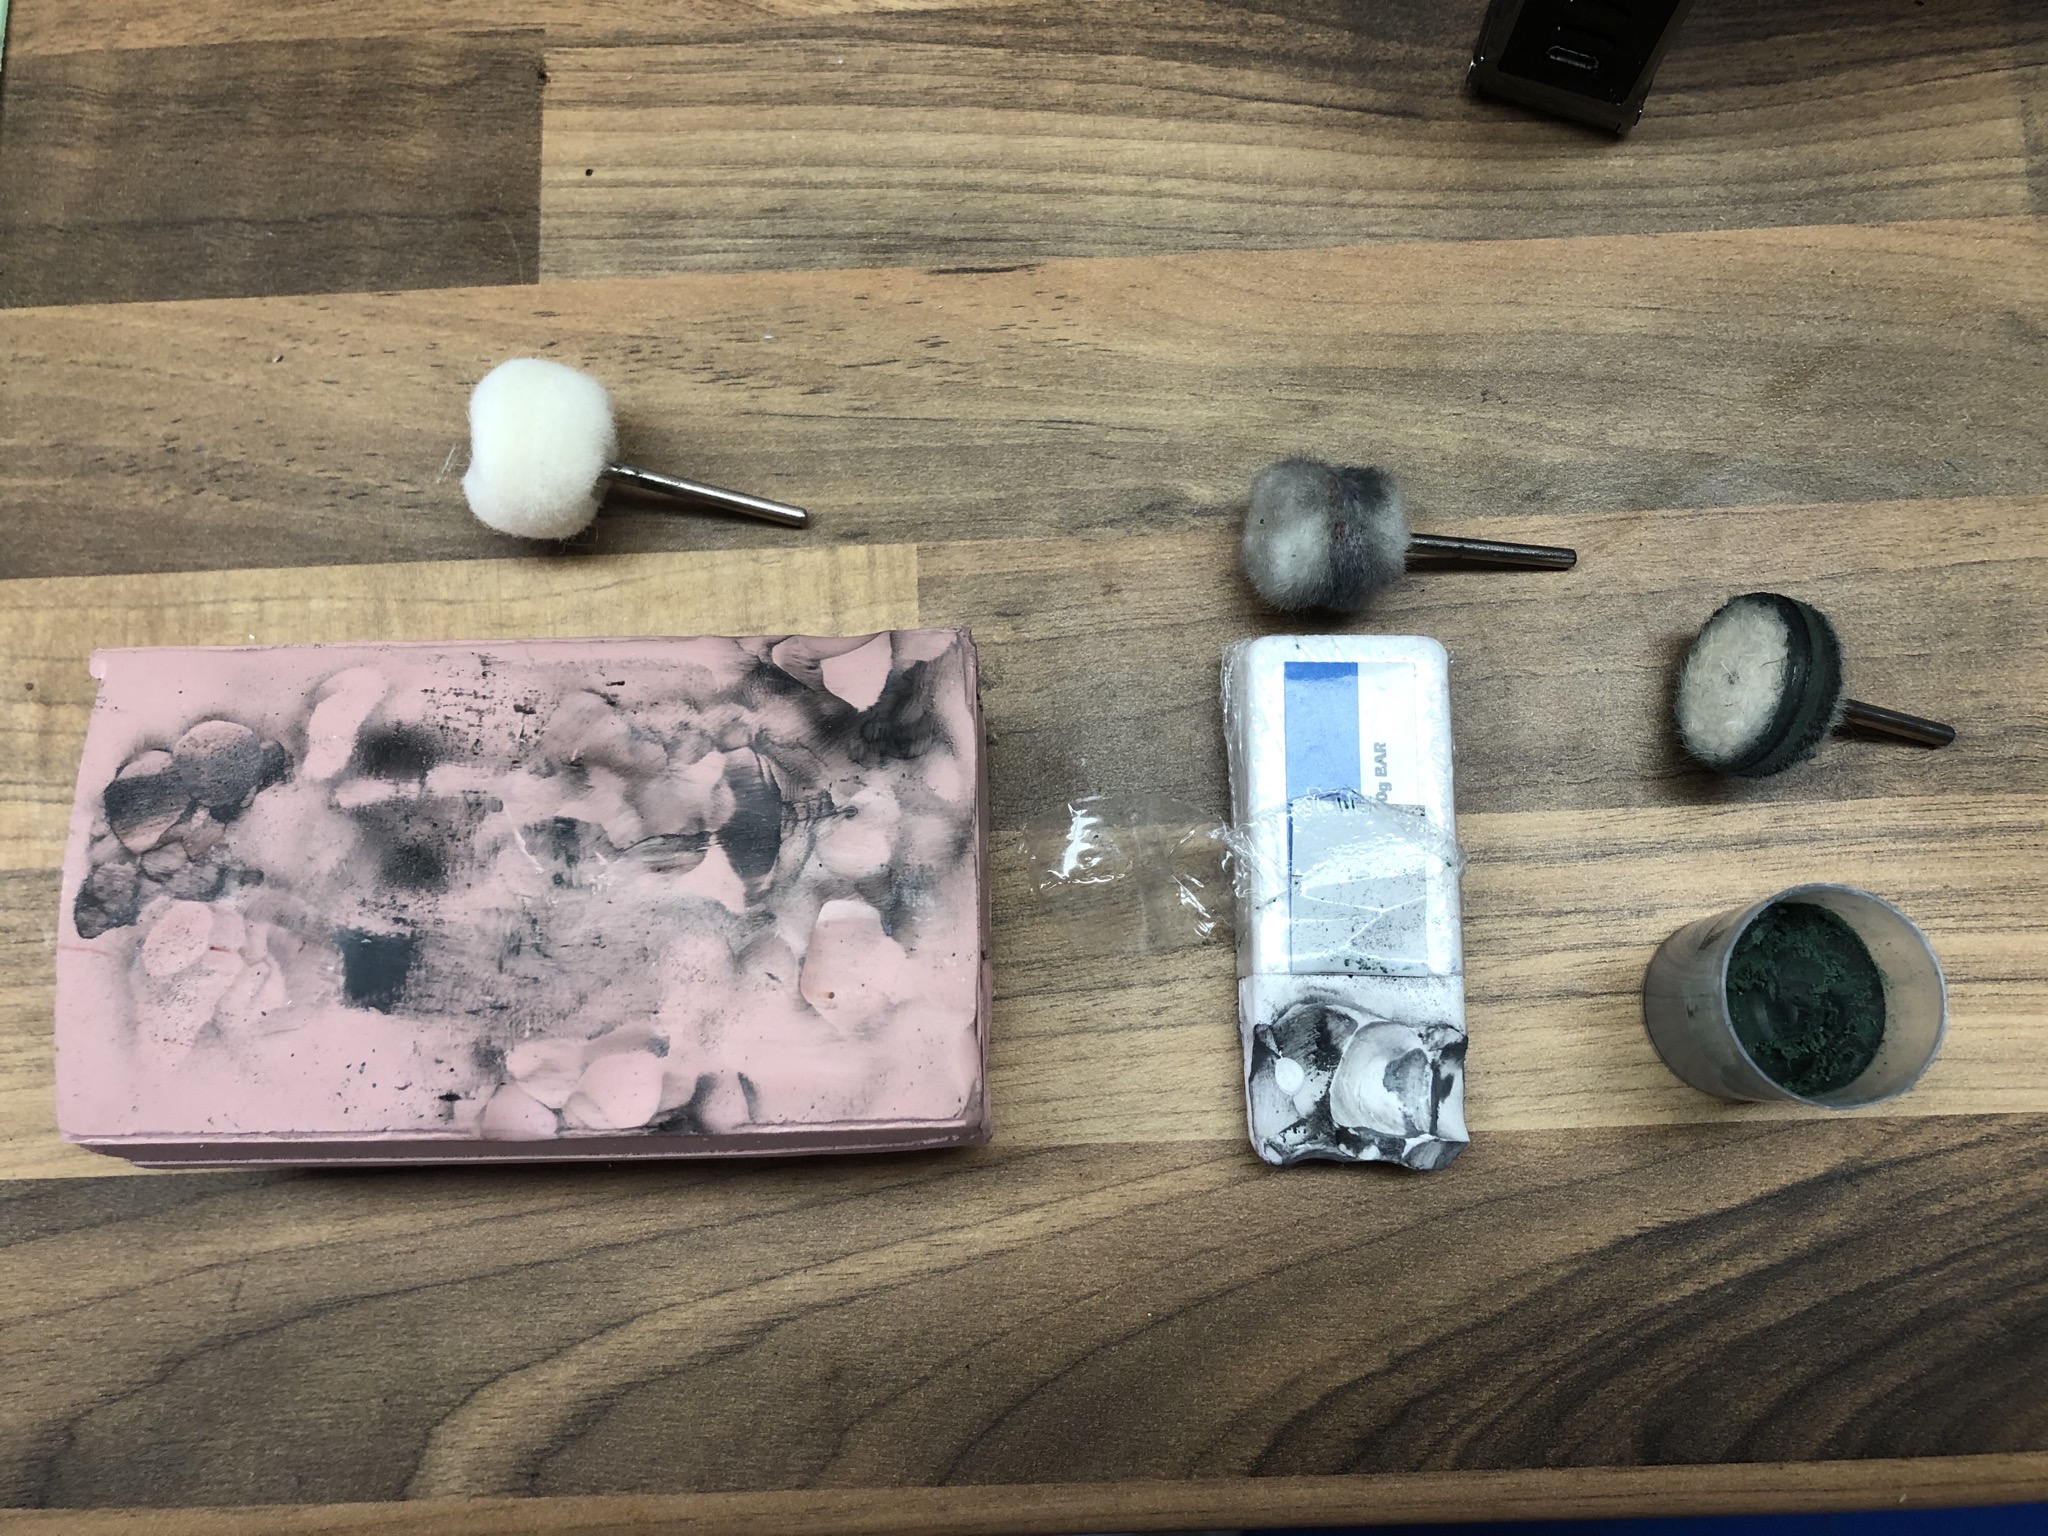
Tooth picks and loads of tissue for cleaning.
Screwdrivers for disassembly/reassembly.
Case back opener to remove the bezel.
The process:
Firstly remove the bezel and bracelet. There are various other threads on this so i wont go too far into it. Just remember to mask up the case, probably using the tape in the tool list, to prevent scratches (your rebrushing it anyway so its not a huge disaster if you do manage to put some scratches on).
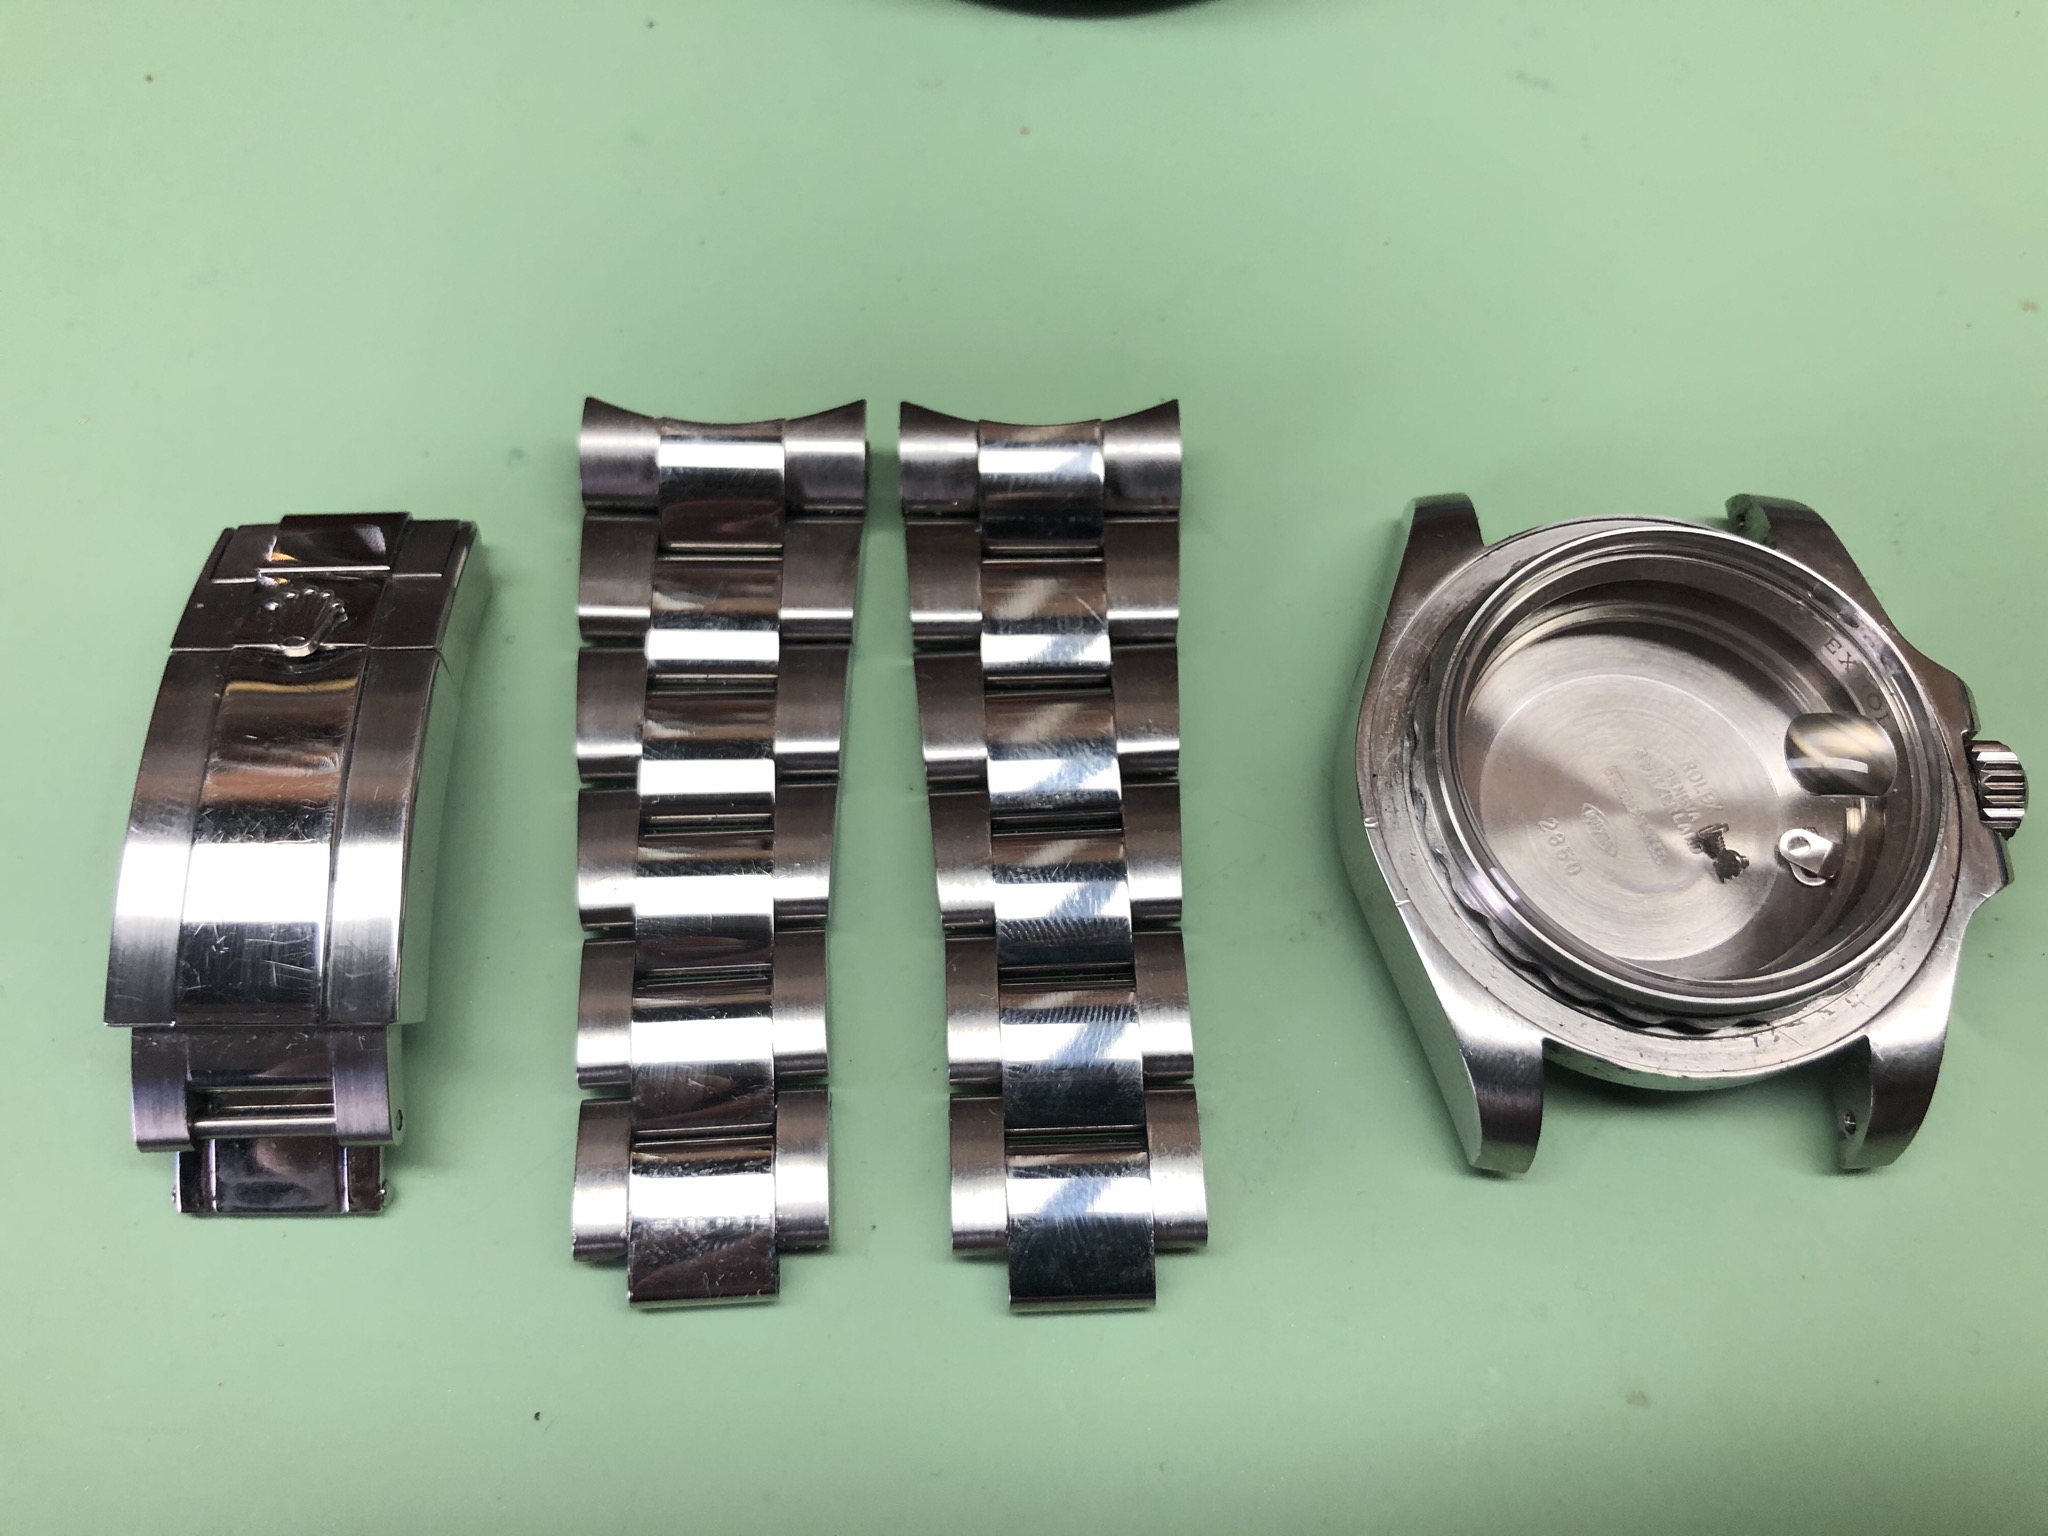
Polishing:
I started with polishing because i find its far and away the longest part, and also because ive never managed to polish a bracelet without ending up with a couple of thin polish lines either side of the polished links. I find it easier to brush these out after. On the contrary i think its easier to brush the case first then polish the sides so you get the nice polished edge where it meets the front of the case.
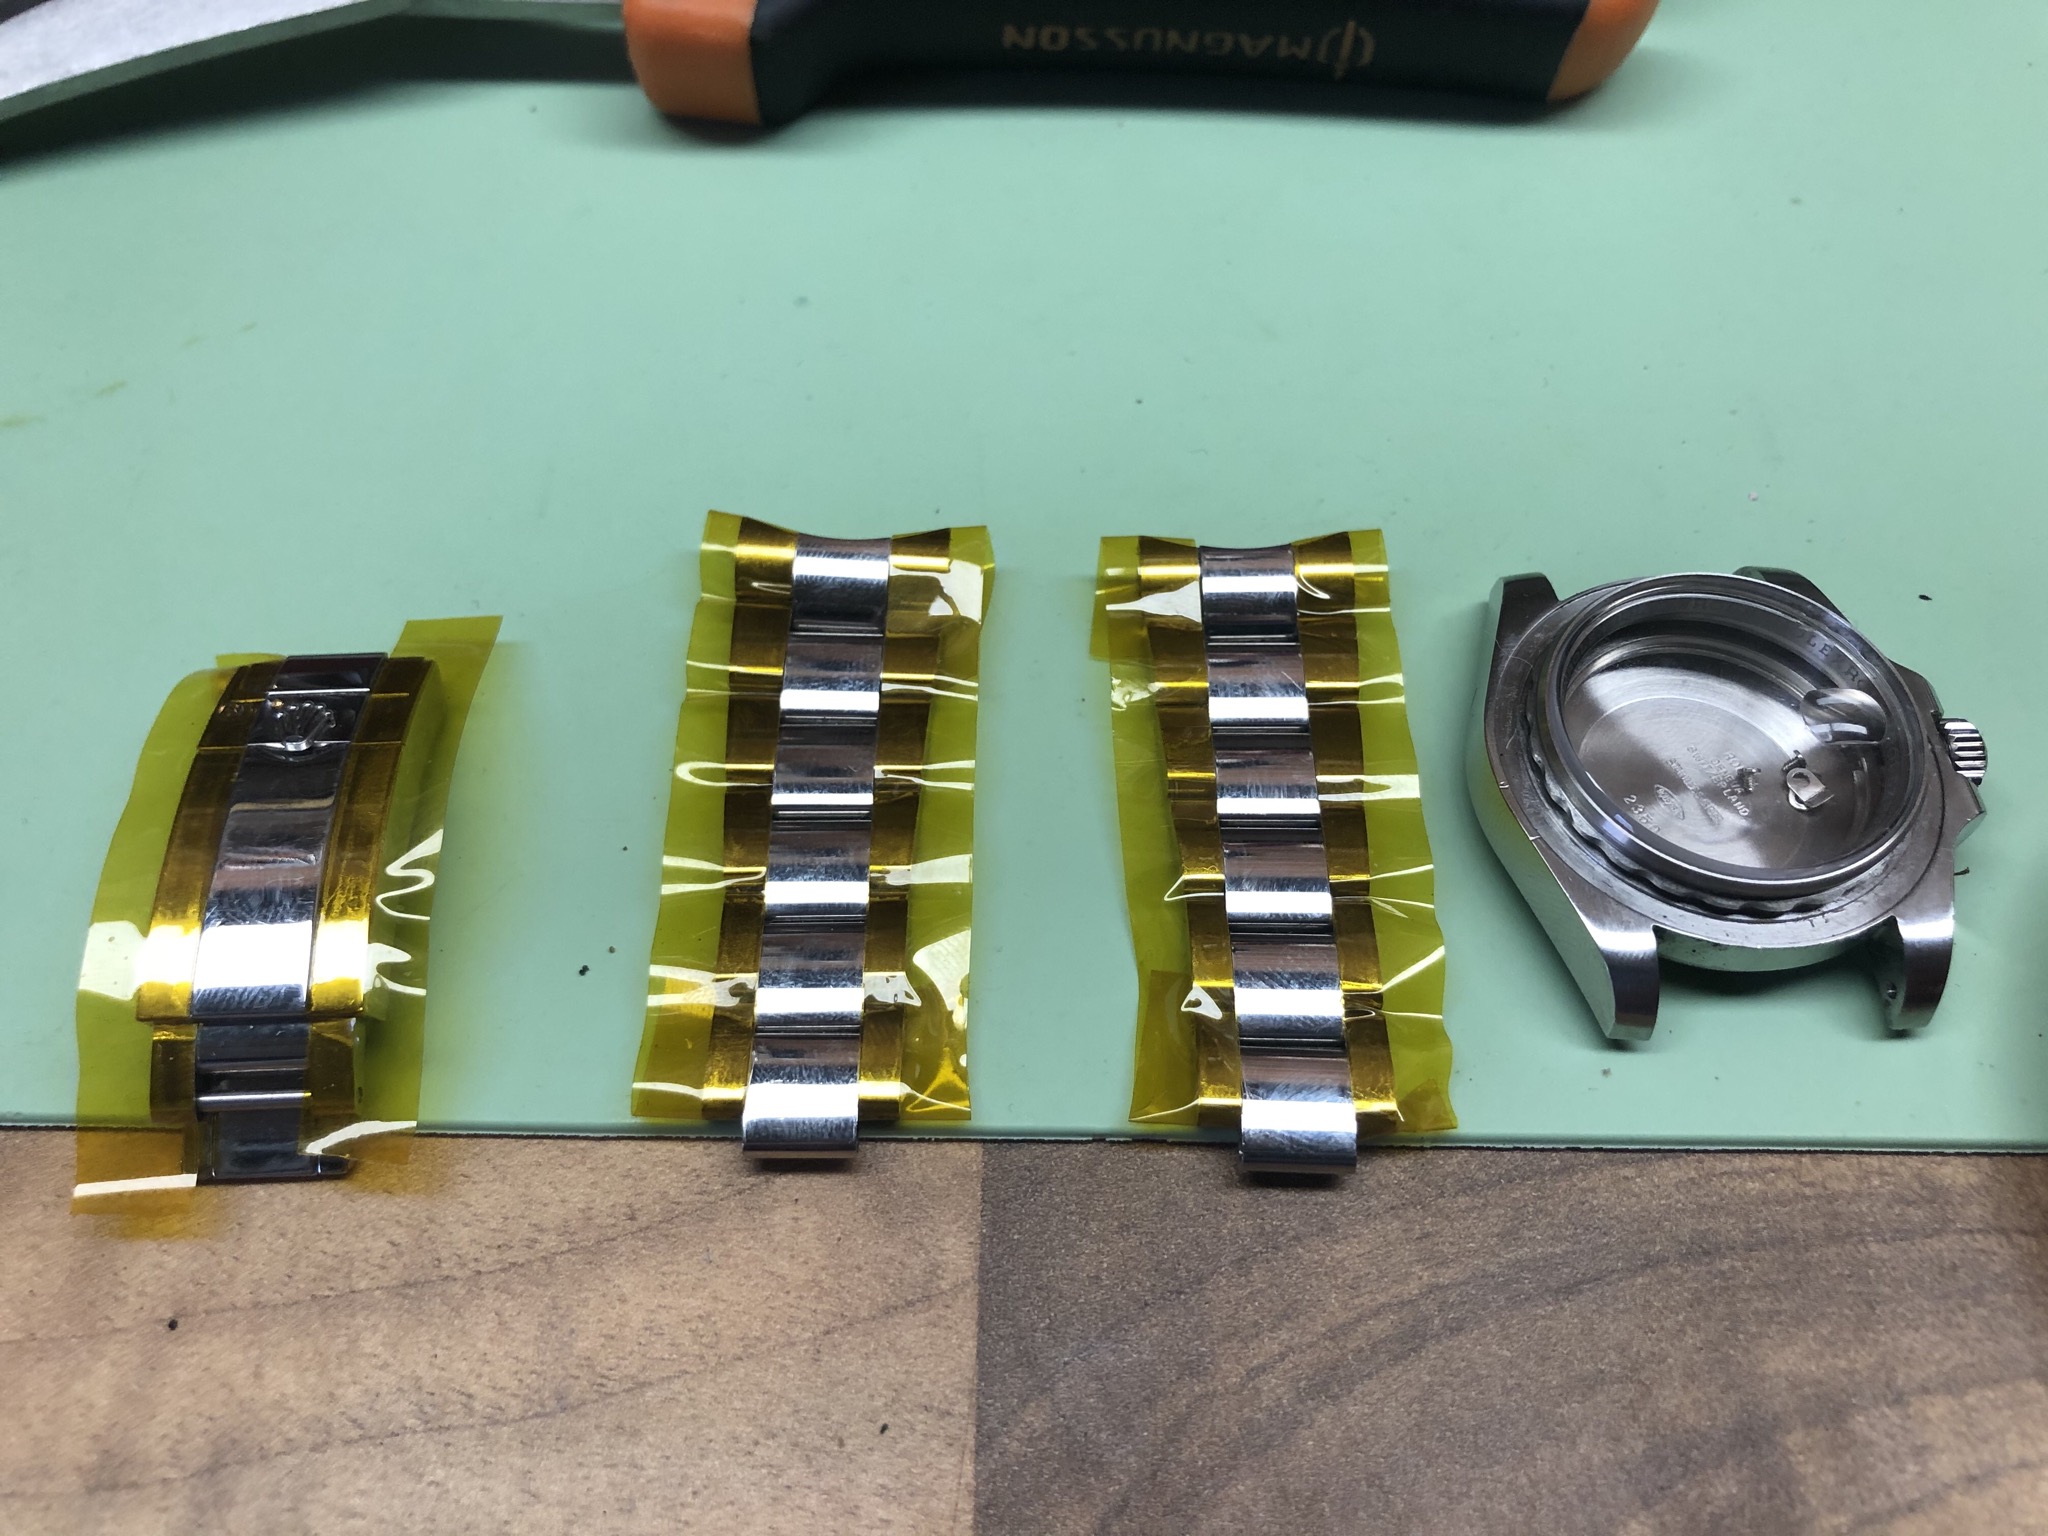
Start by masking up all of the brushed parts of the bracelet. Ive never tried not doing this, i guess its not essential because you will rebrush the sides anyway but this is just how it do it. Once you have taped up the brushed links, trim the excess tape with a scalpel blade so you can get to the polished sides of the bracelet. This is tricky but take time to do it well.
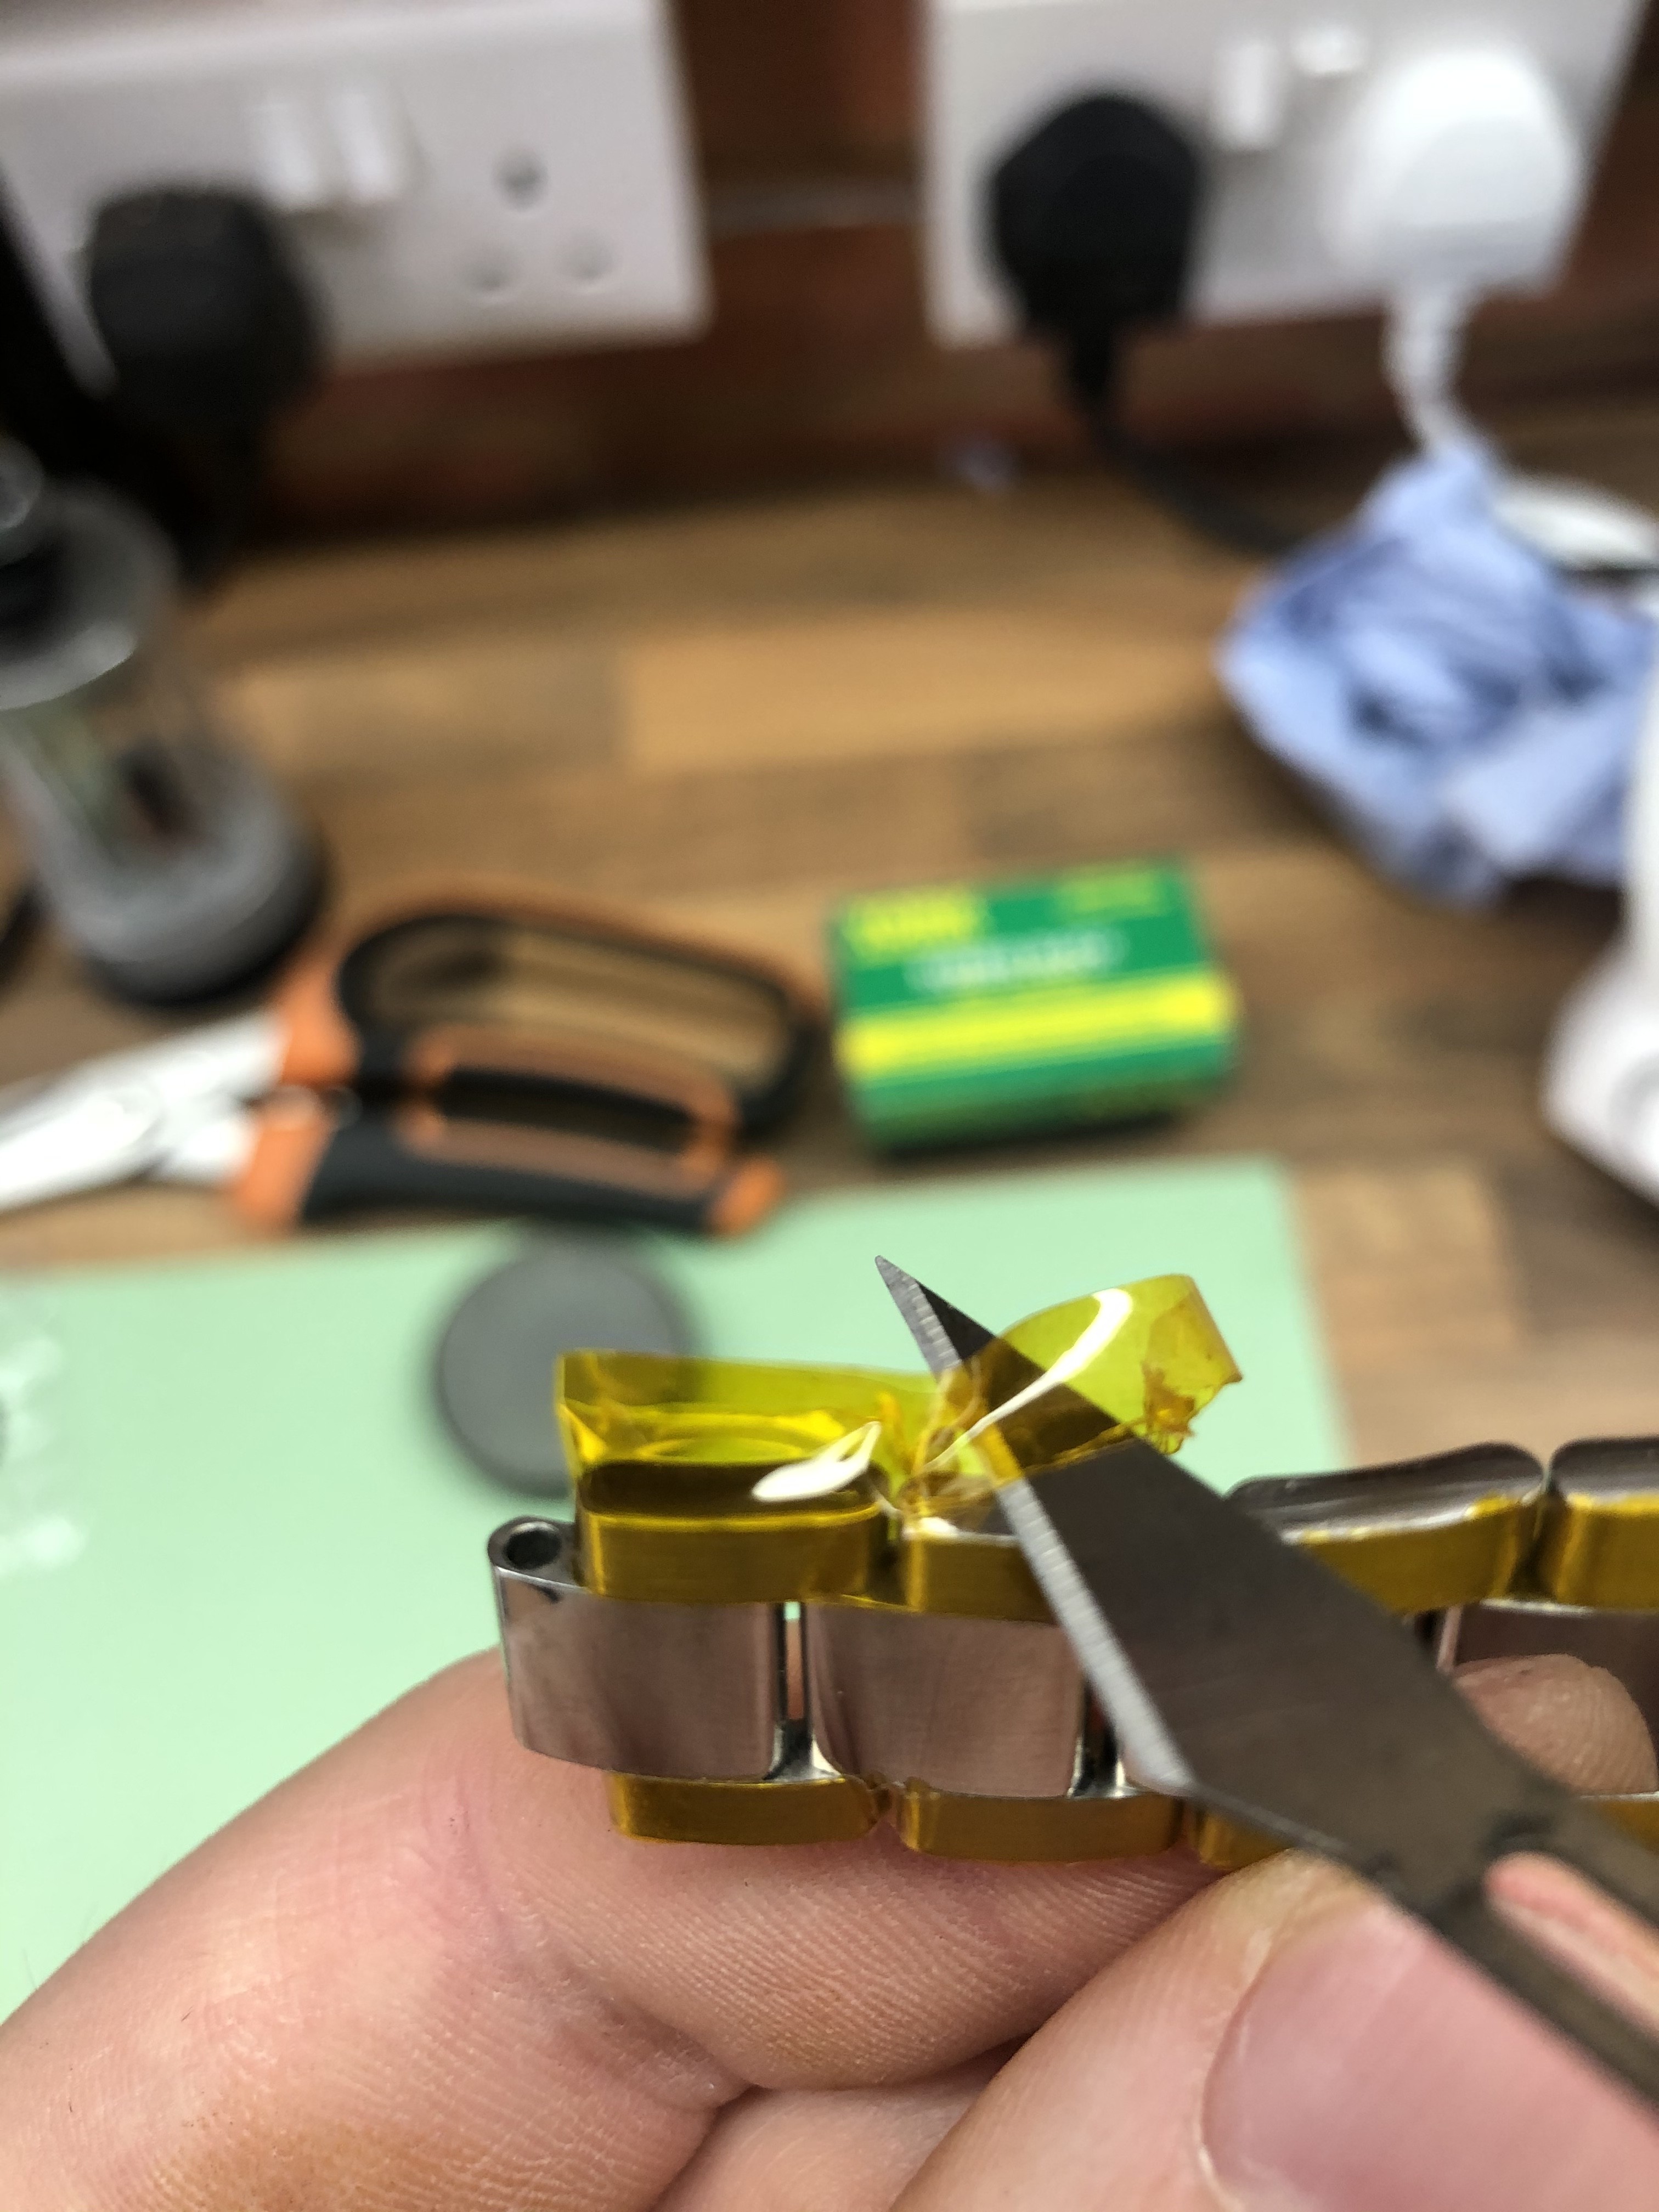
Repeat on the clasp and once you have all of your parts masked, your ready to start polishing.
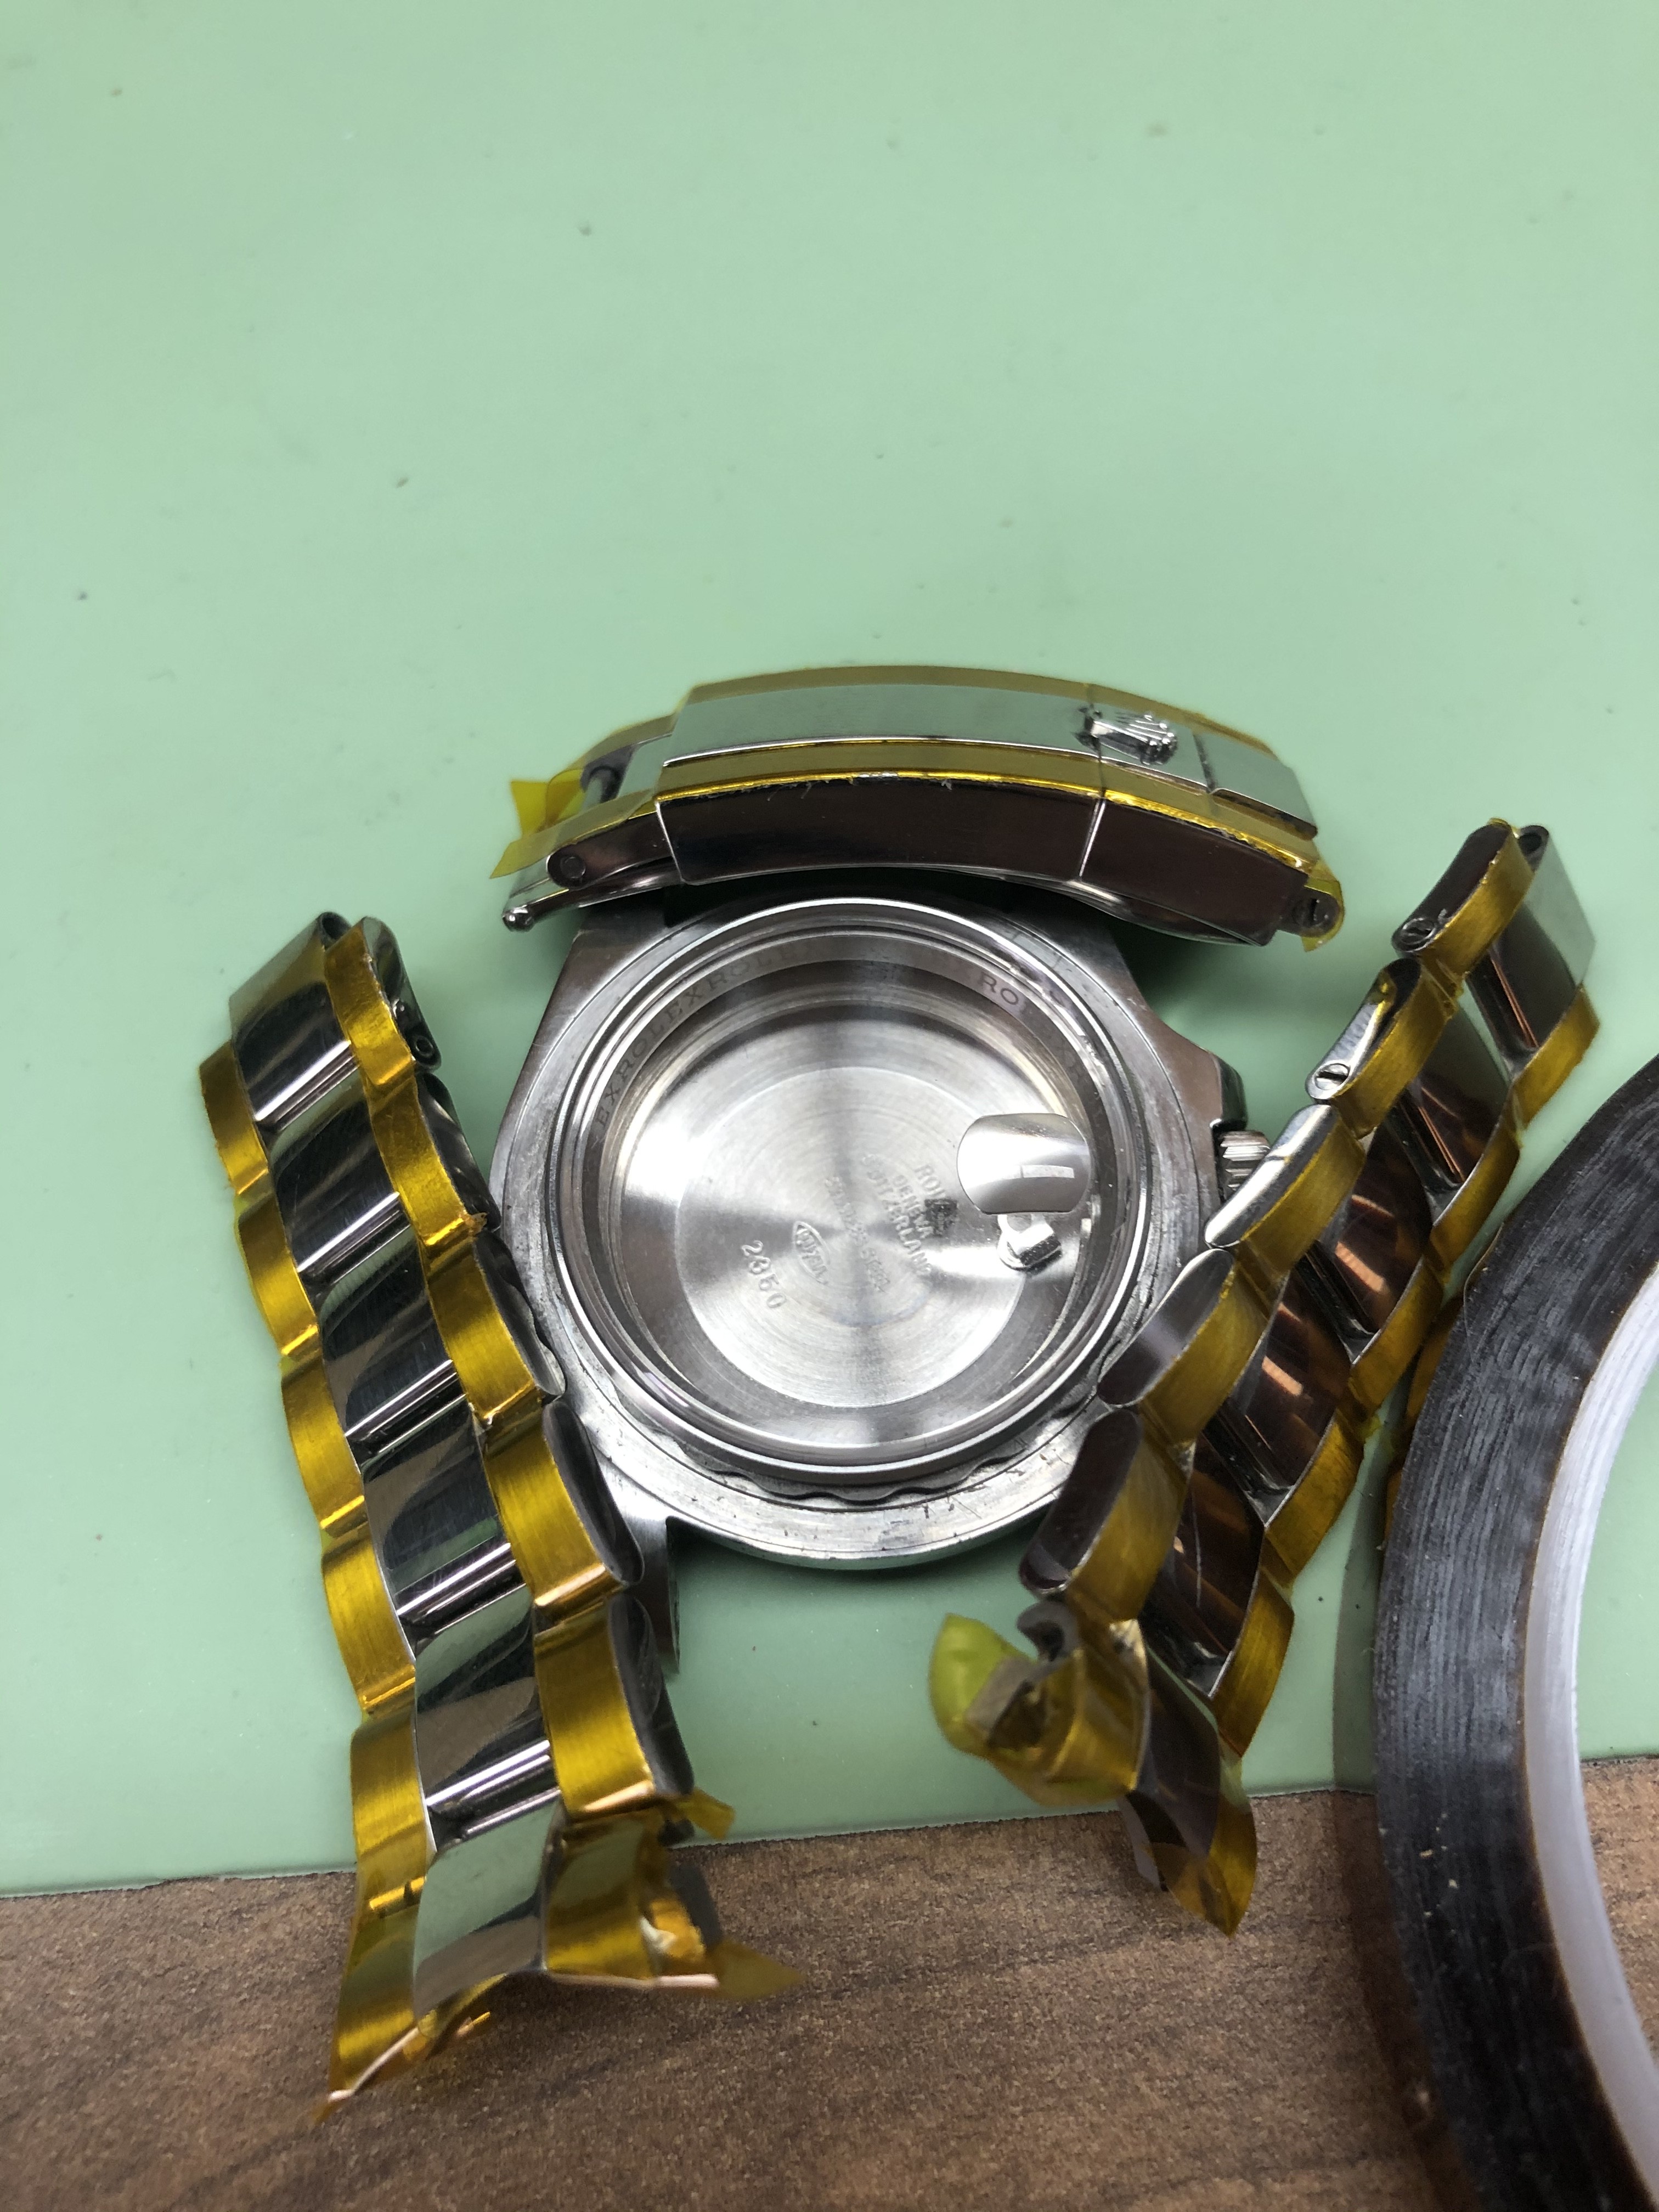
Start with the green compound. This is the most corse compound and is used for removing scratches and hair lines. Two key things to remember here, keep your motion parallel. Easy enough if your choose to use a grinder with a buffing wheel, just move the part you are polishing vertically. If your using a dremel you want a felt wheel attachment for the green compound, again keep the strokes parallel. Let the compound do the work, pressing harder wont get the job done quicker. If you have a really deep scratch, as in you’ve really smashed the watch into concrete or something, it will look much worse if you take a huge amount of material off the bracelet than just buff it up a bit. It will go all wonky and just look plain wrong. If you have to polish for more than about 1 minute on the same spot your probably fighting a loosing battle but its your watch, do as you see fit. The finish on the watch should be polished but somewhat cloudy now, hard to take pictures of but see below.
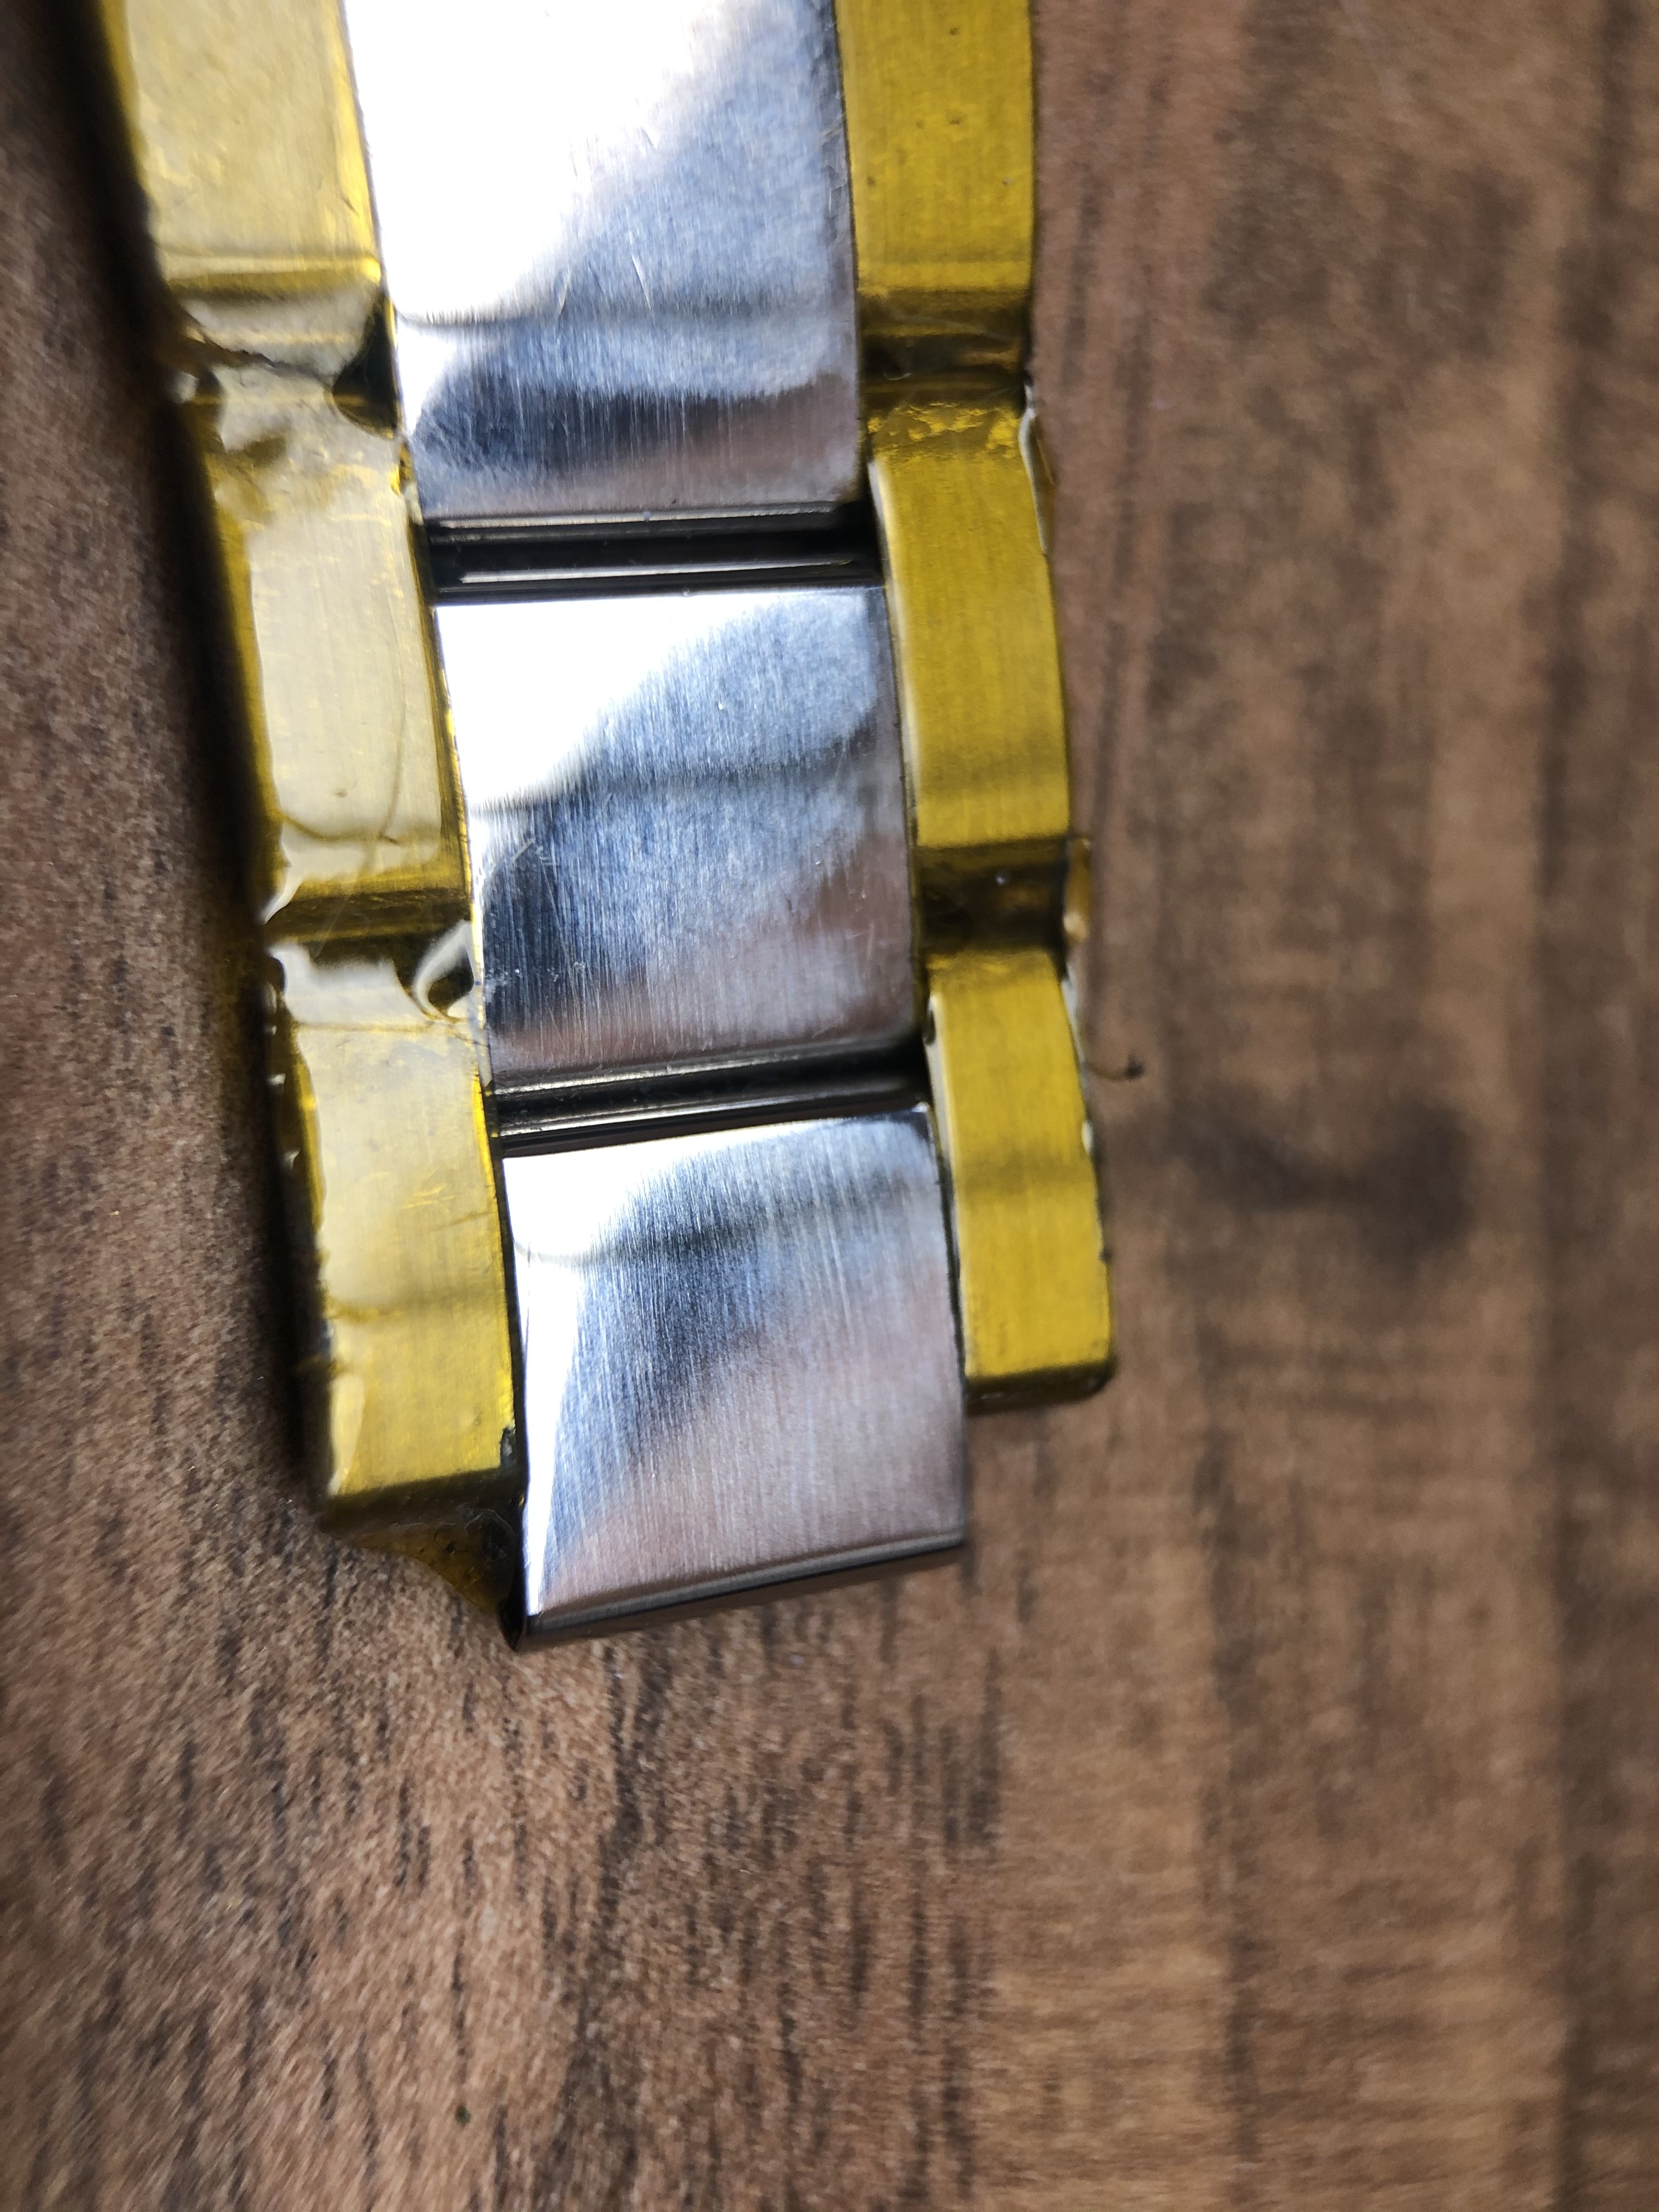
Another thing to remember is to keep applying compound to your tool, it will get to a point where it stops making the polished surface cloudy, that means you need more compound. Be sure to examine the parts carefully to ensure all the scratches are removed and the surface is smooth.
Before
#1
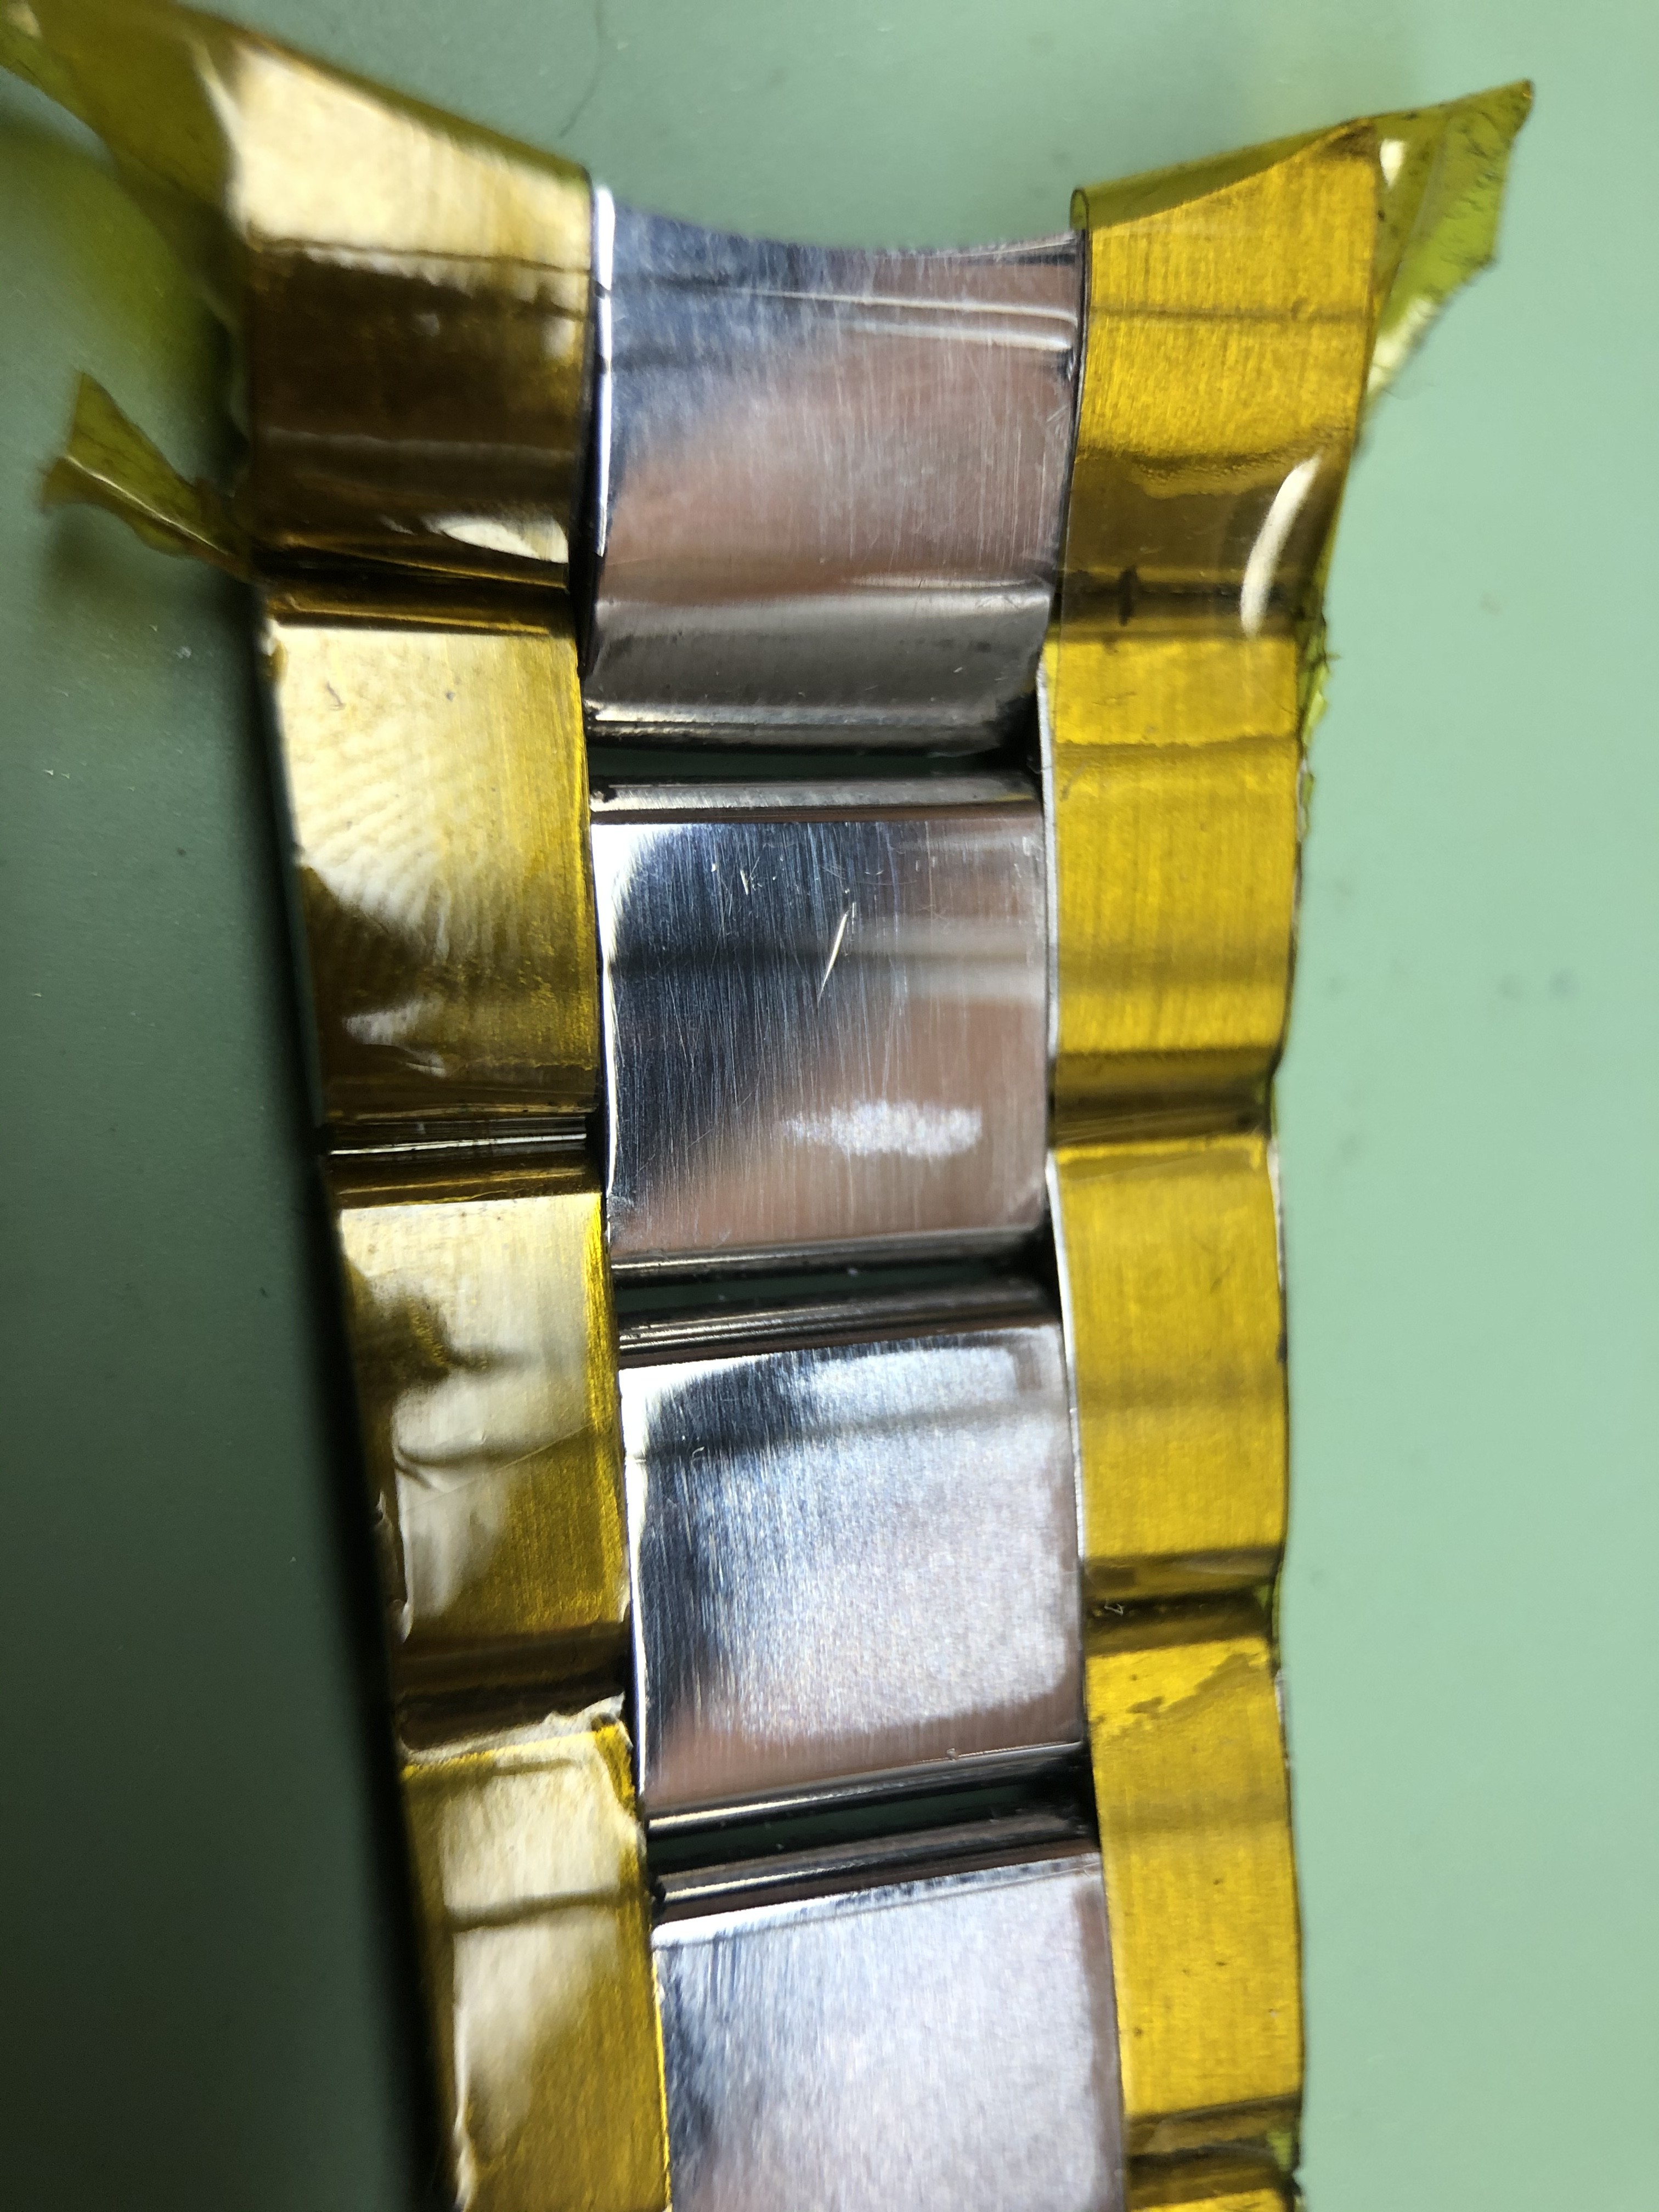
#2
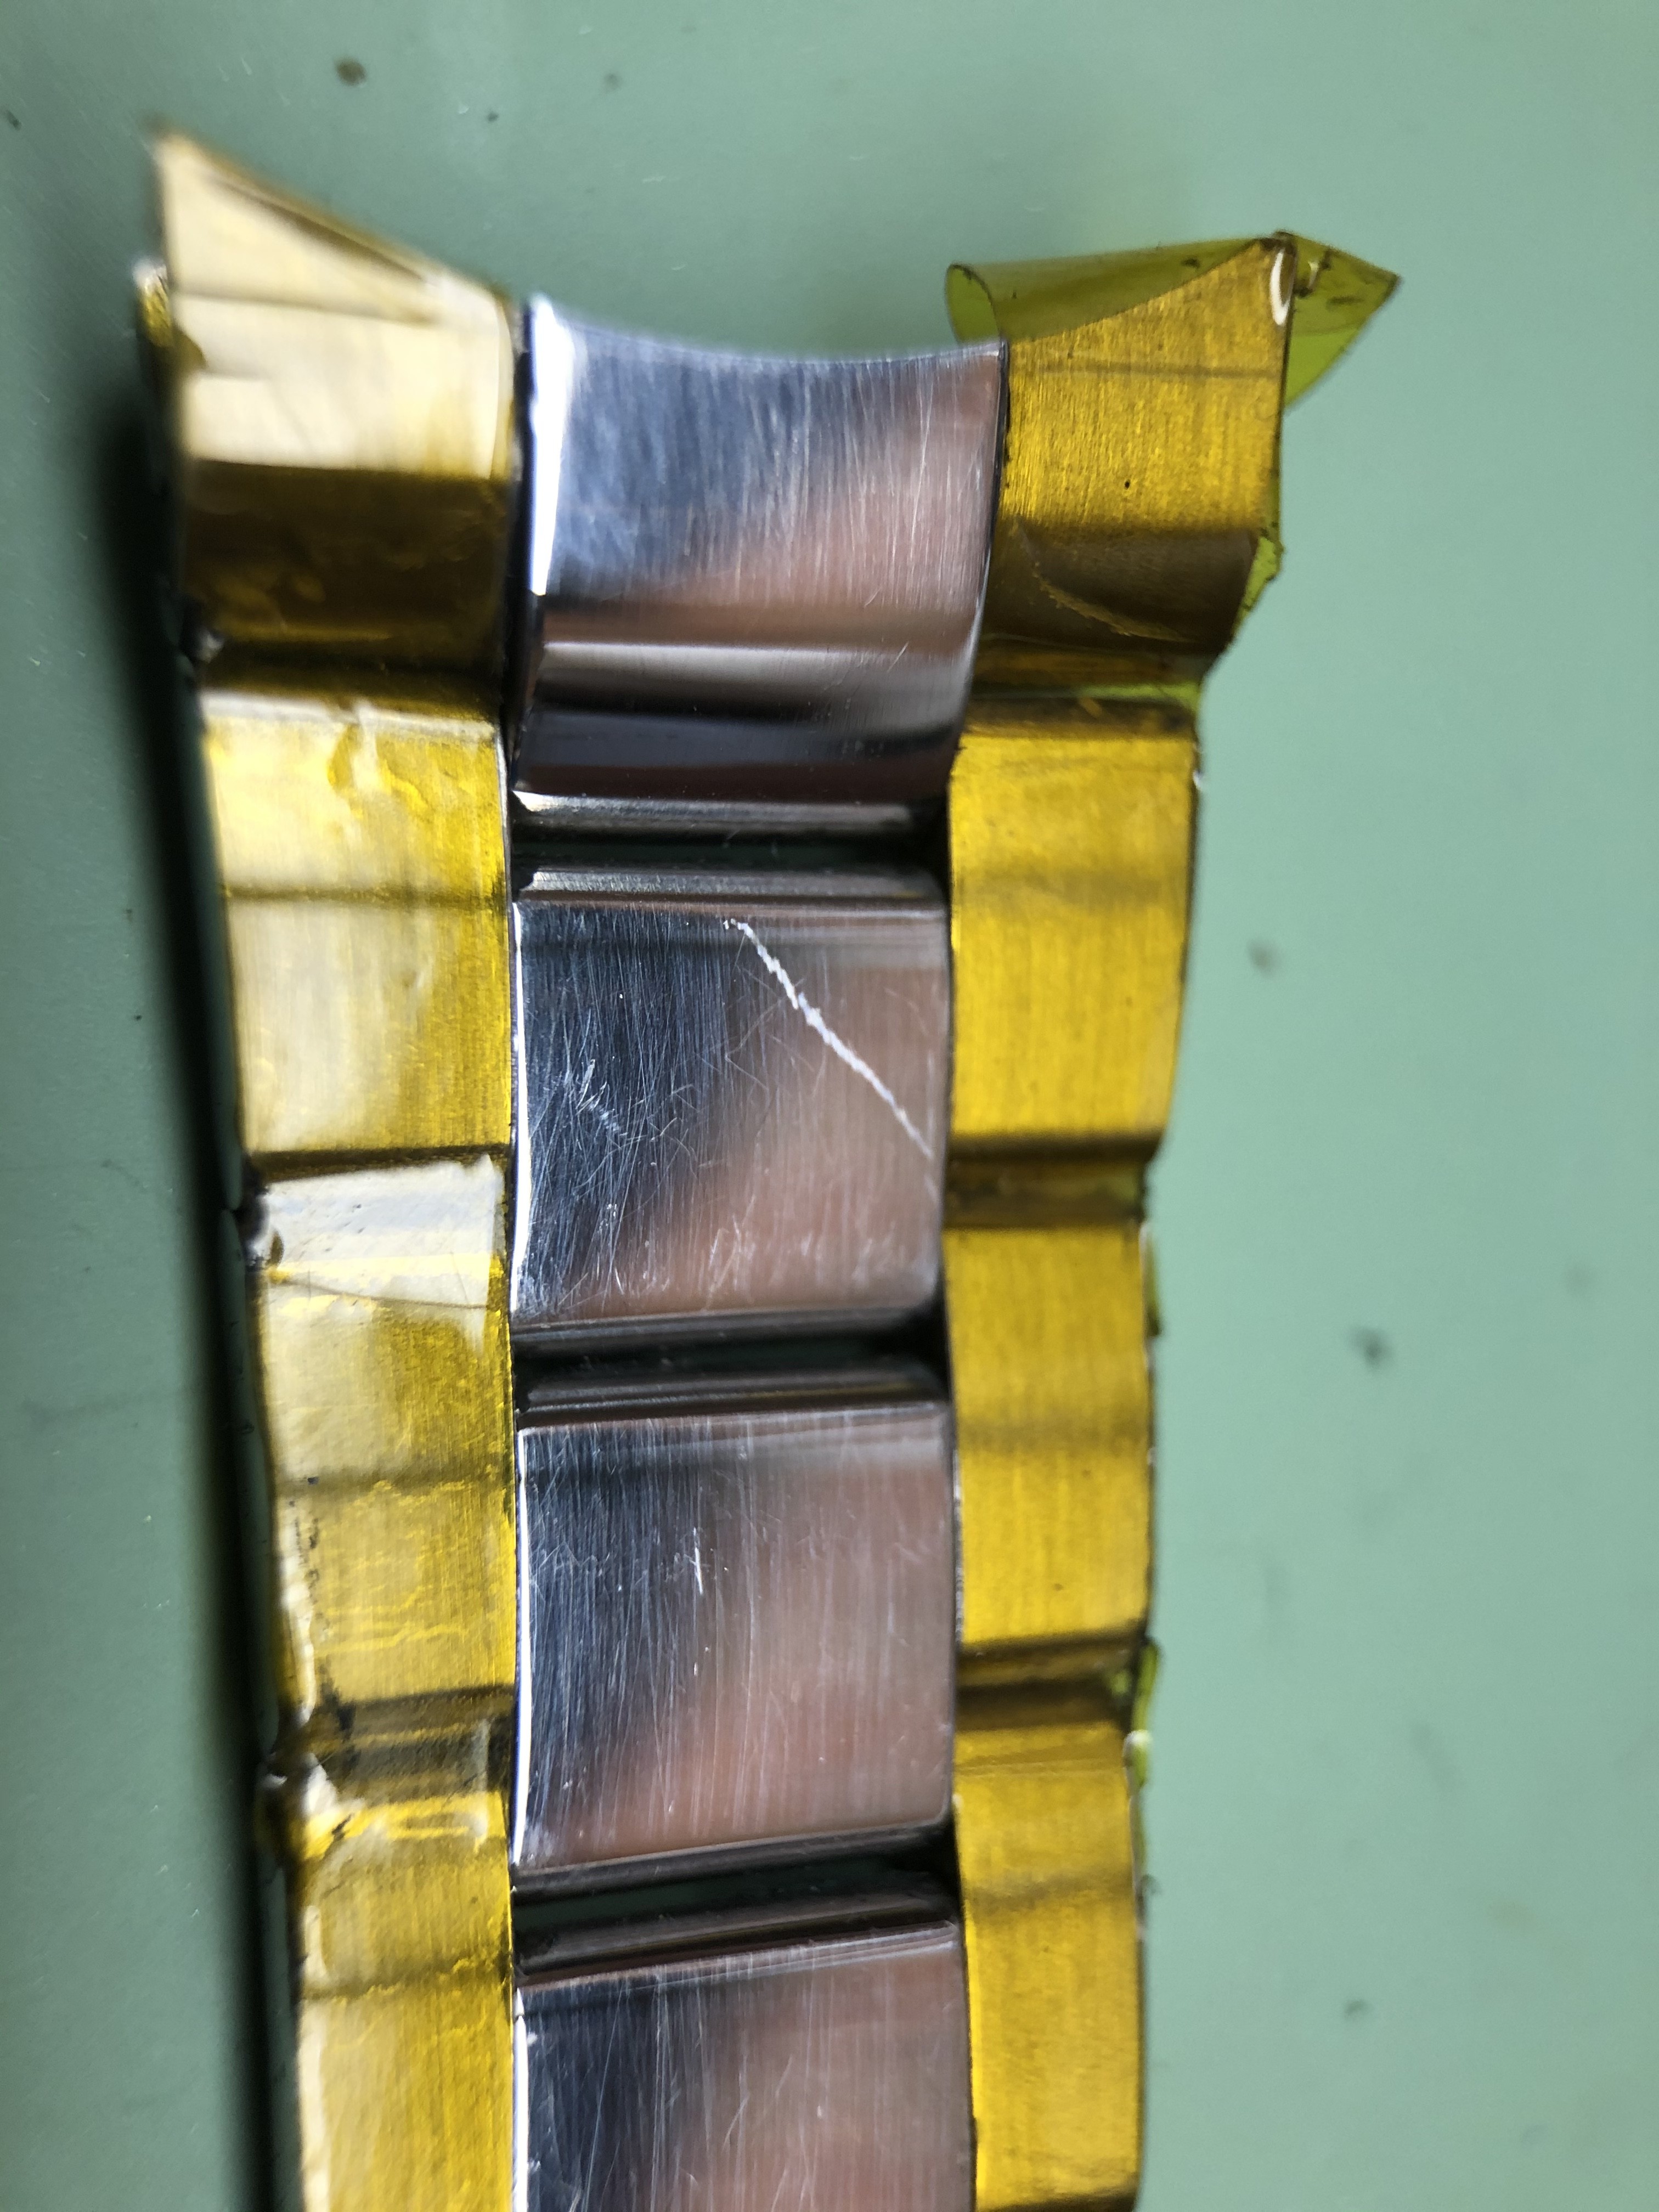
After:
#1
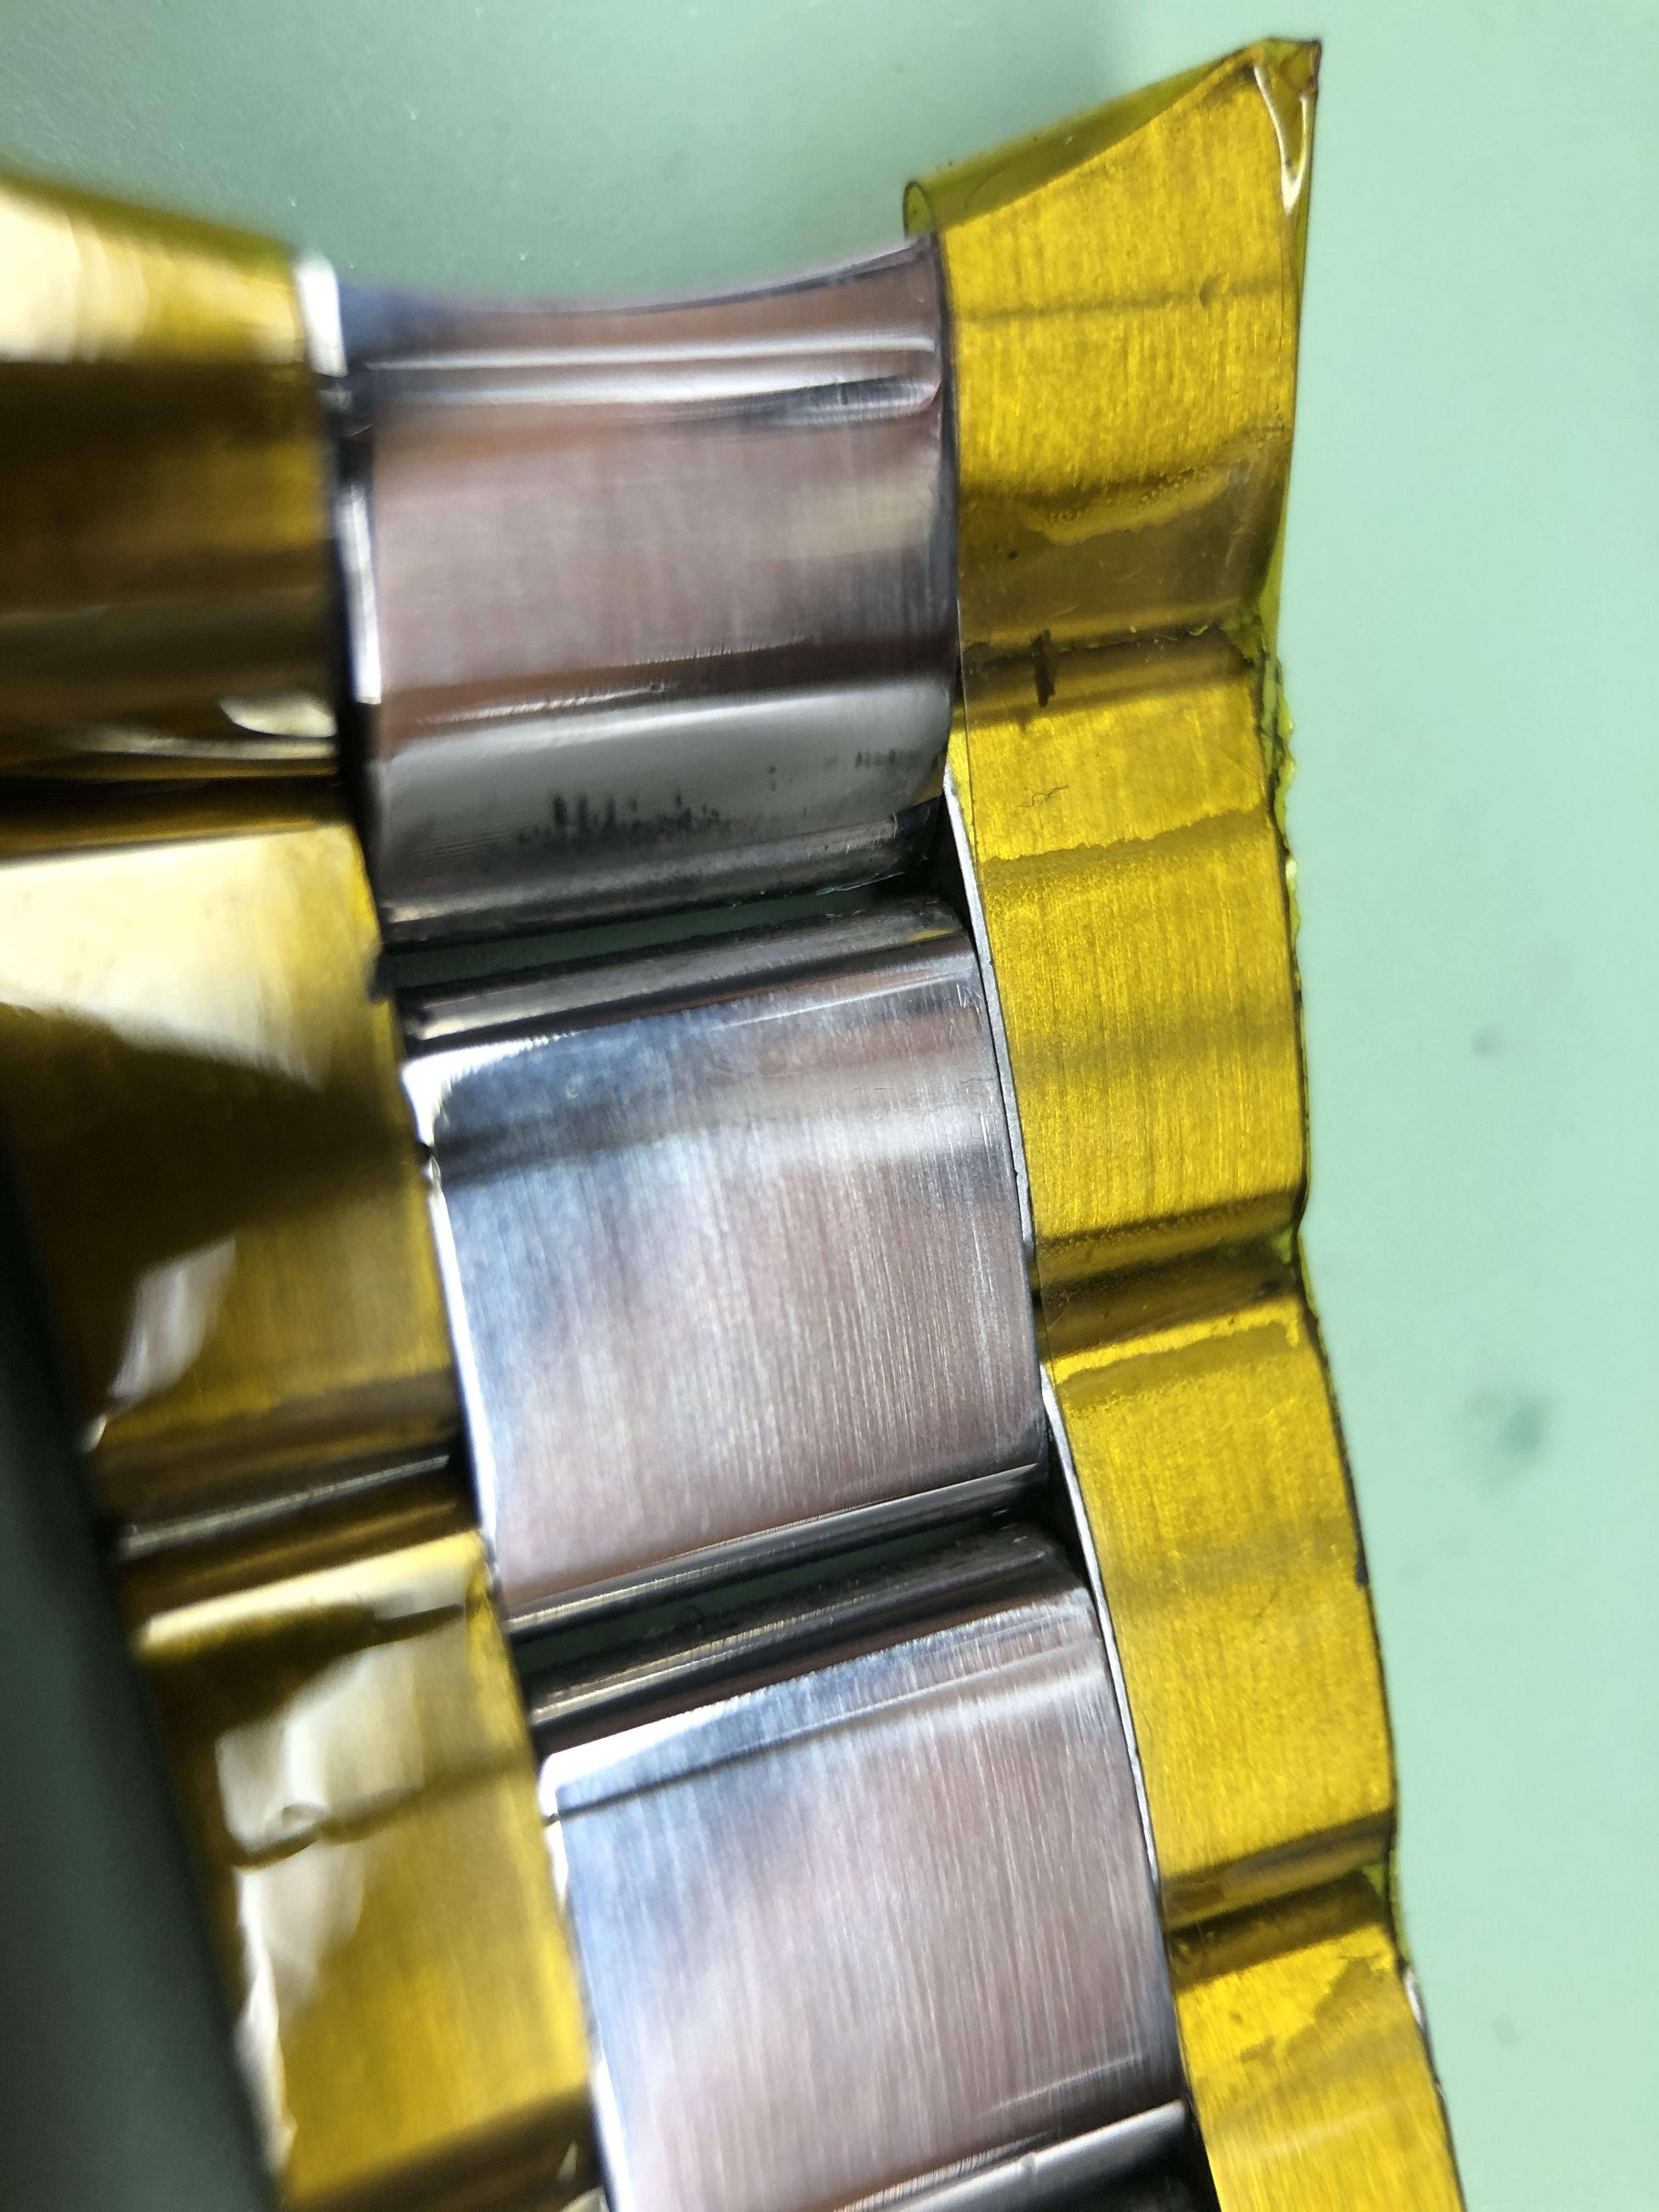
#2
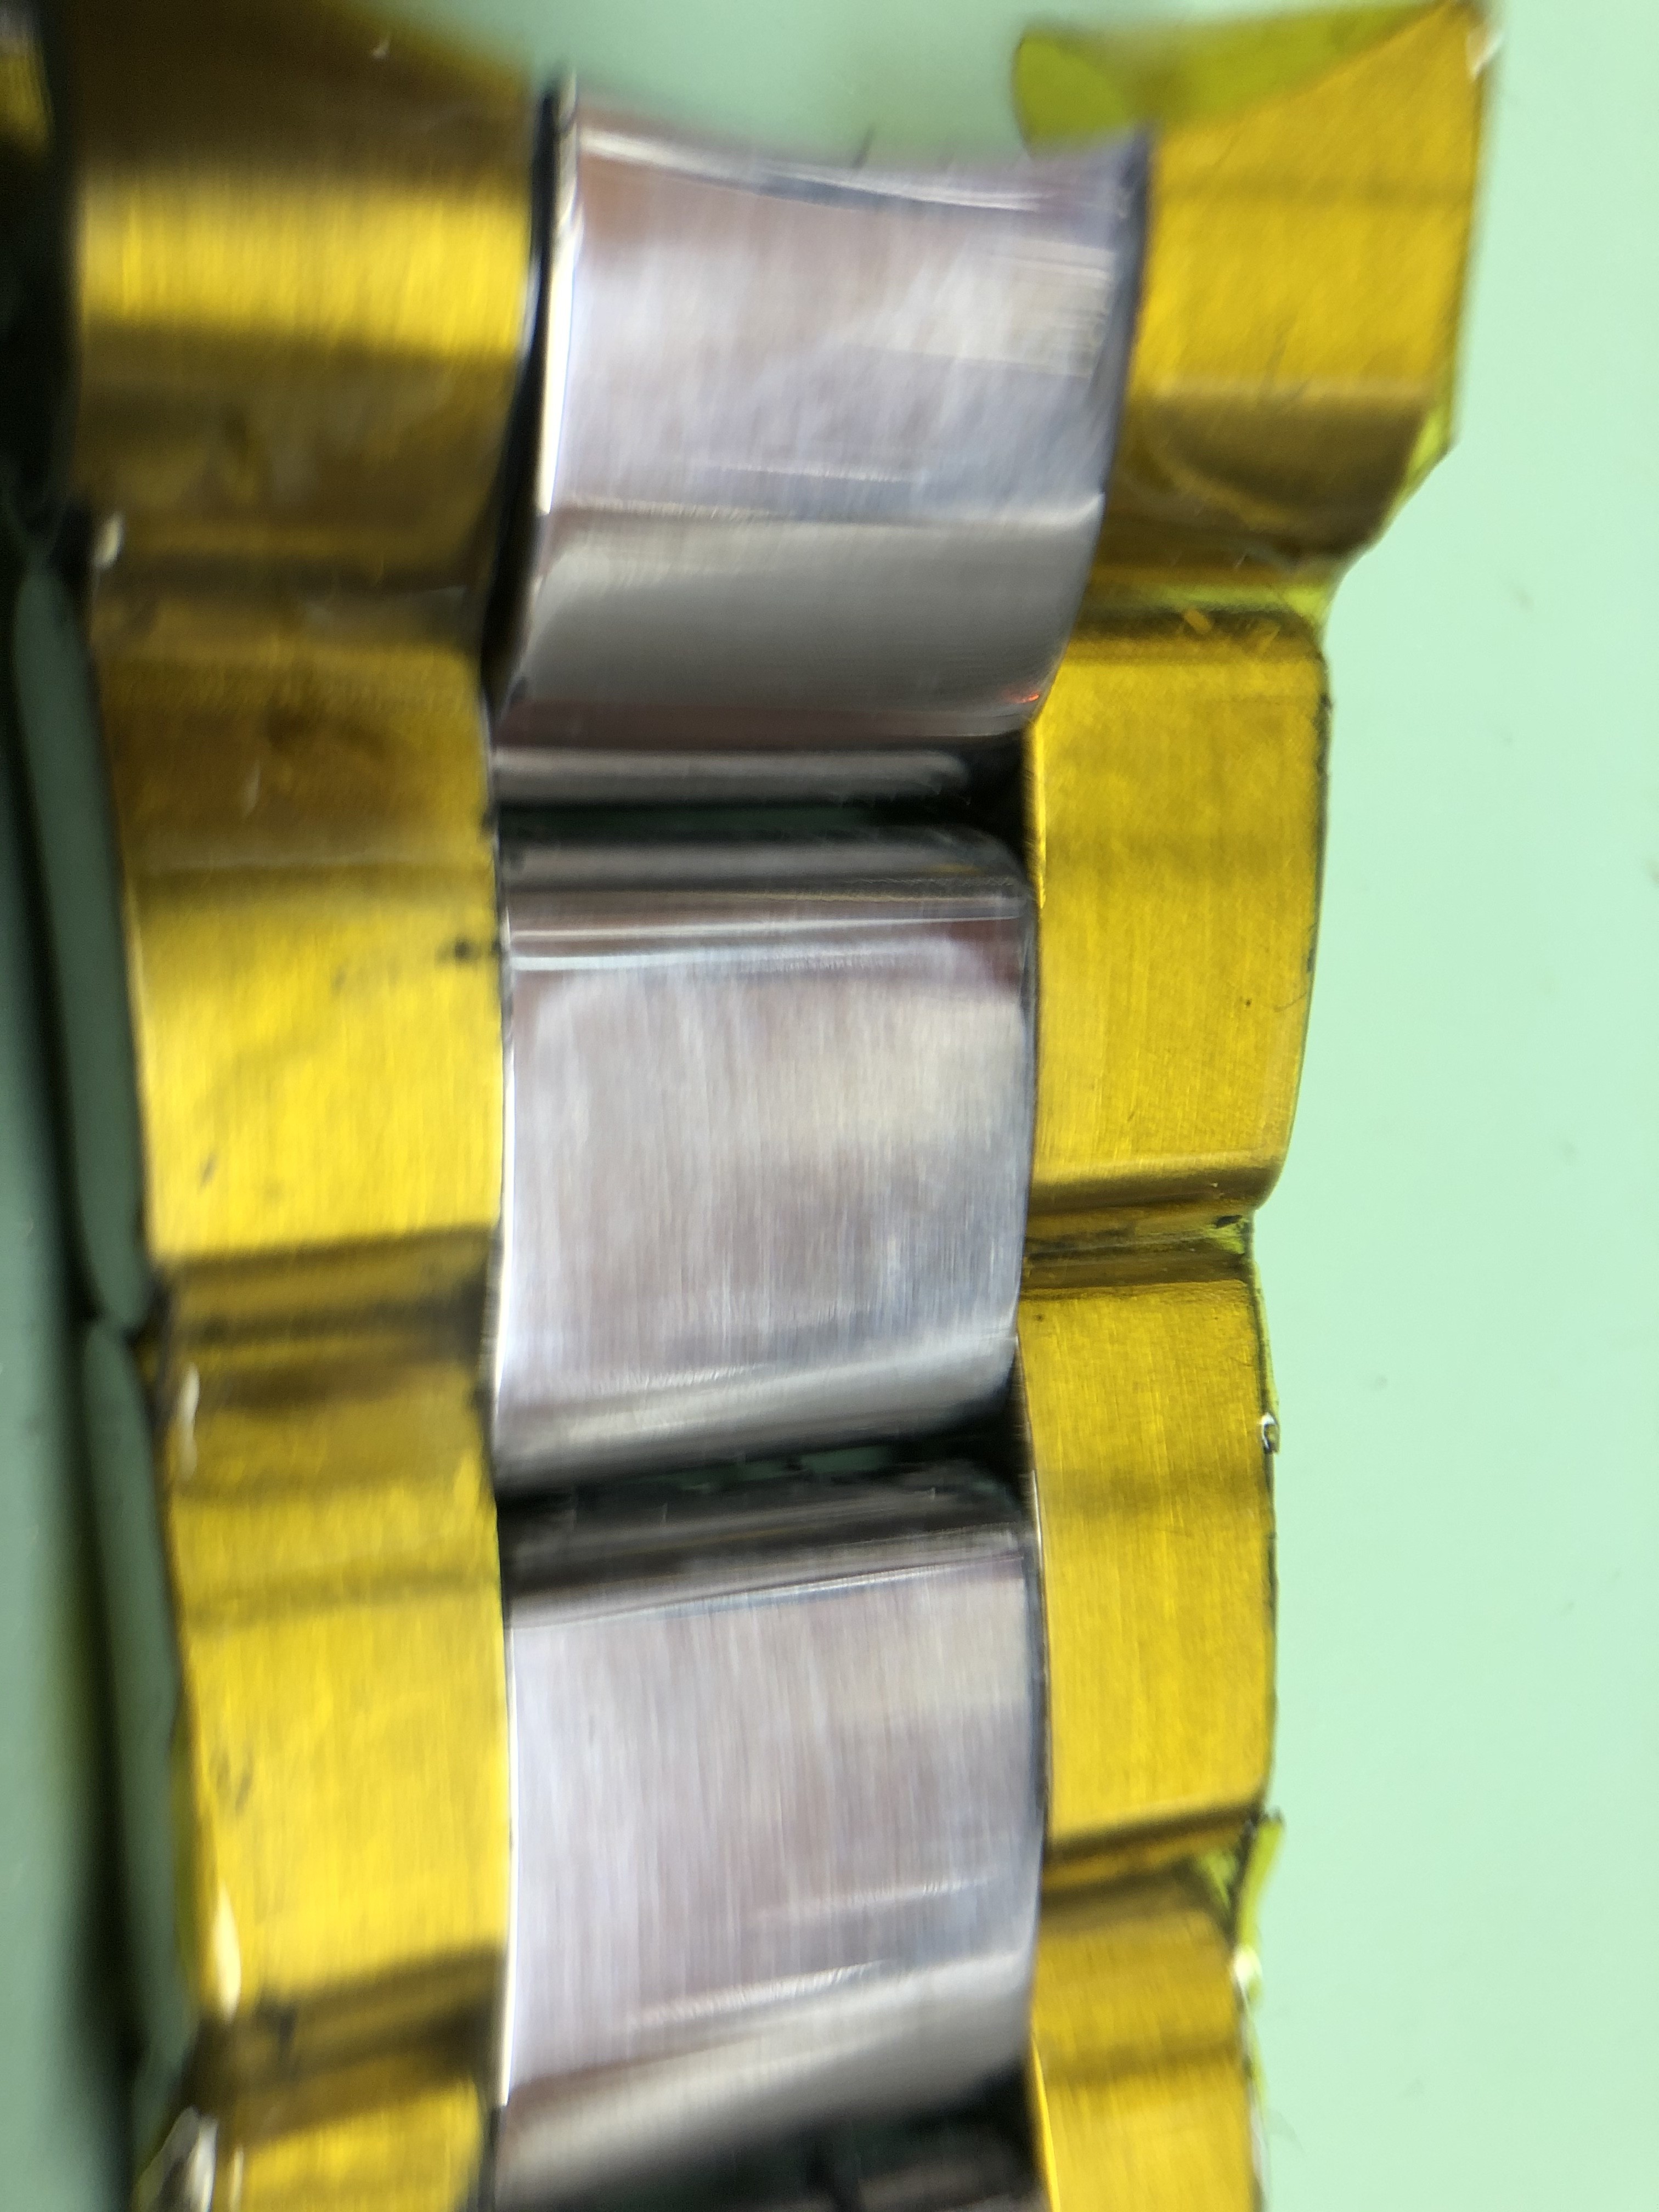
There will be black shite everywhere between the links, try to clean this off between operations because it will get onto the next tool and mess up the next finish. Tooth picks are ideal for this.
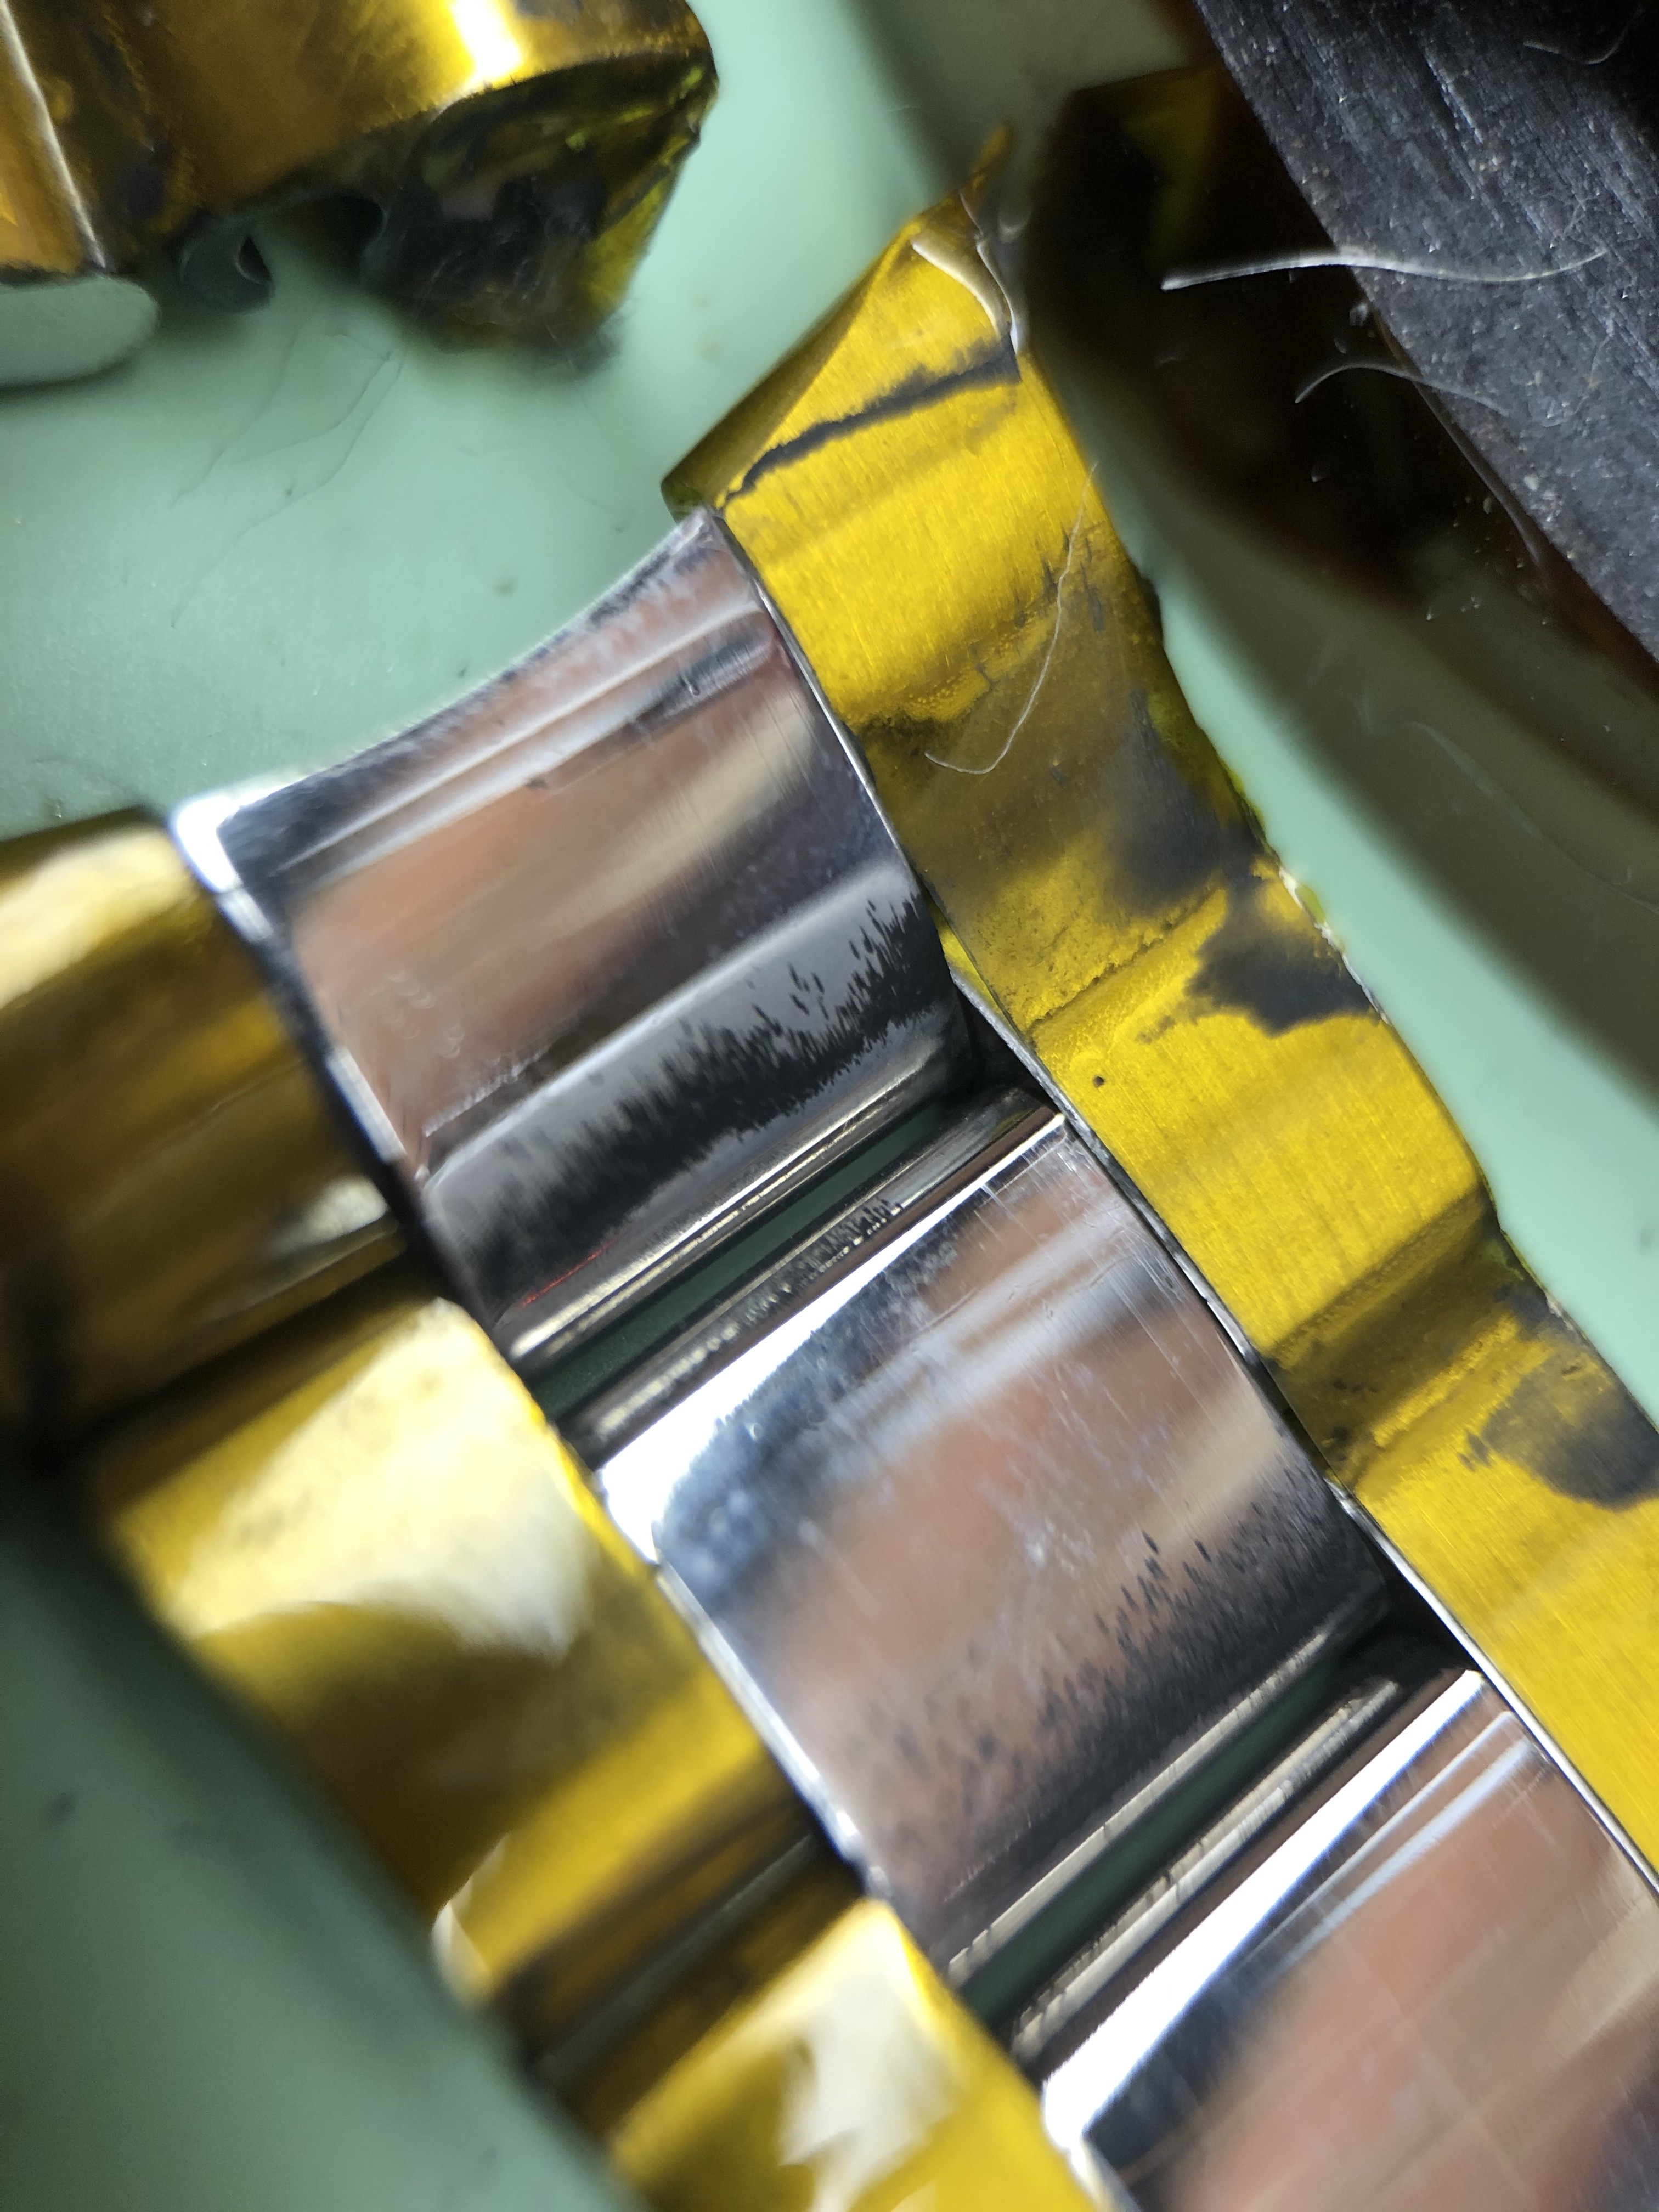
So once all of your parts are polished with green, move onto the white compound. If your using a dremel, now use a fresh loose cotton attachment. I prefer doing the green compound with a dremel as it gives a bit more control, but the next two compounds do come out slightly better with a bench mounted grinder with buffing wheel.
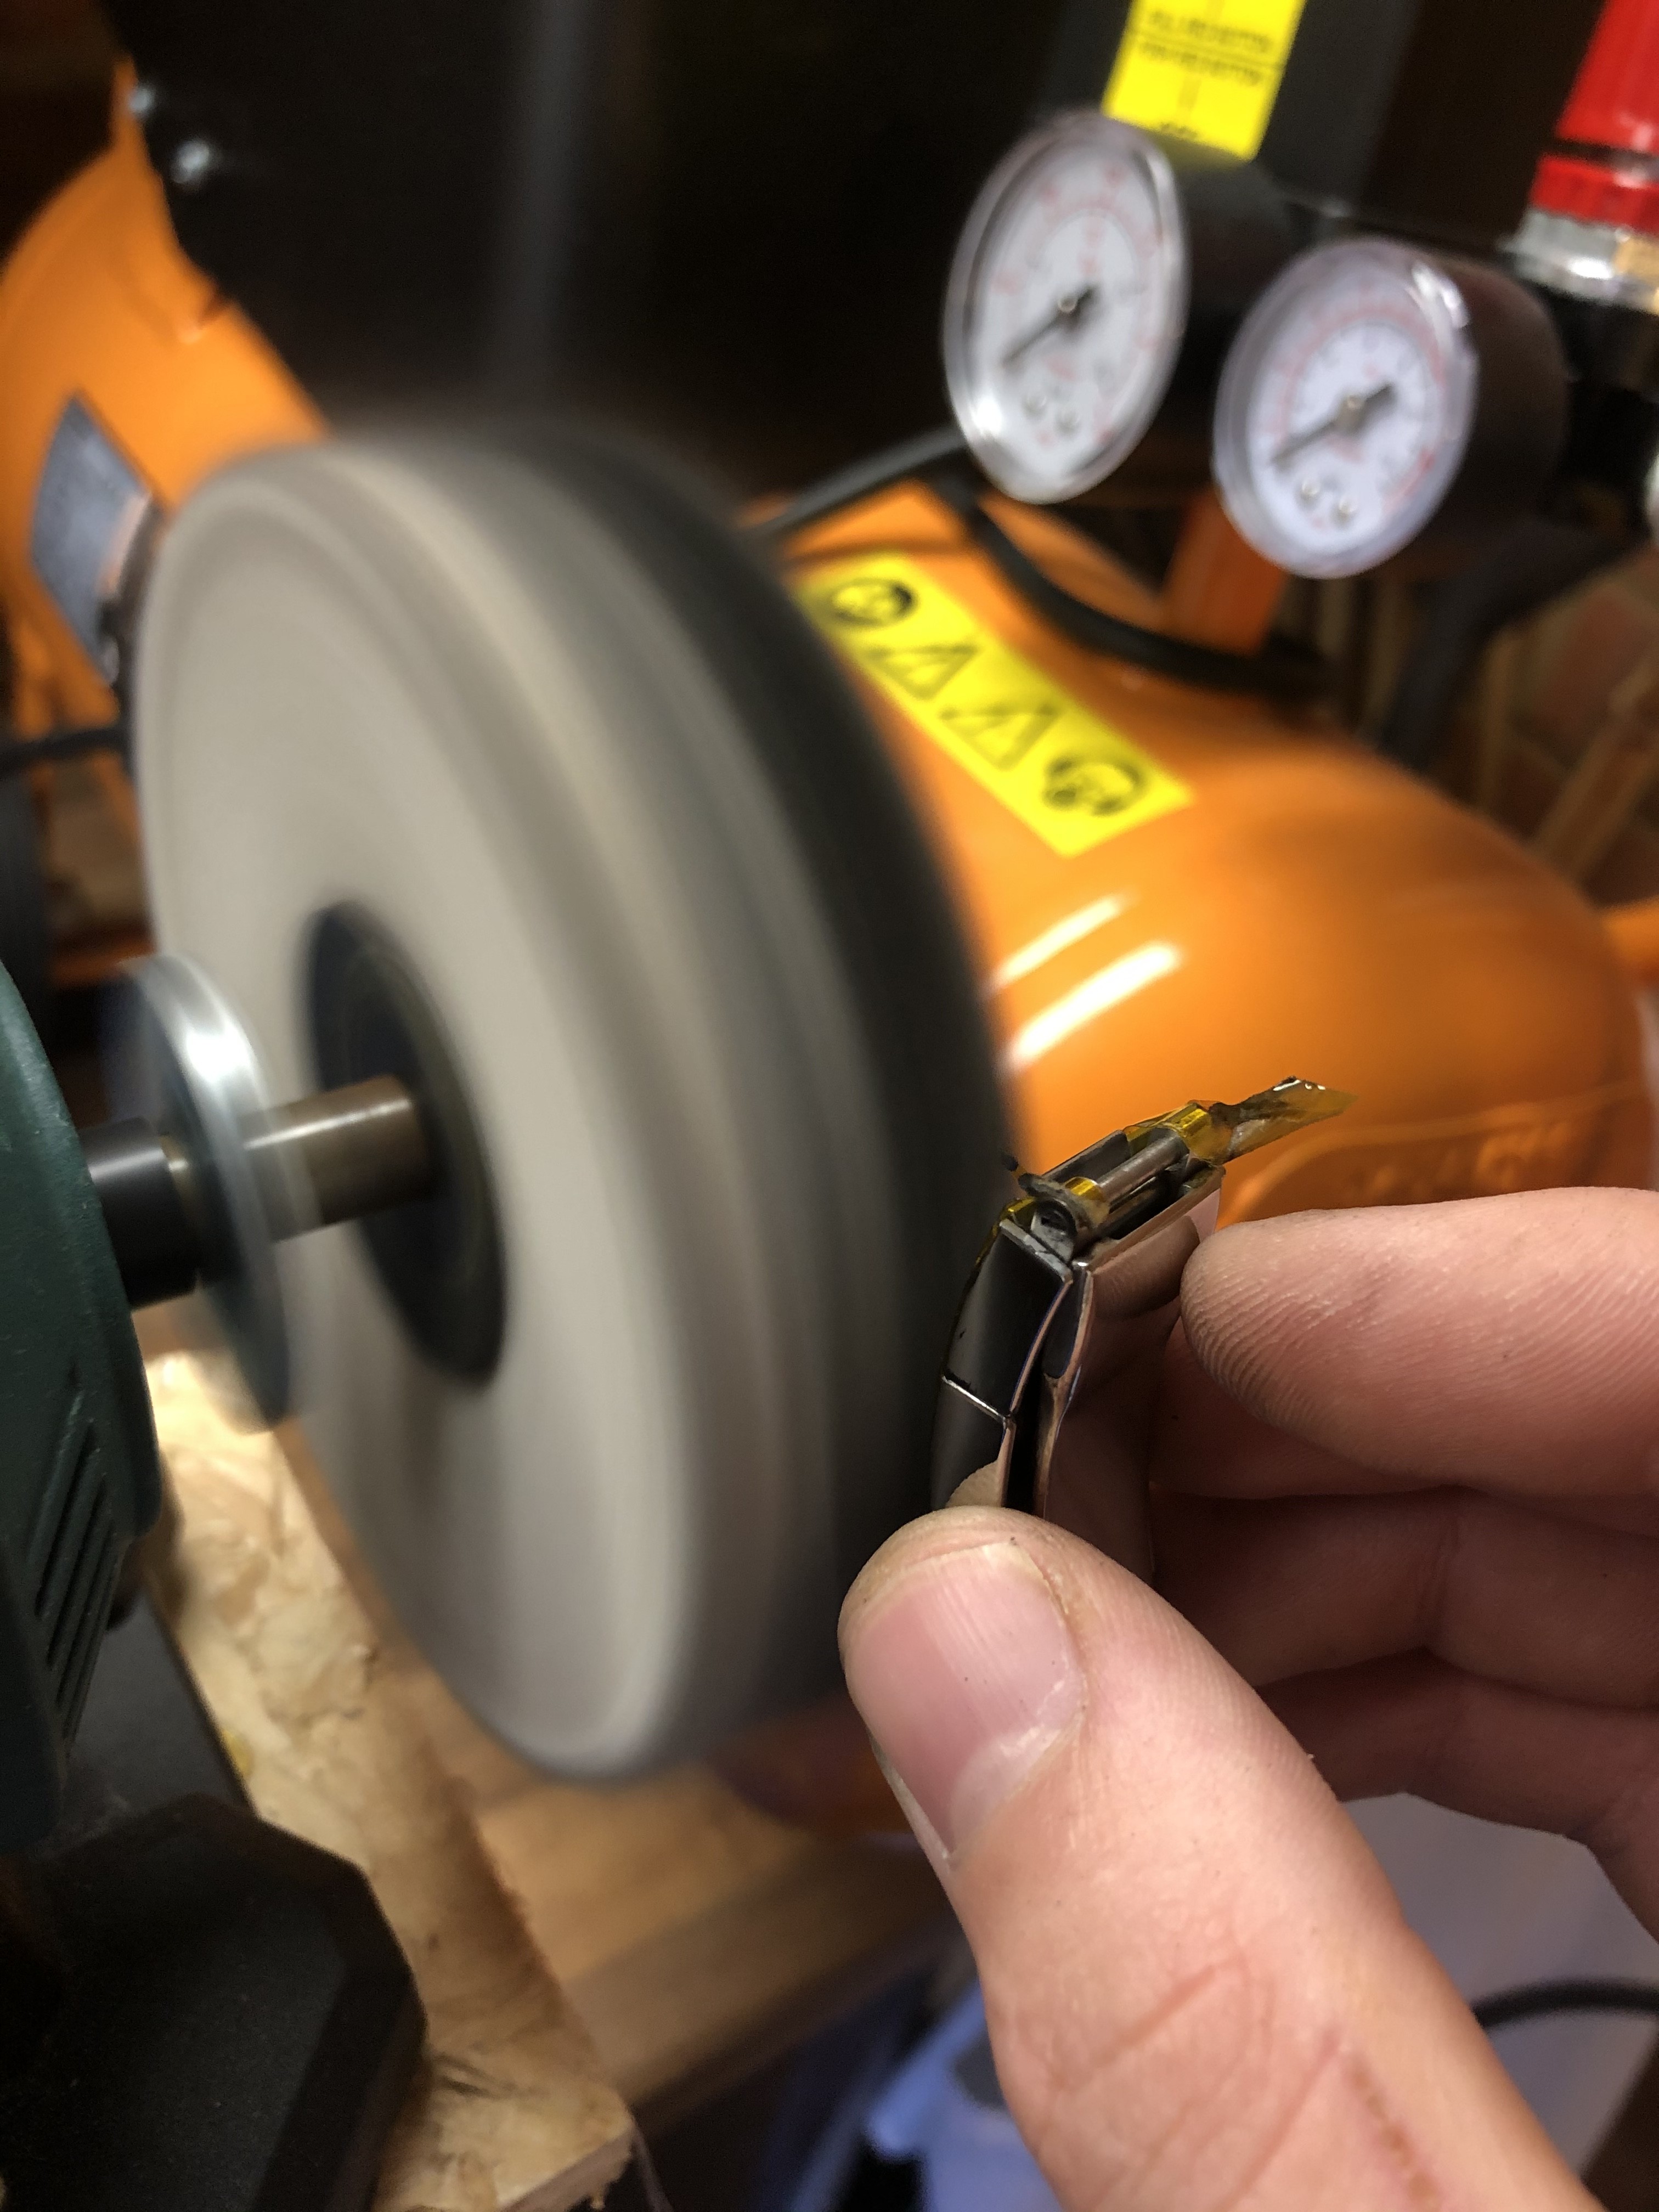
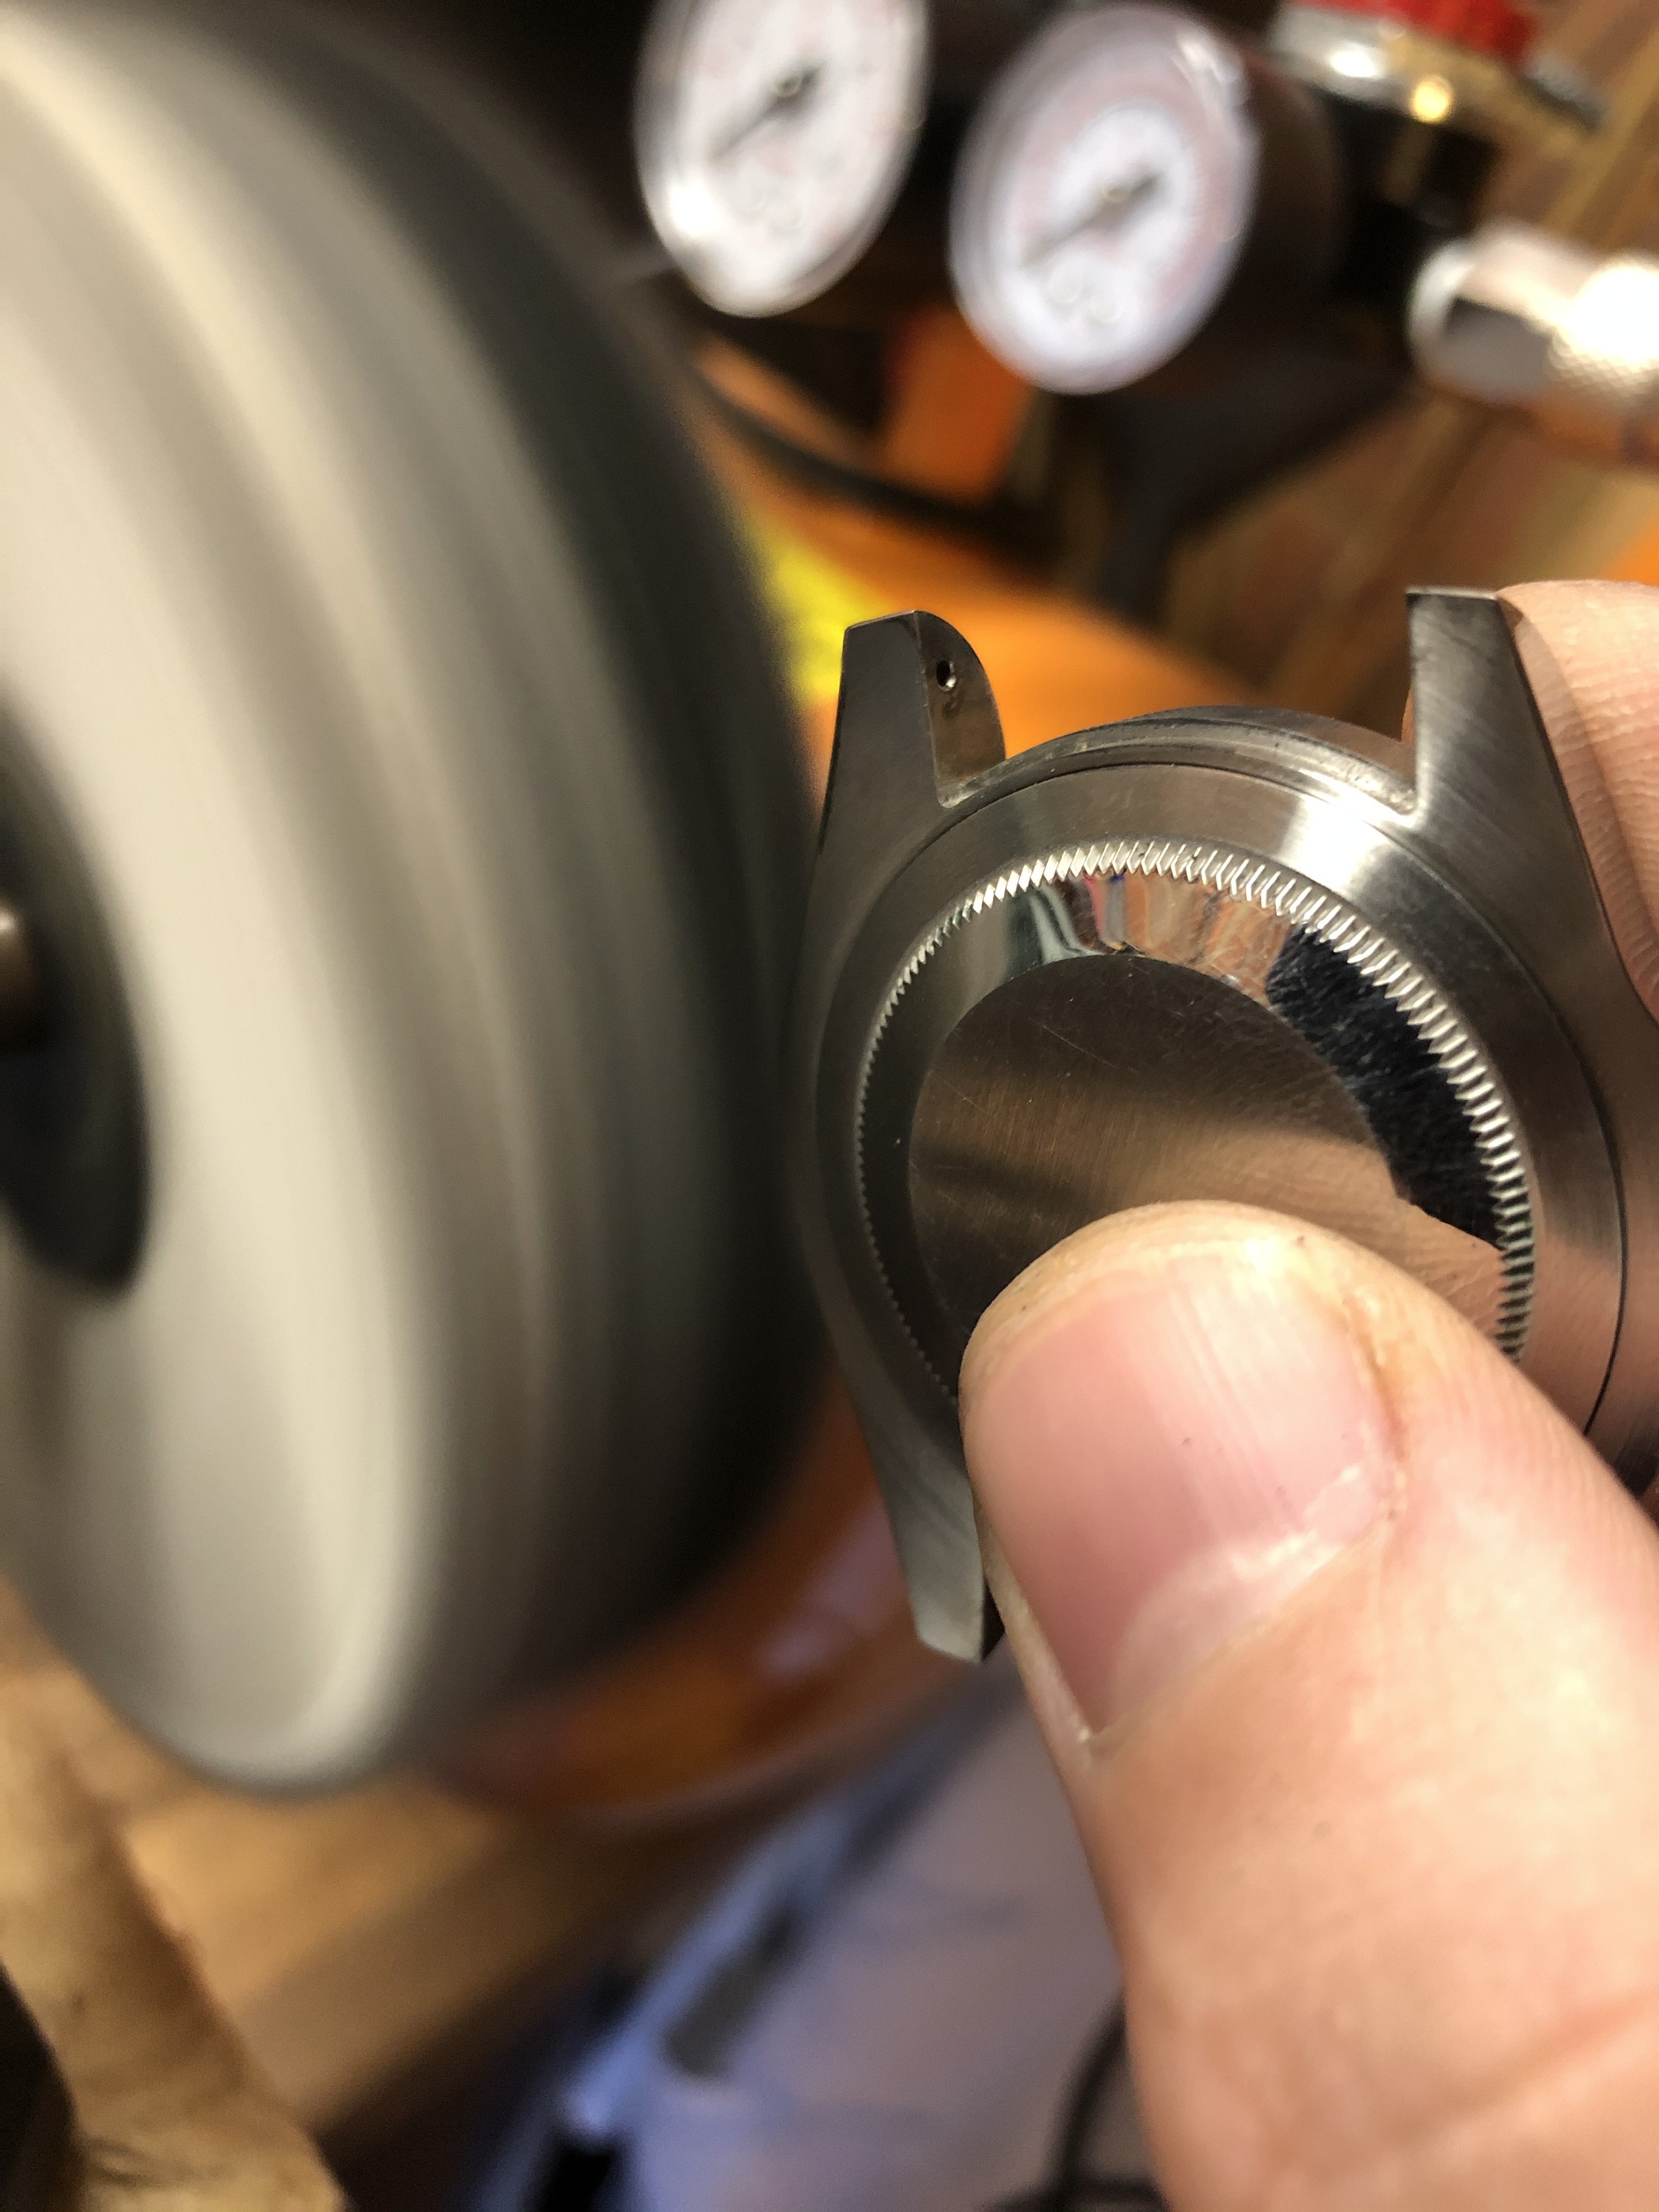
You can achieve good results either way you choose, if you get the same grinder with dremel i use then you have the luxury of options. Repeat the process on all polished faces until you get a decent shine to it. You may even be happy enough with the white compound to stop there, but i find the rouge gives it that extra je ne sais quoi. As you probably guessed, repeat for all surfaces with a loose cotton attachment and the jewellers rouge.
Brushing:
I know what your thinking, Ive been doing this for hours, why didn’t i just pay someone else! Don’t worry, your on the home straight! Start by masking up the polished parts. This is where the 8.5mm tape comes into its own, its the exact width of the polished parts.
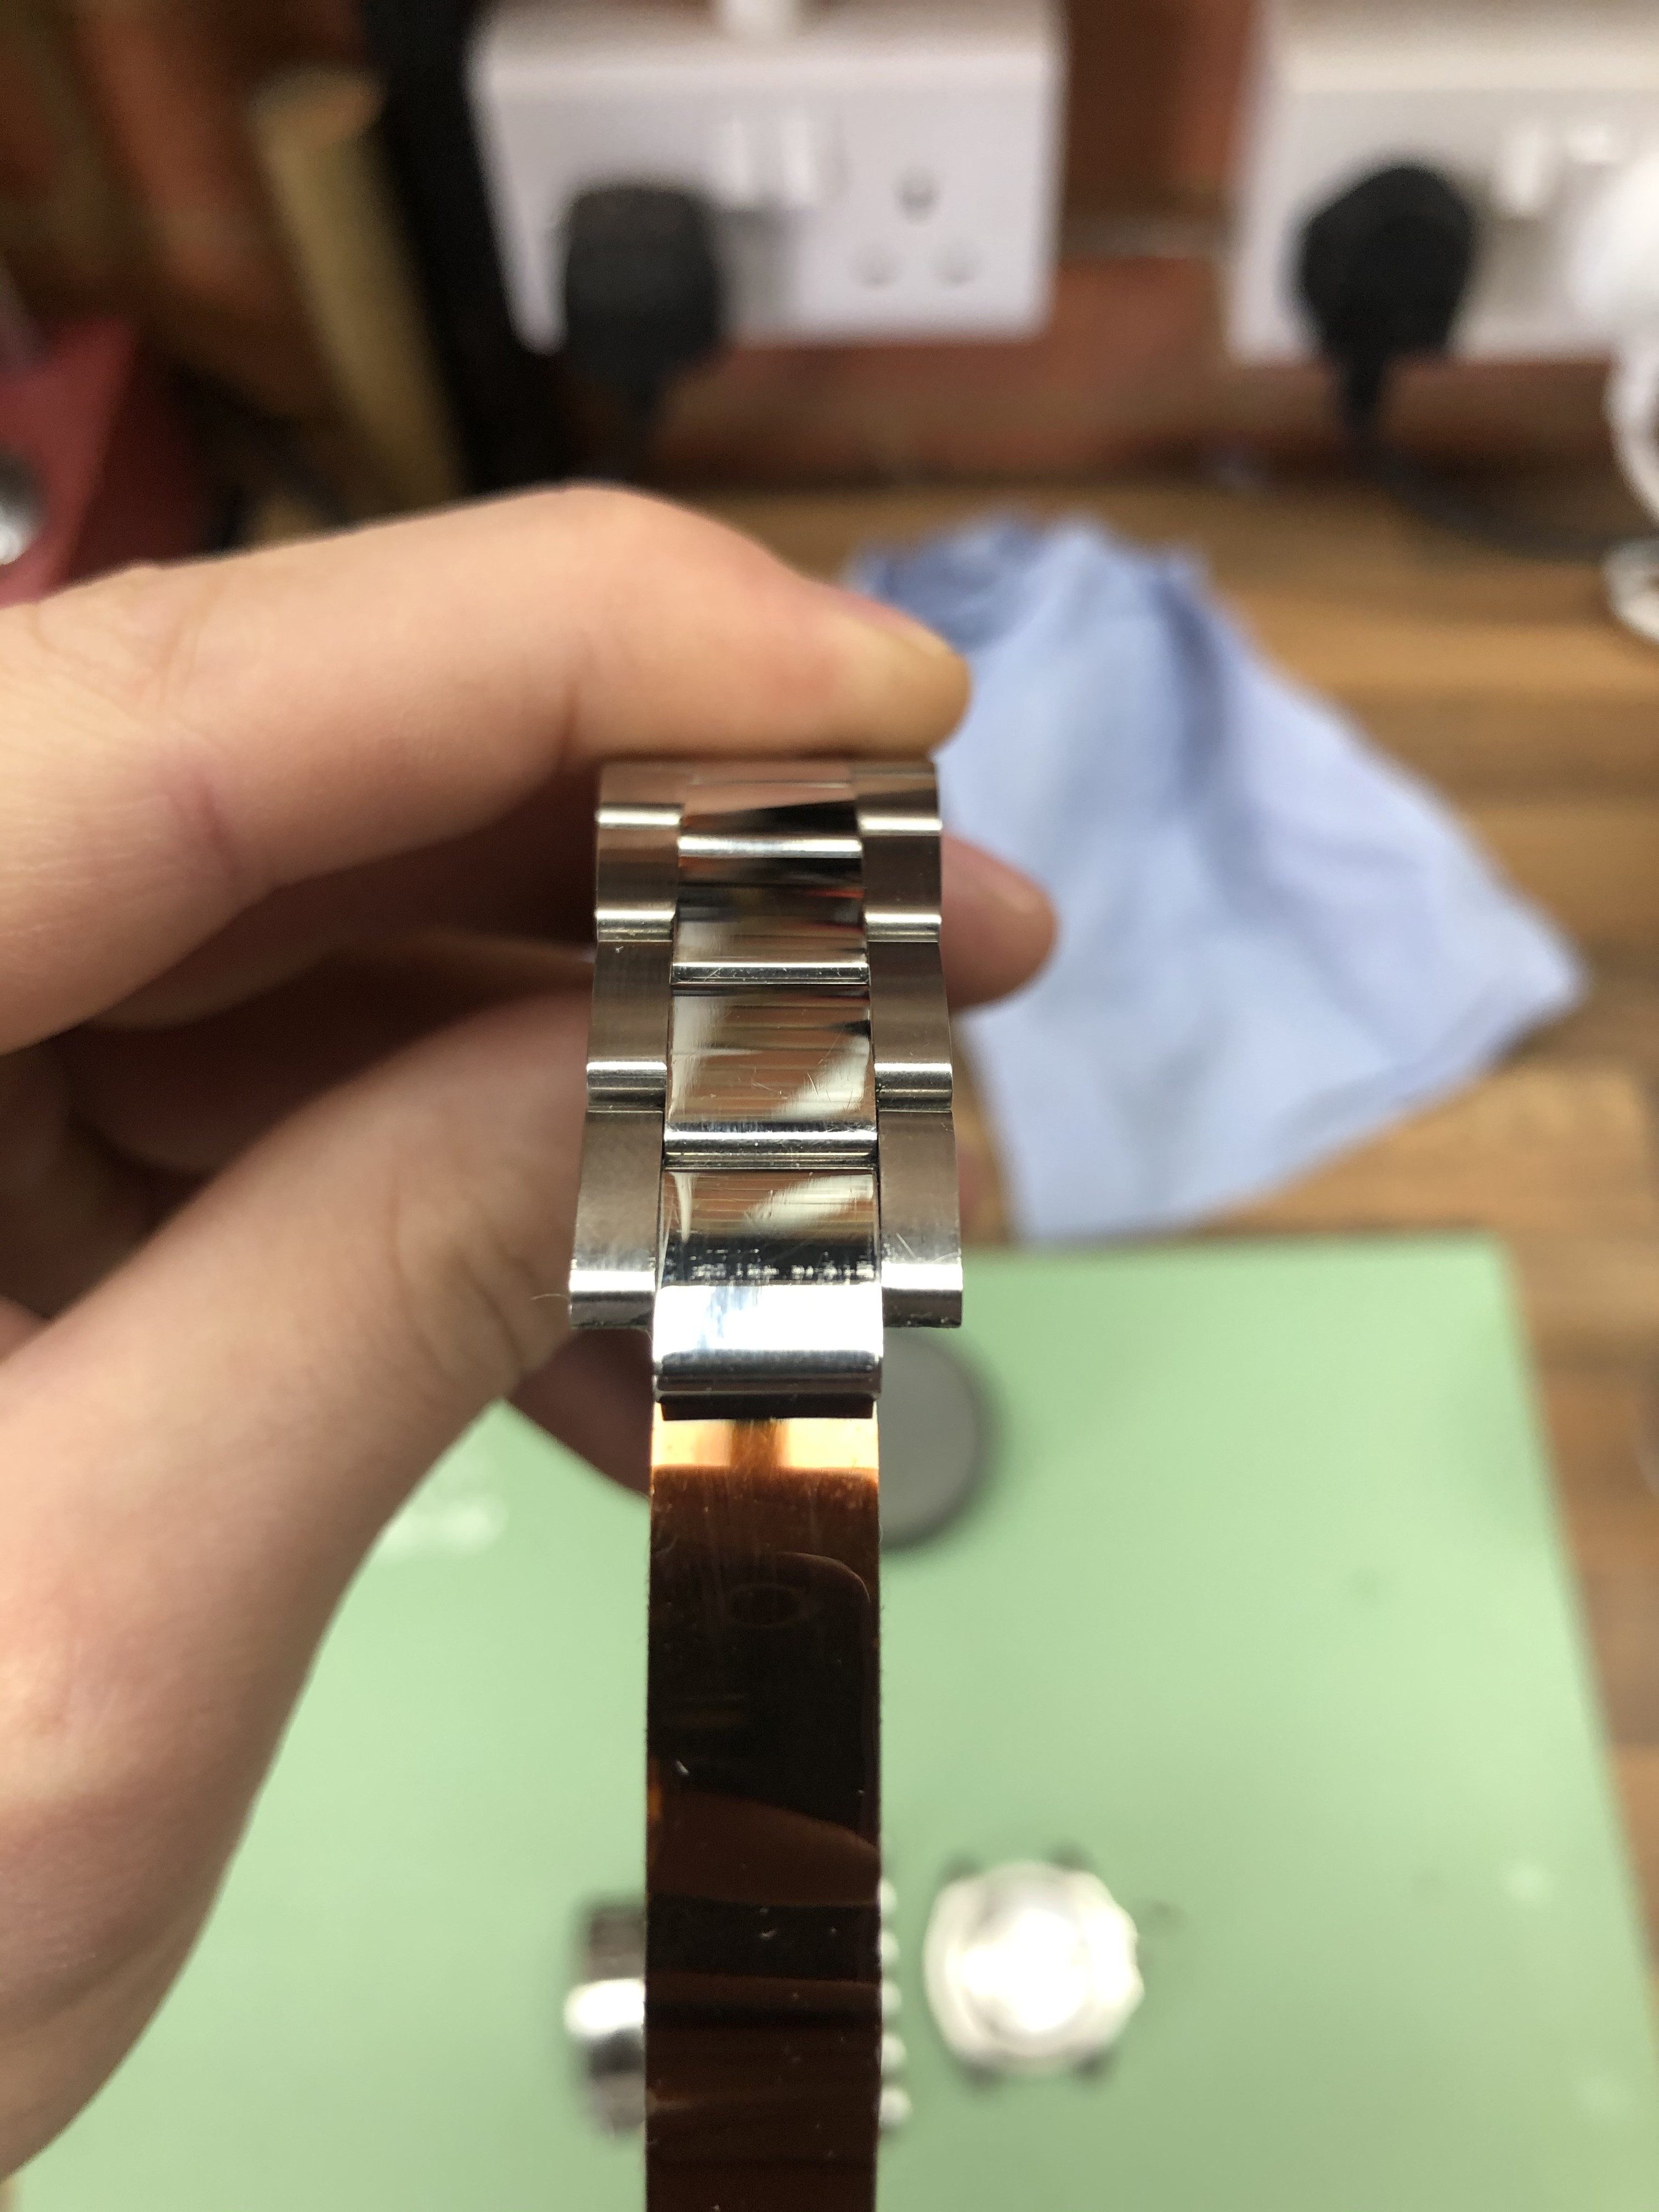
When applying the tape, start on one link, then rotate the next link away from that link before putting the tape on it. This will allow some flex in the bracelet once taped up, if you just lay it flat on the table and bosh tape on it, it will be very rigid and unable to flex.
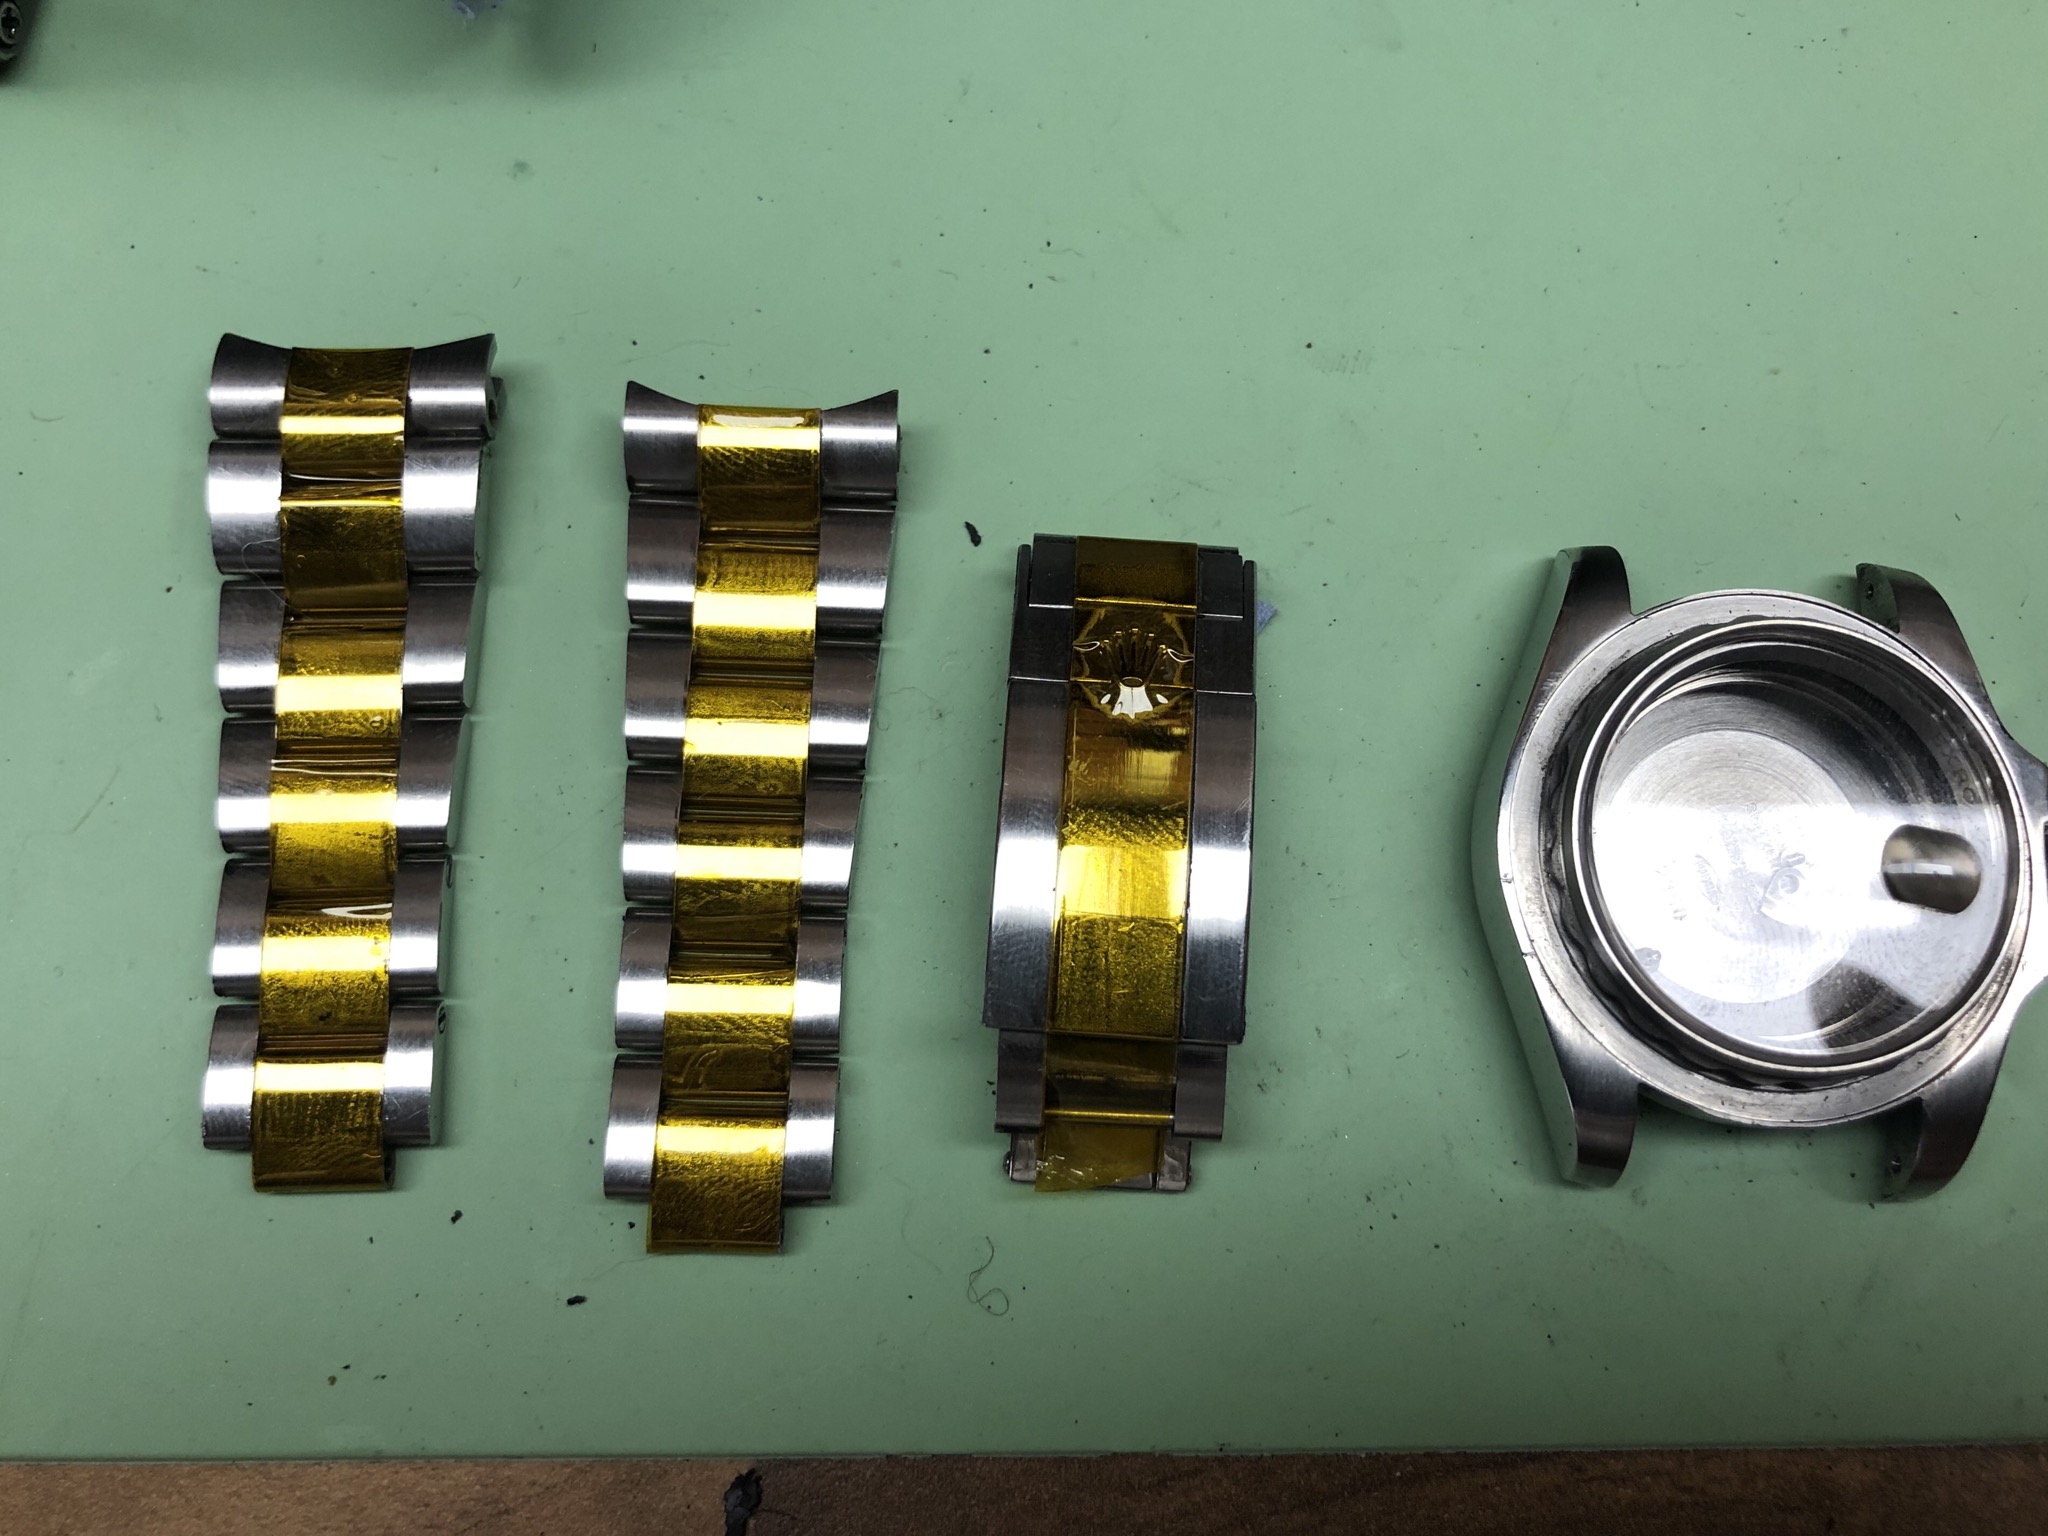
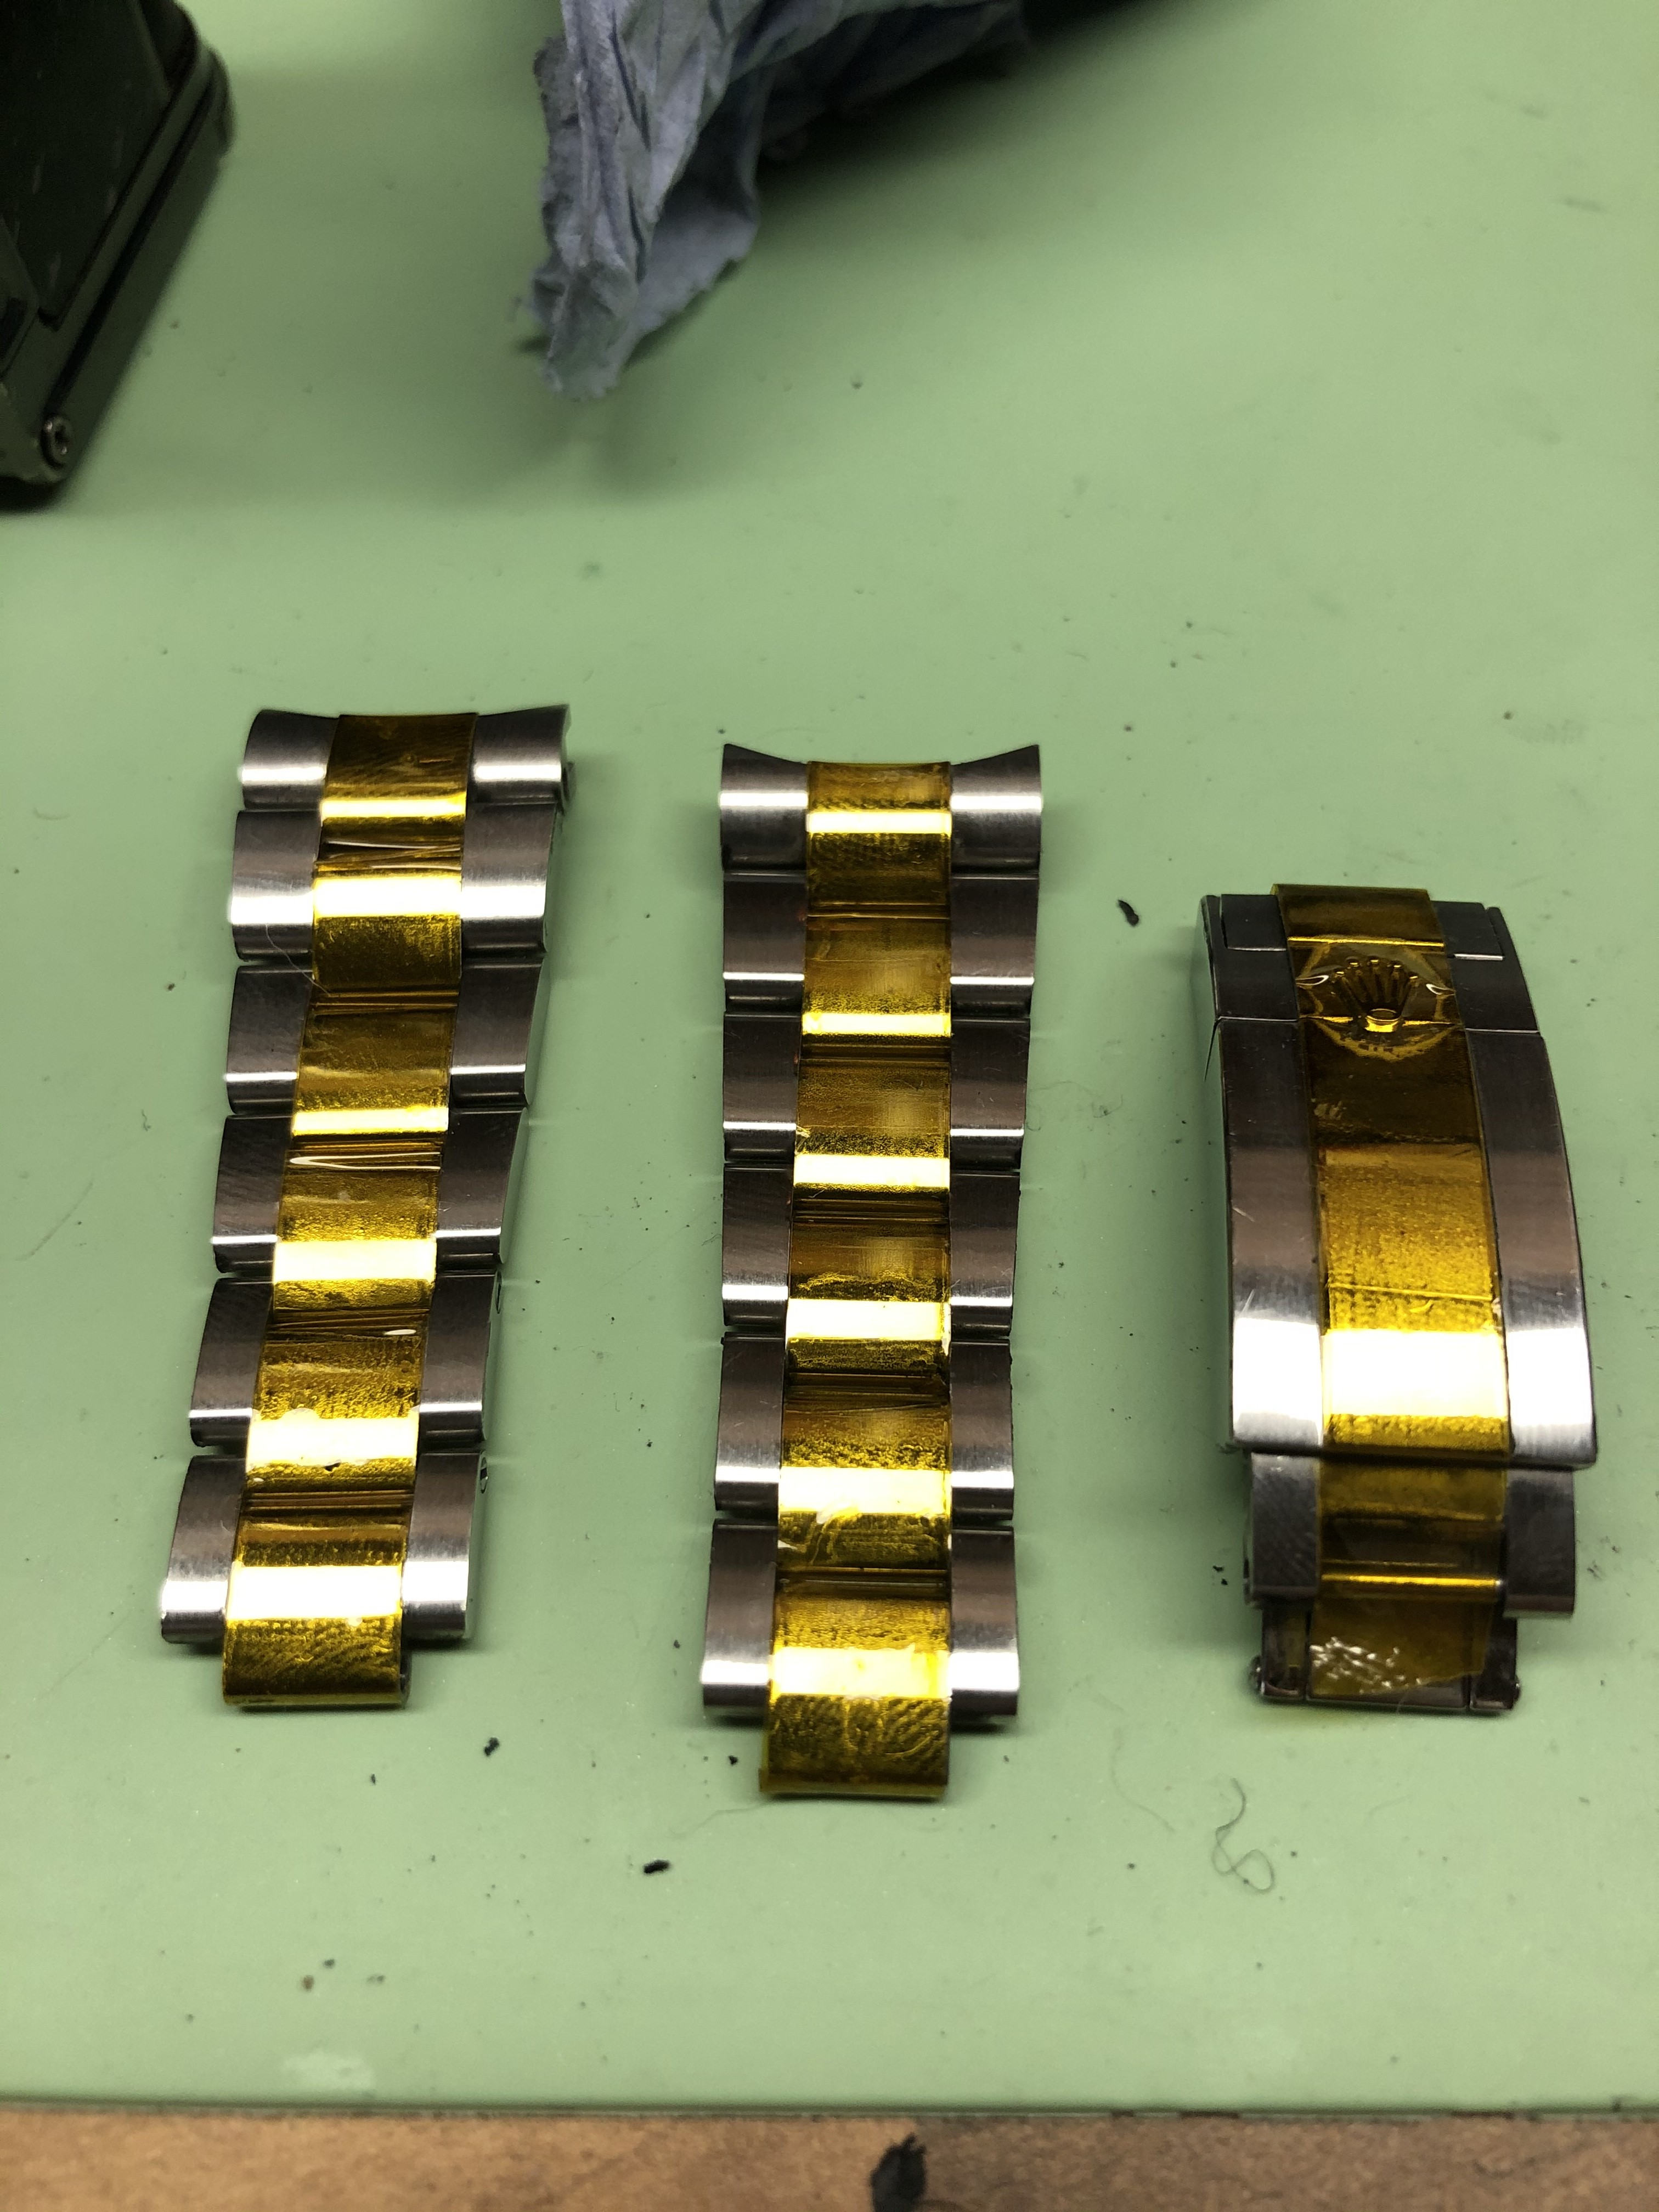
Now you have a nice two tone bracelet... i start by brushing the case. Its important to have the bezel off for this to get the best results. Start with the 120 grit block. I cut a section of the block off and added a triangular cut out so it will brush the entire lug but wont hit into the crystal. It sound strange but you’ll see what i mean when you try it, its the best way to keep the lines straight.
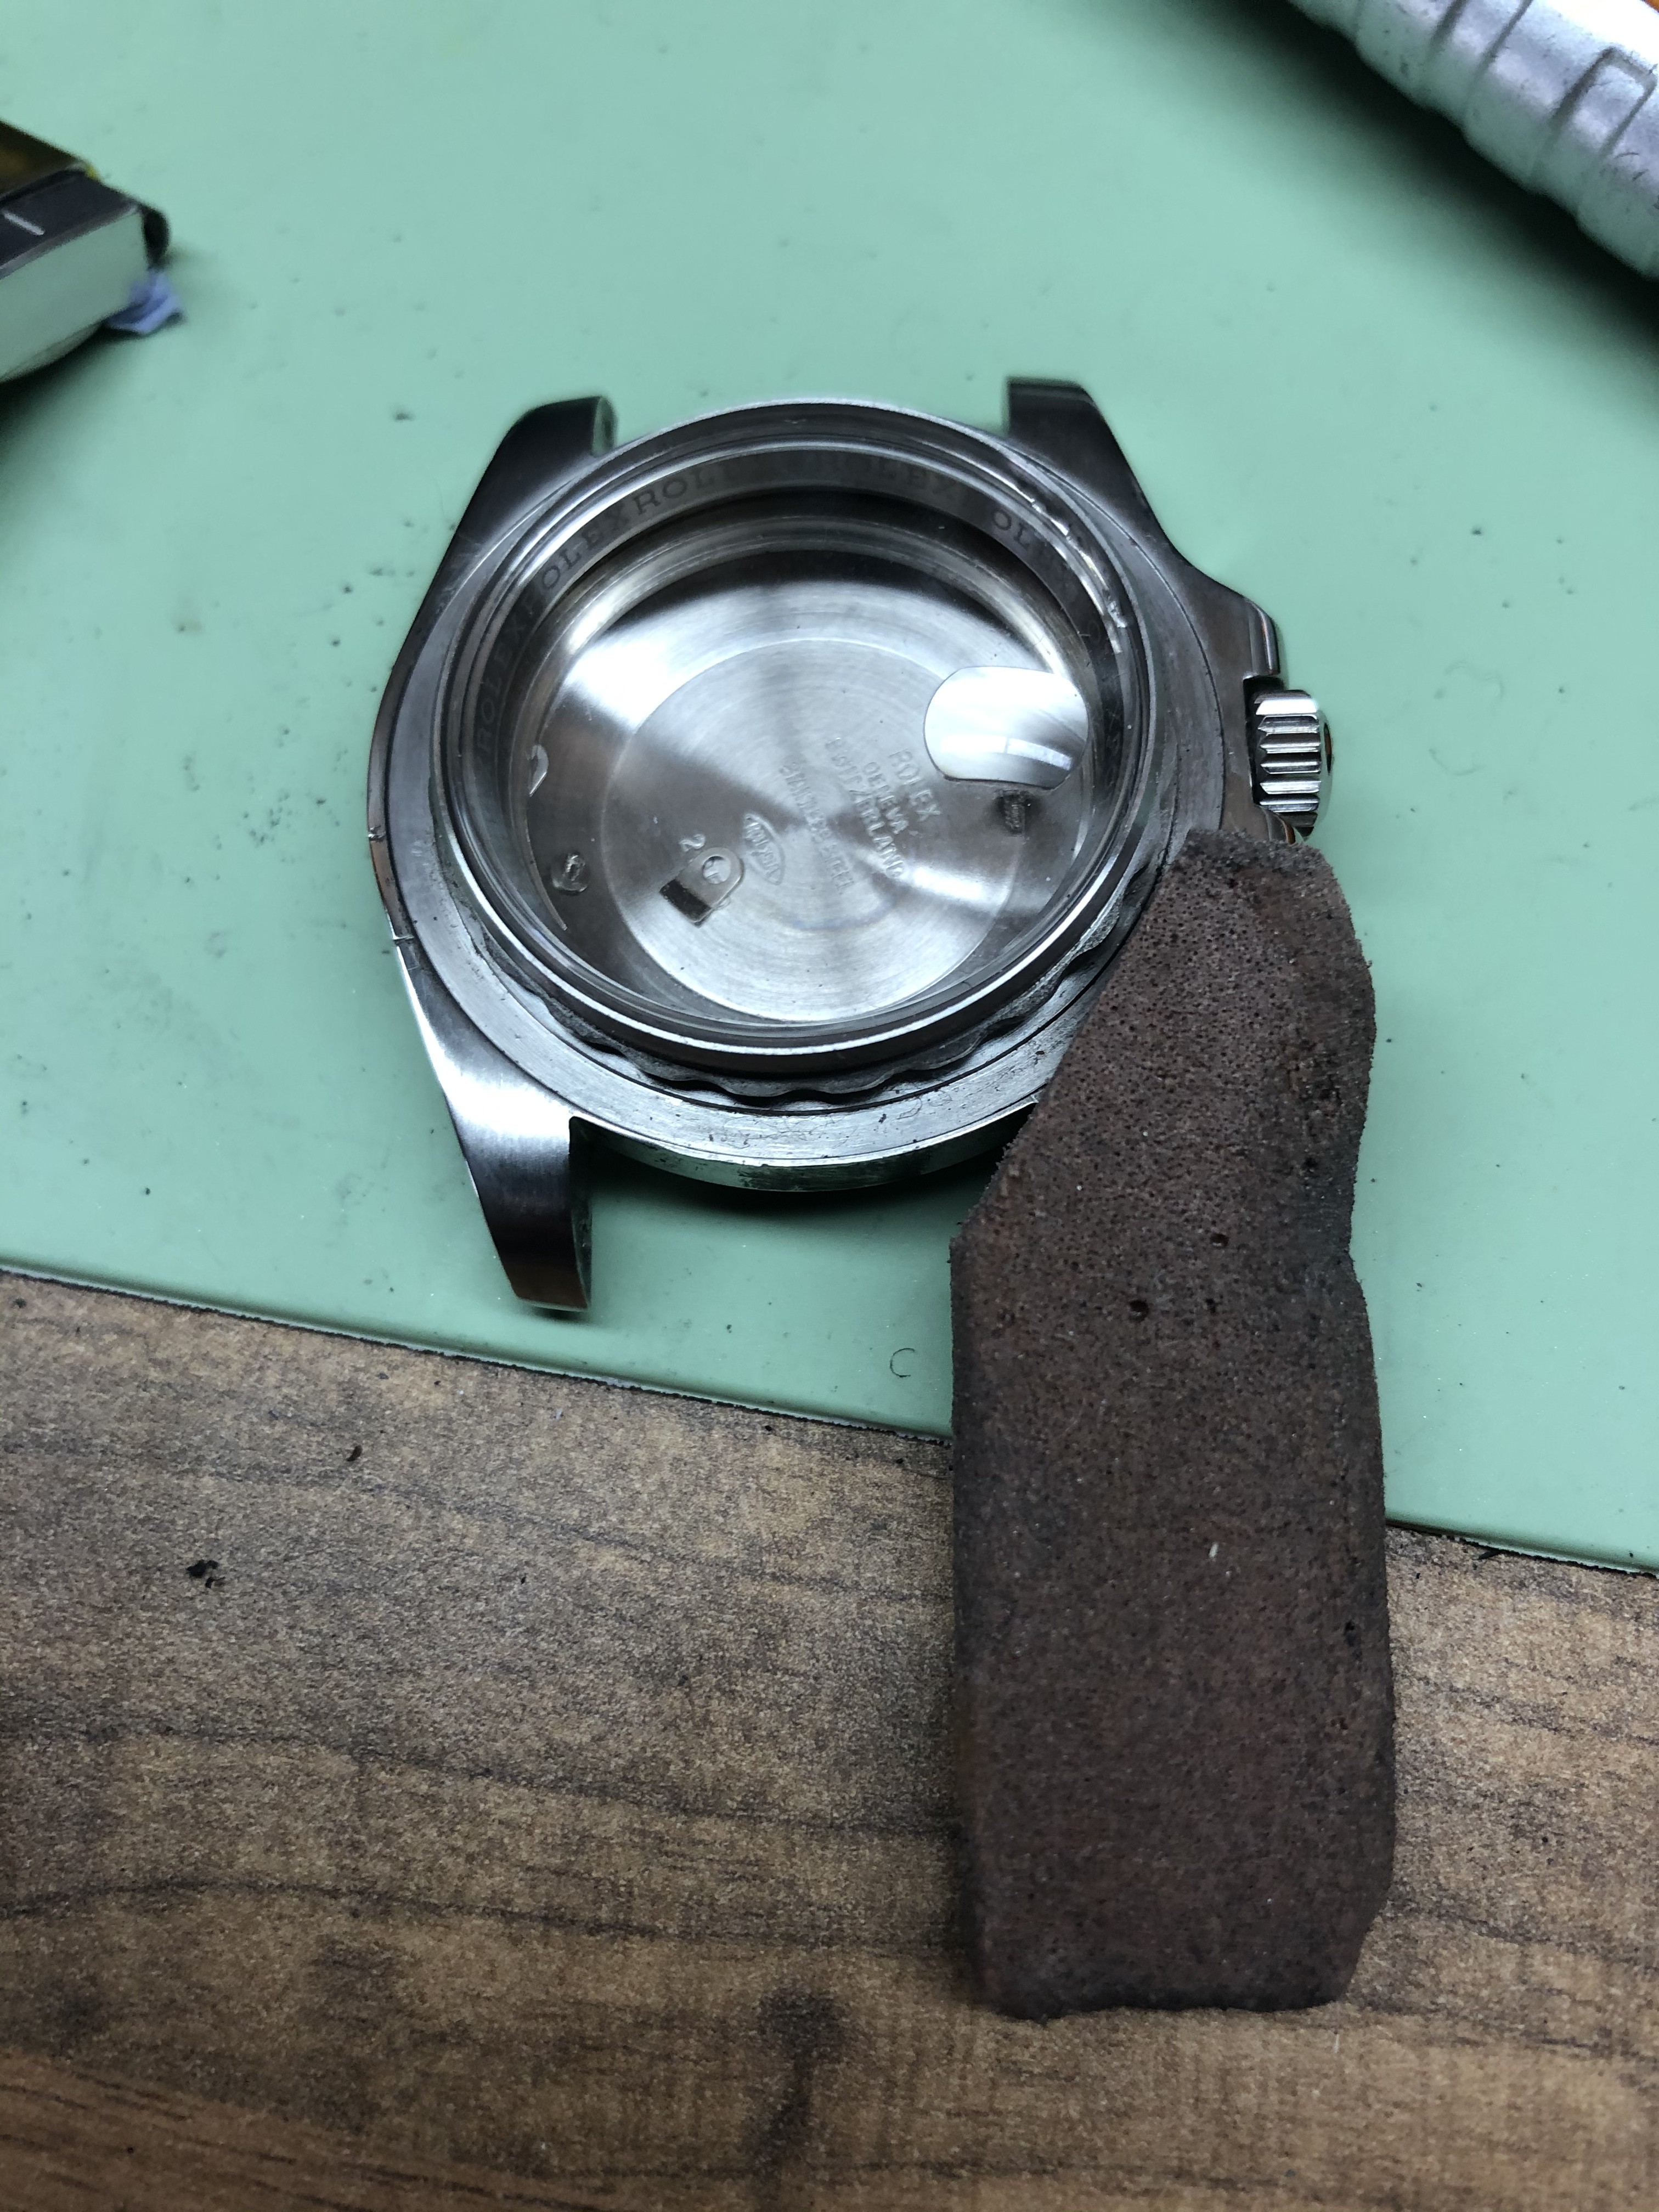
You have to just focus on keeping straight lines for the brushing. I start from the inside to out as i find it more controllable.
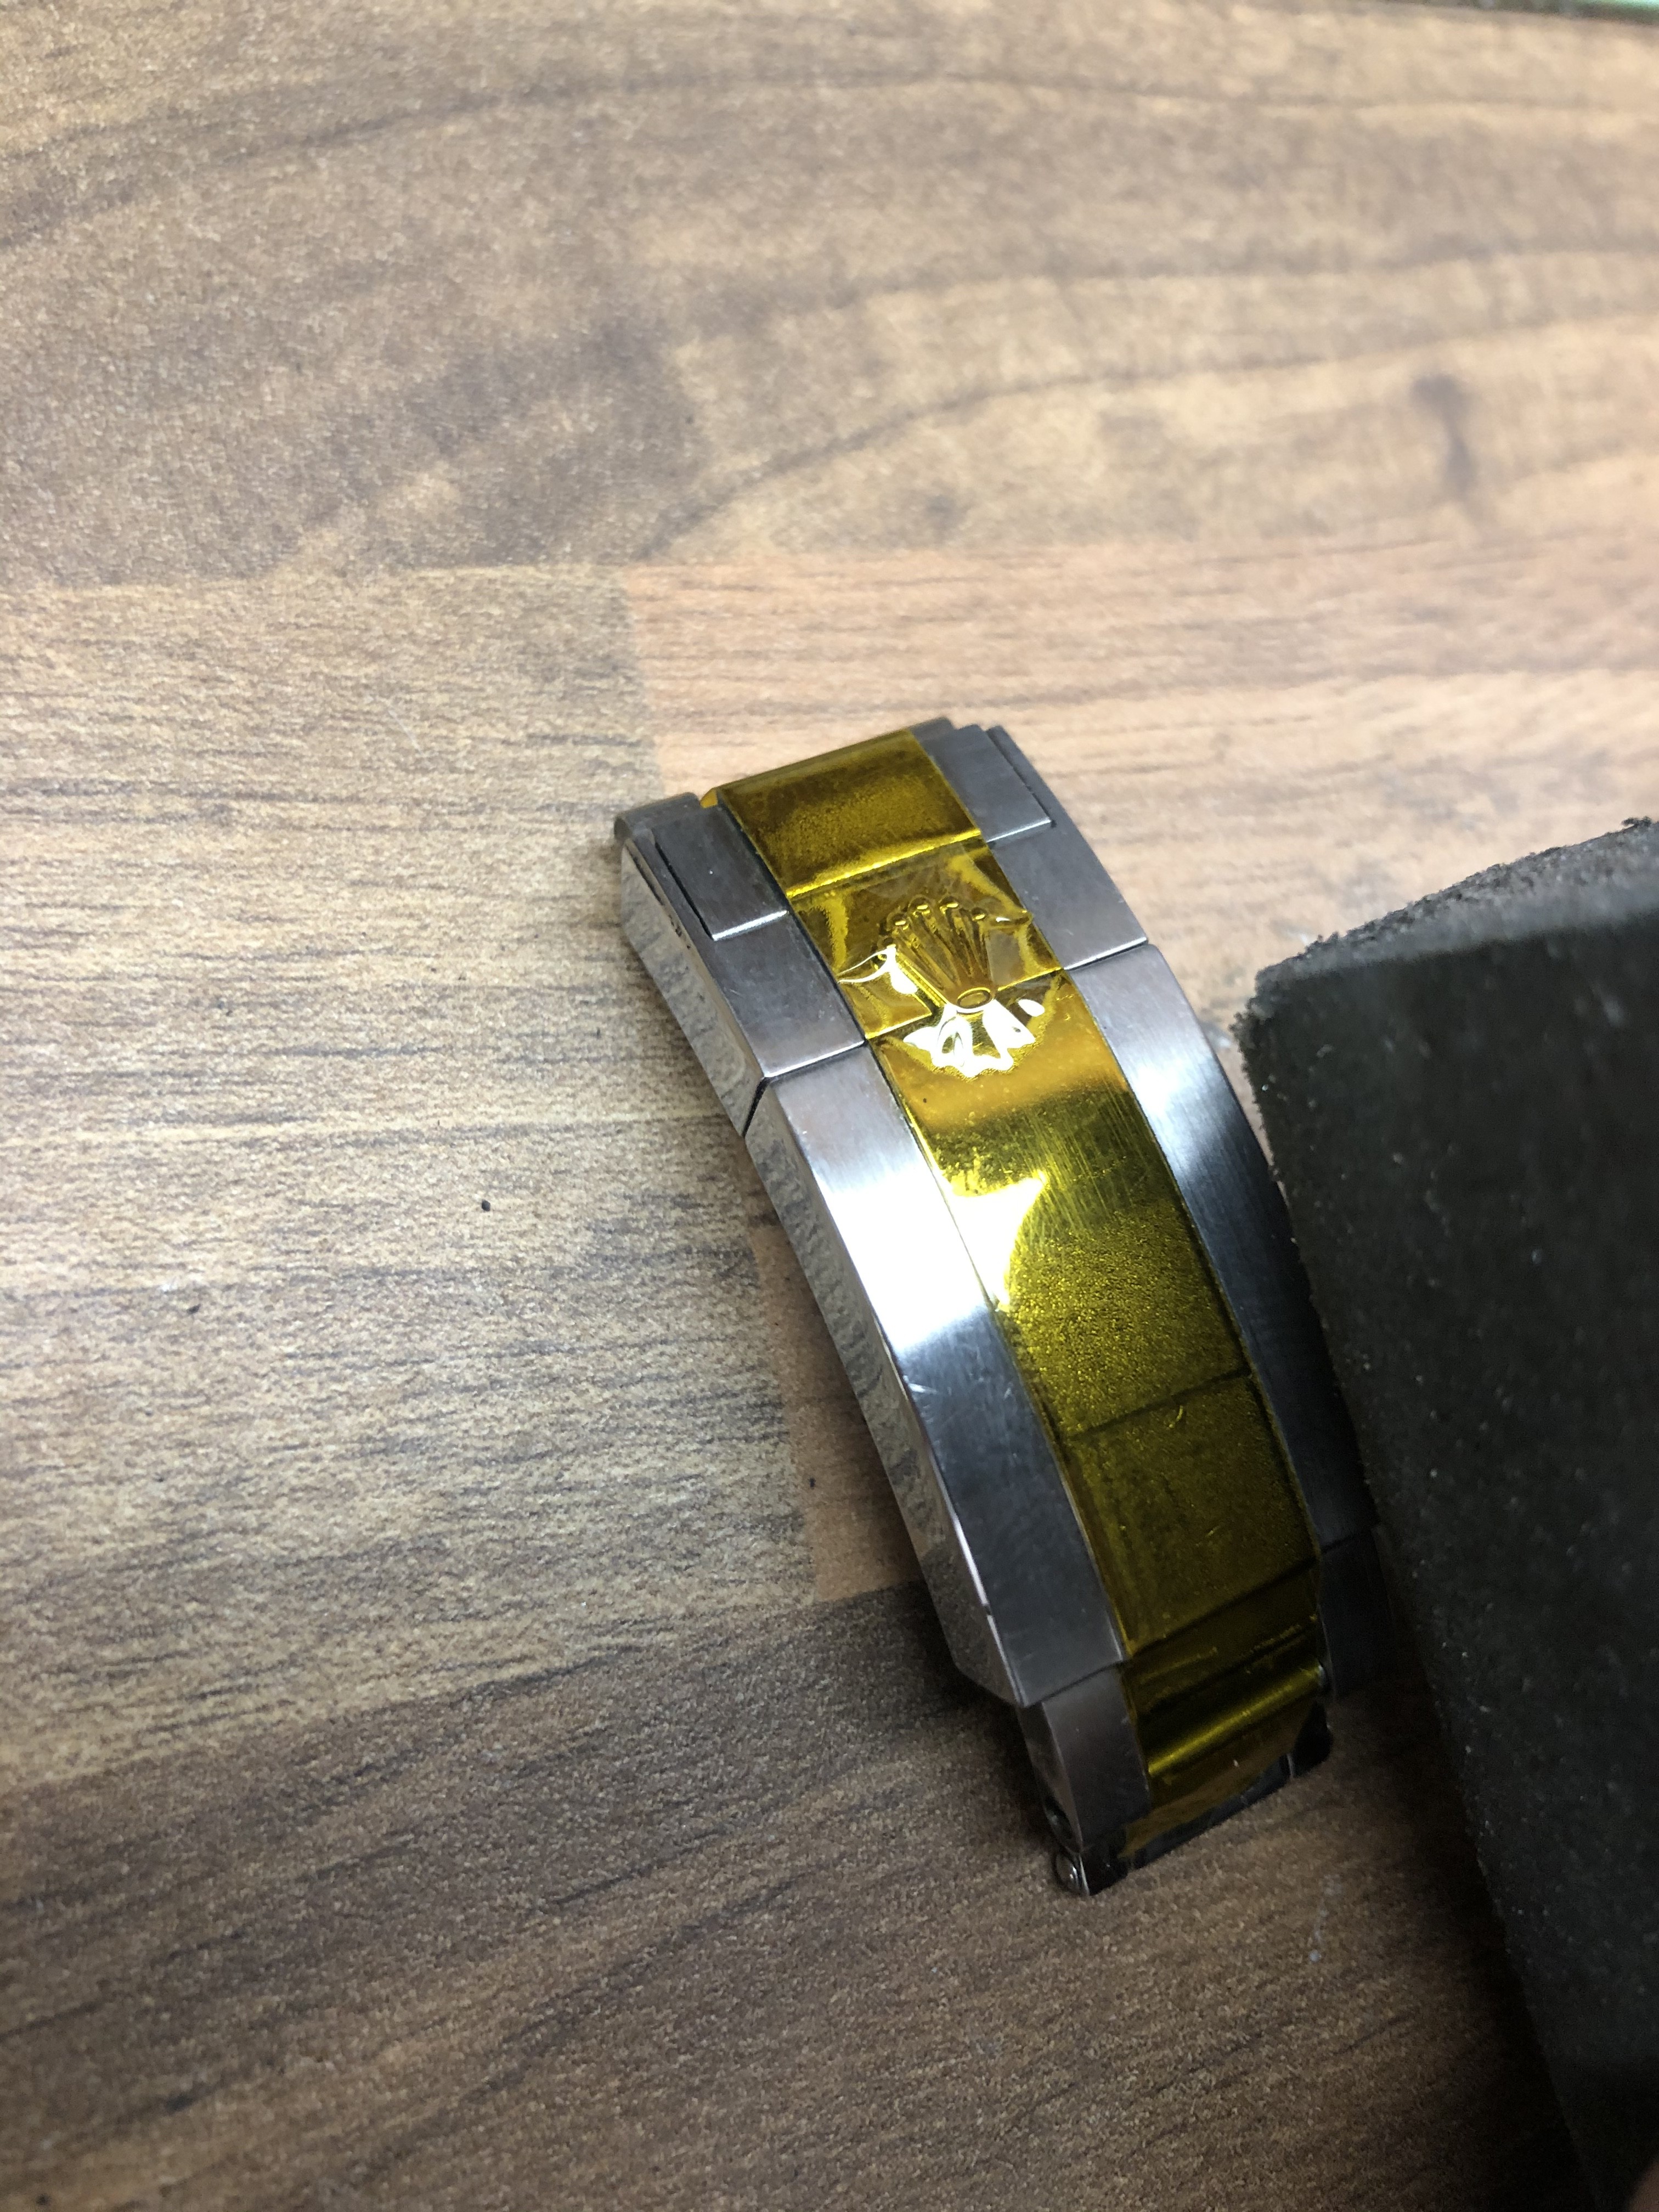
The bracelet is easy to brush. Only parts to remember are on the sel, you need a nice sharp corner on your block to get right up in the corner where the brushing meets the raised center part. Same applies to the clasp, sharp corner of rubber is needed to keep a tight line.
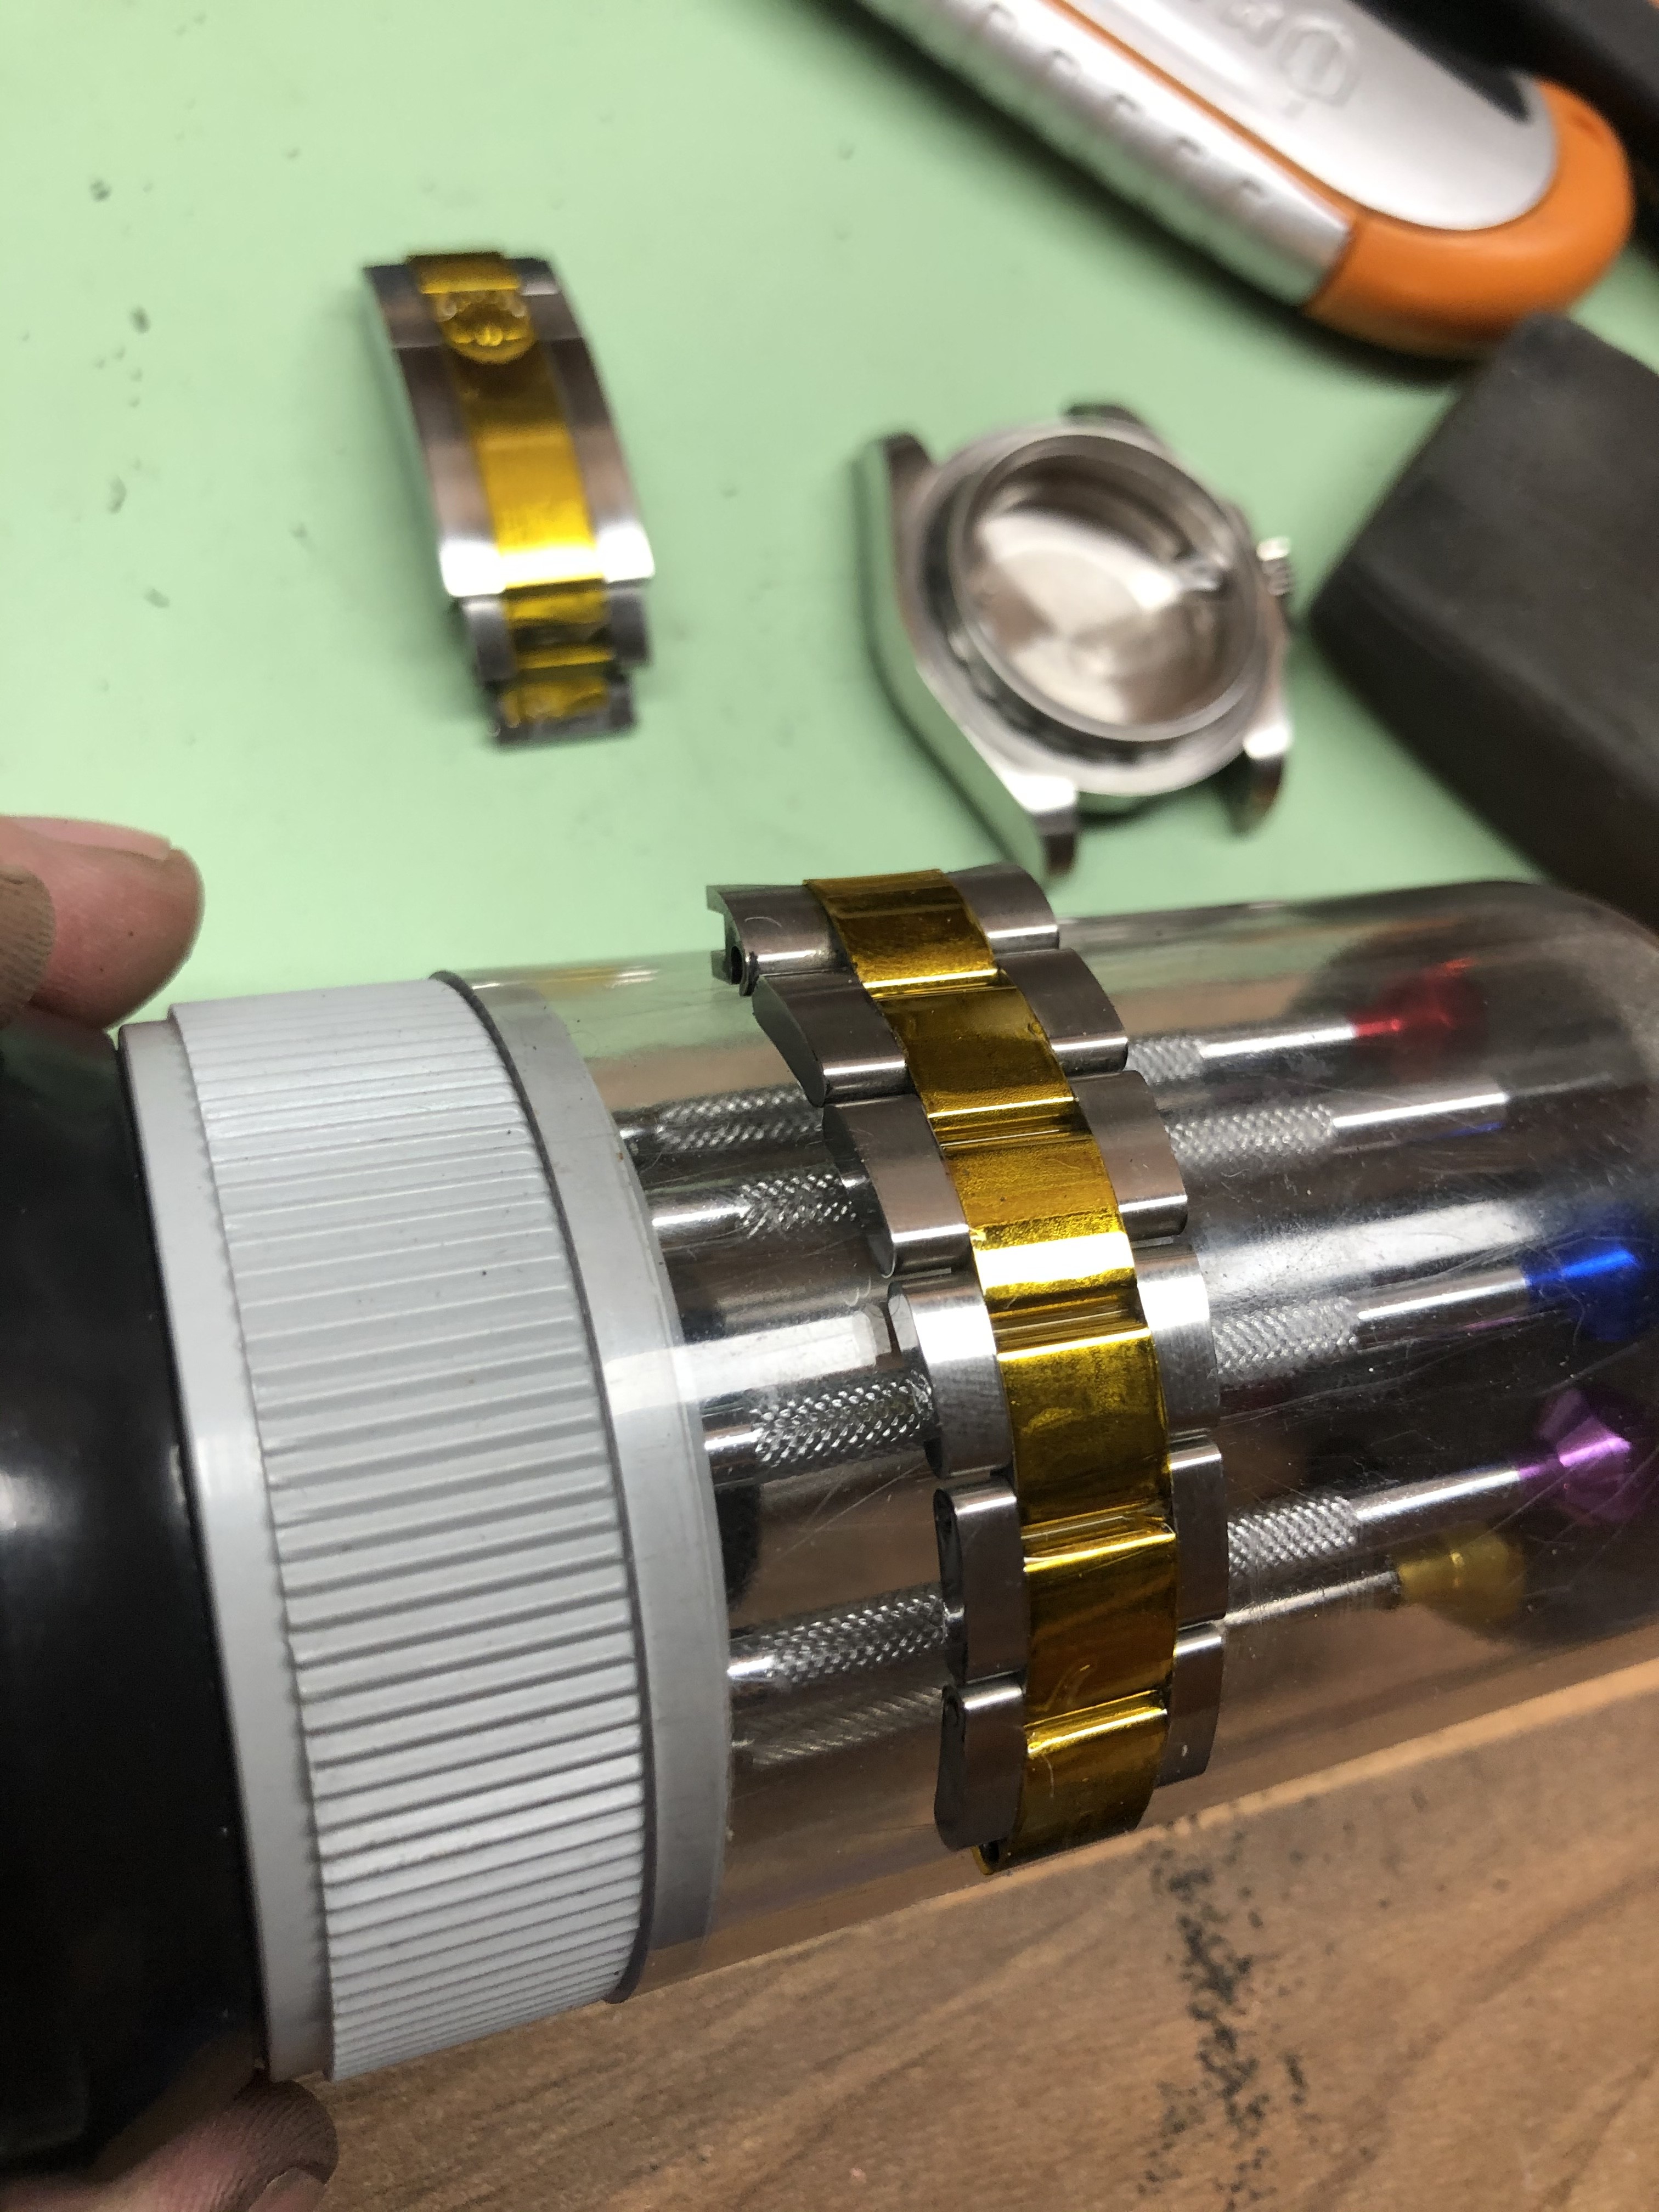
When working on the bracelet i drape it over my screwdriver stand, it probably makes next to no difference but i feel it lets you brush further around the rounded parts of the links, which would otherwise remain untouched if it was flat on the table.
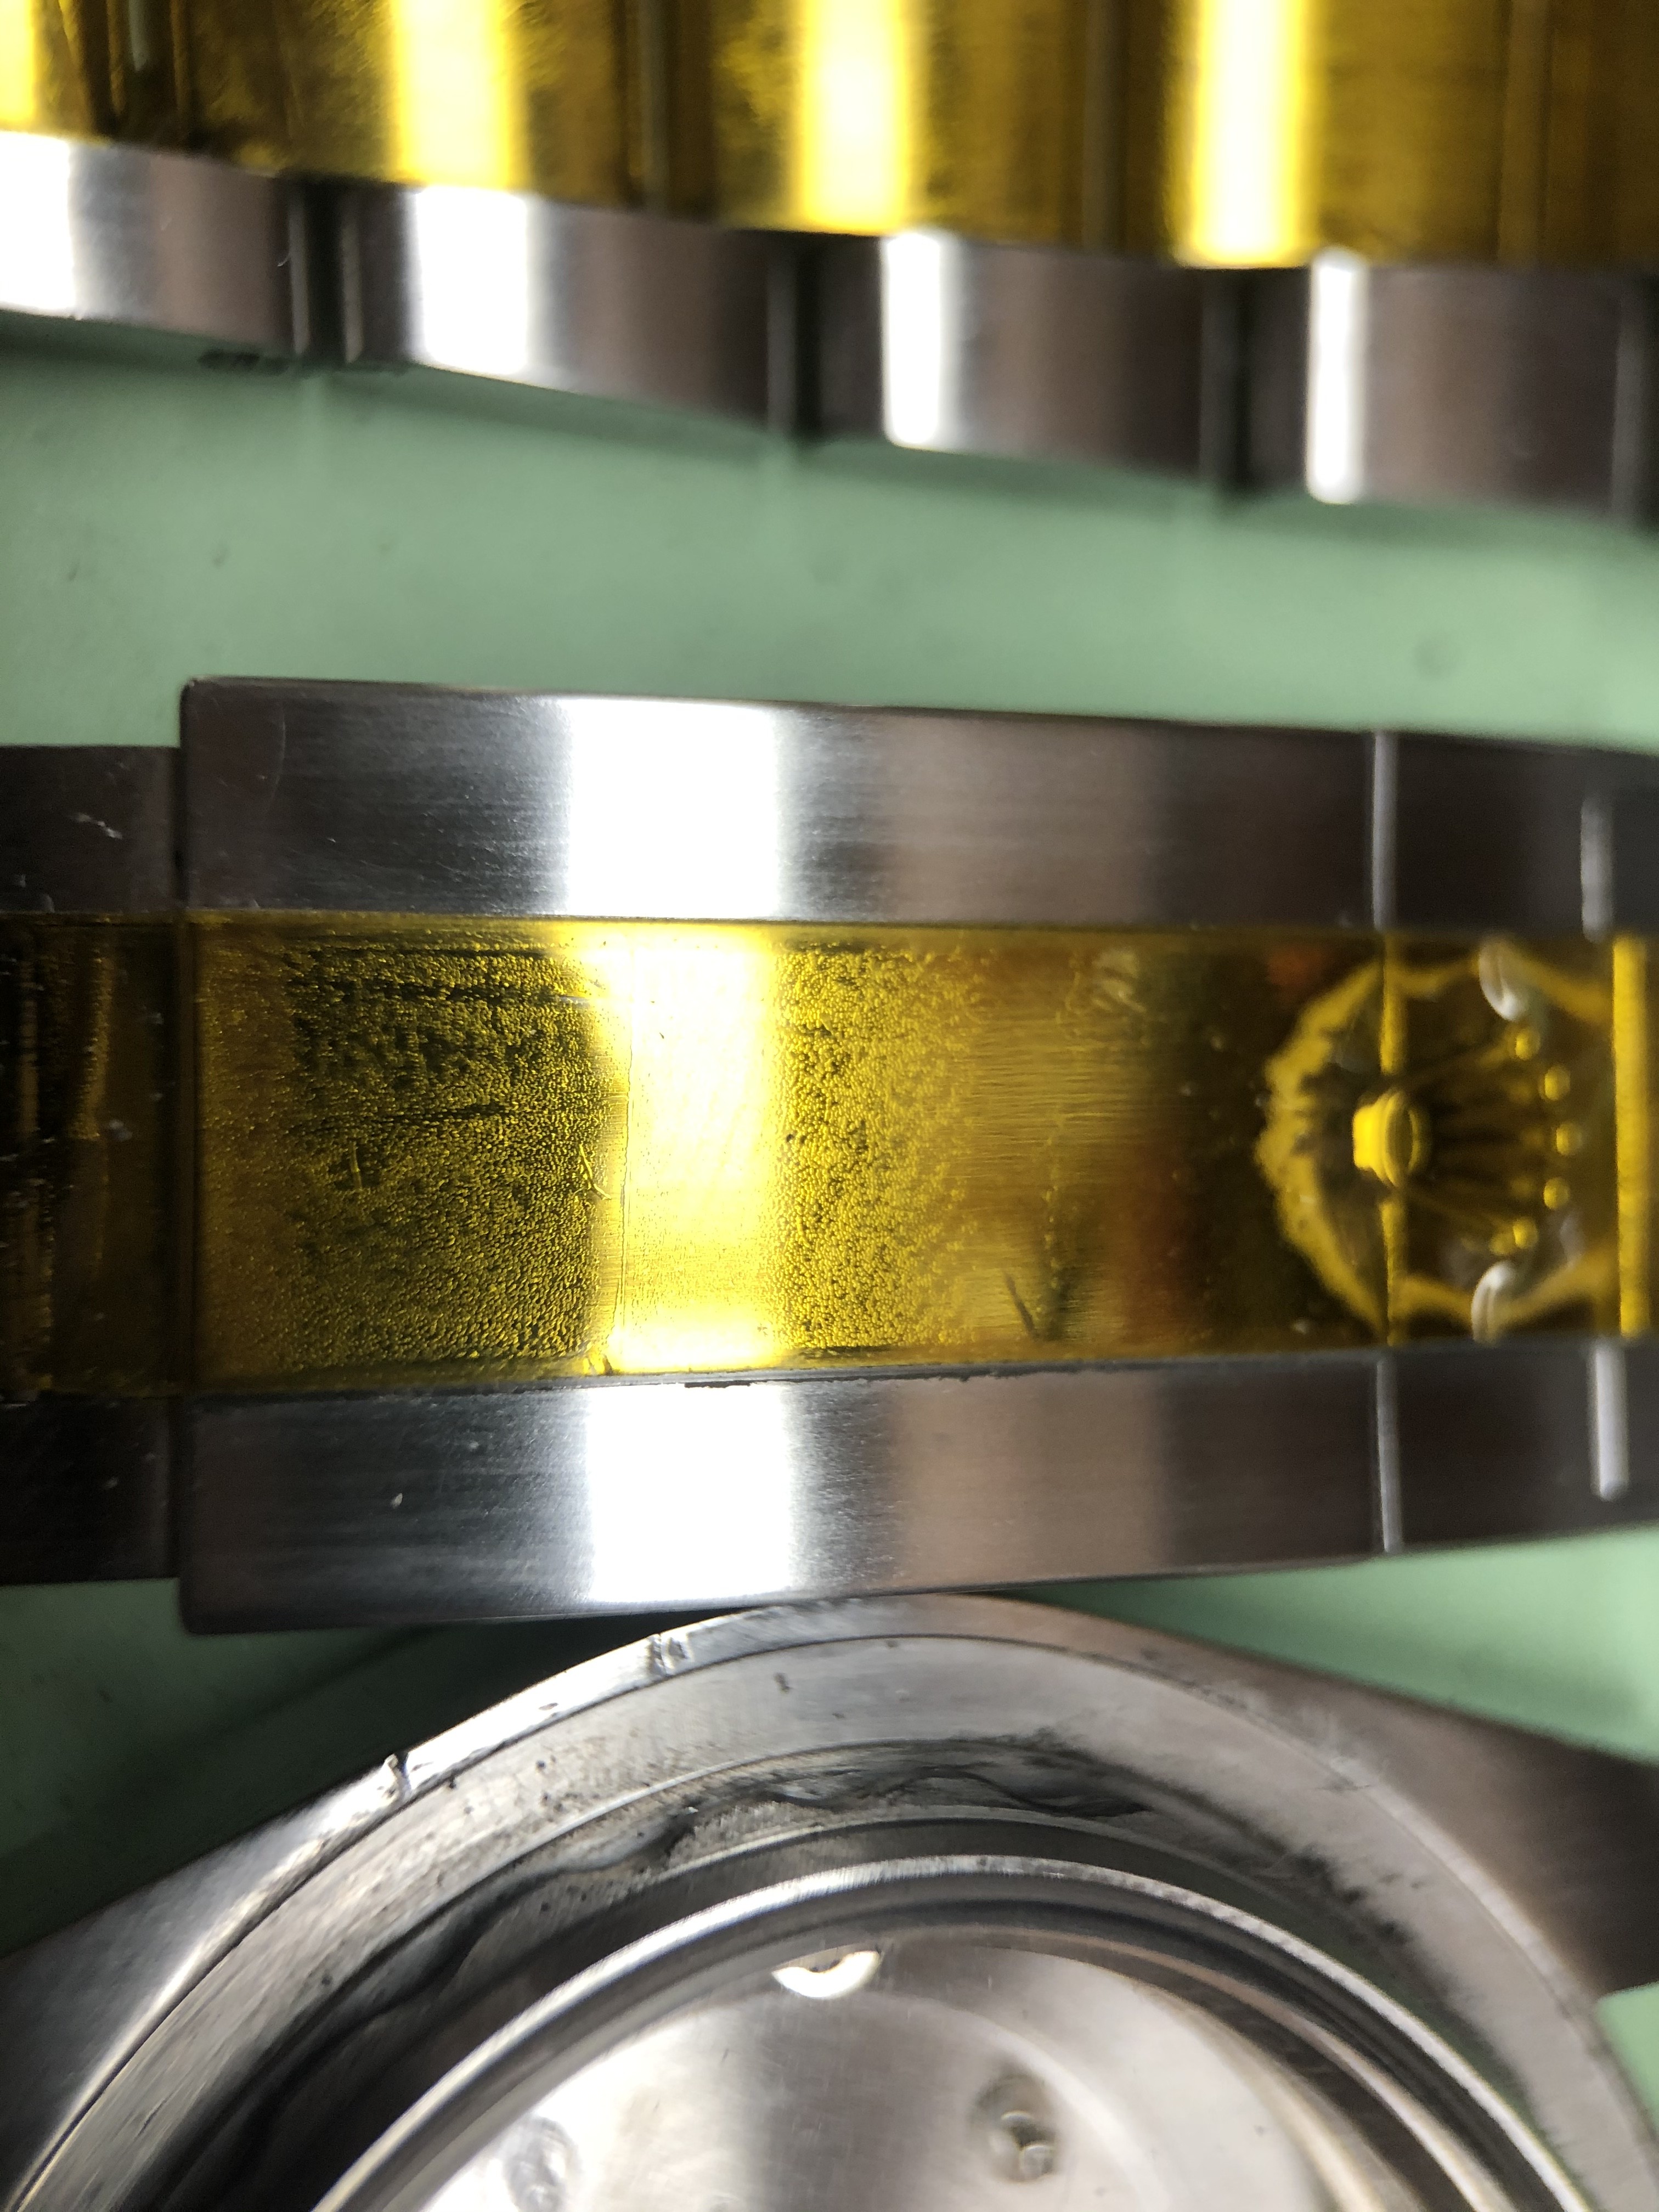
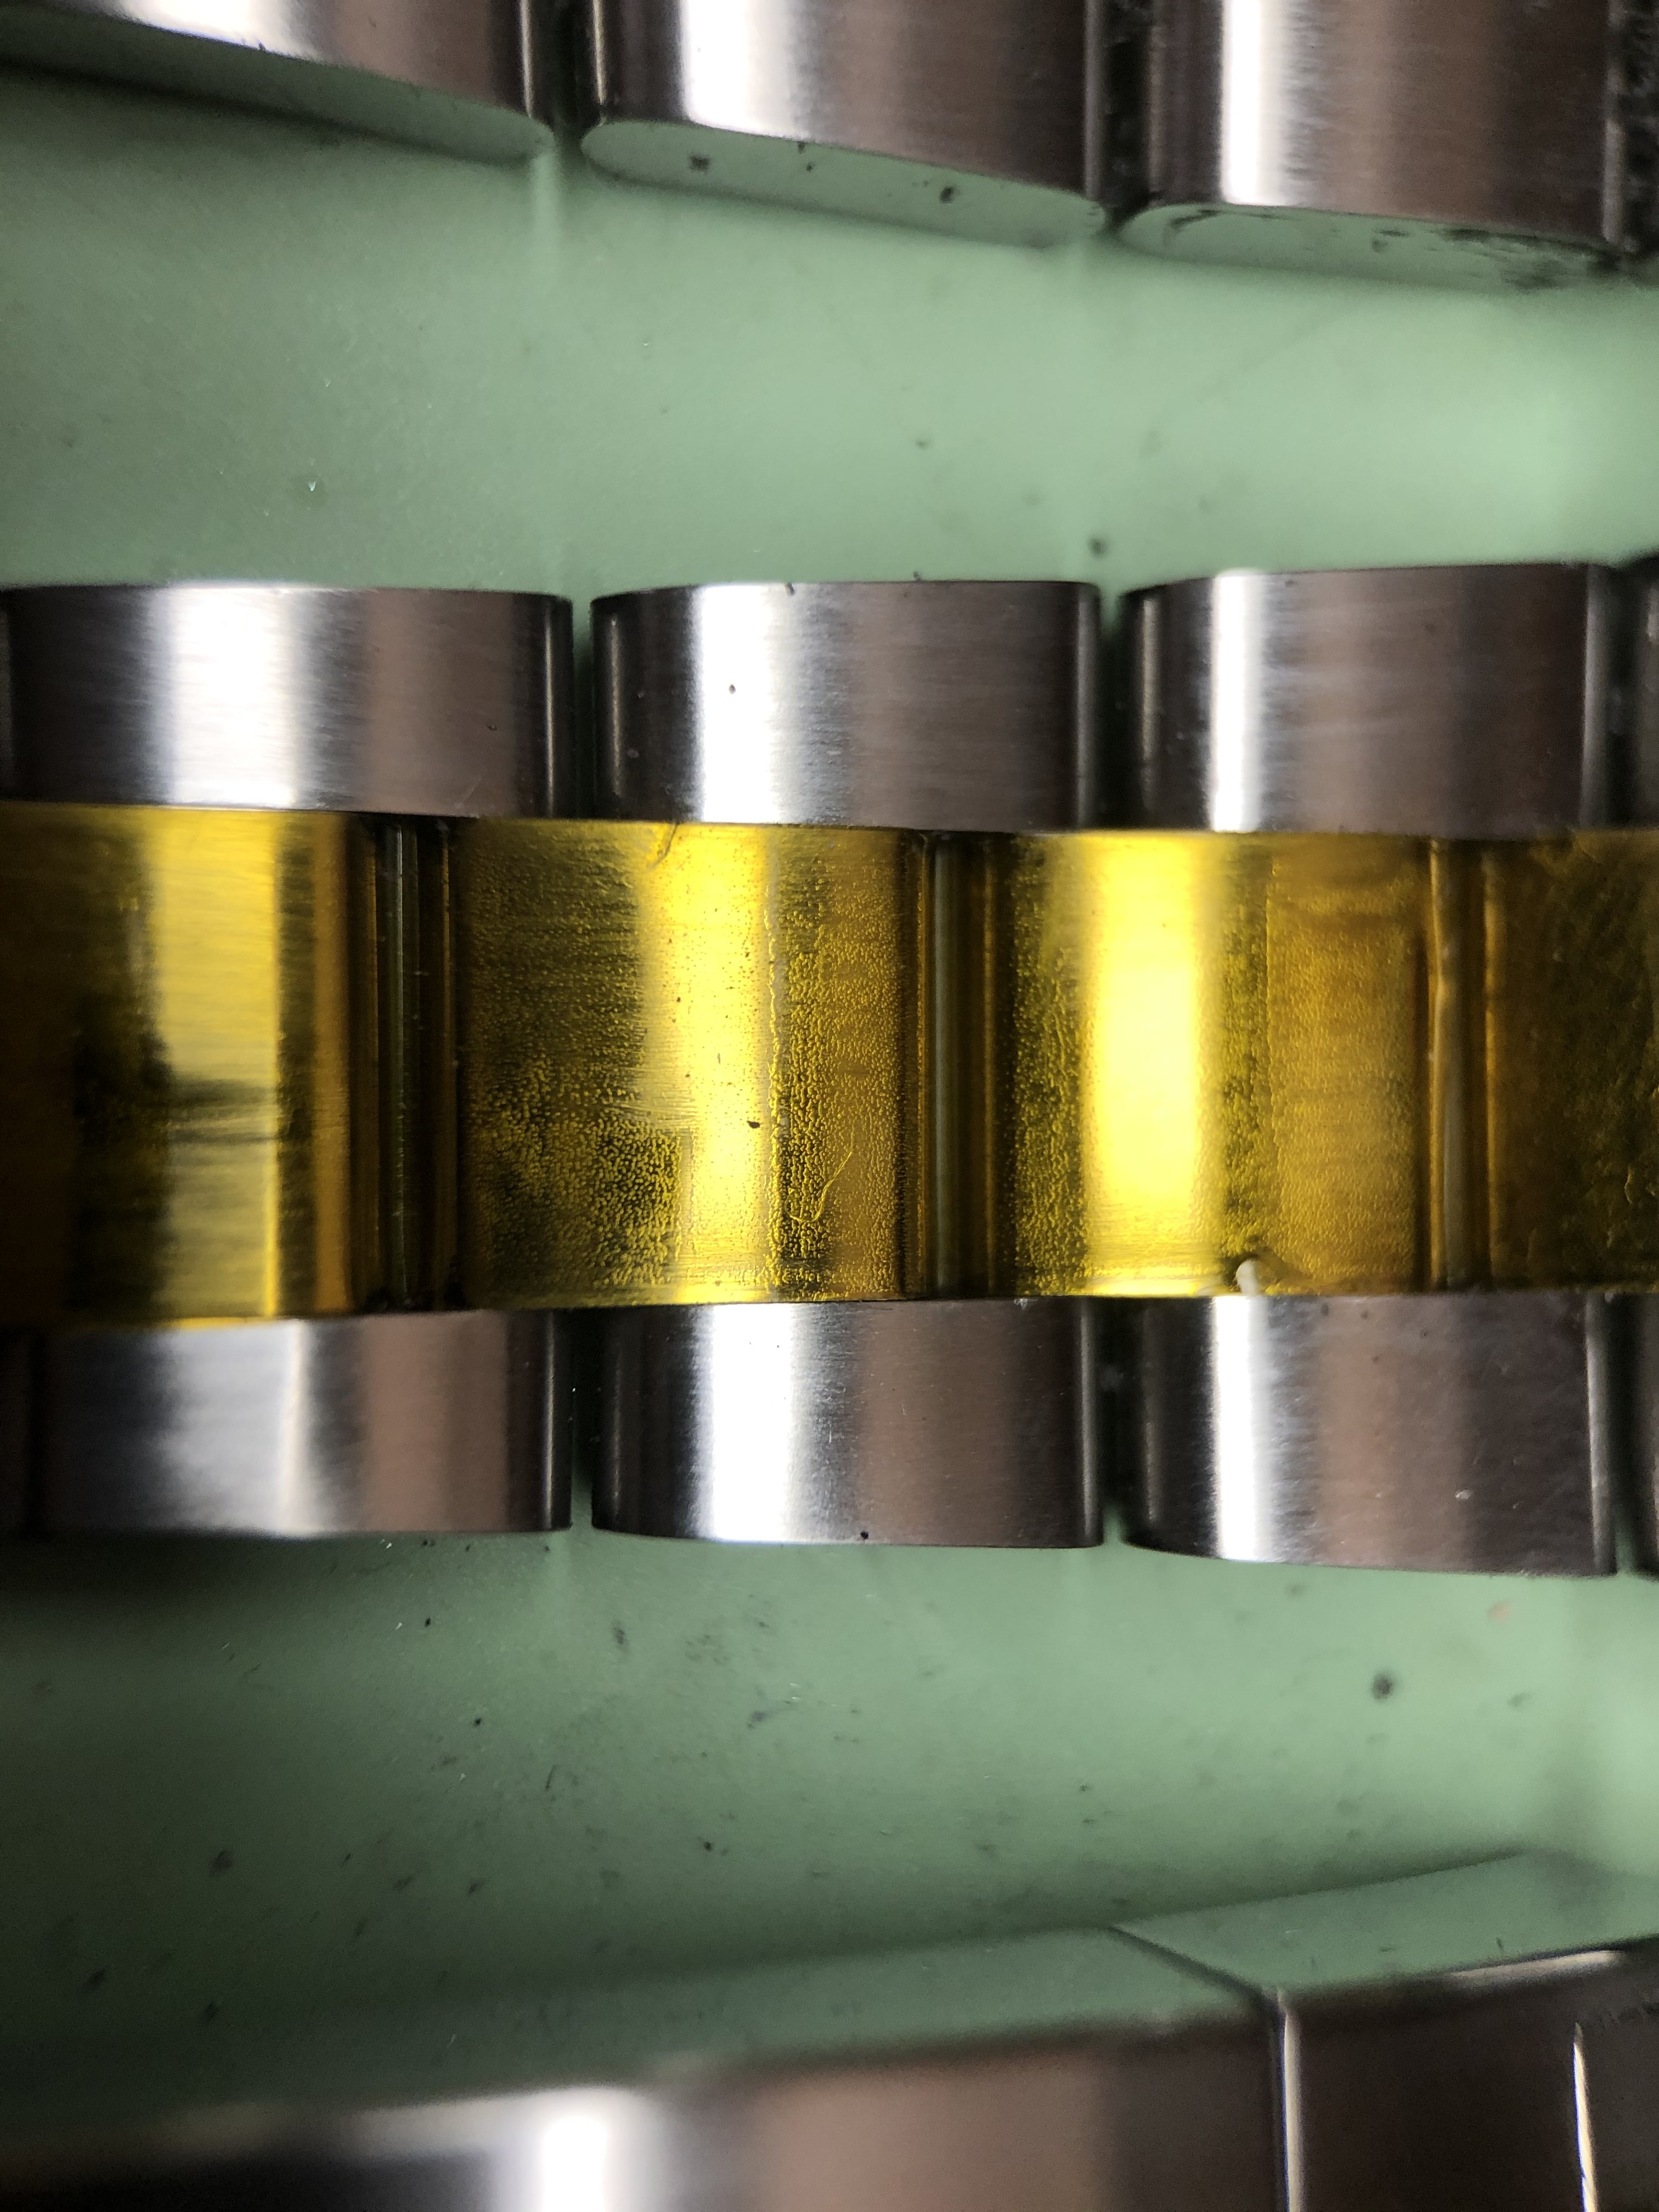
I don’t own a gen rolex, so i don’t have anything to compare the brushing finish to. Depending on what you prefer, 120 grit will give you a more corse brushed finish, the 240 gives a finer more polished finish. Heres a few macros of 120 grit, maybe some experts can chime in. Worth mentioning bergeon make rubber blocks for about 3-4 times the price of these, 120 is their medium, 240 is their fine.
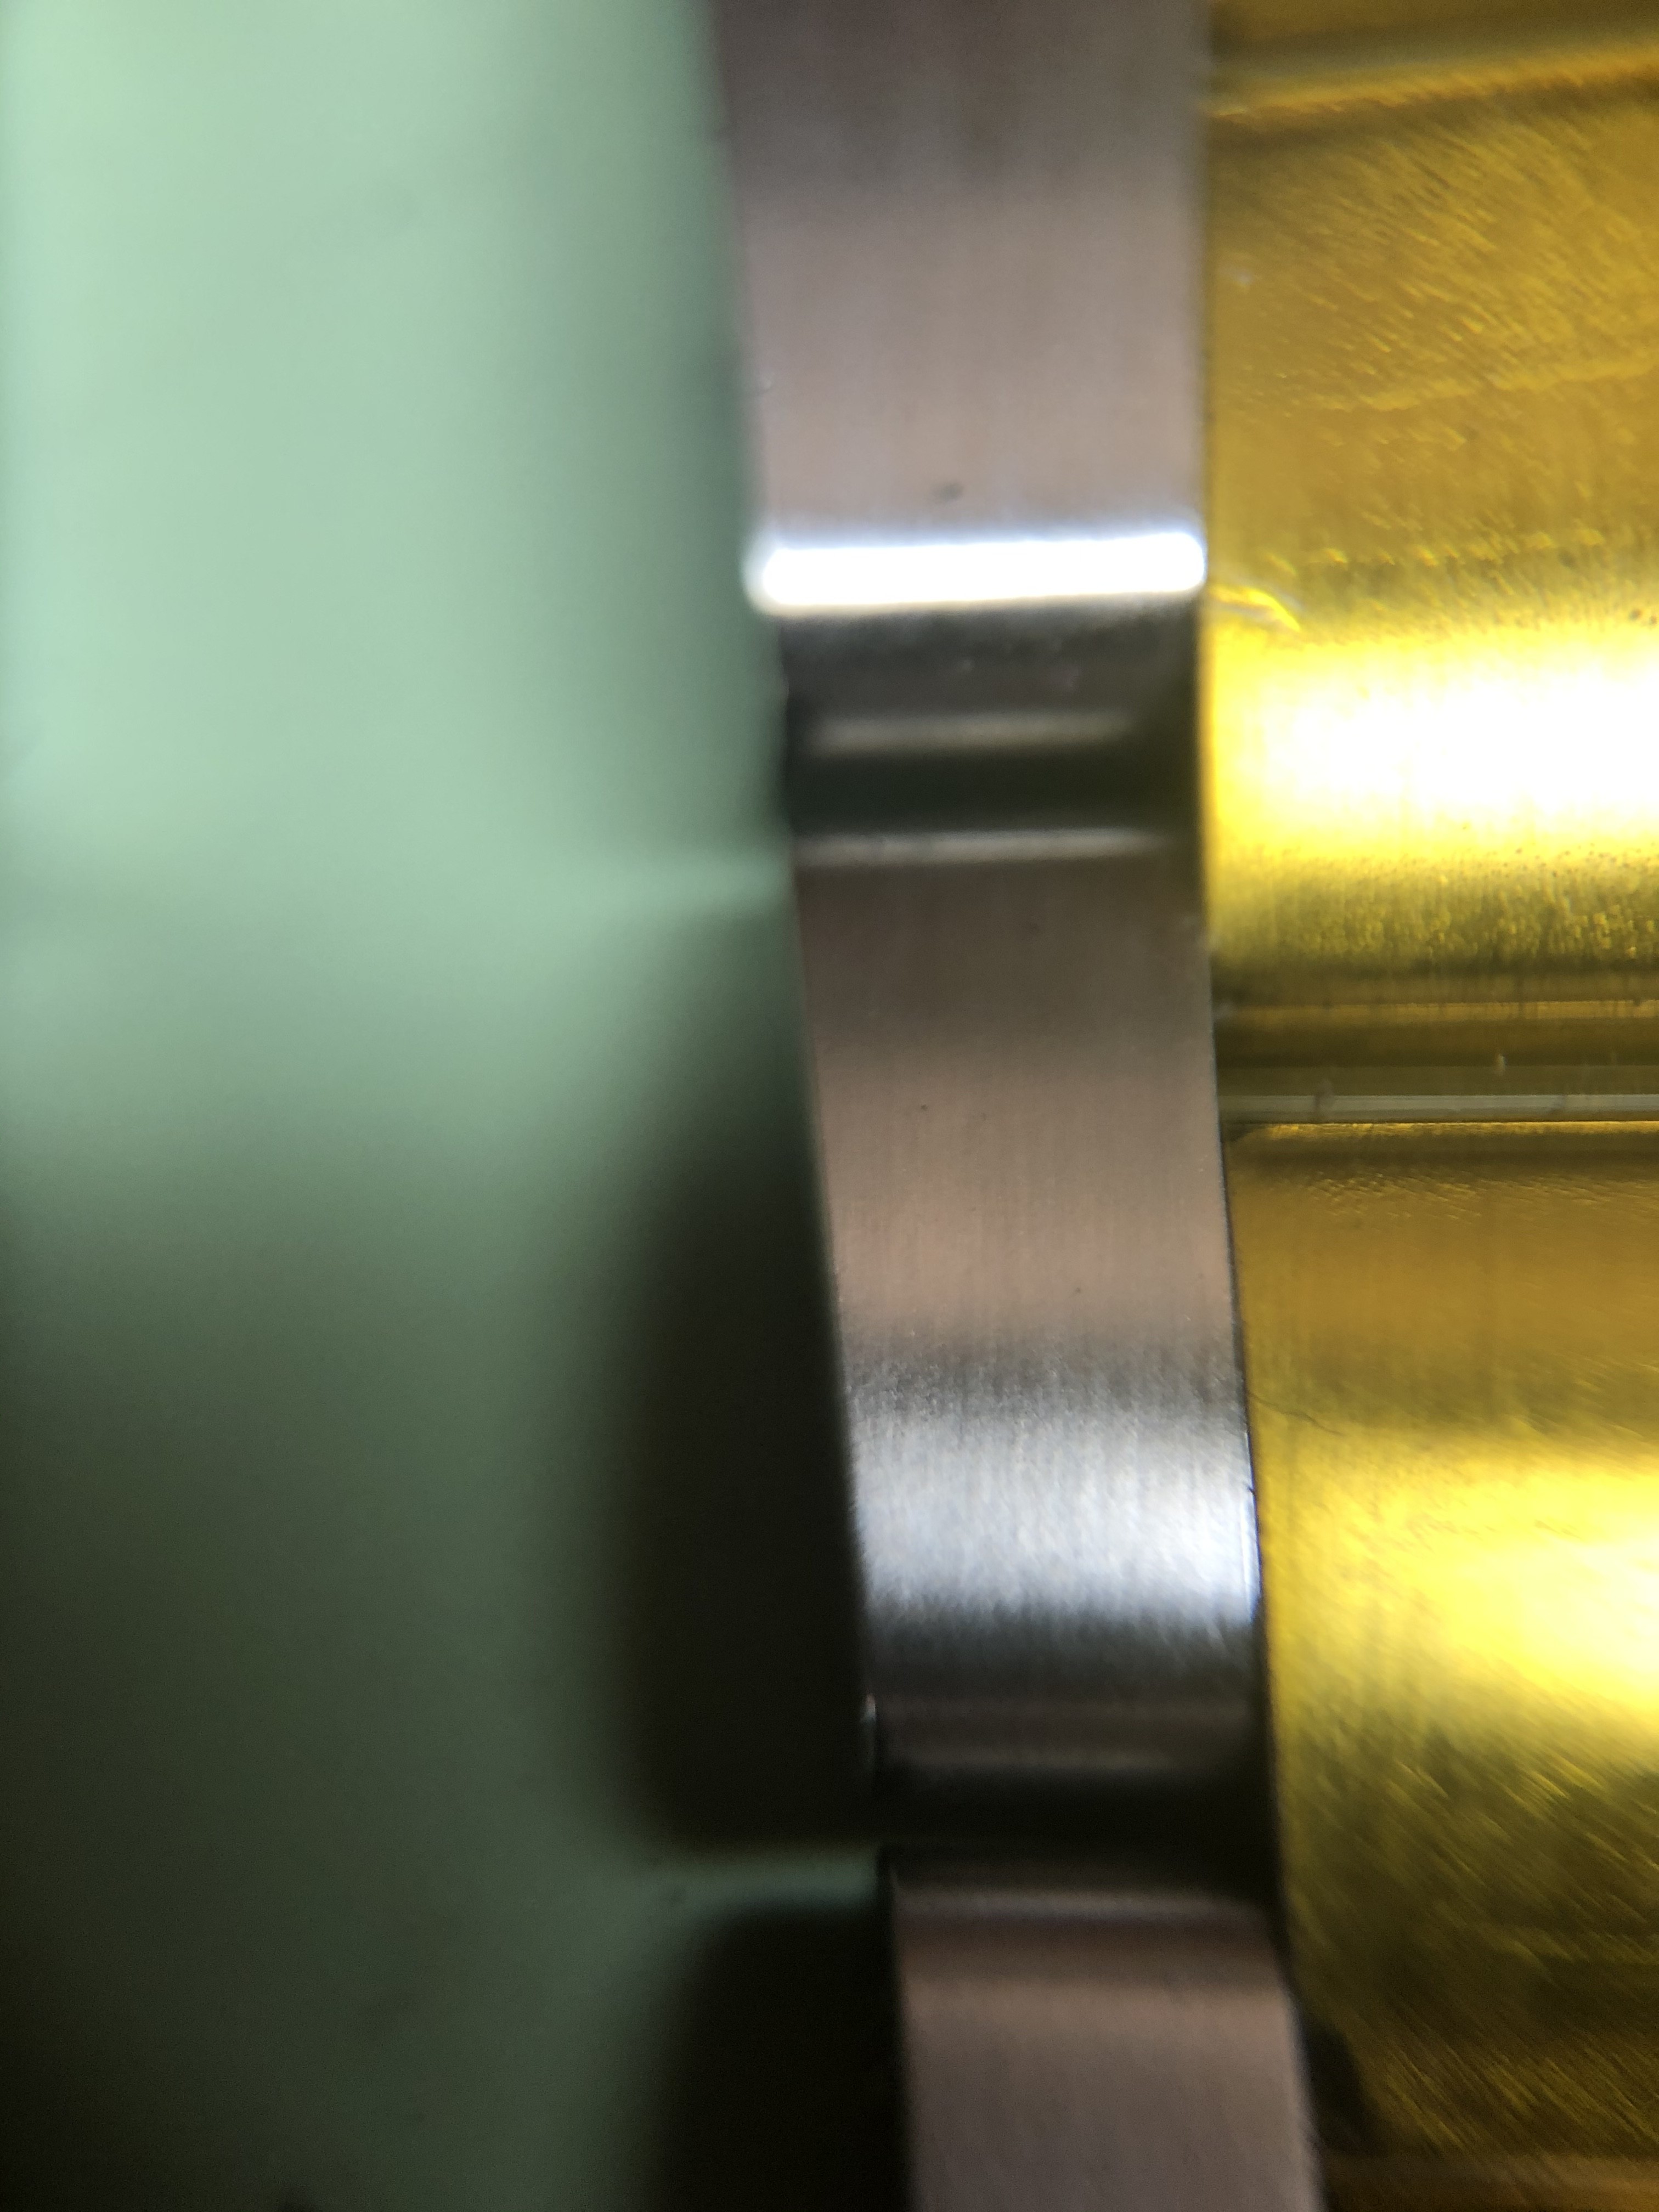
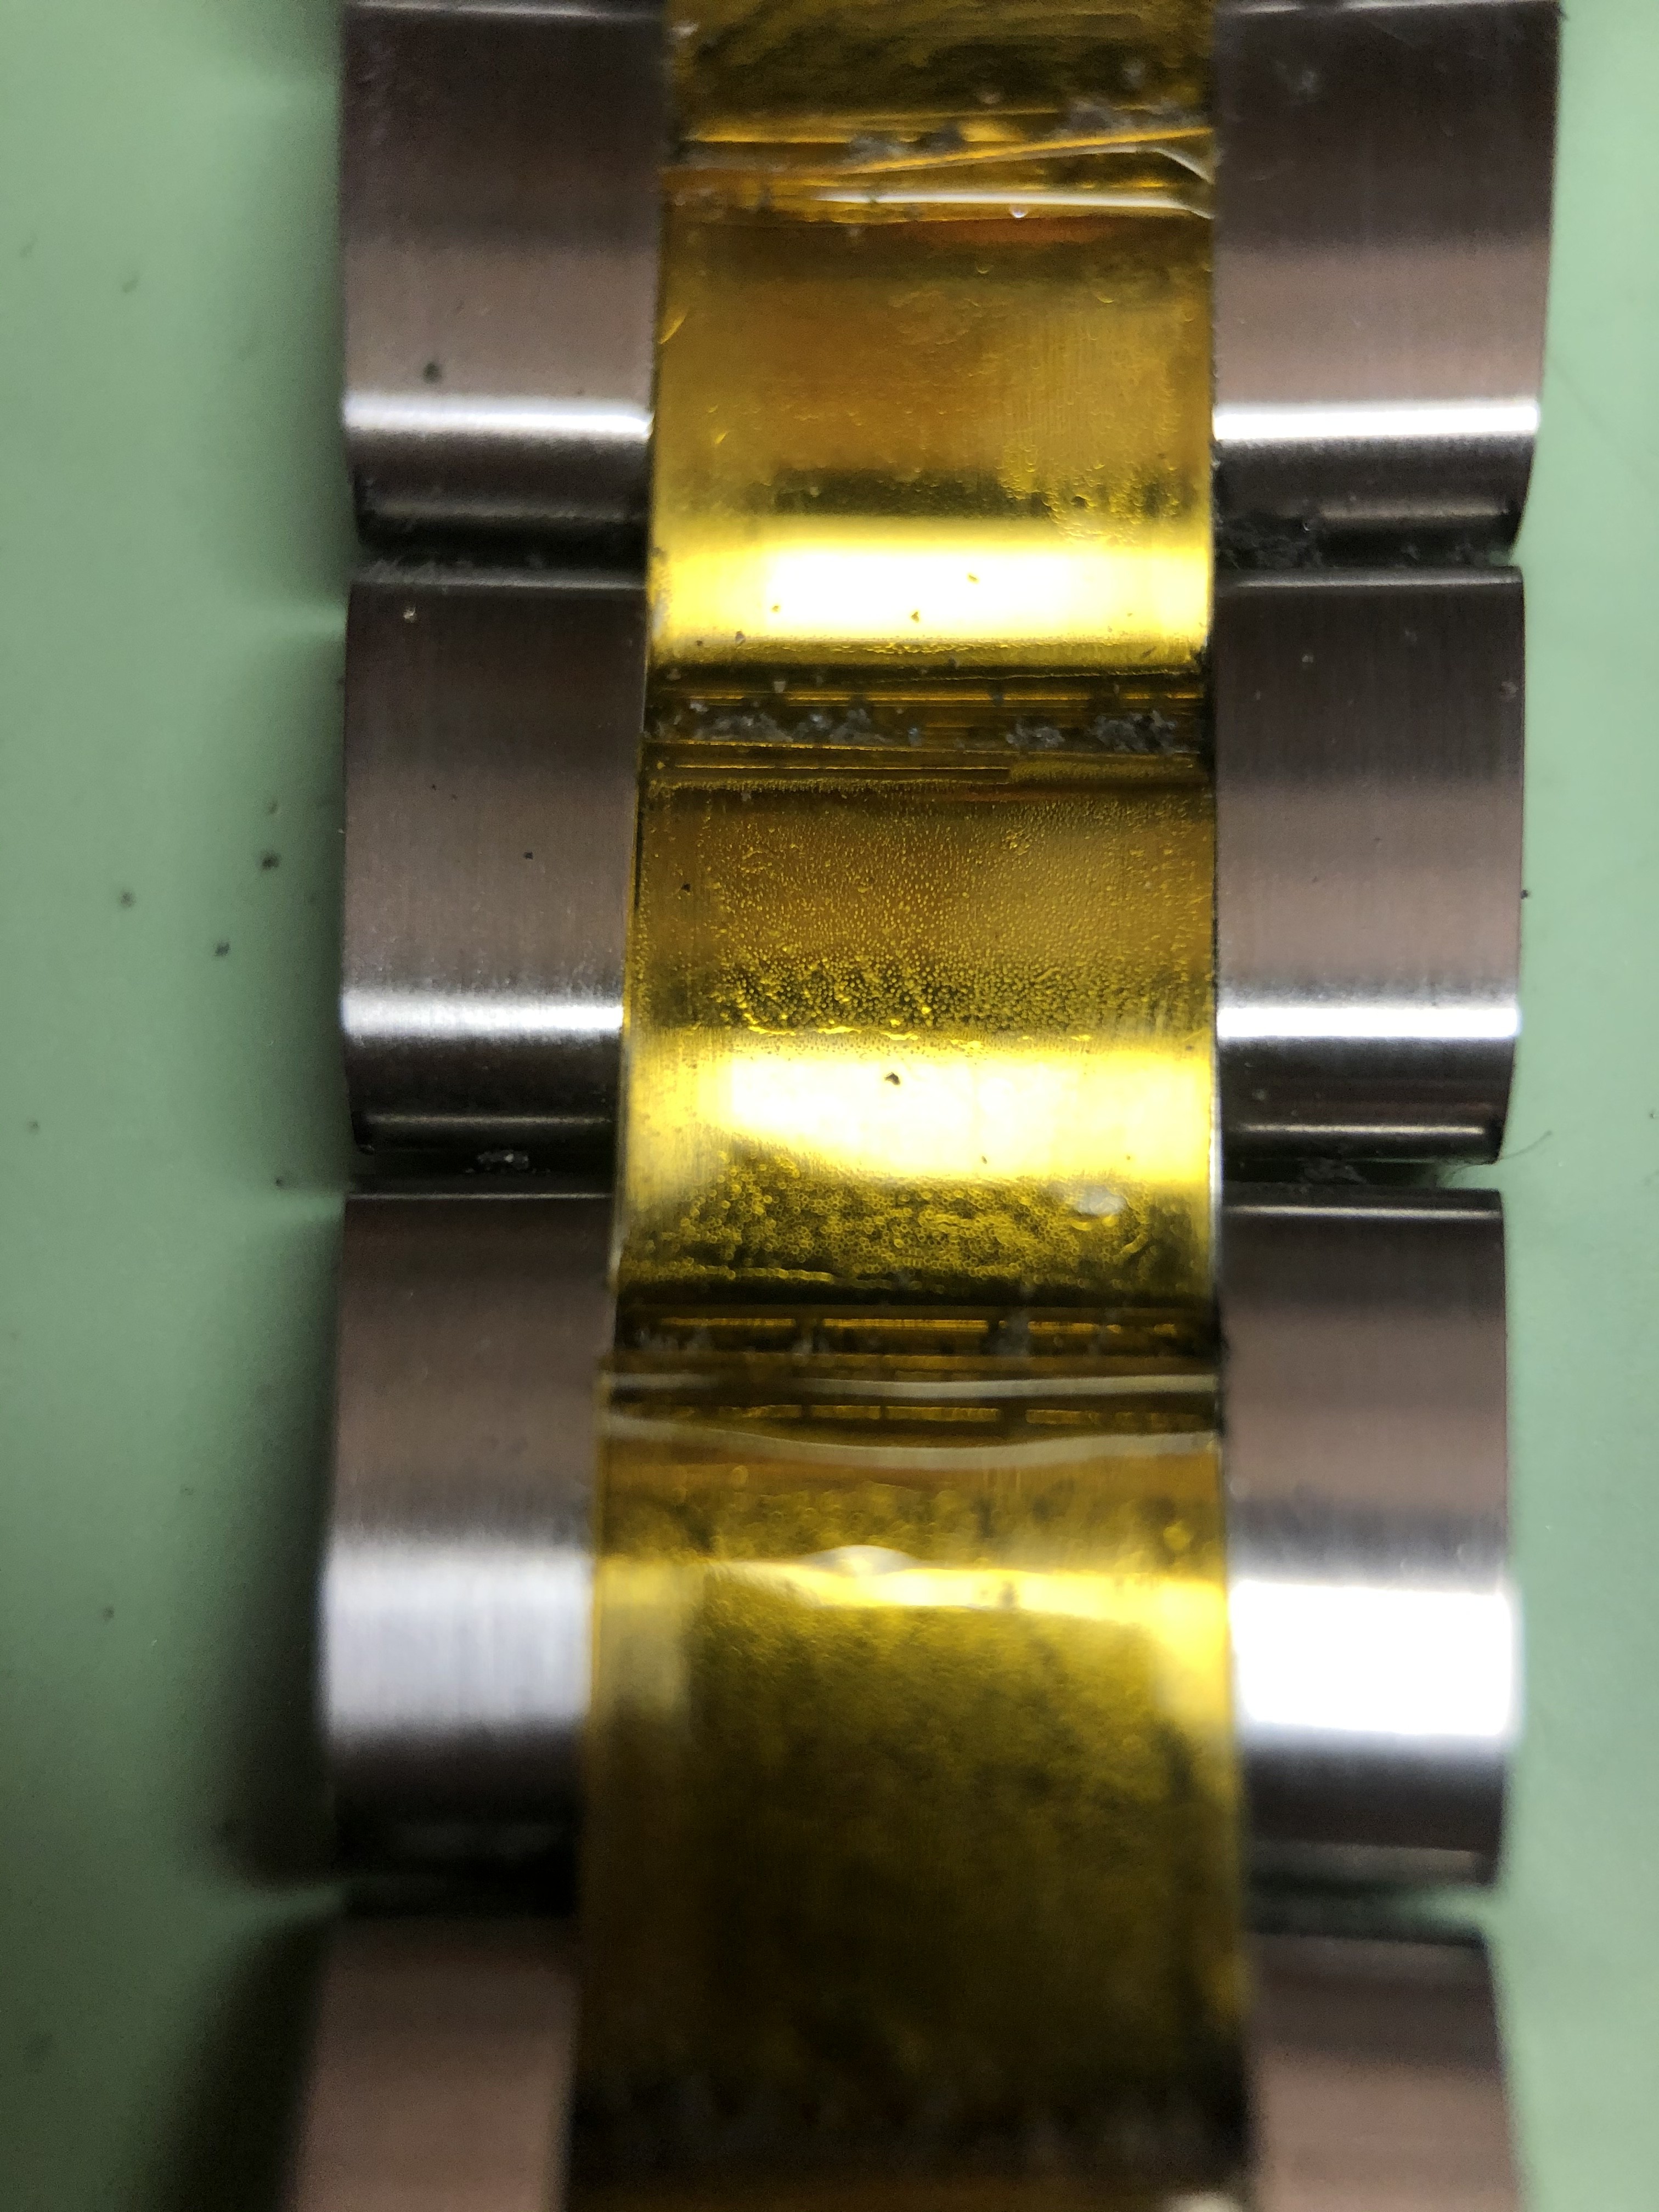
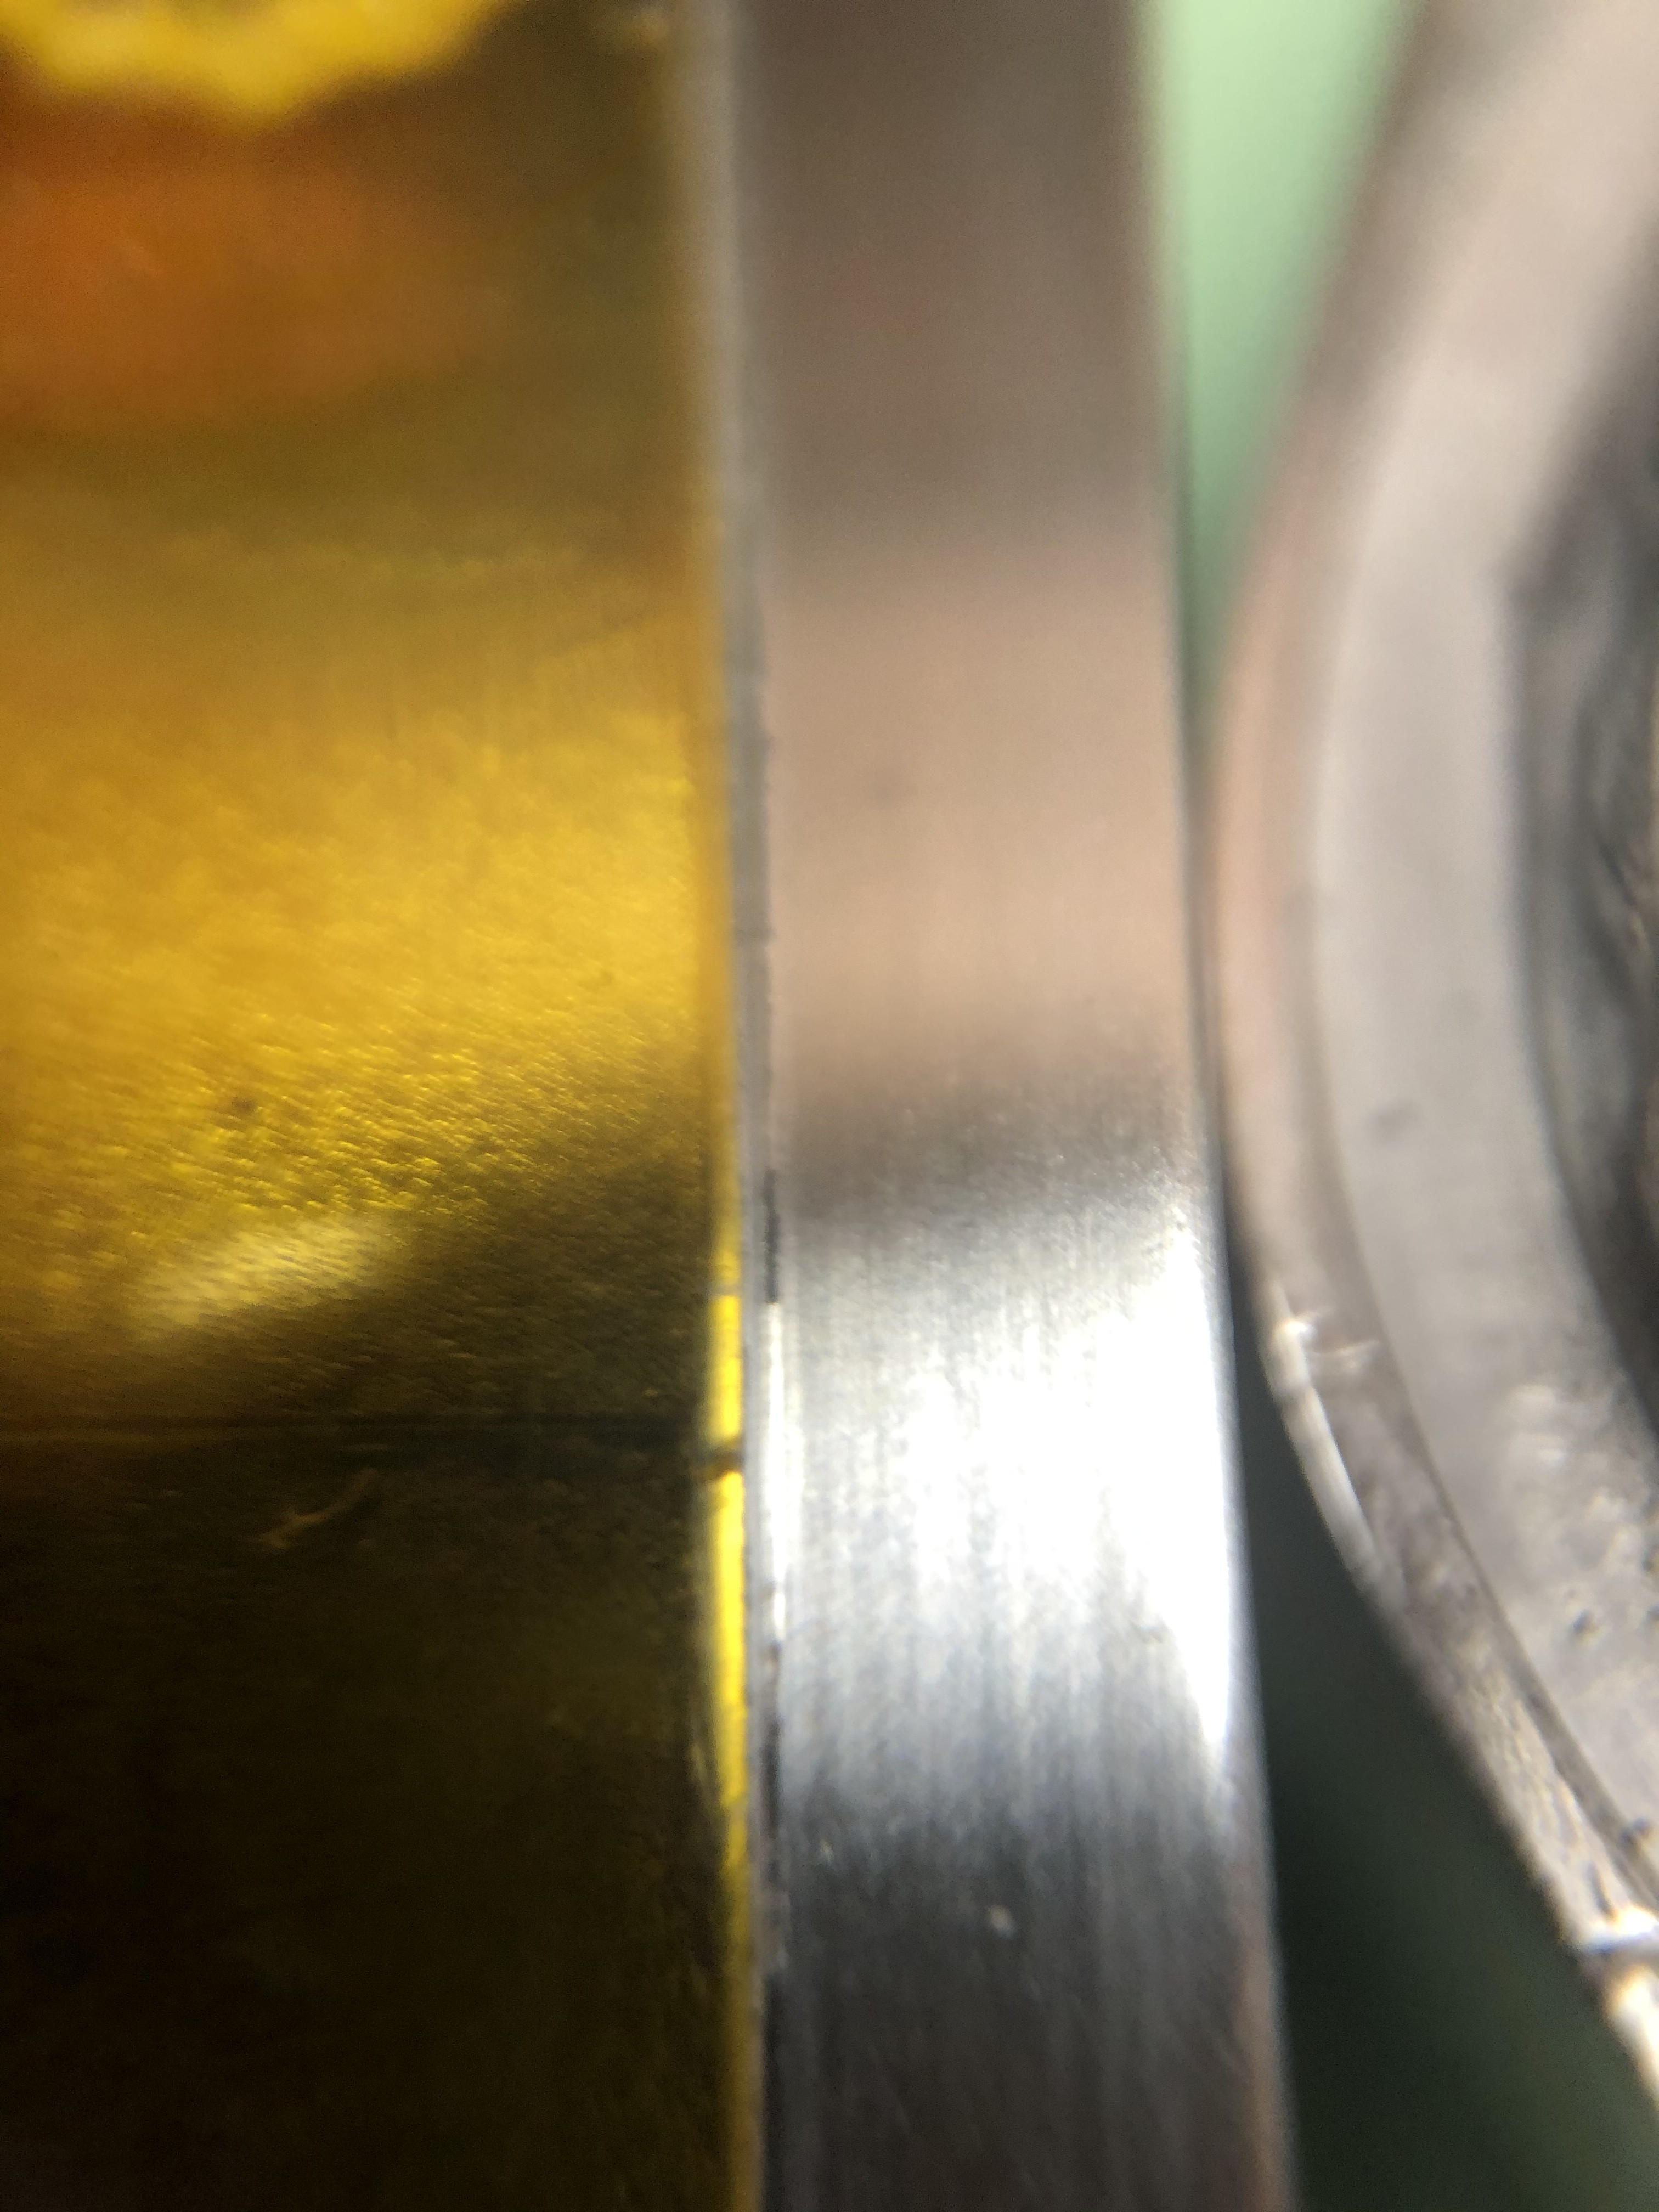
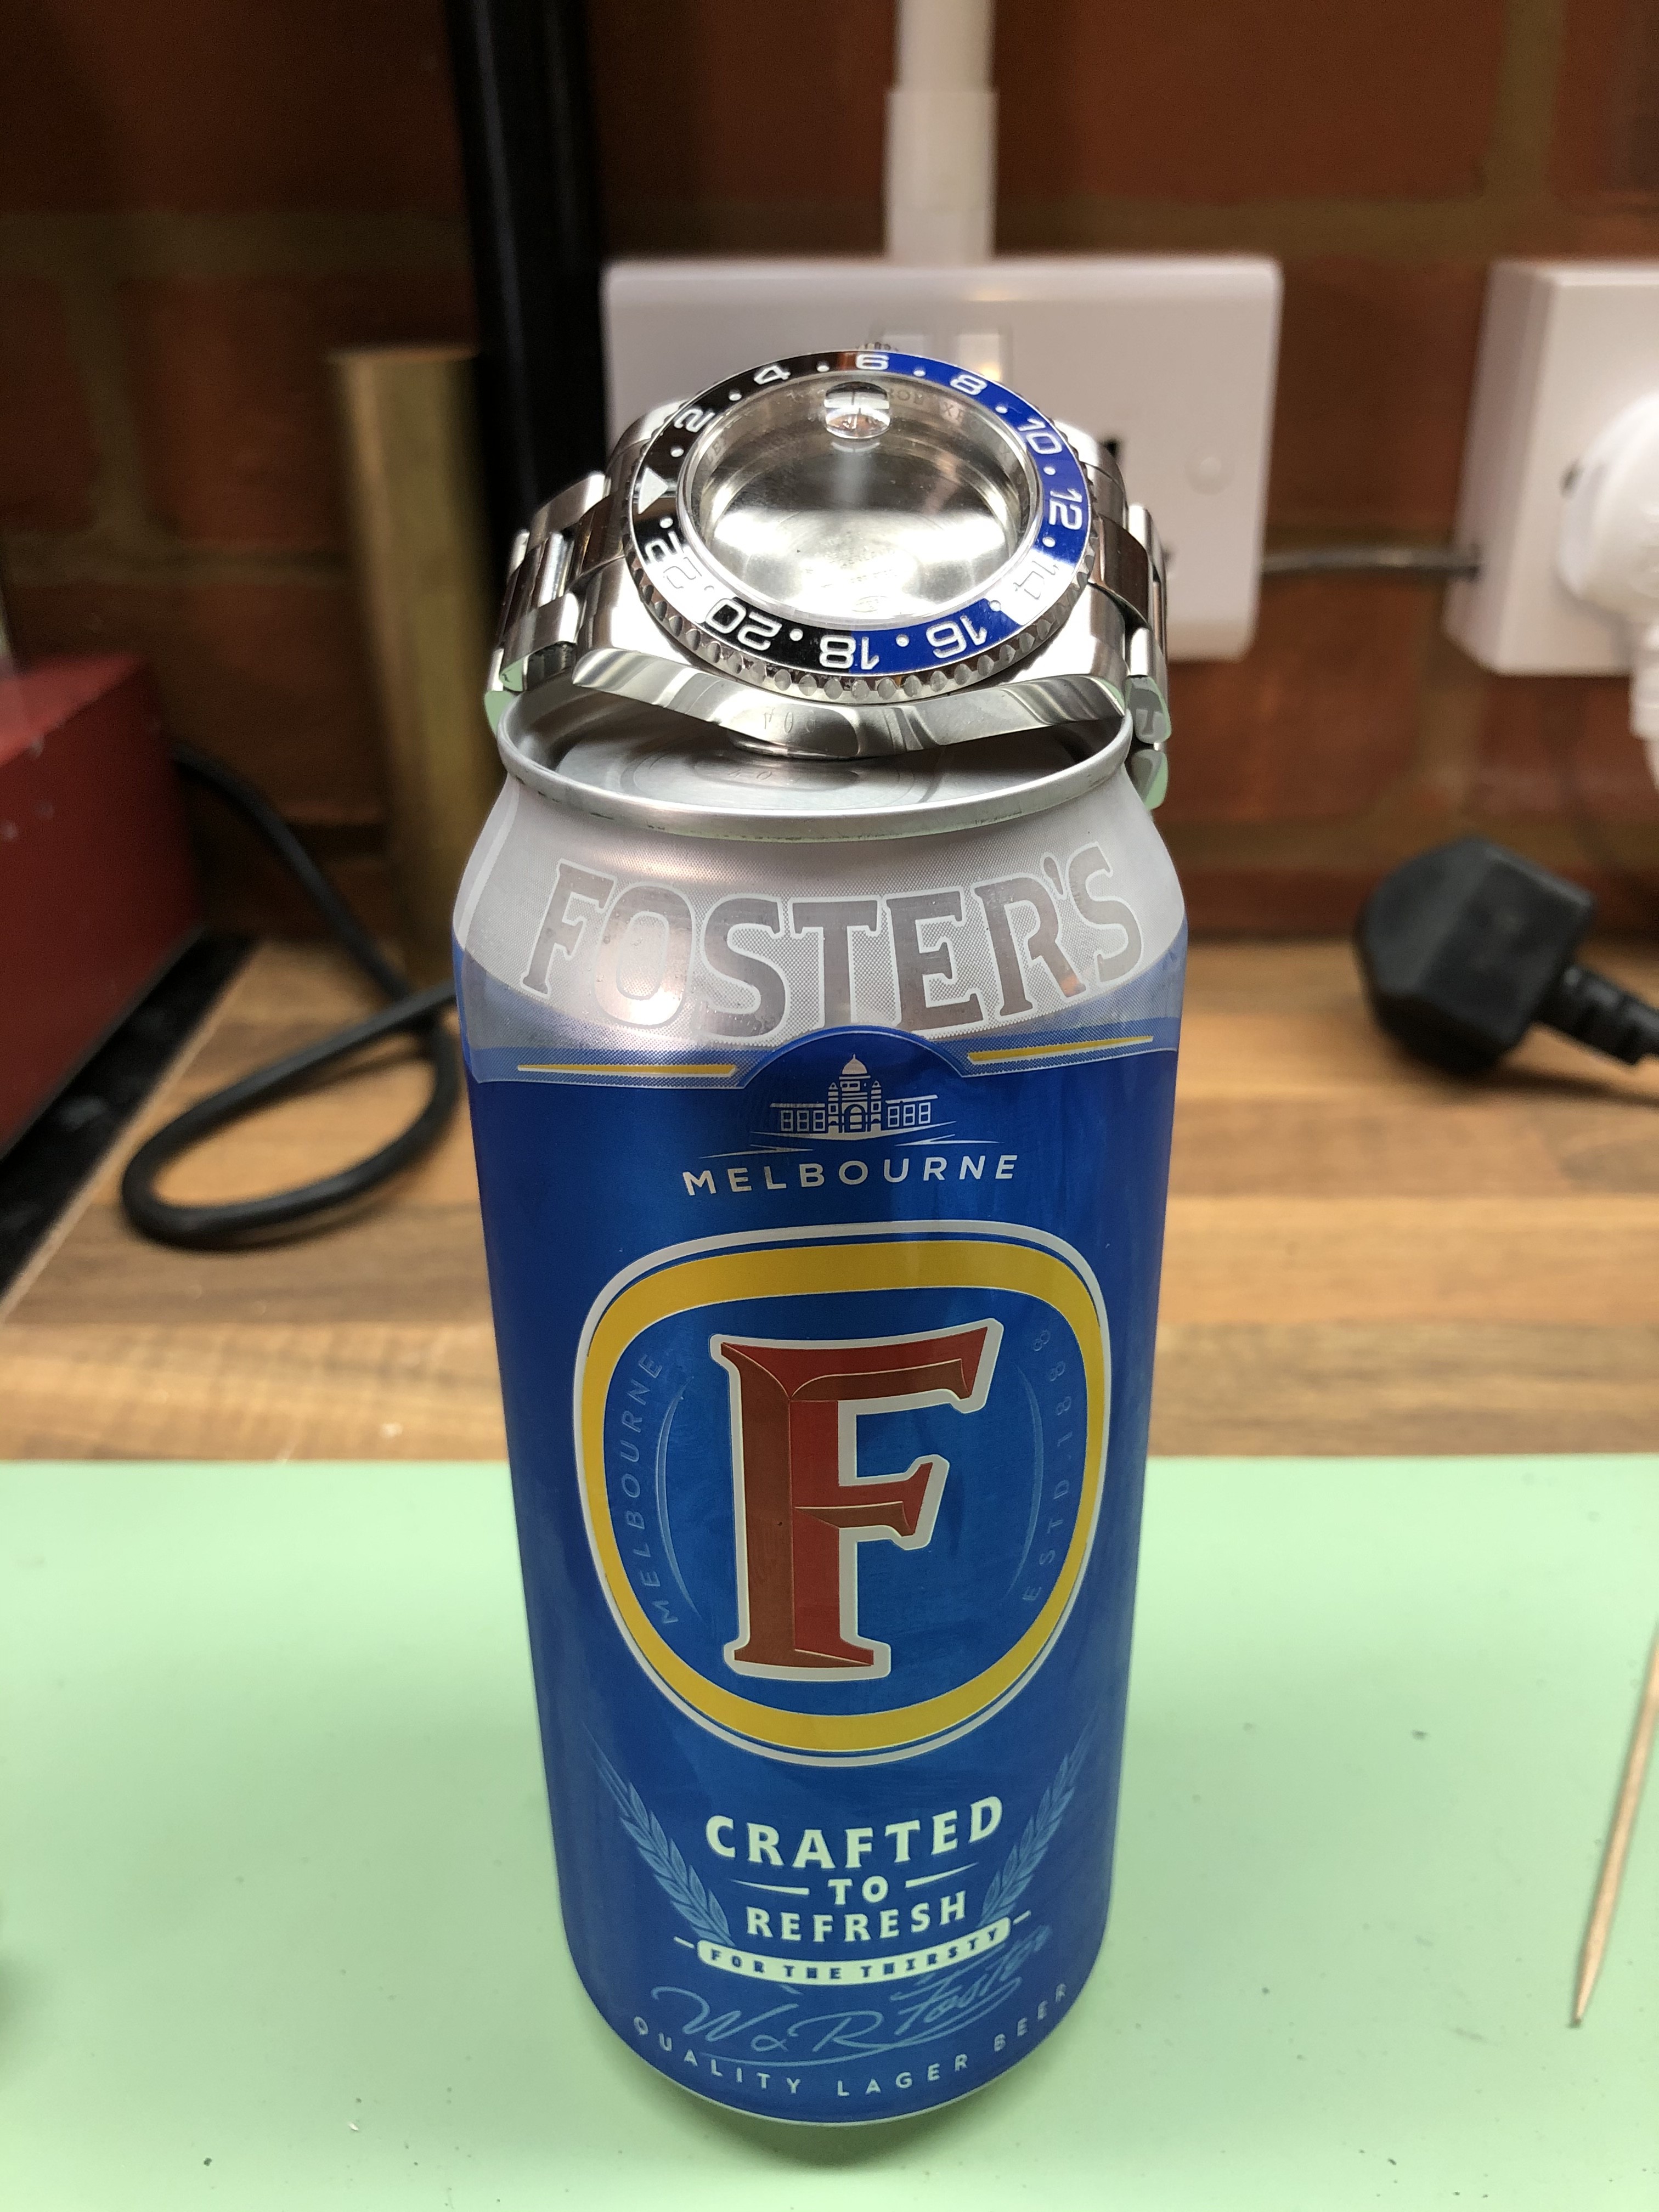
Whip off all the tape, stick the watch back together, then tell the mrs you don’t care its 11am on sunday morning, its been a long day and you’ve earned a beer!
I hope you’ve enjoyed reading this and should you choose to give it a go, good luck. Keep it shiny people!
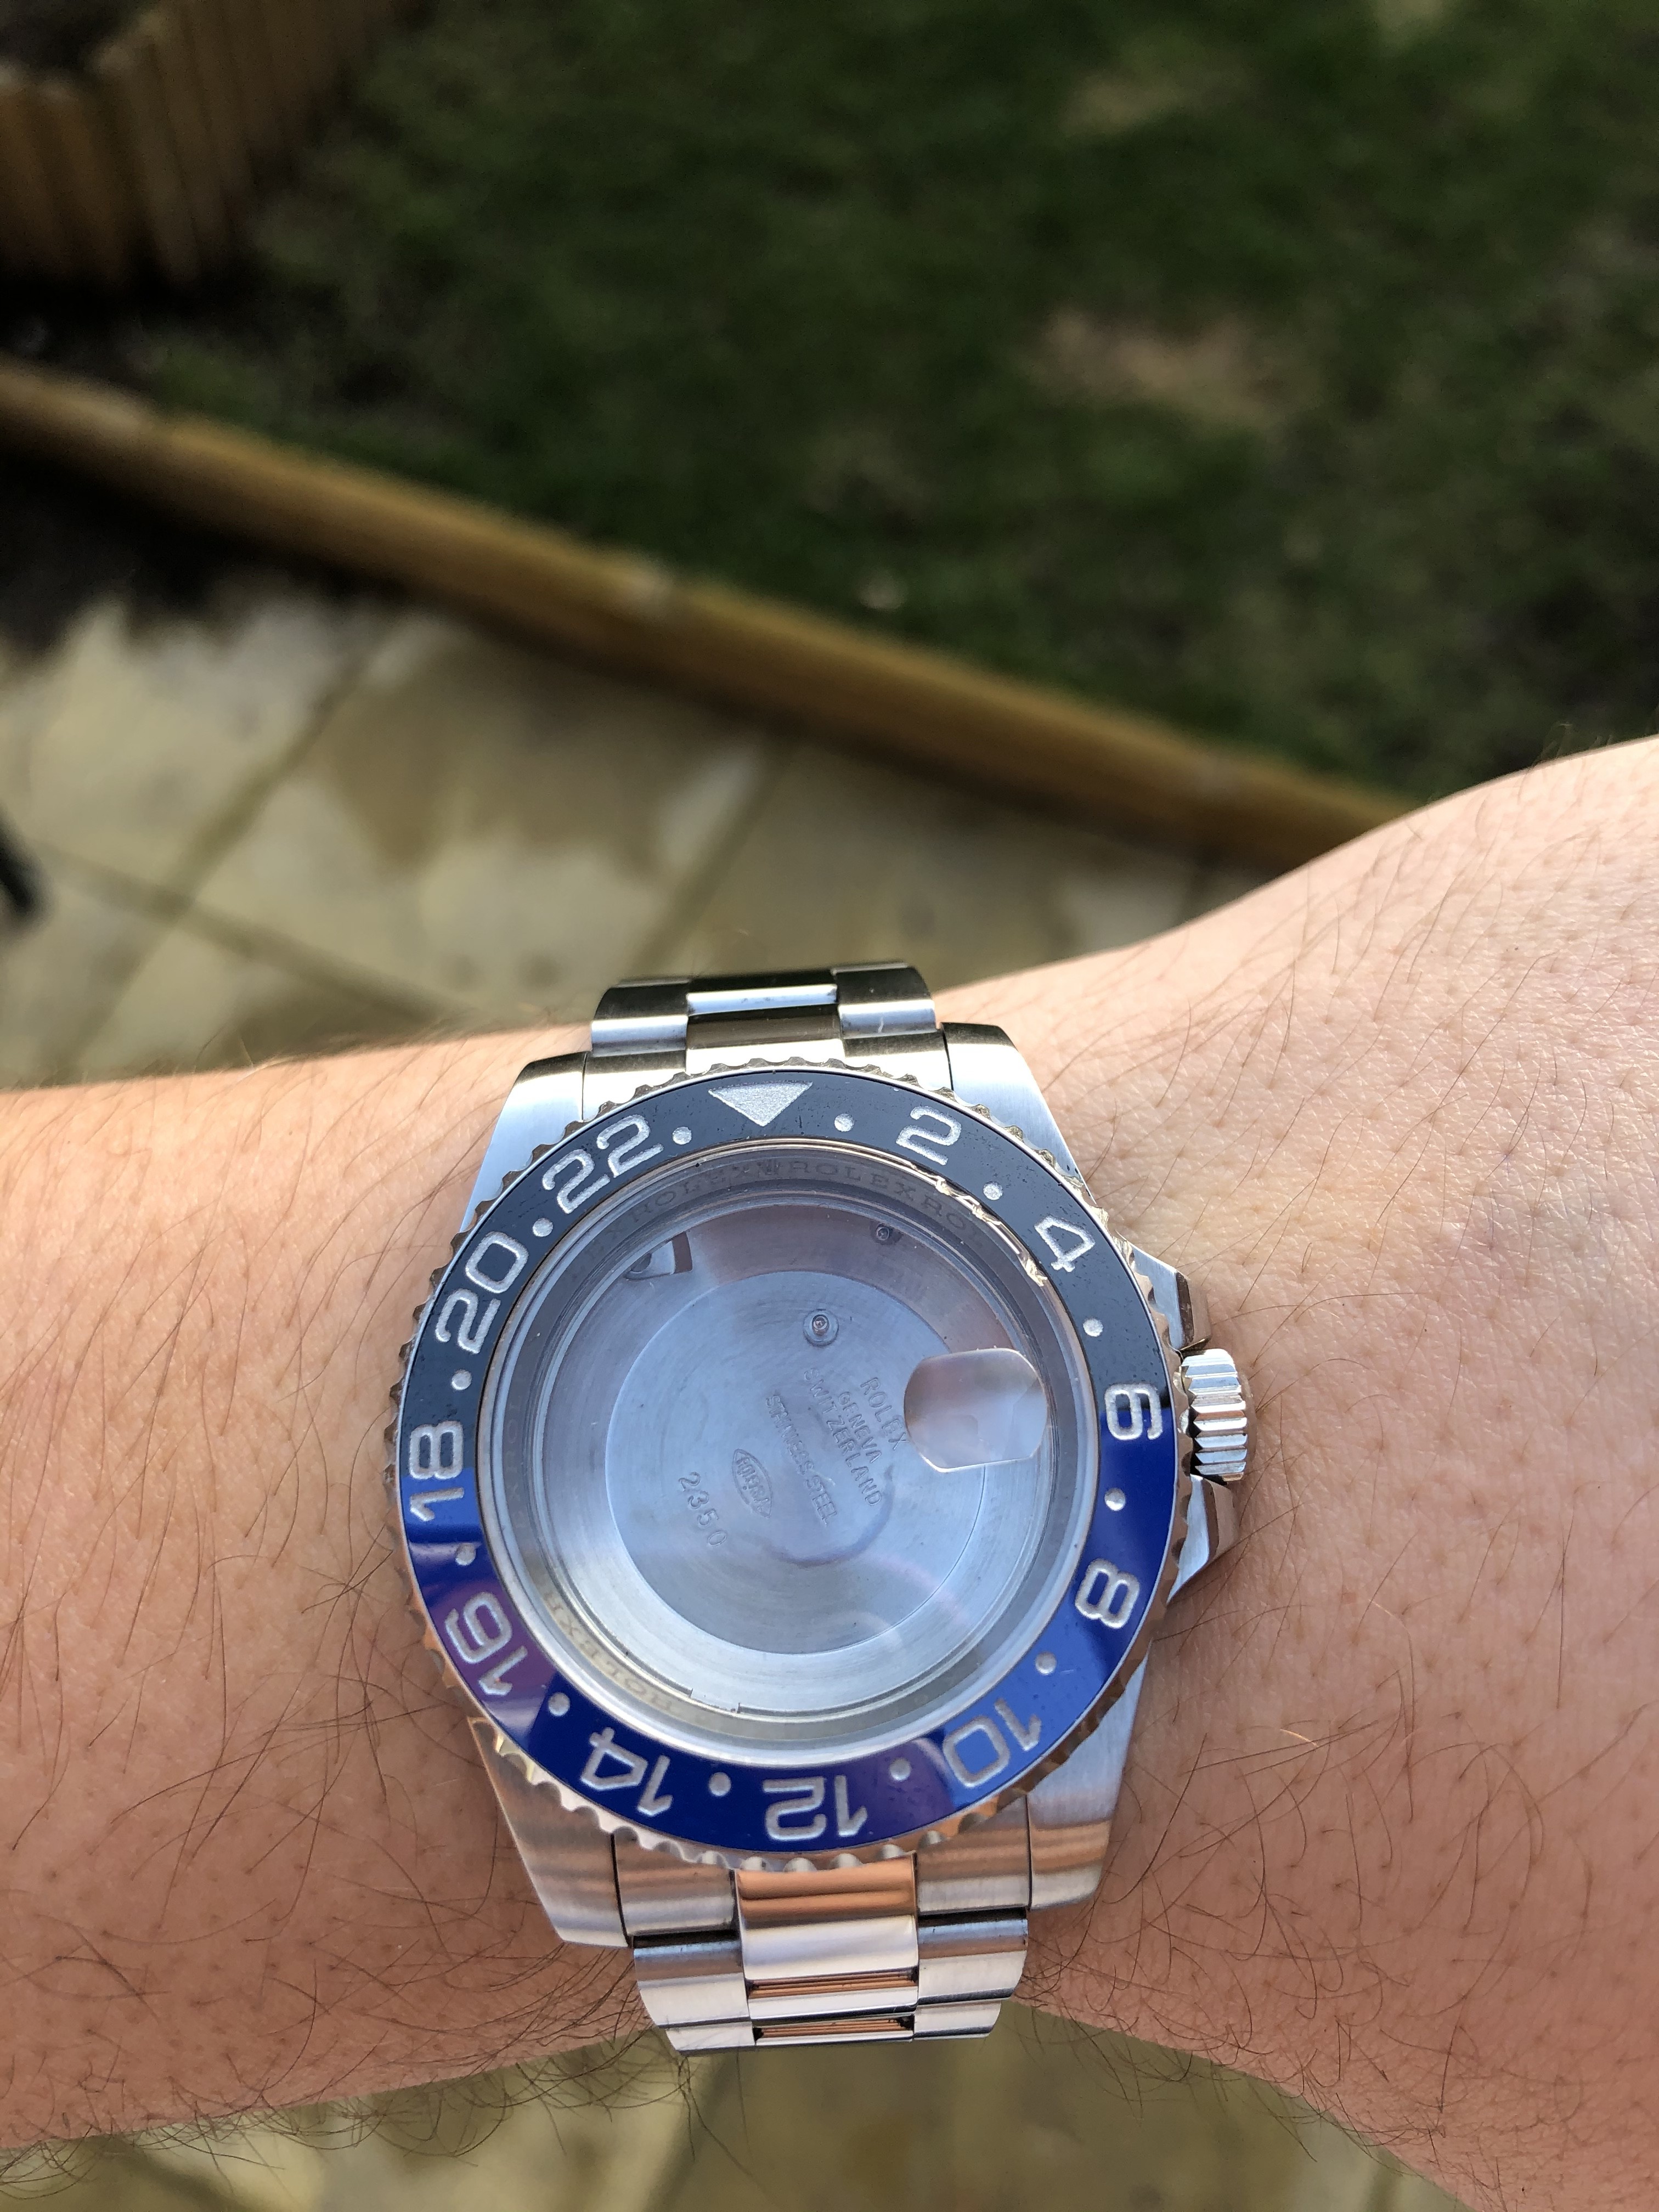
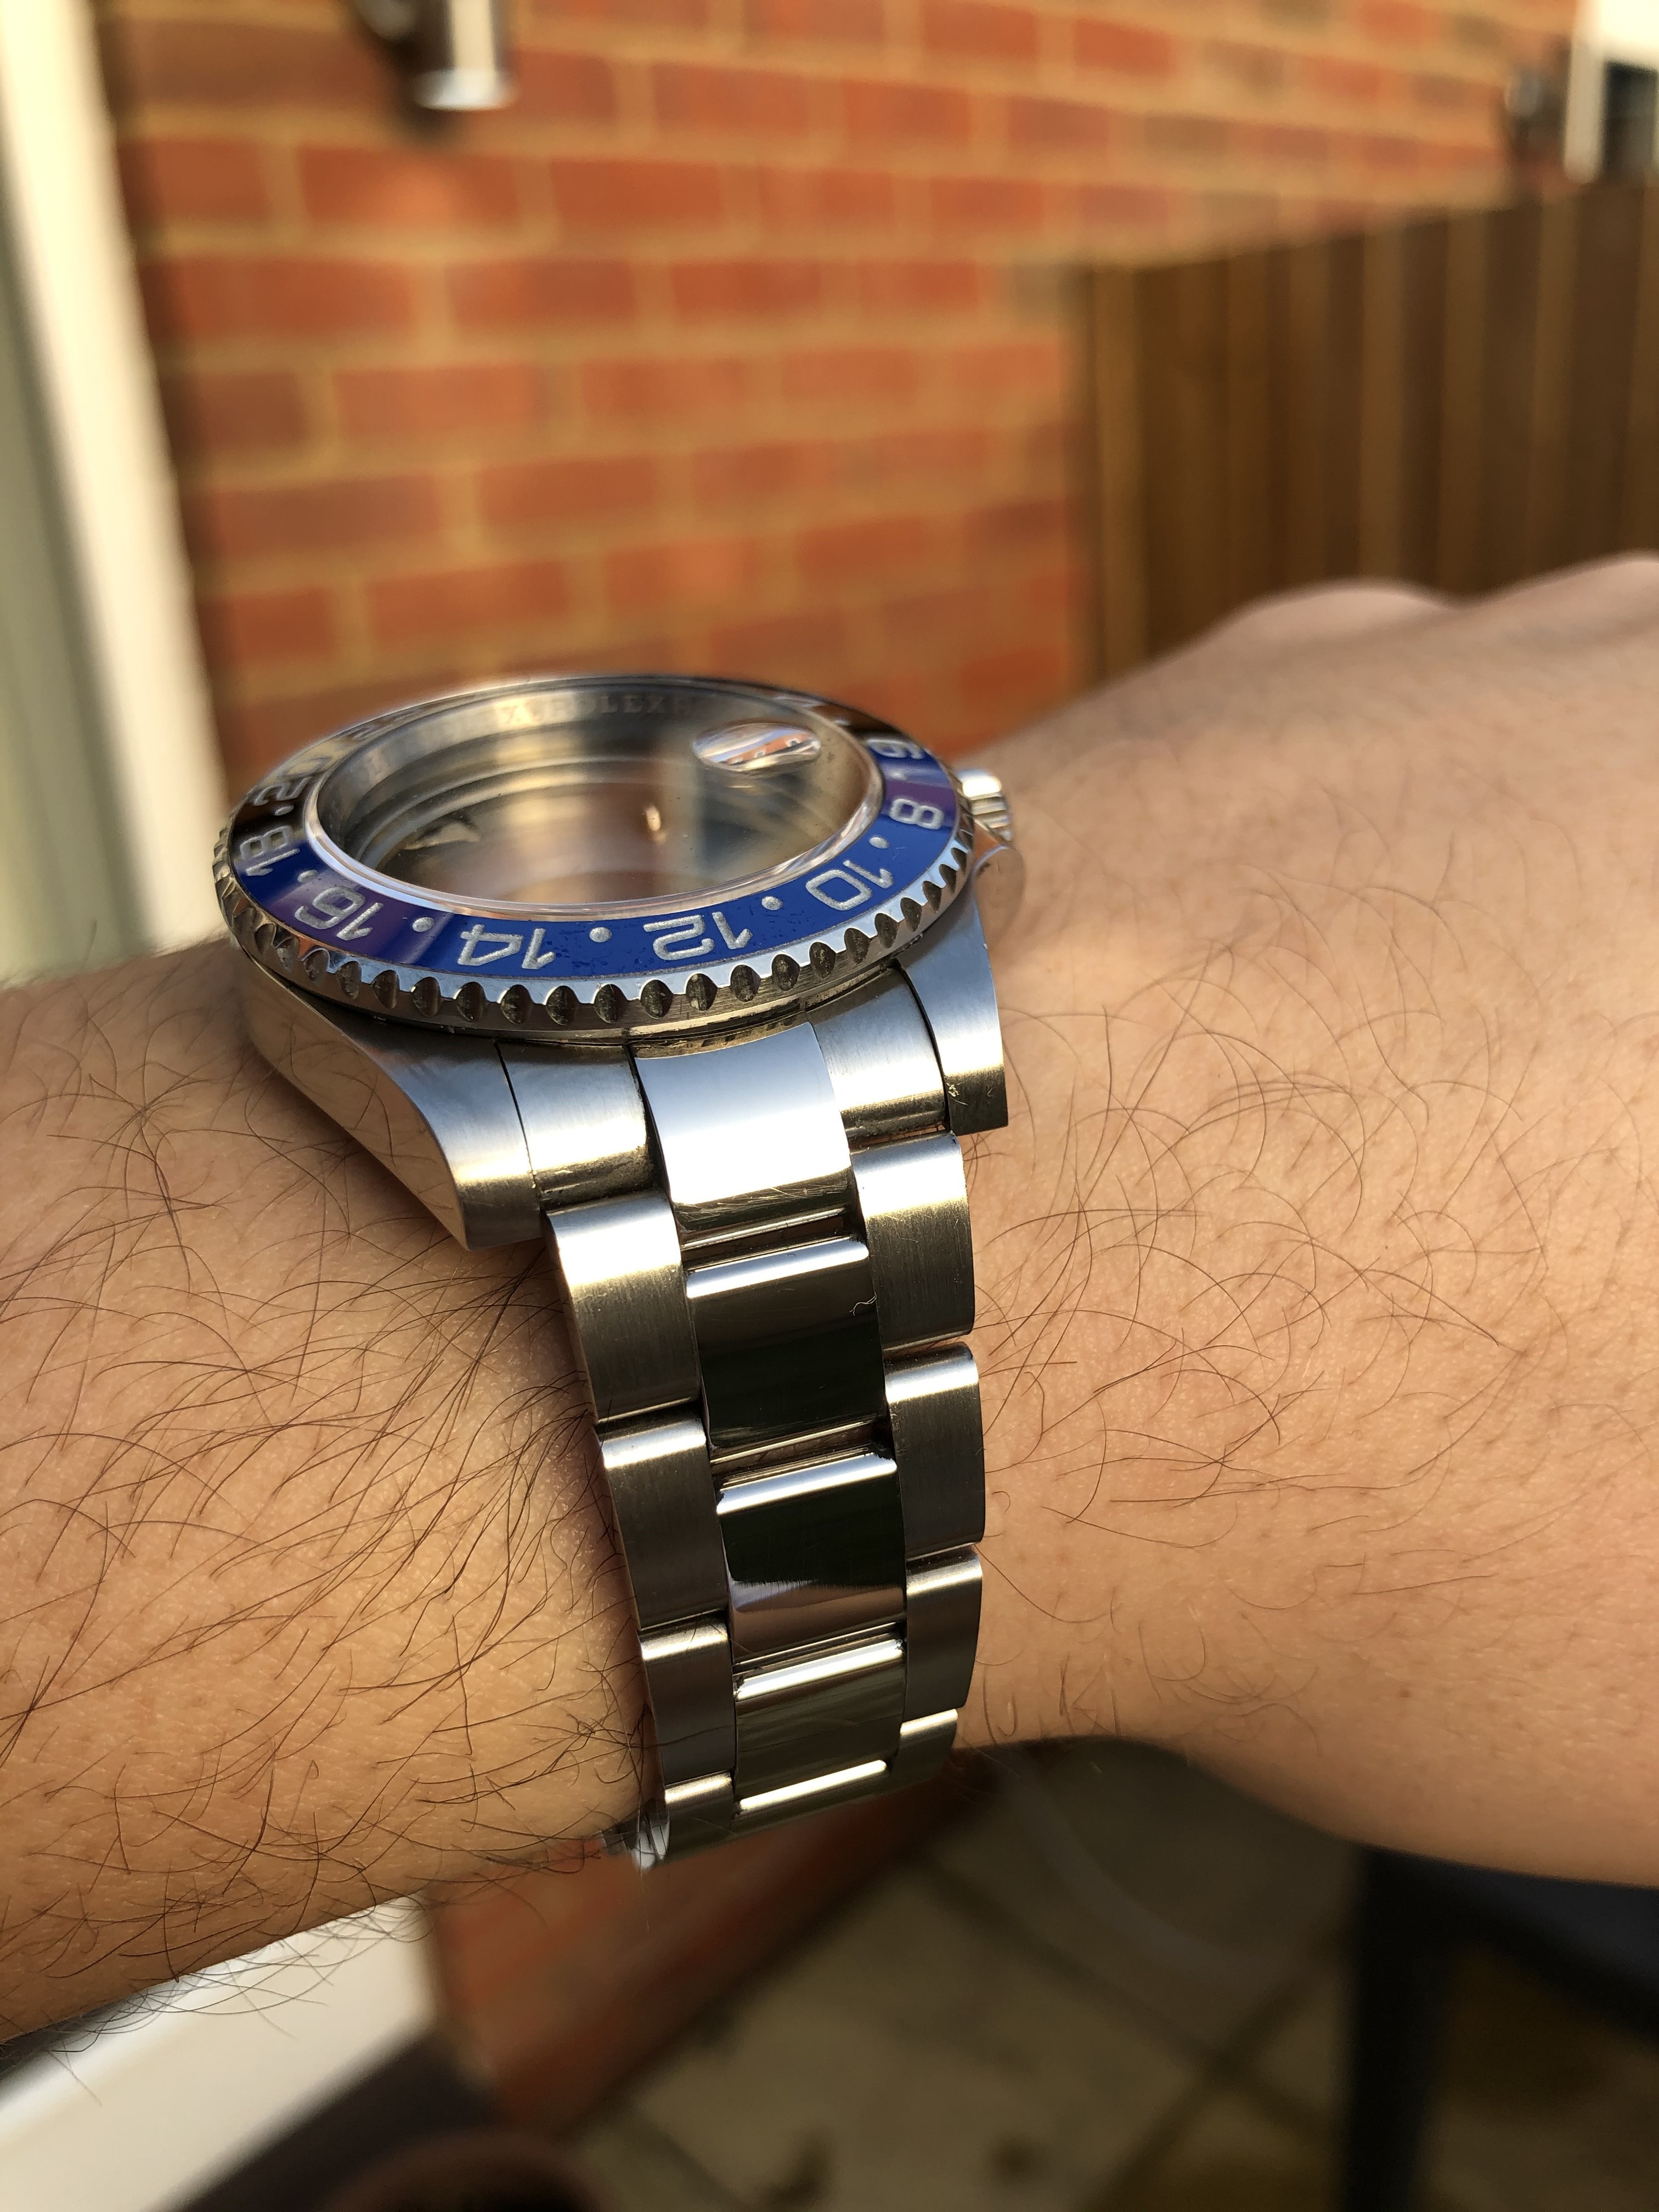
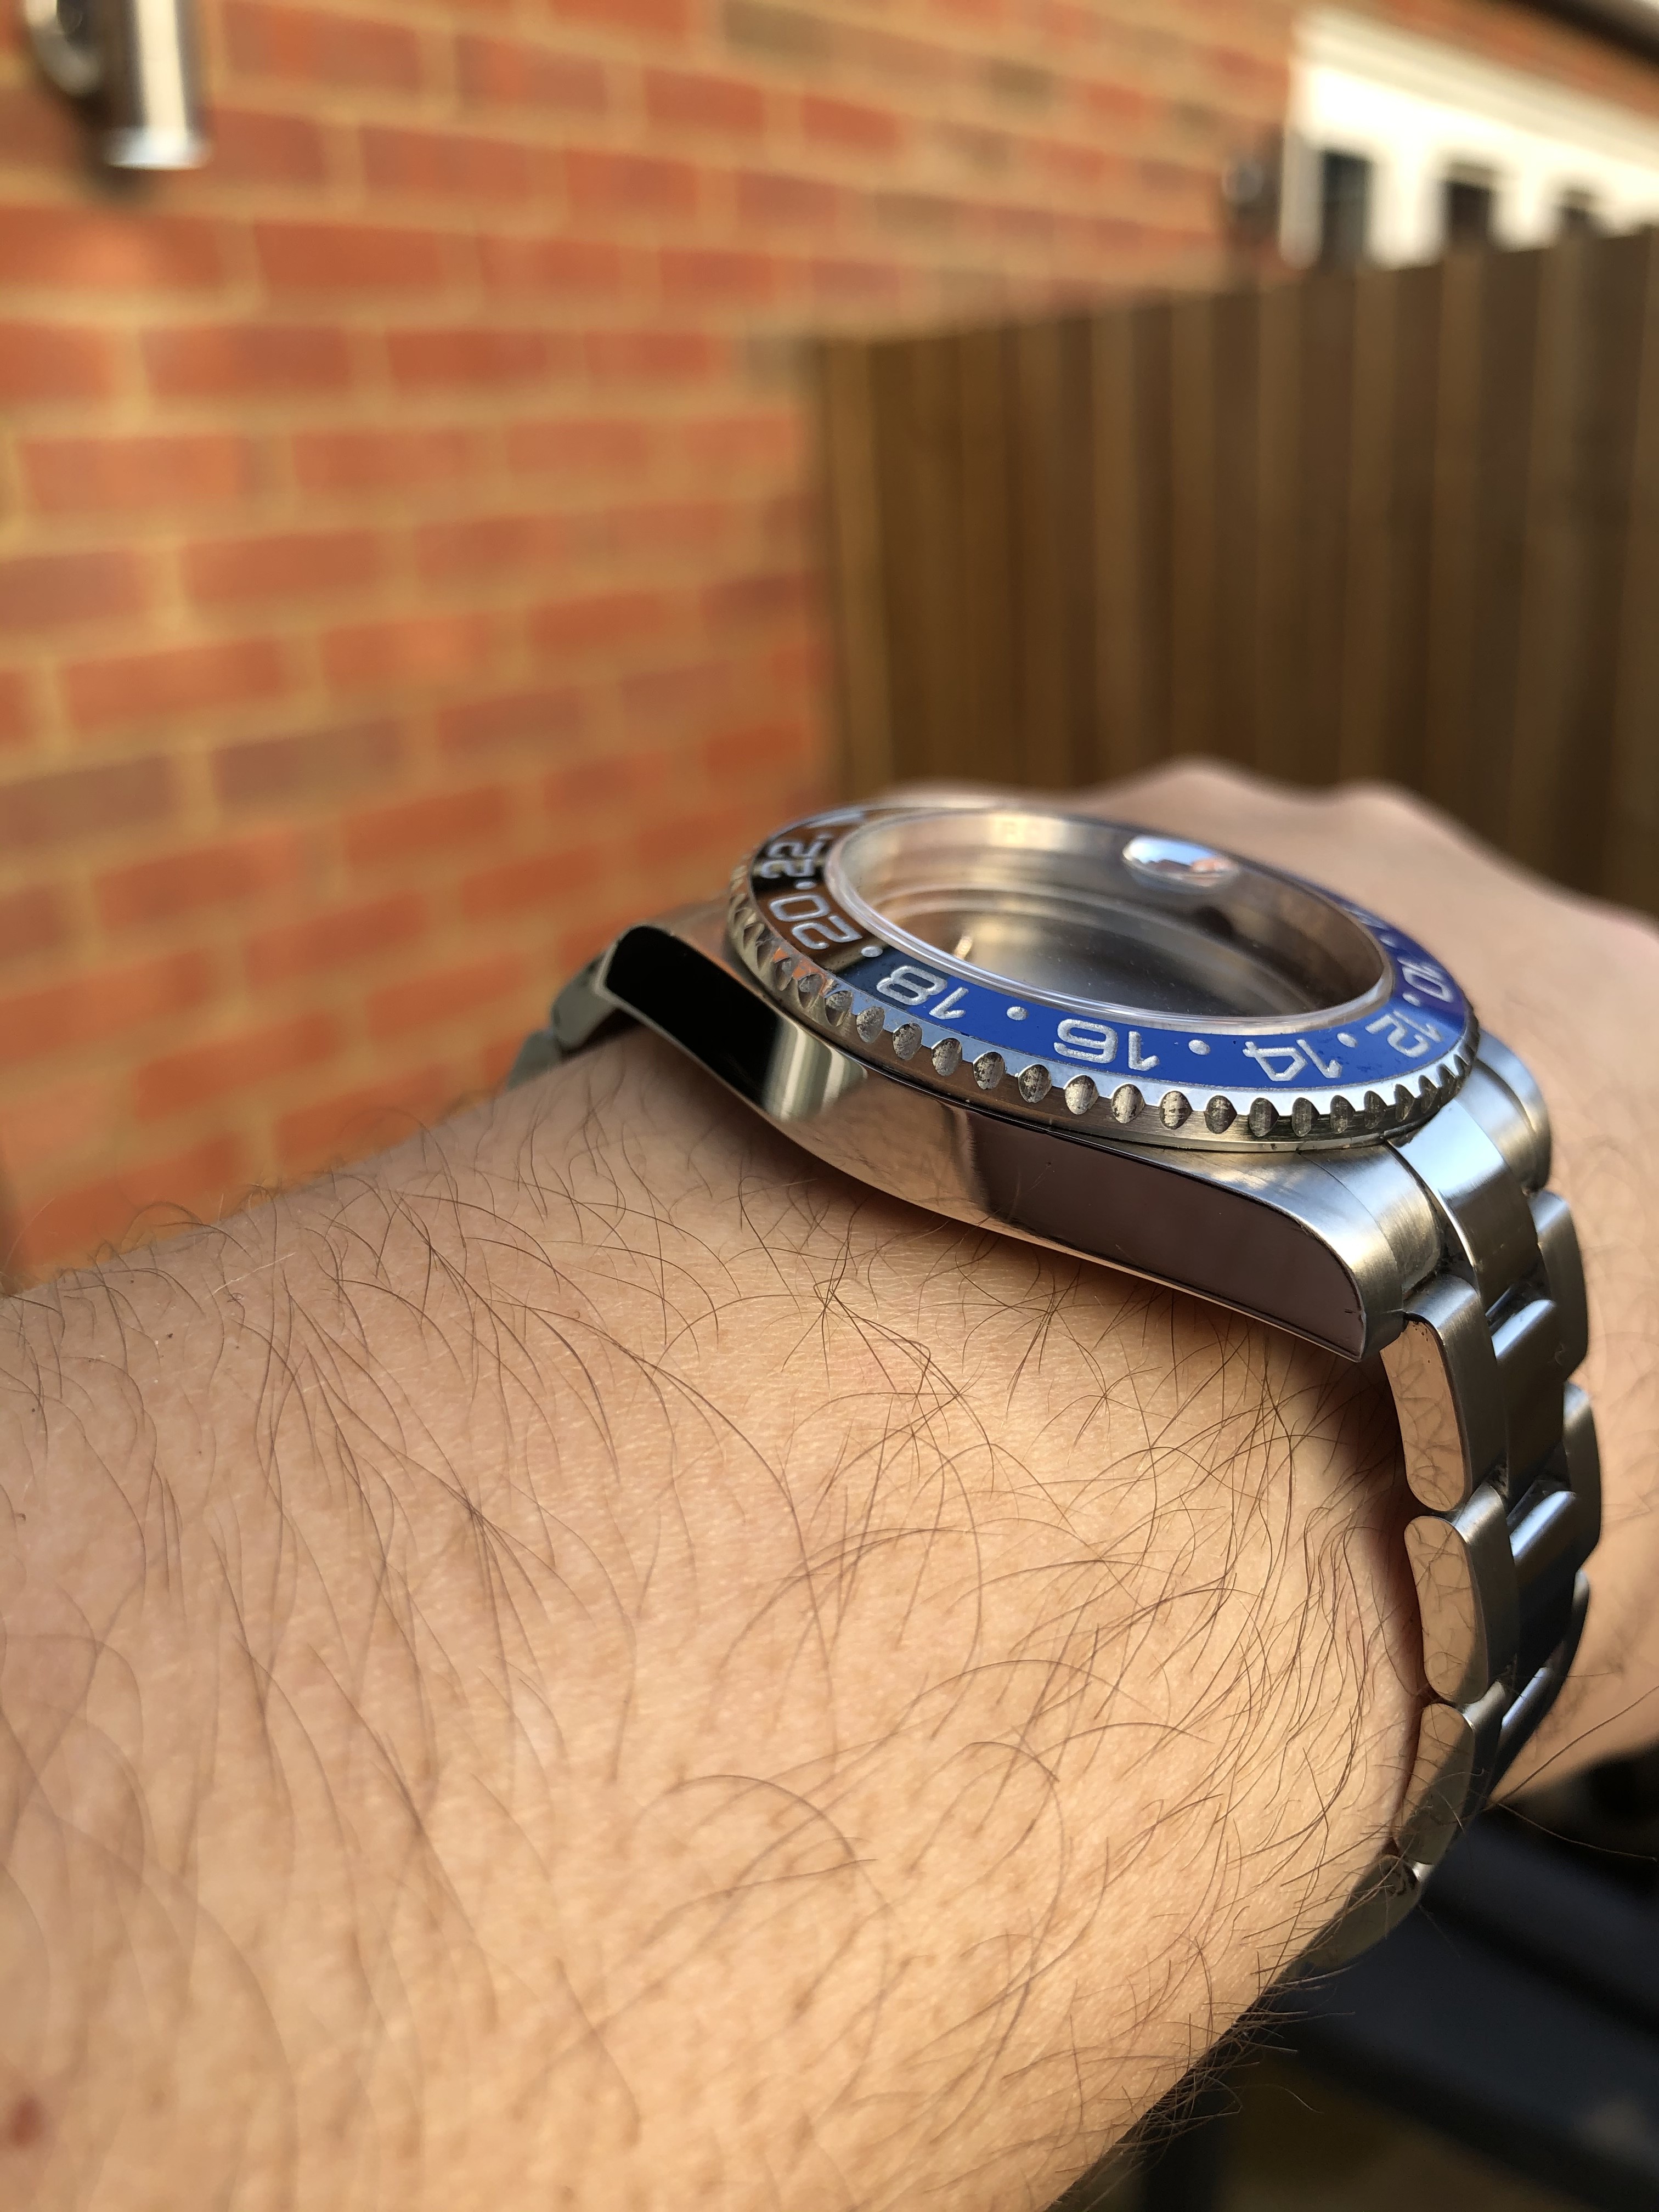
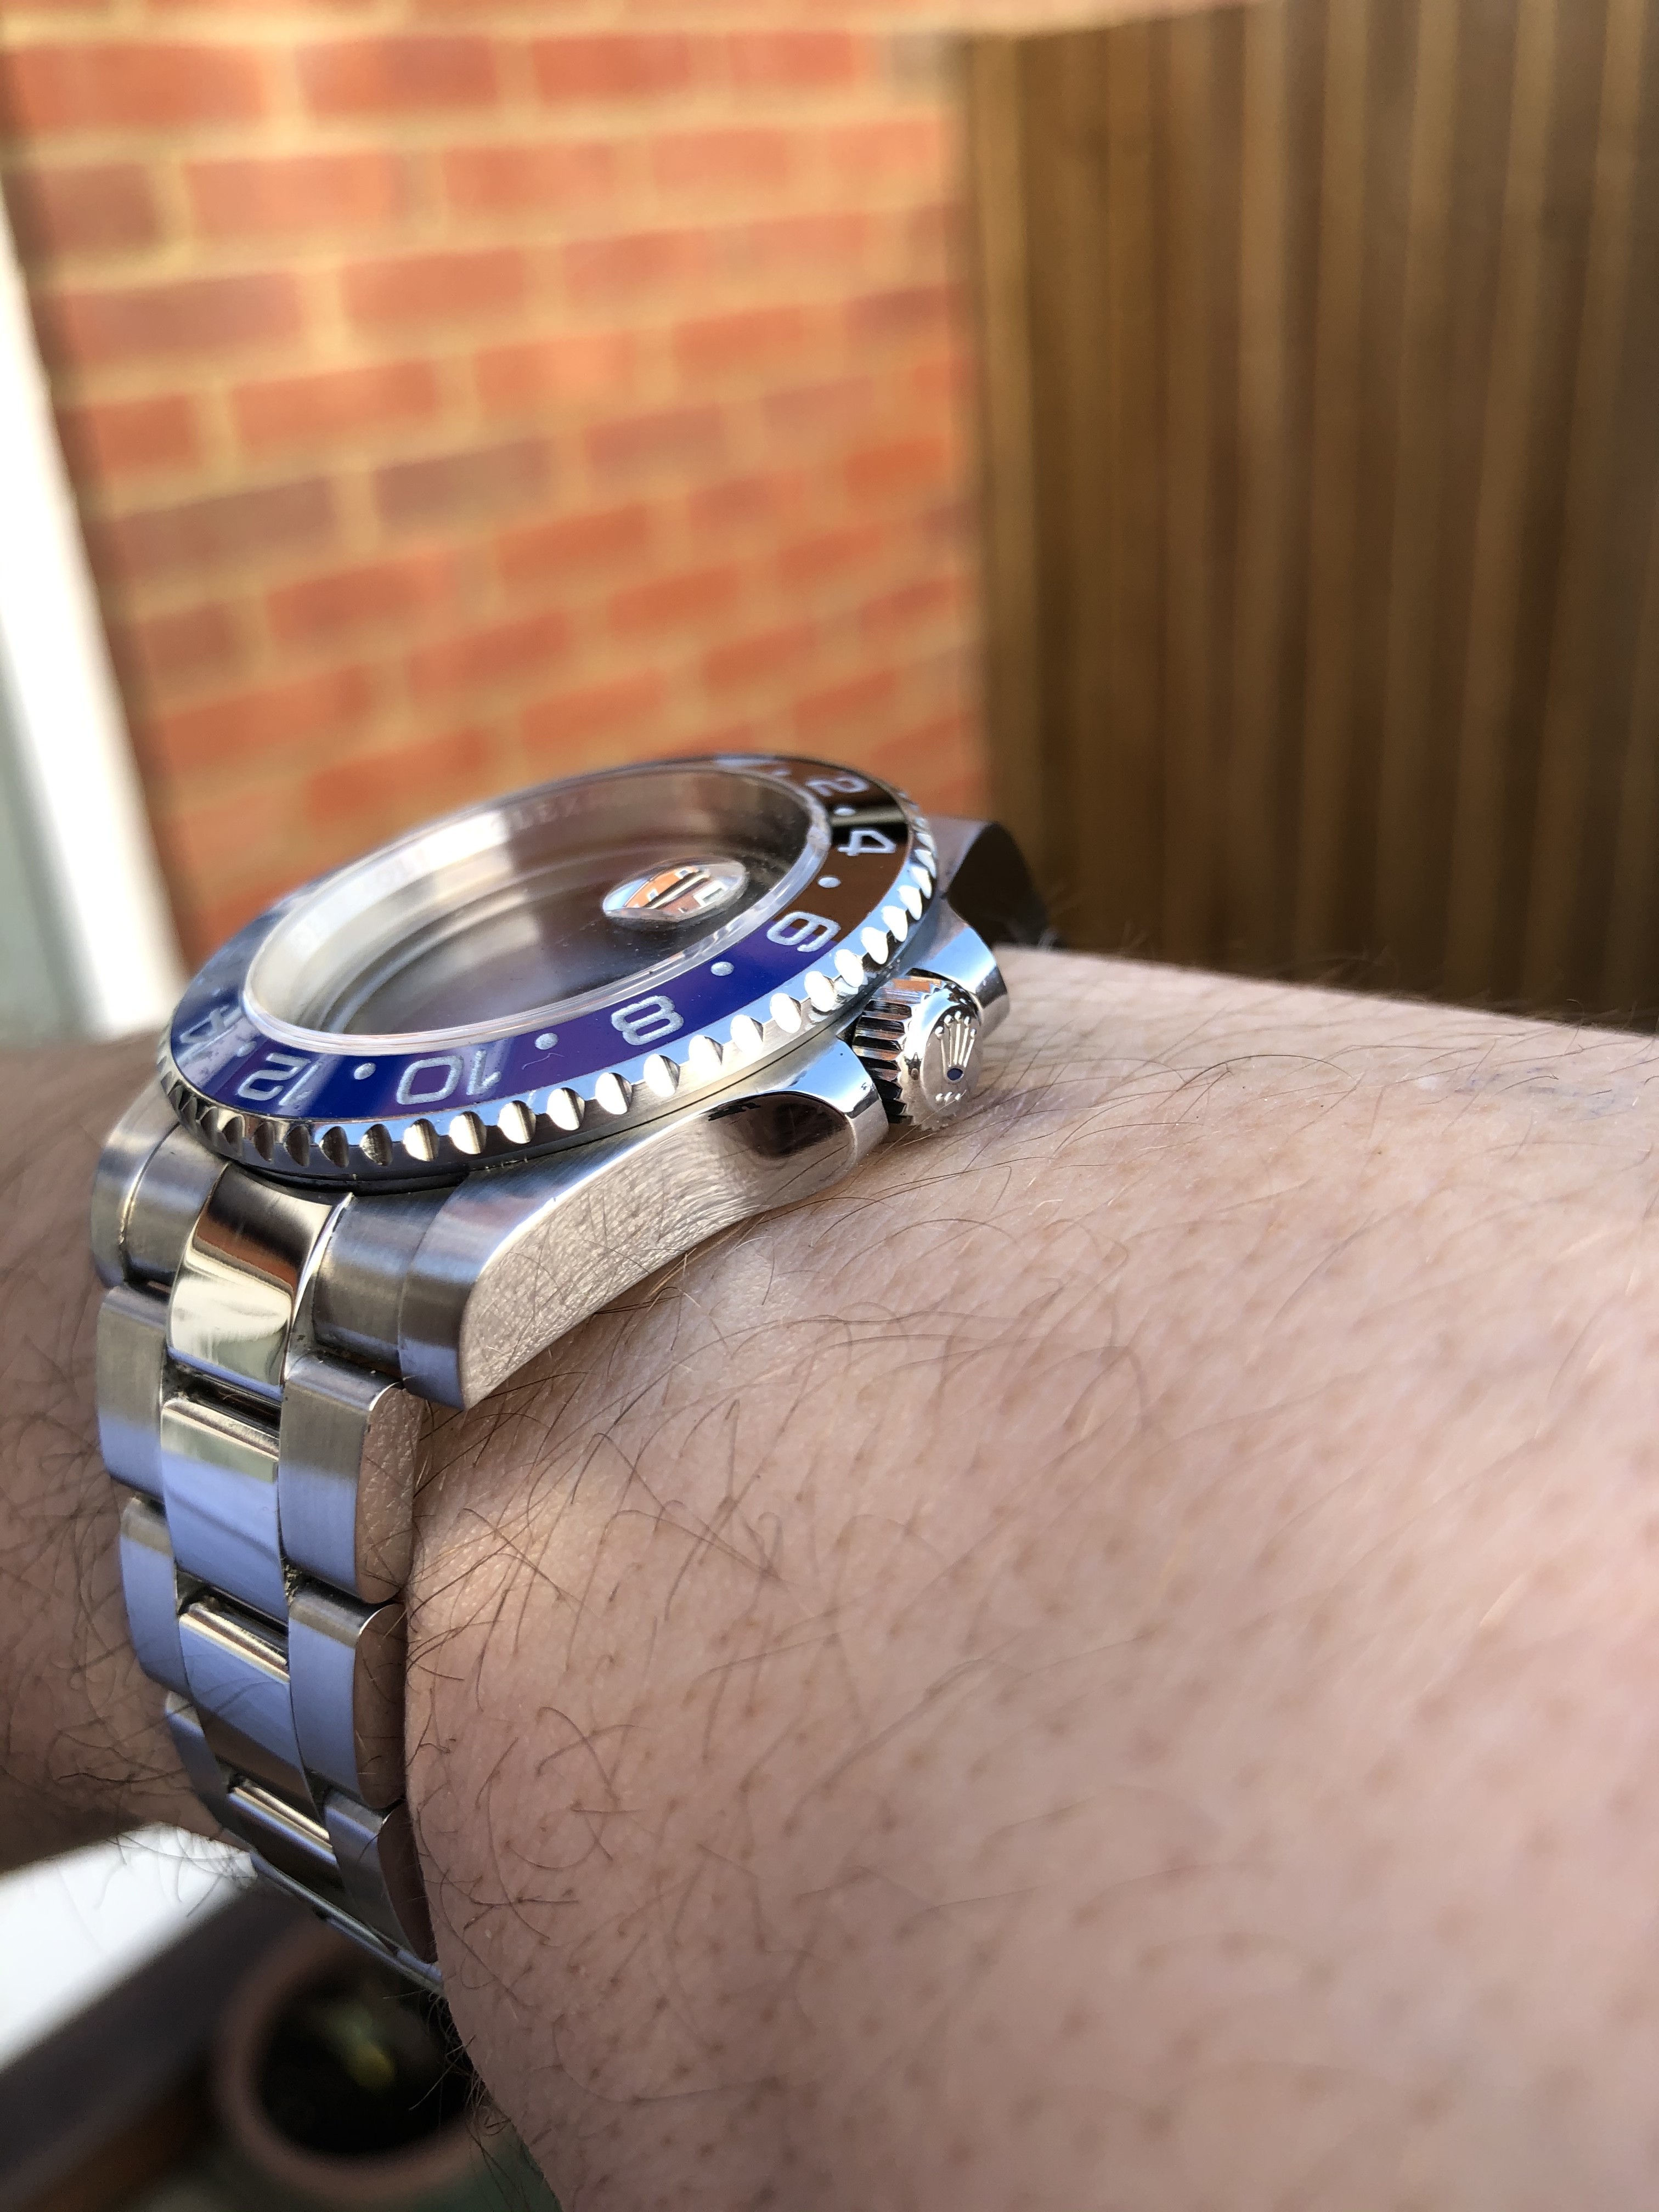
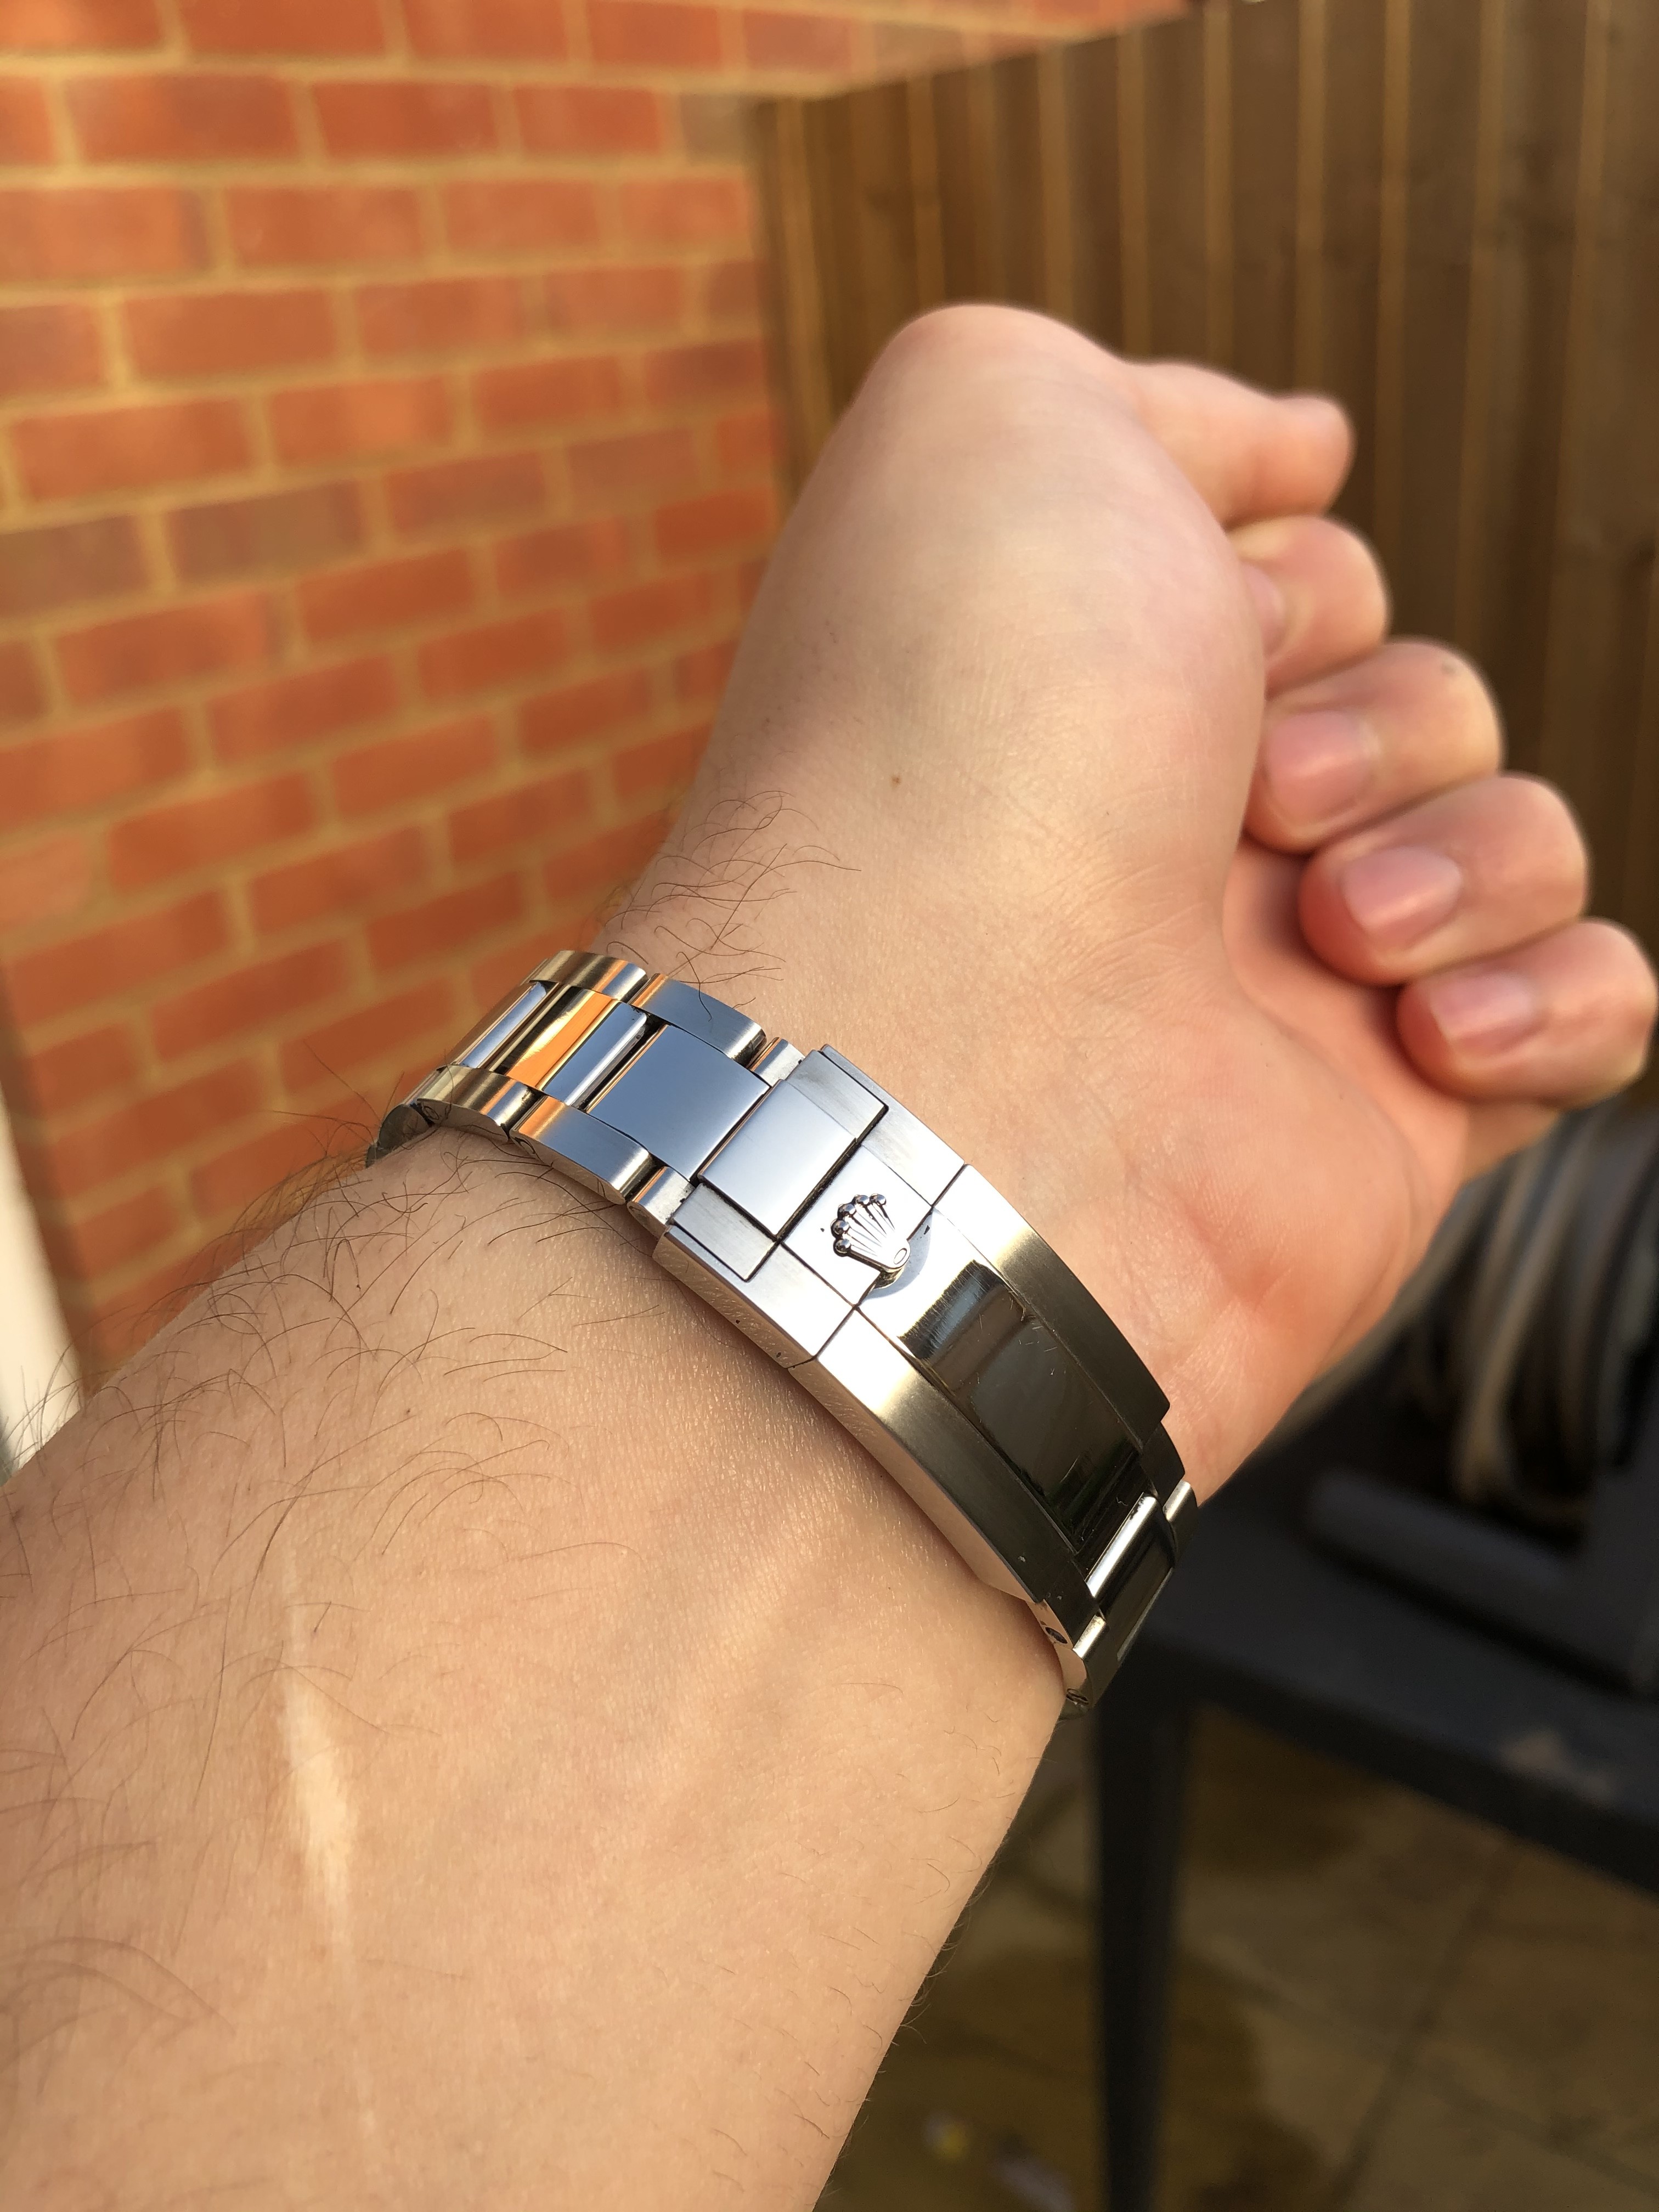


As you can see, there are a few scratches on the polished parts of the links.
Polishing tool list:
Abrasive rubber blocks- 120 grit and 240 grit (mine are made by york, but there are loads by garyflex on ebay)

8.5mm brown protective tape (cousins uk, could be available elsewhere.

Either a dremel with both felt and loose cotton wheels.

Or a bench grinder (mine has a dremel built in, was only £25 from lidl) with a loose leaf wheel (maybe a few to stop contamination between compounds)

Polishing compounds - green, white, jewellers rouge.

Tooth picks and loads of tissue for cleaning.
Screwdrivers for disassembly/reassembly.
Case back opener to remove the bezel.
The process:
Firstly remove the bezel and bracelet. There are various other threads on this so i wont go too far into it. Just remember to mask up the case, probably using the tape in the tool list, to prevent scratches (your rebrushing it anyway so its not a huge disaster if you do manage to put some scratches on).

Polishing:
I started with polishing because i find its far and away the longest part, and also because ive never managed to polish a bracelet without ending up with a couple of thin polish lines either side of the polished links. I find it easier to brush these out after. On the contrary i think its easier to brush the case first then polish the sides so you get the nice polished edge where it meets the front of the case.

Start by masking up all of the brushed parts of the bracelet. Ive never tried not doing this, i guess its not essential because you will rebrush the sides anyway but this is just how it do it. Once you have taped up the brushed links, trim the excess tape with a scalpel blade so you can get to the polished sides of the bracelet. This is tricky but take time to do it well.

Repeat on the clasp and once you have all of your parts masked, your ready to start polishing.

Start with the green compound. This is the most corse compound and is used for removing scratches and hair lines. Two key things to remember here, keep your motion parallel. Easy enough if your choose to use a grinder with a buffing wheel, just move the part you are polishing vertically. If your using a dremel you want a felt wheel attachment for the green compound, again keep the strokes parallel. Let the compound do the work, pressing harder wont get the job done quicker. If you have a really deep scratch, as in you’ve really smashed the watch into concrete or something, it will look much worse if you take a huge amount of material off the bracelet than just buff it up a bit. It will go all wonky and just look plain wrong. If you have to polish for more than about 1 minute on the same spot your probably fighting a loosing battle but its your watch, do as you see fit. The finish on the watch should be polished but somewhat cloudy now, hard to take pictures of but see below.

Another thing to remember is to keep applying compound to your tool, it will get to a point where it stops making the polished surface cloudy, that means you need more compound. Be sure to examine the parts carefully to ensure all the scratches are removed and the surface is smooth.
Before
#1

#2

After:
#1

#2

There will be black shite everywhere between the links, try to clean this off between operations because it will get onto the next tool and mess up the next finish. Tooth picks are ideal for this.

So once all of your parts are polished with green, move onto the white compound. If your using a dremel, now use a fresh loose cotton attachment. I prefer doing the green compound with a dremel as it gives a bit more control, but the next two compounds do come out slightly better with a bench mounted grinder with buffing wheel.


You can achieve good results either way you choose, if you get the same grinder with dremel i use then you have the luxury of options. Repeat the process on all polished faces until you get a decent shine to it. You may even be happy enough with the white compound to stop there, but i find the rouge gives it that extra je ne sais quoi. As you probably guessed, repeat for all surfaces with a loose cotton attachment and the jewellers rouge.


Brushing:
I know what your thinking, Ive been doing this for hours, why didn’t i just pay someone else! Don’t worry, your on the home straight! Start by masking up the polished parts. This is where the 8.5mm tape comes into its own, its the exact width of the polished parts.

When applying the tape, start on one link, then rotate the next link away from that link before putting the tape on it. This will allow some flex in the bracelet once taped up, if you just lay it flat on the table and bosh tape on it, it will be very rigid and unable to flex.


Now you have a nice two tone bracelet... i start by brushing the case. Its important to have the bezel off for this to get the best results. Start with the 120 grit block. I cut a section of the block off and added a triangular cut out so it will brush the entire lug but wont hit into the crystal. It sound strange but you’ll see what i mean when you try it, its the best way to keep the lines straight.

You have to just focus on keeping straight lines for the brushing. I start from the inside to out as i find it more controllable.
The bracelet is easy to brush. Only parts to remember are on the sel, you need a nice sharp corner on your block to get right up in the corner where the brushing meets the raised center part. Same applies to the clasp, sharp corner of rubber is needed to keep a tight line.

When working on the bracelet i drape it over my screwdriver stand, it probably makes next to no difference but i feel it lets you brush further around the rounded parts of the links, which would otherwise remain untouched if it was flat on the table.

I don’t own a gen rolex, so i don’t have anything to compare the brushing finish to. Depending on what you prefer, 120 grit will give you a more corse brushed finish, the 240 gives a finer more polished finish. Heres a few macros of 120 grit, maybe some experts can chime in. Worth mentioning bergeon make rubber blocks for about 3-4 times the price of these, 120 is their medium, 240 is their fine.


Whip off all the tape, stick the watch back together, then tell the mrs you don’t care its 11am on sunday morning, its been a long day and you’ve earned a beer!
I hope you’ve enjoyed reading this and should you choose to give it a go, good luck. Keep it shiny people!


