- 12/3/18
- 32,771
- 58,998
- 113
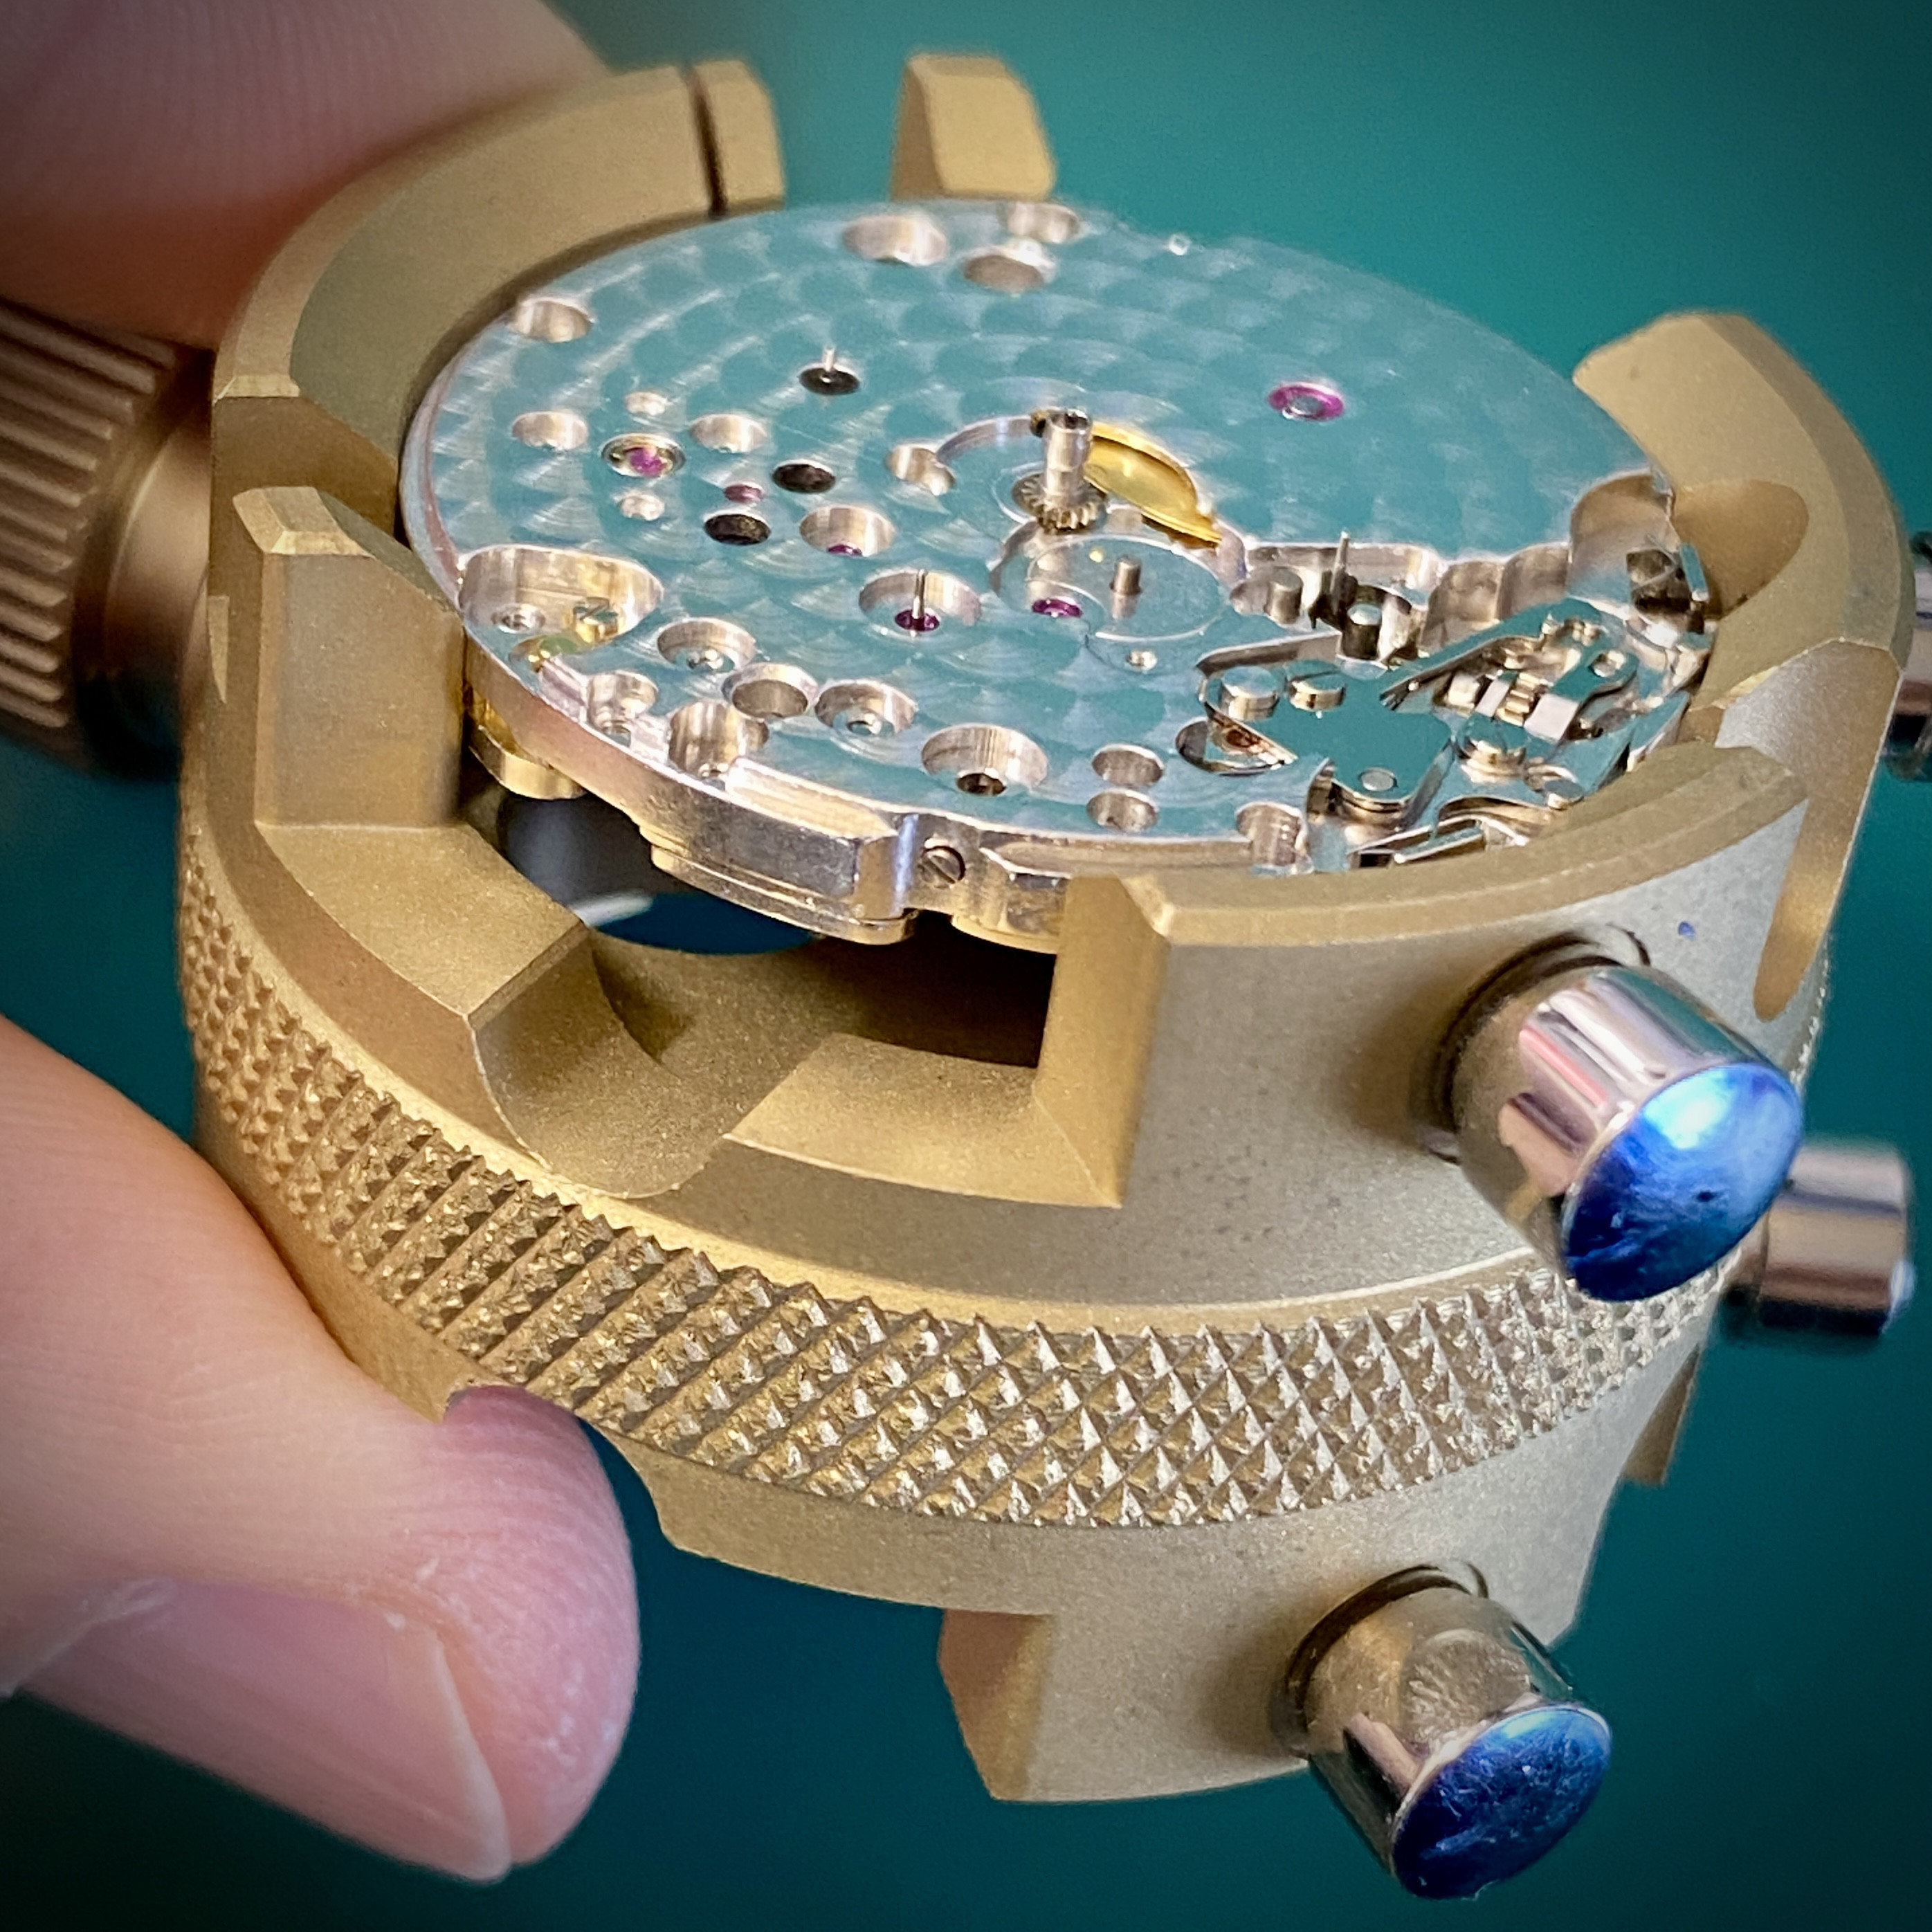
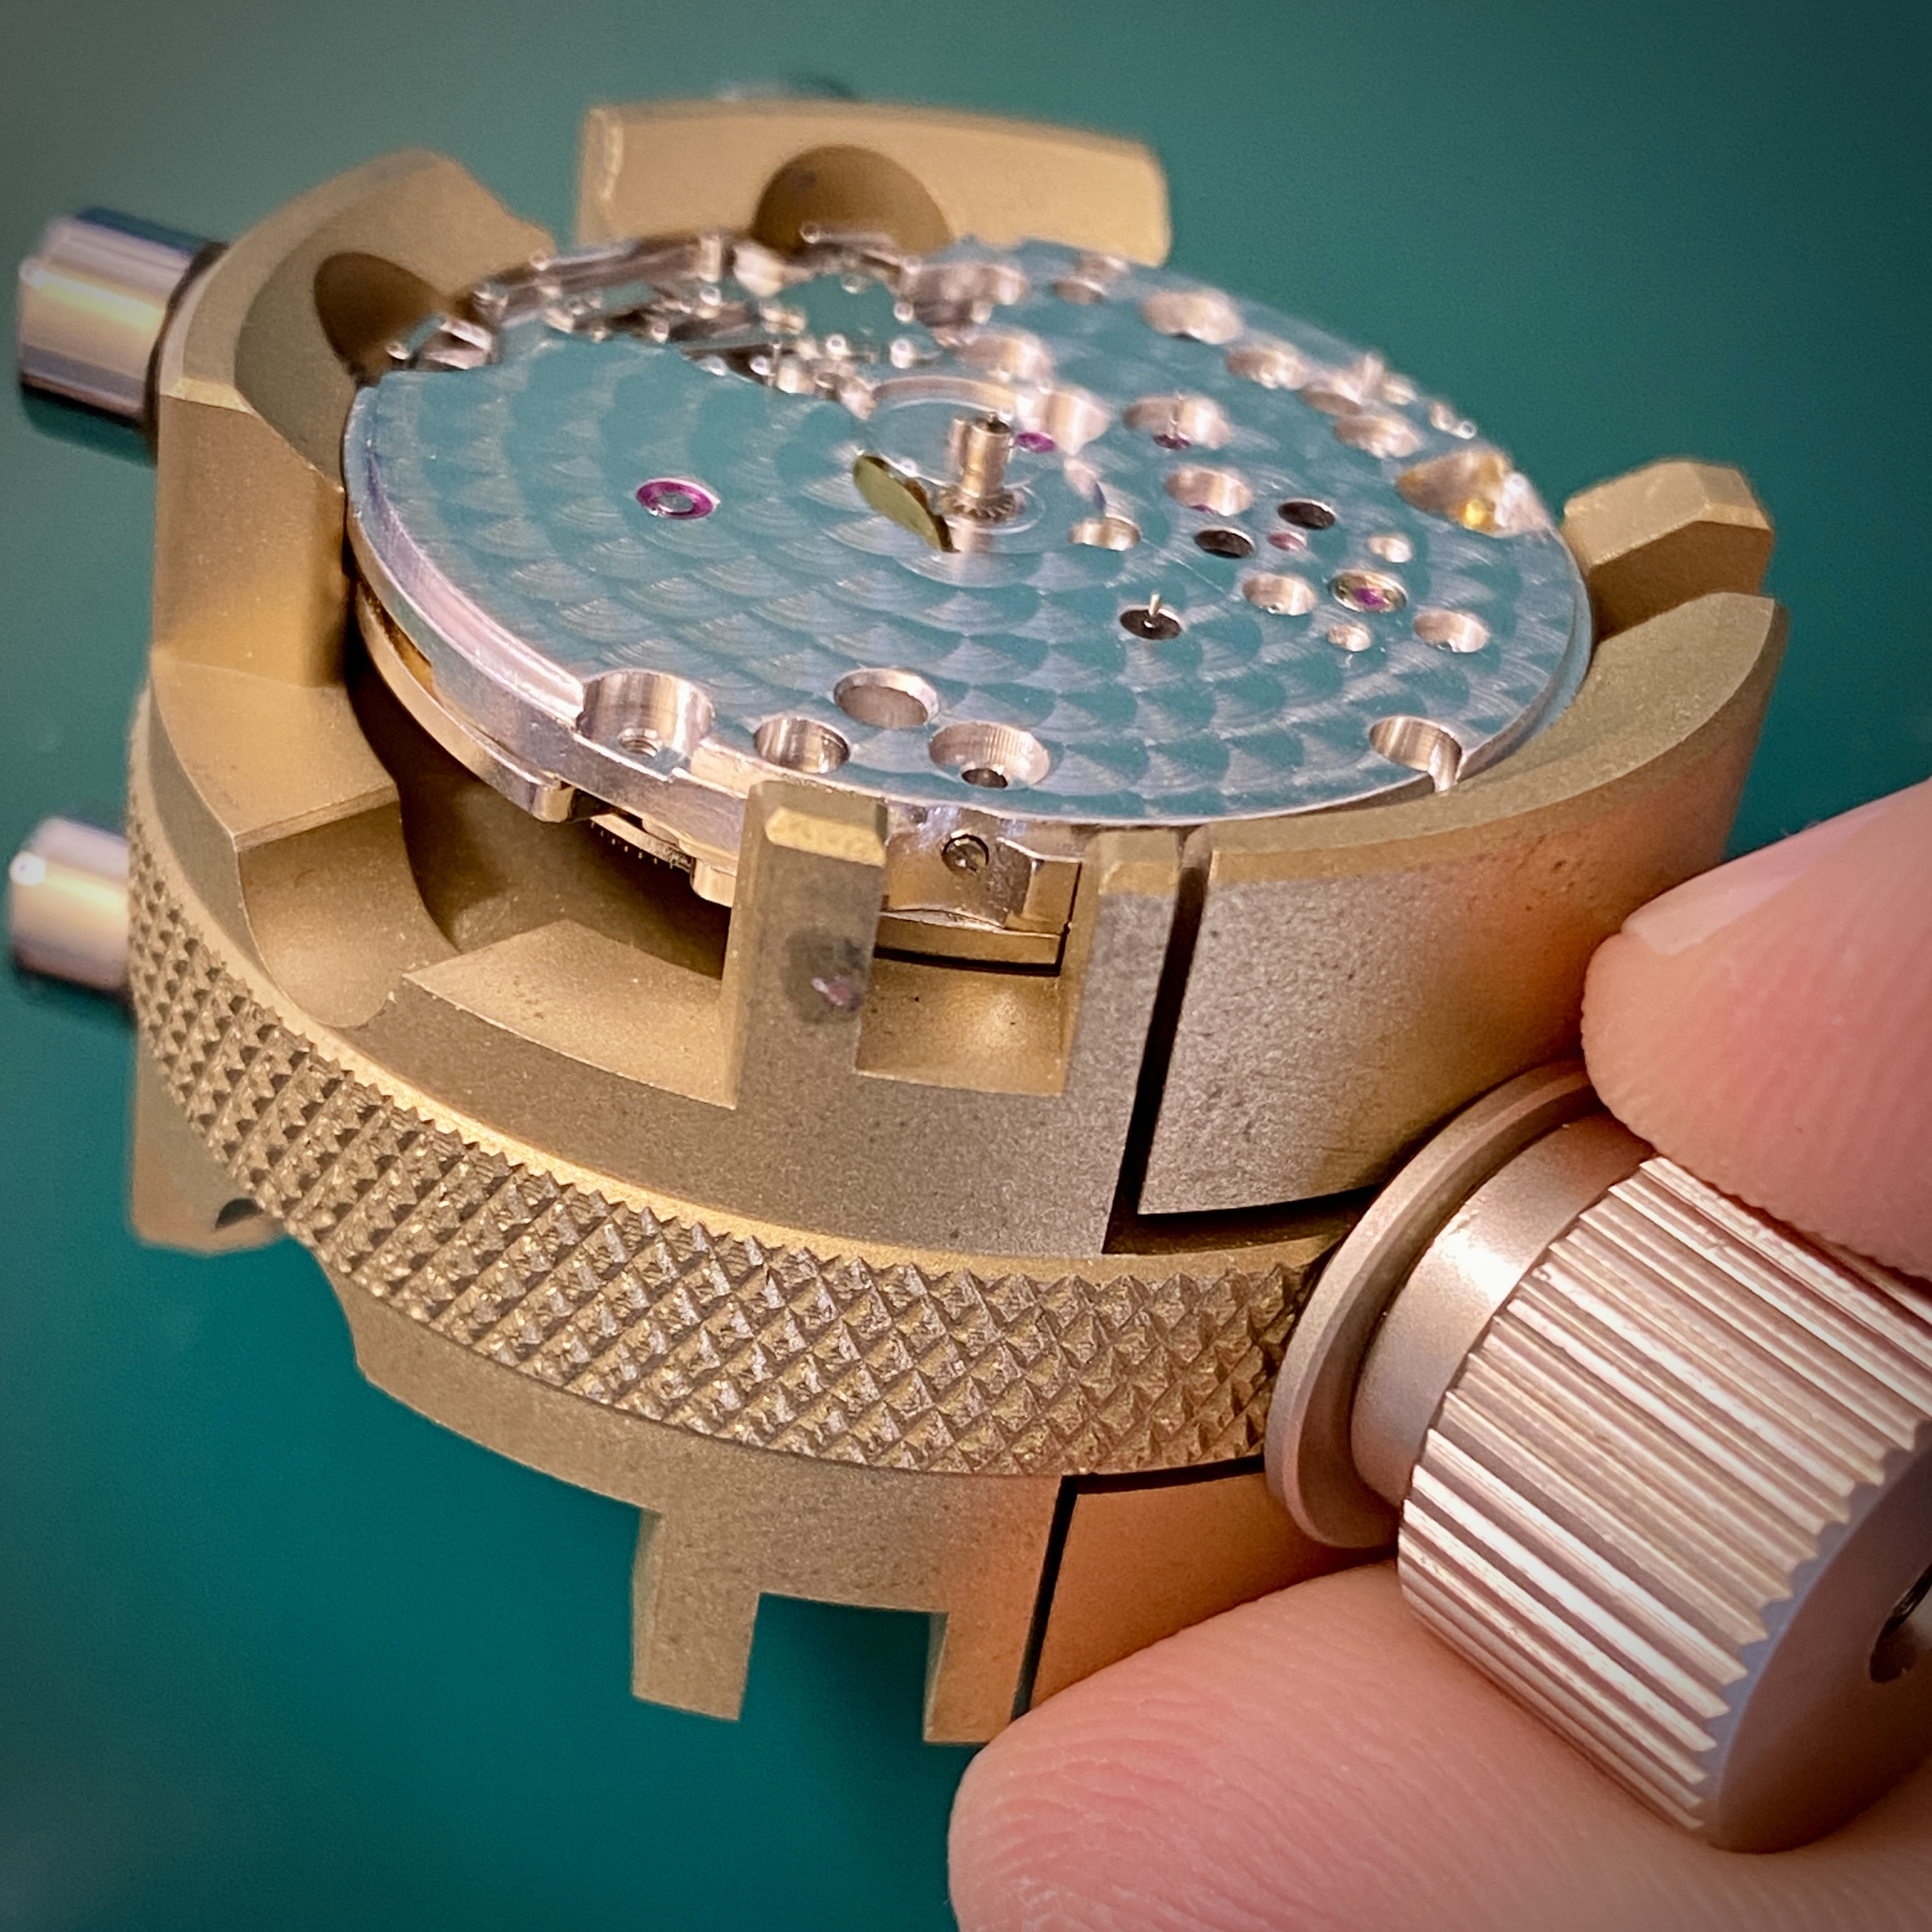
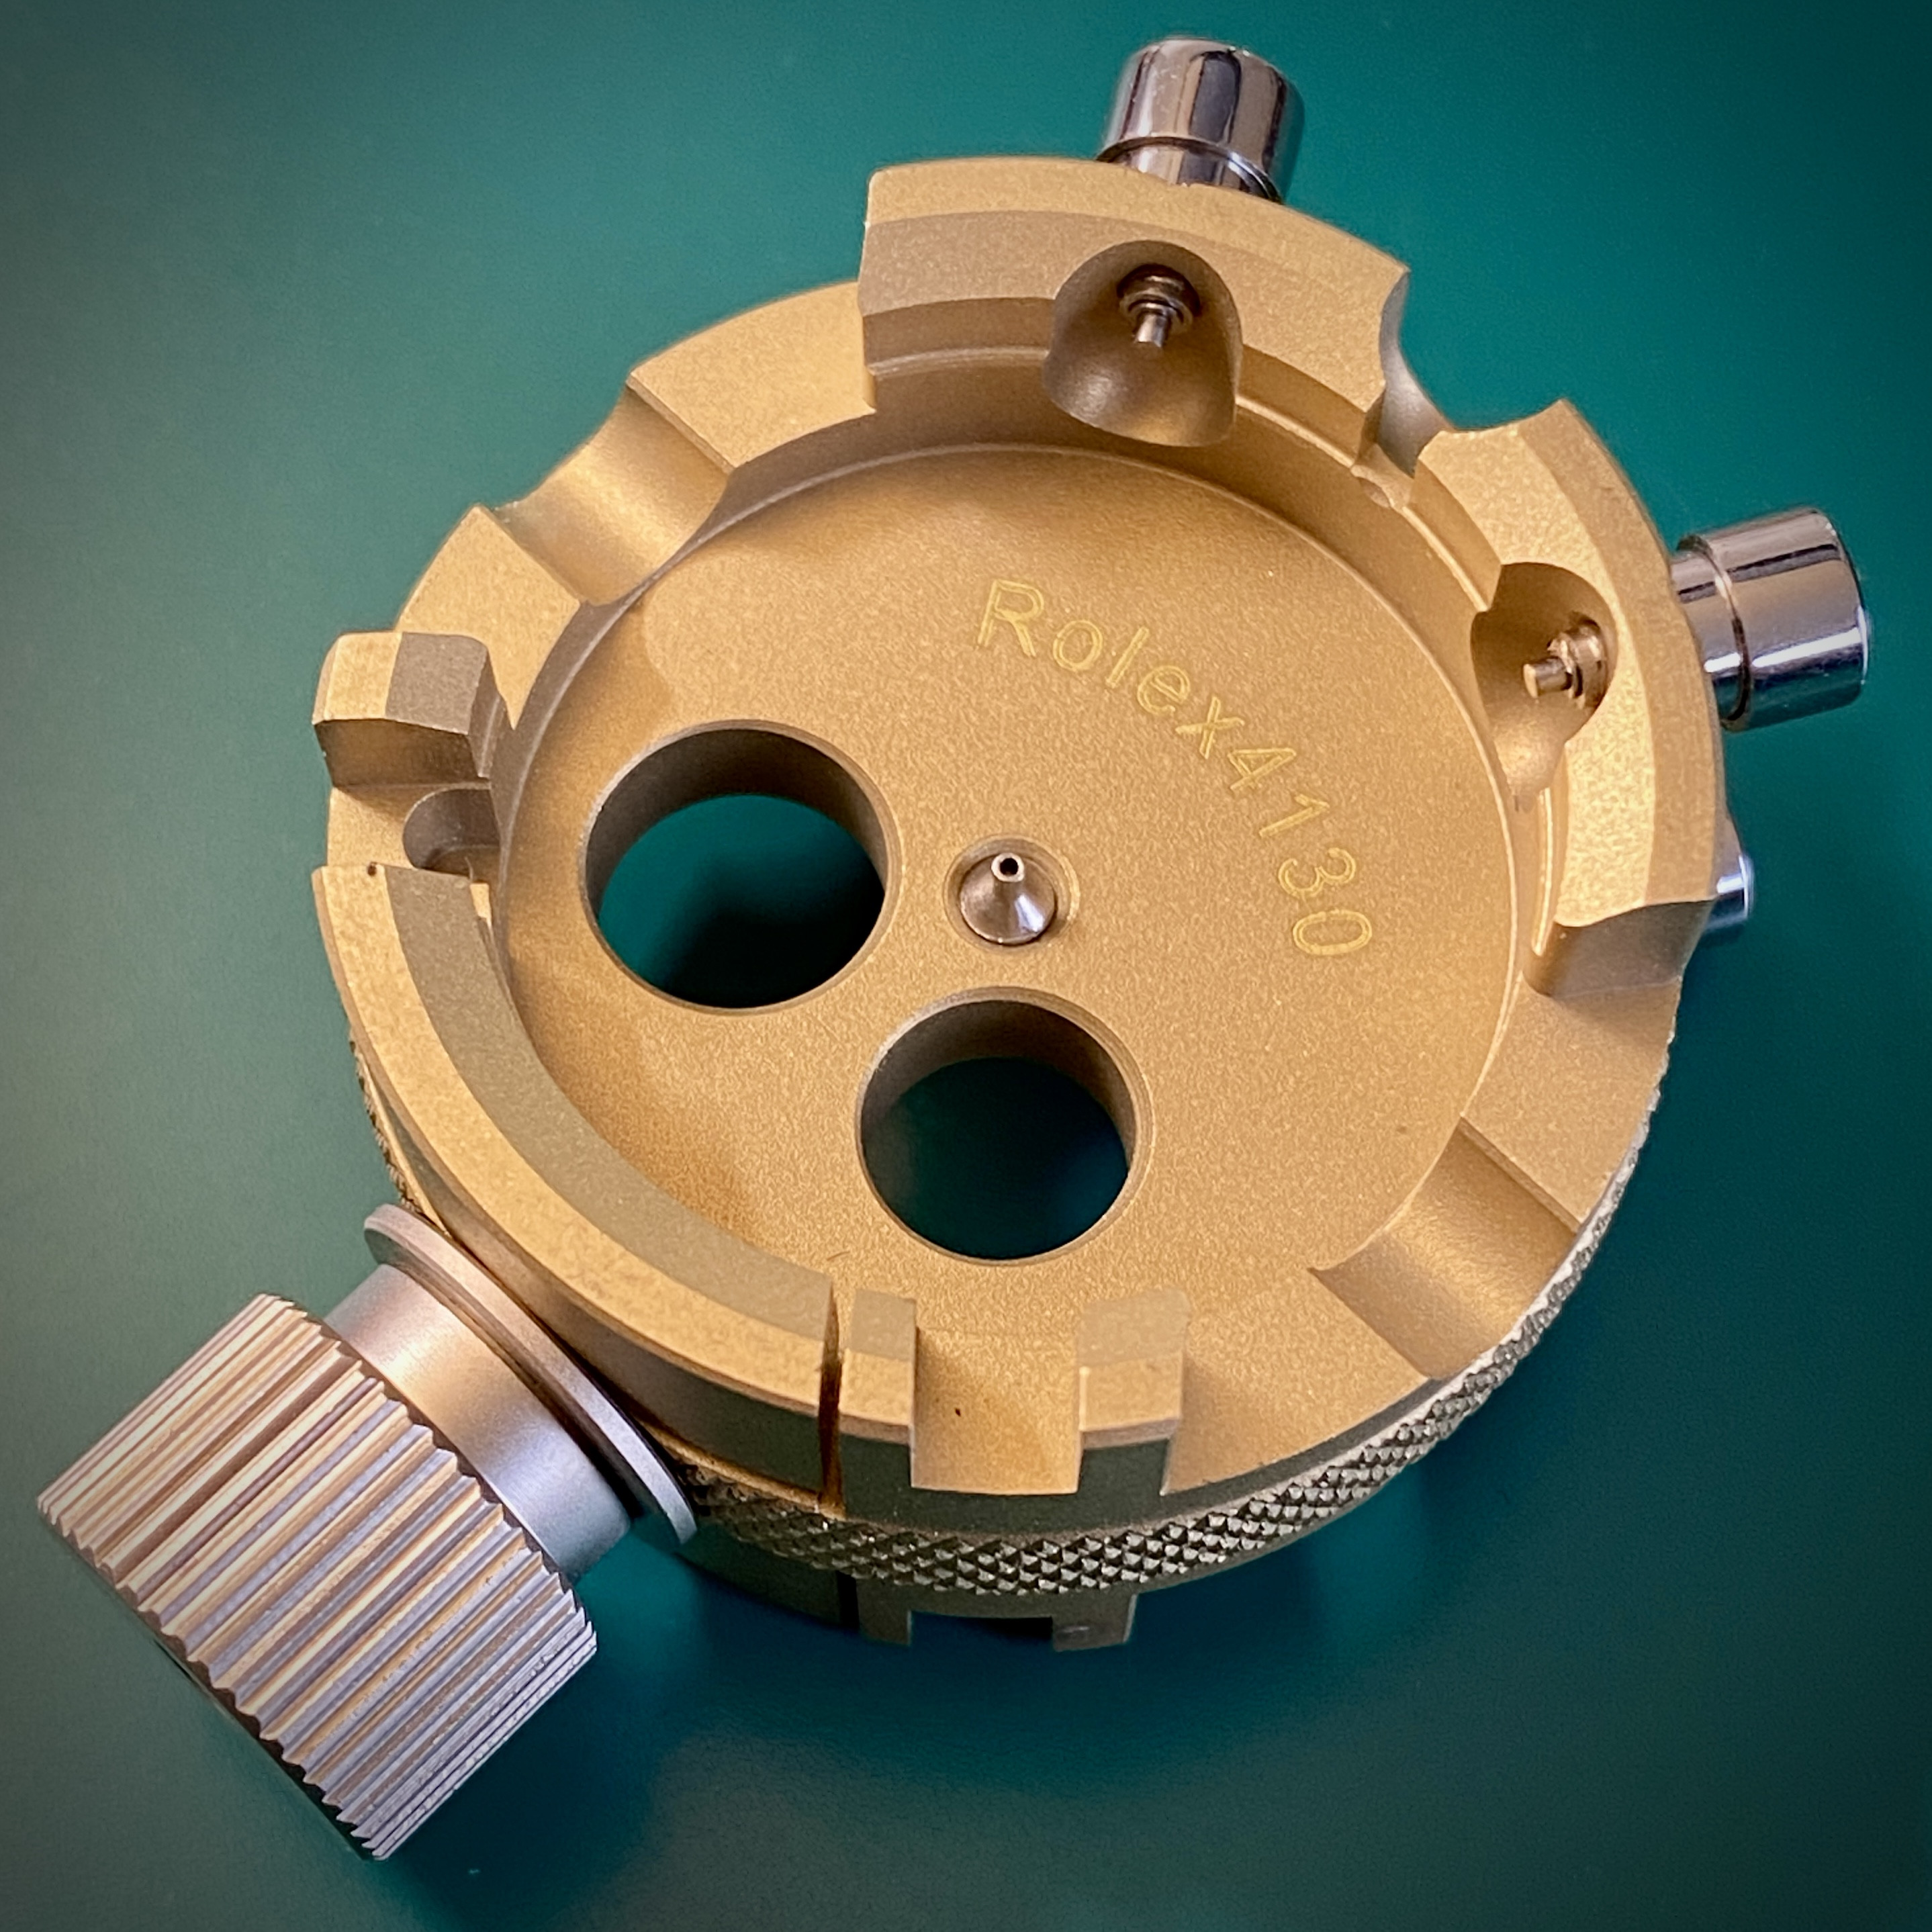
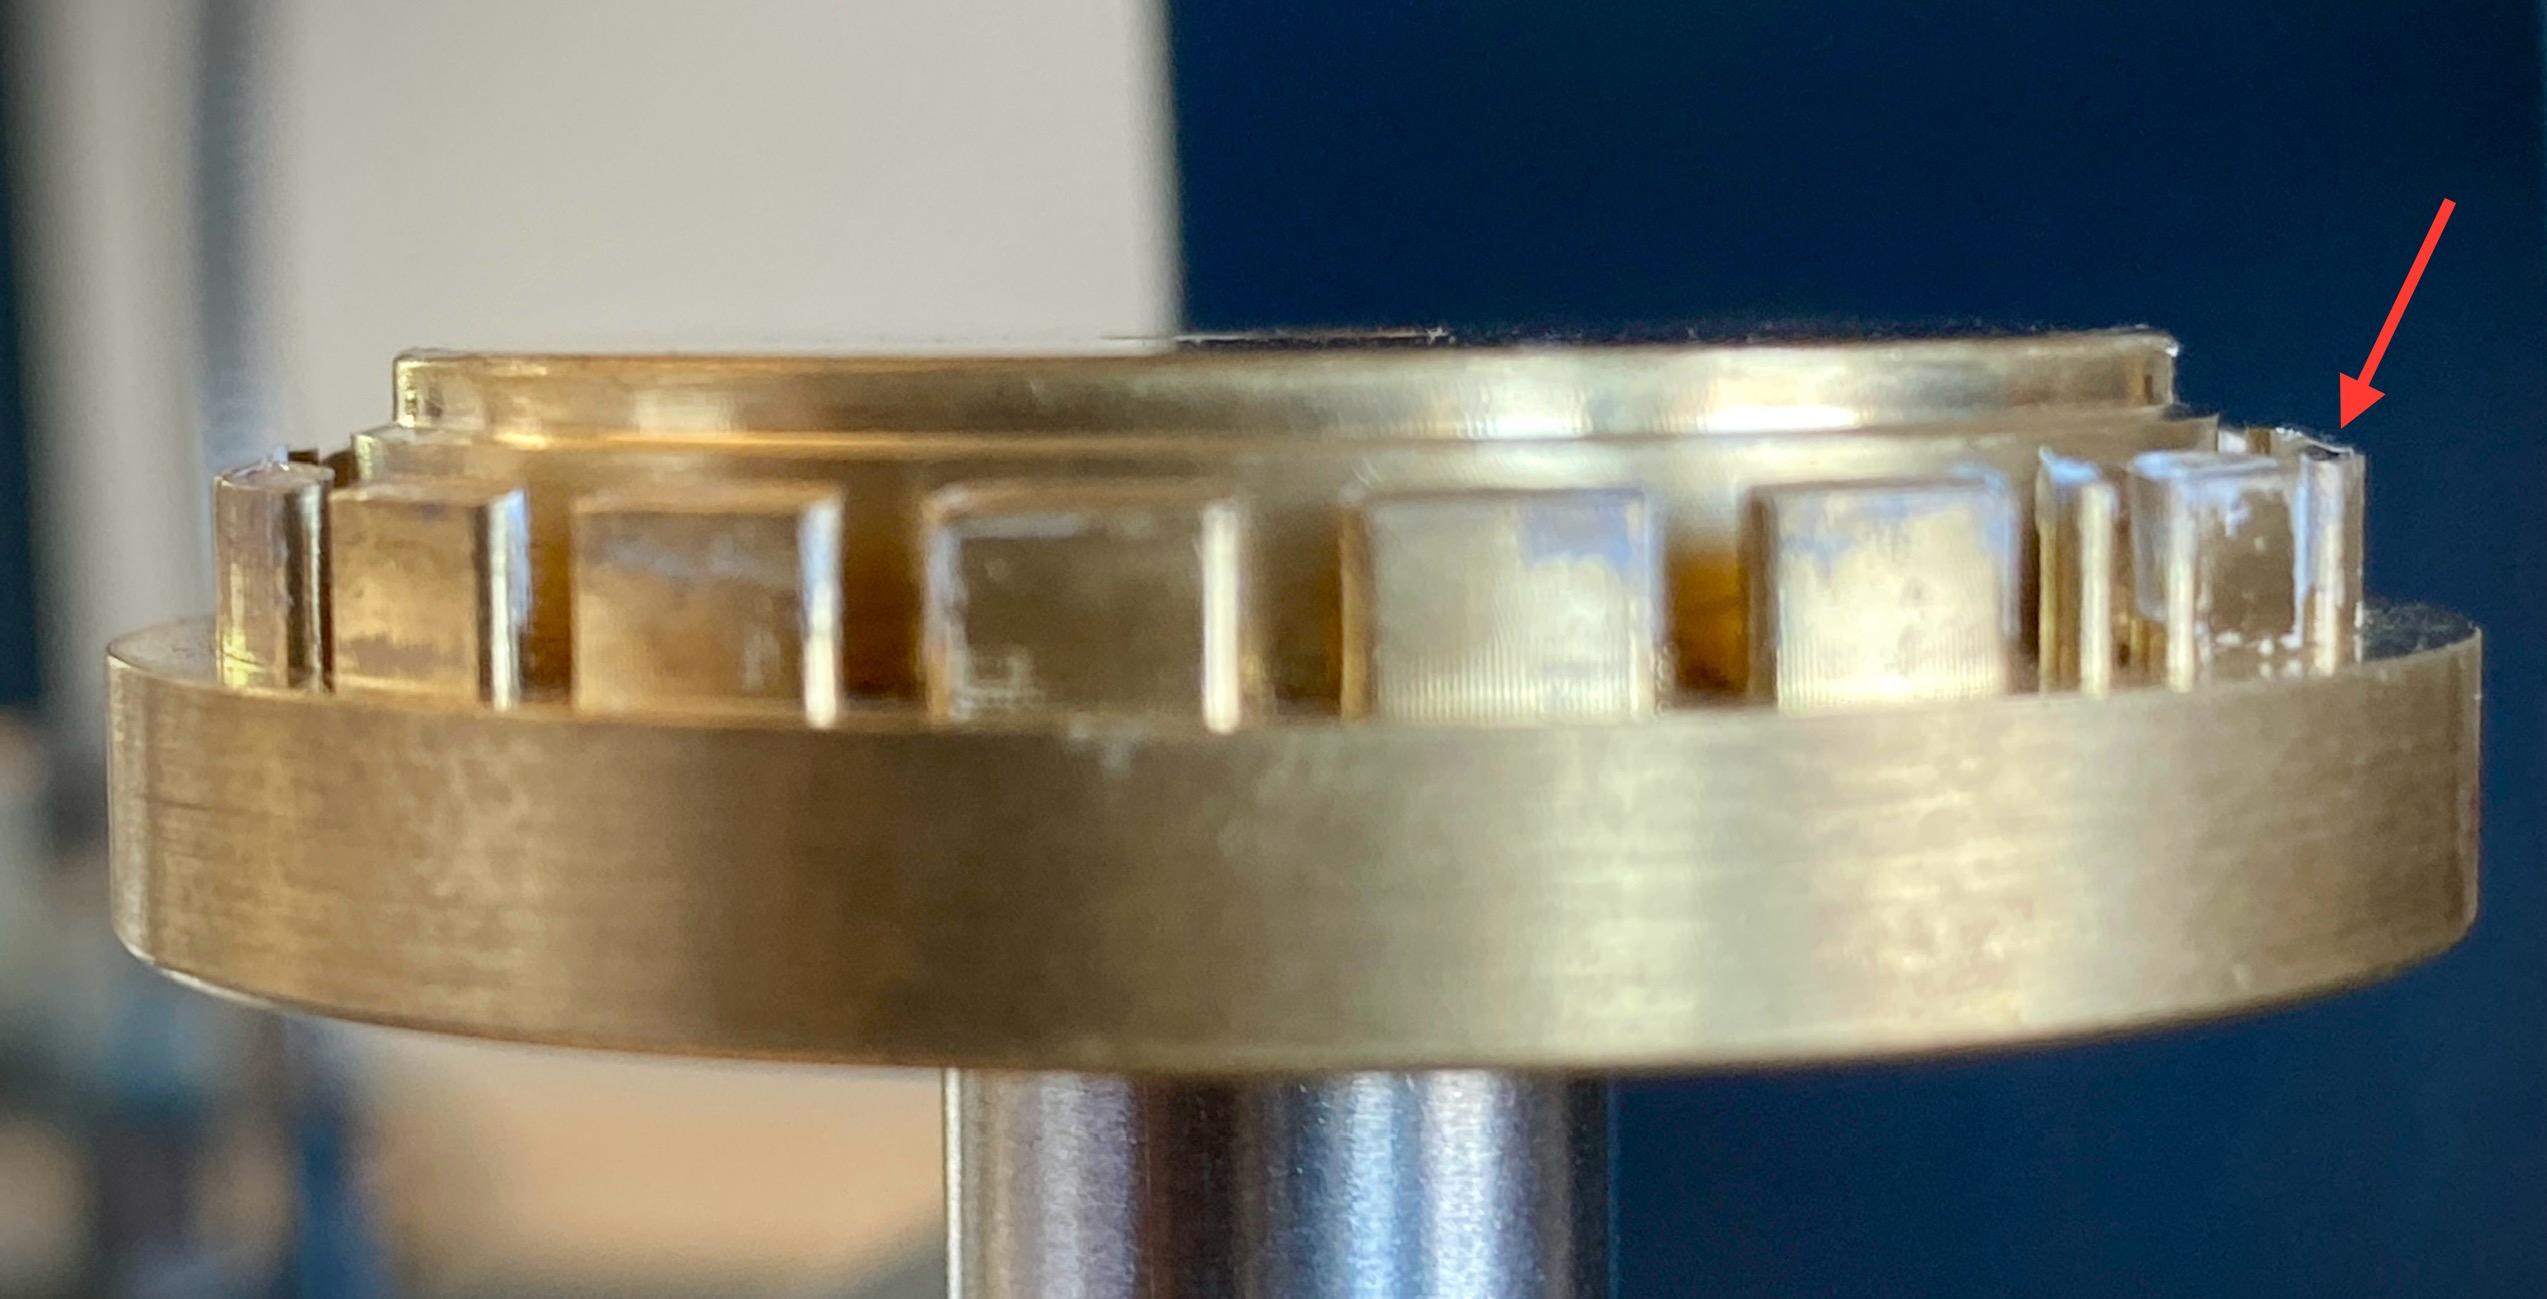
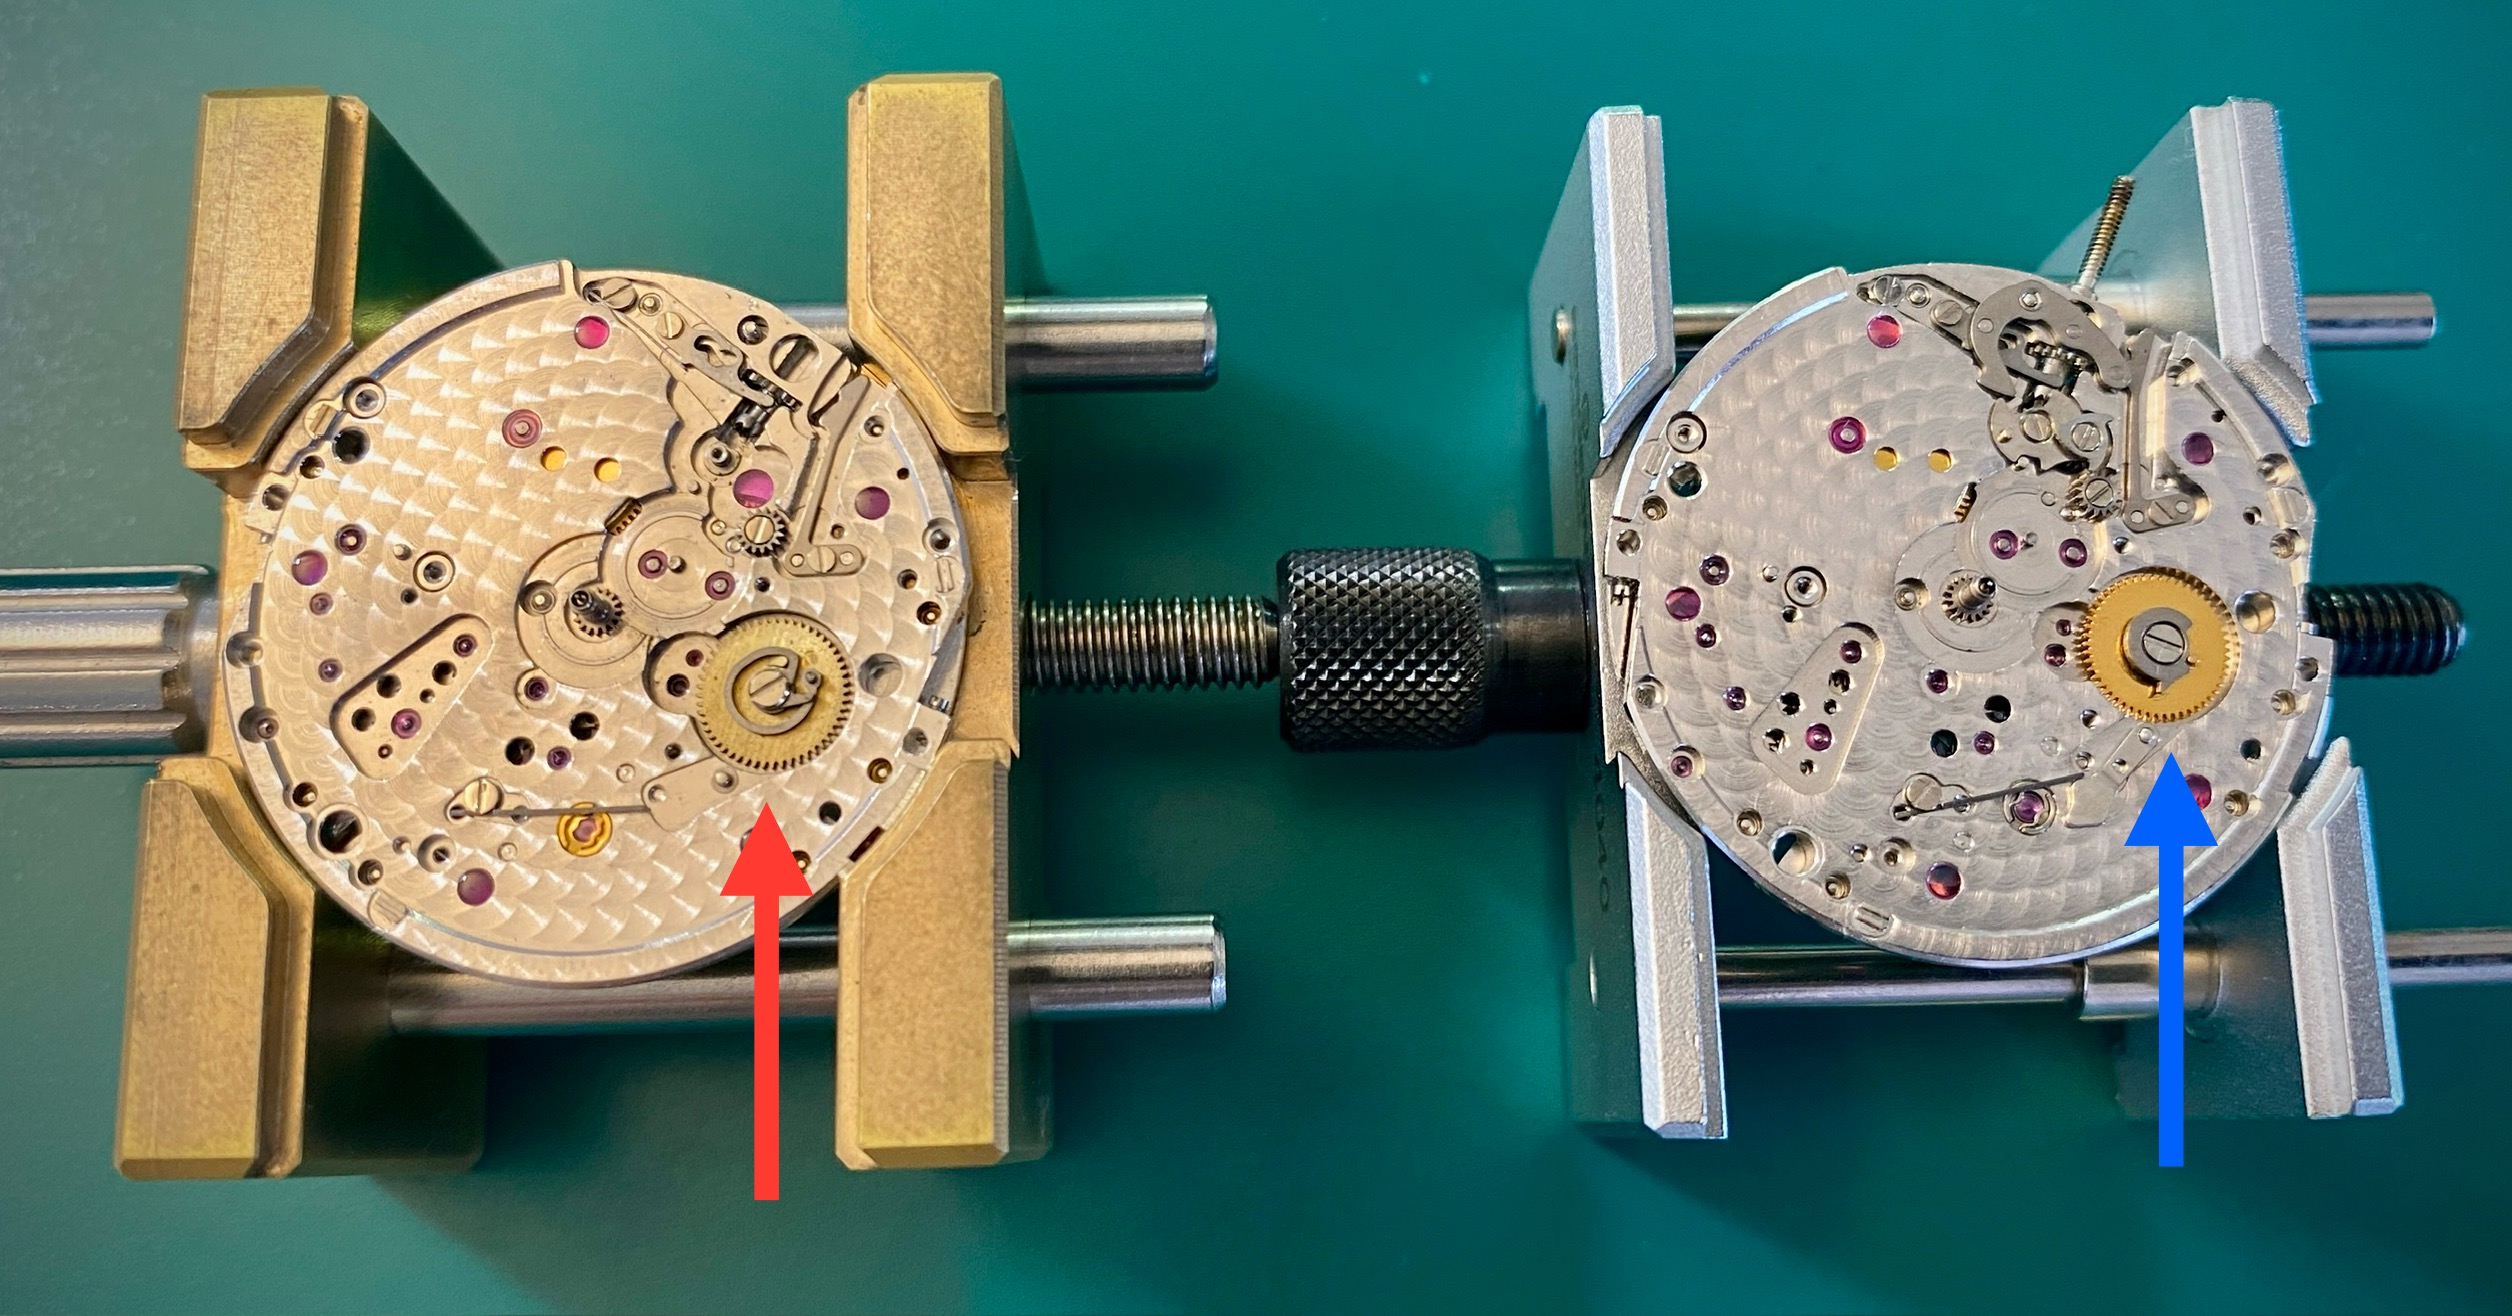
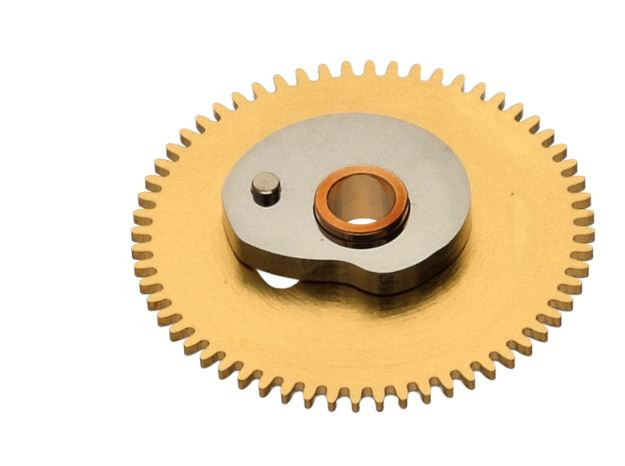
Very slick mod and great documentation! It's very similar to the date wheel part in 31xx / 32xx movements except that spring has an enclosure around it. This mod is simpler as it interacts directly with the date indicator instead of needing several other companion parts.I had a really interesting project on my bench this week: an AP rep with a clone 3120 movement that had an instant date change mod. I haven't seen this mod before and I don't know if it's been documented here (I didn't look to hard, so maybe I'm wrong). Regardless, the mechanism for the instant date change is quite clever. Here's a pic showing the two date change mechanisms the instant date change is on the left (red arrow), and the standard clone movement mechanism is on the right (blue arrow).
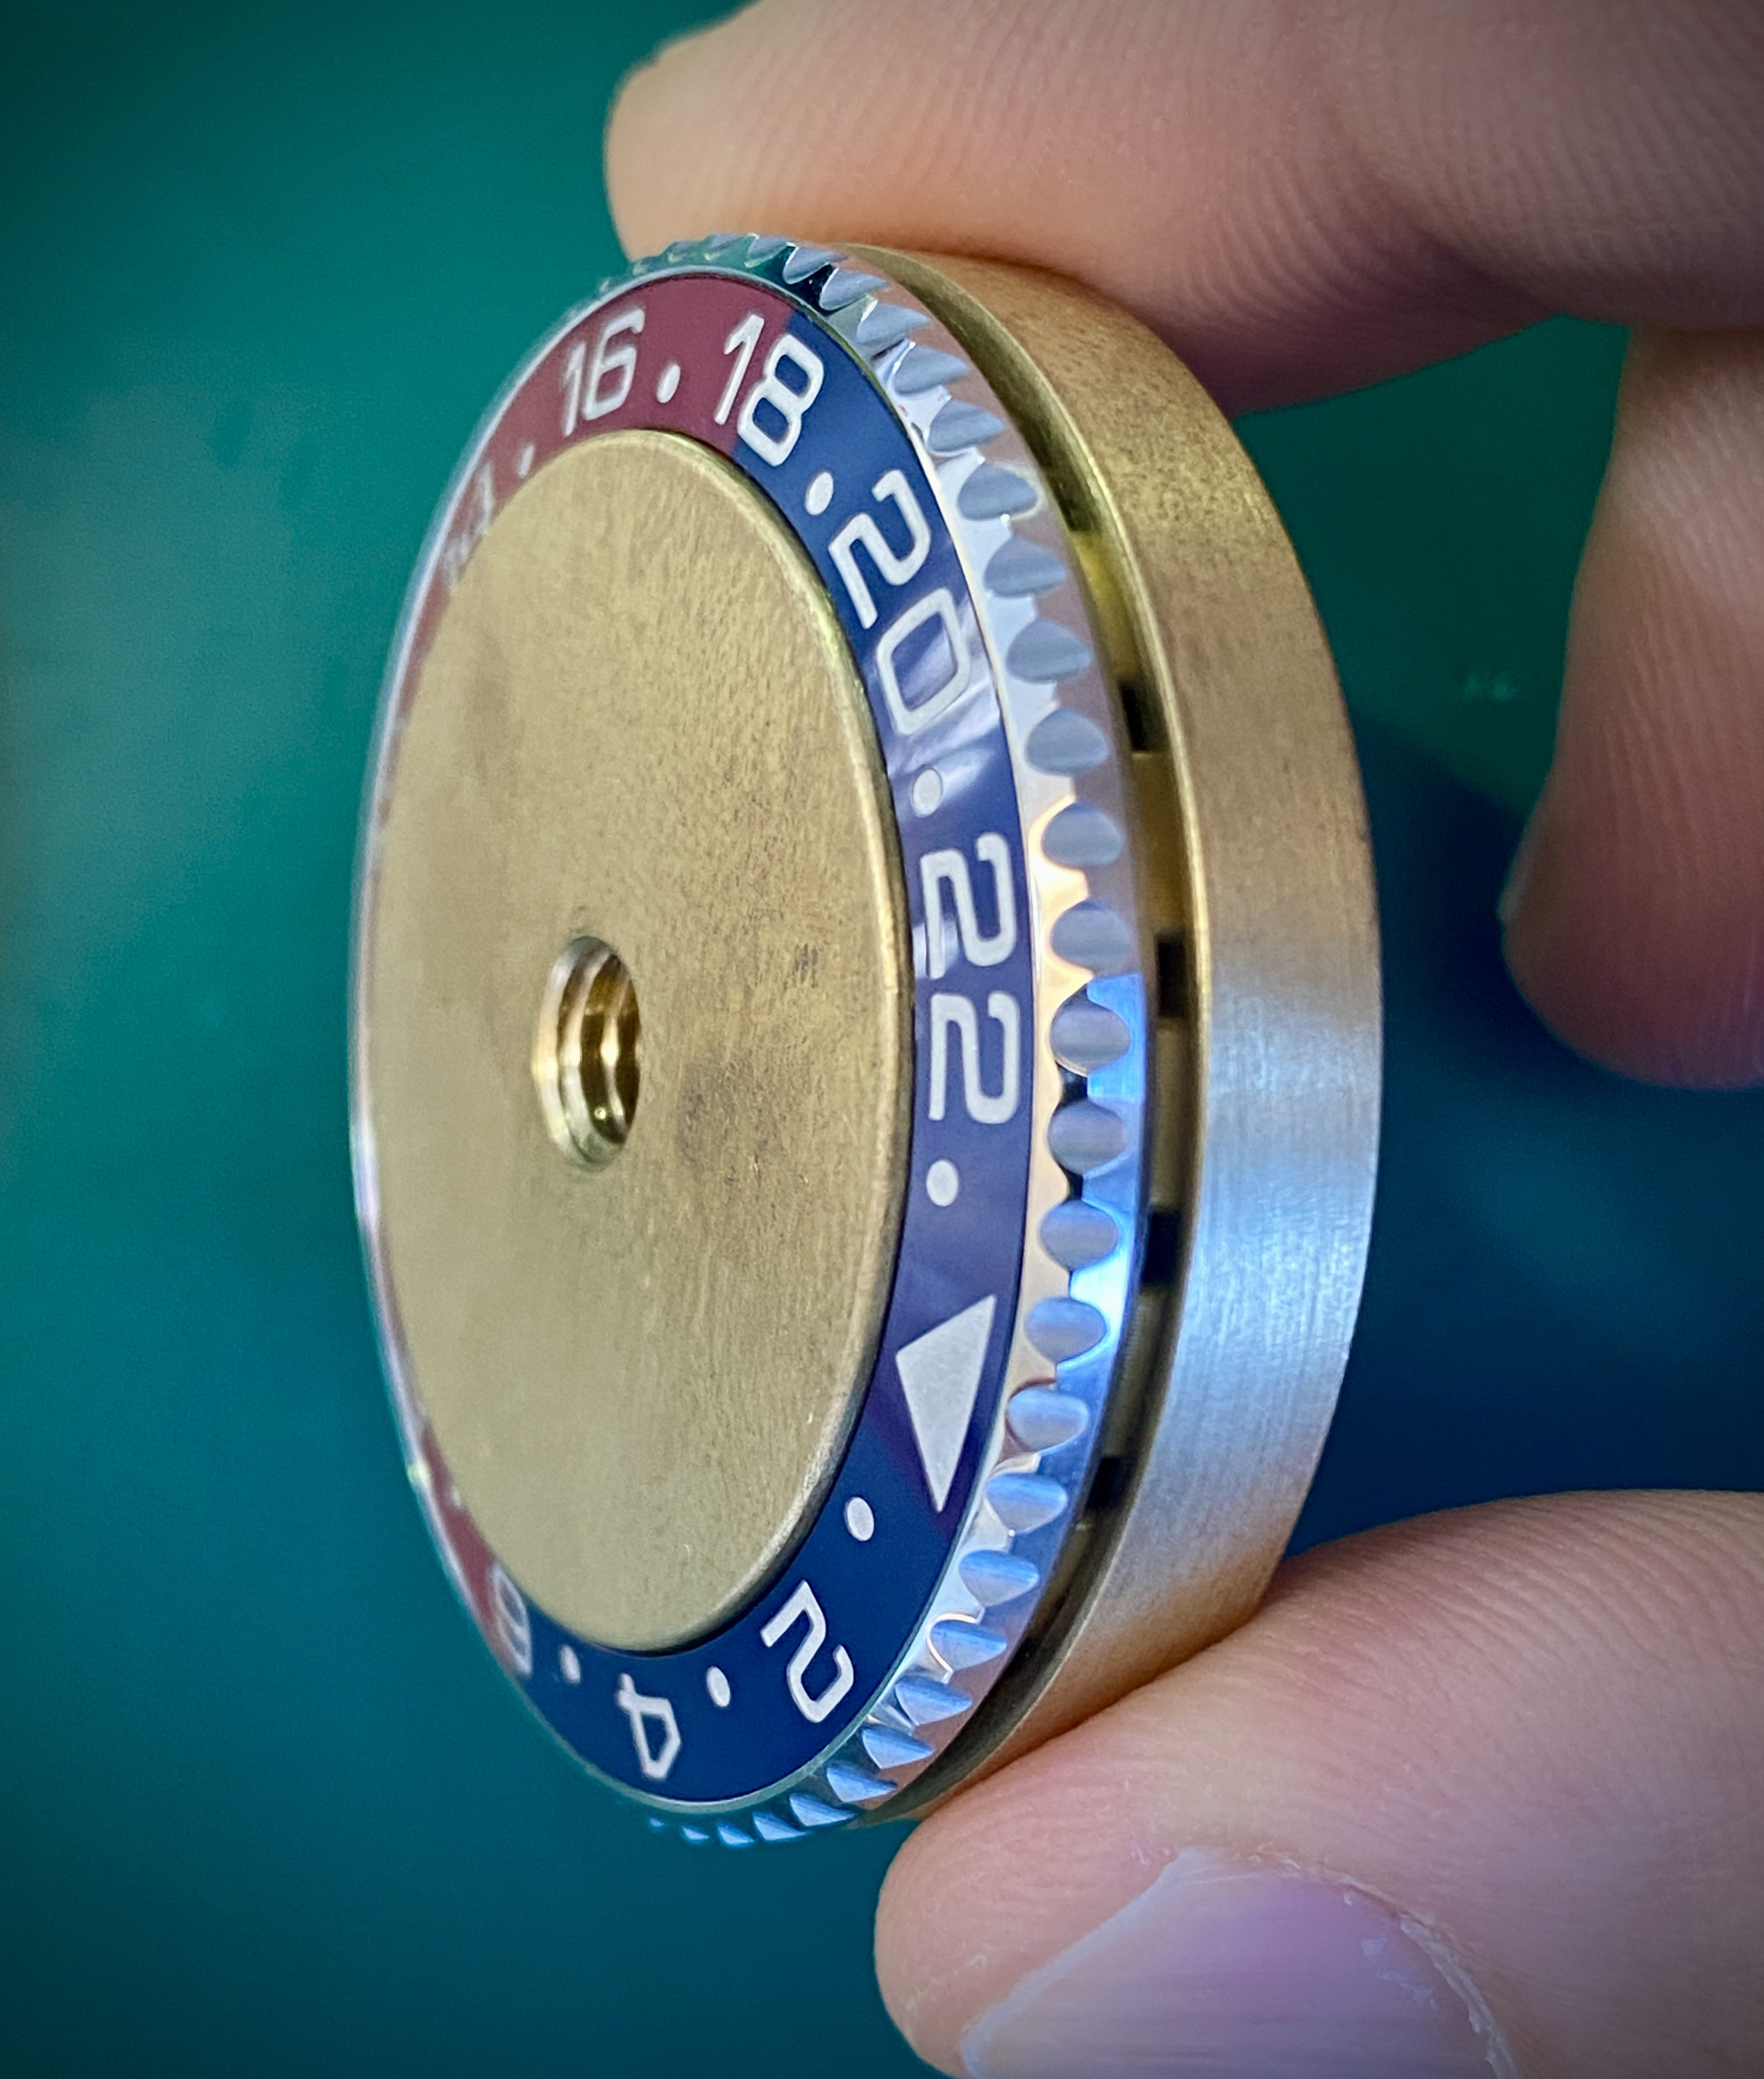
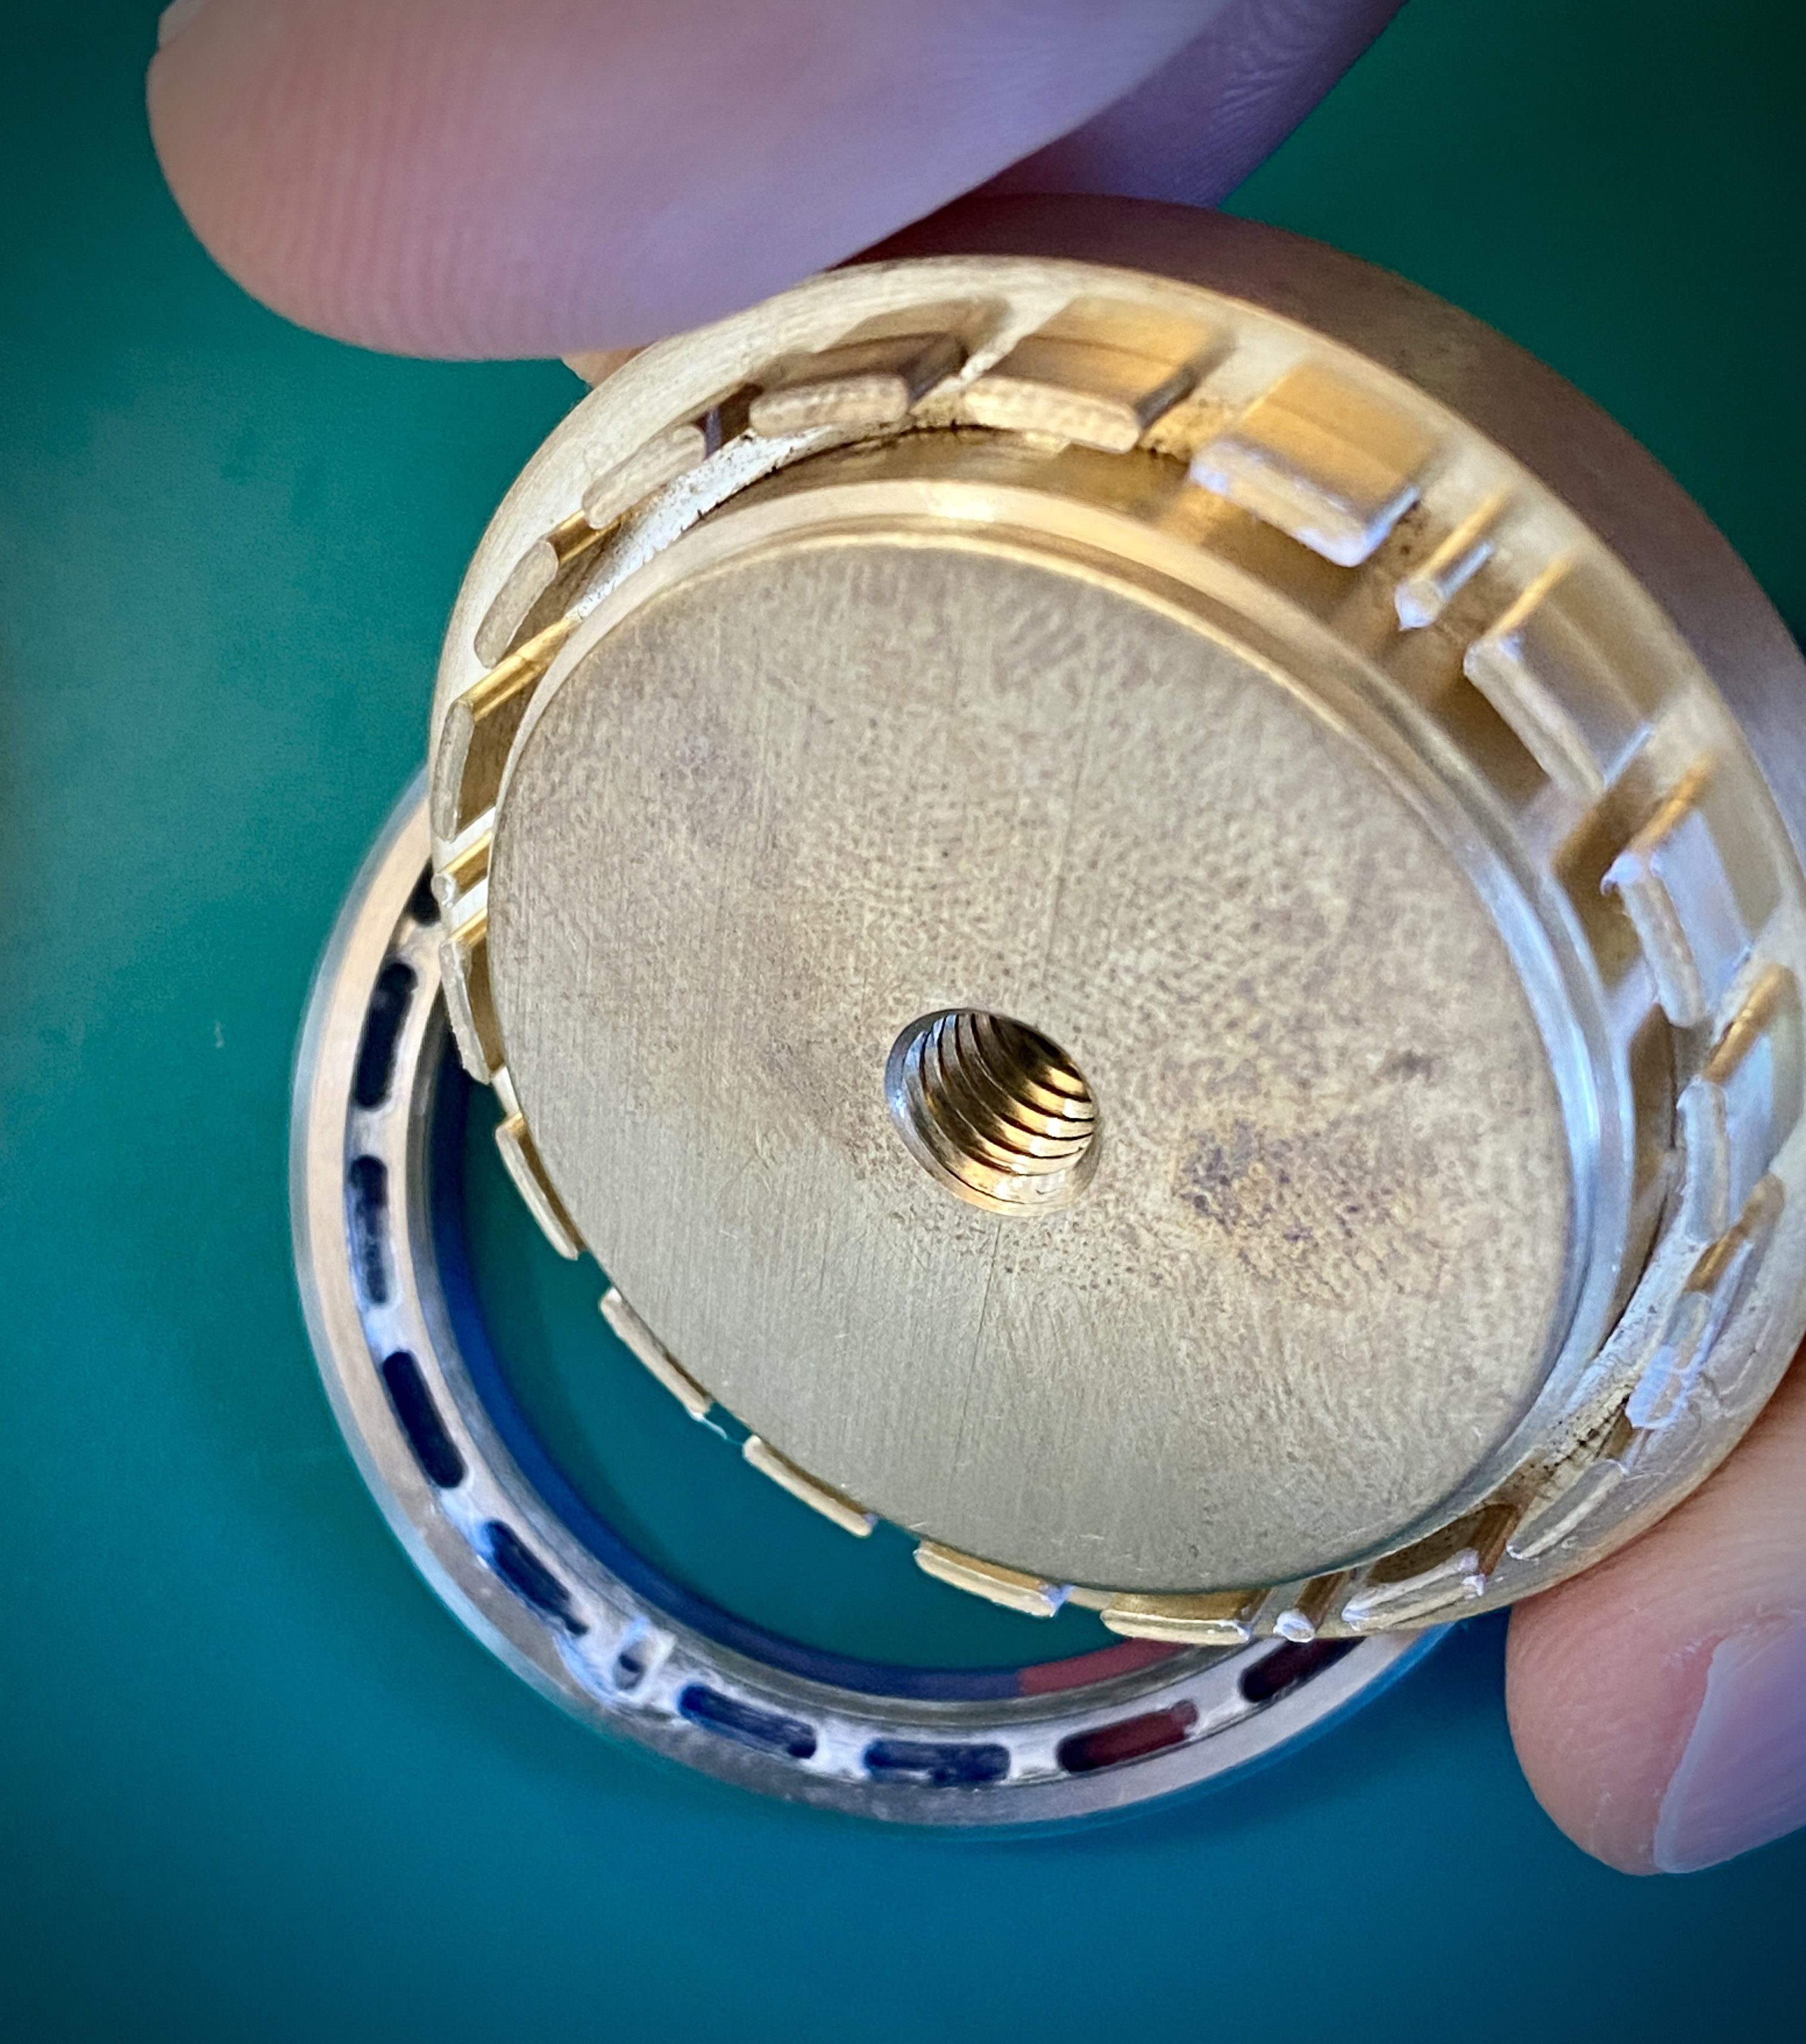
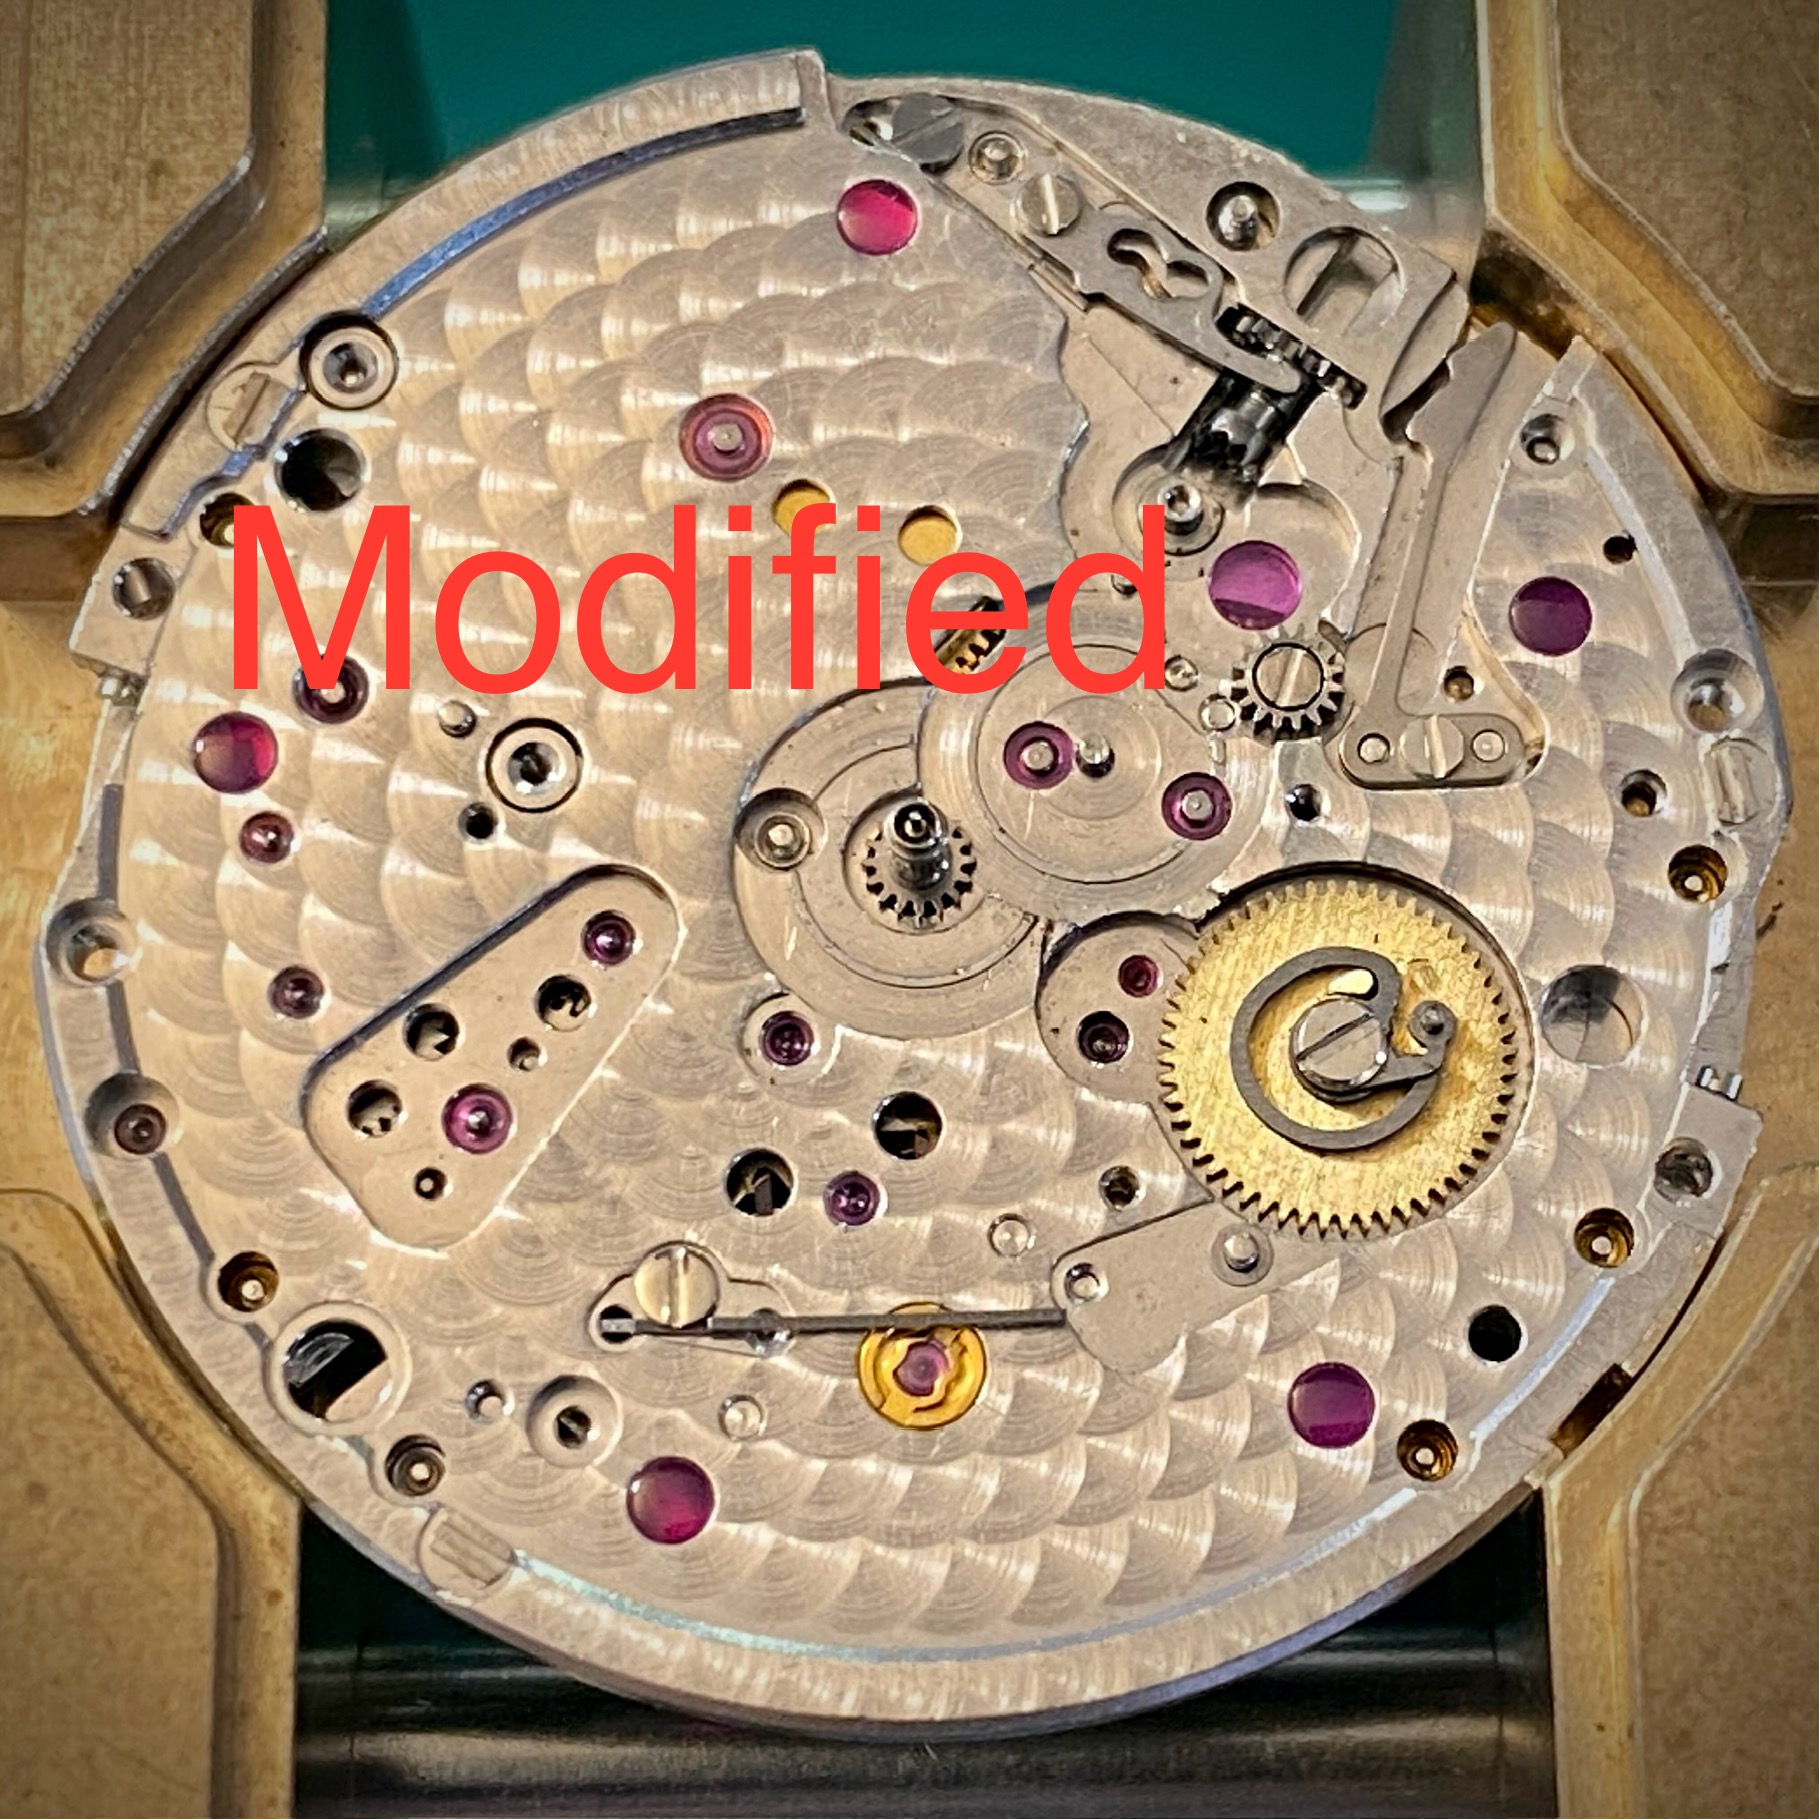
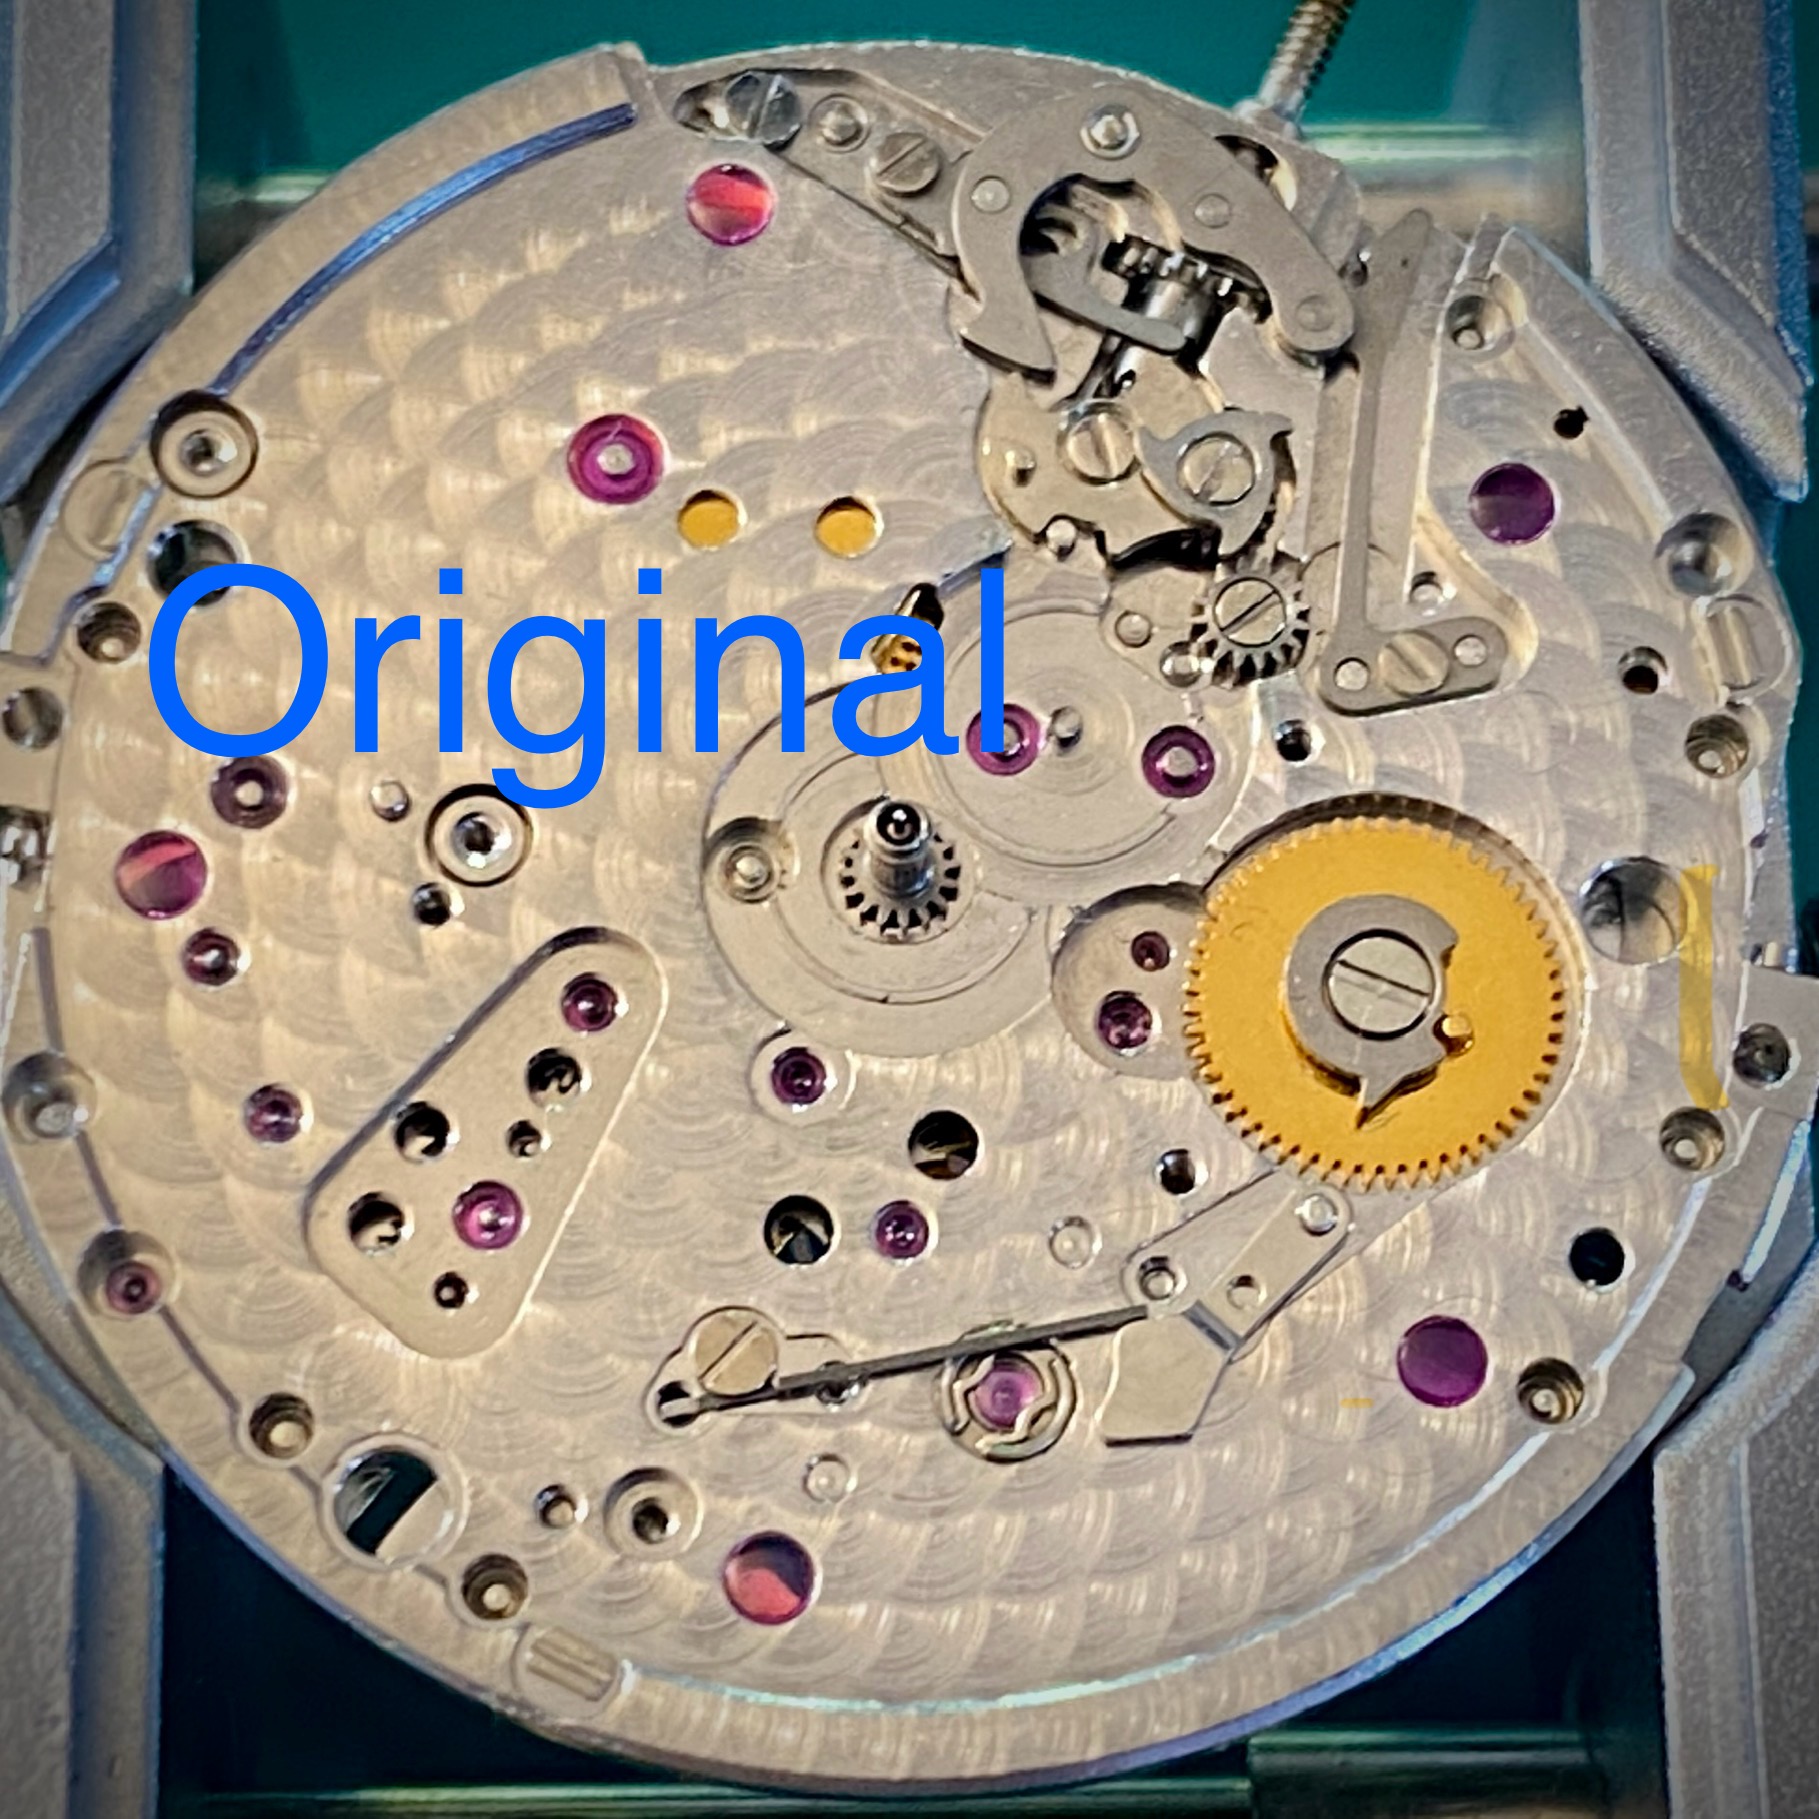
And here are a couple of close up pics of both mechanisms:
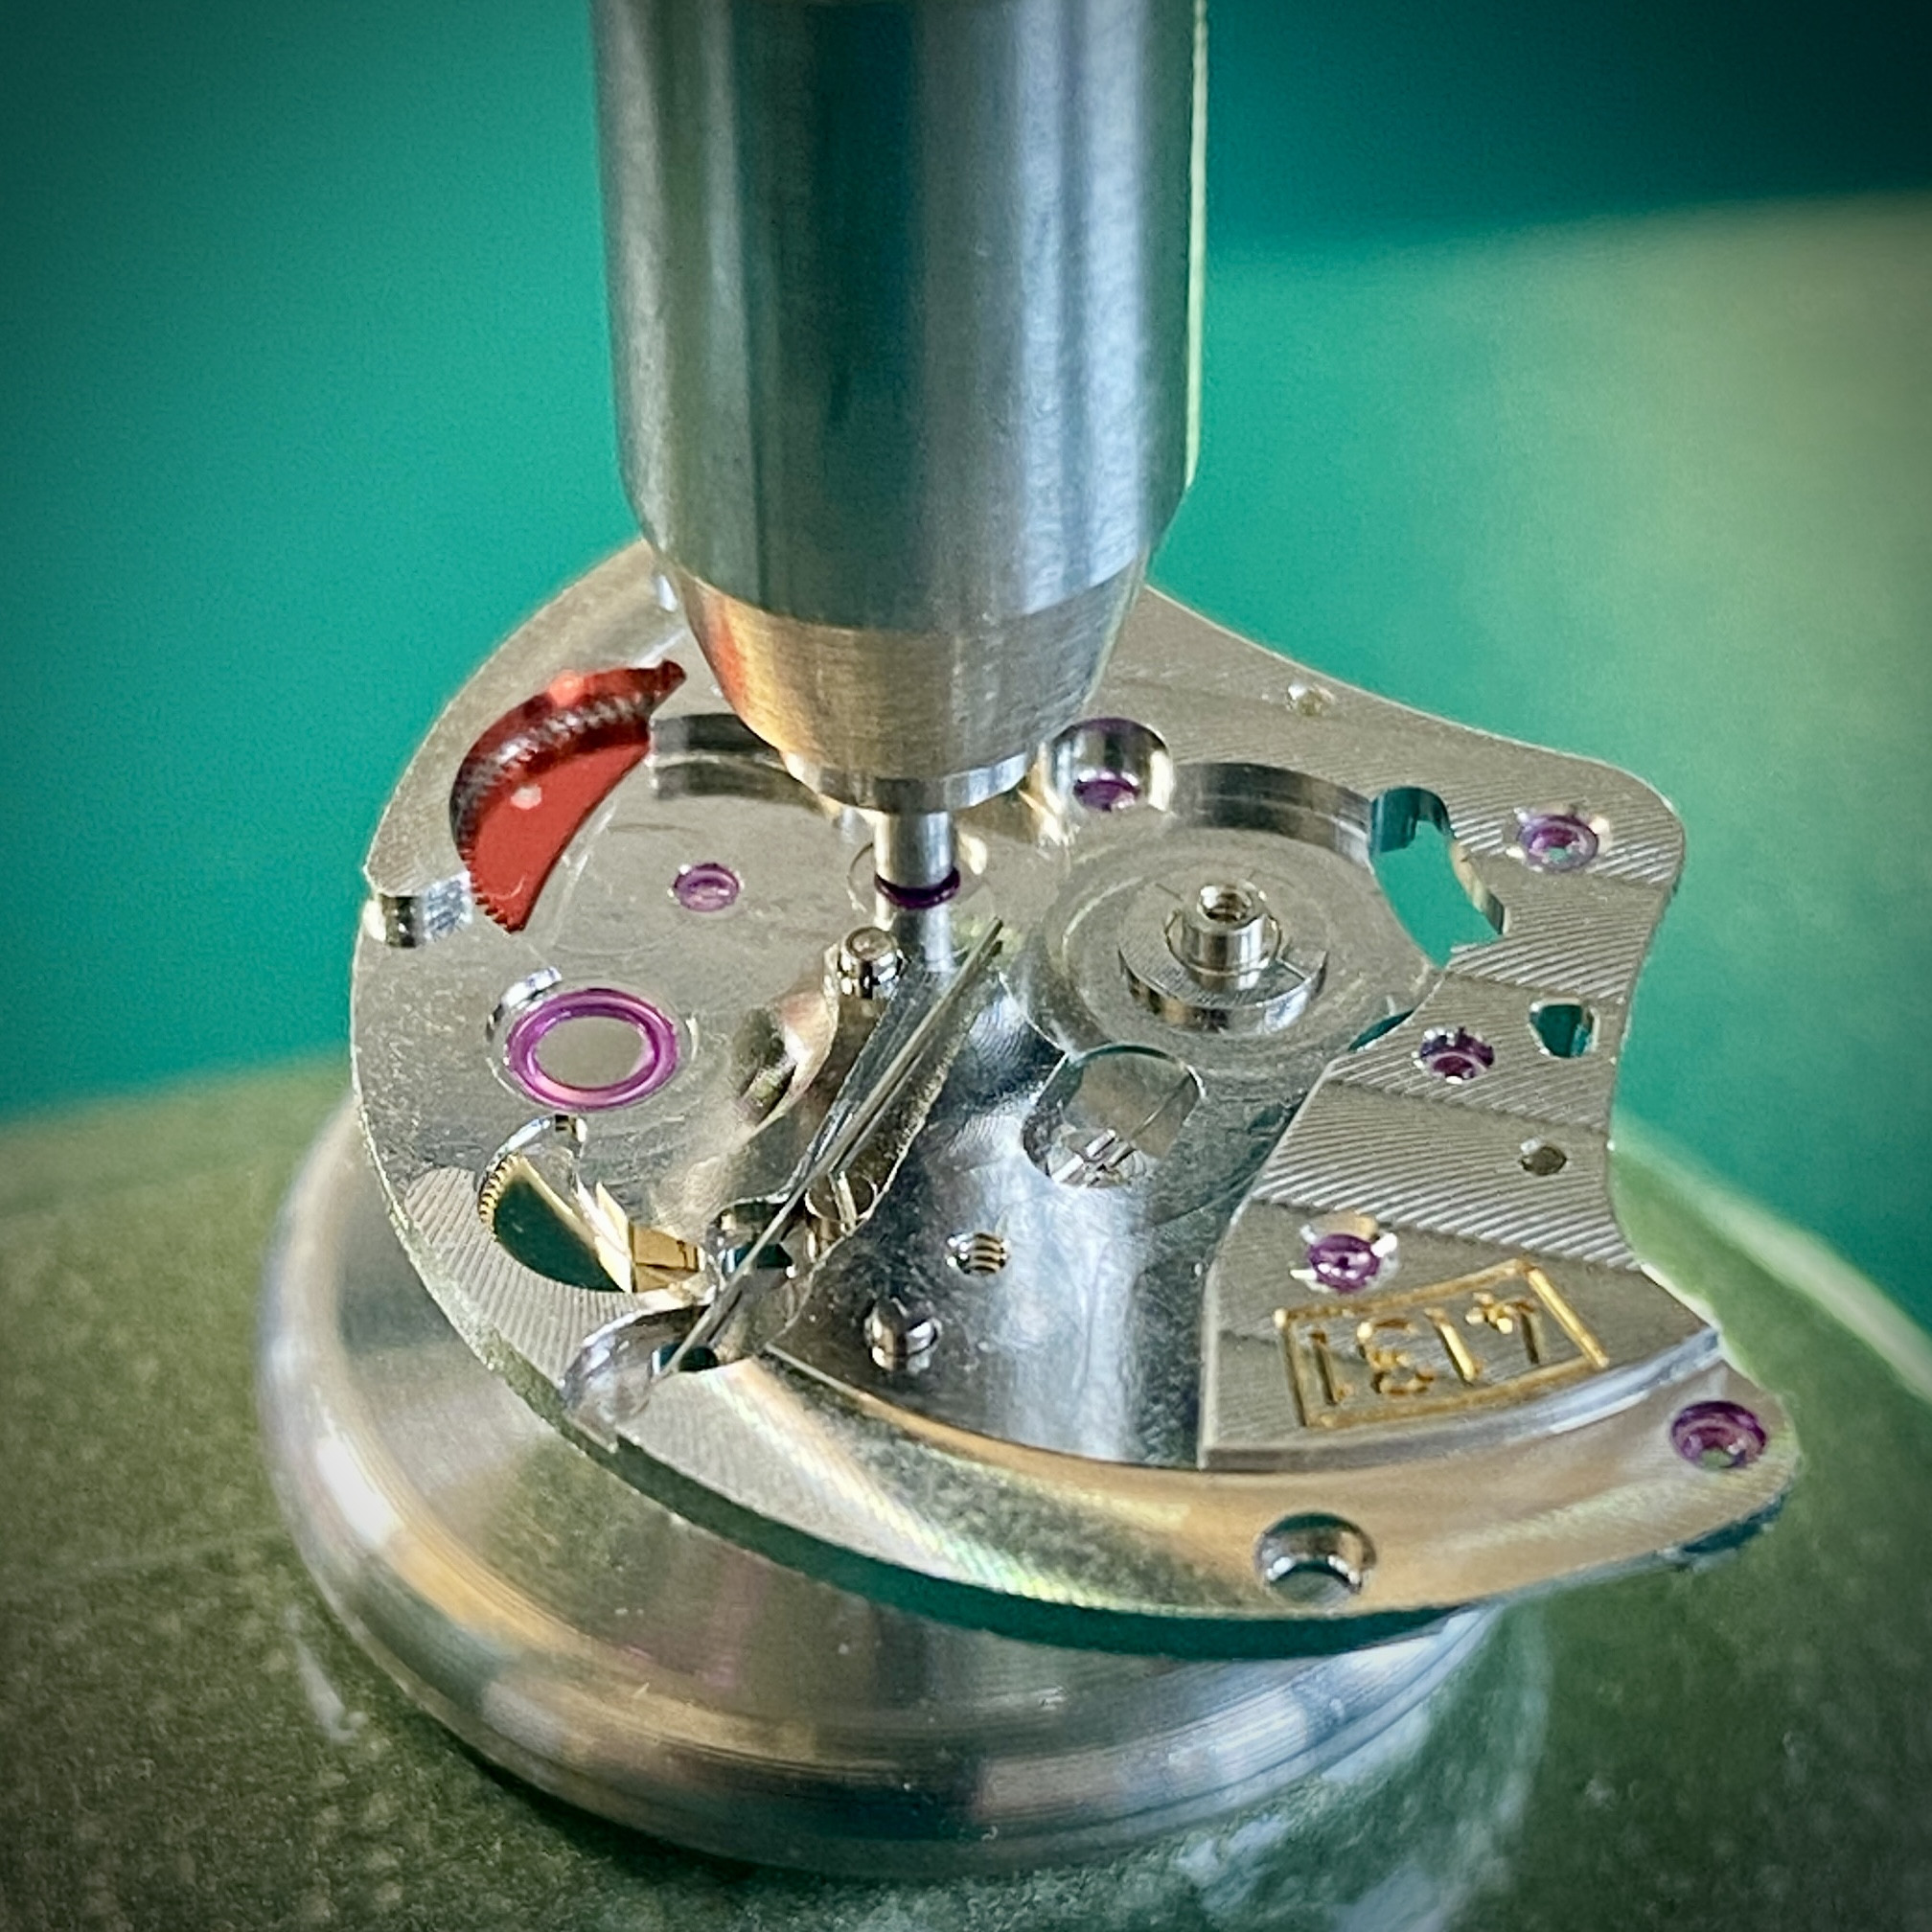
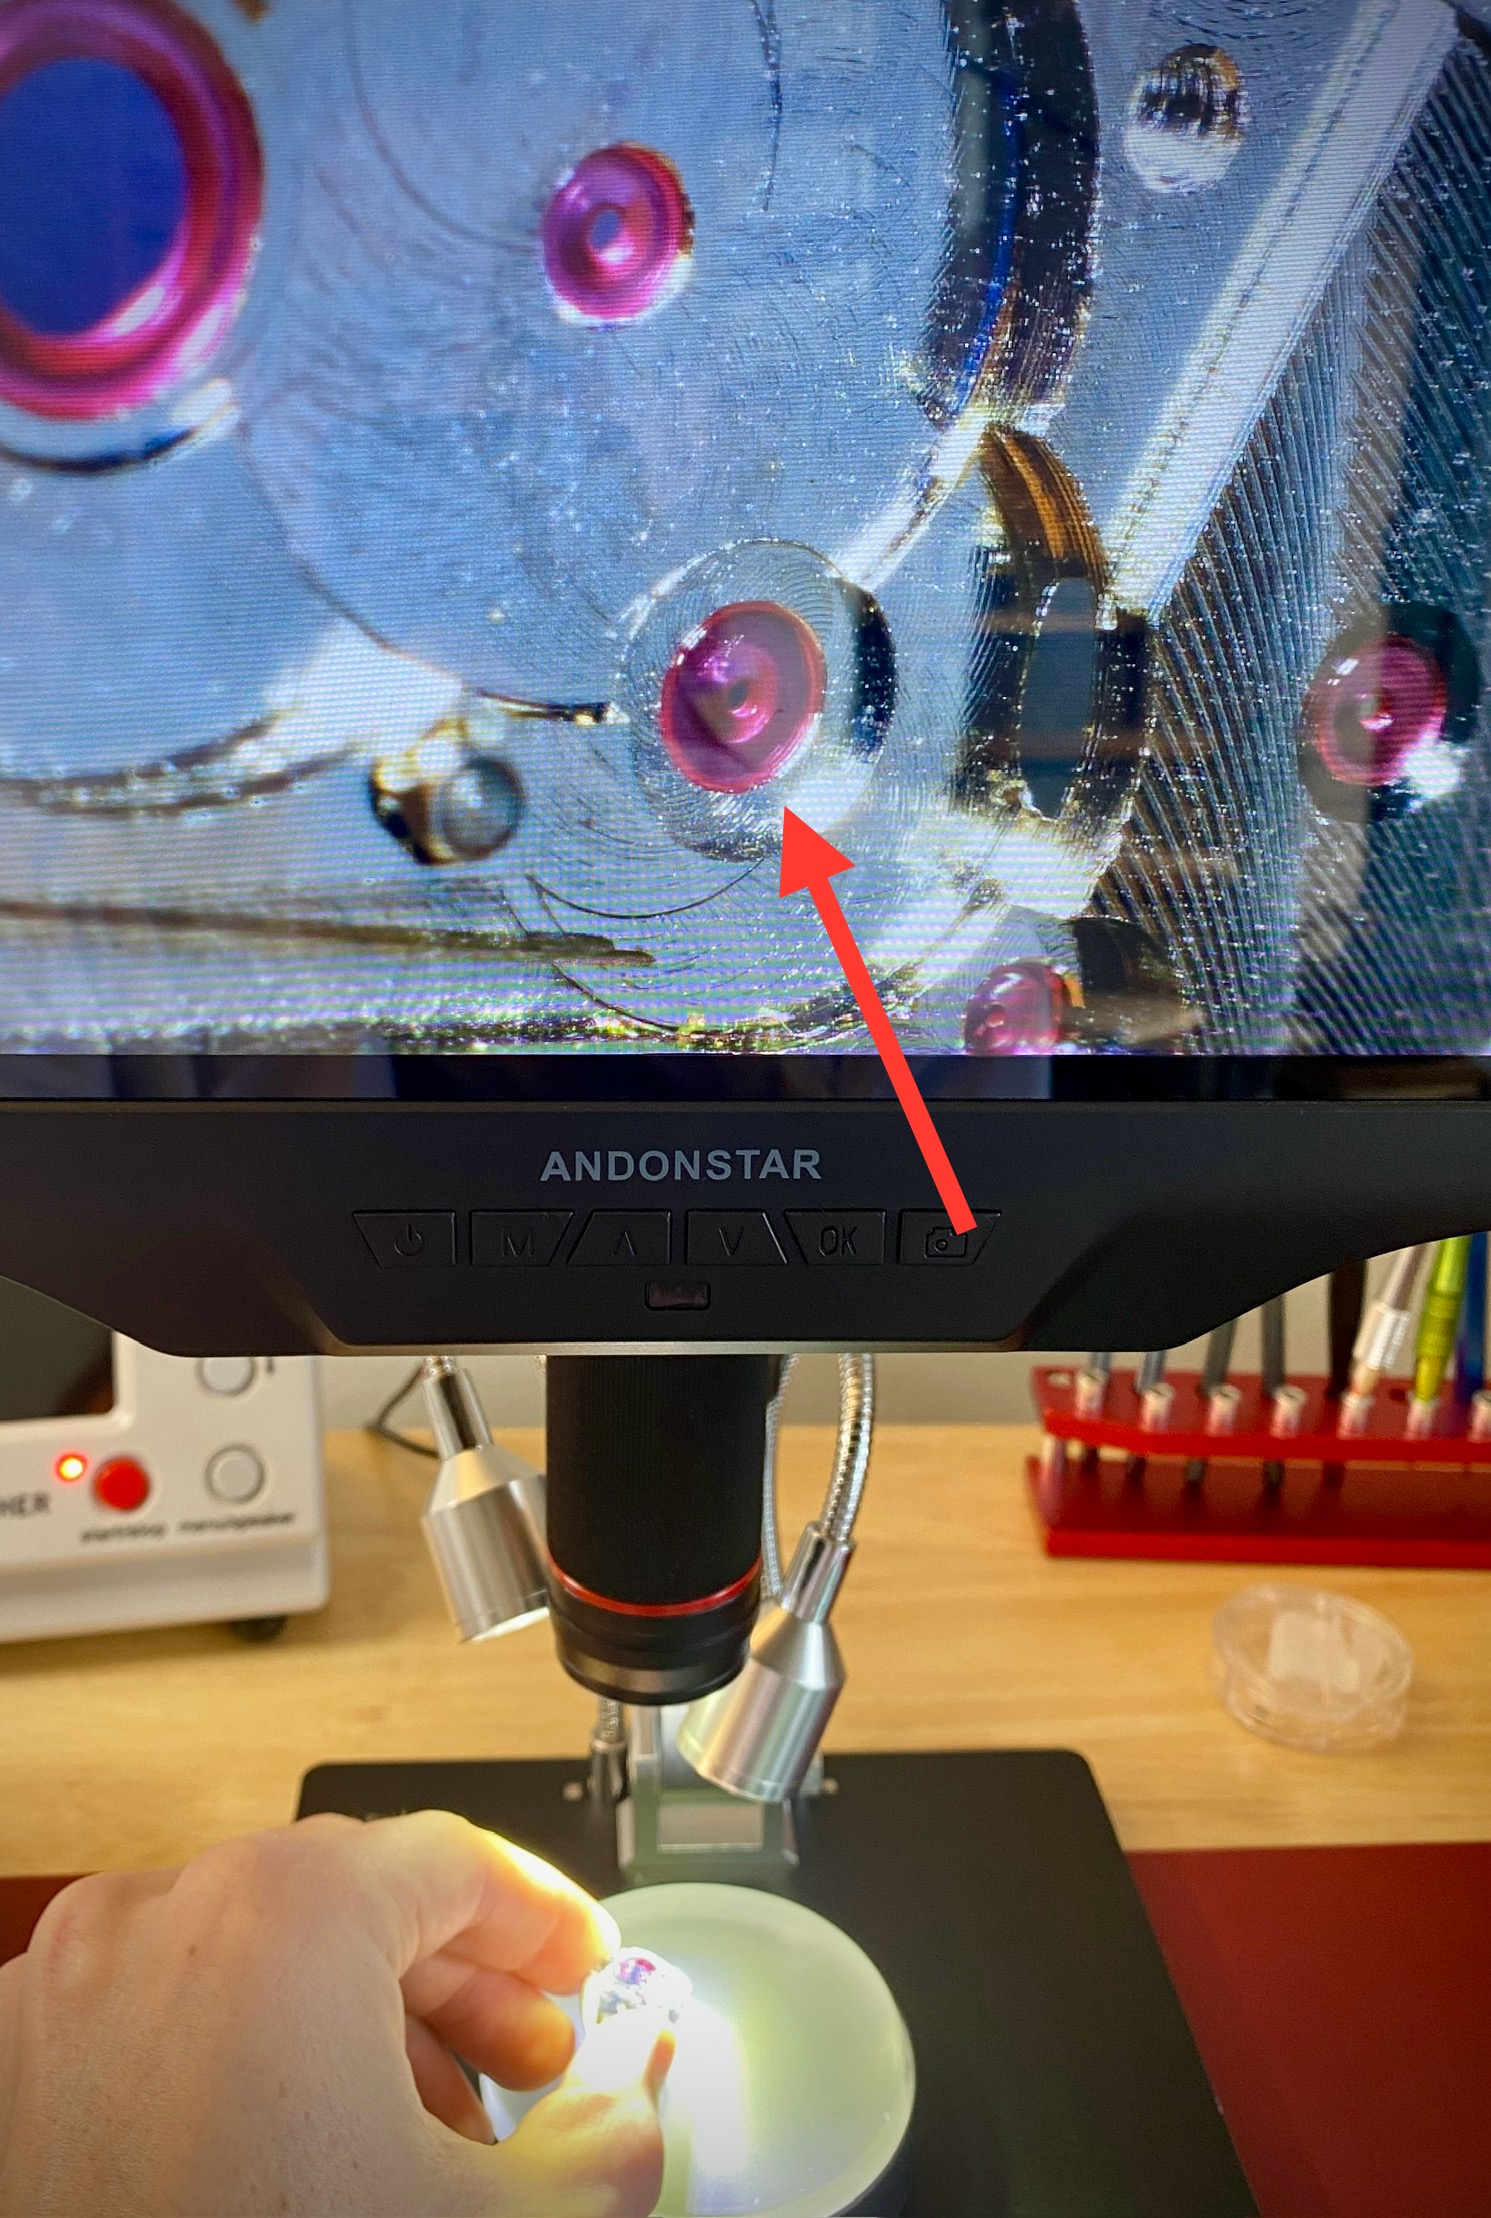
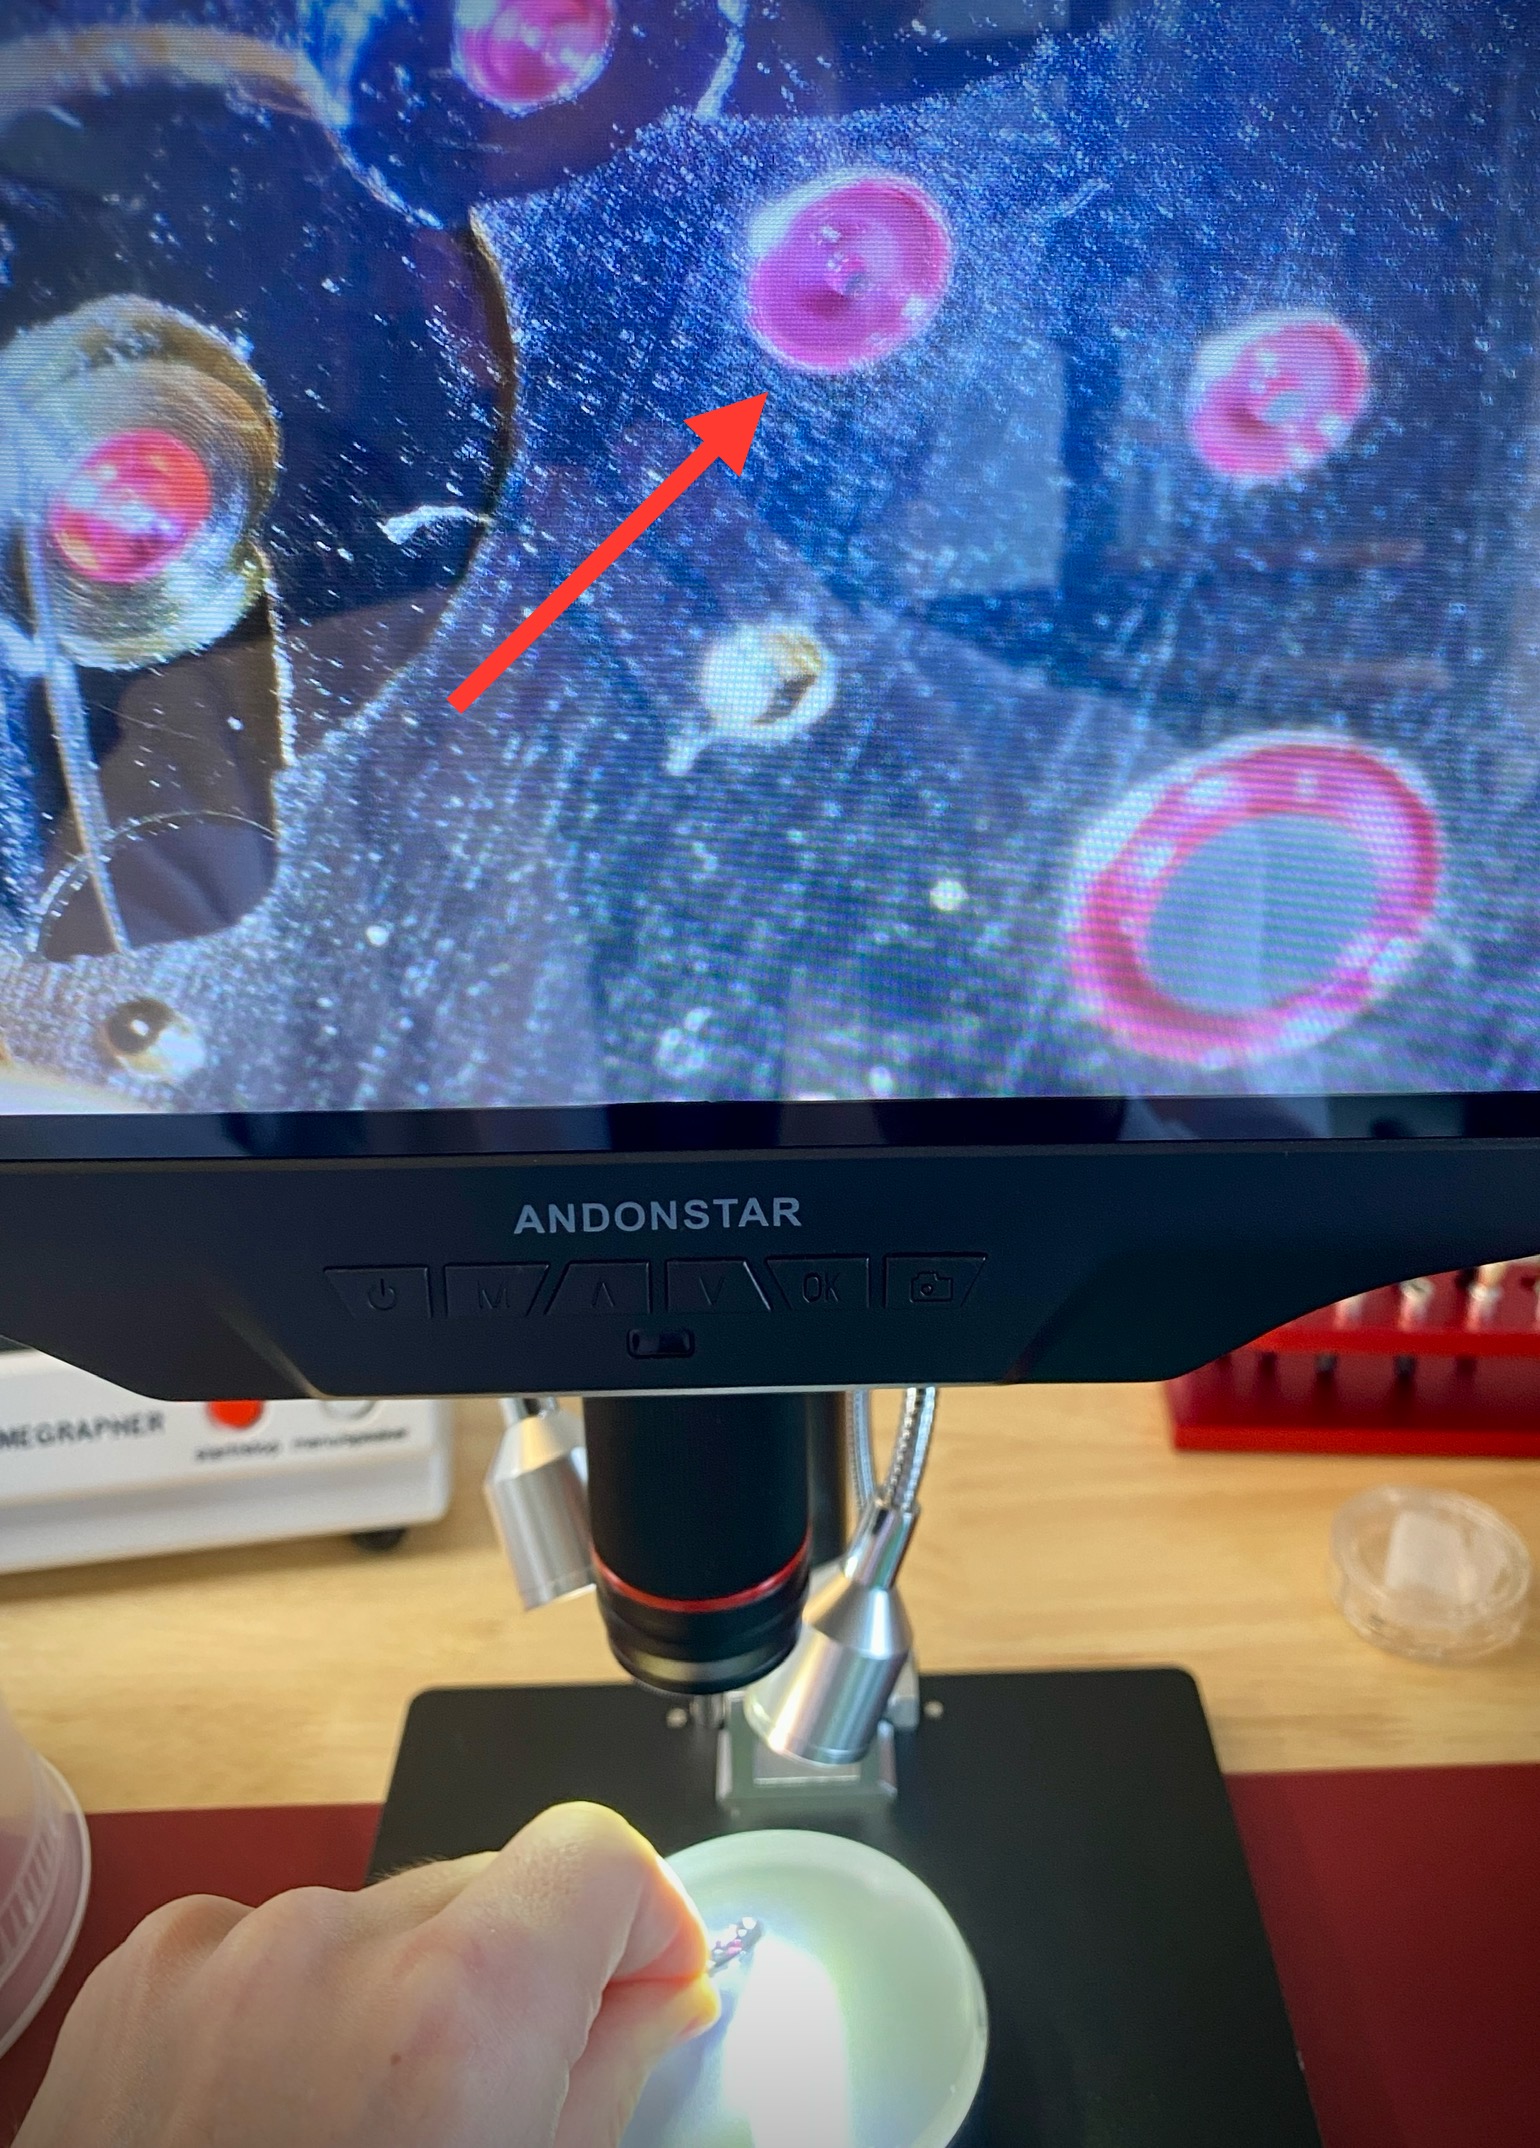
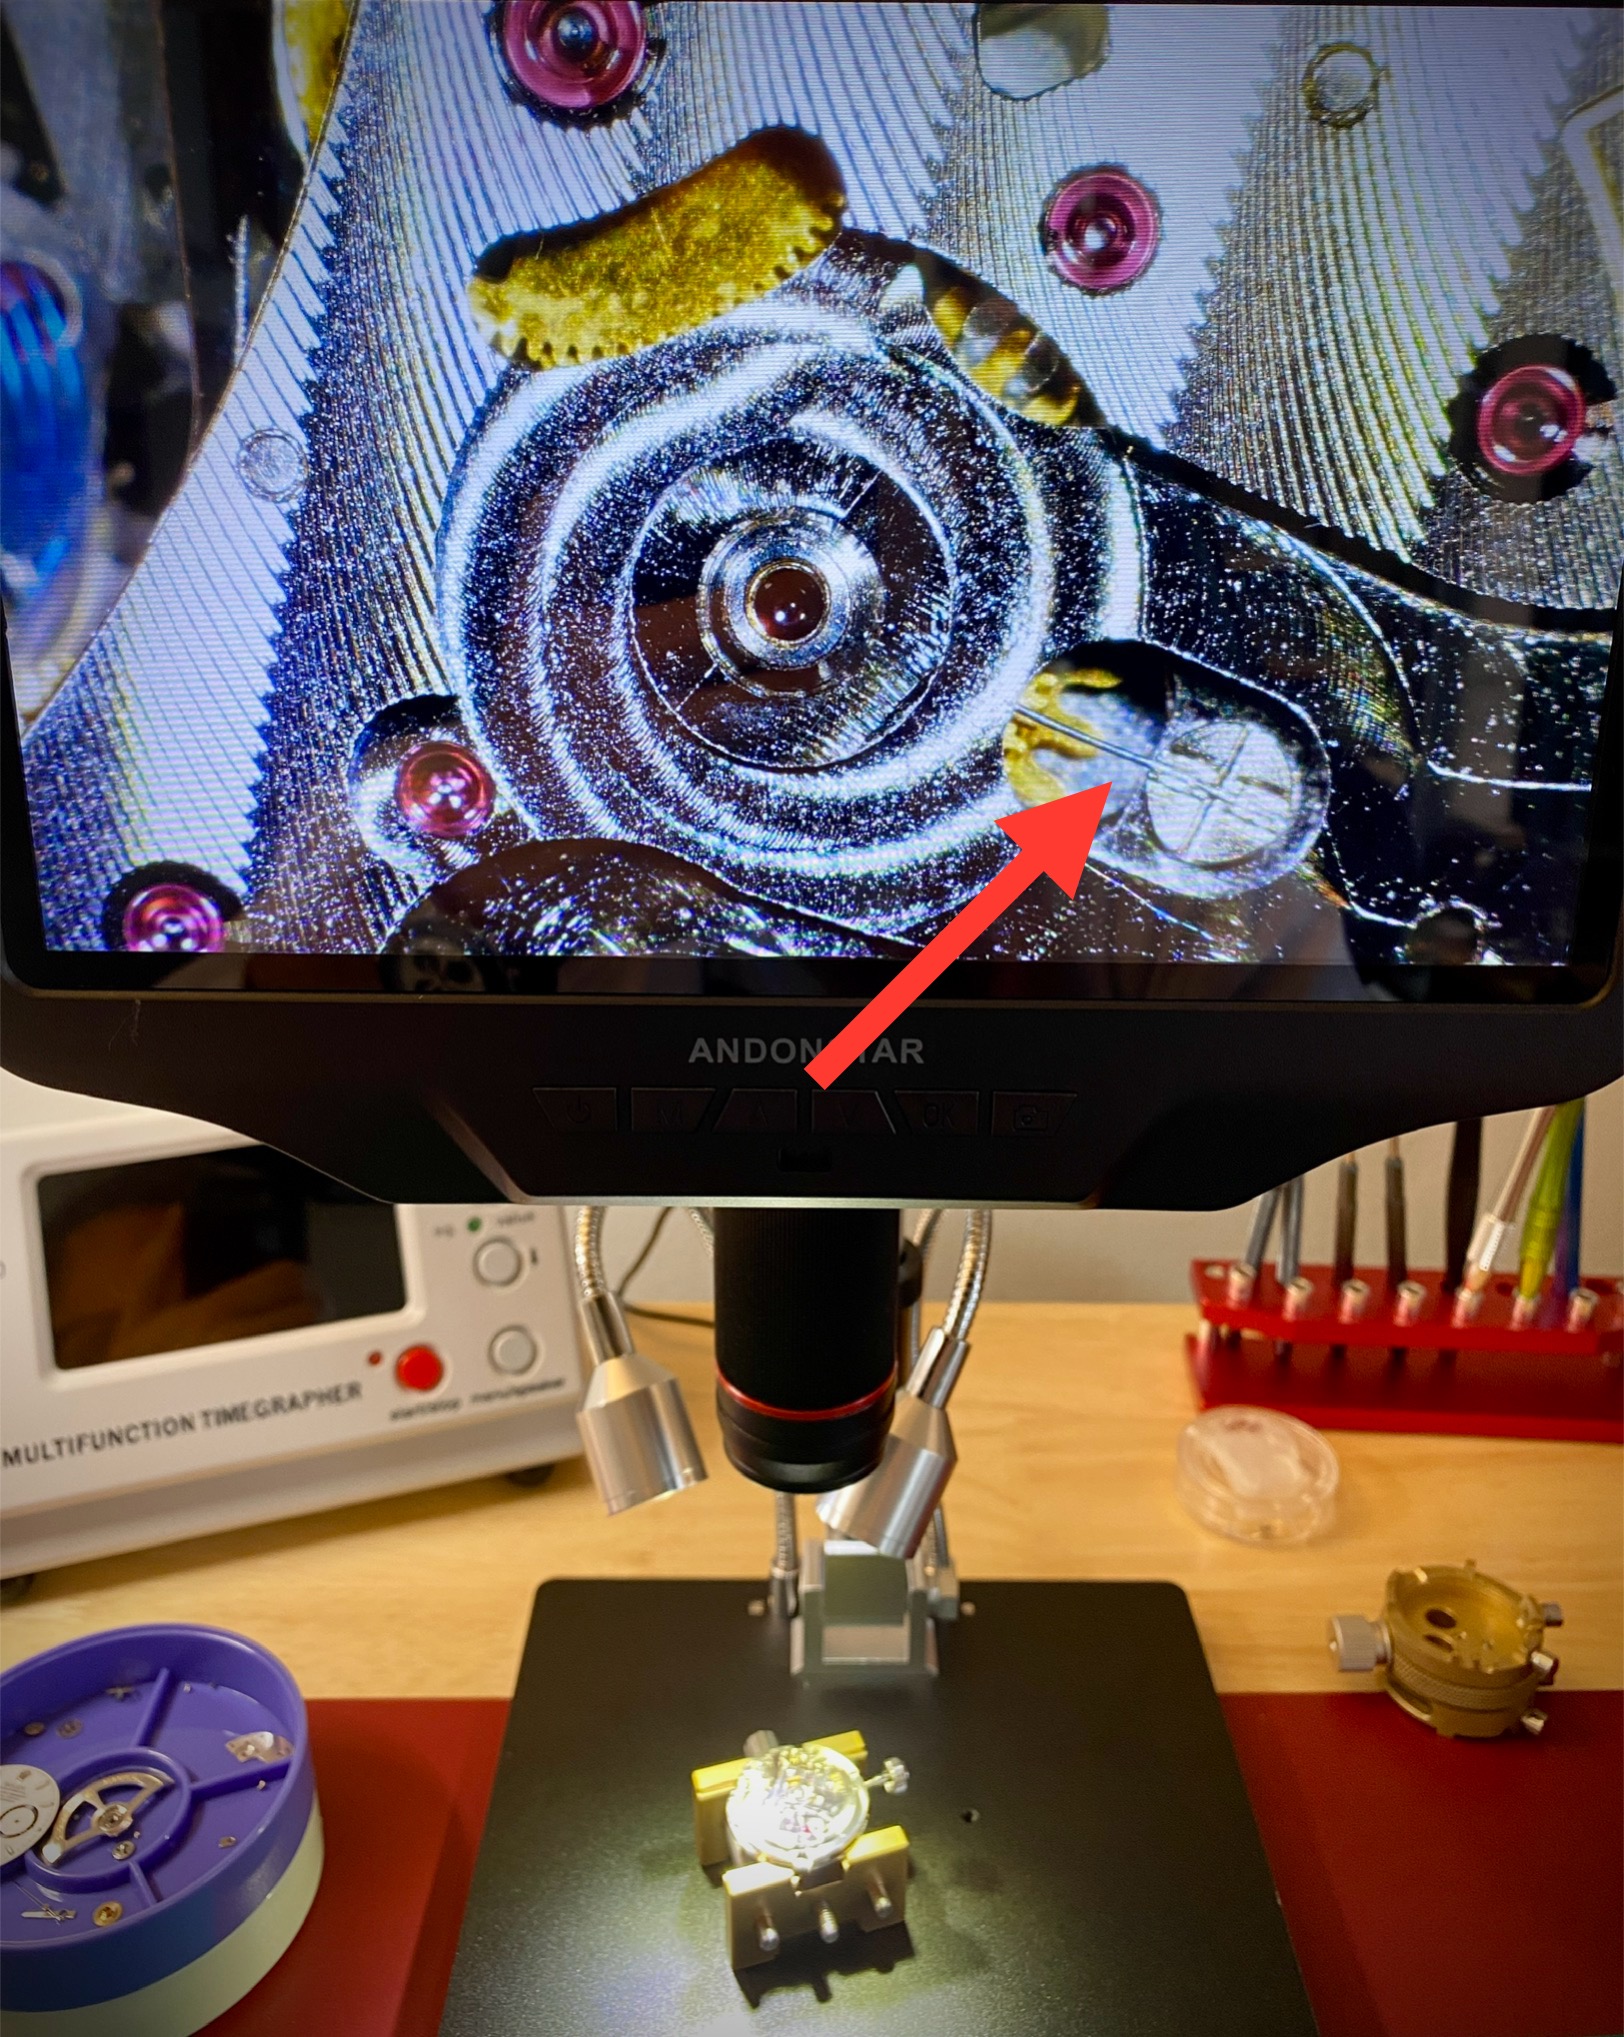
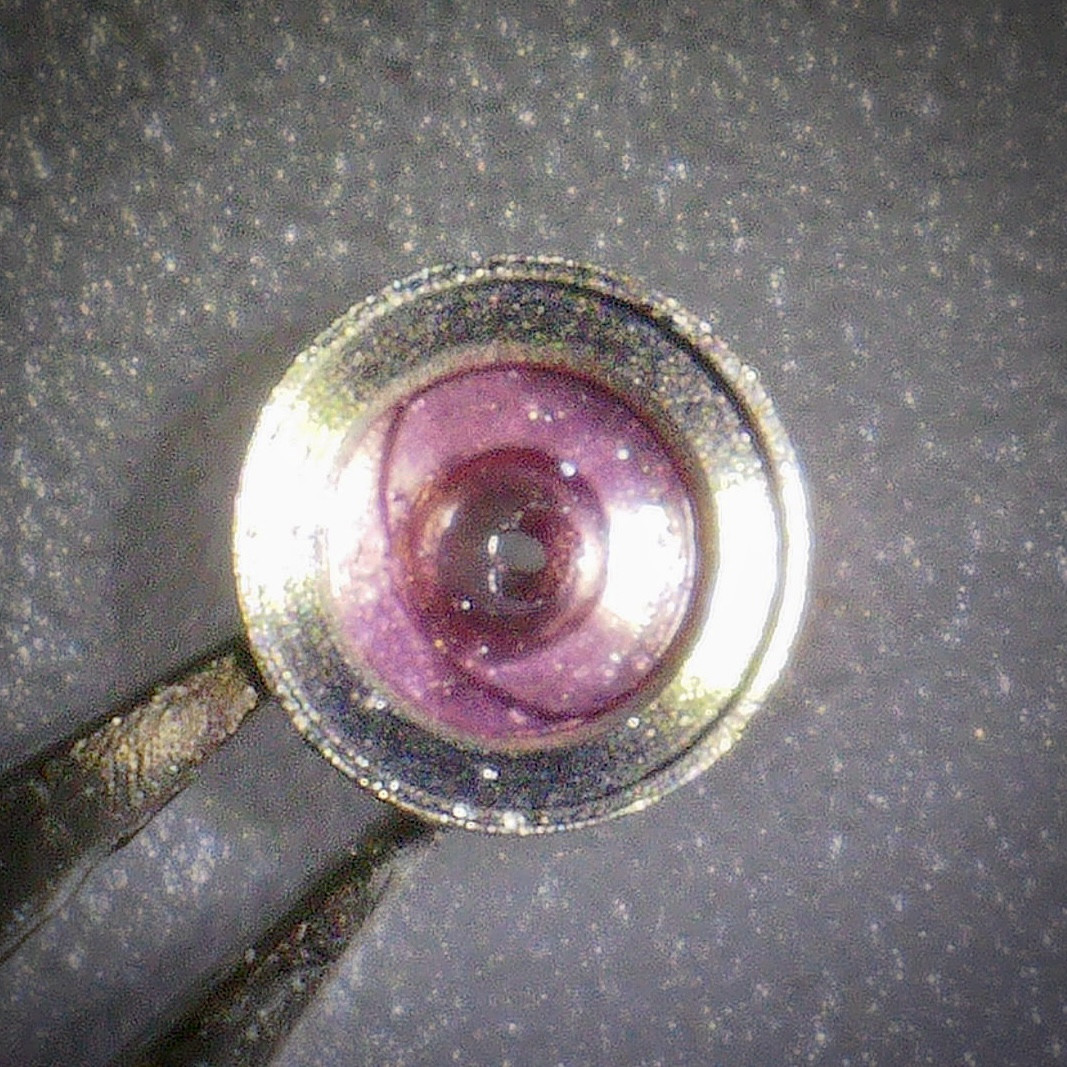
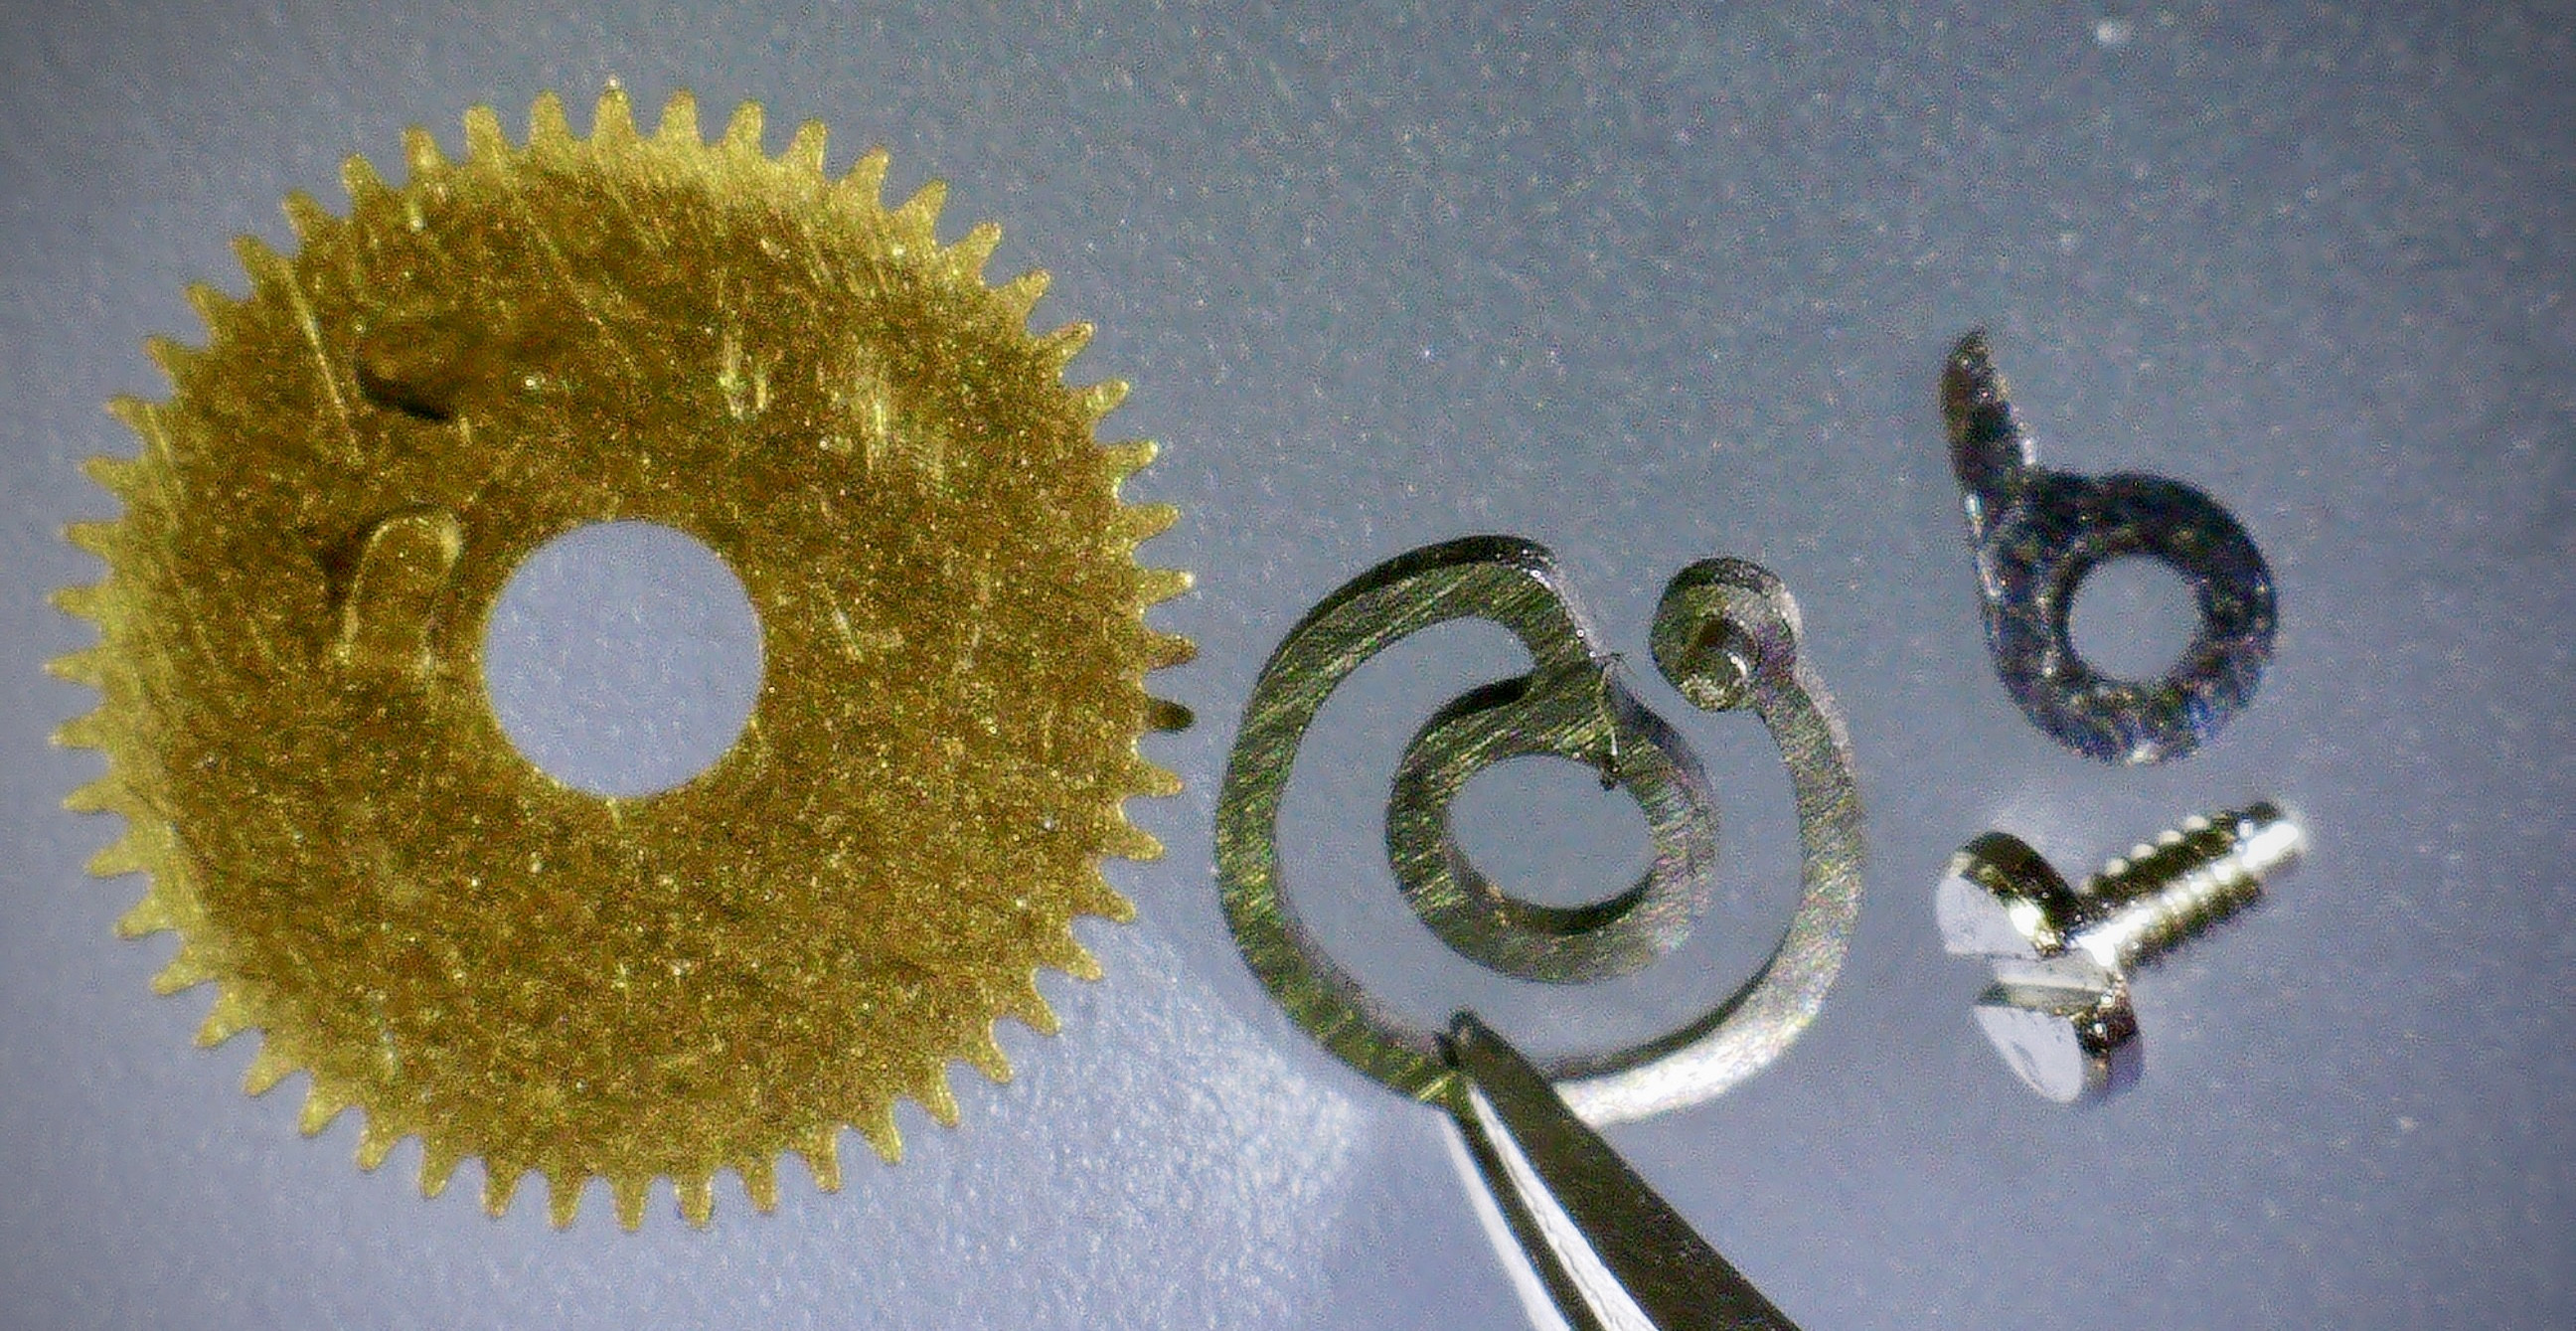
And because I know somebody will want a macro view, here's what they look like under the microscope:
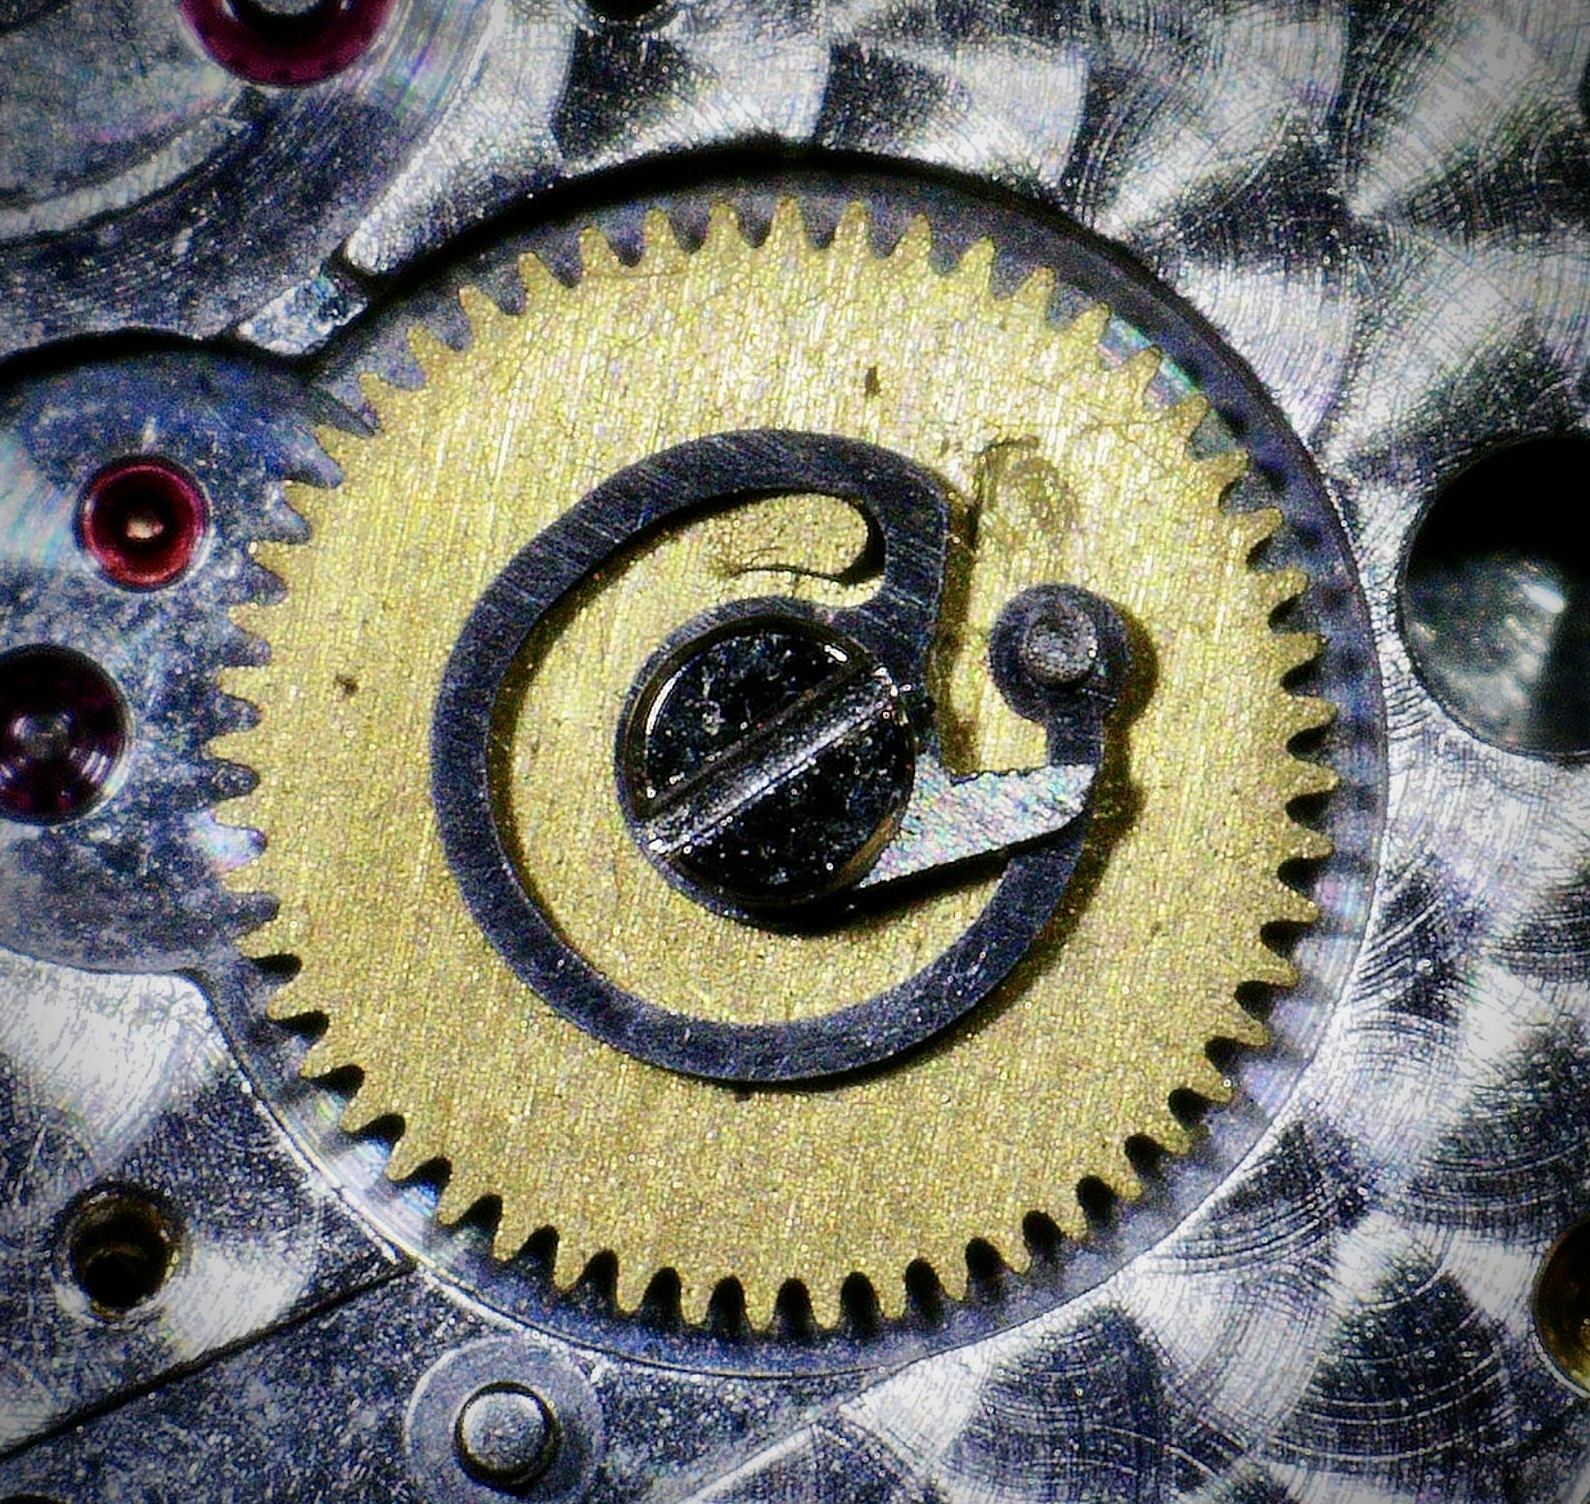
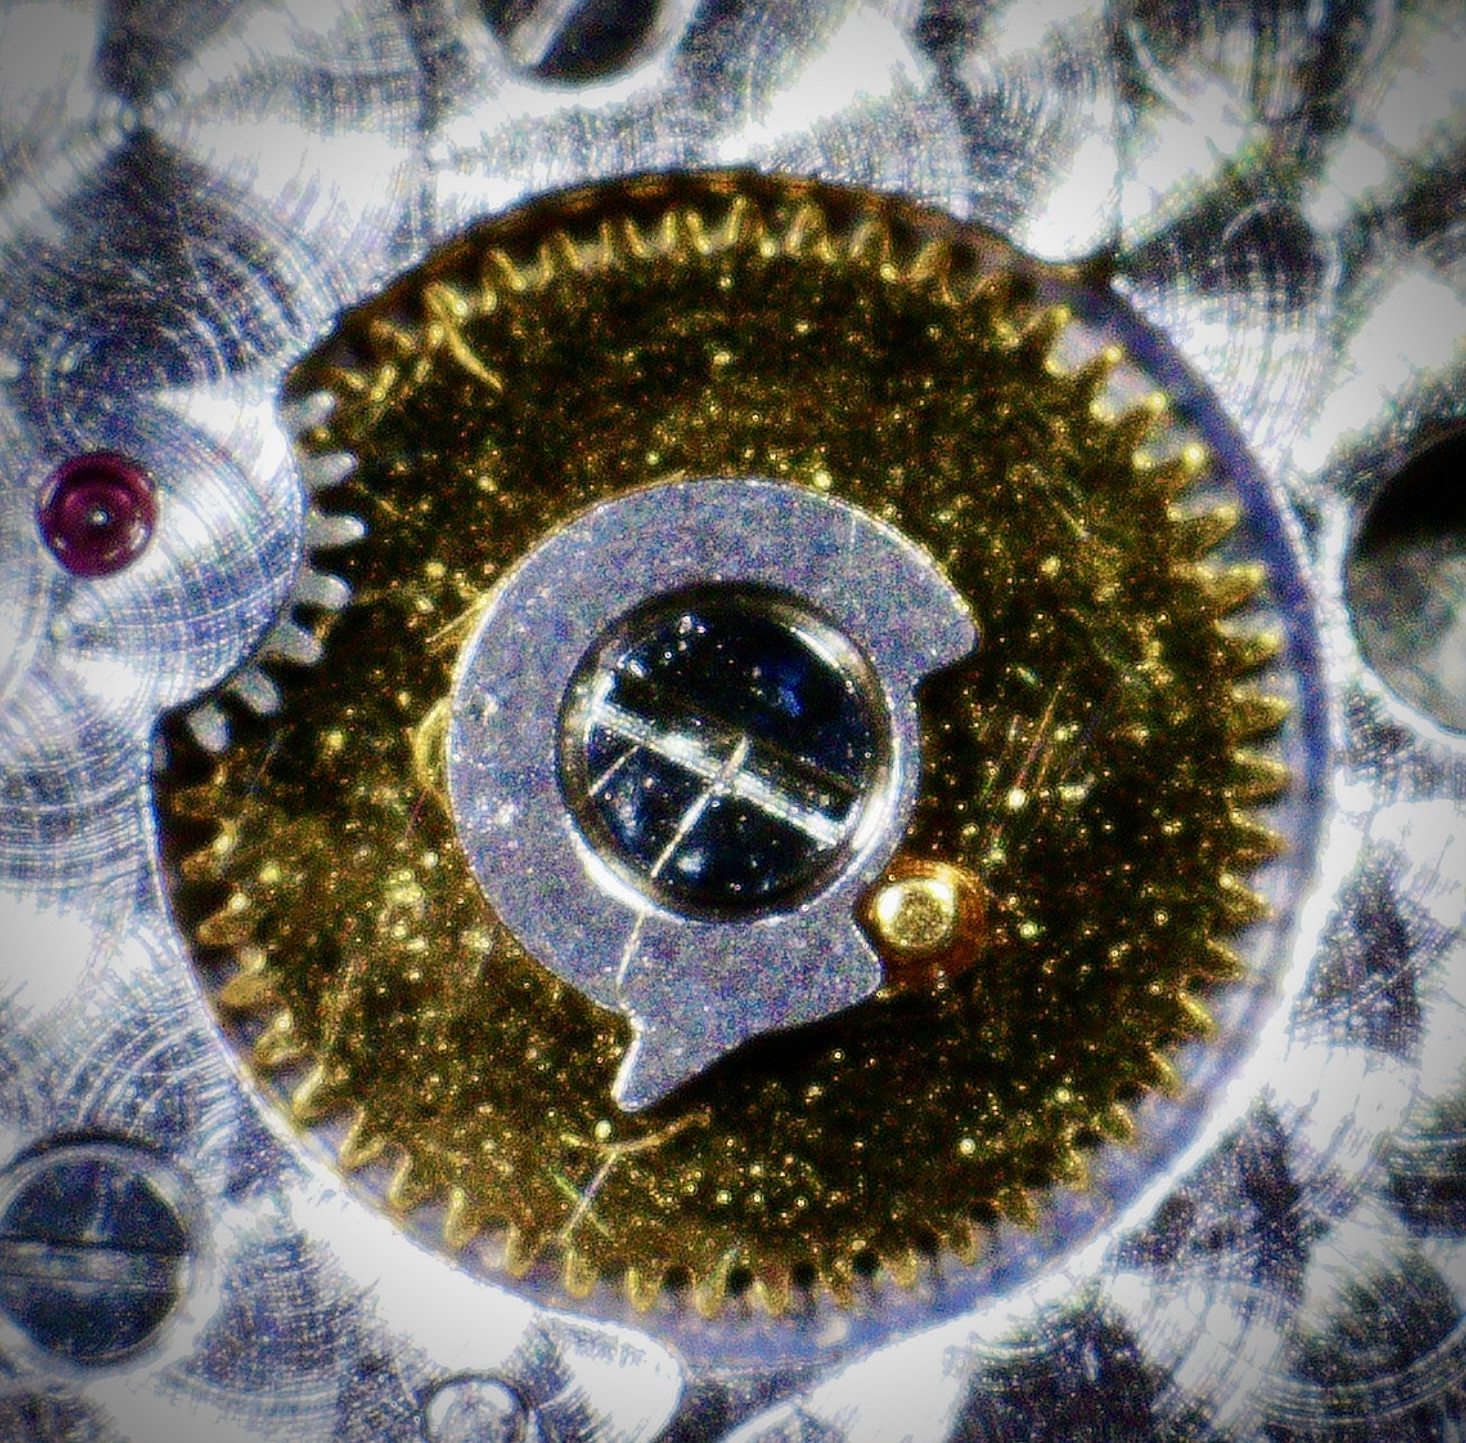
The mod consists of three parts (four if you count the screw, which is the same as the stock screw). There's the date gear which has a punched ramp pusher rather than a pin like the stock part, the spring, and the part that looks like the number 6.
The mechanical linkage of how this mod works is ingenious. The 6 part blocks the pin on the spring to build up energy for the jump, and the base of the spring then pushes the end of the spring with the pin on it around the 6 part. To get the date to flip at midnight you need to align the 6 part so that it's slightly "ahead" of the tooth on the date wheel. Here's a video of how it all works.
And here's a video of what it all looks like when the dial and hands are back on:
This is a very cool little mod which I've never seen on an clone AP 3120 before. I think this mod is available from some of the well known modding workshops in China, but I'm not sure if TDs can source it.
I don't know what the gen mechanism looks like. Perhaps @legend can comment.
Last edited: