maxus minimax
You're Saying I Can Sell?
- 8/6/20
- 43
- 8
- 8
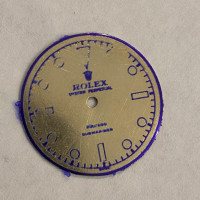
Correct. With a positive photoresist, the areas exposed to the UV light will be washed away by the developer.
Big success!
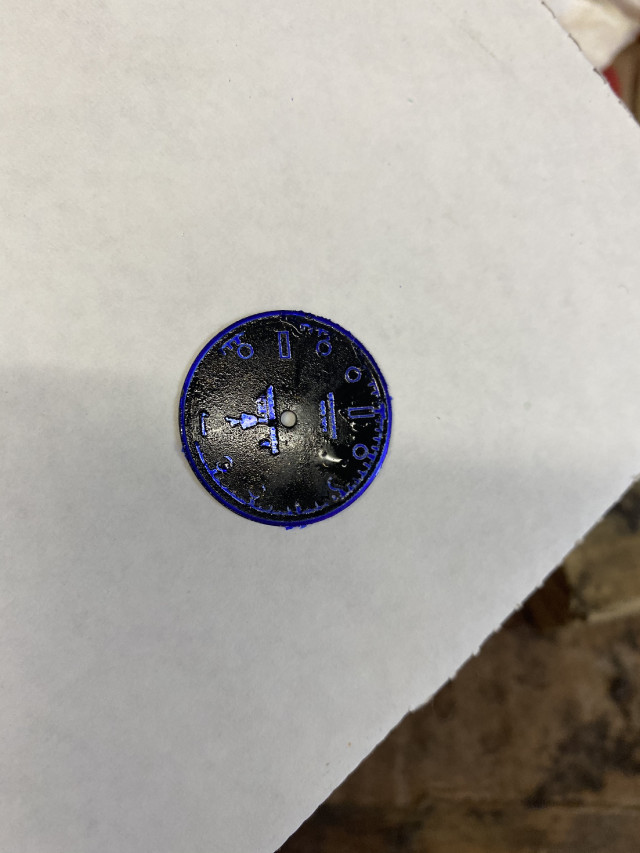
tinkered with my method. Made this in 5 minutes but I think I e got my variables nailed down to do this in a co trolled manner. Need to figure out good way to center my design on dial. Still need to dip plate rather than brush plate as I can tell where the alligator clamps were on the dial. But here is test #5. I’m ecstatic with the results that all came on quick thought last night.
")
Big success!
tinkered with my method. Made this in 5 minutes but I think I e got my variables nailed down to do this in a co trolled manner. Need to figure out good way to center my design on dial. Still need to dip plate rather than brush plate as I can tell where the alligator clamps were on the dial. But here is test #5. I’m ecstatic with the results that all came on quick thought last night.
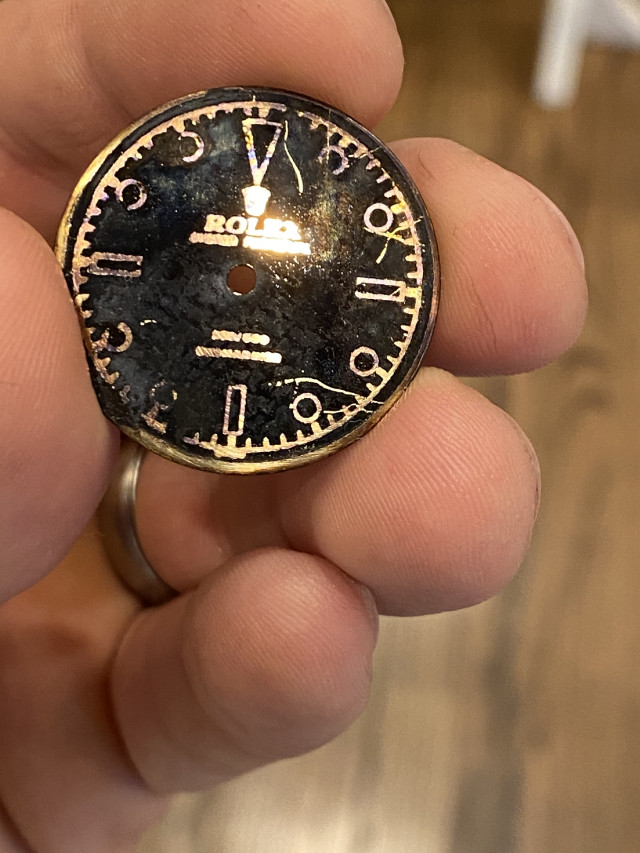
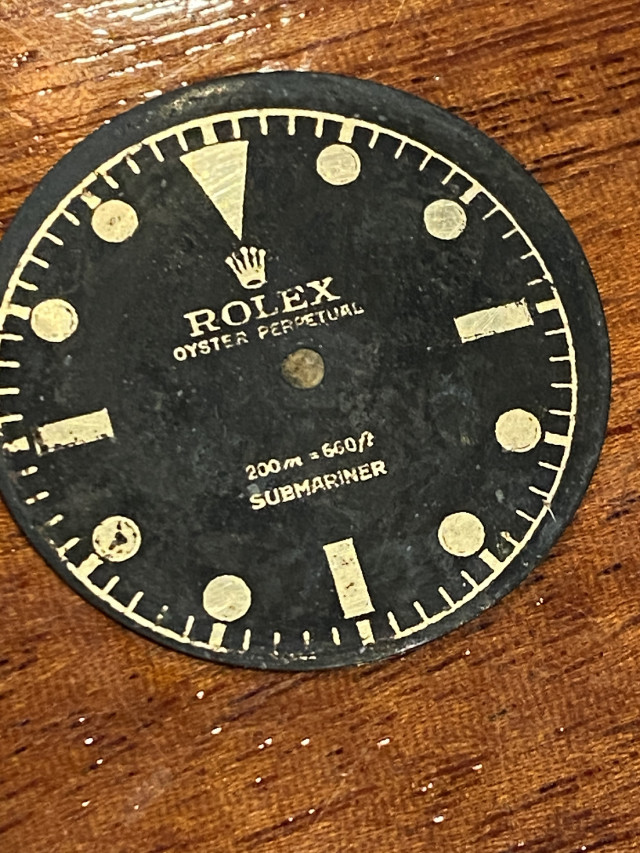
Got a 99% successful mask. Had a smudge of grease apparently on the dial prior to plating which came through on the dial post plating. Font and logo are very legible. Black nickel has a glossy, deep black appearance.
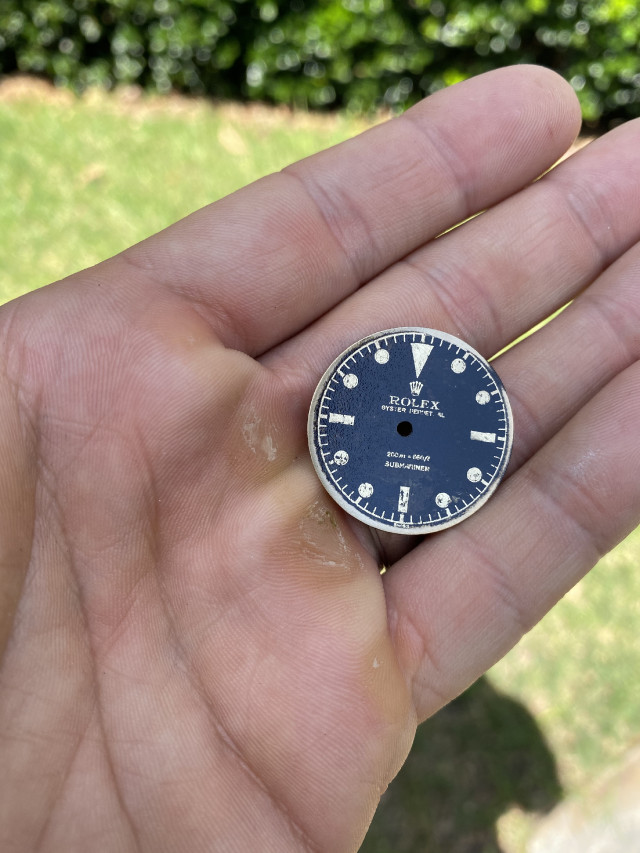
i apparently suck at centering holes.
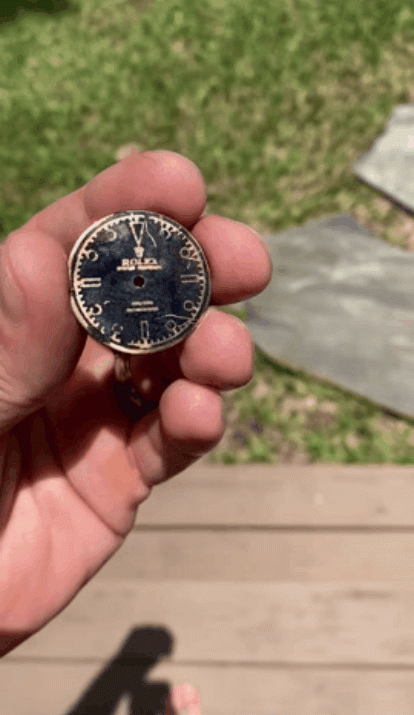
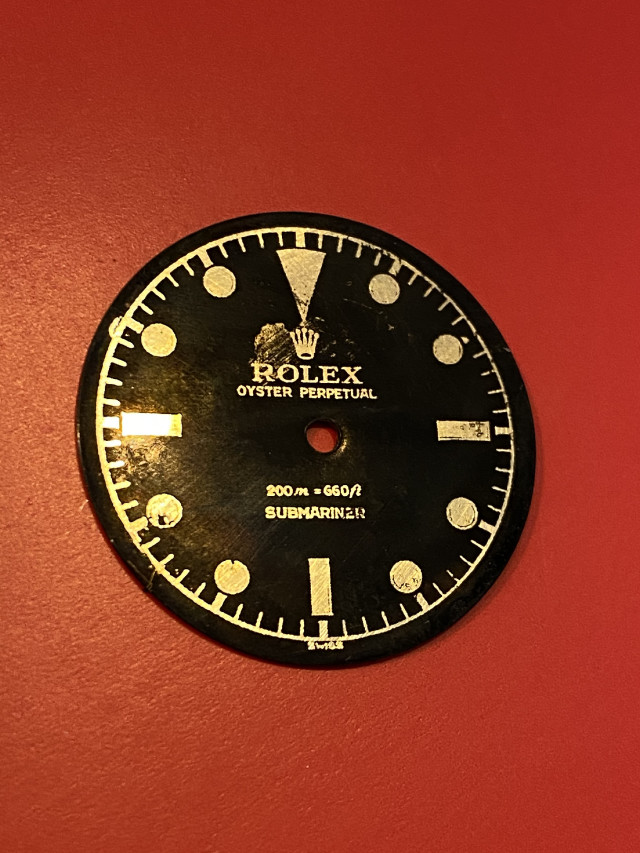
next one I think will be my first 100% successful dial with all my failures and lessons learned. However I think I can say I made a freaking galvanic gilt dial.
Got a 99% successful mask. Had a smudge of grease apparently on the dial prior to plating which came through on the dial post plating. Font and logo are very legible. Black nickel has a glossy, deep black appearance.
i apparently suck at centering holes.
next one I think will be my first 100% successful dial with all my failures and lessons learned. However I think I can say I made a freaking galvanic gilt dial.
The minute markers on the right side are sharper, thinner. Looks like the master has no flat contact with the dial during exposure and stray light gets it from the sides. Also, the master should be mirror-inverted so that the printed side faces the dial.

