Today...
PROGRESS!*
I sprang into action this morning, having resolved to get the dial decal onto the dial
TODAY! YAY!
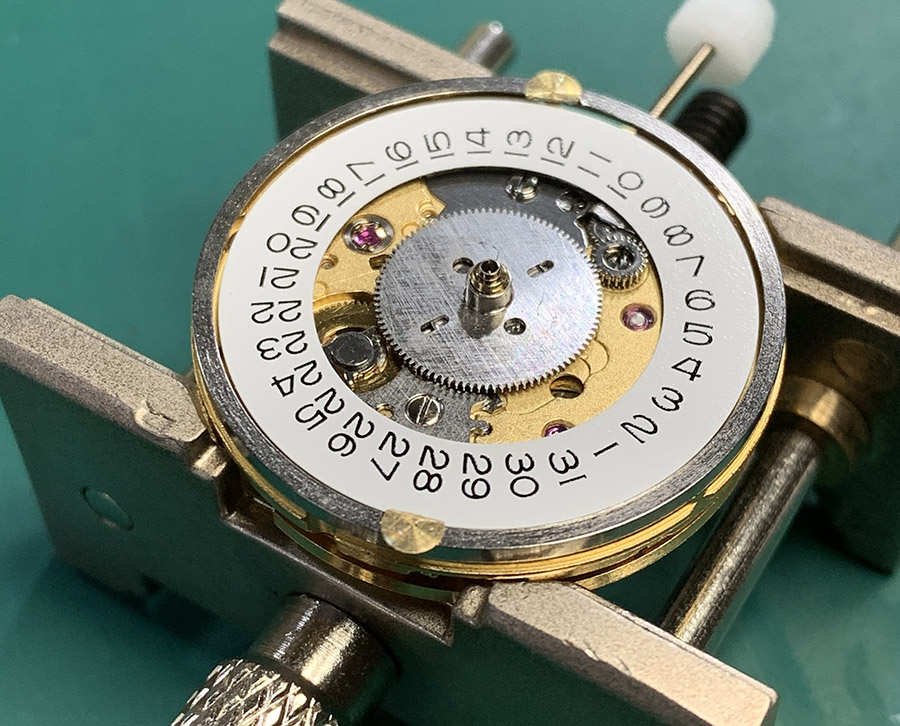
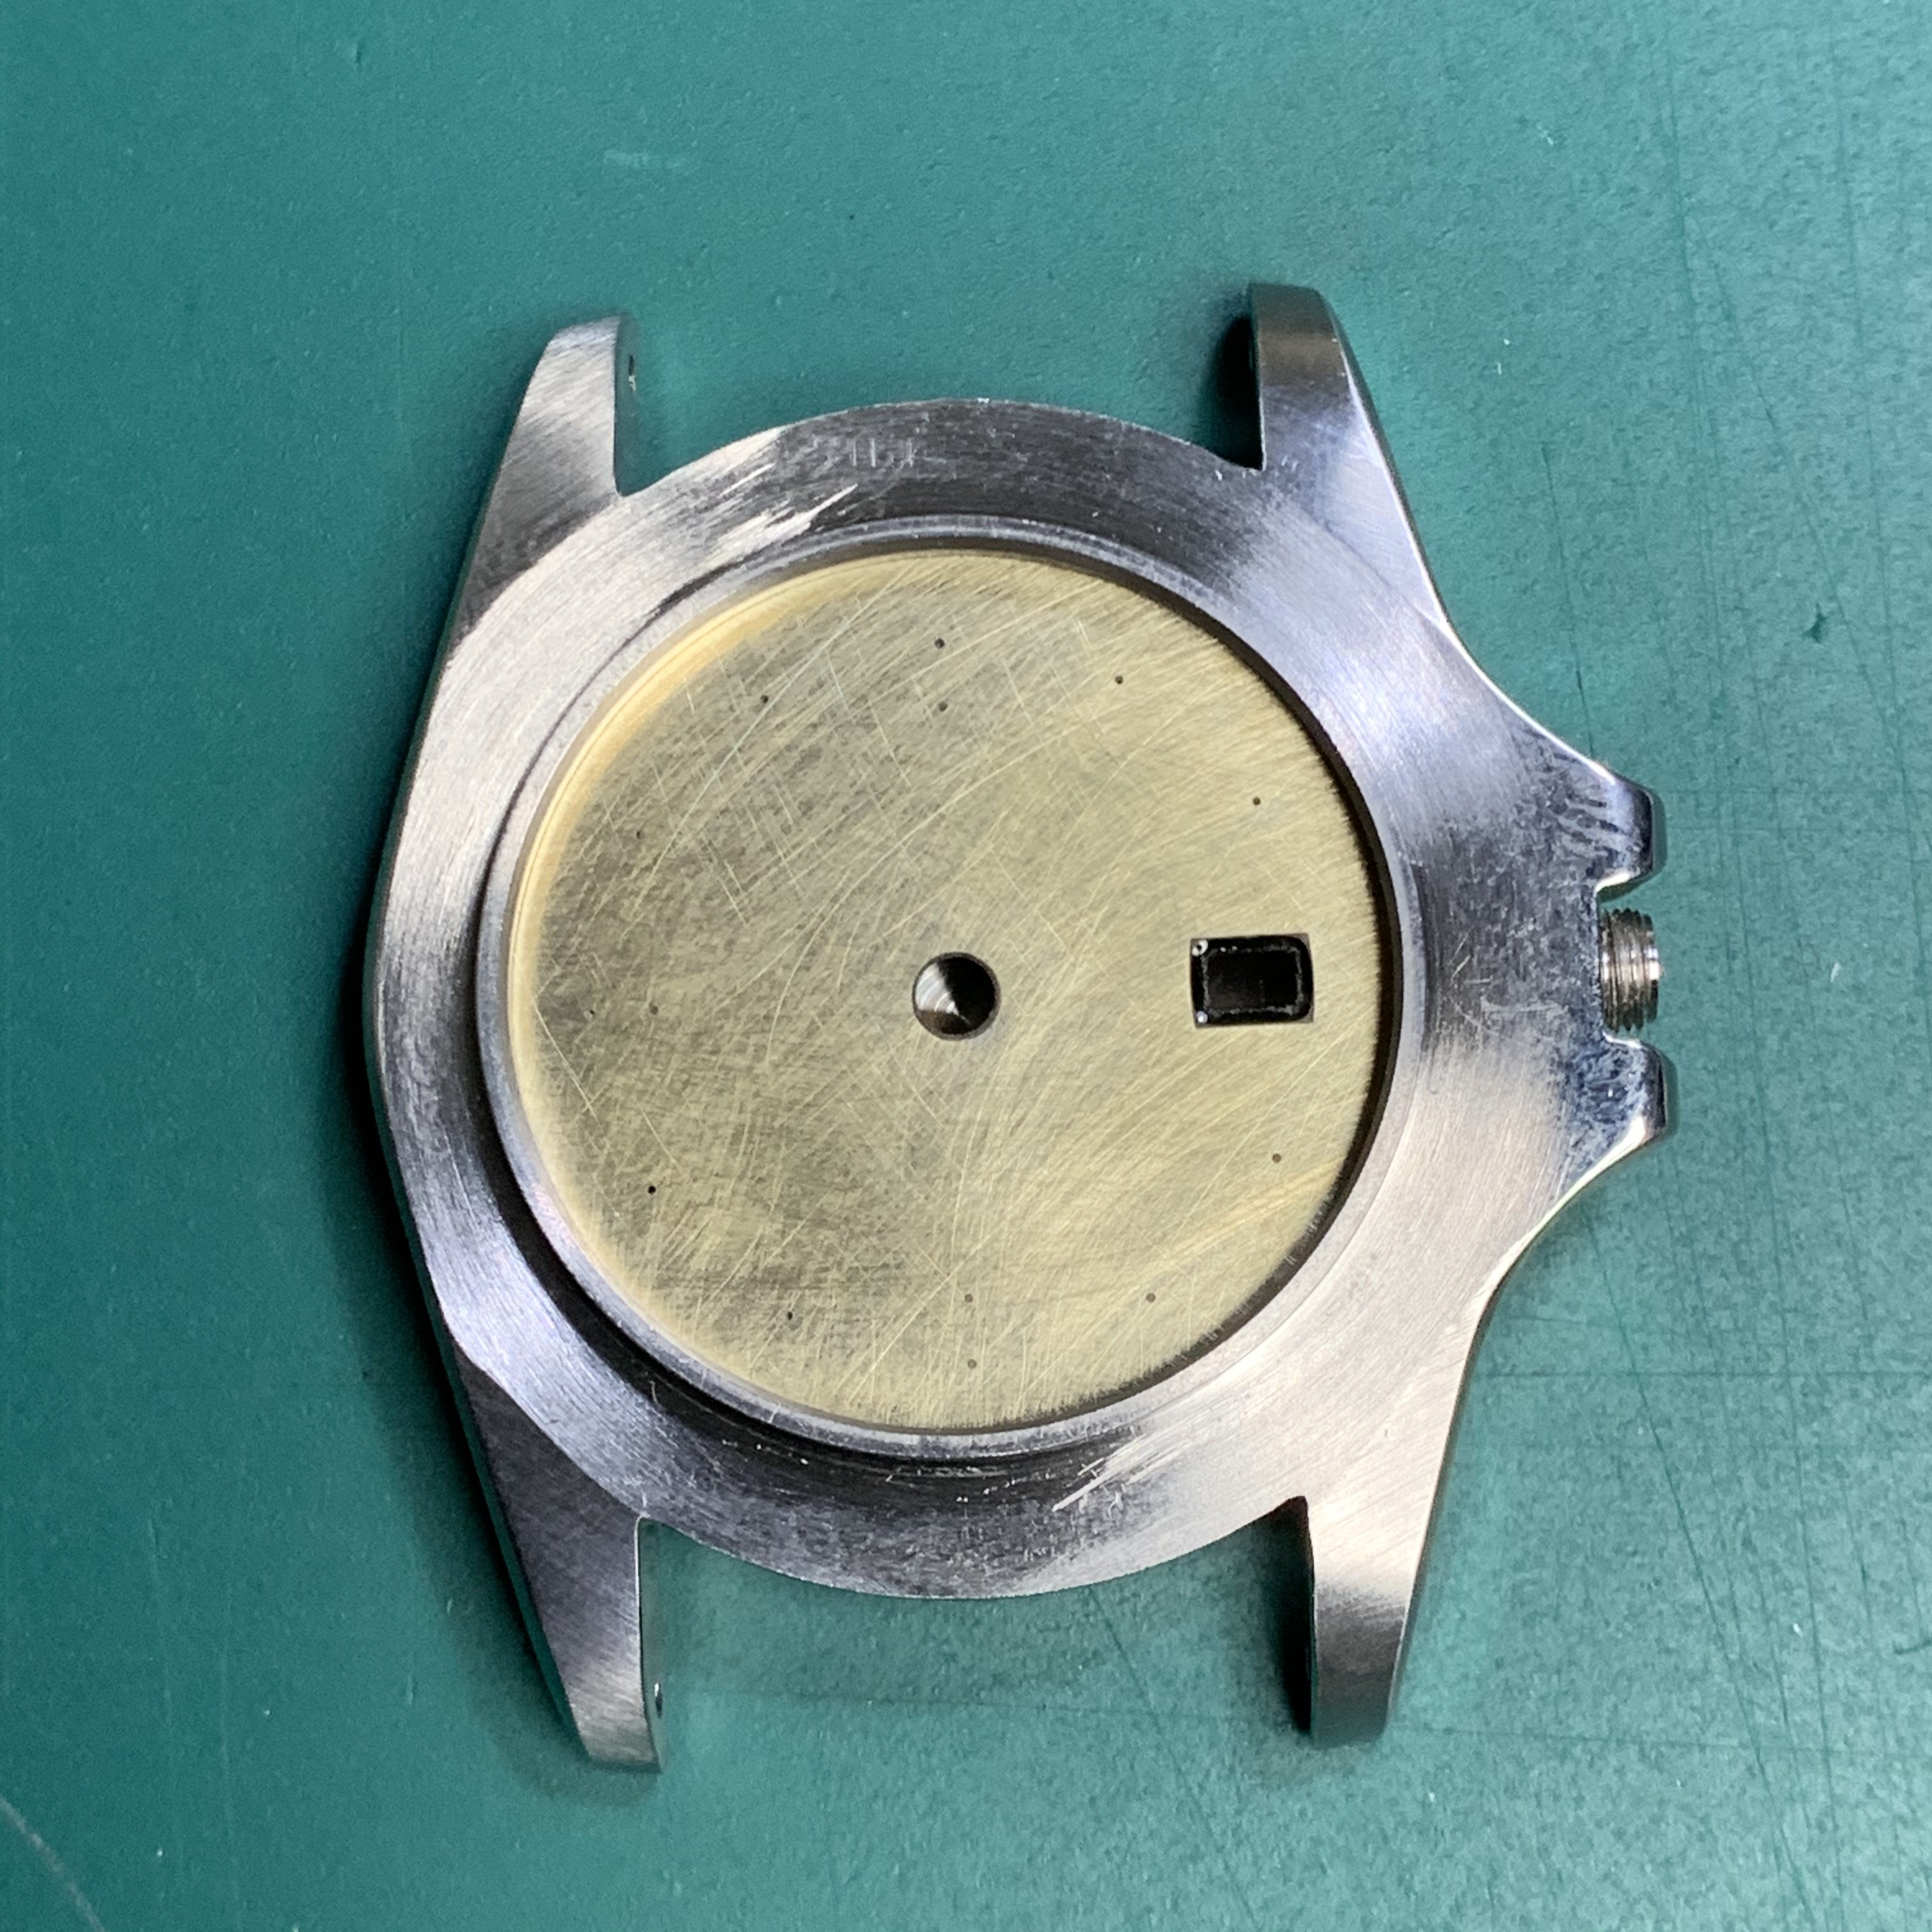
My plan lasted about 10 seconds into contact with the enemy... the dial. It has no feet. And I want to secure the movement to it properly. So I remembered at this point that before I can play with its face, I need to sort out its appendages. Okay then. PLAN B for today... attaching dial feet.
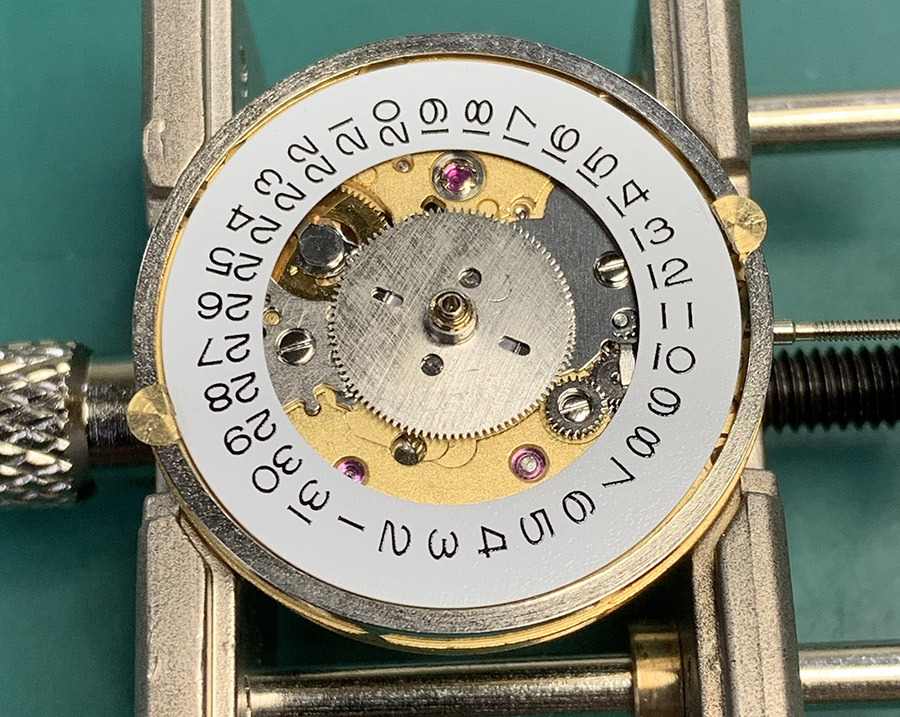
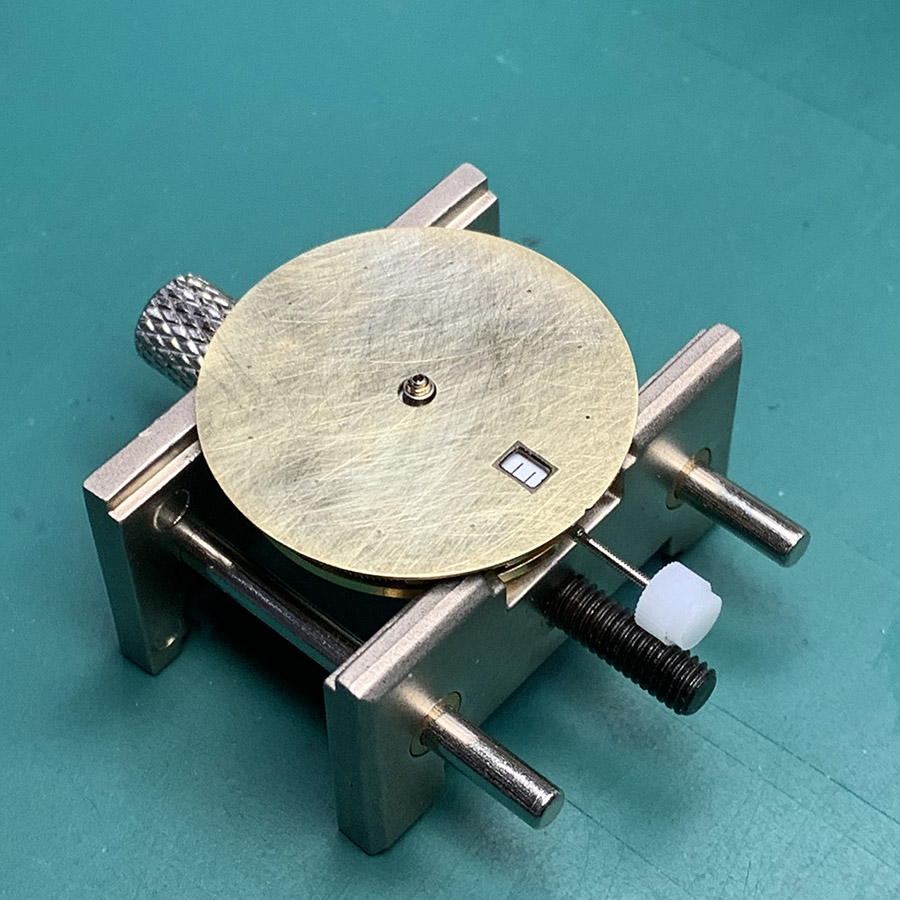
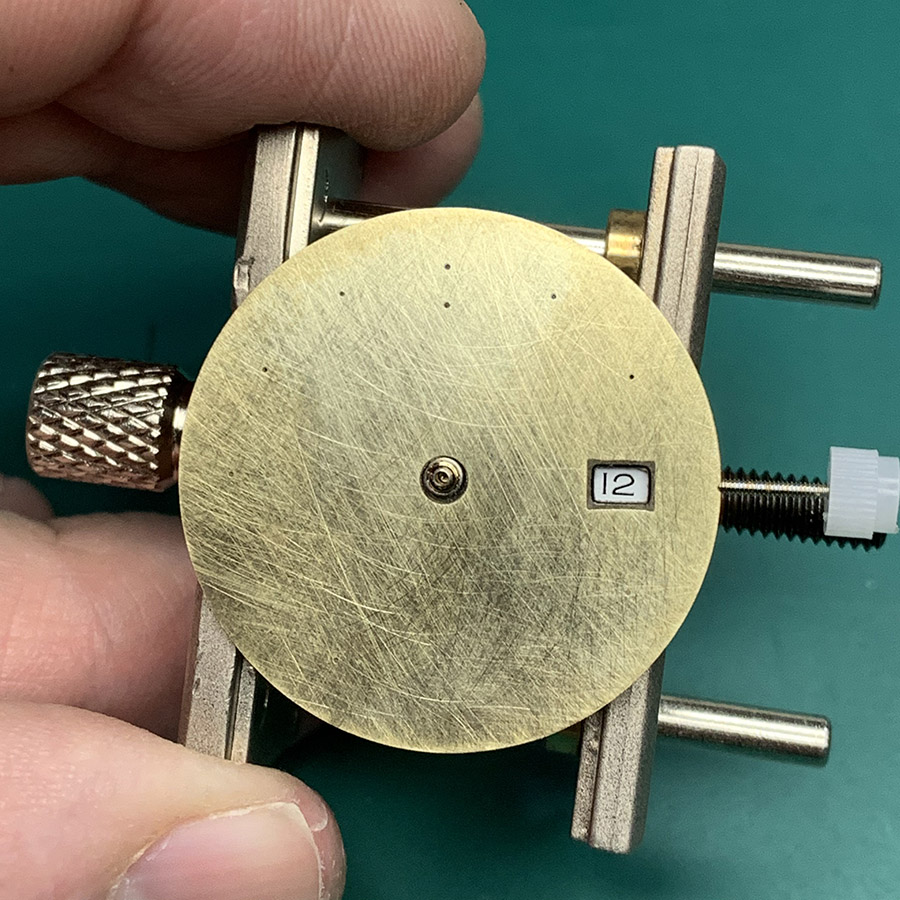
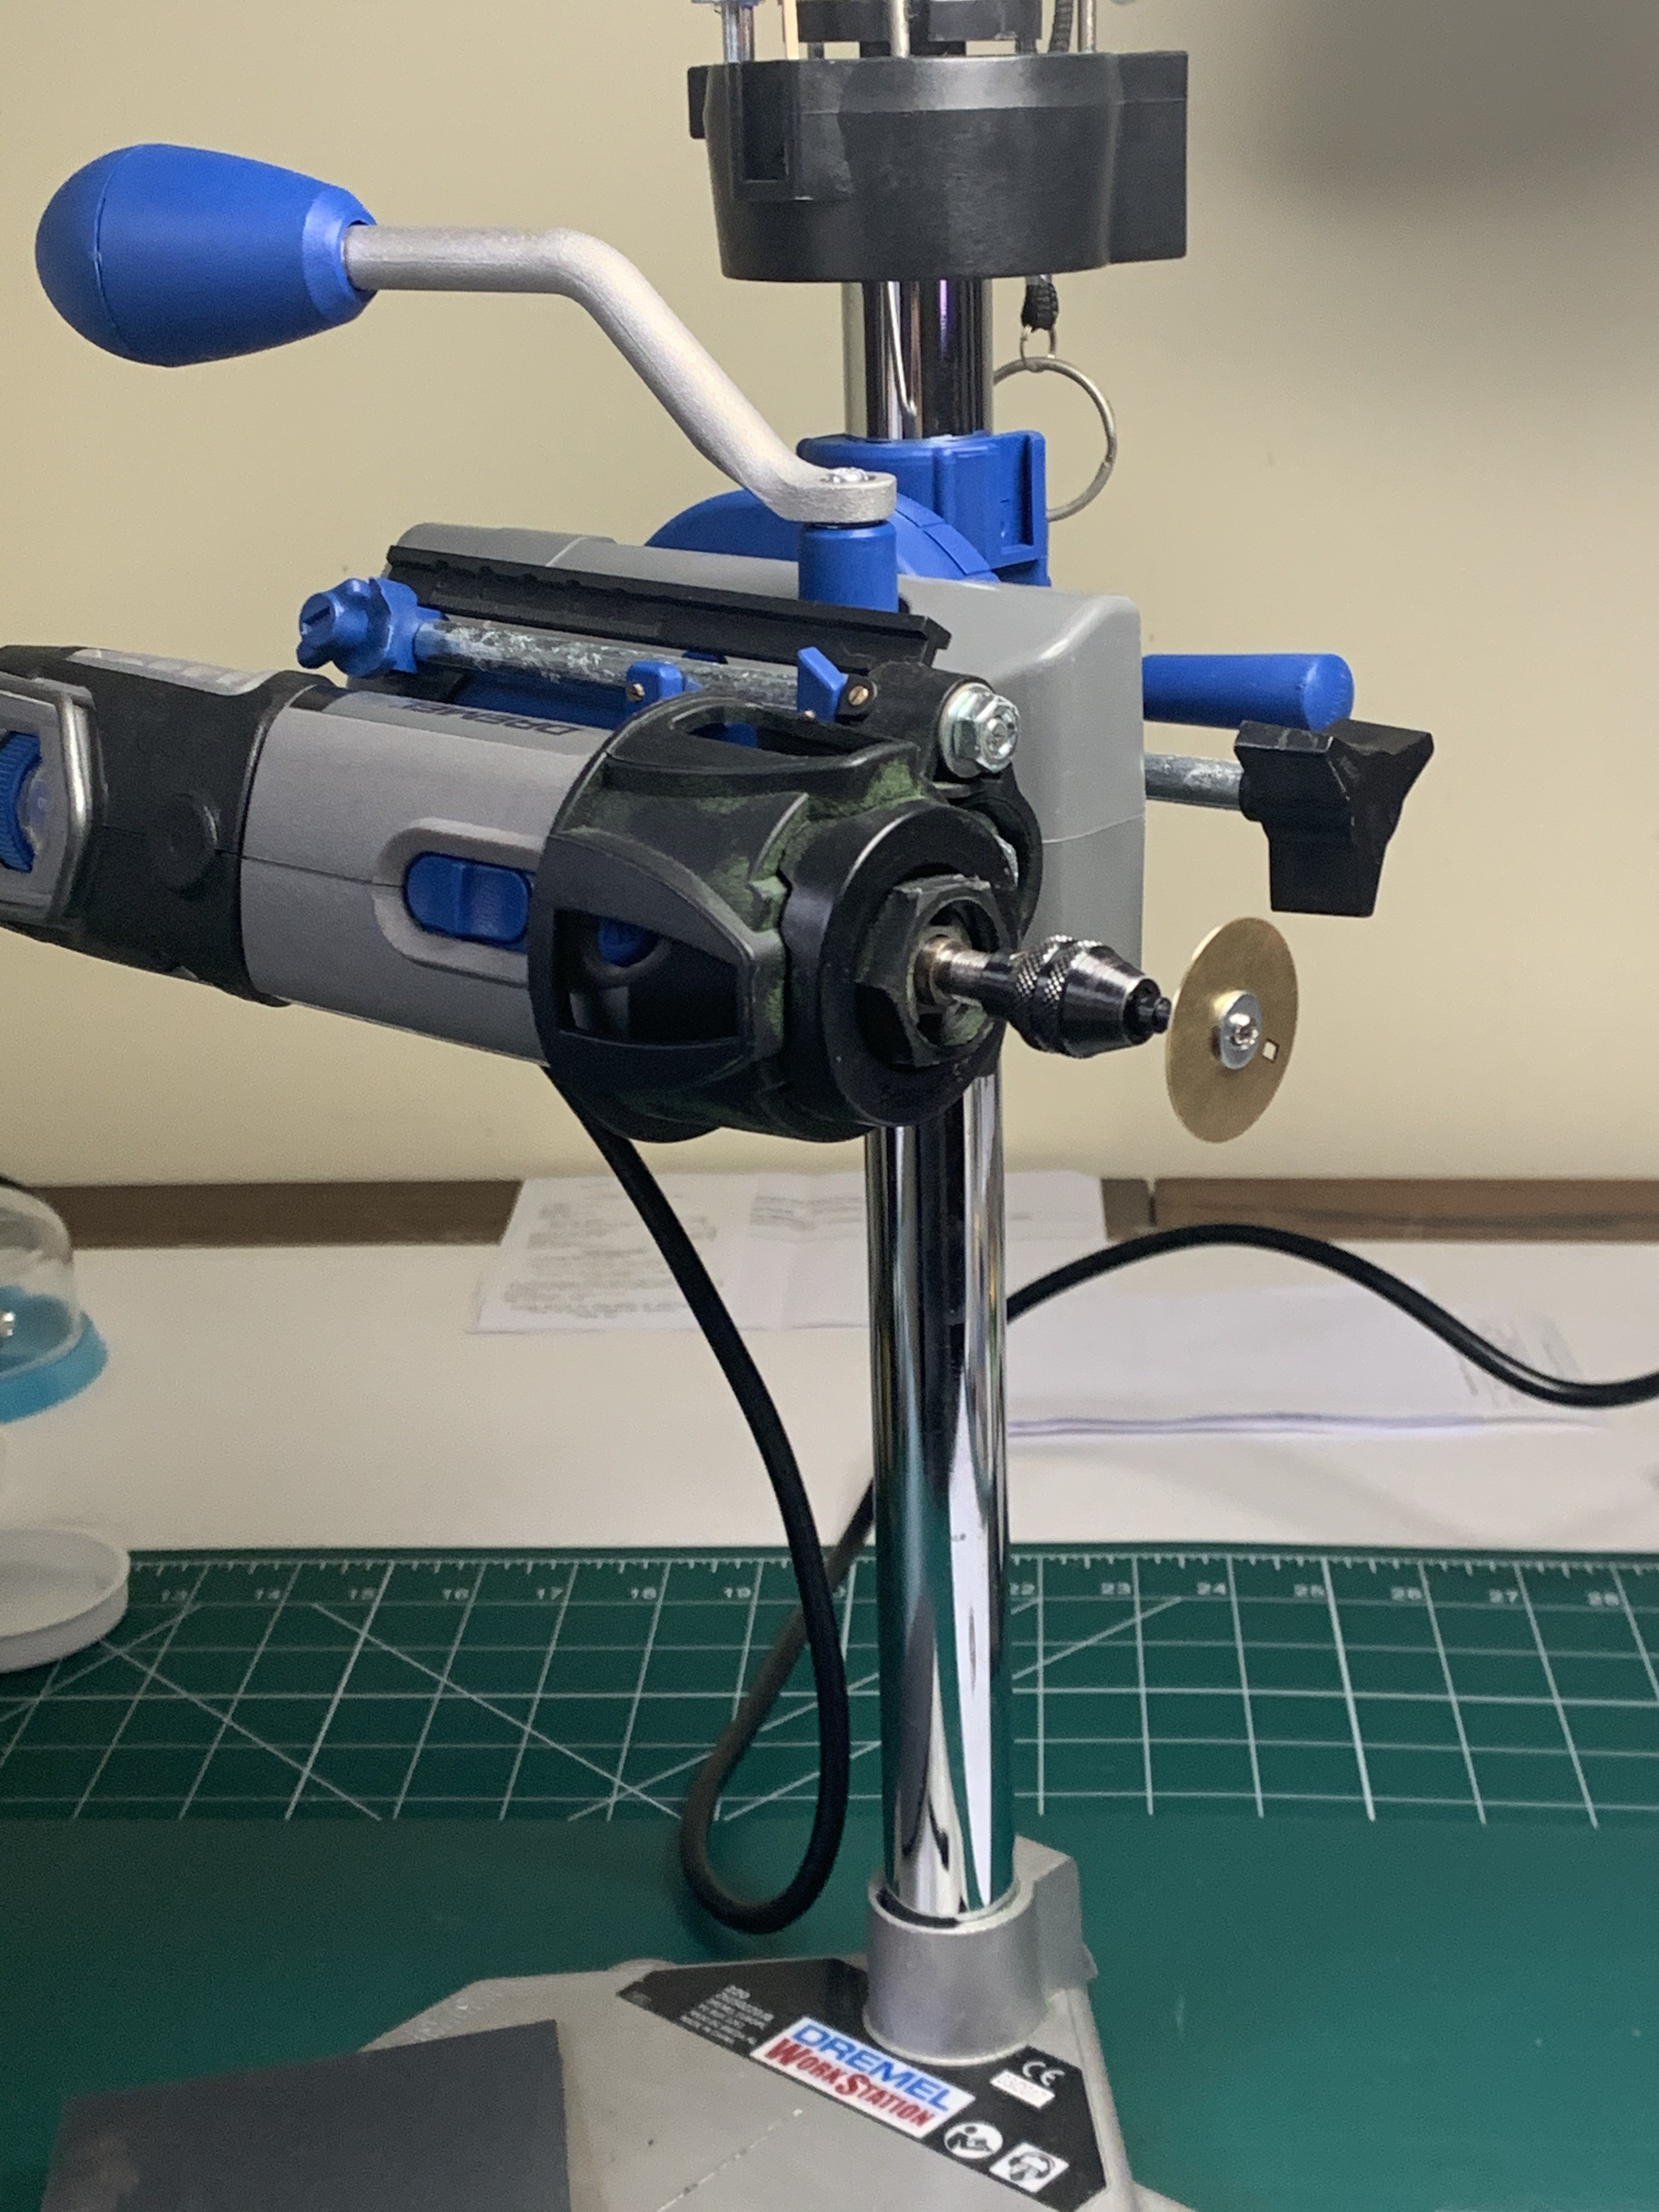
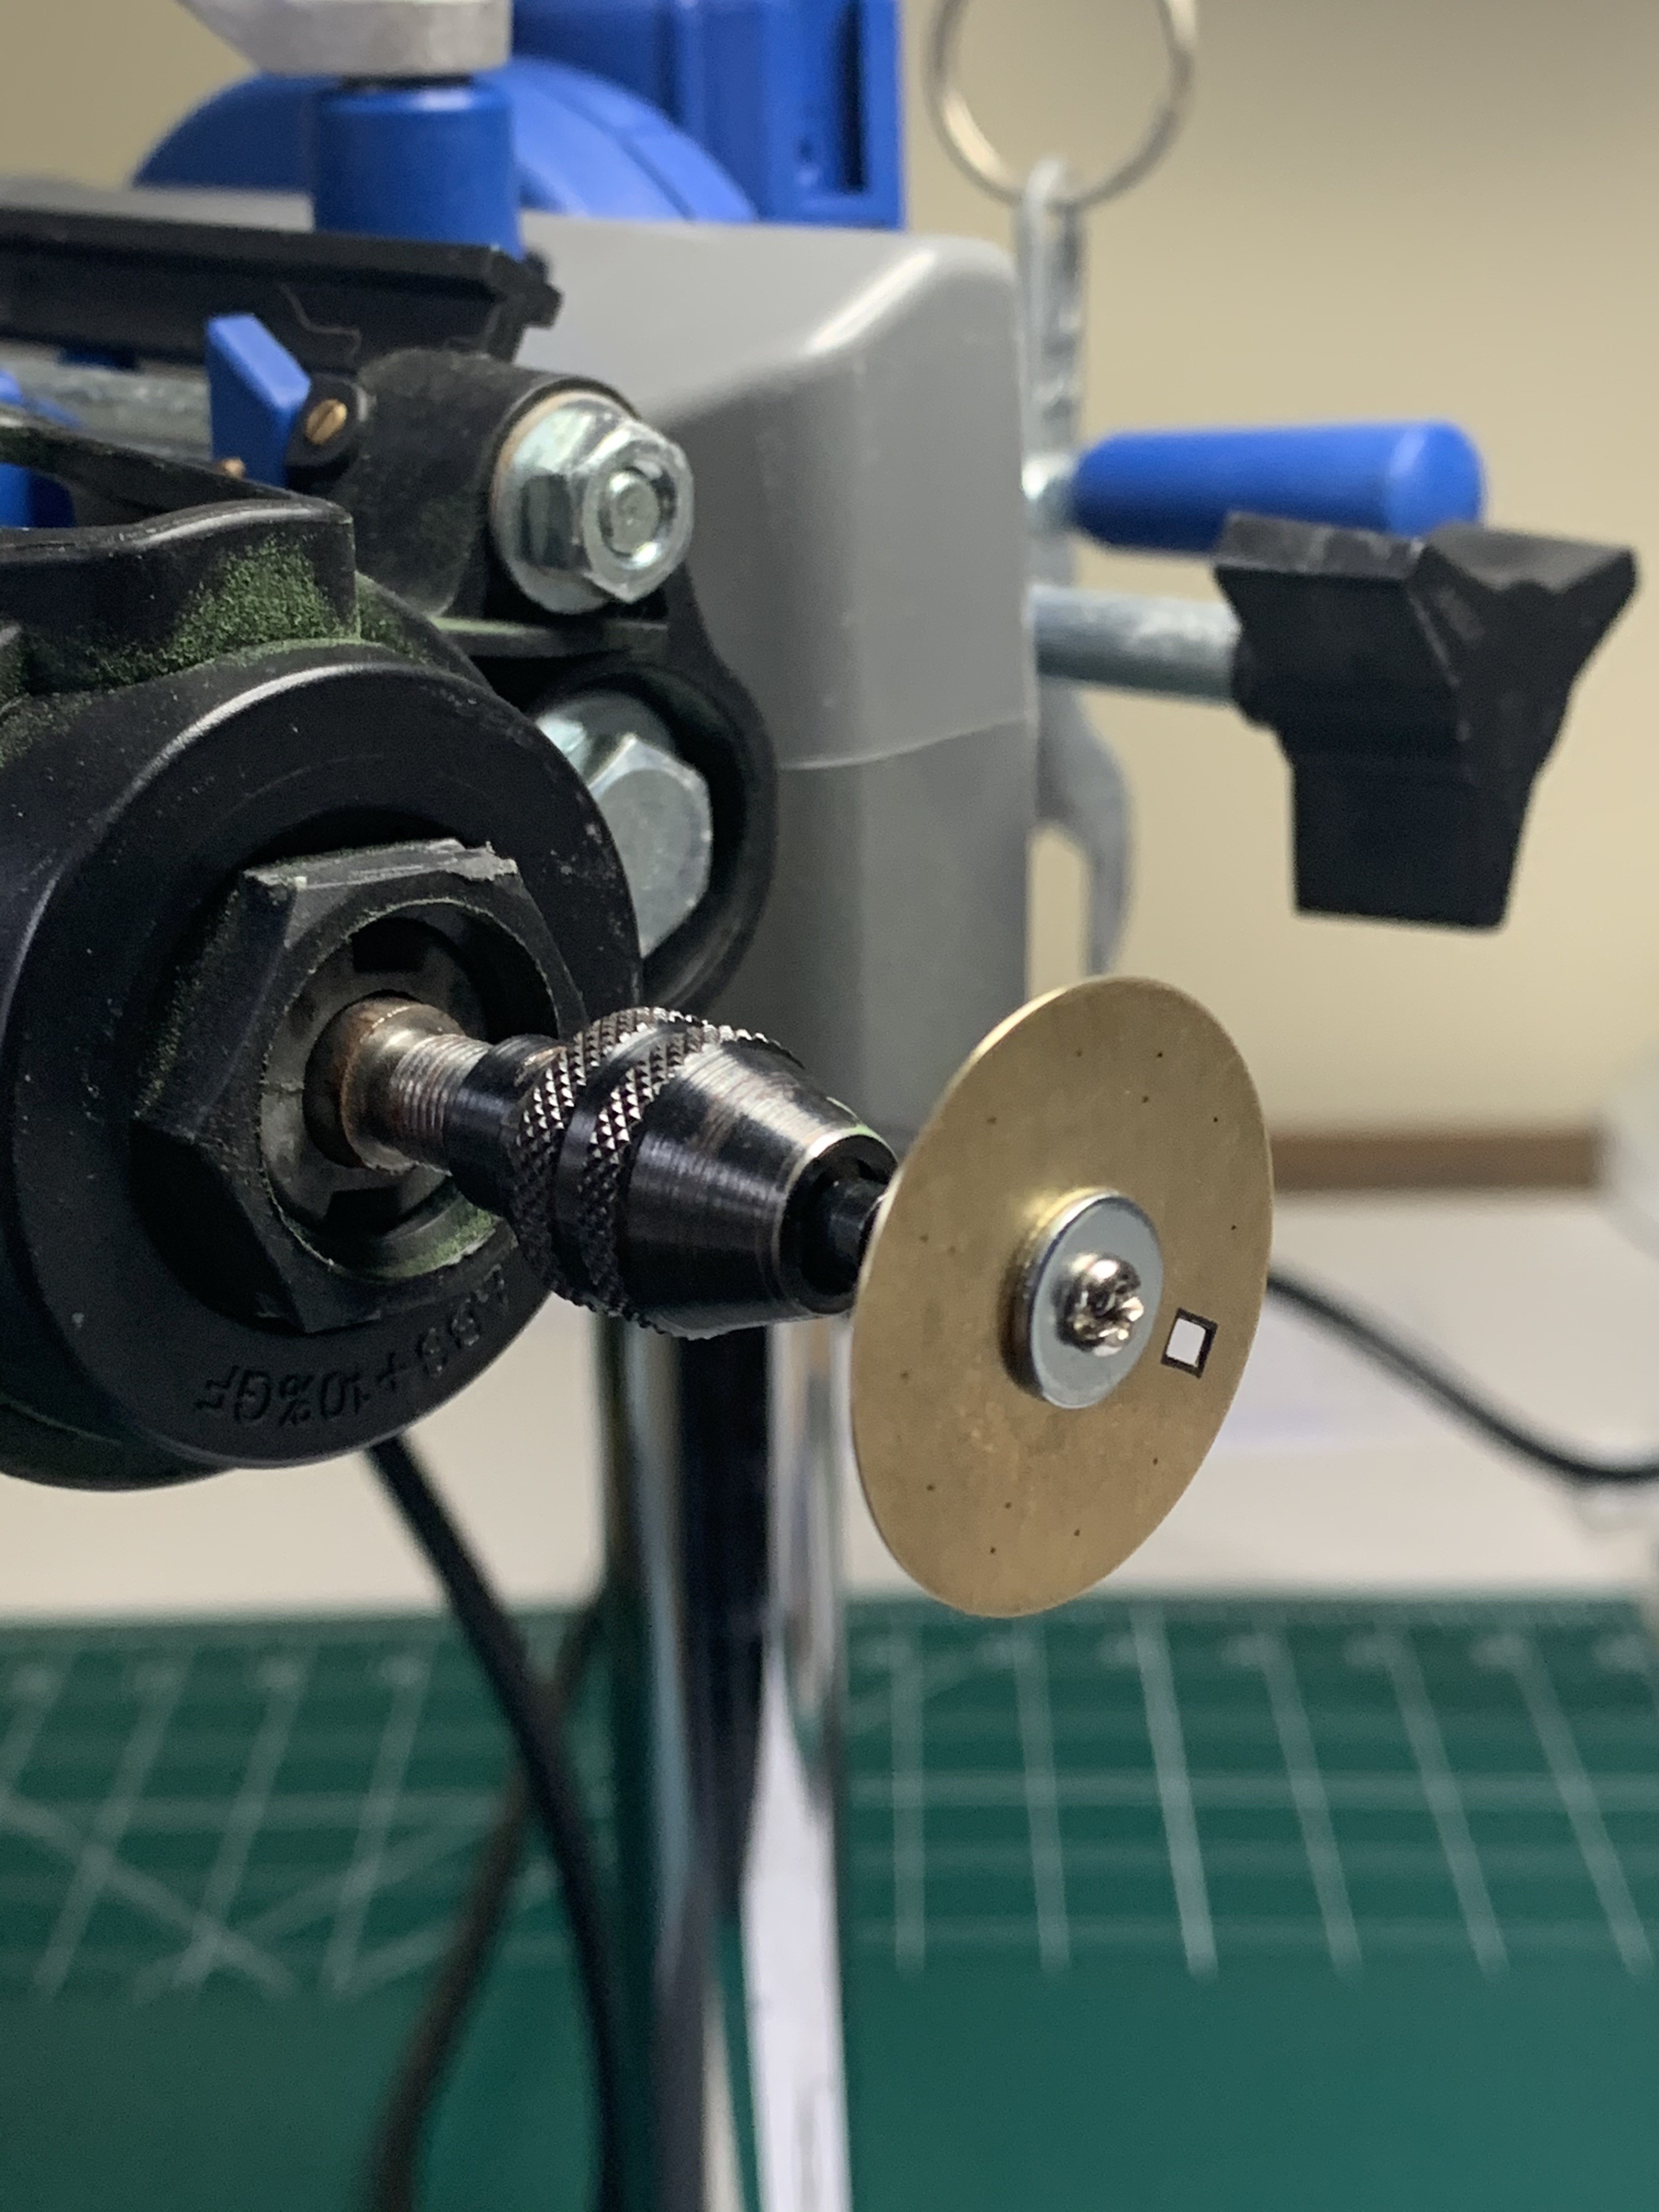
I got the movement prepped with the replacement dial feet clamped in place over the spacer ring. I trimmed the dial feet a little, to clear the date wheel when they were inserted, then realised I didn't need to really as they're sitting on the spacer. Sigh...
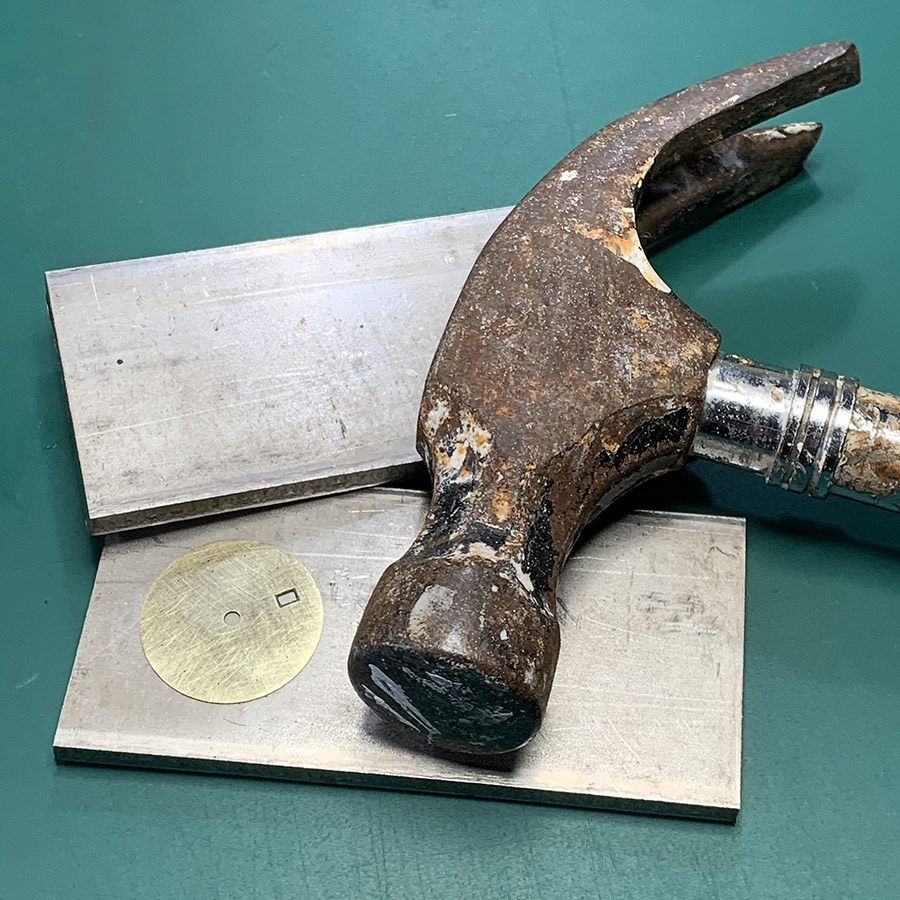
I filed the back of the dial a little to make an allowance for the extra height of the feet. Then I re-sanded the front of the dial and noticed it had some flat spots - upon closer inspection edge-on, the dial was visibly wonky. This resulted in two things: 1. Irritation, because as usual this wasn't being straightforward, and 2. a certain amount of satisfaction, as it gave me an excuse to HIT SOMETHING WITH A HAMMER in order to MEND IT. Note to self - double check the movement isn't underneath the dial before hitting. I placed the dial between two pieces of flat stainless bar and commenced hitting.
Look at the patina on that hammer. Beautiful.
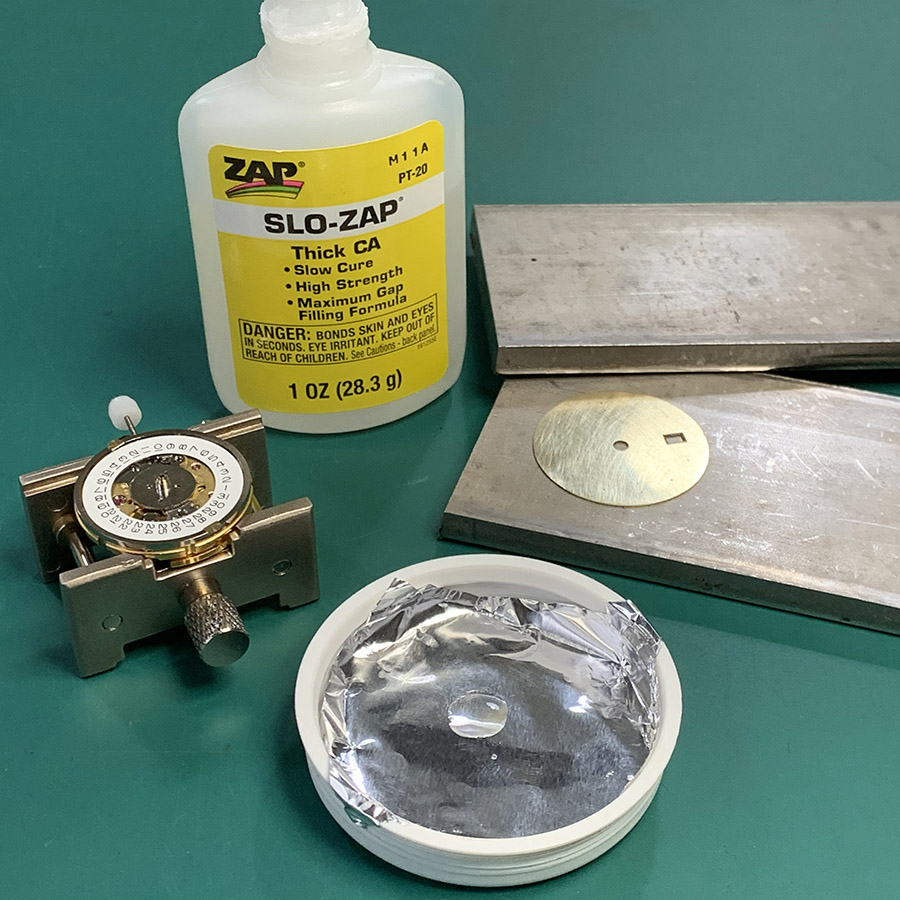
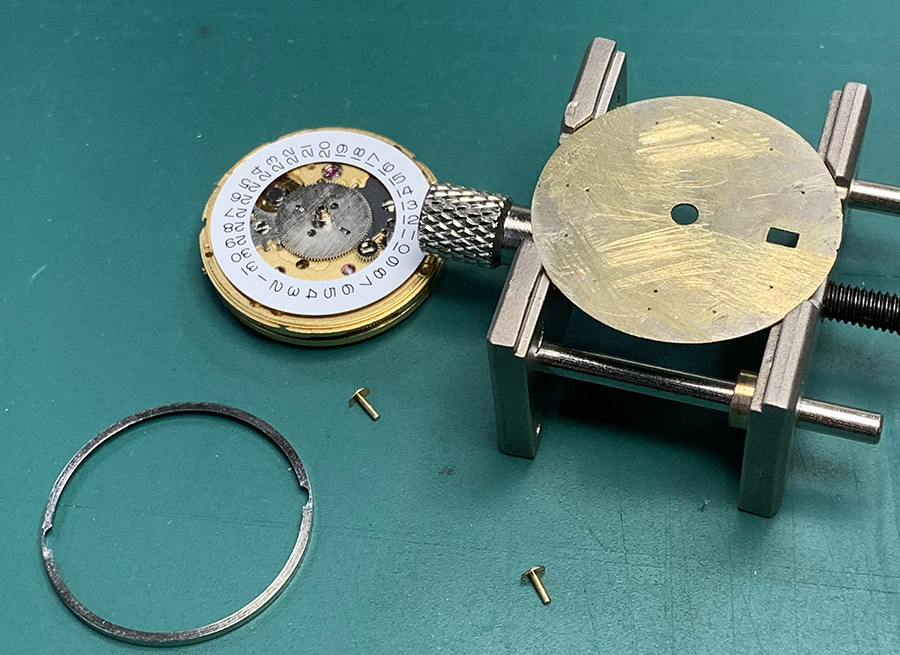
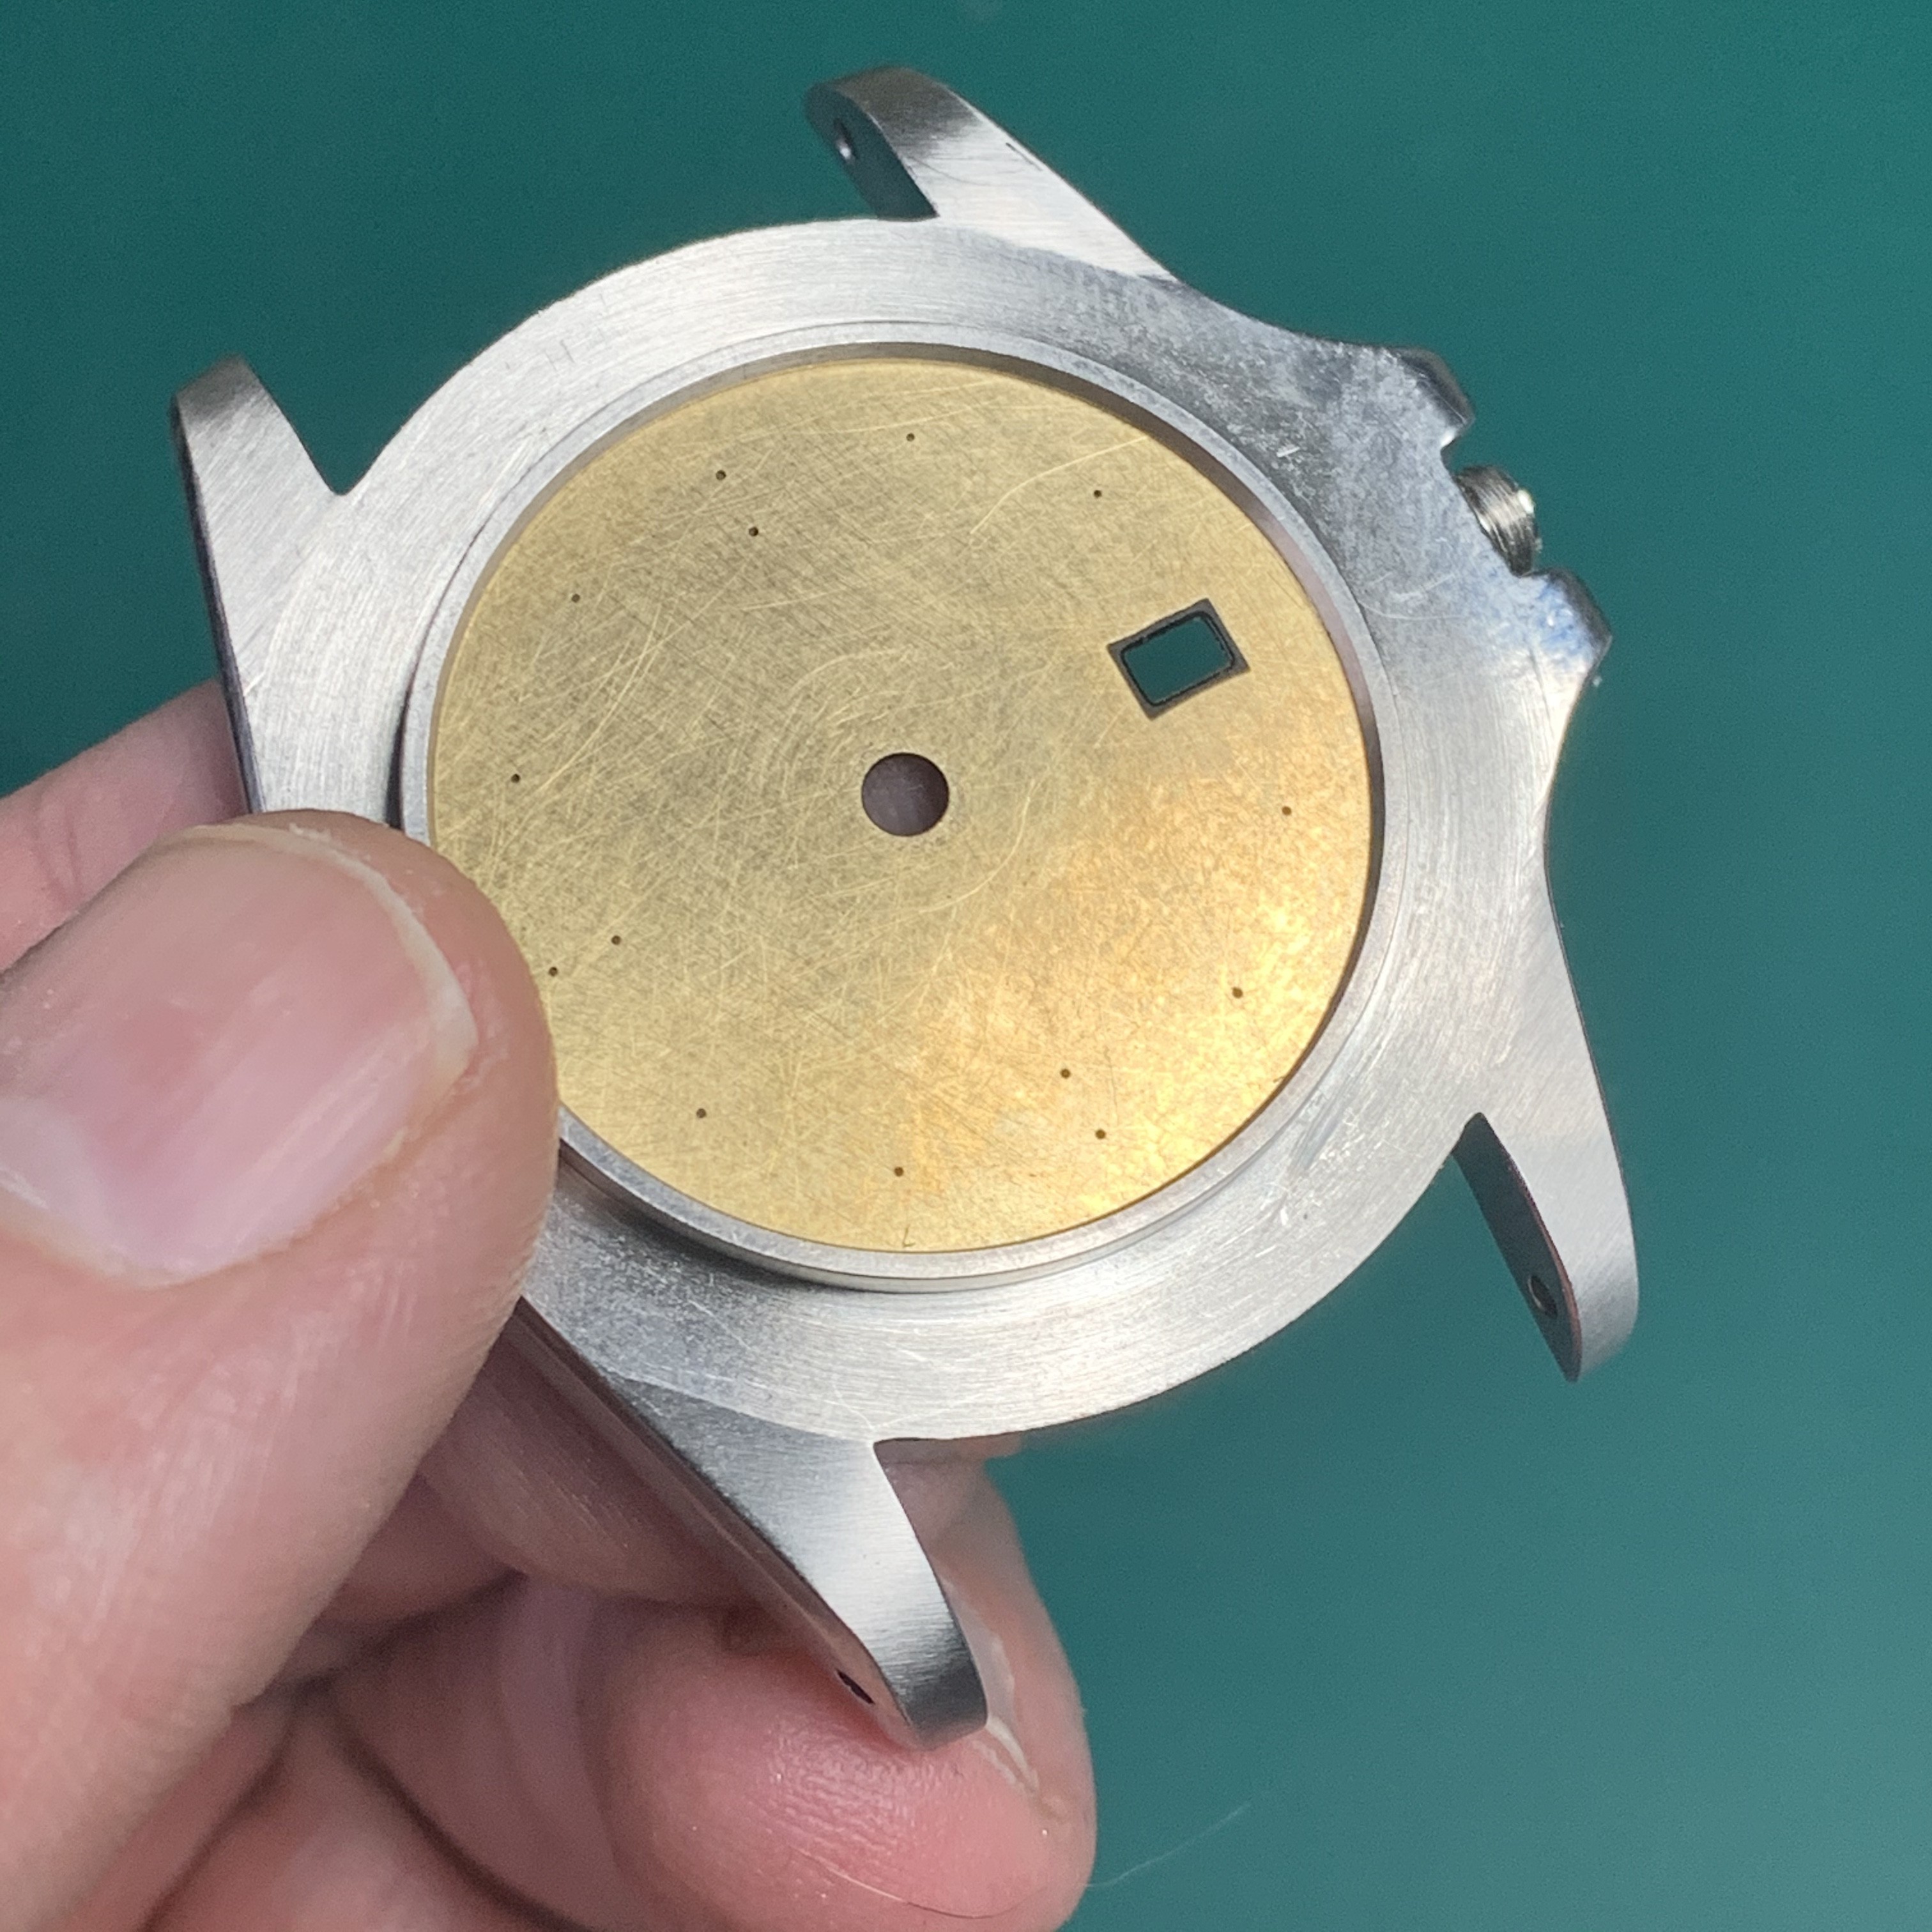
Okay, the dial is flat(ish). What next? Ah yes - the perfect combination of things; dial blank, dial feet, delicate watch movement, super glue and me.
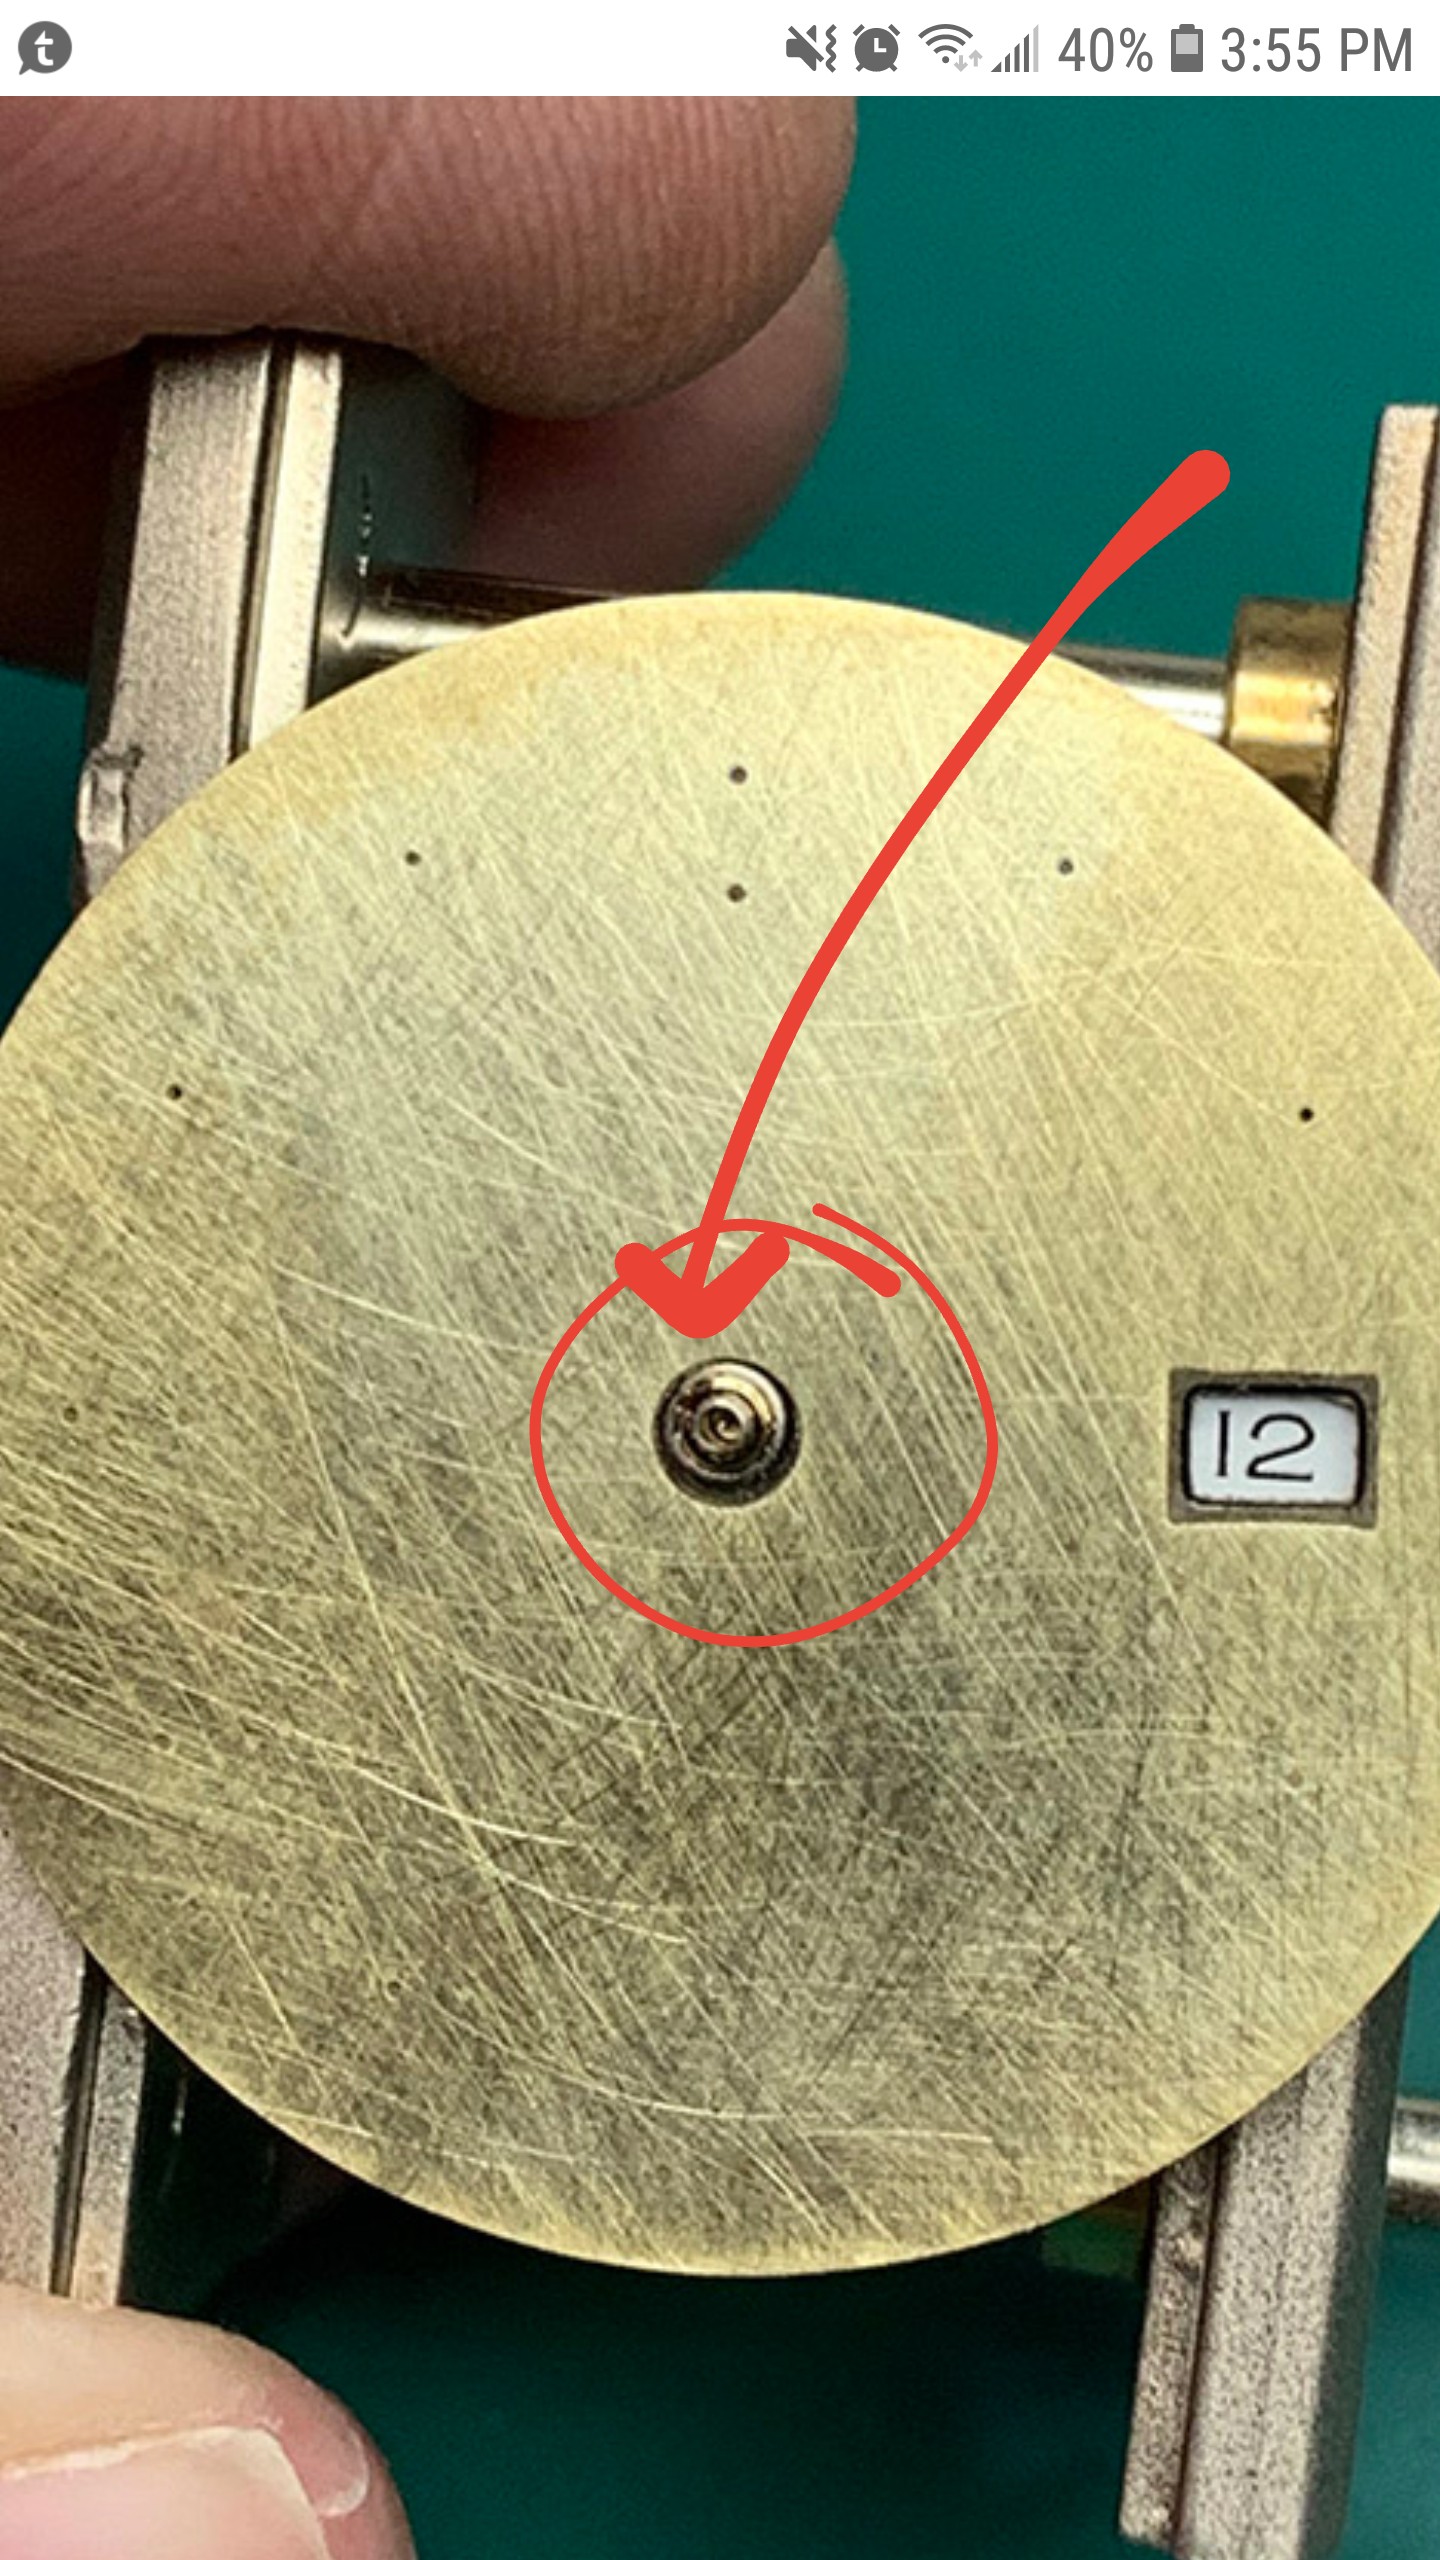
I put a drop of super glue on silver foil (stops it drying out) and used a toothpick to very carefully transfer a little onto the feet. Note the name of the glue - "SLO-ZAP". Well, it isn't. As far as I can tell it's exactly like regular super glue. So it's fortunate that I managed to drop the dial on in pretty much the right position first time...
Having proved itself unworthy of the title "SLOW" the Zap product then went full house on me by proving itself unworthy of the title "glue" as well. When I loosened off the movement dial foot clamps and lifted the dial off, this happened almost immediately...
Another sigh. Right, where's that epoxy? Oh, I chucked it away because it leaked into the drawer and made a hideous smell. Okay. Fire up Amazon, order epoxy, pack up and play video games. Tune in again for more (dial) riveting action -
SOON!**
*Readers' definition of "progress" may differ from that of the author.
** Readers' definition of "soon" may differ from that of the author.
")