- 28/2/17
- 2,306
- 1,763
- 113
So the my latest attempt at a ‘how to’ is the thinning of a royal oak case. The difference between this and my other how to guides is its something im actually good at, toolmaking! Professional watchmaker i am not, but a toolmaker, thats a bit of me ")
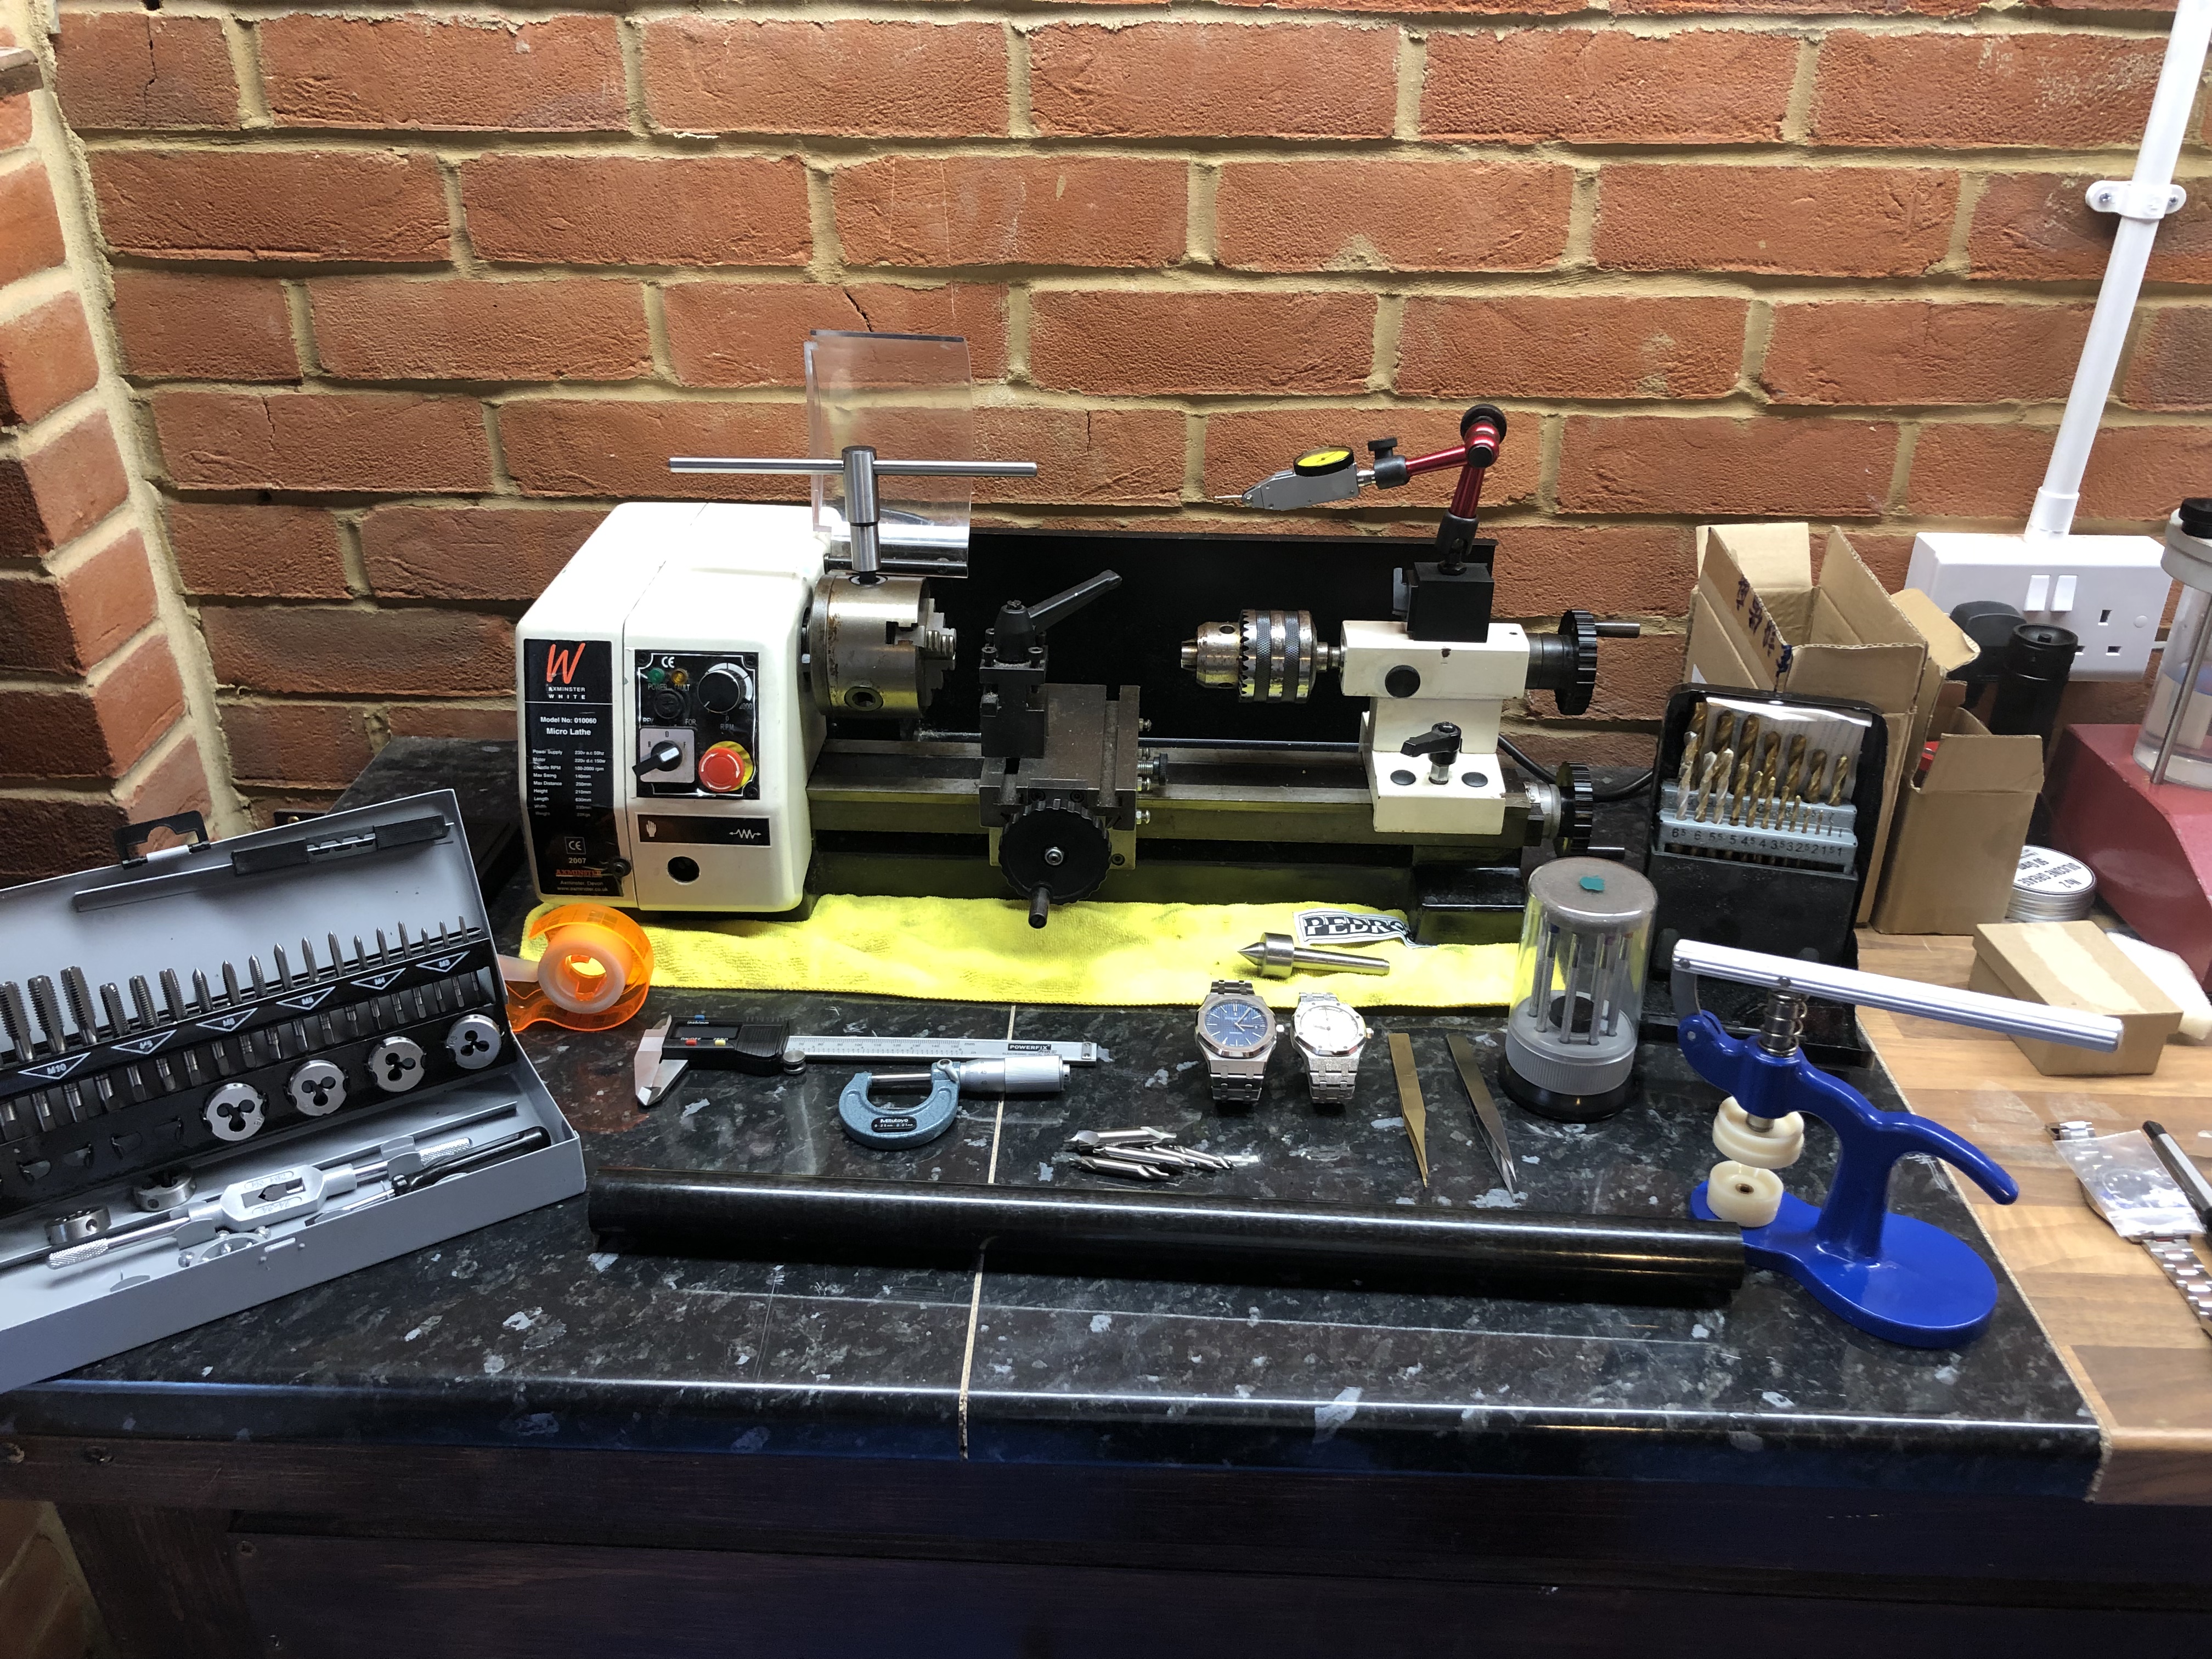
Straight out of the gate, if you dont have or know how to use a lathe, your pretty much shit out of luck. Honestly if i didn’t think id use it long term i wouldn’t of got a lathe just for this job. Its MUCH cheaper to just send it to someone else to get done. For that reason im not going to explain basic turning terminology, if your interested bang it into google.
Tools needed:
A lathe
A bar of 30mm acetal (in hindsight id use brass for repeatability and heat proofing)
A cutting tool (i use carbide, you can use hss but keep it sharp, stainless isn’t the easiest to machine)
Revolving center for the tailstock
Drill chuck for the tailstock
Drill bits
Center drill
10mm slot drill
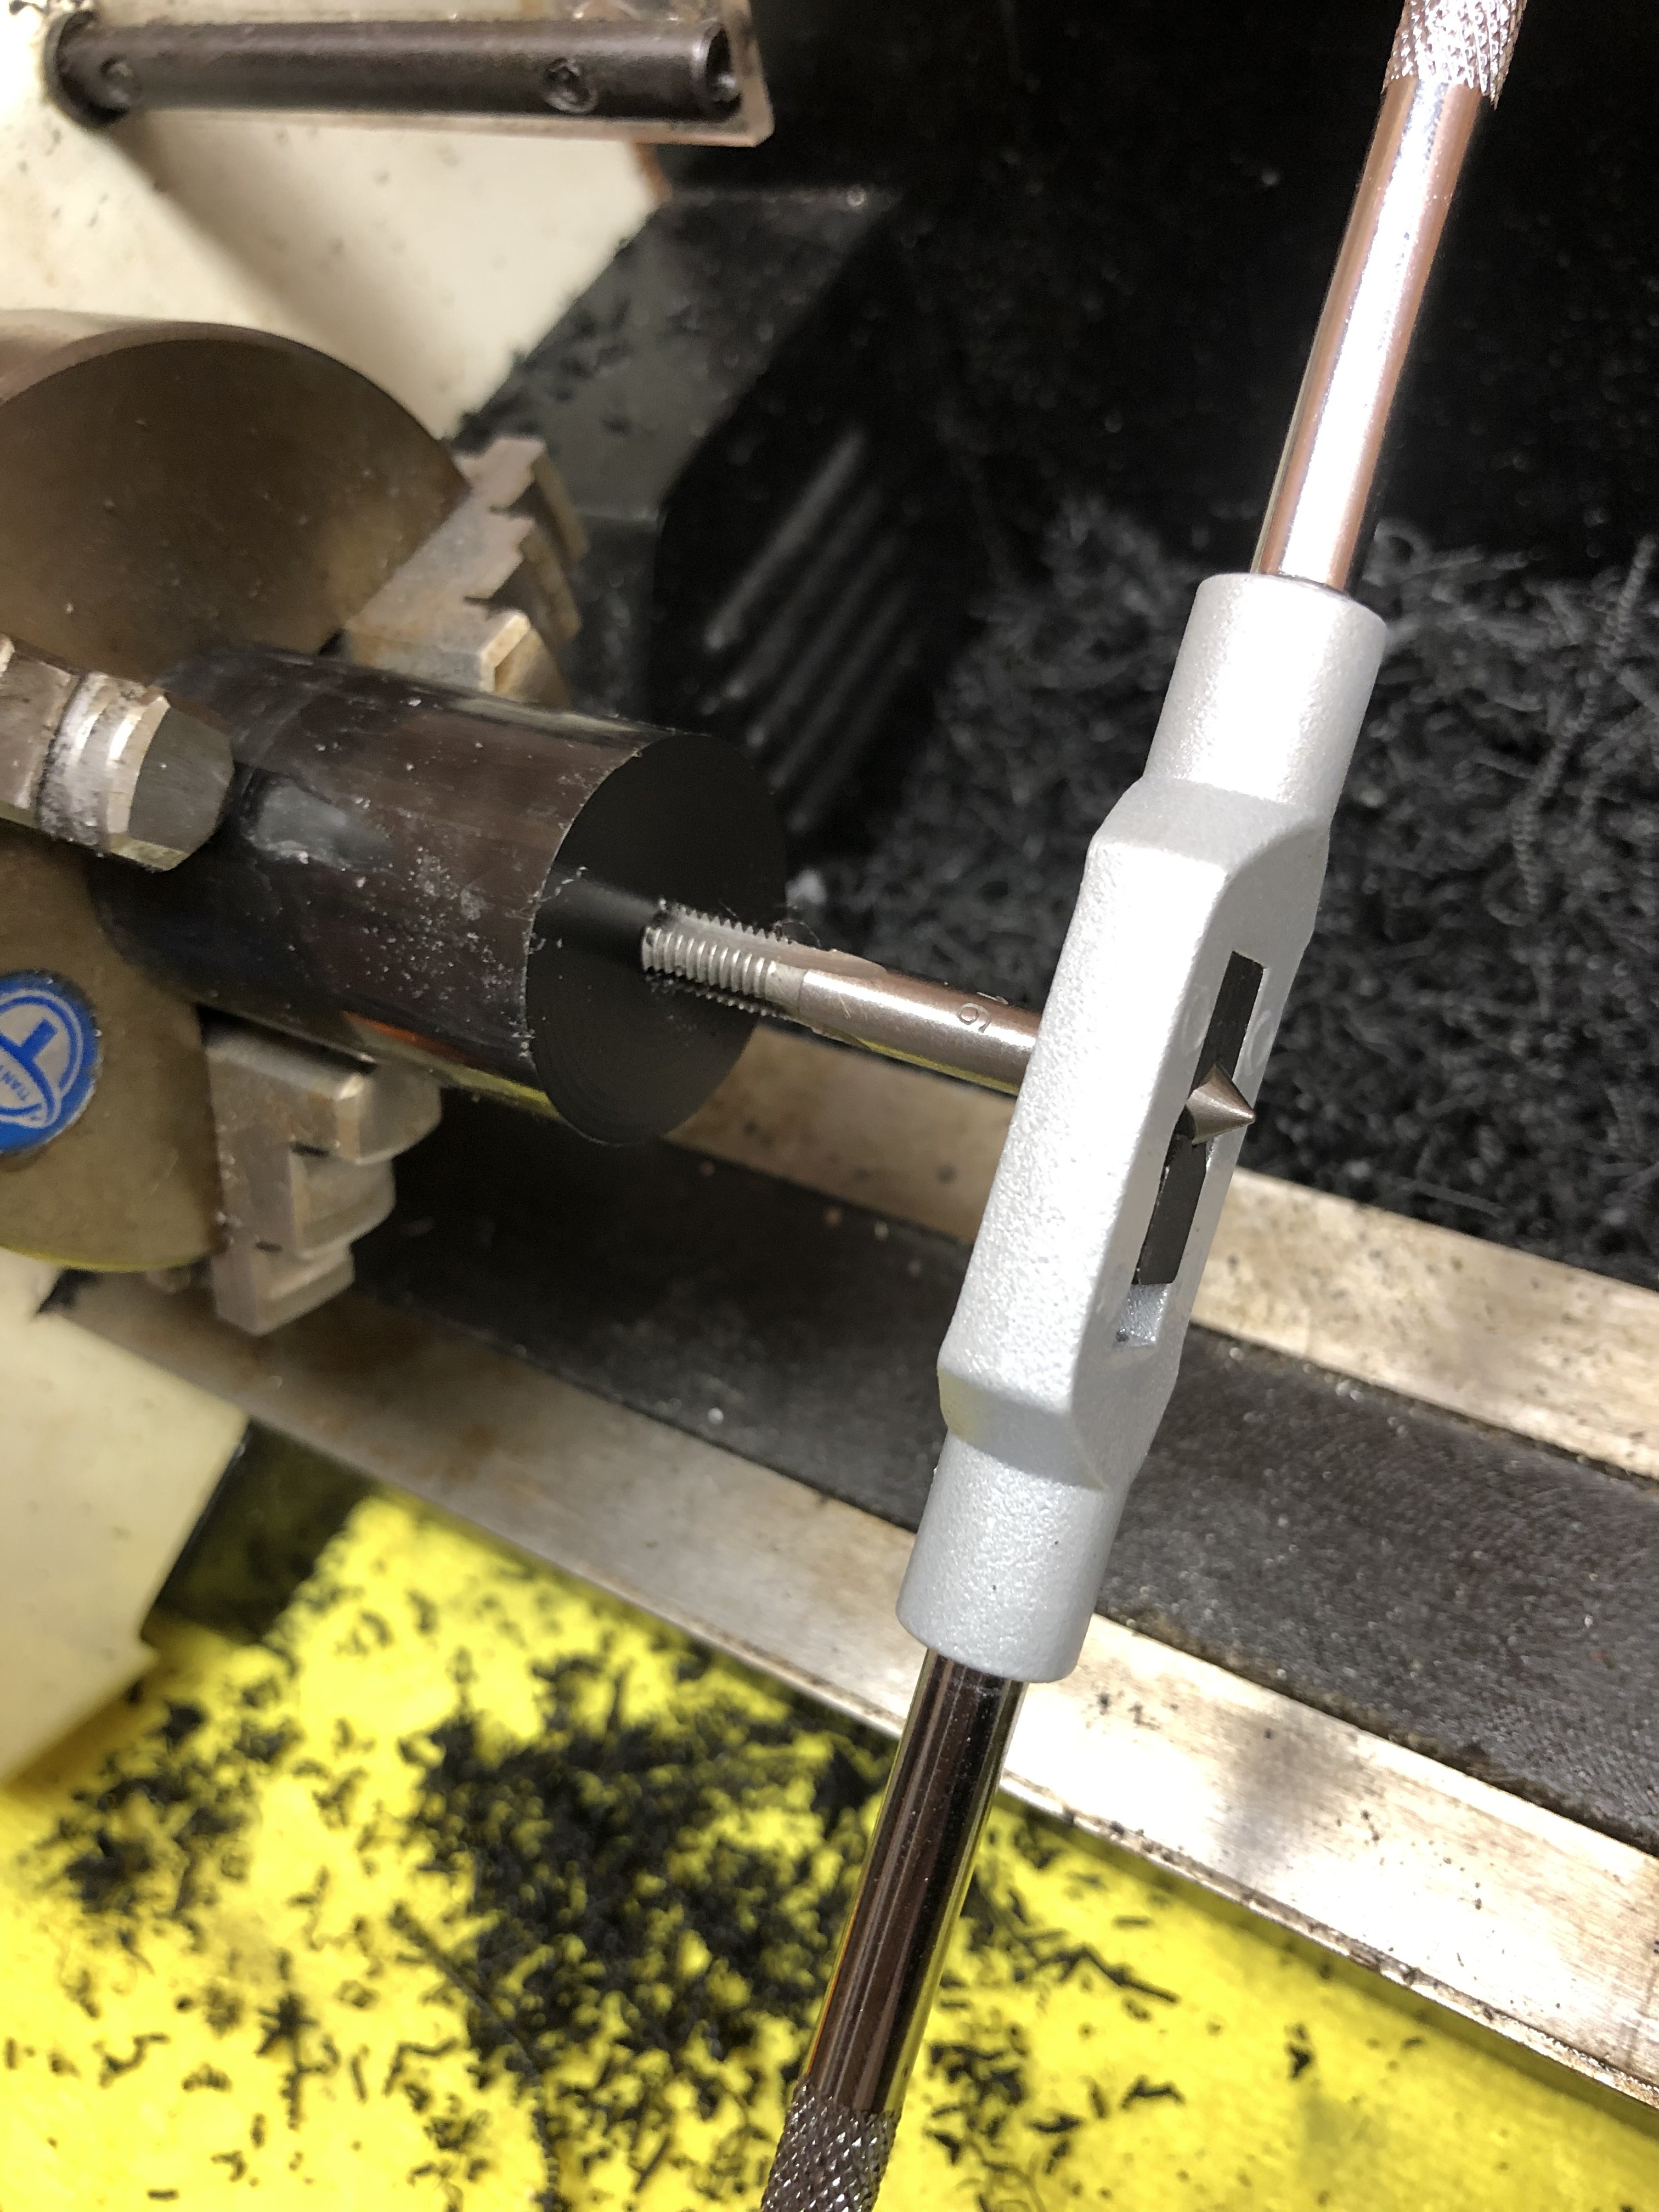
A set of taps (i used m6 because i dont have tool makers drill bits in 0.1mm increments at home and nearly all sizes on an m6 cap head are round numbers)
Micro files (1mm)
Oil stones for deburring
Wet and dry paper to smooth the sealing surface
Vernier callipers
DTI and stand
Screwdrivers
A crystal press (i used 38 and 24mm dies)
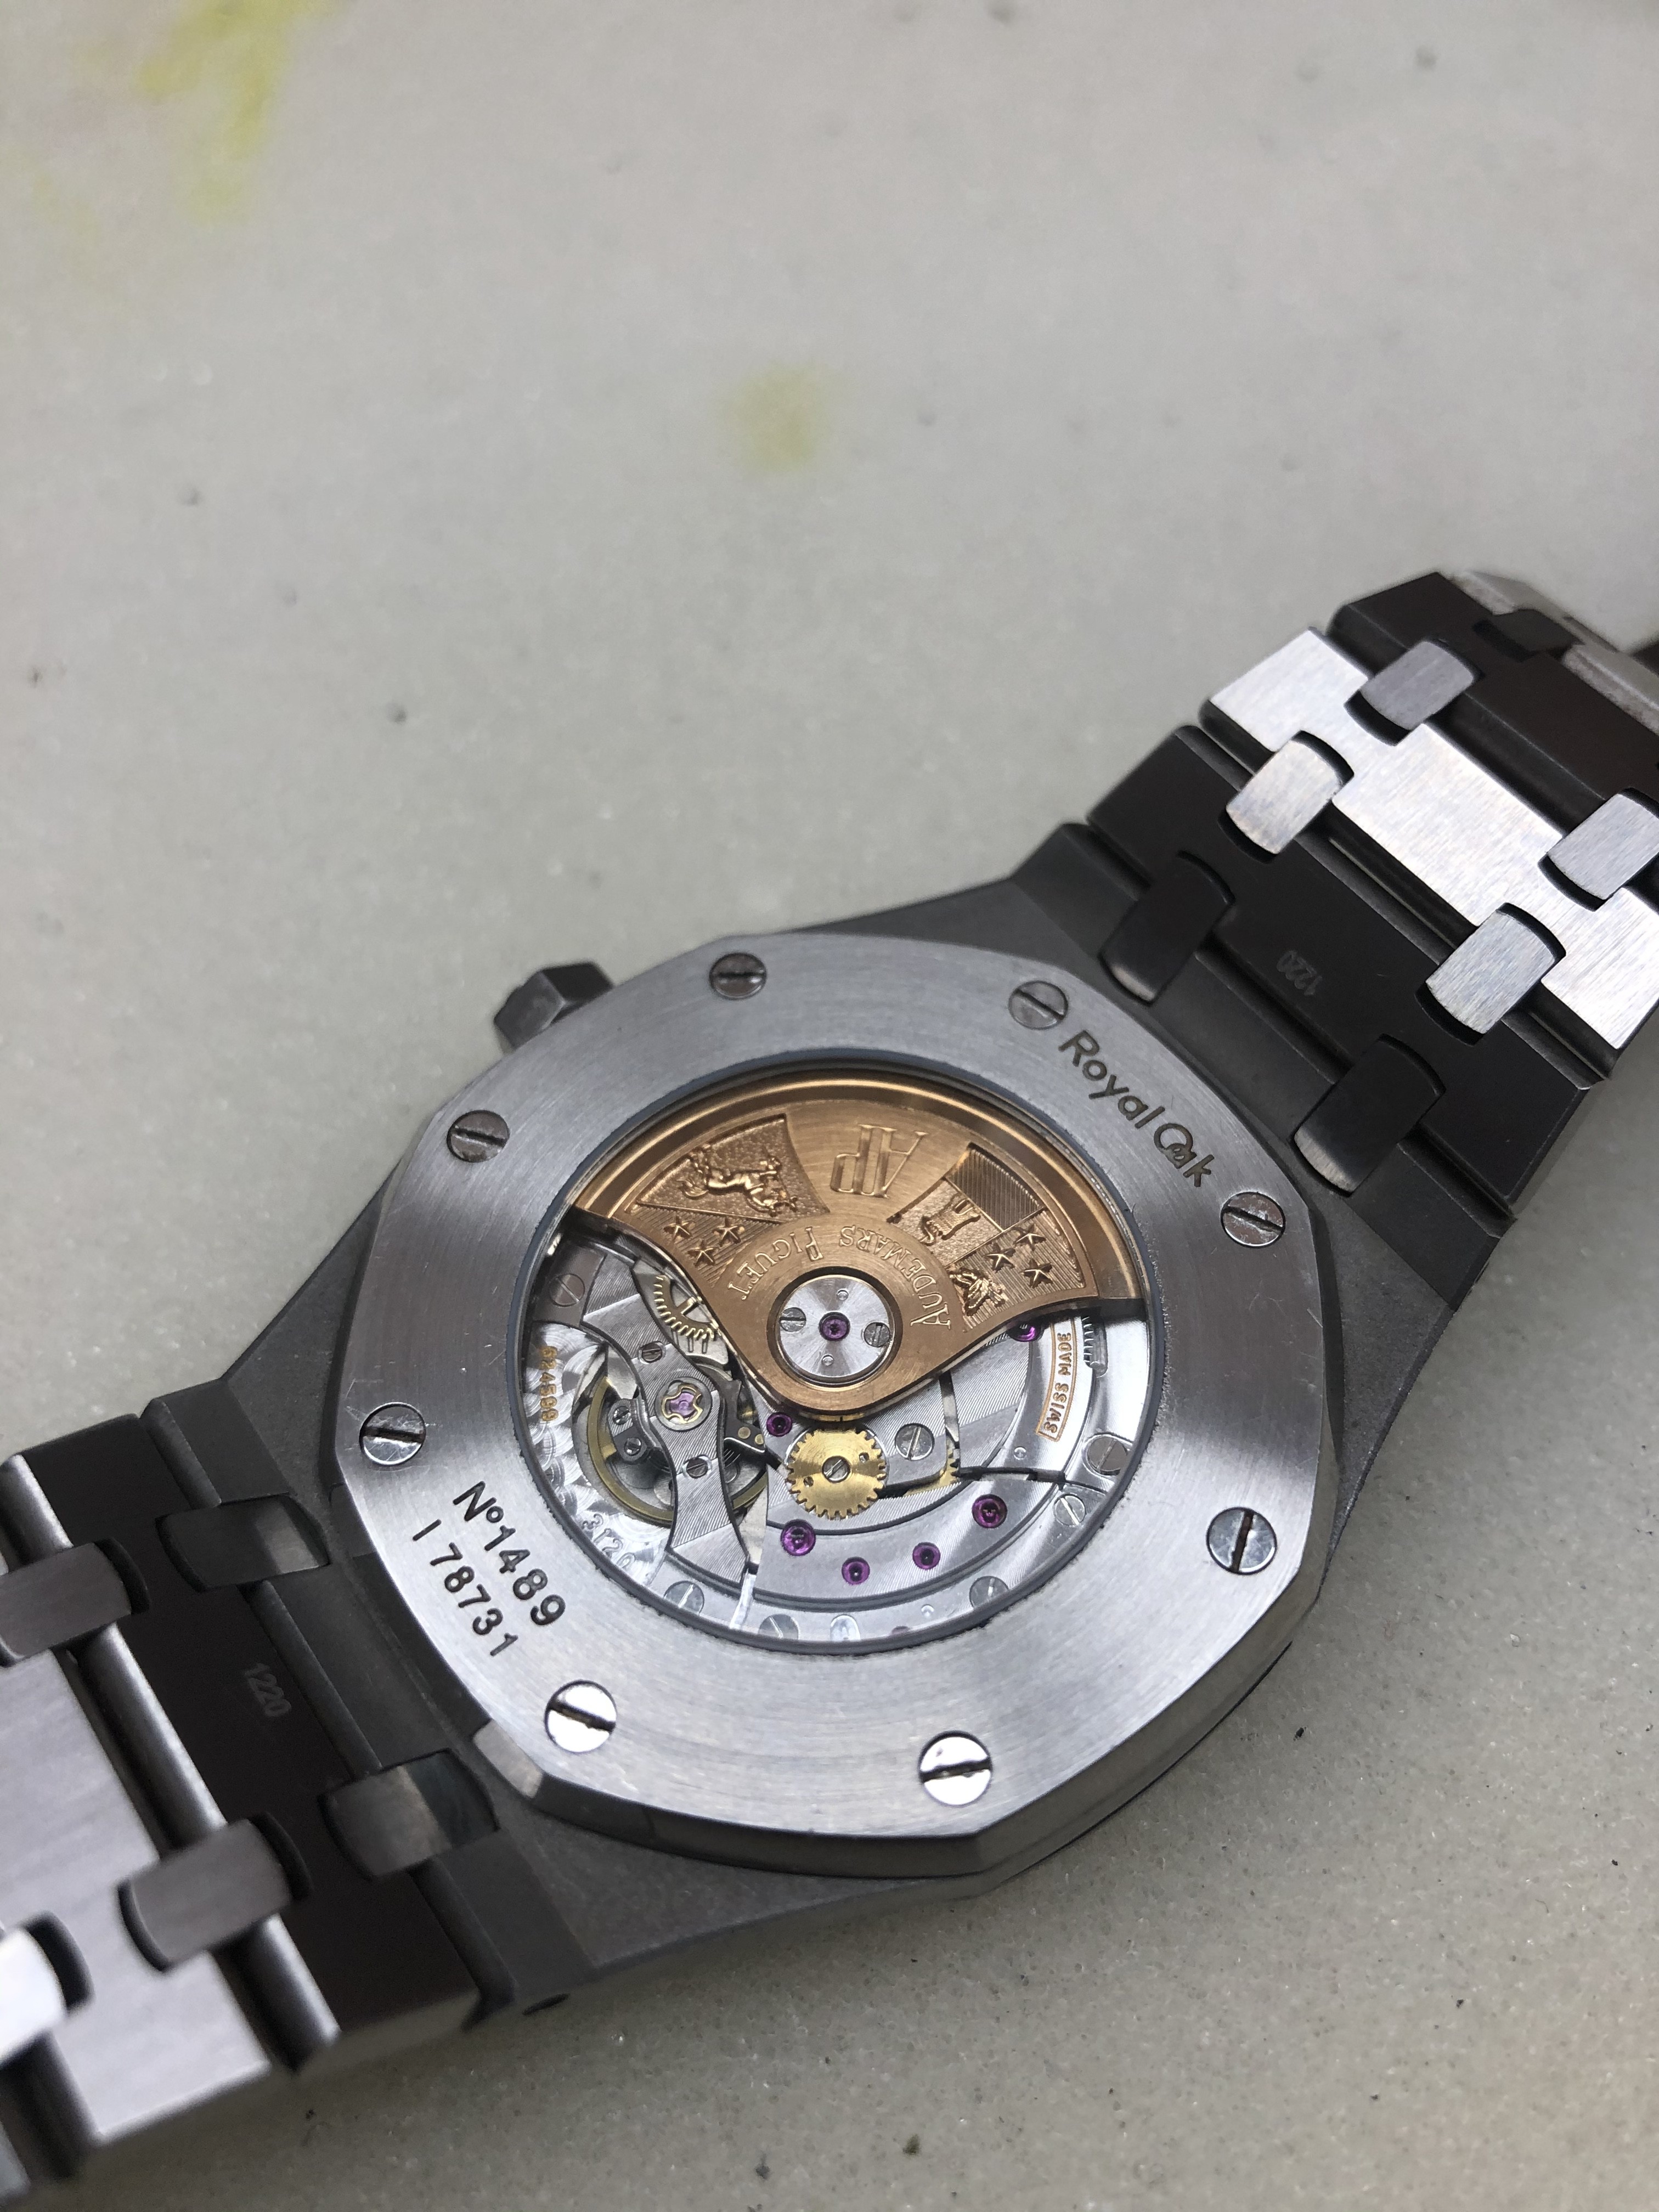
So assuming you have all the tools, and most importantly a ton of patience, lets get started! Pop the display back crystal out and its gasket.
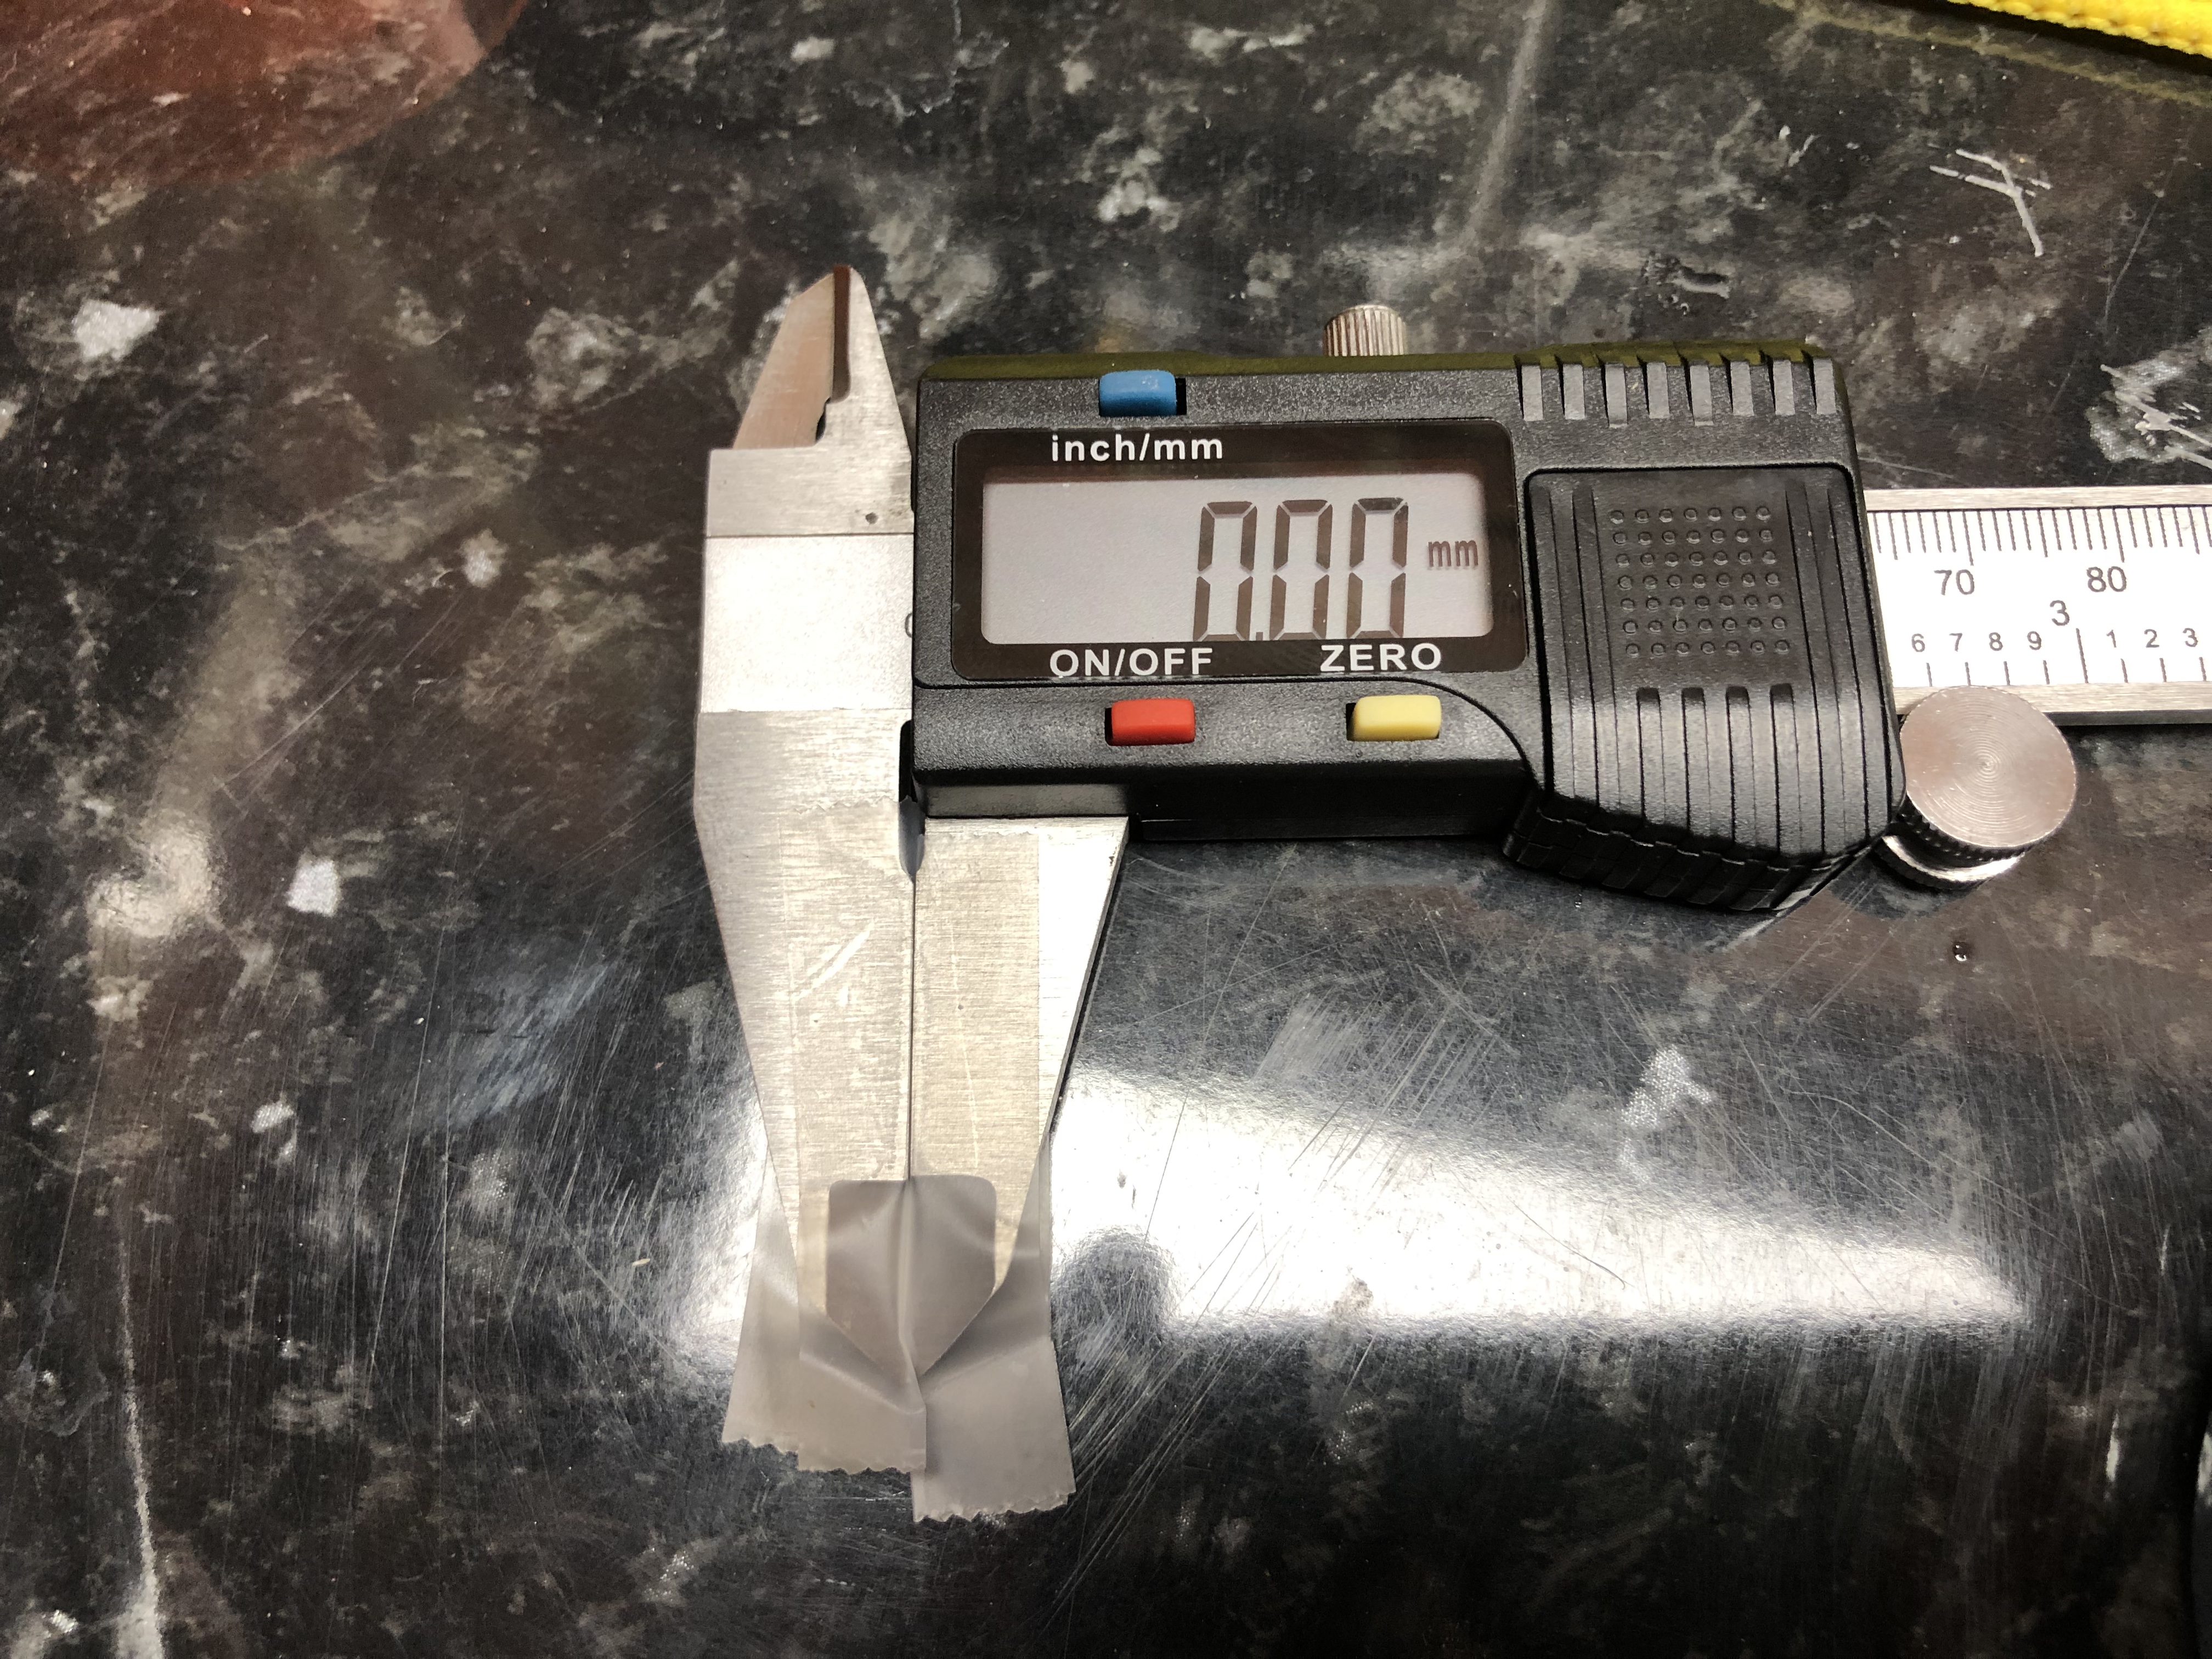
Small note, if you have metal vernier callipers like me, stick some tape over the jaws and press zero to prevent marking the watch. Remember to remove this and re zero if you are using the depth or inside diameter functions as they will be out by the thickness of the tape.
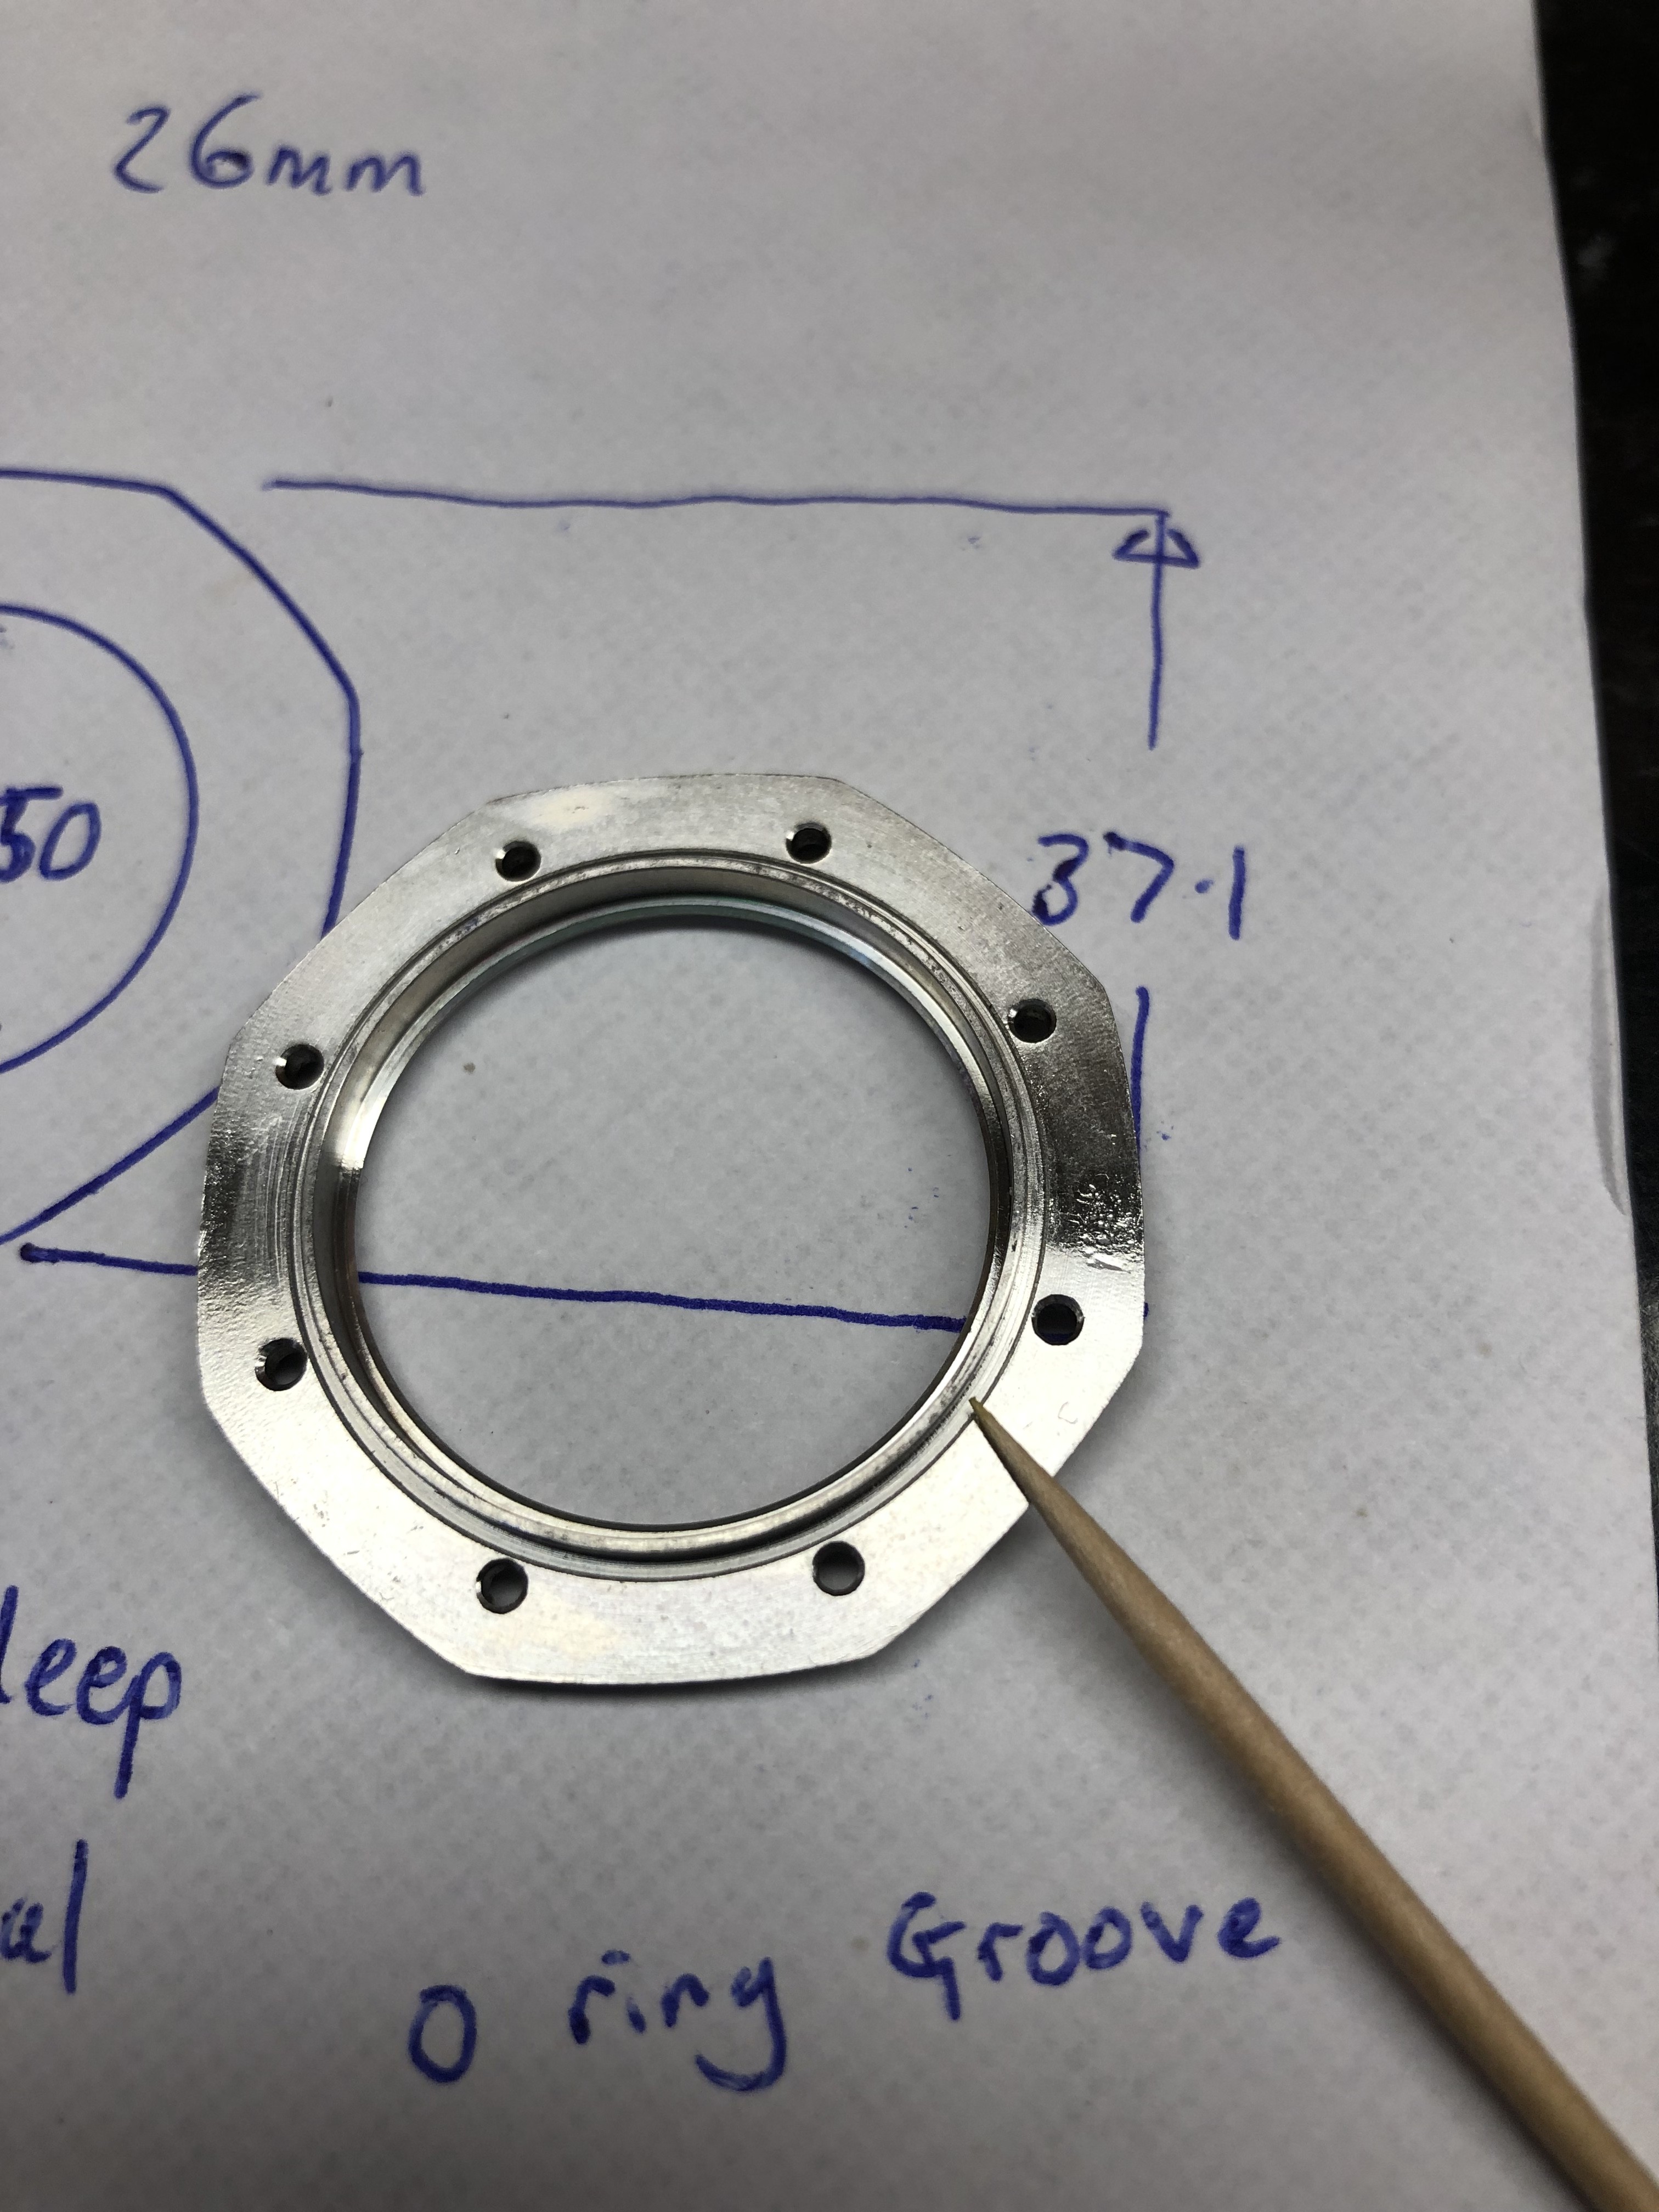
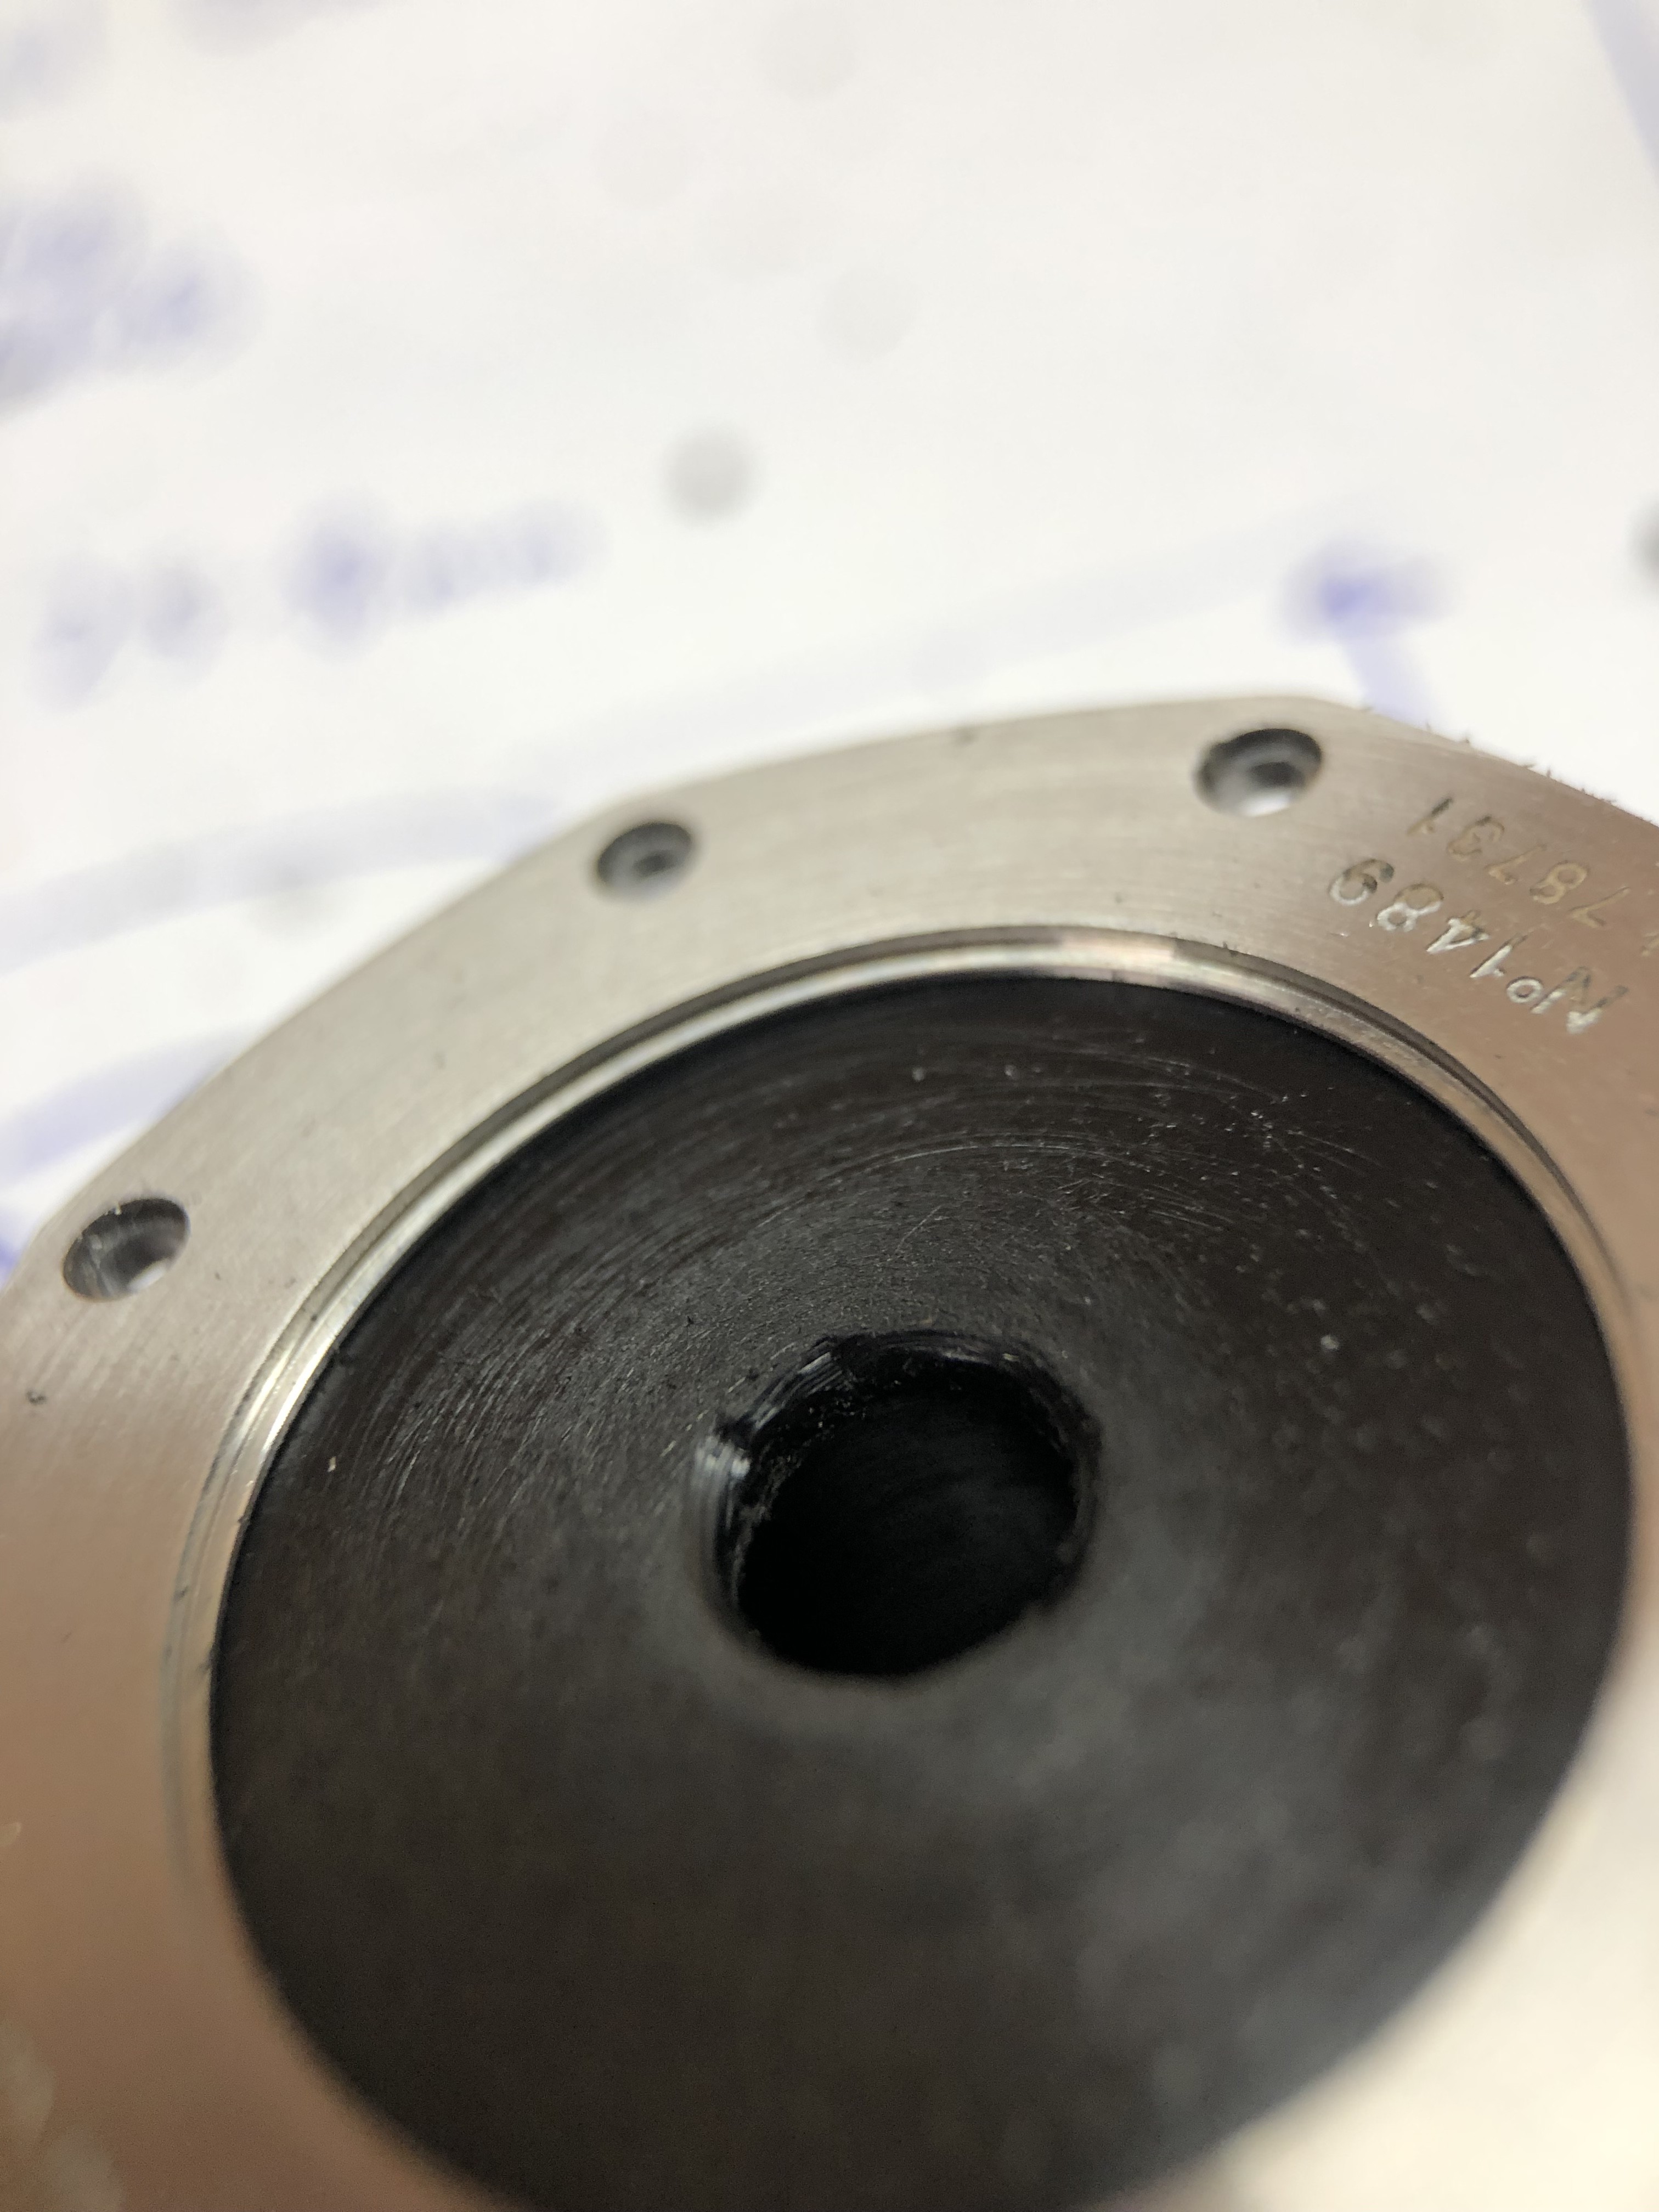
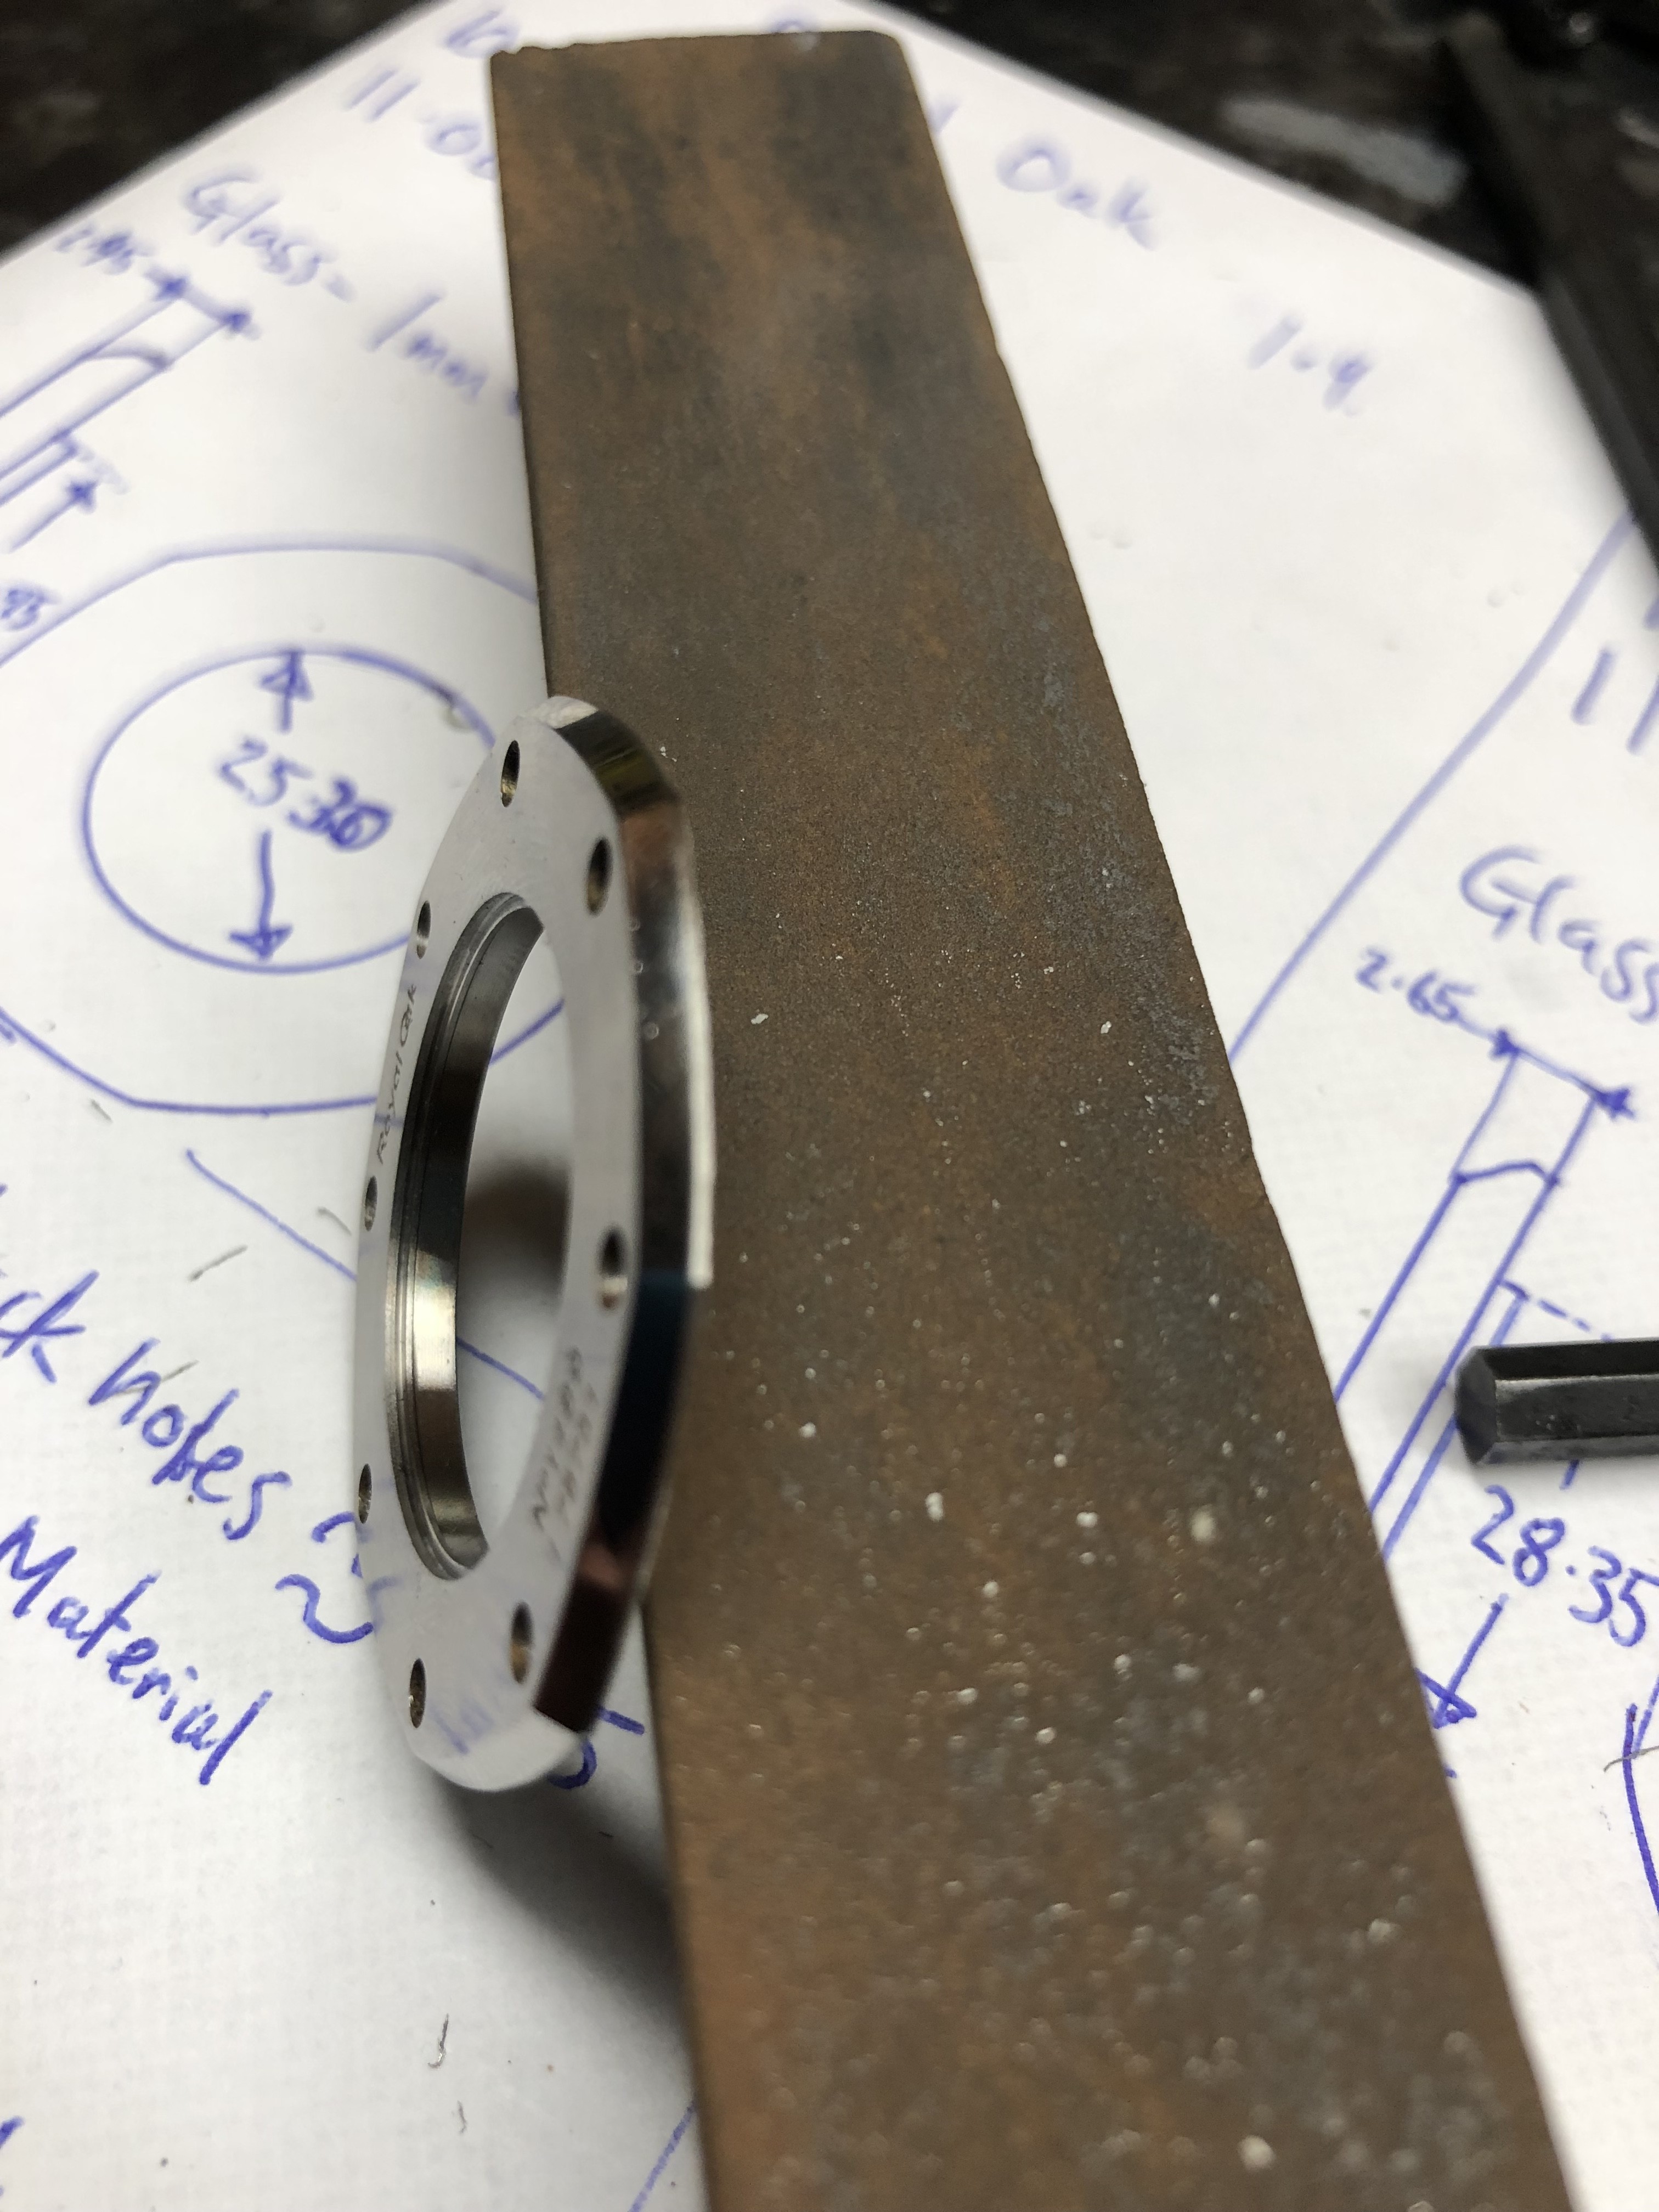
Ever heard measure twice cut once? That couldn’t be more true than here. Measure your stuff. Repeatedly. Then measure it again! I made a drawing of the case back but DONT ASSUME YOURS IS THE SAME!
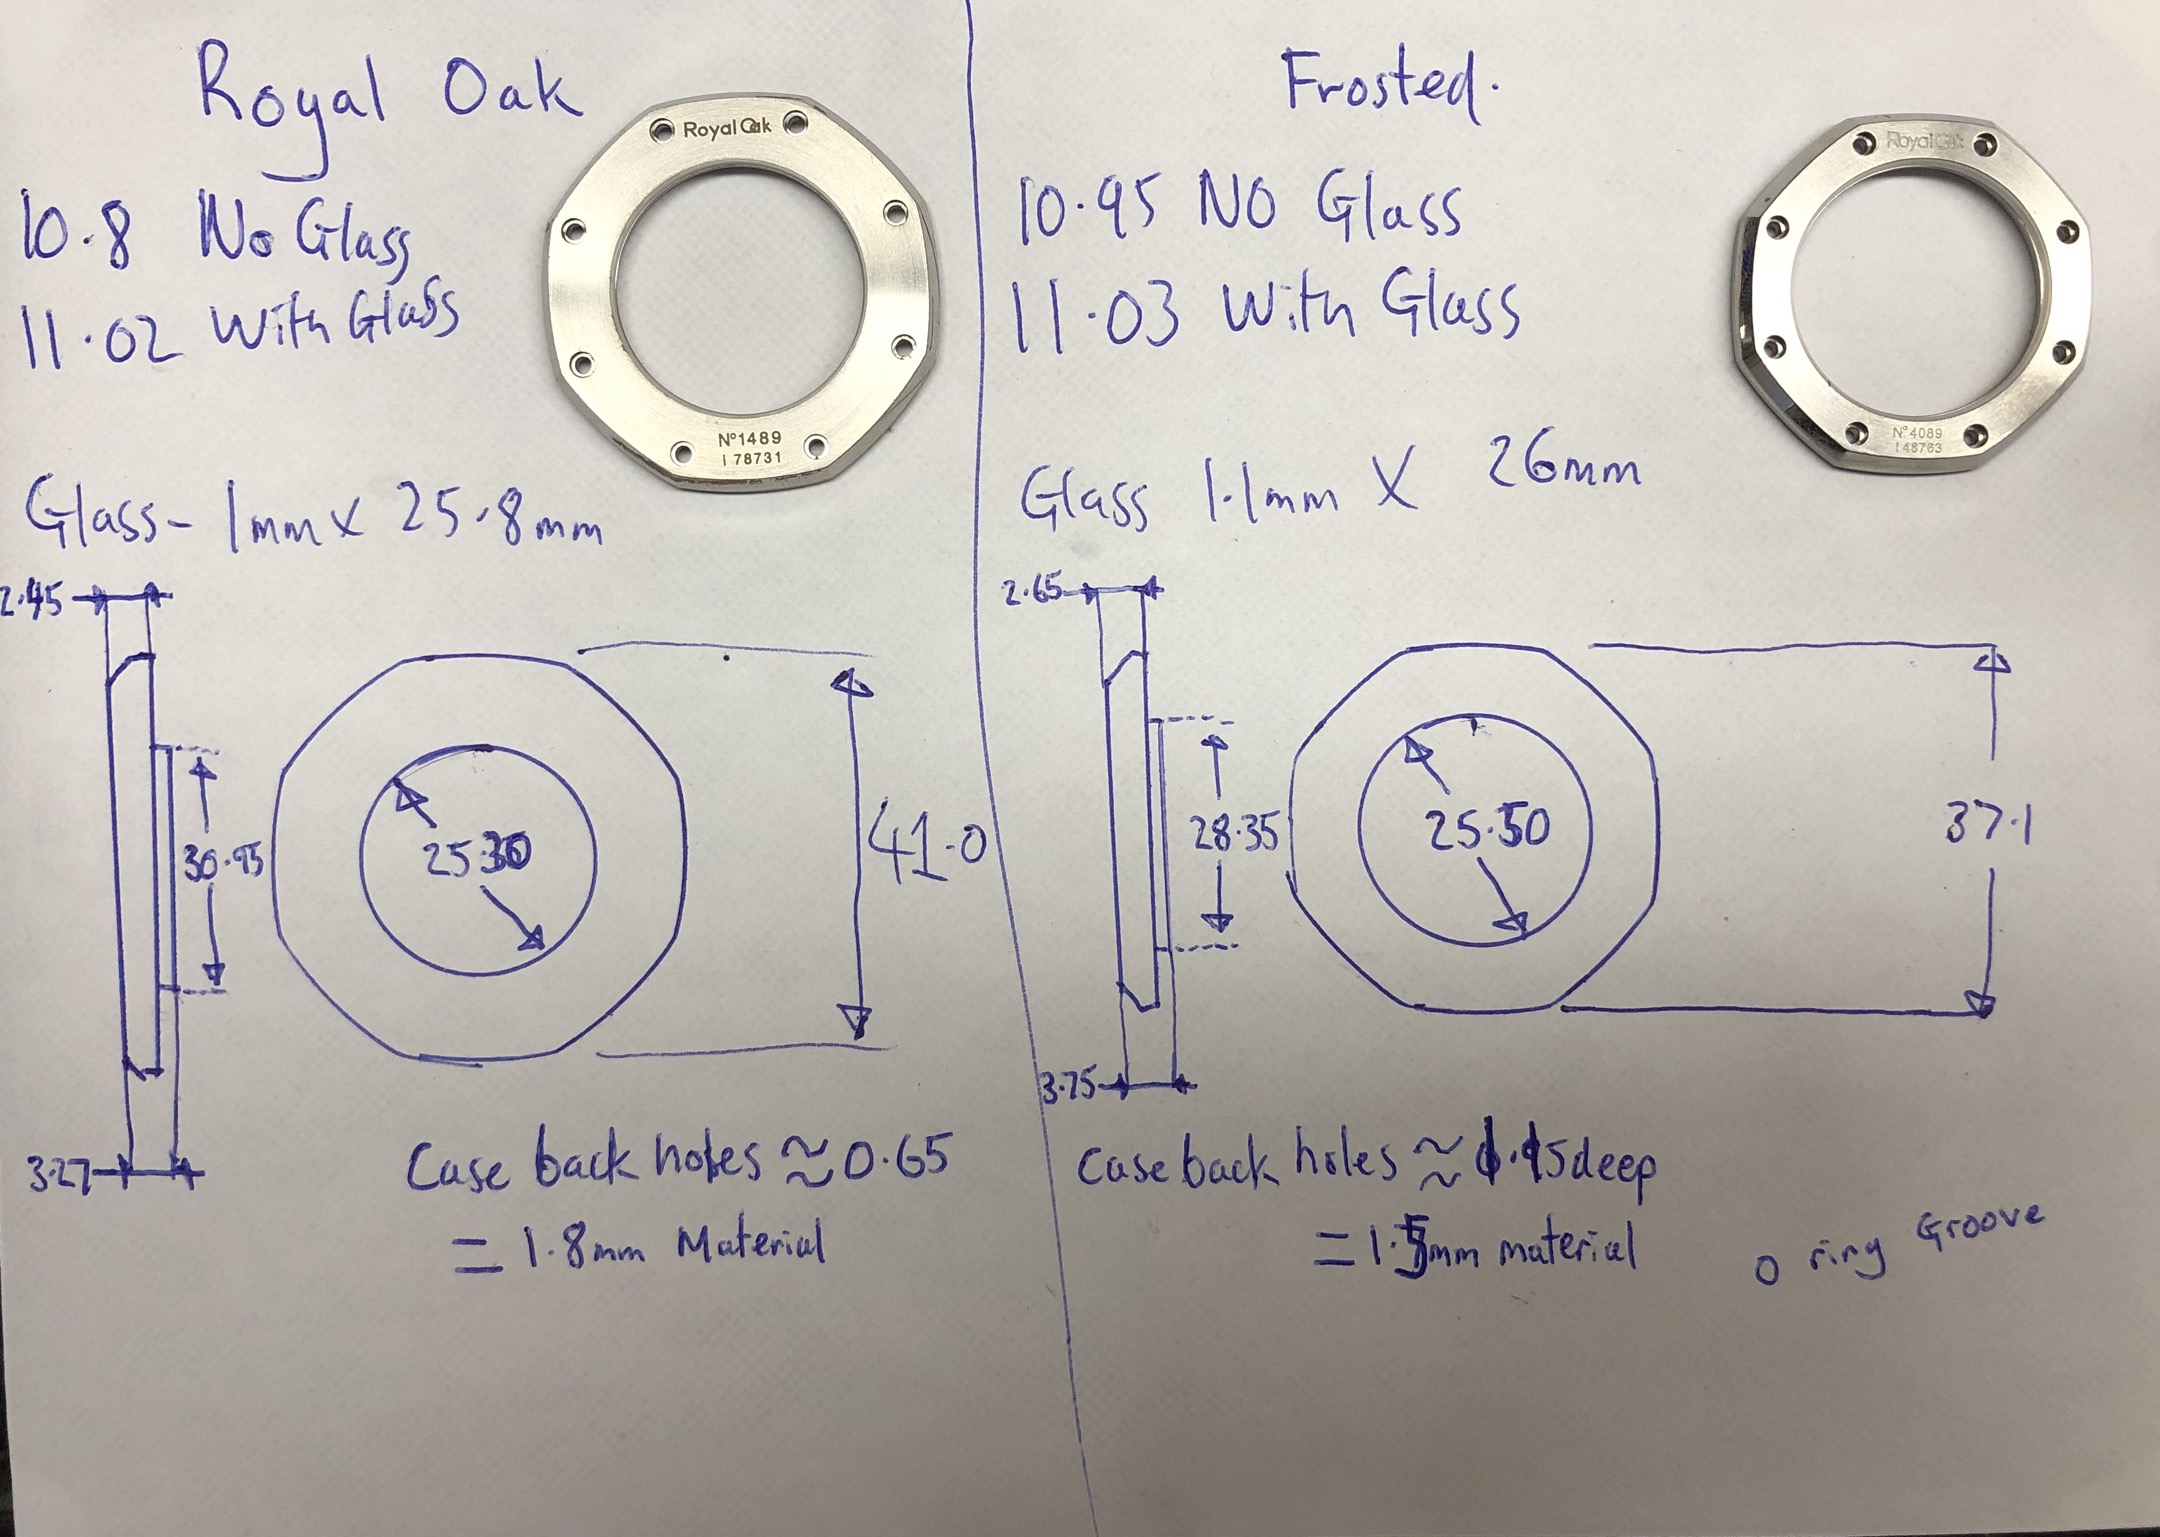
The most important thing to work out is the clearance between the rotor and the crystal. The rotor has some play in it up and down. Measure with it up, obviously. I worked out theres about 0.9mm between the rotor and the crystal. Ive gone for (a rather ambitious) 0.1mm clearance after thinning. Why clearance, you could be 0.1mm closer to gen? Well the rotor wont spin then dummy! So with 0.8mm off, im aiming for 10.0mm metal to metal, or 10.2 including the crystal which is 0.2mm proud.
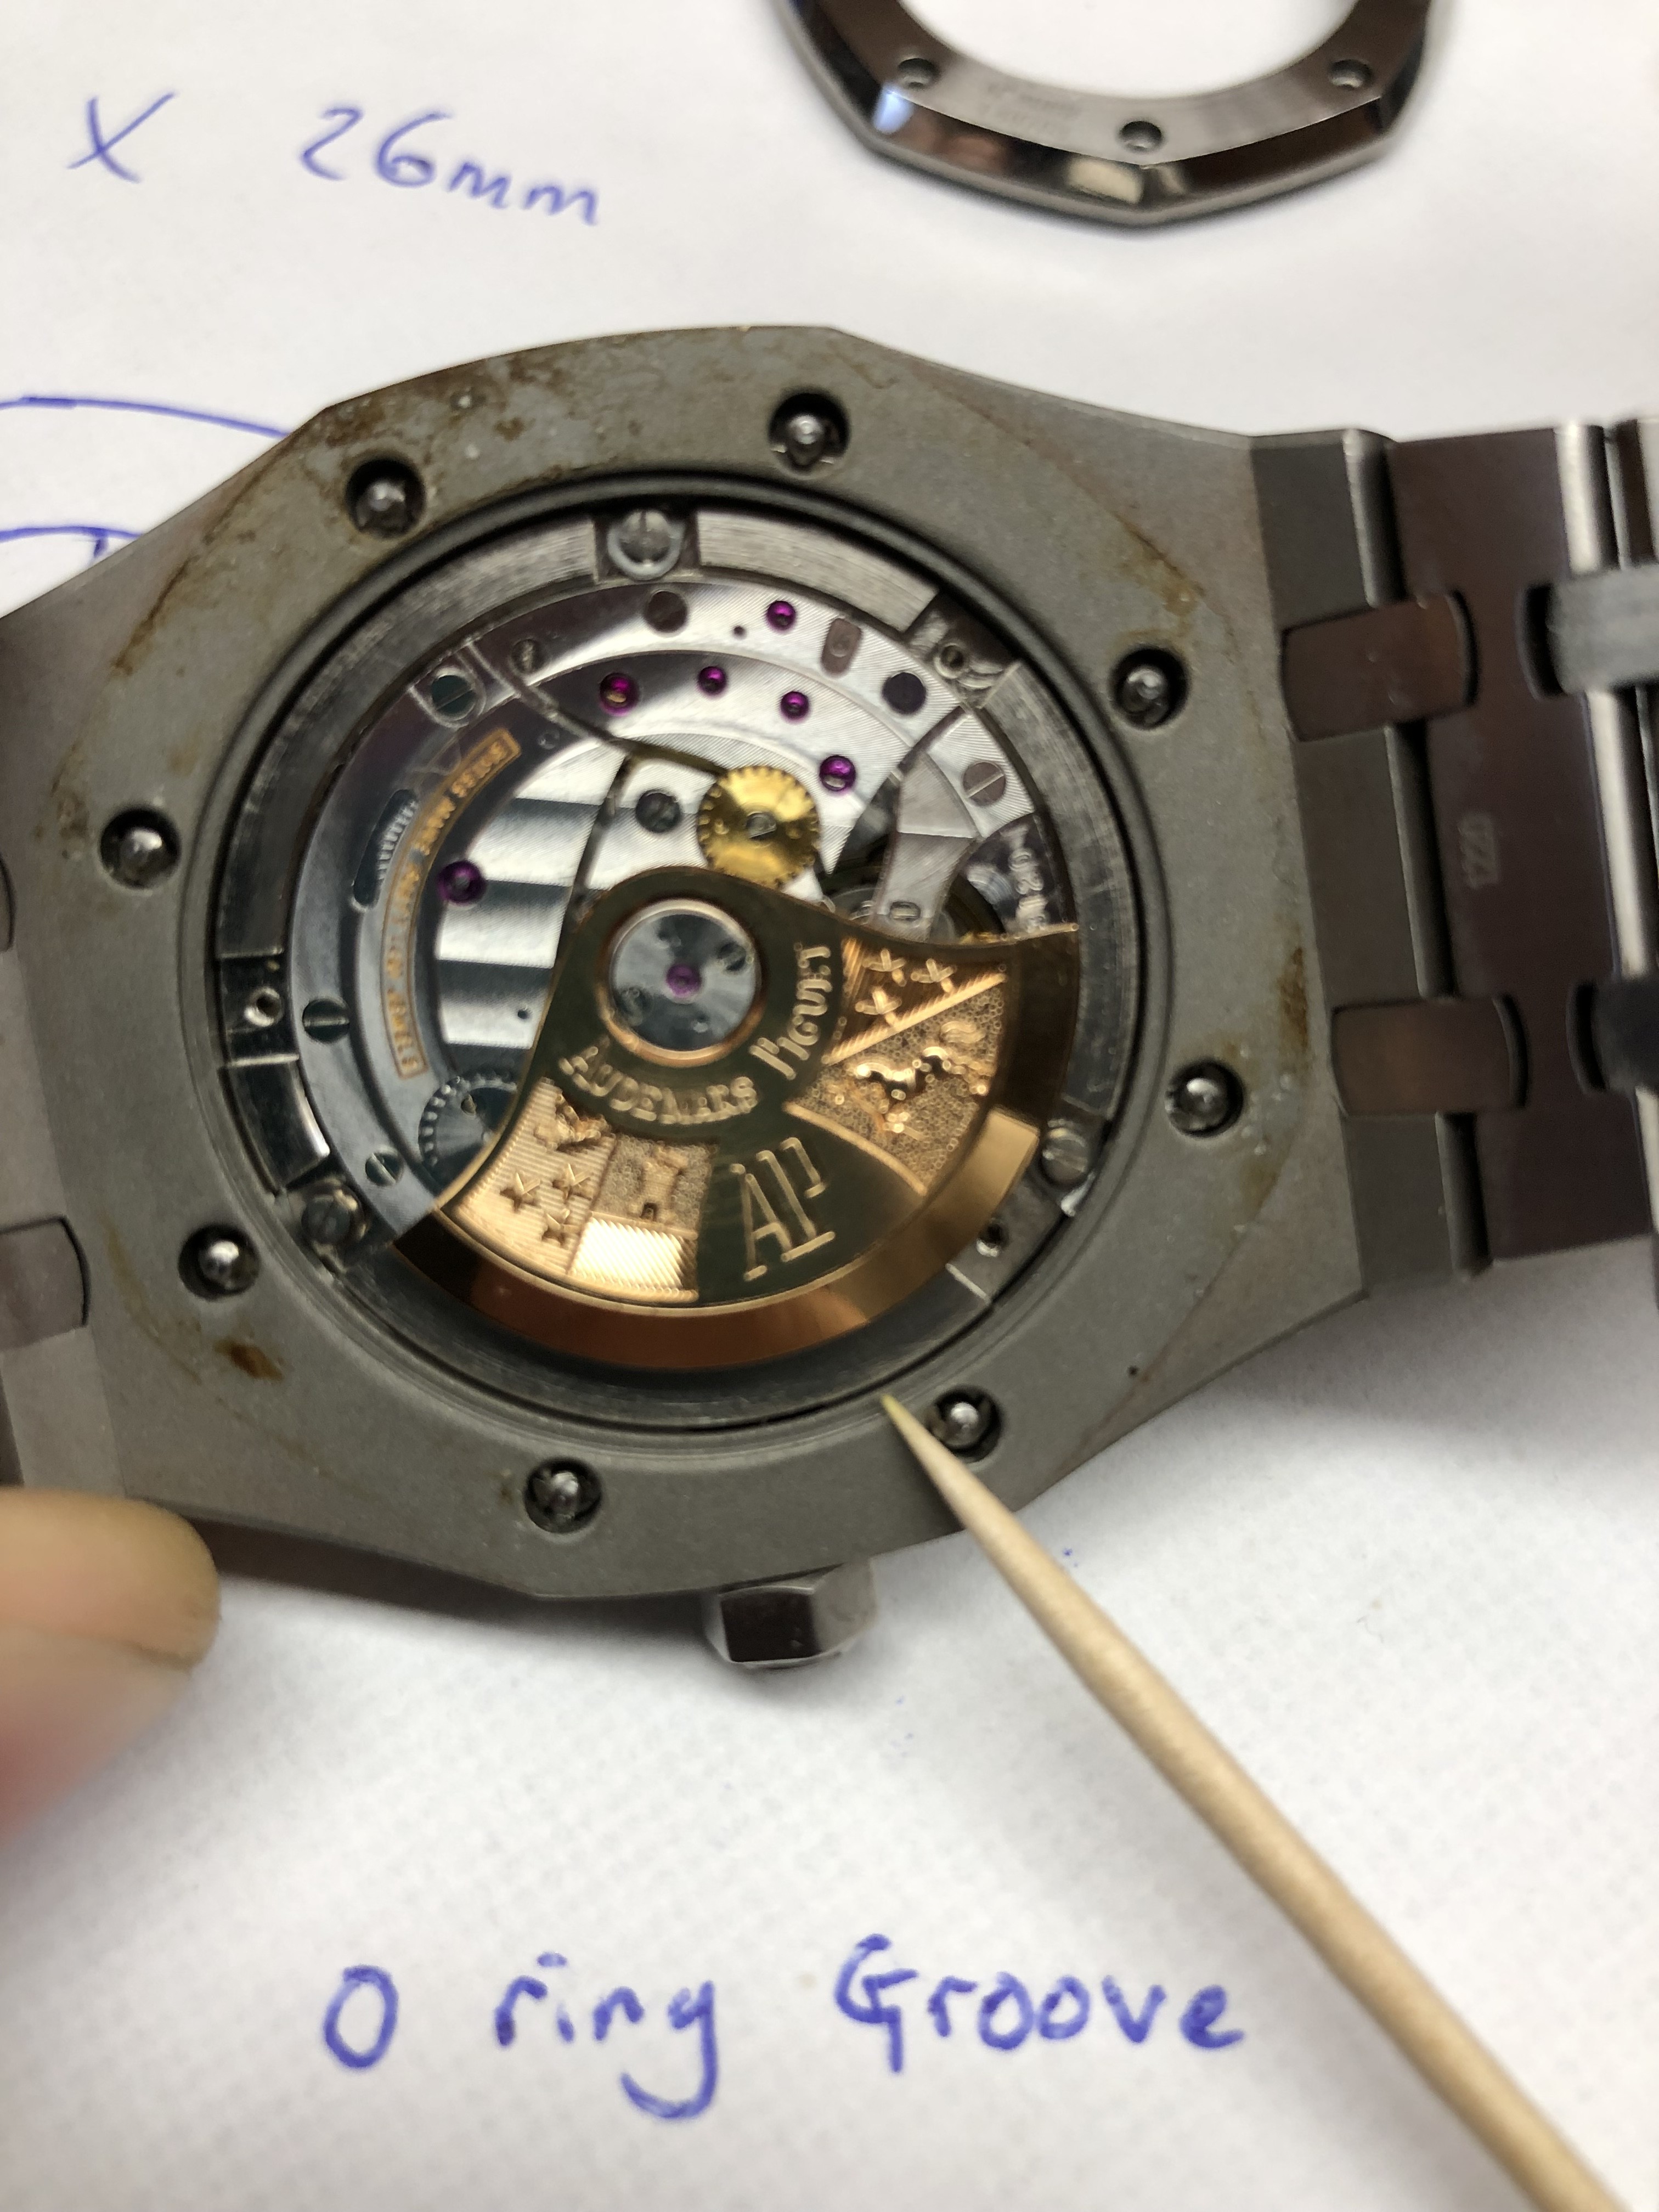
Excuse the rust, i like to swim in the sea...
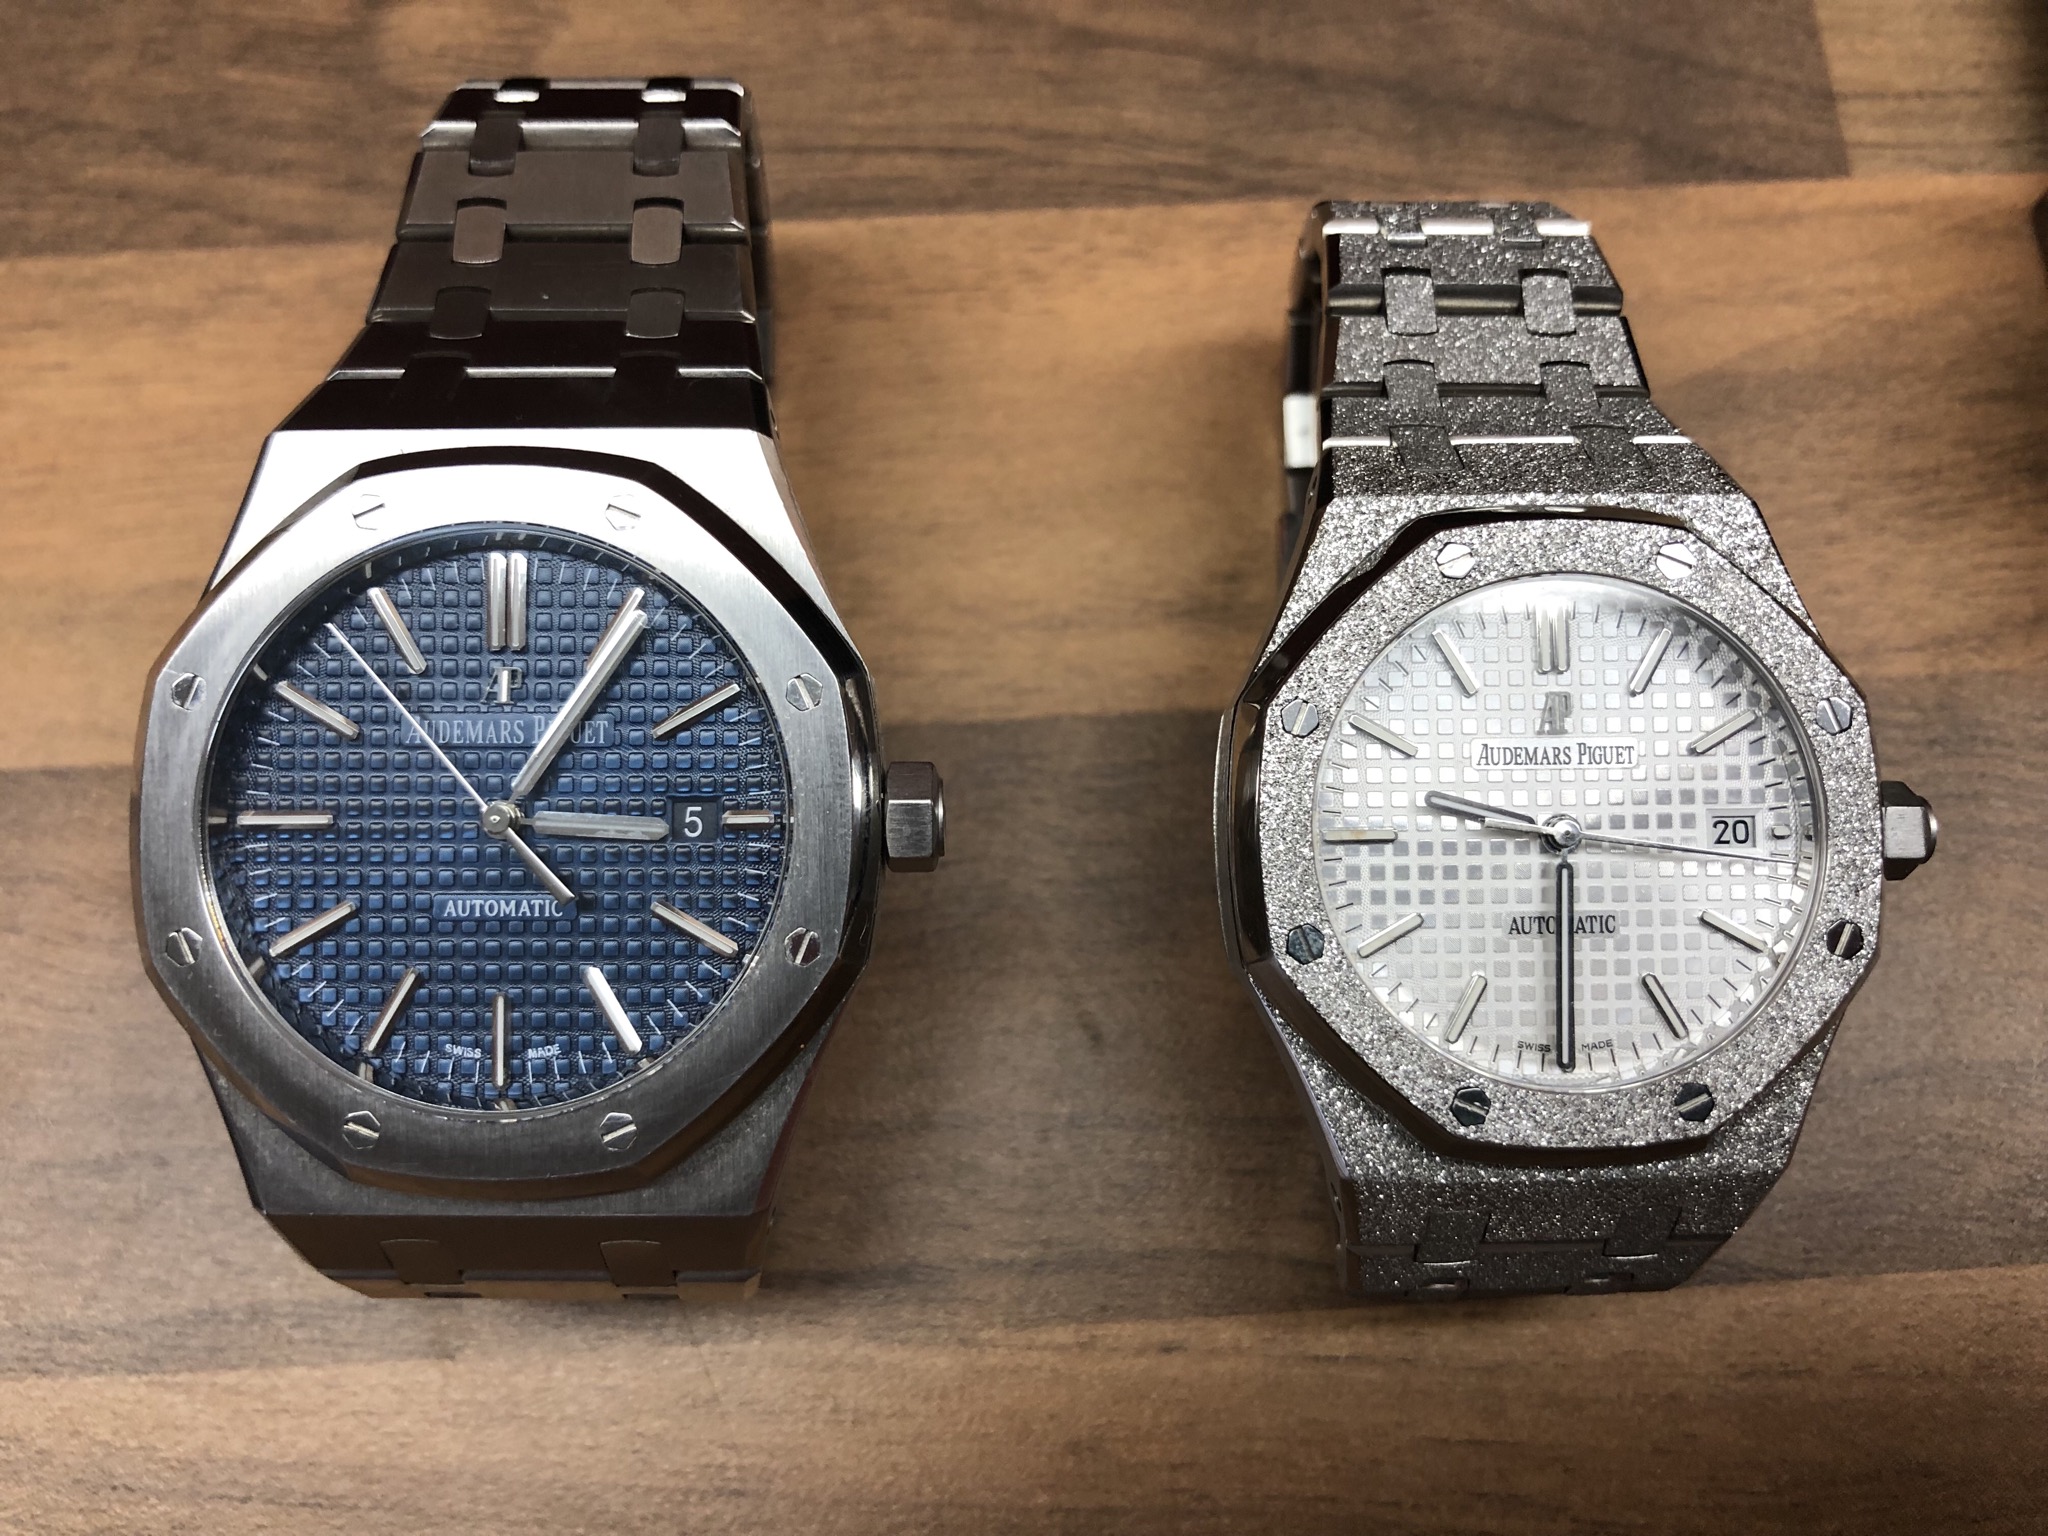
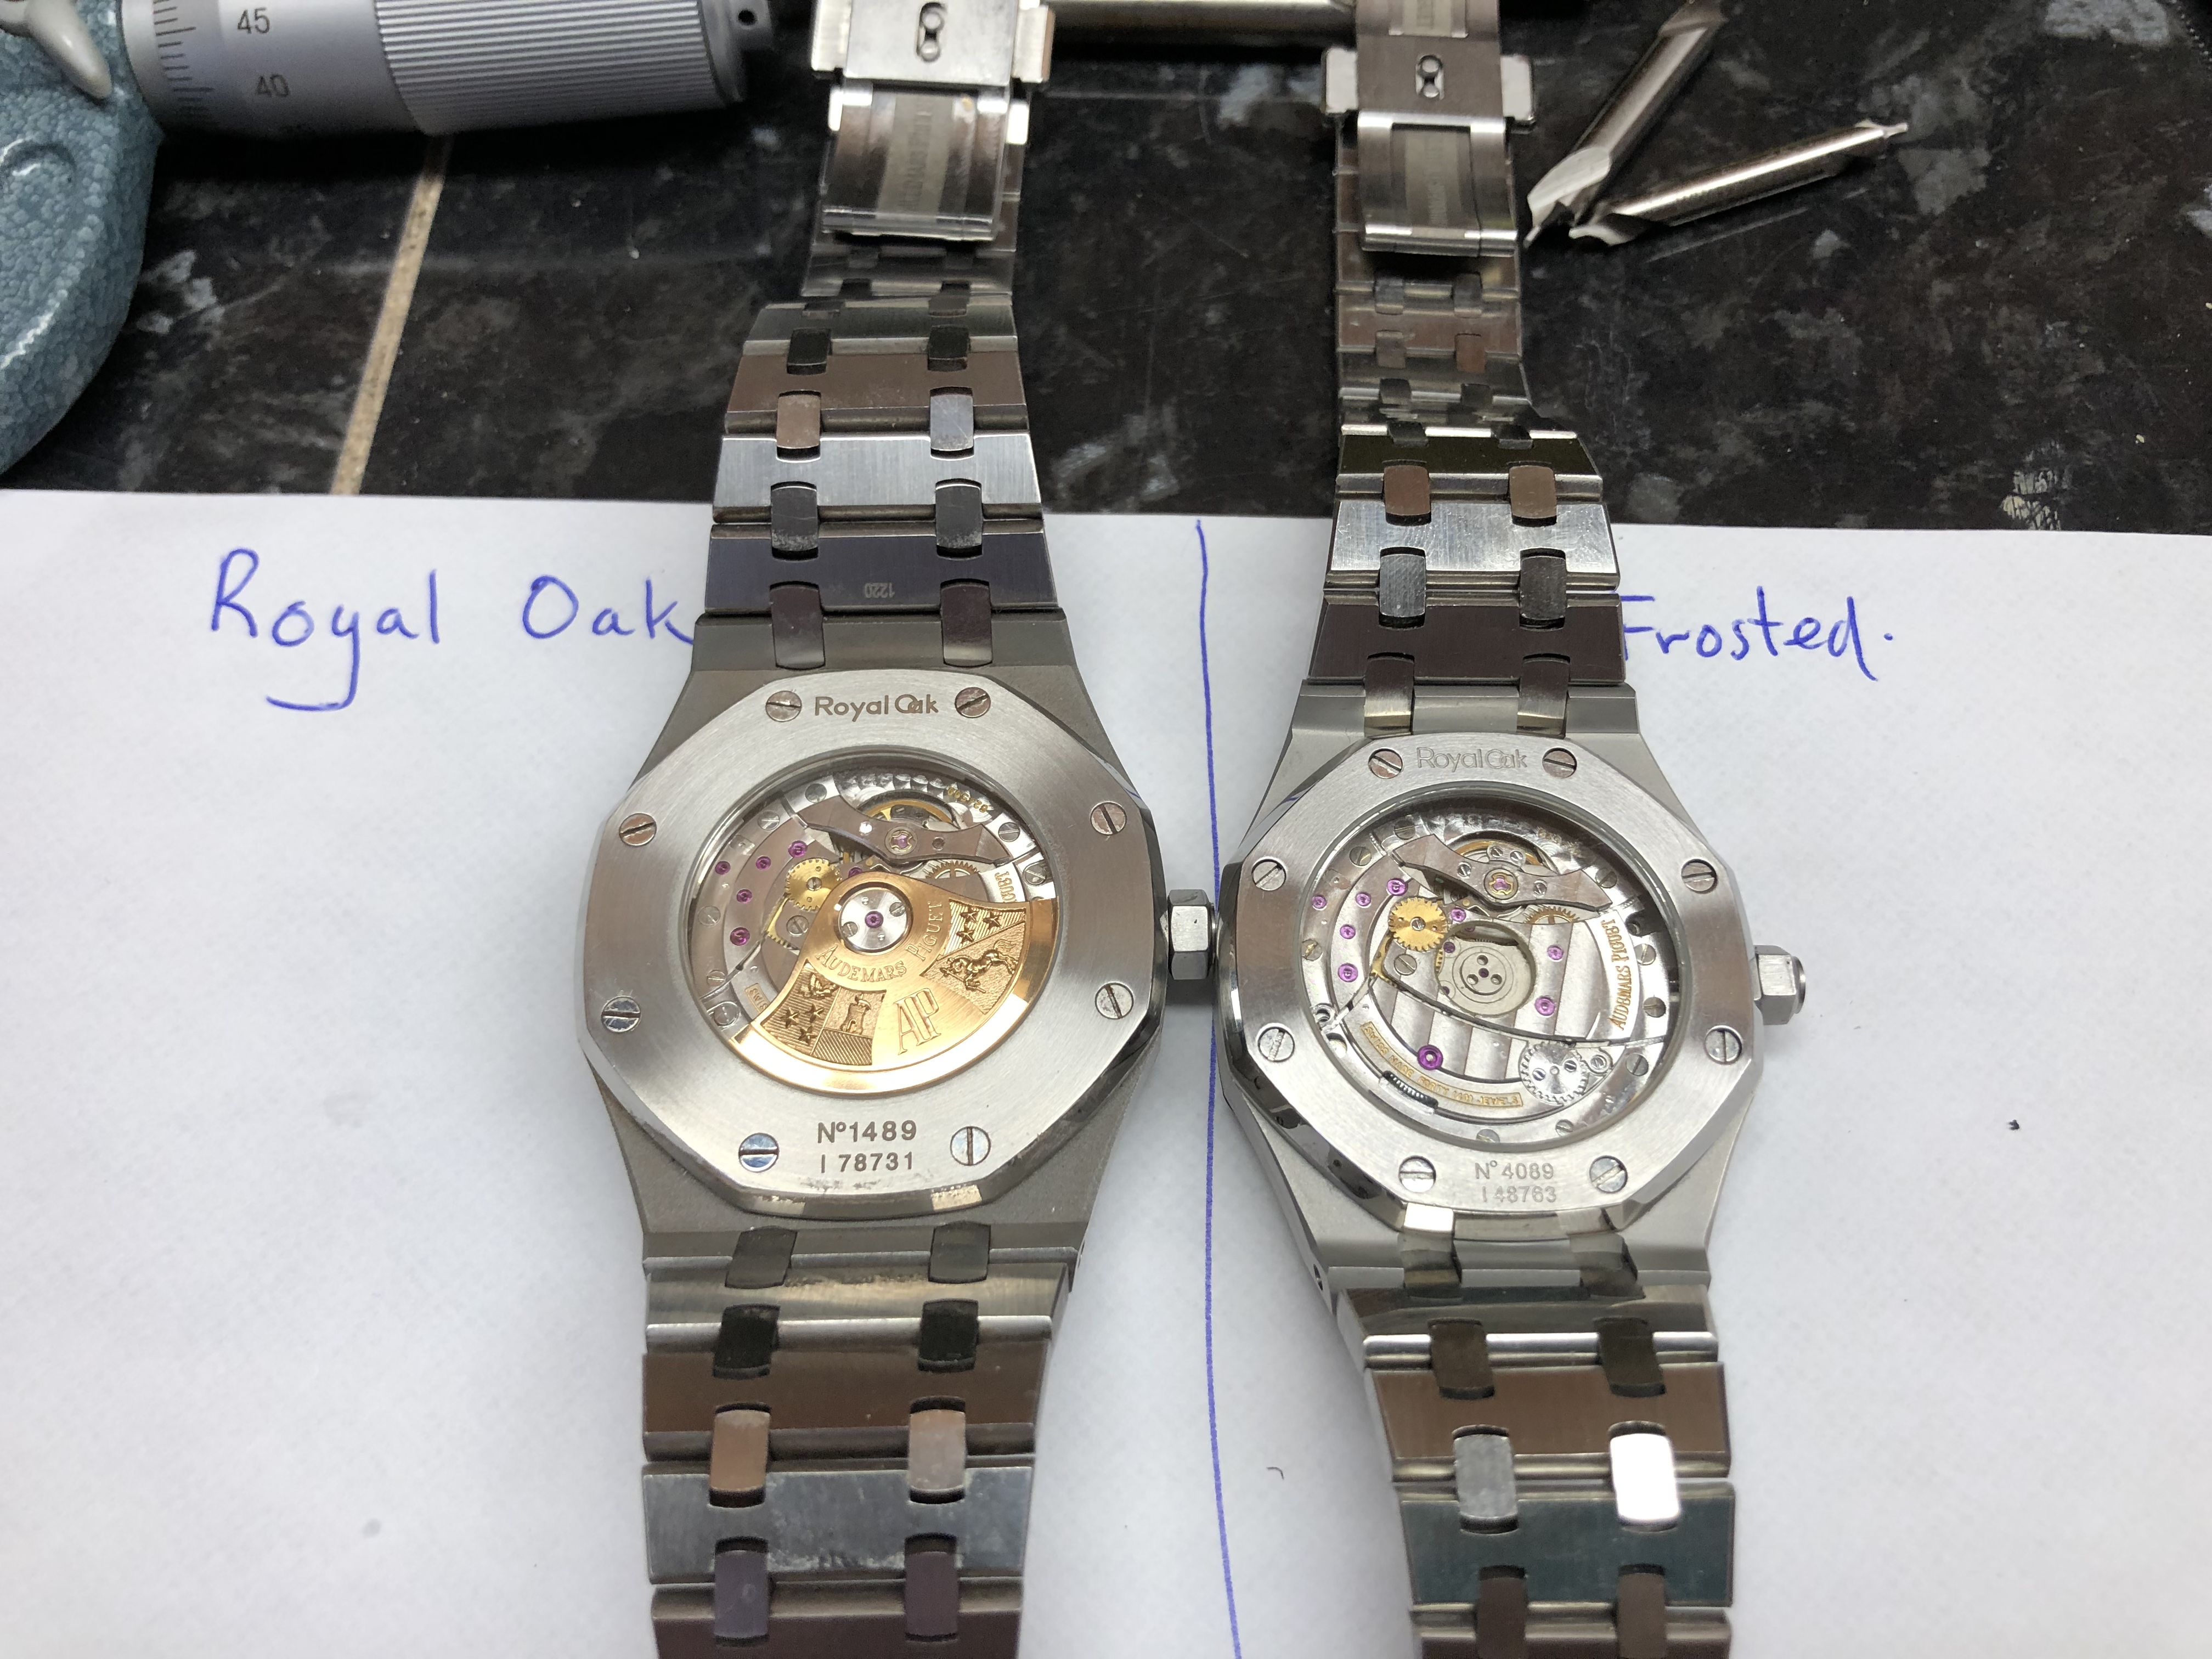
At this point its worth noting i have a frosted AP with no rotor (don’t ask, its NOT a JF and the quality is just not the same) that I intended to use as a test pilot. Due to construction methods and sizes i couldn’t use the back from the frosted even for mocking up on the JF so it just gets left out other than in my drawings. I may see just how thin i can get it for fun one day, who knows!
Im not going to write a short book about how to turn these parts, either use the drawings and do it, or do as 99.9% of people reading this will and don’t! Again with the measuring, the first set of jigs is used for the machining of the part that contacts the watch.
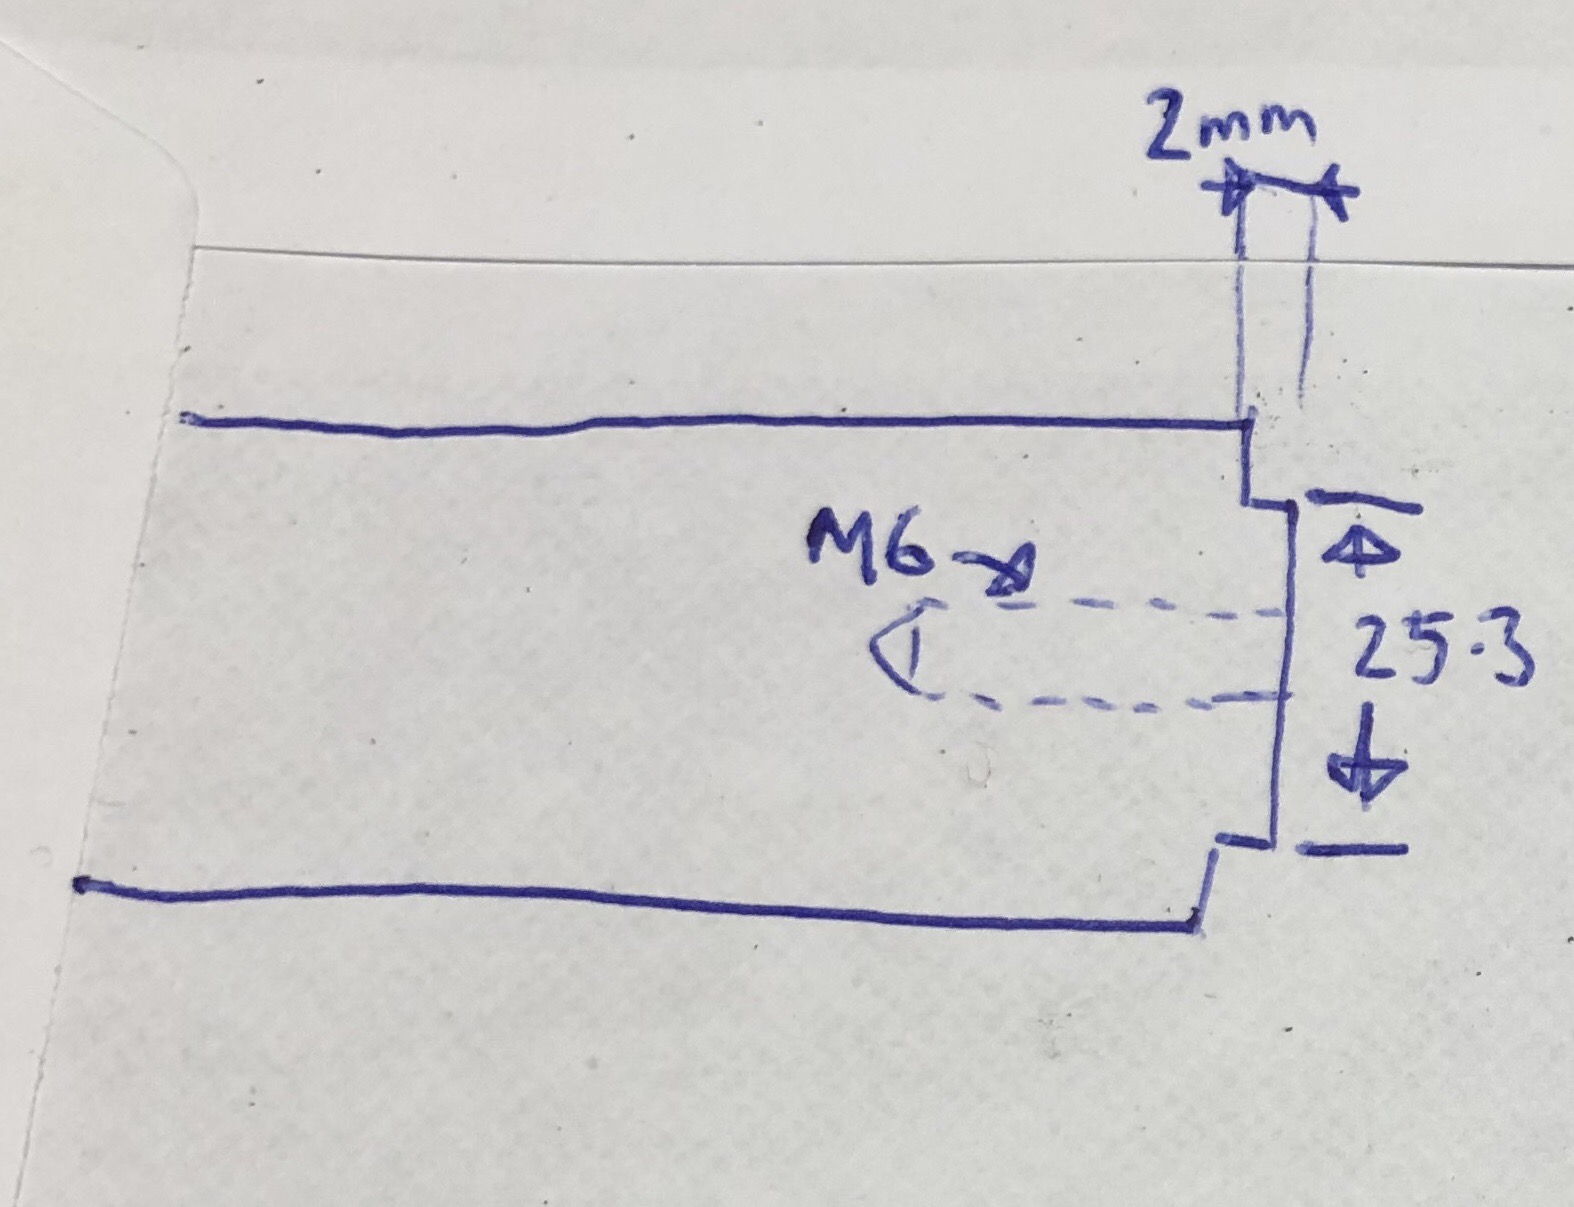
The main dimensions are 25.3mm x2mm to sit inside the through bore of the case back but not protrude on the left part
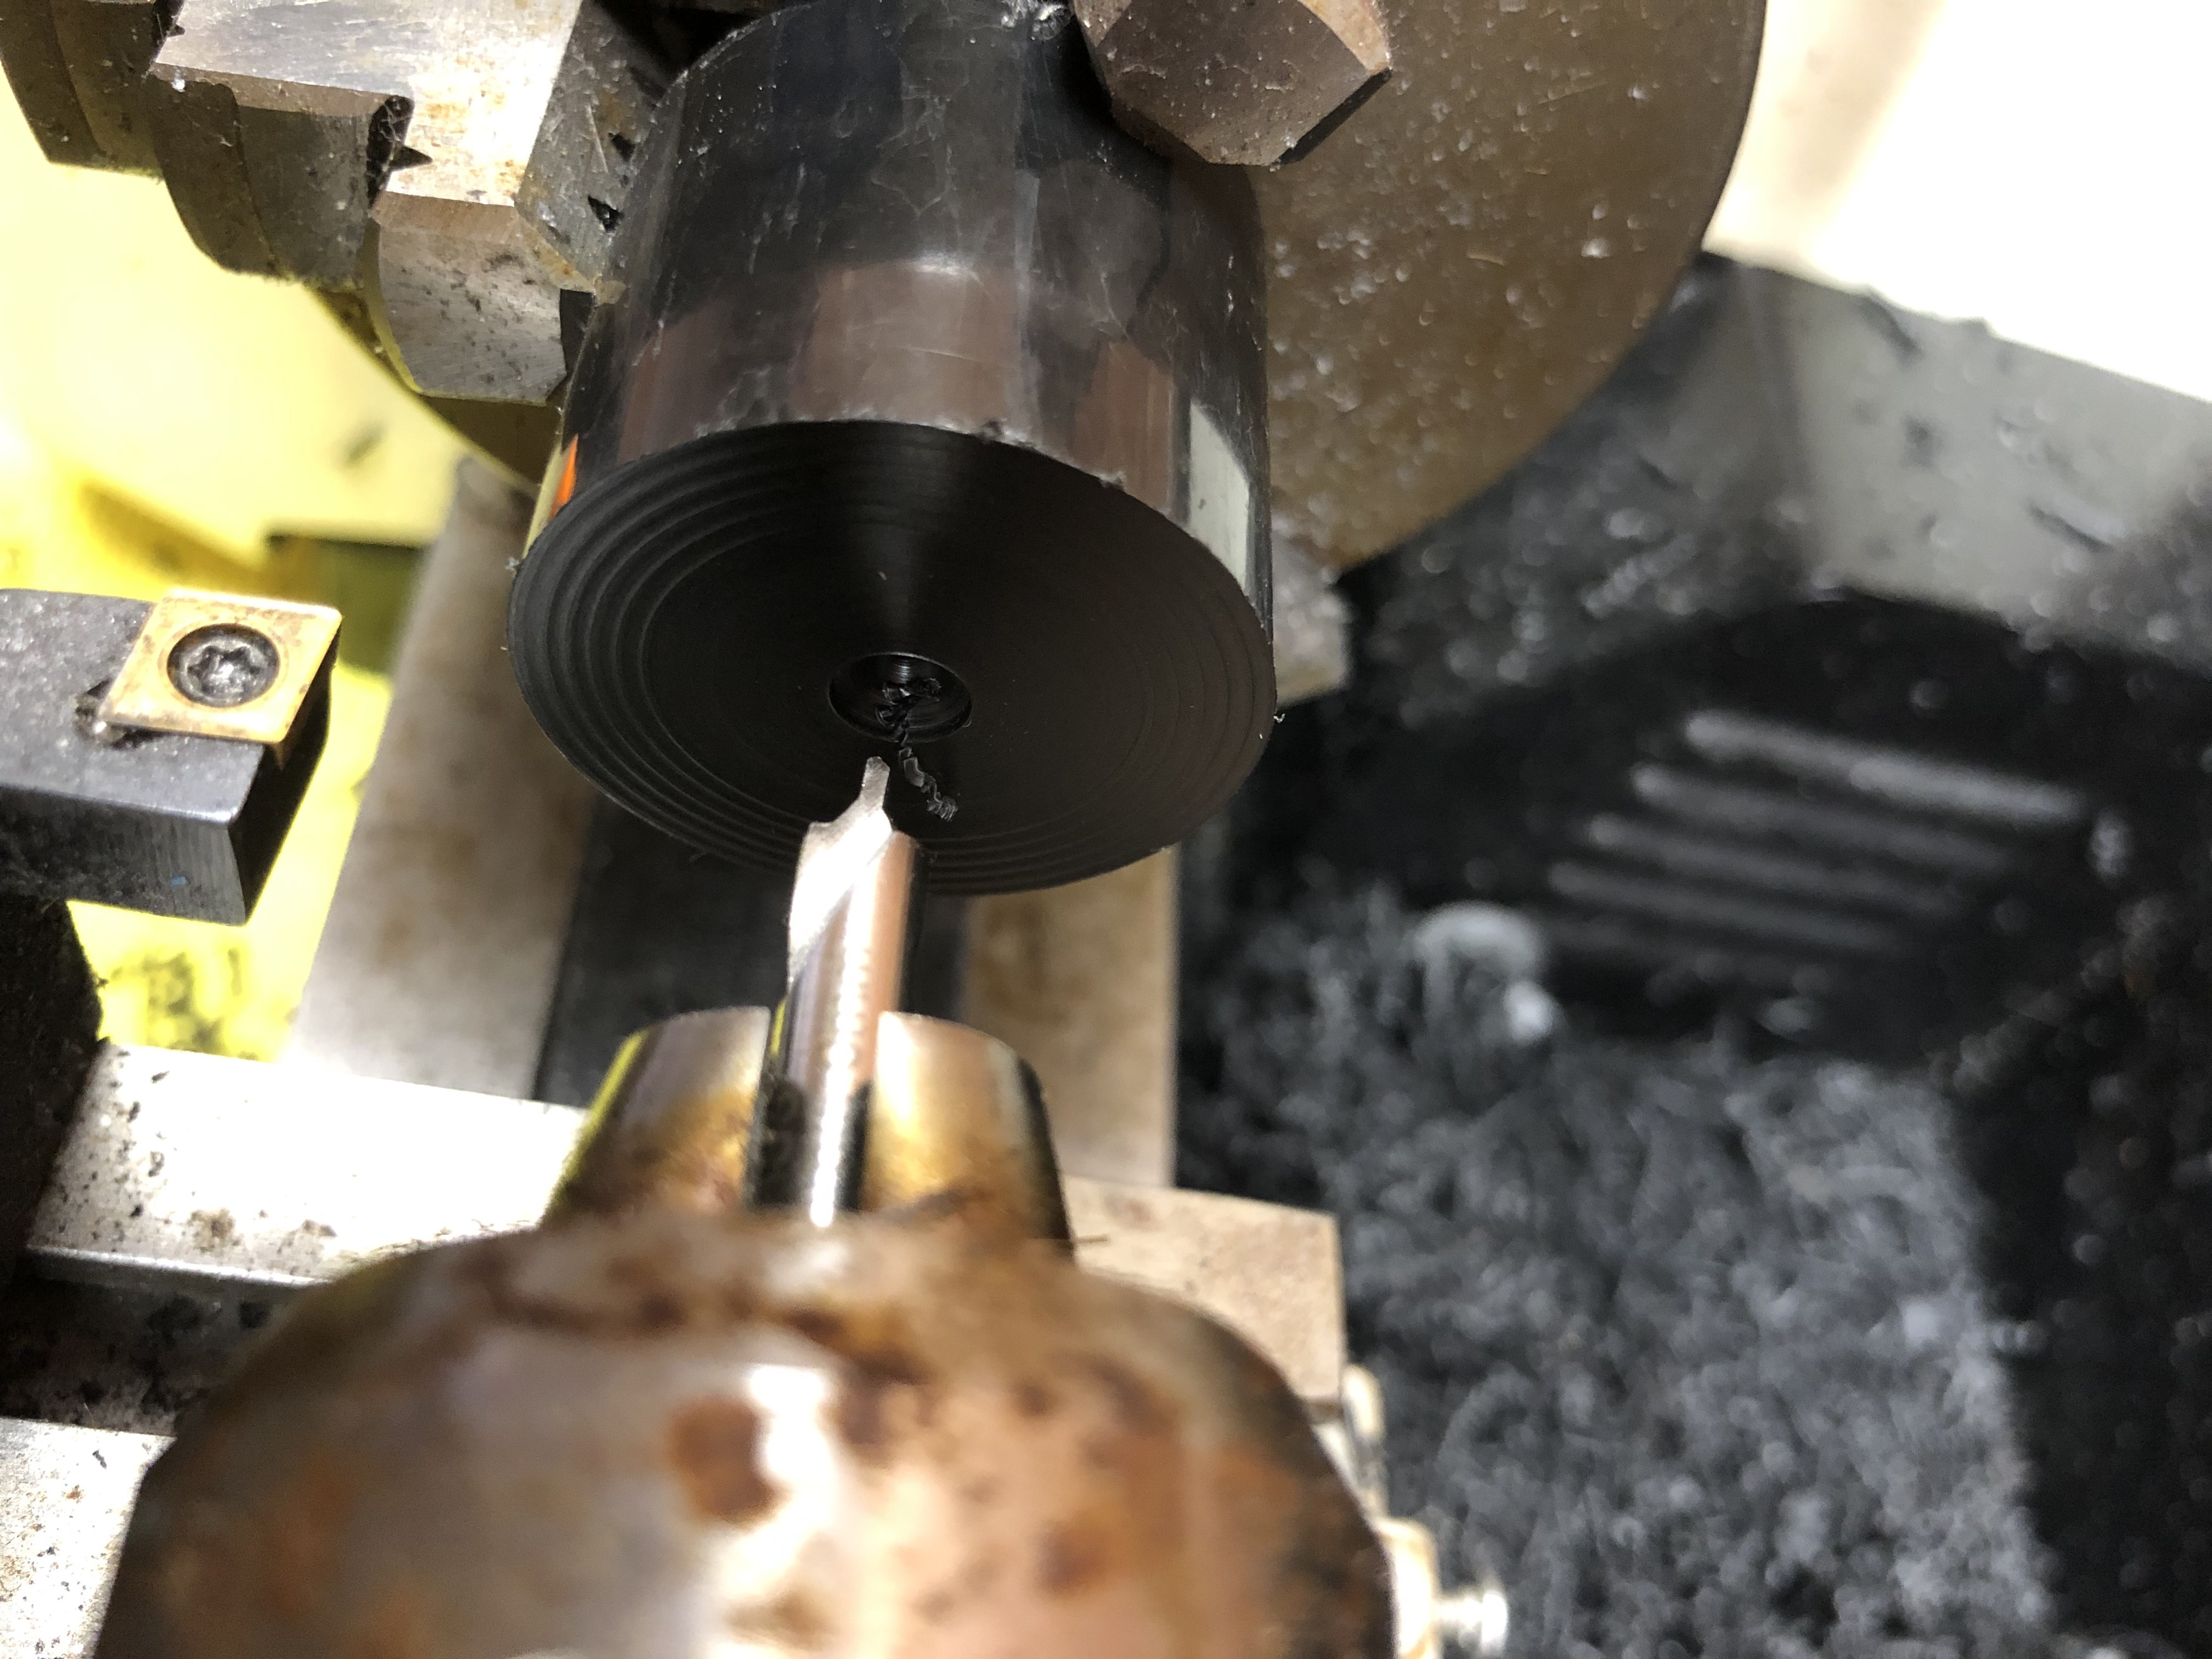
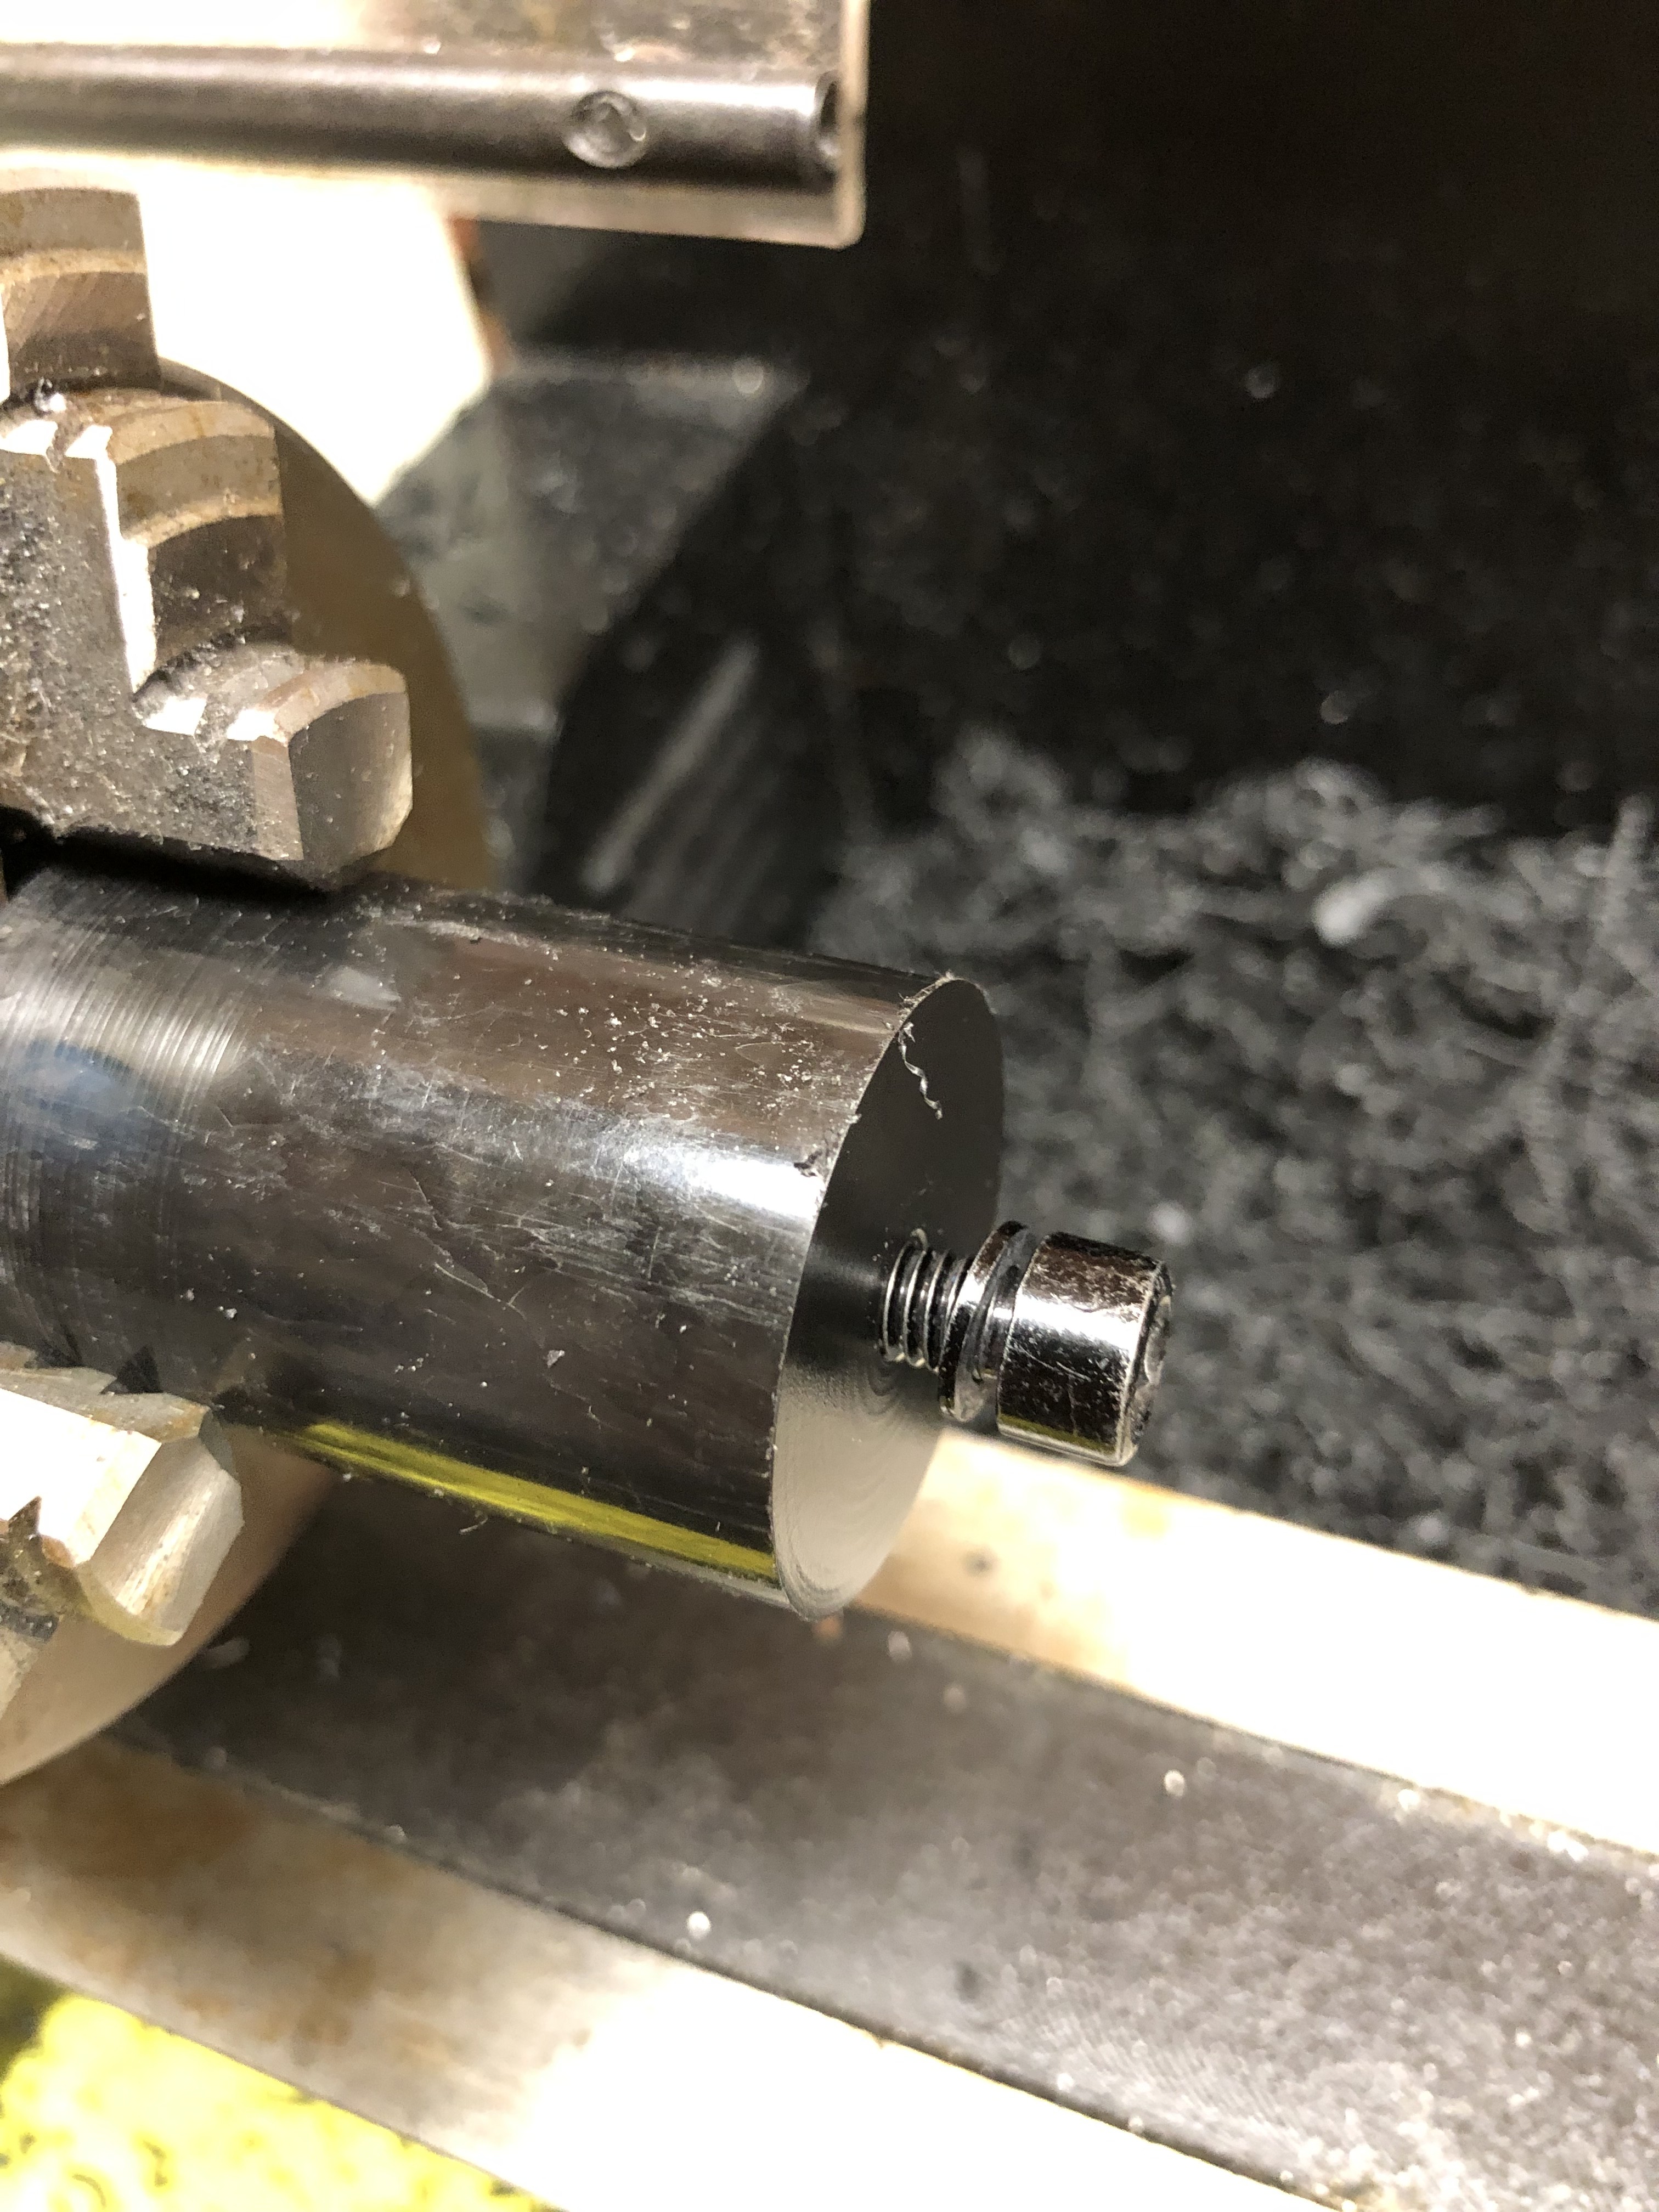
On this part the main thing to note is you need the cap head counterbored enough to let the revolving stock sit on the outside of the hole without the point contacting the screw head. The outside diameter is irrelevant, length is pretty much irrelevant.
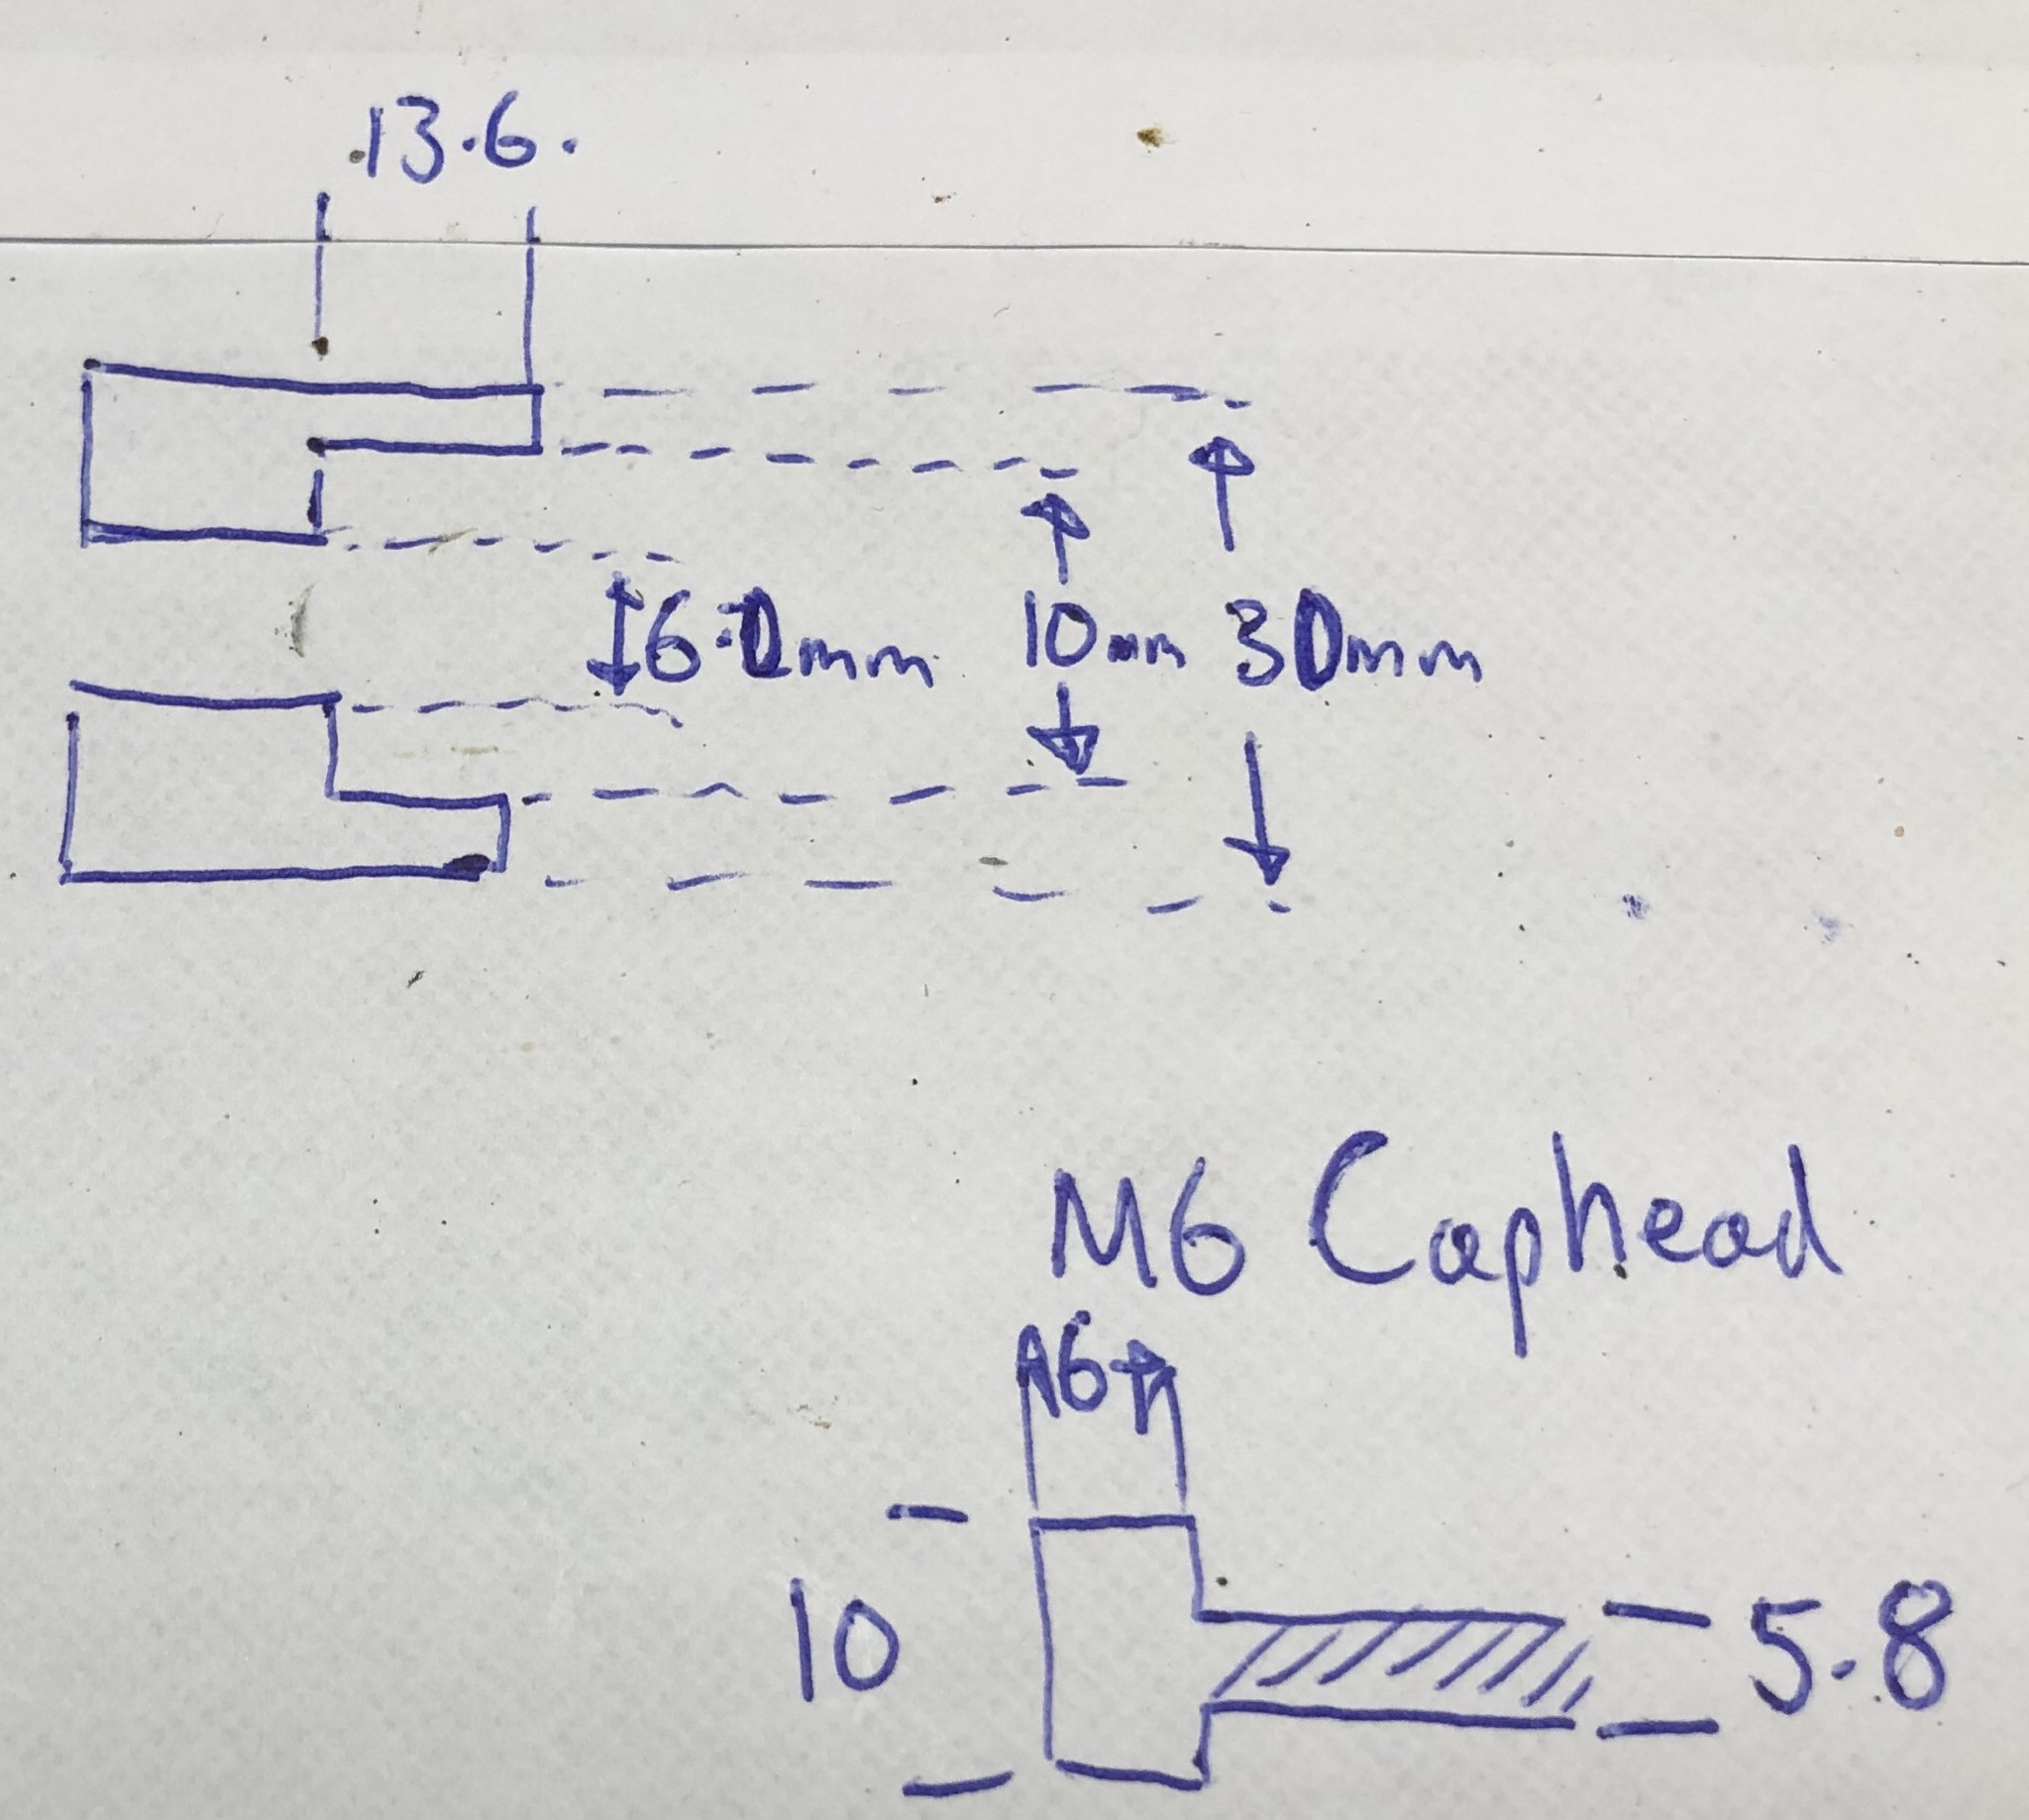
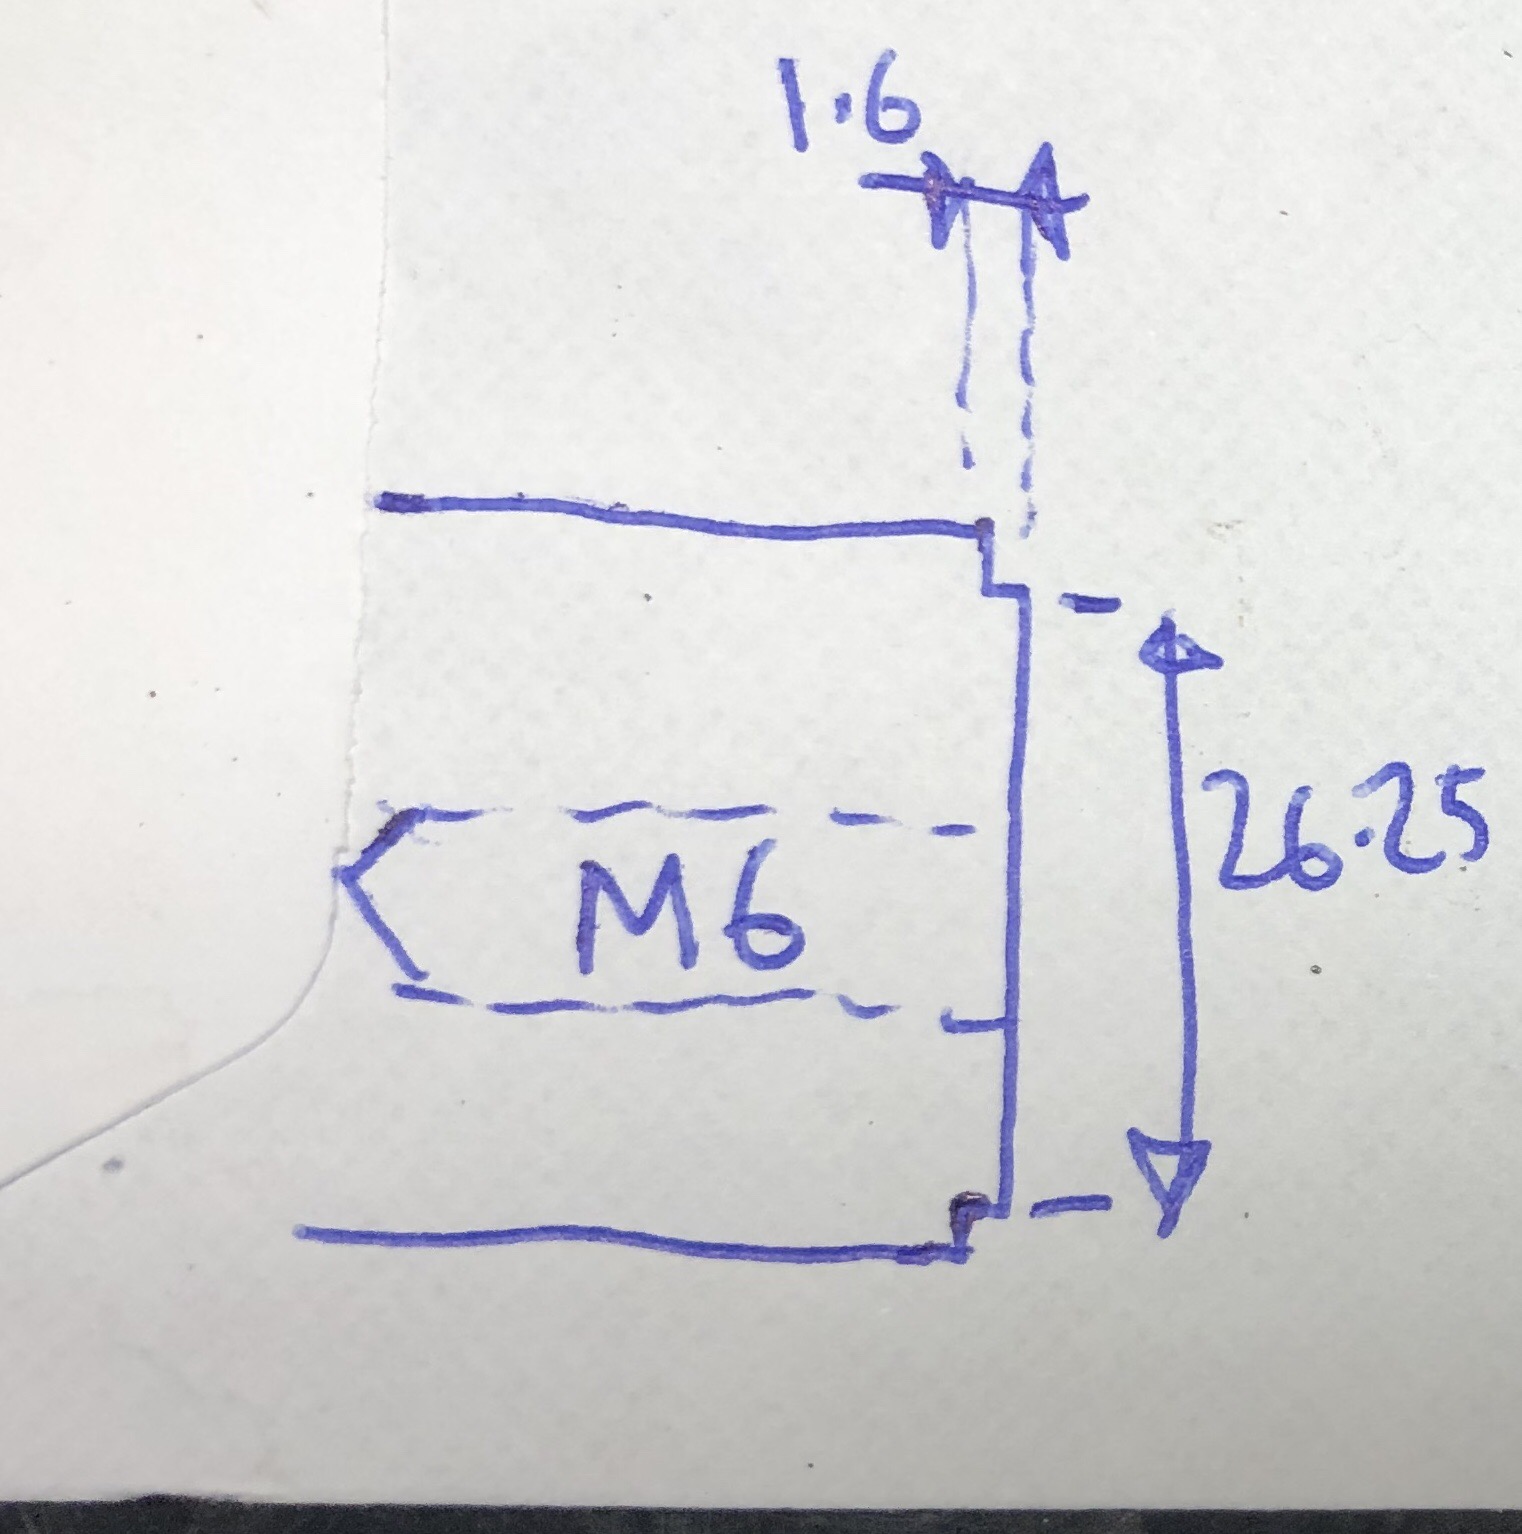
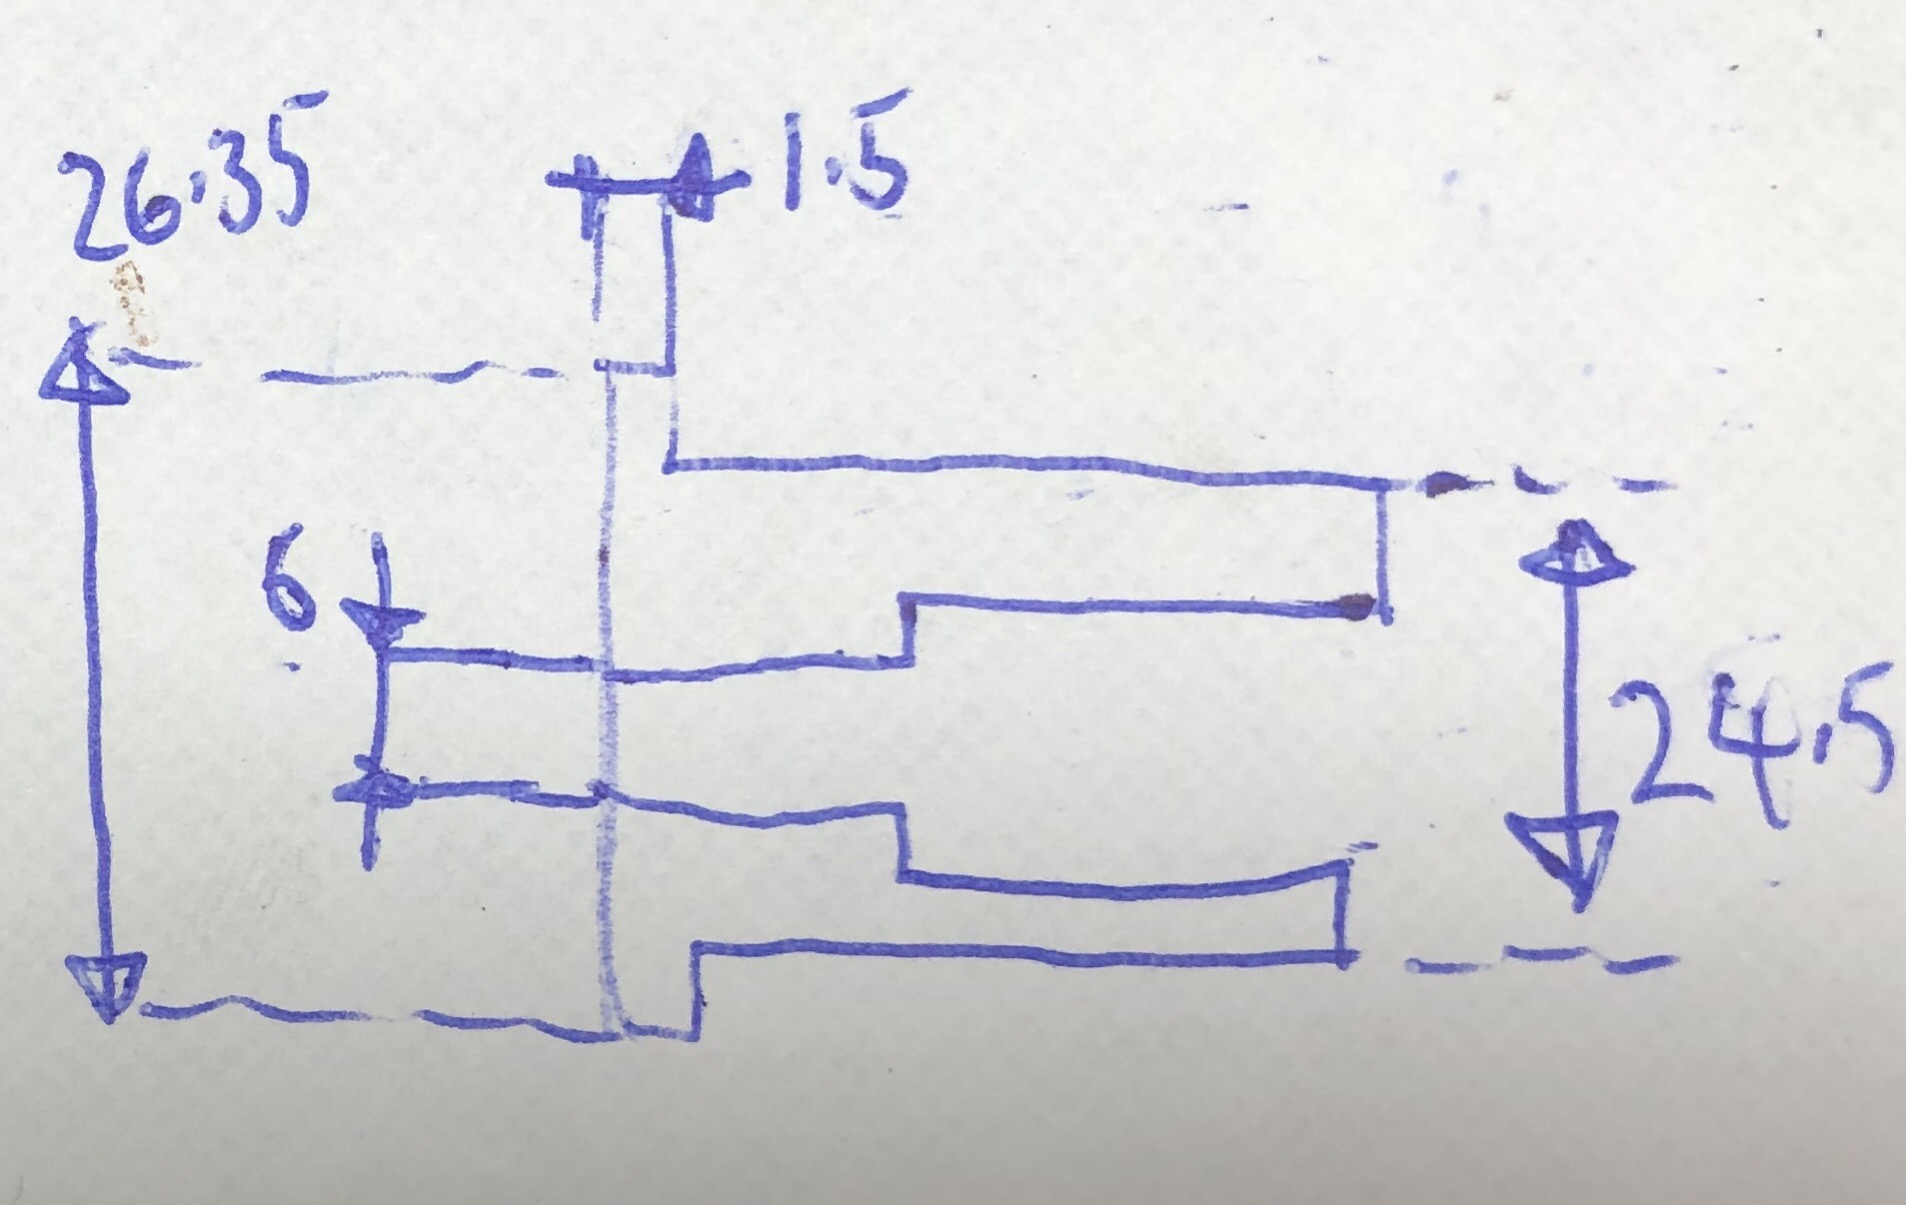
The second set of jigs are to reduce the length of the part that protrudes from the case back to surround the rotor and essentially hide the movement ring and screws. You probably could get away with just this set of jigs if you were that way inclined, theres no reason you couldn’t do the first operation with this set up but I prefer the security of having more than 1mm touching the part you are machining. The sizes here are important as there is very little space between the two parts when set up.
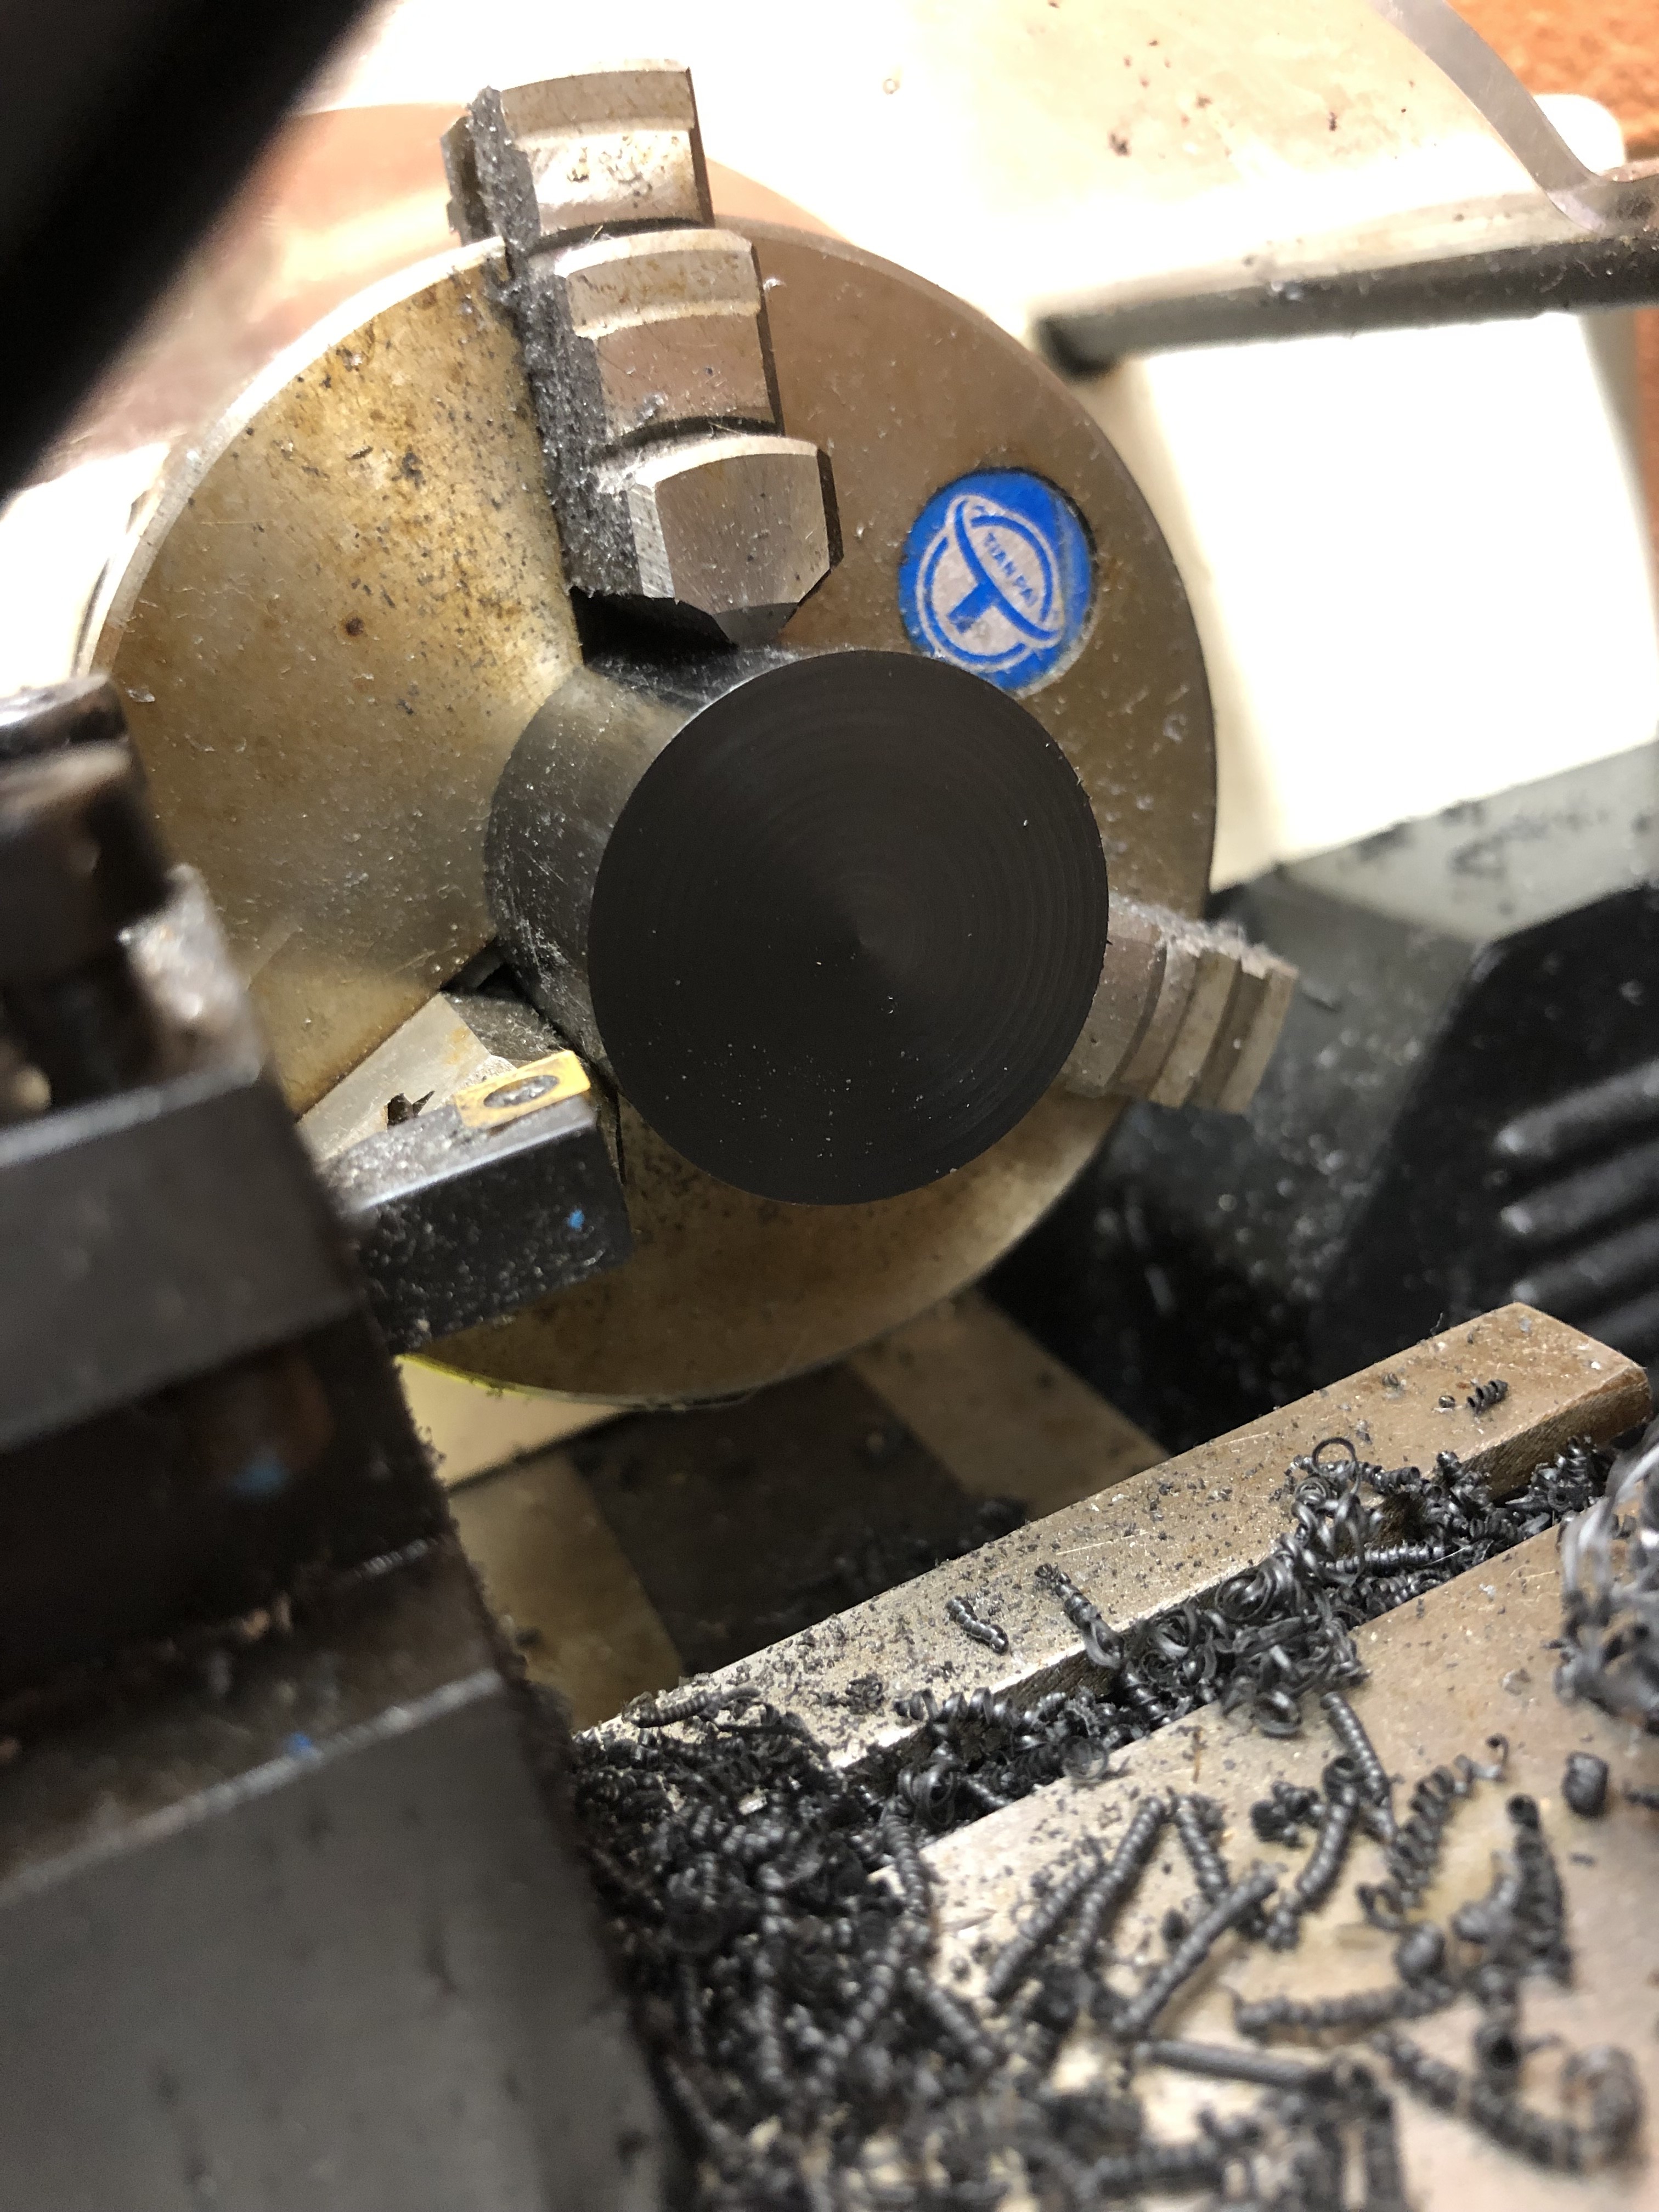
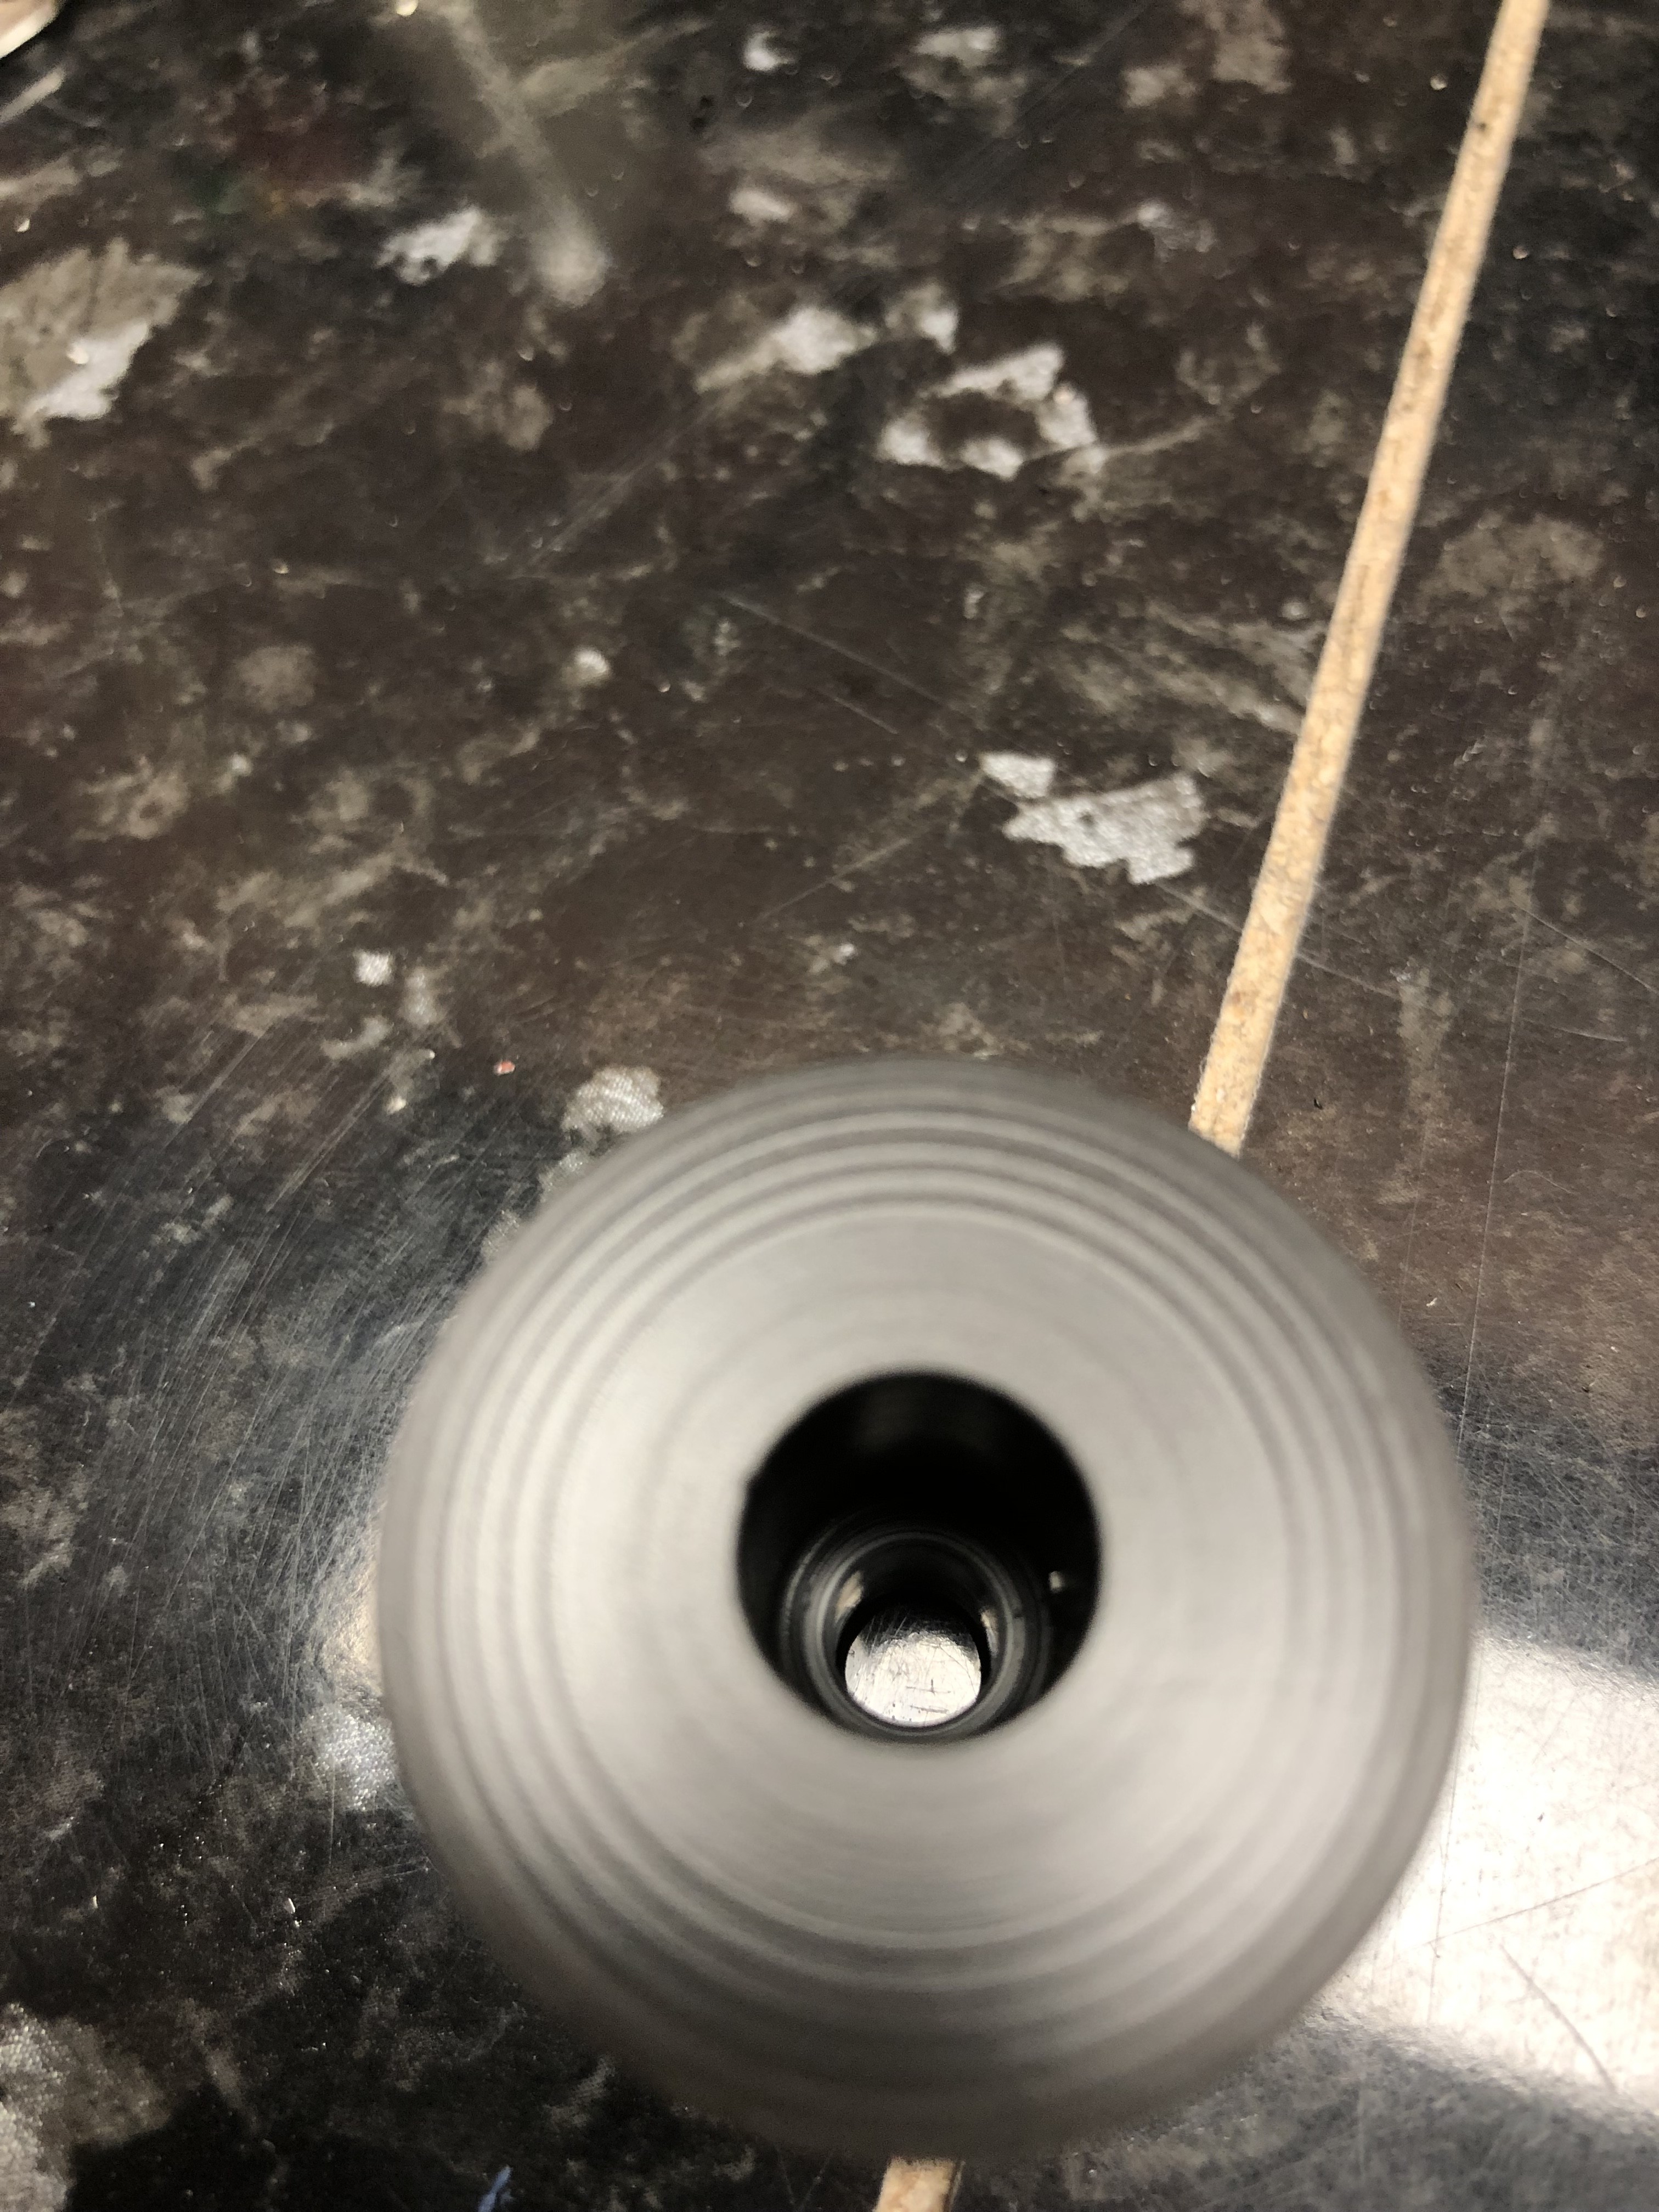
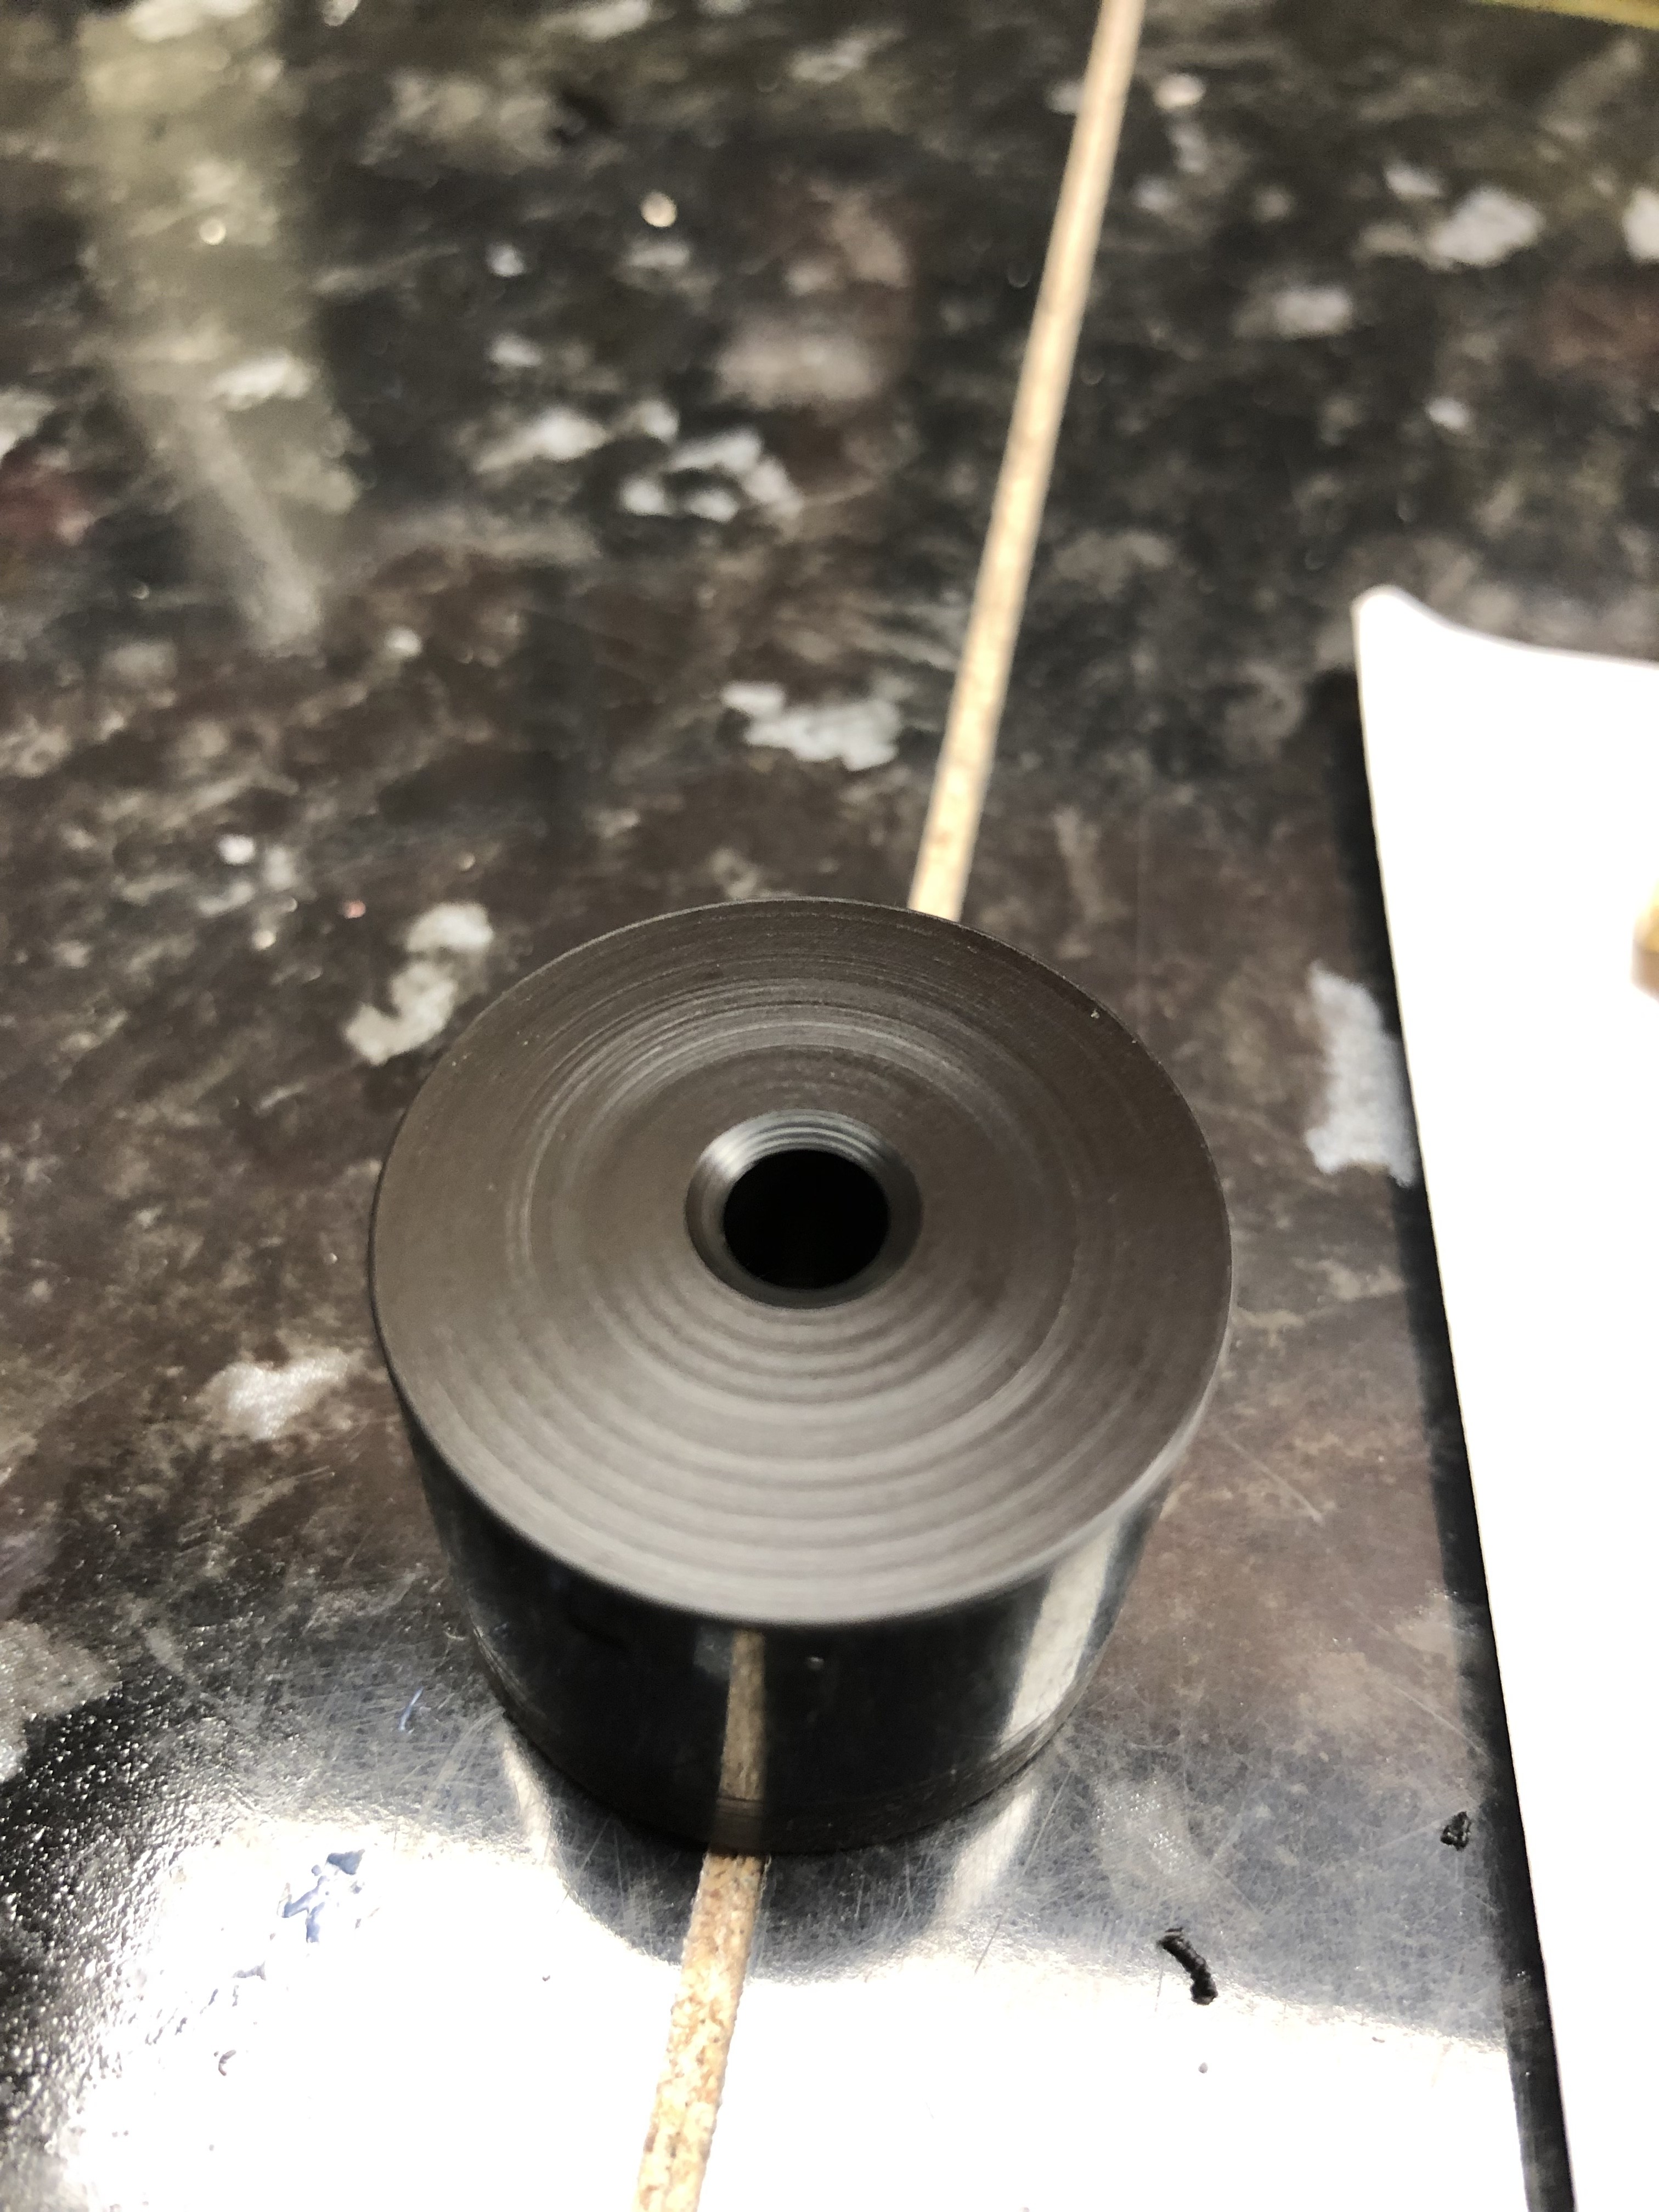
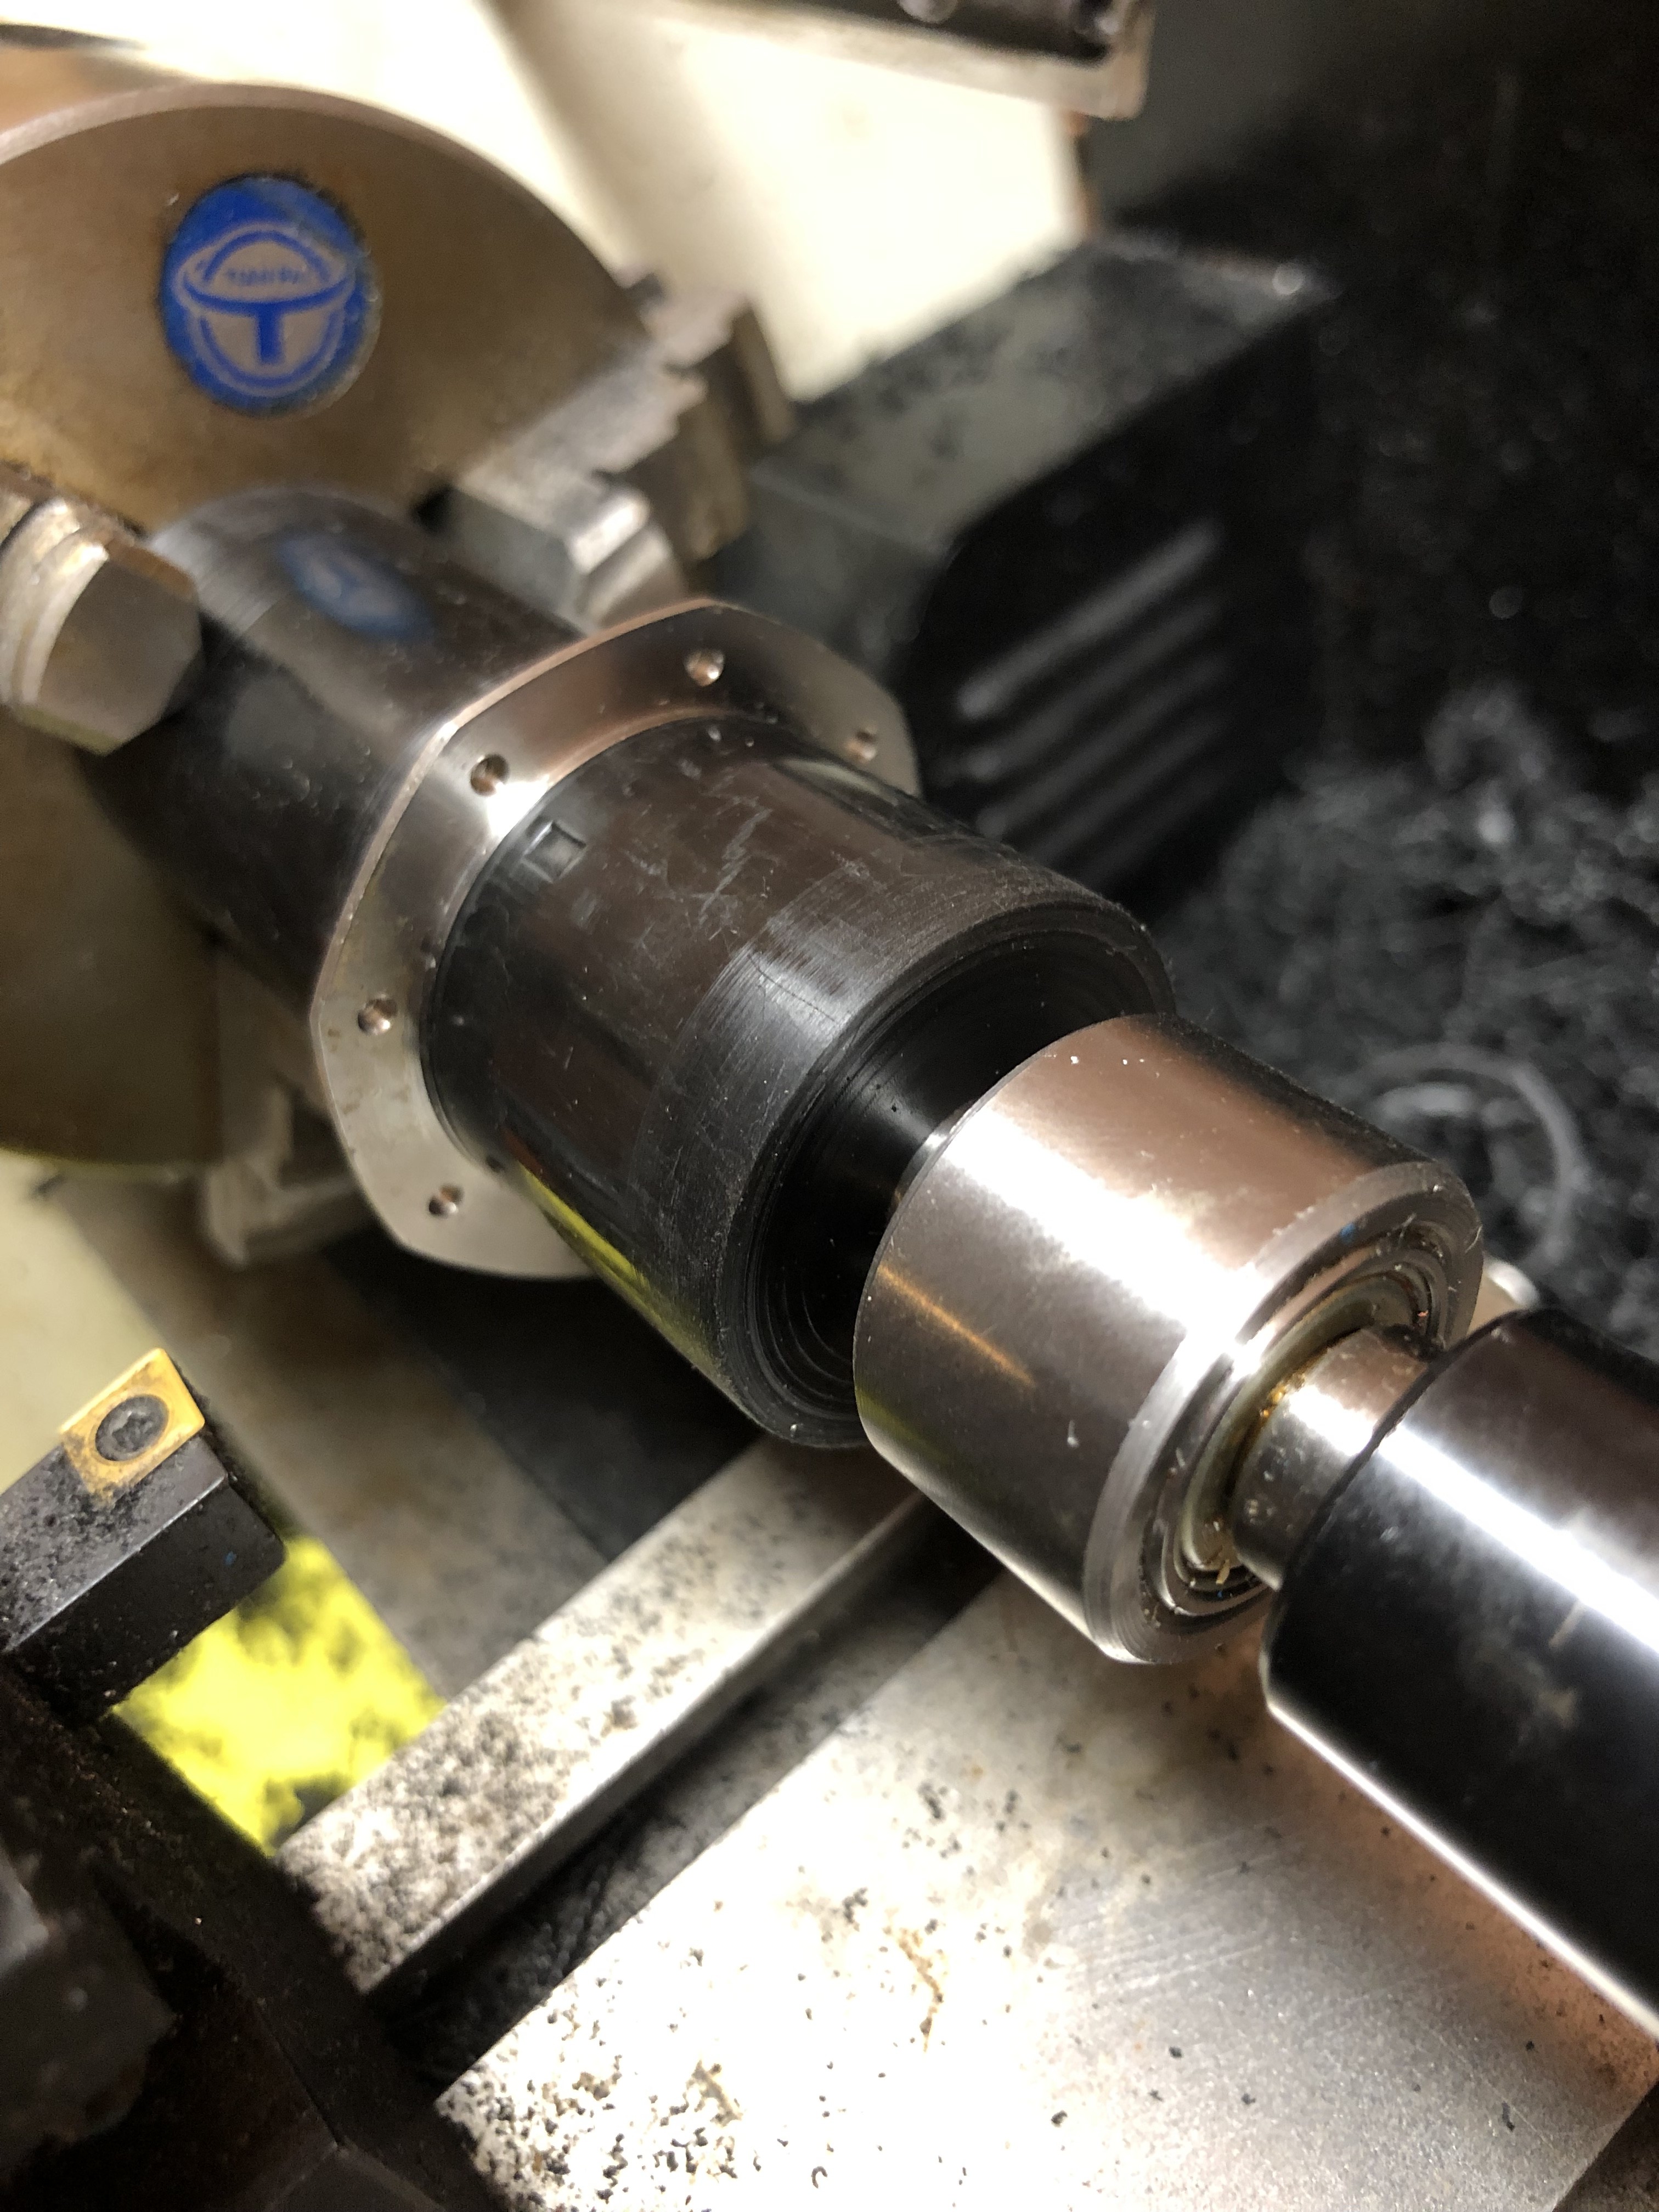
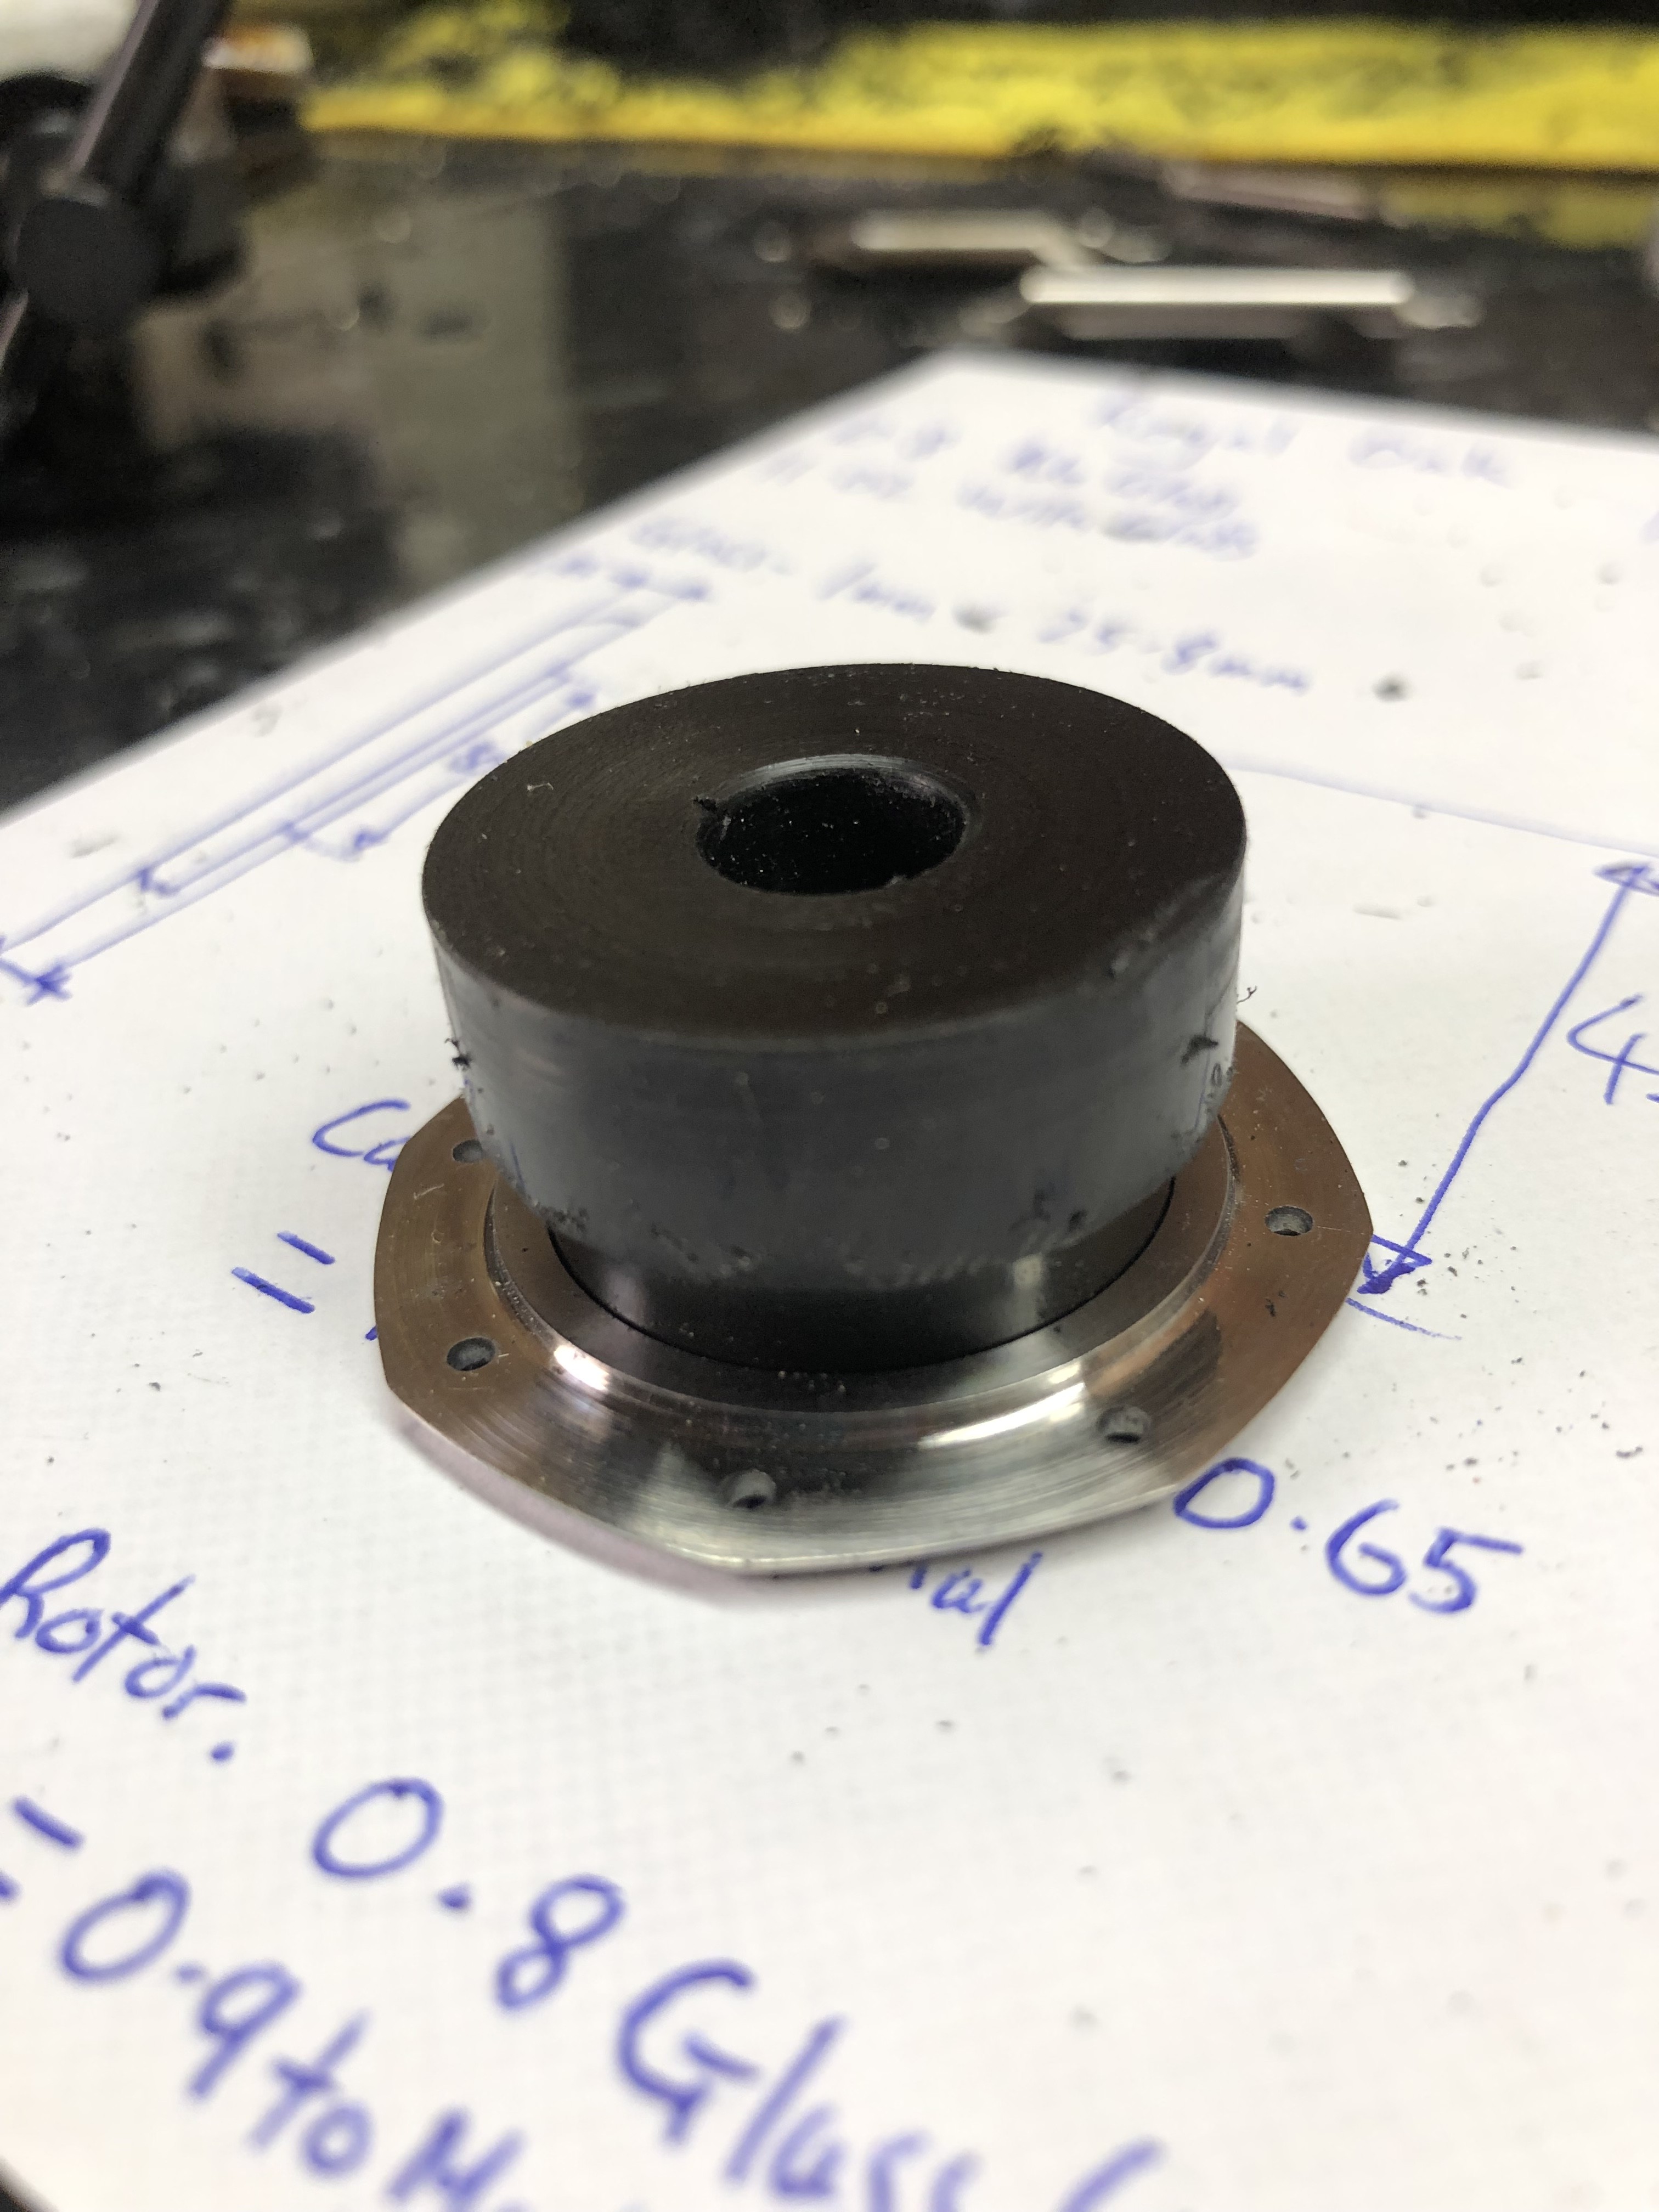
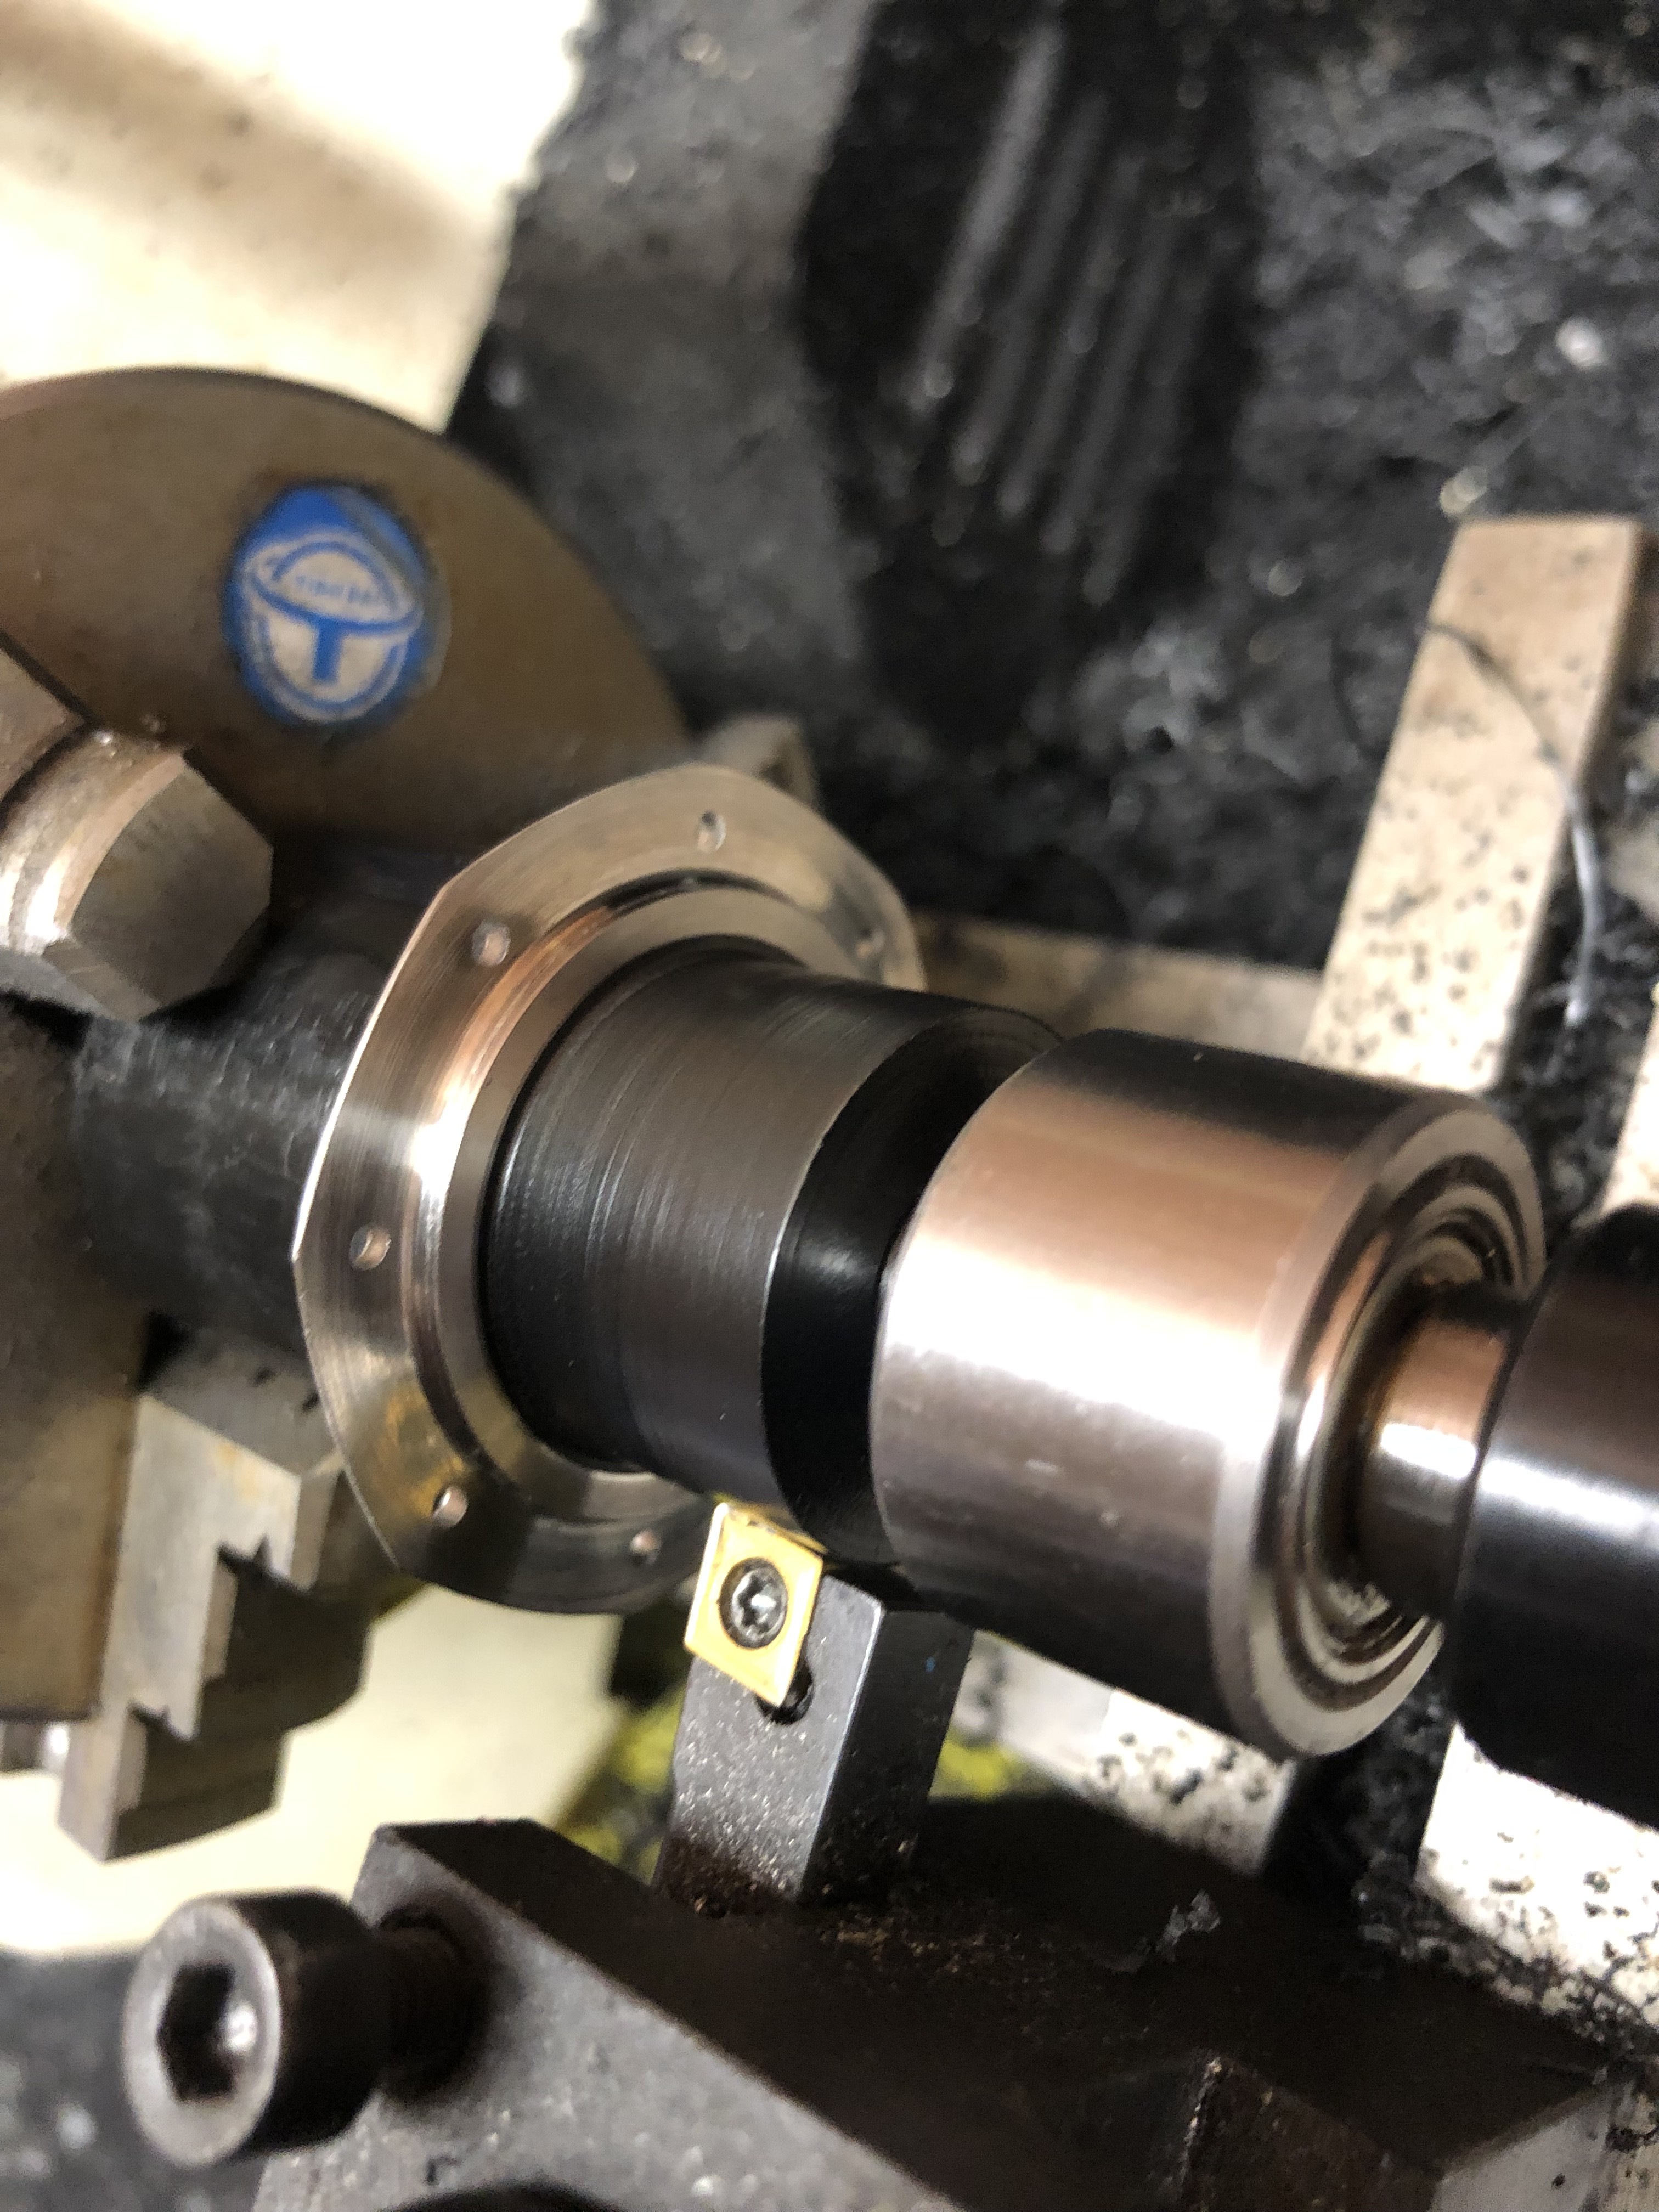
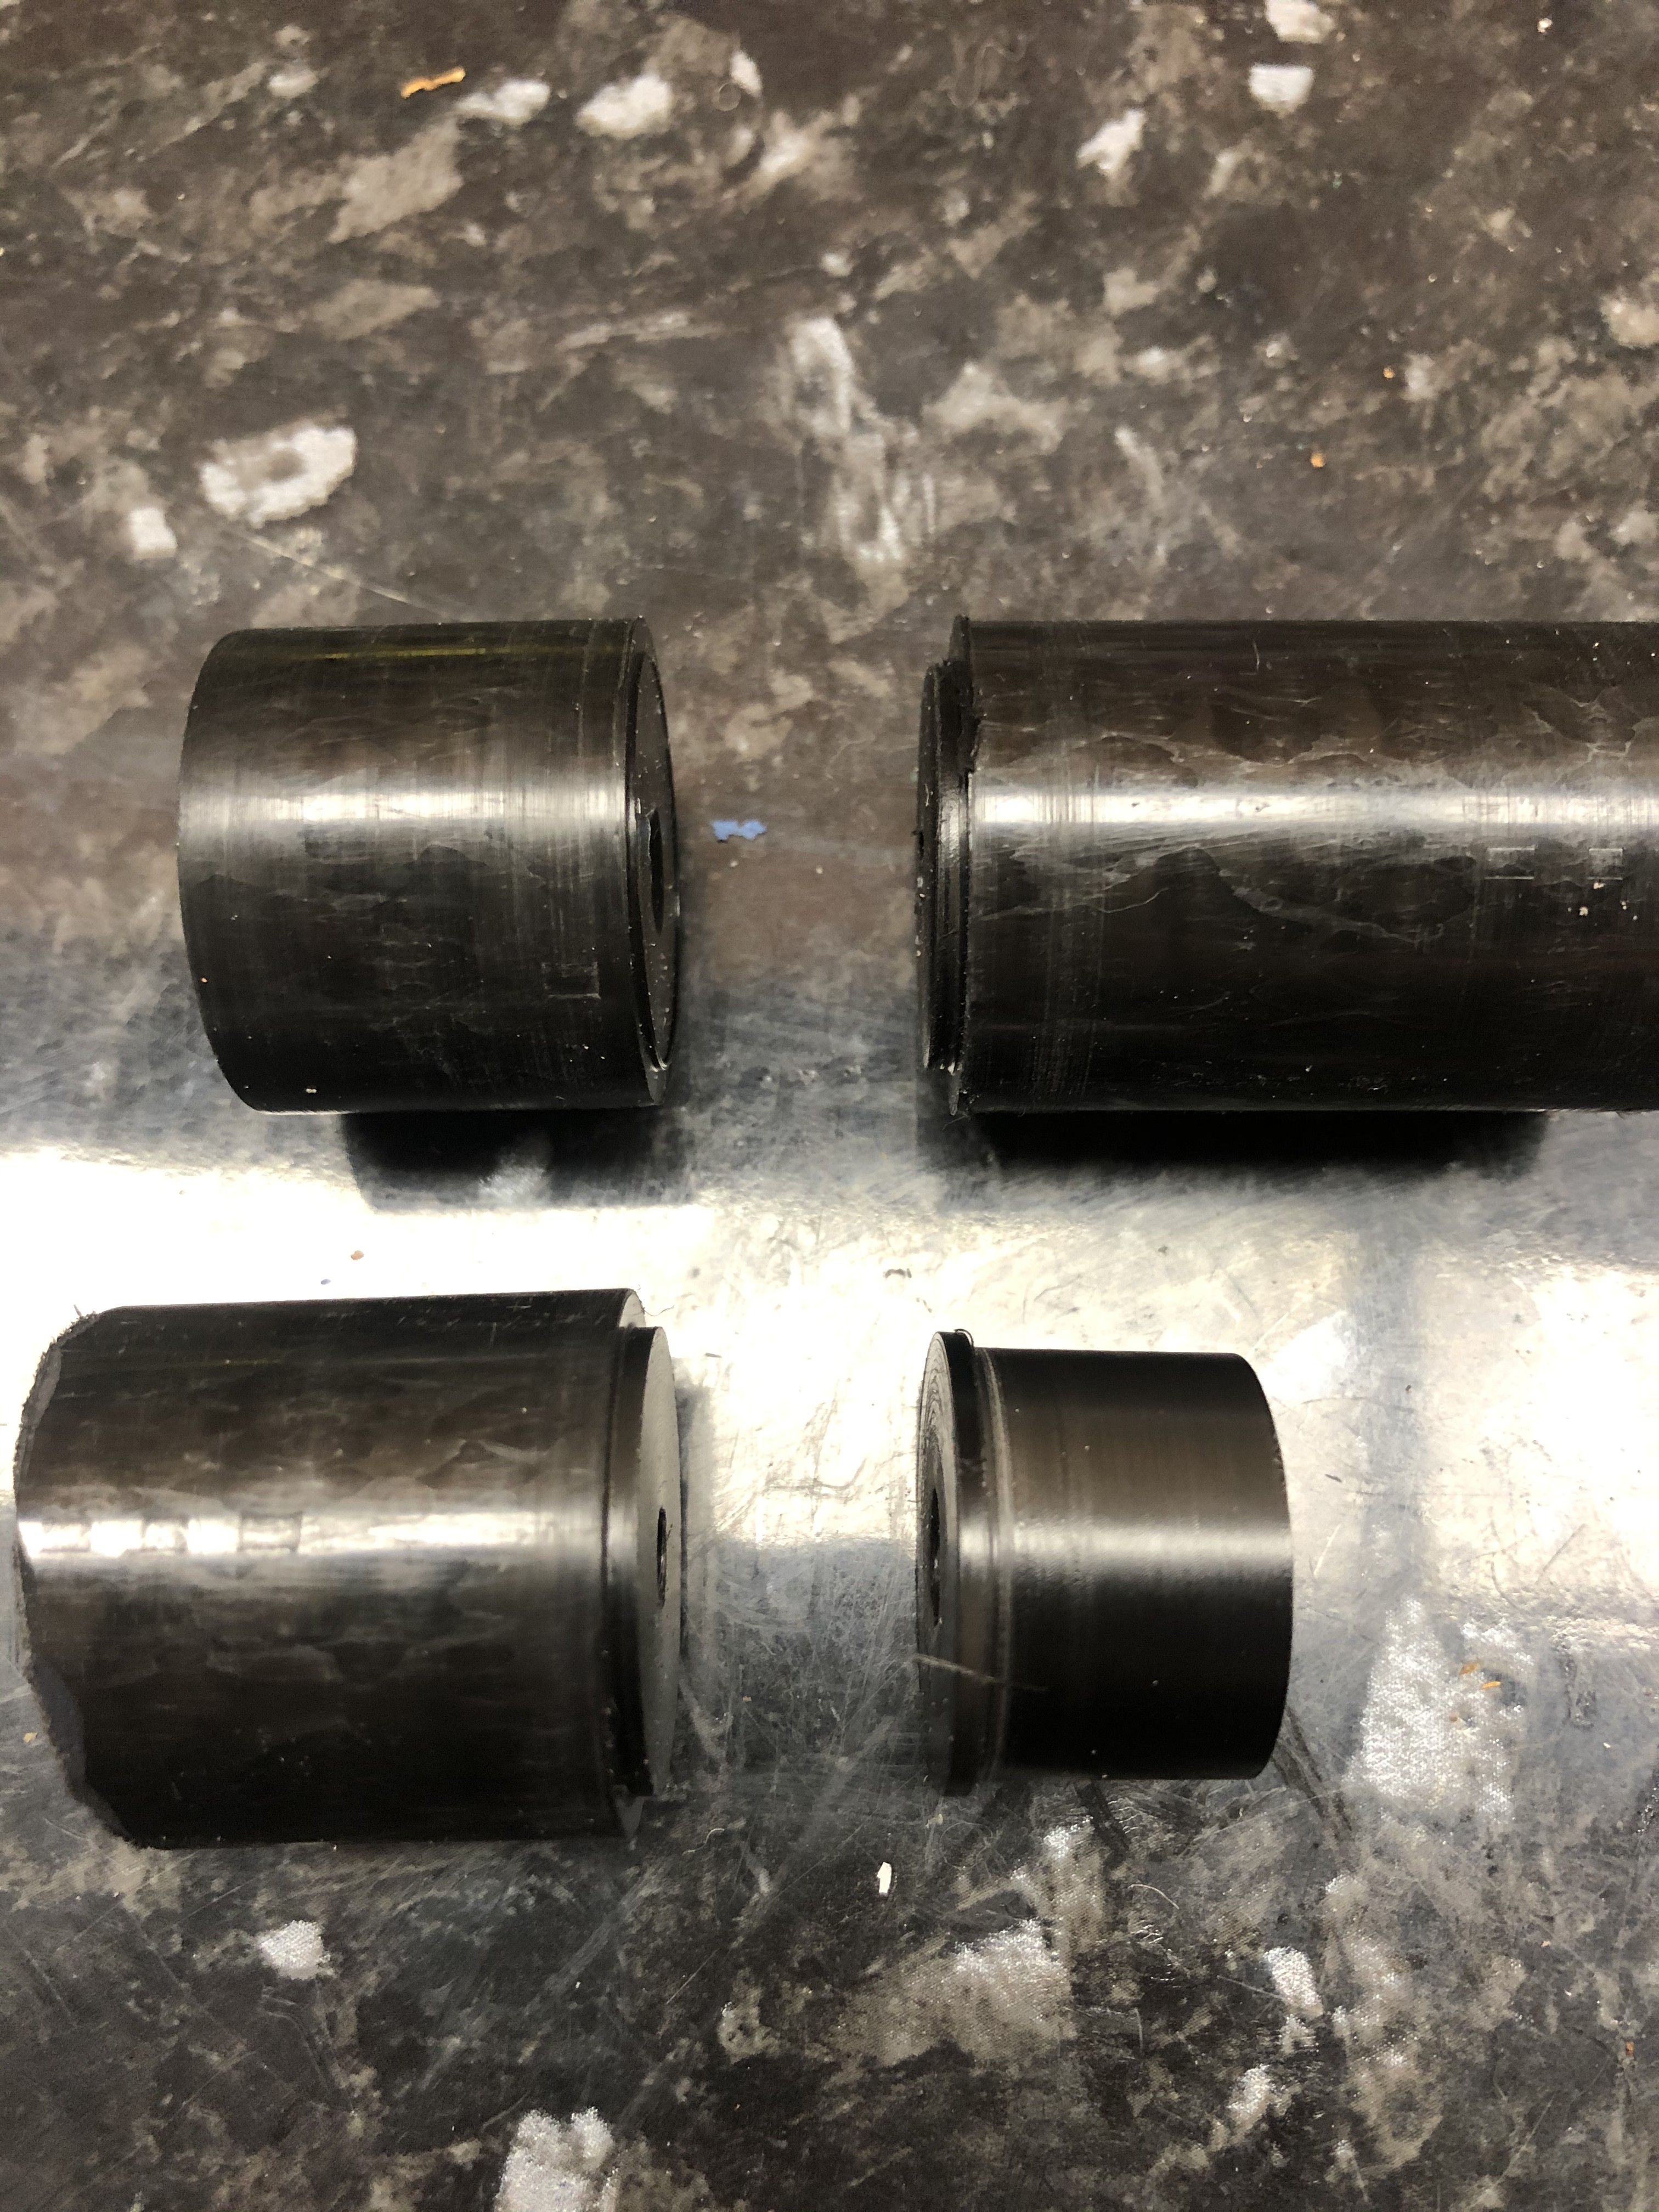
Some shots of machining and finished parts.
First operation
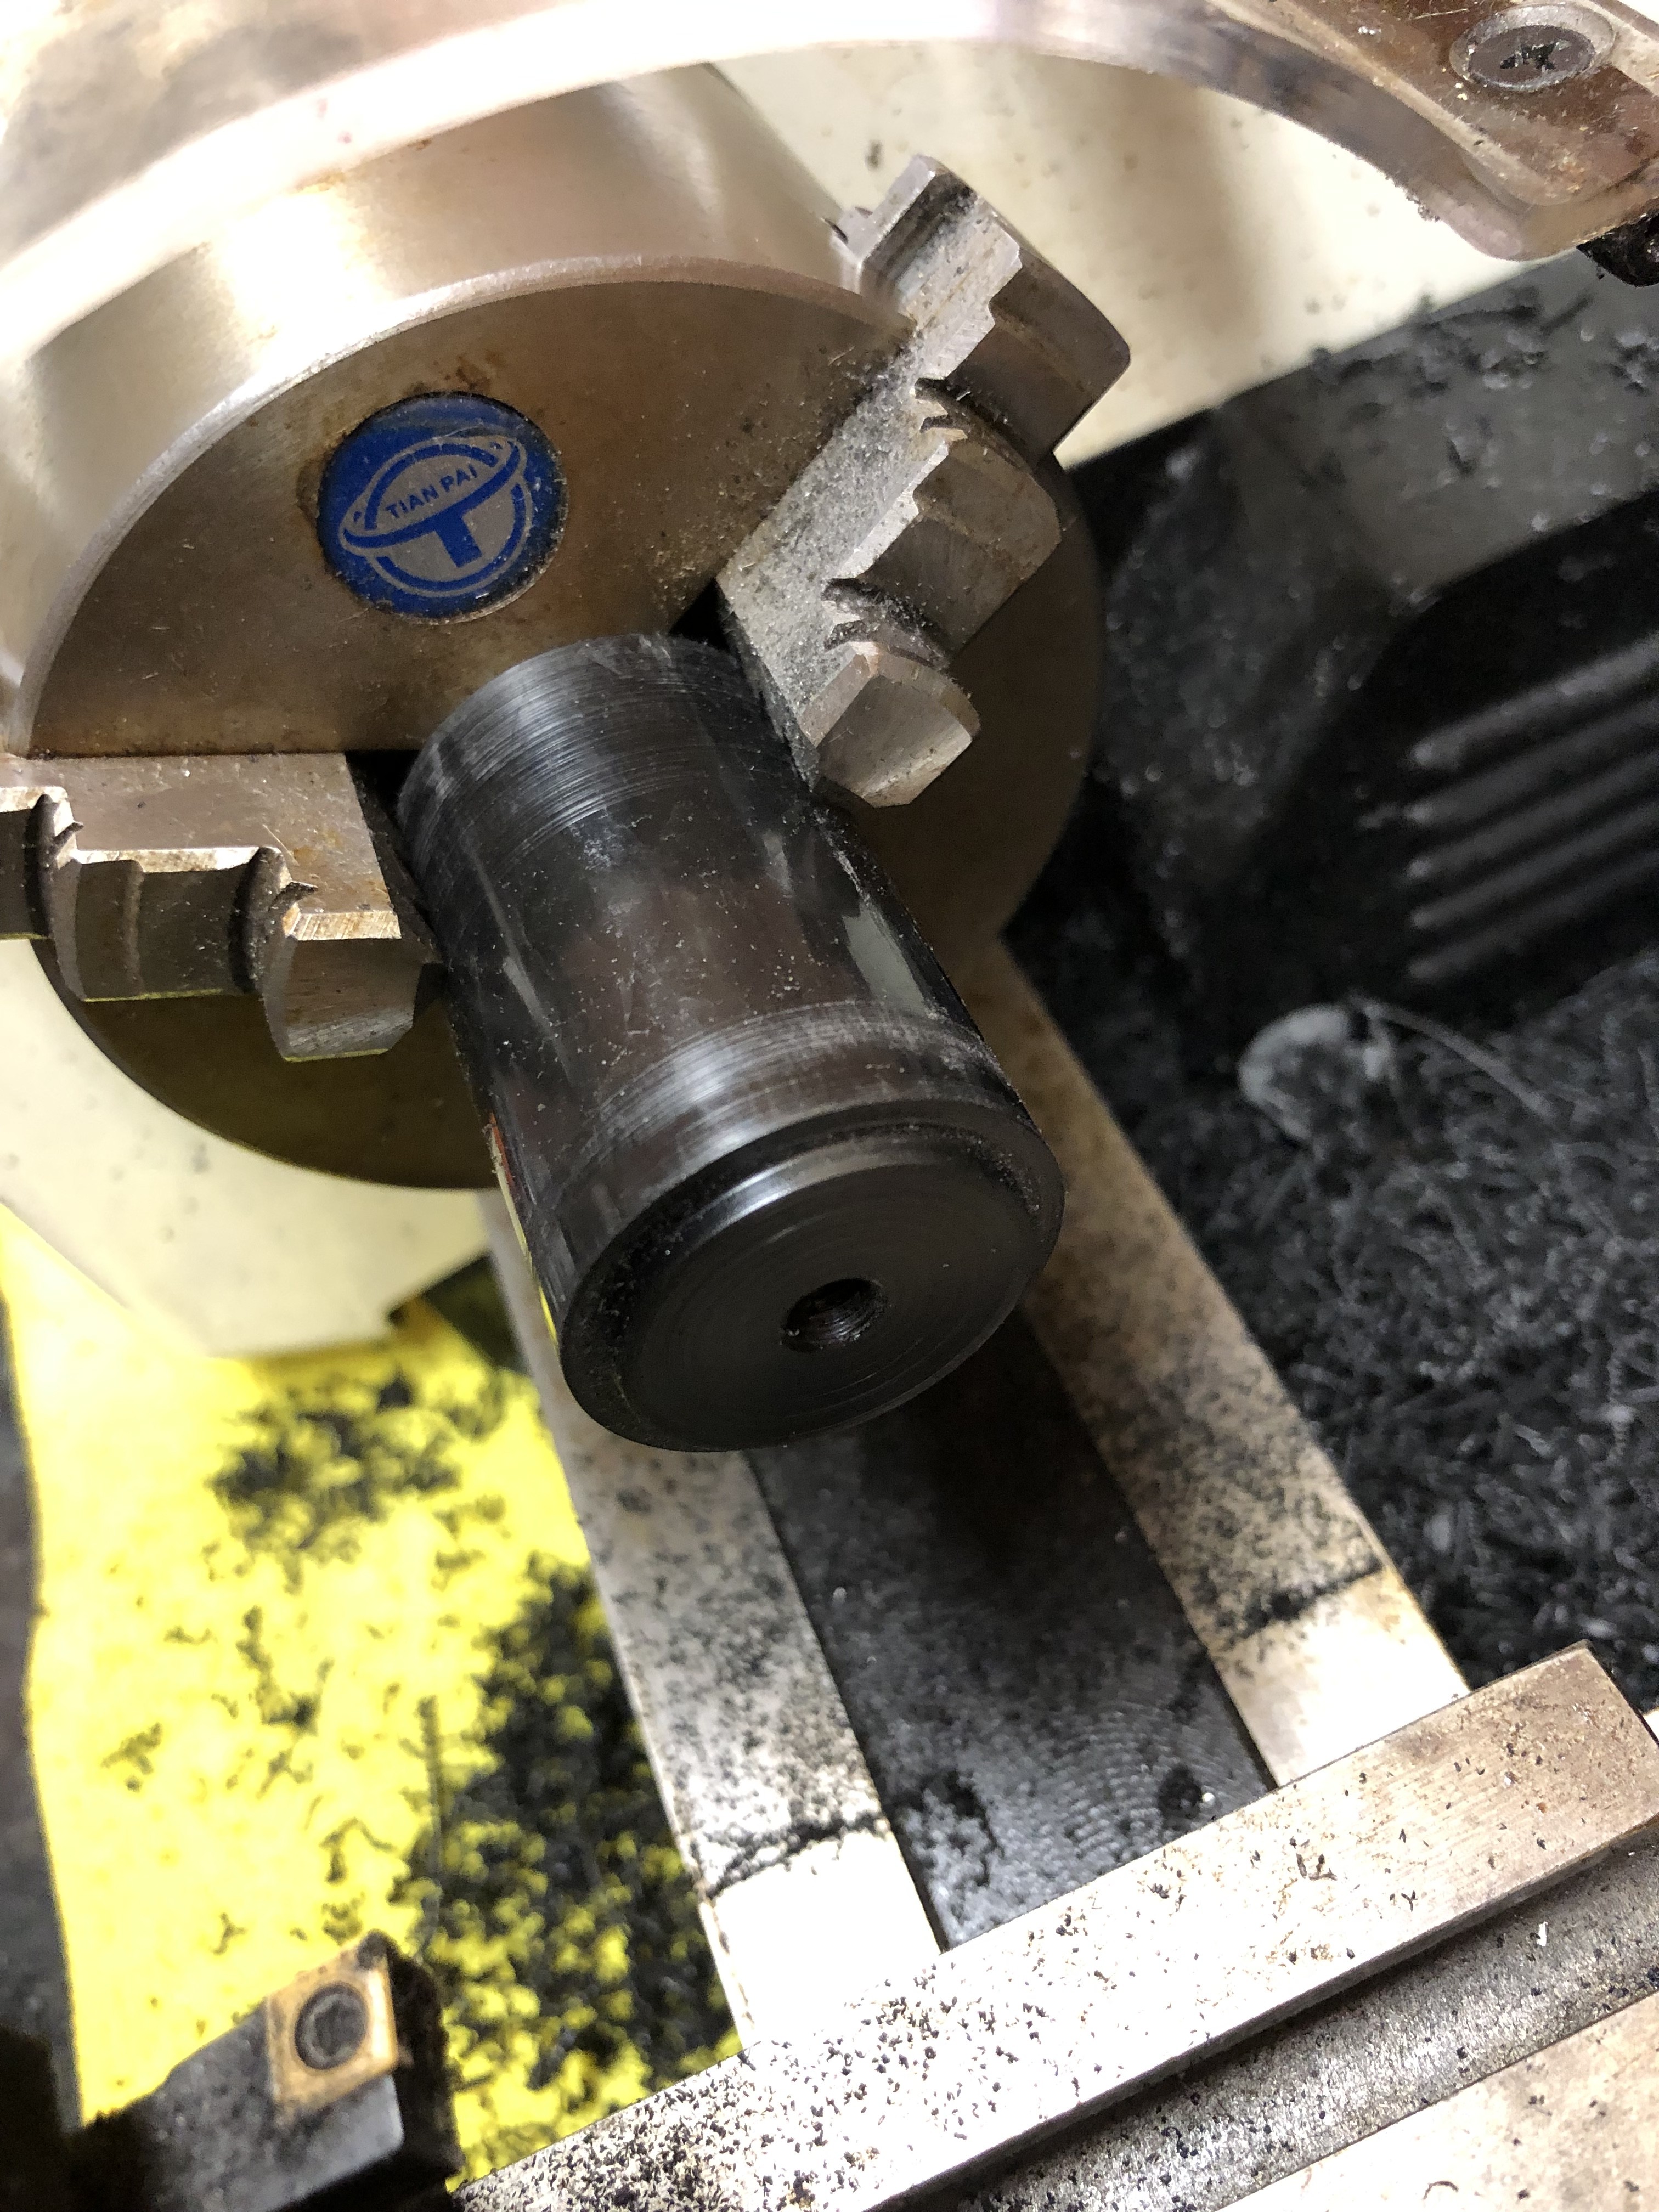

Second operation
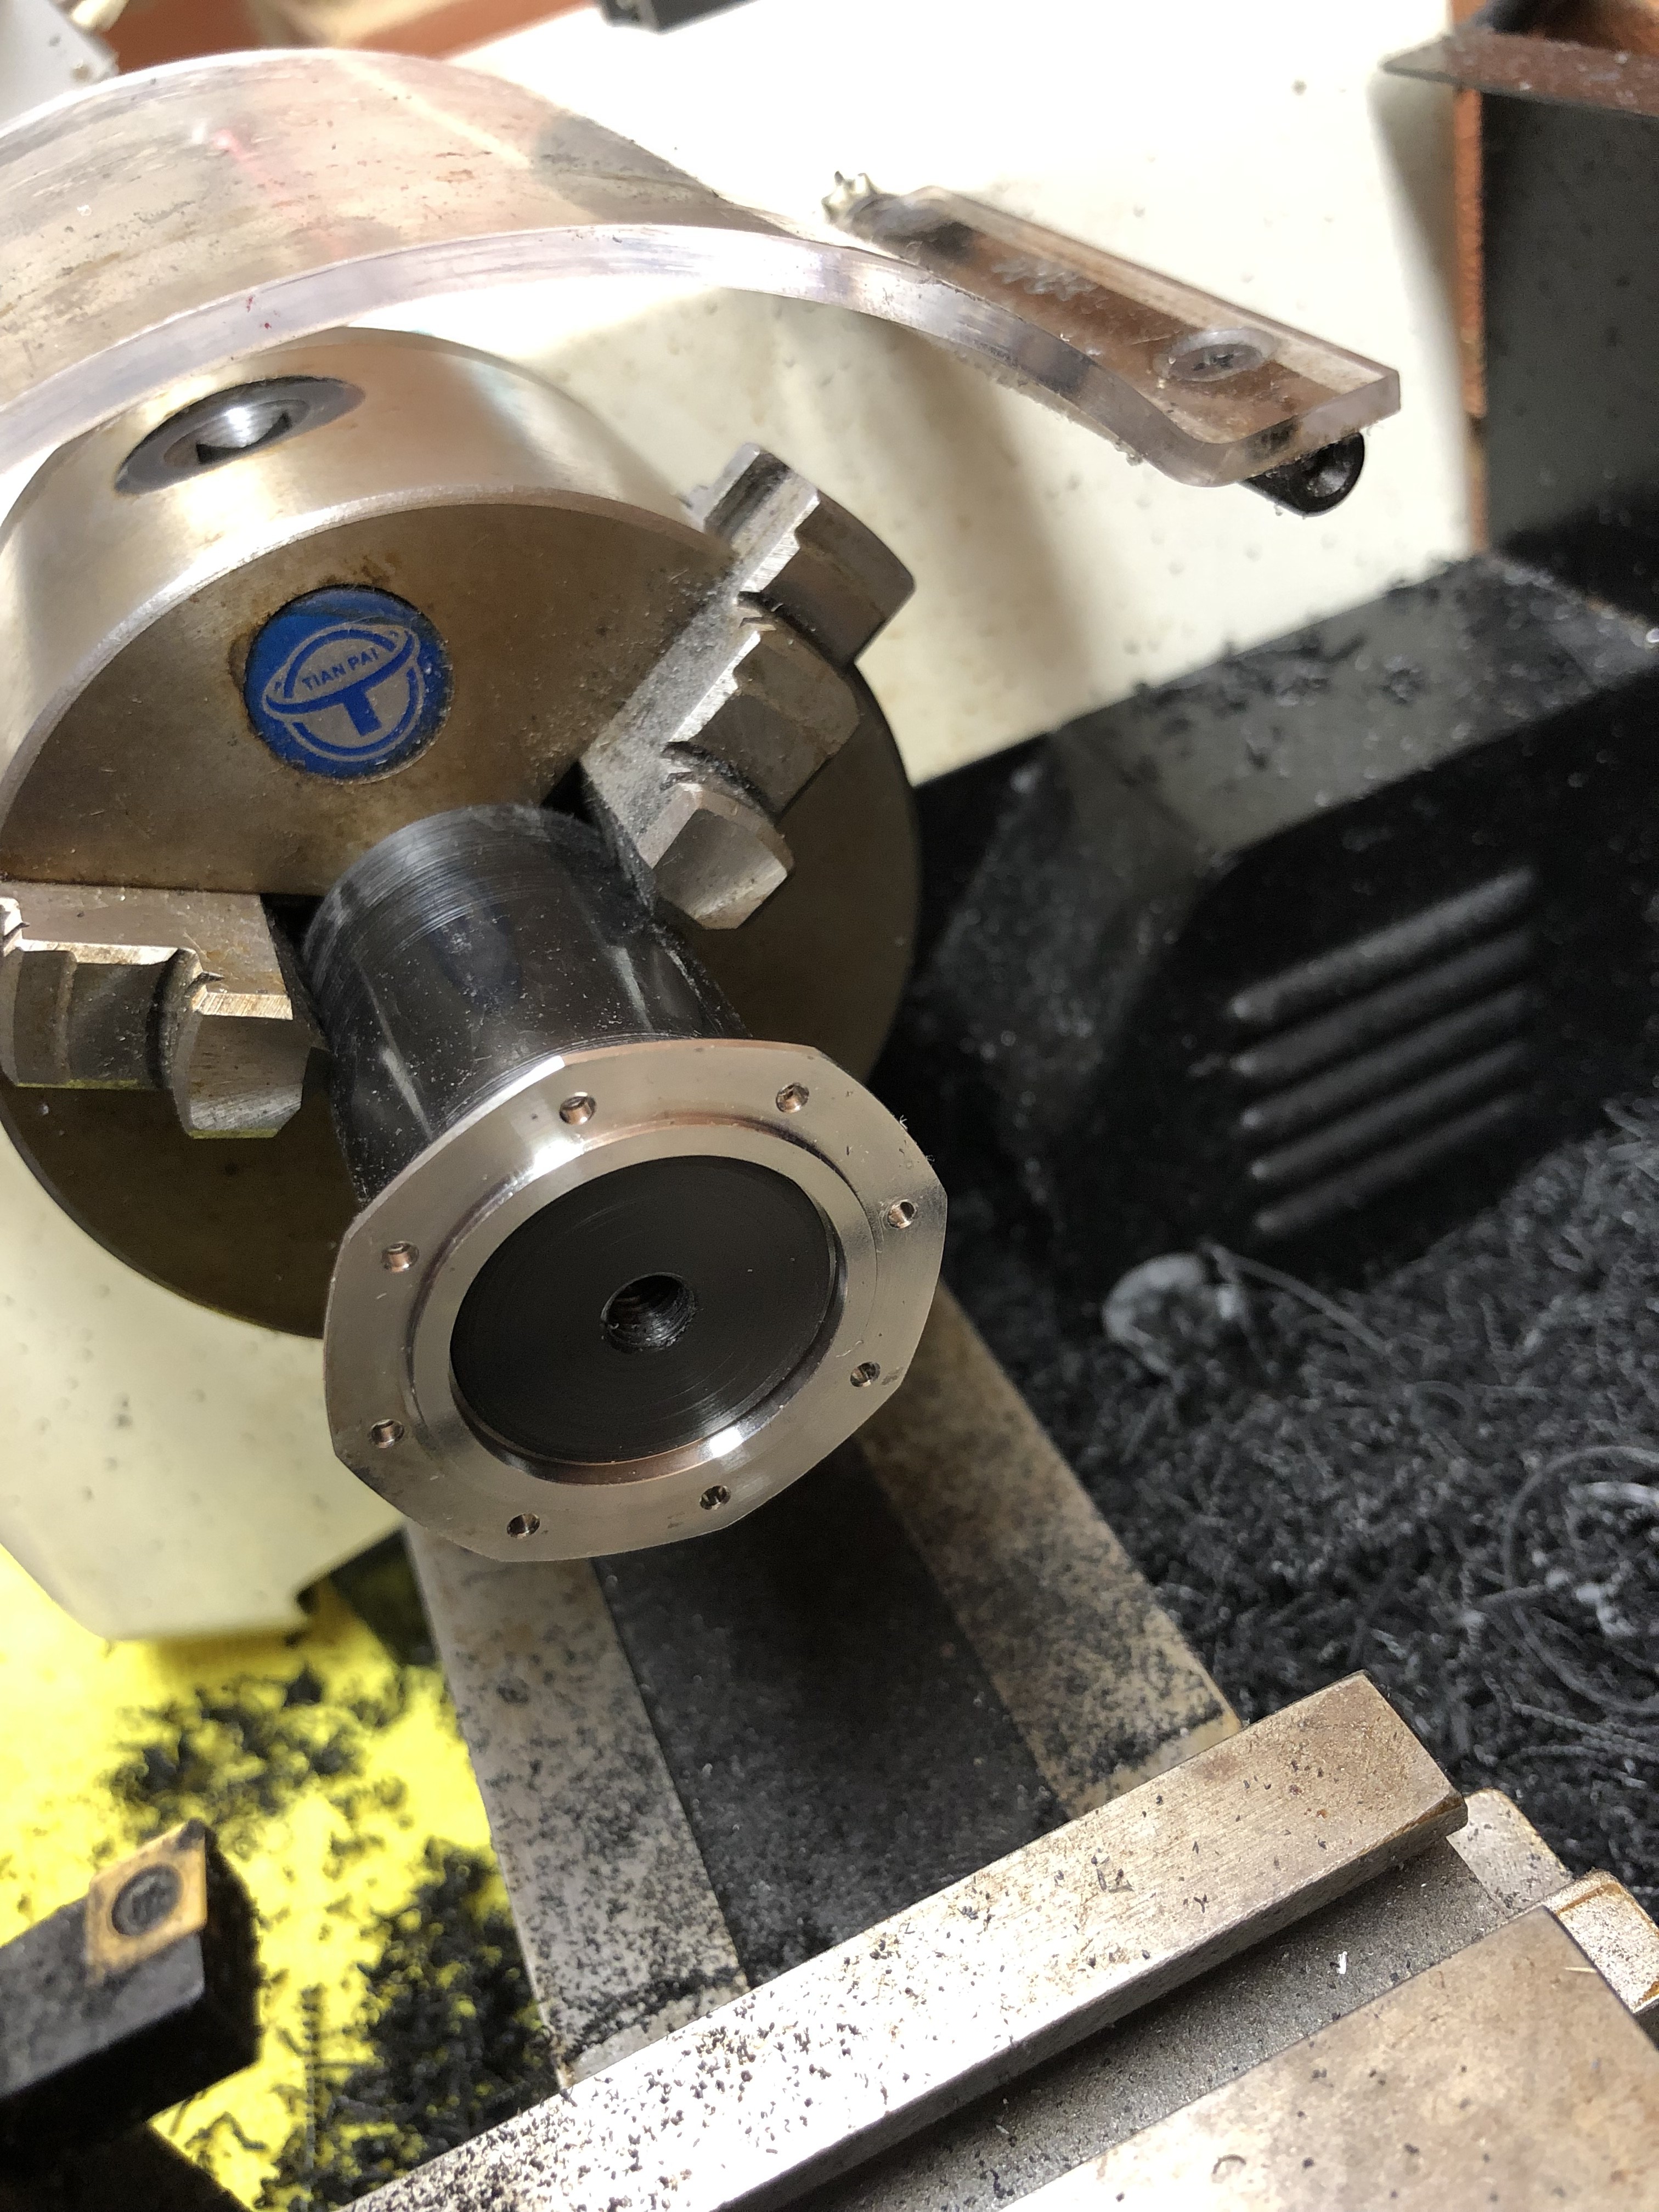
Jigs
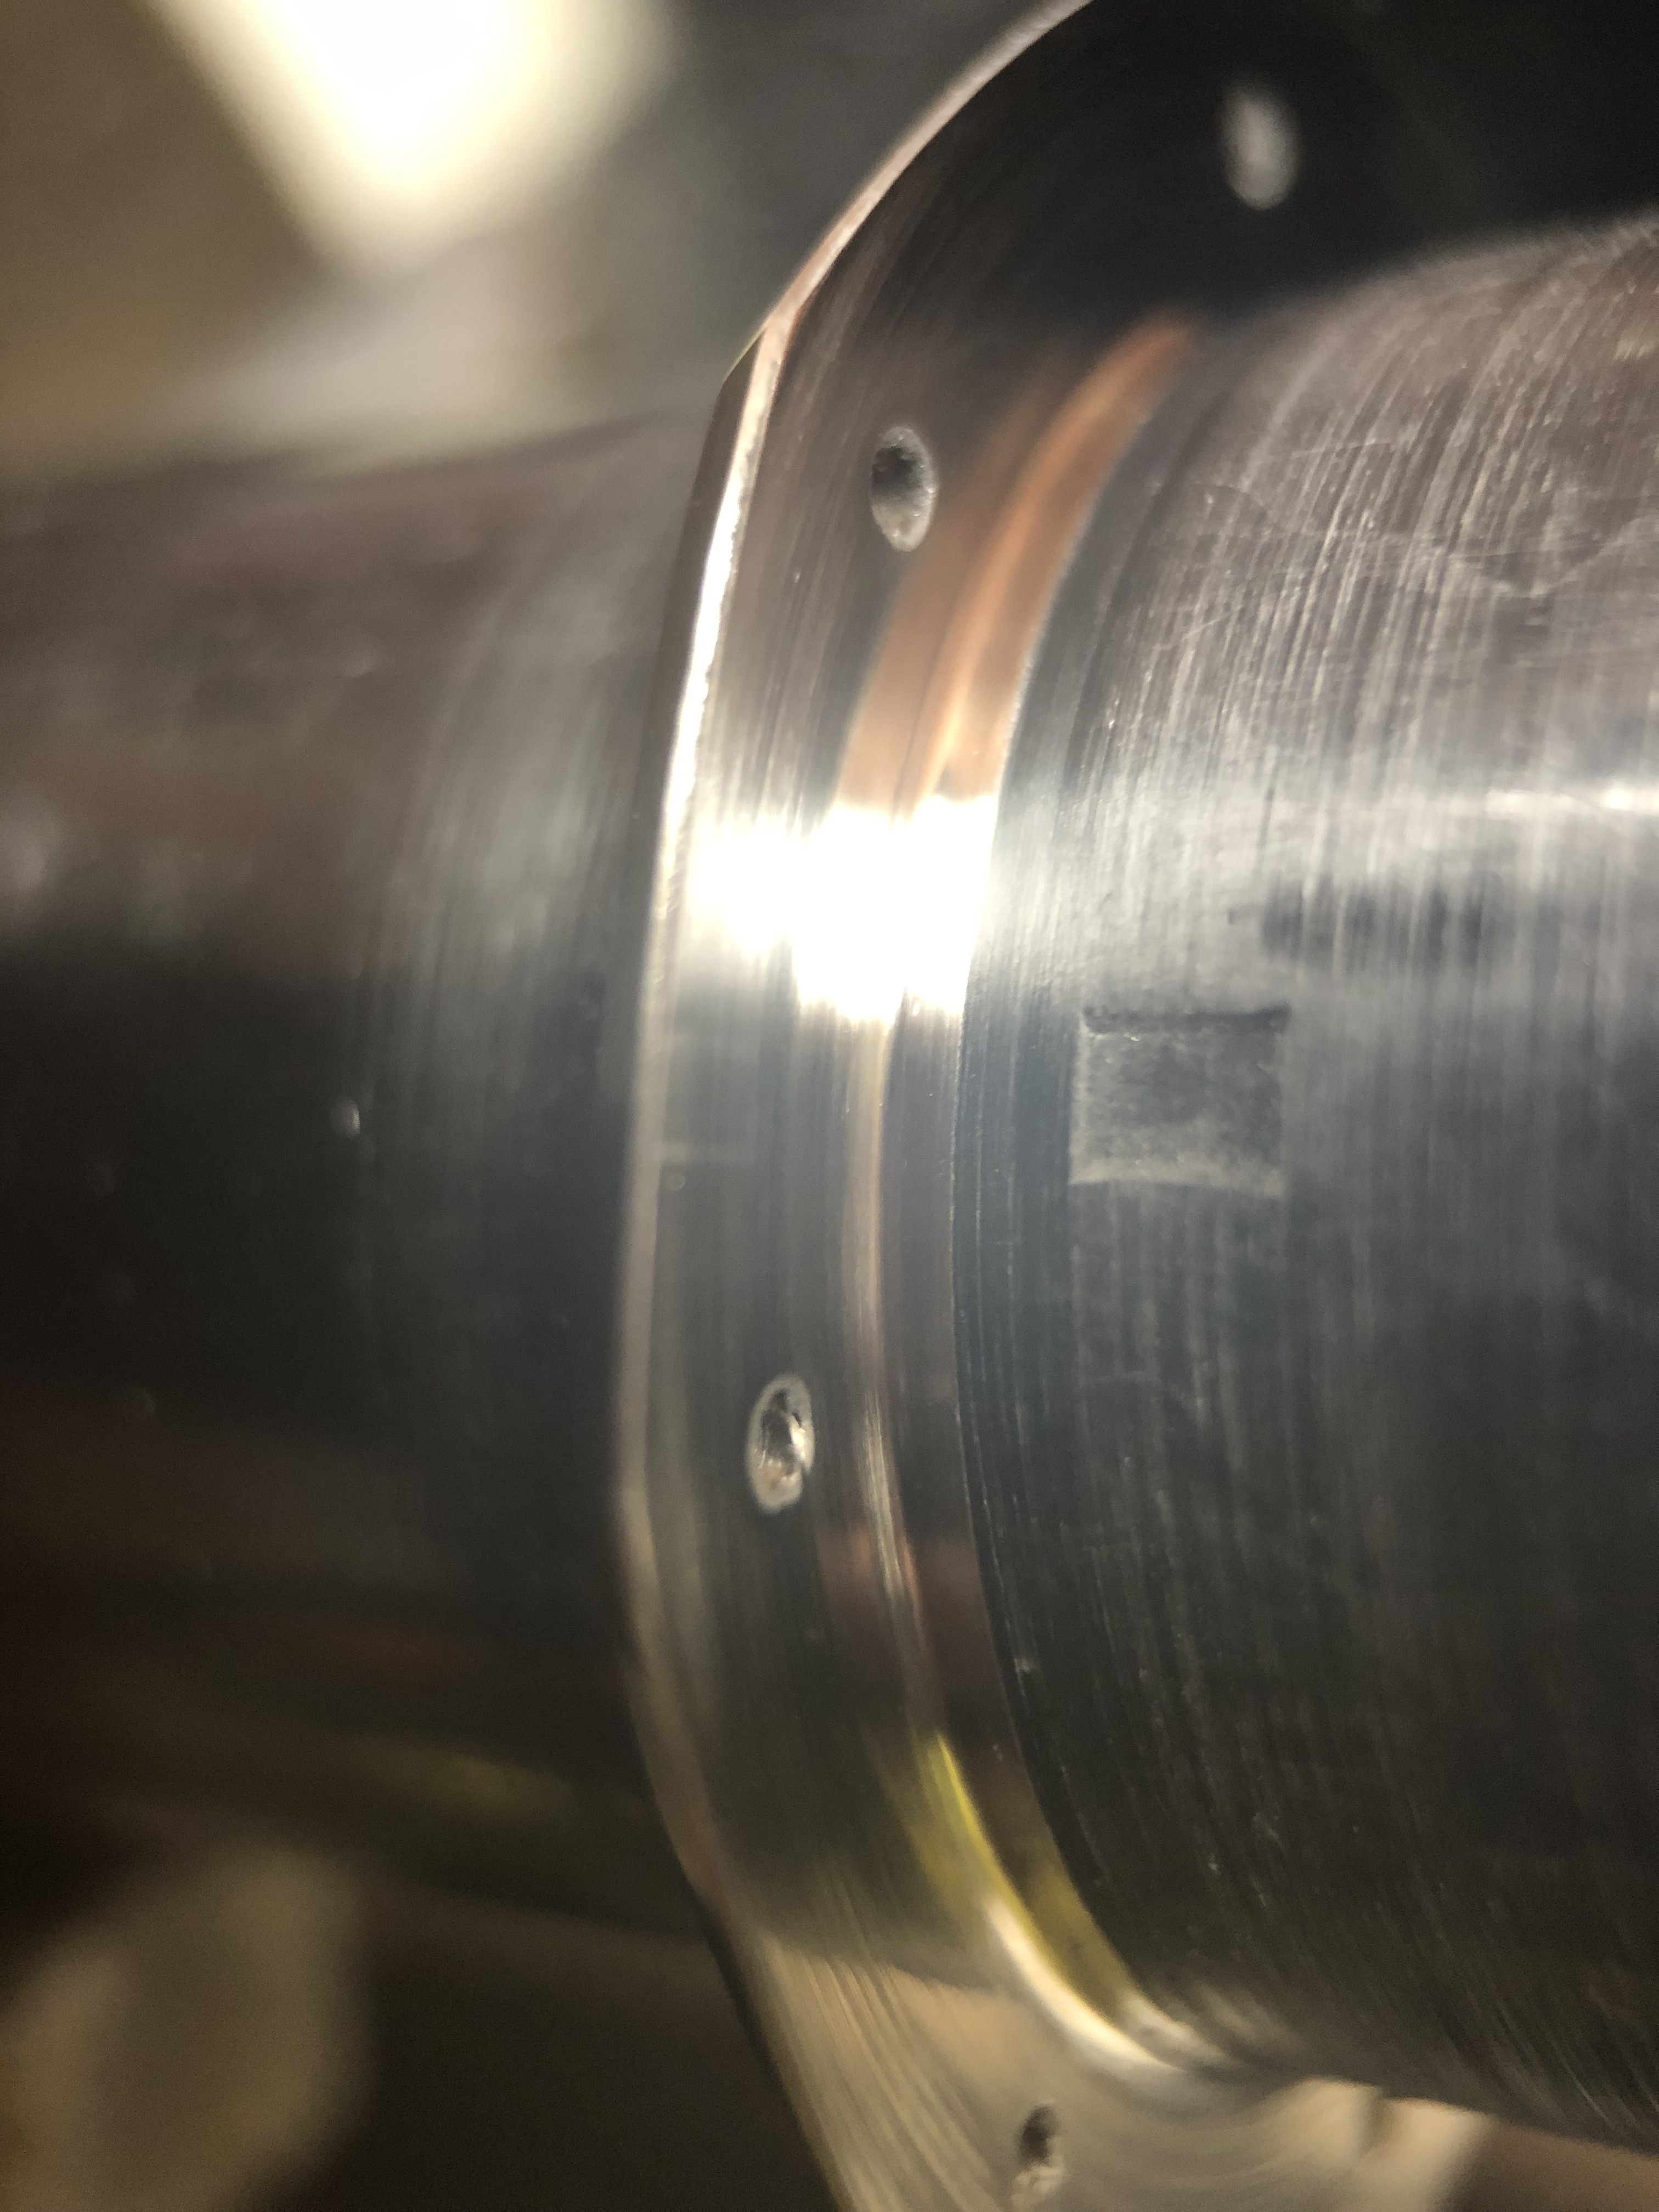
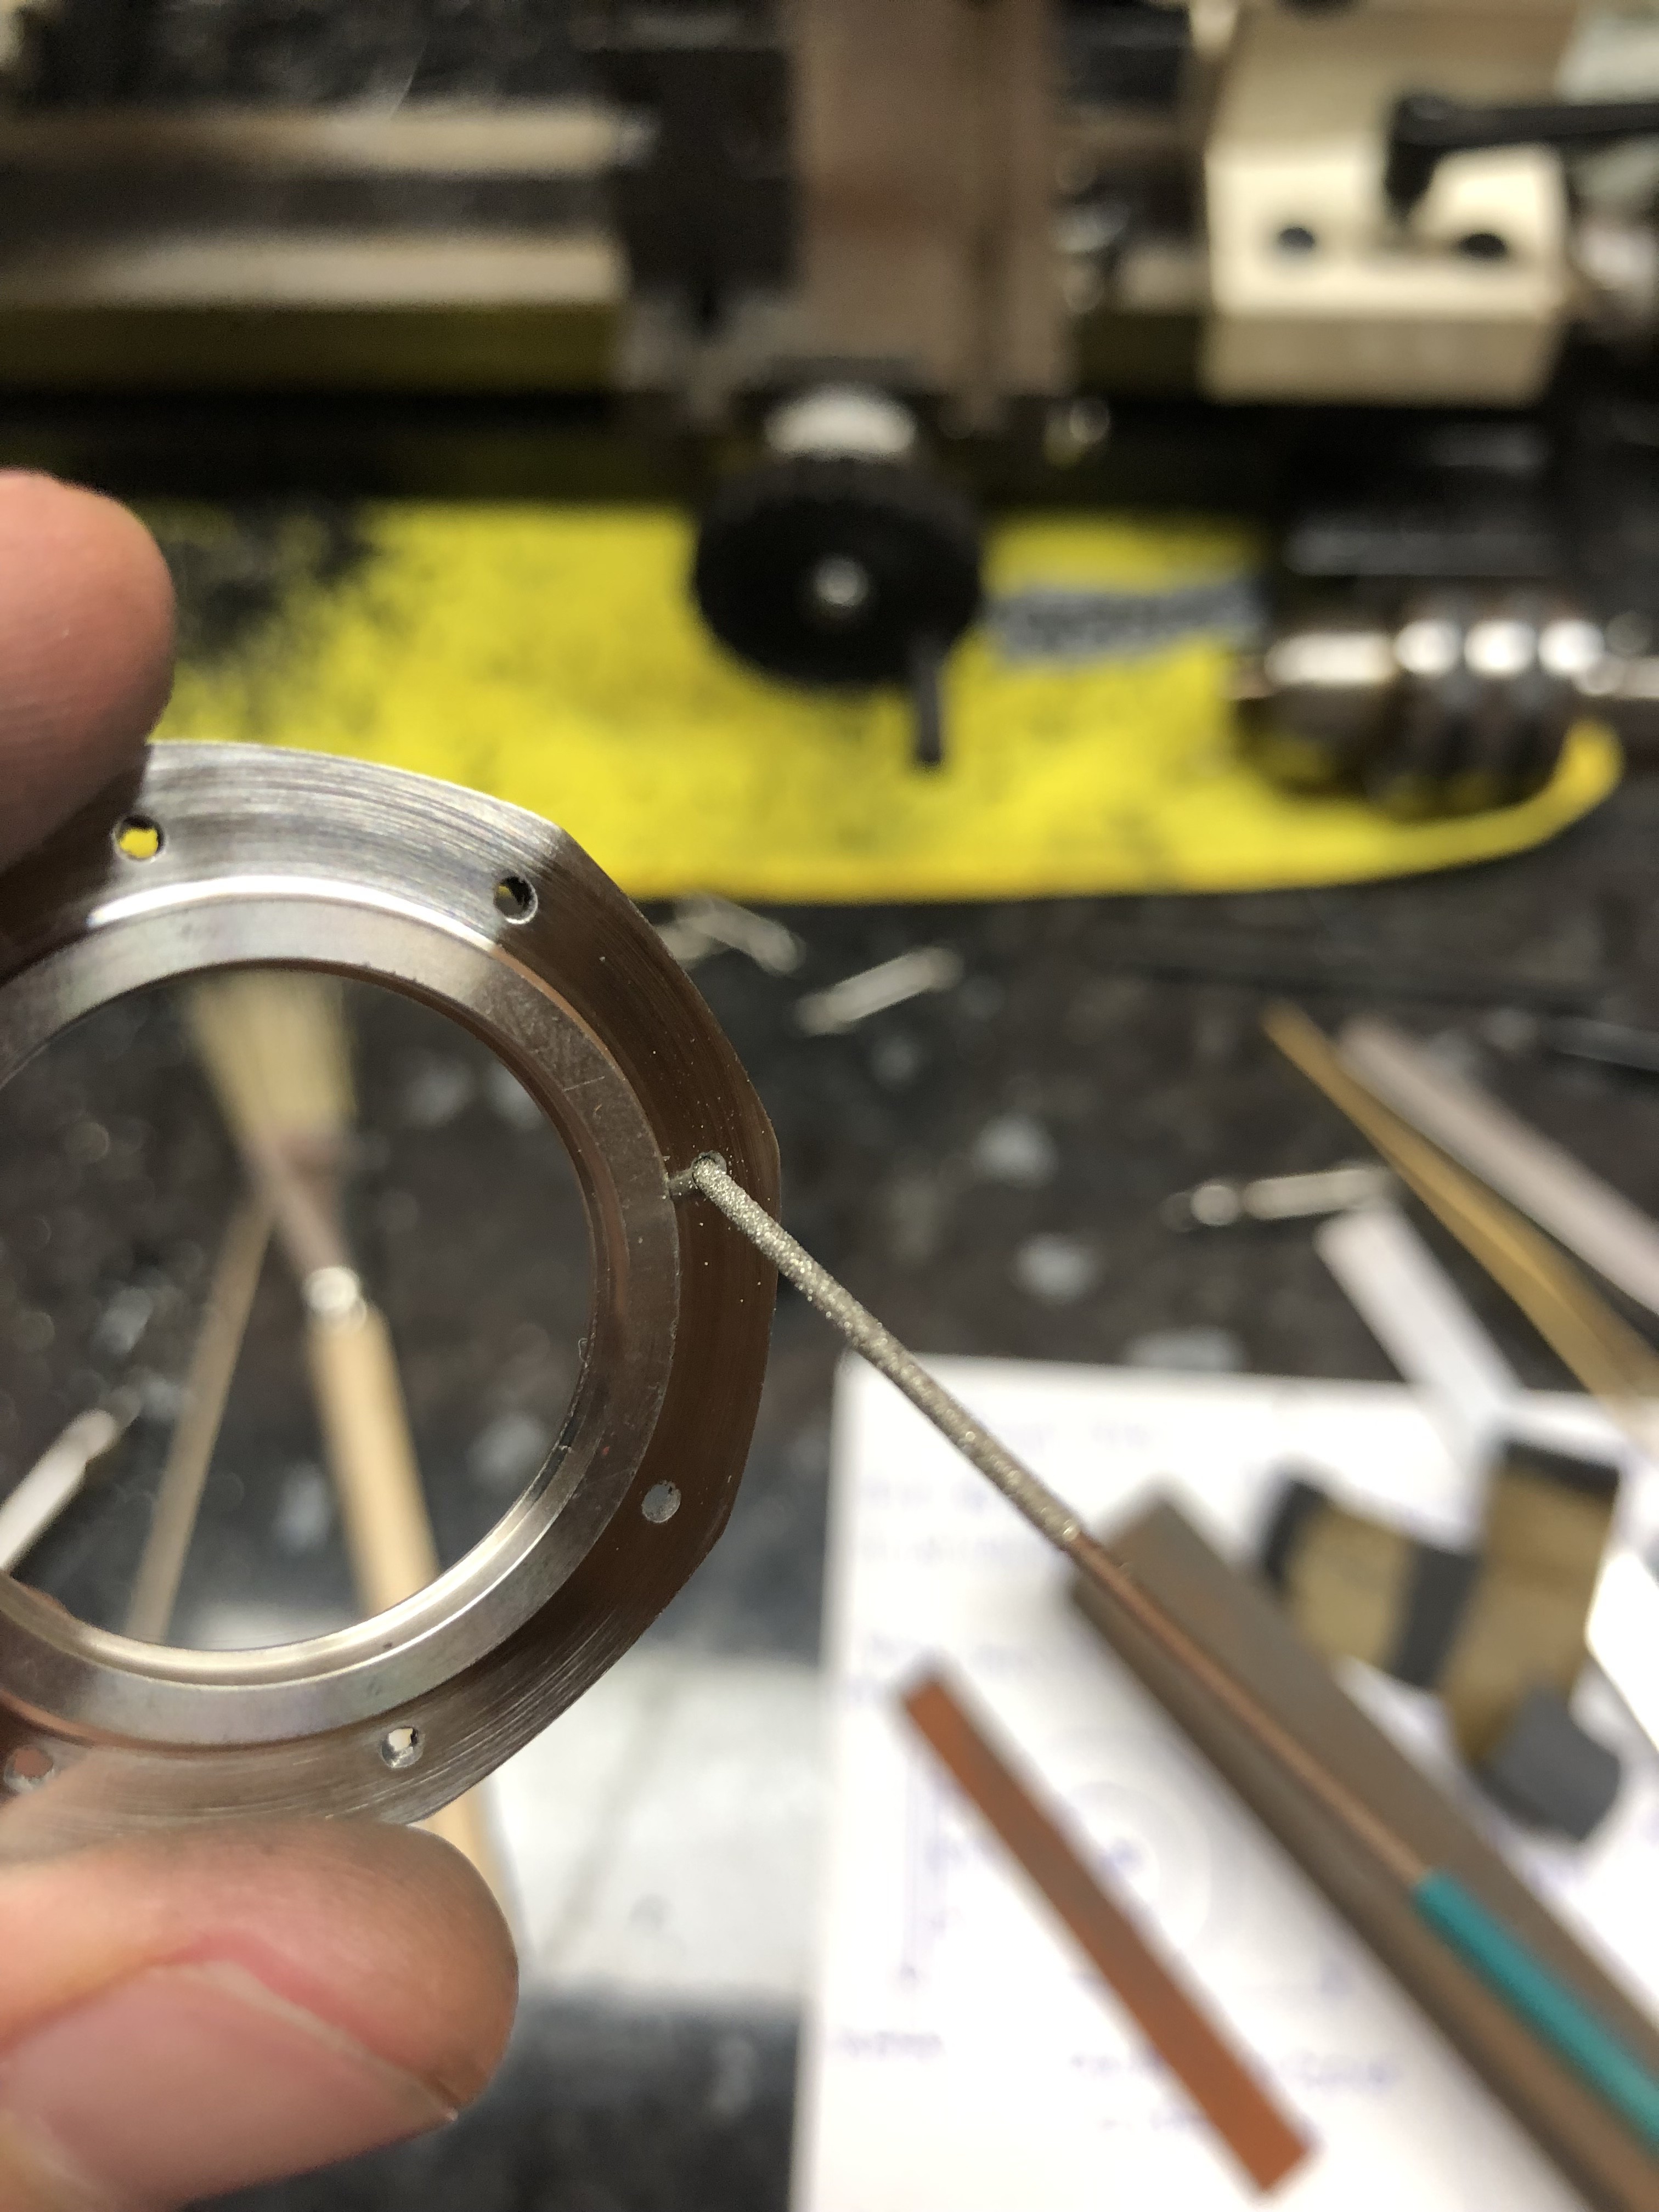
I did the machining in the order i have explained the jigs. I also use an steel rule with wet and dry (240-800) to improve the sealing surface after machining. You may not need to do this but for the sake of 5 minutes its worth it. In between set ups i also use an oil stone to deburr the faces, and a tiny little 1mm diamond file to get the burr out of the case back screw holes.
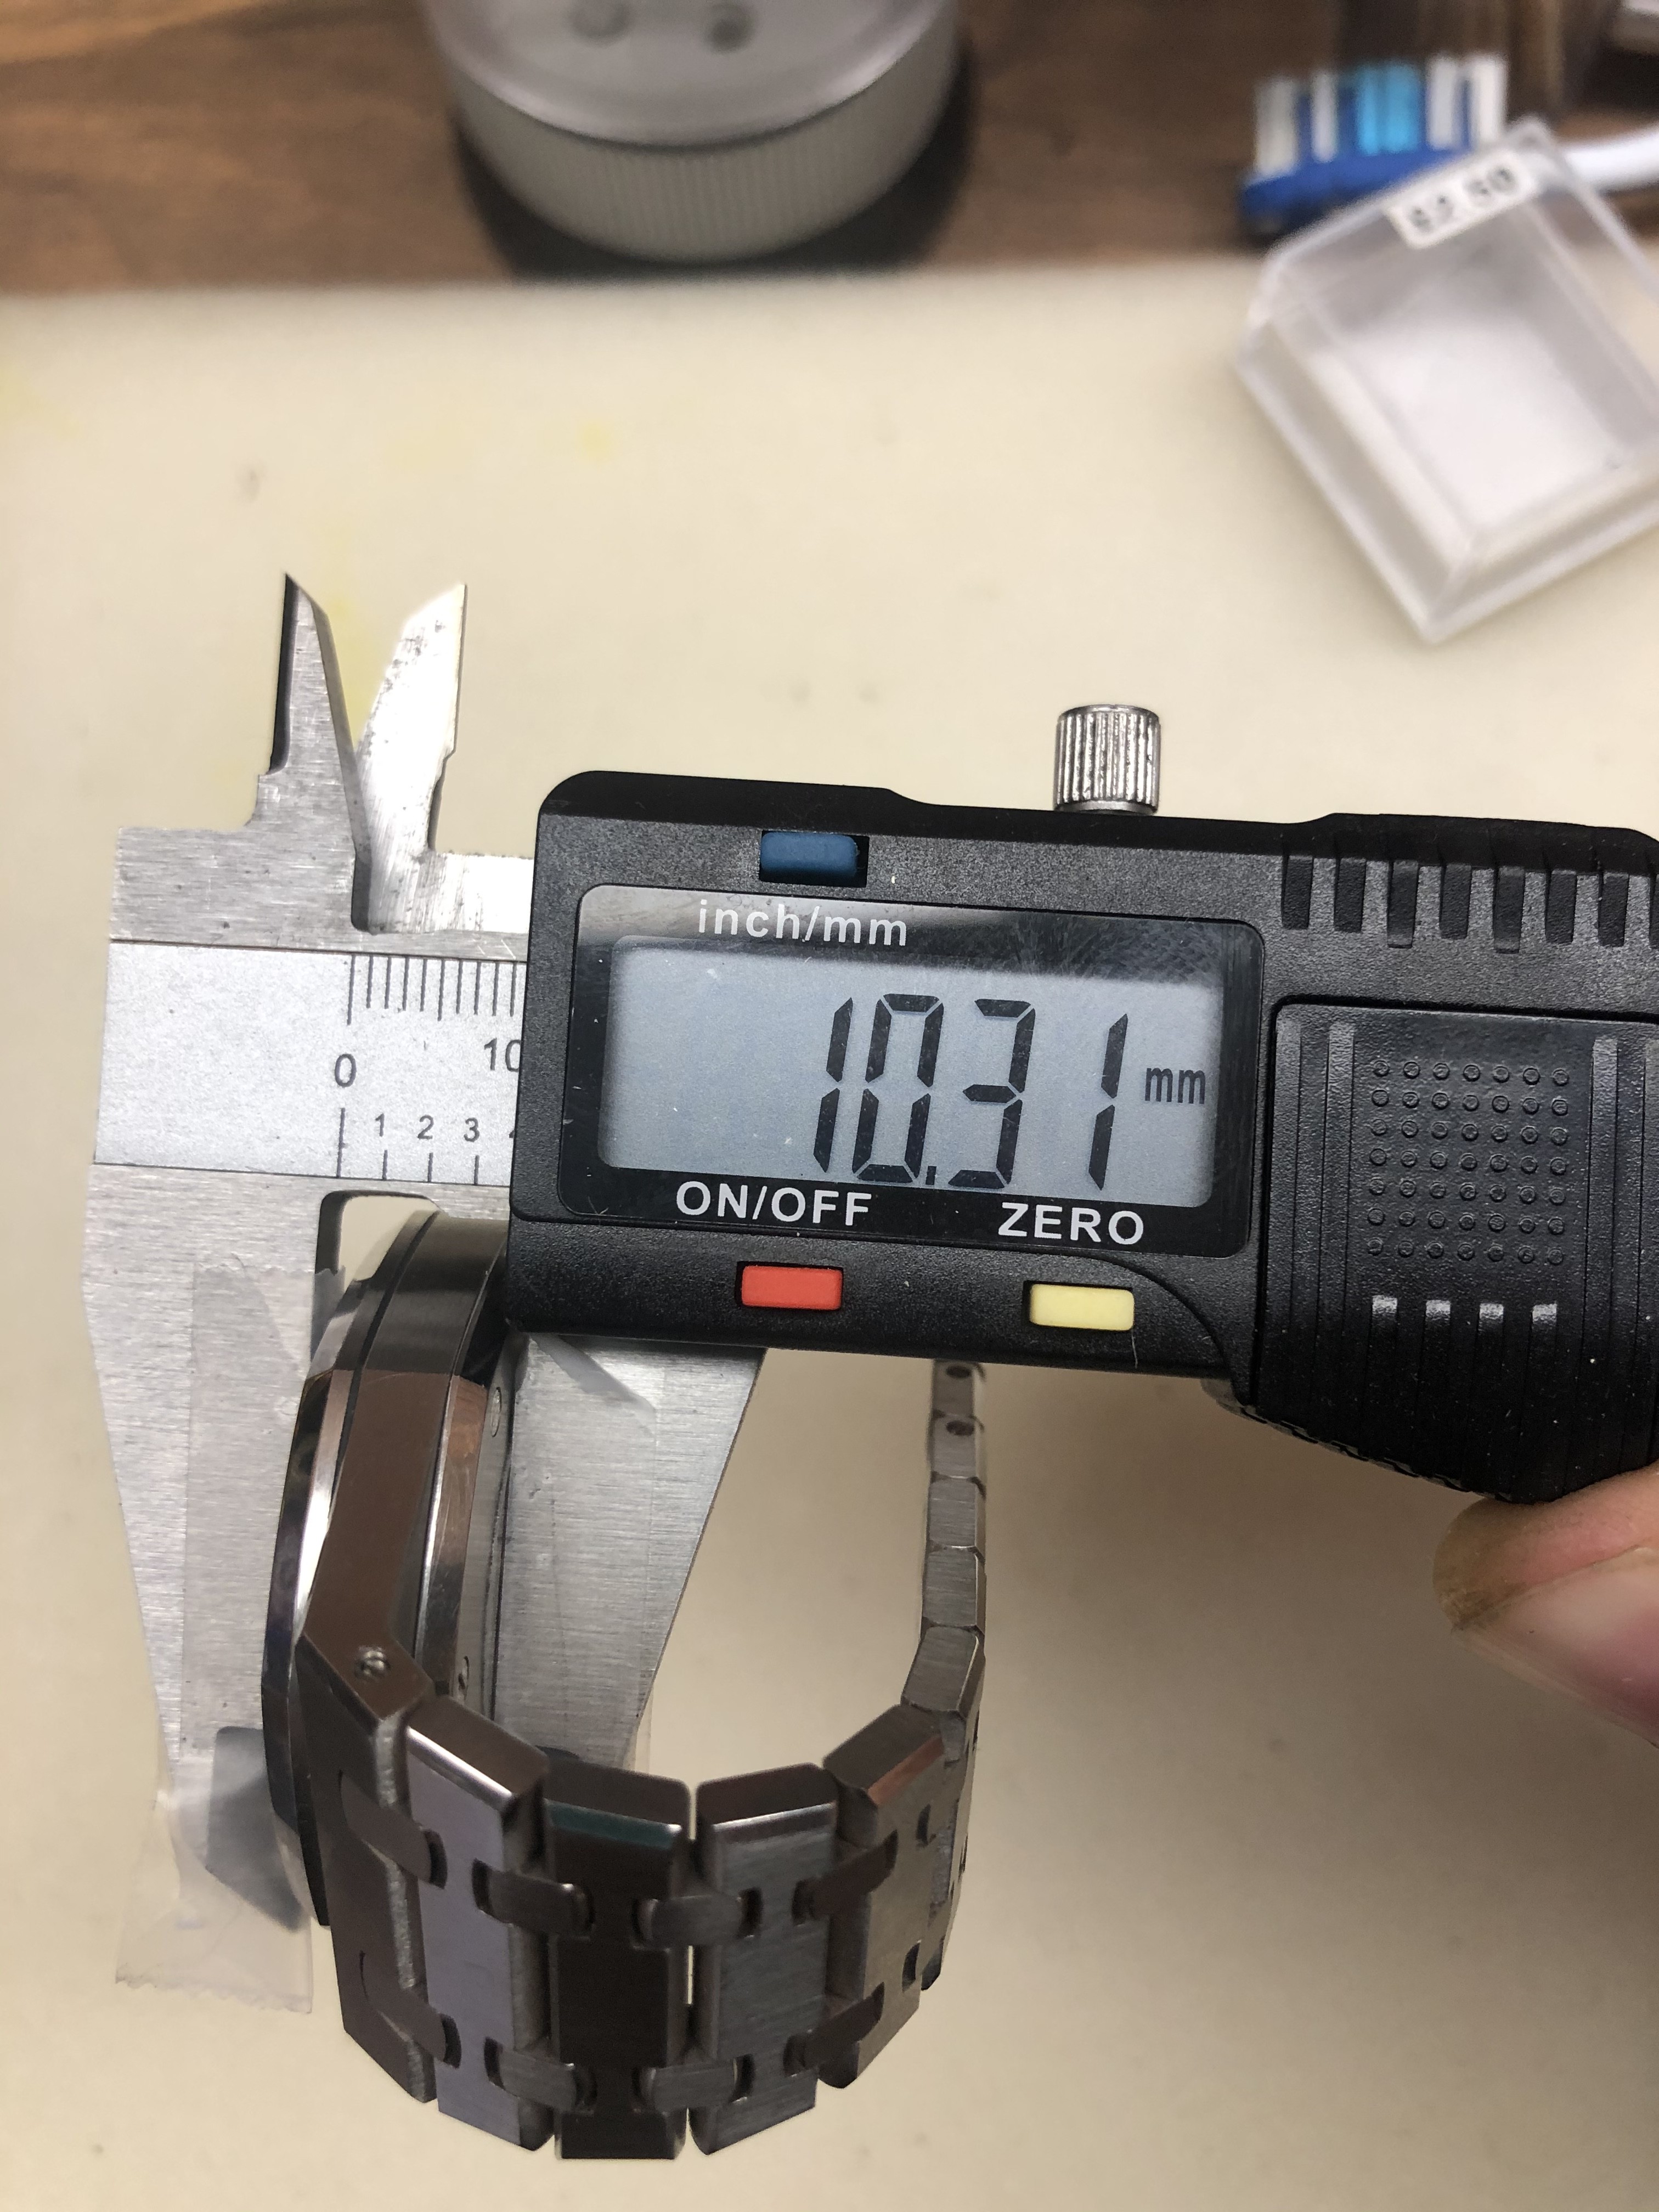
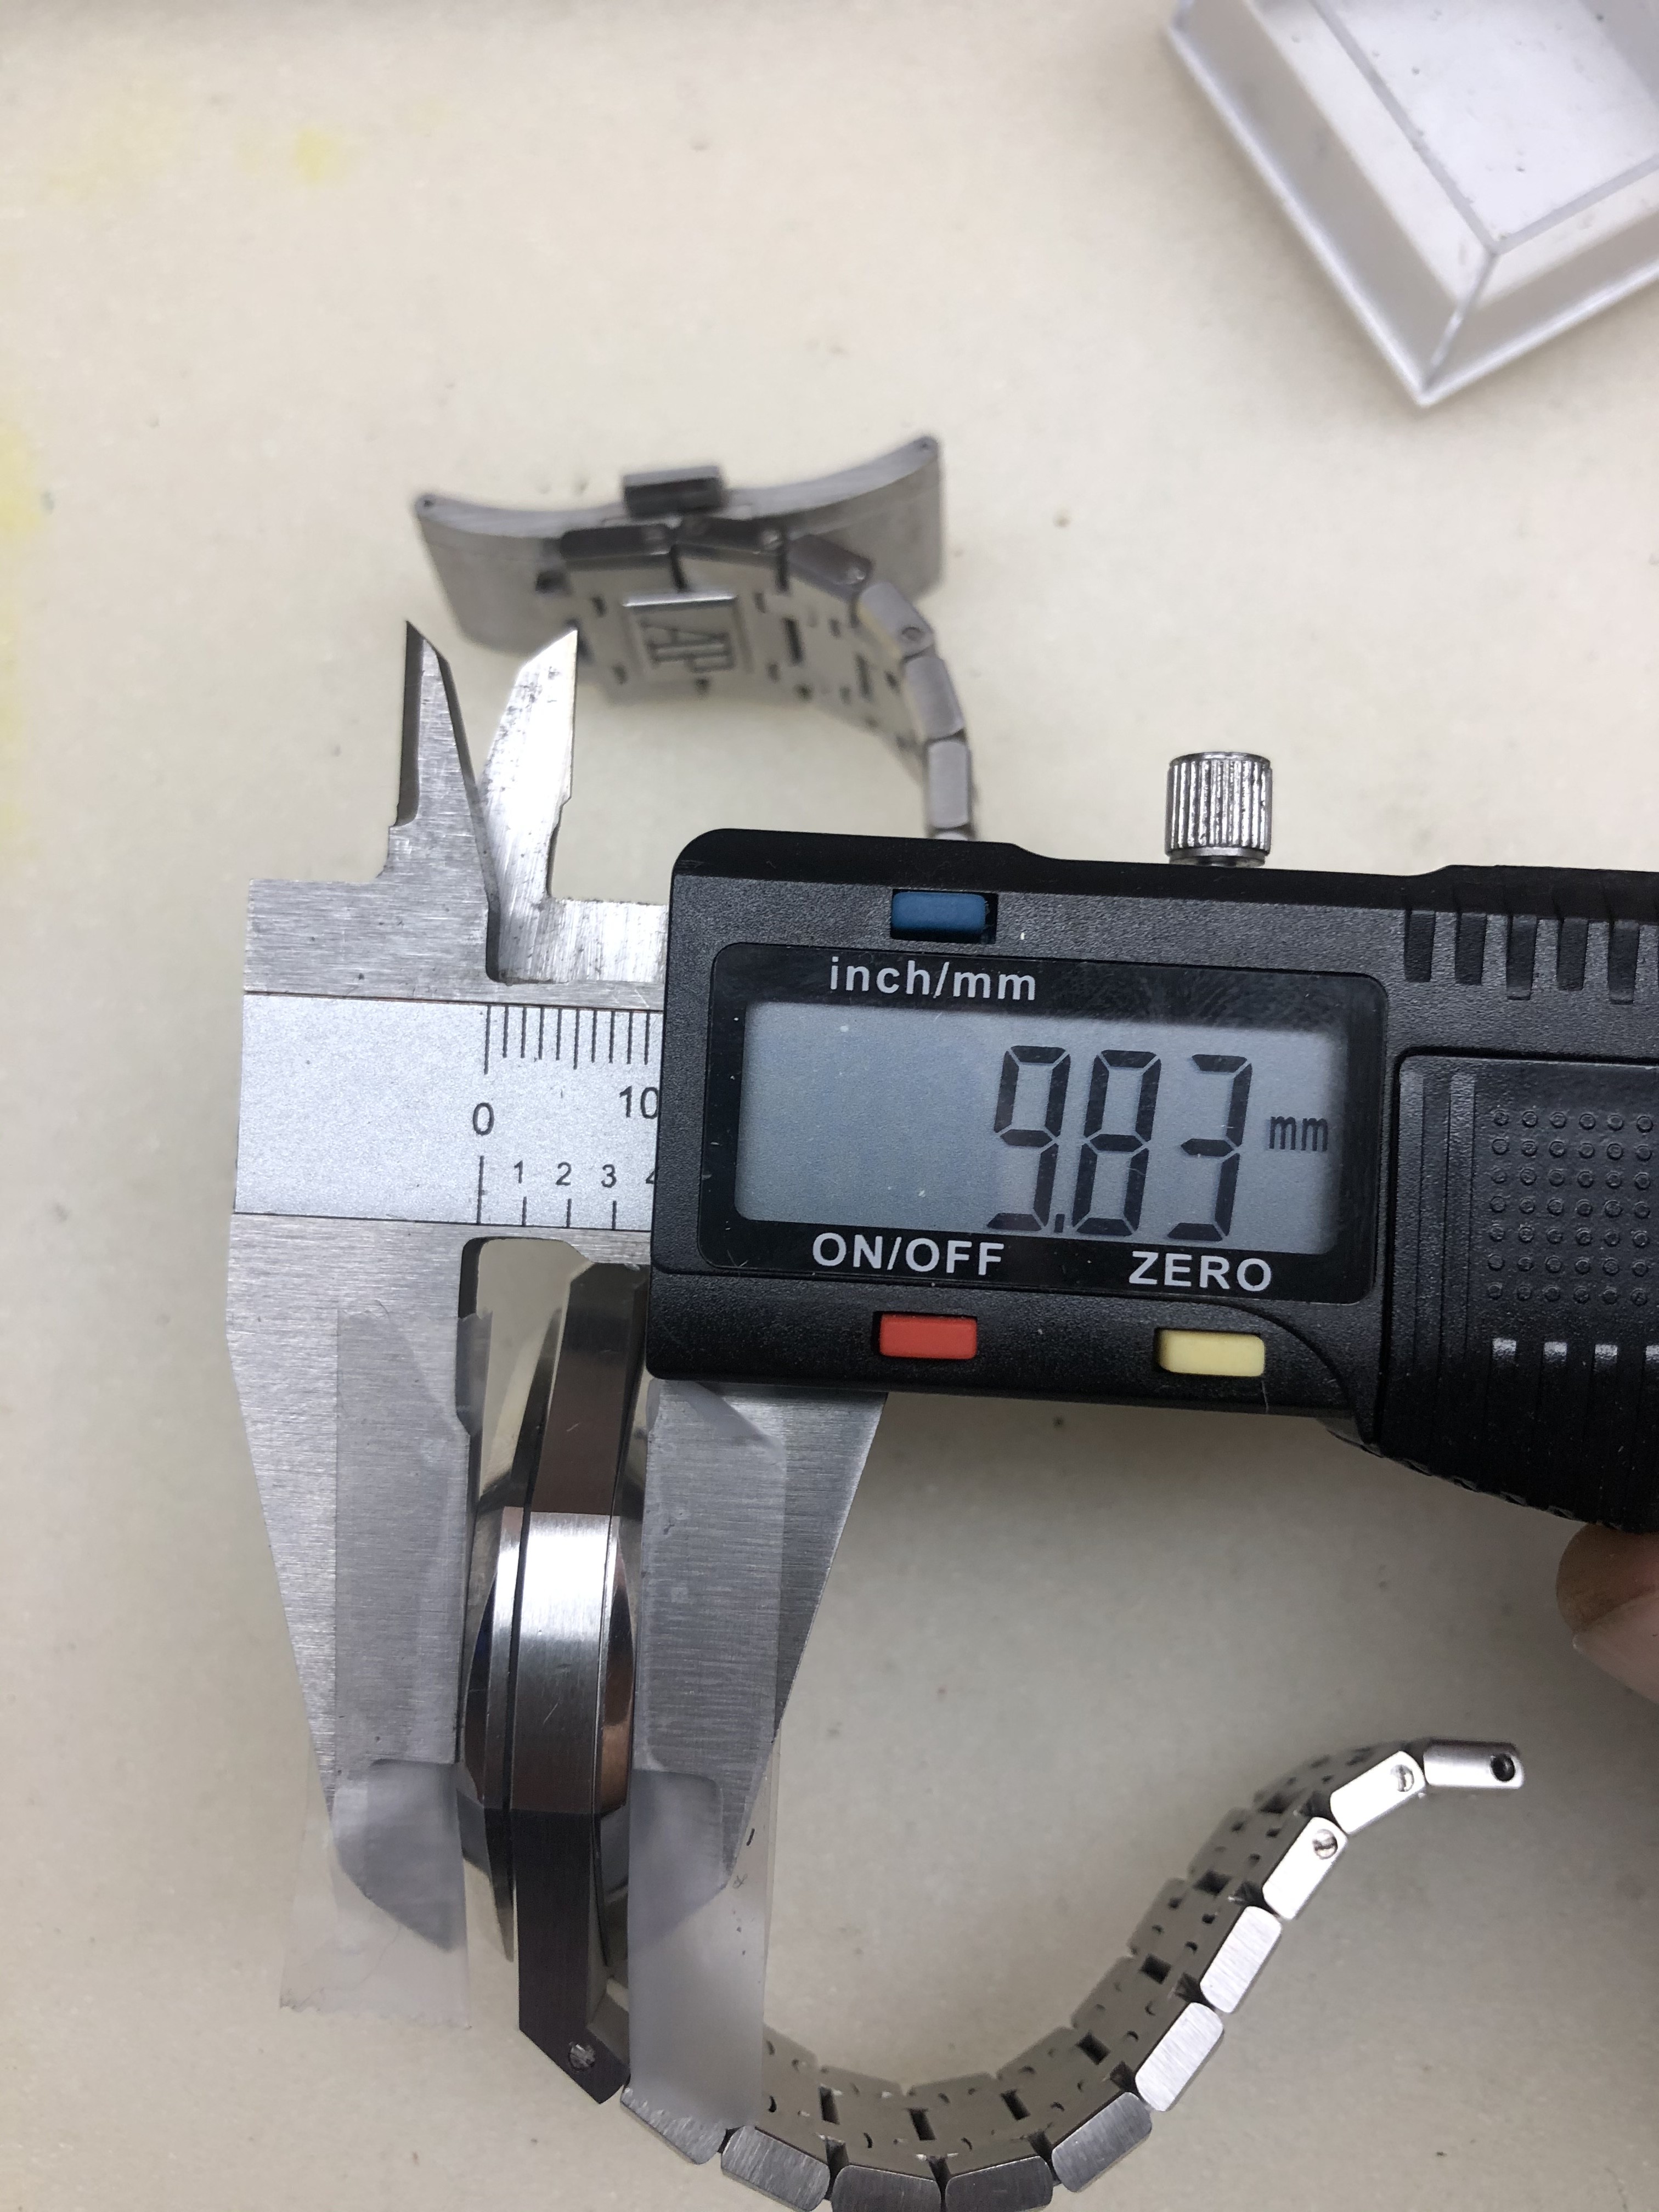
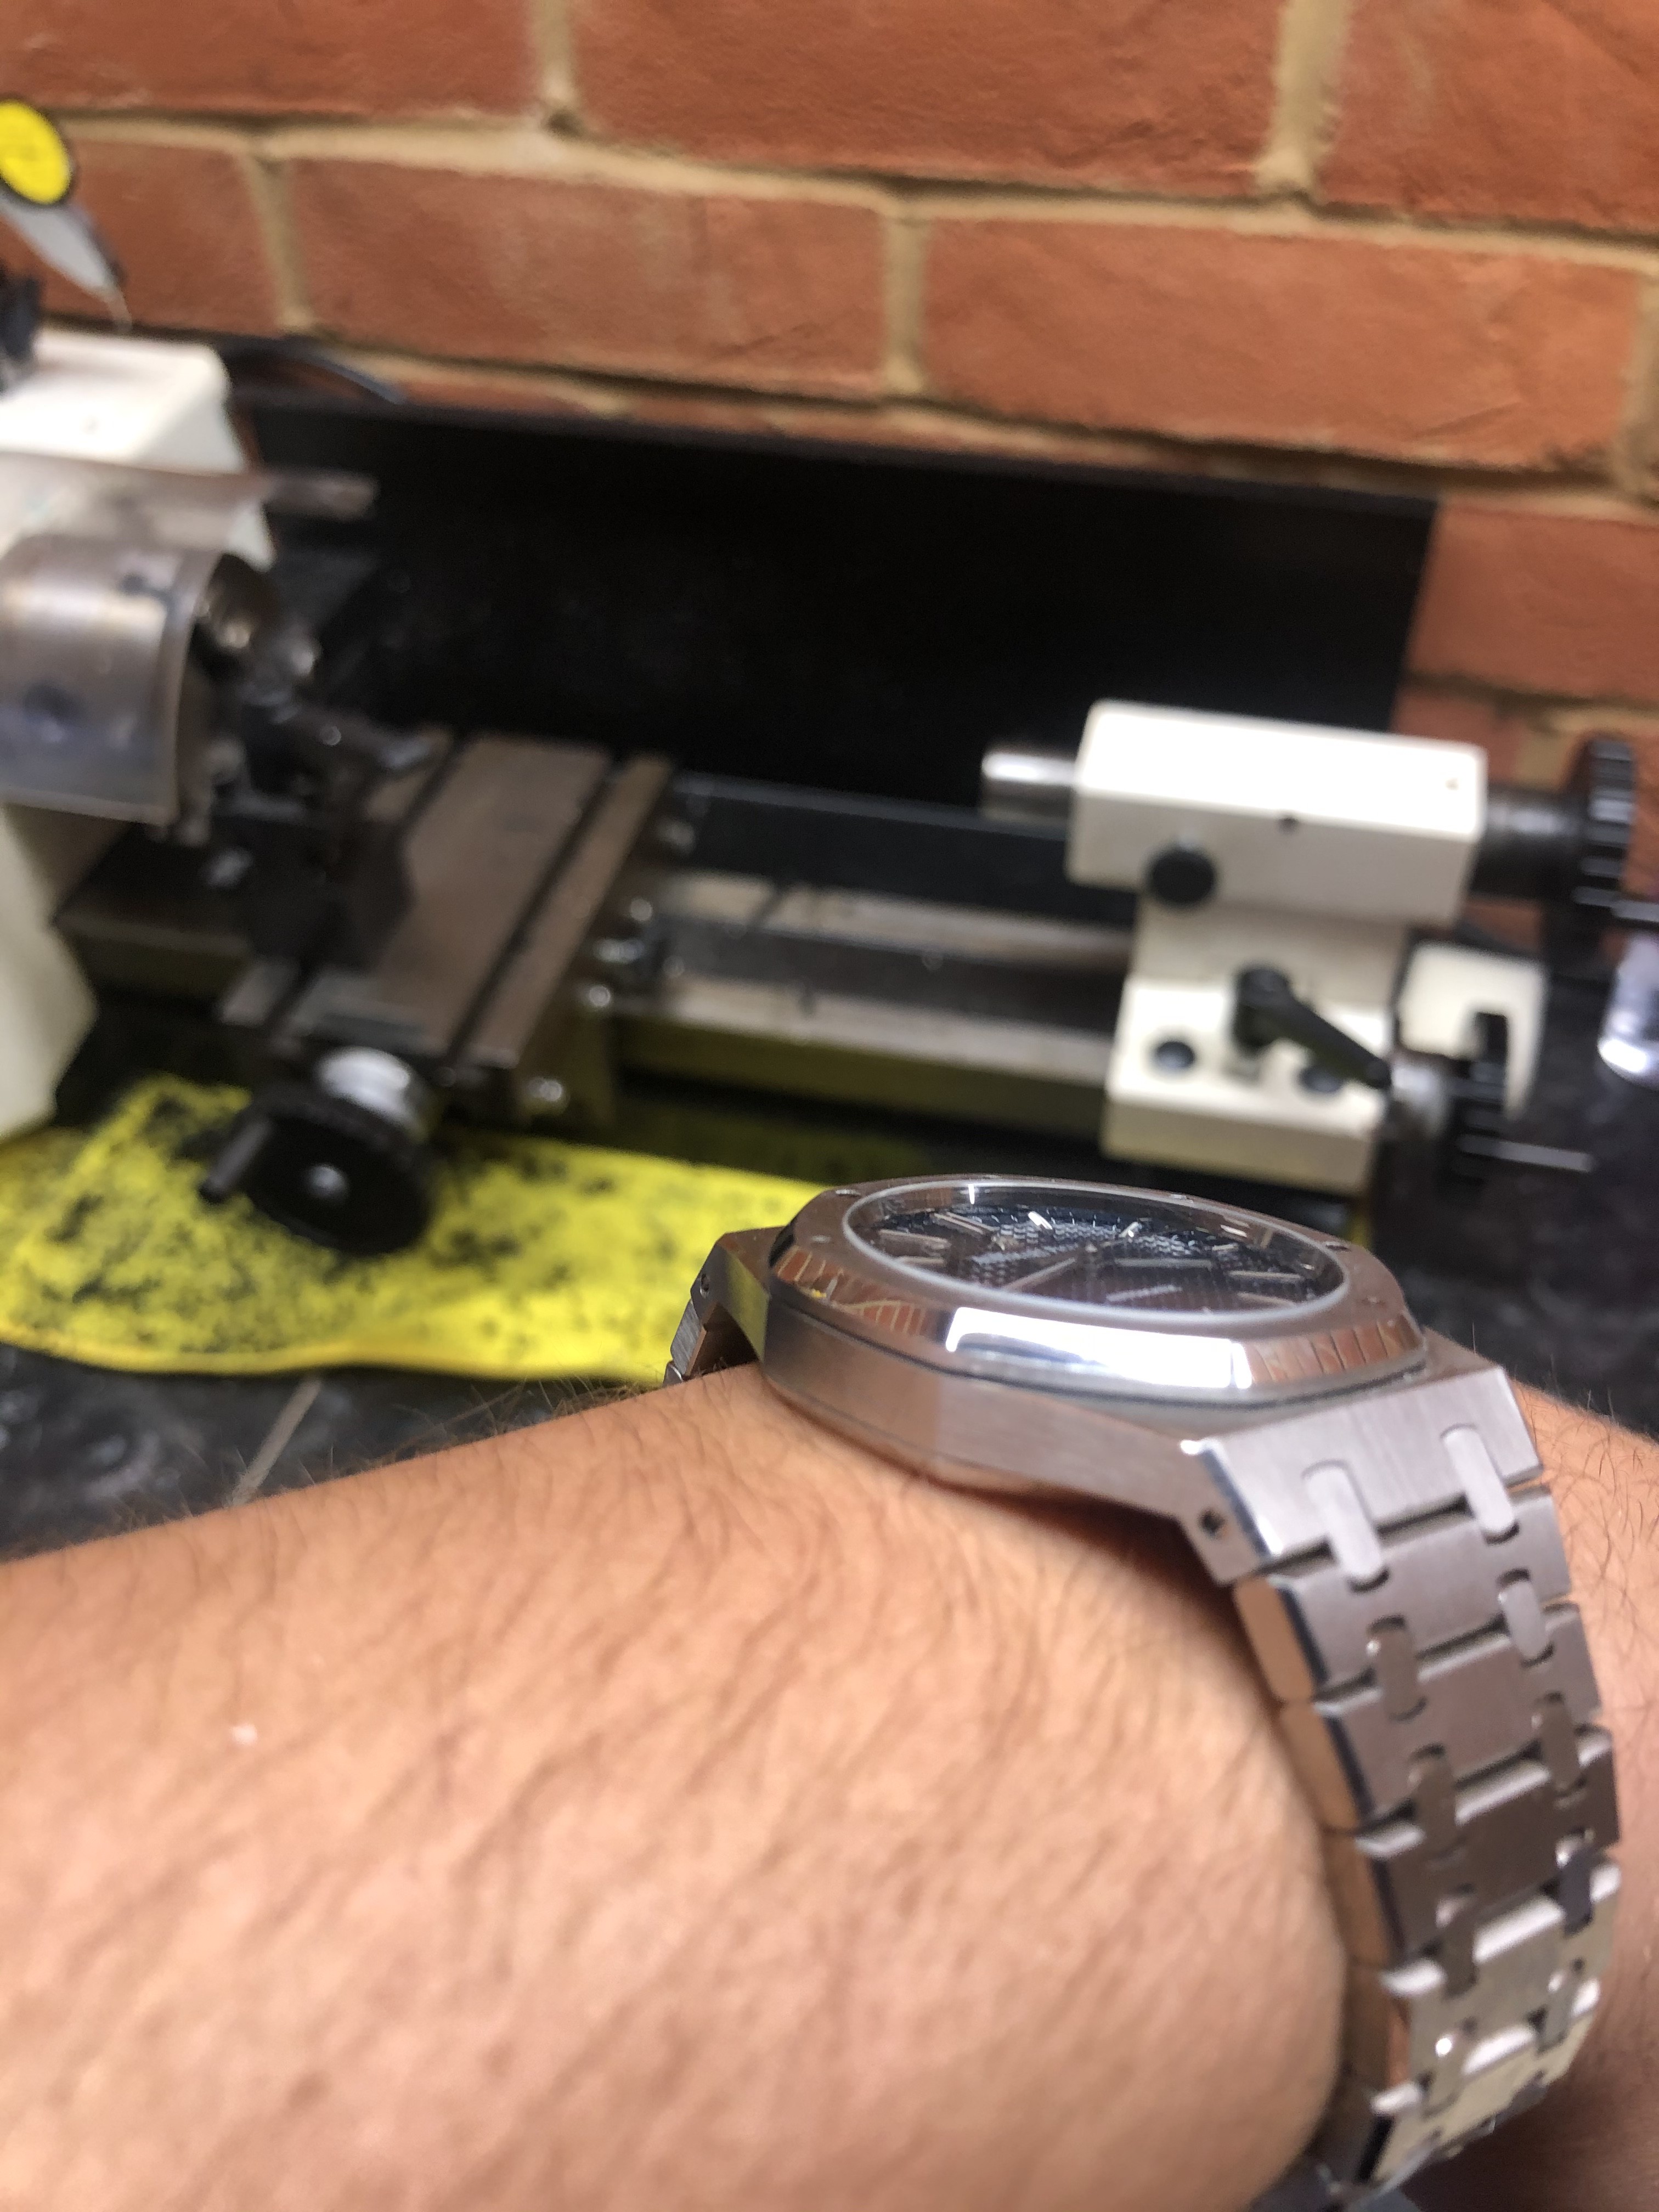
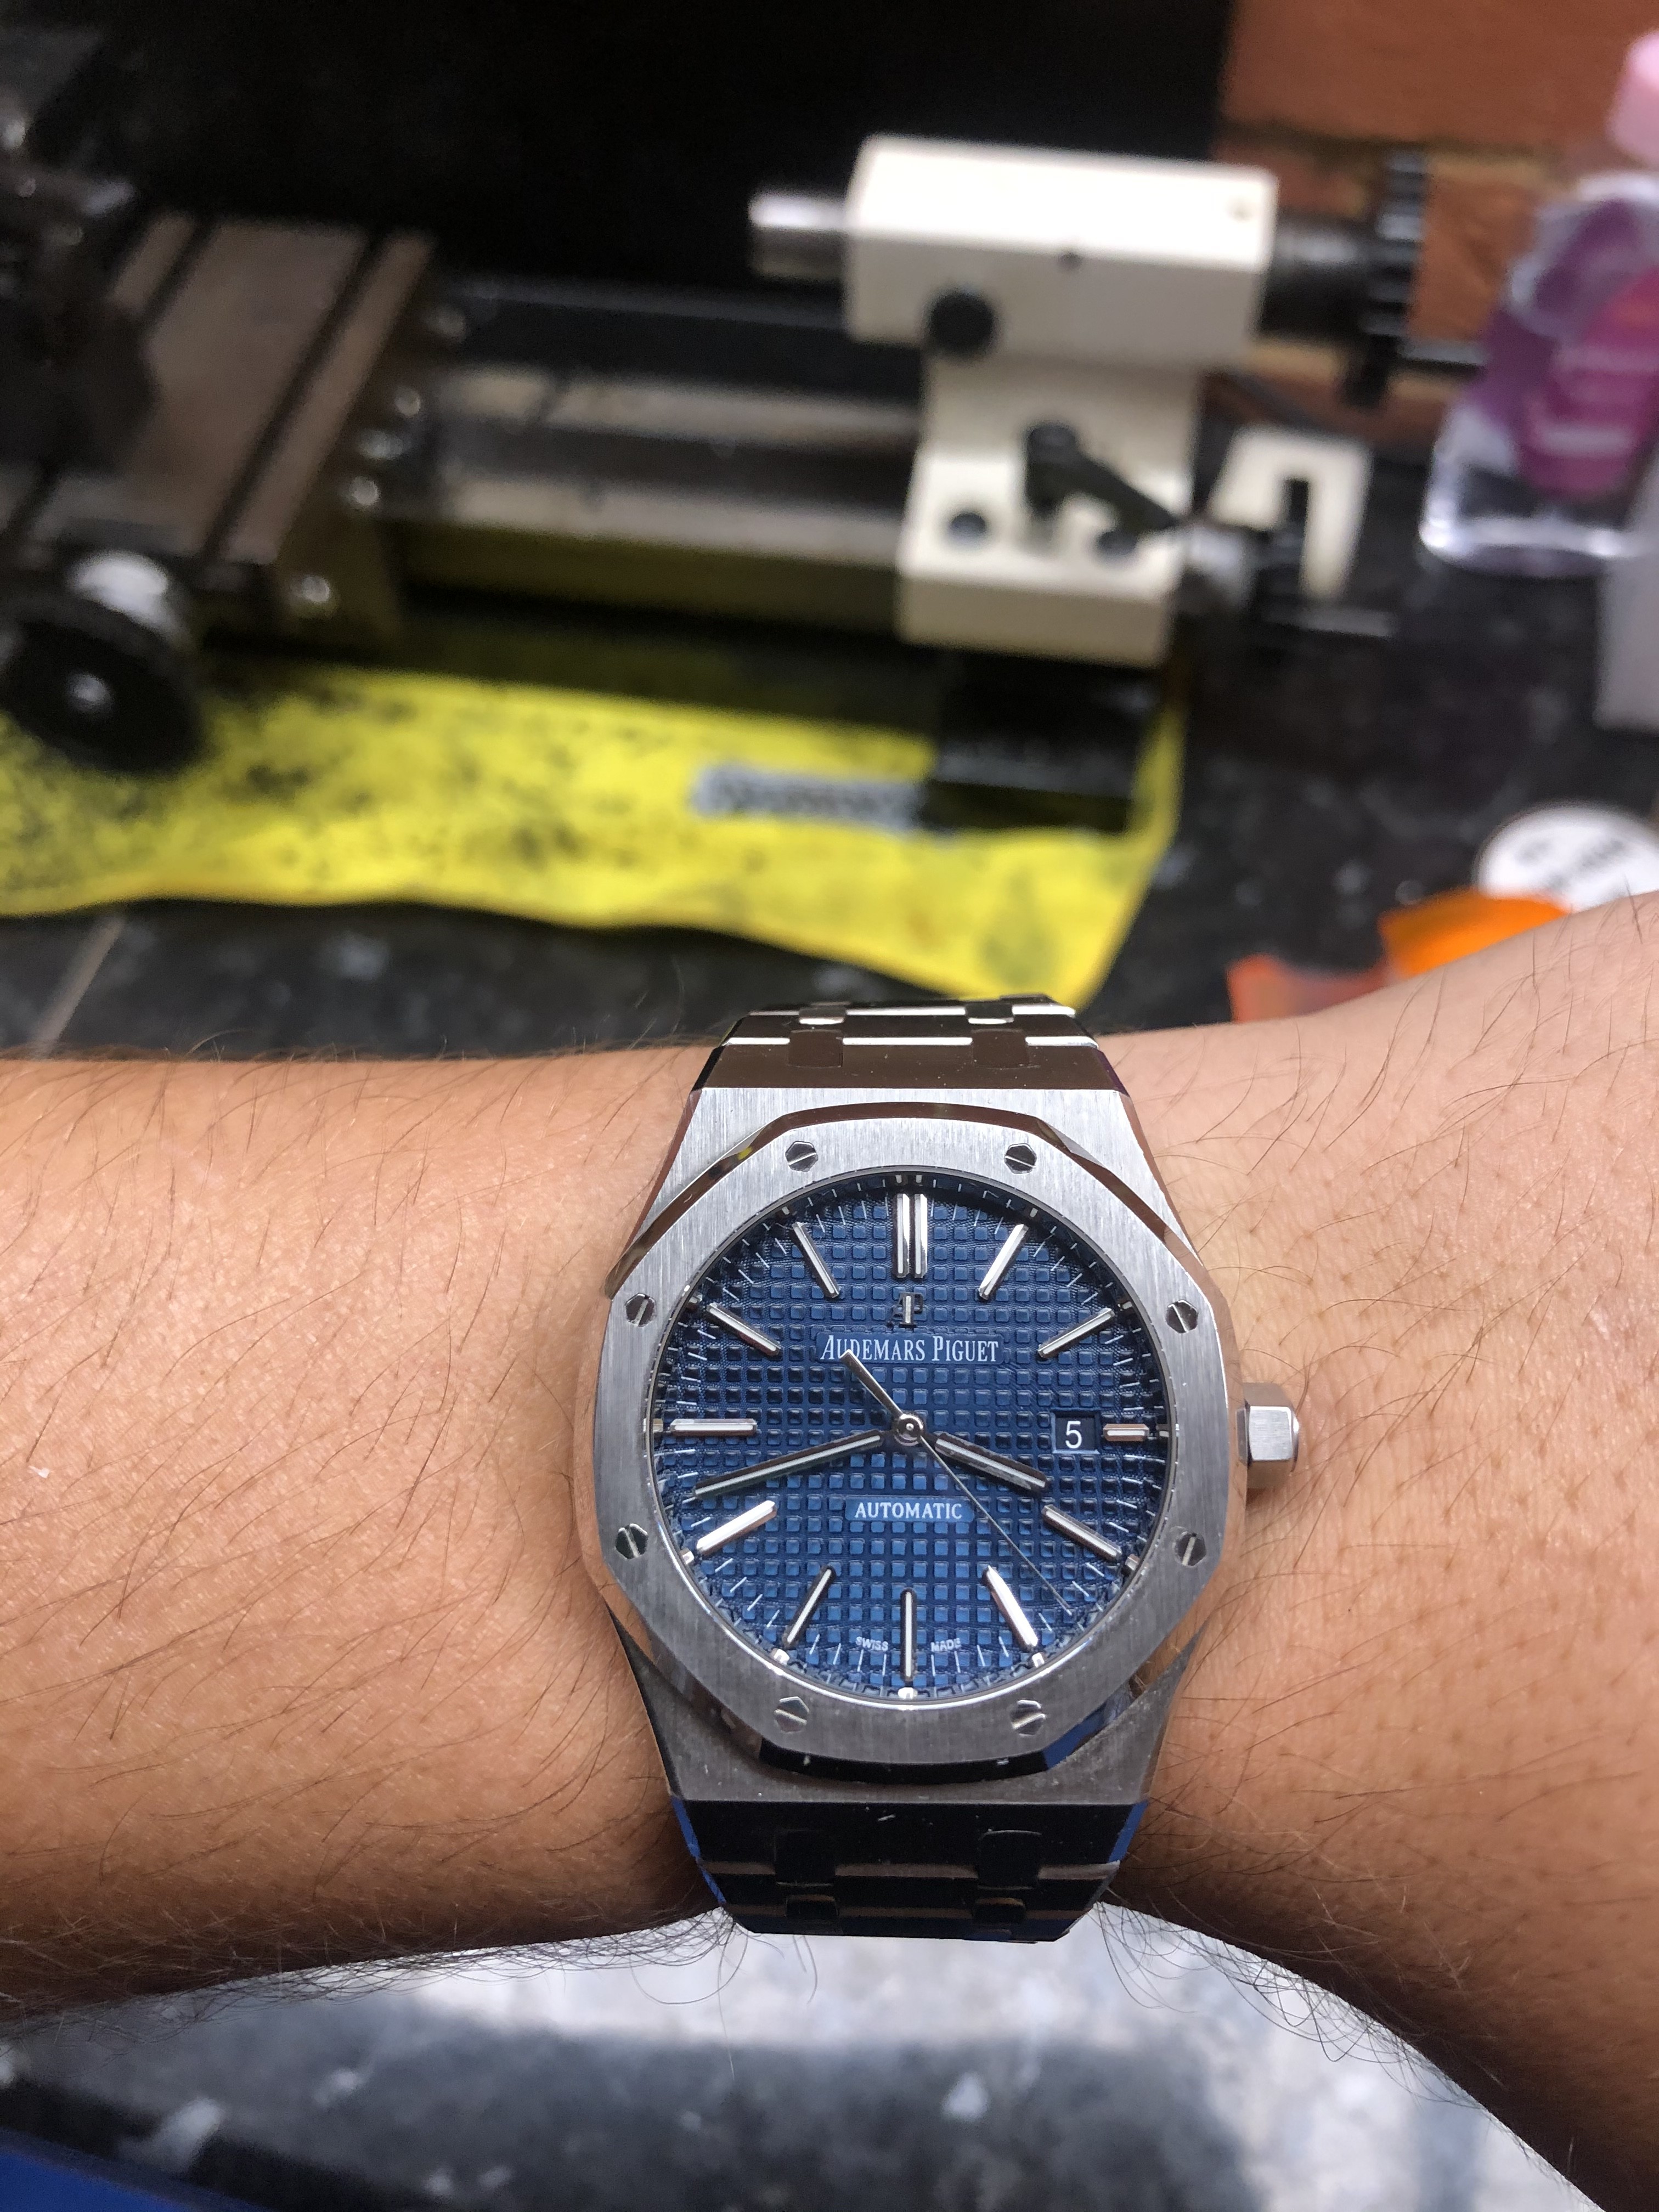
The finished article! Its ended up 9.8mm metal to metal, 10.3mm overall. I also swapped the caseback crystal to a 0.8mm thick one which in theory saved 0.2mm. Somehow the difference between metal to metal and crystal to crystal is different now, i may have had one to many vodkas when i was measuring at the start because the front crystal is definitely proud. Its possible to get a thinner crystal at the front and get 100% gen dimensions i think but thats a job for another day.
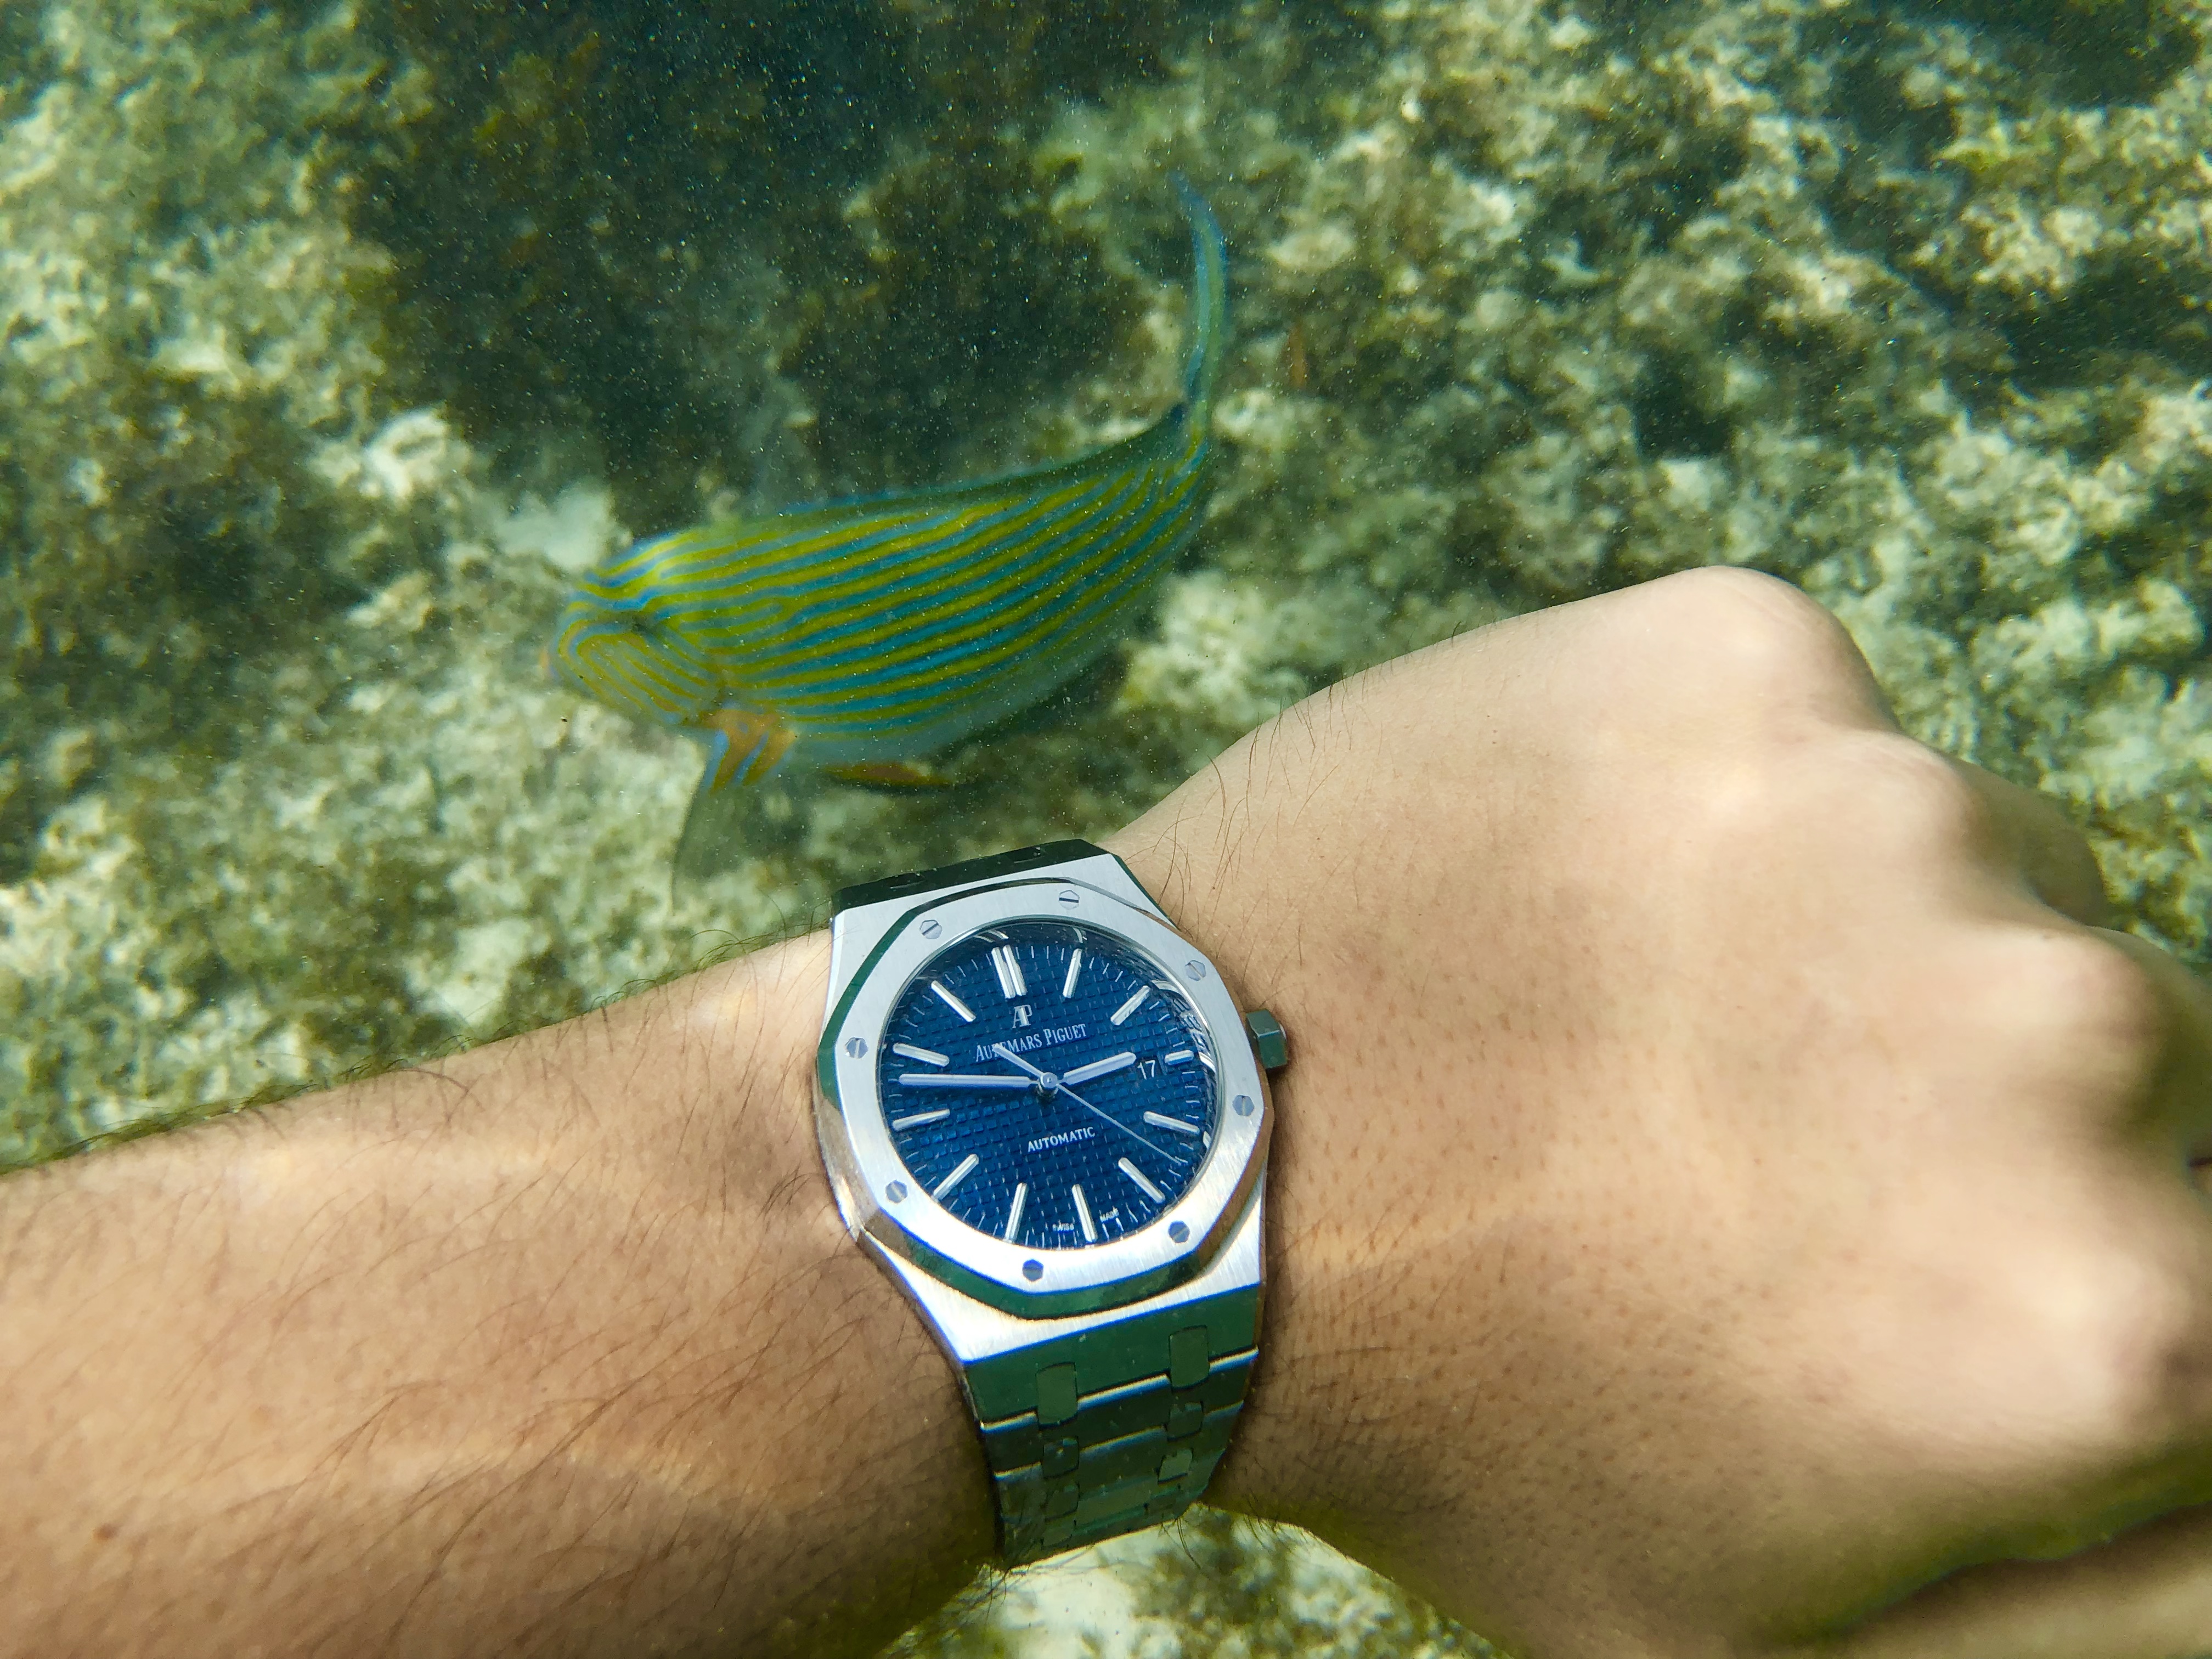
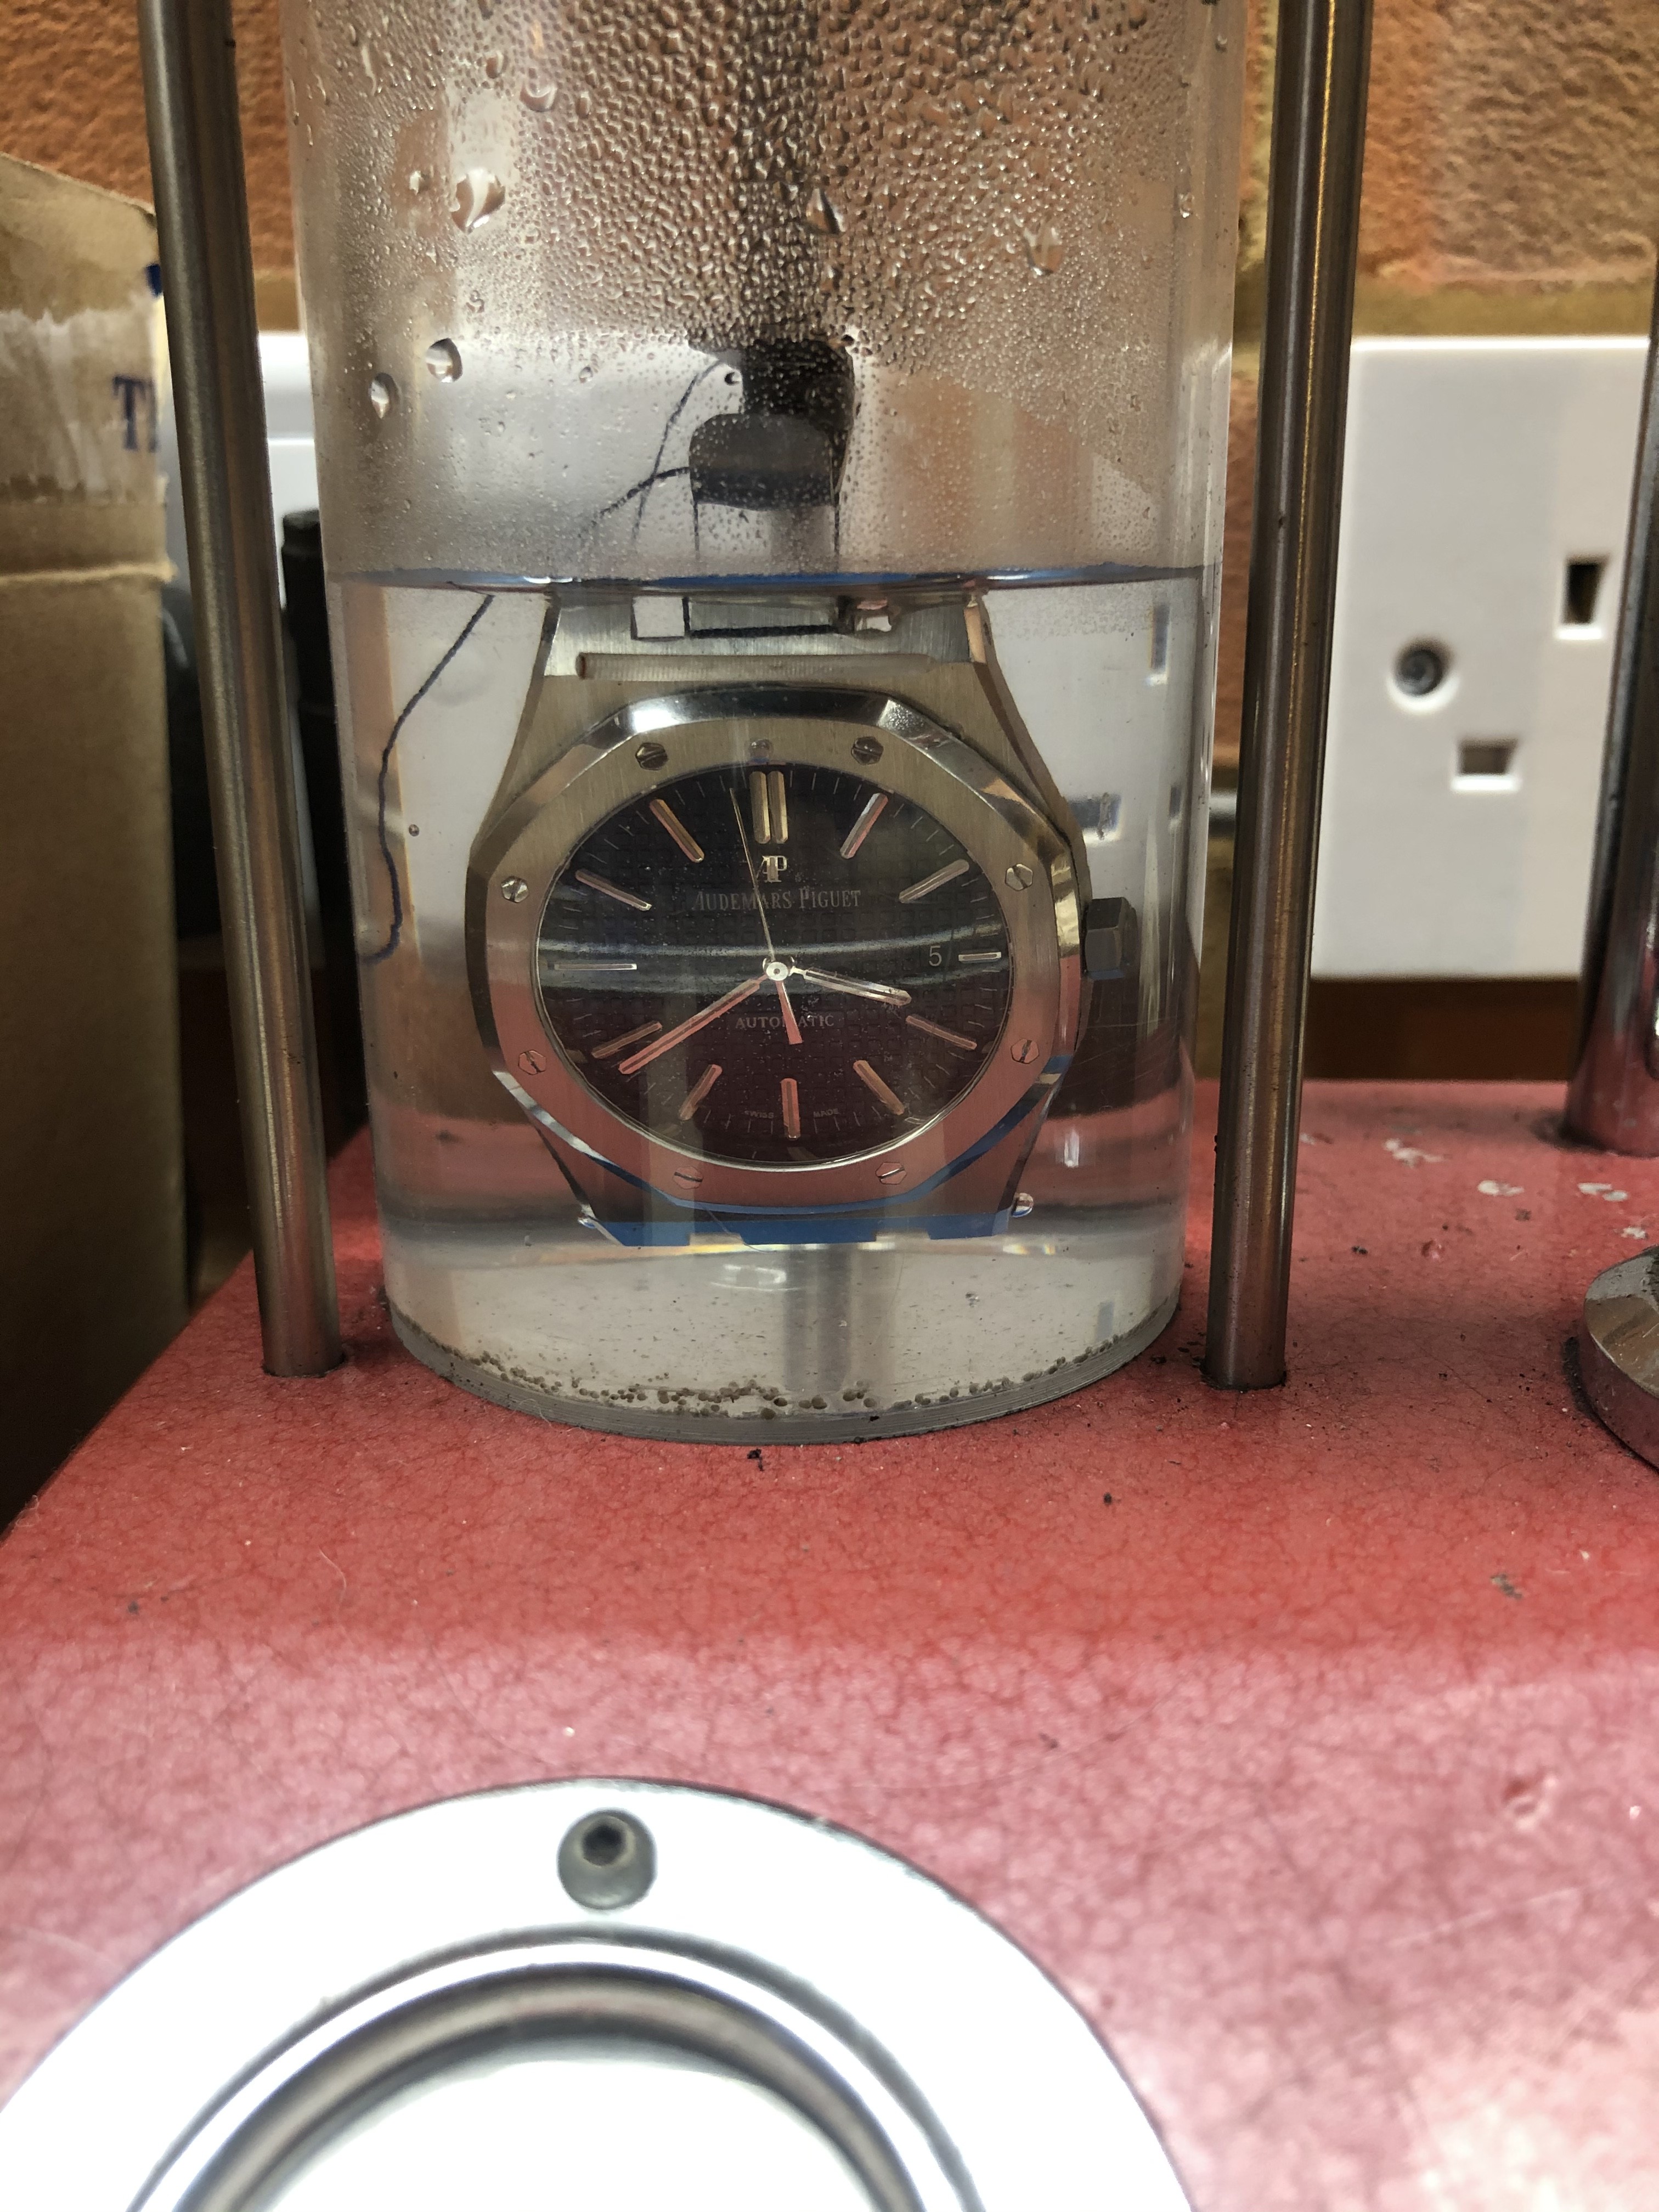
Would I recommend this to a friend? No its a bloody long job to take 0.8mm off a watch! Does it feel any different? Sure it feels 7.27% different by my calculations... It’s still waterproof which is nice! If you made it this far, congrats for still being awake and thanks for taking the time to read.

Any input is welcomed, and anyone who questions the price of thinning, now you know why its so dear!
Straight out of the gate, if you dont have or know how to use a lathe, your pretty much shit out of luck. Honestly if i didn’t think id use it long term i wouldn’t of got a lathe just for this job. Its MUCH cheaper to just send it to someone else to get done. For that reason im not going to explain basic turning terminology, if your interested bang it into google.
Tools needed:
A lathe
A bar of 30mm acetal (in hindsight id use brass for repeatability and heat proofing)
A cutting tool (i use carbide, you can use hss but keep it sharp, stainless isn’t the easiest to machine)
Revolving center for the tailstock
Drill chuck for the tailstock
Drill bits
Center drill
10mm slot drill
A set of taps (i used m6 because i dont have tool makers drill bits in 0.1mm increments at home and nearly all sizes on an m6 cap head are round numbers)
Micro files (1mm)
Oil stones for deburring
Wet and dry paper to smooth the sealing surface
Vernier callipers
DTI and stand
Screwdrivers
A crystal press (i used 38 and 24mm dies)
So assuming you have all the tools, and most importantly a ton of patience, lets get started! Pop the display back crystal out and its gasket.
Small note, if you have metal vernier callipers like me, stick some tape over the jaws and press zero to prevent marking the watch. Remember to remove this and re zero if you are using the depth or inside diameter functions as they will be out by the thickness of the tape.
Ever heard measure twice cut once? That couldn’t be more true than here. Measure your stuff. Repeatedly. Then measure it again! I made a drawing of the case back but DONT ASSUME YOURS IS THE SAME!
The most important thing to work out is the clearance between the rotor and the crystal. The rotor has some play in it up and down. Measure with it up, obviously. I worked out theres about 0.9mm between the rotor and the crystal. Ive gone for (a rather ambitious) 0.1mm clearance after thinning. Why clearance, you could be 0.1mm closer to gen? Well the rotor wont spin then dummy! So with 0.8mm off, im aiming for 10.0mm metal to metal, or 10.2 including the crystal which is 0.2mm proud.
Excuse the rust, i like to swim in the sea...
At this point its worth noting i have a frosted AP with no rotor (don’t ask, its NOT a JF and the quality is just not the same) that I intended to use as a test pilot. Due to construction methods and sizes i couldn’t use the back from the frosted even for mocking up on the JF so it just gets left out other than in my drawings. I may see just how thin i can get it for fun one day, who knows!
Im not going to write a short book about how to turn these parts, either use the drawings and do it, or do as 99.9% of people reading this will and don’t! Again with the measuring, the first set of jigs is used for the machining of the part that contacts the watch.
The main dimensions are 25.3mm x2mm to sit inside the through bore of the case back but not protrude on the left part
On this part the main thing to note is you need the cap head counterbored enough to let the revolving stock sit on the outside of the hole without the point contacting the screw head. The outside diameter is irrelevant, length is pretty much irrelevant.
The second set of jigs are to reduce the length of the part that protrudes from the case back to surround the rotor and essentially hide the movement ring and screws. You probably could get away with just this set of jigs if you were that way inclined, theres no reason you couldn’t do the first operation with this set up but I prefer the security of having more than 1mm touching the part you are machining. The sizes here are important as there is very little space between the two parts when set up.
Some shots of machining and finished parts.
First operation
Second operation
Jigs
I did the machining in the order i have explained the jigs. I also use an steel rule with wet and dry (240-800) to improve the sealing surface after machining. You may not need to do this but for the sake of 5 minutes its worth it. In between set ups i also use an oil stone to deburr the faces, and a tiny little 1mm diamond file to get the burr out of the case back screw holes.
The finished article! Its ended up 9.8mm metal to metal, 10.3mm overall. I also swapped the caseback crystal to a 0.8mm thick one which in theory saved 0.2mm. Somehow the difference between metal to metal and crystal to crystal is different now, i may have had one to many vodkas when i was measuring at the start because the front crystal is definitely proud. Its possible to get a thinner crystal at the front and get 100% gen dimensions i think but thats a job for another day.
Would I recommend this to a friend? No its a bloody long job to take 0.8mm off a watch! Does it feel any different? Sure it feels 7.27% different by my calculations... It’s still waterproof which is nice! If you made it this far, congrats for still being awake and thanks for taking the time to read.
Any input is welcomed, and anyone who questions the price of thinning, now you know why its so dear!