Hey guys,
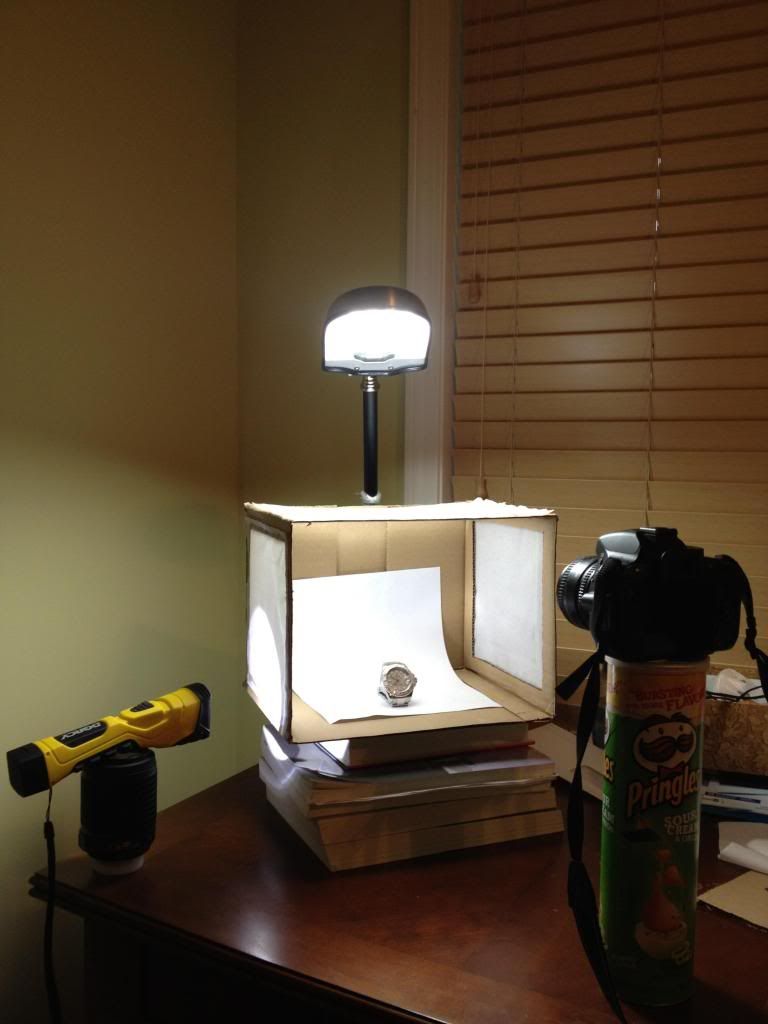
I thought I'd write a tutorial on how to make a cheap version of a photo light box. Of course, the box isn't all that expensive--you can get them for around $25 if buying a low quality light box from eBay.
But, why even spend $25 when you can make it for practically nothing? The light box could be made with stuff lying around your house.
Why should you make one? Well, for beginners, you would want a nice pictures of your watches, should you want to list your watches for sale. We all know important it is to have good pictures for the sales to go through. This reason alone would be a good enough for you to invest some 20 minutes of your day.
The things you will need:
1. A cardboard box the size you would want your light box to be. I don't think you would need a huge box for it, so I went with a decent sized box.
2. Basic crafting materials: a box cutter, glue, and a pair of scissors.
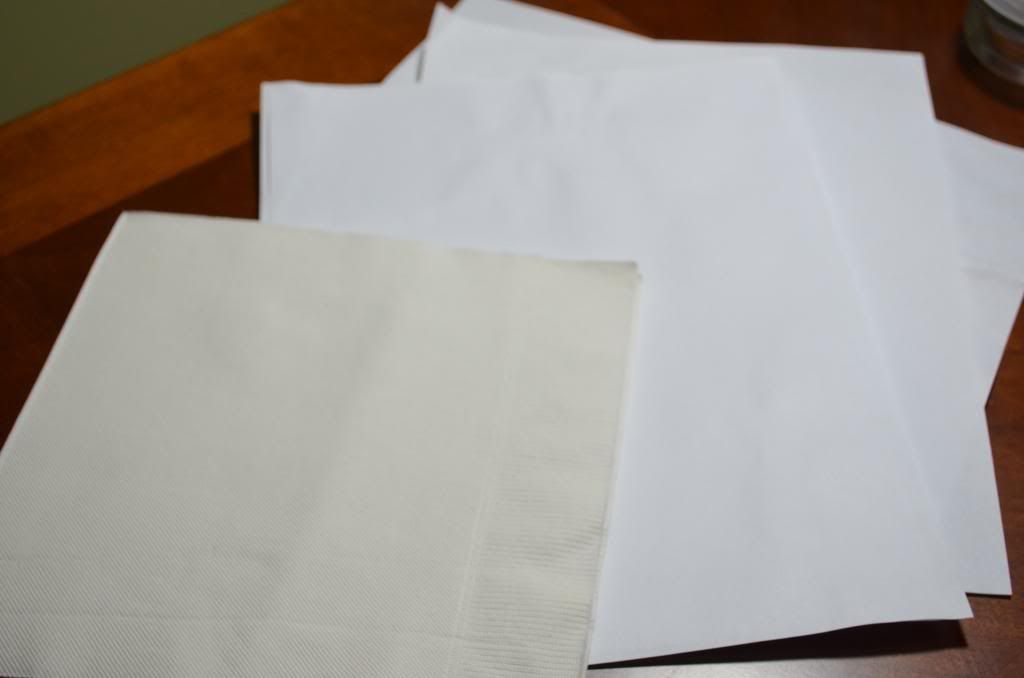
3. Napkins, and/or white paper.
4. Some extra stuff that's nice to have would be: table top lights, and fabric/colored paper for background drops.
Because I made the light box on a whim, I don't have the extra table top lights for more lighting. I'm pretty sure that with the extra lights the pictures would be much better.
On to the process, shall we?
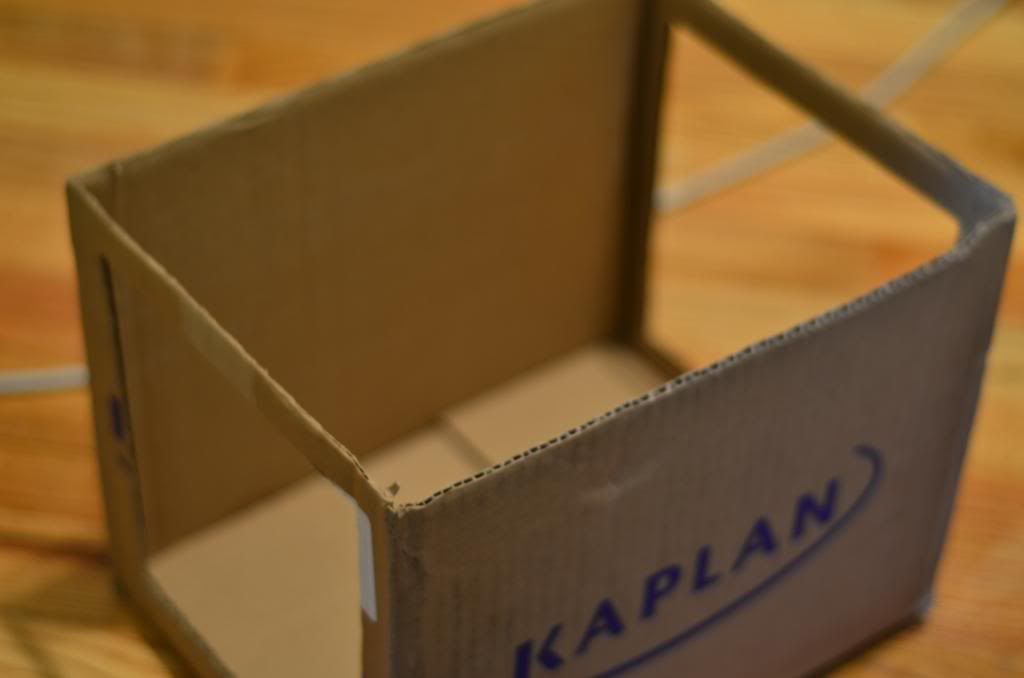
1. Cut the flaps of the box.
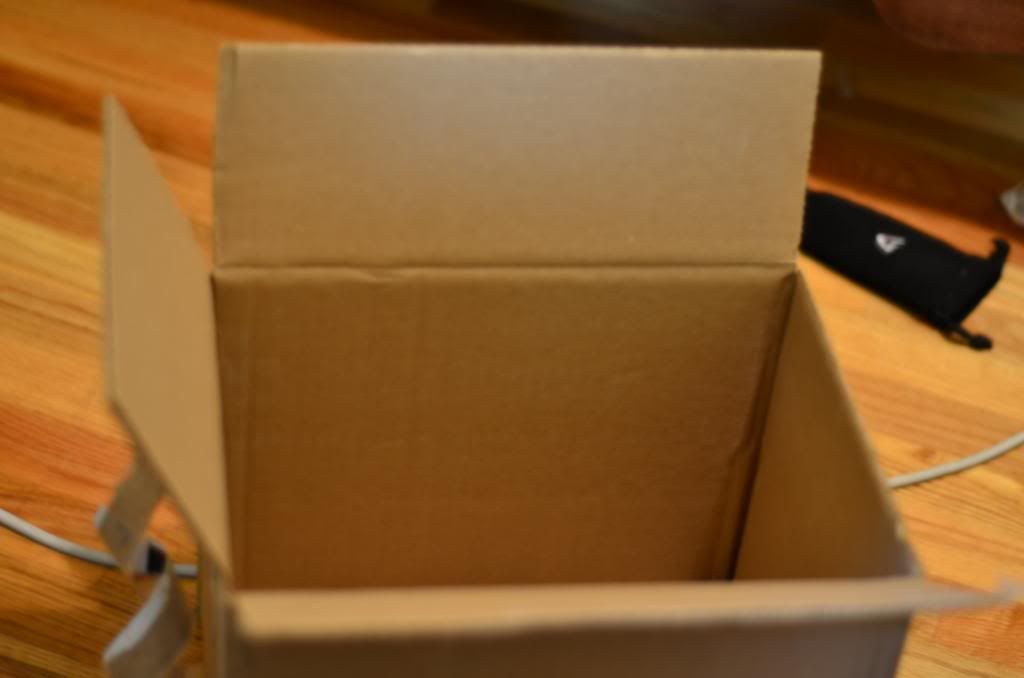
I decided to take pictures after I cut one of the flaps out, but I'm sure you wouldn't need a detailed information on cutting the flaps.
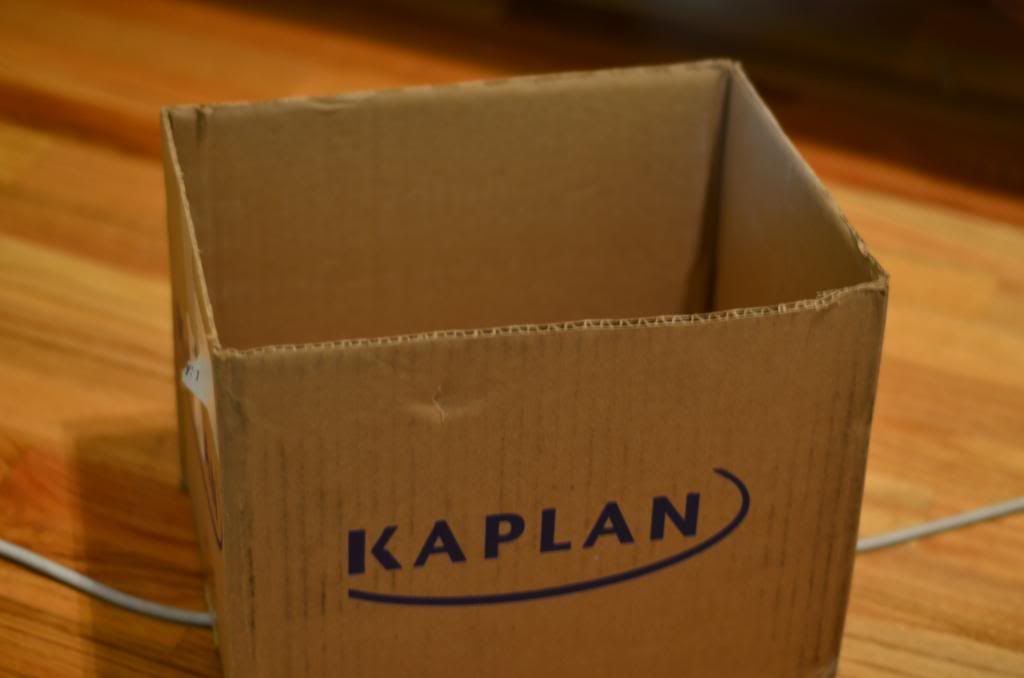
Done!
2. Punch a rectangular hole on 3 sides of the box, except for the bottom, leaving about 1-inch borders.
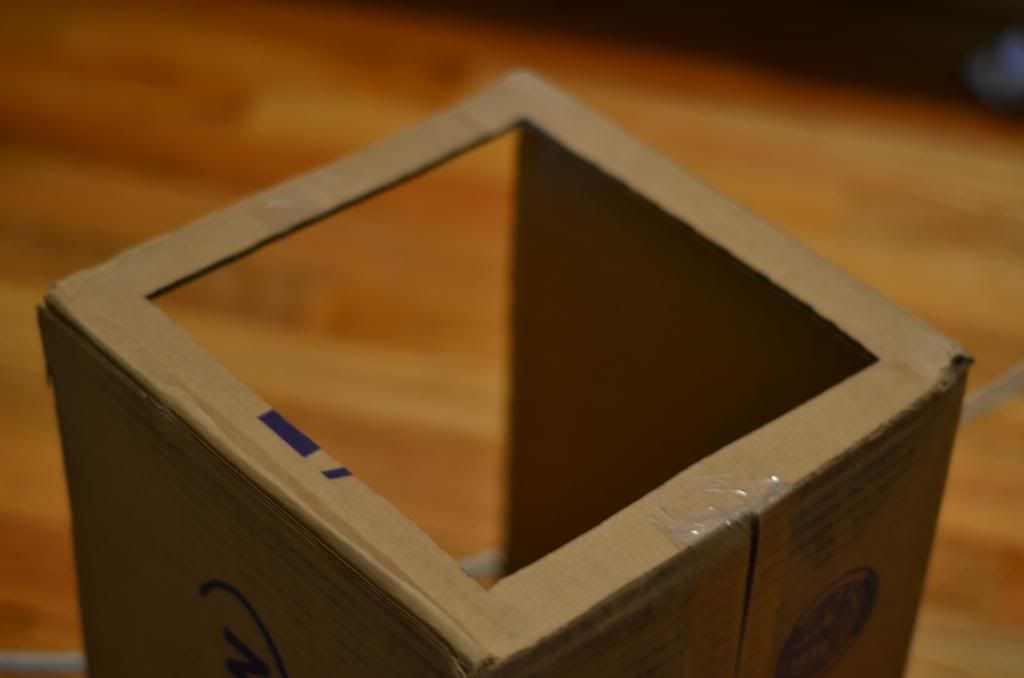
One side done!
2 sides done!
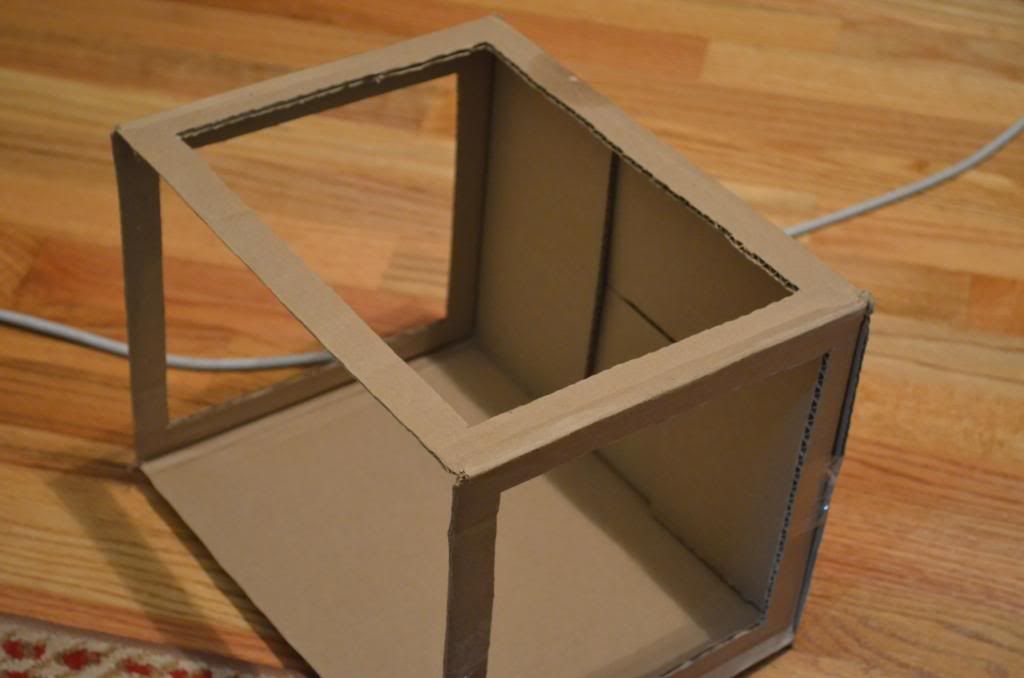
3 sides done! This will be the top, and for ease of interchanging backdrops, I decided to cut a little more.
See it? I didn't leave the border for slipping the backdrop.
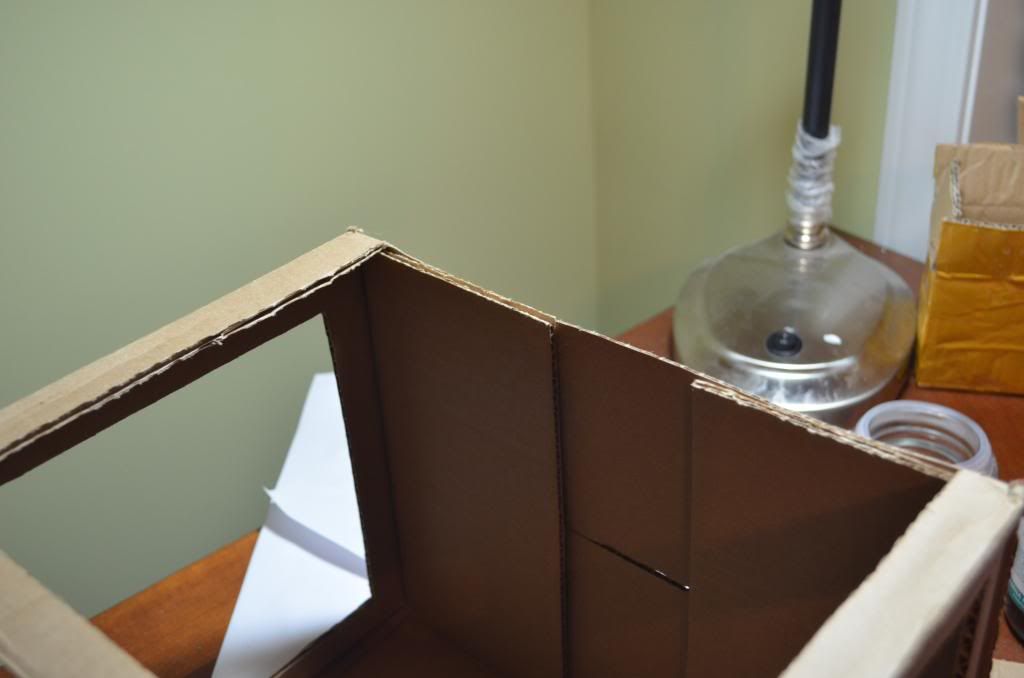
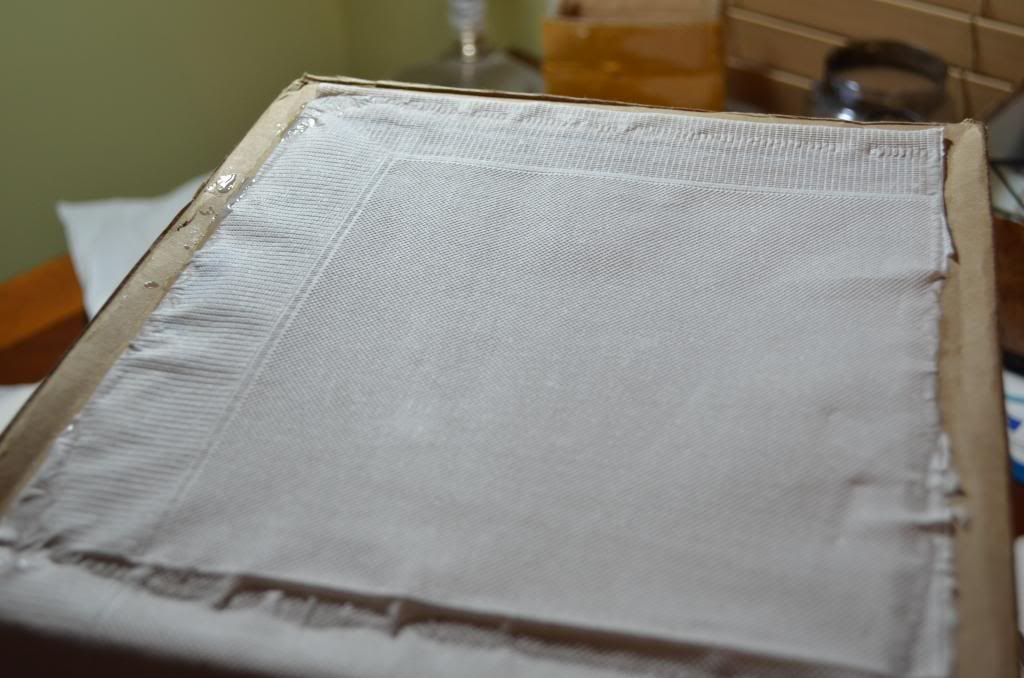
Once you're done with it, decide which material you would like to go with. I chose napkins, just because they're thinner, hence enabling more light to pass through. Even though it was a bit yellowish in color, it worked out nicely.
Start gluing the holes with napkins. If you're using napkins, make sure you peel the napkins out--they're usually multi-layered.
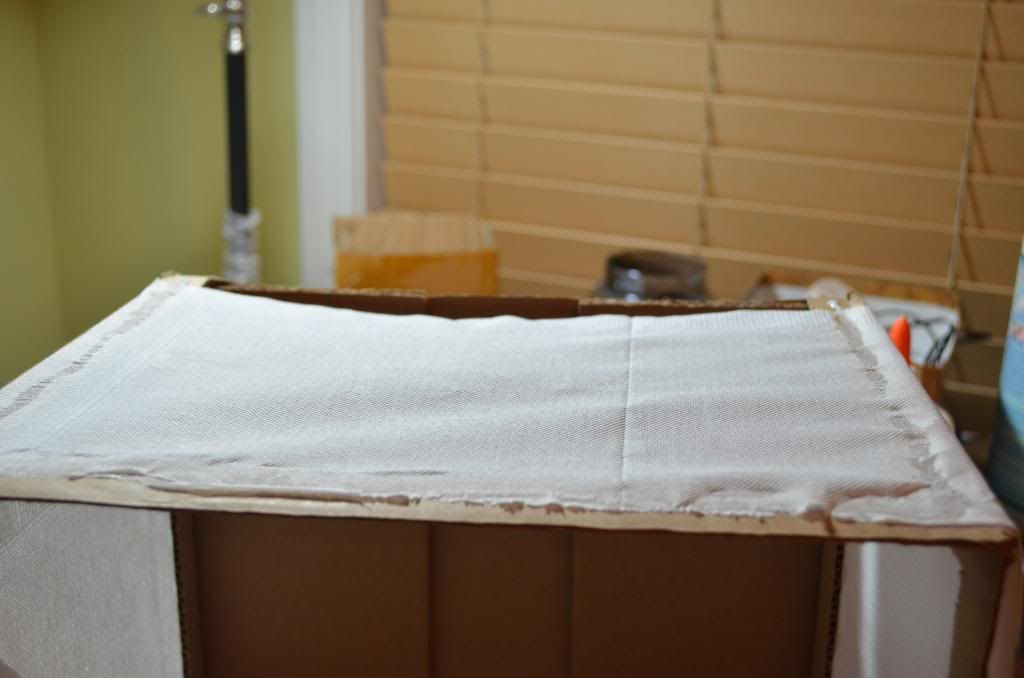
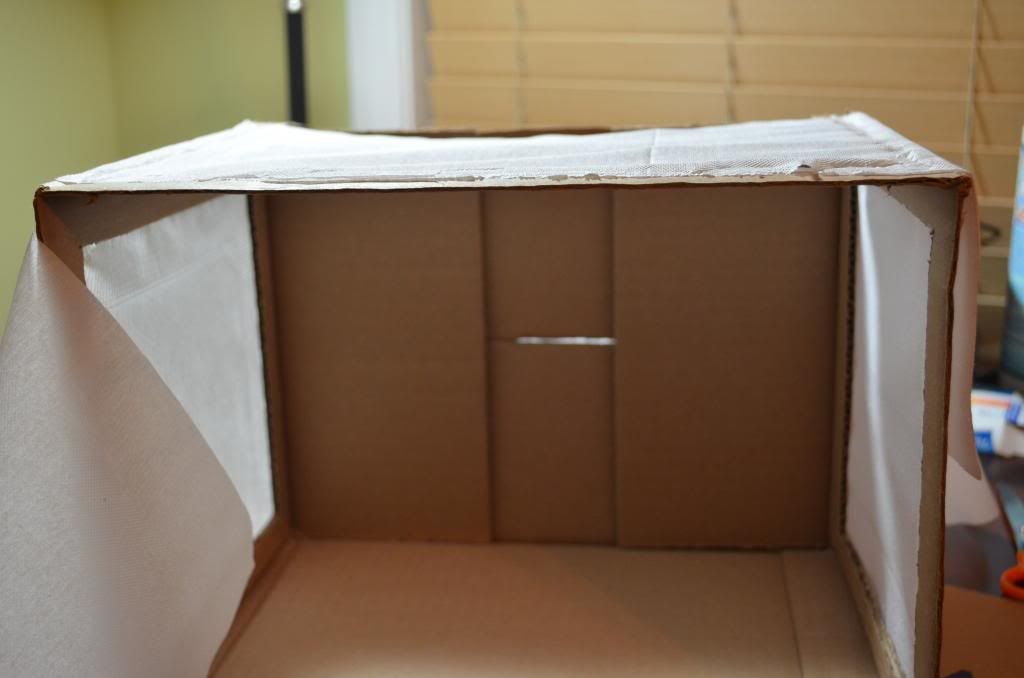
All 3 sides done! Notice I left the back end little open. Again, this was done so I could slip backdrops in the future. Also, once you have two lights coming in from the two sides, you can cover the top, should you need to block some unwanted lights from coming in.
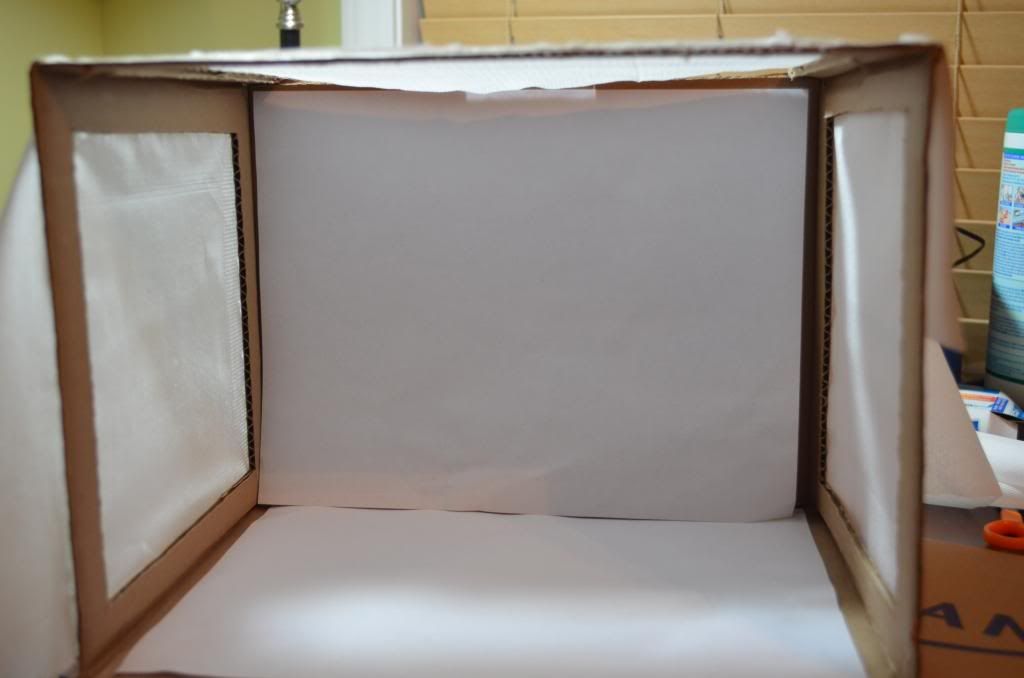
We are done! All you need is to slip something in of your choice. I used regular white paper, since that was all I had available.
Either like this, or

like this.
I think it took me less time making the box than writing this post; about 15 minutes or so. Sure, the box is nowhere close to what $25 would get you, but this will do the job for me.
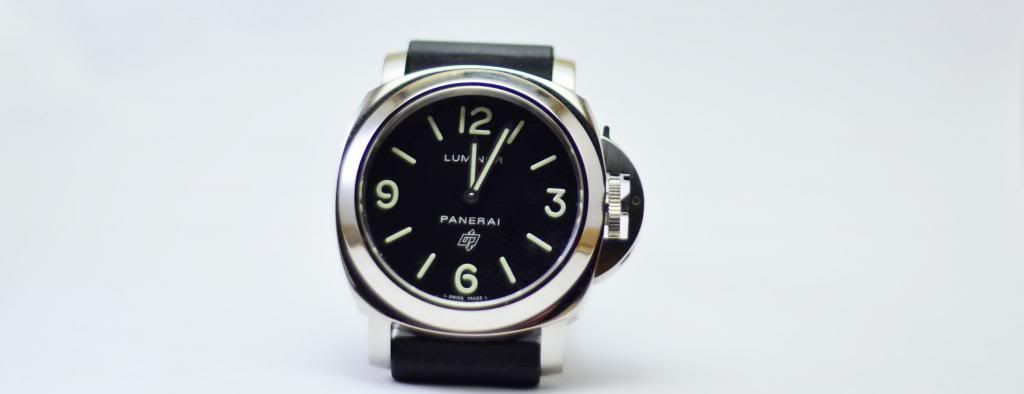
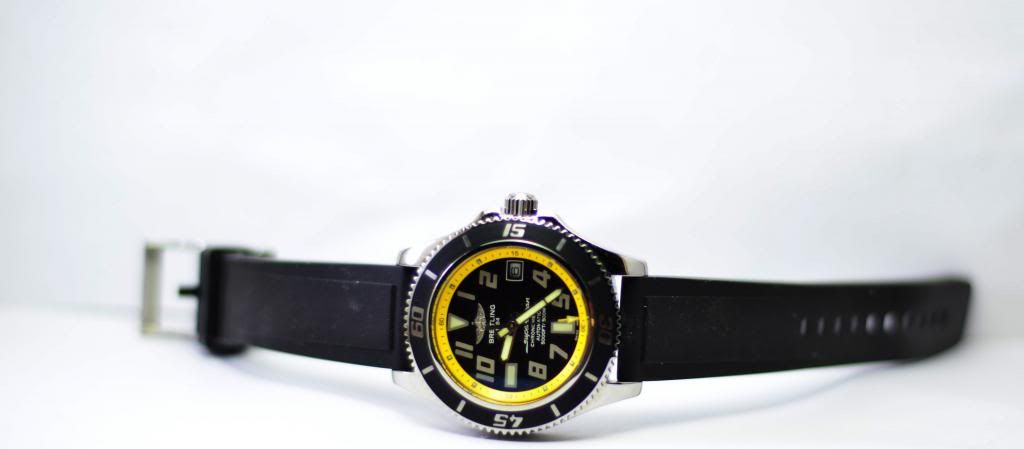
Here are two of the pictures taken. Do understand that this was taken with just ONE lamp, without extra lights shooting from the sides.
Vac Pam 000
Breiting Superocean Abyss
YM
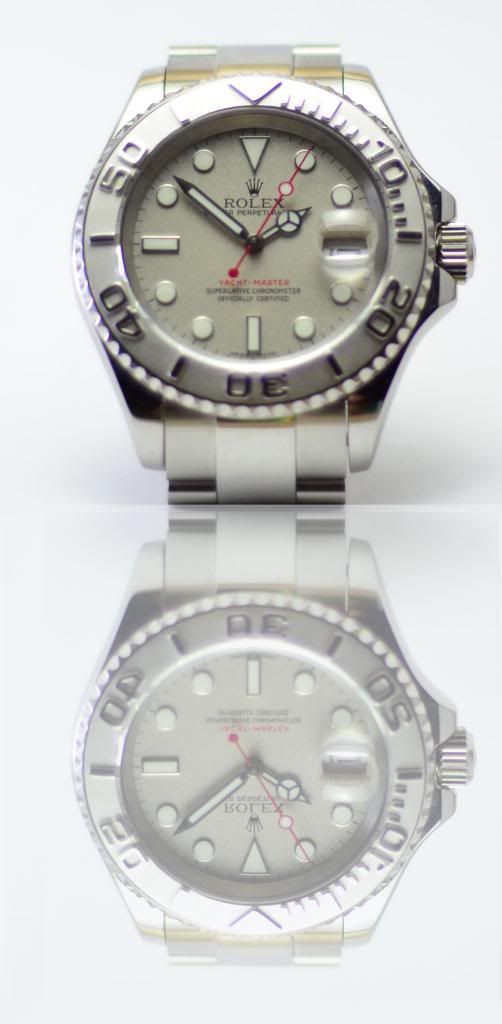
Cropped and Photoshopped to give the mirrored effect.
Not the best like you would see from professionals, but considering the price of my camera and amount of money invested in lighting and such, this isn't too shabby at all!
Thanks for reading!
I thought I'd write a tutorial on how to make a cheap version of a photo light box. Of course, the box isn't all that expensive--you can get them for around $25 if buying a low quality light box from eBay.
But, why even spend $25 when you can make it for practically nothing? The light box could be made with stuff lying around your house.
Why should you make one? Well, for beginners, you would want a nice pictures of your watches, should you want to list your watches for sale. We all know important it is to have good pictures for the sales to go through. This reason alone would be a good enough for you to invest some 20 minutes of your day.
The things you will need:
1. A cardboard box the size you would want your light box to be. I don't think you would need a huge box for it, so I went with a decent sized box.
2. Basic crafting materials: a box cutter, glue, and a pair of scissors.
3. Napkins, and/or white paper.
4. Some extra stuff that's nice to have would be: table top lights, and fabric/colored paper for background drops.
Because I made the light box on a whim, I don't have the extra table top lights for more lighting. I'm pretty sure that with the extra lights the pictures would be much better.
On to the process, shall we?
1. Cut the flaps of the box.
I decided to take pictures after I cut one of the flaps out, but I'm sure you wouldn't need a detailed information on cutting the flaps.
Done!
2. Punch a rectangular hole on 3 sides of the box, except for the bottom, leaving about 1-inch borders.
One side done!
2 sides done!
3 sides done! This will be the top, and for ease of interchanging backdrops, I decided to cut a little more.
See it? I didn't leave the border for slipping the backdrop.
Once you're done with it, decide which material you would like to go with. I chose napkins, just because they're thinner, hence enabling more light to pass through. Even though it was a bit yellowish in color, it worked out nicely.
Start gluing the holes with napkins. If you're using napkins, make sure you peel the napkins out--they're usually multi-layered.
All 3 sides done! Notice I left the back end little open. Again, this was done so I could slip backdrops in the future. Also, once you have two lights coming in from the two sides, you can cover the top, should you need to block some unwanted lights from coming in.
We are done! All you need is to slip something in of your choice. I used regular white paper, since that was all I had available.
Either like this, or
like this.
I think it took me less time making the box than writing this post; about 15 minutes or so. Sure, the box is nowhere close to what $25 would get you, but this will do the job for me.
Here are two of the pictures taken. Do understand that this was taken with just ONE lamp, without extra lights shooting from the sides.
Vac Pam 000
Breiting Superocean Abyss
YM
Cropped and Photoshopped to give the mirrored effect.
Not the best like you would see from professionals, but considering the price of my camera and amount of money invested in lighting and such, this isn't too shabby at all!
Thanks for reading!